There were set seeds during the playtest that were predetermined, but the release version should have more procedural generation.
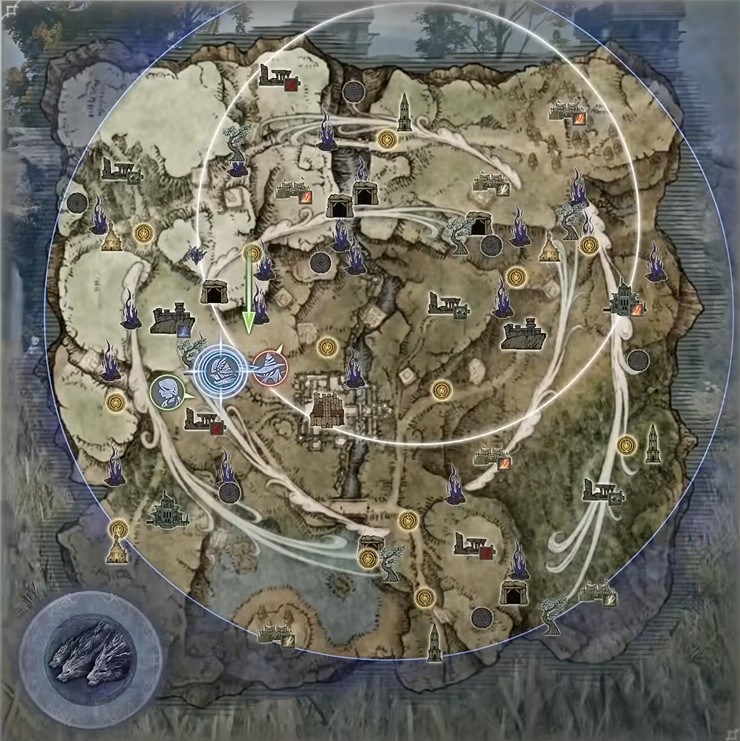
In this Map Locations guide, we'll be covering the different icons on the map and what they mean.
General Tips and Tricks for Map Routes
If you found this article, there's a good chance you need help to improve your routing. If you don't have time to learn about every single location, start here!
Try to find the closest Churches and map out hitting the rest in the most efficient manner (might be clockwise etc).
Focus on getting to level 3 by killing trash mobs before you consider minibosses, then scale up from there .
Aim to get the elemental weapons you need by the end of Day 2, you don't need them by Day 1. You can see the elemental icons on points of interests like Encampments.
Use Spectral Hawk Tree and Spiritstreams to avoid getting stuck in chasms, behind walls, and so on.
Remember the Day timings we stated in tip #1 and invest the appropriate amount of time. This will take experience and will different for each player based on their skill level. Early on while you learn the game, it might be better to lean toward greedy/ambitious rather than overly safe to learn your limits.
Use Consumables liberally if you have them to clear enemies even faster. They're easy to get so don't hoard them for Day 3 unless it's something important like Starlight Shards for Revenant.
Understanding how to path and route your run is crucial to succeeding in Nightreign.
Although there is randomness, the places you go to will heavily influence what drops and what is possible for your Builds.
Using the map below, we'll take a look at what the icons are and what they mean.
Icon
Explanation
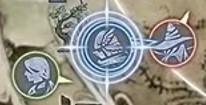
Nightfarer Icons
This one's simple, they represent you and your allies.
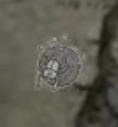
Buried Treasure
Hidden treasure that is revealed by the Map from Forts.
Castle
This is the biggest settlement type area, which will have multiple boss battles available and a lot of enemies. At the top of the castle, you can even find a map you can interact with to have 3 Teardrop Scarab locations revealed to you. These drop Talismans, which are very important and also a key ingredient to maxing out your character's potential.
Church
The small Churches are scattered around the map and are a key ingredient to your success. Each of these small Churches has a Sacred Tear, which is the item that allows you to upgrade your healing. In Nightreign, this will add another charge to your healing potion every single time you pick up a new one. Prioritize these to have as much healing as possible for your run.
Evergaol
To get into an Evergaol, you or a team member will need to have found a Stonesword Key to open it. Once open, this will have a mini boss; in the network test, this was the Godskin Noble. Once defeated, he’ll reward you with runes, a choice between 3 different buffs or loot, and a new Grace will appear right in the center of the Evergaol.
Field Boss
Field Bosses are powerful enemies such as Dragons, Carian Knights, and Golems. These will drop incredible loot, typically high rarity weapons or permanent character perks that can alter your playstyle for the rest of the match.
Fort
There are typically a few different Forts on the map. These are also settlement-type locations, which often have a specific loot table shown on the icon on the map. They will have a bunch of small enemies and at least one boss fight. If the Fort in your specific match has the Element or Status you’re looking for, it’s a great place to go.
Grace
The Graces are crucial for your success. This is where you level up your character and refresh your Health, Mana, and Healing potions. These are scattered all over the map, and new ones will appear when certain bosses are defeated. Make sure to interact with it anytime you see a new one. If you fully die, you’ll always spawn at the Grace closest to where you died.
Great Church
The Great Church has the layout of the Cathedral of Manus Celes from the original Elden Ring. An important note is that in the middle of this building, there is a hole in the floor which leads to an underground cave-type area, which is where the majority of the loot from this settlement will be. This was typically the Holy settlement in the network test, which meant it was a great place to go if you wanted Holy weapons, or perhaps warming stones for some supportive or healing properties.
Main Encampment
The Main Encampment is one of the many settlements, typically with a specific loot table. From my experience, this one was always Fire in the network test. The boss would be 3 Flame Chariots, it’d have a merchant and a bunch of chests all around, primarily near the tents and in the watchtowers. The Flame Chariots were very easily defeated, since in Nightreign, you can jump on top and stab them from above with a unique finisher, even at full HP.
Ruins
The ruins are also a settlement-type area. In my case, I’ve usually seen these be the Poison or Blood Loss settlements. There’s always a boss battle and a basement in the ruins where most of the loot will be contained. Be sure you kill the boss and check the basement for loot before moving on from here. Blood Loss and Poison are both great damage options.
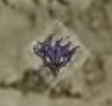
Scarab
The Scarab icon will only appear on your map after you’ve interacted with the map in the Castle settlement. This will reveal multiple of them. The Scarabs are very important since they’re the main source of Talismans. Talismans give you various buffs, some of which are completely game-changing for your damage output or survivability.
Interacting with the Spectral Hawk Tree will summon the Spectral Hawk that dropped you off when the match started. This time, it’ll take you in the direction of the wind currents you can see when you open your map. This is the closest you’re getting to fast traveling.
Spiritstream
The Spiritstreams work just like in the original Elden Ring, but in Nightreign, you’re able to use them on foot. This will launch you far into the air, typically located at a cliff, to help you climb it. The game has no fall damage at all, so you can use this to go any direction you wish, even if you’re gonna have a very long drop.
Township
Visit if you need the Merchant and/or Anvil.
Tunnel Entrance
Caves have various random loot and a chance of Smithing Stones.
See More Guides
Weapon Bequeathed Harmonia (Balancers) - Guide, Attack Pattern & More