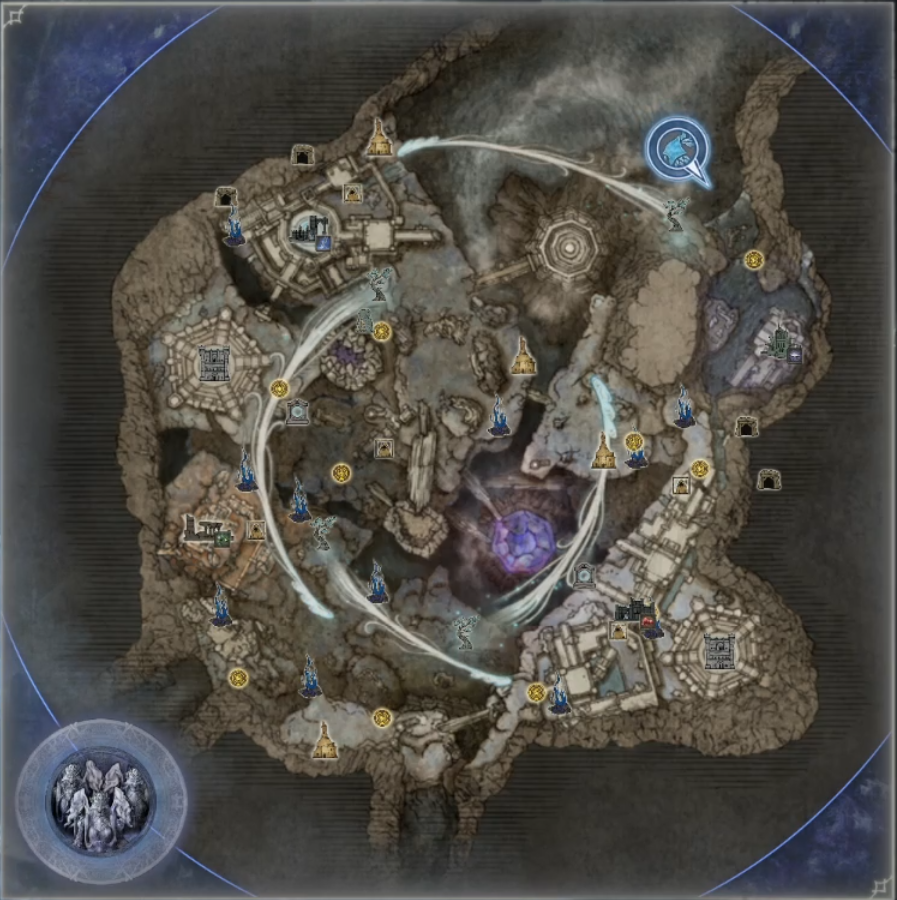
The Forsaken Hollows features a highly vertical map with multiple layers. Higher ground is shown in a lighter color, while lower layers are darker.
The edges of the map are higher than the center, and there is an even lower layer at the bottom right of the map, hidden beneath the castle, which contains more points of interest.
Traversing this map is more difficult than Limveld, and players will often need to go above or below to reach their destination due to walls and void being in the way.
Points of Interest
The Forsaken Hollows has fewer points of interest than Limveld, and most of them are tied to the specific Shifting Earth quest.
Some of the returning points of interest include:
- A cathedral in the far east of the map. This will usually be a sleep cathedral on the Balancers expeditions, allowing players to quickly get their hands on some sleep weapons by defeating the Abductor Virgins and the nearby Giant Sleep Crabs by the river.
- Ruins in the far west and lower layer of the map. These ruins are similar to the existing ones, containing low-tier field bosses. Due to the verticality of the map, you should not go out of your way to try to reach them, since it can take a significant time.
- Churches. Players can use churches to gain an extra flask use. Church locations are the same for the most part, with two of them being near the center of the map whilst the remaining two are scattered throughout the borders of the Hollow.
And the new points of interest in the Great Hollow are:
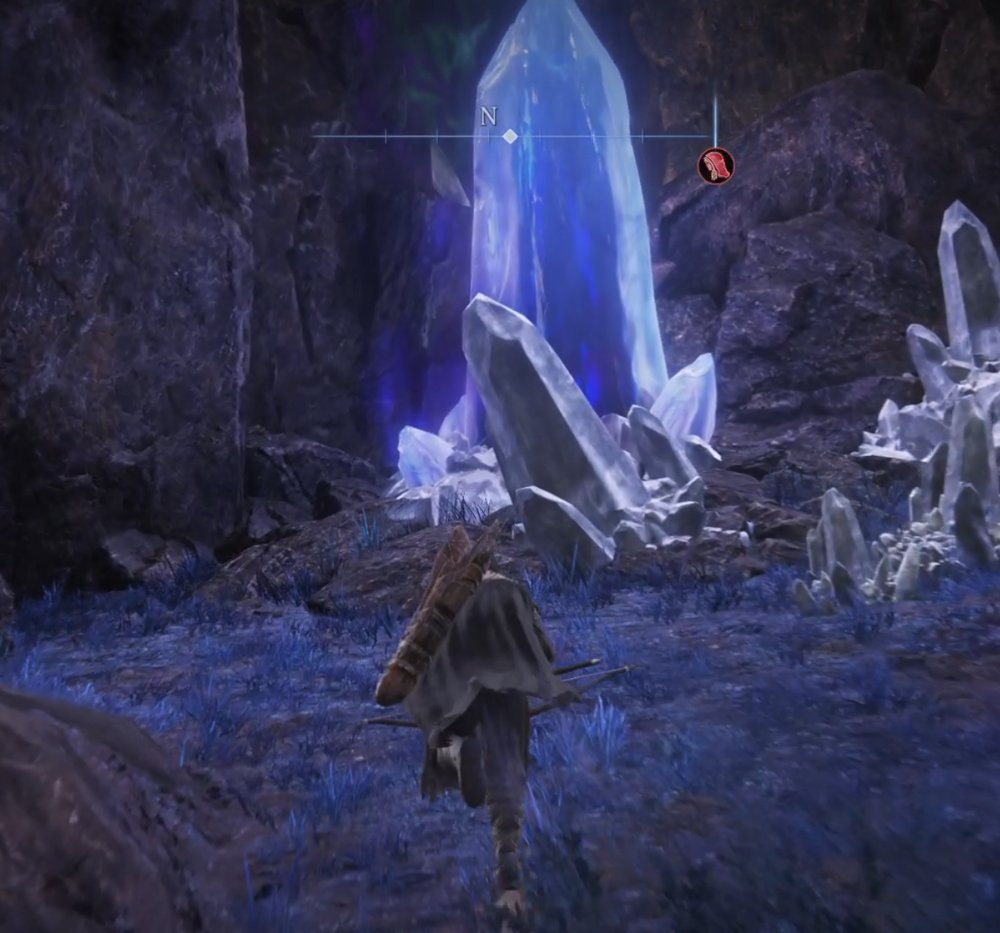
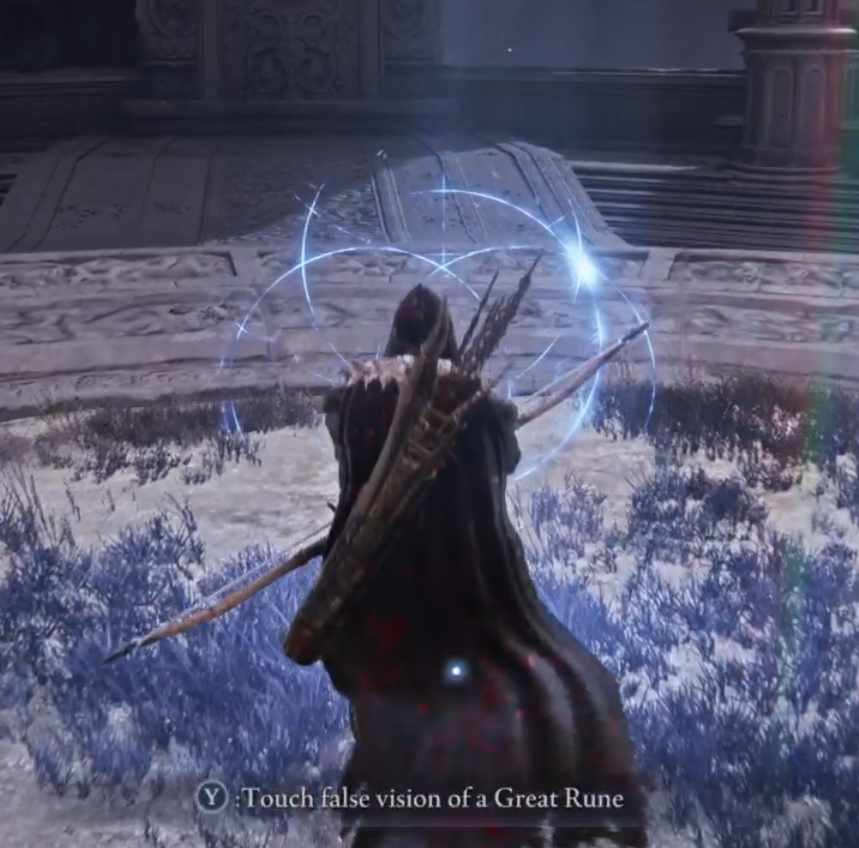
- Dark Crystals. These dark blue crystals are scattered throughout the map (and become visible on the map on Day 2). Interacting with them will crack the great crystal in the center of the map. After interacting with 4 dark crystals, the great crystal will shatter, allowing players to enter it.
- Fort (North dungeon). Contains a high-level boss in the center, as well as some low-level bosses around it and in the sewers below.
- Castle (south-east dungeon). Contains multiple mid-level bosses, as well as enemies scattered throughout the castle’s walls and several inner rooms.
- Divine Towers (west and south-east towers). These act as boss rushes, containing three high-level bosses, and a boon at the end.
Recommended Routes
There are two possible spawn points:
- At the southernmost point of the map. Go to the nearby Kaiden Mercenary ruins and defeat them for some quick loot and levels. Then, drop down into the lower levels and go to the bottom layer (southwest).
- Near the east cathedral. Defeat the nearby enemies, and then kill the Abductor Virgins. Each drops three weapons up to purple rarity, which can define the run from the start. Then, head over to the nearby churches and drop to the lower levels near the center and southwest.
You should clear the lower levels of the map early, as they have easier enemies. As the circle closes in, you will travel to the higher levels of the map. The circle usually closes near the center and northern parts of the map, so by starting on the lower level, you can naturally make your way up to the finishing location.
On Day 1, focus on clearing low-level enemy camps and field bosses while looking for dark crystals to destroy. Usually, you will find more than four of them among the starting areas, the lower level of the map, and the center area.
When Day 2 starts, immediately head over to the great crystal or find the remaining crystals to unlock it, and then spend all of Day 2 in clearing either the fort or castle plus the nearby divine tower. The big Points of Interest have a great amount of high-level loot and will grant you enough runes to level up to 14 or 15 in most cases.
The Day 2 circle always closes into the smaller northeast tower, which you can access through the bridge to the east or the cliff to the south. The map layout is designed so you can quickly travel from either Divine Tower to it, incentivizing players to spend Day 2 on them.
Tips and Tricks
- The corpses and chests in the Forsaken Hollows can drop rare loot such as purple and legendary weapons, just like those inside other Shifting Earth events. Inspect any chests and corpses in your way.
- There is a weapon duplication mausoleum in the southern part of the map, near the south starting point, guarded by an Ancient Inquisitor.
- You can get the Purifying Crystal Tear from Libra (by buying it from him or by defeating him), which nullifies the Lord of Blood’s Nihil curse.
- On Day 1, focus on breaking dark crystals and fighting field bosses, especially in the lower levels.
- On Day 2, go into the big points of interest (fort, castle, or divine towers) to fight high-level enemies and earn better loot.