Deadlock Beginner Guide: Tips to Get Better Faster
Overview
Deadlock has a significant learning curve due to its depth, but in exchange, you're really rewarded for learning and gaining experience.
In this Deadlock beginner guide, we won't be covering every single mechanic, but will instead on the most important fundamental aspects that will help you improve more efficiently.
Before you dive into our tips, please make sure that you've gone through the clips and tutorials within the Learn to Play section.
We also recommend that you've also played at least one bot game.

If you haven't done so yet, no worries, but we strongly recommend that you do after reading this. Let's dive in to our tips!
1. Learn how to play as and against heroes efficiently
One of the most challenging (and fun!) parts of learning a new hero-based game is building up knowledge of what the characters do.
In this section, we'll cover tips for learning how to play as or against heroes.
How to Learn Heroes
Unlike other games where you can often start with one hero, Deadlock requires you to select a minimum of three heroes in order to queue for a Standard Match.
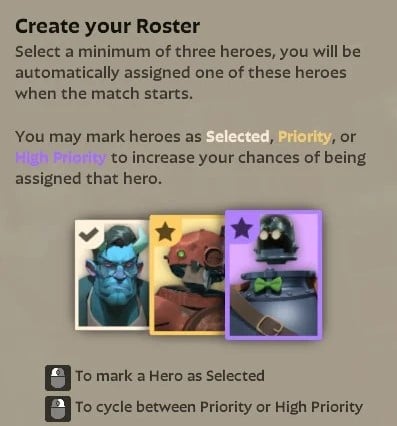
Because of this, we recommend building up a minimum level of comfort on well, three heroes. So how do you go about choosing those three?
If you want to dive in ASAP, just choose a character that looks cool to you
If you want to take your time a bit, read through their subtitles and playstyle summaries. For example:
McGinnis has the subtitle, "Controls the battlefield with turrets"
Once you have a hero in mind, go into the Sandbox or a bot game to get familiarized with their abilities, try out their Build, and how they feel in general.
After you feel decently comfortable, repeat the process until you have three core heroes. At this point, you may want to consider trying to find heroes that have similar archetype roles.
For example, Abrams, Kelvin, and Warden are all tanky frontliners. Haze, Seven, and Wraith use rifles and have a long-range skillshot - you get the idea.
Having similar heroes will let you develop overlapping skills faster, but you can also take the approach of picking three vastly different characters.
It's totally up to you based on your playstyle and inherent gaming knowledge level, but do whatever is most fun as it'll make the journey way easier.
How to Play Against Heroes
While you'll want to go deep in learning your own hero pool, it's a massive undertaking to try to do the same for all other heroes.
Instead, start slow and build up mental notes and reminders over time.
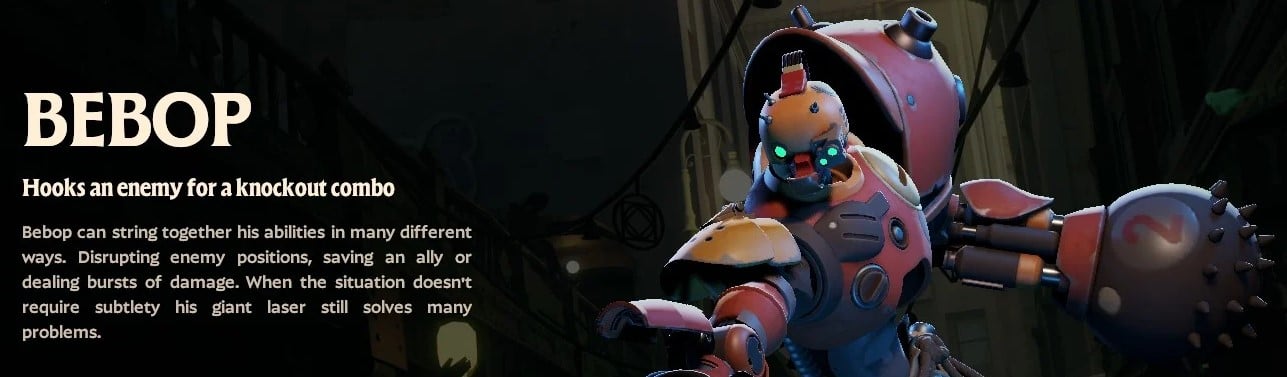
Let's use Bebop as an example with three levels of understanding.
Level 1 (beginner): Bebop has a hook, save Stamina and movement abilities when he's nearby
Level 2 (intermediate): Bebop's ultimate is a devastating laser beam, but he has trouble turning it quickly
Level 3 (experienced): Bebop's bomb's get stronger with permanent stacks each time it hits a hero. Avoid it during laning phase so he doesn't scale as quickly.
Based on their popularity and complexity, you'll naturally learn how to play against some heroes faster than others and certain things will come in time.
However, if you keep important mental notes for each hero you're facing, you'll internalize more subtleties more efficiently.
If you're really having trouble against a certain hero, play them yourself for several games and you'll immediately get a feel for their windows of weakness that you can exploit next time you play against them.
2. Know build and itemization basics
It's one thing to pick a build and follow it, but it's important to know the fundamentals behind how builds and items work.
The Types of Items: Weapon, Vitality, and Spirit
Weapon
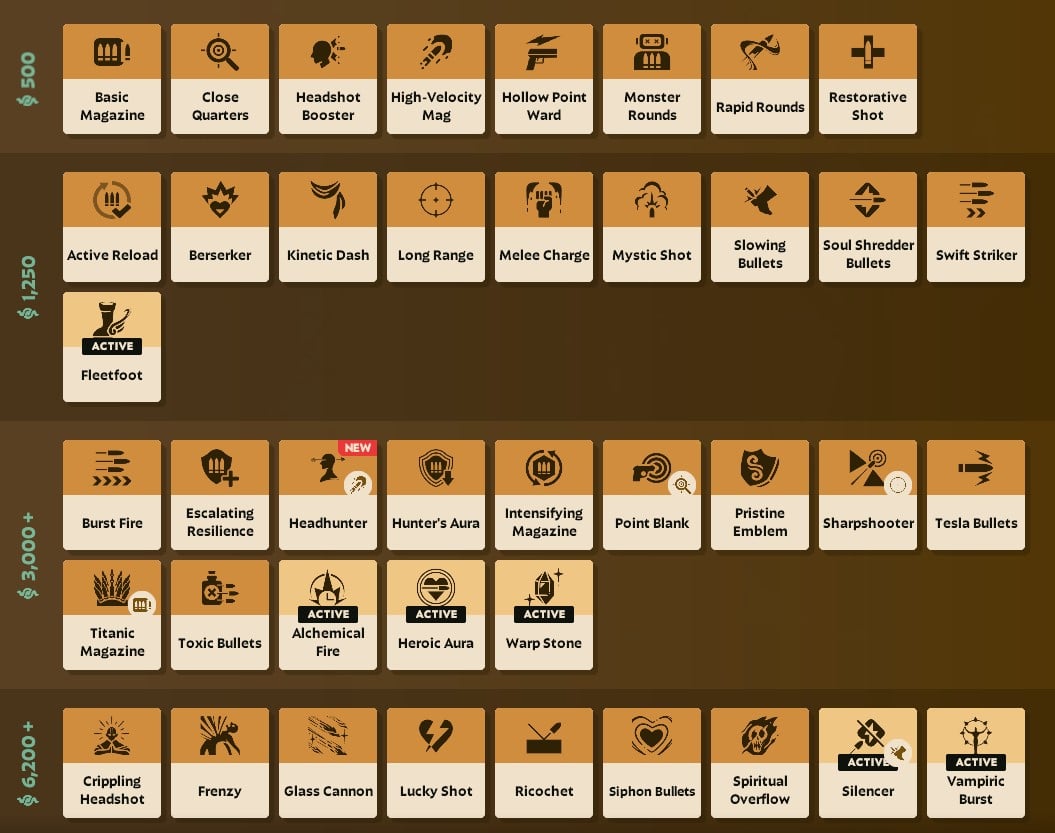
Items that upgrade the properties of your primary weapon, such as firing rate, range, and damage output.
Each item adds Weapon Damage
Vitality
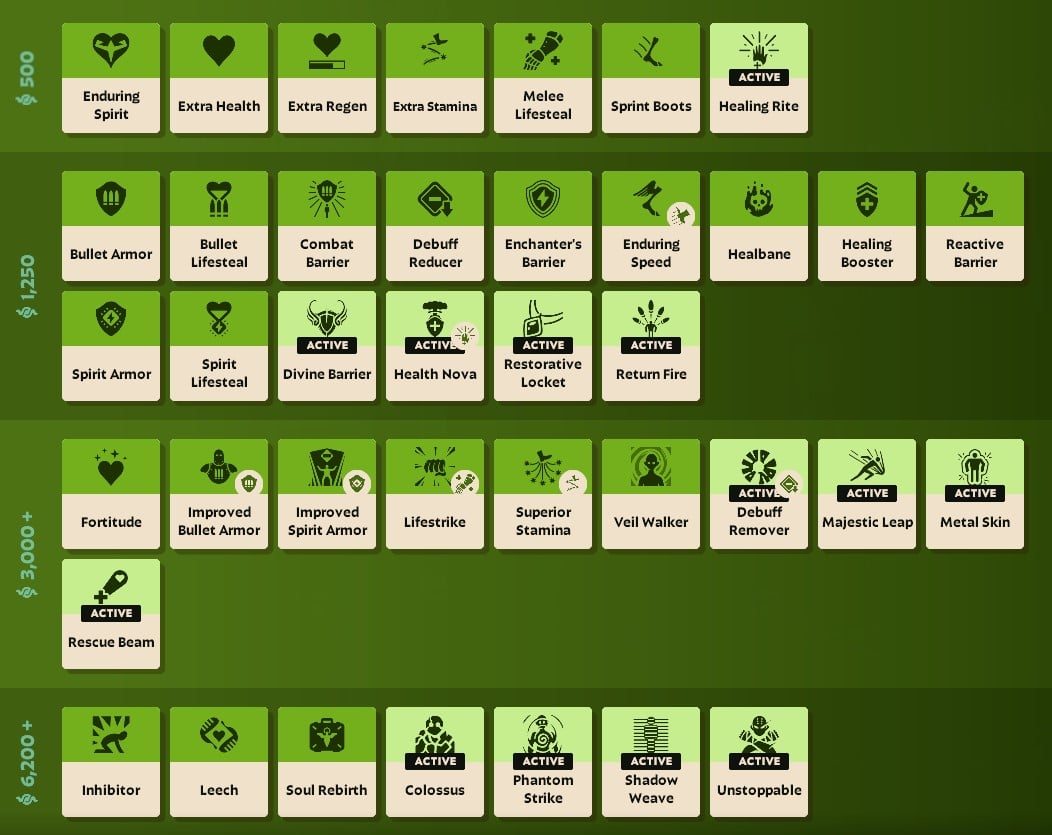
Items that upgrade your defensive properties, such has health, resistances, and other means to survive
Each item adds Base Health
Spirit
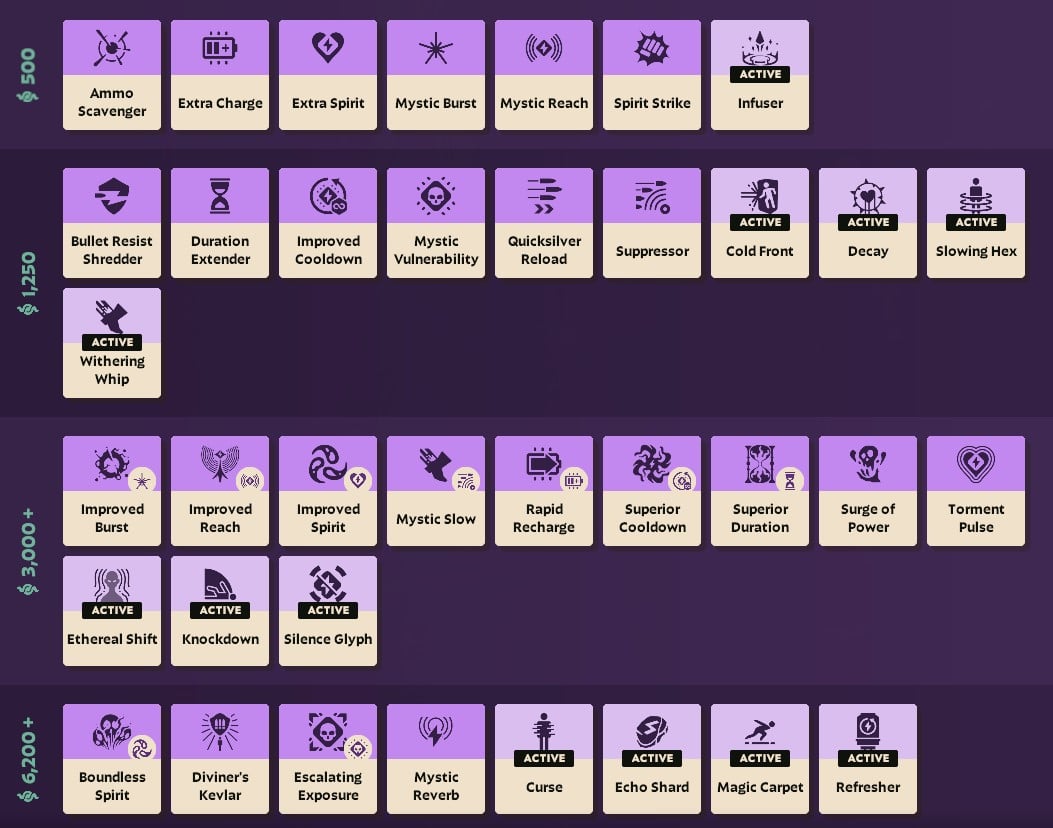
Items that upgrade your abilities, such as cooldown, duration, and amount of charges.
Each item adds Spirit Power
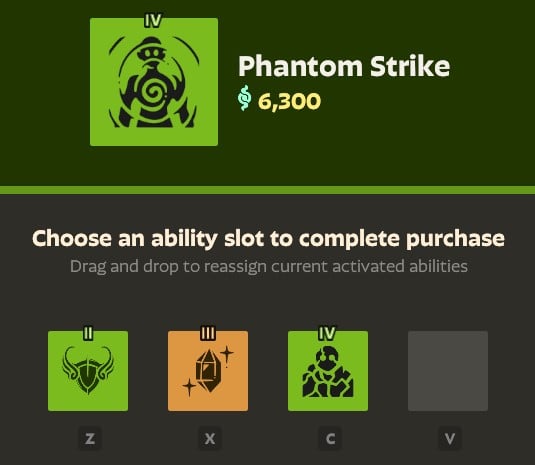
16 Total Item Slots
At the start of each Deadlock game, you'll have access to 12 item slots in your build (4 each for Weapon, Vitality, and Spirit).
Throughout a match, you can unlock 4 more Flex Slots that can be filled with any type of item.
These Flex Slots are unlocked through various objectives, which are described in our Flex Slots guide.
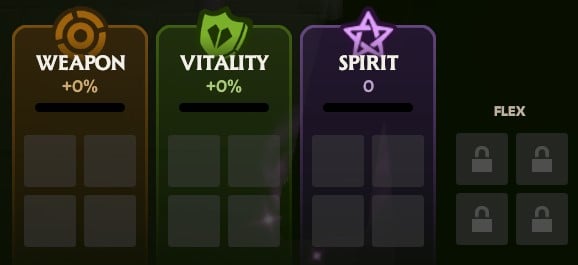
4 Active Items
Lastly, your build can have up to 4 Active Items. These items are activated by a key binding, essentially becoming new abilities at your disposal.
For example, the Warp Stone is an Active Item that lets you instantly teleport forward, which can be used to engage, escape, and so forth.
When purchasing an Active Item, you can choose which of the keys will be used for it.
You'll see your Active Items and their cooldowns displayed to the right of your main abilities. If you want to rearrange the order of your Actives, just open up the shop and drag them around.

3. Gradually learn the Stamina mechanics
One of Deadlock's core aspects is its Stamina-powered mechanics. These are universal, meaning all heroes have access to them.
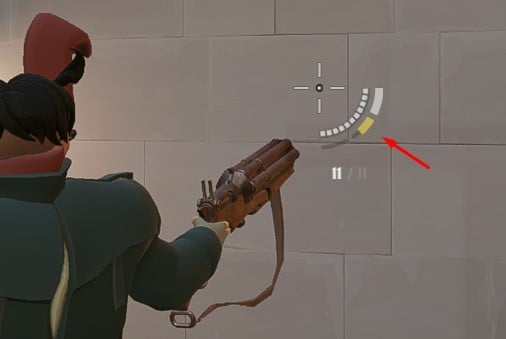
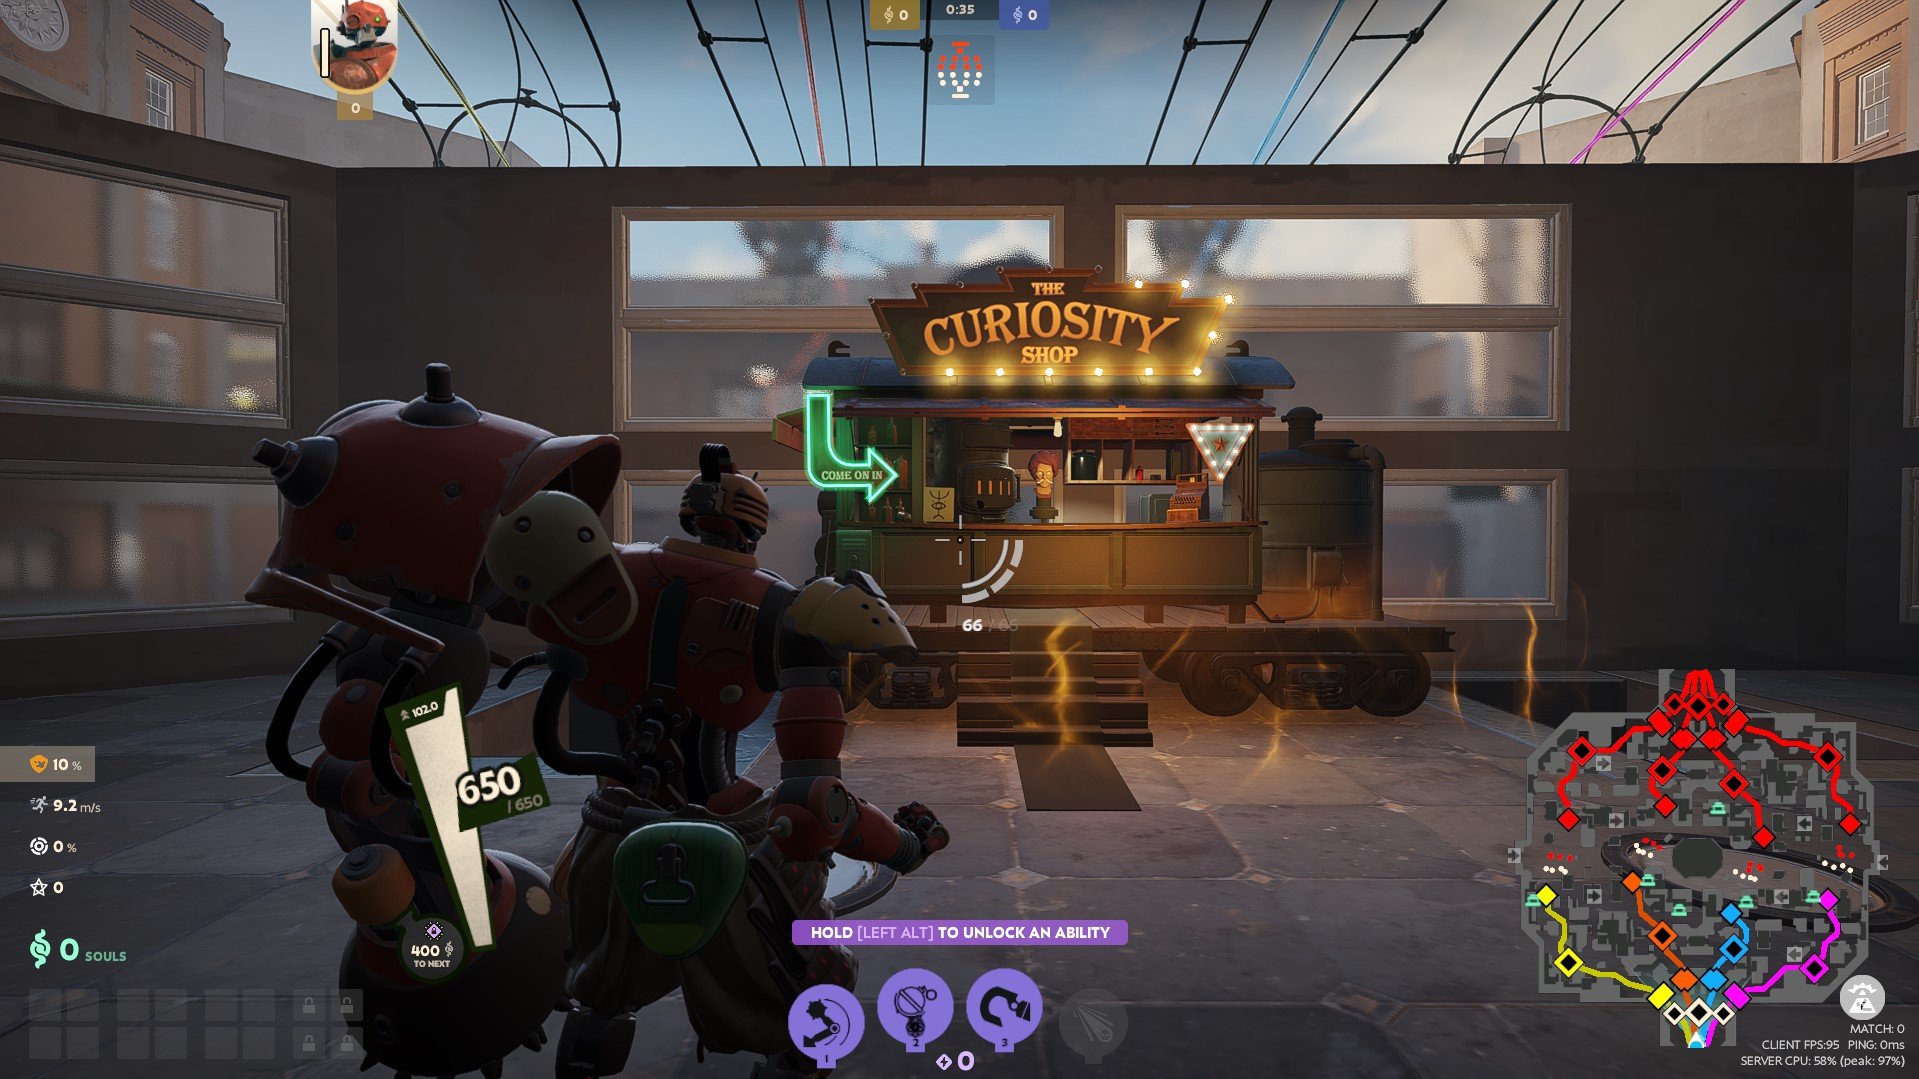
You can see your current Stamina level at your crosshair.
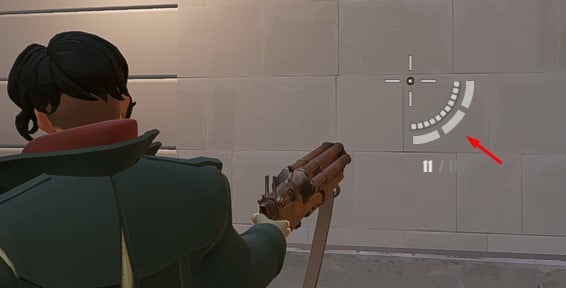
After you use a Stamina mechanic, you'll see it refilling in yellow.
List of Stamina Mechanics
Double Jump = 1 bar
Space bar after first jump (first jump doesn't use Stamina)
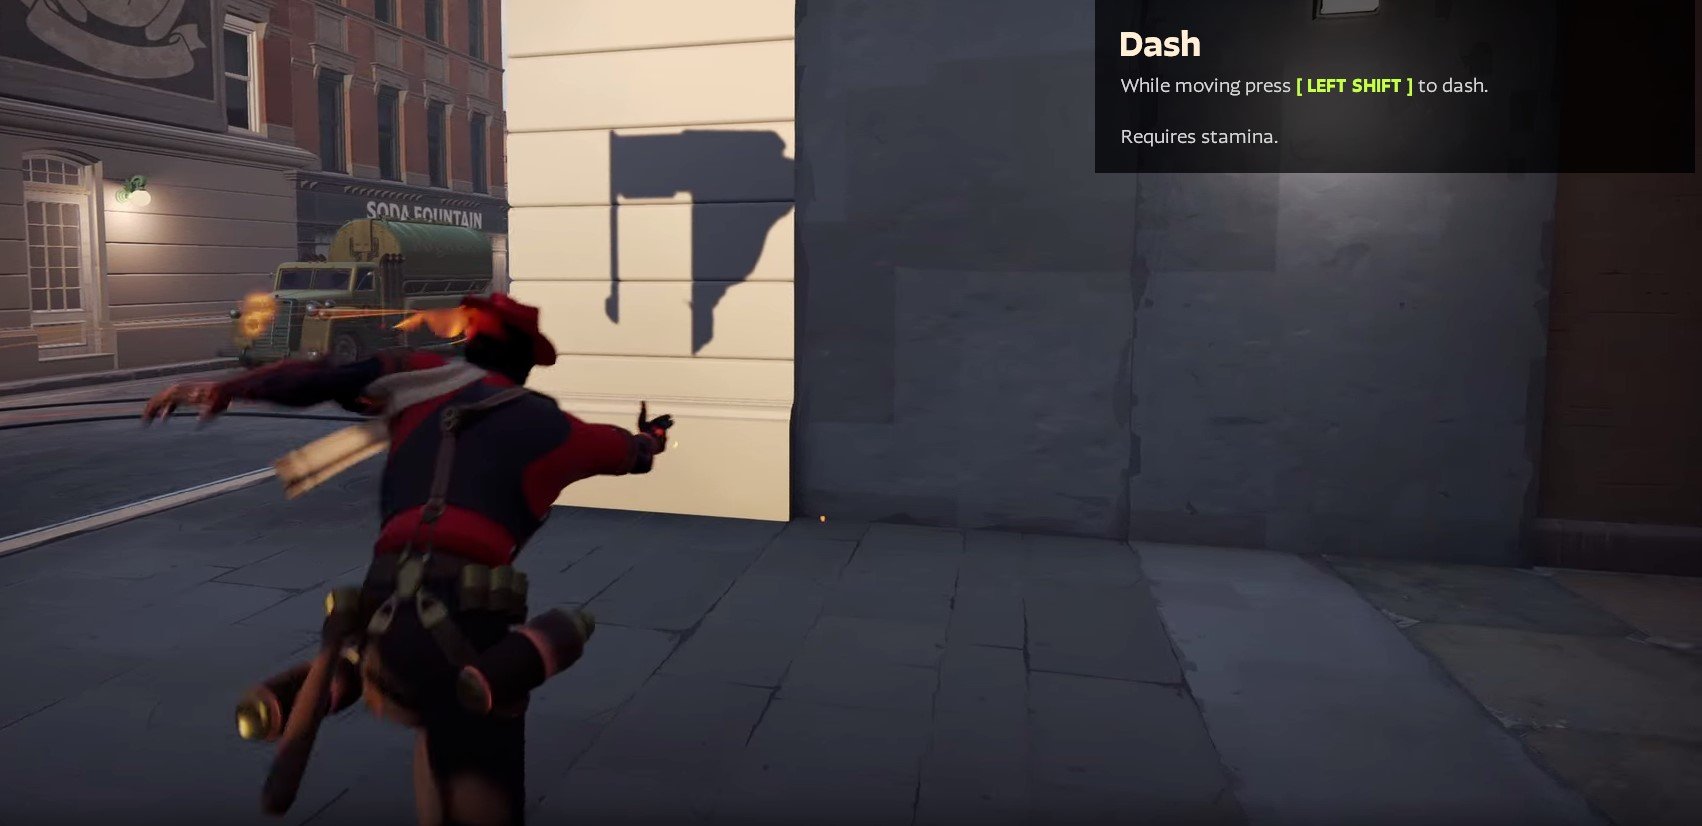
Dash = 1 bar
Left Shift in a direction
Air Dash = 1 bar
Left Shift in a direction while in the air
You can Air Dash downward (aka Fast Fall) by pressing Cntrl two times in the air
Dash Jump = 2 bars
Dash followed by Space (time it when the Stamina bar turns blue)
These are used in conjunction with another technique, Sliding, that doesn't use Stamina. You can Slide by pressing Cntrl after a Dash, Air Dash, or going downwards on a slope.
Pro tip: Shooting while firing does NOT use ammo, so look to fire when sliding to maximize your uptime.
Key Takeaways
As you're learning the game, here are the levels of difficulty to gradually learn:
Level 1 (beginner) = Get comfortable with Double Jump, Dash, and Air Dash
Level 2 (intermediate) = Add Sliding to your repertoire
Level 3 (advanced) = Add Dash Jump and Fast Fall to your repertoire
Lastly, something that you may not know is that some heroes have different base levels of Stamina.
Most have 3 bars, but McGinnis and Vindicta start with 2 and Ivy starts with 4.
Use this to your advantage during laning phase and understand which heroes you have an advantage or disadvantage against.
4. Explore and learn the map
Even if you've played other MOBAs, learning the Deadlock map can be daunting.
There's buildings with roofs and entrances, subways, alleyways, teleporters, jump pads, and more.
Although you'll gradually absorb the maps and its locations while playing against bots or humans, we recommend exploring at your own pace with a sneaky technique.
How to explore the Deadlock map without bots
Exploring the map without humans or bots is easy to do once you know how.
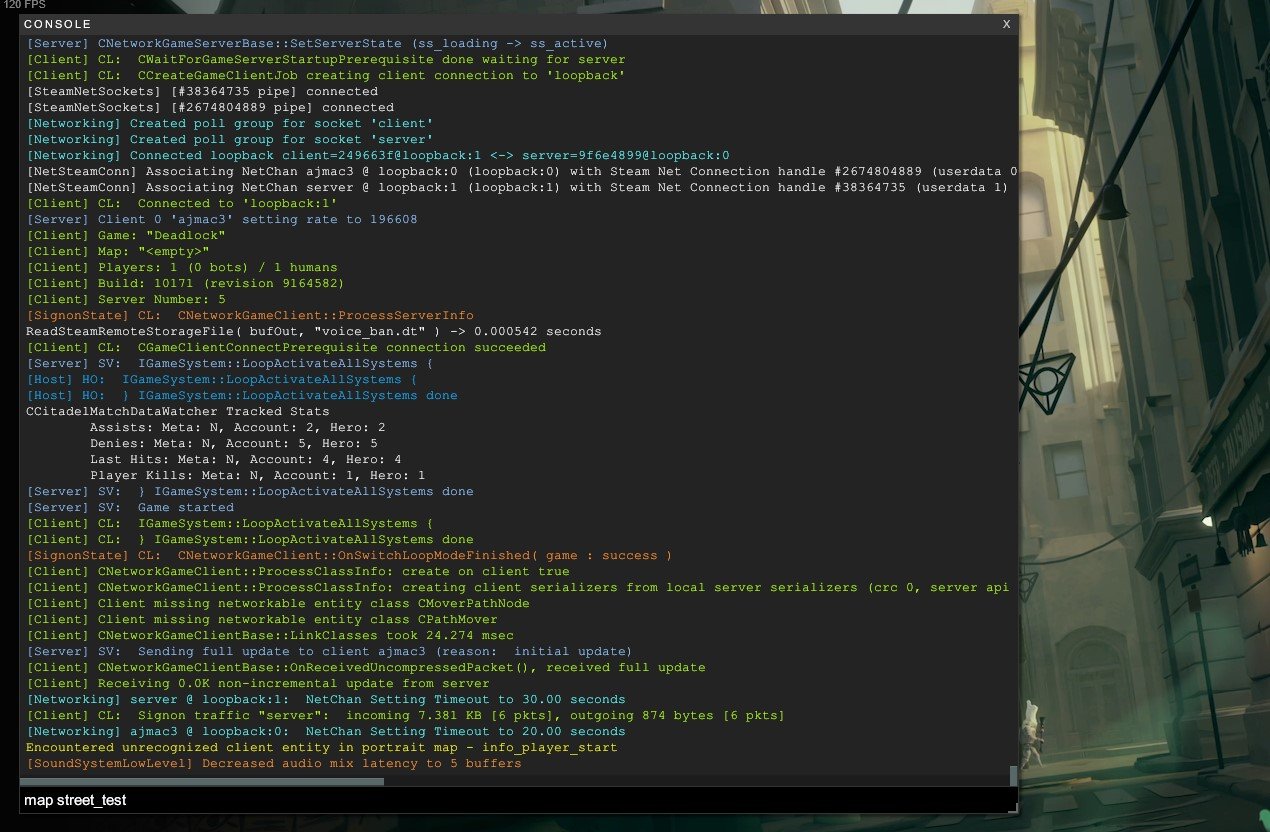
First, press F7 to open the console.
Type in "map street_test
That's all!
After some loading time, you'll be asked to choose a hero or go into Spectator mode. Either works, but we recommend choosing a hero so you can also practice your abilities, items, and Stamina mechanics while going around the map.
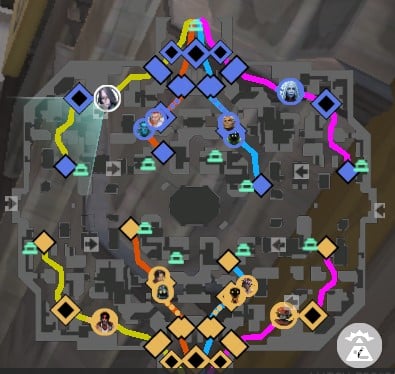
There's a lot to take in, but here's how we recommend prioritizing the parts of the map:
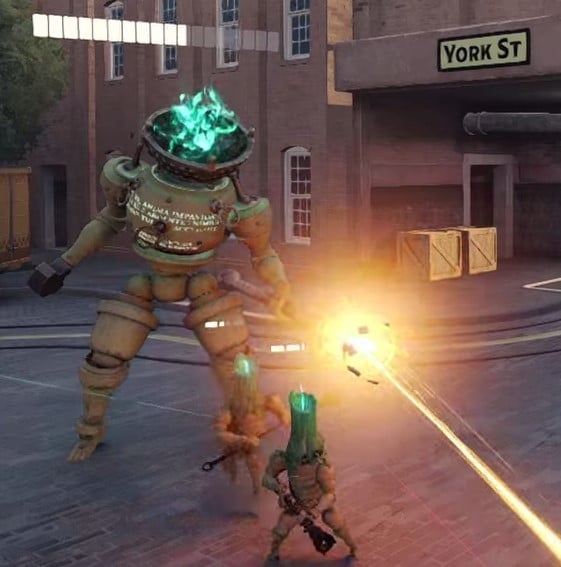
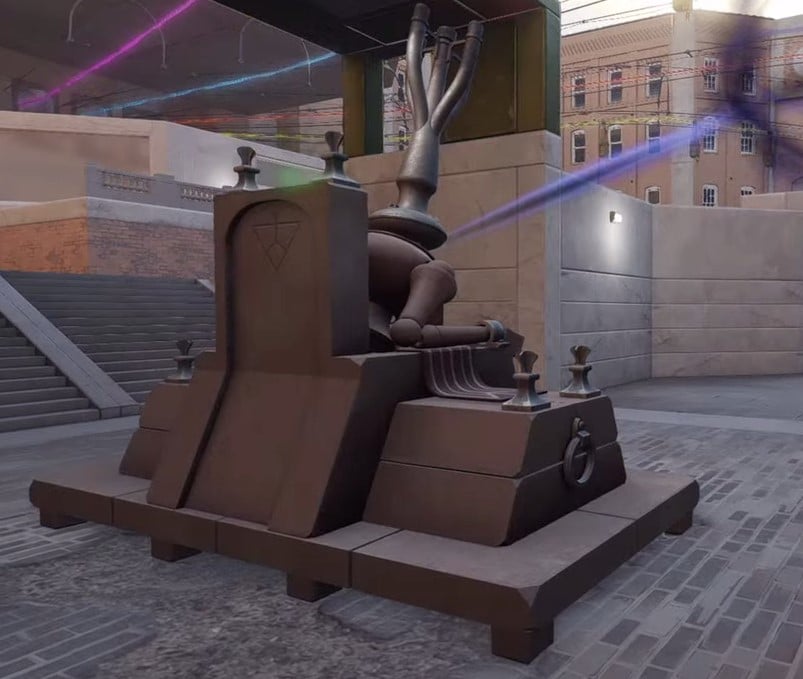
Level 1 (beginner) = Learn where the Shops, Guardians/Walkers, Shrines, Spirit Urn, and Mid Boss are located
Leve 2 (intermediate) = Learn where the neutral camps and Sinner's Sacrifice (slot machines) are located
Level 3 (advanced) = Learn where the teleporters, ropes, and jump pads are located
5. Understand what you should be doing Early, Mid, and Late Game
Something that takes a while to understand in Deadlock, is what you should be doing now and what you should be doing next.
With the average game time being about 30 minutes, it helps to divide the game into parts - these are usually described as the Early Game, Mid Game, and Late Game.
Let's take a look at what you should be prioritizing at each phase.
Early Game (0-10 minutes~)
The Early Game sets the tone for the rest of the game as it will heavily influence how you play out the Mid and Late phases.
Your top priorities at this phase, by far, are to maximize your farm and avoiding early deaths.
A common beginner mistake, especially from players coming from FPS games, is to focus on killing your enemy laner.
If you are able to get a kill, great - but if you're tunnel visioning against an enemy and don't end up killing them, there's a good chance you're falling behind in farming Souls.

Souls ultimately represent your power since they're how you get stronger and scale throughout a game. So instead, focus on getting those last hits and denying your enemy until you get a few items under your belt. THEN, look to fight and take down the Guardian.
By all means, if a good opportunity does come up, feel free to go for the kill. Our main point is to not tunnel vision on doing so.
In a similar vein, do your best to not die early on. If you need to go back to your base to heal, try to kill as many Troopers as you can to push the wave forward and then go back.
If you die, you're missing out on Souls and leave the Guardian you're supposed to be protecting vulnerable.
Pro tip: Do NOT use your Zip Line boost as soon as the game begins, save it in case you get low so you can return quickly.
Mid Game (10-20 minutes~)
The MId Game begins when the first Guardians begin to fall.
If both Guardians are in your lane, proceed as if you're still in the Early Game but be on the look out for enemies coming from other lanes to gank you. Allies may come to help as well.
If you've destroyed the Guardian in your lane, nice job, look to help other lanes to destroy their Guardians. Once all enemy Guardians are destroyed you'll unlock a Flex Slot.
For instances where you lost your Guardian first, you can keep farming it but be careful pushing too far forward since you don't have the protection of your Guardian any more.
In any case during the Mid Game, you should continue farming Troopers, clear neutral camps when you can, and help your team contest the Spirit Urn (spawns at 10 min, 15 min, 20 min, and so on).
Once all Guardians are down (or even before in some cases), you can look down to take out two Walkers as it will unlock another Flex Slot.
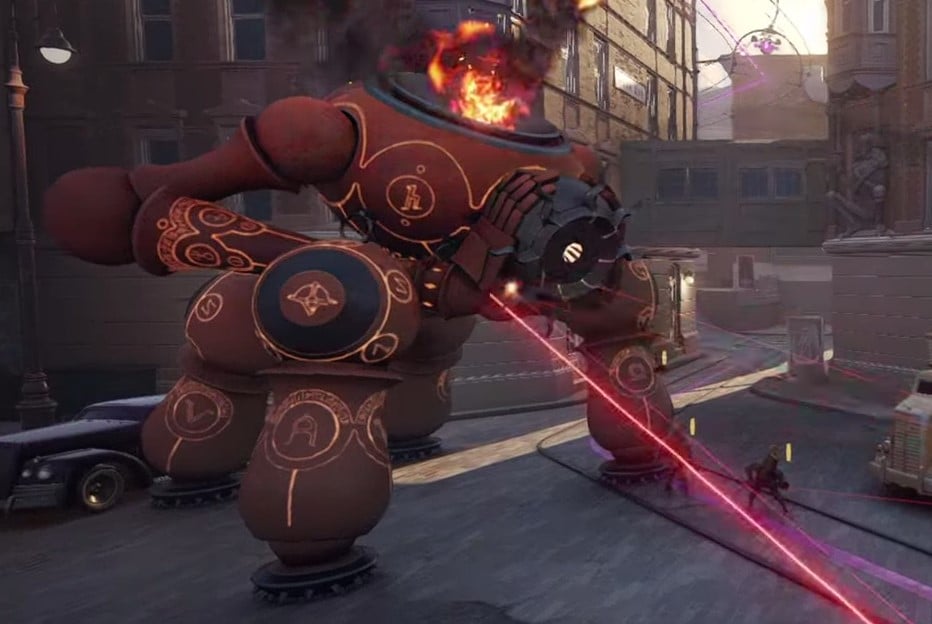
Then look to take out all Walkers to get your 3rd Flex Slot.
Late Game (20-30+ minutes)
The last phase of the game begins around when one of the team starts making their way into the opposition's base.
If you're playing a team fighter or a hero that lacks mobility, consider grouping at this time. For duelists or split pushers, it might be better for you to pressure a side lane. In either case, be ready to rotate and help with Mid Boss.
Remember that death timers are very long at this stage of the game, so be extra vigilant on the minimap, as getting caught could cause your team to lose.
Try to destroy an enemy Shrine when you can to unlock your final Flex slot. Having an item advantage over your enemy with an extra end game item or Active item can be the difference in a major team fight.
Lastly, the Late Game can be volatile, so don't relax if you're ahead and don't give up if you're behind.