In this Marvel Rivals Map Guide, we're covering all the maps and game modes that appear in Quickplay / Competitive.
By the end of the guide, you'll understand each one's nuances along with recommended heroes and team comps for each.
In this Marvel Rivals Map Guide, we're covering all the maps and game modes that appear in Quickplay / Competitive.
By the end of the guide, you'll understand each one's nuances along with recommended heroes and team comps for each.
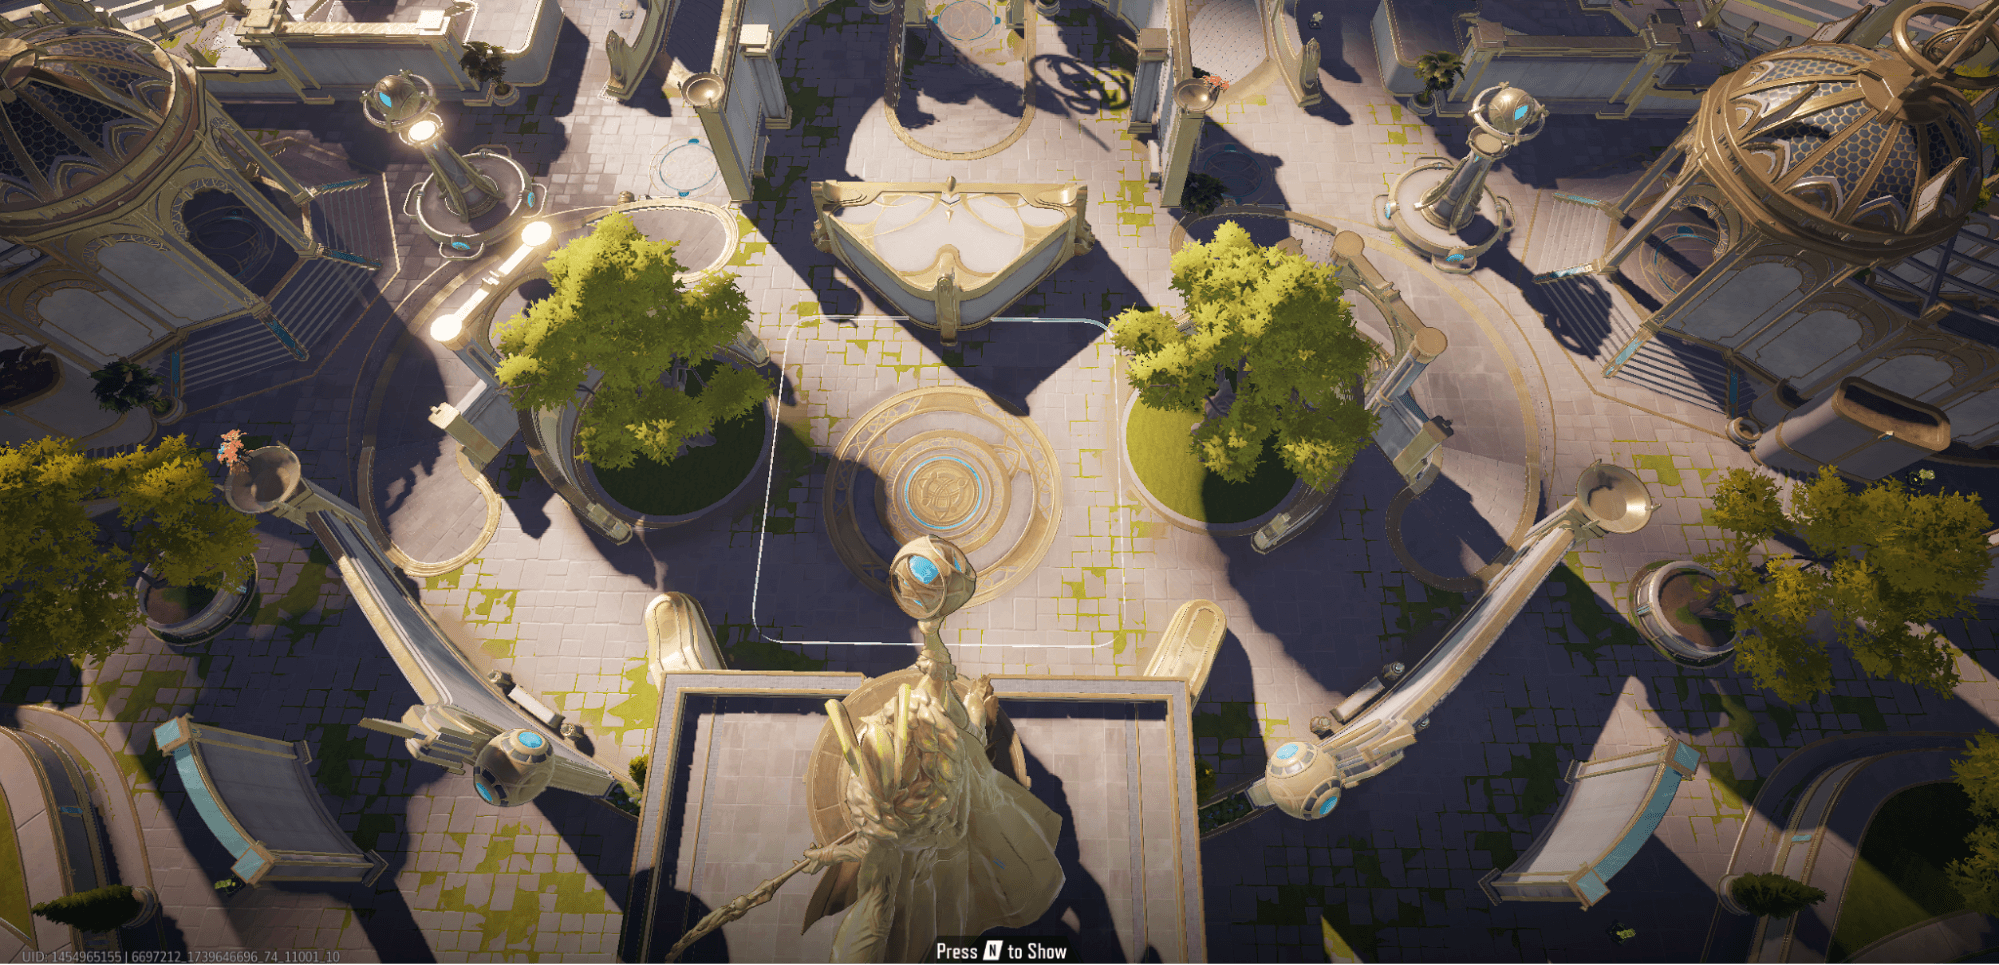
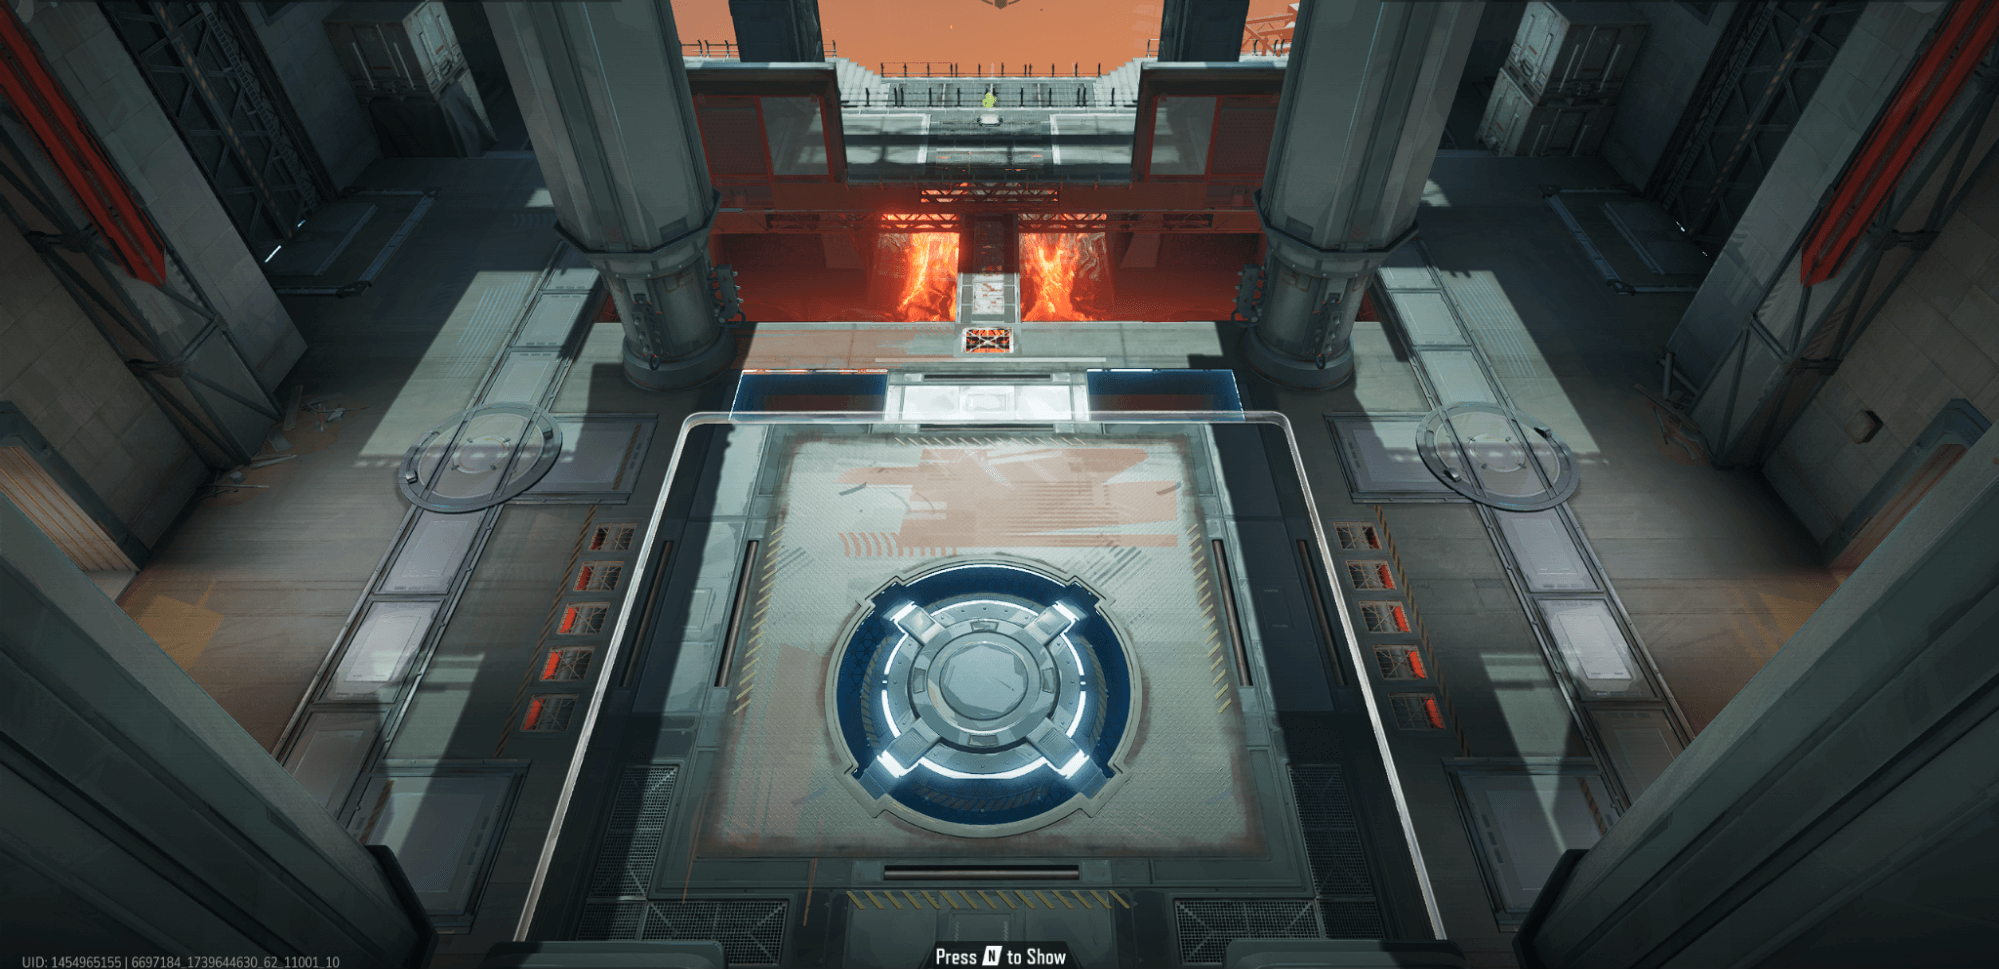
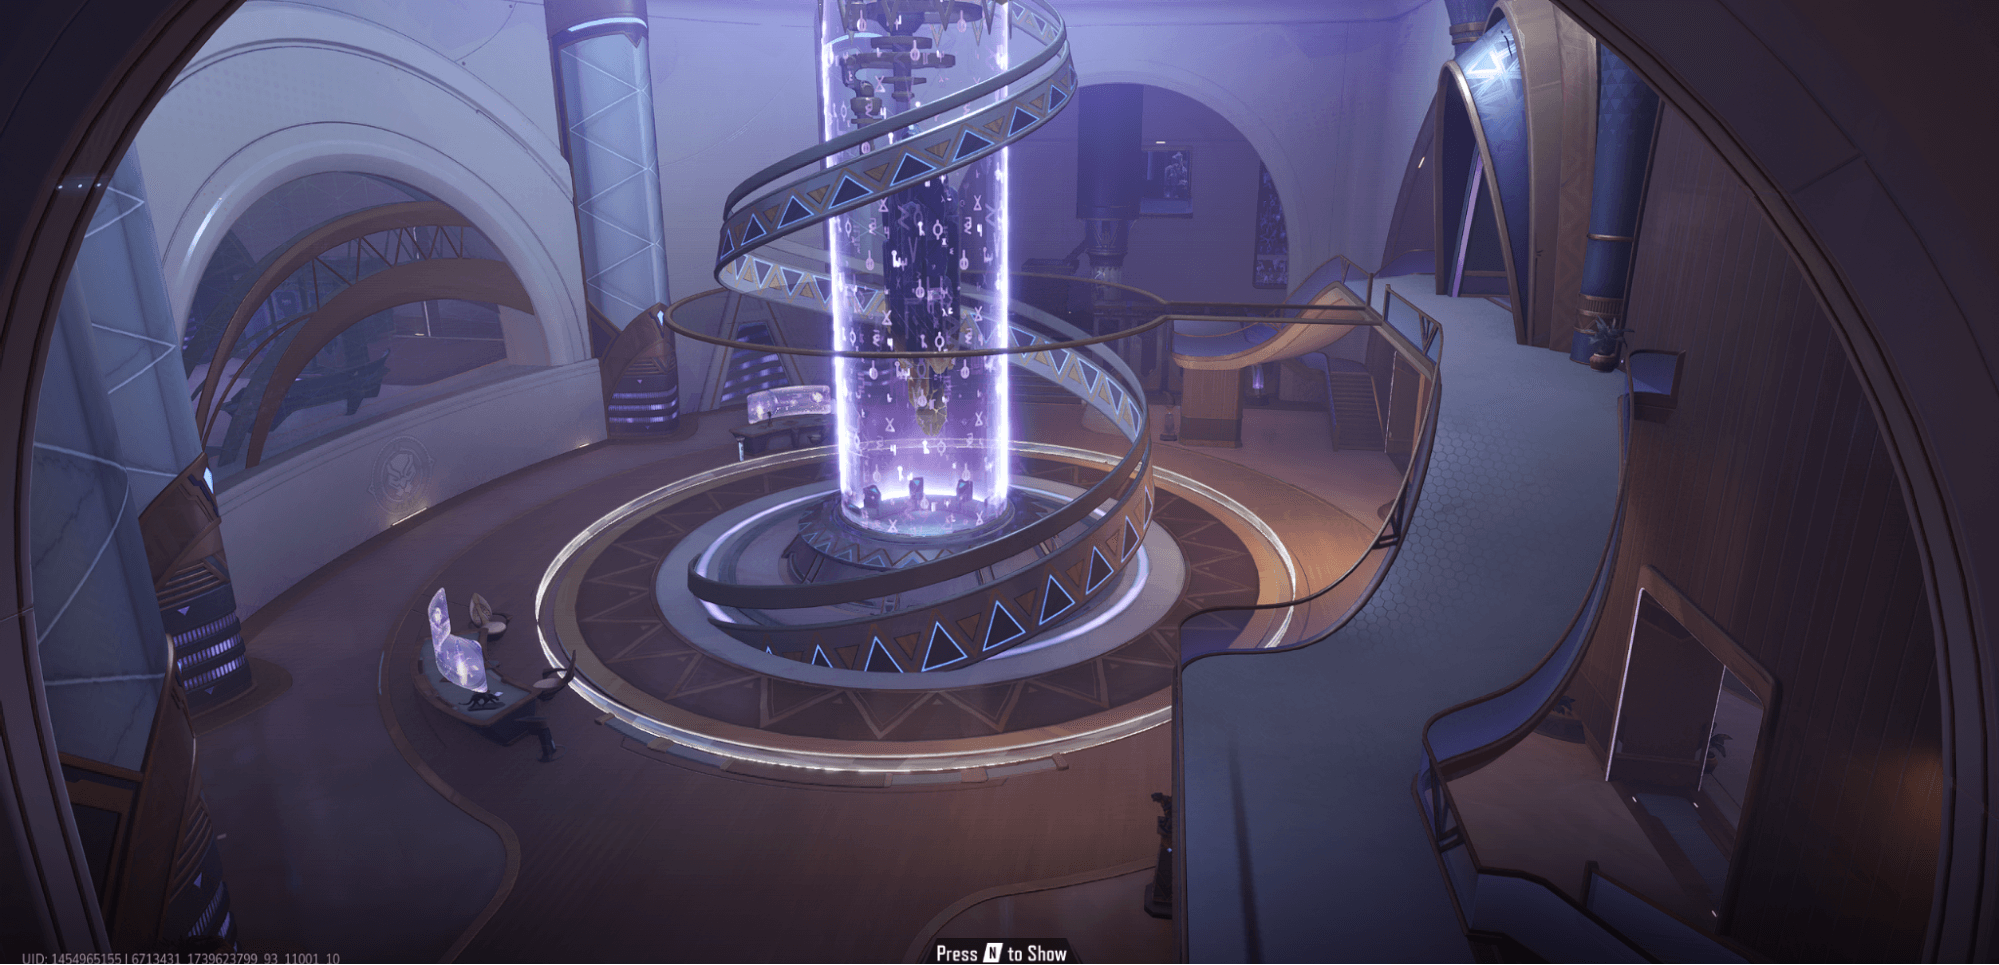
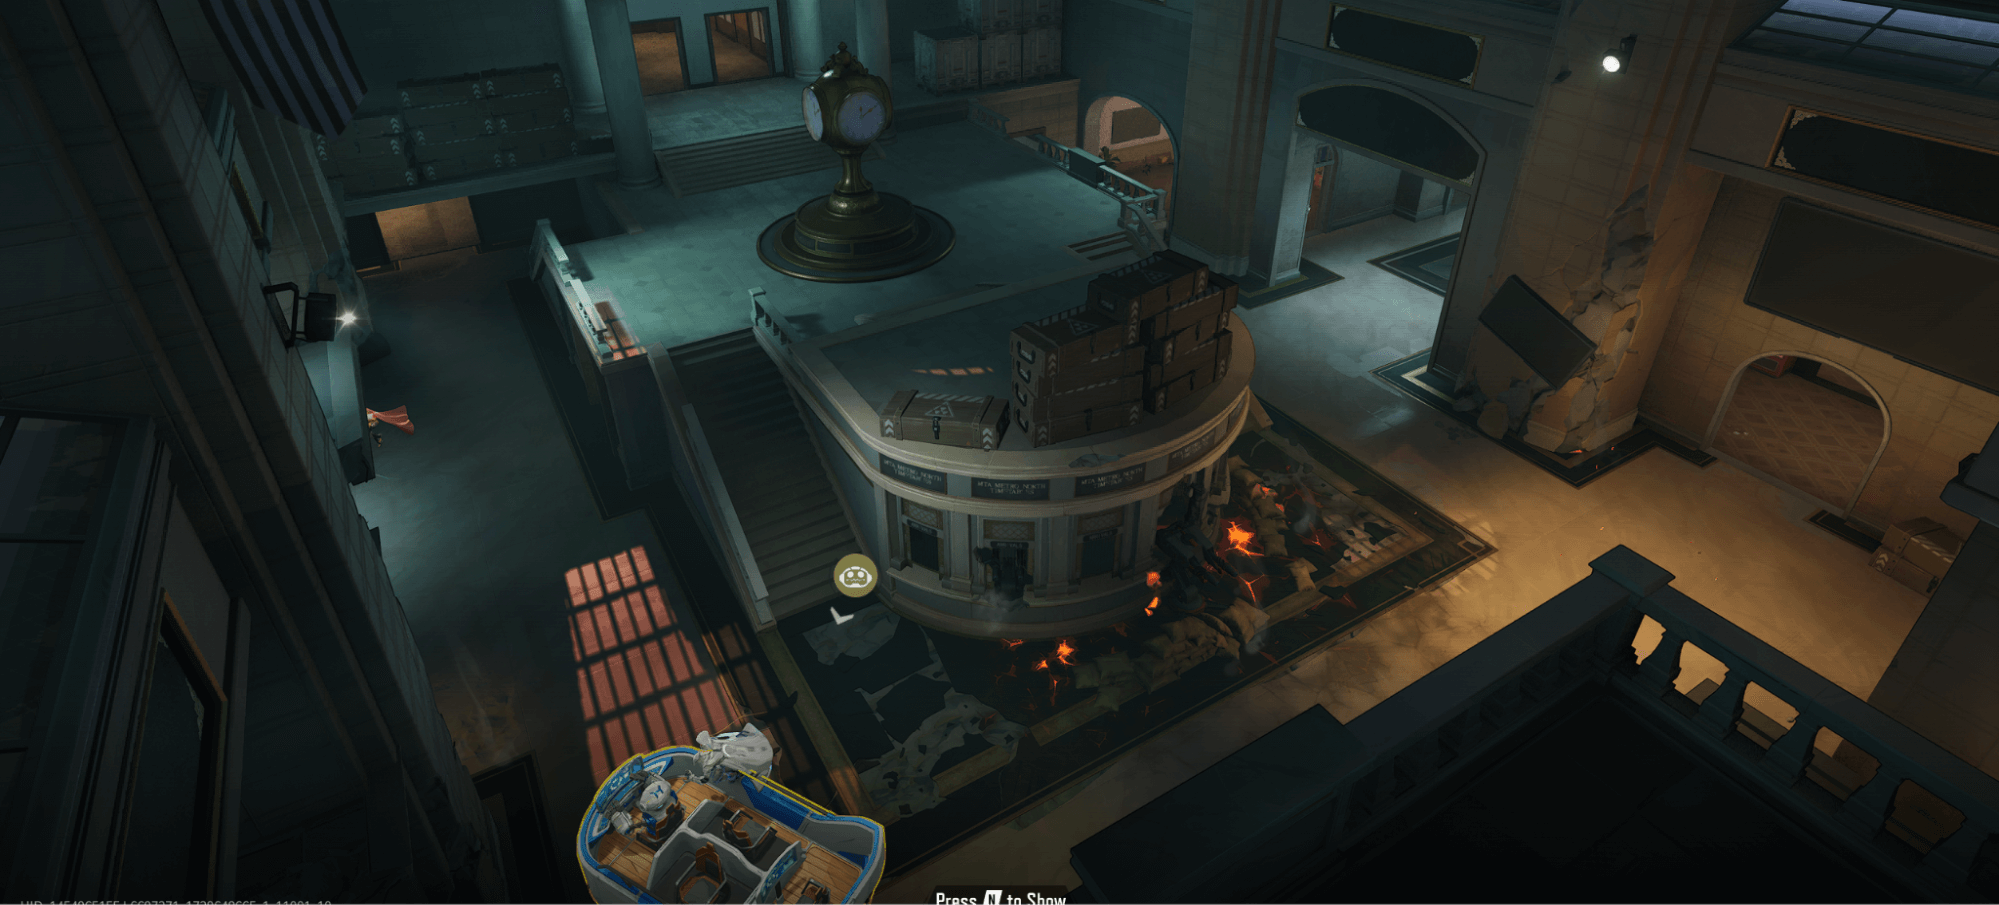
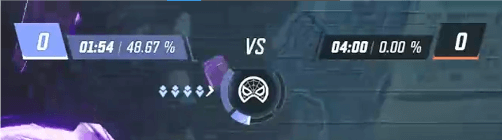
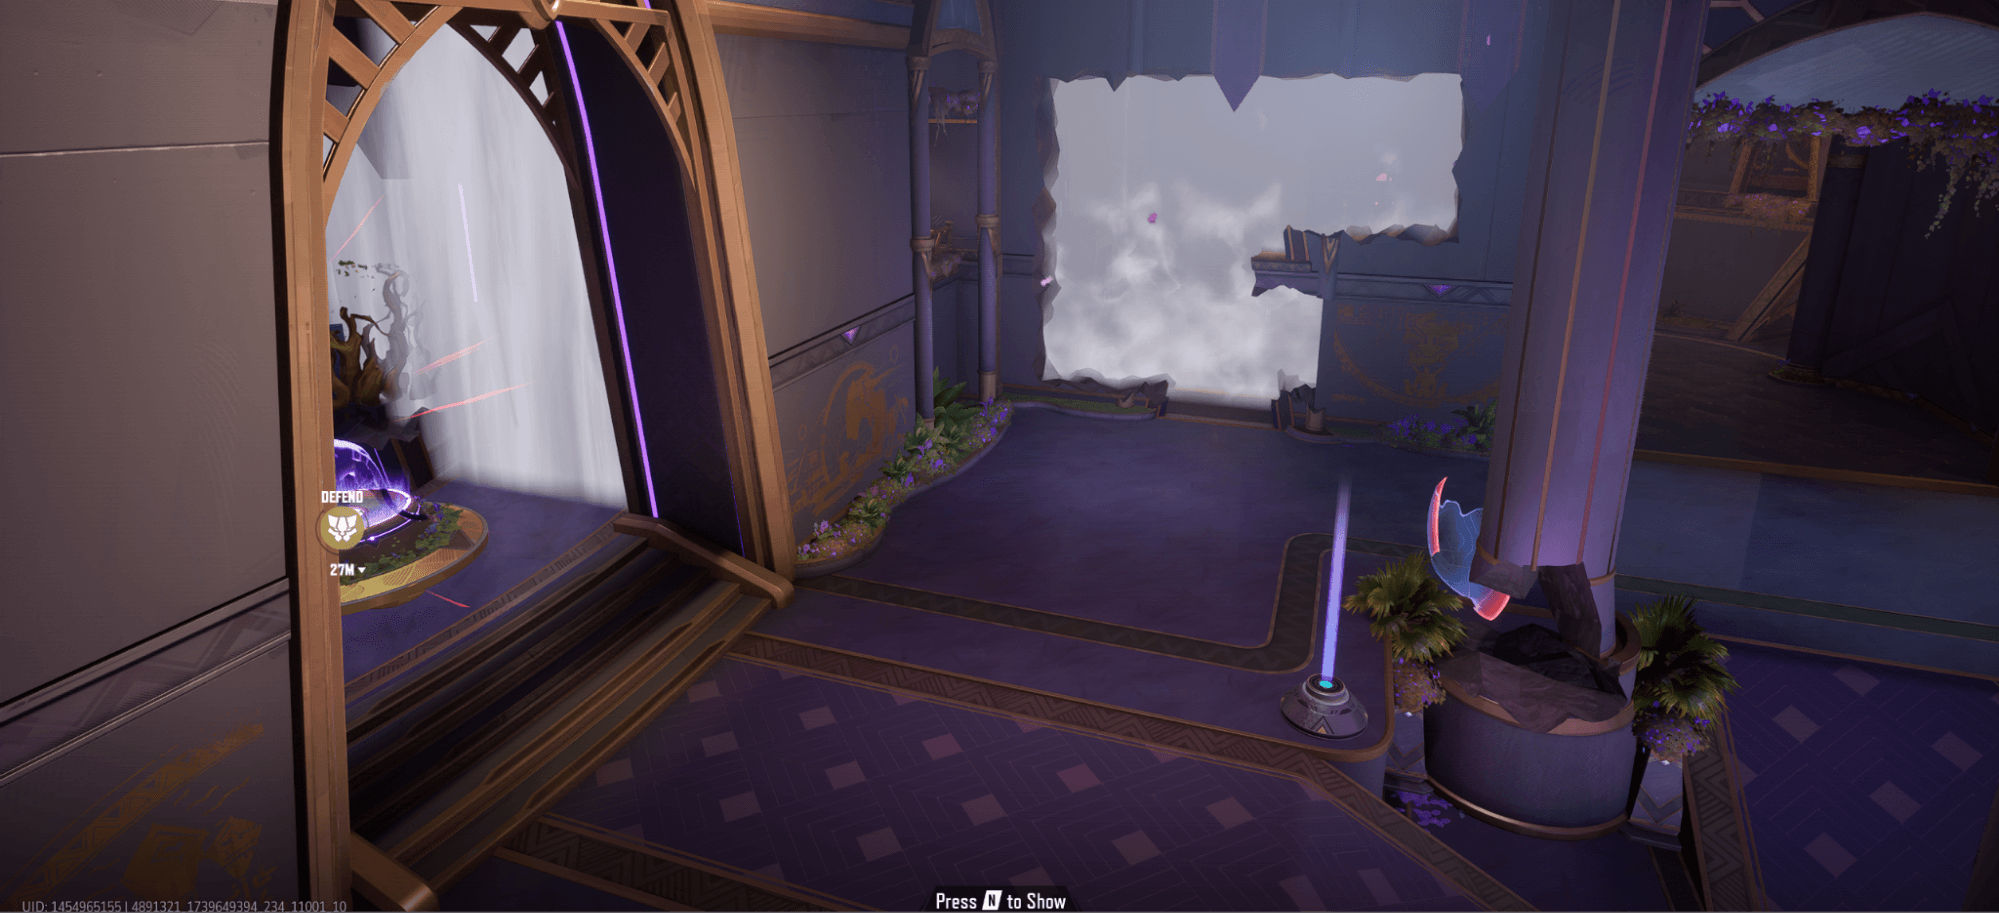
Every game of Domination is a best two-out-of-three format where each round occurs in one of three different map areas. For each of the three rounds, players only have access to a single map area. The goal for each team is to capture the Mission Area by being the only team with players in the objective area for enough time to fill the progress bar (displayed as a semi-circle at the top centre of the screen).

Under each team’s progress bars, you can see how many heroes from each team are currently contesting the objective. Only a single member of your team needs to be in the objective area to contest. Once your team has captured the objective, having zero or all six of your team on the objective doesn’t increase or decrease your team's rate of progress.
Every round your objective changes based on the current status of the capture point.
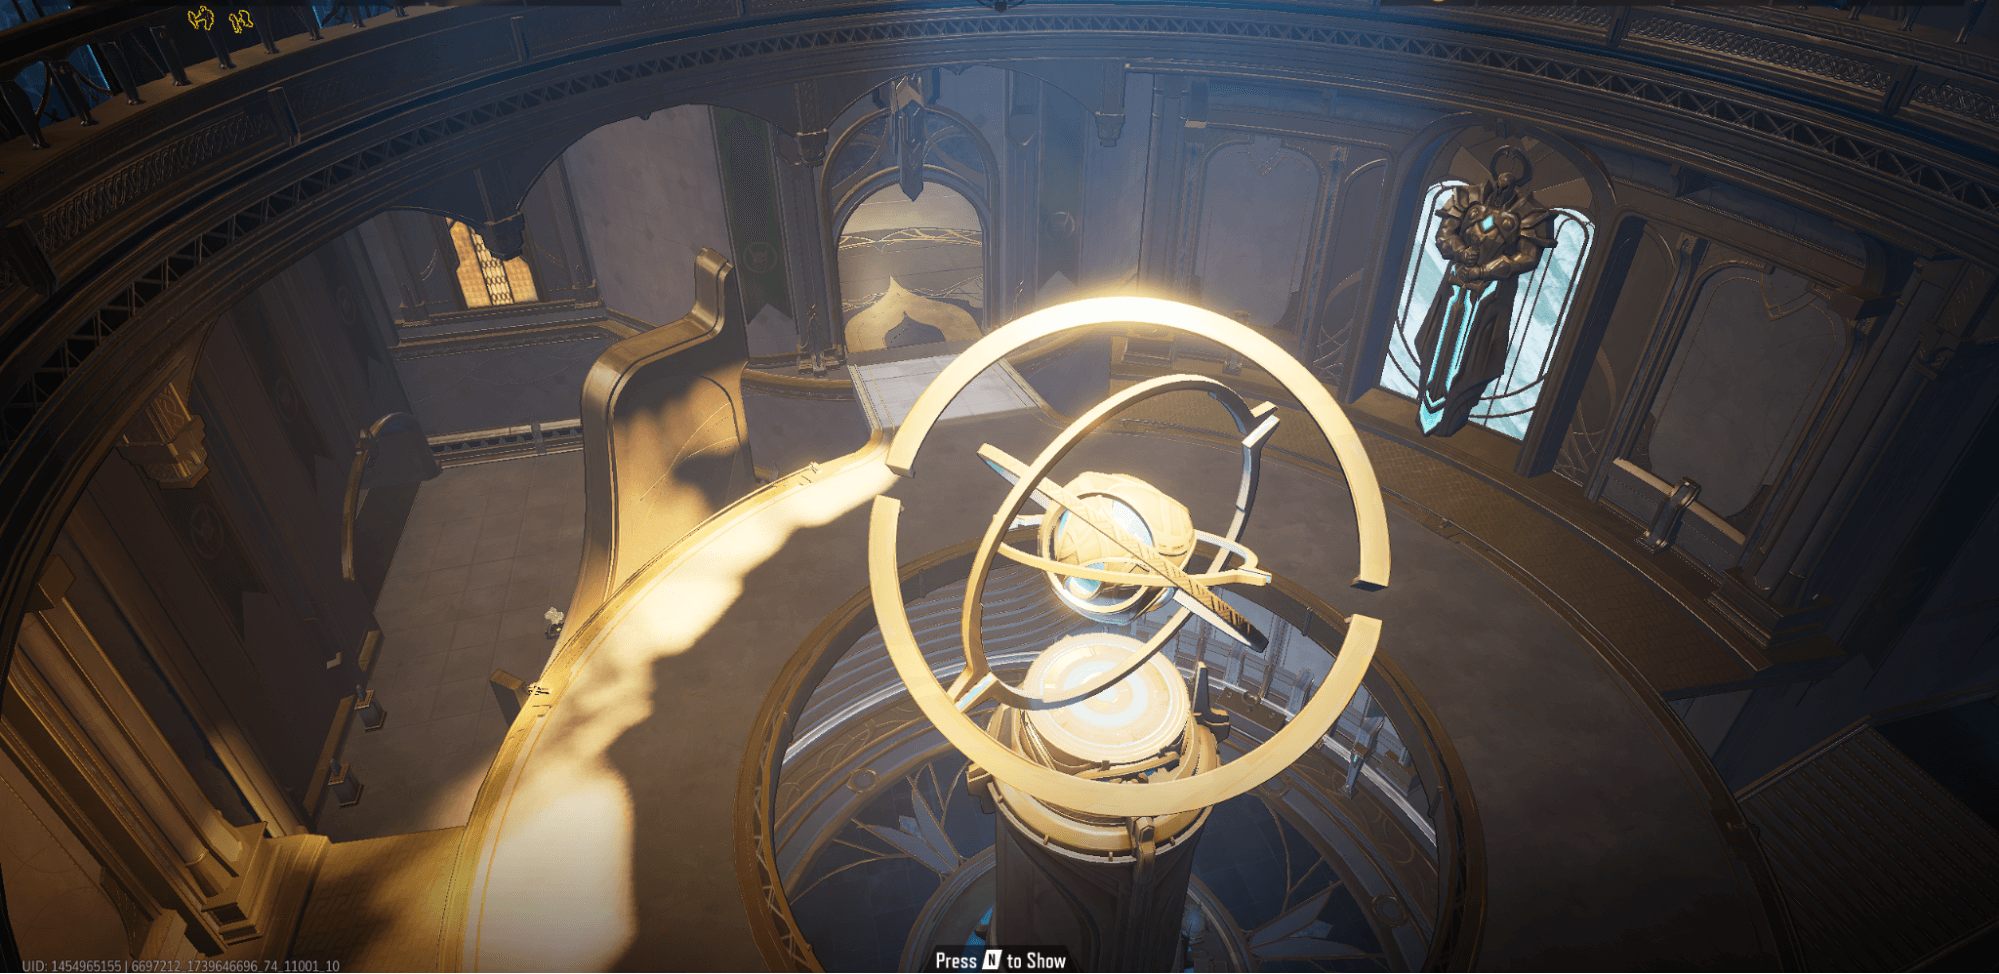
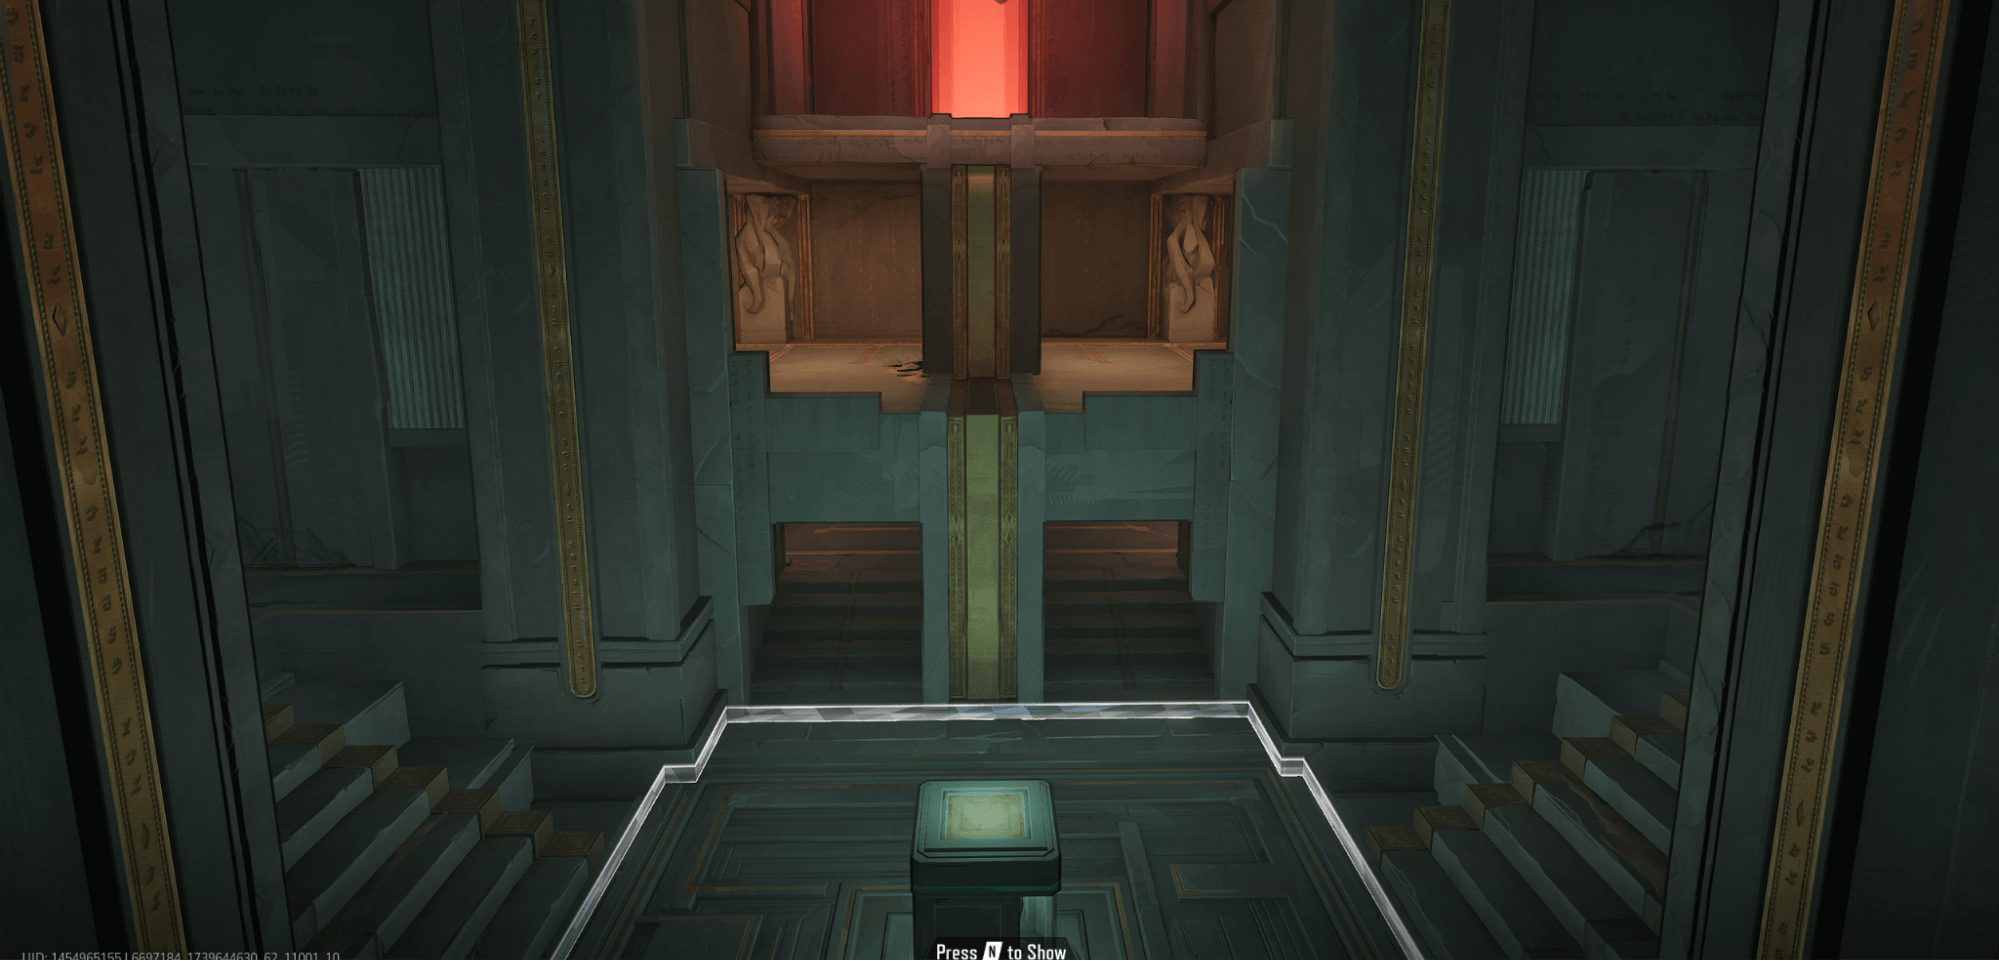
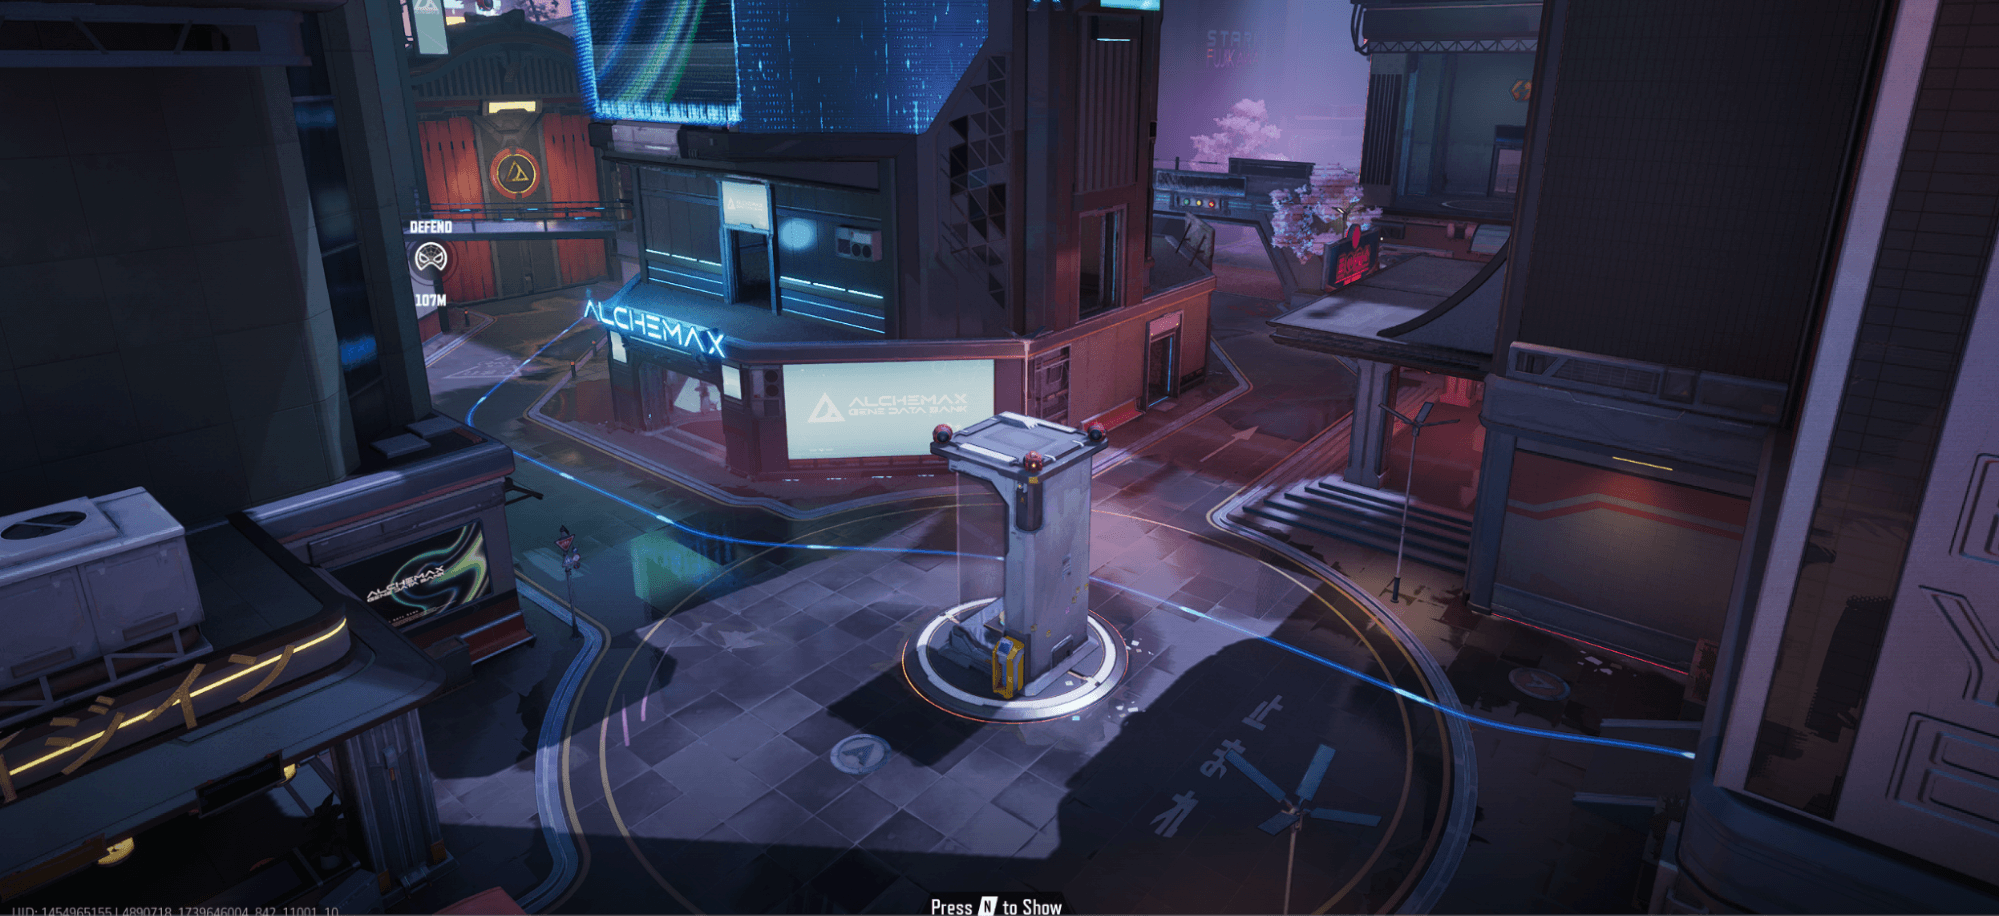
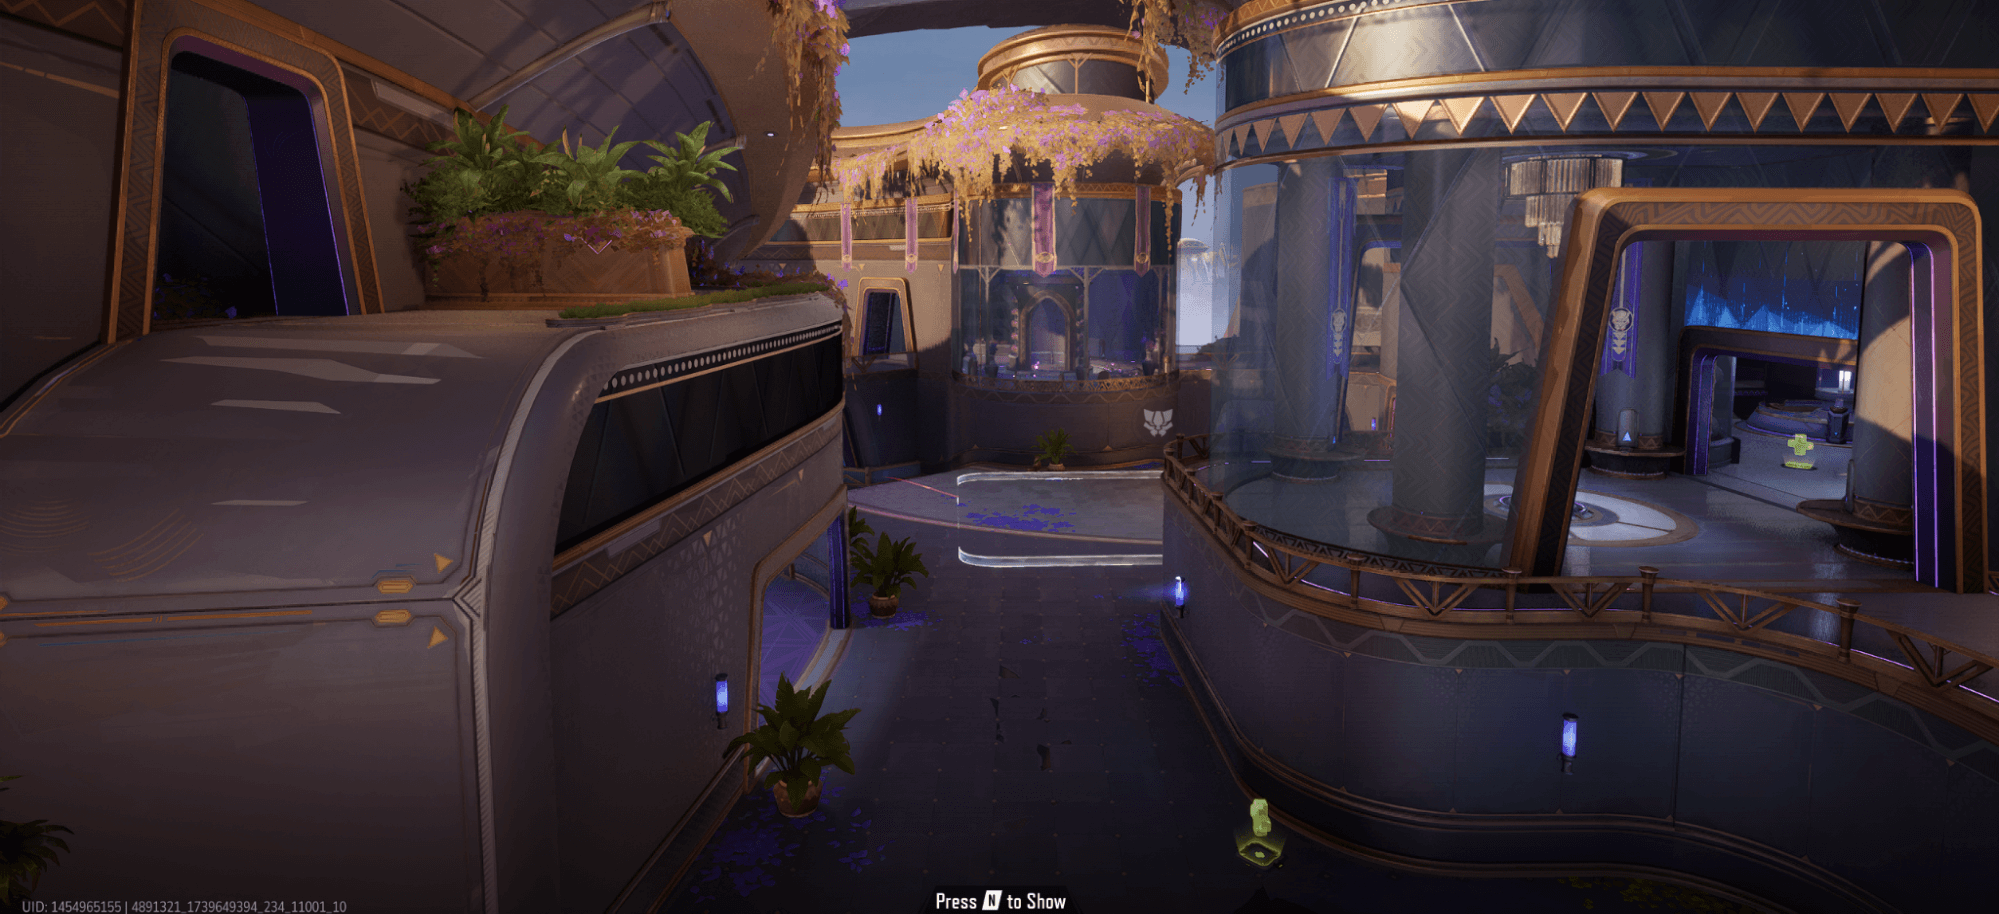
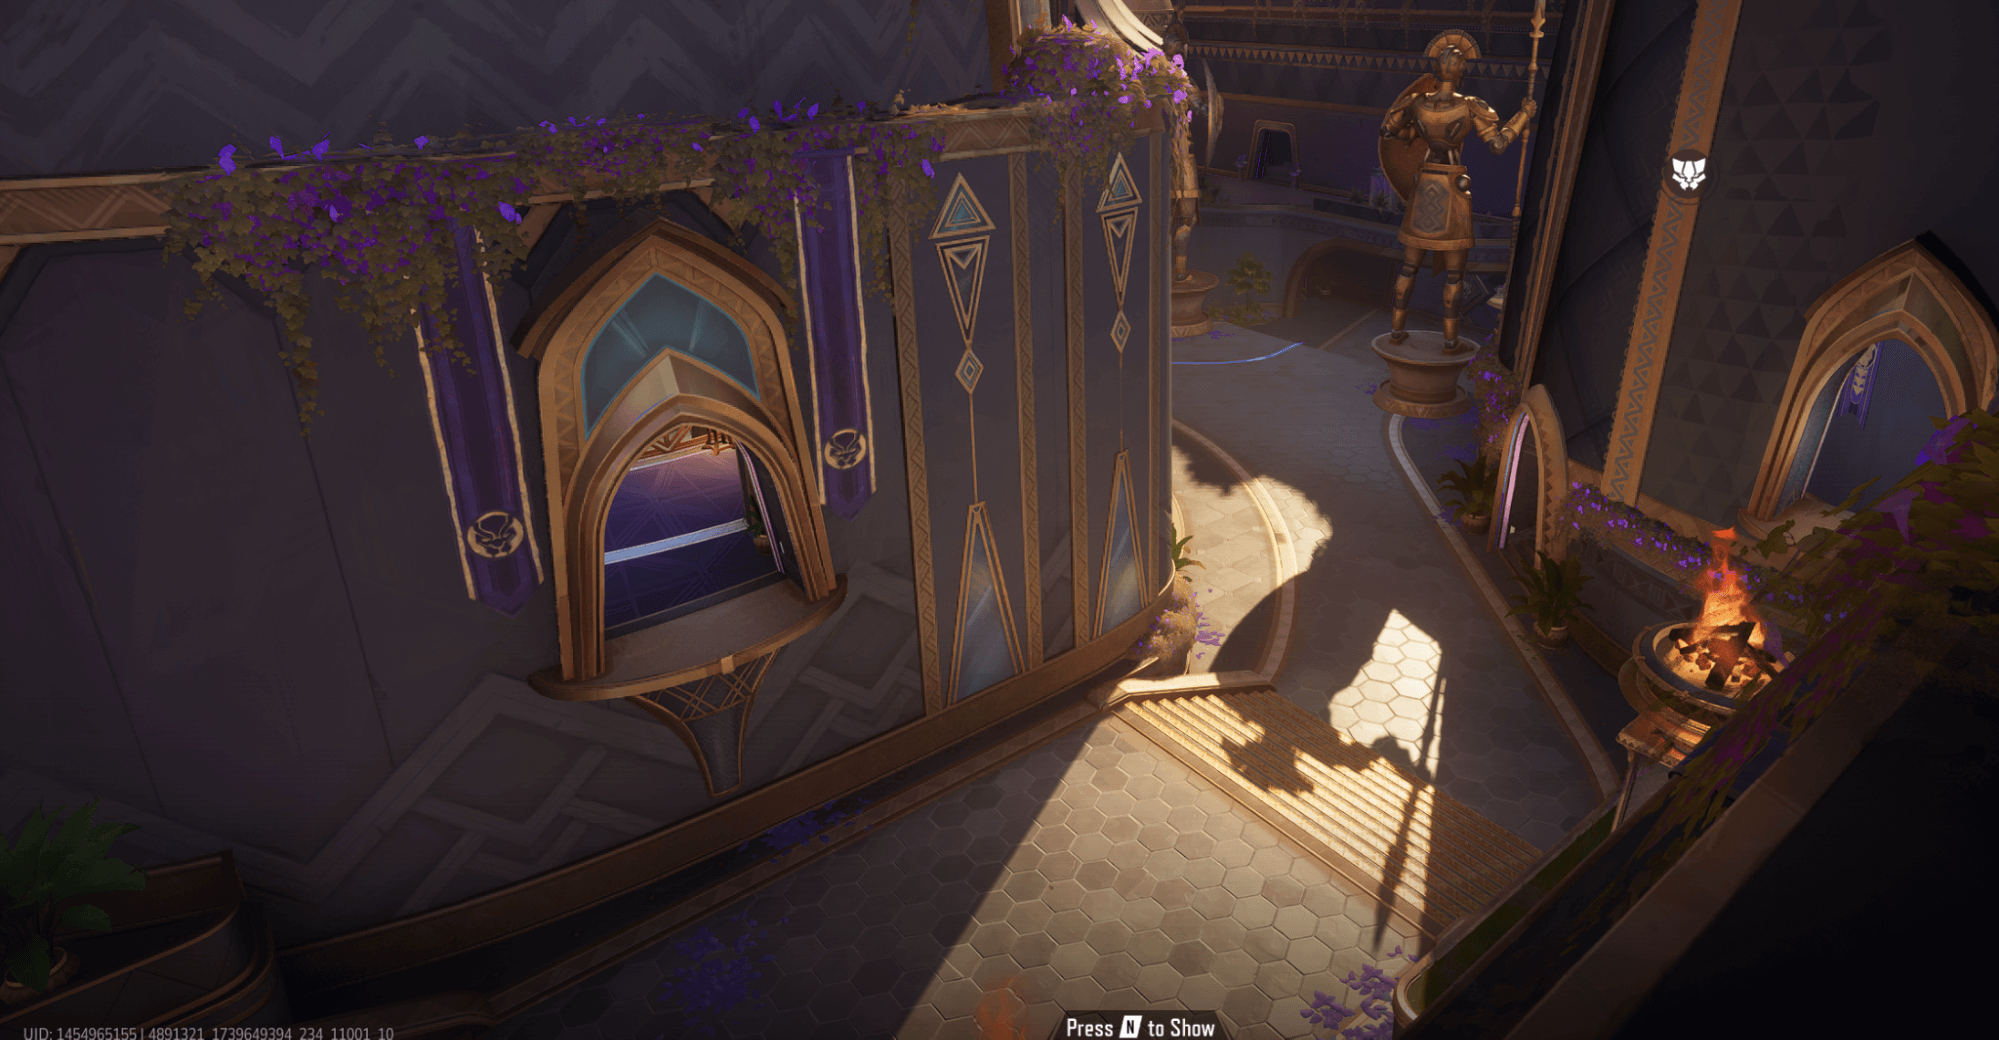
Team comp recommendations for Royal Palace:
Individual heroes recommendations for Royal Palace:
This makes playing long-range heroes difficult in this mission area.
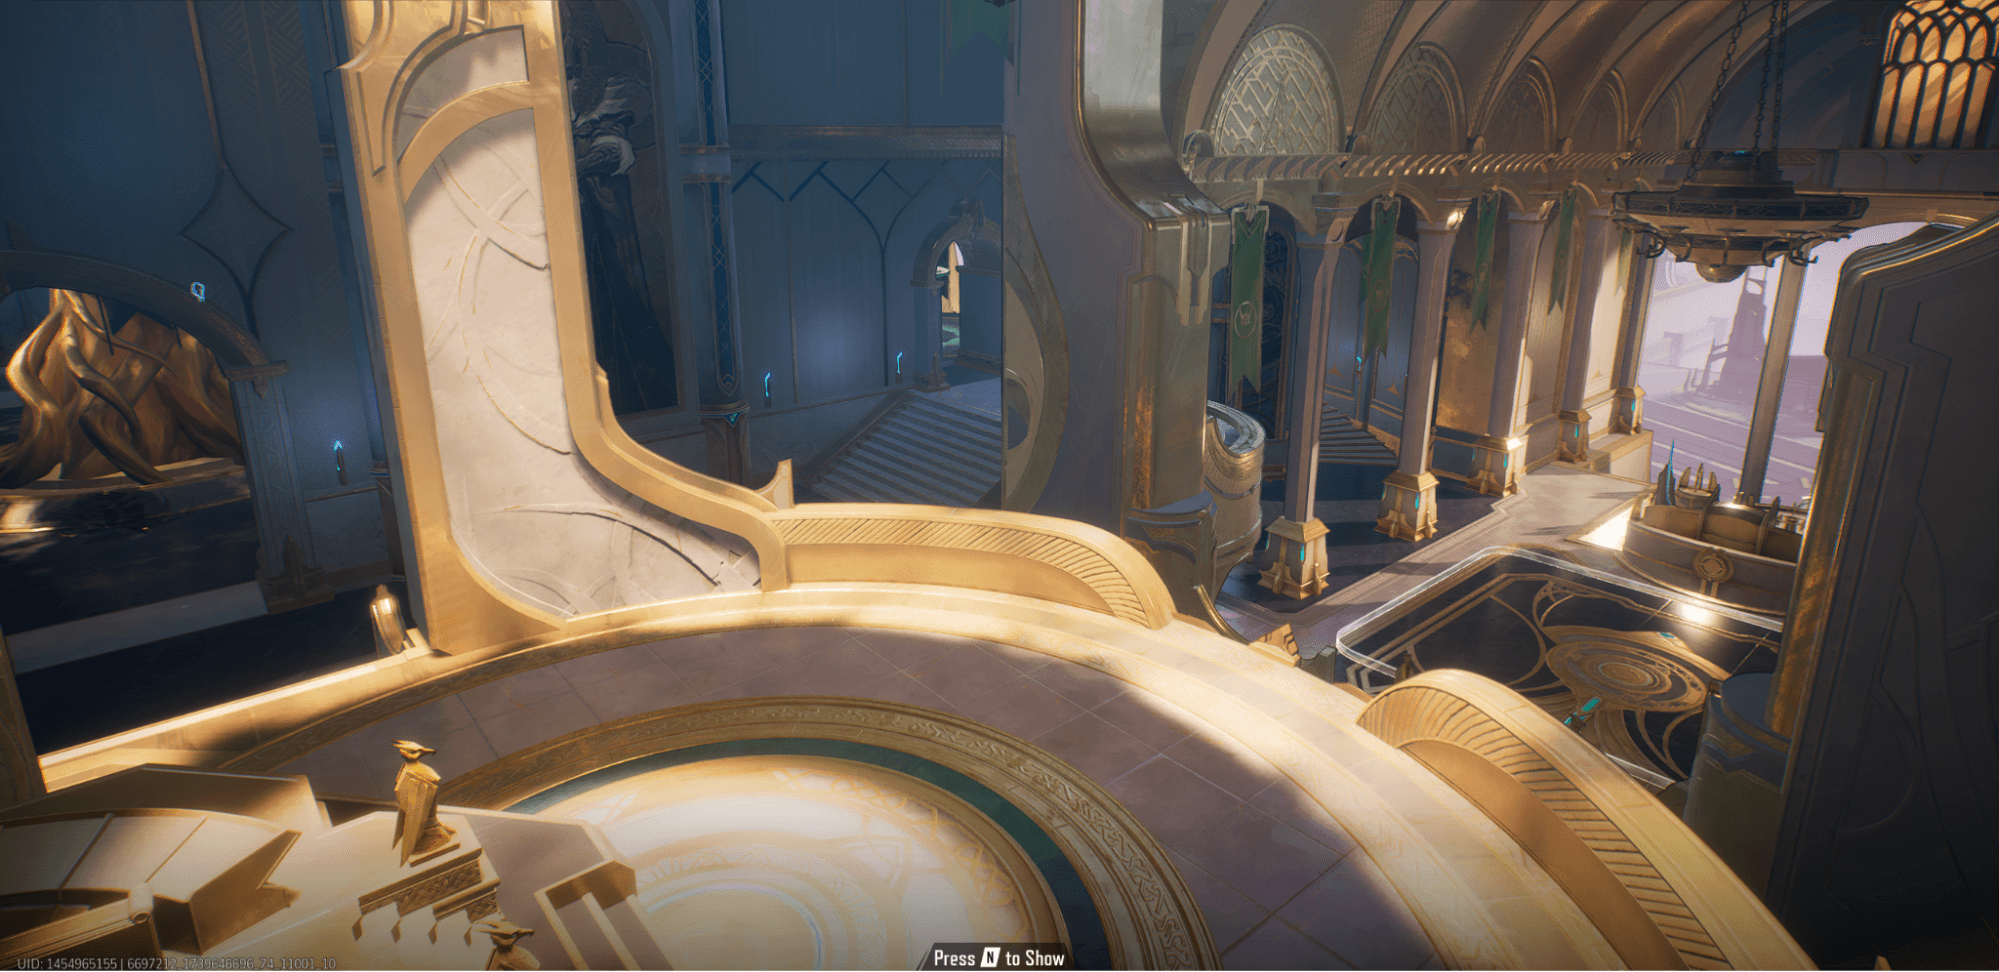
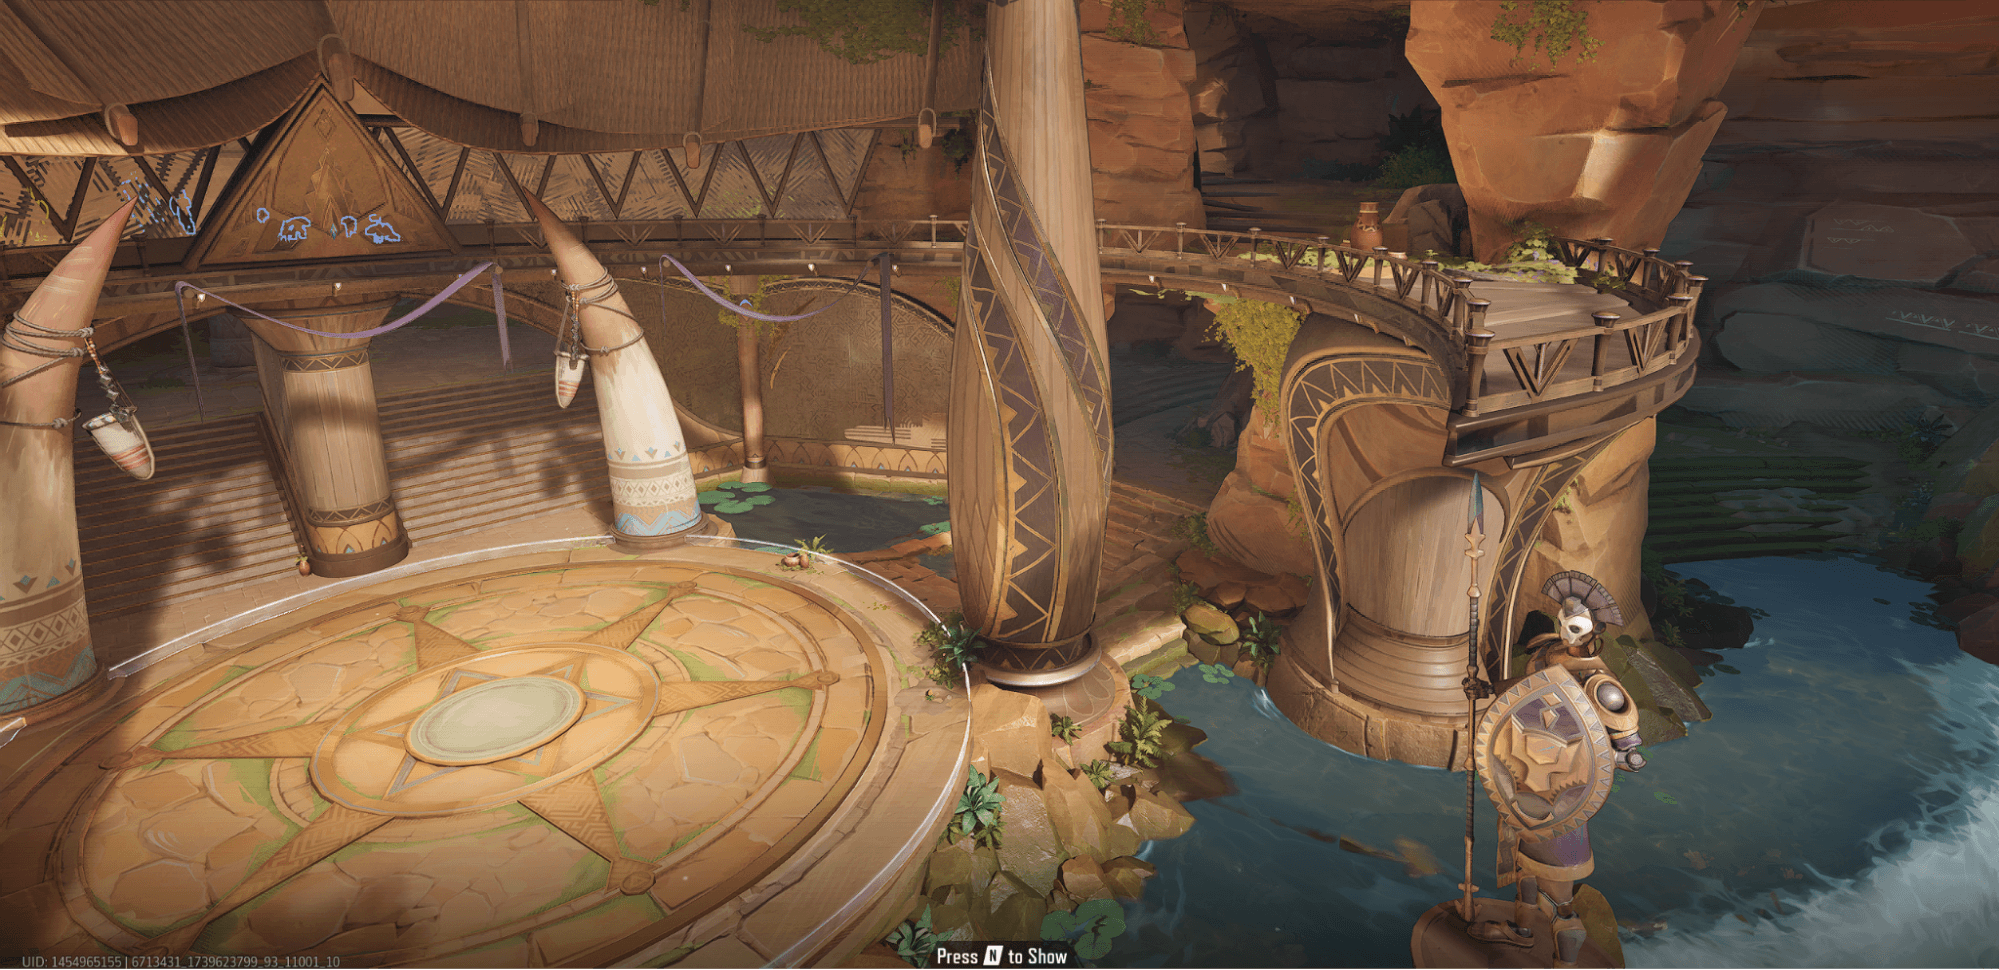
Team comp recommendations for Hell’s Heaven:
Individual hero recommendations for Hell’s Heaven:
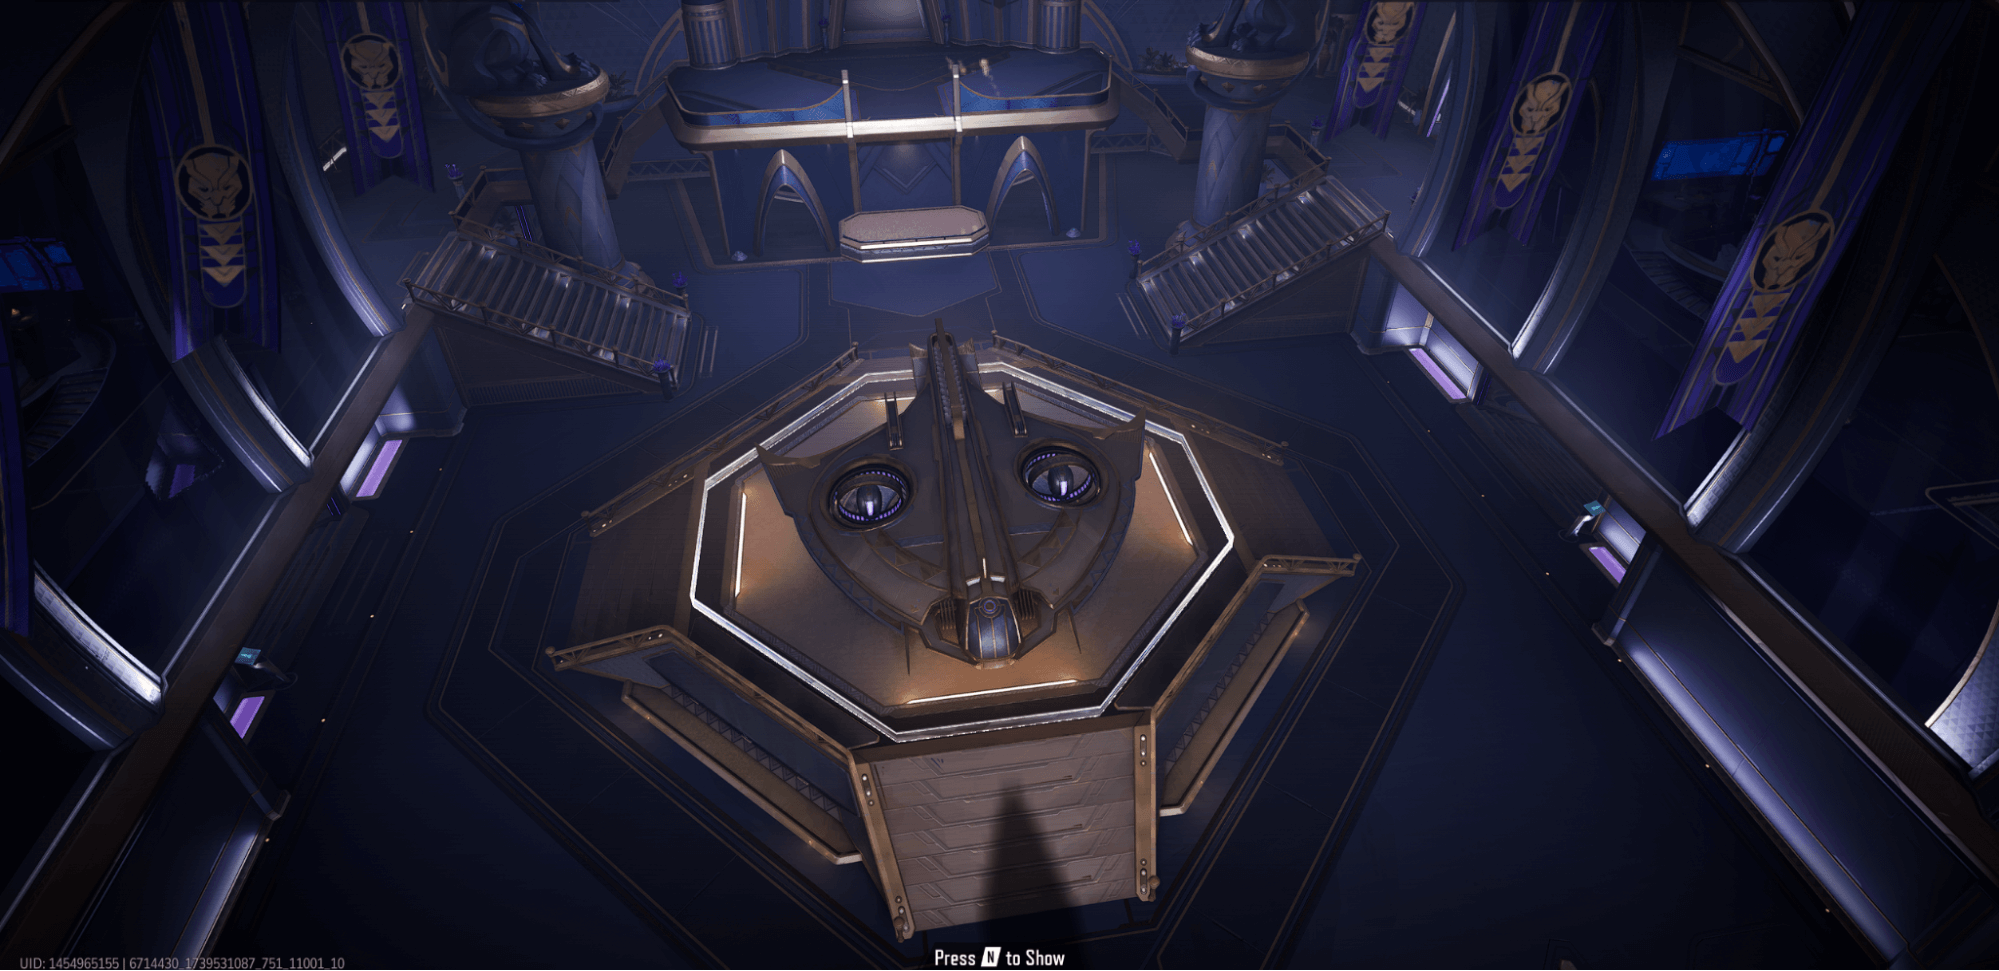
Team comp recommendations for Birin T’Challa:
Individual heroes recommendations for Birin T’Challa
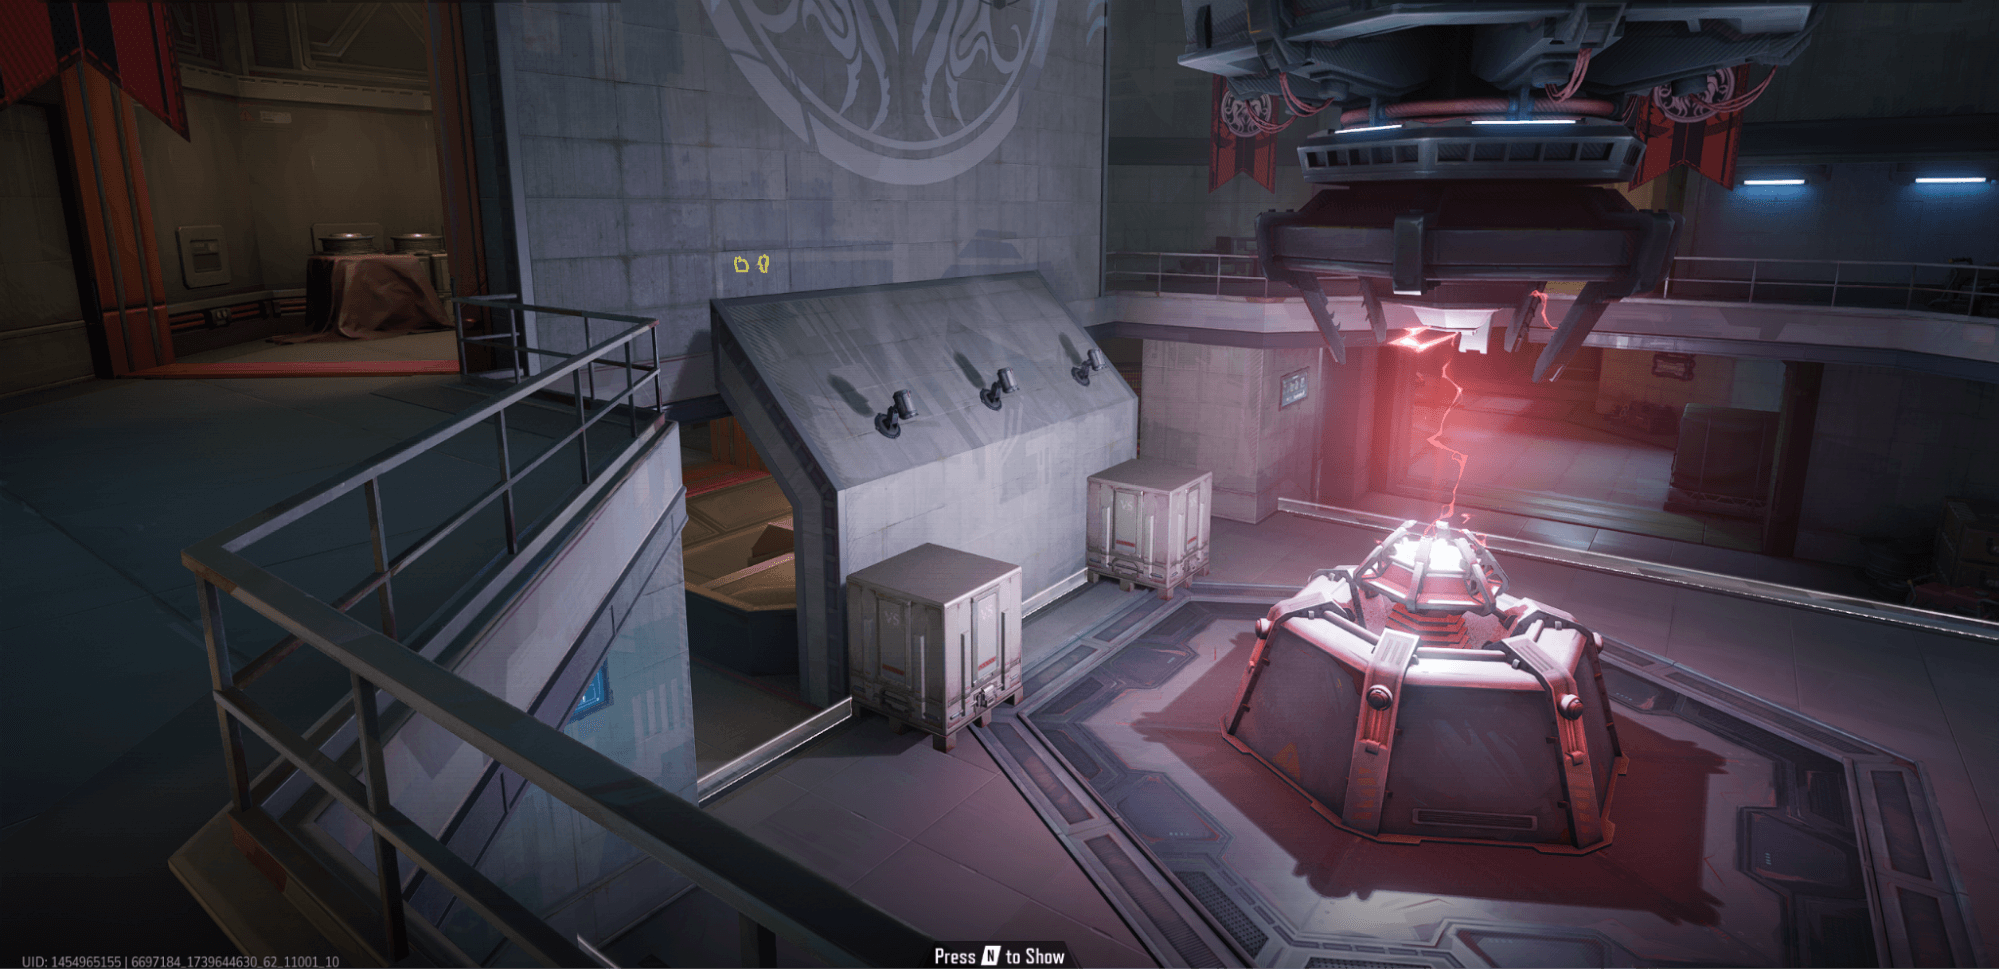
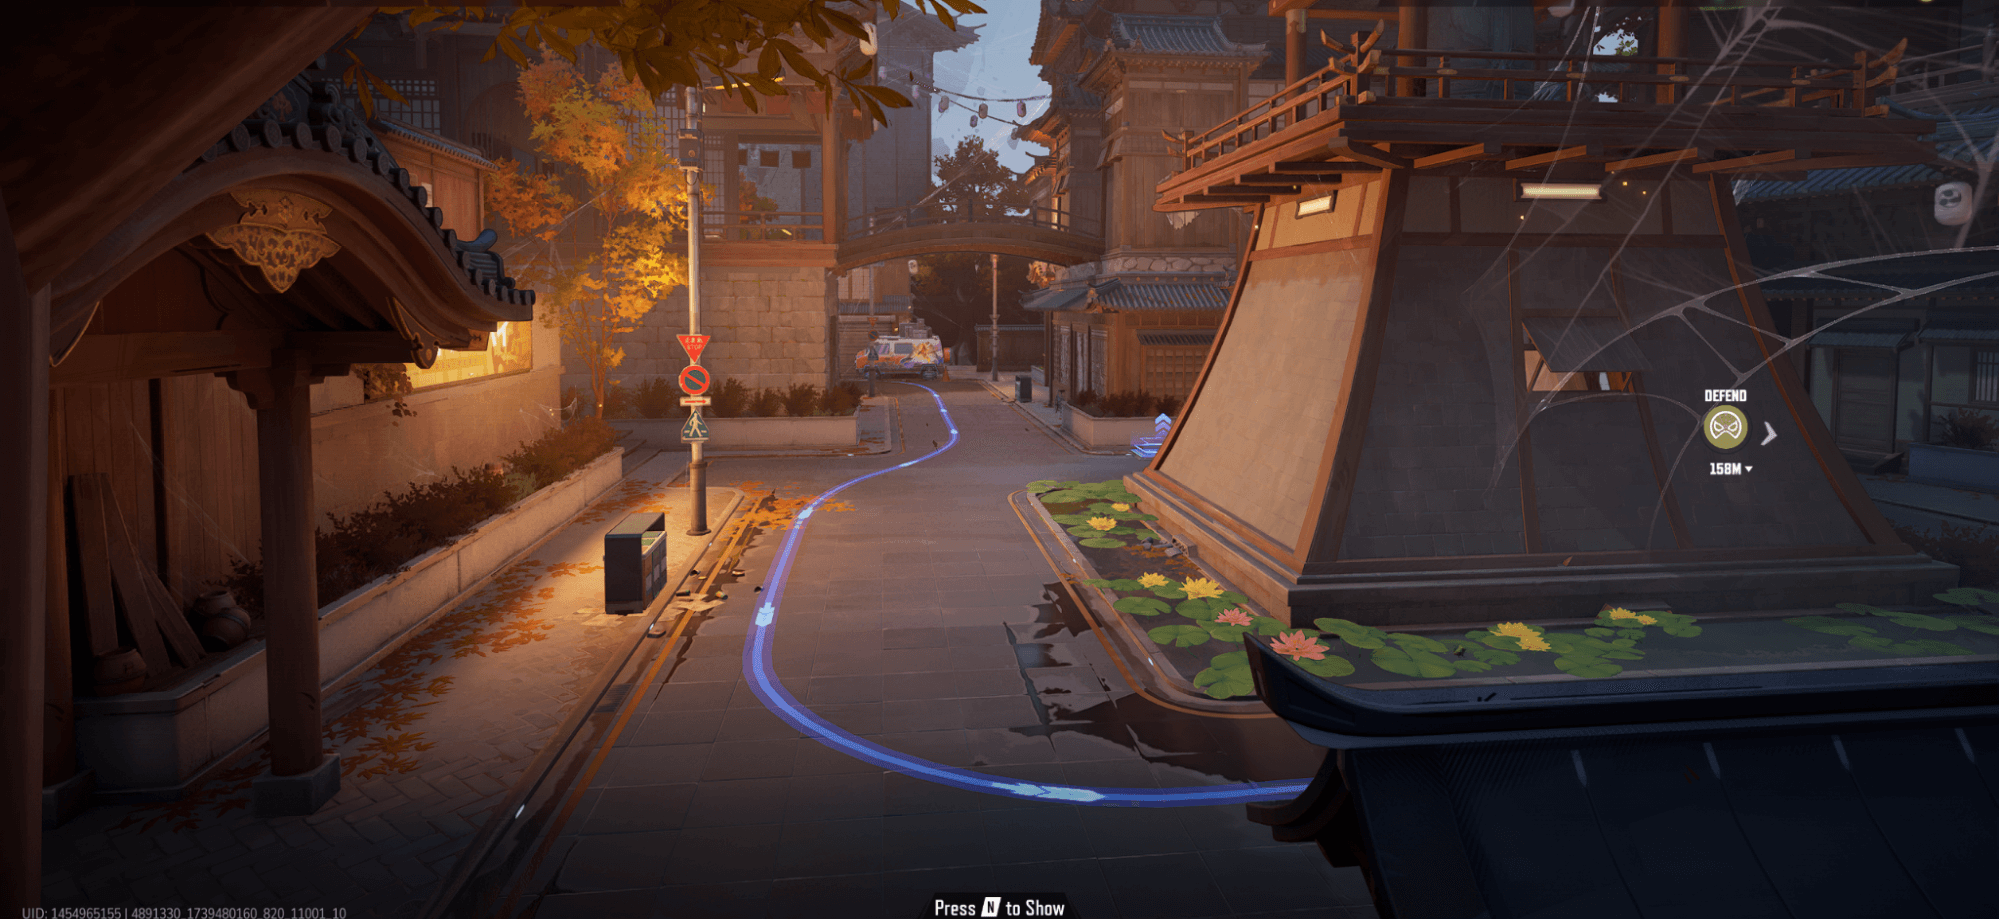
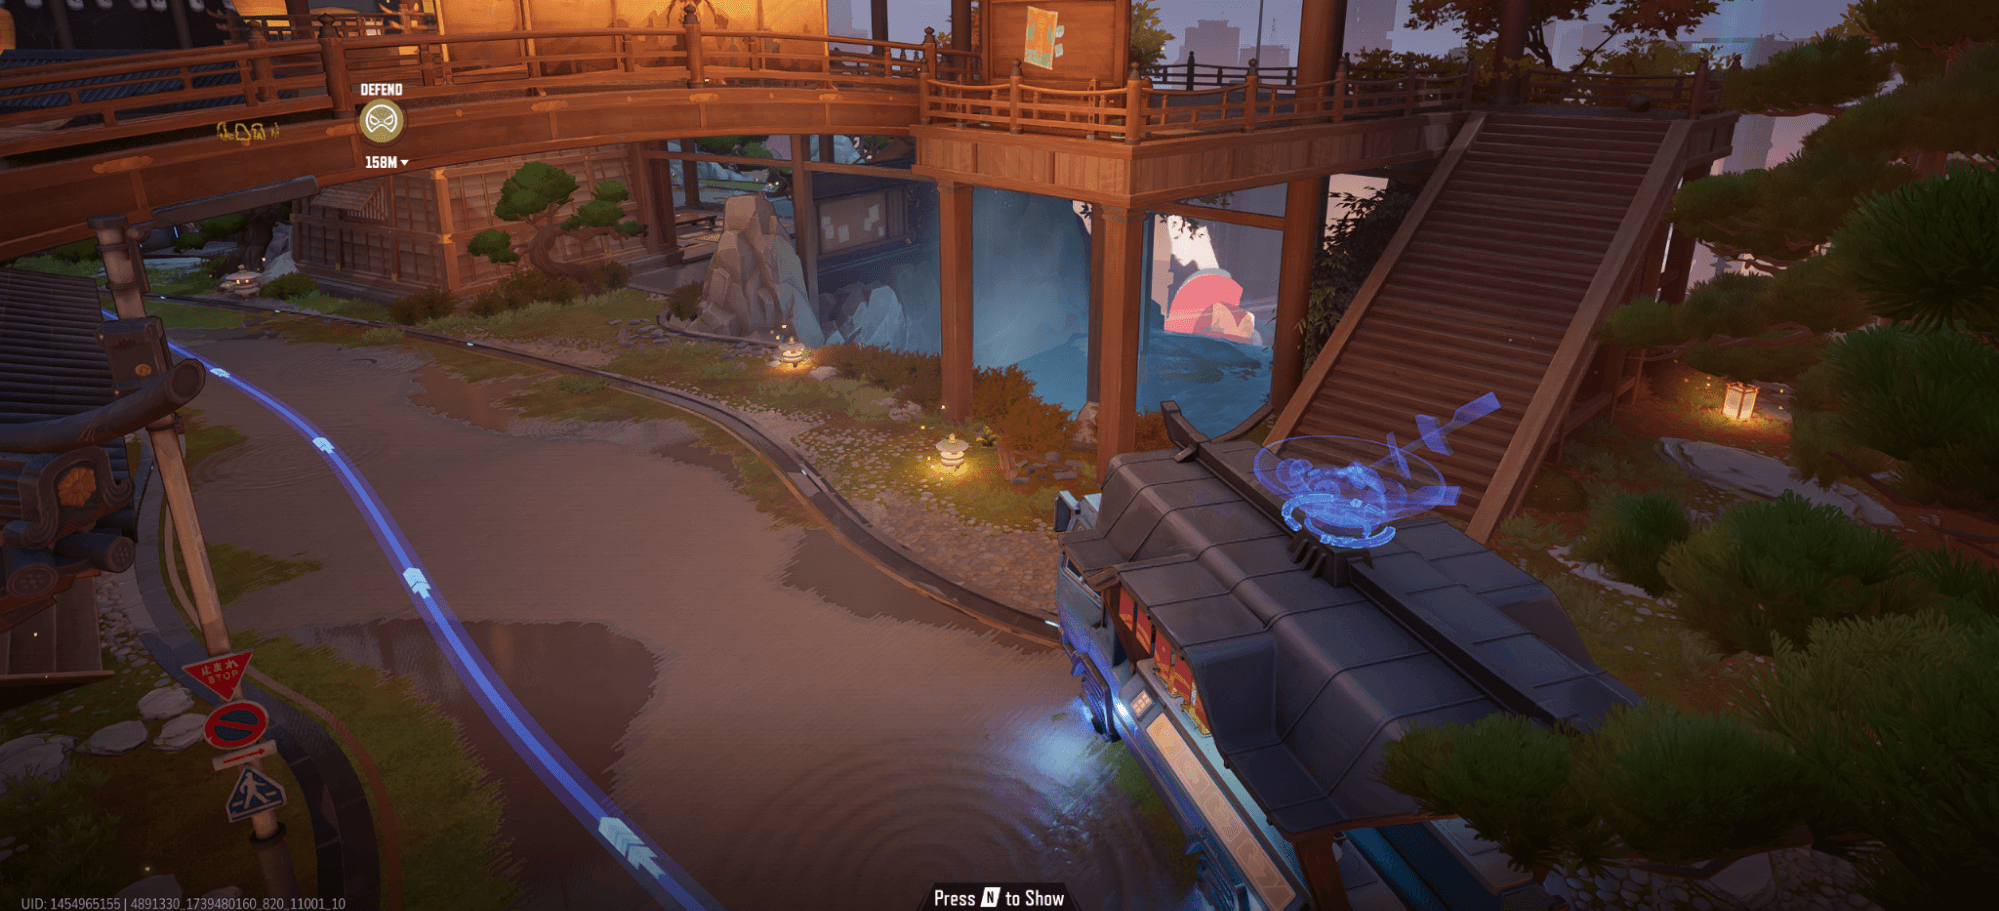
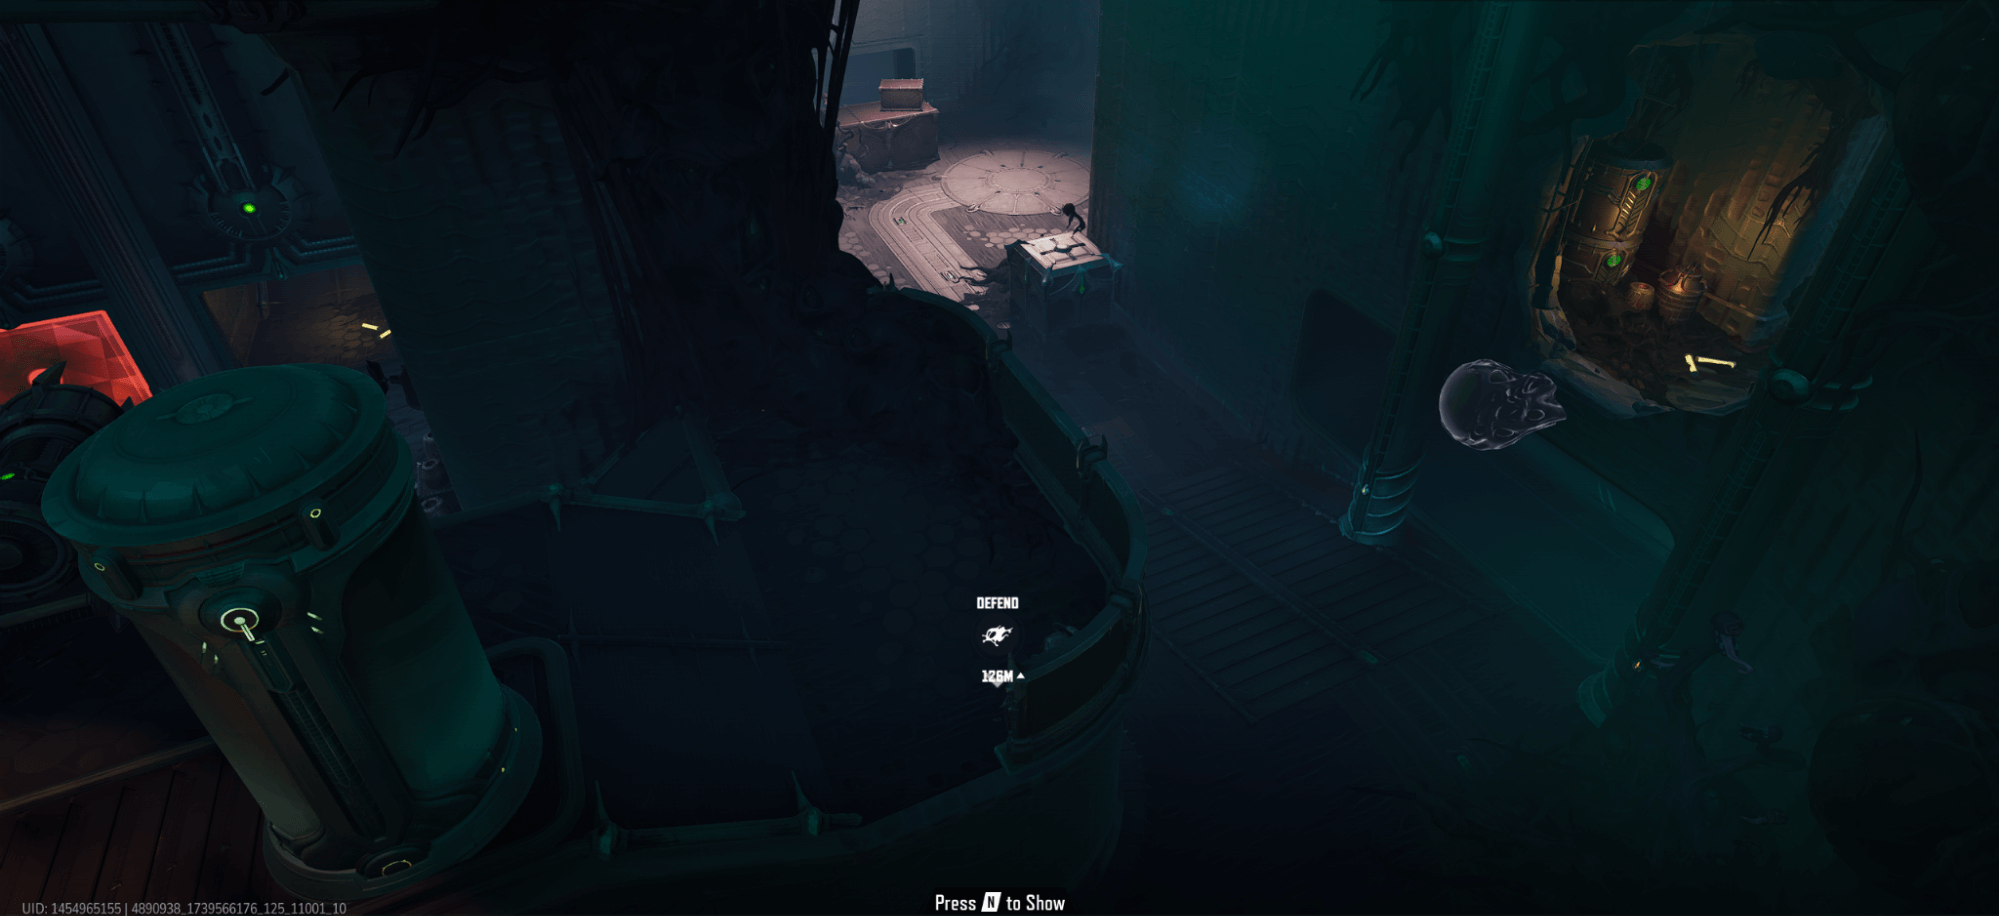
Convoy rounds start with the attackers having immediate access to the payload they must escort across the map. Before the attackers leave spawn, the defending team has time to set up and choose their positions. Two checkpoints give the attackers extra time when reached, with a 3rd point marking the finish line. Depending on the map, the three checkpoint areas may differ so much as to make certain heroes strong on one point, and weak on another.
In Competitive mode, the Convoy occurs in two rounds where each team has a chance to be the defender and the attacker. For Quick Match mode, the games end after a single round of either defending or attacking, and the attackers only win if they achieve full 100% escort progress.
The attacking team's objectives:
The defending team's objectives:
Team Comp recommendations:
One hero recommendation from each role:

Team comp recommendations for Spider-Islands:
Individual hero recommendations for Spider Islands:
Team comp recommendations:
Individual hero recommendations:
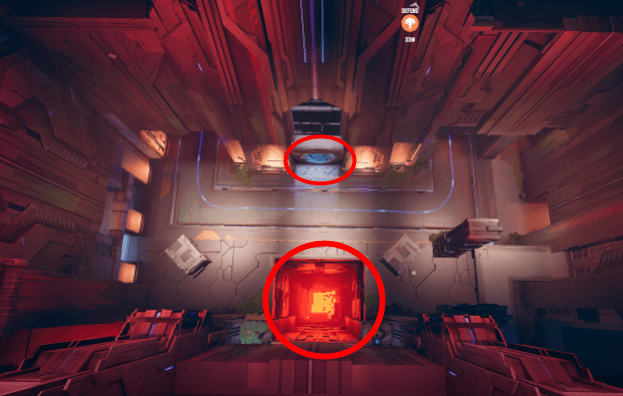
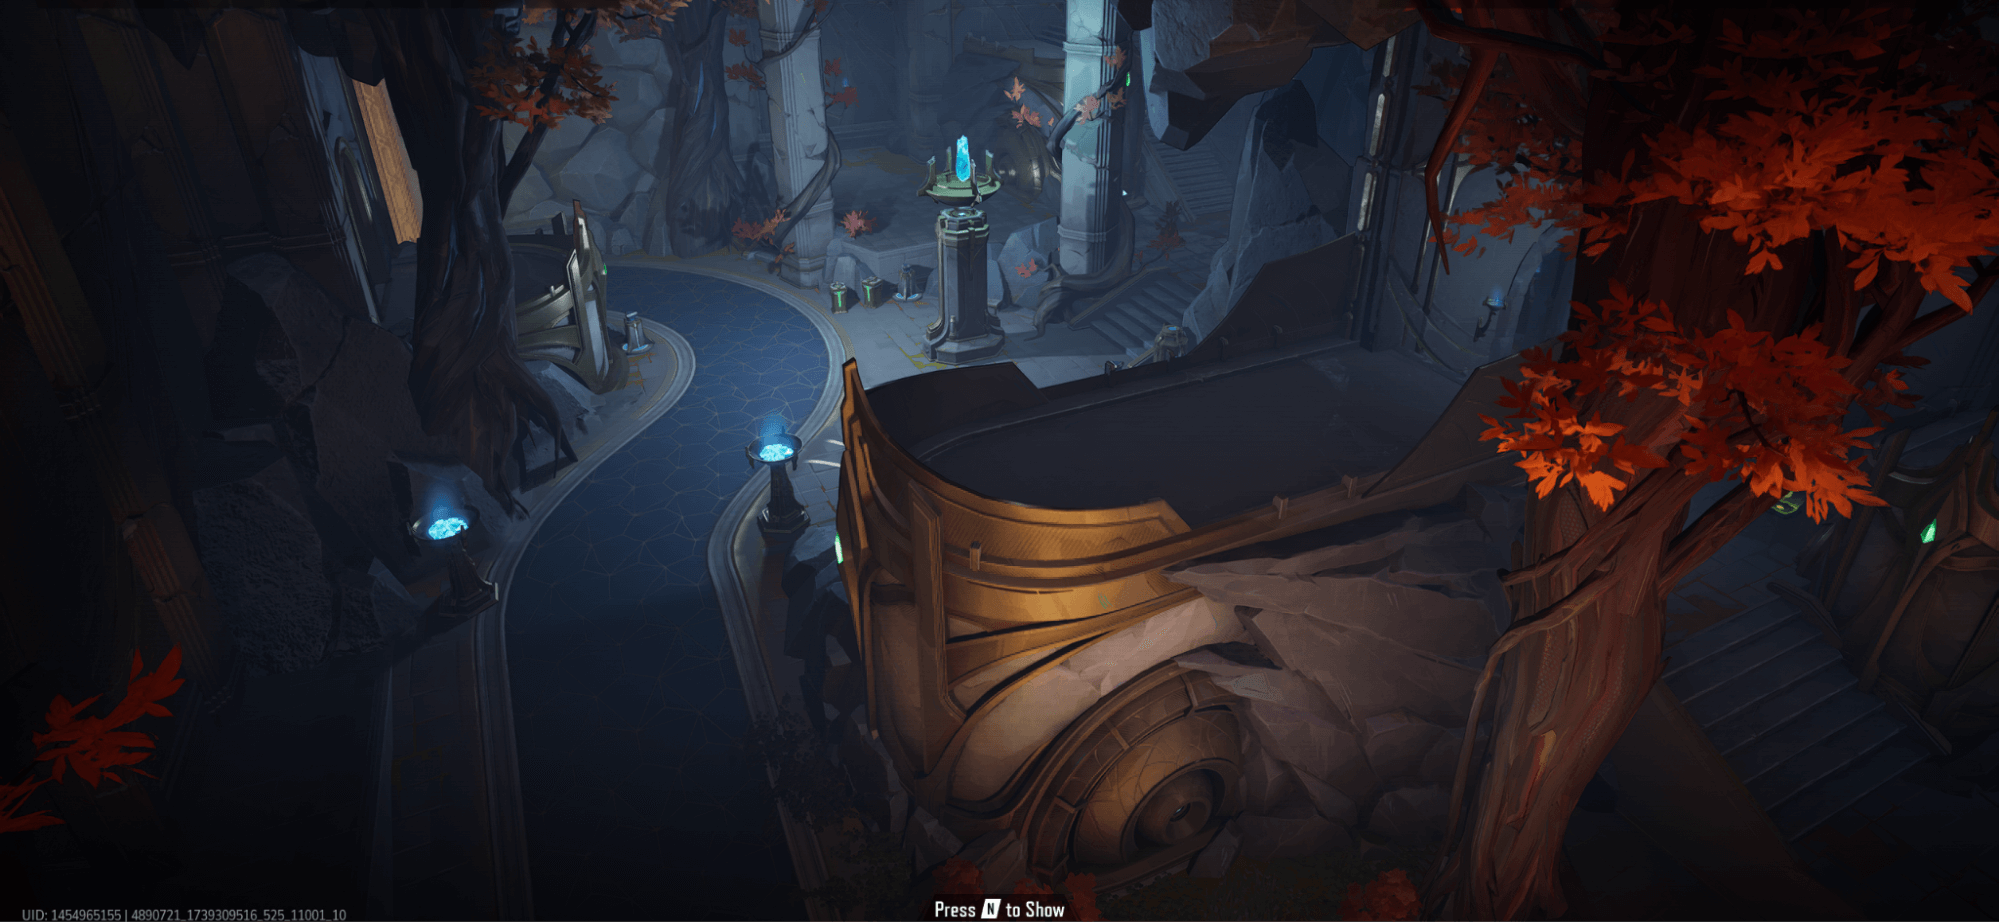
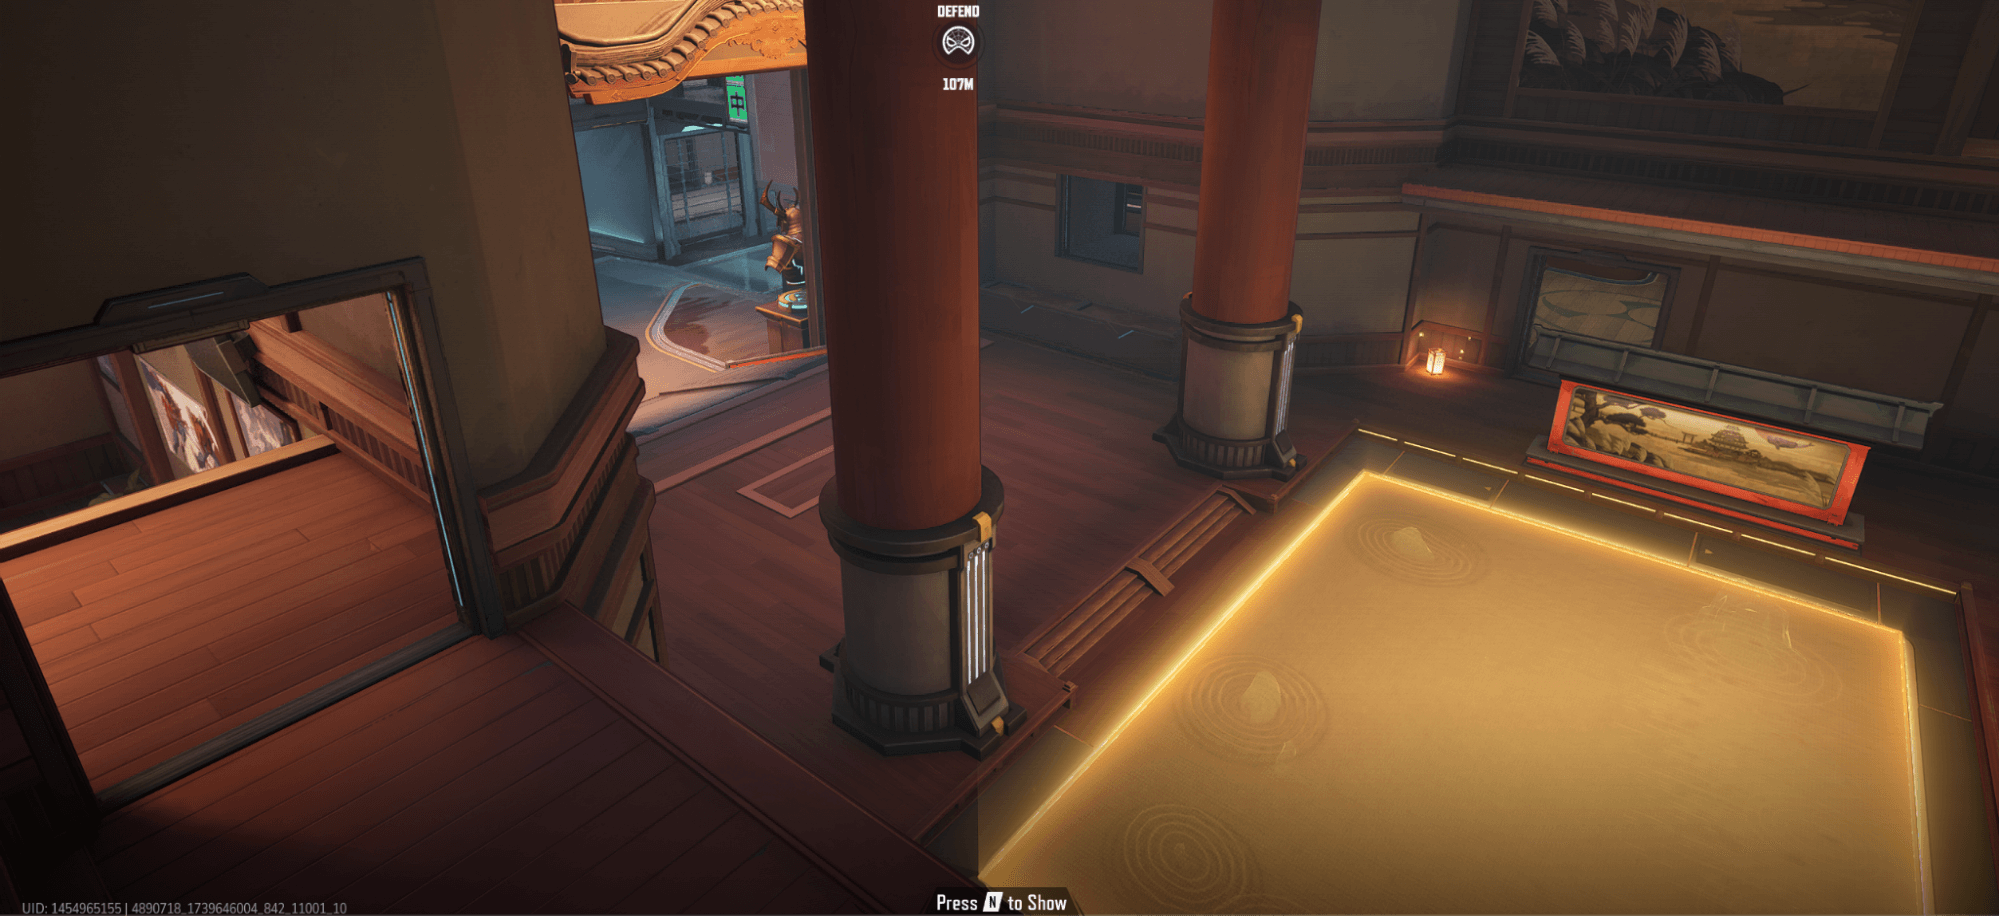
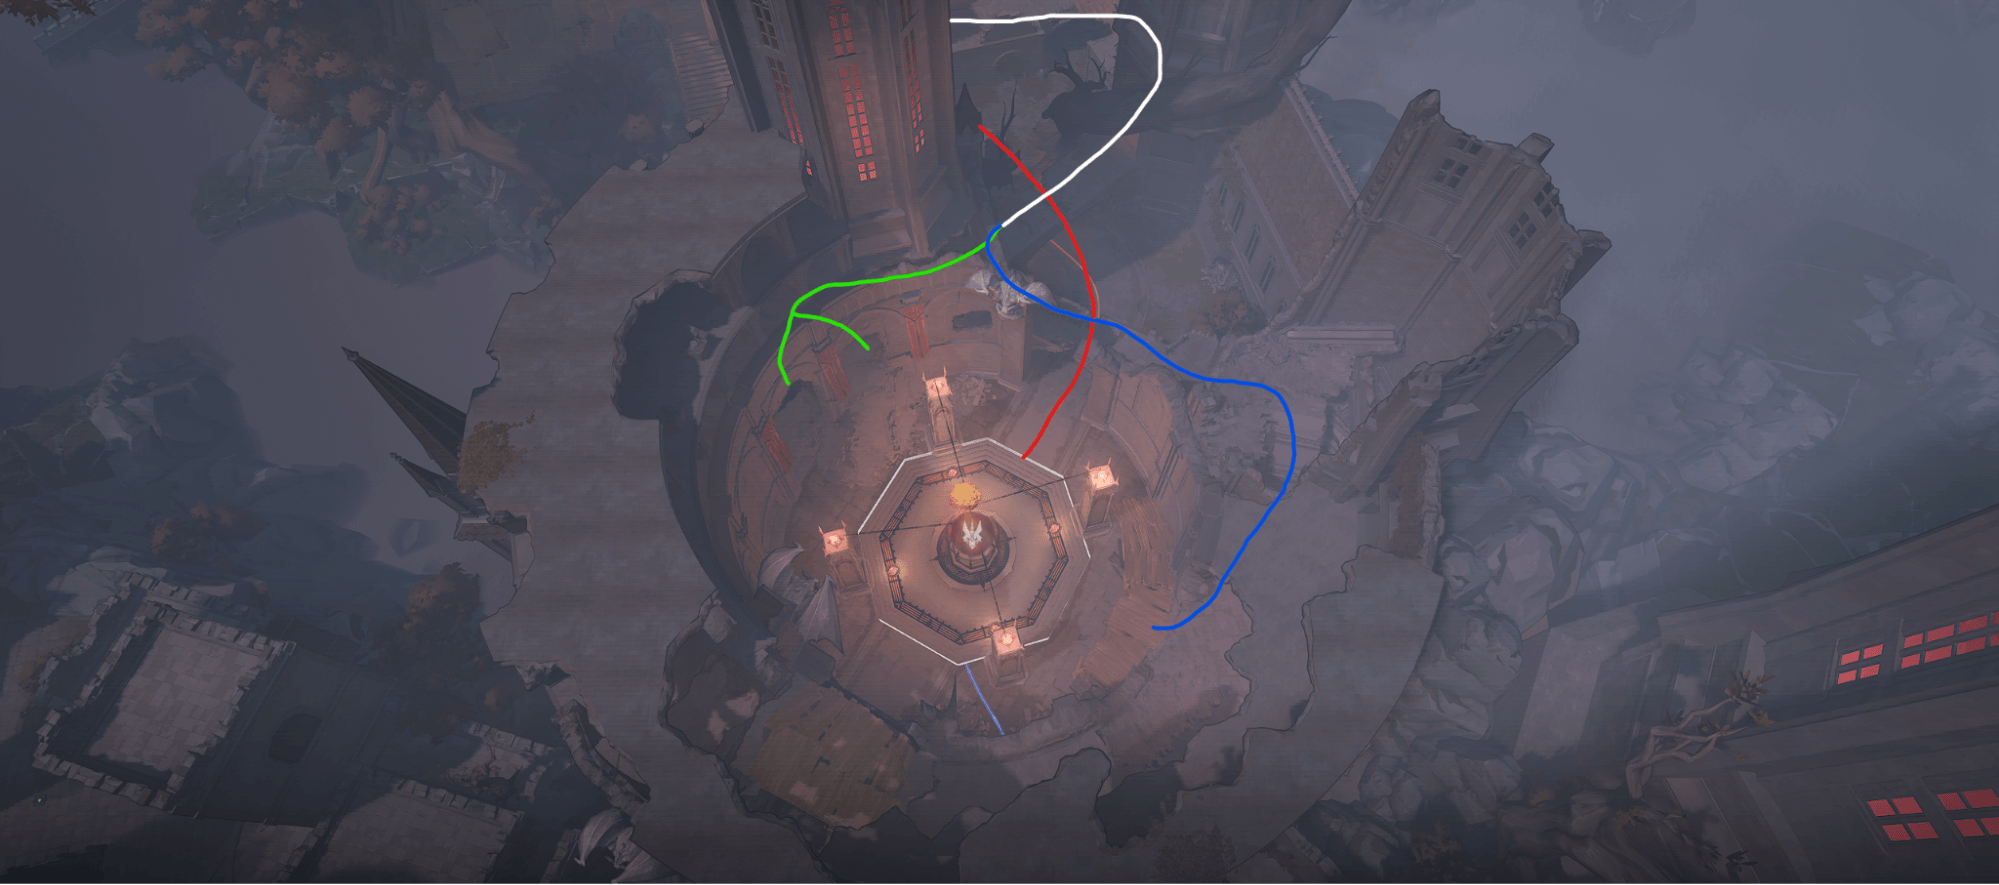
Points of interest: Red circles display ledge and TP locations.

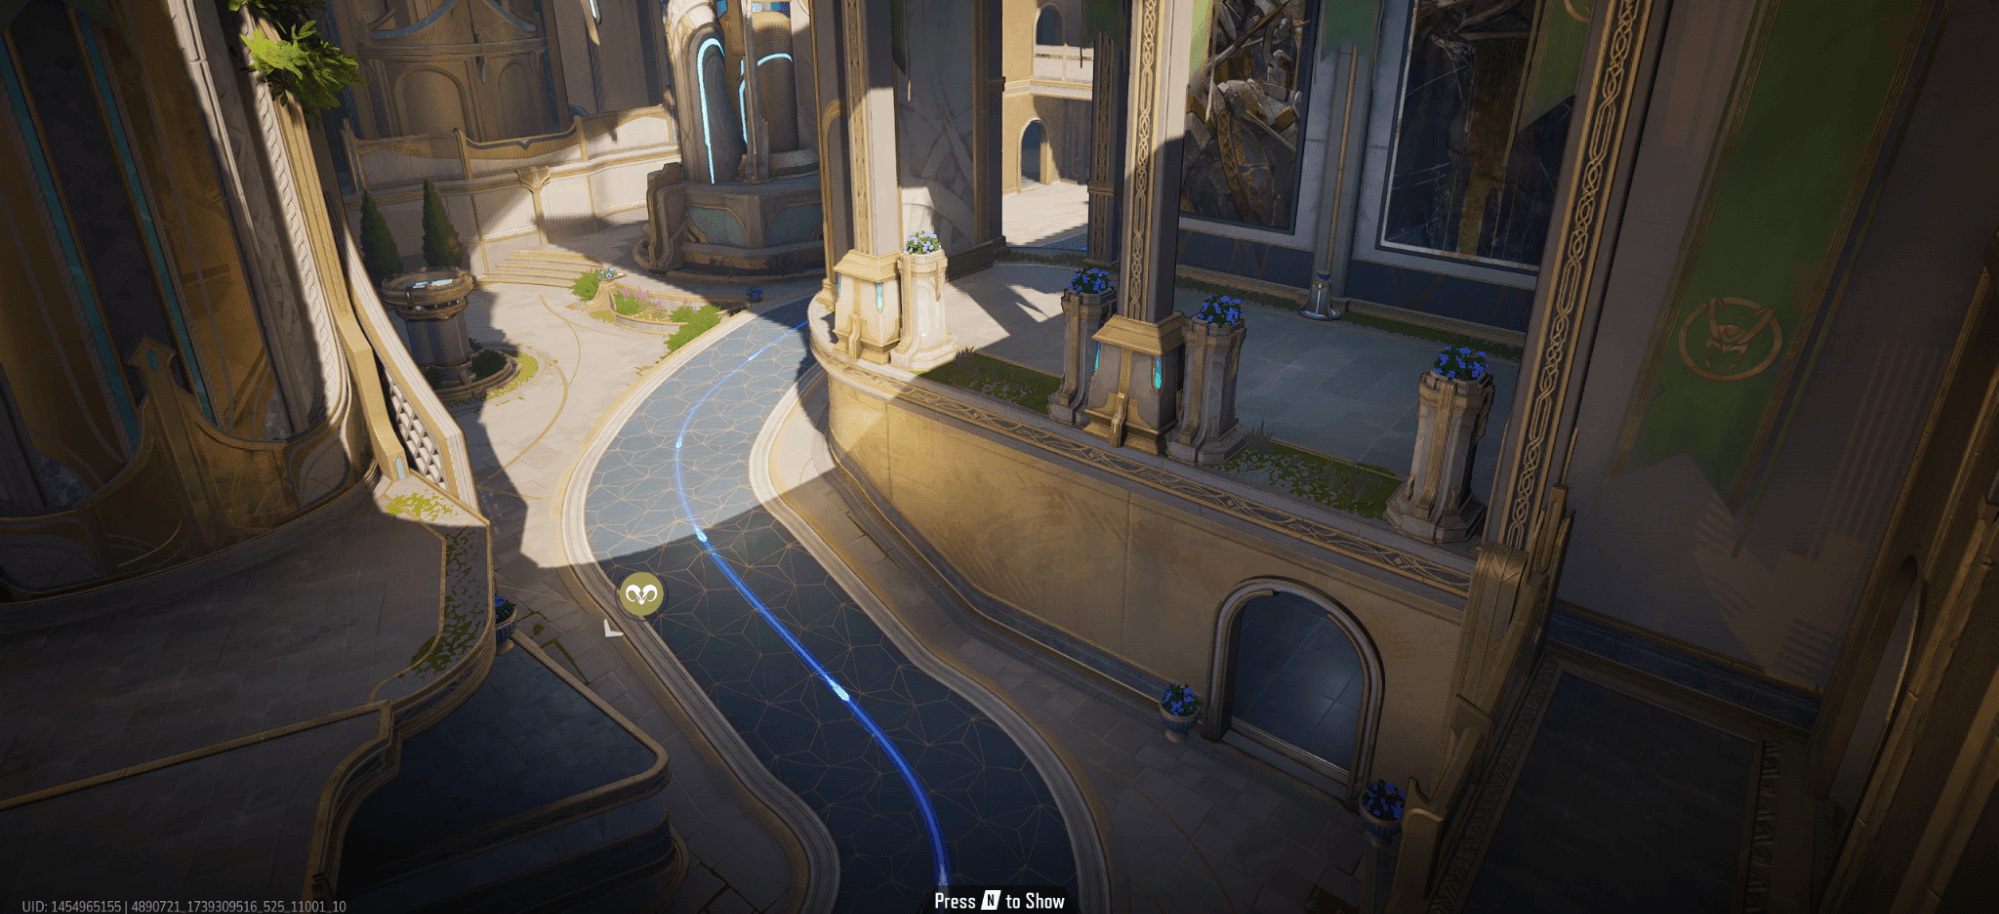
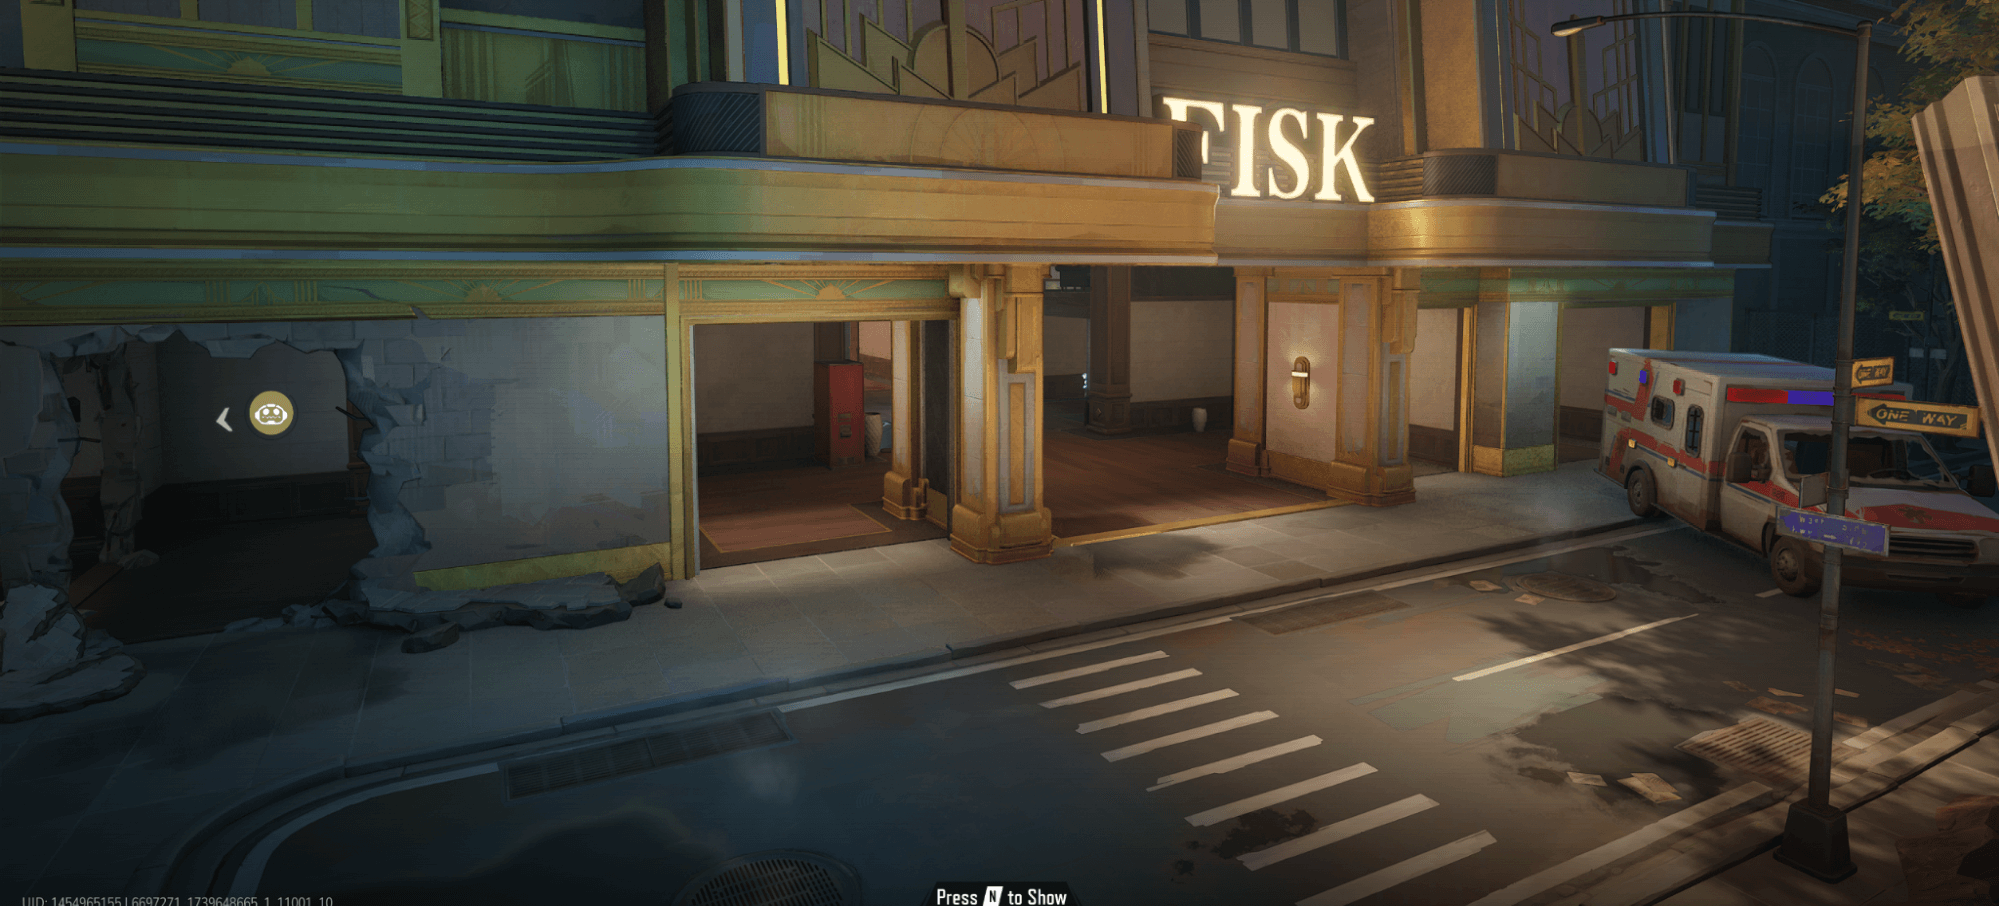
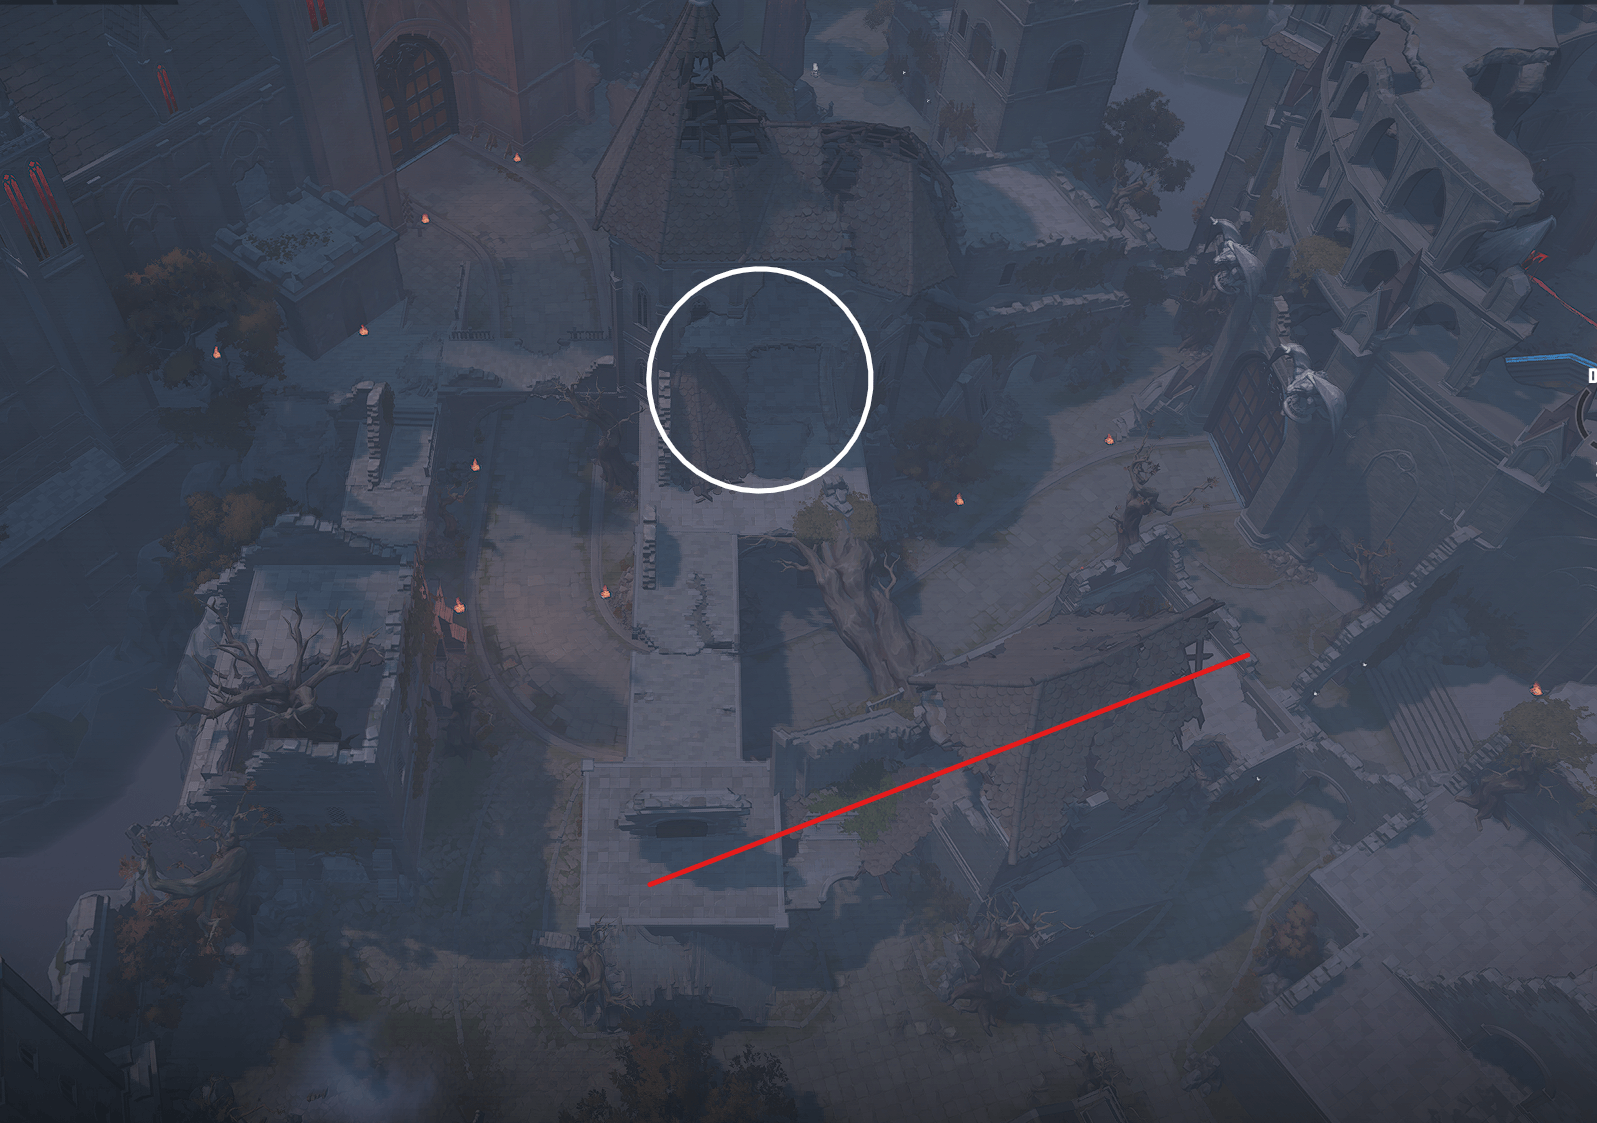
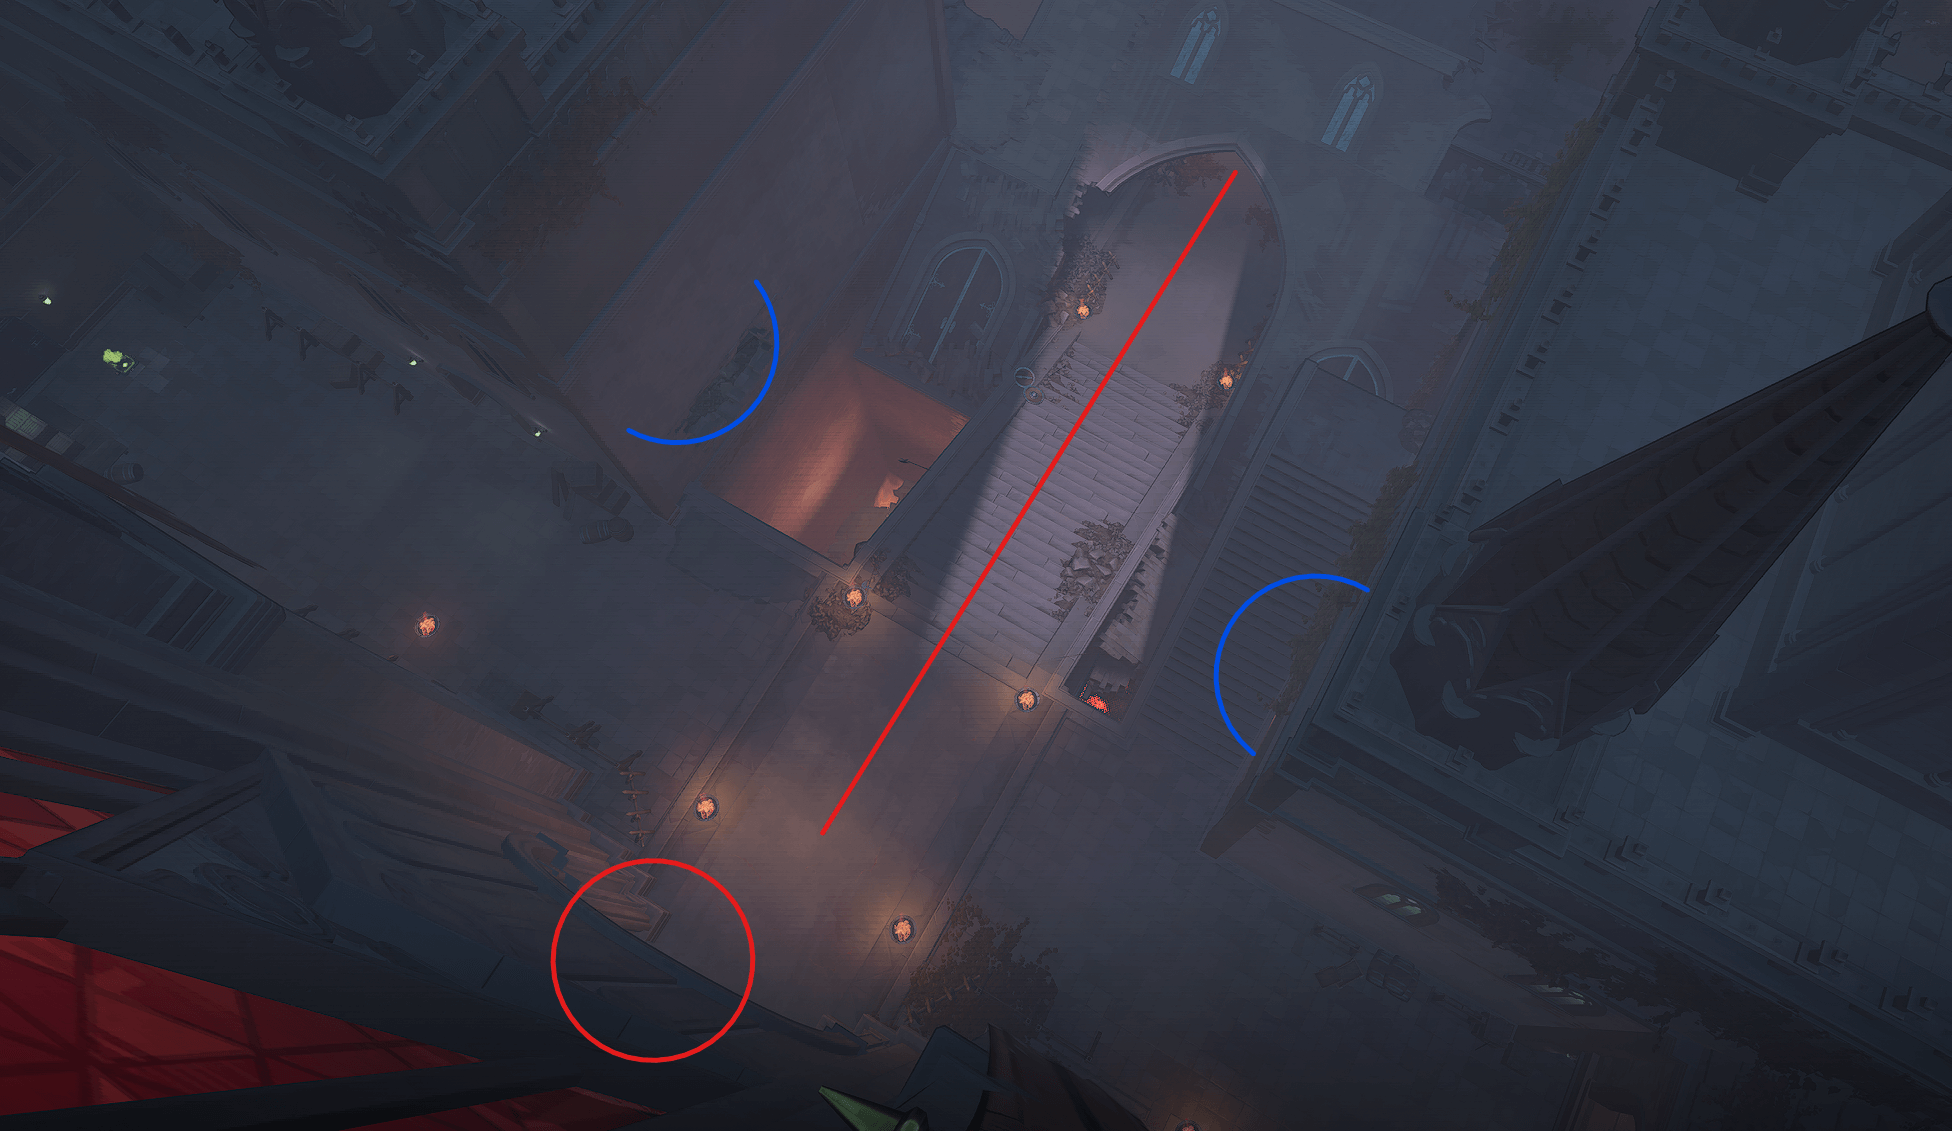
Points of interest: Red circles highlight side room locations for safer positioning. Blue arrow displays the objective path
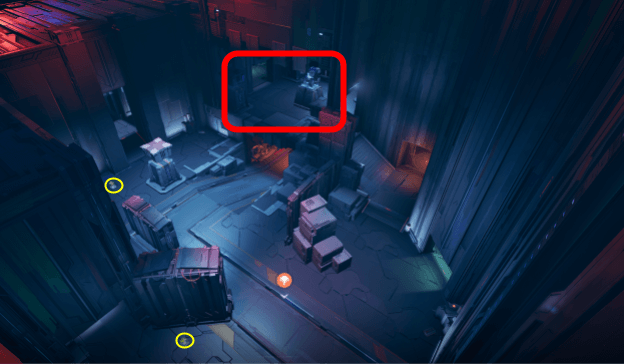
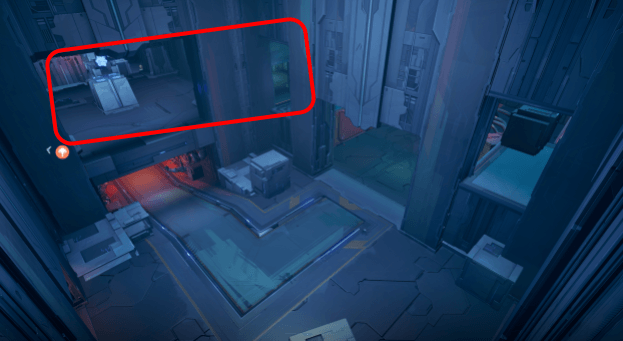
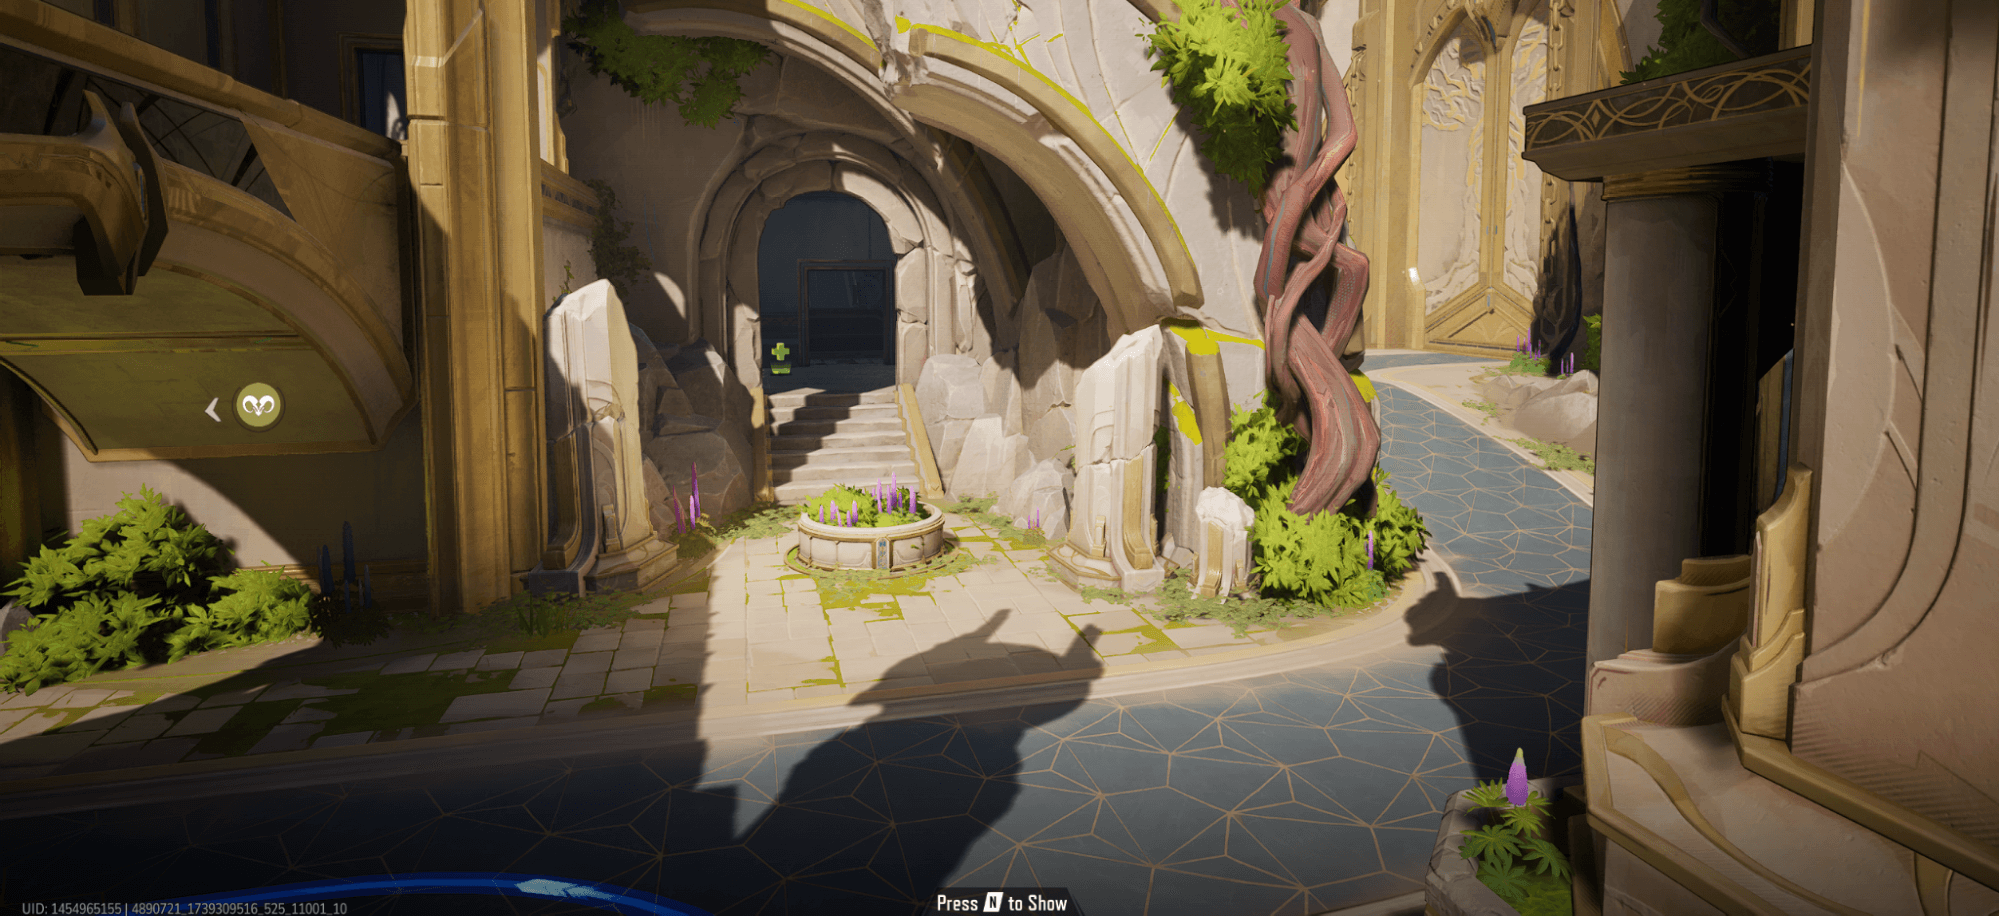
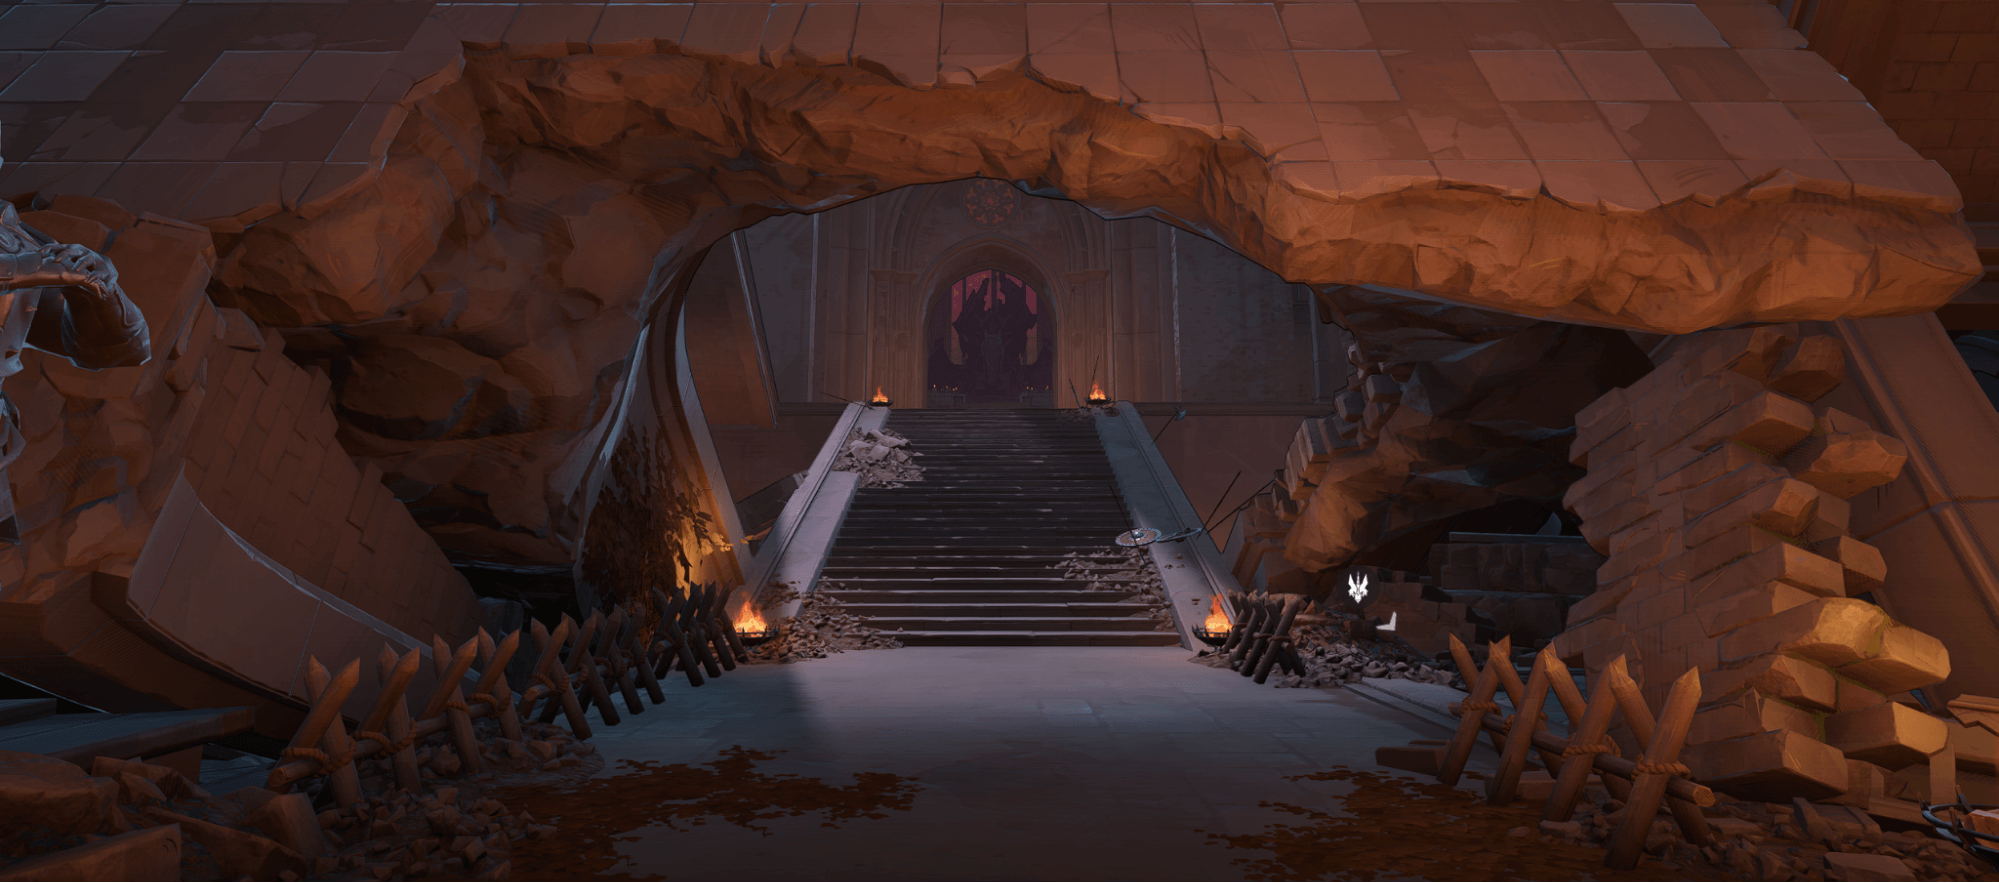
Points of interest: Critical highground area to control. Yellow circles are easily accessible health packs.
Team comp recommendations:
Individual hero recommendations:
Doctor Strange, The Punisher, Ultronclose-range
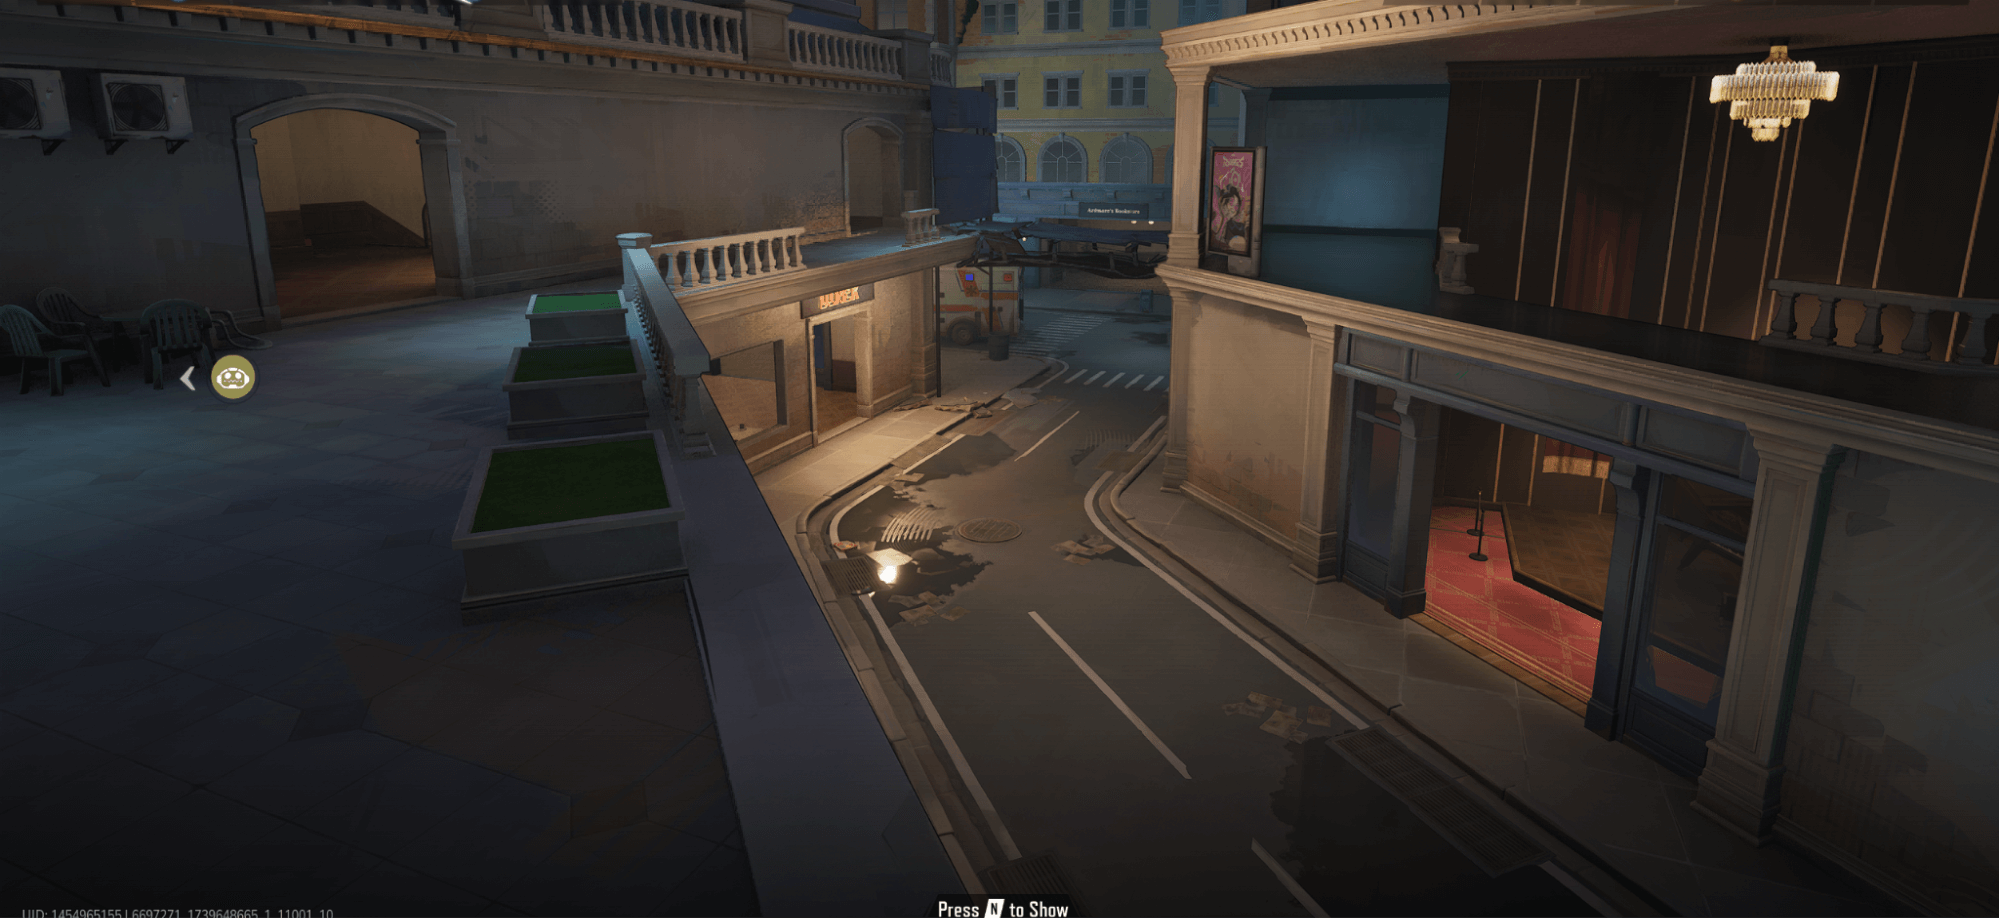
Convergence matches have two distinct objectives. First, the attacking team must capture the Mission Area, similar to Domination, except the defending team gets to set up first. Once captured, the attackers escort the payload across the map with a single halfway checkpoint before the finish line as opposed to the two checkpoints in Convoy.
The attacking team's objectives:
The defending team's objectives:

Team comp recommendations:
Individual hero recommendations:
Team comp recommendations for Spider-Islands:
Individual hero recommendations:
Team comp recommendations:
Individual hero recommendations:
Team comp recommendations
Individual hero recommendations