This Aion 2 Gladiator endgame PvE build focuses on improving sustained boss damage through stronger skill Specialties, a refined combat macro and enough mana recovery to keep attacking.
The setup builds around Overhead Slam, Rending Blow and Ruinous Blow, supported by manually timed buffs, offensive passives and a mix of Vigor and Magic Arcana Cards. We will also cover equipment priorities, Daevanion upgrades, titles, wings and Pantheon targets.
A huge thank you to Ulfhednar for sharing his Gladiator endgame build and optimisation tips!
If you are still developing your character, start with our Gladiator PvE build for the core skills, rotation and progression priorities before working towards this endgame setup.
Reach skill level 16 and select the cooldown-removal Specialty. At levels 16–19, pair it with the critical-hit Specialty for this setup, prioritising those two choices over the Upward Strike chain option.
Removing the cooldown does not remove the skill’s activation conditions. Keep Rage Burst available to enable Overhead Slam against your target.
Rending Blow
Bring Rending Blow to skill level 16 and select its Specialty that restores 50 MP when it lands a critical hit.
This is an important target before switching to the more mana-intensive macro arrangement. It improves recovery, but you can still run out of MP if your skill usage outpaces your sustain.
Ruinous Blow and Keen Strike
Ruinous Blow remains a major damage skill and grants Prepare for Battle. Keep it under manual control so you can use its hit and buff during a useful damage window.
Keen Strike supports mana recovery and can reduce Ruinous Blow’s cooldown when its relevant Specialty is selected. Keep it available even after your main skills reach level 16.
Endgame Macro and Boss Rotation
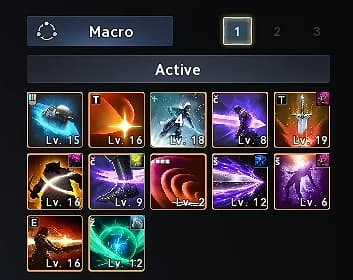
Open Settings > Key Settings > General and assign your combat macro to right-click. This lets you use the macro alongside left-click Keen Strike.
For the simpler arrangement, include Rage Burst, Overhead Slam and Rending Blow, keeping Rending Blow behind Overhead Slam. This is the starting option while Rending Blow is below level 16.
Test the Level-16 Rending Blow Setup
Once Rending Blow reaches level 16 and has its mana-on-critical-hit Specialty selected, test giving it a separate binding while also including it in the combat macro.
This arrangement can increase damage, but it also increases mana demand and can change how frequently Keen Strike activates. Compare it with the simpler arrangement on your own character.
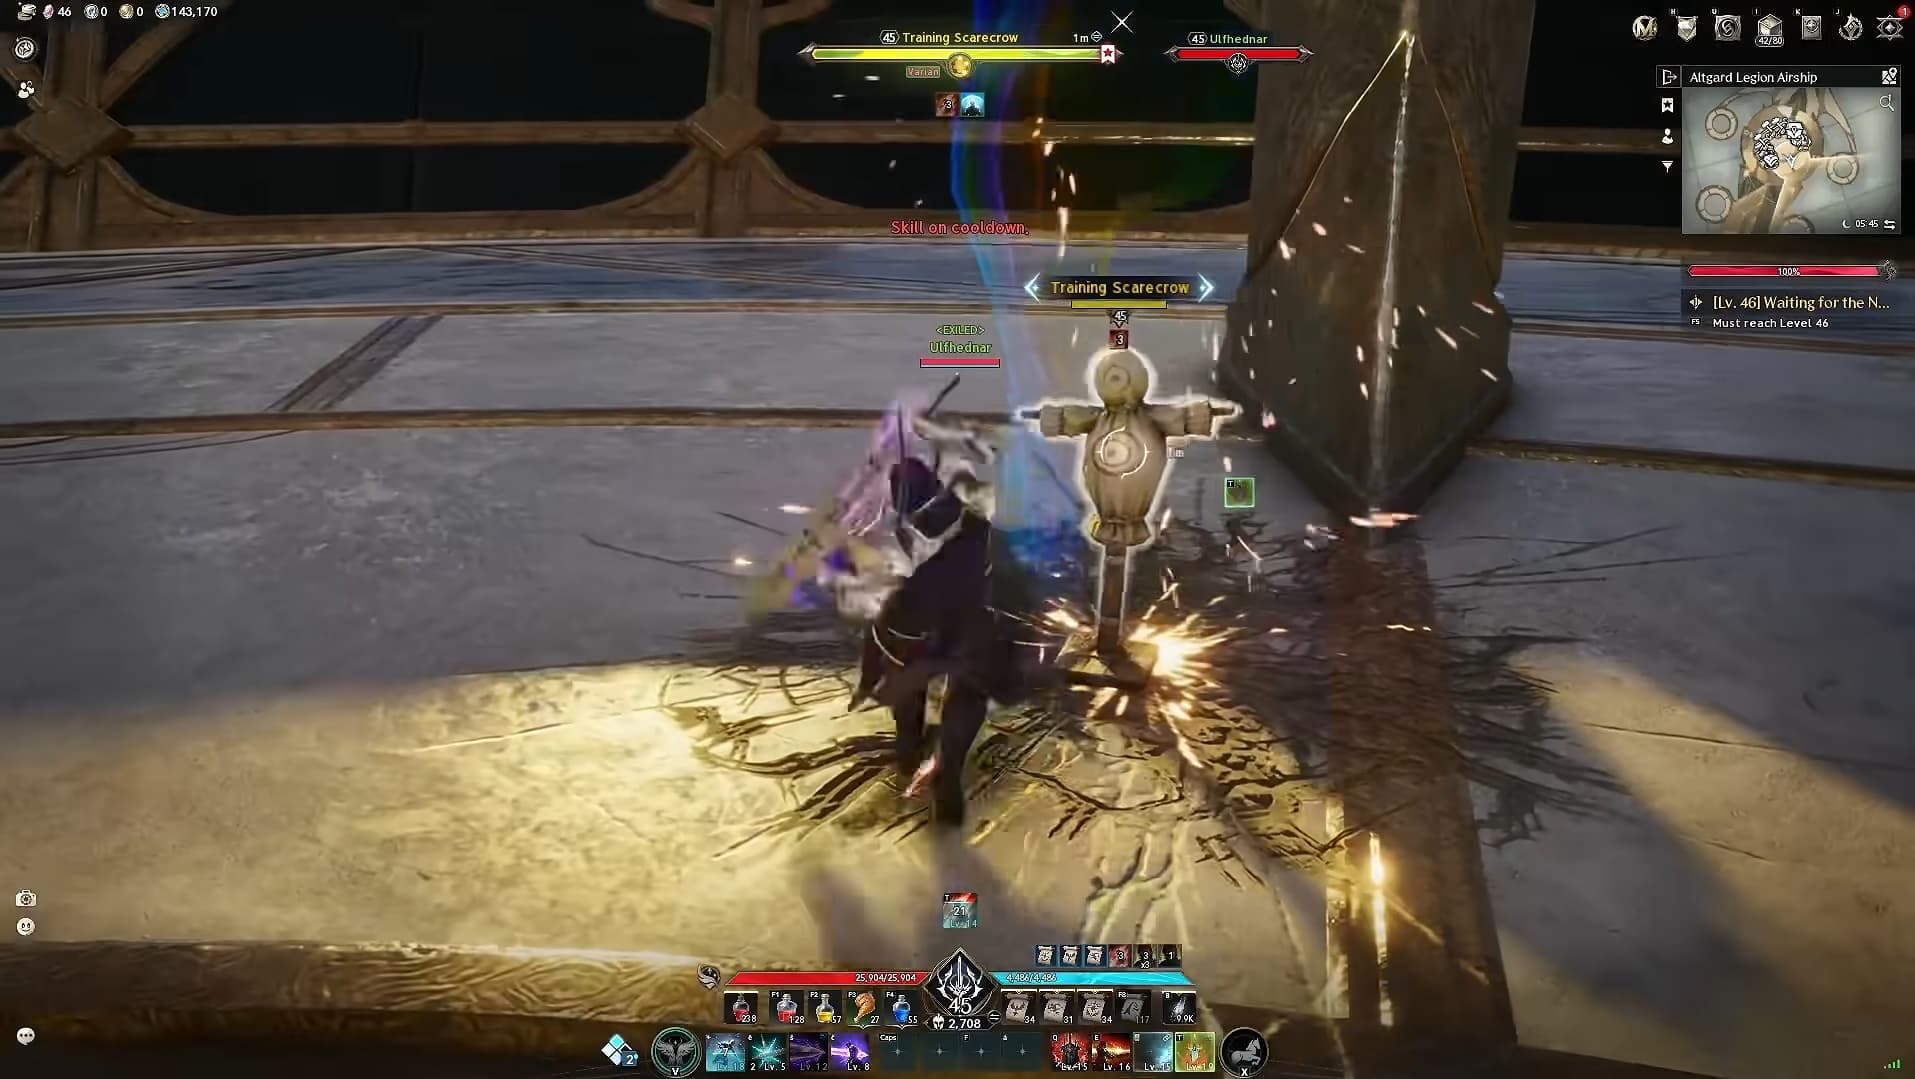
Use equal one-minute tests on a training dummy. Check sustained damage, MP consumption and whether Keen Strike is activating reliably. A setup that performs well during a short burst may struggle over a longer boss fight.
Time Your Buffs Around Boss Mechanics
Use Lunge Stance, Zikel’s Blessing and Ruinous Blow manually. This gives you control over when their benefits are active.
During a safe damage window, activate your buffs, use Ruinous Blow early and apply Rage Burst to enable Overhead Slam. Continue your main attacks while watching your mana and the boss’s next mechanic.
Avoid spending these cooldowns immediately before the boss becomes untargetable or forces you out of melee range. Reuse them when you can take advantage of their duration.
Recommended Stigmas and Passives
Stigma Investment
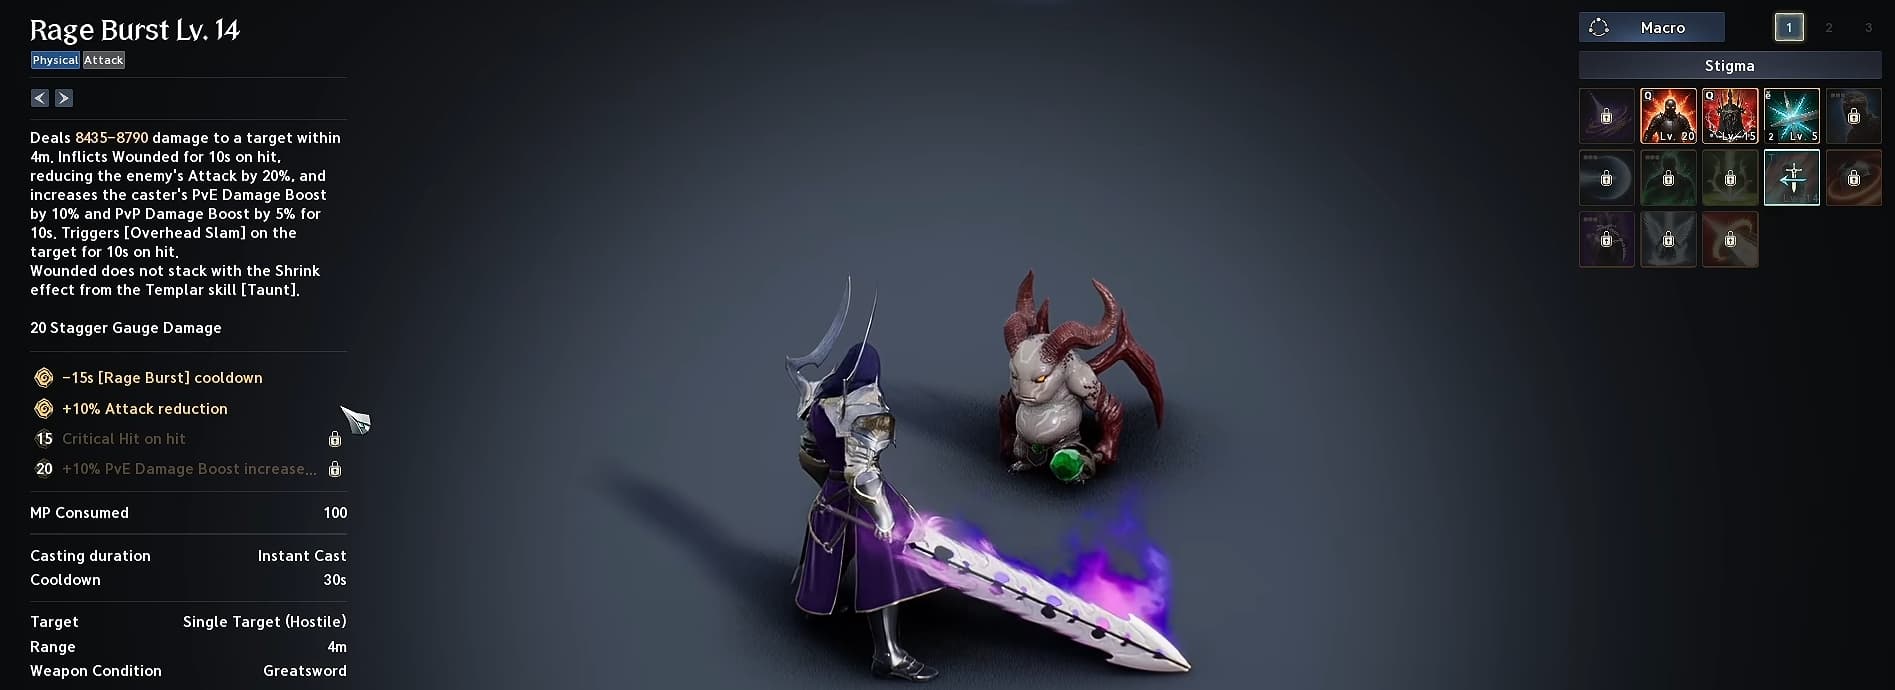
Use Lunge Stance, Zikel’s Blessing, Rage Burst and Focused Block as the four Stigmas for this setup.
Lunge Stance: Prioritise level 20 for its chance to reduce skill cooldowns on critical hits while the stance is active. Its Identify Weakness upgrade is also useful for the build.
Zikel’s Blessing: Level 10 provides the PvE damage upgrade. Improve it to level 15 for the Multi-Hit chance option as your available points increase.
Rage Burst: Keep it at level 5 while investing in Lunge Stance. Level 20 is a later target for the additional damage-boost upgrade.
Focused Block: Use it against blockable attacks to remain close to the boss and maintain damage uptime.
Passive Priorities
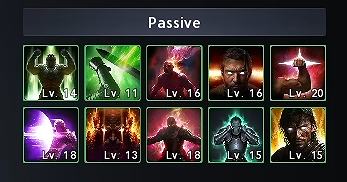
Attack Preparation is the first passive to prioritise for its PvE benefits. Develop these alongside it:
Experienced Counterstrike: Provides a damage buff following a successful block, helping both you and your party.
Impact Hit: Supports the build’s Double Chance focus.
Murderous Burst: Adds a Critical Damage Boost effect that works well with the emphasis on critical hits.
Focused Block and Experienced Counterstrike work together, giving successful defensive play an offensive benefit.
Mana Recovery, Healing and Speed Farming
Recover Mana During Stagger Windows
Bring Sword Aura Rampage to skill level 16 and select its MP-restoration and cooldown-reduction-on-hit Specialties. Use it against staggered enemies to recover mana while helping your skills become available sooner.
When including it in your macro, give it priority over Rending Blow during those windows so it can activate when its condition is met.
An MP-support potion can also help. Look for an effect that reduces MP consumption when the problem is sustaining repeated skill usage.
Add Self-Healing
Bring Mocking Blade to skill level 8 and select its HP-absorption Specialty if you want additional healing during dungeon fights.
This gives you another way to recover health and helps reduce the pressure on your healer. The healing depends on the selected Specialty, so reaching level 8 alone is not enough.
Use a Separate Farming Macro
For clearing regular enemies, add Leaping Slam to a separate farming macro. Select its cooldown-reset-on-kill Specialty to move between targets more quickly after securing kills.
Keep this as a farming setup so you can switch back to your boss arrangement when you need more deliberate positioning and buff timing.
Daevanion Boards and Priorities
Plan your routes around the skills and passives that support your damage rotation.
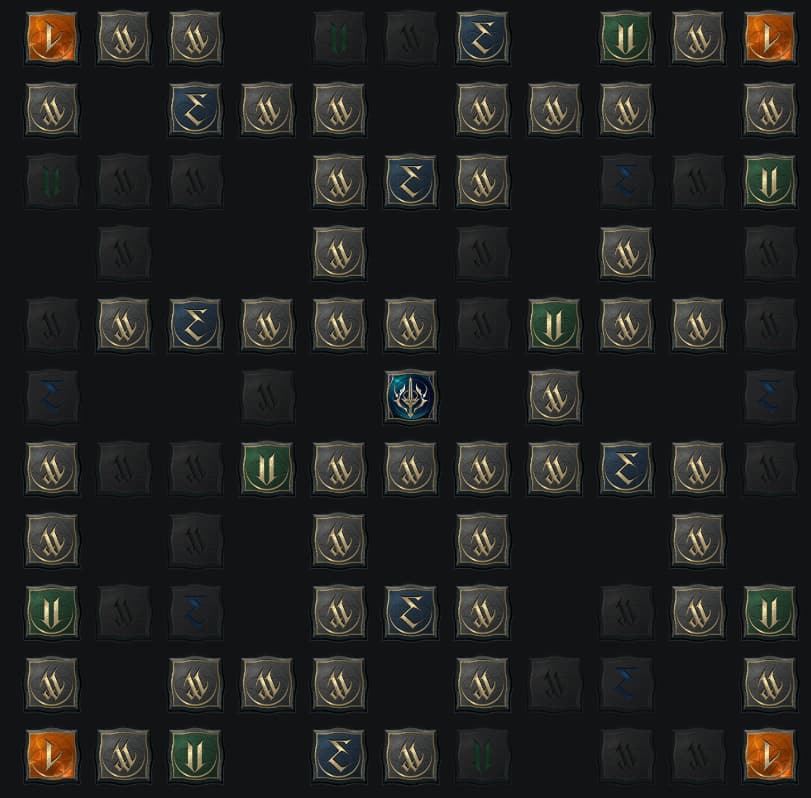
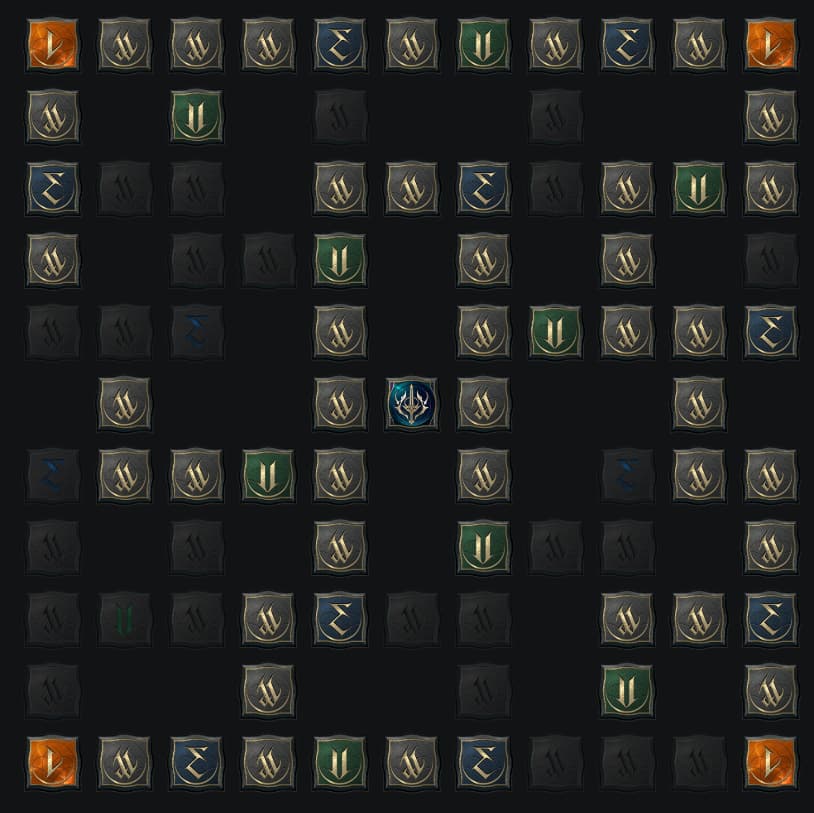
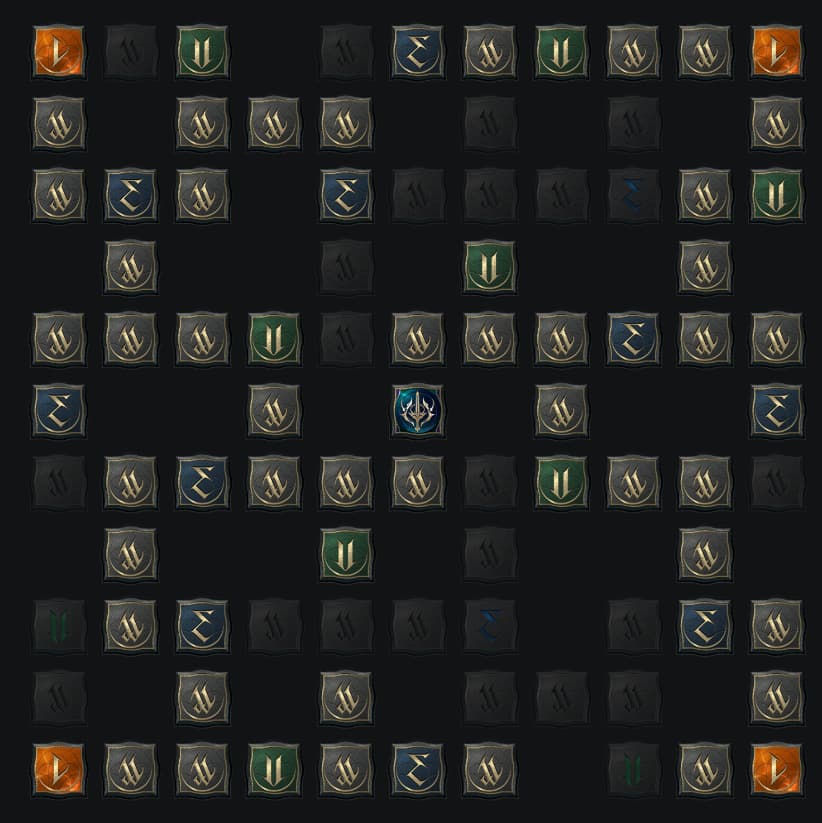
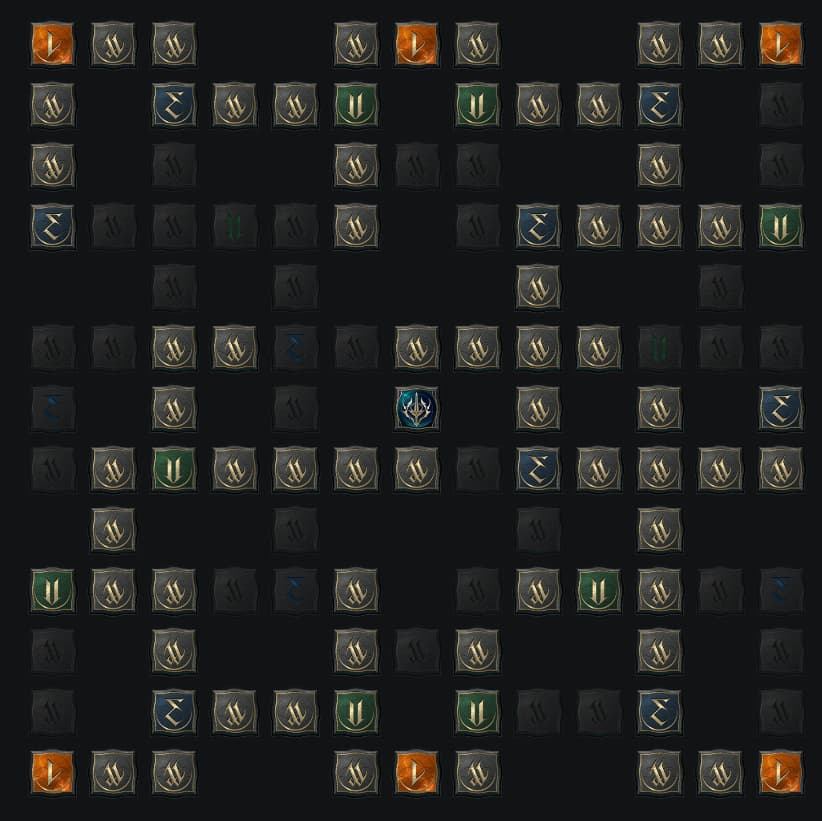
Prioritise blue nodes for Overhead Slam, Ruinous Blow and Rending Blow as you work towards useful legendary nodes, including Combat Speed and Cooldown Reduction.
For green nodes, look for Attack Preparation, Experienced Counterstrike, Impact Hit and Murderous Burst.
Once the main skill routes are covered, invest spare points into Attack Bonus, followed by Critical Hit. If mana is preventing you from sustaining your rotation, consider MP nodes where they help solve that problem.
Check the Shugo Festival shop and the Growth section of the Nightmare Trade Shop for additional Daevanion Crystals. Stigma Shards are another useful purchase when you are working towards your Stigma targets.
For board unlocks, node costs and crystal sources, our Aion 2 Daevanion guide explains the system in more detail.
Nezekan
Zikel
Vaizel
Triniel
Endgame Gear and Stat Priorities
Build your equipment around useful damage bonuses, skill levels and enough Accuracy for the content you are attempting.
Combat Speed, Critical Hit, Double Chance, Multi-Hit Chance, Attack and damage-boost effects are all relevant. Their value depends on the slot, the other rolls on the item and the skill levels you still need.
Weapon and Guard
On your weapon, look for Combat Speed, Multi-Hit Chance, Attack, Weapon Damage Boost and Damage Boost.
On your guard, prioritise Combat Speed and useful Overhead Slam levels. Check whether a skill-level roll helps you reach an important Specialty or improves a skill central to the build.
You can work towards these targets with dungeon equipment while developing crafted upgrades. Compare the complete set of bonuses before replacing a piece.
Armor
Headpiece: Look for Double Chance and useful passive levels.
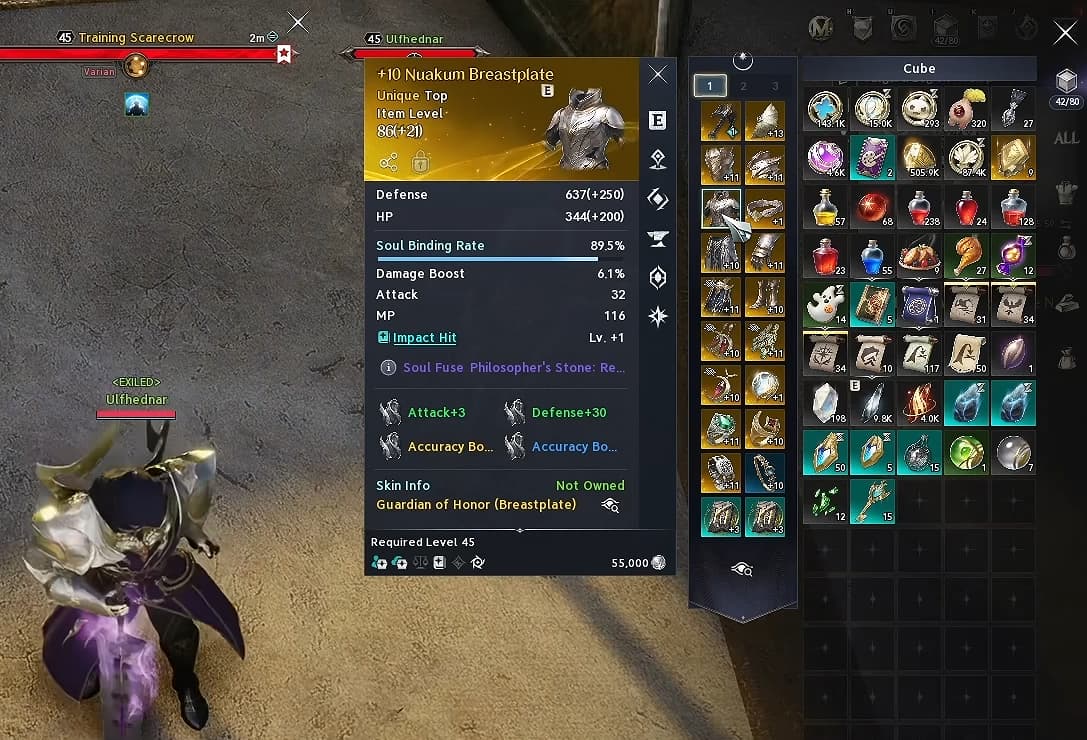
Chest and legs: Prioritise damage-related bonuses and levels for the build’s main passives.
Gloves: Combat Speed is a major priority, with Perfect Chance, Attack and useful passive levels as additional targets.
Cloak: Look for Double Chance alongside other useful bonuses.
Boots: Movement Speed helps you reposition and return to attacking.
Accessories and Later Upgrades
On earrings, look for Movement Speed and offensive bonuses such as Might. On your amulet, Combat Speed and Might are useful targets.
Prioritise Overhead Slam levels on rings where they help your setup, alongside suitable damage bonuses. As Arcana provides more skill levels, review whether you still need every equipment roll devoted to the same skill.
The Abyssal Bracelet is a later target once you can collect Ludra raid rewards; its recipe requires three Ludra Gear Vouchers.
Before attempting rune enhancements, check the failure penalty and keep a backup when an upgrade can destroy the item.
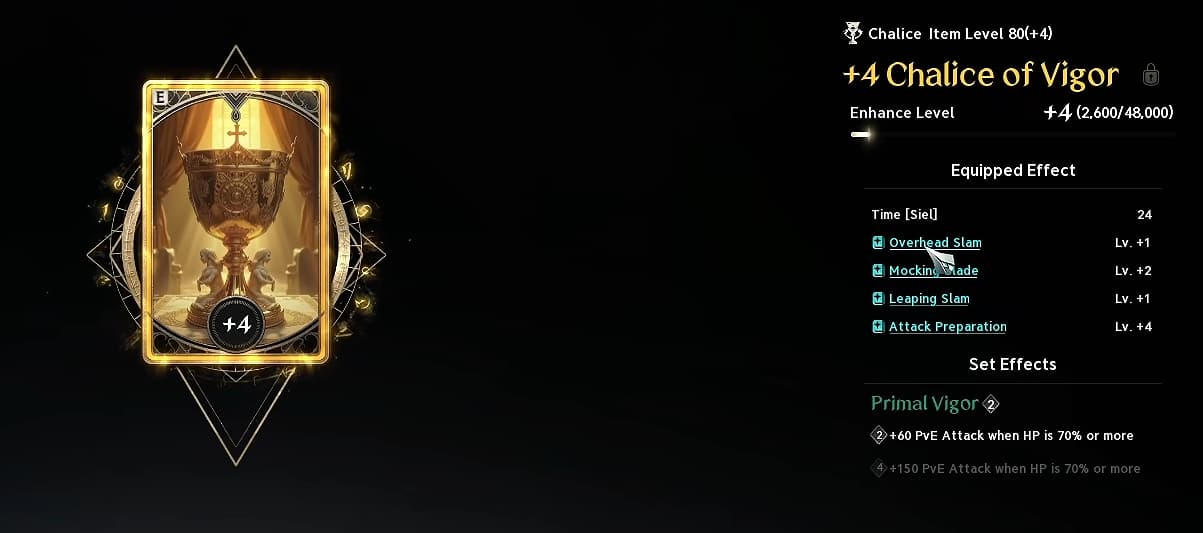
Aim for Vigor on your Chalice and Parchment, with Magic on your Compass and Bell. A Mirror of Magic is another useful target for this setup.
Recommended Card Priorities
Chalice of Vigor: Prioritise Overhead Slam levels, with useful passive bonuses alongside them. Its Time stat supports Combat Speed.
Parchment of Vigor: Look for Overhead Slam or Ruinous Blow levels.
Compass of Magic: Prioritise Rending Blow levels; Overhead Slam is not the skill target for this slot.
Bell of Magic: Look for important passive levels, including Attack Preparation.
Mirror of Magic: Look for useful passives and its Wisdom stat, which supports Double Chance and reduces MP consumption.
These are upgrade targets, so compare your available cards by their skill bonuses as well as their set.
Support the Rotation With Magic Cards
Equipping two Magic cards activates a mana-recovery set bonus when your MP falls to 20% or below, with a 30-second cooldown.
This helps support the more demanding rotation, but does not replace the need to manage your skill usage and other recovery options.
For the Mirror slot, Wisdom is particularly useful because it combines an offensive benefit with mana efficiency. Illusion also provides useful cooldown reduction, but Wisdom is the preferred target for this setup.
Titles and Wings
Title Choices
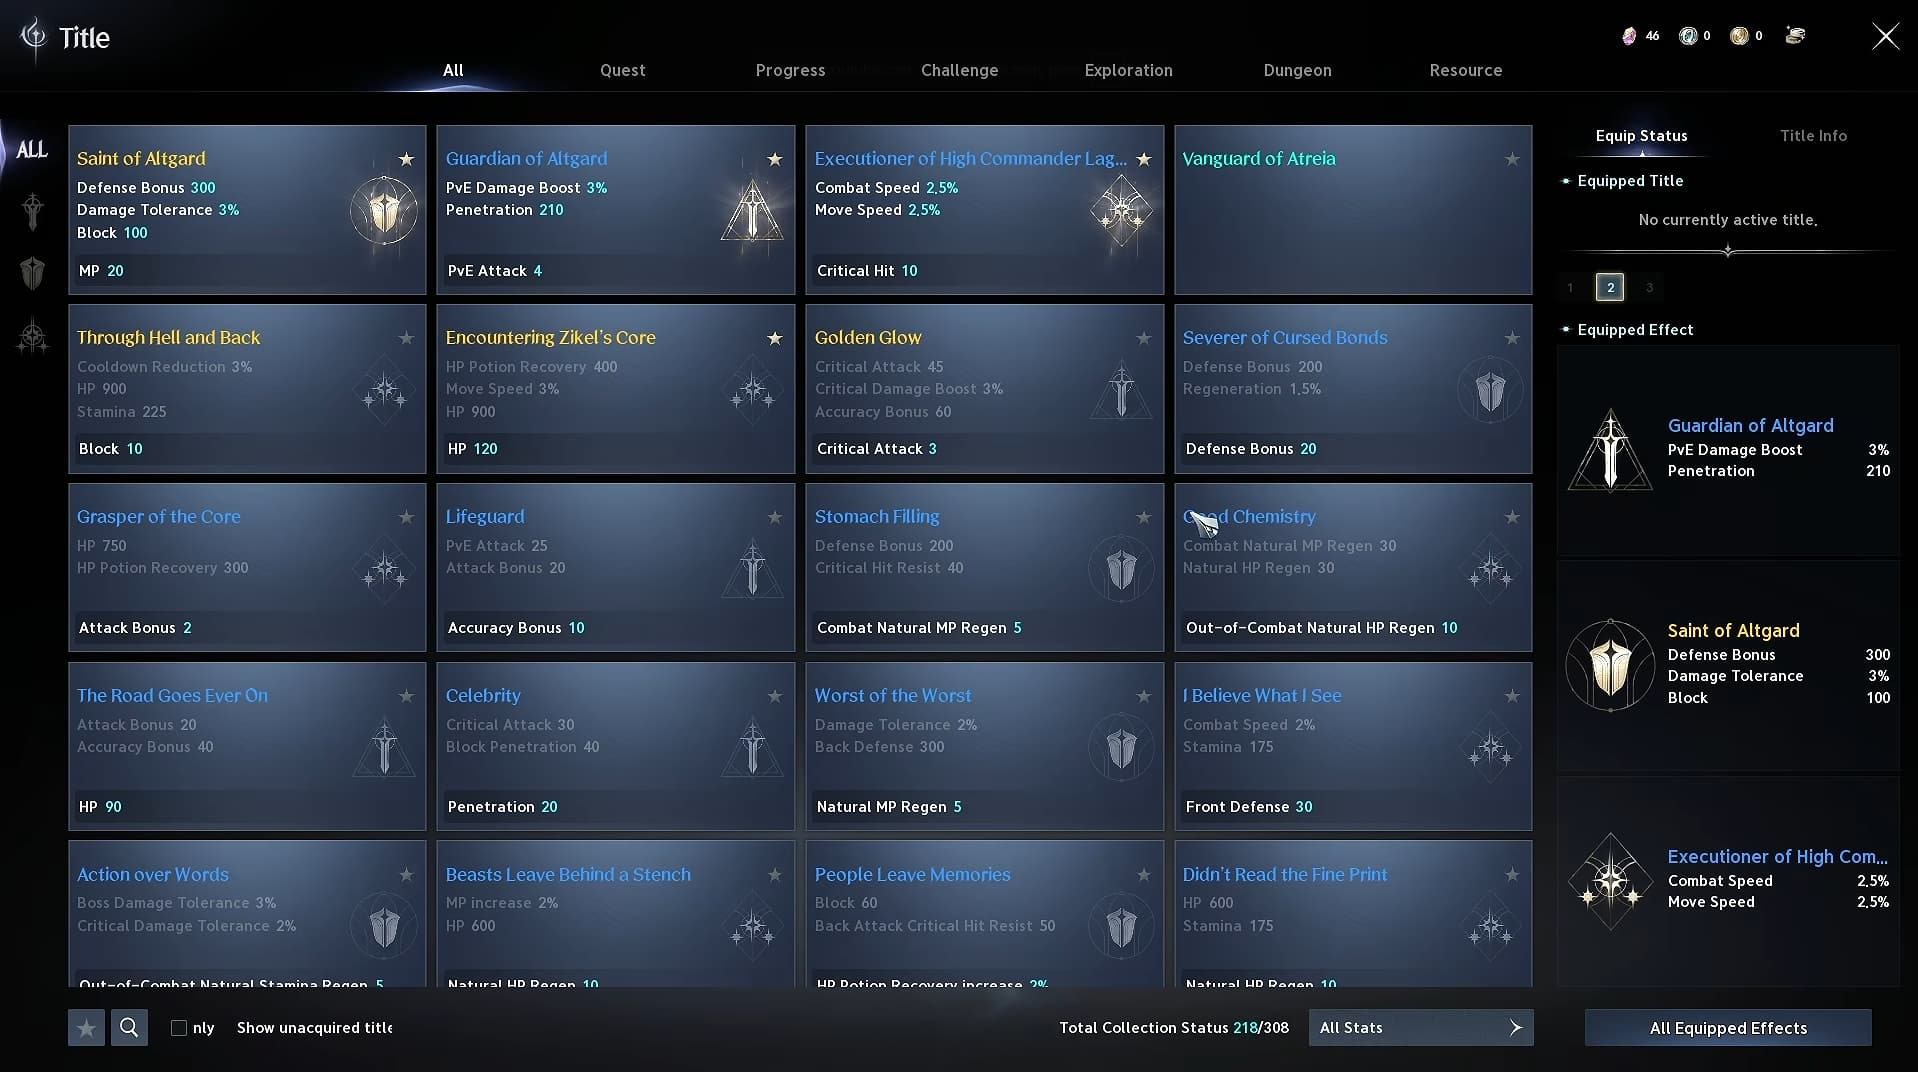
Guardian of Altgard is an offensive option with PvE Damage Boost and Penetration. Saint of Altgard supports survivability through Defense, Damage Tolerance and Block. Elyos characters can look at the corresponding Guardian of Verteron and Saint of Verteron titles.
For your utility choice, compare Combat Speed and Movement Speed options with Through Hell and Back, which offers cooldown reduction. This setup favours speed where it helps maintain a faster, more comfortable rotation.
Unbound by Genus is a longer-term offensive target tied to reaching level 10 in all Genus Insights. Work towards it as your pet progression develops, without neglecting immediate equipment upgrades to fund it.
Wing Upgrades
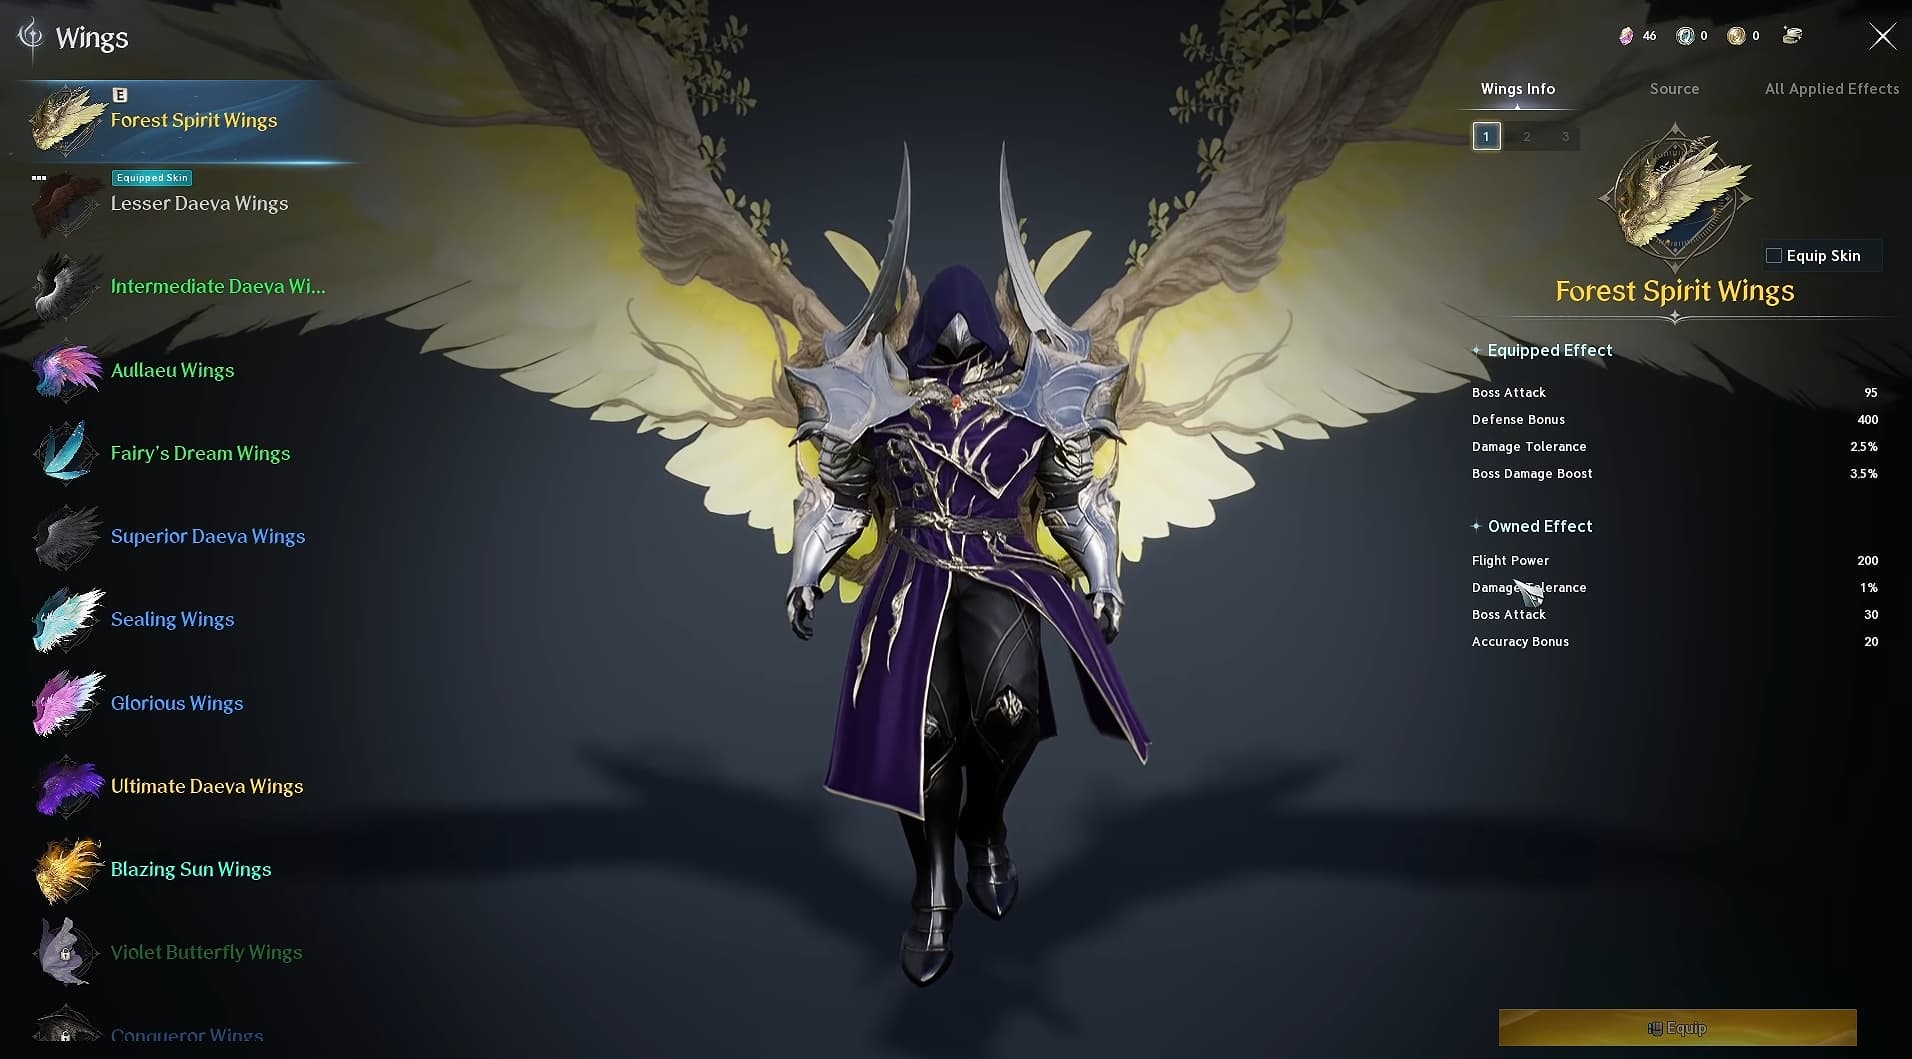
Forest Spirit Wings offer a useful combination of boss damage and defensive bonuses. Dark Veil Wings are another option that combines offensive and defensive effects.
Nightmare Wings are worth comparing as you progress through Nightmare content. Talisra Wings are a strong later target for their cooldown-reduction bonus.
Compare both equipped and owned effects when deciding which wings to pursue. An ownership bonus can remain useful even when another pair provides your equipped stats.
Pantheon Upgrades
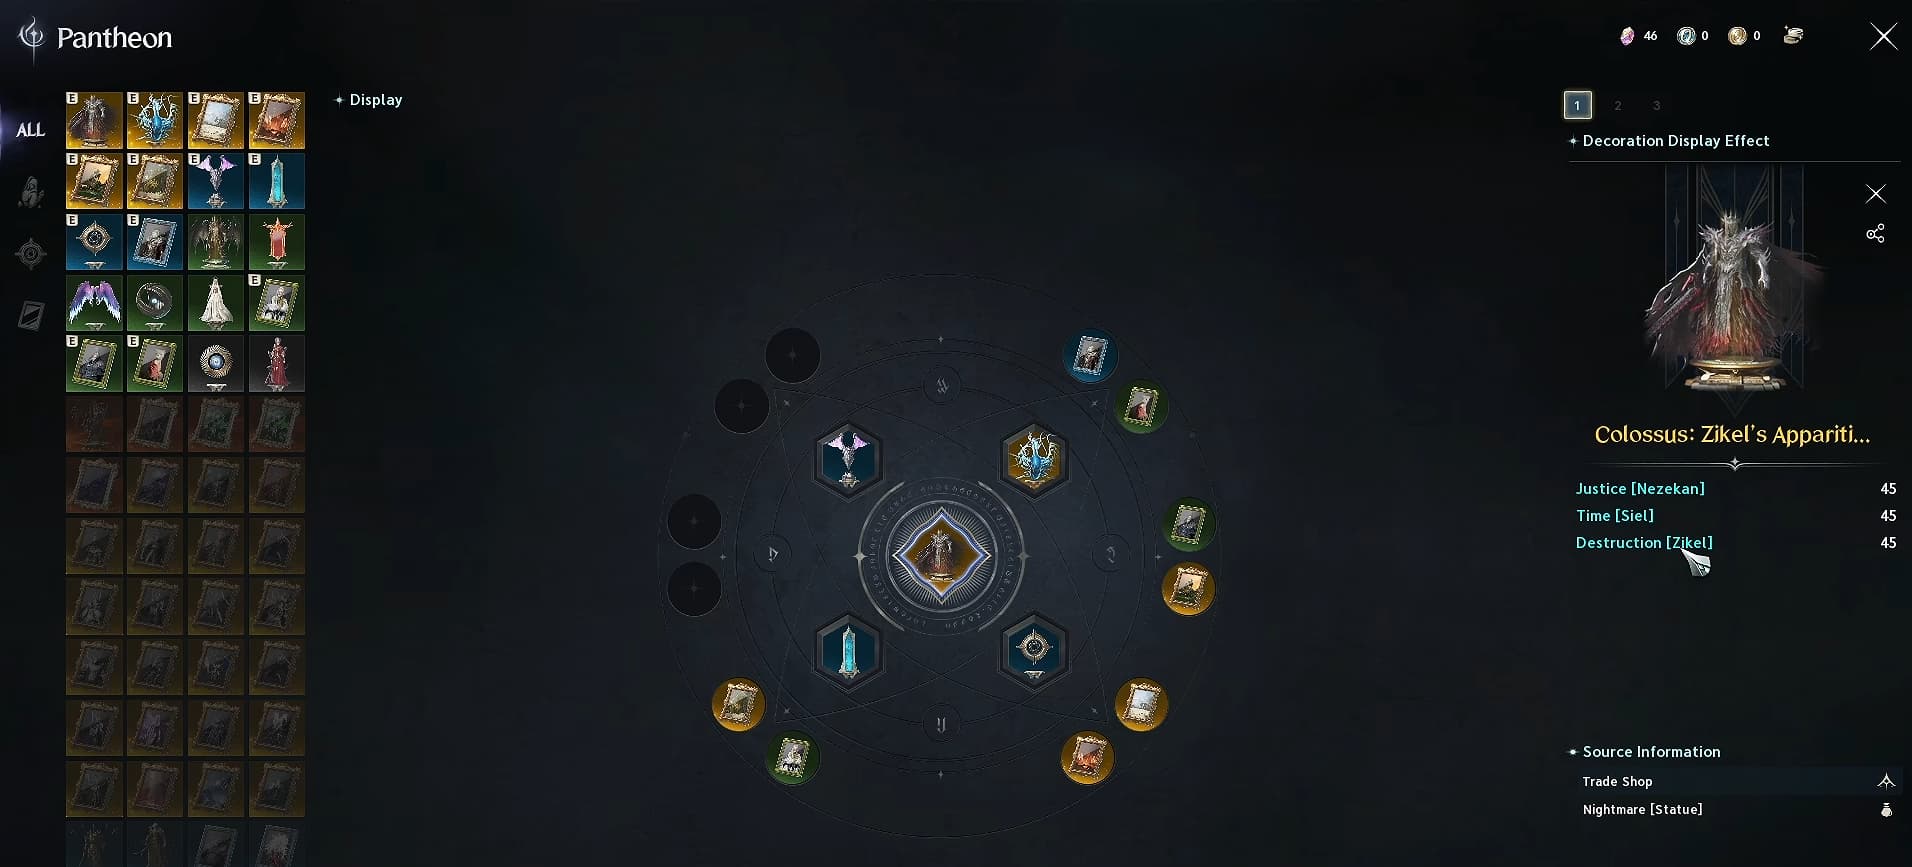
Work Towards Zikel’s Apparition
Colossus: Zikel’s Apparition is a strong Pantheon target for this build. It provides Destruction alongside other useful attributes, supporting your offensive and defensive stats.
Unlock its purchase by clearing Nightmare: Zikel’s Apparition at level 1, then obtain it from the Nightmare shop for 14,000 Phantasmal Fragments.
Fill your artwork slots with useful pieces you can obtain while working towards stronger replacements. Place your decorations in the Pantheon so their bonuses apply.
Collect the Transcendent Bakarma Statue
Complete Draupnir Conquest on Normal difficulty 10 times to earn the Transcendent Bakarma Statue through its achievement.
Defeating the final boss counts towards the clear requirement. You do not need to spend Odyle Energy on the reward cube afterwards.
However, leaving without claiming the cube uses your limited unclaimed-cube allowance. Exhausting that allowance can block further Conquest and Transcendence entries across your characters on the same server until reset. Finish your other planned runs before using the remaining allowance for statue farming.