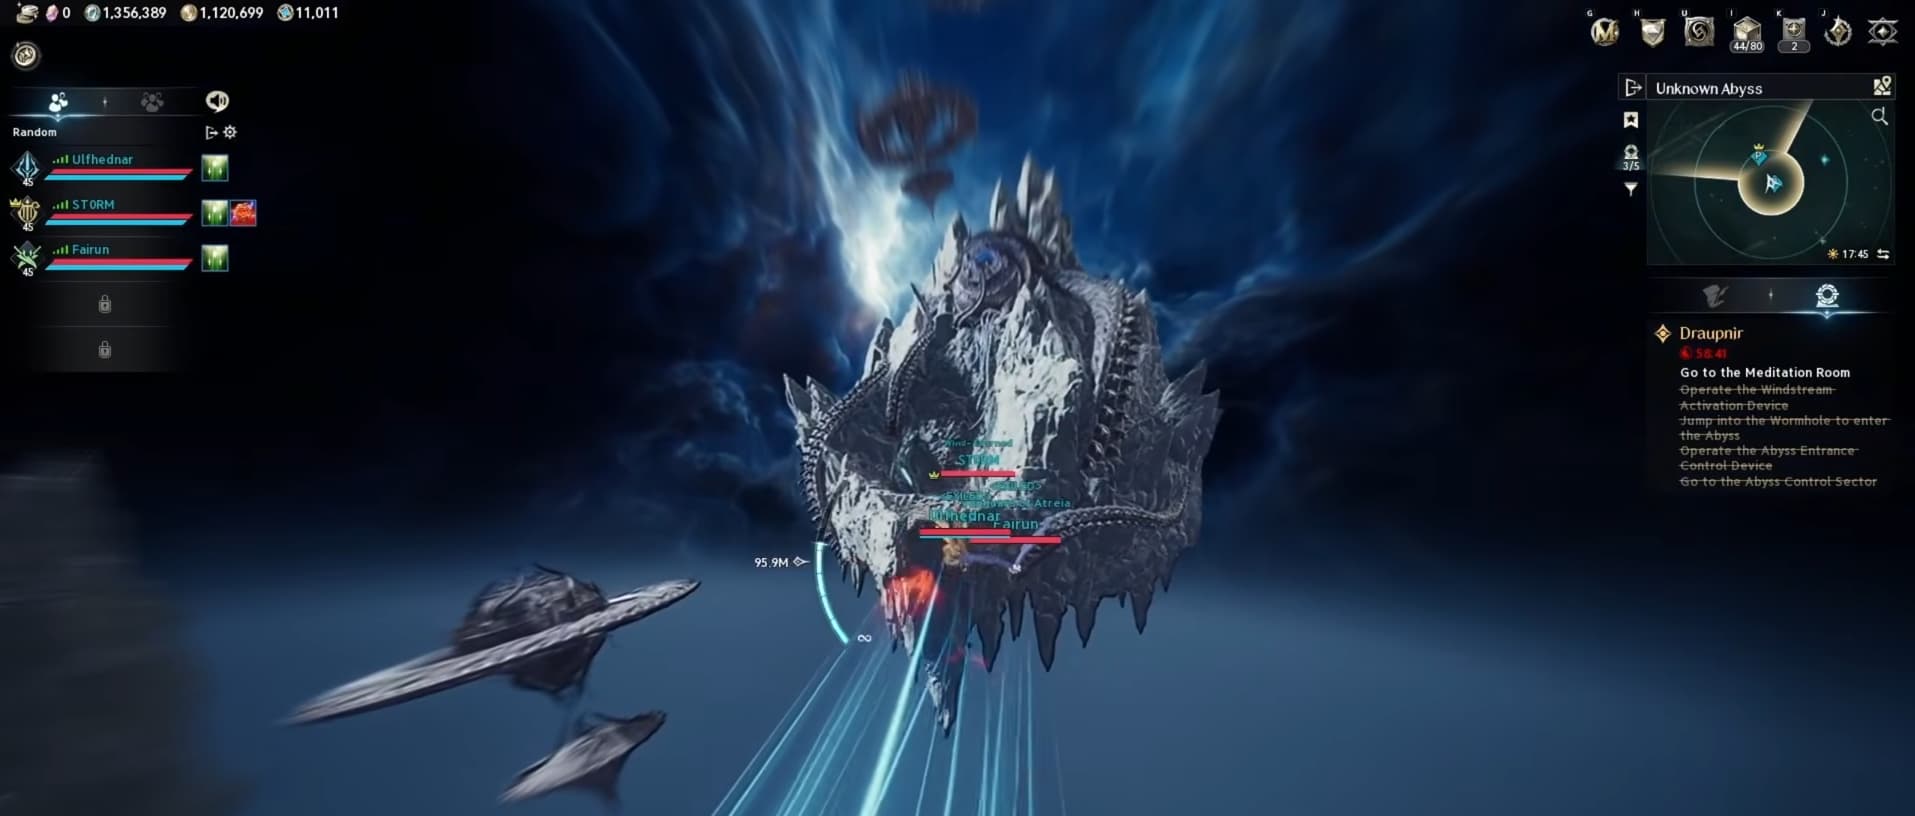
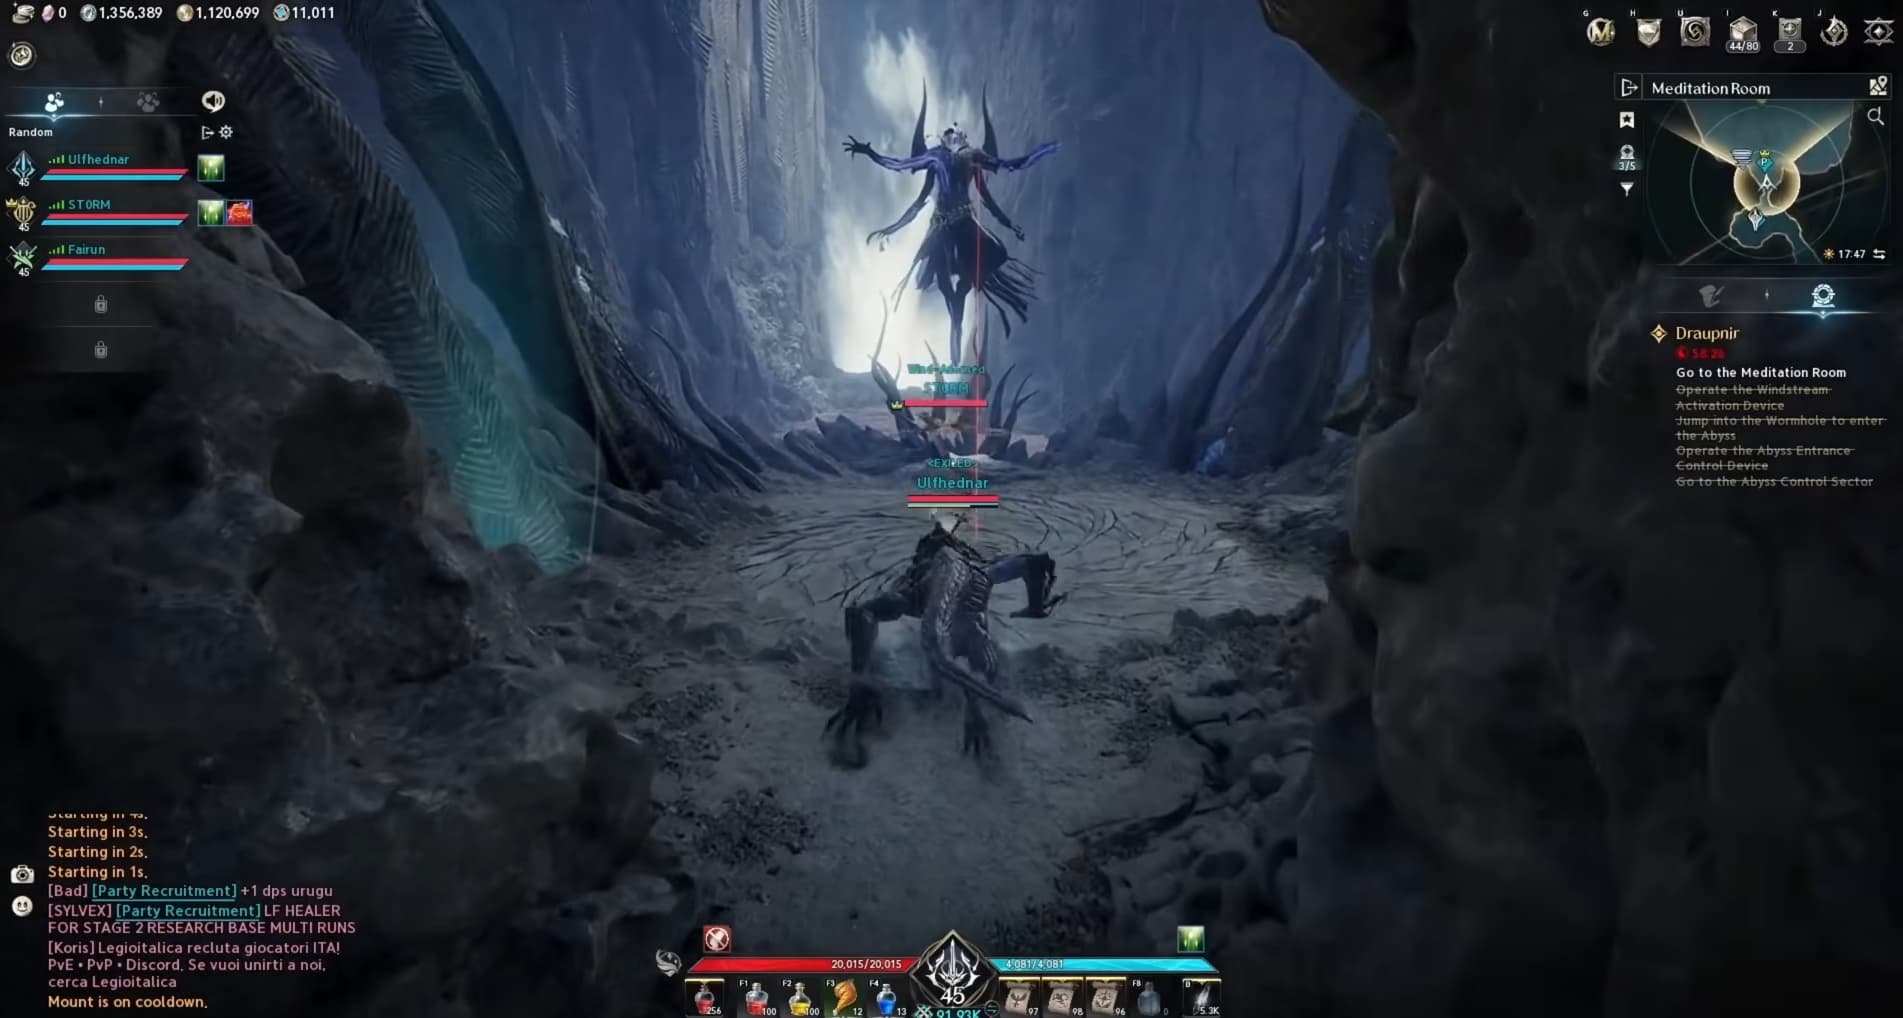
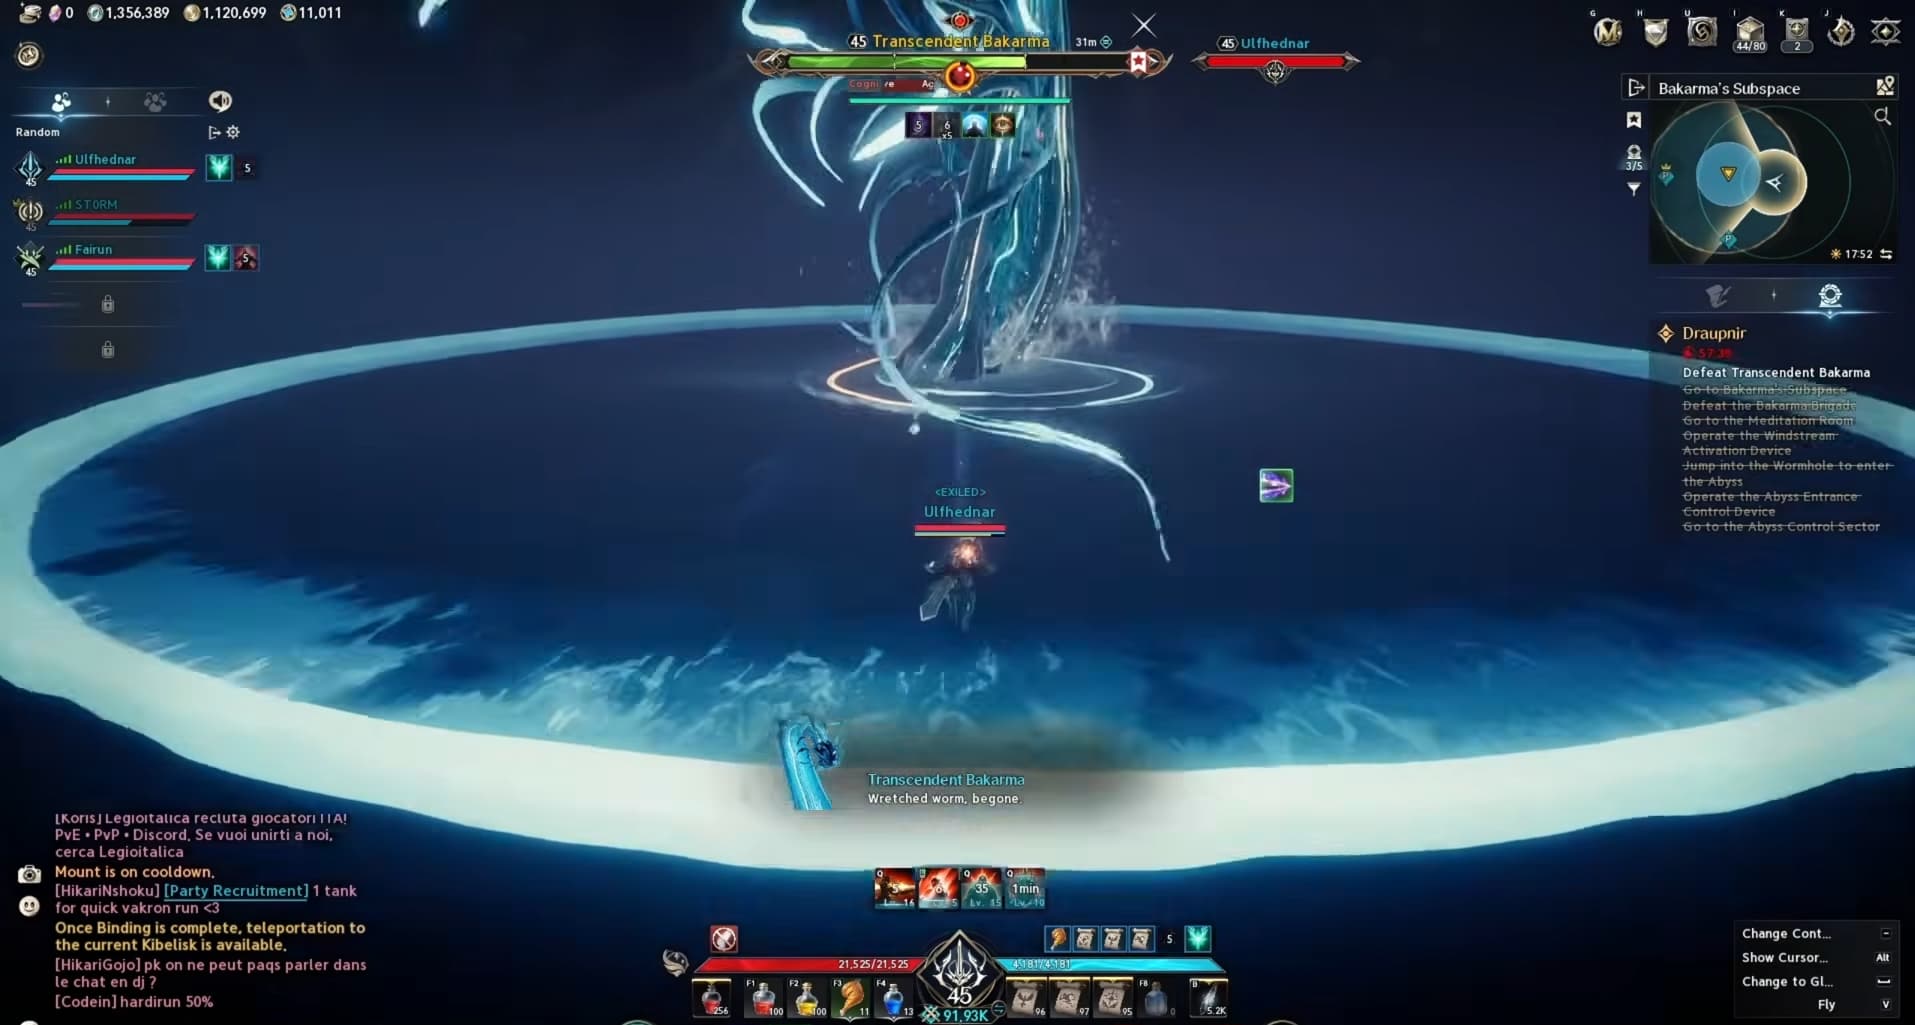
The Aion 2 Transcendent Bakarma Statue is a Unique Pantheon decoration earned by clearing Draupnir Conquest on Normal difficulty 10 times. Placing it in your Pantheon provides 36 total points: 12 Death, 12 Freedom and 12 Space.
In this guide, we will cover how to unlock the statue, the route to the final boss and the stagger mechanic you need to handle. We will also explain the weekly limit to check before farming clears without claiming dungeon rewards.
If you are still getting familiar with Expeditions and other progression systems, our Aion 2 beginner guide covers the basics.
A huge thank you to Ulfhednar for sharing his Transcendent Bakarma statue tips!
How to Unlock the Transcendent Bakarma Statue
Complete Draupnir Conquest Clear IV by finishing Draupnir Conquest on Normal 10 times. Make sure you select Conquest rather than Exploration.
For this achievement, you can skip the earlier bosses and head directly to Transcendent Bakarma, the final boss. Defeating him counts towards the clear requirement; you do not need to spend Odyle Energy on the reward cube afterwards.
Check your existing achievement progress before starting. Once you reach 10 clears, claim Statue: Transcendent Bakarma (Bound) from the achievement rewards and place it in your Pantheon to receive its bonuses.
Check Your Weekly Unclaimed-Cube Limit
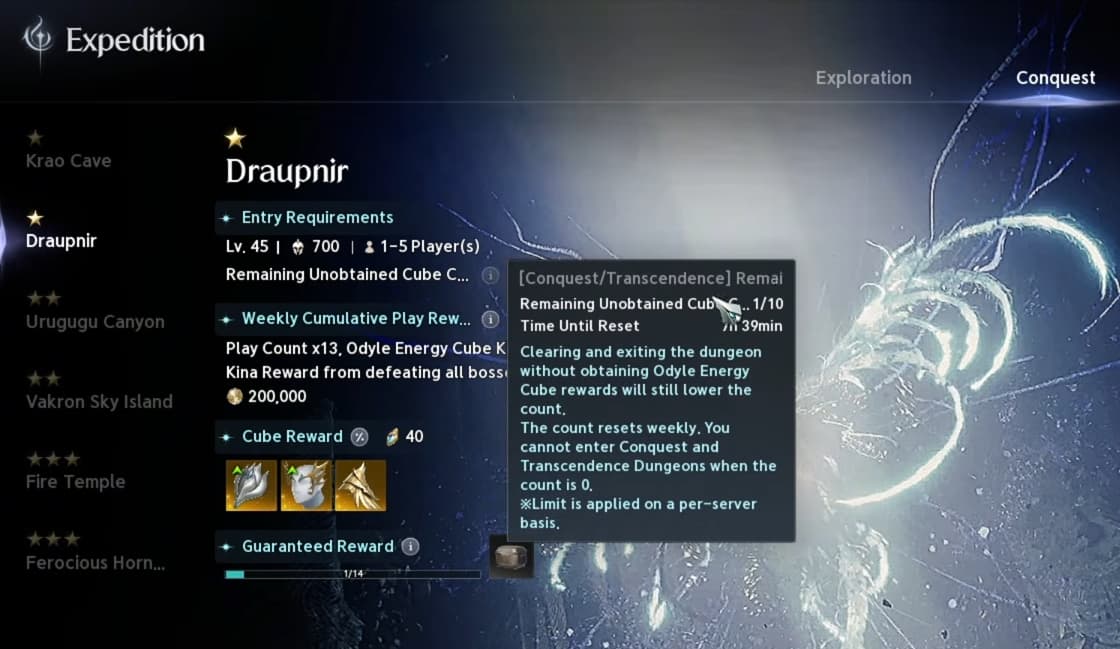
Skipping the reward cube still uses a limited allowance. Check the cube counter in the Expedition menu, labelled Remaining Unobtained Cube Count.
You have 10 unclaimed clears per week, shared across your characters on the same server. Clearing a Conquest or Transcendence dungeon and leaving without claiming its cube reward reduces this counter. At 0, you cannot enter those modes again until the weekly reset, including on your alts.
Finish any other planned Conquest and Transcendence runs before using your remaining allowance for statue farming. Doing these extra clears near the end of the week reduces the time you could spend locked out; check the reset countdown in your own client.
Claiming dungeon rewards is still an option if you want the loot. It simply is not required for the statue achievement. Our Aion 2 item level guide can help you decide which equipment upgrades to work towards.
Take the Route to the Final Boss
A full five-player party is preferable, although a smaller group can clear it with enough damage, healing and stagger. A Gladiator, Cleric and Assassin is one possible setup, with Chanter also providing useful support.
Make sure the party equips enough stagger skills before entering. Defense reduction can help your damage, but keep enough stagger available to pass the boss mechanic.
To reach Bakarma:
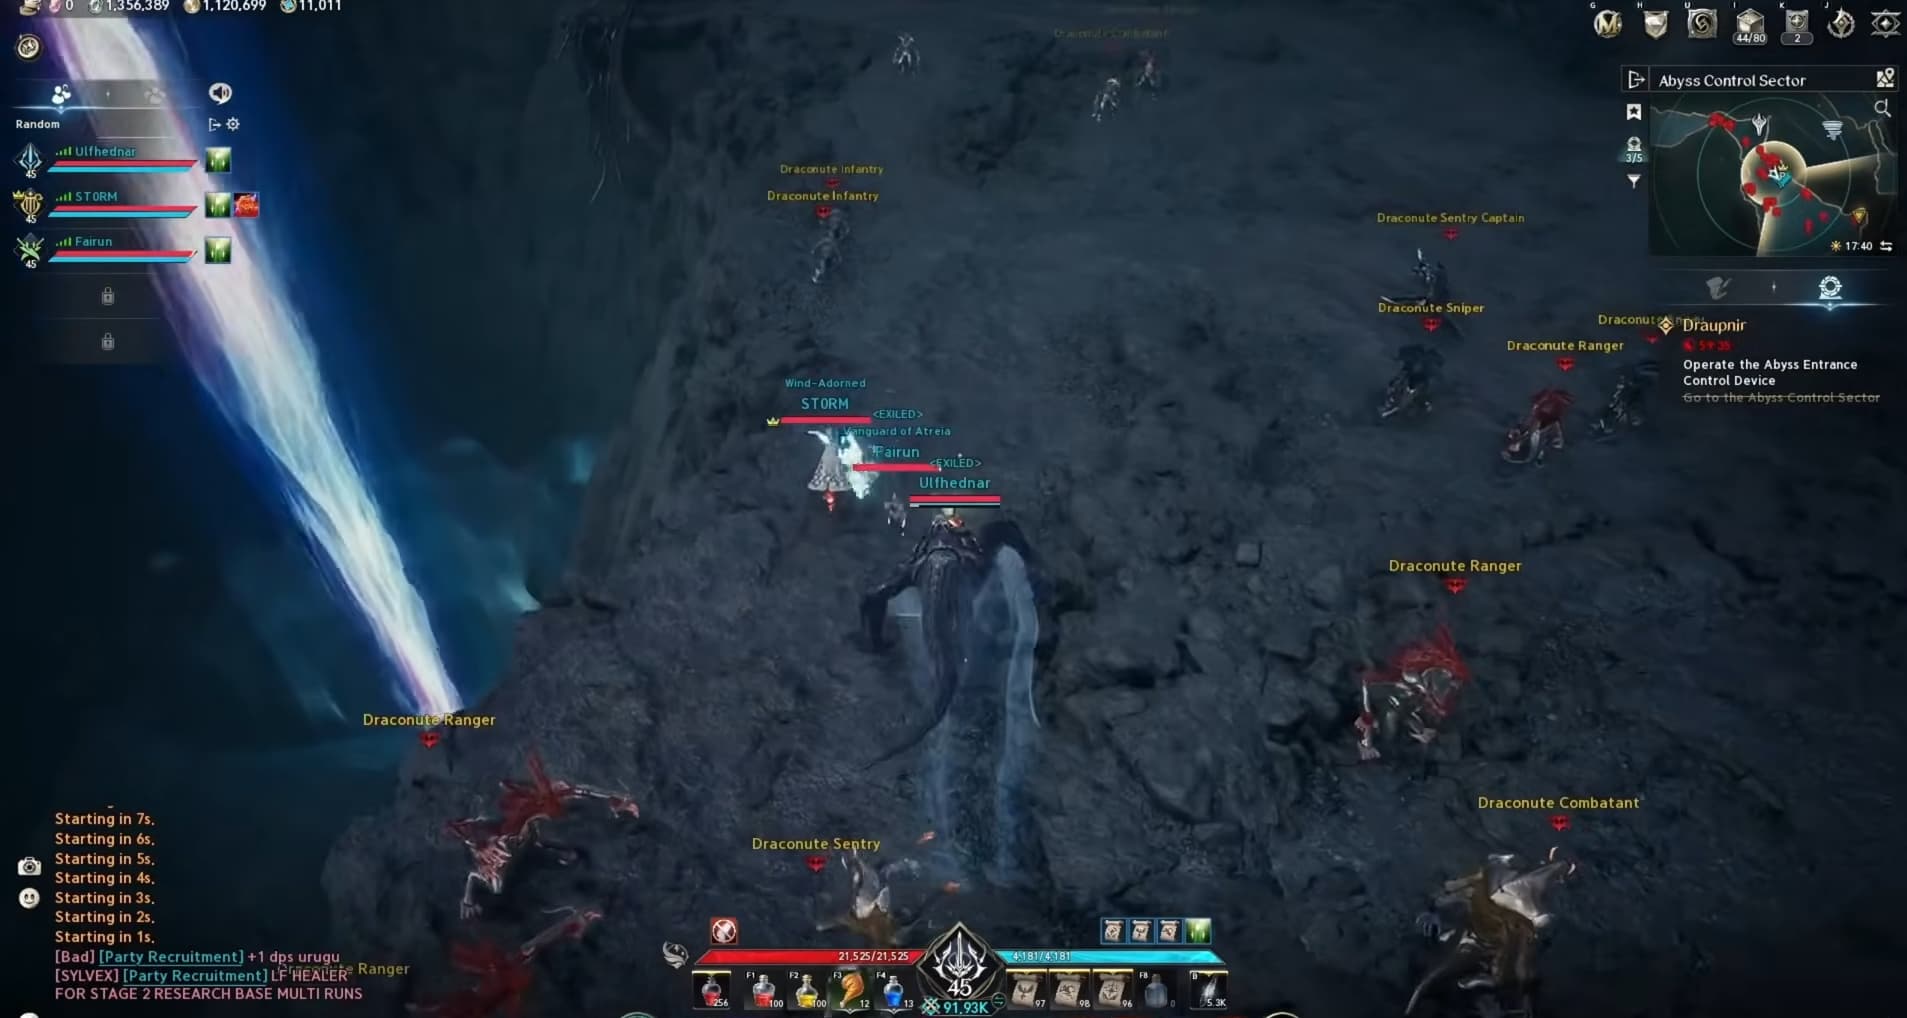
Run past the early enemies, with one player drawing their attention while another activates the route’s statue.
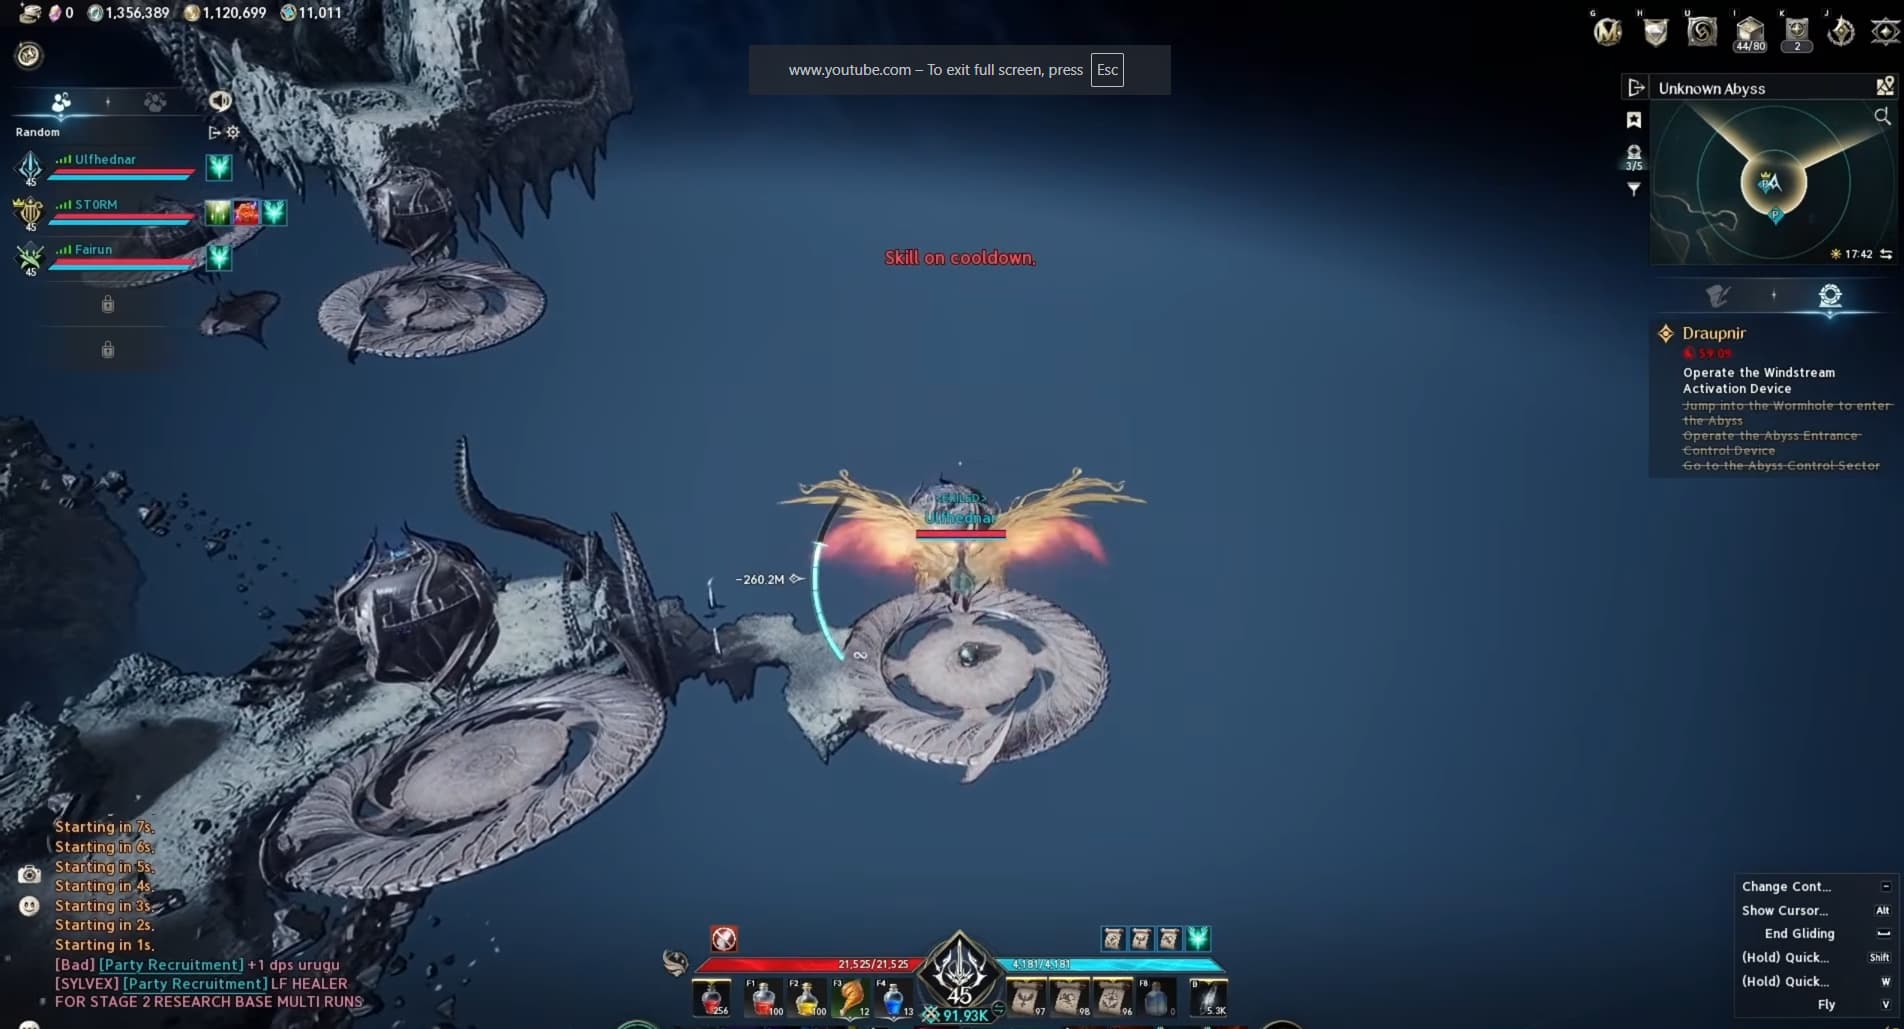
Continue forward and drop down towards the lower platform.
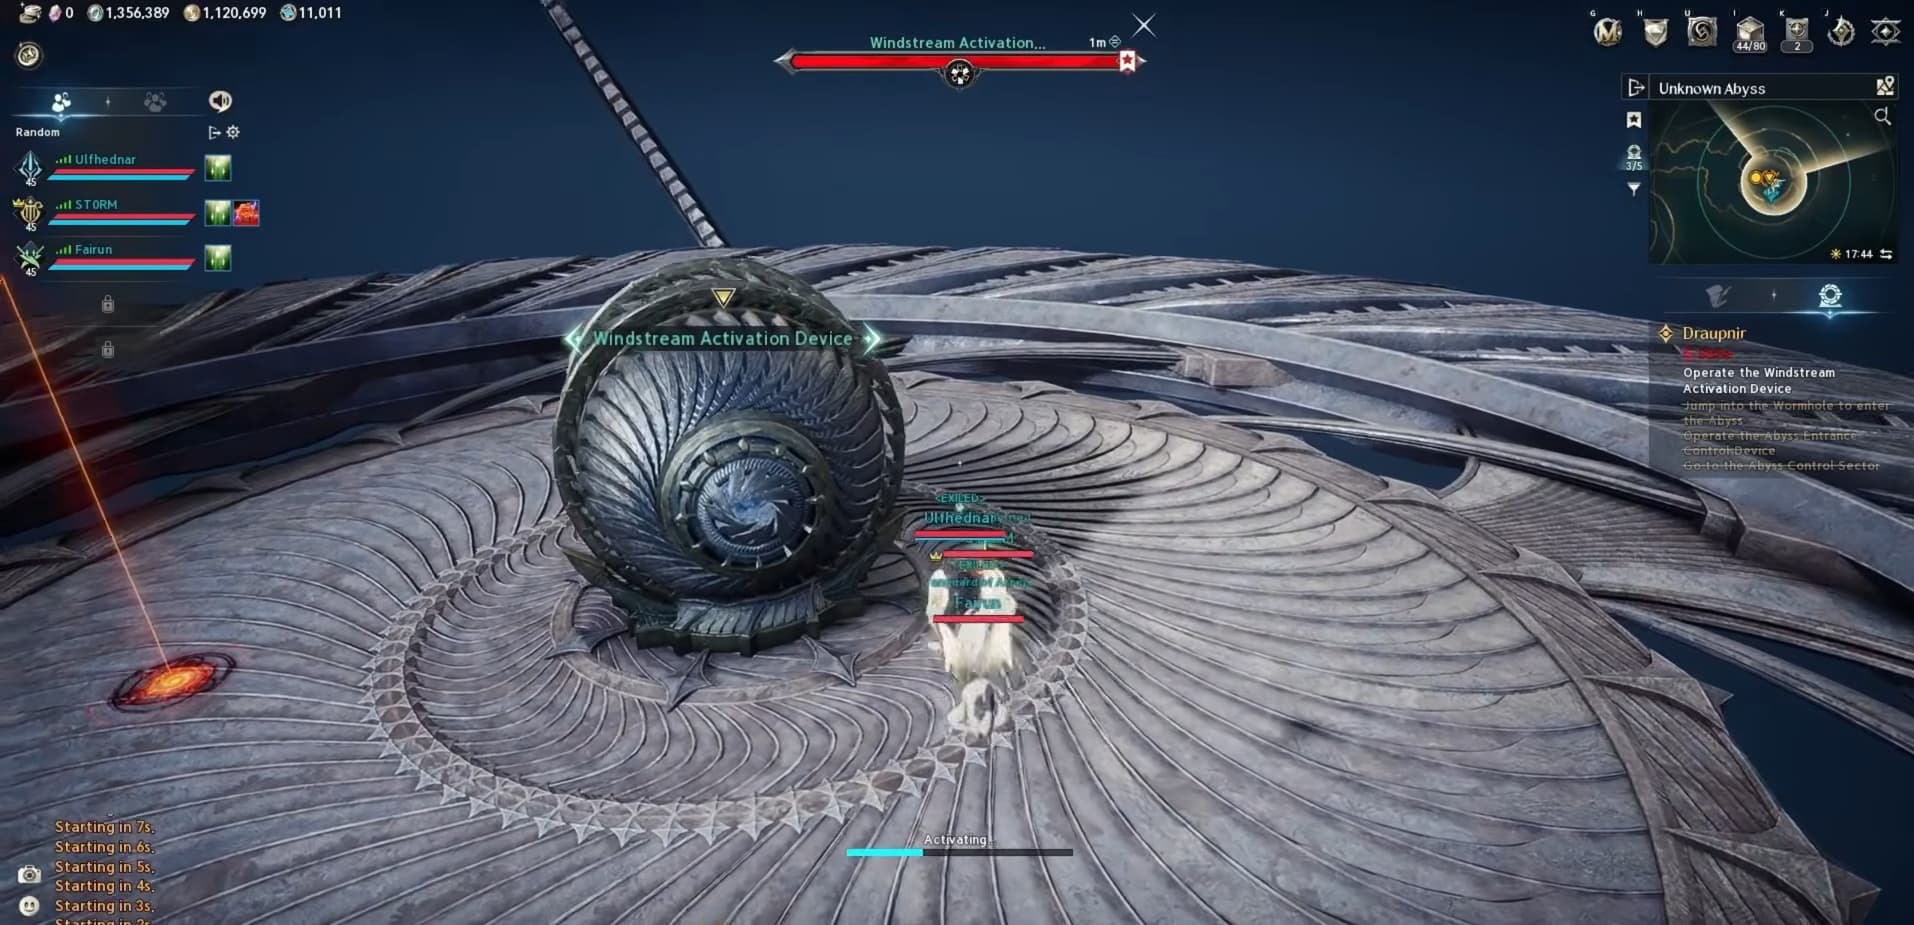
Look towards the northwest platform ahead, then activate the windstream to carry you up along the route.
Activate the Meditation Room respawn point before continuing, particularly if you are learning the fight with fewer players.
Clear the small group of enemies before the boss portal. Save your major cooldowns and buffs; avoid using a macro that automatically spends them on these enemies.
Activate the portal and press Escape to skip the cutscene when prompted.
How to Beat Transcendent Bakarma
Keep Bakarma near the middle of the arena so you are close when his main wave mechanic begins. Starting from an outer edge leaves you farther from the boss when the stagger window opens.
Jump over the incoming waves. Use a double jump and, where suitable for your class, a gap closer to get back into attack range.
Watch for the red circles that become whirlwinds. Avoid them while moving and jumping, as they pull you in and slow you down.
During the central wave mechanic, the stagger gauge beneath Bakarma’s health bar becomes available. Keep avoiding the waves while using your stagger skills to bring that gauge to zero.
The stagger window is brief, and Bakarma becomes immune to stagger towards the end of the mechanic. Save the relevant skills for when the gauge unlocks and have the party use them promptly. Once the check is complete, return to dealing damage and repeat the mechanics as needed.
Gather Odyle and Finish Your Clears
After the kill, gather the Odyle nodes that appear around the arena. Split the available nodes between party members so everyone gets a share. Harvests can produce Radiant Odyle, although that result and any double yield are not guaranteed.
Gathering these nodes is separate from spending Odyle Energy on the dungeon reward cube. If you are saving energy, leave the cube unclaimed while keeping your remaining weekly allowance in mind.
Continue until the achievement reaches 10 clears, then claim and place your statue. That completes the unlock and adds its Death, Freedom and Space points to your Pantheon.