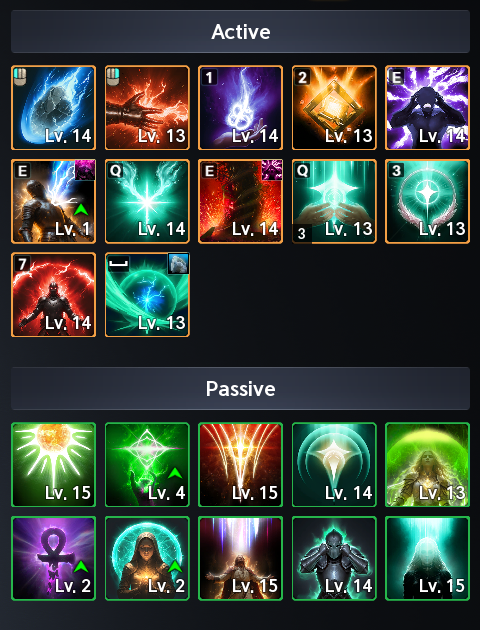
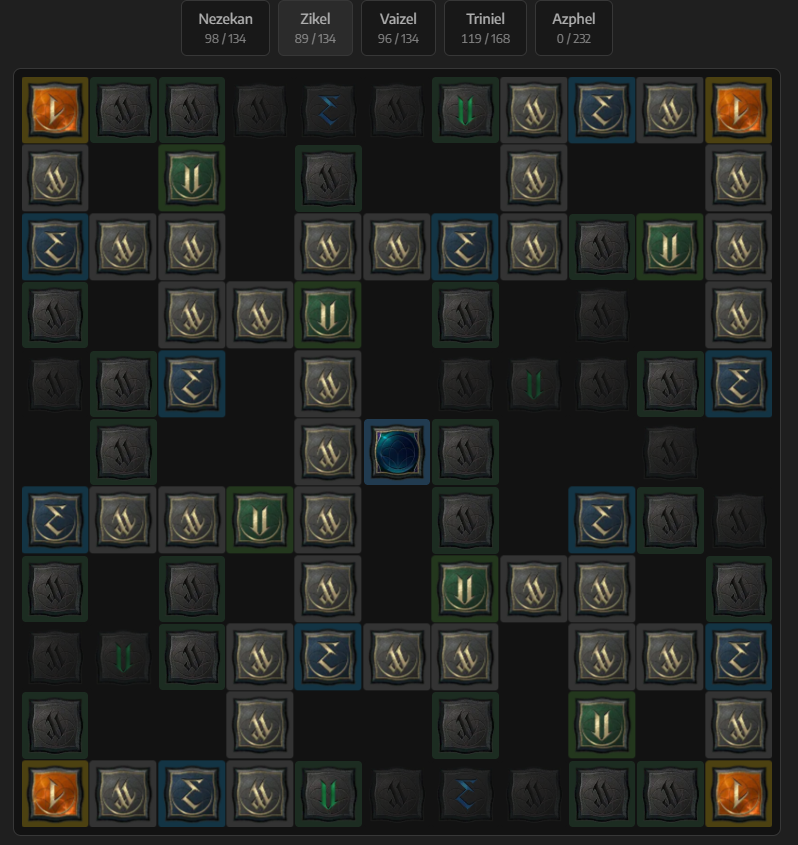
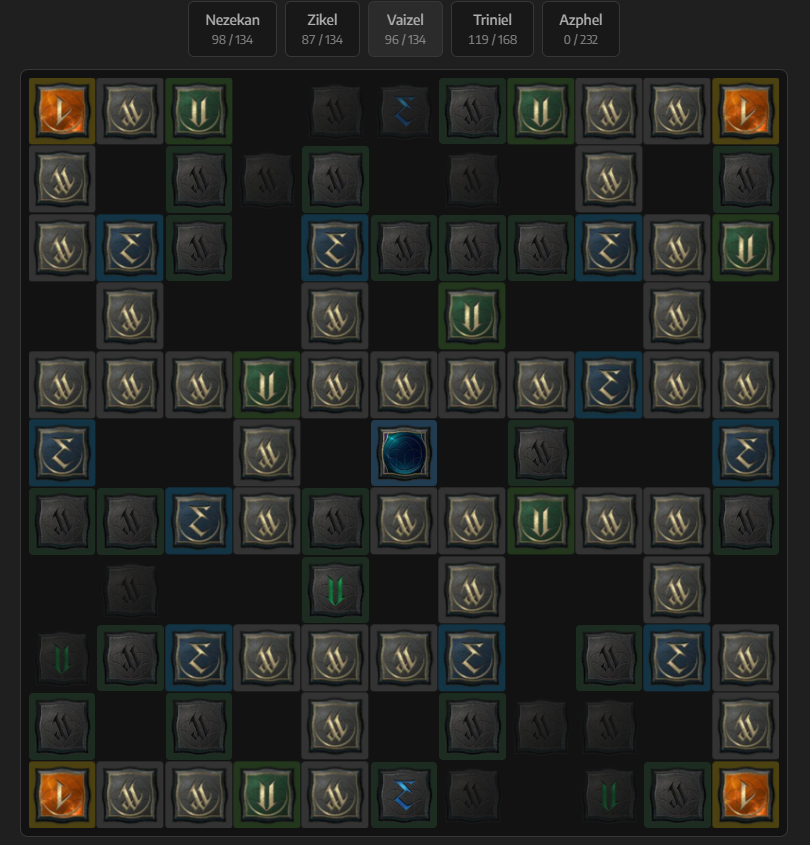
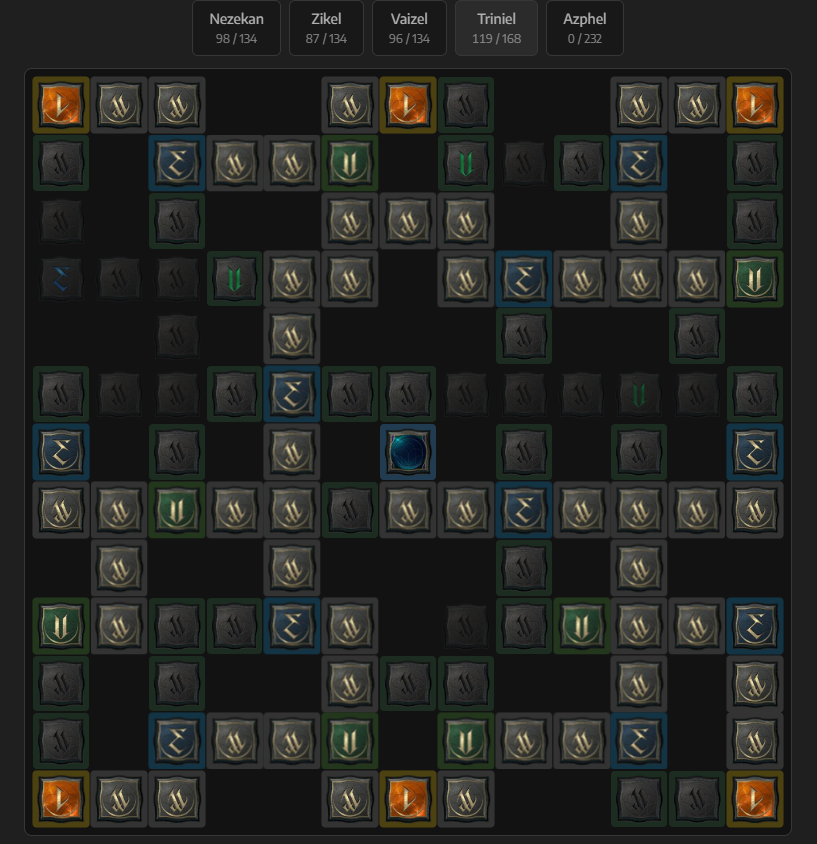
The Condemnation Cleric’s rotation revolves around maintaining debuffs on the enemy, keeping emergency healing tools available for your team, and ultimately, performing the combo for your  Condemnation spam, allowing for serious damage, even from a support class.
Damage Rotation
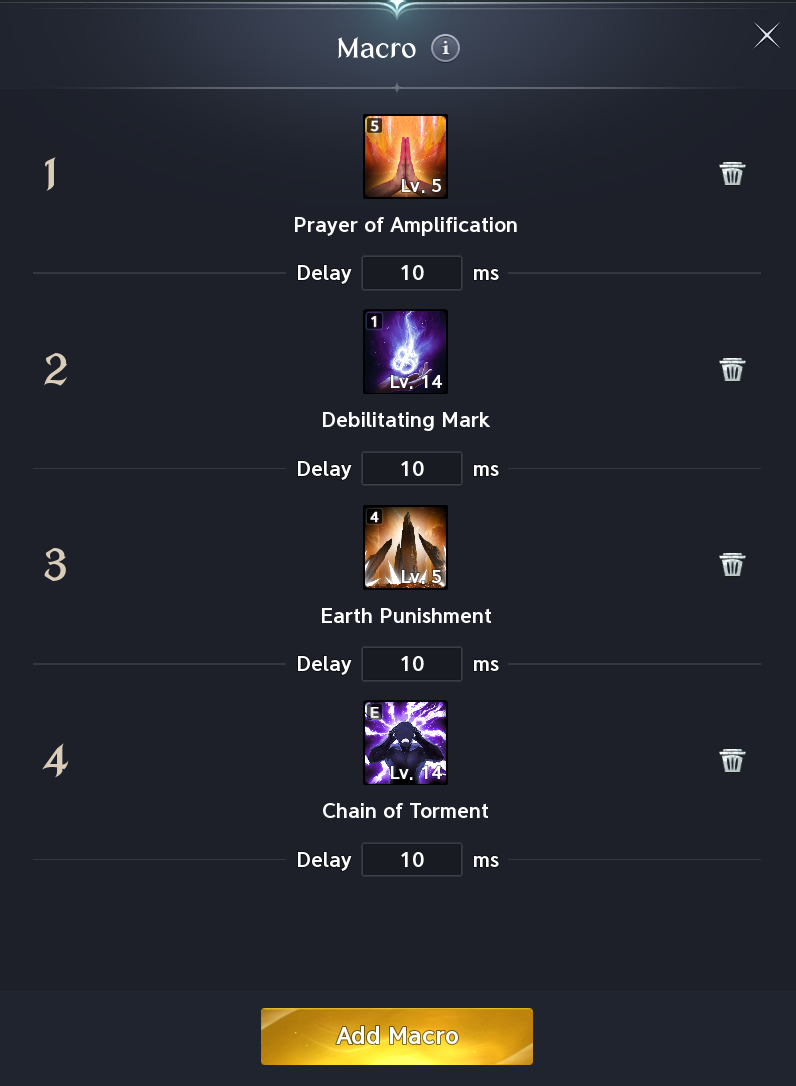
A basic example of your rotation should be as follows:
- If it is not active, or it is off cooldown and able to be refreshed, cast
 Noble Aura, and ensure that your
  Light of Protection buff is active.
 - Cast
 Prayer of Amplification
 - Apply
 Debilitating Mark
 - Apply
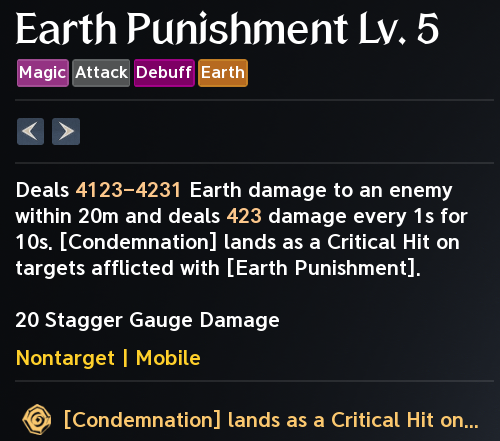
 Earth Punishment
 - Apply
 Chain of Torment
Then, once you’ve applied Chain of Torment, you should be able to cast Condemnation, and if you have Earth Punishment at Level 5, Condemnation will be able to be cast as an automatic Critical Hit, allowing it to reset every hit during Earth Punishment’s duration.
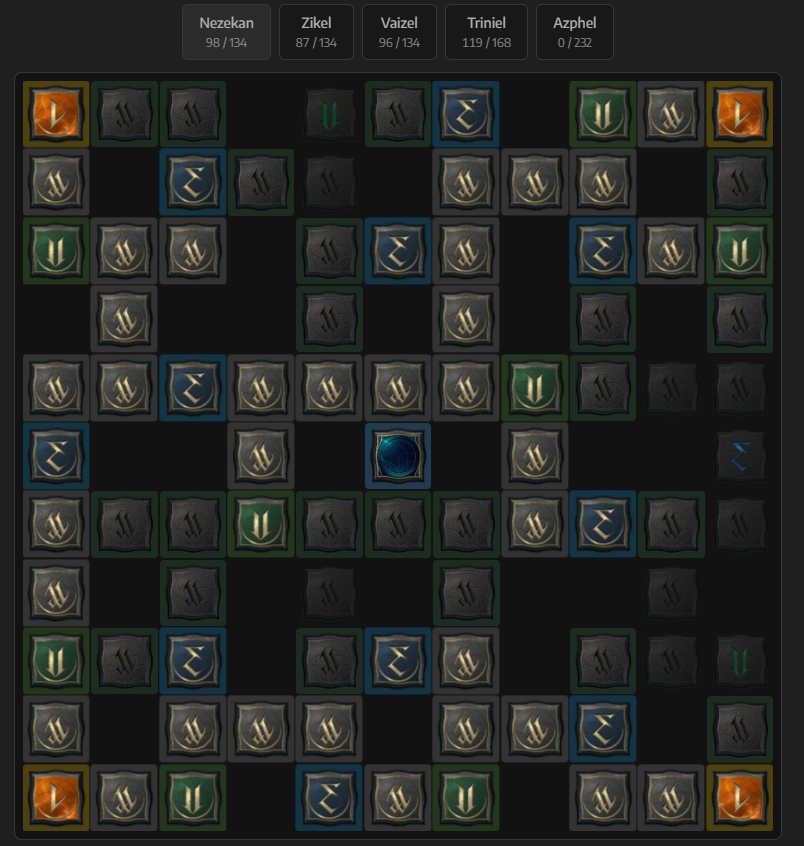
Remember, Chain of Torment must be active before using Condemnation, and Condemnation requires the 4th Specialty to reset on Critical Hit.

- Debilitating Mark and Prayer of Amplification should be maintained throughout combat, so reapply them whenever possible. (Ideally, you’ll want to make sure that Prayer of Amplification is being cast when you are going to begin, or can perform your Condemnation spam combo.)
- Use skills like Earth's Retribution, Judgement Thunder, and Divine Aura as filler when your combo is on cooldown, or when you are not needing to heal your party.
Healing Rotation
Instead of worrying more about a rotation for your healing upkeep, pay attention to your team’s health pools while you are in any team fight.
Make sure to keep  Radiant Recovery available for a large burst heal and cleanse, or to help mitigate a tricky boss mechanic that does a lot of damage.
Otherwise, you should be able to upkeep other healing with your  Light of Regeneration and
  Healing Light.
The key principle is simple: do not spend every defensive cooldown immediately. Keep major protection skills available for mechanics that can threaten the entire party.
In-Game Macro Setup
The in-game macro system is a simpler way to handle much of the rotation, so you don’t have to worry about the bulk of the setup.
Check both your macro and quick-slot assignments when setting it up. Your damage skills, buffs, and conditional attacks still need the correct bindings; assigning a macro key alone does not configure the full rotation. Test the setup on a training dummy before taking it into a dungeon. Watch to ensure your attacks activate correctly and your debuffs are applied as intended.
For targeting, boss orientation indicators, and other useful control options, check our Aion 2 settings guide.