Swarm is going to be out in a week or so, and it is one of the best games Riot has created in quite a while. If you are a veteran player, you may remember some previous game modes that they created in the past. This is something similar; however, it is far better. Swarm is a PvE game mode where you can play alone or with several friends.
In Swarm, you can play as one of nine different champions. These champions are Jinx, Seraphine, Aurora, Illaoi, Leona, Xayah, Yasuo, Riven and Briar. There are a total of four different maps and each map has a different boss that you have to beat. In this game mode, you will also find other champions, such as Aatrox, Yuumi, Rek’Sai, and more!
This article will break down each map, and provide you with a basic strategy you can take in every single game. However, your champion and strategy might change, depending on what champion you are playing, if you’re playing with friends or alone, and what difficulty.
Before we begin, we’ve written a few different articles about Swarm, including a Beginners Guide to Swarm and a complete breakdown of Swarm. If you like these guides or want to see more, head to the Mobalytics Blog for more content for LoL.
How to Play
Before I break down everything, I would like to provide a huge disclaimer. How I play the game might not be how you want to, and that is completely fine. There is no right or wrong way to play a game like Swarm. However, this is how I have found success and have been able to unlock every champion and max out my stats. Your gameplay might change depending on the champion you are playing, and this is intended to be a generic overview that will help you in the majority of cases.
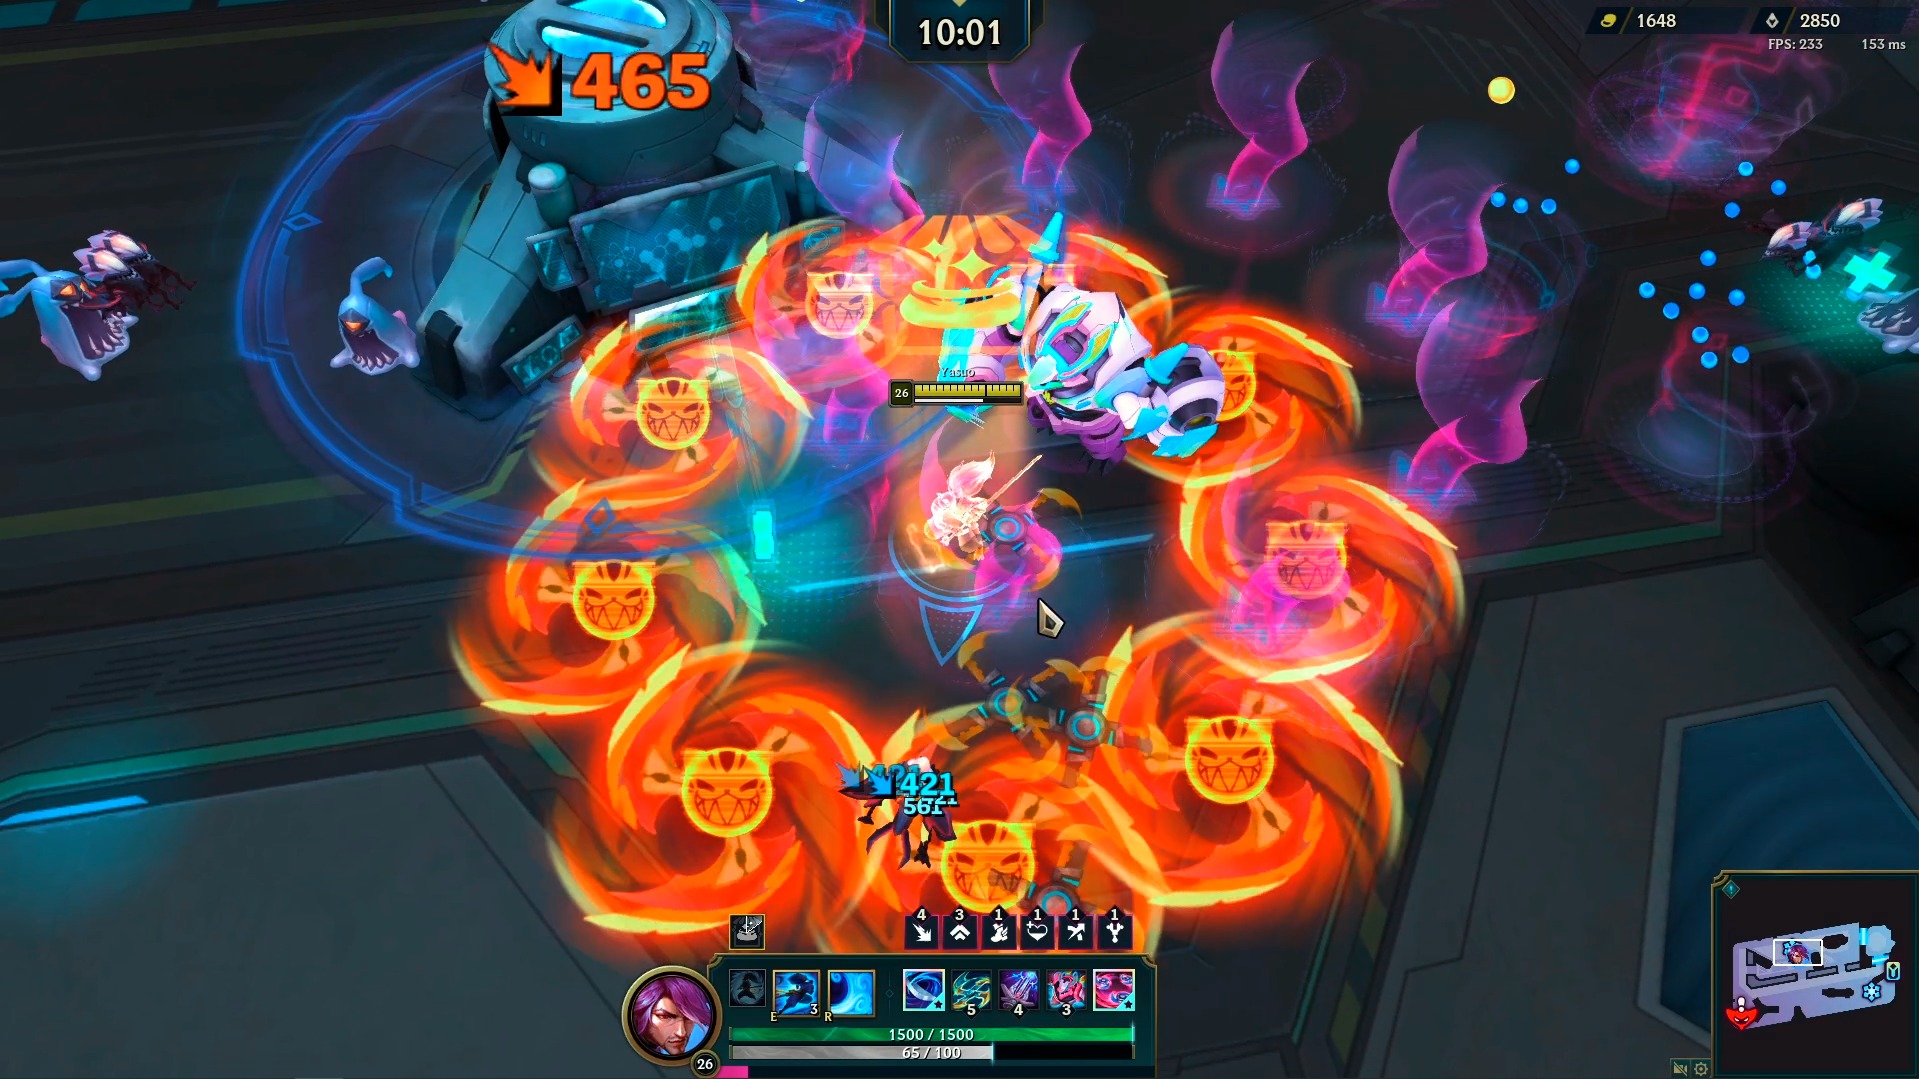
Generally speaking, you pretty much do the exact same thing on every map for the first few minutes of the game. Pick up as much XP as possible by killing as many enemies as possible. You will unlock your E ability at level 3 and your Ultimate at level 6. Throughout the early parts of the game, rotate and move around the map, specifically the outer limits of the map as there are lots of loot boxes.
Loot boxes are very important because they provide you with gold, XP, and health. You should keep roaming and rotating around the map while you pick up these boxes. Once Yuumi’s missions start to spawn, you should try to do those to pick up free bonuses to help you in the game. When mini bosses spawn, you should try to kill them as quickly as possible and either pick up the cards or hold on to them until you have a weapon ready to evolve. Complete Bel’Veth missions when they spawn to.
Map Overview
Now you have the very basic and quick rundown of your mindset and goal to play Swarm, it is time to break down each map. Assuming you follow the basic strat, then you will have a great start to each map.
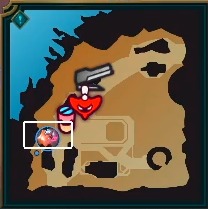
Warehouse District
The first map is called Warehouse District. Warehouse District is the first map. To beat this map, you need to survive 15 minutes and then beat Rek’Sai.
Warehouse District Overview
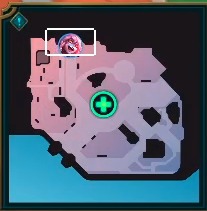
This map consists of a huge fountain right in the middle that will heal people once the zone has been captured. I would avoid taking this in the early game because the cooldown can be pretty long, and you should only take it if you need it. I like playing around this area of the map in the late stages of the game because you never know when you need the heal, and it’s better to be close to the heal when you need it (this is especially true if you haven’t found any health drops from boxes).
Areas to Avoid
So, for the first map, you generally want to avoid areas that are really close and tight just because it’s harder for you to move around. In this map in particular, it is around the bottom right side of the map. I would avoid pathing through there unless you have weapons that deal a lot of AOE damage; otherwise, it is hard for you to get through without taking damage in return.
Instead of going in this area, stick to areas quite open and around the fountain. Specifically, stay around the middle part of the map so you can rotate and move around more. You can also jump on the fountain to get the heal if needed. However, you can also play towards the top left side of the map early on so you can spawn trap enemies and get a ton of XP/ boxes.
The Outskirts
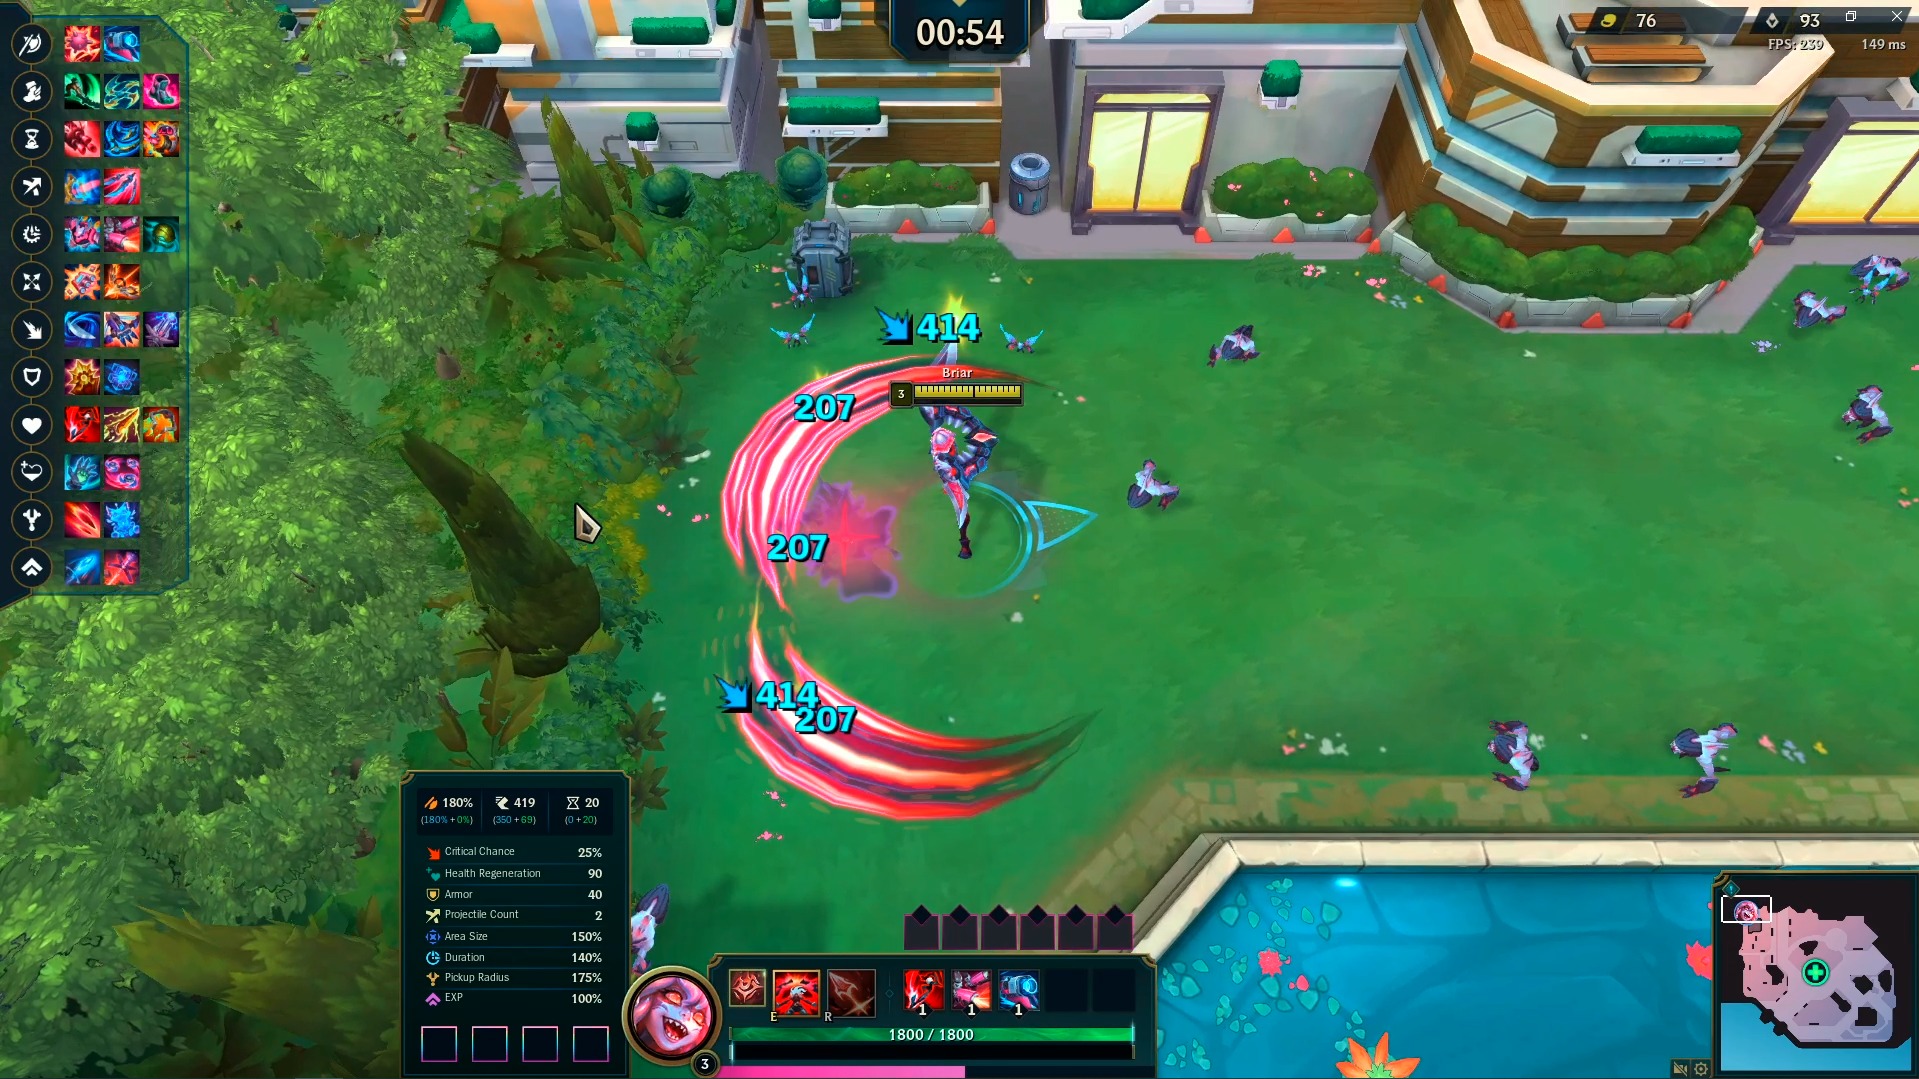
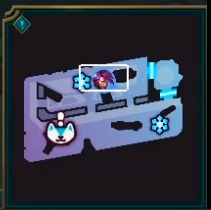
The second map is called The Outskirts. On this map, you need to beat Briar, the final boss. She spawns after the 15-minute mark and deals a lot of damage
The Outskirts Overview
The unique thing about this map is that there is a massive cannon in the top part of the map. To unlock the cannon, you need to provide it with a battery. Batteries spawn around the cannon, and once they are picked up, you can place them inside the cannon. The cannon will then be activated and it will shoot at targets. Just like the fountain, the cooldown can be quite long, so you might want to avoid using it early on. Instead, I would pick up the battery and just hold on to it as it doesn’t run out. You should then play around the cannon as much as possible and then plug the battery into the cannon when things are getting tough. You could do this when you are starting to get overwhelmed.
Areas to Avoid
Apart from the area in the bottom right corner, this map has no real areas you’ll want to avoid, so you are pretty much free to go anywhere. Naturally, don’t go in the circle or dome on the bottom right side of the map, as you’ll obviously die; as there is no room to move in there.
I would stick to the middle of the map purely because there is lots of room, and it’s hard to get swarmed by enemies. Also, the battery spawns in the middle, near walls and around the cannon, so you can easily pick it up and place it on the cannon if needed.
Subterranean Lab
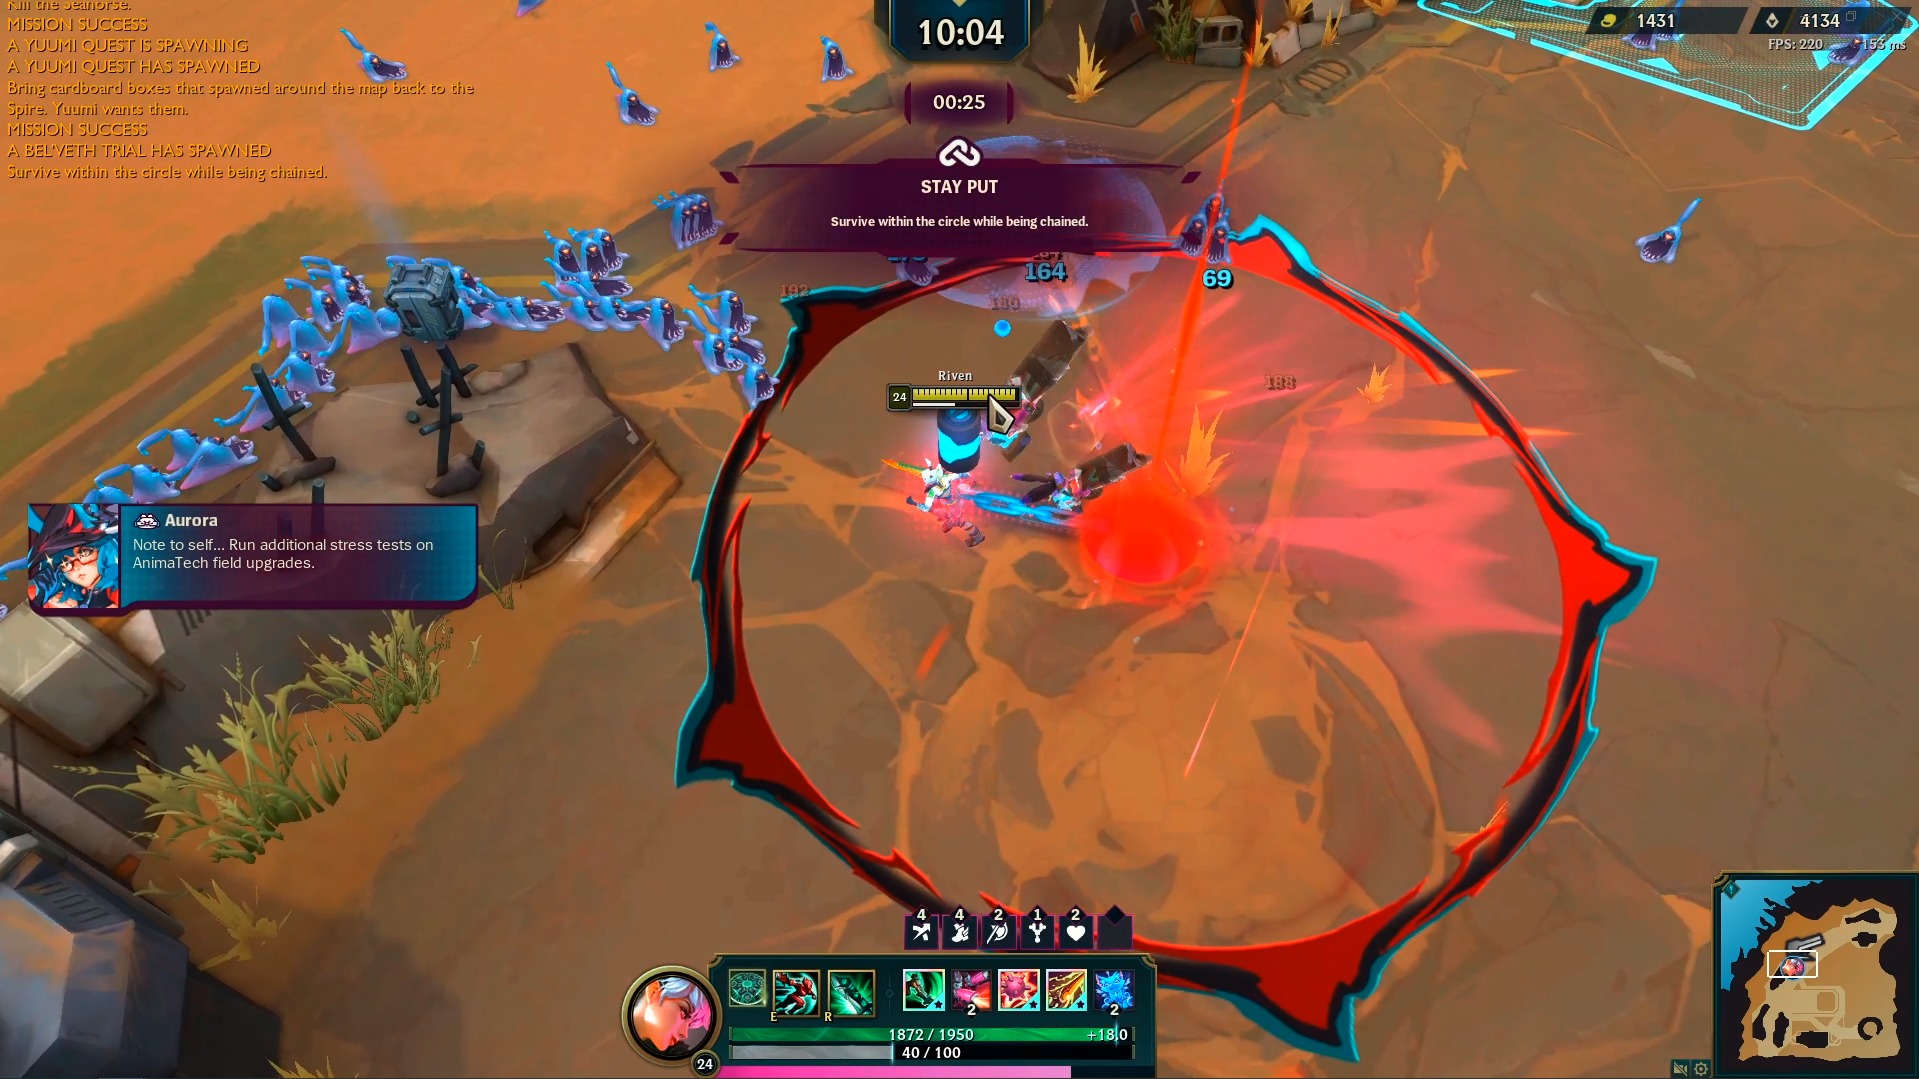
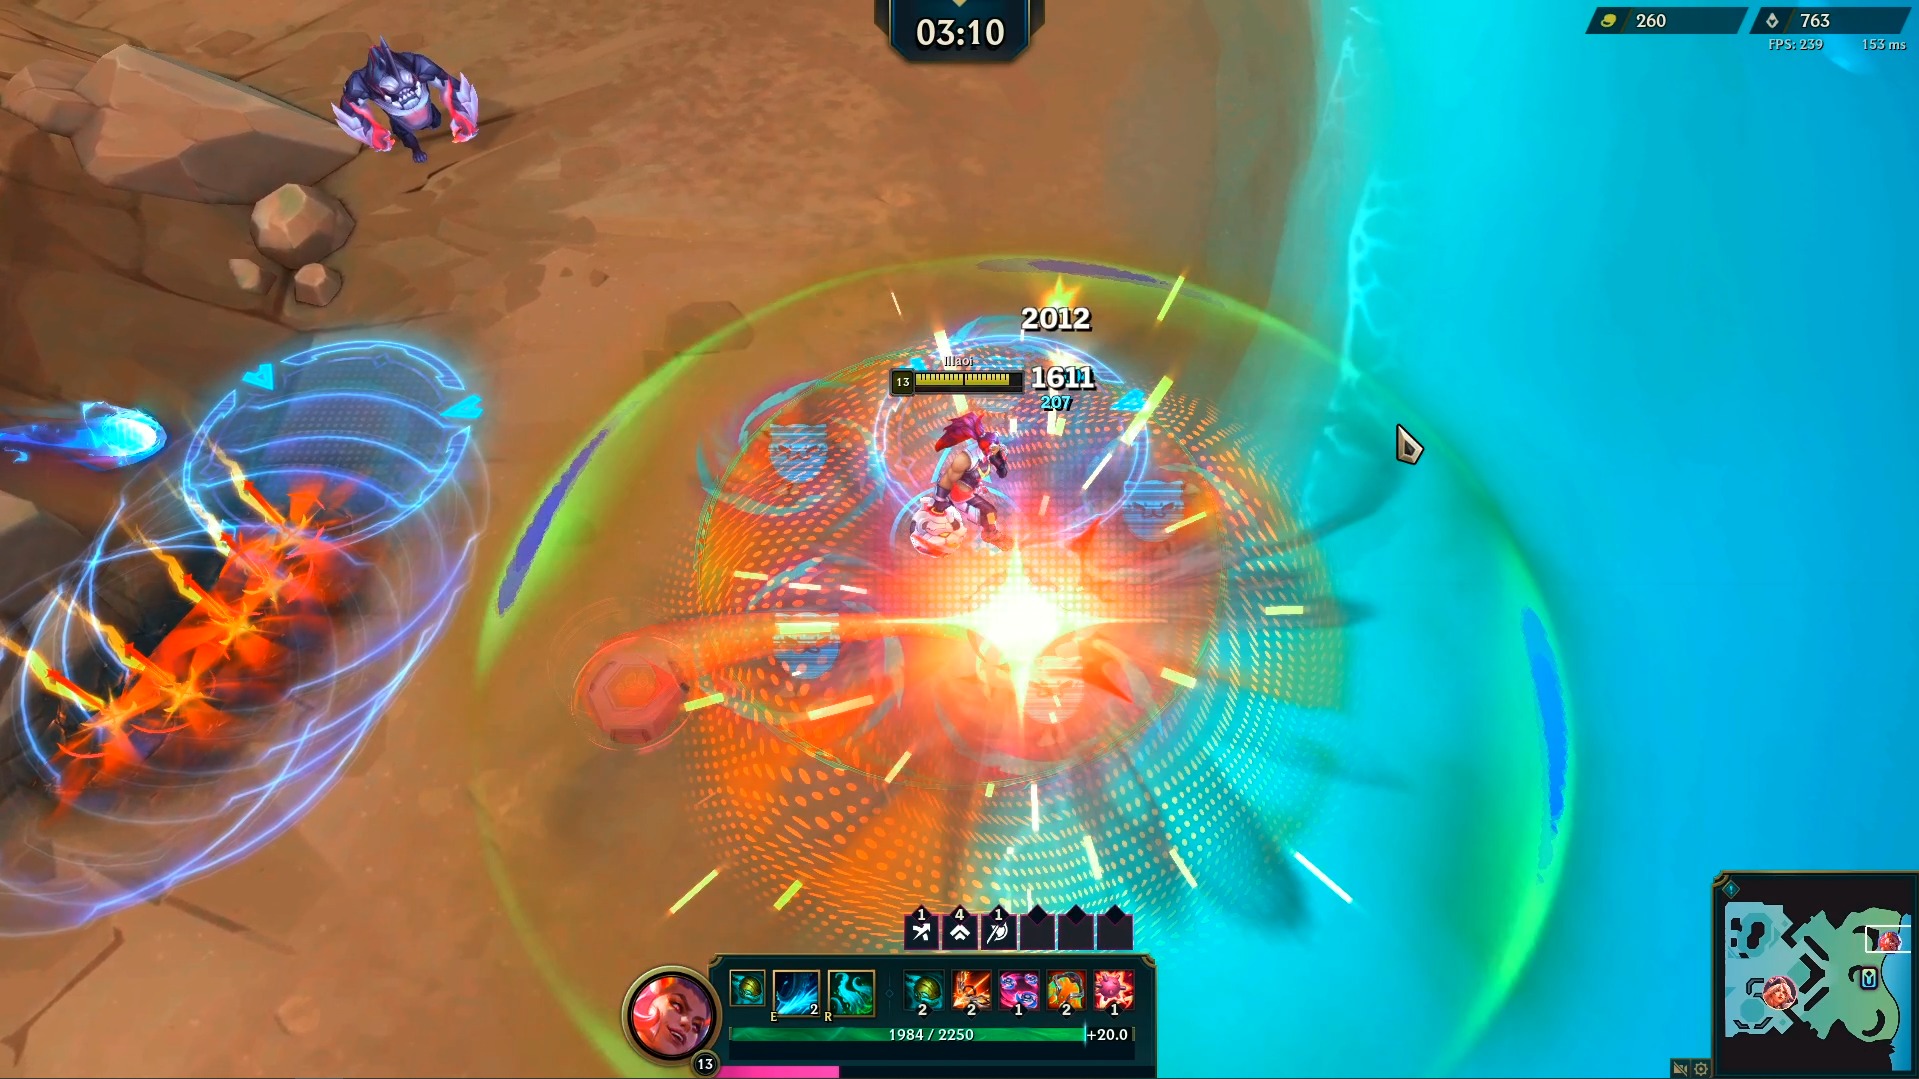
The third map is called Subterranean Lab. To beat this map, you will need to survive for 15 minutes, beat a ton of mobs and then beat the final boss, Bel’Veth.
Subterranean Lab Overview
This map has two zones that will freeze targets once you activate them. To activate the zone, you need to just stay in the area for a brief period of time. Early on, you don’t need to activate this zone, but once games start getting trickier and more and more enemies start spawning, you may need to use either one of the zones. Don’t be afraid to use these, as they are extremely important in higher rounds when there are more enemies.
Areas to Avoid
For the third map, I would avoid going close to the top right corner purely because there is less room to move around. You could go this way if you have AOE weapons as it is a good way of picking up a lot of XP. But in the later parts of the game, just avoid this area, as you will get swarmed by enemies.
Like the rest of the maps, I would ensure that you are in the open but also in a position to use the zones to freeze the enemies if needed. However, I feel that rotations are essential in this map. So, if you have taken the bottom one, you should play to the top side of the map while it is on cooldown.
The Beachhead
The Beachhead is the final map. This can be the hardest map of all, but to beat it and unlock the matchmaking game mode, you need to survive 15 minutes and then beat Aatrox… several times.
The Beachhead Overview
There are two main features of this map. The first is Miss Fortune. Miss Fortune hovers in the city, which is to the left of the map. She will destroy enemies; you can pick up the XP from killed creatures. There are some cannons to the right of Miss Fortune and on the beach. These cannons will fire consistently at enemies, which ultimately helps you kill them. Depending on what champion you are playing and your personal preference, you may want to play with Miss Fortune or on the beach with the cannons.
Areas to Avoid
For the final map, the areas you want to avoid are the paths leading to the beach. This is because in the later parts of the game, you will just get swarmed by enemies. Similarly, on the left side of the map, there are a lot of awkward paths where you can quickly get swarmed by enemies. Your best bet is to stay in the open, as you have more room to run around and escape incoming enemies.
There are two main strategies for positioning and playing. Personally, I have felt more comfortable being on the beach because you have the cannons assisting you. However, you can also play within the city limits itself and use Miss Fortune to your advantage. It really depends on your play style, champion, and what you prefer. A common idea is that melee champions will play on the beach, and range champions will play in the city.
In Conclusion
While these strategies might be really good, it is important that you come up with your own strategies and try out different things to see what works for you. Also, you need to be prepared to adapt your strategy heading into the game because what you do in solo play might not necessarily be good in a game with other players.
Furthermore, your gameplay will change depending on the champion you are playing. Regardless, if you take this basic strategy I’ve provided and then adapt it to your own situation, you will be able to face off and be all the bosses reasonably efficiently. But your overall likelihood of beating a level would depend on what you have upgraded, what weapons you have evolved, etc etc.
What do you think of our guide? We hope you find it interesting and that it provides you with some help to get you started if you’ve never played a vampire survivor-type game before. Remember this game mode isn’t going to be around forever, make sure you play the most of it what you can.