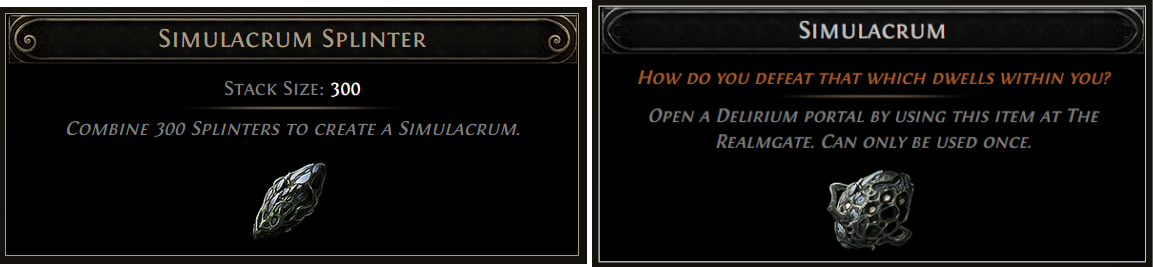
Simulacrum is the Pinnacle encounter associated with Deliriumand can be accessed by collecting a set of 300 Simulacrum Splinters which will form a Simulacrum item.
The Simulacrum event features 7 Waves of increasingly difficult enemies, but players who are successful will be rewarded with piles of loot, including special Unique items and potentially valuable Distilled Emotions.
This guide will cover how to access the Simulacrum event as a whole, including Waves, Modifiers and Bosses you'll encounter as well as the rewards and tips for being successful. There is also an attached video if you'd like to watch a full Simulacrum Difficulty 4 run which can be seen to the right (note: this video is from pre-0.5 and features the older, 15-wave Simulacrum)
If you'd like to learn more about Delirium, the mechanic associated with Simulacrum which is required to access Simulacrum, check out our guide here: Delirium Guide
Accessing the Simulacrum
Acquiring a Simulacrum
Players can access the Simulacrum encounter by collecting 300 Simulacrum Splinters in Delirium Encounters and transforming them into a full Simulacrum item
Simulacrum Splinters are now used to open Simulacrums and the full Simulacrum item has been removed
Opening a Simulacrum
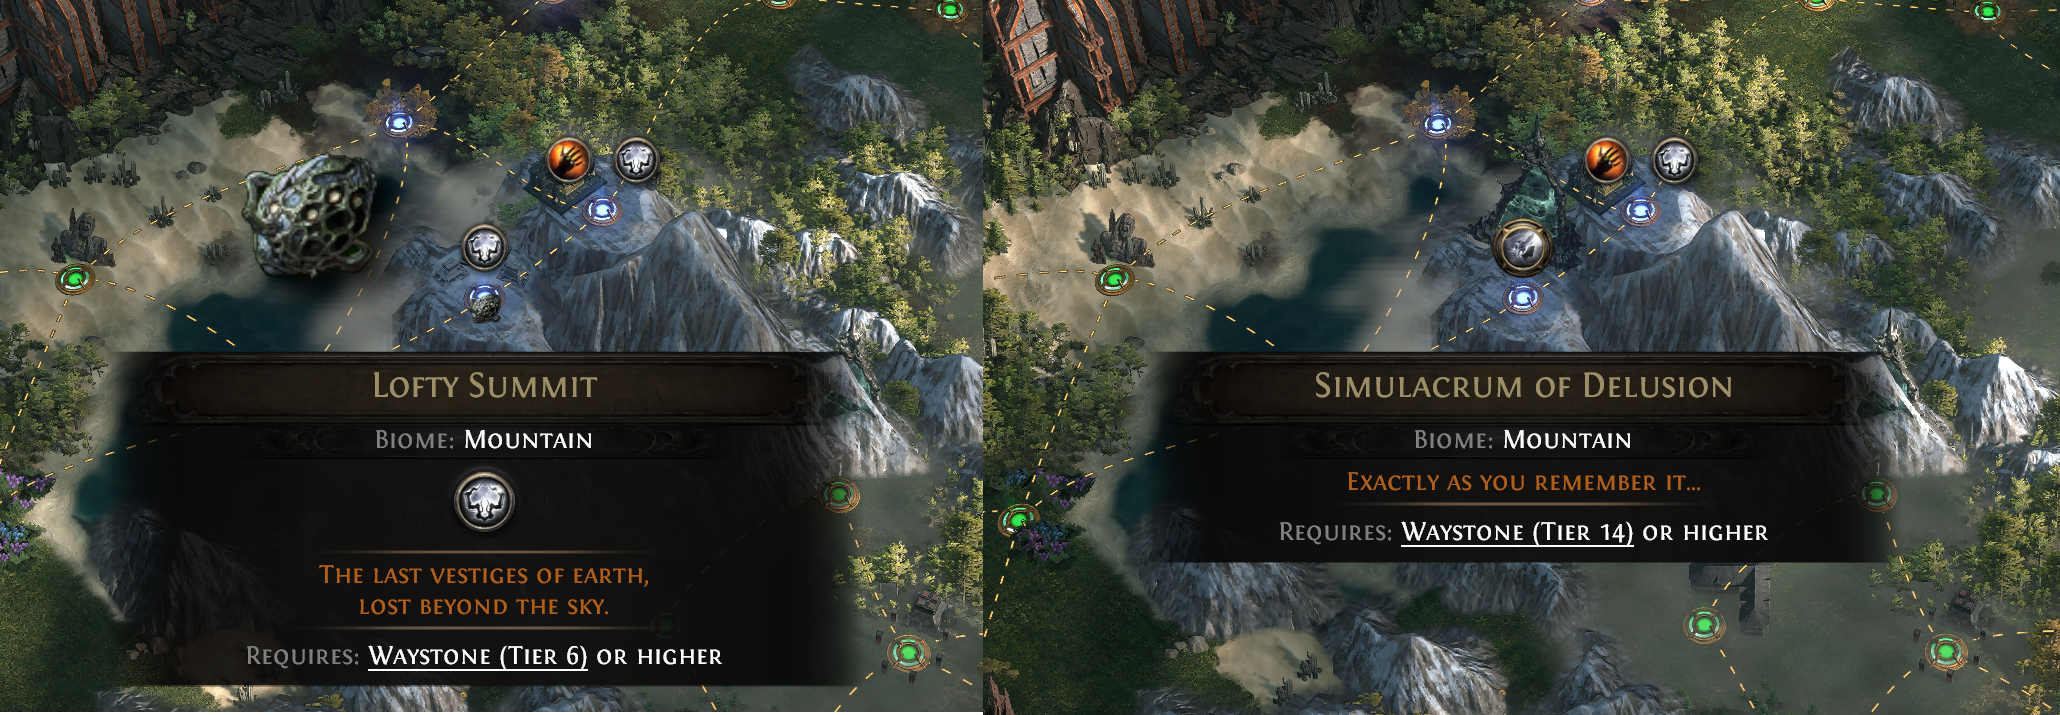
After collecting a Simulacrum, you can access it by right-clicking it in your inventory, then clicking it on any Map on your Atlas that is enshrouded in Delirium Fog.
A Simulacrum will also appear in the Delirium area on your Atlas once that area reaches 100% Delirious Effect
Simulacrum Layout, Waves and Modifiers
After entering the Portal, you'll find yourself in the Simulacrum of Delusion. This area is broken up into smaller arena segments of different sizes that can only be accessed during specific Waves of the Simulacrum.
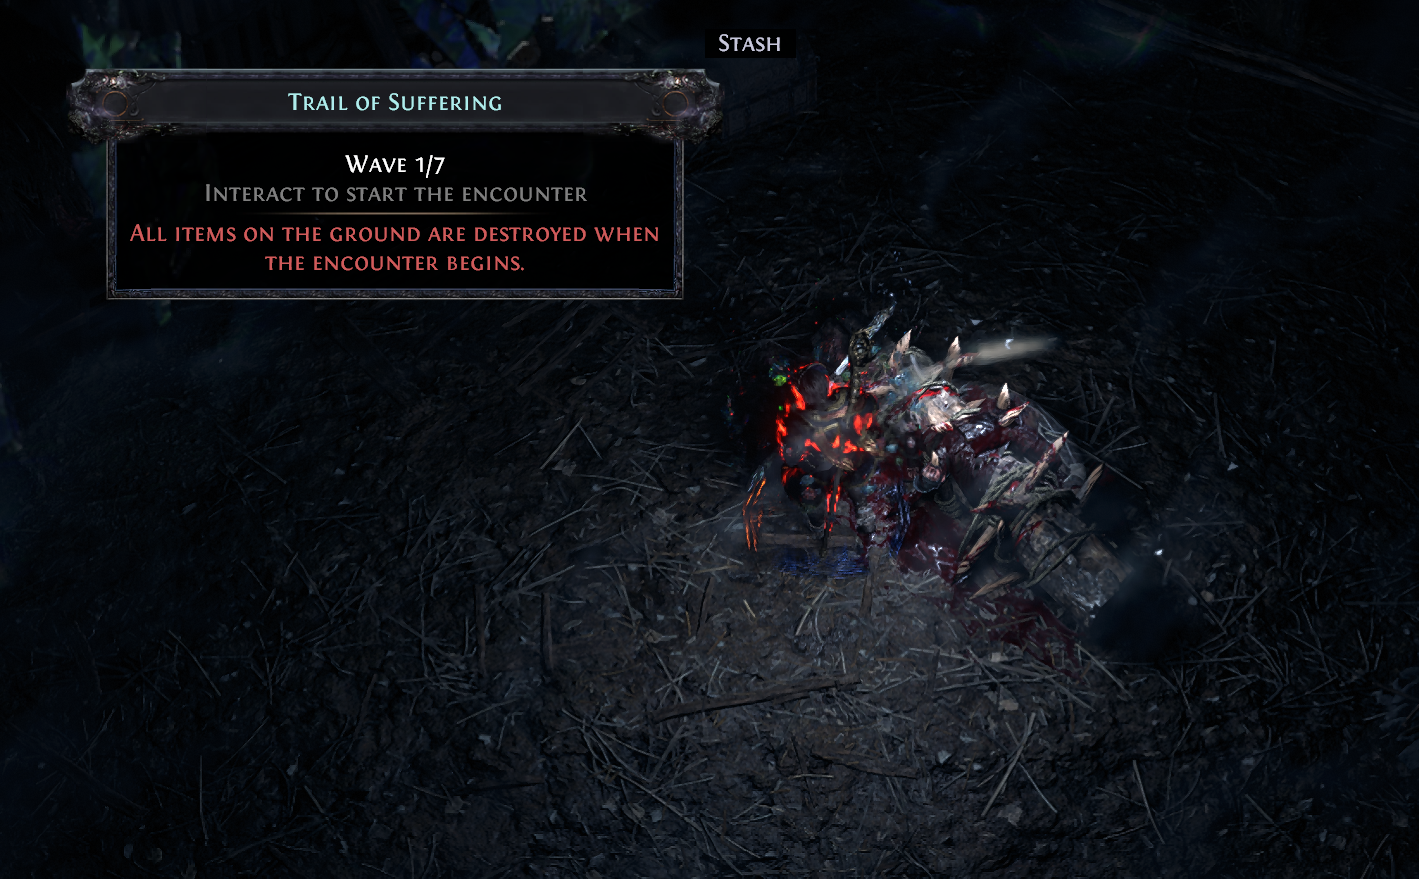
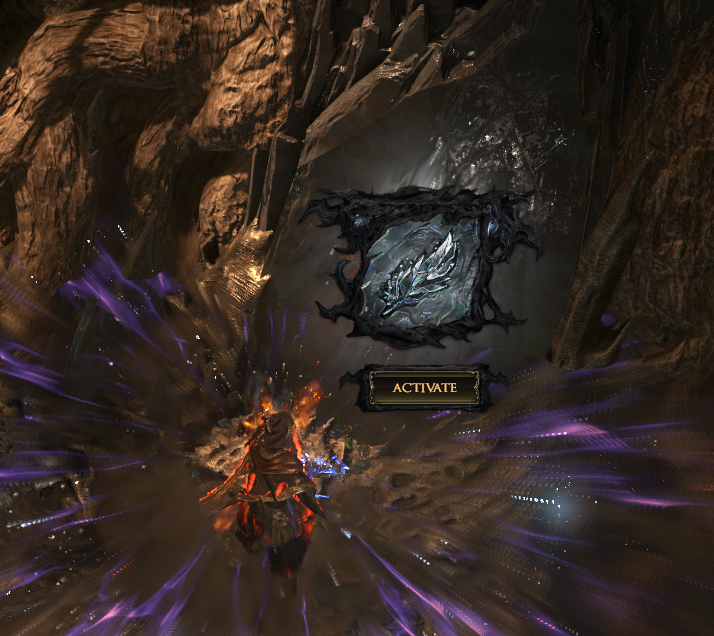
Within the first arena area of the Simulacrum, you'll find the first Trial of Suffering and clicking on it begins the first of seven waves of the encounter
Simulacrum Fracturing Shards
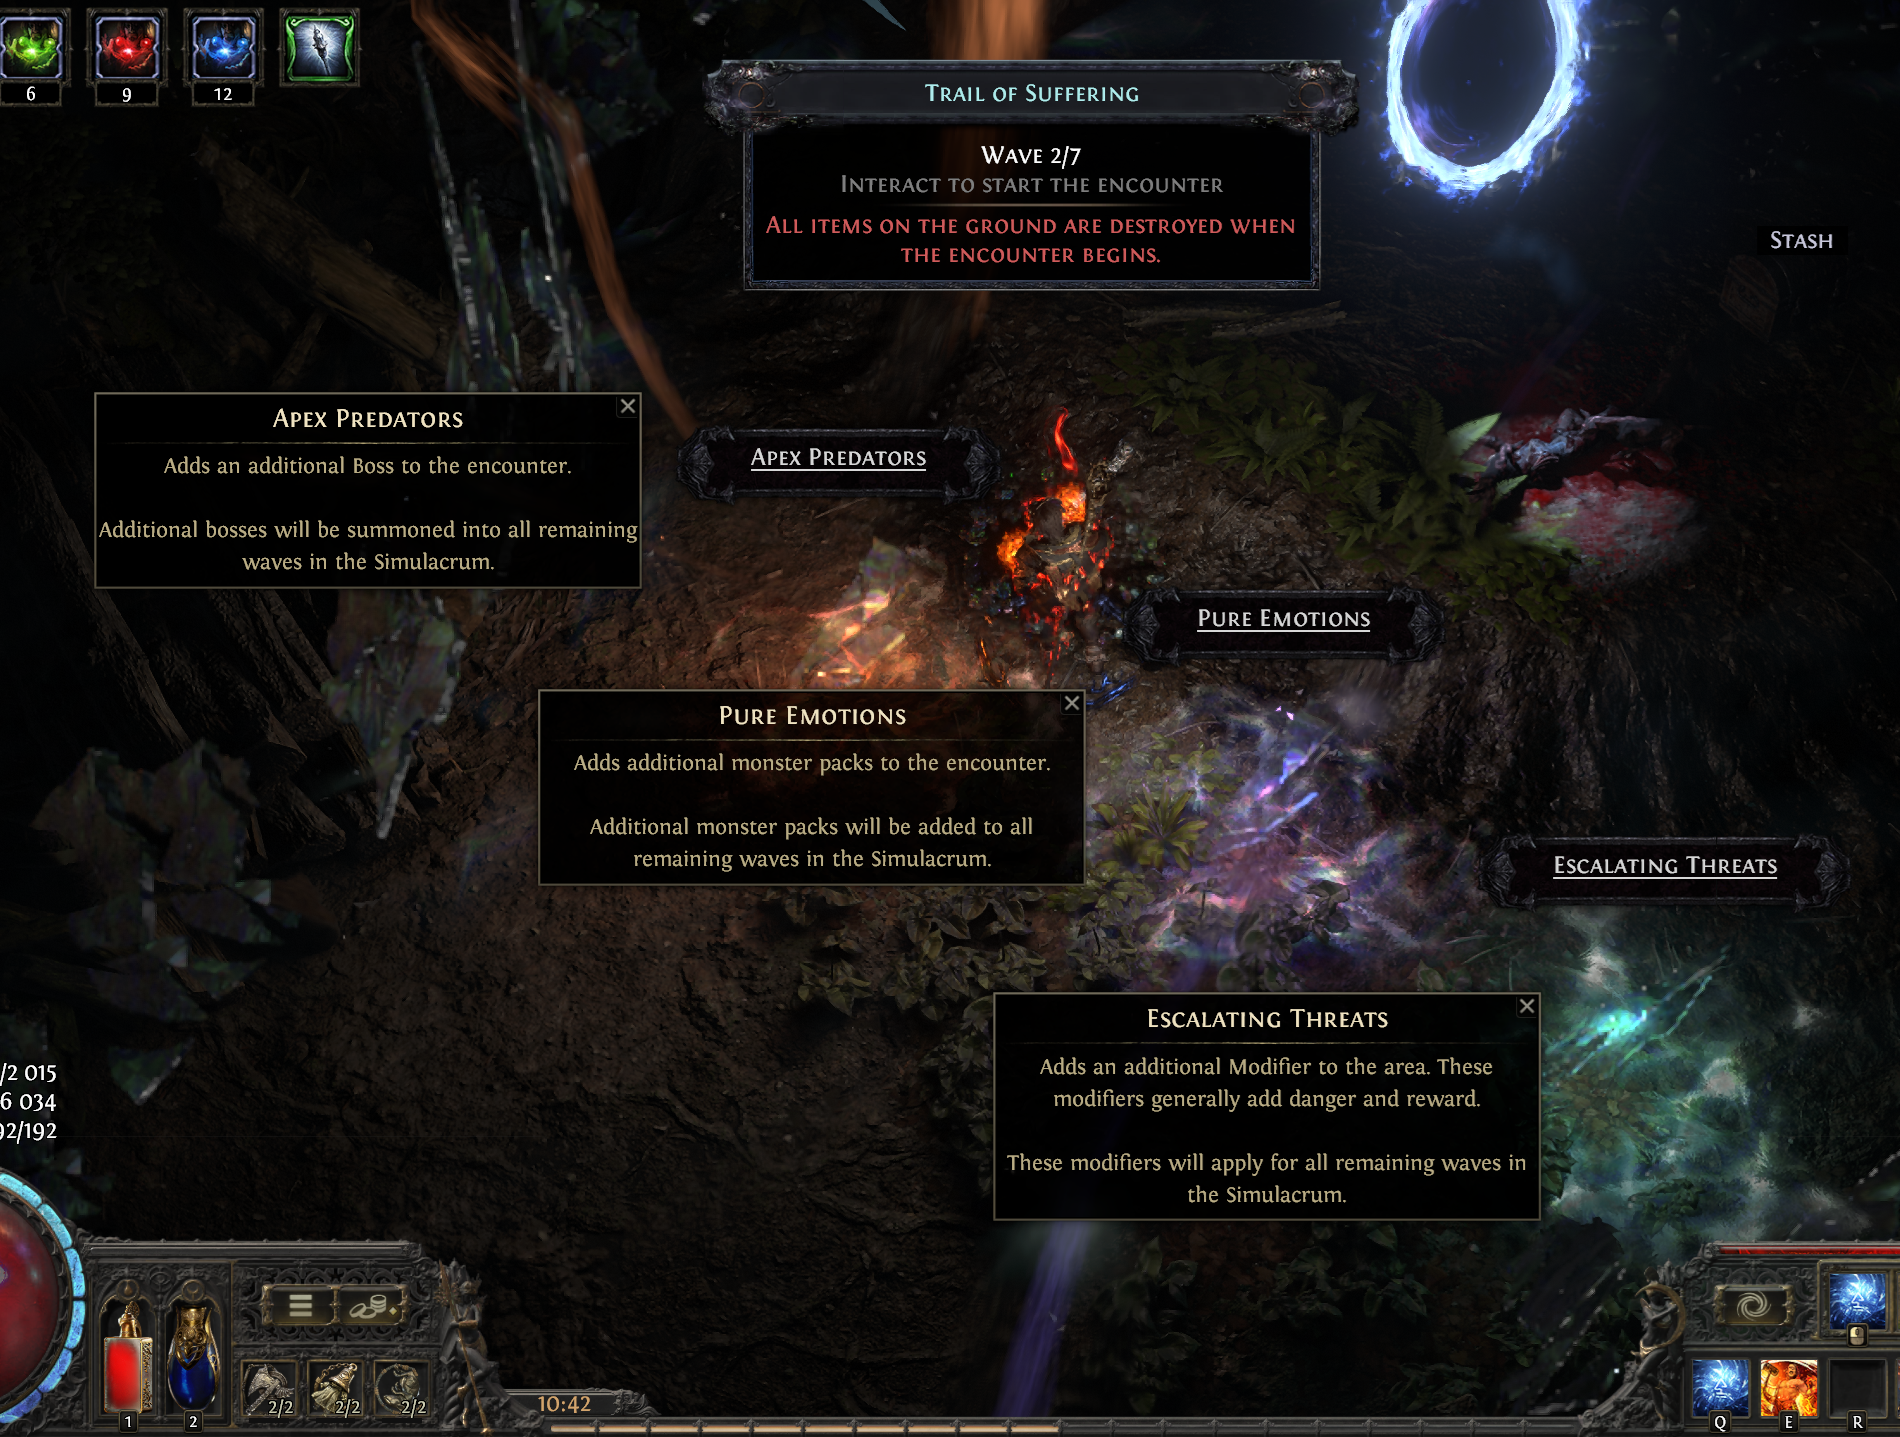
After completing your first wave, travel to the next area and you'll be presented with another Trial of Suffering as well as a choice between three Fracturing Shards that each do something to increase the difficulty and reward of the encounter
Apex Predators: Adds an additional Boss to the encounter and all future waves of the Simulacrum
Pure Emotions: Adds additional monster packs to the encounter and all future waves of the Simulacrum
Escalating Threats: adds an additional Modifier to the encounter and all future waves of the Simulacrum.
With Are you sure you want to do that?, there is also a 20% chance that you will be allowed to select multiple Shards in a single wave.
Item Removal Warning
Make sure to pick up any items you want to keep before starting the next Wave as all items left on the ground will be destroyed upon starting the Next Wave
Delirious Effect
Delirious Effect increases the Toughness and Damage of all monsters in that Wave, as well as improving the loot that they drop. Delirious Effect will be discussed further down in the Difficulty and Atlas Passive Point Section.
Wave Modifiers
Each Wave of a Simulacrum will have a set number of modifiers, similar to Waystone modifiers, that increase the deadliness of the encounter. There are too many modifiers to list out in full, but there are some that are particularly dangerous:
Monsters Deal #% of Damage as Extra Element - this modifier will make monsters hit significantly harder, and potentially inflict Ailment effects such as Freeze or Shock
Increased Freeze Buildup, Ignite Chance, Shock Chance - Freeze can be deadly, but can be mitigated with a Thawing Charm. Shock and Ignite can also be deadly, especially Ignite if you don't have a reliable source of Recovery
Monsters Fire # Additional Projectiles - more Projectiles, more damage that is harder to dodge
-#% to Maximum Resistances - this will make you take more Elemental Damage
Additional Modifiers will be added per Wave, up to a total of 5
Above is an example of the types of modifiers you might encounter during a Simulacrum (Tier 4) - Click to Expand
Layout and Arenas
Every few Waves, the arena area will change, forcing you to move further into the Simulacrum. Each arena has a different layout with some being more open, and others much more narrow and claustrophobic.
There is one arena that is a very tight hallway that is particularly dangerous, especially in higher Waves. Be extra careful in this arena and try to move back and forth, clearing monsters as you go and making sure you don't get swarmed.
Simulacrum Bosses
There are two Simulacrum Bosses that can spawn that pose a real threat during these Encounters. These bosses seemingly spawn from Wave 4 onwards, after killing a certain number of monsters. There isn't clear information about when or why these Bosses spawn, but it does seem that they are more likely to spawn after hitting 4 Rewards in Waves 4+.
The two bosses are Kosis and Omniphobia, each posing a different type of threat. Slaying either of these bosses will greatly increase your Reward Bar and improve the loot you receive after the Wave.
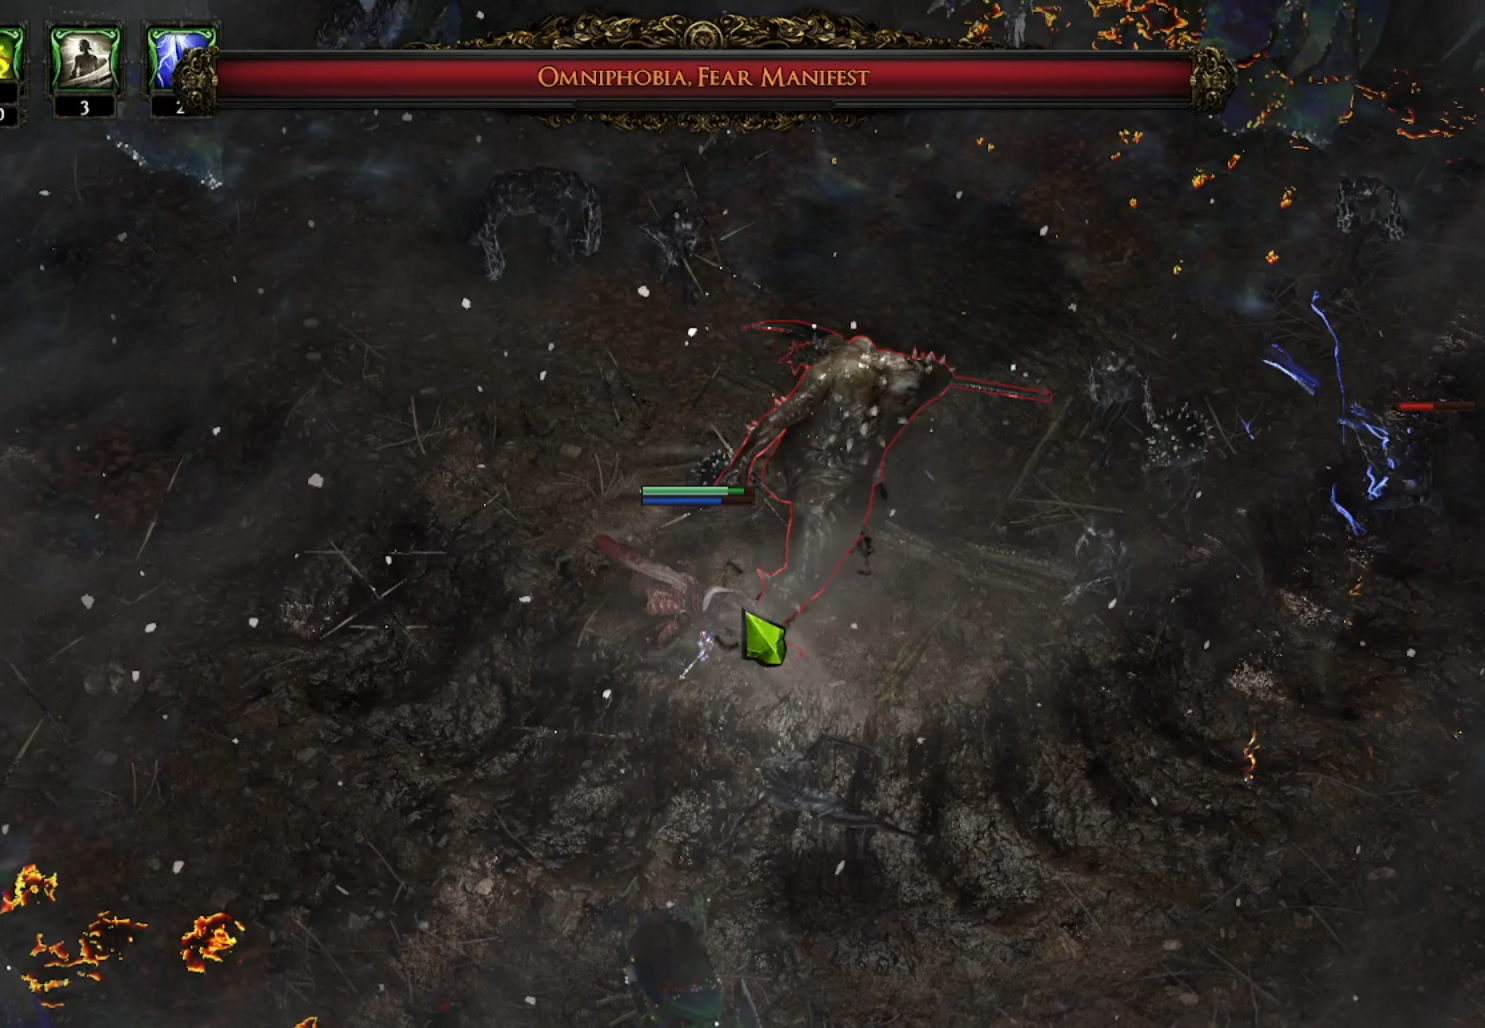
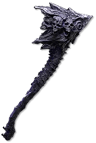
Omniphobia, Fear Manifest
Omniphobia wields a large Axe and has several dangerous attacks:
Swipe Attack: Swipes at the player with his Axe
Leap Attack: Deadly. Jumps at the player, performs a heavy Slam where he lands.
Multislam: performs three large Slams in succession, moving forward with each
Vomit and Mortar Spray: Sprays out fire or vomit at the player
Slam Attack: Slams the ground with his Axe
Throwing attack with Axes. Return. One is purple one is red. What they do, i dunno
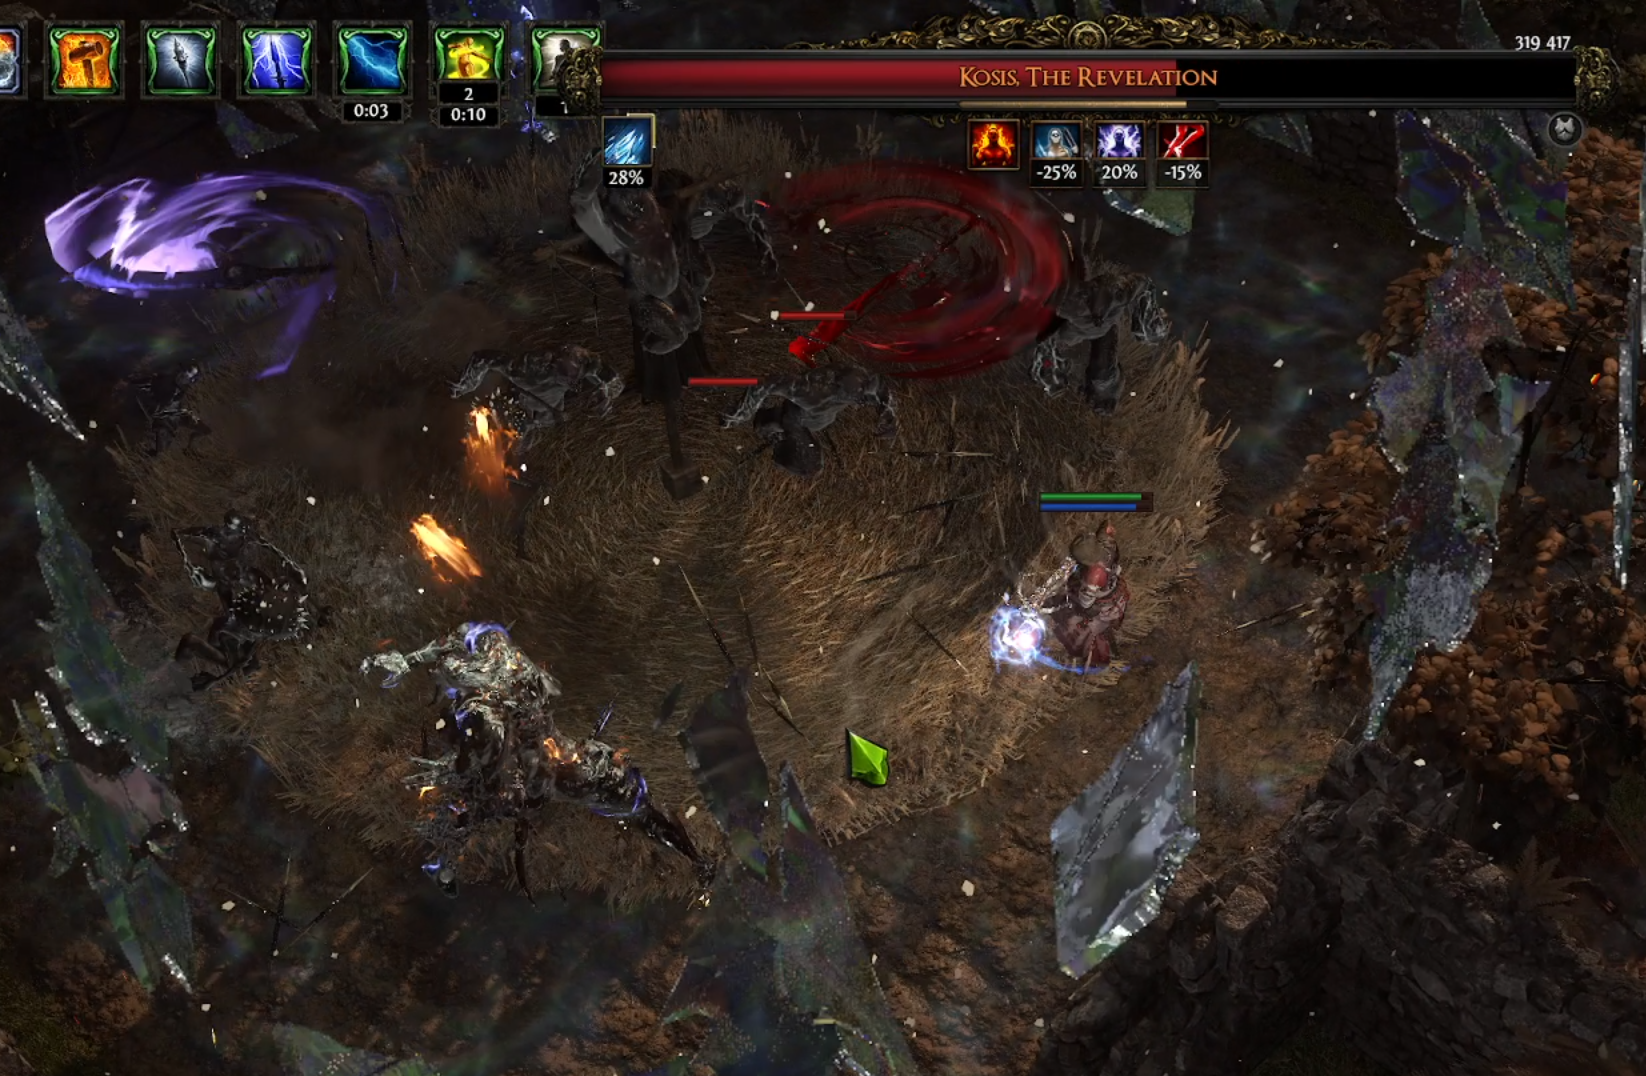
Kosis, the Revelation
Kosis wields two large Swords and has a series of special attacks:
Flurry Projectile: Rapidly fires out a series of Fireballs that explode on impact
Lightning Beam Attack: Fires out a series of Lightning Balls
Teleport Attack: Teleports at the player and performs a Slam attack that applies Corrupted Blood
Demon Beam: Shoots out a black beam of death that deals high Physical and Cold Damage over Time
Double-Weapon Throw: Throws out two Weapons that spin in place and return after a duration
Kosis and Omniphobia can also spawn together, offering an even greater challenge.
Boss Drops
After finishing the final wave of the Simulacrum, a large Mirror will appear that can be clicked and players will be rewarded with a final shower of loot, including a Simulacrum-specific Unique item
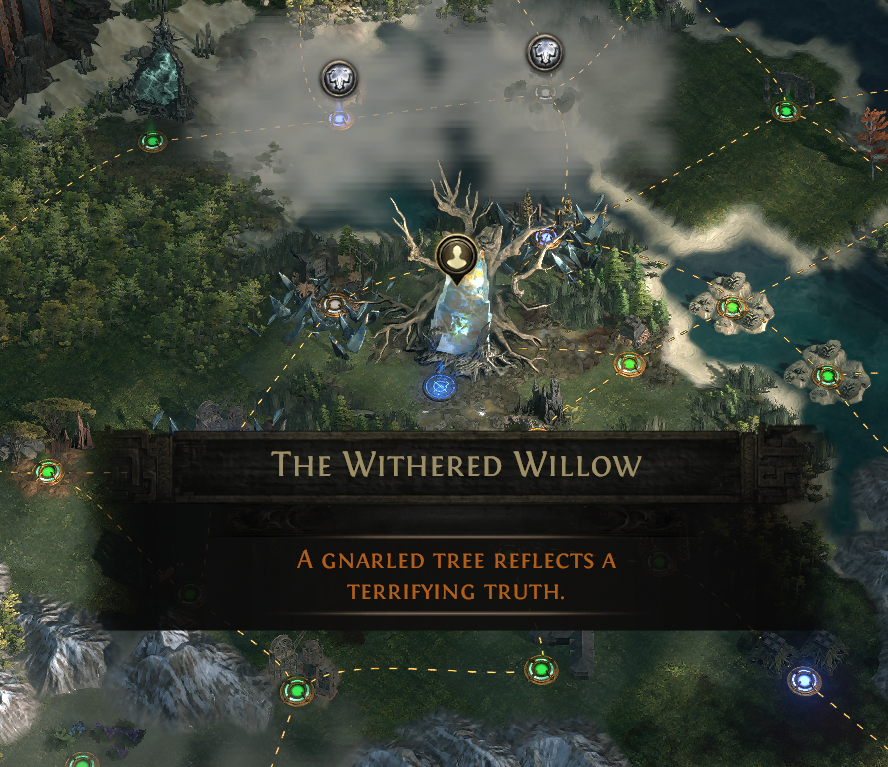
Another item that will always drop at the end of Simulacrums is a Raven's Reflection, which can be brought to the Withered Willow to begin the Pinnacle Boss fight of Delirium, The Raven Trickster.
Raven Trickster Drops
The Raven Trickster is also able to drop specific Unique items
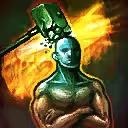
Veilpiercer
Sadist's Mercy
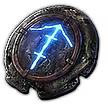
The Auspex
Horror's Flight
The Raven's Flock
Split Personality
Trickster's Shard
Tangmazu's Thurible
Raven-Touched Shard
The Auspex and Horror's Flight also have a chance to drop as Raven-Touched, essentially making them able to be instilled with a Notable Passive
The Raven-Touched Shardallows any Helmet to be Raven-Touched too to allow for additional Instilments
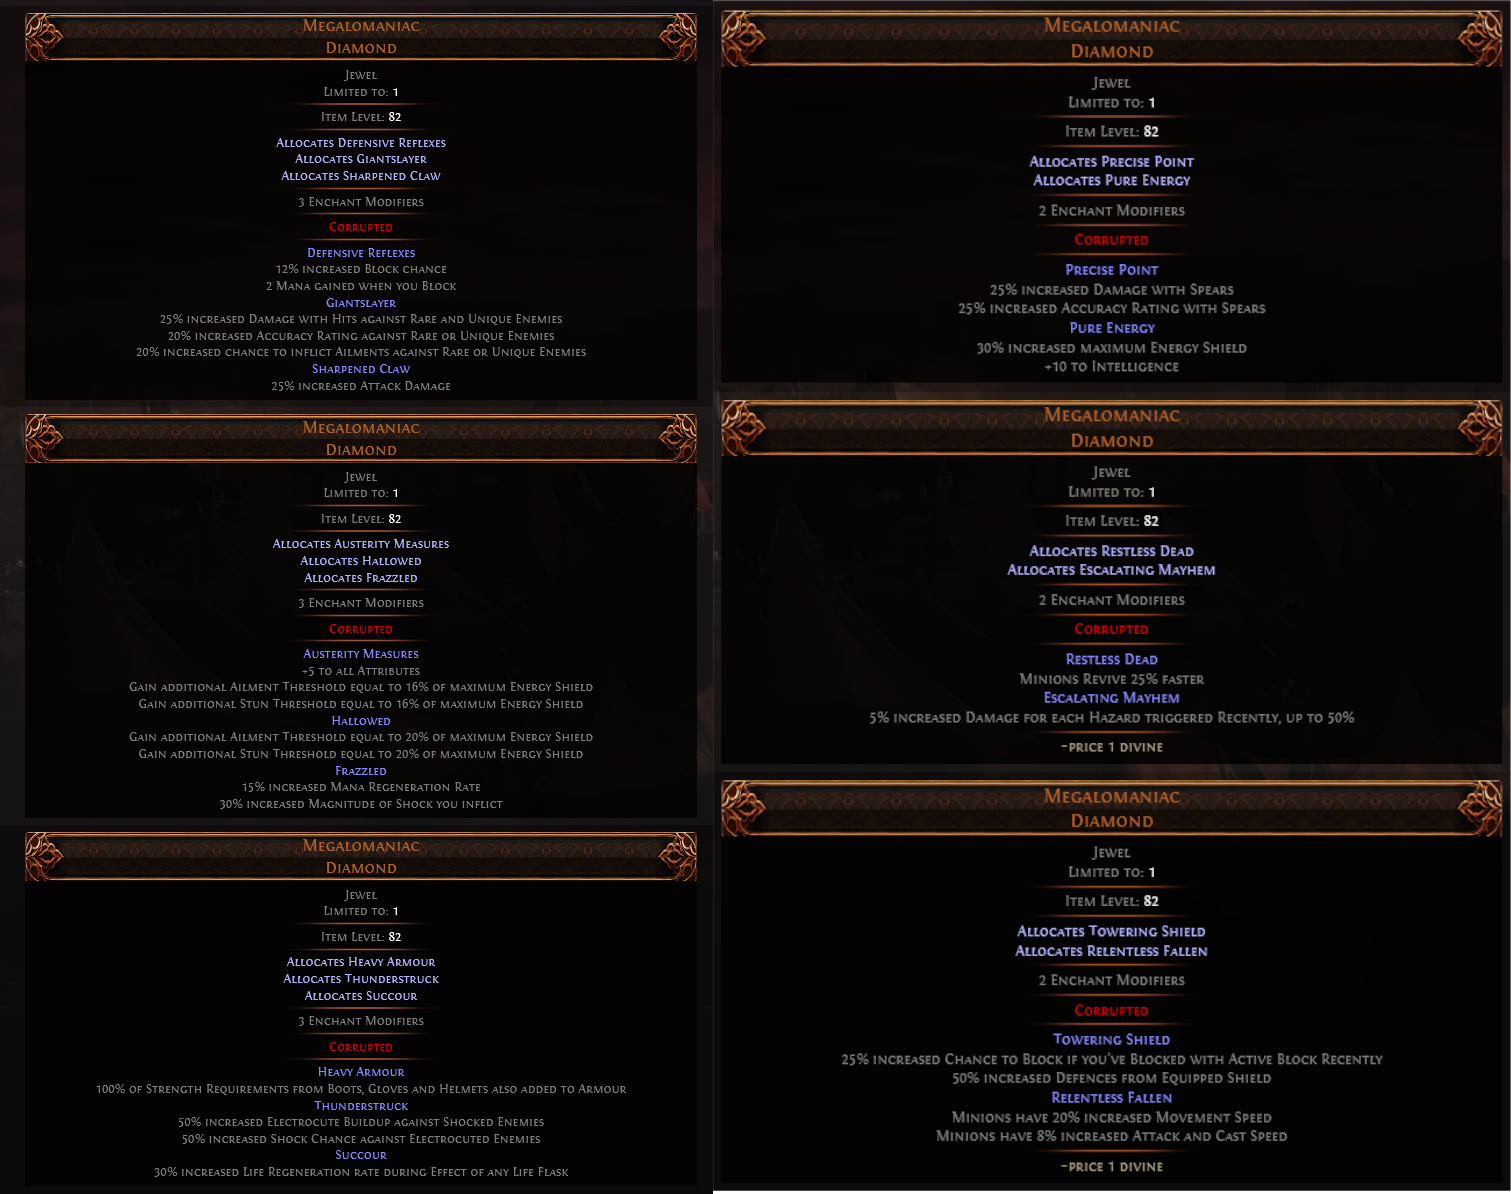
Megalomaniac
Megalomaniac is a Unique Jewel that can drop in Simulacrum that has either 2 or 3 modifiers that each grant a random Notable Passive Skill Point. These items can vary wildly in value and usefulness depending on the Notable Passives they roll with. Below are some examples of the types of Megalomaniacs that you can find:
Examples of Megalomaniac Jewels - by no means are these the best, they are merely examples.
Difficulty and Atlas Passive Points
Delirium Atlas Passive Point Acquisition
You will now be granted Delirium Atlas Passive Points by completing Maps in the Delirium section of the Endgame Atlas near the Withered Willow. You will also acquire more Points by defeating Delirium Pinnacle Bosses, the Bodach and King in the Mists
Delirious Effect
Delirious Effect causes monsters to deal additional damage and have increased Toughness, as well as granting monsters additional modifiers and abilities and improving their drops.
Toughness is an effect that reduces the damage monsters take, meaning that the higher the Toughness, the harder monsters will be to kill. A monster with 100% increased Toughness takes 50% less damage, 200% Toughness reduces the damage taken by 67%.
Delirious Effect increases by 5% per Wave, and the Difficulty of the Simulacrum will determine the starting Delirious Effect
As you can see there is a kind of double-dipping of challenge and reward with both Simulacrum Difficulty and Delirious Effect. Both will increase monster damage and survivability while improving their rewards. This makes the higher Difficulty Simulacrums a serious challenge for many builds, especially since you only get
Effect of Map Modifiers
You can also roll your Waystones with additional modifiers similarly to how you do for normal Maps. By doing this, loot of the monsters that you defeat in the Simulacrums will be improved, but you won't be granted additional Simulacrum Unique items at the end of the encounter
Tips for Simulacrum
Simulacrum will push your build to the limits and you should come prepared, especially at higher Difficulty levels.
Stun
Stun is a major issue in Simulacrum as you be hit hard by swarms of monsters. Getting Stunlocked almost guarantees your death, but there are some solutions
Stun Immunity
Stone Charm will provide immunity to Stun for a duration after being Stunned. This is very high value in Simulacrums. Make sure to get good rolls on it such as #% increased Duration, increased number of Charges, Reduced Charges per Use
Unwavering Stance also provides immunity to Light Stuns, but disables Dodge Roll
Stun Threshold and Stun Recovery
these two modifiers can reduce how often you are Stunned and Stun Duration.
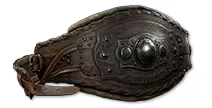
Flat Stun Threshold can be found on Belts and Boots and Stone Runes, as well as from Heavy Belts which have a % increased Stun Threshold implicit.
% increased Stun Threshold can be found on Body Armours and Ruby Jewels. You can also acquire increased Stun Threshold from the Passive Tree with points such as Deft Recovery and Feel no Pain
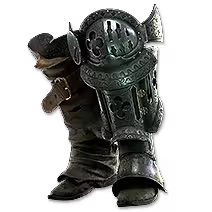
Obern's Bastion provides a large amount of % increased Stun Recovery
Back in Action and Quick Recovery also provide a good chunk of increased Stun Recovery
Abasement, Self Mortification, Asceticism are also useful Notables to allocate for Energy Shield builds trying to avoid Stuns
The Normal Act 3 Slithering Dead Quest (Snake Venom Quest) can provide a permanent buff to improve Ailment or Stun Threshold
Freeze
Freeze is another potential death sentence in Simulacrums, but there are a few solutions
Thawing Charm provides immunity to Freeze and will trigger when you become Frozen
Dream Fragments also prevents Freeze and Chill, but is a very expensive chase Unique
Ailment Threshold will also improve your resistance to Freeze, Shock, Ignite and other Elemental Ailments. This can be found on Passive Points such as Natural Immunity and on item
Icebreaker is also nice for Energy Shield builds
Slows
Slows are also common in Simulacrum and can result in your character being trapped in bad positions where you can easily be swarmed and chipped down
Unhindered and Freedom of Movement are two Passives that can reduce the effect of Slows
Act 3 Cruel Slithering Dead (Snake Venom Quest) can provide 15% reduced Slowing Potency of Debuffs on you
Wanderlust Boots are another great option if you can fit them in
Chaos Damage
Chaos Damage is common and deadly in Simulacrum, so it's important to make sure you're prepared
Chaos Resistance can be obtained on most armour slots
Amethyst Charm can be used to further improve your Chaos Resistance temporarily
Chaos Inoculation will make you Immune to Chaos Damage and is popular with Energy Shield Builds
Corpse Removal
Monsters in Simulacrum do not leave corpses behind which can be a major problem for some builds that rely on corpses for damage or other utility effects, such as generating Charges. Be aware of this before you go in and plan accordingly
Further Reading
If you're looking for a build that is capable of handling even the highest Difficulty of Simulacrum, you can check out my Doomslayer Deadeye build guide: