Optimization 1: Stack Light Radius
Light Radius modifiers will improve the distance of your REVEAL on the mini-map as you explore a map. Improving this distance will greatly speed up your discovery time for finding the Vaal Circle in any given map.
There's 4 main items and 2 passive skills on the tree that will improve your Light Radius.
ITEMS:
1 -  Gifts from Above
Standard roll is 30%, overspawn maxes out at 37%, a 35% overspawn is reasonably expensive.
In combination with  Kalandra's Touch, this gives you an easy 60-70% Increased Light Radius.
Trade filter (35% overspawn, change as needed):
https://www.pathofexile.com/trade2/search/poe2/Fate%20of%20the%20Vaal/d88eKEwRFJ
2 -  Beacon of Azis
Replacing your Amulet can be dicey for your character power, but if it's your preferred swap for crystal farming, you'll want to run a Beacon and then anoint it with  Chakra of Sight or
  Illuminated Crown for additional gain from the tree
Trade filter (30% non-corrupted):
https://www.pathofexile.com/trade2/search/poe2/Fate%20of%20the%20Vaal/pJPEg4XWt0
3 - 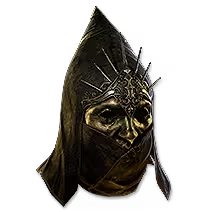 Radiant Grief
Like the others, standard roll is 30%, overspawns can get expensive so choose wisely.
Trade filter (35% overspawn, adjust as needed for budget):
https://www.pathofexile.com/trade2/search/poe2/Fate%20of%20the%20Vaal/EB3R25pRT5
4 - 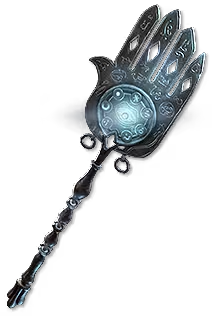 Guiding Palm of the Eye /
 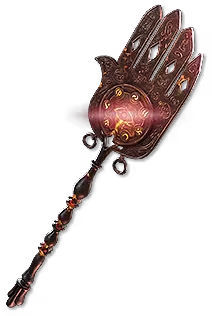 Guiding Palm of the Heart /
 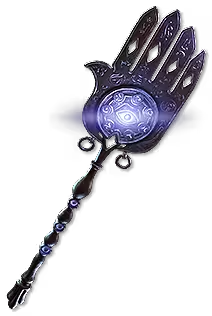 Guiding Palm of the Mind
Sceptre swap can be nice if you rely on Spirit for your character. These can easily be slotted with 120% Spirit increase. They are also really cheap.
Trade filter (30% overspawn, any type):
https://www.pathofexile.com/trade2/search/poe2/Fate%20of%20the%20Vaal/3qnMXOBPf5
PASSIVE TREE:
On the North side of the tree you can path to Illuminated Crown
On the East side of the tree you can path to Chakra of Sight
Ideally, you do these on Weapon Set 2, and do a "hard" swap for when you are mapping, then swap back to WS1 for your regular gameplay. On controller, hard swaps don't exist so you'd have to slot in a "dummy" skill that is bound to WS2, then allow all other skills to also be used on WS2. The dummy skill acts as your hard swap button.
Optimization 2: Leverage the Best Waystones and Areas
1 - Waystone Preparation
A T15 6-mod is guaranteed to give 2 Vaal Crystals, and rarely will give 3
A T15/T16 8-mod is guaranteed to give 2 Vaal Crystals, and will frequently give 3
If budget is not an issue, my recommendation is:
- Grab 30 T15 Waystones
- Identify them, and use an Orb of Alchmey
- Use Exalted Orbs to get them all to 6-MOD (max)
- Then use a Vaal Orb on all of them
- **From here, put the T14's back in your stash, and run the 15's and 16's.
- If you run 25 of these, you are guaranteed 50 crystals with a decent chance to be at 60.
2 - Leverage The Grand Project unique tablet
When you get to a TOWER tile on your atlas, drop in The Grand Project unique tablet, and run one of your prepared Waystones.
Finish the map to COMPLETION (which means clicking on the BEACON in the tower).
This will allow you to travel to ANY tile in vicinity, including jumping to other towers, and including the ability to skip BAD tiles (see below).
Bookmark the tower with a simple tag ("cc"), so you know where your last completed tower is.
3 - Choose your maps wisely
If you are using Grand Project on towers, you can choose to skip bad maps. Below is a decently refined Tierlist for maps that have more or less variance in their consistency for finding the Vaal Beacon.
A Tier maps are VERY fast and/or consistent
B Tier maps are usually very fast with some occassional surprises or weird layouts
C Tier maps have HIGH variance, sometimes they are fast, but sometimes they are not
D Tier maps should be skipped as they have consistently high variance or ridiculous layouts.
Map Tierlist
A Tier (best) | B Tier | C Tier | D Tier (skip) |
Confluence Oasis Crypt Blooming Field Bastille Azmerian Ranges The Assembly Trenches Steppe Spring Augury Ornate Chambers Ravine Savannah Willow Rustbowl Sun Temple | Rockpools Deserted Epitaph Wayward Isle Sandspit (Goated map but 50/50 on opposite side) Sump Slick Overgrown Wetlands Decay Headland Sulphuric Caverns Mire Steaming Springs Digsite (D Tier if no blink) Backwash Spider Woods | Forge Creek Grimhaven Marrow (D tier if no blink) Vaal City Molten Vault (D Tier if no blink) Rupture Riverhold Hive Spider Woods Mineshaft Frozen Falls Cliffside Bloodwood Ice Cave | Canyon Channel Seepage Cenotes Sinkhole Hidden Grotto Flotsam Lofty Summit |
Optimization 3: Speed and Gameplay
Some of these tips are rather obvious, but:
1 - More movement speed is good for everyone
Stack it where you can for any character, consider additional weapon set swaps if it does not harm your character power noticeably.
2 - Cast speed is a huge advantage for casters and for cancelling blink animations
Blink has a strange sprint-like stutter-step at the end of the animation. Increasing your overall cast speed (and interrupting the animation with a spell) can greatly improve your movement efficiency across maps.
3 - Blink should be considered even for non-casters.
If you are doing this farming regularly, you should tech in  Blink if you don't already run it. The freedom to go OVER TERRAIN is where Blink becomes invaluable in terms of efficiency for this type of map farming.
4 - At the start of all zones, check the LEFT and RIGHT of the spawn point first
Especially in zones where the layout is not a single alleyway (like Crypt for instance), most often the Vaal Beacon will be immediately near your spawn checkpoint, but on the "left" or "right" side of that checkpoint (relative to the layout direction of the map). Always check this first.