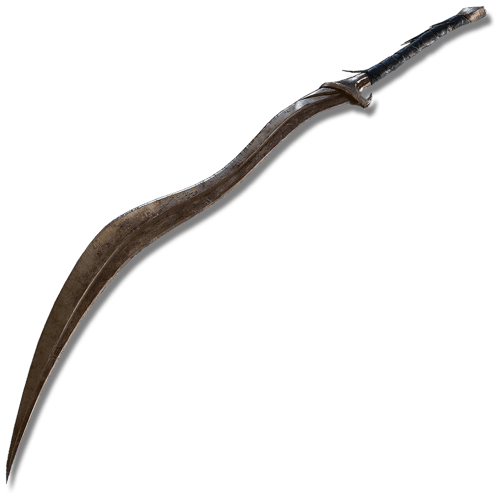
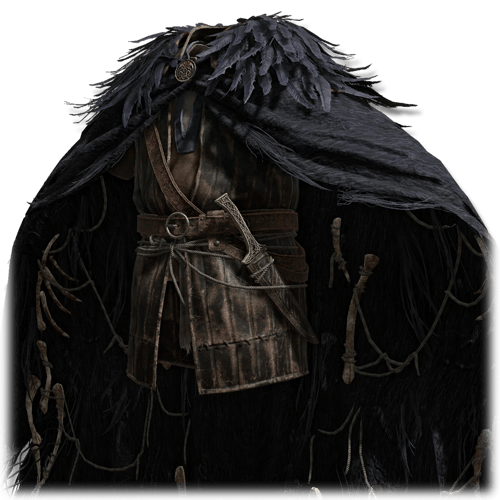
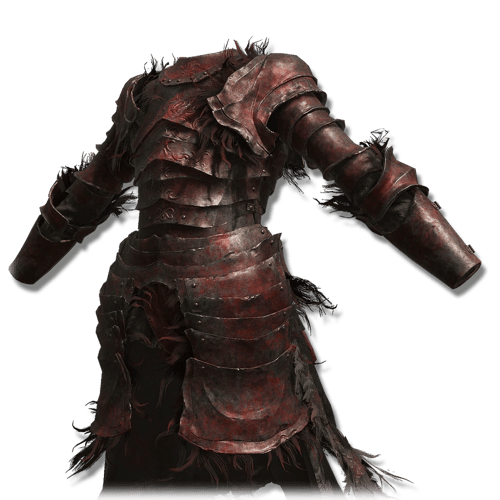
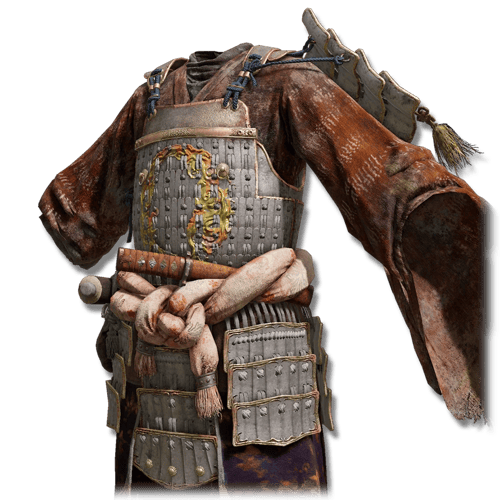
Bloodhound's Fang is at its best when you combine jumping attacks, regular two-handed attacks, and Bloodhound's Finesse rather than relying exclusively on one part of its moveset. Its high raw damage means the build remains powerful even when Blood Loss isn't available.
Use the Full Bloodhound's Finesse Combo
Bloodhound's Finesse consists of two separate attacks.
The first activation performs a powerful slash before launching you backward, naturally creating distance from the enemy.
Afterward, press Heavy Attack to perform Bloodhound's Step, followed by a second powerful slash that quickly closes the distance again.
Don't forget about the follow-up. A large portion of the Skill's value comes from being able to disengage and then immediately return when the enemy gives you an opening.
Use the Follow-Up to Avoid Attacks
The Bloodhound's Step portion of the Heavy Attack follow-up provides invincibility frames.
With good timing, you can use the follow-up to move through an incoming attack before striking the enemy.
This turns Bloodhound's Finesse into both an offensive and defensive tool:
- Finesse → reposition backward → enemy attacks → Heavy follow-up through the attack → punish
Learning this timing is one of the biggest improvements you can make with Bloodhound's Fang.
You Don't Always Need the Follow-Up
Just because Bloodhound's Finesse has a second attack doesn't mean you need to use it every time.
The initial attack already deals strong damage while creating distance. If the enemy begins a long combo or moves into a dangerous position, stay back rather than forcing the follow-up.
You can decide whether to return after seeing what the enemy does.
Take Advantage of Jumping Attacks
Bloodhound's Fang has unusually powerful jumping attacks, making Jumping Heavy Attacks one of your strongest regular punish options.
They deal excellent damage and stance damage without consuming FP, making them ideal between uses of Bloodhound's Finesse.
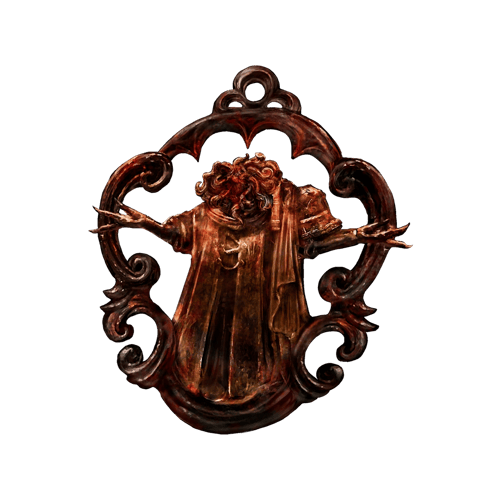
With Raptor's Black Feathers and the Claw Talisman, jumping attacks become an even more important part of the build.
Jump Over Low Attacks
Jumping isn't only an offensive tool.
Many low sweeps and ground-based attacks can be jumped over, allowing you to avoid the attack while simultaneously landing a jumping strike.
Against enemies with predictable low attacks, this can create punish opportunities that would normally require you to dodge away.
Two-Hand Bloodhound's Fang
Unless you're using something important in your off-hand, Bloodhound's Fang should generally be two-handed.
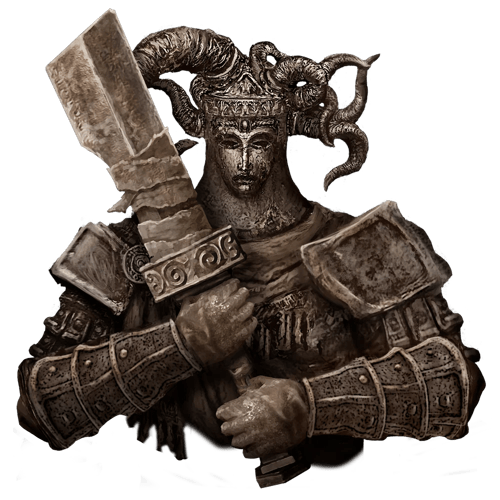
Two-handing increases your effective Strength and works perfectly with the Two-Handed Sword Talisman, improving the damage of your regular weapon attacks.
You can still temporarily switch to your Sacred Seal when applying Bloodflame Blade, then return to two-handing Bloodhound's Fang.
Keep Bloodflame Blade Active
Against enemies vulnerable to Blood Loss, apply Bloodflame Blade before engaging.
The additional Fire damage and Blood Loss buildup complement Bloodhound's Fang without changing how you play the weapon.
During longer fights, look for safe opportunities to reapply the buff, such as phase transitions, stance breaks, or long recovery animations.
Don't take unnecessary damage simply because the buff expired.
Don't Chase Bleed Procs
Blood Loss is an excellent bonus, but Bloodhound's Fang isn't dependent on it.
Don't become overly aggressive simply because you think the next attack might trigger Bleed. Against bosses, greedily extending an attack sequence can easily result in taking significantly more damage than the proc was worth.
Let Blood Loss happen naturally while maintaining your normal attack rhythm.
Bleed-Immune Enemies Aren't a Problem
Unlike dedicated Arcane Bleed builds, Bloodhound's Fang still has excellent Physical damage when Blood Loss does nothing.
Against immune enemies, simply stop thinking about Bleed and focus on:
- Jumping Heavy Attacks → Bloodhound's Finesse → stance breaks → Critical Hits
You can also replace Bloodflame Blade with an appropriate elemental Grease or buff when useful.
Use Bloodhound's Finesse for Repositioning
The backward movement from Bloodhound's Finesse can help you escape dangerous close-range situations while still dealing damage.
This is especially useful against large bosses where a normal attack would leave you directly underneath them.
However, pay attention to your surroundings. Using Finesse near a cliff, wall, or environmental hazard can reposition you somewhere worse than where you started.
Don't Spam the Skill
Bloodhound's Finesse is extremely powerful, but it shouldn't replace the weapon's entire moveset.
Regular attacks and jumping attacks deal excellent damage without consuming FP. Save Finesse for situations where its damage, movement, or invincibility frames provide additional value.
This also prevents you from unnecessarily burning through your FP during longer fights.
Use Jump Attacks for Stance Pressure
Jumping Heavy Attacks deal strong stance damage and can be repeatedly used during larger openings.
Bloodhound's Finesse also contributes substantial pressure, allowing the build to create stance breaks without needing a dedicated stance-breaking weapon.
Once the enemy staggers, take the Critical Hit rather than automatically using another jumping attack.
Adjust Your Talismans to the Encounter
Your Talismans don't need to remain identical against every boss.
Against Bleed-vulnerable enemies:
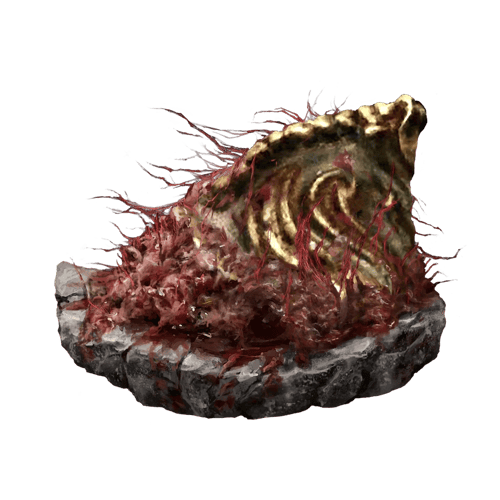
- Lord of Blood's Exultation
For Finesse-heavy fights:
For jump-heavy fights:
For dangerous Physical encounters:
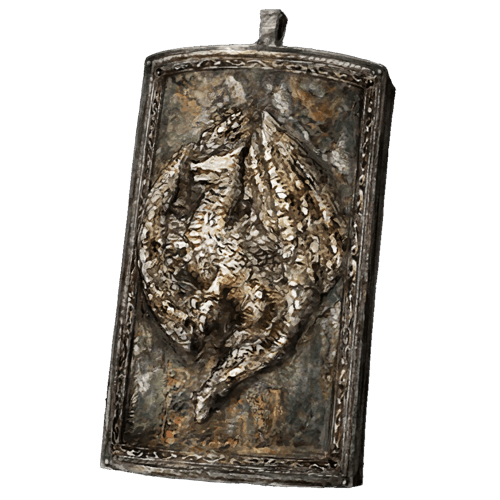
- Dragoncrest Greatshield Talisman
Bloodhound's Fang is versatile enough that changing one Talisman can adapt the build without requiring an entirely different setup.
Use Your Mobility Aggressively
Bloodhound's Fang isn't a weapon that needs to stand directly in front of an enemy and trade attacks.
Jump into openings, use Finesse to create distance, dodge when necessary, and use the follow-up to quickly close the gap again.
The weapon is strongest when you're constantly moving between close and medium range while still maintaining offensive pressure.
Build Your Combat Around Different Openings
A useful way to approach Bloodhound's Fang is:
- Small opening → Light or running attack
- Medium opening → Jumping Heavy Attack
- Large opening → Bloodhound's Finesse combo
- Incoming attack during Finesse → time the Heavy follow-up through it
- Stance break → Critical Hit
- Unsafe situation → use Finesse to disengage or simply dodge
This prevents you from forcing slow attacks into openings where they don't fit.
Bloodhound's Fang rewards aggressive but controlled gameplay. Use jumping attacks for reliable damage and stance pressure, Bloodhound's Finesse to attack while repositioning, and Bloodflame Blade to enhance the weapon's natural Bleed without becoming dependent on it.