Gear
Class Mod:
 Teen Witch
All that lifesteal we have? Now it applies to shields and gives us overshield! As you'll see in the Shield section, this also translates directly into giving us another bonus element and a multiplicative damage buff through nearly-perpetual amp uptime.
Skill Rolls:
 Grave Thirst is our major focus for points with the Teen Witch. at 5/5, we get 7.5% lifesteal per stack up to a base of 3. But since it's a Kill Skill, that goes up to 6 through
  Grave Power and 9.75% lifesteal through
  Mourning for a total of 58.5% lifesteal.
  Blood Is Power of course converts this to 175.5% bonus kinetic damage. Happy farming!
 Blood Is Magic is another good option, giving action skill damage based on the fullness of Vex's health. Considering we're pretty much always full, this is almost always active. And while it lists specifically action skill damage, this does still apply to the bonus element from Blood Is Power.
 Corporeal is pretty solid, giving us increased overshield capacity and duration along with a bit of a damage buff while we have overshield active. It's nothing too crazy and definitely overkill considering how fast we generate overshield, but not bad.
 Conjunction gives up to 30% gun damage based on the fullness of Vex's shield. Another decent damage buff, but nothing too crazy.
Of course as mentioned, Grave Thirst is easily the focus. Luckily, the rest of the skill rolls are pretty great across the board so it doesn't matter too much where those other 2 points go.
Repkit:
 Triple Bypass
Most often best in slot option for Repkit. It gives us near constant action skill uptime with  Now With Caffeine while also being very spammable during combat to get its buffs.
 War Paint
A very long CD repkit, though you're likely to be in the fray with this build so the passive effect will bring it back reasonably quick. This repkit provides fire rate and movement speed, both incredibly nice stats for this build. The fire rate stacks nicely with  Drink Full while the movement speed feeds into
  Bullet Train. This is a far more offensive repkit option.
Repkit Passives:
Ideally you want some sort of damage buff on your roll. Fire Rate (Spasmodic), Enrage (Experimental), Speed (Caffienated) (being a damage buff through Bullet Train) are your best options. Unfortunately, Leech (Parasitic) does not work with Blood Is Power. Amp (Amplified) is also great though more specific with its use case.
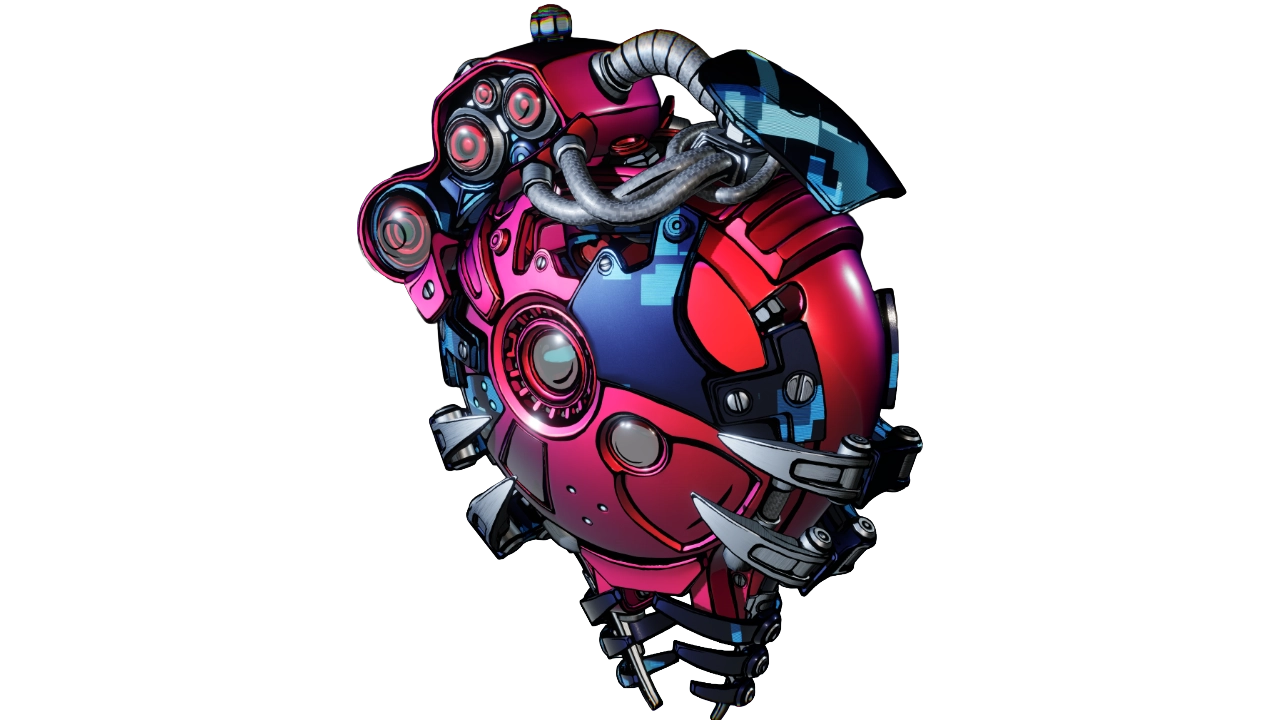
Shield:
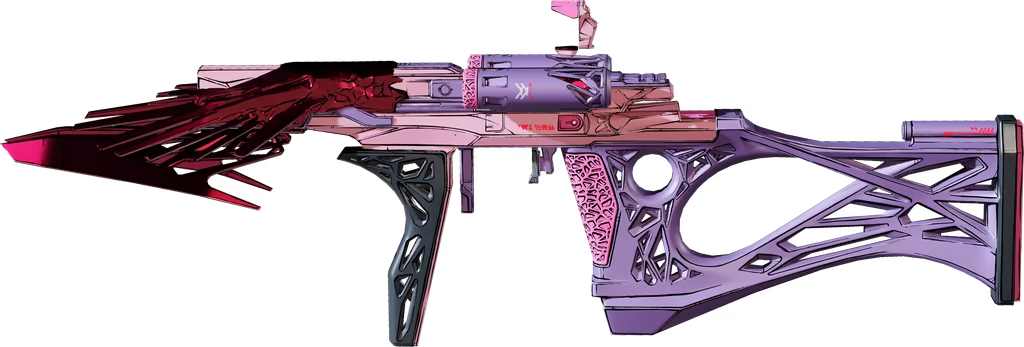
 Watts 4 Dinner
Another bonus element to buff up our damage, though being shock also gives us some added coverage for shields. This bonus elements is only active while Overshield is, but Teen Witch and all our lifesteal keeps that overshield capped almost constantly, giving constant shock damage.
The Watts 4 Dinner also has the advantage of being able to roll with AMP Synergized. Amp is one of the few multiplicative damage bonuses we have access to, meaning it's incredibly impactful. And with the Teen Witch letting our Lifesteal apply to our shields, we can utilize amp very effectively even with higher fire rate weapons to spam out amped shots.
Note: Amp on shields can roll as 50%, 100%, or 150%. Of course you ideally want that 150%.
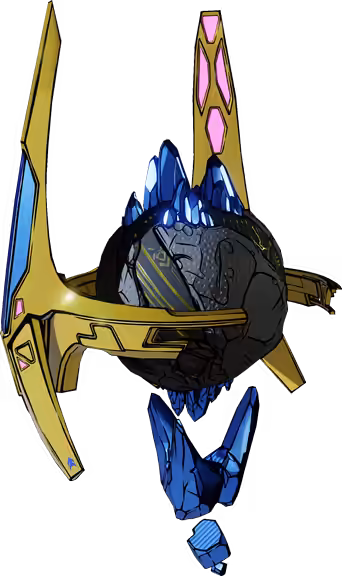
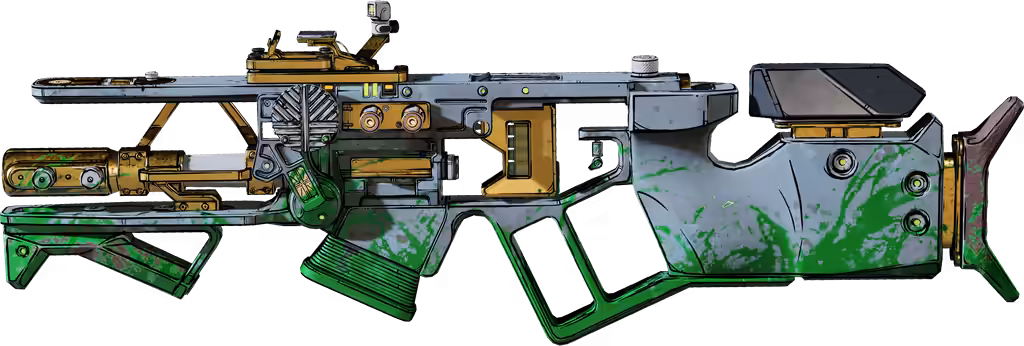
 Protean Cell
This shield is a very solid alternative to the Watts, actually providing an even larger shock bonus element at 40%. Unfortunately, the Protean Cell ends up generally weaker than the Watts due to not being able to roll with amp. And as mentioned, amp is a huge damage buff. If you do not have a Watts 4 Dinner with an amp roll, then the Protean Cell wins out. Otherwise, use the Watts.
Enhancements:
Being a very general build, your enhancement should match whatever you're currently using or what matches a majority of your part rolls. The following will be my most commonly used enhancements currently, though I recommend taking a look through the Enhancement Database to look through all the Enhancement abilities and legendary Enhancements.
Note: Gun Damage and Weapon Type Damage (SMG Damage, Sniper Damage, etc.) passive rolls on Enhancments are an On-Shot buff, being additive with other On-Shot buffs but multiplicative with most other general damage buffs. They're very big damage buffs and therefore ideal passives.
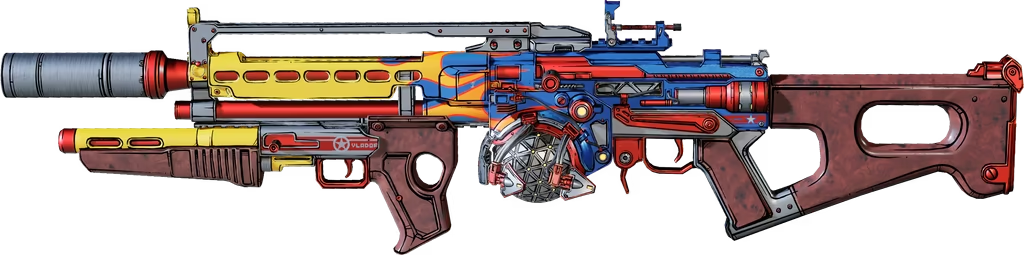
Vladof Bullet Hose - Guns with Vladof-licesnsed parts have a 30% Chance to add an extra Projectile per shot
Vladof Box Magazine - Guns with Vladof-licensed parts gain +20% Fire Rate and +20% Magazine Size
Jakobs Piercer - Guns with Jakobs-licensed parts have a 20% Chance to grant a Critical Hit
Jakobs Sequencer - Guns with Jakobs-Licensed Parts grant consecutive Critical Hits a stacking +5% Bonus Damage for a Maximum of 8 Stacks
 Studfinder - Amazing for bossing with Torgue impact and stickies. This is generally what I use for Bloomreaper paired with the
  Linebacker and the
  Hardpoint for easy plats. Linebacker takes care of the initial crystal phase while Hardpoint stickies does the rest.
And pretty much all the Atlas & COV Enhancements slap.
Ordnance:
 Jakobs Grenade
A Penetrator Jakobs knife is easily the best in slot ordnance, though it's quite boring and no longer as strong. Having an additional 30-90% auto crit (as currently it does stack with itself) does mean much more consistent Kill Skill activation during bossing, though it's definitely not necessary if you don't want to use it.
So for some more fun options:
 Sho Kunai
This is likely the second best in slot. This isn't an Ordnance build, so we don't have much in the way of buffing Ordnance damage. Sho Kunai isn't good because of it's damage, but rather the utility, giving us 10% movement speed on hit stacking up to 70% which we then translate into damage through Bullet Train.
Note: You can also stack this movement speed buff by throwing the kunai at interactable objects like ammo crates. This means you can prestack movement speed before many bosses.
 Jelly
Jelly
Truly a for fun option, I'm just a fan of the Jelly. You can pick up some kills with this on squishy enemies, and I'm happy enough with that to run it sometimes. Pretty solid for knocking off crystals from Vile enemies, though.
 Countermeasure
Great option for some aggro control while mobbing. It's a little bit short, but still decent utility if you're being overwhelmed. Which effectively means... it can be useful during Ordonite Processors?
 Barb'ara
A recent addition to my roster, but a very welcome one. This is likely the highest damage grenade this build has available to it due to scaling with Action Skill damage. We have a decent bit of that through  Ars Arcana and Blood Is Magic as well as
  I Am A Gun. Hits pretty hard, spawns tentacles, cool stuff.
 Bottled Lightning
Dishes out some serious damage even without Ordnance investment. Has a massive AOE on it, so it can be super effective at taking out an entire group.
 Heimdahl
This is an absolute favorite from DLC1. VERY fun to spam with  Witchy Trigger Finger, dishes out a hell of a lot of damage automatically since it summons pets, as well as offers some actual utility as well since the skulls deal gun damage and trigger gun-damage-related effects like lowering Eldritch Blast CD and activating
  Mortal Terror.
Weapons:
I said this can use anything, and I mean it. This section is gonna be long and is not going to be all-encompassing. I highly recommend experimenting with whatever guns you might think are gonna be fun. I'll give some notes on some stand-outs, list additional guns that I've really enjoyed, and leave you to play around with more.
Mobbing:
 Whiskey Foxtrot - A newer love of mine. Got a roll dealing 10k DPS, not sure I need to say more, but I will. The Whiskey Foxtrot can roll with one of two alt-fires. One of them is a shotgun firing arcing projectiles that debuff enemies on hit while the other lets you swap between burst and full auto. Both of these variants are incredibly good, but my favorite is by far the shotgun. Currently I've been running a Whiskey Foxtrot with a Ripper mag and it absolutely shreds.
 Wombo Combo - Just a crazy AR that can be a great option for elemental damage. While generally we want to be attuned to kinetic due to
  Leeching Attunement giving us Blood Is Power damage, the Wombo Combo is more than strong enough to make up for it.
 Star Helix - A favorite of mine in BL3 that unfortunately returned a bit weaker in 4. However, a bit weaker than the GOAT is still pretty damn good especially considering all 3 projectiles fired from this thing gets Amp applied to them.
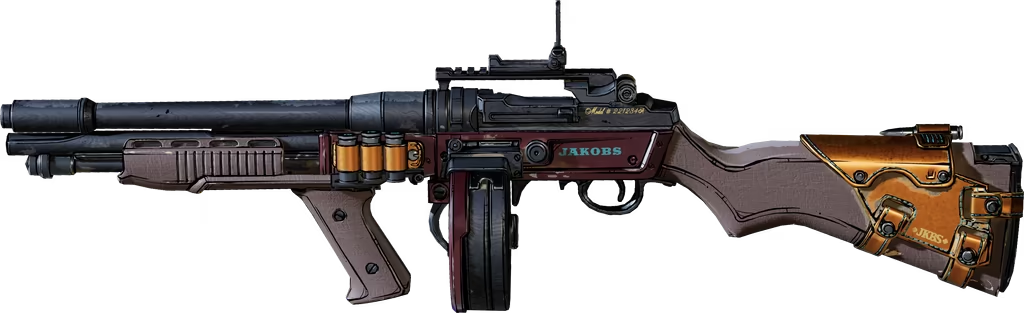
 G.M.R. - A very simple yet powerful AR for those that just wanna point and shoot. Highly recommend a Jakobs part.
 Bonnie and Clyde - The Blanc from 3 returns in a way cooler form, now swapping between being an AR and a shotgun. Very fun combat loop, super strong gun. Can boss.
 Goalkeeper - The GOATkeeper. The only charge Order AR I've enjoyed using so far.
 Crow-Sourced - The GOAT-Sourced. Quickly became my favorite Pearl. Second Order AR I've enjoyed using. CAW CAW!!!!!!!!!!!!!
 Fleabag - Kinda just fun as hell and pretty strong.
 Laser Disker - SHOUT OUT TO MY GOAT! TPS REPRESENT!
 Laser-Cutter - Just feels great to shoot. I love this thing.
 Lumberjack
 First Impression
Hardpoint - One of my personal favorite weapons in the game overall. Plays similarly to the Devil's Foursum from 3. Sweet spot almost handcannon that pairs incredibly well with Headringer/Studfinder. See more in Bossing.
 Scoot'n'Shoot - Absolutely insane with Witchy Trigger Finger, allowing you to summon effectively infinite phantom guns. This is easily one of the top sticky applicators in both effectiveness and fun. Also still really good as impact.
 Handcannon - Not at all a handcannon, just the Echo from BL3. Still really damn good, though.
 Seventh Sense - No idea why they buffed this thing. Absolute slapper.
 Rangefinder - Very simple pistol option. Nothing super spectacular, but good enough if you just want a very simple pistol to slot in.
 Queen's Rest - Actually a very solid option, enough so that I was surprised to see it get buffed. Only issue is that sometimes enemies straight up move faster than the bonus projectiles.
 Sunspot - Kinda mid but it looks really cool. Effect is written stupidly and it actually deals more damage the more full it is, giving good synergy with Witchy Trigger Finger.
 Bully
Bully
 Lucky Clover
 Roulette
 Darkbeast - Great gun, especially with Shotgun alt fire. Great for taking care of Ordonite-infused.
 Flash Cyclone - Probably my new favorite SMG if not gun overall. Cross between the Blood-Starved Beast and Free Radical from BL3 and every bit as crazy as that makes it sound. Ripper Jakobs if you too want this to be your new best friend!
 Mercurious - Completely ridiculous? This thing just utterly wrecks anything you point it at and does so harder the faster you move.
 Prowler - Weird but I like it. No more.
 Falke - Spinny
 Luty Madlad
Linebacker - VERY good gun and pretty damn fun. Feels like the Flakker from the previous games, though functions a bit different. Fantastic for just wiping a group of enemies off the face of Kairos.
 Hot Slugger - Big damage slug shotgun. Satisfying as hell to use.
 Convergence - DPS machine. Great for mobbing, also pretty damn solid for bossing. Another one I question the buff of considering it was still strong as hell prior, but I'll take it!
 Bod - Just straight busted. Very simple shotty.
 Hellwalker - I'm Hellwanking!!!!
 Doeshot - This thing just tickles my brain. Reload cancel to conserve ammo and look like a badass when you figure out how many shots in the burst you need for each enemy before cancelling.
 Crazed Earl - POWPOWPOWPOW *SMACK*
 Sweet Embrace
 Stray - Sniper go BRRR
 Boomslang - Sniper go BOOM
 Truck - Sniper go BANG
 Hemorrhage - Sniper... bleeds?
 Fearstalker - Man this thing is cool. Auto crit lets you just brain off body shot everything and watch it explode.
 Tankbuster - Haven't played around with this enough, but I'm pretty sure the potential here is insane. From my brief testing, it's at least very fun.
Bossing:
 Complex Root - Makes very quick work of large hitboxes. Less effective against smaller bosses. Comes in all elements, letting you match bosses. A Jakobs part roll is very nice to have.
 Kaoson - Witchy Trigger Finger lets us just spam any boss full of stickies and watch them quickly melt. This is easily the most consistent gun to boss with, though boring.
Hardpoint - Since its addition, this is actually a significantly better option for sticky spam with Witchy Trigger Finger over the Kaoson. Stacks faster, higher damage, and easy Bloomreaper platinums.
Scoot'n'Shoot - Alternative to the Hardpoint. I do thing Hardpoint is still better, but the Scoot'n'Shoot has a higher peak if overkill is your thing. It's also just awesome.
Wombo Combo - Also a very solid bossing gun. Dishes out tons of damage very fast, can melt pretty much anything.
 T.K's Wave - Get an Atlas tracker part. It's a gamechanger. Track a boss and start spraying. Keep in mind, actively reloading lets you reload quicker, so spamming 'R' while firing will let you DPS faster.
Convergence - As mentioned, absolute DPS machine especially against larger hitboxes. A bit weaker than other options, but super fun and usually consistent.
Various Underbarrels - Of course, you also have a wide array of underbarrels you can choose from to boss with. Beam Tossers, Spread Launchers, any of the 10-20k base damage underbarrel crowd, really.
Bonnie and Clyde - Because since the buff it for some reason got, it's been able to just DO IT ALL! If you can get a kill in shotgun mode and turn the AR mode onto a boss, it and Witchy Trigger Finger will melt it down in no time.