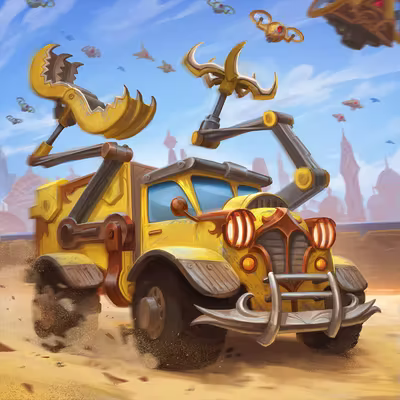
Season 16 is a fairly light patch overall, but it does come with some notable gameplay changes that will shake things up moving forward. Right now, it's more about system reworks rather than meta balance.
Here's some of our initial impressions about the patch!
General Notes:
- The starting Income change is definitely the most impactful one, forcing us to adapt to having less gold during the earlier days. While certain nodes have received gold increases, this forces us away from clicking Merchants if we want to sustain a reasonable economy.
- Depending on the Hero you're playing, it's possible you'll need to reroll less often early on.
- Funny enough, Vanessa can manage just fine thanks to the level-up reward that grants gold based on Weapon quantity. All the more incentive to force the strongest archetype.
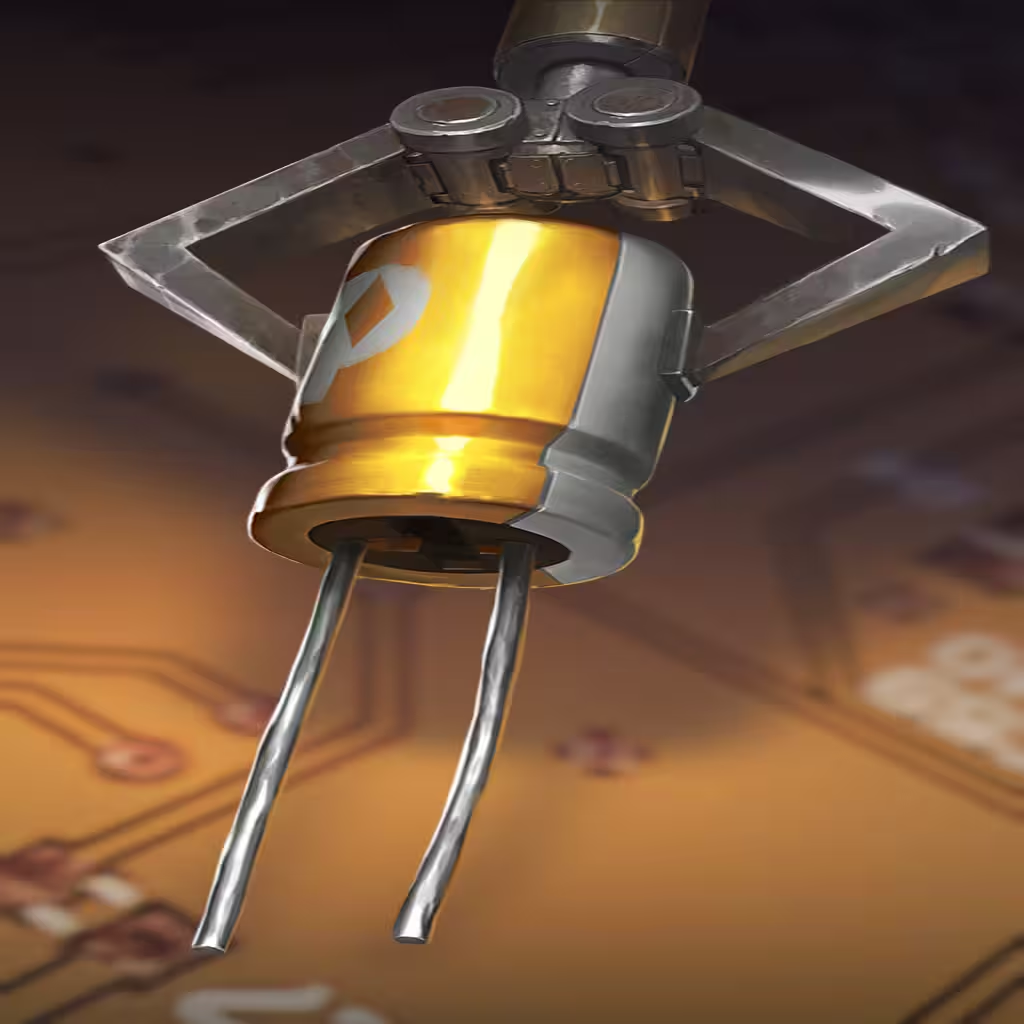
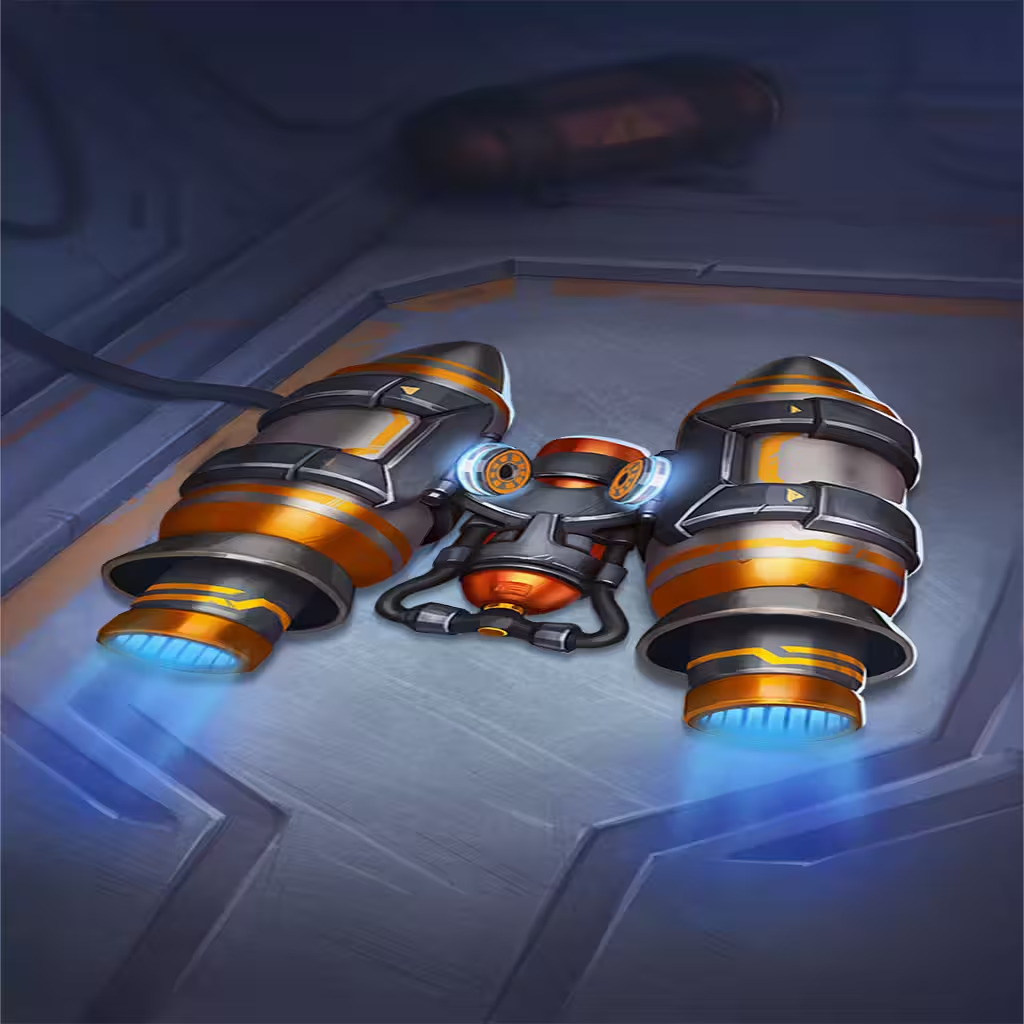
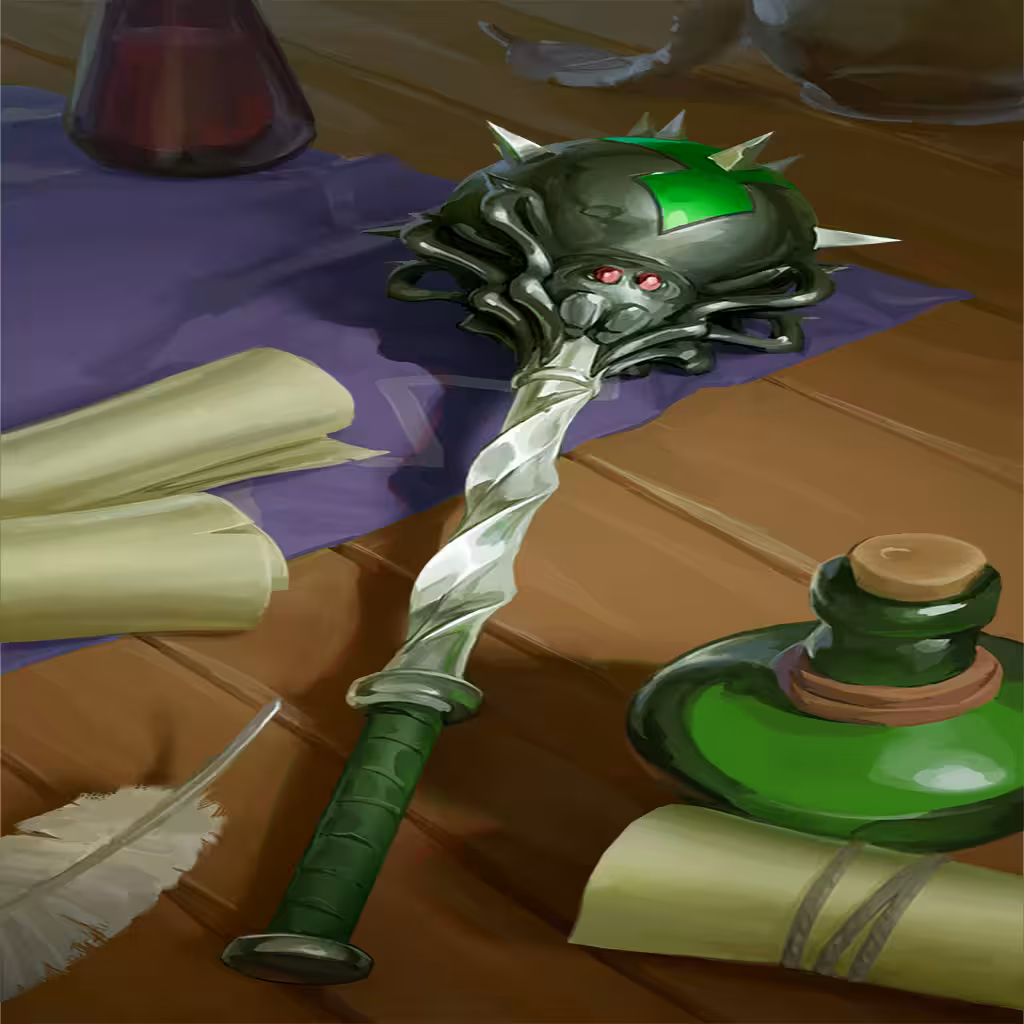
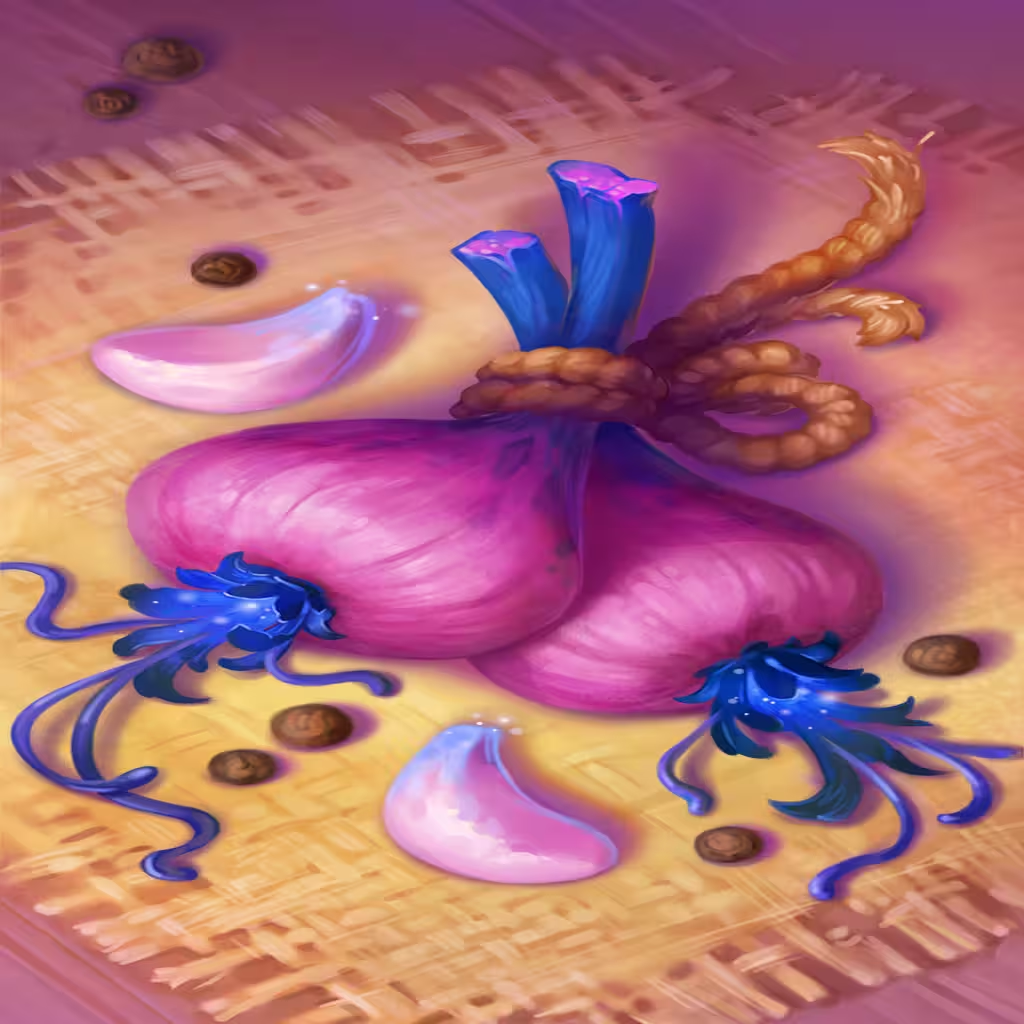
- Curio receives a massive nerf with the removal of
 Icicle,
  Lag-bolt, and
  Spark Plug (now they are Silver-tier). At least
 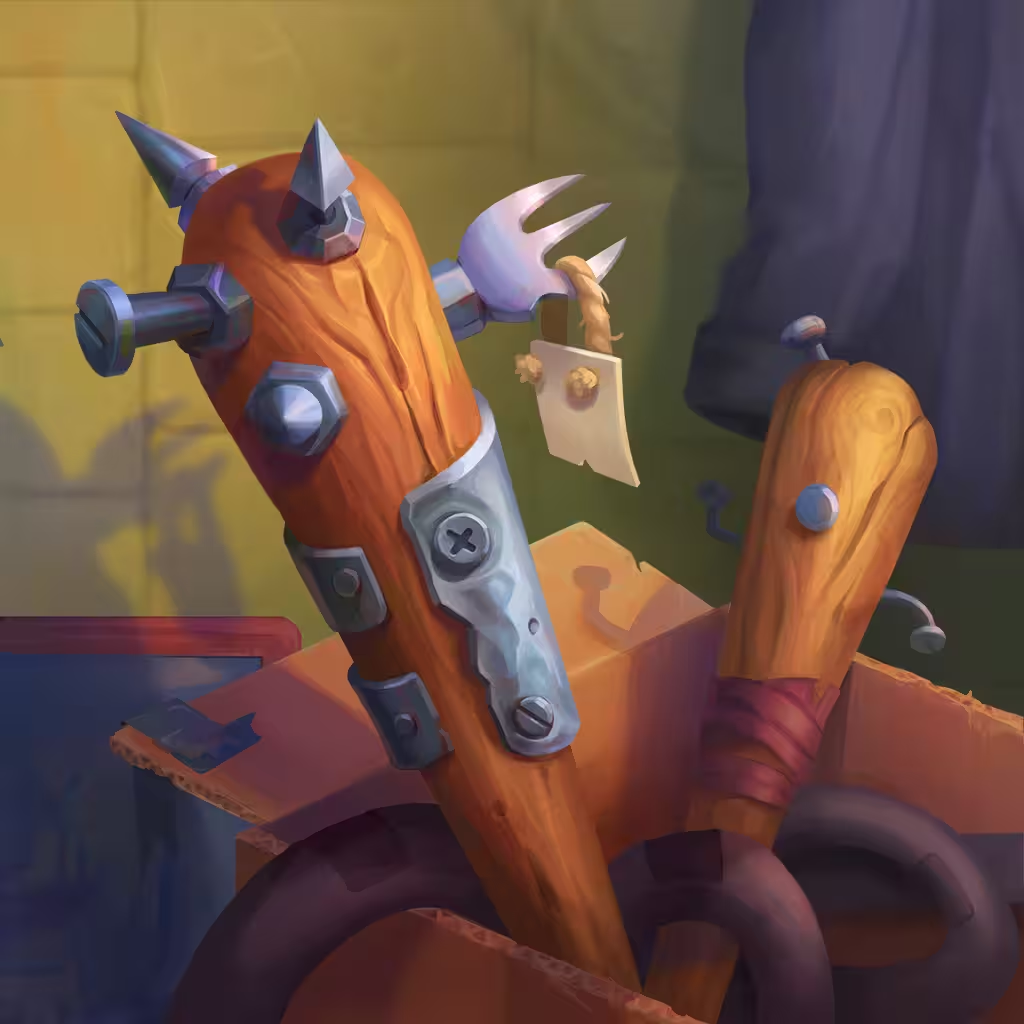 Junkyard Club and
  Junkyard Repairbot have more use.
 - On-start items will now be significantly less common than before, which is probably for the best.
- Jules having the option to start with a Cooler opens up some new lines during the early game. While it's hard to say how this affects balance, it may provide more variety than the usual Burn opener.
- [Hotfixed RIP] The cheat-death "upgrade all to Gold" has been reworked to now upgrade everything +1 tier. This is likely stronger overall as it can now create Diamond-tier items, but isn't great for Bronze items.
- In many cases this will probably feel the same, since the common use case was bringing Silver items up to a stronger Gold-tier baseline.
Notable Buffs
- Dooley's Cores as a whole receive some higher base values that scale on upgrade. No Cooldown or in-combat scaling adjustments, but a nice little boost for the early game.
 Beta Ray receiving -1 CD is very relevant, and should make it a much more generic slot-in to any Core-based builds.
 Crude Tools is now much easier to use, no longer requiring just one Tech item on board.
 Race Carl hits much harder at Gold/Diamond, and could be worth testing out.
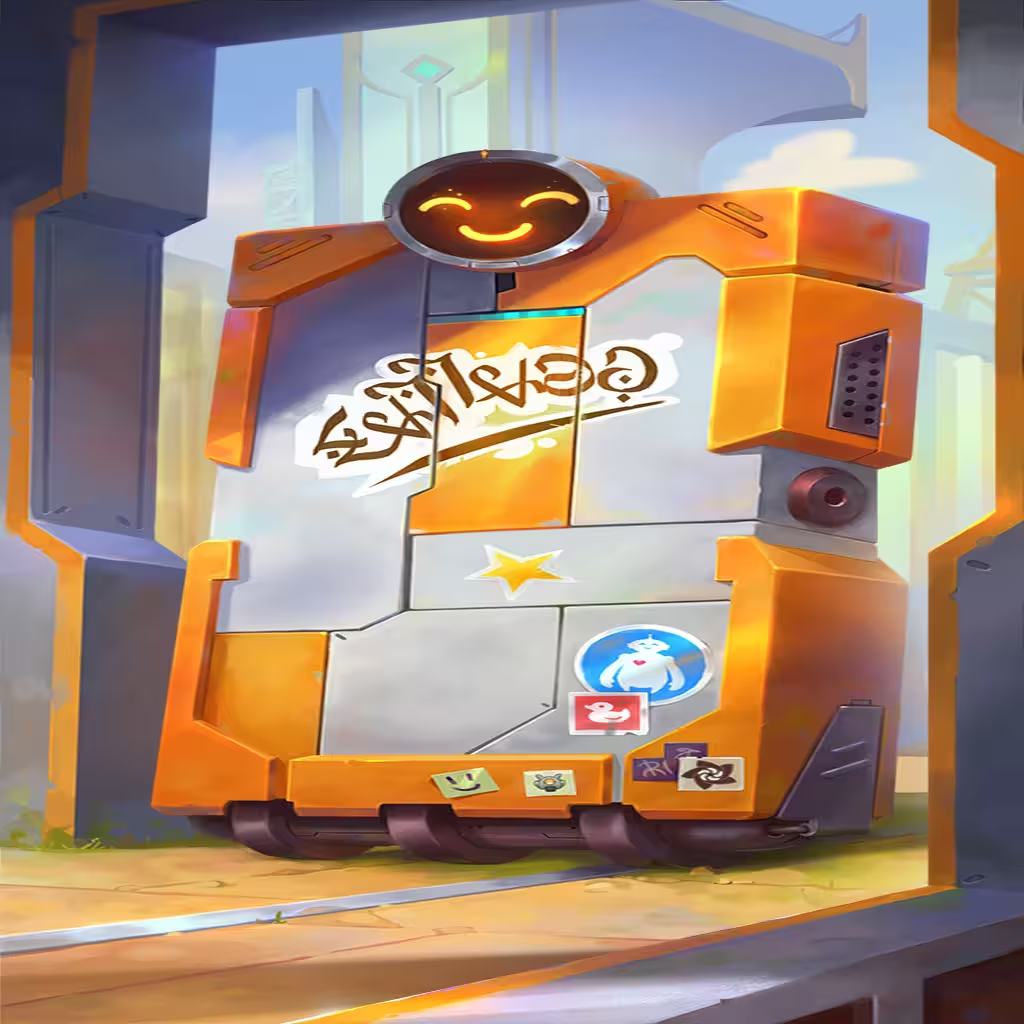 Wallace going to a 3s CD makes it one of the best Friends now. It also gives
  Armored Core another scaling target that can be placed on the other side of
  Duct Tape.
 YLW-M4NT1S now has a 5s CD at all tiers. It was pretty bad at Silver and mediocre at Gold, so this is a very nice change.
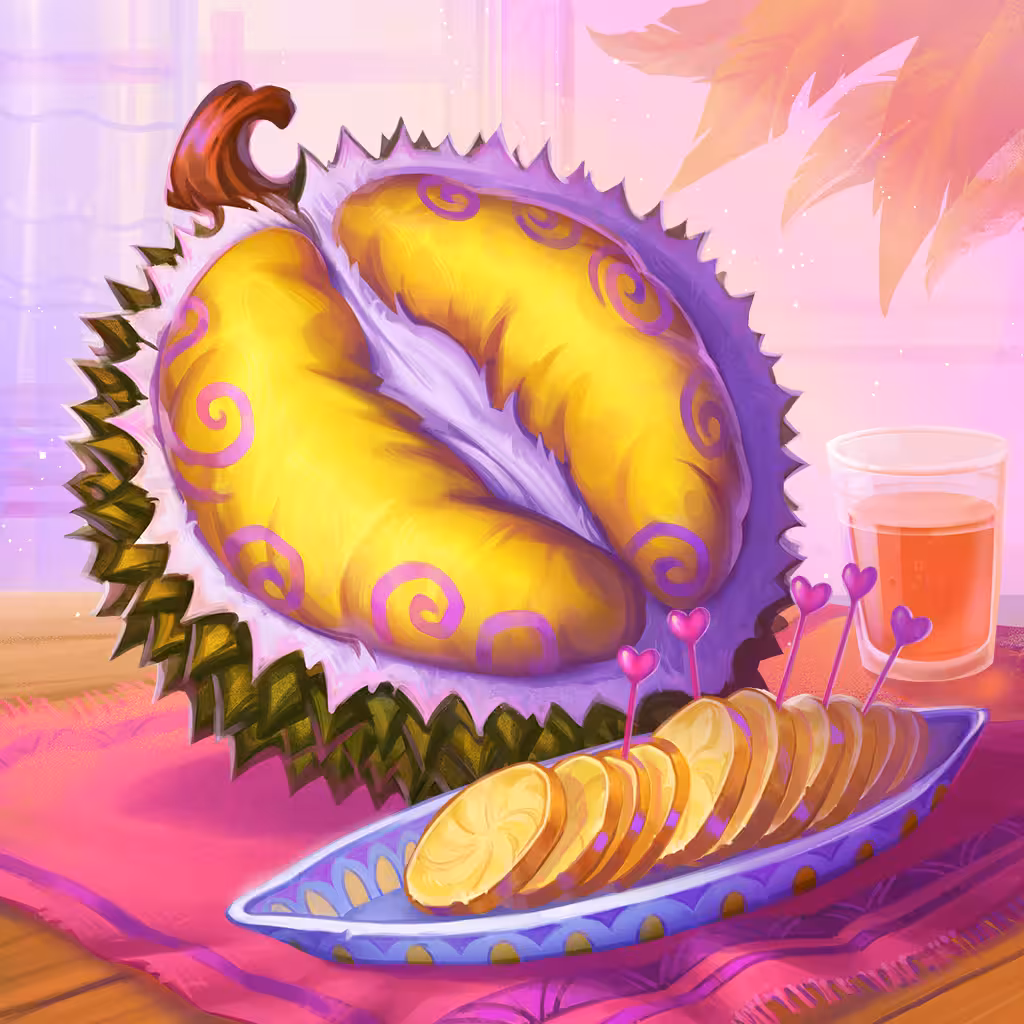 Durian to Bronze makes it far more accessible, and with the Jules socket changes, you can even set up the Chilled slot from the get-go.
 Dragon Steak has much higher Burn potential from the start, and could become particularly strong with the
 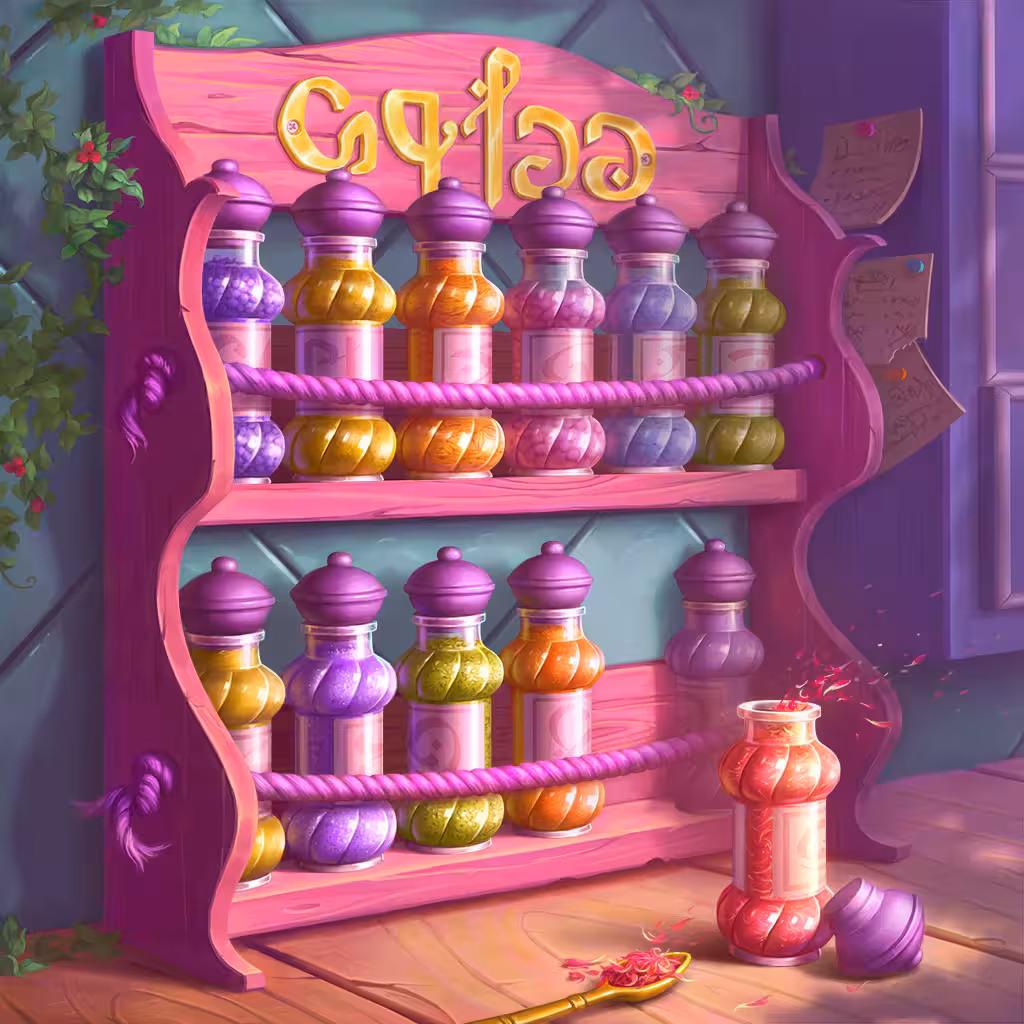 Spice Rack support package.
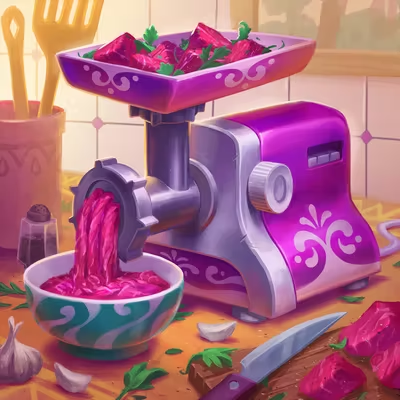 Meat Grinder downshift to Bronze could create some different opening lines, though you'll still need to find ways to scale its Damage (not always the easiest option for Jules).
 Salt now Burns on Crit and has a flat 3s CD. This item is nuts for Spice Rack builds.
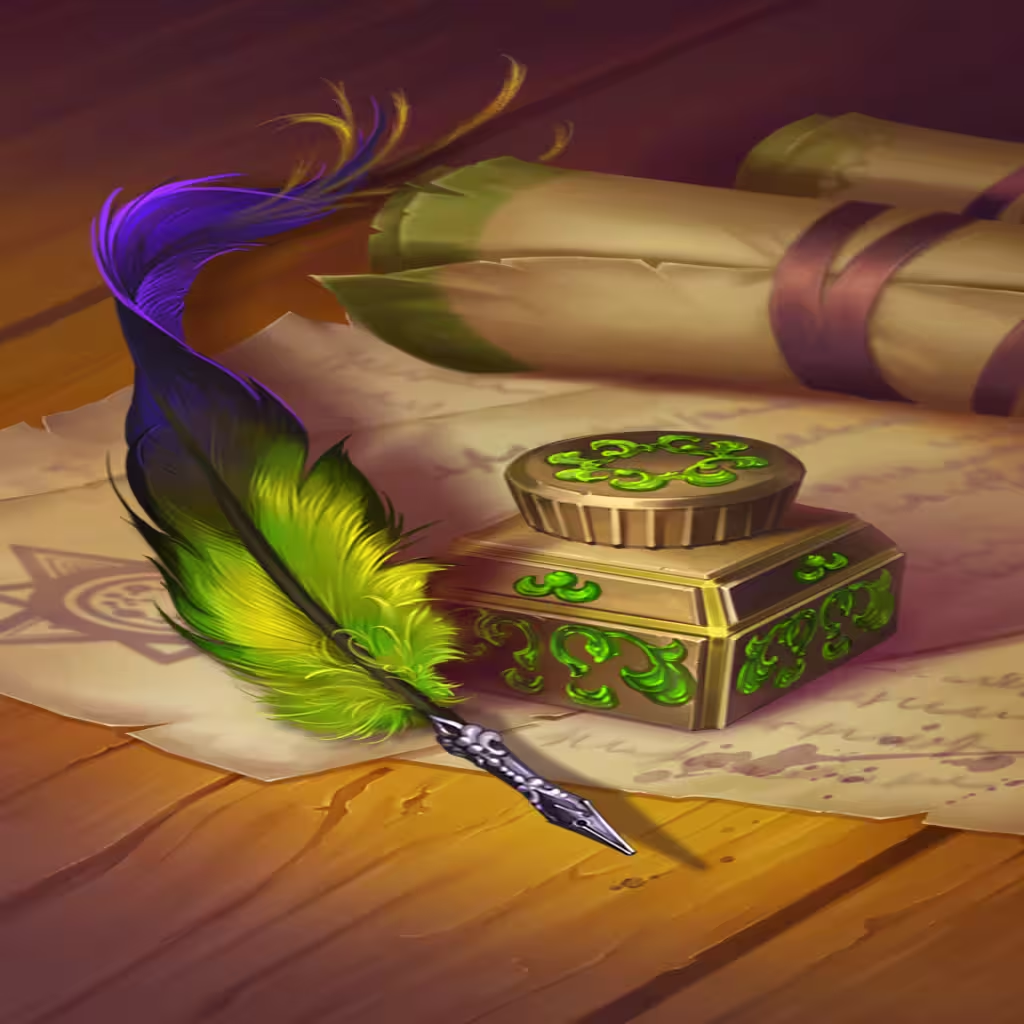 Quill and Ink can now be utilized in Weapon builds as long as you manage its positioning.
 Jabalian Drum returns to Silver-tier after several months. Oh boy, this may be a dangerous one.
 Molten Ball Blaster gets a Burn buff. Perhaps this will make it an early contender once again.
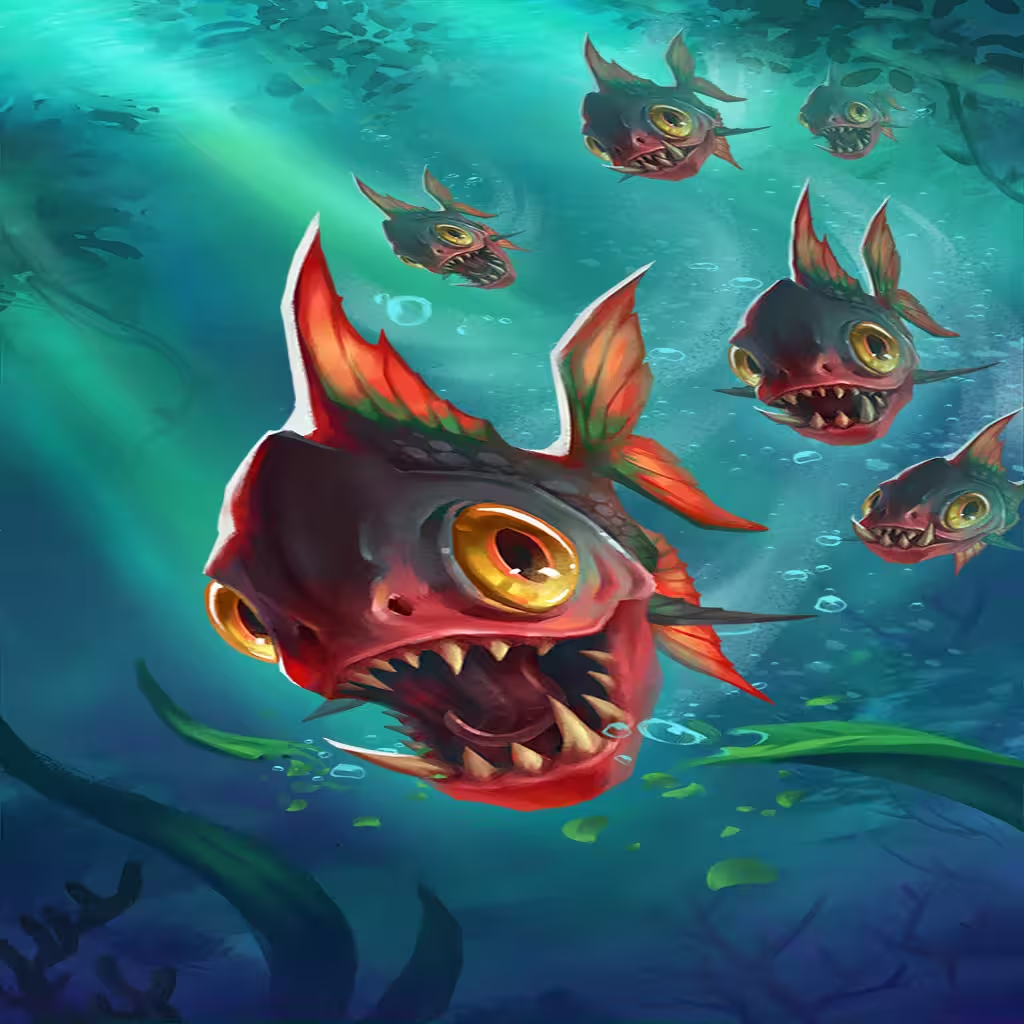
 Catfish scaling has been improved, making it much more threatening early on.
Notable Nerfs
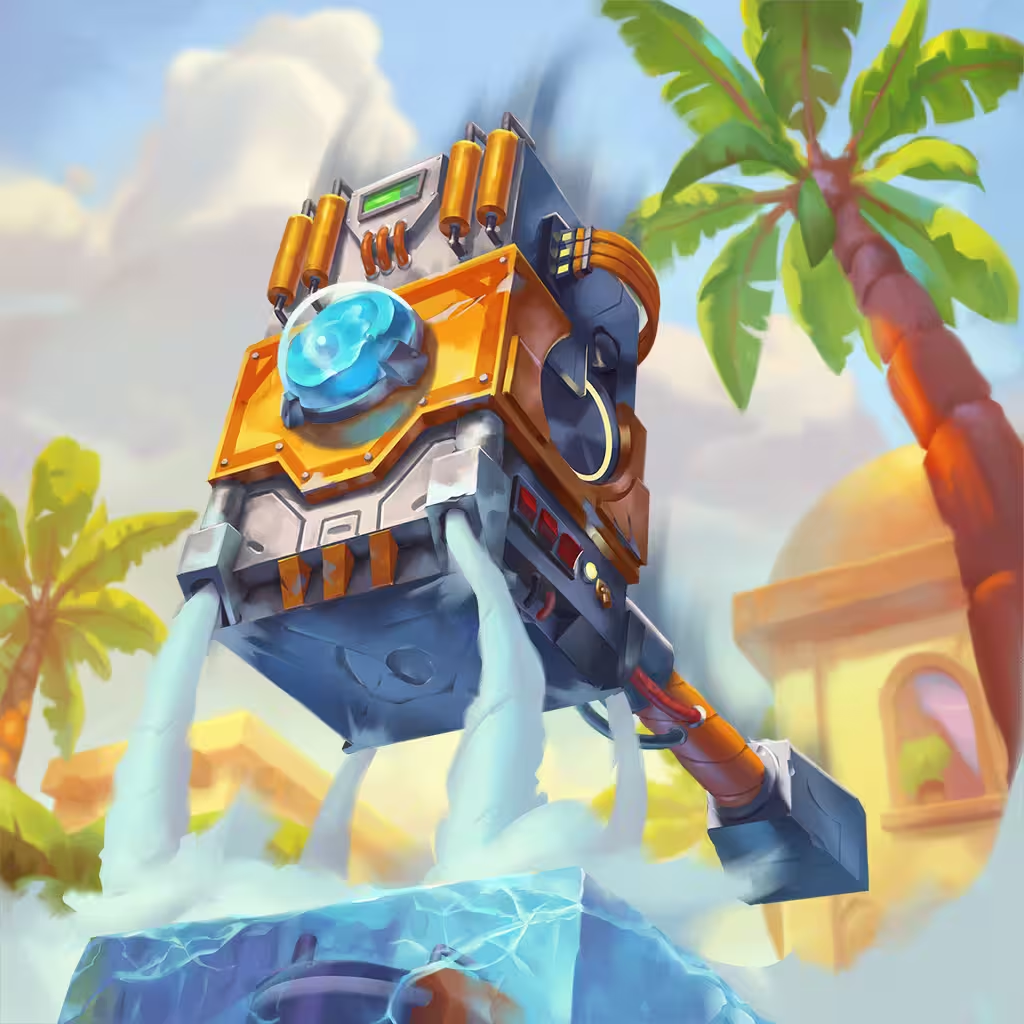
 3D Printer upshifted to Diamond, possibly to account for Beta Ray and Crude Tools buffs.
 Farmer's Market can no longer be used to scale Max Health. While still a strong item itself, this does remove some power from one of Jules' staple archetypes.
 Messenger Sparrow is now slower after receiving +1s to its CD at all tiers. One of Karnok's Charge staples has been notably hit.
 Calcinator may look like it's been buffed, but having a lower CD actually makes the timing awkward with
  Strength Potion, which is essential for the build.
- Additionally, even though it spawns free Chunks, the
 Chunk of Gold value has been lowered.
- Additionally, even though it spawns free Chunks, the
 Hang Glider loses some of its Damage, which alongside the
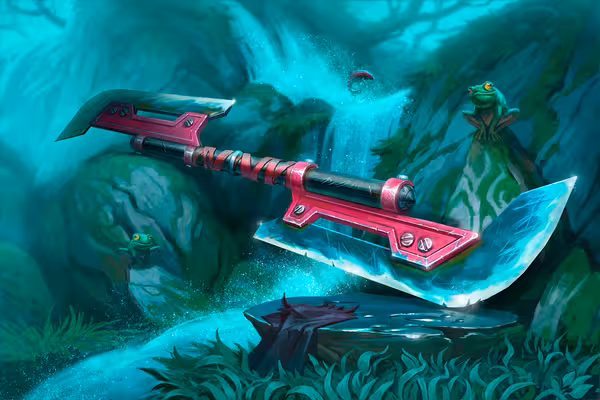
  Ornithopter nerf does add up.
 Flagship receives another small Damage nerf, but is ultimately minor.
 Ramrod goes to a 4s CD, which definitely slows down its potential with hyper fast Ammo builds.