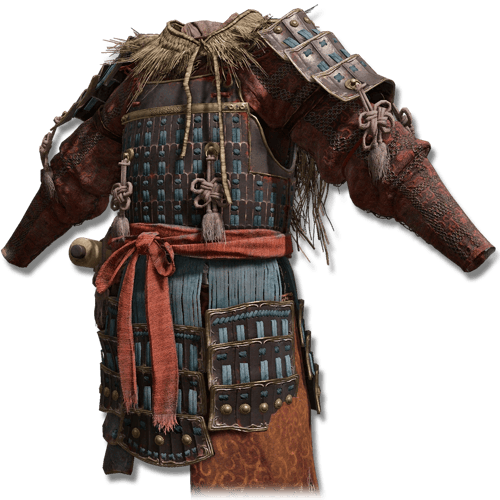
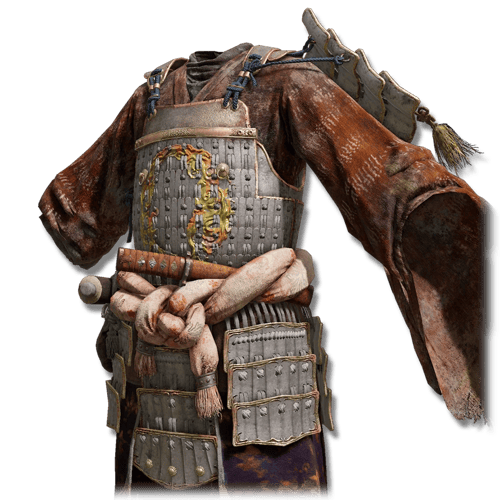
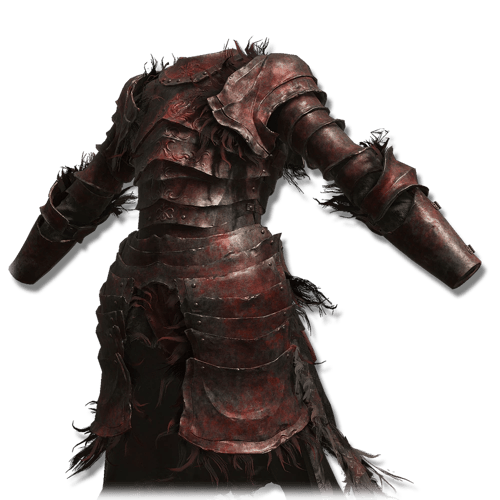
A Samurai build is strongest when you combine fast Katana attacks, careful spacing, and well-timed weapon Skills rather than attacking continuously. Your high Dexterity gives you reliable Physical damage, while the Katana's innate Blood Loss provides additional pressure without needing to build around Arcane.
Don't Treat Bleed as Your Primary Damage Source
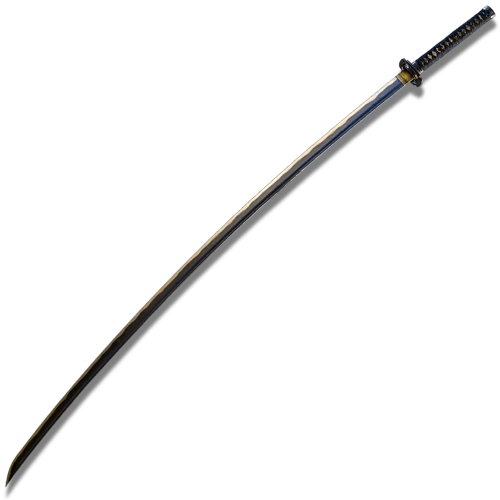
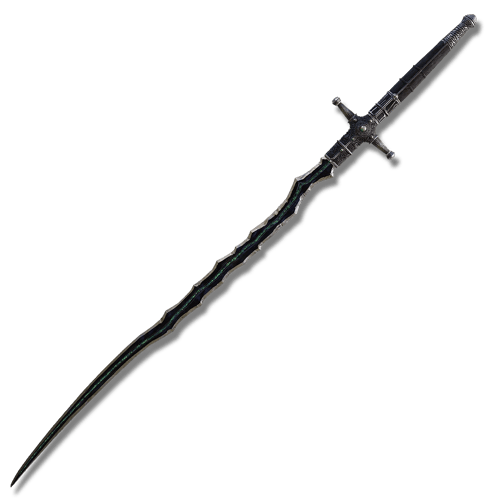
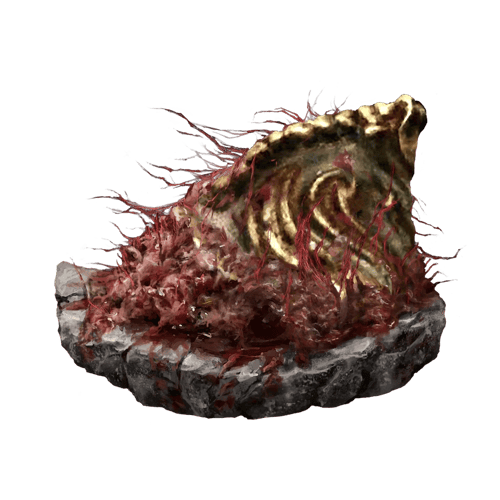
The Uchigatana and Nagakiba naturally build Blood Loss, but Hemorrhage should be treated as an additional reward for maintaining pressure, not something you need to force.
Your Keen Katana still deals strong Physical damage against enemies that are resistant or completely immune to Bleed.
Don't become overly aggressive simply because you expect the next attack to trigger Hemorrhage.
Use Unsheathe Heavy for Stance Pressure
Unsheathe Heavy is one of your strongest tools against bosses.
The vertical strike deals substantial stance damage for a weapon as fast as a Katana, making repeated safe punishes capable of creating stance breaks surprisingly quickly.
Whenever you have a good opening, Unsheathe Heavy should generally take priority over simply adding another Light Attack.
Once the enemy's stance breaks, take the Critical Hit and immediately prepare to continue pressure during their recovery.
Use Unsheathe Light for Shorter Openings
Unsheathe Heavy isn't always safe.
The Light follow-up comes out faster and performs a wide horizontal slash, making it better suited to short punish windows and groups of smaller enemies.
Think of the two follow-ups as separate tools:
- Short opening → Unsheathe Light
- Large opening → Unsheathe Heavy
You don't need to force the Heavy version simply because it deals more stance damage.
Take Advantage of Katana Range
Spacing is particularly important with Katanas.
Instead of standing directly against an enemy and trading attacks, learn the maximum range of your Light Attacks, running attacks, and Unsheathe.
The Nagakiba makes this even more effective because of its exceptional reach.
Proper spacing allows you to punish enemy recovery animations while remaining farther away from their fastest retaliation attacks.
Two-Hand Your Katana When Appropriate
If you're using a single Uchigatana or Nagakiba, two-handing is generally a natural fit for this build.
It also allows you to take advantage of the Two-Handed Sword Talisman if you're using it.
Remember that the normal Strength benefit from two-handing doesn't matter nearly as much on our Dexterity-focused Keen setup. The main reason we're two-handing is the playstyle and any equipment bonuses built around it, rather than trying to turn the build into Strength scaling.
Don't Ignore Regular Heavy Attacks
Unsheathe Heavy is excellent, but regular and charged Heavy Attacks remain useful.
Charged Heavy Attacks can deal strong stance damage without consuming FP, making them valuable when an enemy gives you a large opening but you want to conserve resources.
Mix them with Unsheathe rather than spending FP during every possible punish.
Use Running and Rolling Attacks
Katanas have fast attacks that work extremely well when entering or leaving melee range.
Use running attacks to quickly punish enemies after avoiding a large attack, and use rolling attacks when you need an immediate response after dodging through an enemy's combo.
You don't always need to enter Unsheathe stance before attacking.
Often, one fast regular attack is all the opening safely allows.
Don't Overcommit With Multi-Hit Ashes
Sword Dance and Double Slash can deal excellent damage, but their extended sequences also leave you exposed.
You don't need to complete every available follow-up.
Against aggressive bosses, use only the portion of the Skill that safely fits into the opening and prepare to dodge rather than attempting to squeeze out the final hit.
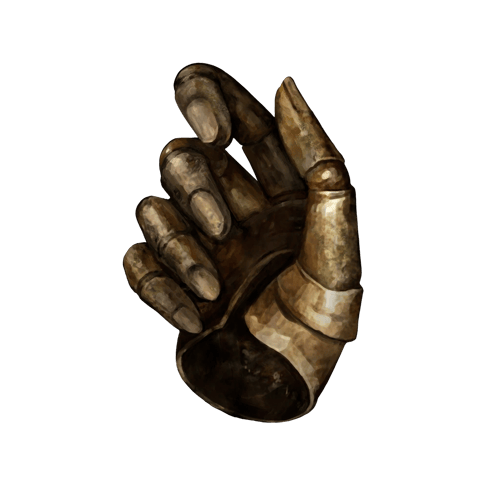
The same principle applies to Waterfowl Dance when using the Hand of Malenia.
Manage Your Stamina
Katanas attack quickly, which makes it easy to accidentally empty your Stamina bar.
Always leave enough Stamina to dodge after attacking.
This becomes especially important when powerstancing, where longer attack chains consume considerably more Stamina.
Your 30 Endurance provides a comfortable pool, but it doesn't make Stamina management irrelevant. Endurance directly governs maximum Stamina and Equip Load.
Use Bloodhound's Step for Difficult Matchups
If a particular boss makes it difficult to safely use Unsheathe or another offensive Ash of War, Bloodhound's Step provides an alternative focused entirely on mobility.
It can help you reposition around aggressive enemies before immediately returning to your Katana attacks.
You sacrifice offensive Skill damage to gain that mobility, so don't treat it as the default setup.
Adapt Against Slash Resistance
Katanas primarily rely on Slash damage during their normal moveset, and some enemies are more resistant to it.
Against these targets, don't assume your build suddenly isn't working.
Unsheathe remains useful for its stance pressure, while Critical Hits after stance breaks provide another way to deal significant damage.
You can also adjust your strategy toward attacks and Skills that perform better against the particular enemy rather than relying entirely on repeated Light Attacks.
Use Powerstancing as an Alternative, Not a Requirement
A second Katana gives you access to the powerstanced moveset, providing faster multi-hit pressure and naturally applying more of your weapon's innate Blood Loss.
However, powerstancing also increases Stamina consumption and removes the benefits associated with two-handing a single weapon.
Both approaches are viable:
- Single Katana → controlled attacks, Unsheathe, lower Stamina consumption
- Dual Katanas → aggressive multi-hit pressure and faster status buildup
The standard Samurai build doesn't require two Katanas to perform well.
Maintain Medium Equip Load
Your ability to quickly dodge after attacking is more valuable than squeezing a few additional points of defense from extremely heavy armor.
Endurance increases Equip Load, but you should still build your equipment around maintaining Medium Equip Load.
The Samurai works best when it can quickly move into attack range, punish an opening, and immediately reposition.
Learn the Enemy Instead of Forcing Pressure
This is ultimately the most important part of playing Samurai effectively.
Katanas have fast attacks, but that doesn't mean every gap in an enemy combo is an opportunity for several hits.
Start with one safe punish. Once you understand how long the enemy's recovery lasts, you can determine whether that opening allows:
- One Light Attack
- Unsheathe Light
- Unsheathe Heavy
- Charged Heavy Attack
- Several regular attacks
- A longer Ash of War sequence
The build becomes significantly stronger when you stop measuring openings by how many attacks you want to land and start measuring them by how many attacks you can safely land.
Build Your Combat Around the Opening
A simple Samurai combat flow is:
- Weak enemy → regular Katana attacks
- Short opening → Light Attack or Unsheathe Light
- Medium opening → Unsheathe Heavy
- Large opening → charged Heavy or offensive Ash of War
- Stance break → Critical Hit
- Enemy staying outside your range → running attack or use Nagakiba's reach
- Need additional mobility → Bloodhound's Step
- Bleed triggers → take the bonus damage, but don't change your entire playstyle chasing another proc.
A Samurai rewards precision over aggression. Use your Katana's speed and range to punish safely, use Unsheathe to create stance breaks, and let Blood Loss complement your Dexterity damage rather than dictate how you fight.