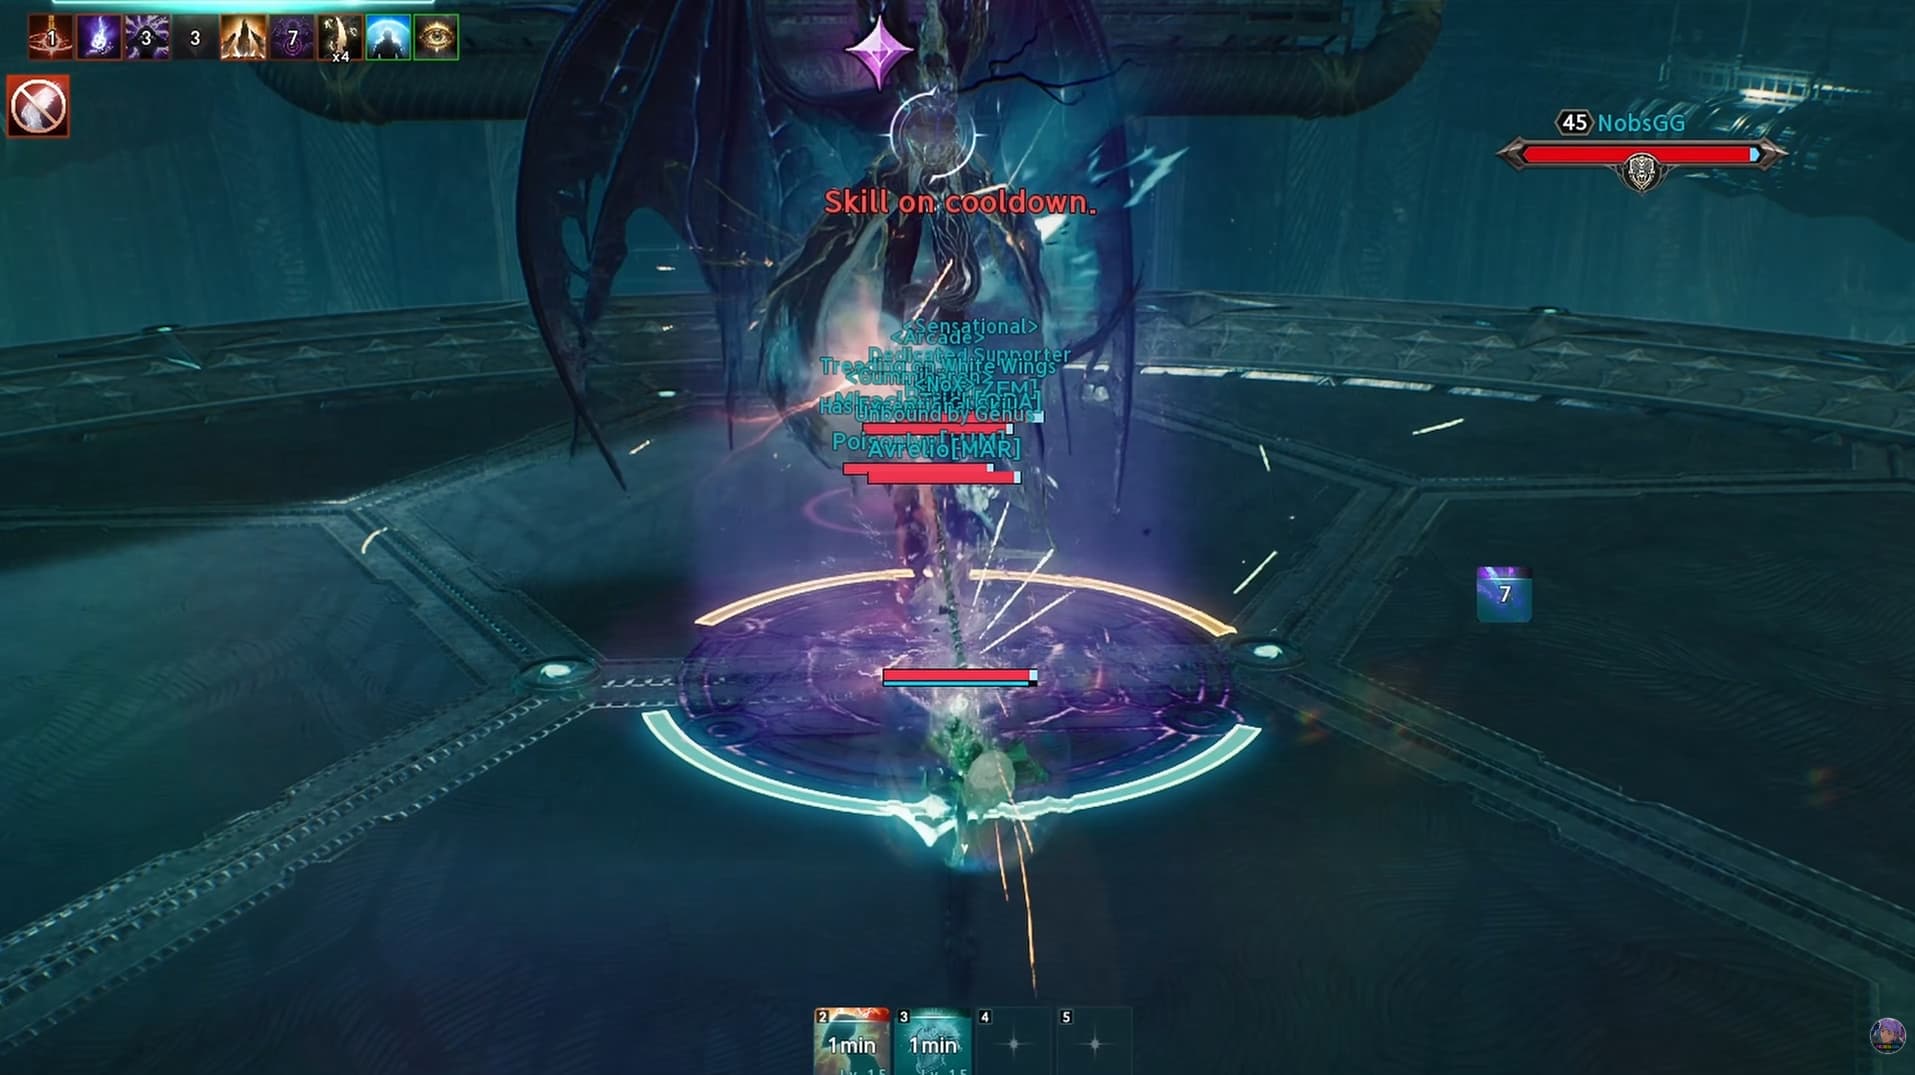
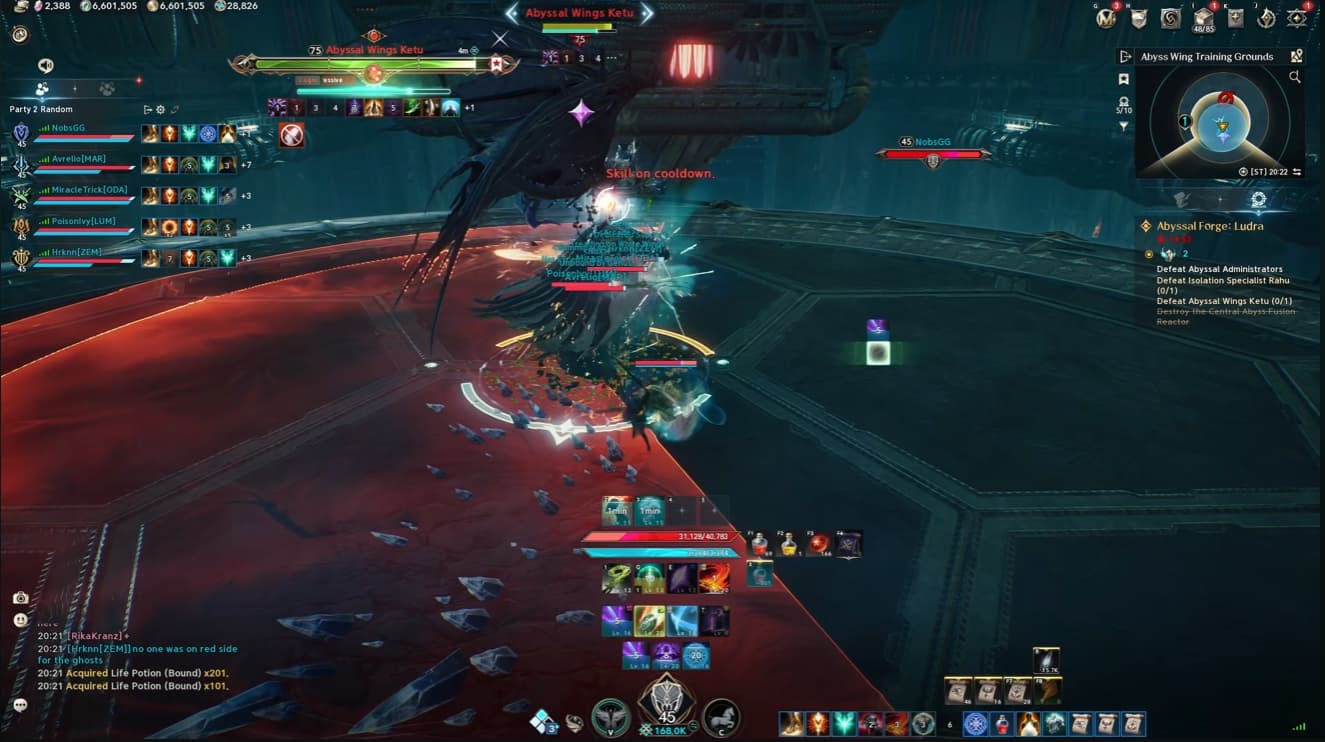
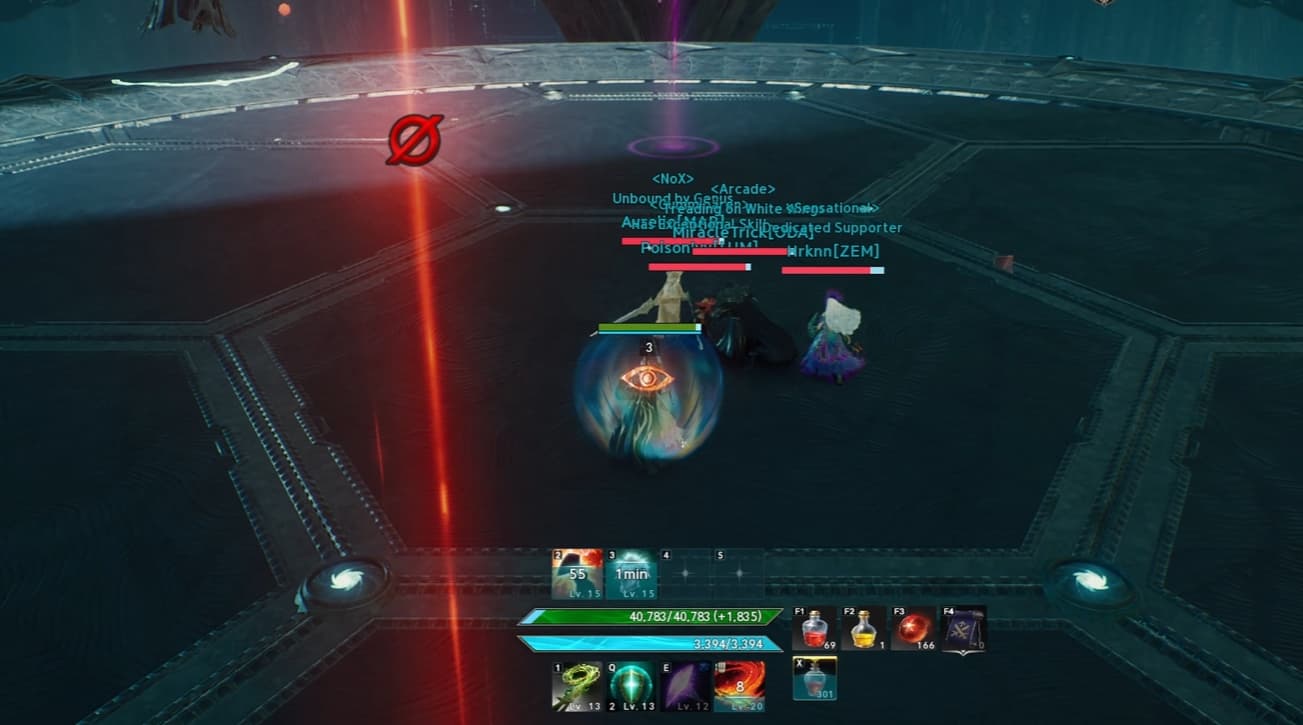
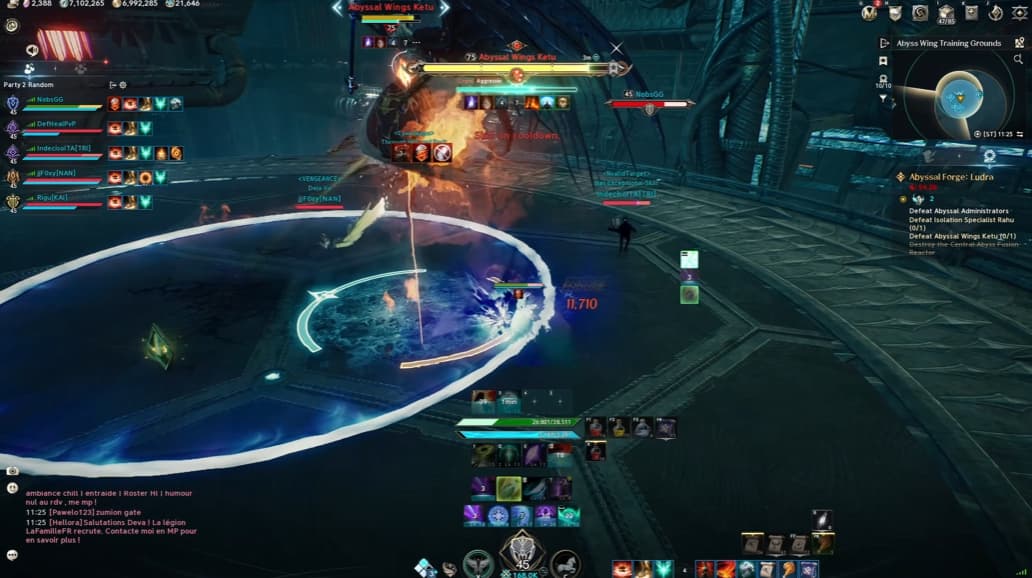
This Ketu boss guide covers Group 2’s encounter with Abyssal Wings Ketu in Aion 2’s 10-player Abyssal Forge Ludra raid. Blocking his jump attack, reacting correctly to coloured orbs and timing crystal breaks are the key mechanics to learn.
Keep the party together behind Ketu whenever possible and return to the centre when his attacks leave it as the only safe area. Players assigned to Group 1 can follow our Rahu boss guide for the other encounter.
A huge thank you to NoBS Game Guides for sharing his Ketu encounter strategies!
The tank should face Ketu away from the party while everyone else gathers behind him.
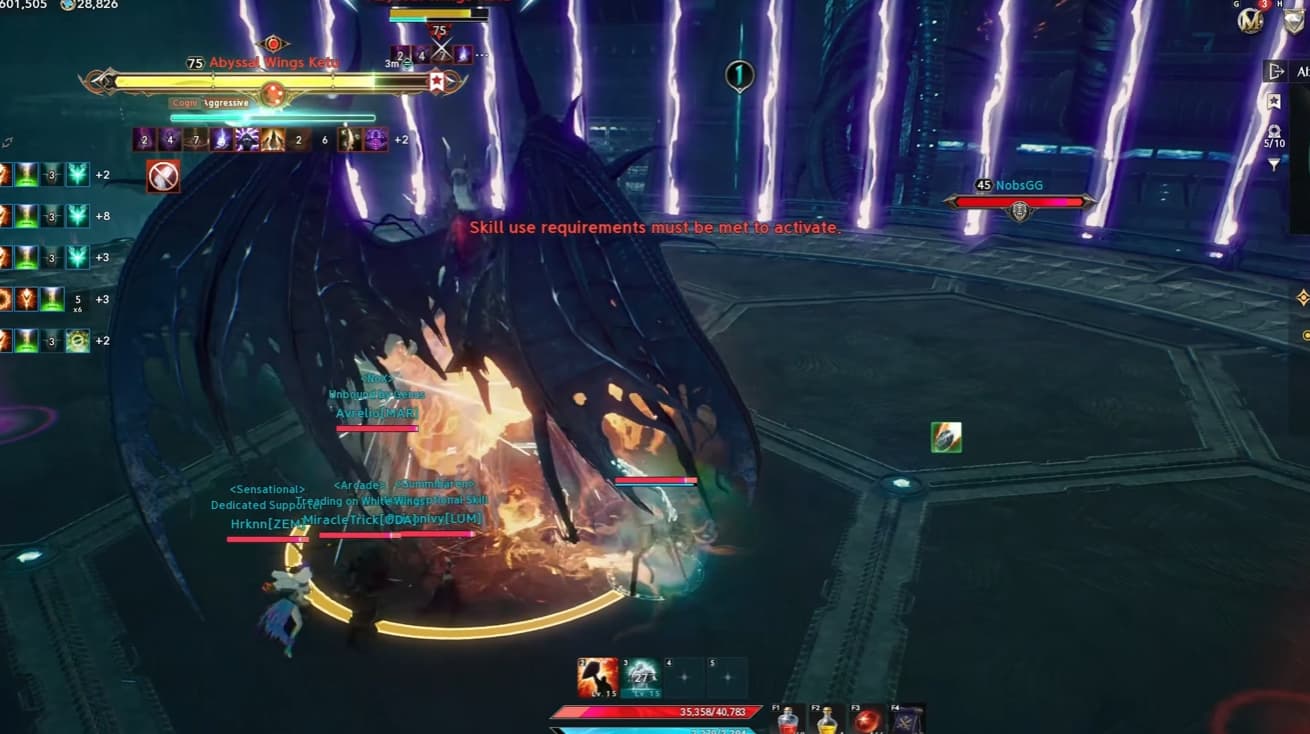
Ketu’s basic attacks deal heavy damage to the tank. Learn their animations and block or dodge the incoming hits, keeping the boss facing away from your teammates. The rest of the party can continue attacking from behind until a mechanic requires movement.
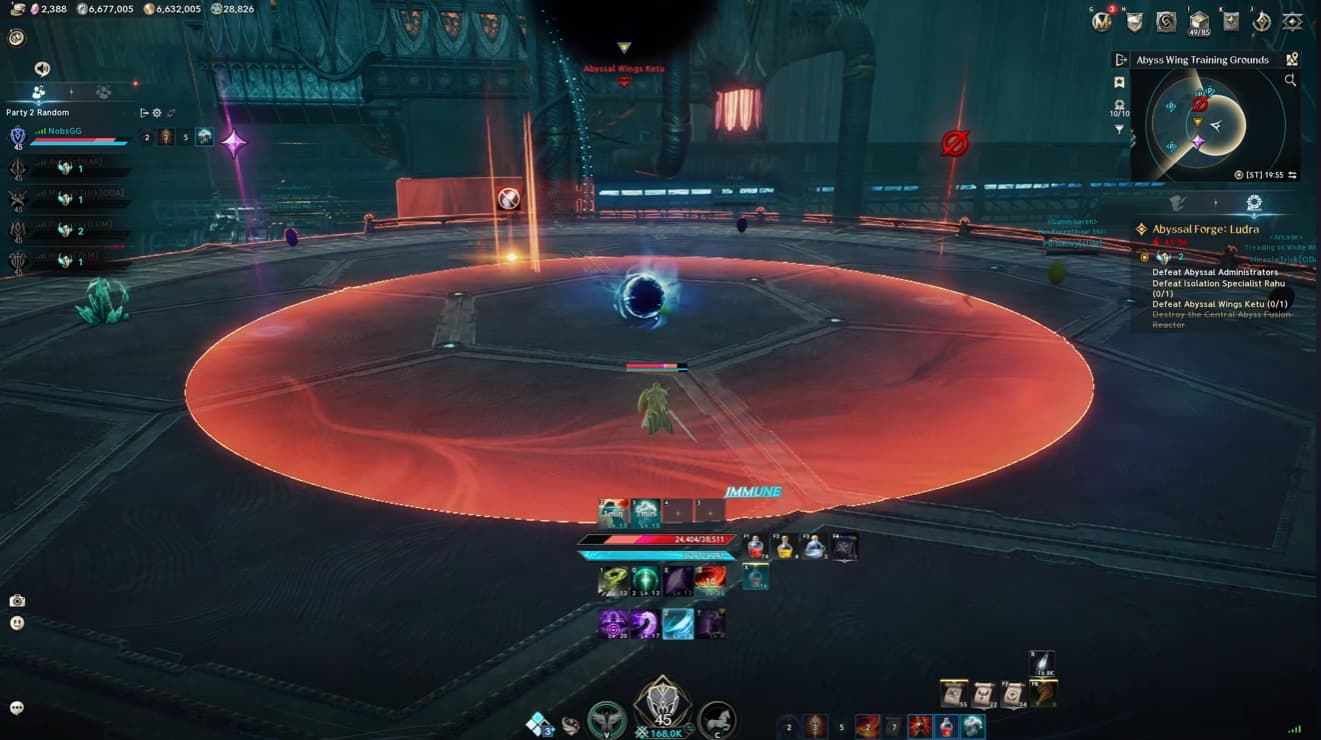
When Ketu spins his scythe above his head, prepare for two attacks that strike opposite halves of the arena.
Move out of the first marked half, then cross into the cleared area when he targets the other side. Stay close to Ketu so you have less distance to cover between the two safe positions.
These attacks cannot be avoided by simply dodging through the damage. Focus on moving out of the marked area before each strike lands.
Block the Jump Attack to Prevent the Ring
When Ketu moves to the far end of the arena, stay near the middle instead of chasing him. He marks a random player with an eye before jumping back onto them.
The marked player should remain in the middle to bring Ketu back into a useful position. The tank then needs to enter the landing AoE and block the hit, even if another player is the target.
A successful block prevents the damage and stops the follow-up ring from appearing.
Handle the sequence like this:
Stay near the middle when Ketu moves away.
Keep the marked player in the centre.
Have the tank enter the landing area and block the jump.
Resume attacking once Ketu returns.
If the ring does appear, jump over it. Use the same positioning and block strategy whenever Ketu repeats this attack.
Clear the Spirits During Abyssal Gaze
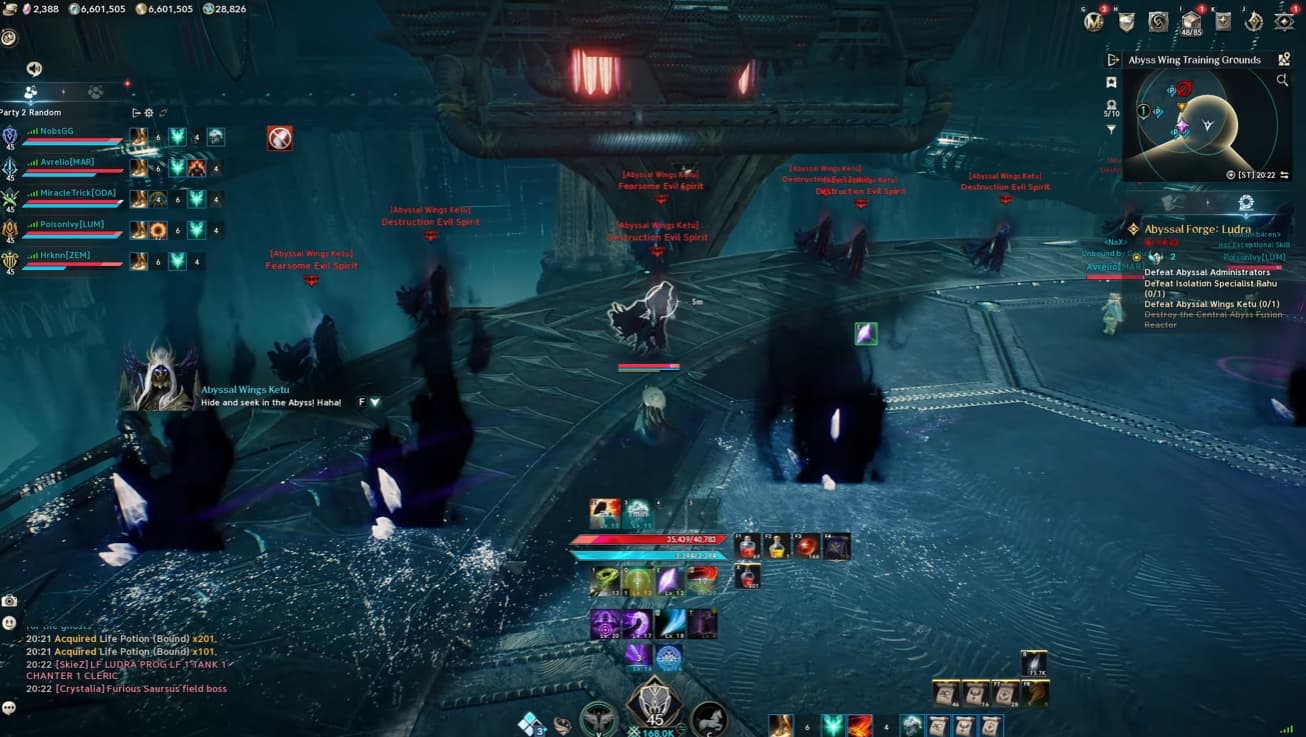
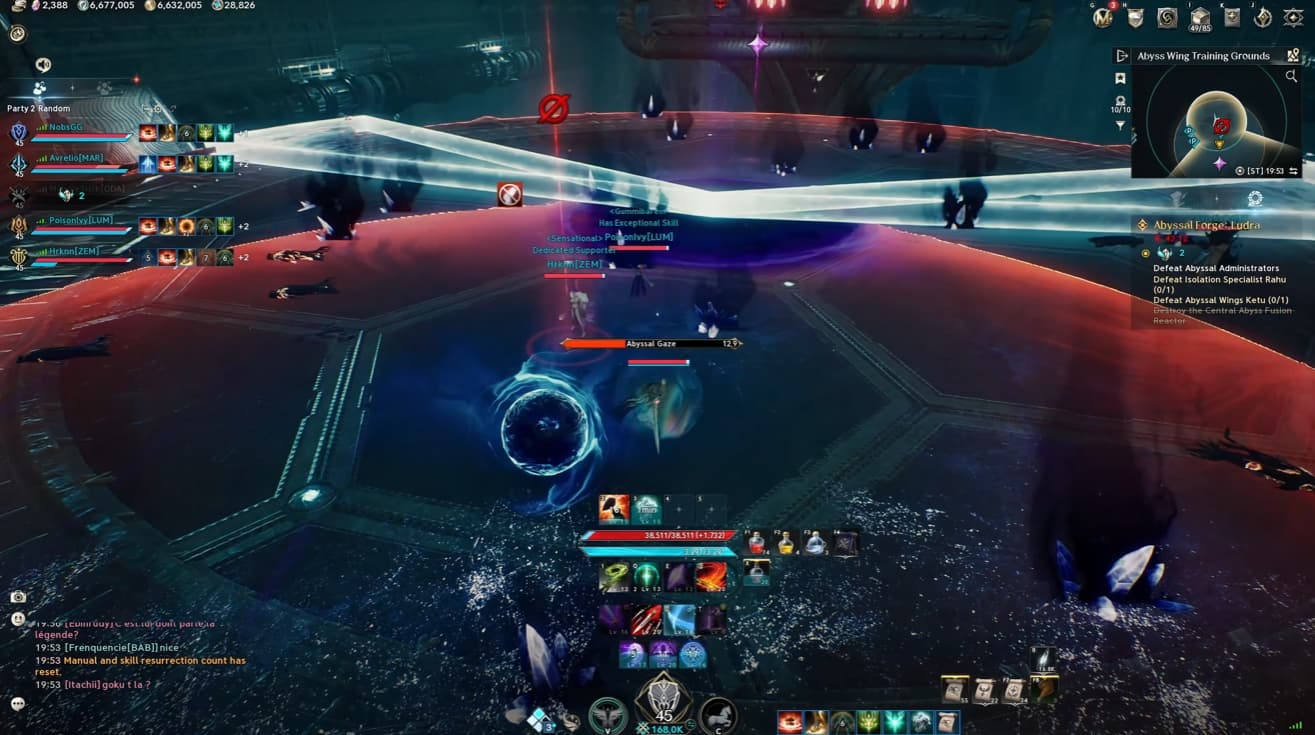
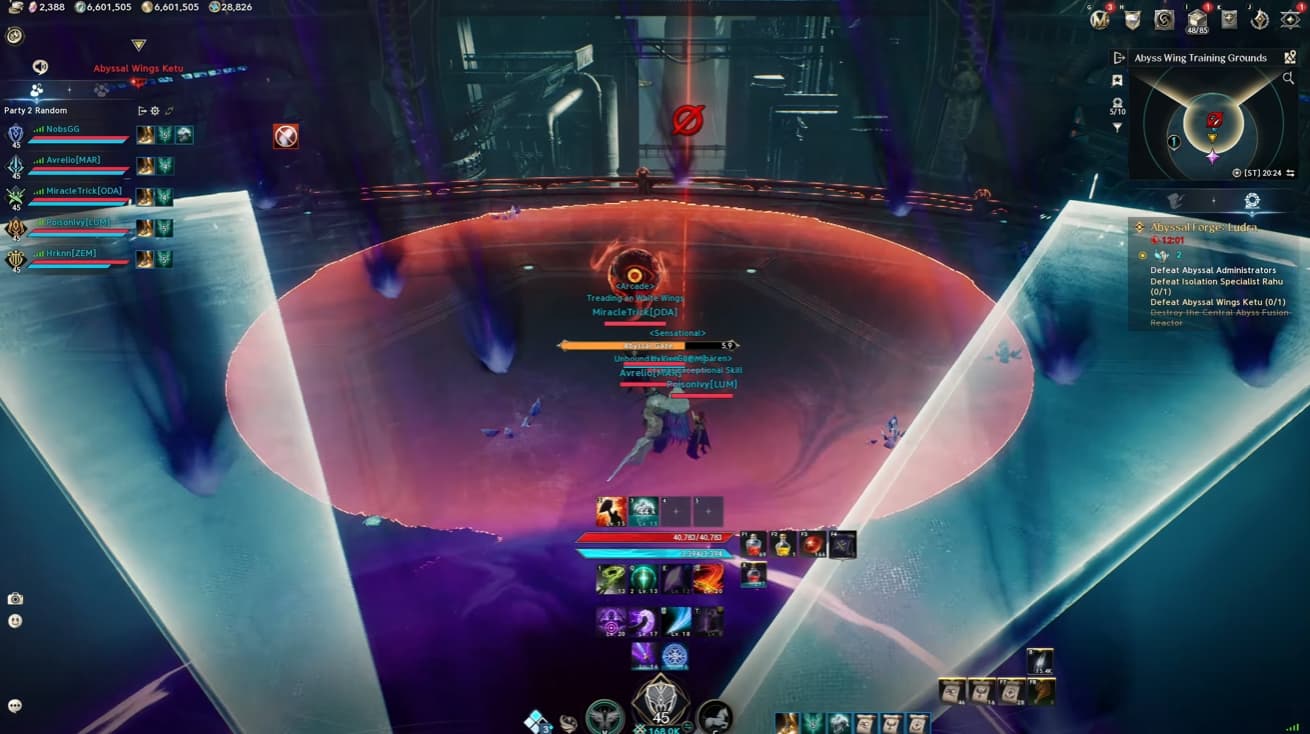
Ketu moves to the middle and begins casting Abyssal Gaze. Kill the spirits before they reach him while avoiding the ground attacks.
Start on the southern side of the arena and work towards the north, clearing spirits as you move. Watch for the laser approaching from the south and the beam that closes off the arena.
Once you reach the far side and finish clearing the spirits, move back to the centre. The incoming AoE makes remaining outside the middle unsafe.
Watch His Hands for Laser Directions
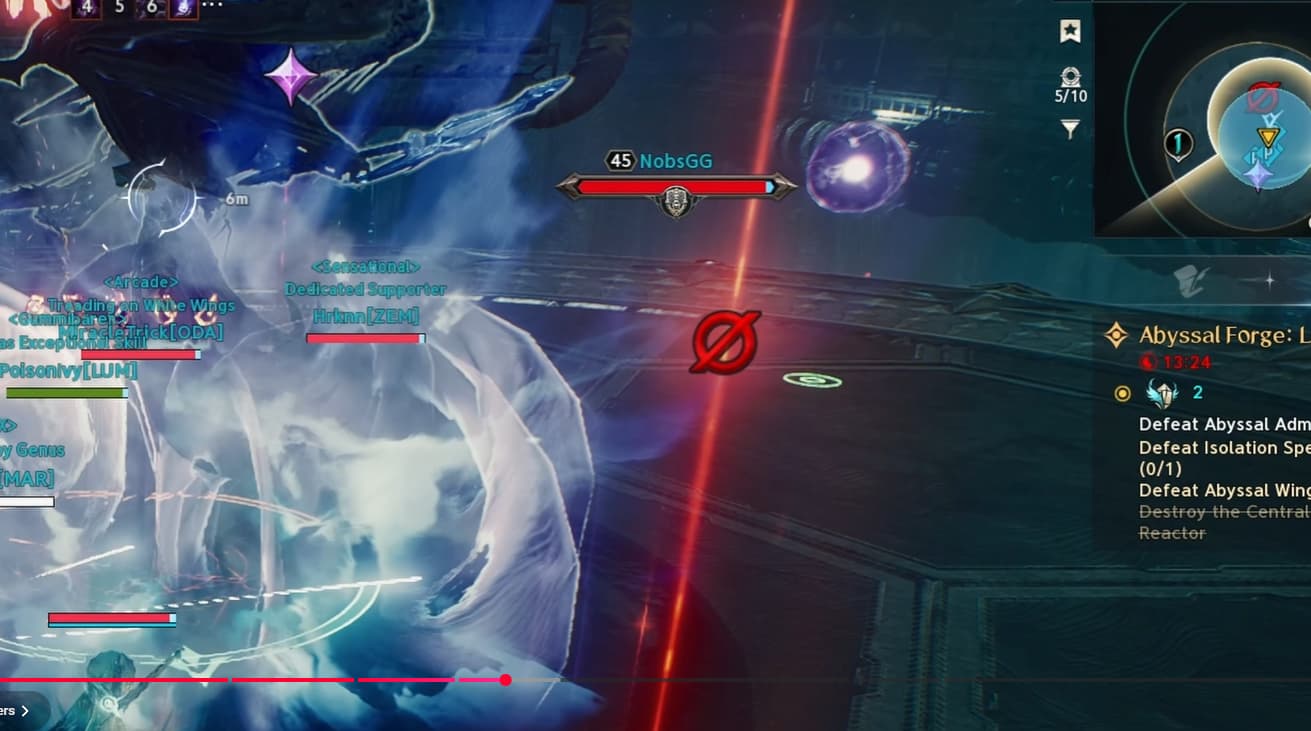
Ketu’s hand gestures reveal where his lasers will appear. Watch the direction he points and move clear before the attack reaches that area.
He repeats this cue throughout the encounter, so keep watching his animations between the larger mechanics.
If combat effects make these warnings difficult to follow, our Aion 2 combat and interface tips cover ways to improve visibility and keep important boss information in view.
Jump to Collect the Falling Orbs
When Ketu raises his hand and says “Sink silently and perish,” he spawns two orbs that the party must collect.
Have the assigned players move to the orbs and jump to catch them. Be ready to act quickly, because Ketu continues attacking during the collection mechanic.
His attacks can include another arena split, so keep watching the ground while moving into position. Collecting an orb does not remove the need to avoid the overlapping attack.
Face Red Orbs and Turn Away From Blue Orbs
At around 50% health, Ketu casts Abyssal Gaze again. Clear the spirits and move through the arena as before, but prepare for an additional facing check near the end.
The orb’s colour determines what to do:
Blue orb: Turn your character away from it.
Red orb: Turn your character towards it.
Your character’s facing matters, not the camera direction. Rotating the camera alone will not resolve the mechanic.
After the orb check, return to the middle to avoid the incoming AoE.
Ketu also begins using these coloured orbs outside Abyssal Gaze. They appear in a sequence, so react to each one individually, then move into the central safe zone when the following attack begins. Continue handling any repeated falling-orb collection mechanic as before.
Destroy the Scythes Chasing Your Teammates
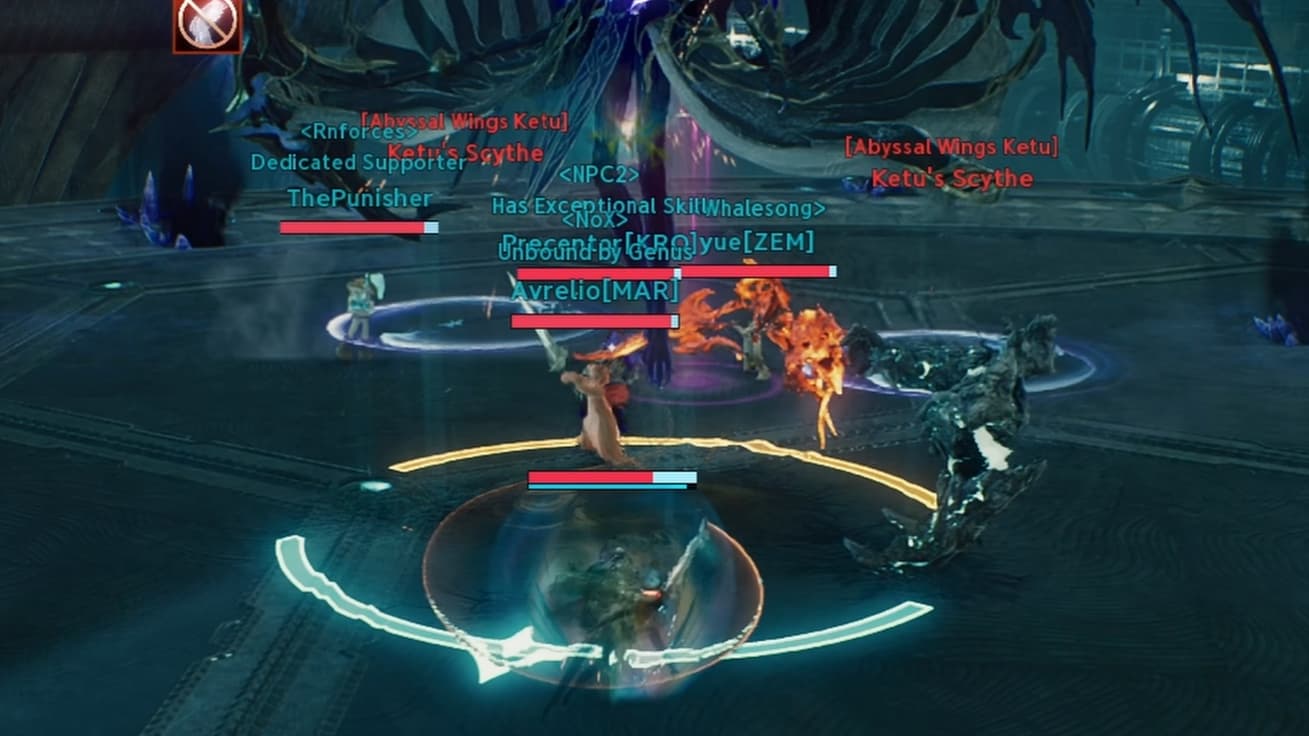
Ketu summons two scythes that chase two party members.
The remaining players need to attack and destroy the scythes while the targeted teammates focus on surviving. Switch your attention to these targets when they appear so the chased players are not left dealing with them alone.
Time Crystal Breaks During Eruption Power
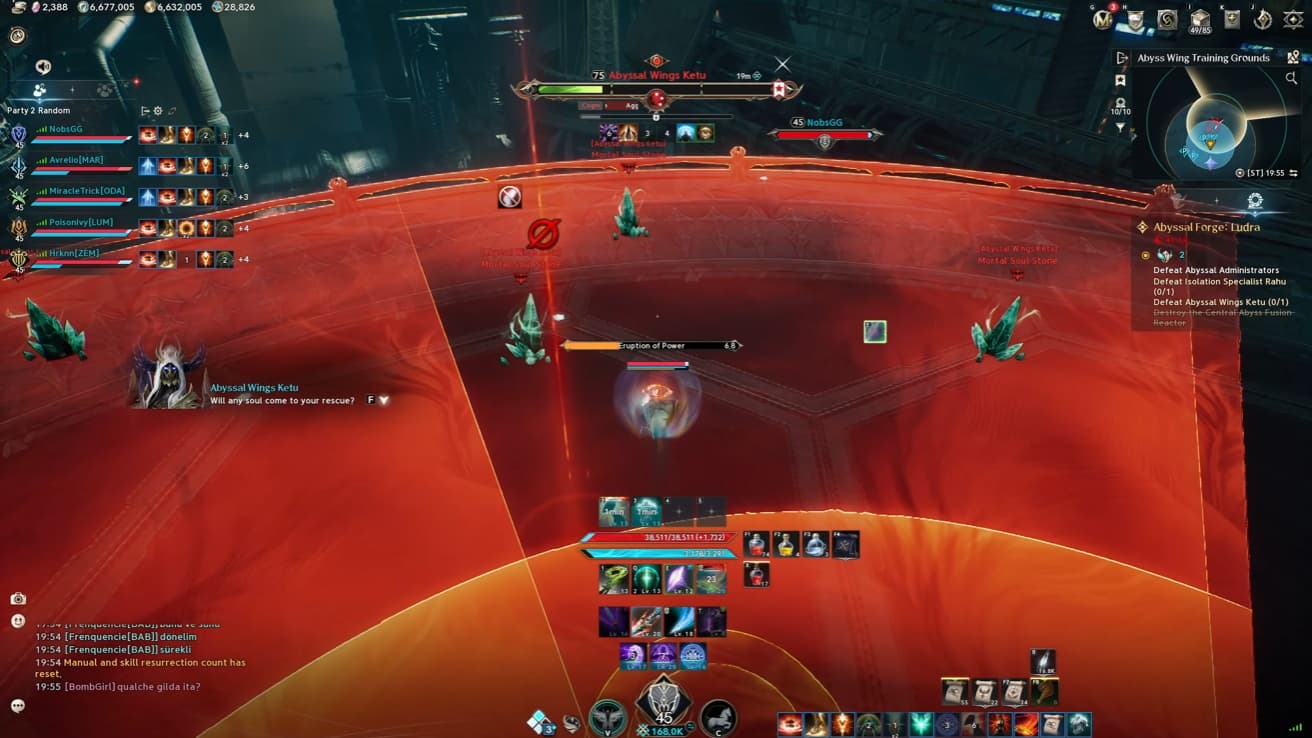
At the final health threshold, Ketu casts Eruption Power. Every player receives a targeted AoE, followed by a damaging raid-wide attack.
The crystals around the arena provide four seconds of immunity when destroyed. Each crystal takes two hits to break, allowing you to prepare one before triggering its protection.
The first targeted AoEs also destroy crystals they hit. If everyone spreads around the arena, those attacks can remove the crystals needed for the follow-up damage.
Use this sequence:
Gather on the same side. Keep the targeted AoEs concentrated so they do not destroy crystals across the whole arena.
Hit a nearby crystal once. Leave it ready to break with a second hit.
Finish breaking it just before the targeted AoE lands. Delaying the final hit preserves more of the four-second immunity window.
Move to two remaining crystals. Destroy the second promptly as you prepare for the continuing damage.
Delay the third crystal break by a few seconds. Stagger the immunity windows to cover the remaining attack.
Avoid destroying the crystals early or breaking your remaining crystals together. Their protection needs to last across the sequence.
After the crystal mechanic, three coloured orbs appear. Face towards red orbs and away from blue ones, then return to the safe area in the middle.
Ketu then overlaps mechanics you have already encountered. Keep reacting to the individual cues, handle the orb checks and move into the available safe zones to finish the fight.
As you progress through Ludra, our Aion 2 endgame gear guide explains equipment upgrades, Soul Binding and transfers.