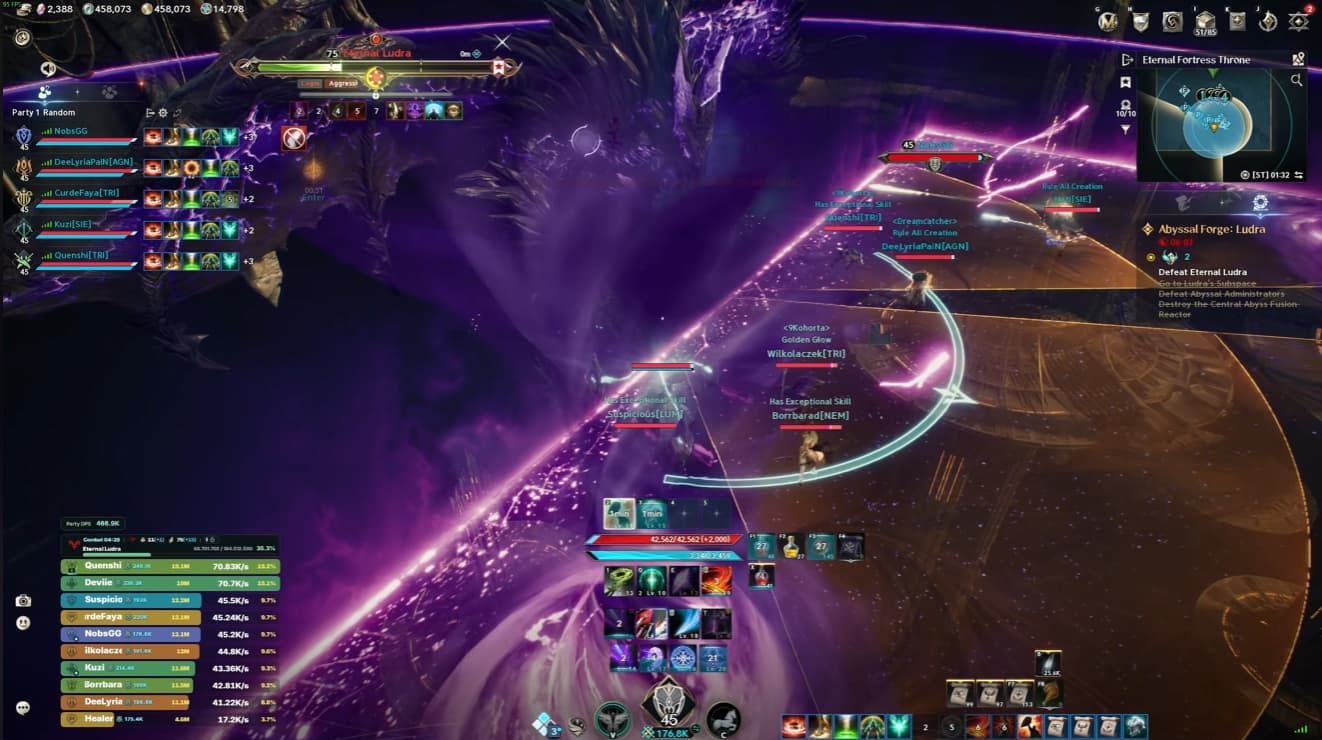
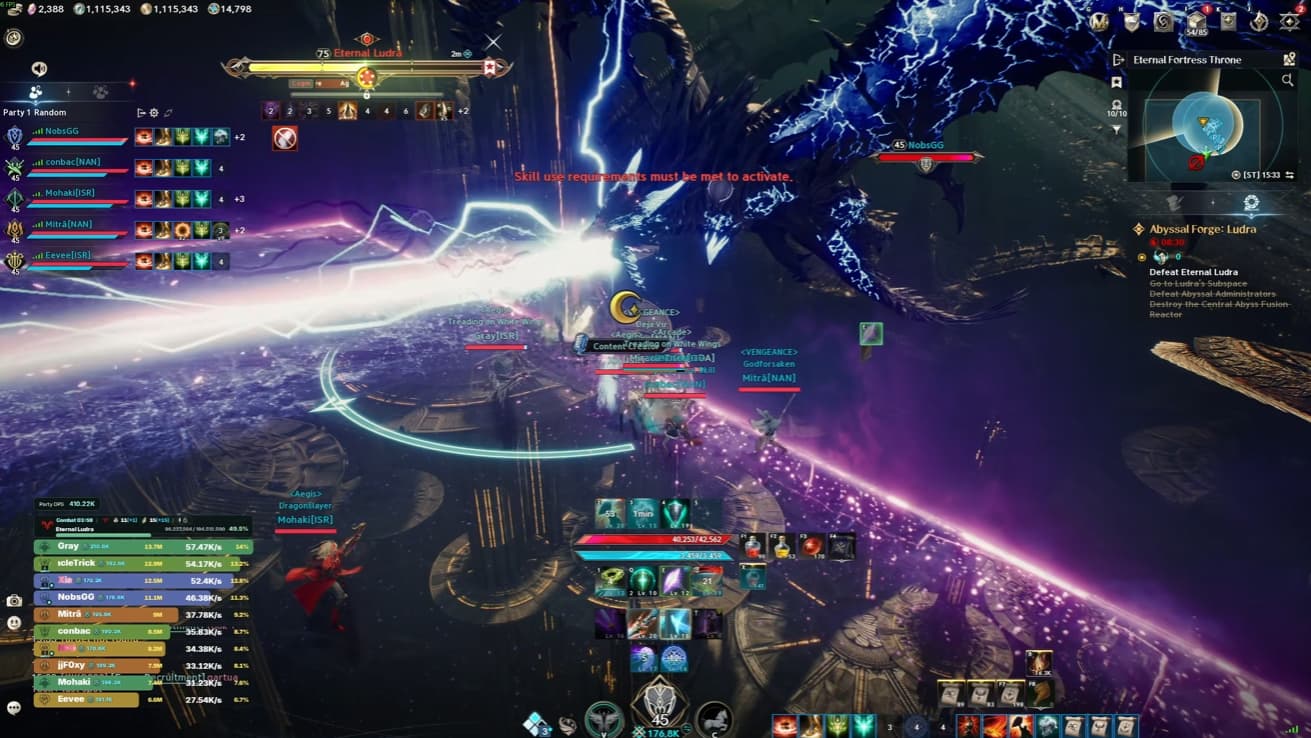
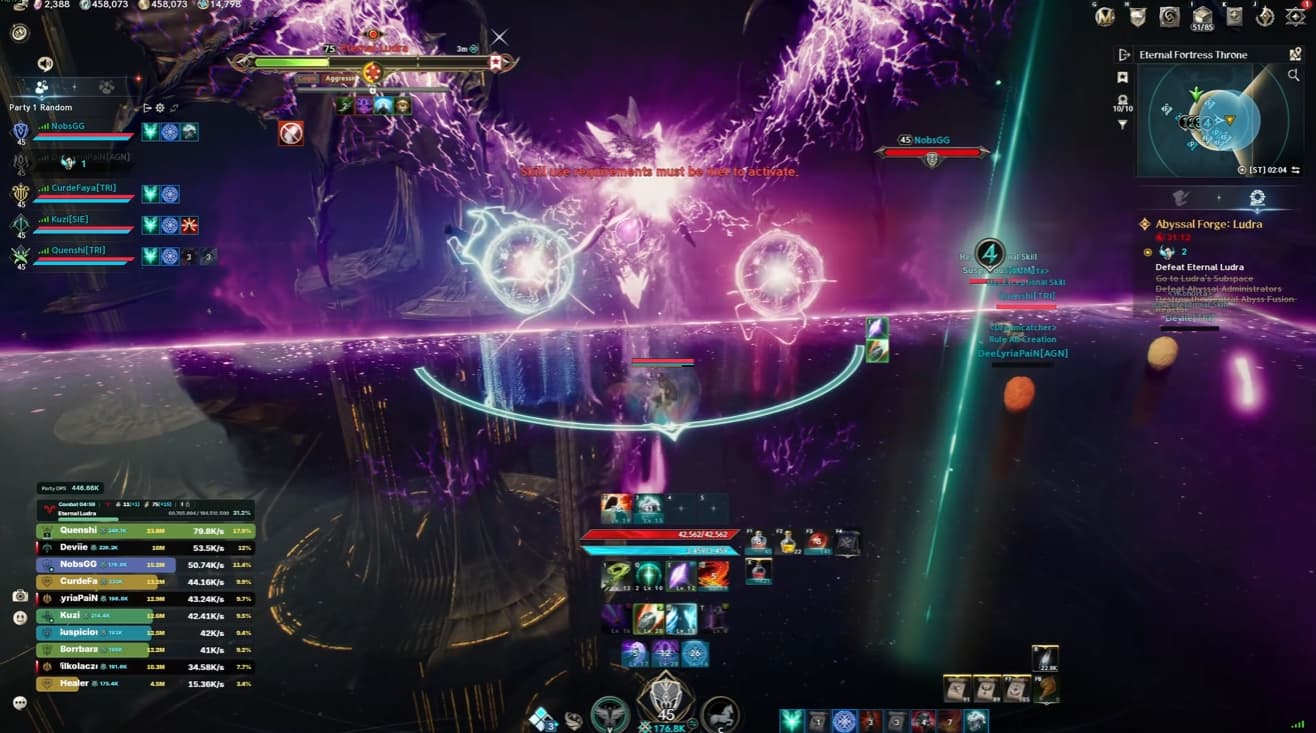
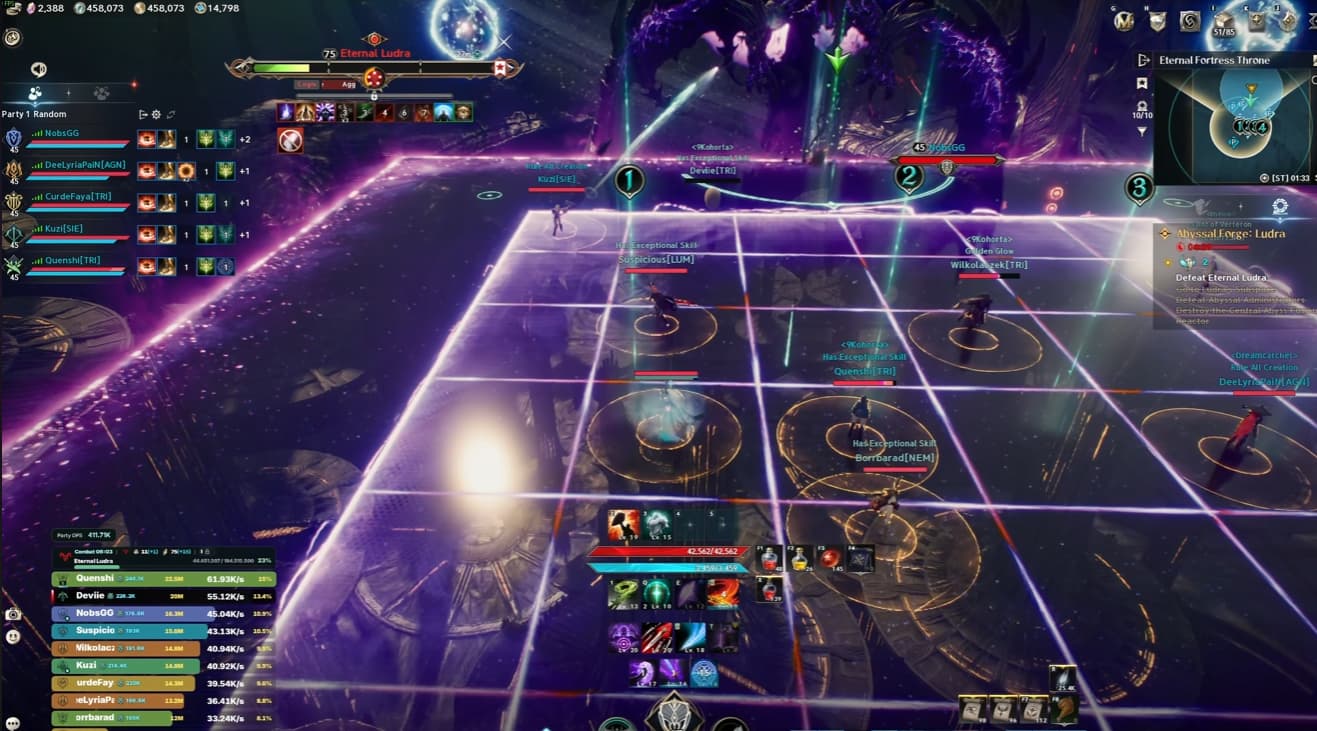
This Ludra boss guide covers the final dragon encounter in Aion 2’s 10-player Abyssal Forge Ludra raid. Catching falling orbs, finding the safe tile during Bingo and managing overlapping attacks are essential to keeping the group alive.
Both parties come together for this fight after their separate encounters. If you are still working through those bosses, follow our Rahu boss guide for Group 1 and Ketu boss guide for Group 2.
A huge thank you to NoBS Game Guides for sharing his Ludra encounter strategies!
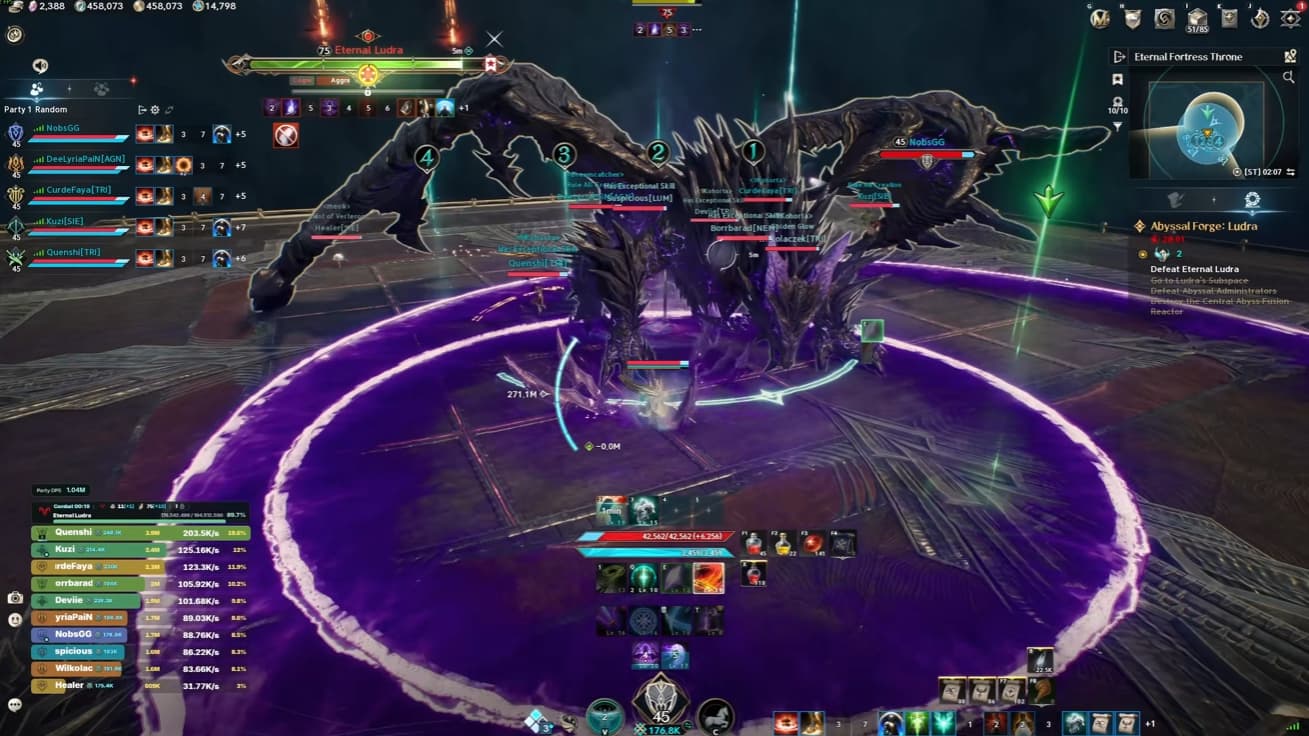
The tank should begin on the opposite side of Ludra from the rest of the group. Damage dealers should stay behind the boss whenever mechanics allow it.
Ludra immediately attacks the tank with his tail when pulled, so be ready to block. A strong cleave and a breath attack follow.
The next sequence requires movement between attacks:
Move sideways to avoid the following AoE.
Dodge the double hit that comes afterwards.
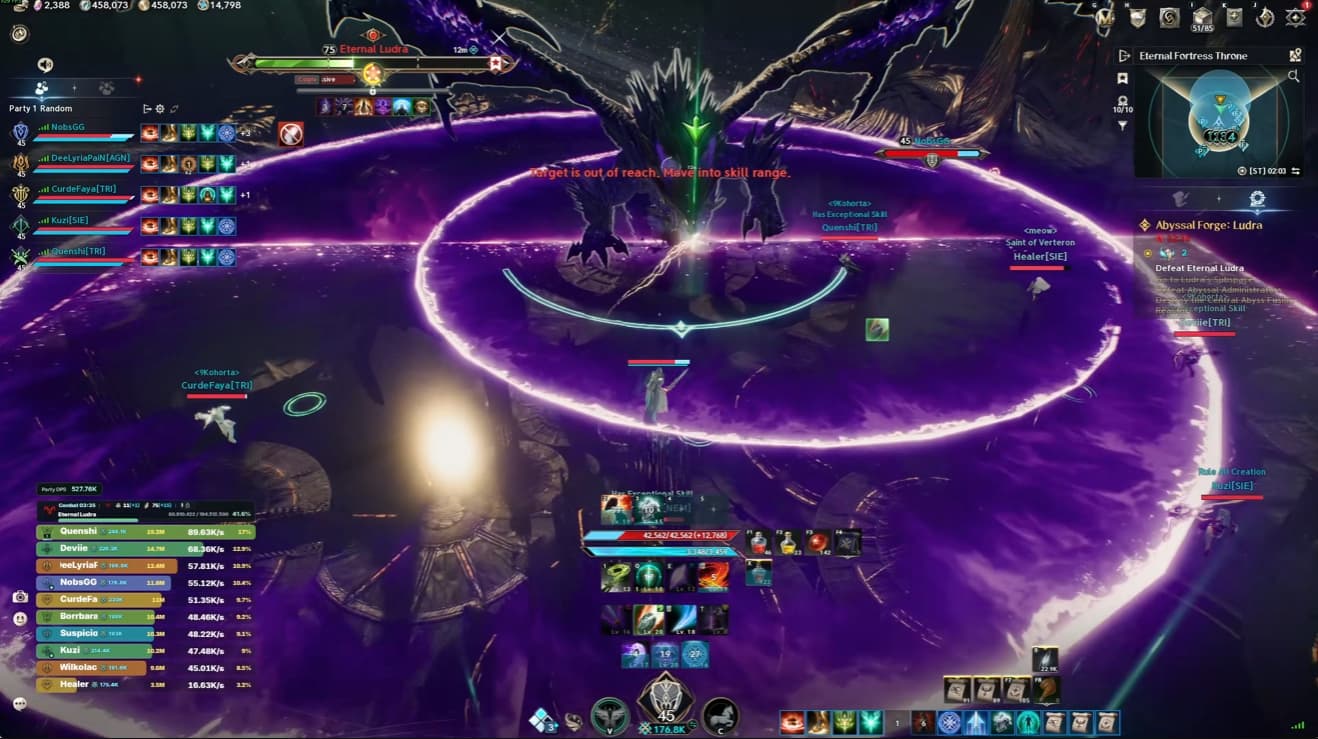
Jump over the two expanding rings.
When Ludra flies to another position, follow him and re-establish the same formation.
The tank must keep adjusting whenever Ludra turns or moves. Holding your old position can leave the rest of the group standing in front of his next attack.
You can zoom out further than usual during this encounter. Use the extra camera distance to track the boss, falling orbs and hazards around the arena.
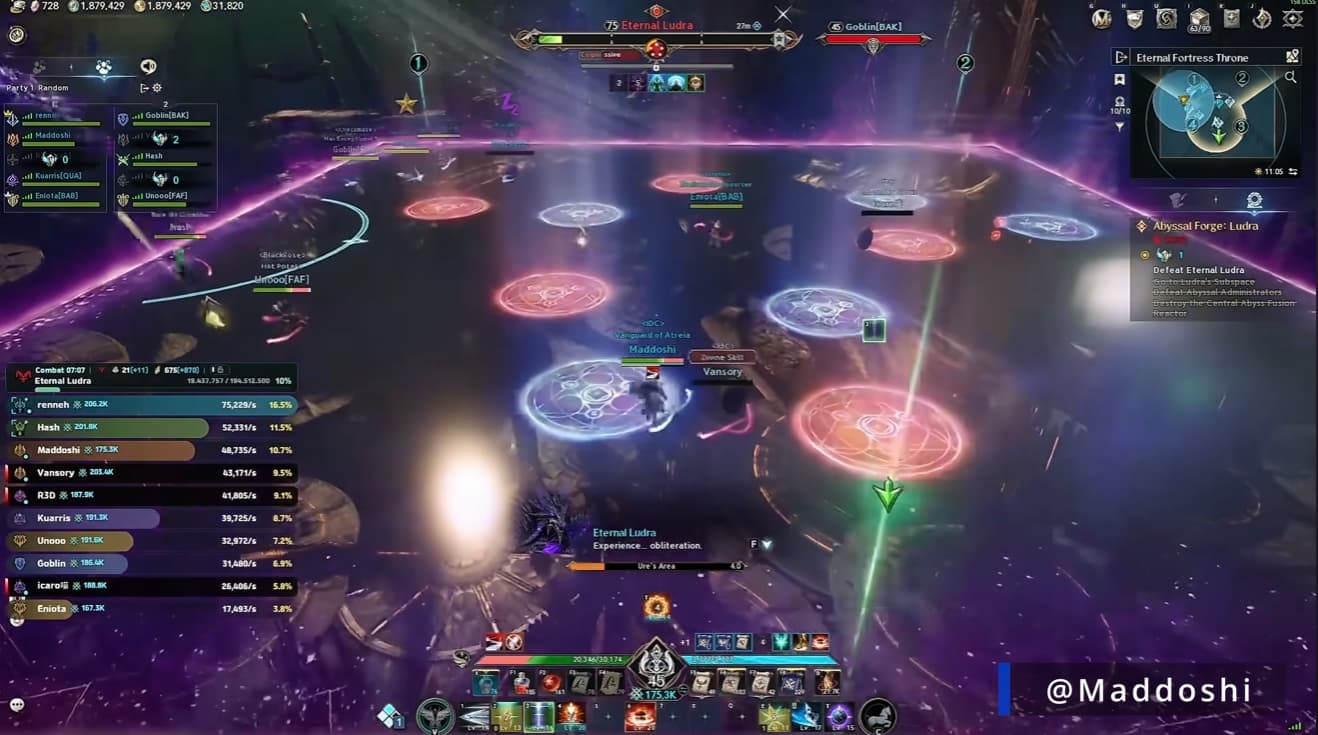
Catch the Falling Orbs Before They Land
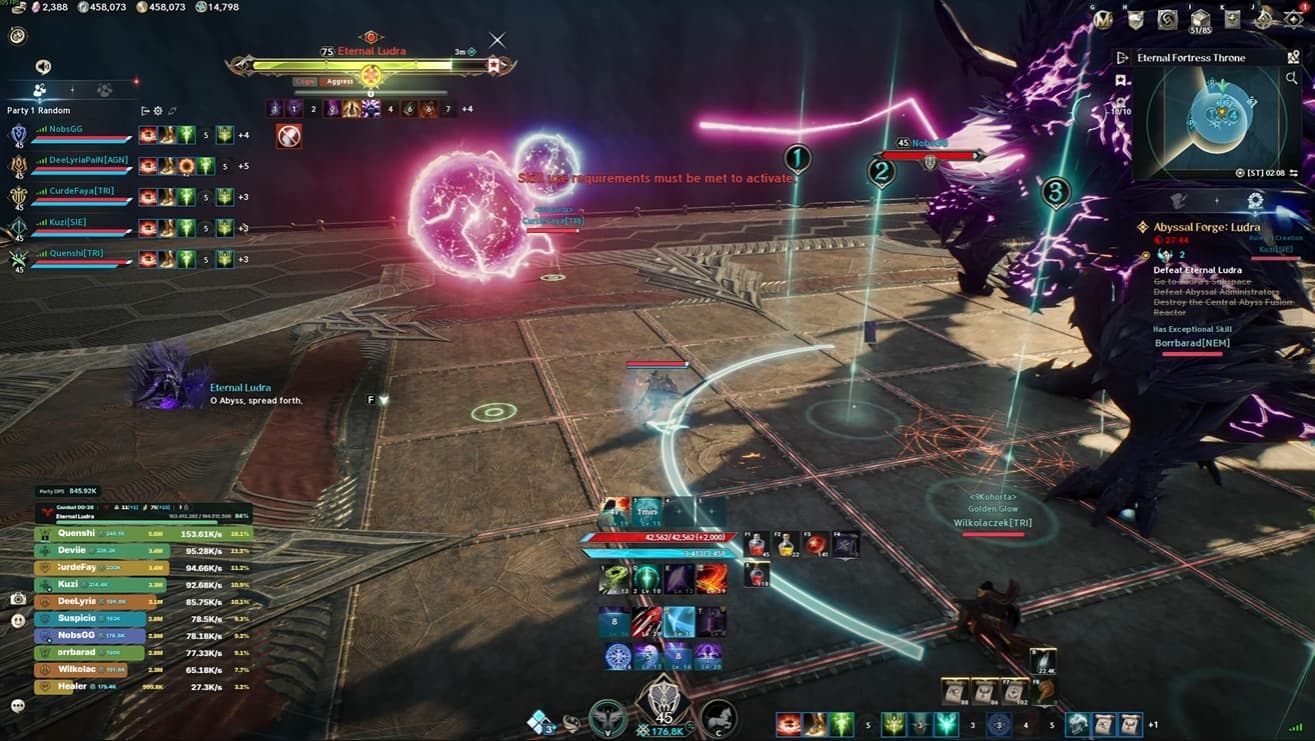
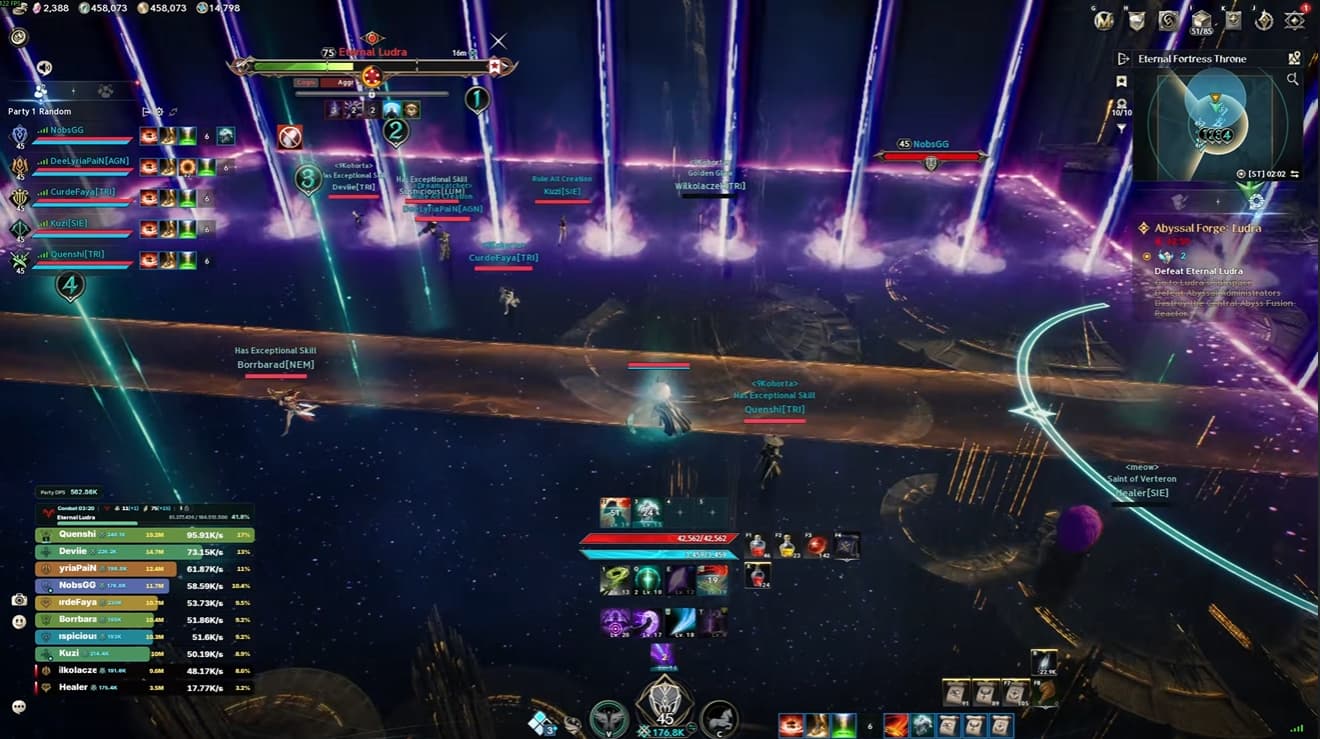
Falling orbs appear repeatedly throughout the fight. Players must intercept them before they reach the ground, or the group takes massive damage.
The orb colour determines who should collect it:
Blue orbs: Other party members spread out to catch them.
Red orb: The tank must collect it while blocking.
The red orb always appears in front of Ludra. Collecting it without an active block wipes the group, so the tank needs to reach the correct position and prepare the block before contact.
Continue watching the arena while collecting orbs. Later sets overlap with tornadoes, targeted attacks and expanding rings, so reaching an orb is only one part of the mechanic.
During the first phase, repeated orb sets appear in the same locations. Learning those positions helps the group move into place sooner.
Move Eye Attacks Away and Leave the Arena When Required
Ludra marks a player with an eye before targeting them with a large AoE. If you receive the mark, move away from your teammates so the attack does not land on the group.
The tank should continue tracking Ludra’s facing during this movement. When he turns, move back around to his front so the party can safely gather behind him afterwards.
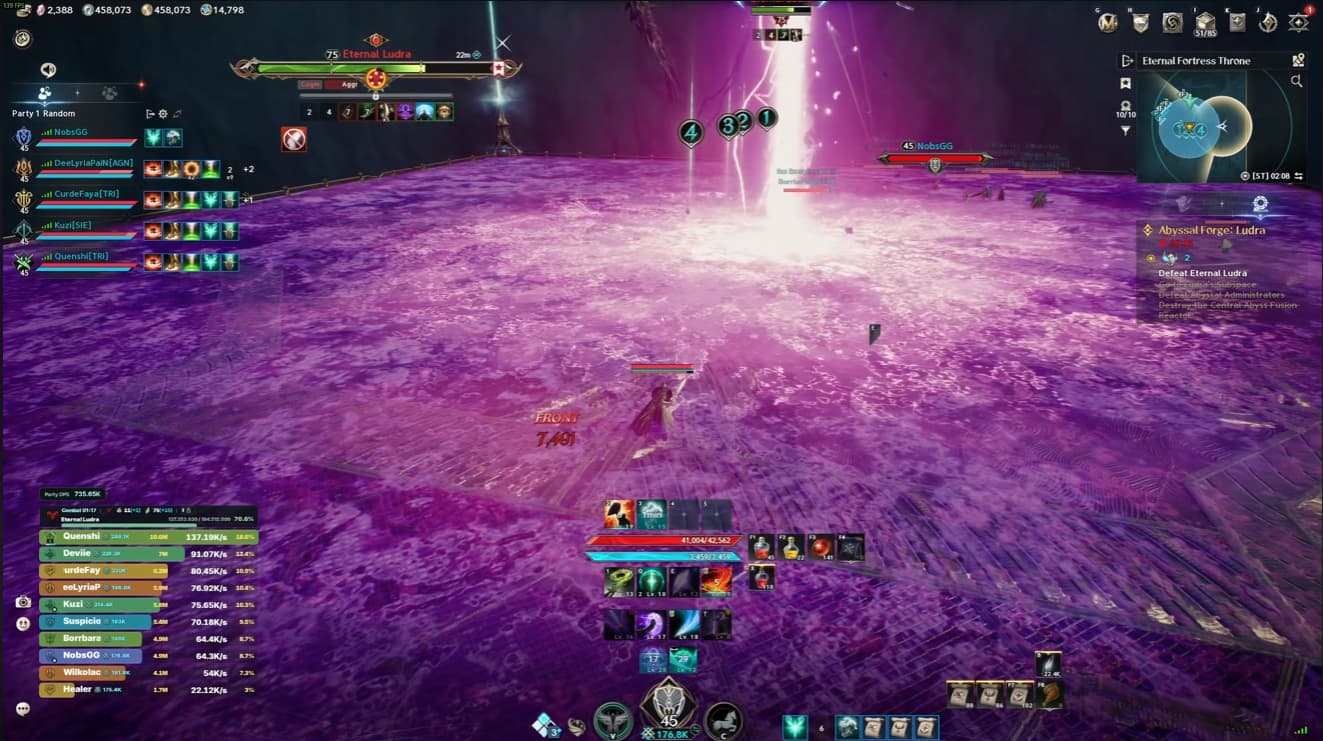
Ludra also uses an attack that targets the whole arena during the first phase. Run all the way outside the marked area before it resolves.
These attacks can follow orb and tornado mechanics closely. Finish the immediate mechanic, then watch for the next warning instead of stopping as soon as your orb is collected.
Lead Chasing Tornadoes Away From the Party
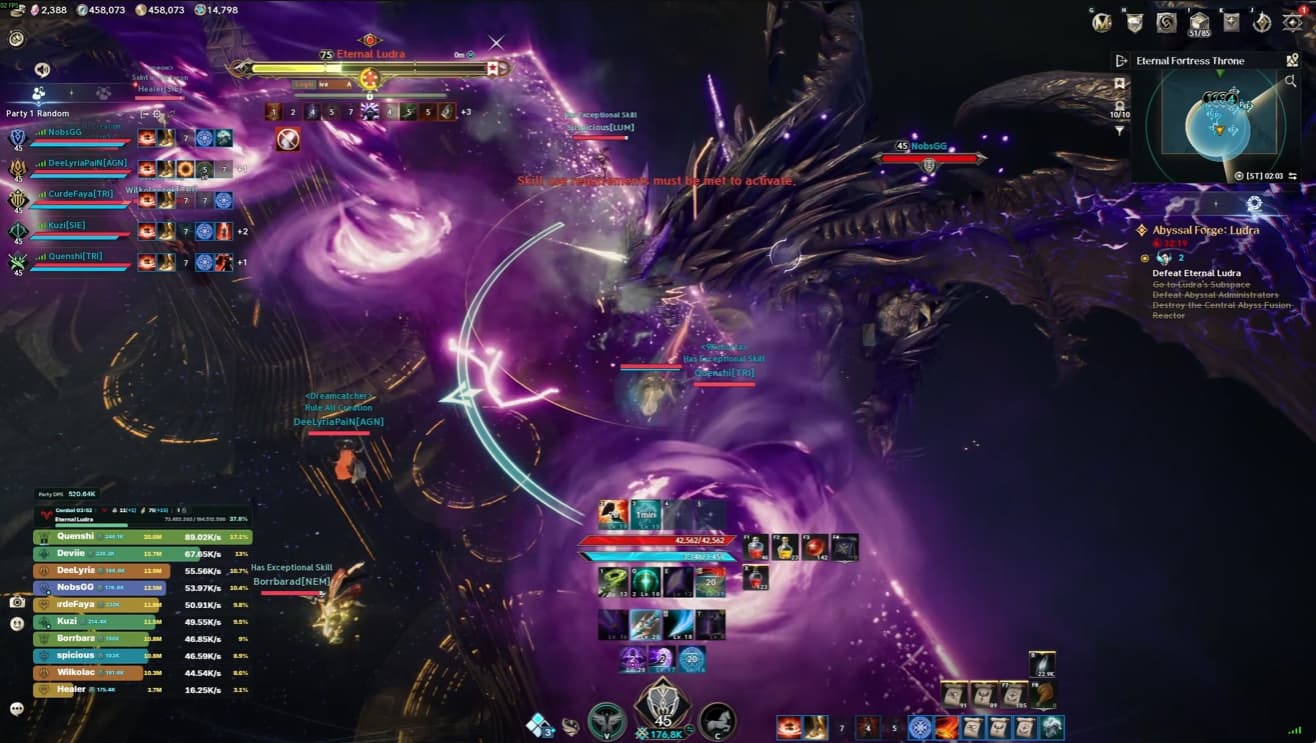
Some tornadoes follow whichever player is closest to them. Ranged players should take responsibility for attracting these tornadoes and leading them away from the rest of the group.
Keep moving in a consistent direction while avoiding other attacks. During the first phase, chasing tornadoes overlap with plus-shaped AoEs, so watch the ground as well as the hazards following you.
Once those tornadoes disappear, prepare for a double hit targeting the players. Dodge or block it before returning your attention to damage.
The same role split remains useful later in the fight:
Melee players: Stay close to Ludra to avoid attracting the tornadoes.
Ranged players: Pick up nearby tornadoes and keep them away from the melee group.
Later tornado sequences can overlap with ring jumps and large AoEs. Ranged players need to keep controlling the tornadoes while resolving those attacks.
Learn the Phase One Attack Order
The first phase follows a fixed sequence. Learning what comes next gives you time to prepare for orb collection, movement and defensive abilities.
After the opening attacks, the broad order is:
First orb set: Ludra flies away, and the group follows to collect the orbs.
Arena reduction: He jumps away, reduces the available arena, lands and jumps again. Tornadoes emerge from the centre alongside another orb set.
Eye and double hit: Handle the marked player’s AoE, then dodge or block the double hit.
Another orb and tornado sequence: Collect the orbs, avoid the tornadoes and resolve another eye attack before running outside for the arena-wide AoE.
Chasing tornadoes: Lead them away while avoiding the plus-shaped attacks, then dodge or block the double hit after they disappear.
Repeat attacks into Bingo: Another sequence of orbs, jumps, tornadoes, an eye attack and a double hit leads into another arena-wide attack. Prepare your Bingo positions afterwards.
Keep watching Ludra throughout the sequence. Knowing the order helps you anticipate attacks, but you still need to react to their actual timing.
Find the Safe Tile During the First Bingo
During Bingo, players receive targeted AoEs that reveal arena tiles when they land. One tile contains the safe zone. Once it is uncovered, the group must shelter inside it to survive the incoming attacks.
The safe tile provides immunity, but falling orbs must still be collected before everyone takes shelter.
Assign positions before the fight
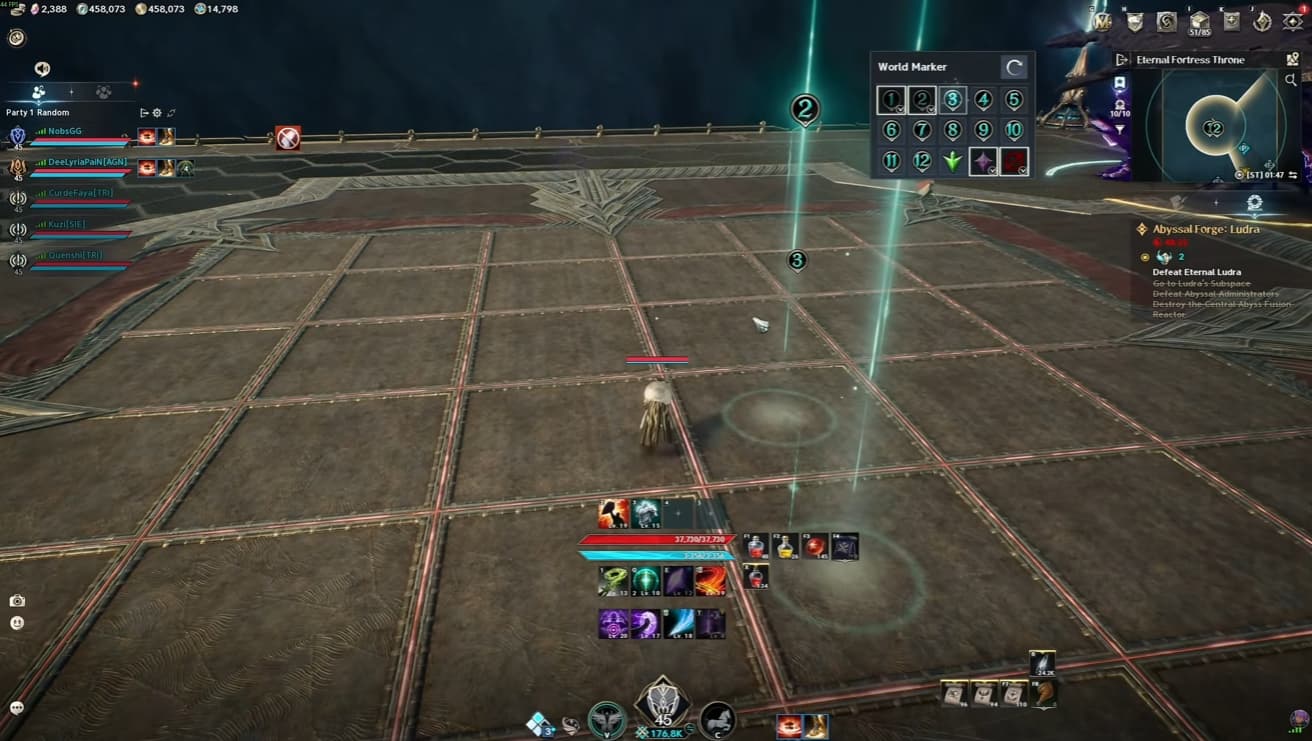
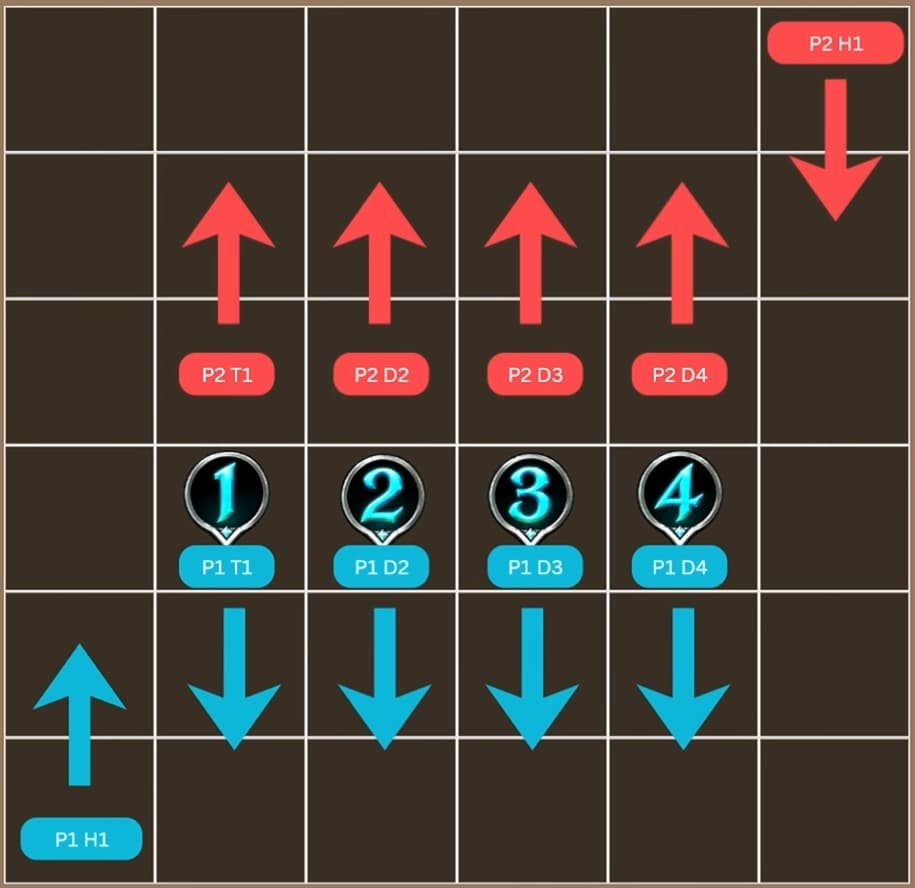
Mark four central tiles with numbers and assign numbered positions within each party. Players should identify both their party and number when calling their assignment, such as “Party 1, number 1.”
Use the following search arrangement:
Party 1: Start inside the assigned numbered tiles and progress south.
Party 2: Start outside the corresponding numbered tiles and progress north.
The two healers: Begin at the arena’s edges and move forward to reveal additional tiles.
Reveal tiles and move into safety
Move within your assigned tile until the targeted AoE locks in place, then dodge to the next tile. Avoid stepping onto tiles that have already been hit, as they deal damage.
After the first two hits, Ludra attacks the middle of the arena. The search routes should already be carrying players away from those central tiles.
When someone discovers the safe tile:
Call out its location immediately.
Collect the falling orbs.
Move into the revealed safe zone.
Dodge the attack immediately before Bingo rather than rushing straight into position.
After the mechanic resolves, Ludra staggers. Return to the boss and use the opening to deal damage before the next phase.
Jump the Rings While Maintaining Orb Duties
Ludra starts the second phase from the north. Place a marker on the northern side before the fight so everyone has a consistent reference point.
Expanding rings now require two timed jumps. Orb collection can happen during the same sequence, making the tank’s red orb particularly demanding.
For a Templar, the blocking ability needs to be at least level 10 to allow movement while blocking. Handle the overlapping mechanic in this order:
Jump over the first ring.
Activate block while airborne to collect the red orb.
Cancel block.
Jump over the second ring.
The red orb still requires an active block. Successfully jumping the rings does not prevent a wipe if the tank collects it unprotected.
Other players must also watch for both rings while collecting their blue orbs.
Dodge the Zikel Attacks and Directional Lasers
Ludra’s Zikel sequence combines the Zikel’s Apparition mechanic with lasers approaching from different sides of the arena.
The lasers follow this fixed order:
South
West
East
North
Use the arena’s compass directions to track the sequence rather than relying on your current camera angle.
The Zikel attacks also follow a fixed pattern. Wait for an attack to land before moving into the cleared space, while staying ready for the next laser.
With typical group damage, the first Zikel sequence appears at around 70% health during the later phase. Other attacks depend on health thresholds too, so faster or slower damage can change when the group reaches them.
Orbs and double ring jumps can follow the Zikel sequence. The tank should be ready to return to the front of Ludra for the red orb.
React to Double Hits and the Sweeping Breath
Several later attacks look different but arrive close together. Learn which ones require spreading, changing safe zones or moving across the arena.
Large two-hit AoE
The large attack nicknamed “pizza” leaves one safe area for its first hit. The second safe area appears on the opposite side.
Move between the safe areas as the attacks resolve. Both hits can also be blocked.
Targeted double-hit AoEs
Another attack places multiple AoEs beneath the players, and those areas strike twice.
Spread around the arena so players have room to react, then dodge the double hit. Do not treat the first impact as the end of the mechanic.
Sweeping breath
Ludra’s breath moves from one side to the other. Move to the opposite side to avoid the sweep.
Early in the second phase, a common sequence is double ring jumps, sweeping breath and then the targeted double-hit AoEs. Be ready to spread after moving for the breath.
Keep Red and Blue Players Apart
Later in the fight, Ludra holds a blue orb in one hand and a red orb in the other before assigning players matching coloured auras.
Spread out when the animation begins, then check your own character to identify your colour.
Move to your group’s assigned red or blue side and remain separated from players of the opposite colour. Getting too close to an opposite-colour player creates a tether and causes massive damage.
From this point onwards, the group must maintain the colour split while handling other mechanics, including:
Tornadoes and falling orbs.
Double ring jumps.
Zikel attacks and lasers.
The sweeping breath.
The breath requires particular care because players may need to move towards the other colour’s side. Players already on the side where the breath finishes should move towards the outer edge, leaving room for the approaching group without mixing colours.
Keep the same arena assignments throughout the fight so camera movement does not change where players think they should stand.
Collect Orbs Earlier During the Second Bingo
The second Bingo uses the same safe-tile search, but the falling orbs leave much less time for collection. Players must also jump expanding rings during the mechanic.
Assign four players to starting positions around the arena’s edges. These players should:
Place their first targeted AoE.
Move immediately to collect the falling orbs.
Return to searching for the safe tile.
Jump the expanding rings as they pass.
Waiting until after the second AoE leaves very little time to reach the orbs. Collecting them after the first placement makes the mechanic easier to manage.
The remaining players continue revealing tiles. Once the safe zone is found and the orbs are handled, gather inside it.
Continue respecting your colour assignments while moving between mechanics.
Enter Matching Colour Safe Zones Just Before the Attack
For the final safe-zone mechanic, red and blue protection areas appear around the arena. Each player needs a zone matching their own colour.
Only one player can use each safe zone, so choose an available matching area rather than following a teammate into theirs.
The protection lasts briefly. Entering too early can cause it to expire before Ludra’s attack lands.
Move into your chosen zone roughly one second before the cast finishes. Watch the cast timing carefully and keep your route clear of opposite-colour players.
If the cast bar is difficult to follow during overlapping effects, our Aion 2 combat and interface tips cover ways to keep boss casts and important status information visible.
Afterwards, continue handling the recurring mechanics, maintaining the colour split and collecting every orb until Ludra falls.