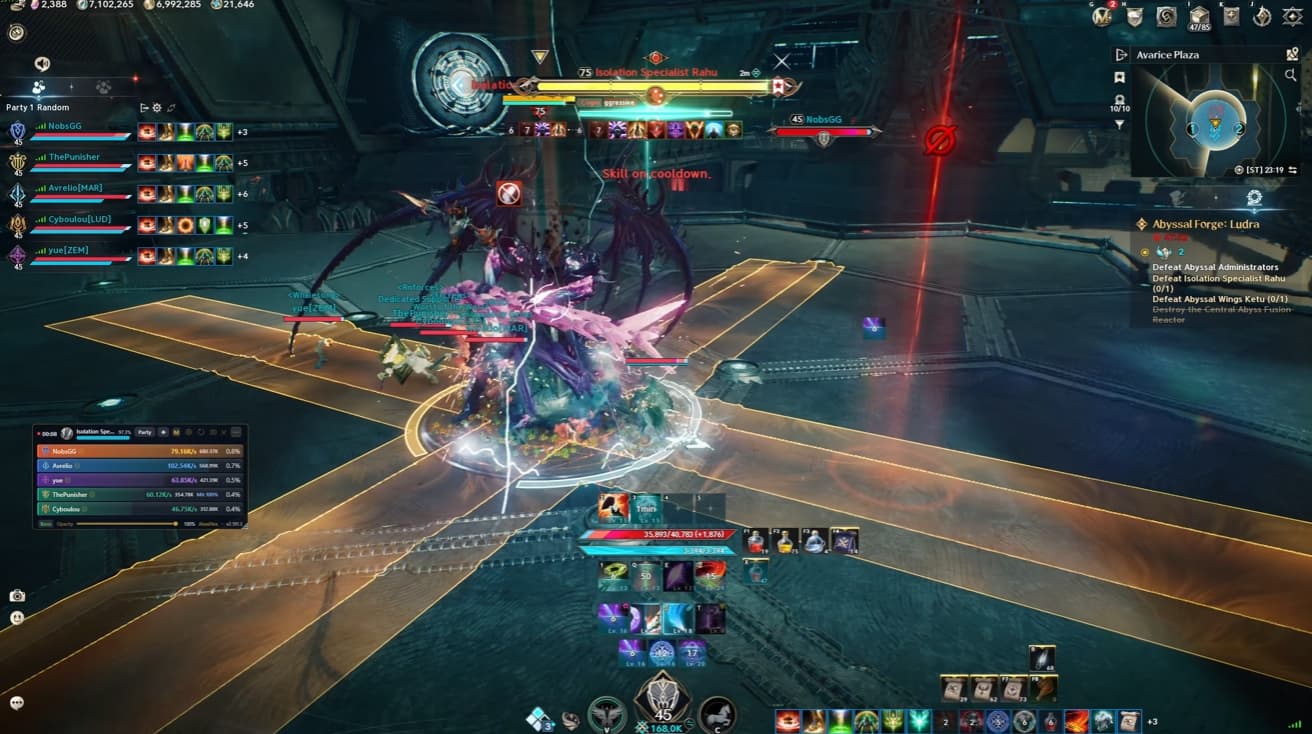
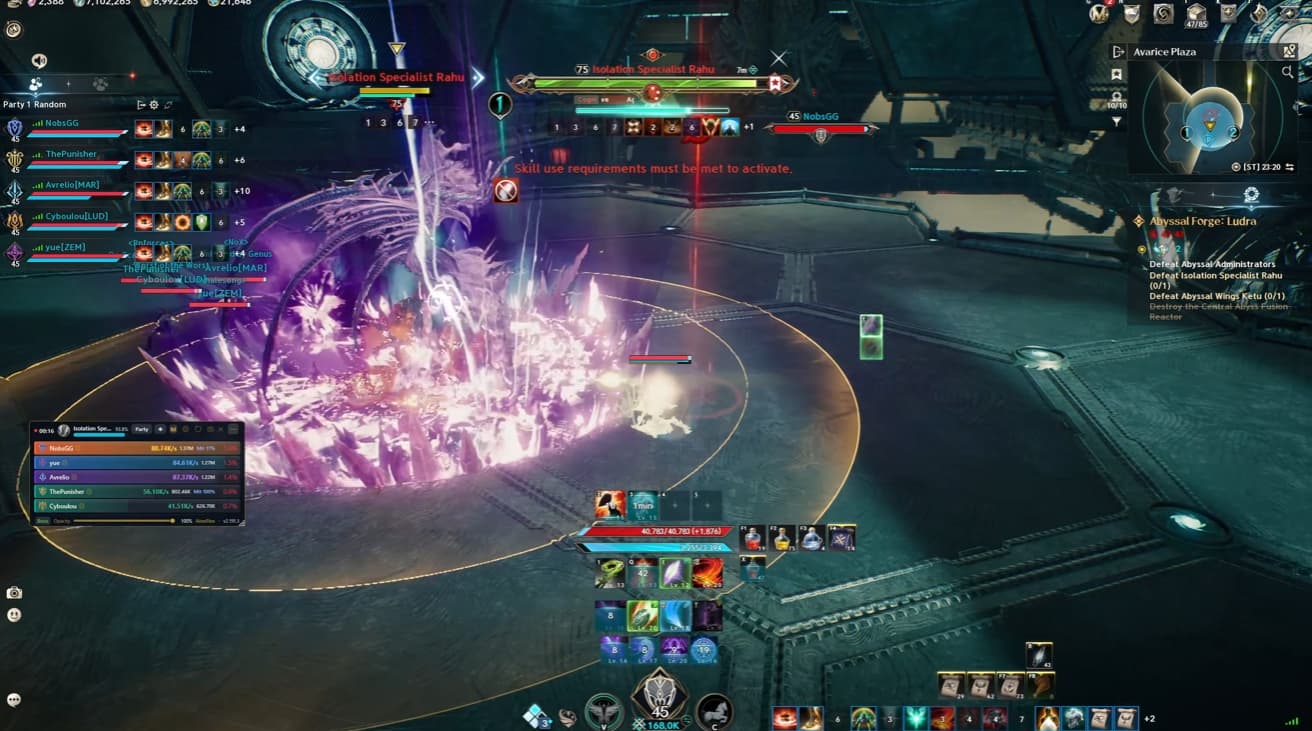
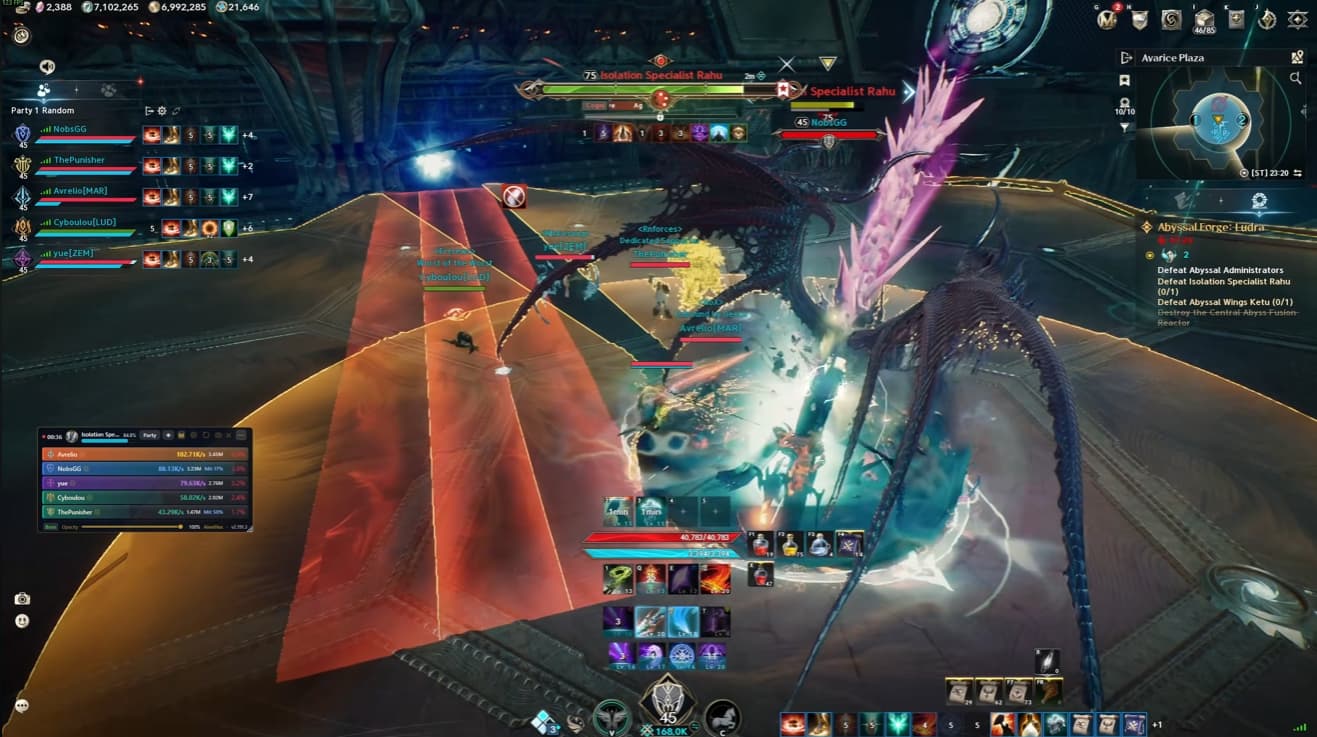
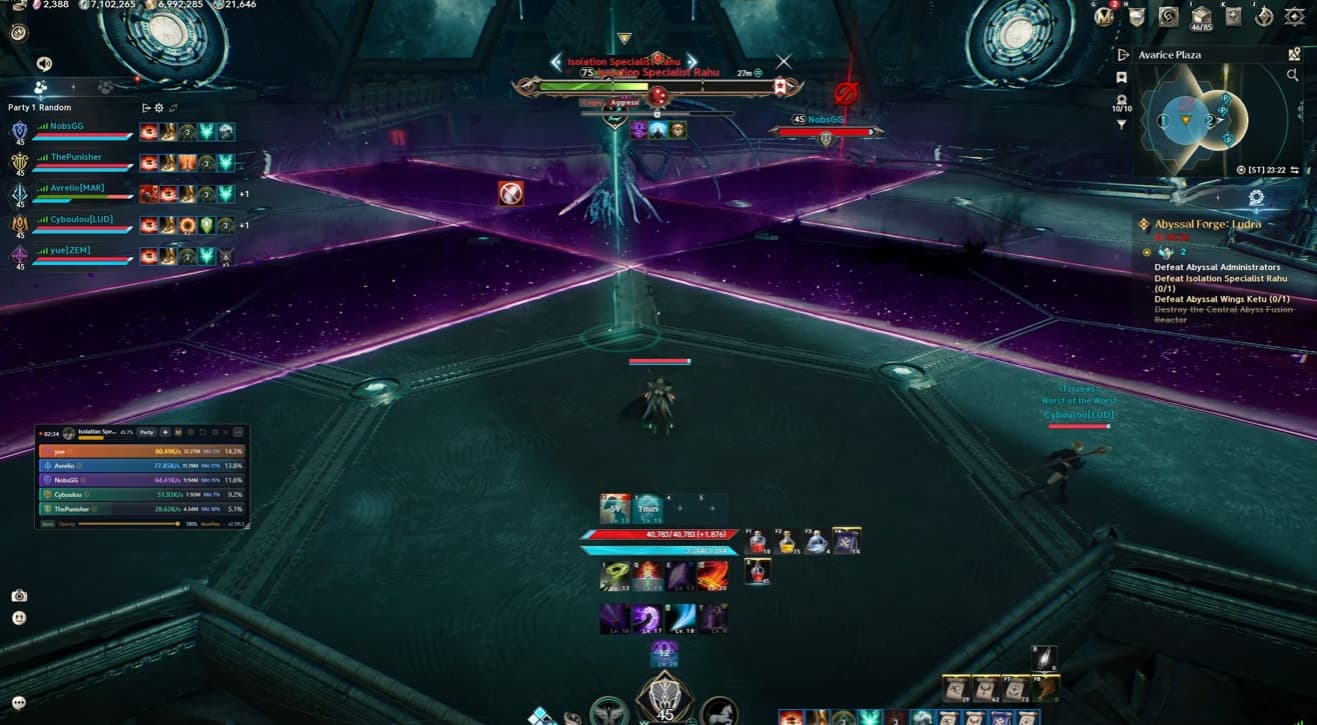
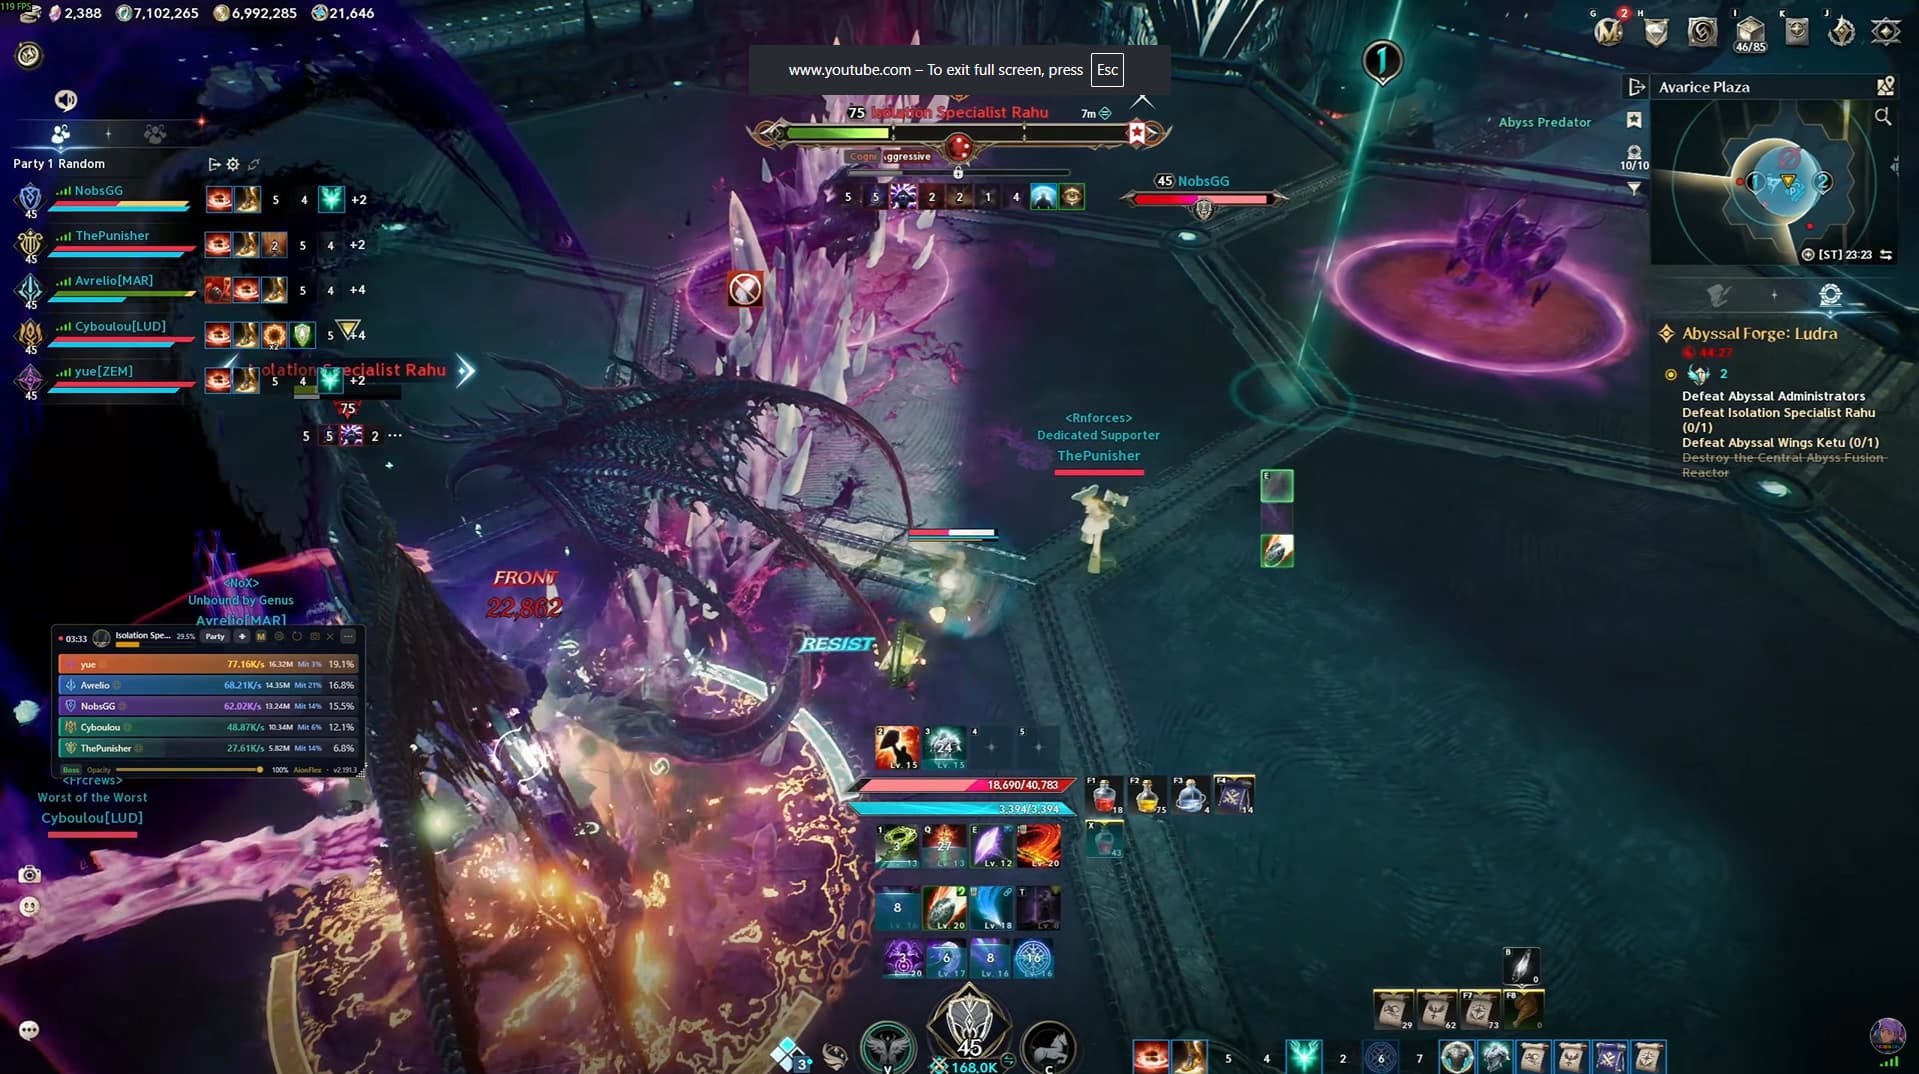
This Rahu boss guide covers Group 1’s first boss in Aion 2’s 10-player Ludra raid. Defeating Isolation Specialist Rahu requires coordinated positioning, reliable bomb transfers and careful movement through overlapping attacks.
Stay together behind the boss whenever possible, keep track of the player carrying the bomb and regroup quickly after mechanics force you apart. For the raid’s entry requirements, check our Ludra raid update overview.
A huge thank you to NoBS Game Guides for sharing his Rahu encounter strategies!
The tank should face Rahu away from the party while everyone else stacks behind him. His basic attacks cleave, so standing on the tank’s side puts you in danger even when you are not the target.
Place a marker to identify the tank’s side before the fight. Return to this formation after each mechanic so the group always knows where to stand.
Rahu’s opening sequence includes two attacks to learn:
Two cross-shaped attacks: Time a perfect dodge through the first hit without pressing a movement direction. The backward dodge can also leave you clear of the second attack.
Close-range AoE followed by a donut: Stay close behind Rahu and dodge the first hit, keeping your position within the safe centre of the following donut.
Before attempting Ludra, our Aion 2 Combat Power guide covers equipment upgrades, skills and other progression systems that can strengthen your character.
Bait the Eye Attack Away From the Safe Zone
Rahu marks one player with an eye and aims a line attack at them. The marked player must direct that attack away from the safe zone, then move into safety before the damage lands.
Moving closer to the arena’s edge makes it easier to separate the line from your teammates while leaving yourself a route into the safe area.
If you receive the eye:
Move so the line points away from the group’s safe zone.
Keep the attack clear of your teammates.
Dash into the safe zone before it resolves.
Afterwards, return to your normal positions, with the tank on the marked side and everyone else behind Rahu.
Pass the SOS Bomb Debuff
Rahu applies a bomb debuff to one player. When its 20-second timer expires, the carrier must be close to a teammate so the bomb can transfer.
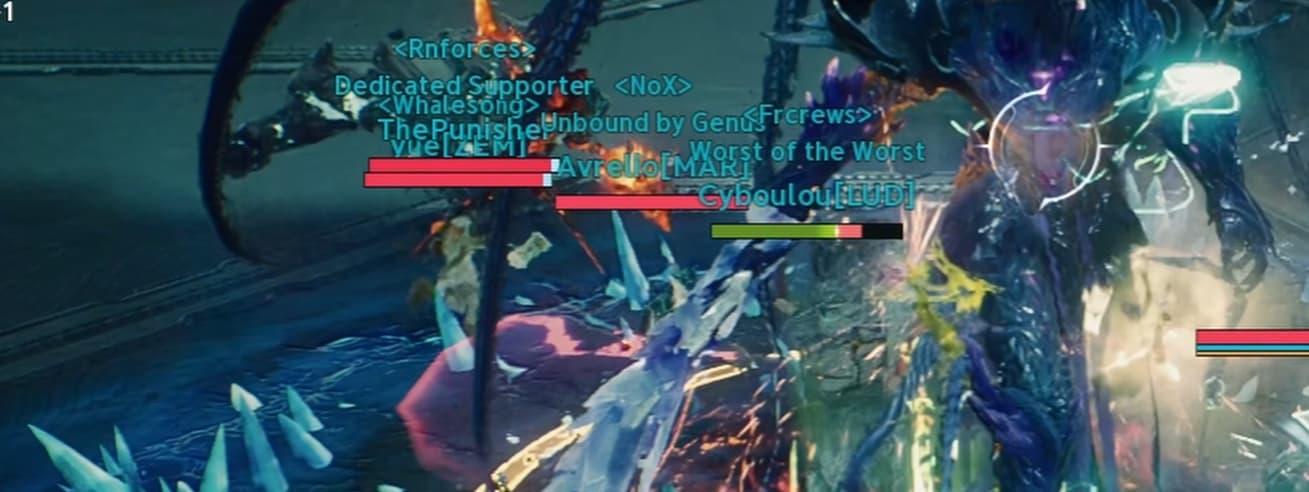
You can identify the carrier through the green glow on their health bar, the debuff timer in the party list and the debuff icon above their own health bar.
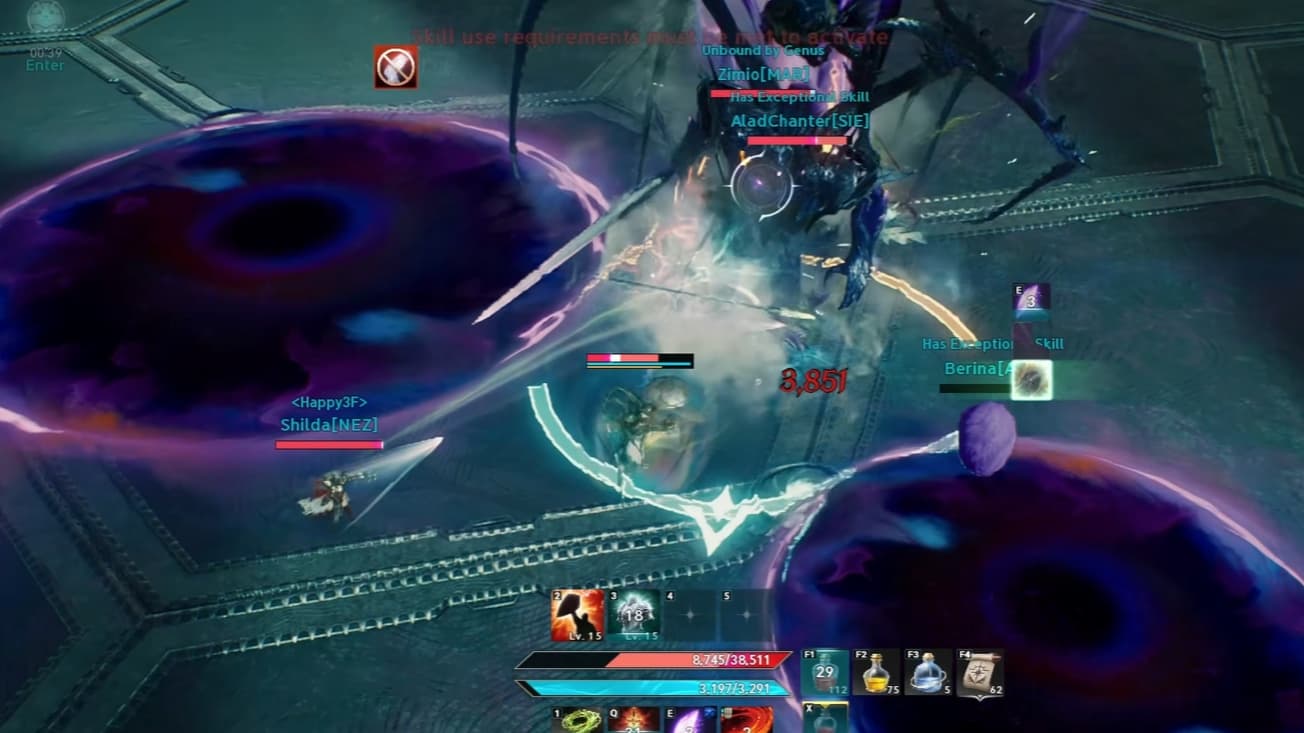
Failing to pass the bomb leaves a purple puddle. Dying while carrying it also counts as a failure and creates a puddle. Three failures wipe the group.
The simplest approach is to keep the party tightly stacked whenever mechanics allow it. This gives the bomb someone to transfer to without requiring the carrier to chase another player at the last moment.
When you need to separate, watch the remaining timer and make sure the carrier can reach someone before it expires. Stacking helps, but it does not remove the need to track the debuff during movement.
Never walk through a purple failure puddle while carrying the bomb. Doing so instantly detonates it and kills you.
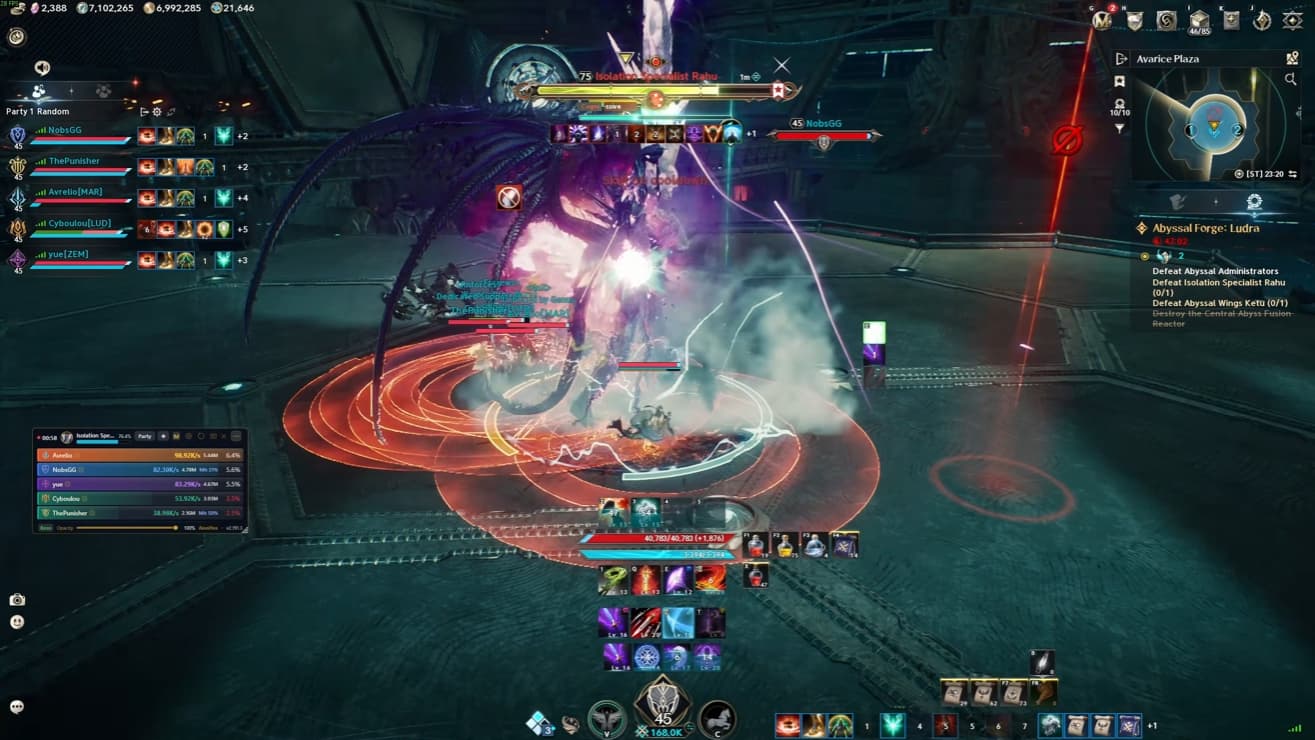
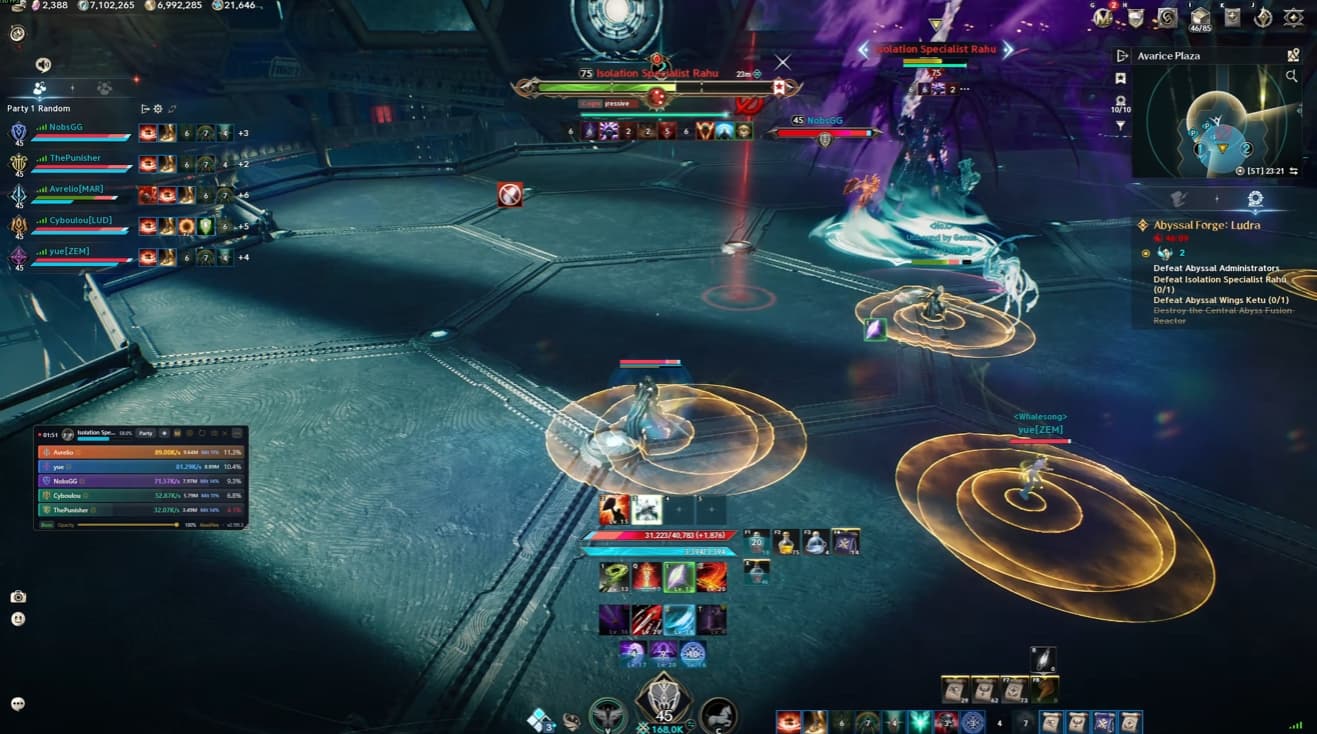
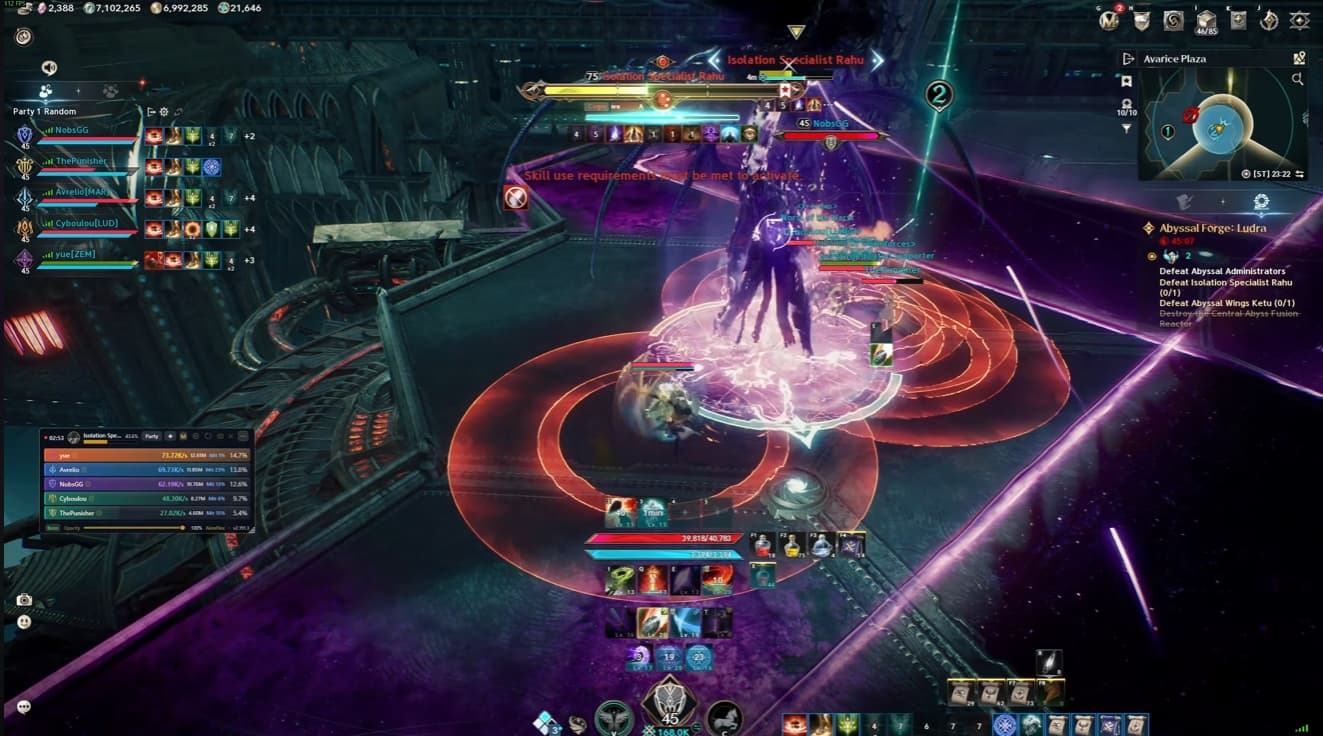
Rahu targets each player with a donut-shaped AoE. Stack tightly together so everyone occupies the safe centres of the overlapping rings.
The tank has two ways to handle this:
Join the party: Stack for the rings, then be ready for the cleave immediately after they detonate. Everyone must react to the boss’s facing.
Remain separate: The party must jump the tank’s outgoing wave, while the tank jumps the party’s wave.
Keep the bomb carrier alive throughout this sequence. Successfully avoiding the rings still leaves the group in trouble if the carrier dies or becomes isolated when the transfer is due.
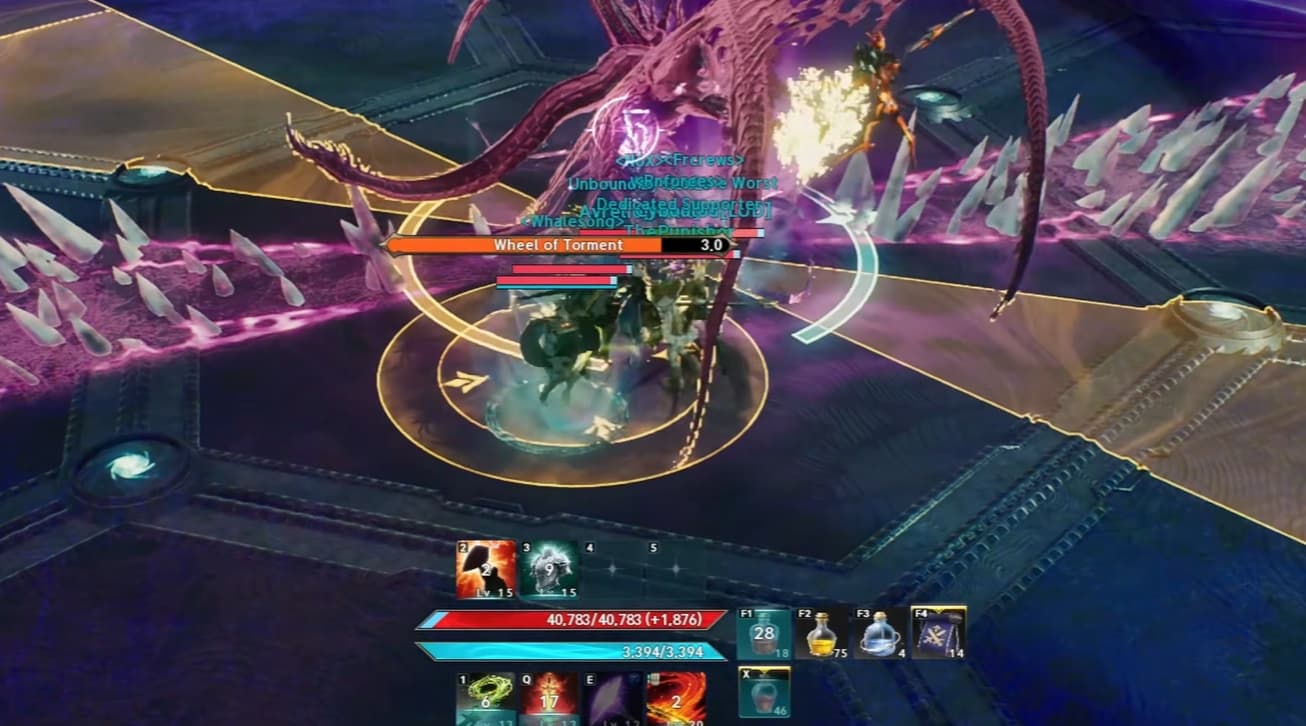
Regroup During Wheel of Torment
After the first health threshold, Rahu teleports players to different edges of the arena. Quickly close the distance back to the boss.
One player receives a stack marker. Everyone needs to gather on that player and rotate around Rahu together while avoiding his attacks.
The sequence is:
Use your movement abilities to return from the arena’s edge.
Find the player with the stack marker.
Gather on them to share the marked attack.
Rotate together around Rahu as the attacks continue.
Rahu also uses a close-range AoE during the return. If your health and gear allow you to survive that hit, taking it can help you reach the stack promptly. Use a potion when needed, and avoid assuming the attack is harmless when you are already low.
Regrouping also keeps teammates within reach for the next bomb transfer.
Place Puddles at the Edge and Watch for Lingering Attacks
After Wheel of Torment, Rahu can use either the puddle mechanic or another eye attack. The order depends on how quickly your group pushes his health, so watch his actions instead of relying on a fixed sequence.
If Rahu raises his weapon, move towards the arena’s edge to place the puddles there. They remain on the ground, so keeping them away from your normal fighting position preserves room for later mechanics.
Continue watching the bomb carrier while moving. Someone may need to stay close enough to receive the debuff before the party finishes placing puddles.
Once the puddles are down, return to your usual formation.
Rahu also uses an attack sequence that threatens the area behind him and then the area in front. Dodge the large rear attack and remain in a safe position until the follow-up lasers finish.
The disappearing ground indicator does not mean the attack is over. Moving back too early can still get you killed.
Handle any repeated eye attack as before: bait the line away from the safe zone, then dash into safety. Lower group damage can cause earlier mechanics to repeat before the next phase begins.
Handle the Four Section Arena Phase
At around 50% health, Rahu divides the arena into four sections. The bomb continues throughout this phase, so the group must manage transfers while working with less space.
Rahu first jumps towards the main tank. The tank should bait this jump towards the middle of the arena to leave more room for the attacks that follow.
He then applies another set of puddles. Take them away from the middle, place them near the edge and return to formation, with the tank on one side and everyone else behind the boss.
Avoid the following AoEs and stack for the rings.
The next two-part AoE requires careful tank positioning. The tank should stand on the side with the most available room, leaving enough space behind them for the party to retreat out of the second attack.
Alternatively, the party can carefully move behind Rahu after the first hit resolves. The important part is to preserve a usable escape route instead of trapping the group against puddles or the arena boundary.
Another ring attack follows before Rahu returns to the middle. If you have reached the final health threshold, he begins Feeding Time.
Aim the Feeding Time Attack Through the Monsters
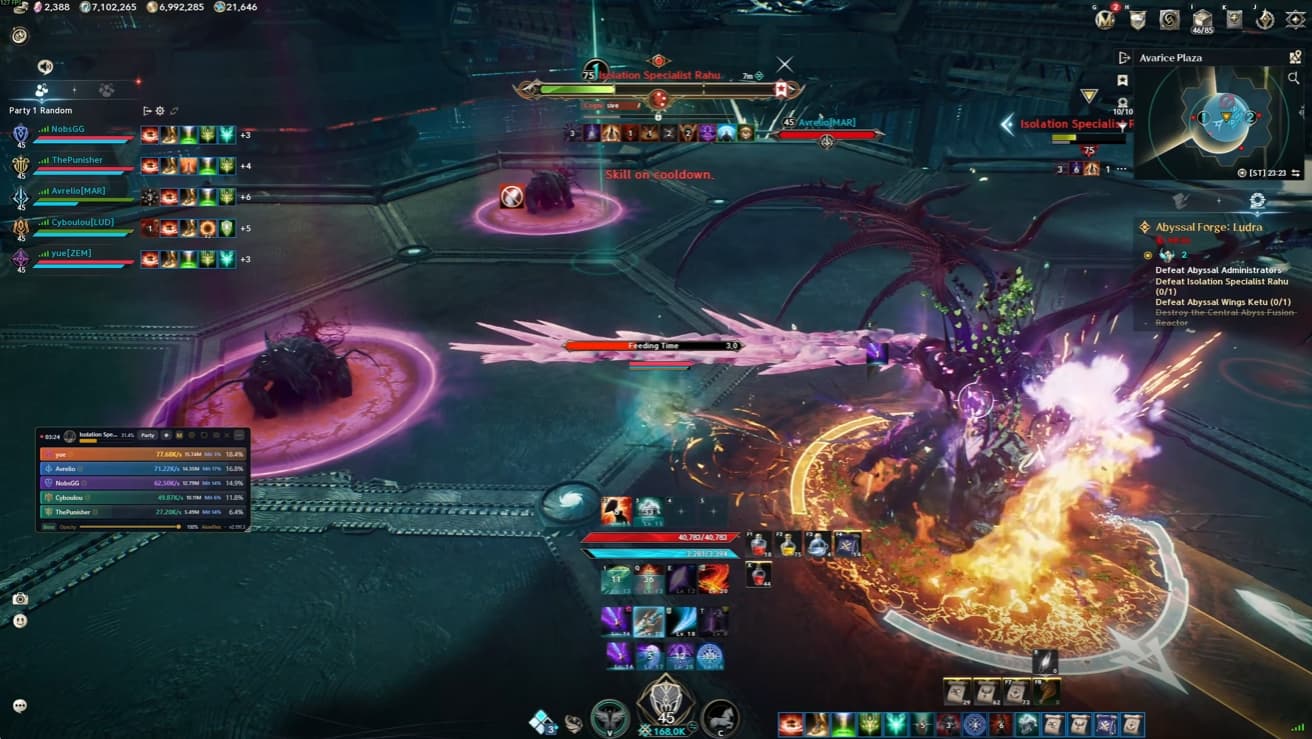
During Feeding Time, monsters appear around the arena and Rahu marks a random player with an eye. The marked player must aim the incoming line attack through a monster to eliminate it.
Watch where the remaining monsters are standing, even when you are not the current target. The next eye can select you, and being ready makes it easier to line up the shot.
Keep the attack aimed through the monster until it is committed. A last-moment dodge can avoid the line’s damage, but the timing is difficult, so do not move away early and cause the shot to miss.
Each monster left alive counts towards the same failure limit as a missed bomb transfer. Earlier bomb mistakes therefore leave less room for error during Feeding Time.
The bomb remains active throughout the mechanic. Coordinate each shot while ensuring its carrier still has someone nearby when the timer expires.
After Feeding Time, Rahu repeats mechanics you have already handled. Keep the bomb moving, maintain your formation and use the remaining safe space to finish the fight.
As you progress through Ludra, our Aion 2 endgame gear guide explains how to use raid rewards to craft the Abyssal Bracelet and plan your next equipment upgrades.