Day 1
Revenant is tied for the lowest health pool in the game, so staying close to your team and using your pins strategically is essential. Efficient map pathing will dramatically improve your early game, helping you level faster and allowing you to farm more efficiently in high-level areas on day 2.
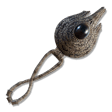
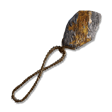
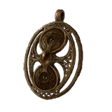
Focus on hitting as many locations as possible to level up quickly and secure a usable seal.
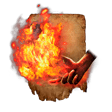
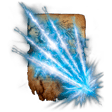
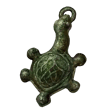
Use the map’s overview feature to scout areas that drop seals, prioritizing those with holy or frost affinities, both of which are highly effective against Gladius, Beast of Night (Tricephalos).
Plot your route toward those spots, stopping at churches and small settlements along the way. Just be mindful of the clock. You don’t want to get caught in the storm.
If you’ve unlocked the Relic effect “Max FP permanently increased after releasing Sorcerer's Rise mechanism,” make sure to clear as many of those towers as you can, so long as they’re not too far off your path.
Equip any Weapon with a useful passive as soon as you find it. Even minor effects can provide a noticeable advantage early on.
Day 2
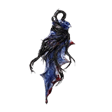
Today, powerful field bosses with rare drops will start appearing. By this point, you should have a solid Weapon and enough levels to start challenging them for high-value loot and runes.
Begin moving your team toward these bosses, revisiting any churches or points of interest you may have skipped earlier.
If a boss looks too tough for your group, don’t waste time or resources.
Skip it and head to the next one. You’re likely to find a more manageable fight elsewhere, and avoiding a wipe will save you both time and levels.
Before engaging, take a moment to review your inventory and equip weapons with the best passives you’ve found. Even a small bonus can make a big difference in the final encounter.
Day 3
Take your time to prepare.
Level up first, then pick up any upgrades or Consumables you need from the merchant.
Swap out any unused upgrade materials or keys for extra Consumables.
These won’t be usable during the fight, so bring only what you’ll actively use.
BUY  Starlight Shards AND
  Warming Stone!!!
The Starlight Shards will allow you to use way more spells than you normally would as the Revenant.
The Warming Stone will grant you another source of healing, which is a scarce resource during these long fights.