My personal take on a Tediore Rafa build with heavy emphasis on a hybrid mobbing playstyle that can transition into a primarily Tediore-focused bossing setup that still utilizes his Action Skill and Ordnance for utility.
Can easily handle all UVH7 Content both for casual mobbing, normal bossing, and even the Raid bosses.
Want to learn the specifics about the Tediore Reload Damage formula? Check out my new guide!
Check out some other Awesome Tediore builds by other creators! Amon: Raging Chuck by GIRTHQUAKE
 Vex: Yeet Witch by Ratore <3Amon: Throwing Hands by Ancient Rune
 Harlowe: Quantum Toss by Phyrexian GraceHarlowe: Flux Chuckerator by Nepta
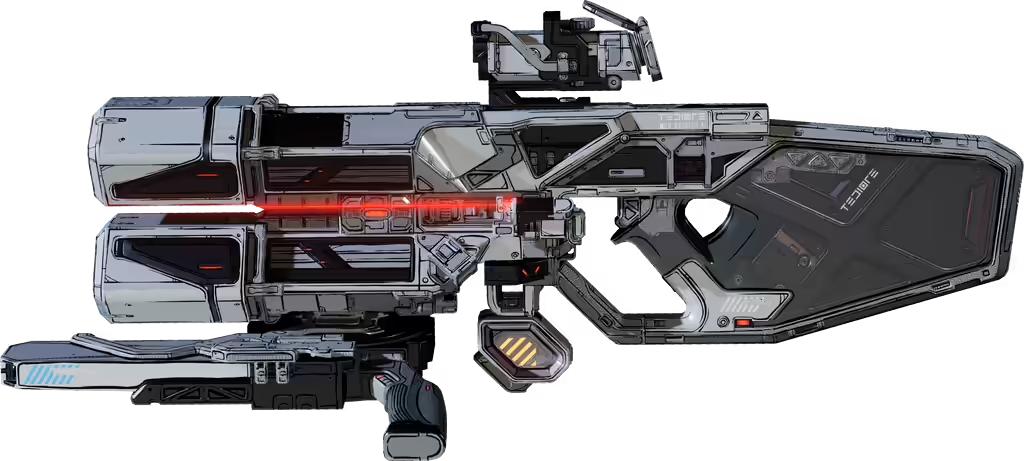
Borderlands 4 Build Rafa
Rafa APOPHIS Lance
Tediore Primo Rafa 2.0 | Destroys UVH7 | BEST All Purpose Tediore Build
End Game
Verified
Trending
Featured
Build Overview
Strengths And Weaknesses
- Plenty of versatile options for Throwable Weapons and Grenades
- Effective hybrid playstyle for mobbing with easy damage application
- Consistent and efficient bossing strategies
- Completely demolishes Vile and Ordenite Enemies
- Suspectable to Self Damage but not weak in FFYL
- Requires good Enhancements for a large bulk of your damage for bossing and QoL while mobbing
- Farming for specific parts on Tediore guns is very RNG heavy.
- Best bossing weapon is from a paid DLC
- Not a playstyle for everyone
Build Variants
Blue/Red Spec
Takedown Soltado Spec
Blue/Green Spec
This setup is one I ended up really enjoying after an on-a-whim thought process. PROJECT: Gorgon provides a lot of utility to the build including stacking
  Jaque and
  Sinergia quickly and holding its own against fleshy mobs during Ripper drill sites or Ordenite Processors.
The skills chosen in the  Remote Agent tree provide a lot of utility through
  Juerga and defensive prowess through the combination of Jaque-boosted
  Resiliencia and the passive healing of
  Hostile Acquisition.
Having  Errant Spark available is a huge boon as it's a strong bonus element for all of our damage sources and excels against the Fleshy HP bars of bosses, including Bloomreaper and Thol.
Skill Tree
Blue/Red Spec
Takedown Soltado Spec
Blue/Green Spec
Points Spent 0 / 59
LMB Allocate
RMB Unallocate


5/5

4/5

1/5

5/5


3/5


5/5

5/5

5/5

Action Skill and Augments
Mobbing
- I like using
 Peacebreaker Cannons in mobbing since it's very cozy to not have to worry about cooldowns and FFYL nearly as much. Plus, the extra projectiles from the
  Double-Ought Autoshotcapstone help hit crits to proc Juerga for easy action skill uptime during all content.
  Instinto is my preferred augment since the crit chance helps proc Juerga. When combined with the duration refill on kill, this combination has zero issue with Action Skill Uptime during any amount of mobbing.
 Insta-Fort Battle System is a nice alternative for short bossing kills, mainly due to throwing an extra grenade. Since it also adds Ordnance Tag to the cannons, it'll also help Sinergia stay stacked as if this build would have any issues with how free we can throw grenades.
 Volatile Hollowpoints also works as an alternative option if you want to lean into
  Lateral Plinking. They in theory would be much less likely to steal Lateral Plinking proc's so you can proc it more with your Tediore's and Grenades, but the higher base damage would make it not useless in that regard.
Bossing
- PROJECT: Gorgon is my preferred Capstone for bossing due to the quick stacking of multiple other skills including Jaque, Sinergia, and the innate Lance debuff (80% extra on-hit additive damage).
 Battery Subscription Service is my go-to option for bossing because the extra second can often be needed to finish off a boss, especially if you're going for Bloomreaper or other bosses on True UVH6.
 Ojo Rojo is a personal preference that I enjoy for mobbing for extra damage, but I do often pair it with
  Fragmentation Payload or
  A Honed Mind to make use of the extra critting. This helps the laser be able to kill lesser fleshy mobs on its own. It also works nicely as a way to proc Juerga on its own.
 Sangre por Sangre is always an option if you want a sizeable source of CDR. If you're leaning more on
  Now With Caffeine to assist with your cooldown, this can be avoided.
 APOPHIS Lance can also be utilized if the kill times are slower. The only caveat is finding a way to stack Jaque, which I've found worked well if you shoot uncharged Lance shots. Errant Spark and
  Watts 4 Dinner both give an extra instance for stacking and you can get an extra hit if you aim the shot downwards to hit the enemy with the Splash Radius as well.
- You can opt into a point in
 Midnight Oil as well if you need further assistance with the stacks.
 - The
 Barb'ara also deals Skill Damage which can stack Jaque and is a fantastic option for bossing if you're running Base Lance.
- You can opt into a point in
People Person Tree
 Rinse and
  Preparado pair very nicely together for extra reload speed for faster Tediore throws, thus better Damage per Second. The CDR from Preperado is a sizeable source of passive CDR during the downtime of our Action Skill
 Abajo is a very good source of CDR that we'll often always have active and works great with the CDR from Preperado. One manual point in
  Arriba is required for this skill but you could have extra from your
  Grenazerker COM for slightly faster Ordnance cooldown.
 El Soldado remains the bread-and-butter damage for this build. The passive Gun Damage from the skill heavily benefits Tediore shooting reloads. The charging damage bonus is additive with other on-shot modifiers (like Enhancements) and increases our damage heavily.
- Tapping (not holding) PROJECT: Gorgon still gives you the benefit of the on-shot damage for the full second that the laser is being shot out. This is mainly used for brief bursts of damage during mobbing.
- Tapping (not holding)
- Jaque boosts the damage of all of our other Overdrive skills by 50%. El Soldado is the main beneficiary but other skills such as
 Brain Dump and
  Deadline also gain great benefit from it.
  Mate gives a small amount of CDR after Overdrive ends to help get us to our next Action Skill with less Overdrive downtime. Ultimately can be ignored and this point could be moved to max out Deadline
- Deadline is my favorite pick-up from the LVL 60 level cap increase. Faster reloads means quicker kills, what's not to love.
- The fire rate bonus does not go to waste and can be very nichely useful for the bullets shot from Tediore Shooting reloads. Outside of extra sources of damage, this can also stack
 Riddle You This faster.
- The fire rate bonus does not go to waste and can be very nichely useful for the bullets shot from Tediore Shooting reloads. Outside of extra sources of damage, this can also stack
- Brain Dump allows our Tediores and cannons to crit more often primarily for the better ability to proc Juerga. The crit damage is ultimately negligible but funny to see happen.
Remote Agent Tree
 Sitiar is a decent source of Gun Damage that benefits our shooting reloads.
- Juerga is for uptime in mobbing. When combined with Instinto you should have enough Cannons duration as long as you're killing things.
 Field Repairs is a skill I personally like taking to enable the Bonus Shock Damage from Watts 4 Dinner without needing to rely on having a Siphon part. This is most useful during the beginning of boss fights before they start fighting back.
- If you have a Siphon Watts 4 Dinner, these points can be moved to Juerga or
 Shield Barriest.
 - This skill works very well with large capacity shields like
 Hopscotch and Collector.
- If you have a Siphon Watts 4 Dinner, these points can be moved to Juerga or
 El Valiente is a good source of Damage Dealt with a lot of easy value as long as we can keep our sheilds topped off.
- Resiliencia has useful Damage Resistance which gets further boosted by Jaque. This allows this setup to be deceptively resilient given our other sources of passive HP regen.
 Asymetric Warfare and Errant Spark are the main appeal for going down this branch in this tree.
- Asymmetric Warfare is a consistent damage bonus that applies to all of our primary sources of damage. It's ultimately additive with everything else but it's required to go down the tree.
- Errant Spark is where the fun really begins. It's another decent bonus element that starts to absolutely shine when we use Fire weapons on Flesh since it doubles the bonus element to 80% before even taking into consideration the 1.75x elemental multiplier.
- PROJECT: Gorgon being fire damage by default gains huge benefit from this.
- Hostile Acquisition is not true lifesteal but it works out to be a fantastic source of passive HP regen over time as to not have to entirely rely on our Repkit to stay alive.
Equipment
Blue/Red Spec
Takedown Soltado Spec
Blue/Green Spec
Weapons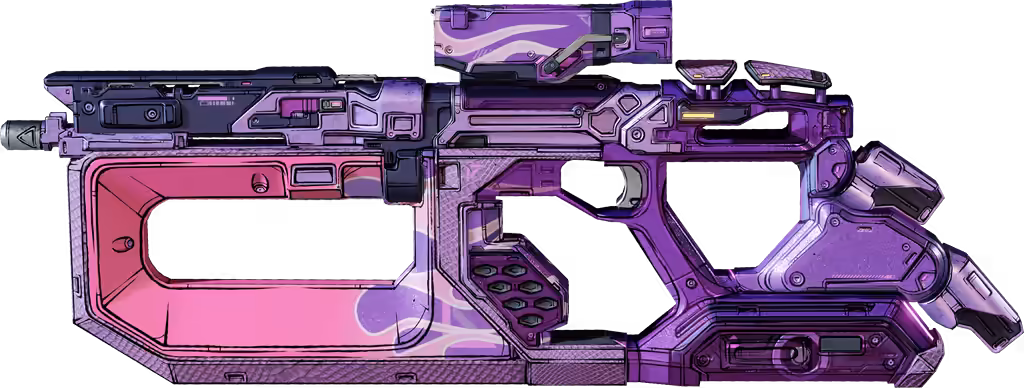

Repkit & Ordnance
Utilities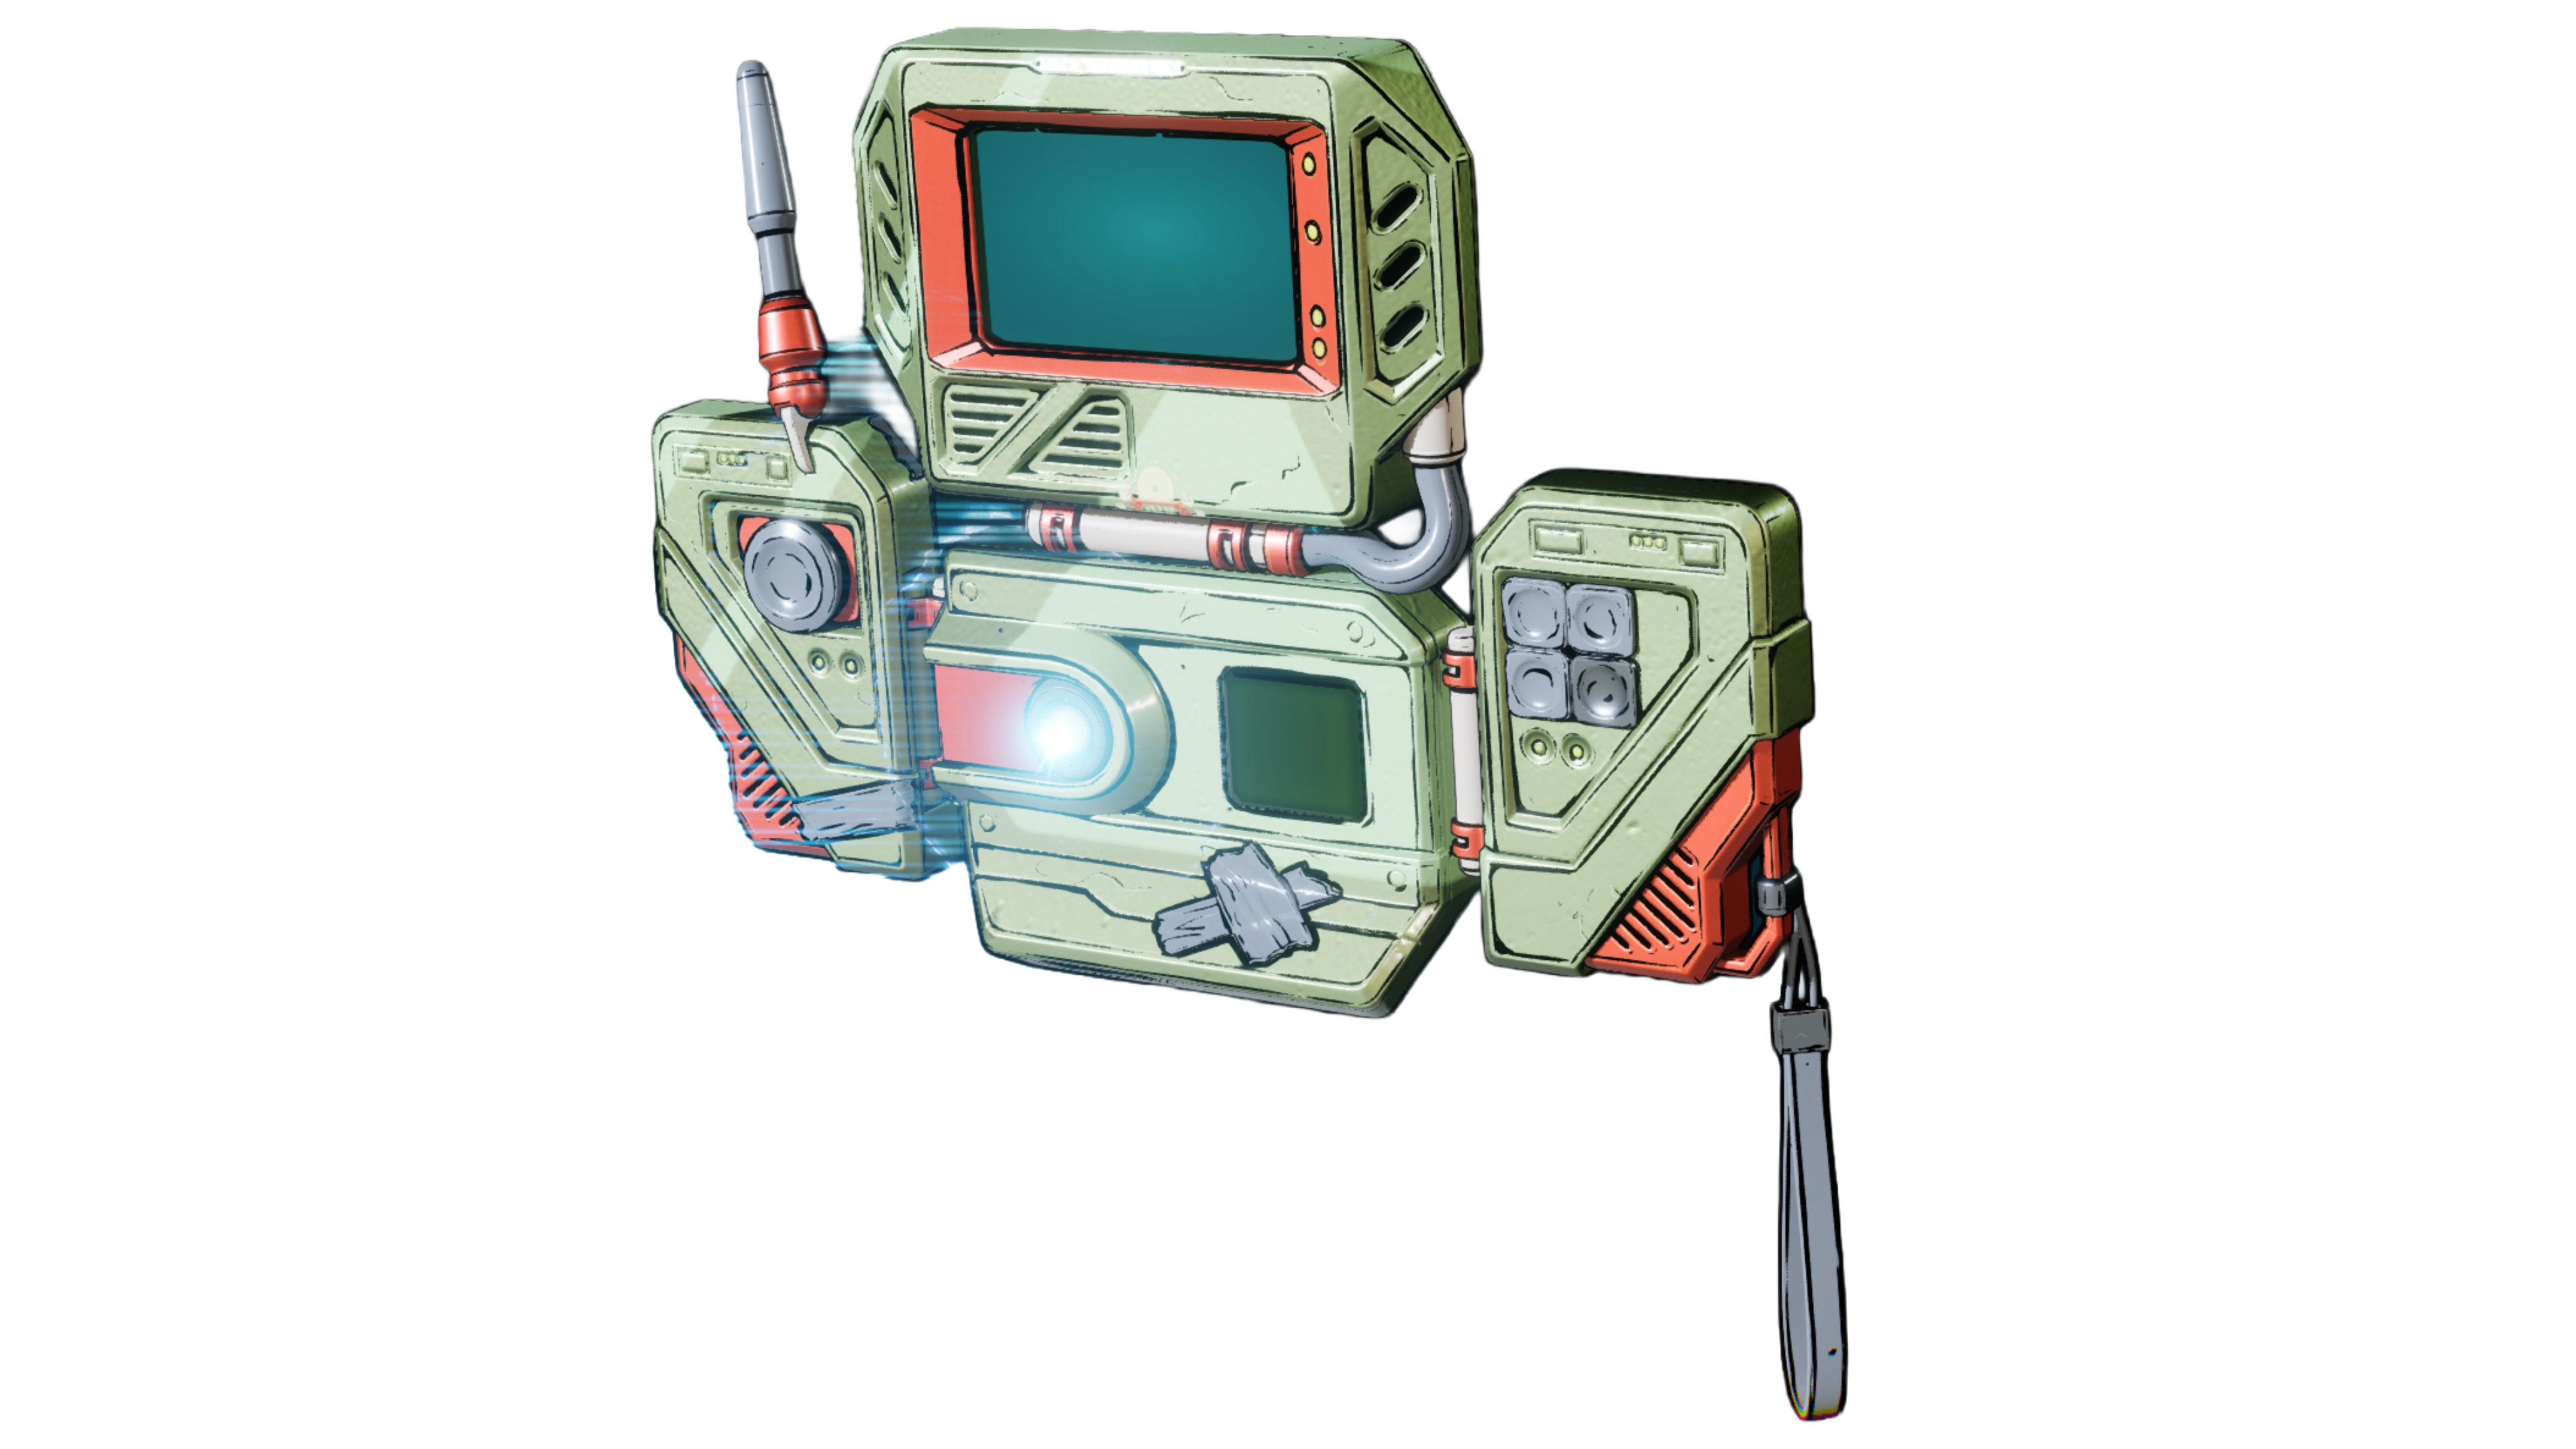

Legendary Weapons
- For all guns listed, please assume you will want Shooting reload since those reload impacts will benefit 3x as much from Gun Damage. This also applies to Shooting Replicator and Shooting MIRV but those are more difficult to farm for. I also don't prefer Replicator on my bossing options and MIRV does not work well against any mobile or airborne enemy.
- *As of the November 21st patch, Multi-pellet Tediore reloads do not get their full pellet count accounted for towards their reload damage. Obviously, this results in their damage being drastically lower than it should be. Certain weapons will be listed for prosperity's sake but please keep this in mind.
Bossing Guns
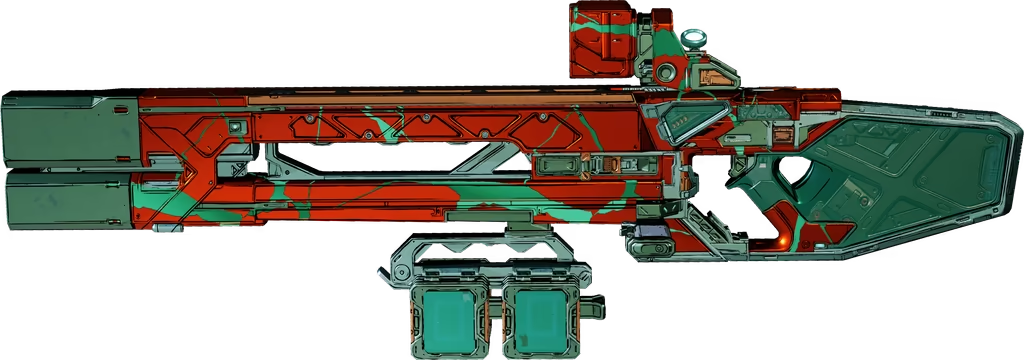
 Laser Disker from the Storm Demon DLC is the hands down best option for Tediore chucking at the moment. It always rolls an element which makes farming for it easier as well as making element matching for bossing more accessible.
- Mag Size goes up to 42 but the card damage ranges from the low-to-high 6000's. You do not need a perfect roll to destroy bosses outside unless you're going for True mode showing-off.
- The Legendary effect does apply to the reloads. Its is its own multiplier outside of everything else, but is only 2x instead of the listed 200%/3x. Nice cherry on top but this does allow you to use Homing reloads to more easily farm lesser bosses such as Bramblesong and Skyspanner Kratch.
- The Below Options gain more value comparatively against grounded bosses when the Laser-Disker's Legendary effect will not come into effect.
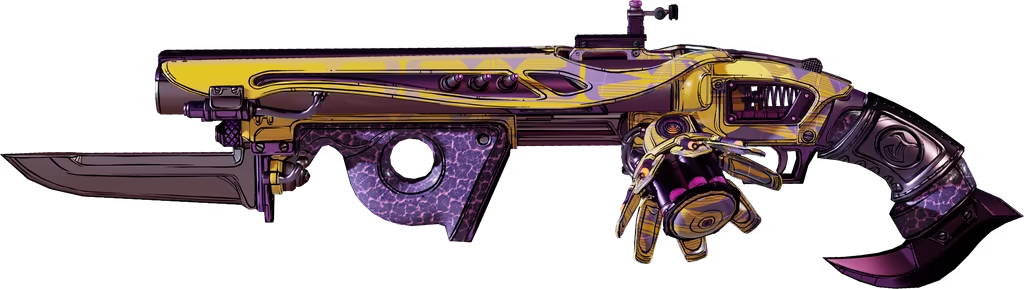
 Inscriber from the Mercenary Day Bounty Bounty Pack is a suitable alternative for those who do not have any of the Paid DLC's.
- Mag sizes go up to the 30's if you get lucky with the part rolls.
- I do also like Inscriber as a mobbing option against badasses and lesser bosses.
 Eigenburst* is also a great alternative assuming you can get your hands one with good parts. The card damage and mag size are very strong compared to other Tediore shotguns.
- The legendary effect does not really benefit us here but it's bonus is additive with on-hit bonuses anyway so haha.
 Anarchy* is a niche option for gimmicky, yet fun bossing one-shots.
You can easily stack to 20 by shooting the gun until it's empty and then spamming your melee to interrupt the reload animation over and over.This got removed :(- You will lose all your stacks when you manually reload so you better make it count or prepare back-up weapons in your other 3 slots.
 T.K's Wave* is a surprisingly effective option for Tediore chucking presuming you can get the right parts on it. It has one of the highest card damages in the whole game when you take into account all of its pellets.
- This can be hard to farm for considering we're gambling on licensed parts on licensed parts, but a Torgue Mag boosts the mag size up to 12. An Atlas-tracking underbarrel also allows the shot bullets to home in and attack the boss for extra chunks of damage. Have fun trying to get one of those without a Save Editor.
 Husky Friend* or a Purple EZ-Blast* Shotgun is a trustworthy option available as well if you do not have any of the above options.
  Murmur also technically exists but it's currently difficult/impossible to farm for, plus it gets outclassed by the Laser-Disker unless you get super lucky with the parts.
 Hair Trigger can also be a great option at the current moment given that it is a single projectile shotgun and therefore does not suffer from the multi-projectile bug. It also comes from the same farm as the Laser Disker so you never have to go out of your way to get one.
- Kind of weird to use at first, just need to hold down the firing button enough for the bullet to not cause self-damage.
Mobbing Guns
- Chuck is the fan favorite-option for ammo efficient mobbing.
- While I personally prefer standard lobbed or replicator reloads due to the increased damage, Homing and Homing Replicator reloads work perfectly fine for mobbing. I personally prefer Ruby's Grasp if I'm ever relying on a Homing reload.
- Ruby's Grasp is my other go-to for mobbing due to the ability to apply many instances of damage across multiple enemies.
- Instead of the usual max-mag part rolls, it could be favorable to look into options with higher card damage and lower mag size for better ammo efficiency, especially in extended mobbing encounters.
 Brickhouse,
  Mercurious ,
  Birt's Bees, or any other Vladof SMG fills a great role of providing another ammo pool to pull from incase you ever run out of Pistol or AR ammo.
- Brickhouse will be a direct upgrade to the Mercurious since they have the same statline except Brickhouse doesn't consume 2 ammo per shot.
- A Brickhouse with a shooting reload does shoot enough of the bouncing-about bullets however I never see them actually doing anything impactful.
- The Mercurious's legendary effect sadly does not apply to the reloads but the base stats of the gun are still good enough to be considered worth using.
Class Mods
- Grenazerker was basically designed for this build and its hybrid playstyle. Doubling our grenade throws and adding an extra Tediore chuck to every reload provides insane value. The skills are also icing on top.
- +3 Sinergia is the best skill roll you can have this COM. The second-best roll to have is
 Confeti to add an extra instance of damage alongside your Grenades and Gorgon. This bonus element inherits the source damage its applied to which allows them to scale more effectively.
 - For the other Passive slot, Reload Speed, Splash Damage, and Ordnance Damage, and Action Skill Duration (specifically for mobbing) are all nice passives to have.
- +3
Grenade/Ordnance
Since PROJECT: Gorgon will give us maxed out Sinergia quickly, our Grenade slot becomes open to options that don't just stack Sinergia as well as possible. Since it's ultimately personal preference, I will list some options that I like using.
 Countermeasure is one of the best grenades for quickly stacking up Riddle You This as the Flares/Rockets shot out count as Gun Damage. Throw a few of these under a boss's tummy and get maxed-out Riddle You This before even throwing your first gun. It also deals good damage on its own given how much Gun Damage we will usually have.
- Best roll for this is Divider/Repeater augment due to getting an extra set of flares and rockets.
 Chaumurky is a safe option for mobbing due to its longevity, decent damage, and minimal splash radius. Annoying part is just the long cooldown and single charge but this hybrid playstyle minimizes that issue.
- It doesn't get many augments so just go for the damage one.
- Barb'ara's legendary effect dealing Skill Damage allows us to utilize it to stack Jaque when we're not using PROJECT: Gorgon.
- Tediore Satchel Charge are my personal favorite non-legendaries to use. The ones I enjoy the most are ones with Nuke, Lingering (in all elements but Radiation), and Fracturing. Outstanding detonation damage as well as persistent damage in that area with the Nuke part adding extra radius to the initial explosion and the elemental effects.
Repkit
 Triple Bypass is a great utility option for its synergy with the Now With Caffeine to help give us some versatility in Action Skill augments and not just Sangre por Sangre. I try not to spam the repkit to completely alleviate the downtime but using one in between activations or when I actually need a heal helps a lot.
- For passives I would recommend Reload Speed primarily but Enrage could also be useful in bossing.
 AF1000 is another favorite due to the long duration making it active during an entire boss fight as needed.
 - For passives I would recommend Reload Speed primarily but Enrage could also be useful in bossing.
 War Paint also works well for bossing since the extra movement speed can be utilized for
  Bullet Train scaling.
- A purple Order Repkit with Reload Speed and Enrage could also be used if you have one for the best of both worlds for bossing.
Shield
- Watts 4 Dinner is a strong bonus element that we have access to without needing a Siphon roll thanks to Field Repairs. This bonus element inherits all source damage it's applied which allows to scale very well alongside everything we do.
- I like capacity rolls on this if you're not going for 25% Siphon.
 Protean Cell is an effective alternative to the Watts 4 Dinner for when you need extra oomph against a boss and aren't too concerned about it stripping your health gate away.
- The parts here don't quite matter since the drain is percentage based and not a flat amount.
- Any defensive shield can be utilized to your own preference such as
 Onion, Hopscotch,
  Collector, or
  Principal.
  Honey Badger can be a safe option for mobbing if you're using primarily a Chuck or Ruby's Grasp, but it will not save your bacon at all during bossing.
 Firewerks is very fun for the takedown and Circle of Slaughter. One with Fire Element will get the 80% bonus element from Errant Spark even though they don't get the bonus from Asymetric Warfare.
Enhancement
Tediore Banger is the primary enhancement you'll want as a Purple or as one of your two Legendary enhancement slots. The 50% increase to damage is its own multiplier only additive with the 1/3  Get Throwin bonus. It's really hard to compete with its consistency.
For Bossing:
- A Purple Banger with 3 strong passives is my preferred option for bossing.
 Hydrator (Banger/Digi-Divider) is another fantastic option if you have it. I personally don't quite like the 50% chance to spawn an extra Tediore chuck especially since we already get an extra one because of Grenazerker, but it can lead to higher peak damage.
- You'll want to prioritize Magazine Size rolls over Gun Damage for bossing damage since we already get a decent amount of on-shot Gun Damage from El Soldado as well as the Magazine Size Bonuses being absurdly high.
- Generic Magazine Size is 58% and Weapon-type Specific Magazine Size is 87%
For Mobbing:
- A Purple Banger still has a lot of value if you find your damage still struggling. Otherwise, you can opt into a Purple Recycler to maintain your ammo reserves during extended mobbing (such as Ordenite Processors).
- Either the
 Valuepalooza (Recycler/Digi-Divider) or the
  Quencher (Recycler/Banger) legendaries are also fantastic to have to get the best of both worlds in regard to damage and ammo longevity.
 - If you want to double down more on ammo efficiency, you could prioritize Gun Damage and Weapon-Type Damage on your mobbing enhancements.
- Generic Gun Damage is 29% and Weapon-Type specific Gun Damage is 44%.
Firmware
Blue/Red Spec
Takedown Soltado Spec
Blue/Green Spec
Repkit & Ordnance
Repkit FirmwareGet Throwin
Ordnance FirmwareGet Throwin
Utilities

Class Mod FirmwareBullets to Spare
Shield FirmwareBullets to Spare
Enhancement FirmwareHeating Up
2/3 Get Throwin; 2/3  Bullets to Spare; 1/3
  Heating Up
1/3 Get Throwin; 2/3 Bullets to Spare; 1/3  Active Fire; 1/3 Heating Up
- This is the firmware setup I use for mobbing to get a nice balance of Damage, Reload Speed, and Splash Radius for all purpose gameplay.
- Active Fire is very nice when mobbing with cannons since it'll provide Enhancement Gun Damage when we otherwise would only have it from Enhancement passive.
- 35% Tediore Reload Mult (additive with Banger), 35% Ordnance Damage, 20% Splash Radius/10% Enhancement Gun Damage, 20% Mag Size, and 20% Reload Speed.
- 1/3
 Airstrike can also be substituted for one of the Get Throwing slots since they both increase Splash Radius.
1/3 Get Throwin; 2/3 Bullets to Spare; 2/3  Daed-dy O
- This is the firmware I use for bossing to maximize the mag-size bonuses available to us.
- 35% Tediore Reload Mult (additive with Banger), 35% Ordnance Damage, and 40% Mag Size
Specialization
Blue/Red Spec
Takedown Soltado Spec
Blue/Green Spec
Specialization 1Riddle You This
Specialization 2The Best Defense
Specialization 3Bullet Train
Specialization 4Now With Caffeine
![]() Bullet Train,
Bullet Train, ![]() Riddle You This, and
Riddle You This, and ![]() Now With Caffeine are the three specializations I often always have equipped. The final one gets swapped out conditionally based on vibes.
Now With Caffeine are the three specializations I often always have equipped. The final one gets swapped out conditionally based on vibes.
- Bullet Train allows us the scale our Gun Damage via movement speed. It also allows us to bind Shoot and Reload to the same key without hassle or ruining the movement flow.
- Since the damage is calculated on hit, you can try to dash as your Tediores are hitting the boss to snapshot the damage for the brief moment.
- Riddle You This is a steady source of Gun Damage during mobbing that can be easily stacked via our Tediores (best with Chuck or Ruby's Grasp), their bullets via Shooting reloads, or even the Countermeasure grenade during bossing.
- Now With Caffiene is such a nice option to have for cooldown reduction. It can either be utilized to assist partially, or it can be spammed multiple times in a row to refresh your action skill if you need it in a pinch.
 The Best Defense is generally useful damage bonus across the board but ultimately can be swapped out as well.
- Fragmentation Payload can be a fun option for mobbing when combined with Ojo Rojo. Frag Payload is chosen over A Honed Mind since its crit damage scales better on its own plus it will affect our Grenades as well. Win win!
- You could also utilize
 Full Spectrum Arsenal as well with how much we're feeding into increasing our Gun Damage.
  Groundbreaker is an absolutely busted skill. Now normally you can't melee while using Apophis Lance but for some reason you can while using PROJECT: Gorgon and
  PROJECT: Raiju! Struggling with a boss? Just equip and go for a free cheese kill!
- May need to spec additional
 I Am A Gun and
  Bear Arms in place of other Specializations.
Gameplay
Mobbing
Mobbing revolves around juggling between throwing grenades and your Lance uptime and cooldown, all while using those to supplement your primary damage of Tediore throws. If you're using Cannons, mobbing becomes a lot easier since you no longer have to worry about cycling cooldowns between your action skill and grenades.
Some tips include:
- You can't use grenades while Lance is active. Throw your grenades before activating your Action Skill and they should be available again once you use your last charge.
- PROJECT: Gorgon still activates for just under a second if you tap it. This can be utilized to clear basic mobs while you save your ammo for larger threats.
- Be cautious when holding down Gorgon. If you let go in between charges at the wrong point, the game will eat an extra charge because it hates you. When in doubt just full-send and keep holding down until you run out of charges.
Bossing
The bossing strategy is to kill the boss as quickly as possible, obviously. This is usually done by using PROJECT: Gorgon to stack all of your necessary skills as quickly as possible while you element match your bossing options to the boss's HP bars.
Some tips include:
- Battery Subscription Service is very useful for keeping El Soldado active as long as you may need to kill a boss.
- We do not need kills for
 Soltado unless youre using the
  Dancer COM. Just go ahead and start attacking the boss when you can hit your reloads.
 - Certain animations can be cancelled while still retaining their benefit, including:
- Using Repkit while slamming for Protean Cell
- Interrupting Repkit animation with activating Lance
- Using Repkit while slamming for
- You still have a lot of Overdrive damage bonuses after your action skill ends so don't give up just because it ended! You only miss out on the on-shot from El Soldado but otherwise we have enough damage to usually finish the fight.
- Unapplicable if you're using Dancer. You better kill the boss in one activation.
- Unapplicable if you're using
- If using Peacebreaker Cannons and Soltado, your main goal will be to activate Cannons early enough to start stacking up
 Temerario and finding an ad to proc Soltado.
Bloomreaper
Here's my 51 second kill on True UVH6 using this build. Youtube Link
Bloomreaper has some specific techniques regarding his fight that require some thought if you're looking to get Platinum. I've got a strategy down enough to get consistent Platinum time even on True UVH6.
The general strategy goes as such:
- Pre-place your Tediore Satchel Charges around Bloom and his crystals during the first phase. Wait until his health bar spawns to detonate.
- From there, activate your action skill and start spamming Replicator Chucks. Homing is not preferred since the damage is a bit out of your control. Try to hit multiple crystals with your lasers while cleaning up the Vile Orbs with the Chuck splash radius.
- Try not to spend too much AR ammo in between phases, swap to an Inscriber or Ruby's Grasp to clear ads in between phases. Between Preparado, Abajo, and a Now With Caffeine proc, you should have your Action Skill back by the time he's vulnerable again.
- Utilize your best Fire chucking gun (Laser Disker is my recommendation) for element matching and Errant Spark. You can try to go for sick mid-air shots or go for the safe option and aim to where he's about to land or where he's at.
- You might be able to skip the next step if you can phase Bloomreaper while keeping one charge of PROJECT: Gorgon active by stopping your fire pre-emptively. From there, try to maintain uptime via Juerga procs from spamming Ruby's Grasp at the creeps.
- You might be able to skip the next step if you can phase Bloomreaper while keeping one charge of
- Keep the creeps off of you with your other guns and grenades while Bloomreaper farts up the arena with his fog. He does about 12 bounces up and down before becoming vulnerable again, which should be enough time to get your Action Skill back with the help of some Now With Caffeine proc's.
- Activate Lance again and finish the fight with some final reloads. Enjoy your loot!
Airborne mobility and grappling is very important in this fight! Always try to be airborne or moving around!
Subjugator and Thol
Here's a link to a modified version of this build in action against the new raid bosses. Youtube Link
These twin bosses are an actual struggle for this build, not necessarily for lack of damage, but because half of the time, I'm either close-to or running completely out of ammo. I also decide to drop all points in El Valiente to put into Resiliencia since I figure it's not quite that beneficial if I'm not getting the full doubled bonus at full capacity.
The general loadout involves:
- Laser Disker in Corrosive/Shock/Fire/Cryo elements for different boss phases and ads
- Inscriber in Corrosive/Fire/Shock elements for ad clear during the second phases
- Inscriber in Kinetic to bait out Kinetic Heals against Subjugator the Invincible
- Collector or Hopscotch high-capacity shield for purely defense.
- Triple Bypass for Now With Caffeine cooldown
- Countermeasure for damage and quick stacking of Riddle You This
- Quencher (Banger/Recycler) for more ammo throughout the entire fight (you will need it).
- You can lean into AR-Specific passives, but I prefer generic ones to utilize both the Laser Disker and Inscriber (and eventually Shotguns) to equal effectiveness.
- Best damage is AR Mag Size and Generic Mag Size, as shown in the bossing clip above. Just need to be on your game because if you miss too many reloads, you will run out of ammo.
- The first phases of the fight are generally the easiest for this build. Shock Laser Disker easily handles Subjugator's shield bar, but it's still generally accurate enough to stop the turrets from shielding and healing Subjugator quickly.
- When Thol comes out, swap to your Corrosive Laser Disker for Thol's armor bar. Be wary about the reactionary order synth barriers as they are really good at spawning directly into your face. Luckily these enemies die to a few reloads.
- During the twin phase, bring out your Fire Laser Disker and pick off your boss of choosing (typically Thol let's be honest). This phase typically does not last for too long for me to notice them doing any specific dangerous attacks.
No matter which way you're going, this is where the fight gets much harder.
- For Invincible Thol, you will need to brute force through with a Fire Laser Disker while dodging his slow, but very powerful attacks.
- This is where the elemental Inscribers comes in handy to quickly clear the ads that provide healing to Thol.
- No other fancy tactics or anything; just try to make sure you have your damage bonuses to make your ammo count.
- For Subjugator's Superego, you will want to use a Cryo Laser Disker, Cryo Countermeasure, or Cryo Inscriber/Ruby's Grasp to clear out the annoying Subjugator's Wrath enemies.
- Once they're cleared out, bring out the Fire Laser Disker and carefully glide near the Superego to still be able to hit him with your reloads.
- Once he turns into the tiny Invincible Subjugator, you should swap to your best Kinetic Inscriber. It's slower but its to ensure he doesn't get Fire Resistance for the rest of the fight. Once he enters the Kinetic Resistance phase, whip out your Fire Disker to finish the job carefully.
- He likes to teleport into your face and also become invincible so you should proceed with a lot of caution.
- Grenades tend to cause him to "hit the deck" and jump to the floor in a lengthy animation for you to lay into him with some reloads.
Notes
If you go into your settings, you can bind Reload to the same key as your Fire button (usually M1 unless you're weird). This lets you click once to both shoot and immediately reload your gun. I find this incredibly useful for bossing and mobbing with certain homing weapons.
Chuck doesn't apply since you can just hold down the fire button and it'll spam out reloads.
If you're using Tediore Combo Orb reloads, you can detonate them with a well-timed/placed Lance shot for a massive damage chunk. DO NOT use Combo orbs with Peacebreakers, they'll just blow up in your face.
Changelog
September 22nd | Version 1.0 | Build Published
September 26th | Version 1.1 | Gear Options updated and expanded on. Firmware bonuses changed.
September 27th | Version 2.0 | VIDEO IS UP!!! Clarified some damage formula discoveries with El Soldado. Removes Indirect-Projectiles spec because I just did not like it.
September 29th | Version 2.1 | Updated Firmware options from personal testing. Added a bit in the skill tree section about a recent Tediore formula discovery.
October 7th | Version 2.2 | Improved Formatting of gear section. Added/Rewrote Legendary and Licensed Part section. Overhauled Firmware options for desired versatility.
October 9th | Version 2.2.1 | Ruby's Grasp got buffed, updated the gear section.
Thanks to Mobalytics for featuring the build :)
October 20th | Version 2.3 | Minor overhaul to the wording and descriptions of several reload effects and gear options. Added math to the Enhancement section
October 30th | Version 2.4 | Added the new event items and updated the Firmware and Specialization sections. Updated the Formula stuff from recent testing.
November 4th | Version 3.0 | Added some Alternative Specs that I've been playing around with an enjoying recently.
November 20th | Version 3.1 | Combined two builds into one since they didn't need to be separate and changed some skill choices. Added new item from Bounty Pass 1 to the gear selection. Edited some buffed Firmware values to be the new values (Why).
November 21th | Version 3.1.1 | Included Tag Data for Inscriber. Added Firmware options for the main spec. Added tagline about the current Tediore shotgun bug.
November 25th | Version 3.2 | UPDATED VIDEO IS UP. Added a quick section in Firmware again.
December 21st | Version 3.2.1 | Updated some texts.
March 23rd | Version 3.3 | Late Update to prepare for LVL 60 and to include weapons from the Bounty Pass 2
March 28th | Version 3.4 | Proper LVL 60 Update now that I've actually played the Update. Removed the DH Slippy build since its one purpose of farming Radix is now mute thanks to strong Powercreep options now. Also removed the Leveling build. Updated a lot of wording to not refer to guns added several months ago as "new."
April 8th | Version 4.0 | Complete re-write of the entire build and guide so things look nicer. Added two new primary specs and relegated the Soltado spec as an alternative for those who like the OG playstyle.
April 9th | Version 4.0.1 | Added a tiny tidbit on the Blue/Green setup about the option to use Base Lance without a capstone.
April 14th | Version 4.1 | Clarified options for Action Skills.
April 16th | Version 4.2 | Adapted the Blue/Green spec to be able to utilize Diamond Hands and Slippy for bossing.
May 30th | Version 4.3 | Added my new Tediore Damage Formula Guide!!! Changed some skill tree specs and added some new discoveries. Wrote an entire section for the new Raid bosses
May 31st | Verison 4.3.1 | Added Youtube Link of UVH7 Raid boss kills
June 2nd | Version 4.3.2 | Added Hair Trigger to weapon options, preliminary changes to the Soltado spec started
June 7th | Version 4.4 | Revamped the Soltado Peacebreakers setup since it works very nicely for endgame and I wanted to present it more as an option for people who hate the Lance.
June 7th | Verson 4.4.1 | Changed COM Passive recommendations and removed Dancer COM
June 9th | Version 4.5 | New Video yay!
July 2nd | Version 4.6 | Updated for Update 1.8 and the Takedown. Video of the takedown coming soon.
Comments
Video Guide
Table of Contents
Featured Builds


Become a Creator
Want to earn rewards by sharing your builds with your community?