In this article we'll explore all of the new TFT Set 18 Champions and Traits from the "Enchanted Wilds" reveal.
Set 18: Enchanted Wilds looks to be the spiritual successor to Set 12: Magic N' Mayhem, bringing back its "Charms" mechanic, but enhancing it with many quality of life improvements and fun animal aesthetics.
Remember that balance changes occur frequently on the PBE, so the actual numbers will vary. We'll be keeping things updated regularly, so be sure to check out the Champions Page to stay familiar with any changes.
TFT Set 18: Enchanted Wilds will be live on the PBE starting July 28th. Due to the migration to Unreal, it was pushed back two weeks from their original plans. As for its official release, we'll have to await more details from Riot.
TFT Set 18 Mechanic: Wisps
TFT Set 18's "Wisps" mechanic is a reimagining of the "Charms" mechanic from Set 12. In case you're unfamiliar, they're essentially single-use buyable powers that can grant temporary combat buffs, additional resources, and much more.
Wisps can be purchased from the shop during the planning phase and appear on the rightmost slot every other round. Throughout the game, more powerful Wisps will become available, and their cost will increase as well.
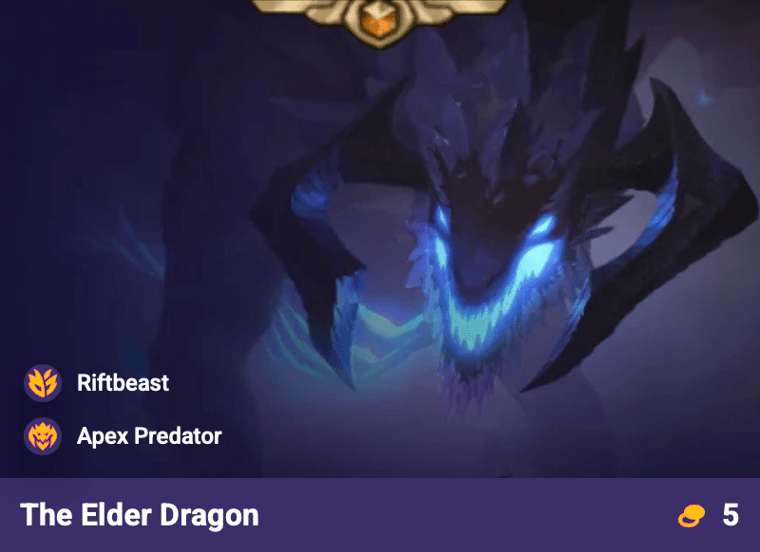
Elder Dragon takes up 2 team slots and grants +2 to the Riftbeast trait.
First Impressions:
There's not a lot to say about Apex Predator, but it's pretty clear that The Elder Dragon is looking to be a fierce top end to a vertical Riftbeast comp.
Attuned
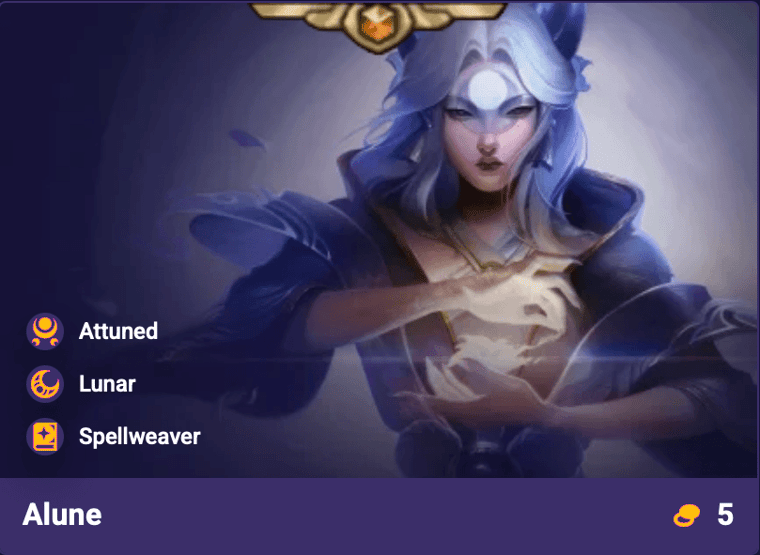
Champions: Alune 5g
Your strongest Alune cycles to a new phase of the moon after each cast. While the moon is at or below half full, your team gains Durability. While above, your team gains Damage Amp.
First Impressions:
Attuned allowed Alune to provide a solid alternating buff to the team depending on the current phase of the moon. Whether it's Damage Amp or Durability, both are universally desirable.
Avatar
Champions: Lux 5g
Having an Avatar on your bench or board transforms all other Avatars in your shop to the Trait of that Avatar. Only one person can have an Avatar with a given trait.
An Avatar's chosen Trait is counted twice for Trait bonuses.
First Impressions:
Lux is the face of Set 18, and her unique Avatar trait allows her to flex into several different Origins. Unless you're playing one of the few traits where she can't assist, you'd be foolish not to consider her.
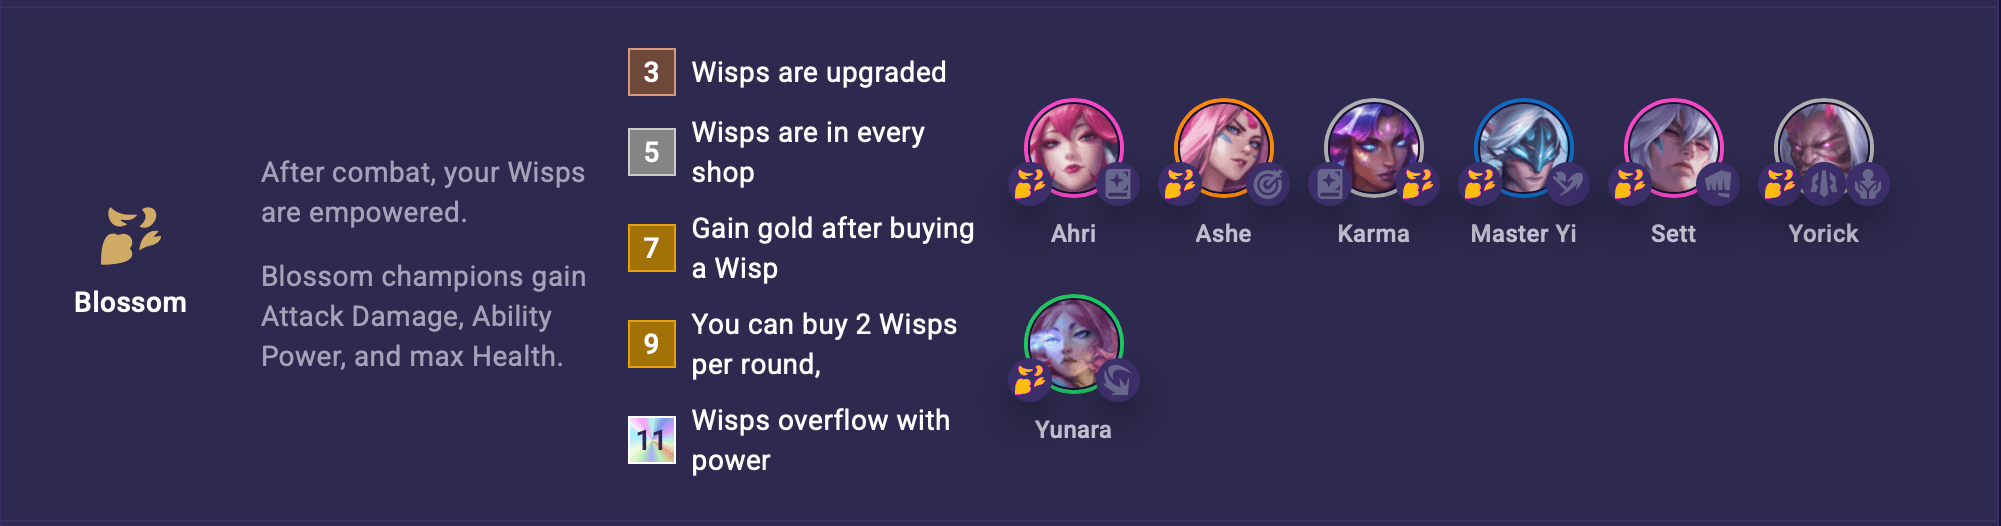
Blossom champions gain Attack Damage, Ability Power, and max Health.
(3) Wisps are upgraded
(5) Wisps are in every shop
(7) Gain gold after buying a Wisp
(9) You can buy 2 Wisps per round
(11) Wisps overflow with power
First Impressions:
Blossom is one of the set's primary vertical traits, but what makes it stand out is its ability to interact with Wisps. It opens up a lot of additional micro decisions, and should be a fun way to showcase player skill expression.
Bounty Seeker
Champions: Draven 5g
Choose a bounty. Your strongest Draven can progress on the bounty to earn its reward. Upon completing a bounty, choose another.
First Impressions:
Draven's signature trait allows him to farm loot by completing various objectives. This includes things like "Cast X times" or "Deal X damage in a single PvP round", and offers common rewards such as units, components, or shop rerolls. A solid value engine if you get him going.
Caustic
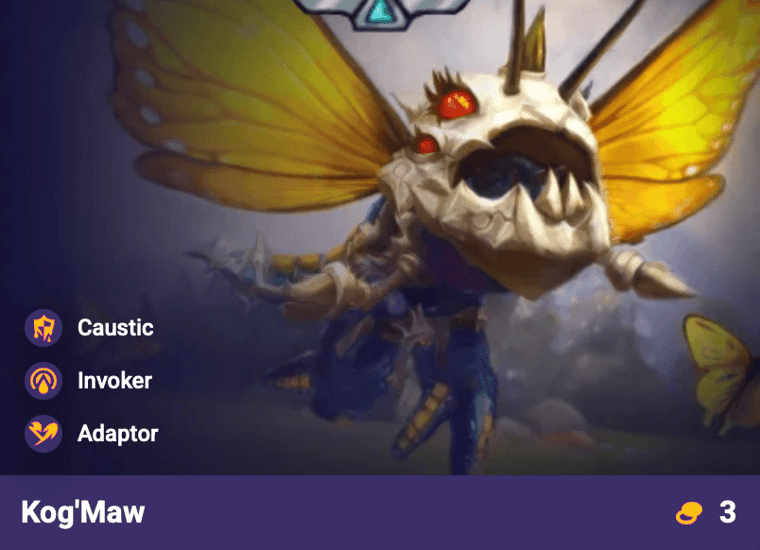
Champions: Kog'Maw 3g
Caustic units' damage Shred and Sunder enemies for X seconds.
First Impressions:
Caustic makes Kog'Maw a real threat on the backline due to its combined Shred and Sunder effect. Stack up enough Attack Speed and you may be able to maintain the debuff throughout the fight.
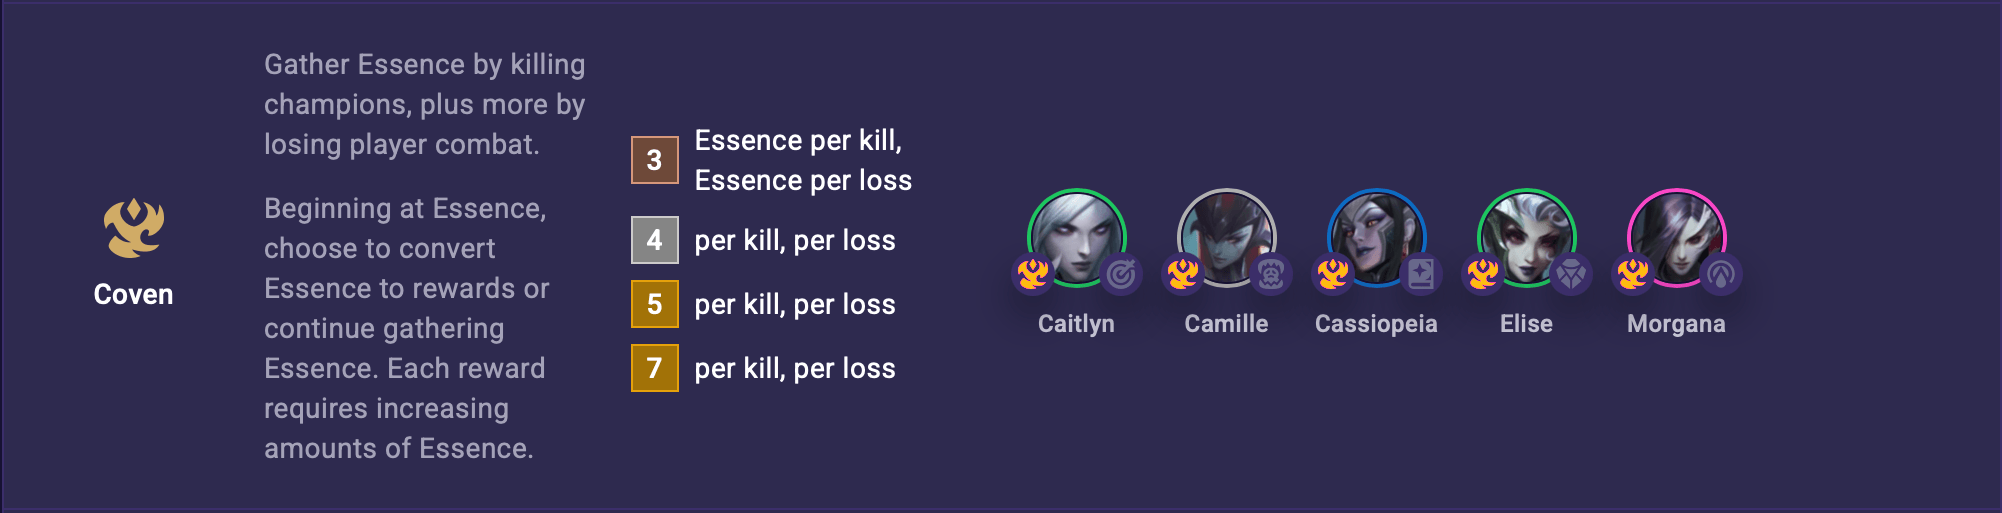
Gather Essence by killing champions, plus more by losing player combat.
Beginning at X Essence, choose to convert Essence to rewards or continue gathering Essence. Each reward requires increasing amounts of Essence.
(3) Essence per kill, Essence per loss
(4) per kill, per loss
(5) per kill, per loss
(7) per kill, per loss
First Impressions:
Coven is Set 18's high risk, high reward trait that encourages losing player combats with as close margins as possible. Unfortunately, we don't really know much more at this point, so we'll have to wait and see the payoff.
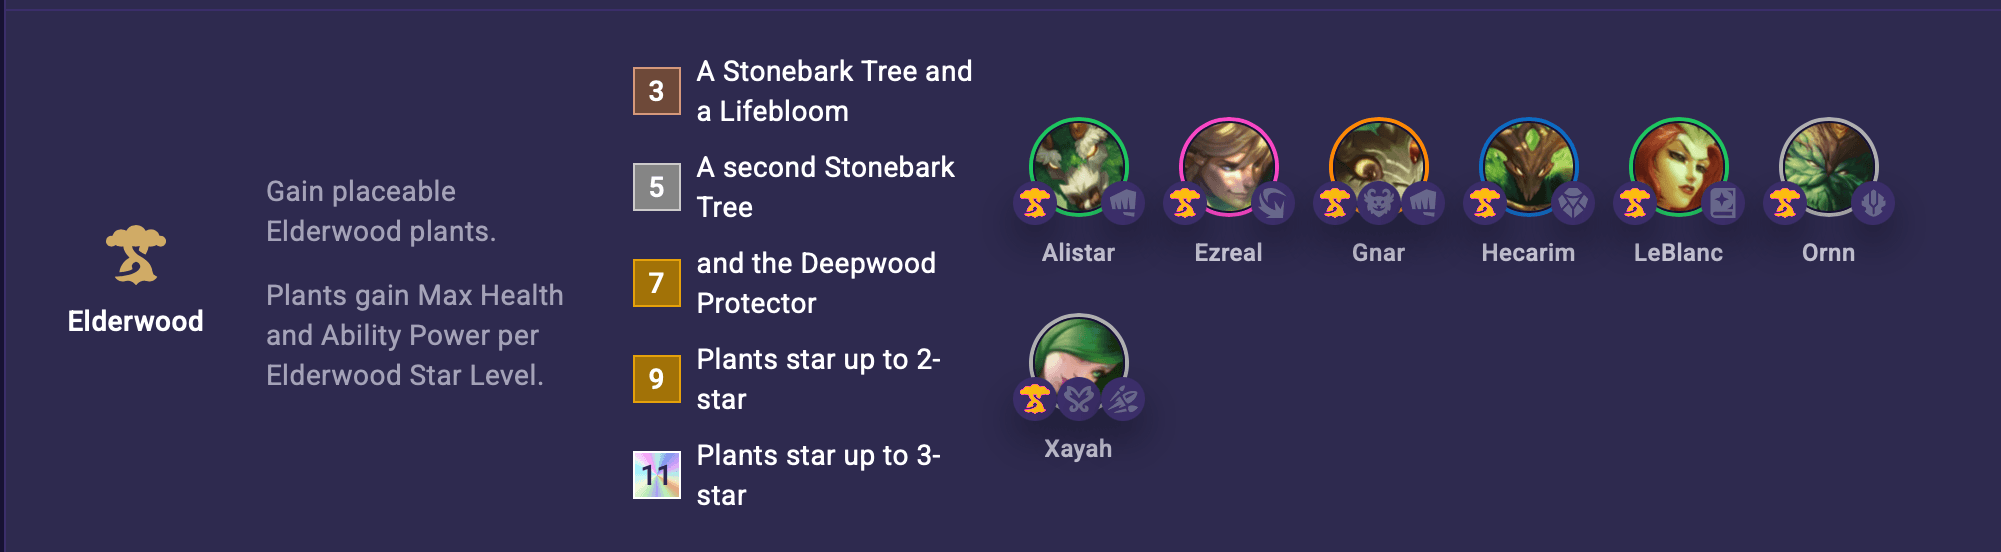
Plants gain Max Health and Ability Power per Elderwood Star Level.
First Impressions:
Elderwood offers a lot of utility with its placeable plants. The Stonebark Tree Stuns nearby enemies on death, the Lifebloom grants AD and AP to Elderwood allies over time, and the Deepwood Protector is a unit with Stun and Knock Up capabilities.
There's a lot to like here, and with the positioning aspect, it allows players more control over the battlefield. Elderwood looks like a lot of fun.
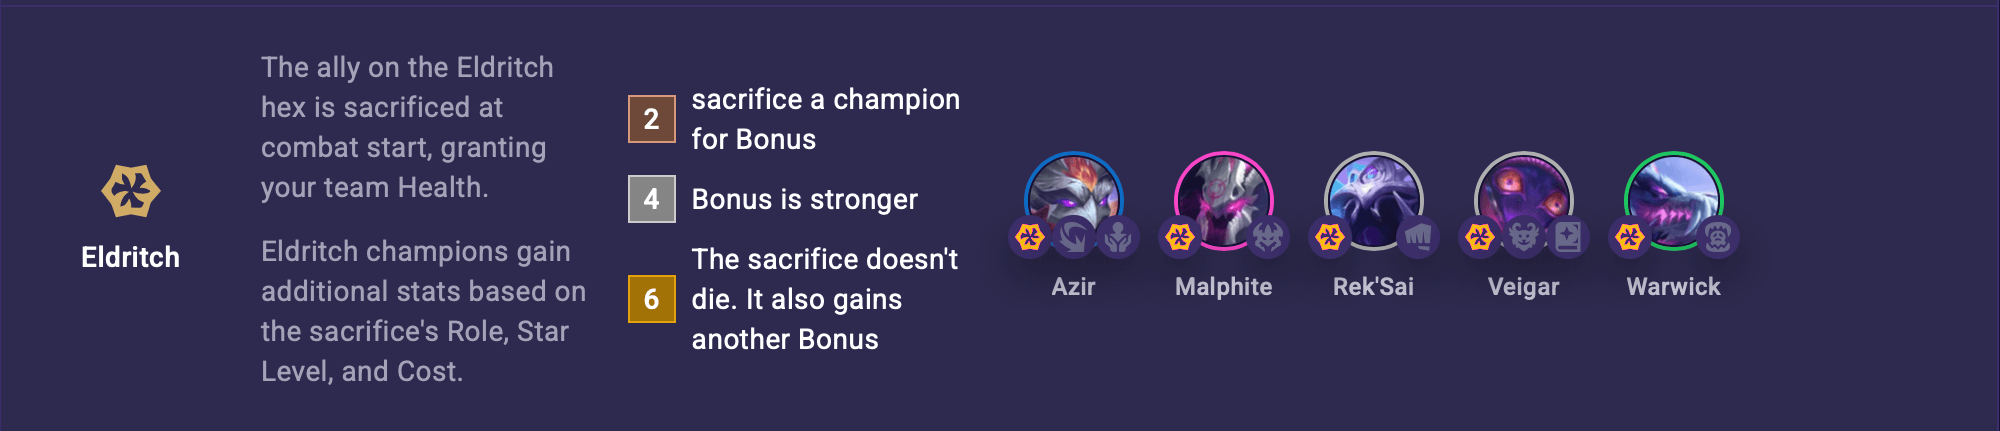
The ally on the Eldritch hex is sacrificed at combat start, granting your team Health.
Eldritch champions gain additional stats based on the sacrifice's Role, Star Level, and Cost.
(2) Health
(4) Bonus is stronger
(6) The sacrifice doesn't die. It also gains bonus stats.
First Impressions:
Eldritch comes with quite the drawback, forcing you to sacrifice one of your units during combat. While we don't know the full details, I think it's safe to imagine that the stat boost could be quite strong.
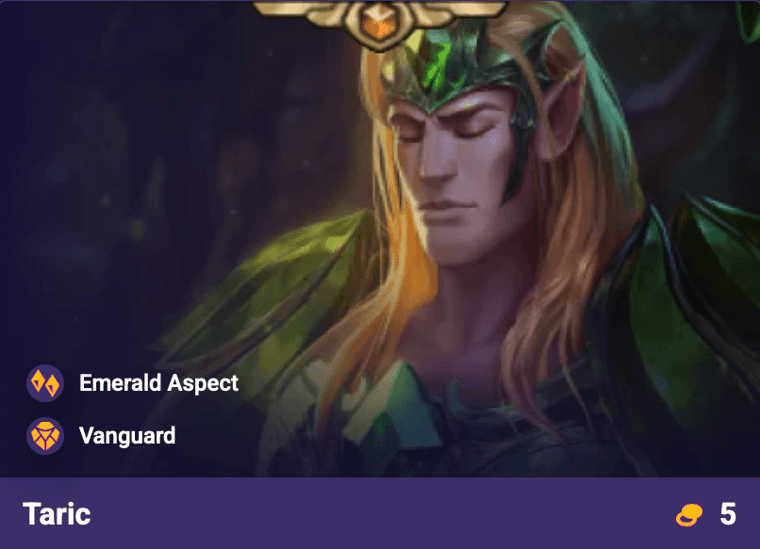
Emerald Aspect
Champions: Taric 5g
Drag an ally onto your strongest Taric to pair them, granting the ally powerful bonuses from Taric's ability.
First Impressions:
Emerald Aspect allows Taric to be the perfect tank/support for your unit of choice. It sounds like a great way to protect and buff up your carry.
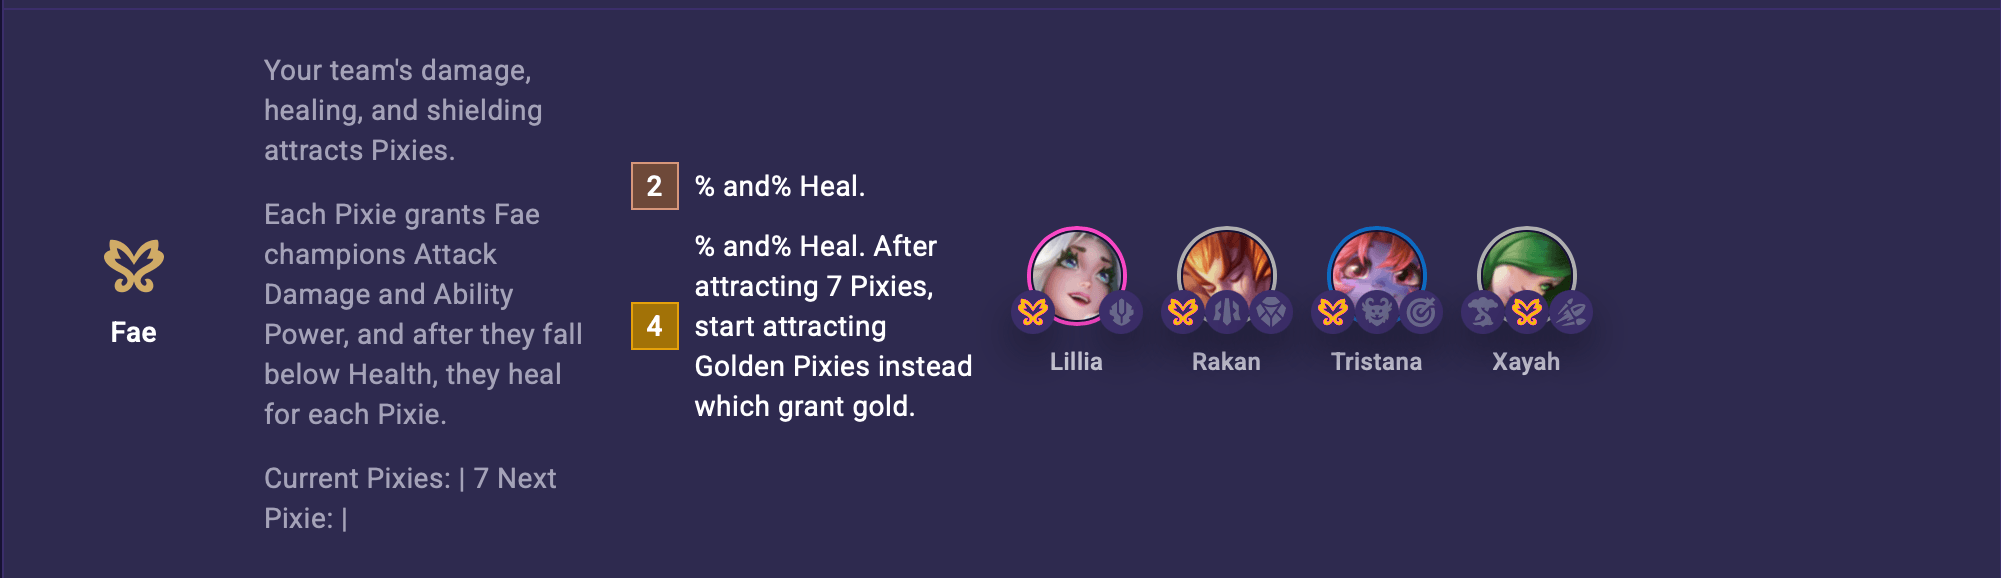
Your team's damage, healing, and shielding attracts Pixies.
Each Pixie grants Fae champions Attack Damage and Ability Power, and after they fall below Health, they heal for each Pixie.
(2) AD/AP and Heal.
(4) AD/AP and Heal. After attracting 7 Pixies, start attracting Golden Pixies instead which grant gold.
First Impressions:
Fae offers Attack Damage, Ability Power, and a half-health safety net to its champions. If you're playing one of them, it only makes sense to pick up a second for the two-piece bonus.
Flora Fatalis
Champions: Fiddlesticks 3g / Soraka 4g
Flora Fatalis champions harvest enemies on takedown, gaining:
(1) Mana
(2) and grant a max Health heal to the lowest Health ally.
First Impressions:
Having the ability to gain Mana on takedown can help these champions snowball on the battlefield, and if you field both of them, the extra Healing support is a nice addition.
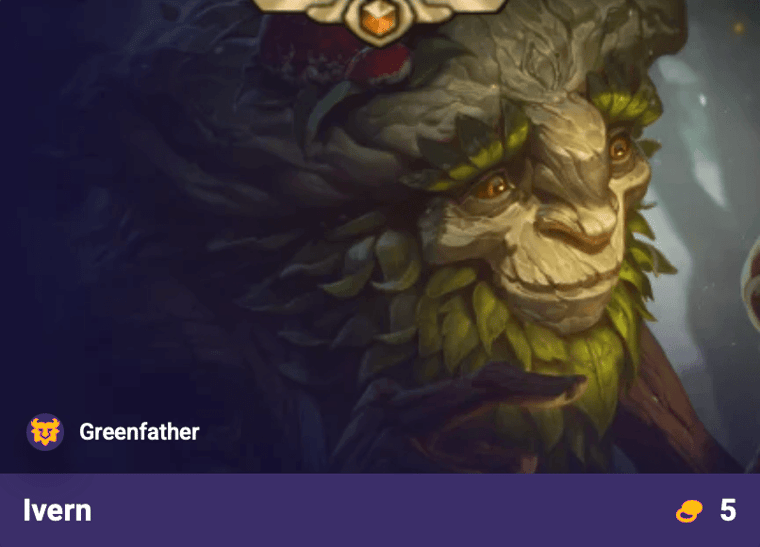
Greenfather
Champions: Ivern 5g
Gain seed when your strongest Ivern casts, plus every combat. Ivern uses seeds to grow a hex on your board that grants a bonus to its occupant.
First Impressions:
Ivern has the unique ability to convert each hex on your board into different biomes. This includes environments such as Tree, Mountain, Water, Rock, Tanglebarb, and more (each with varying effects).
Again, the details are currently unclear, but with enough time Ivern has the ability to fill out the entire board. And if he can, the final hex is a special one.
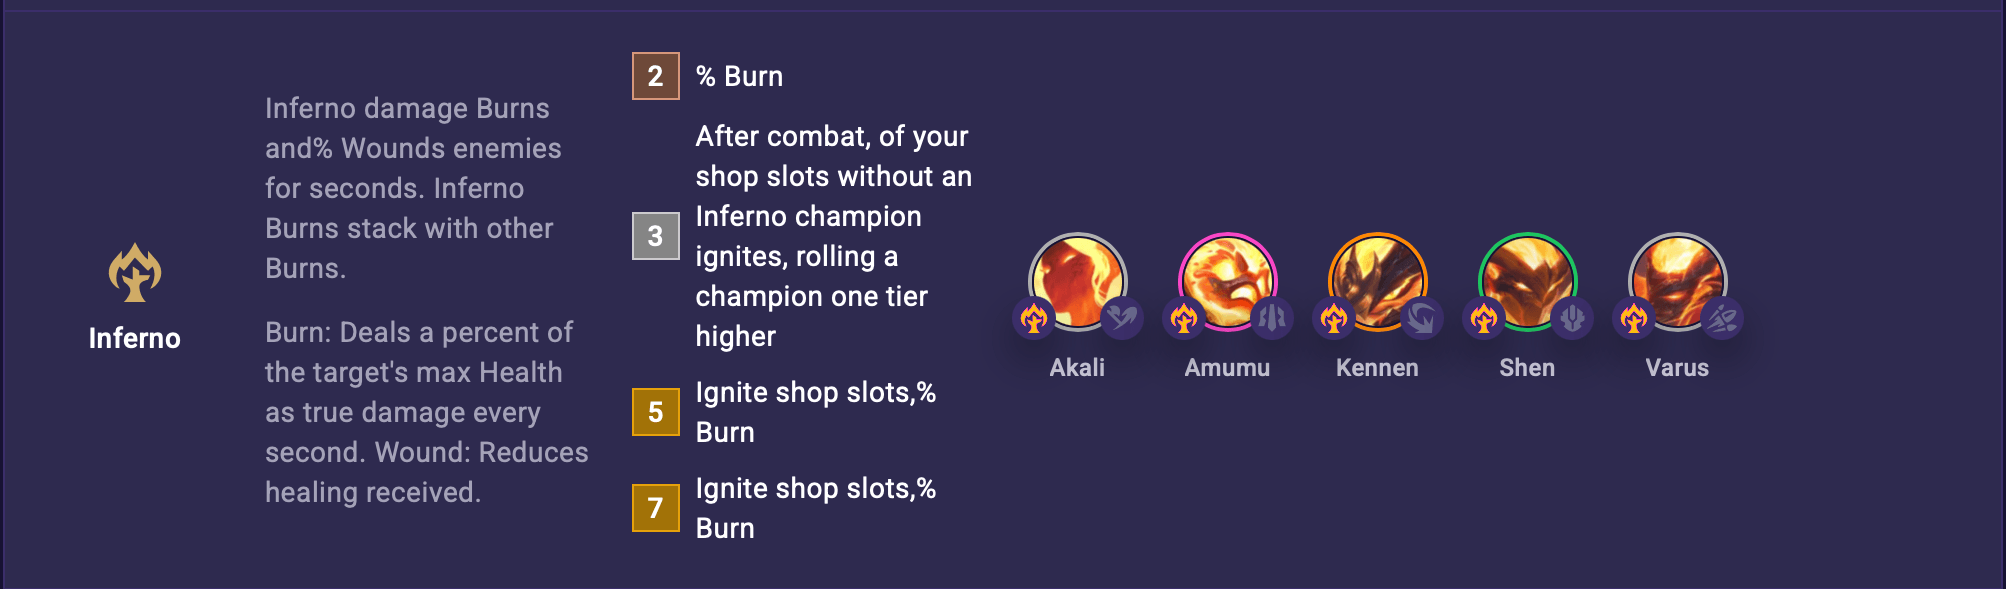
Inferno damage Burns and Wounds enemies for X seconds. Inferno Burns stack with other Burns.
(2) Burn
(3) After combat, X of your shop slots without an Inferno champion ignites, rolling a champion one tier higher
(5) Ignite shop slots, Burn
(7) Ignite shop slots, Burn
First Impressions:
Inferno opens up more room for pivot opportunities thanks to its unique "Ignite" effect. This increases the tier of a unit in the shop, making it easier to find stronger units (specifically non-Inferno champs).
It's a pretty low investment for the effect, coming online with only three pieces (two of which are 1-cost). At the very minimum, you get access to Burn/Wound. Overall very solid.
Lunar
Champions: Diana 3g / Aphelios 4g / Alune 5g
Lunar champions and adjacent allies gain Attack Speed and Ability Power. Lunar champions gain more.
(2) AS & AP
(3) AS & AP
(4) AS & AP
(5) AS & AP
...the moon brings death and syzygy.
First Impressions:
Lunar is a pretty straightforward trait that grants Attack Speed and Ability Power, although its availability is quite limited with just three units. That said, it's an easy addition to many teams if you've got the space.
Monolith
Champions: Malphite 4g
Monoliths gain Armor and Magic Resist for each enemy targeting them.
First Impressions:
Monolith makes Malphite a menace on the frontlines. With all the free Armor and MR, you can likely focus more on max Health.
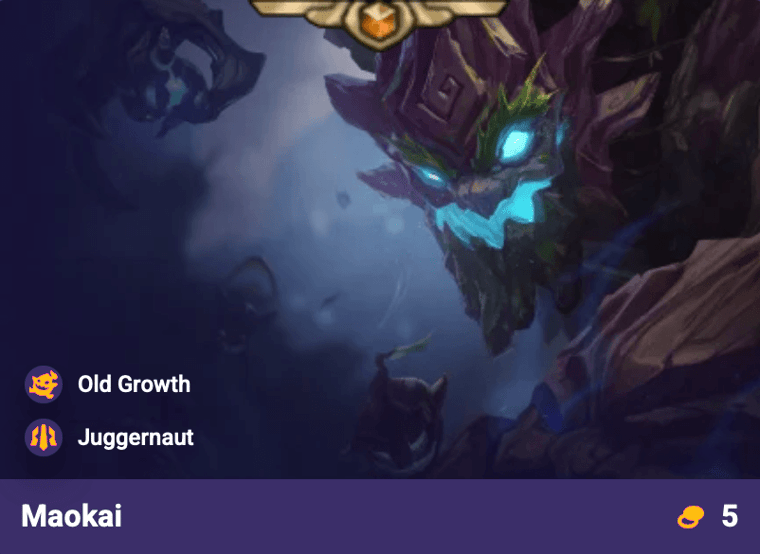
Old Growth
Champions: Maokai 5g
Whenever an enemy within X hexes dies, gain permanent max Health.
First Impressions:
Old Growth has the potential to make Maokai insanely tanky, assuming you have the time to stack up max Health. The earlier you start the better, as long as you're strong enough take down enemies before Maokai falls.
Primal
Champions: Vi 3g / Nidalee 4g / Sivir 4g
Choose one of four Primal Blessings.
(2) Primal Blessing 1
(4) Primal Blessing 2
First Impressions:
Unfortunately, at the time of writing this, we don't have any information on the four Primal Blessings. But seeing as there's only three units with the trait, I imagine they are quite powerful.
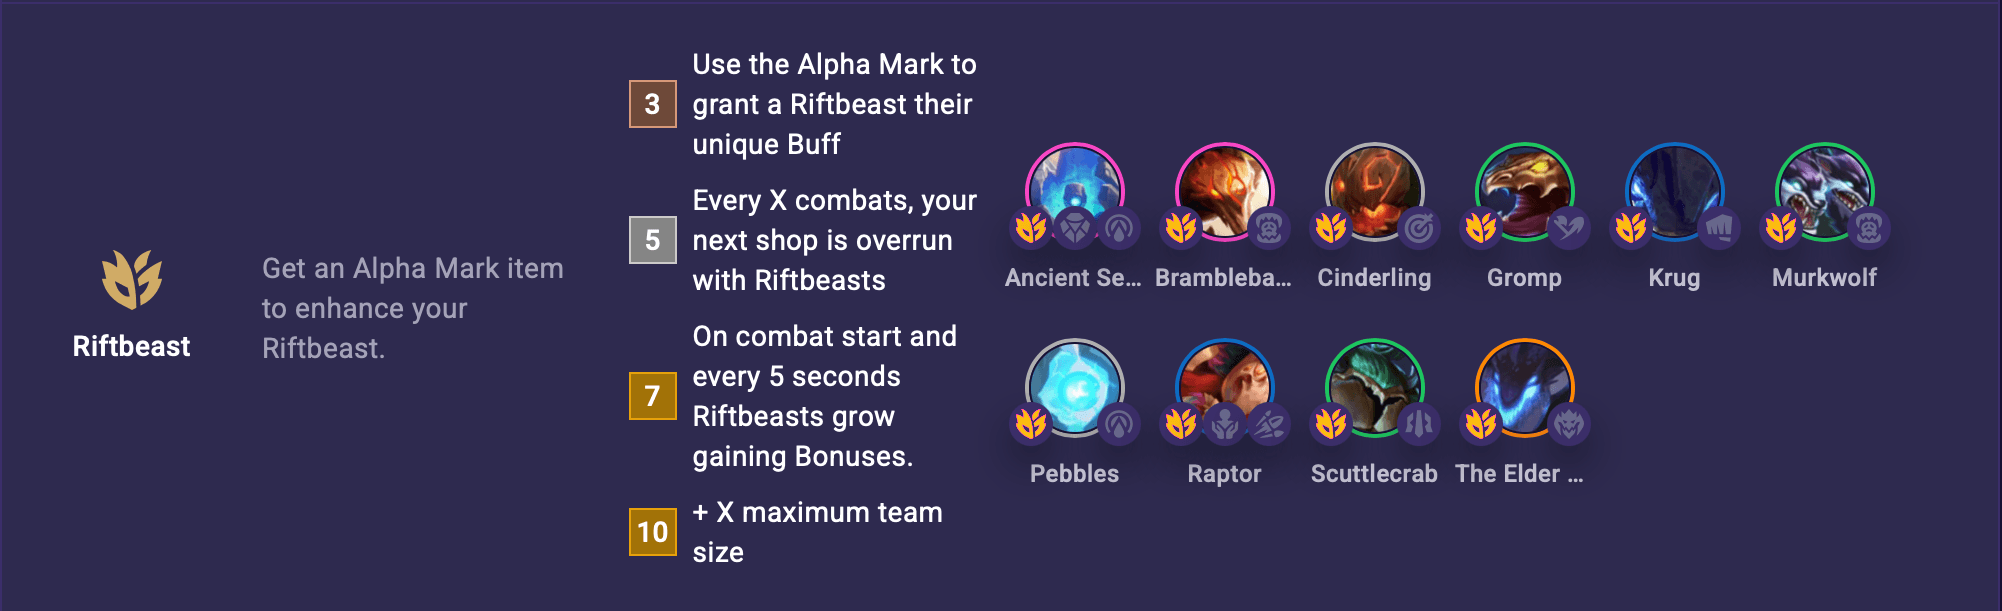
(3) Use the Alpha Mark to grant a Riftbeast their unique Buff
(5) Every X combats, your next shop is overrun with Riftbeasts
(7) On combat start and every 5 seconds Riftbeasts grow gaining stats
(10) + maximum team size
First Impressions:
Riftbeast looks like a fun vertical trait that lets us play with all the monsters we know and love. Including just a few unlocks the ability to Buff one of them, and there's a lot of solid options to choose from.
There's definitely potential here even if you don't go vertical, but when the stars align it's sure to be a wild sight.
Rival
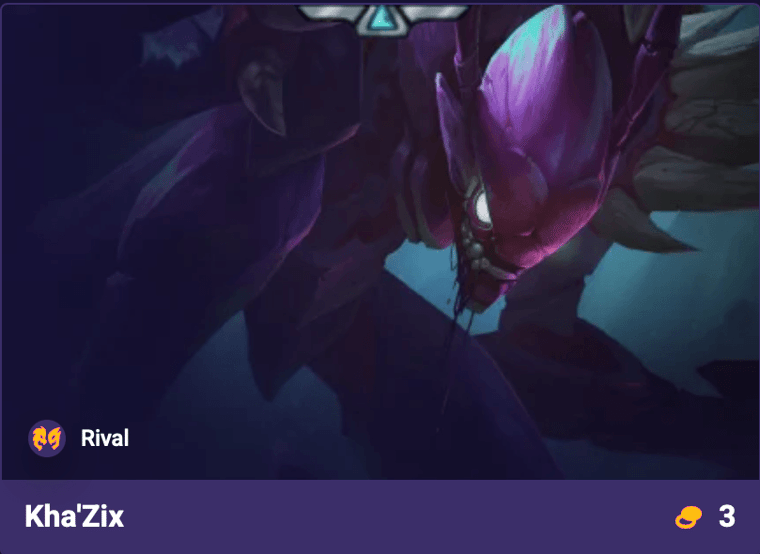
Champions: Kha'Zix 3g / Rengar 3g
Rivals collect takedowns, gaining 3 if they takedown another Rival.
(1) Only active while fielding 1 Rival.
(2) Rivals can be fielded together.
Only applies to your strongest Rival.
First Impressions:
We don't have much info about Kha'Zix or Rengar, so it's hard to evaluate what these takedowns mean in terms of gameplay. Regardless, it's certainly flavorful, and poses a fun challenge when they meet up in battle.
Solar
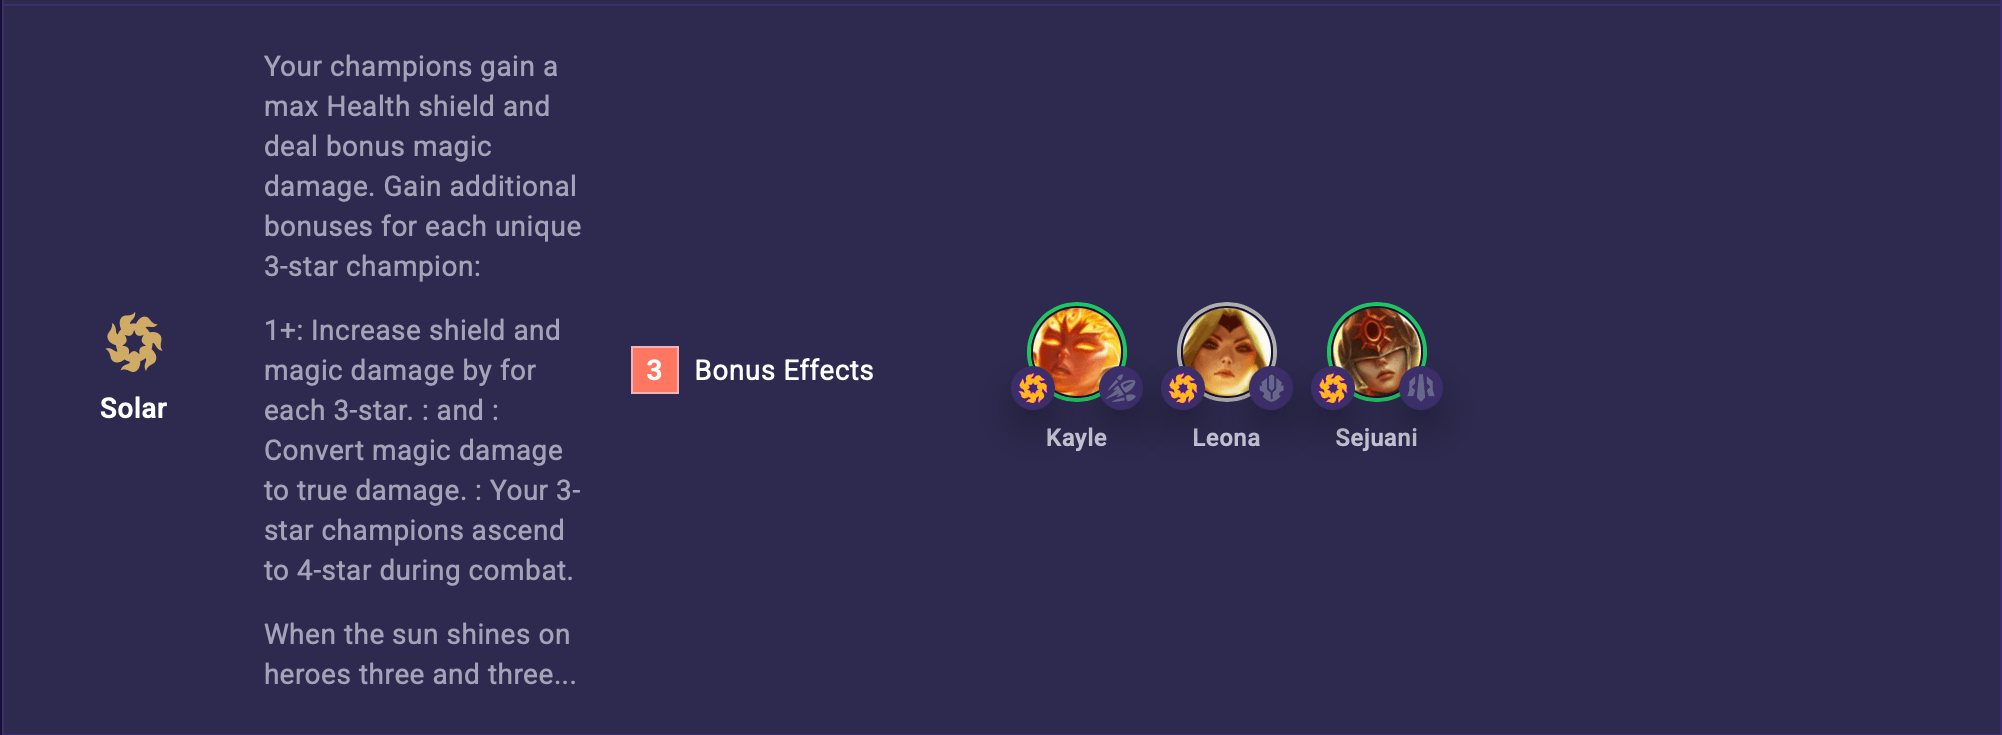
Champions: Leona 1g / Kayle 2g / Sejuani 2g
(3) Your champions gain a max Health shield and deal bonus magic damage. Gain additional bonuses for each unique 3-star champion:
1+: Increase shield and magic damage by X for each 3-star.
Convert X of the bonus magic damage to true damage.
Your 3-star champions ascend to 4-star during combat.
When the sun shines on heroes three and three...
First Impressions:
Solar appears to be this set's reroll trait, offering a strong incentive to 3-star your units. The floor looks pretty low, but the ceiling could be quite high. However, with just three units available, we'll have to see how it plays out.
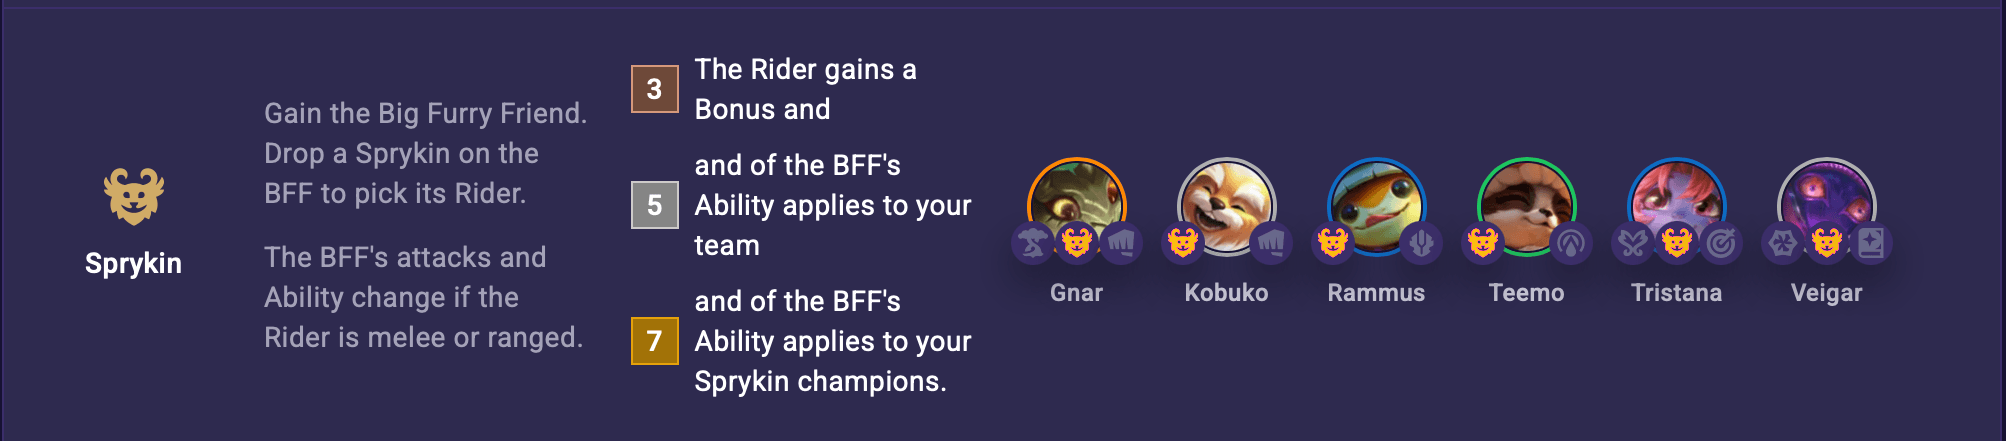
Gain the Big Furry Friend. Drop a Sprykin on the BFF to pick its Rider.
(3) The Rider gains Health and Attack Speed.
(5) A percentage of the BFF's Ability applies to your team
(7) A percentage of the BFF's Ability applies to your Sprykin champions.
The BFF’s attacks and Ability change if the Rider is melee or ranged.
First Impressions:
Sprykin is a hilarious theme with a pretty solid baseline. Health and Attack Speed is always welcome, so even a three-piece could be worth including. And if you do decide to invest more, your team will greatly benefit as well!
Thornmaiden
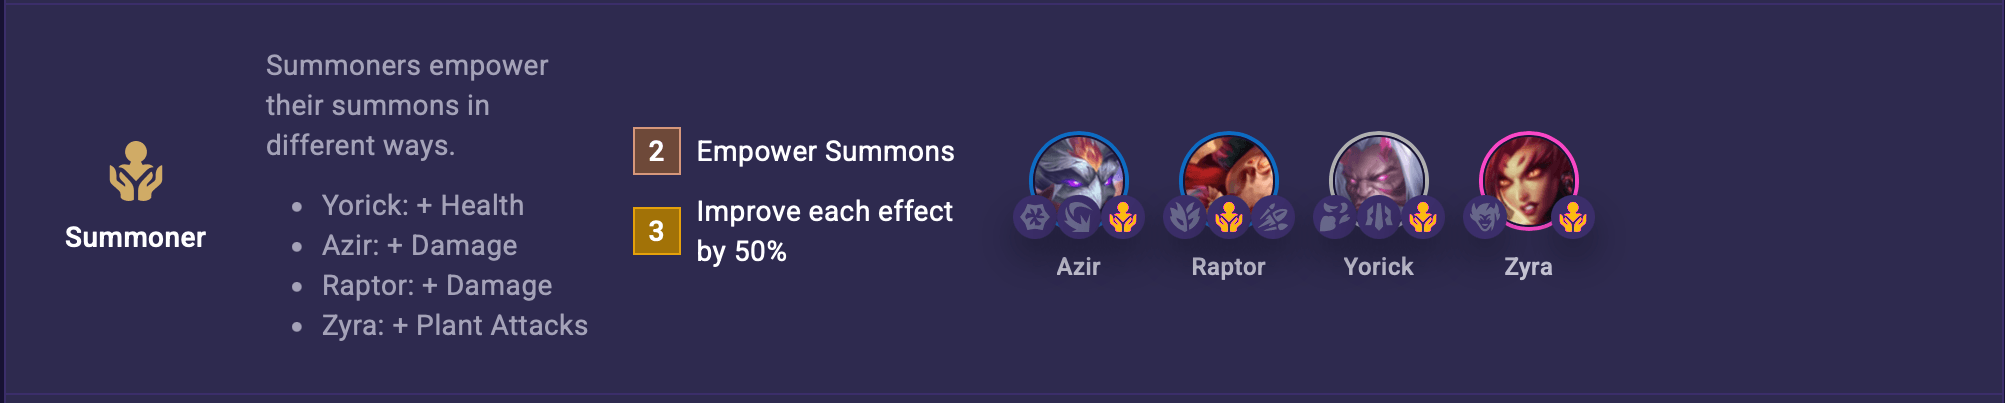
Champions: Zyra 4g
Your team gains Durability, increased to X if X or more Zyra plants are alive.
First Impressions:
Thornmaiden's passive team-wide Durability is a welcome addition to any team. It's hard to argue with free non-exclusive defenses.
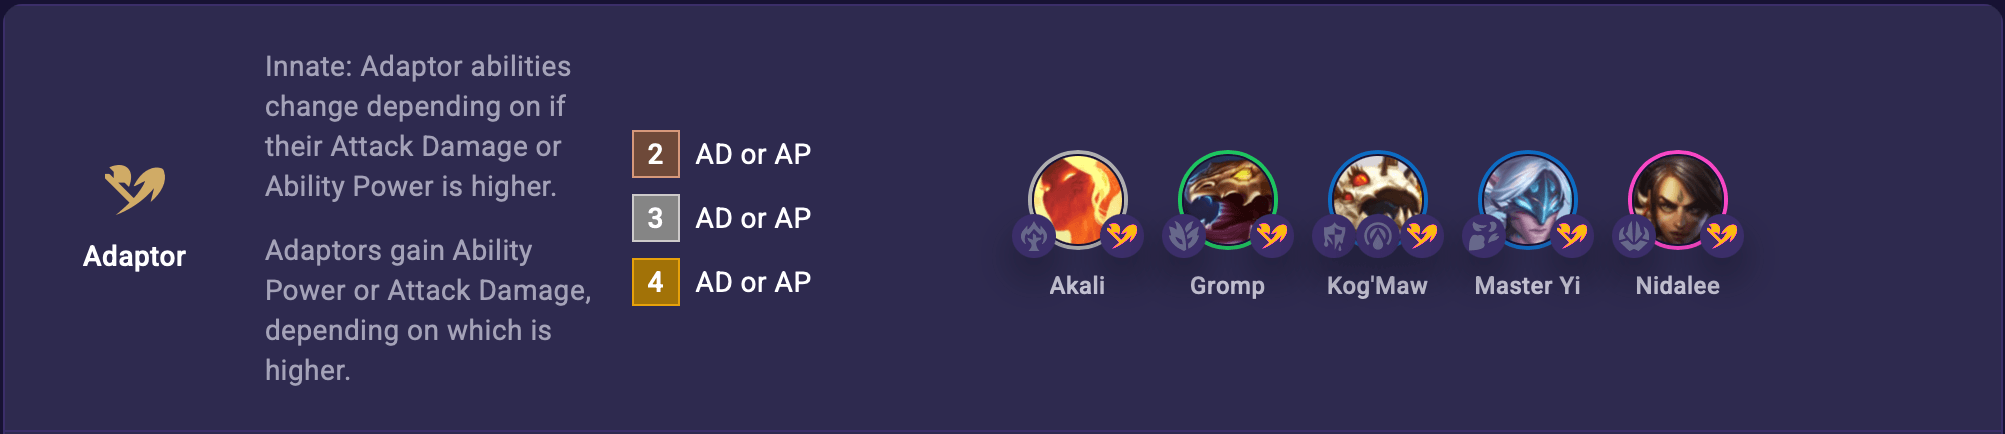
Innate: Adaptor abilities change depending on if their Attack Damage or Ability Power is higher.
Adaptors gain Ability Power or Attack Damage, depending on which is higher.
(2) AD or AP
(3) AD or AP
(4) AD or AP
First Impressions:
Adaptor allows for more flexible play by making its units fill both AD or AP roles. It's easily accessible with 2/3/4 bonuses, and ensures you can always find use for the items you're given.
Brawler
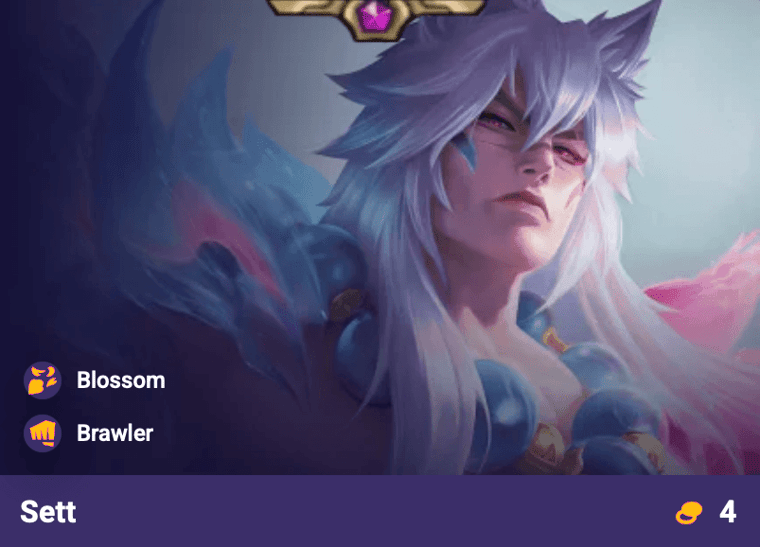
Champions: Kobuko 1g / Rek'Sai 1g / Alistar 2g / Krug 3g / Sett 4g / Gnar 5g
Your team gains max Health. Brawlers gain more.
(2) Health
(4) Health
(6) Health
First Impressions:
Brawler is the classic tanky Health trait, and an easy slot-in to most teams. It's a nice low commitment boost during the early game, and potentially worth investing into later on.
Your team gains Armor and Magic Resist. Defenders gain more.
(2) Armor & MR
(4) Armor & MR
(6) Armor & MR
First Impressions:
Defender is another flexible tank trait, instead providing Armor and Magic Resist to the team. Like Brawler, it benefits the whole team from the get-go.
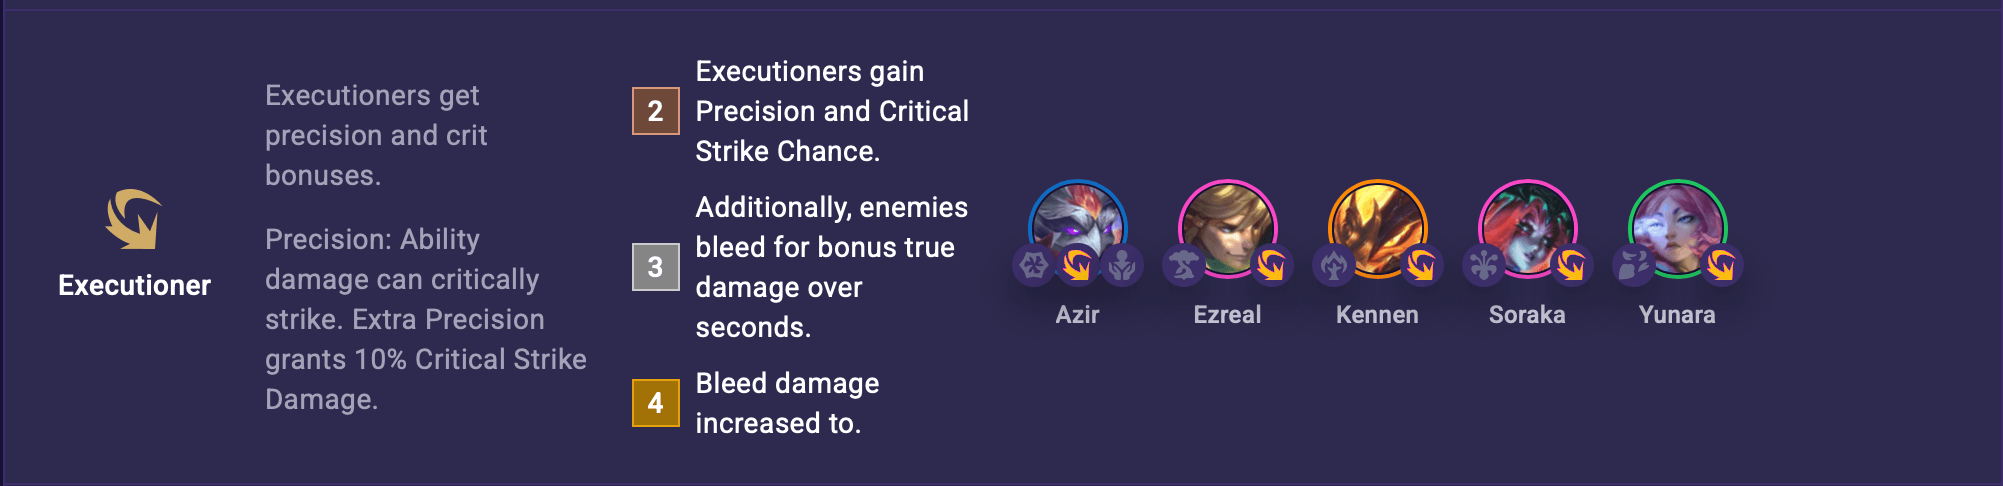
(2) Executioners gain Precision and Critical Strike Chance.
(3) Additionally, enemies bleed for bonus true damage over X seconds.
(4) Bleed damage increased.
First Impressions:
Executioner unlocks a nice offensive boost for its units, granting Precision, Crit Chance, and a true damage Bleed. If you intend to make one your carry, there's a good chance you'll want at least 1-2 other Executioners.
Hunters gain Attack Damage. If a Hunter hasn't swapped targets for X seconds, they gain Damage Amp.
(2) AD
(3) AD
(4) AD
(5) AD
First Impressions:
Hunters excel at focusing down single targets thanks to the combined Attack Damage + Damage Amp. It's a great baseline for a carry, but just like Executioner, it doesn't benefit the rest of the team.
Your team gains Attack Speed. Rapidfire champions gain more on every attack, up to X stacks.
(2) AS per Attack
(3) AS per Attack
(4) AS per Attack
(5) AS per Attack
First Impressions:
Rapidfire is the standard Attack Speed trait, and here it's quite useful since it benefits the whole team. Another low commitment slot-in with 2/3/4/5.
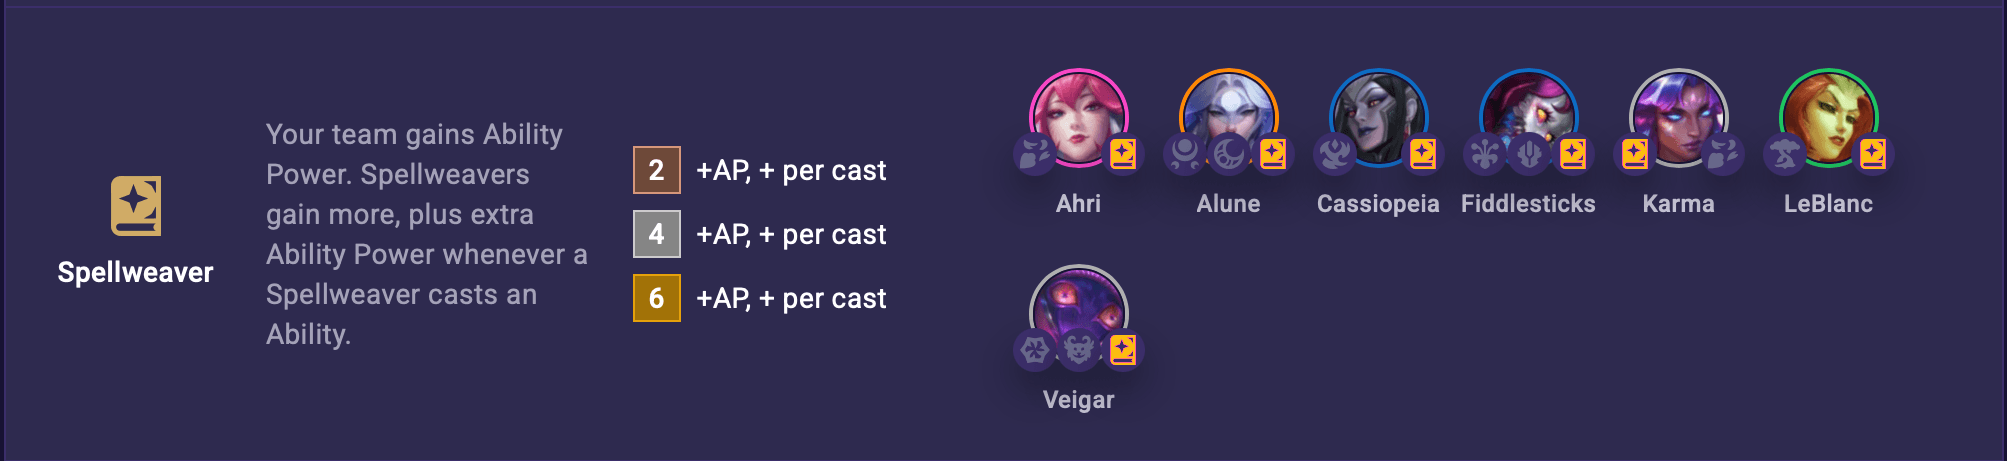
Your team gains Ability Power. Spellweavers gain more, plus extra Ability Power whenever a Spellweaver casts an Ability.
(2) AP per cast
(4) AP per cast
(6) AP per cast
First Impressions:
Spellweaver is the standard Ability Power trait with some added scaling potential. If you're playing a caster-heavy team, this can make a real impact during longer fights.
At Combat Start and after dropping below X Health, Vanguards gain a max Health Shield for X seconds.
(2) max Health
(4) max Health
(6) max Health. Gain Durability while Shielded.
First Impressions:
Vanguard rounds things out as the fourth and final tank trait. However, unlike the other three, the Vanguard ability is exclusive to them. It's a strong effect for sure, and perhaps an incentive to create a dedicated tank comp.
TFT Set 18 New Champions: Abilities, Positioning, and First Impressions
Now that we've reviewed the upcoming mechanics and traits, let's take a quick look at all of the new champions coming to Set 18.
Knowing this is TFT's 18th set, some champions may have similar/returning mechanics. Even so, the different combinations and trait webs are what make new sets exciting.
We’ll be providing basic positioning suggestions for every champion to get the ball rolling for you. Just remember that positioning is incredibly contextual in TFT and to always adapt to the situation at hand.
The terminology we’ll be using here is frontline, midline, and backline.
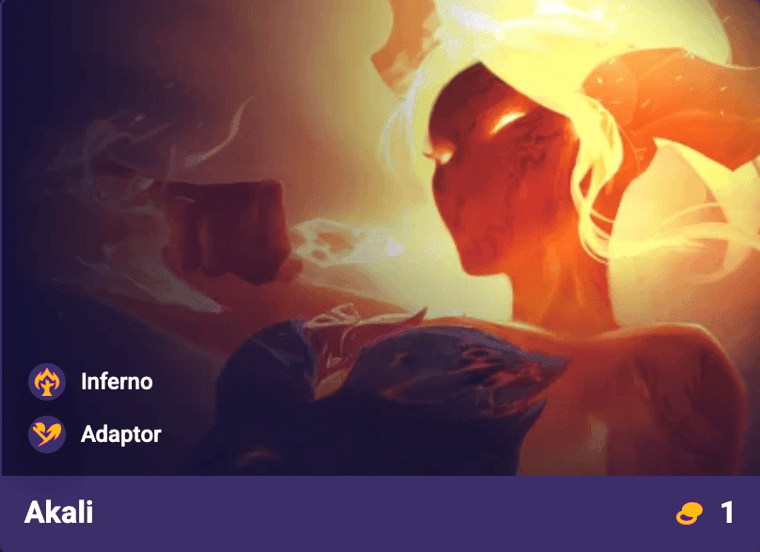
Adaptor: Throw a volley of kunai at the target, dealing physical damage. If the target is Burning, deal an additional X damage.
Adaptor: If the Ability kills, cast it again.
Positioning: Midline
First Impressions:
Akali is a great early pickup as a 1-cost unit with three traits. As an Adaptor, she can flex into whichever damage type you need, and Ravager makes her quite the threat if left unharmed.
The Burning effect of Inferno also compliments the other traits well, so I expect she'll be highly sought after from the beginning.
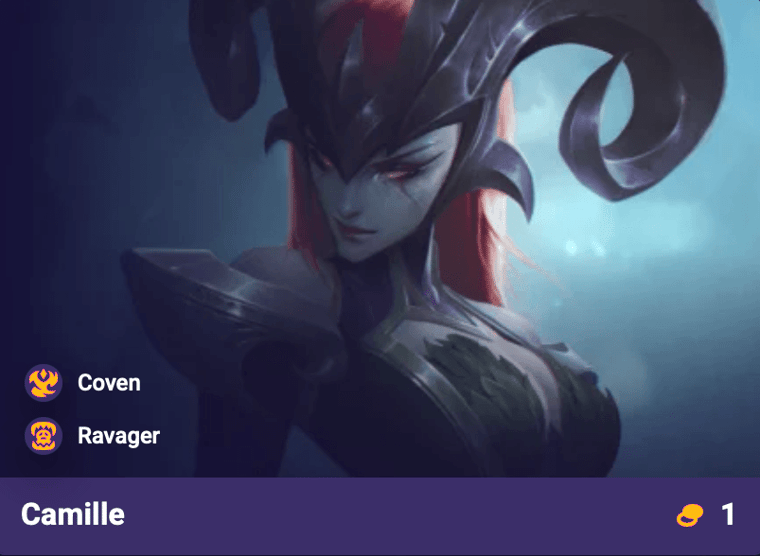
Slice the target for physical damage and gain Shield for X seconds.
Positioning: Midline
First Impressions:
Camille's Defensive Sweep pairs perfectly with Ravager, allowing her to slice down enemies while having good sustain. This gives her great kill potential for Coven, making Camille an ideal starting point for the trait.
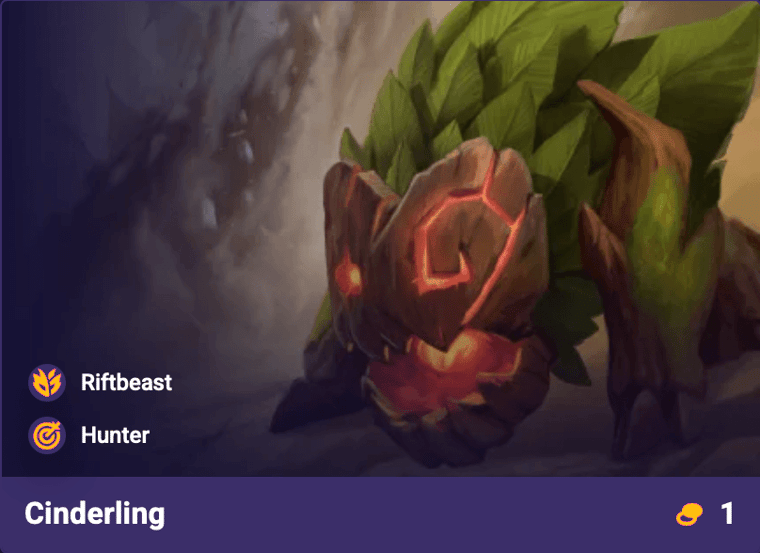
Summon five razor-sharp leaves that converge on the current target, dealing a total of X physical damage and applying Wound and Burn for X seconds.
Scarlet Buff: Cinderling gains Attack Damage each cast.
Positioning: Backline
First Impressions:
Cinderling is a simple AD backliner that excels at single target damage thanks to Hunter + Razor Leaves. If given the Alpha Mark, Cinderling's power can scale even further with each cast. A solid early game carry.
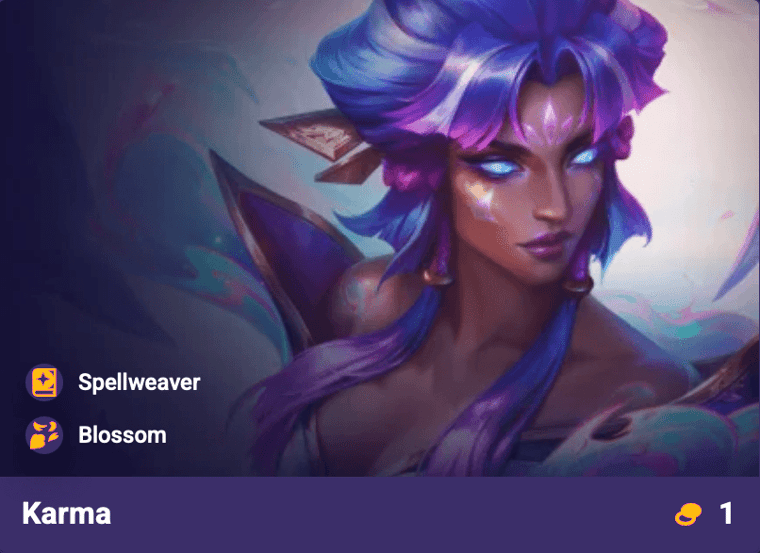
Tether the current target, dealing magic damage over X seconds. Then release a burst of power around them, dealing magic damage to all enemies in a X Hex radius and Slowing them for X seconds.
Positioning: Backline
First Impressions:
Karma's Karmic Bond offers solid utility with its AoE Slow effect, and could become quite potent thanks to Spellweaver scaling. If you're in need of either trait, Karma is a fine choice.
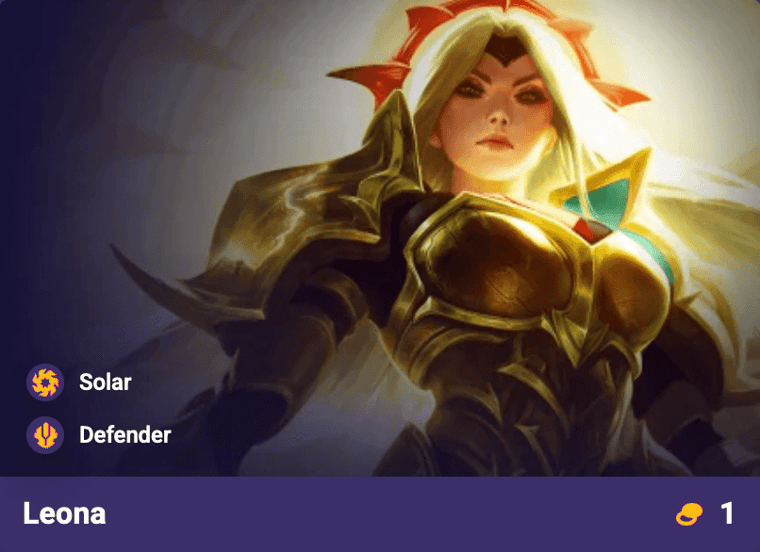
Passive: Start combat with bonus Armor and Magic Resist that decays over X seconds.
Active: Bash the current target, dealing magic damage and Stunning them for X seconds.
Positioning: Frontline
First Impressions:
Leona's one of the few Solar units and she has excellent utility for a 1-cost. Right out of the gate she enters combat with bolstered defenses, while also having access to a single-target Stun. That's a lot of value early on.
She'll likely be splashed into some comps for the Defender synergies, but if you invest into Solar, Leona could become a prime carry.
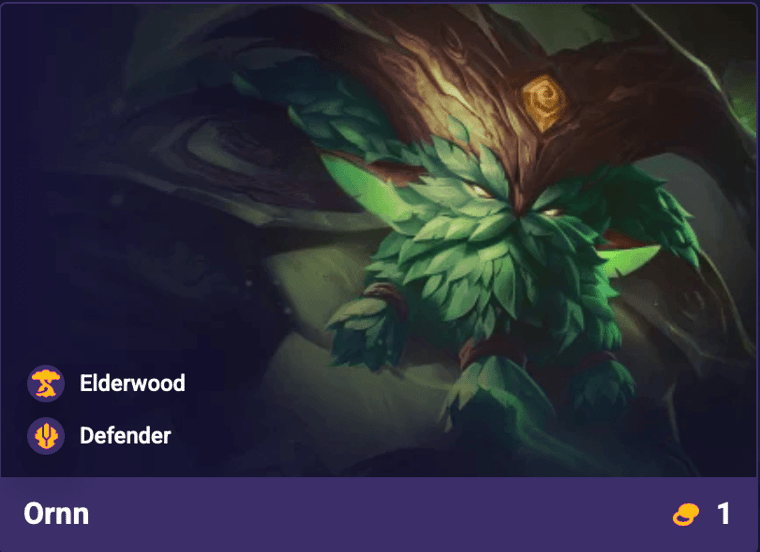
Active: Gain Shield for X seconds and deal magic damage to enemies in a cone.
Quest: Each player combat, Ornn stores damage blocked as Forge Power, doubled at 3-star. Gain an Artifact Anvil the first time Forge Power reaches X.
Positioning: Frontline
First Impressions:
Ornn has the unique ability to create an Artifact Anvil after enough time, which is absurd for a 1-cost unit. While we don't know how long it takes, the chance alone more than merits the inclusion.
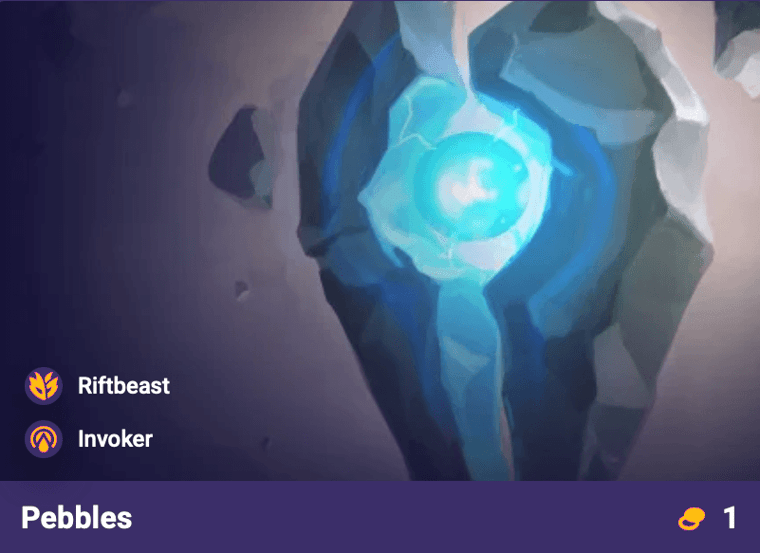
Begin consuming max Mana per second and channeling a laser on target. Each second while casting, deal magic damage to them and reduce their Magic Resist by X.
Teal Buff: Gain Mana Regen for every X seconds channeled.
Positioning: Backline
First Impressions:
Pebbles is an AP caster with a single-target Shred ability. This adds some nice utility to magic-based teams, helping your primary carry deal more damage, assuming you can line up the positioning.
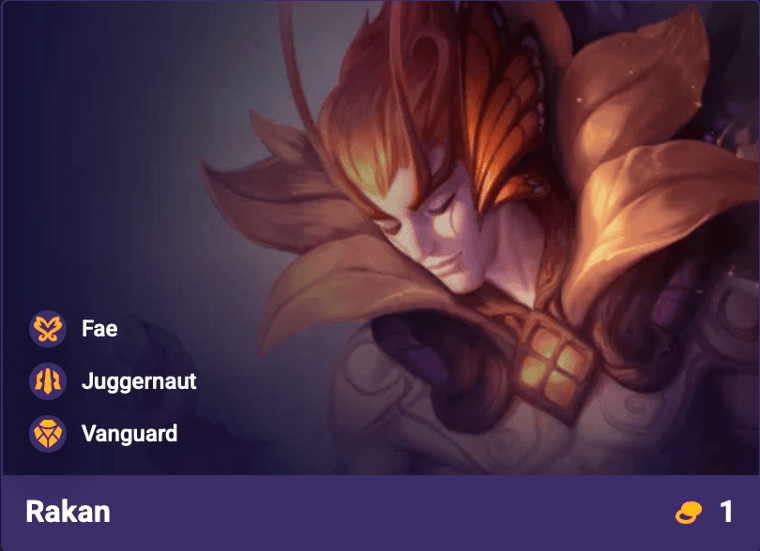
Gain Shield for X seconds. Then grant the ally who has dealt the most damage this combat decaying Attack Speed for X seconds.
Positioning: Frontline
First Impressions:
Rakan offers a lot of value as a 1-cost unit, providing two solid defensive traits alongside access to Fae.
This makes him an easy inclusion to round out early trait webs, and on top of that, his Entrancing Dance also buffs the strongest ally. A great pickup.
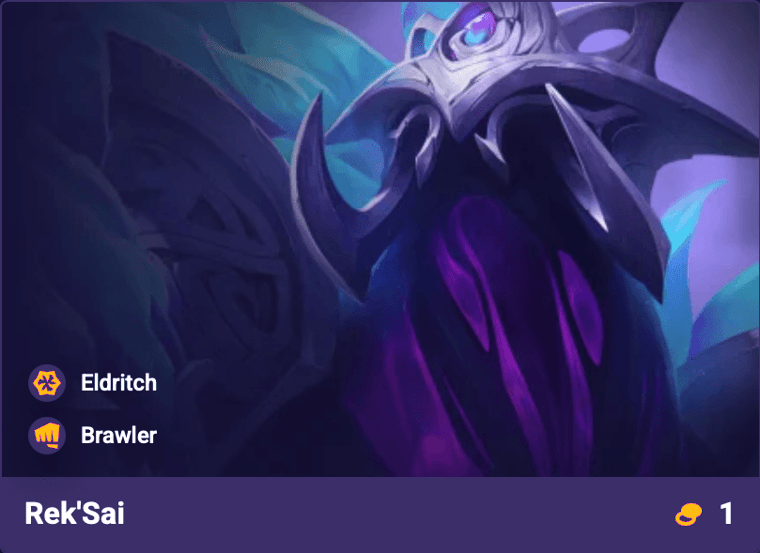
Passive: Restore Health each second, tripled for X seconds after casting.
Active: Lunge out of the ground, Stunning adjacent enemies for X seconds and dealing magic damage to them.
Positioning: Frontline
First Impressions:
Rek'Sai is a frontline tank with access to an AoE Stun and passive Healing. That alone adds a lot of utility for the cost, so if you're in need of either trait, picking her up is a no-brainer.
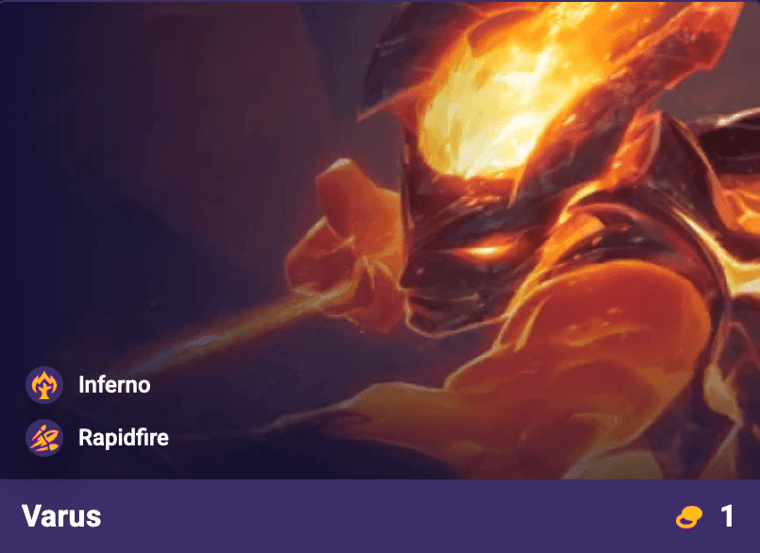
Wind up, then fire an arrow at the most enemies in line with the target. It deals physical damage to enemies hit, reduced by X for each enemy it passes through.
Positioning: Backline
First Impressions:
Varus's Piercing Arrow compliments Inferno well, allowing you to apply Burn and Wound to multiple enemies at a time. Not a bad option to help break through more defensive comps.
Launch a giant blast at the target that deals magic damage, increased if they're below X max Health.
If they die, permanently gain Ability Power.
Positioning: Backline
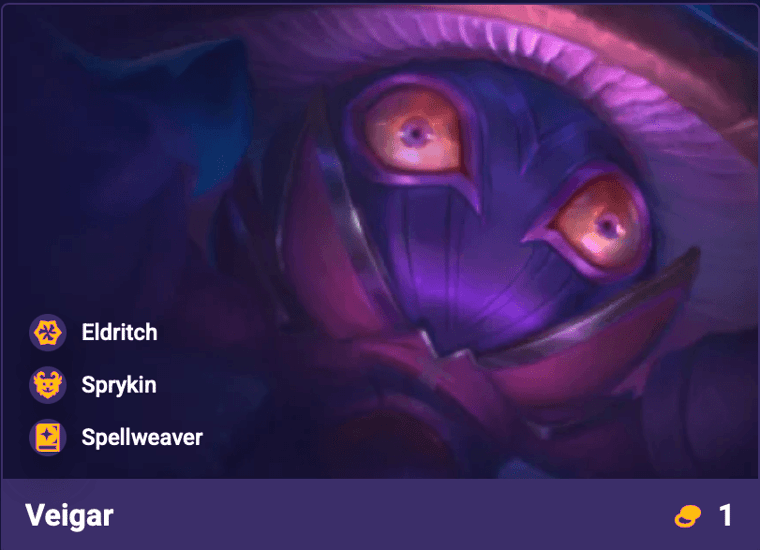
First Impressions:
Veigar has the ability to permanently scale AP throughout the game, making him a fantastic early grab if you can utilize his traits. He's also part of the exclusive three-trait club and is clearly a standout among 1-cost units.
Gain Attack Speed for the next X attacks. These attacks are replaced with feathers that deal physical damage and reduce Armor.
Positioning: Backline
First Impressions:
Xayah is an impressive 1-cost AD backliner. Deadly Plumage allows her to rip into her target by reducing their Armor with each attack, which goes hand-in-hand with the Rapidfire trait.
If that isn't enough, she's another unit with three traits, giving her a lot of flexibility when trying to assemble your team.
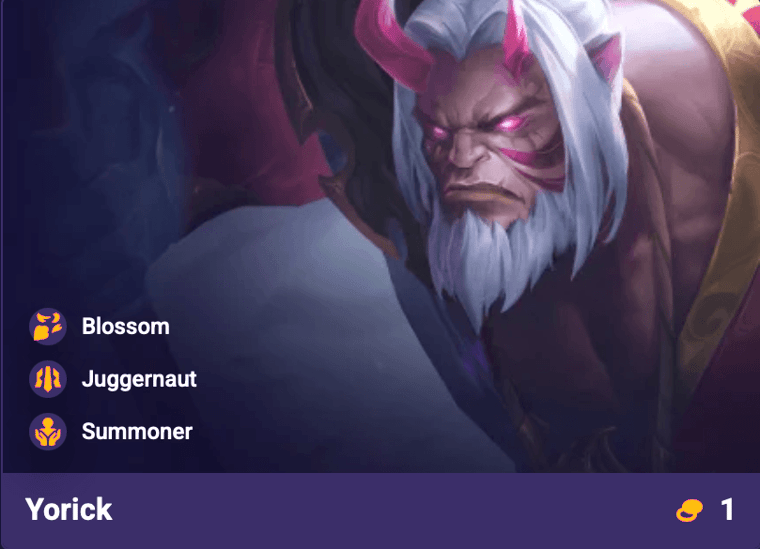
Passive: On death, spawn a Spirit Walker with X max Health.
Active: Restore Health and strike the target, dealing physical damage.
Positioning: Frontline
First Impressions:
Yorick will be a real pain to deal with thanks to his passive on-death trigger. Being able to summon another unit to replace himself further delays foes from reaching your backline. Once more, it's another 1-cost unit with three traits. What's not to like?
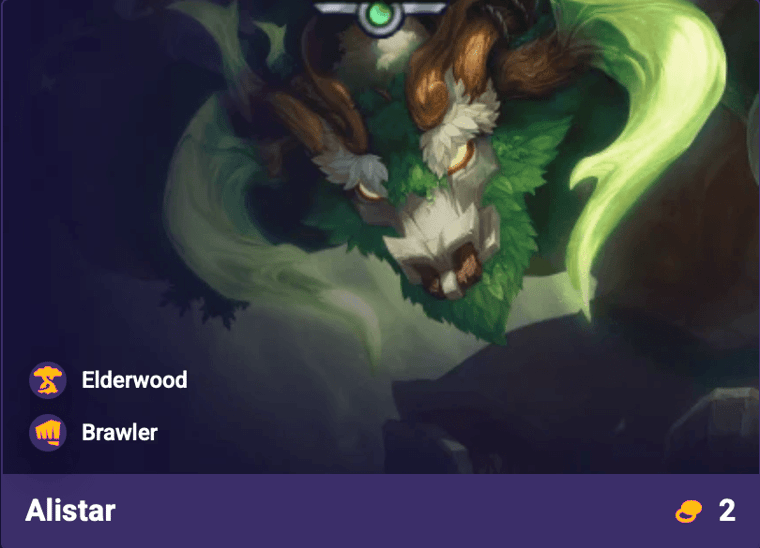
Roar, restoring Health, cleansing disables, and healing the two lowest percent Health allies for X. Then slam the current target, dealing magic damage and Stunning them for X seconds.
Positioning: Frontline
First Impressions:
Alistar is a slippery tank to break through, as his Triumphant Roar comes with a self Heal, ally Heal, and cleanse. On top of that, he has a single-target Stun that provides some nice disruption. A well-rounded addition for sure.
Passive: Every third attack is replaced with a Headshot that deals physical damage.
Positioning: Backline
First Impressions:
Caitlyn's Headshot combines well with Hunter, allowing her to focus down single targets with increasing damage. This of course also benefits Coven, ensuring she has strong kill potential to help gather Essence.
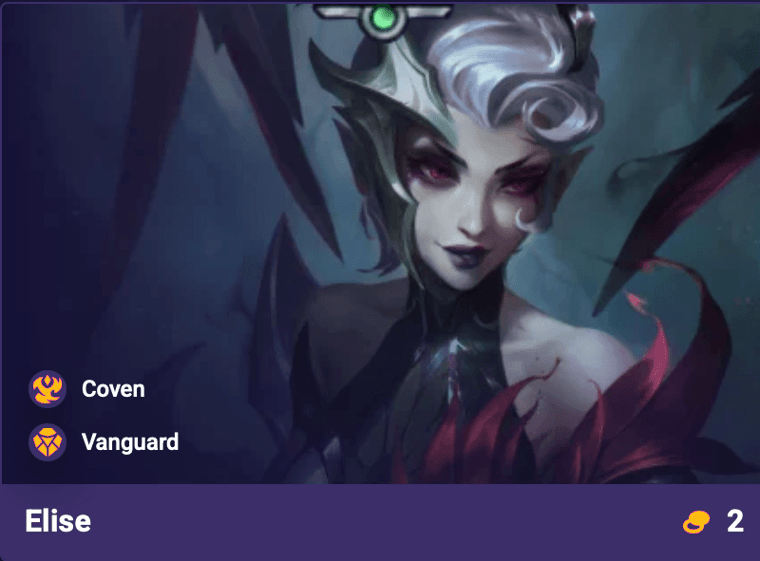
Transform into a spider and gain max Health. Attacks while in Spider Form deal bonus magic damage and heal for X. Subsequent casts grant decaying Attack Speed for X seconds.
Positioning: Frontline
First Impressions:
Elise is a pretty straightforward frontliner that can gain max Health and Heal herself with each attack. As a Coven unit, the sustain should make it easier to back up her carries, especially with the addition of Vanguard.
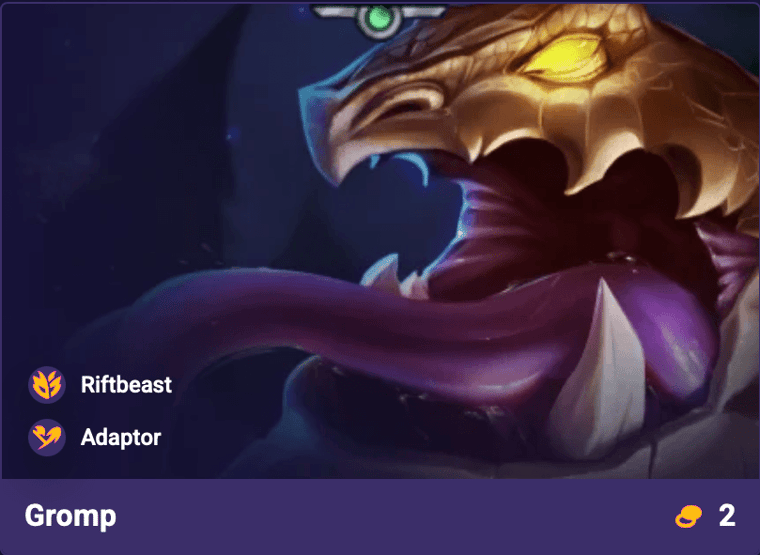
Adaptor: Belch a noxious bubble at the current target that explodes on the first enemy hit, dealing magic damage. Enemies within a 1 hex radius of the explosion take magic damage over X seconds.
Adaptor: Heavily slows the target.
Purple Buff: Every X seconds, Gromp gains Ability Power.
Positioning: Backline
First Impressions:
Gromp has the potential to deal a lot of AoE magic damage over time, especially if granted the Alpha Mark from Riftbeast. Or, if it fits better for your team, you can build for the Slow utility instead. The flexibility is nice.
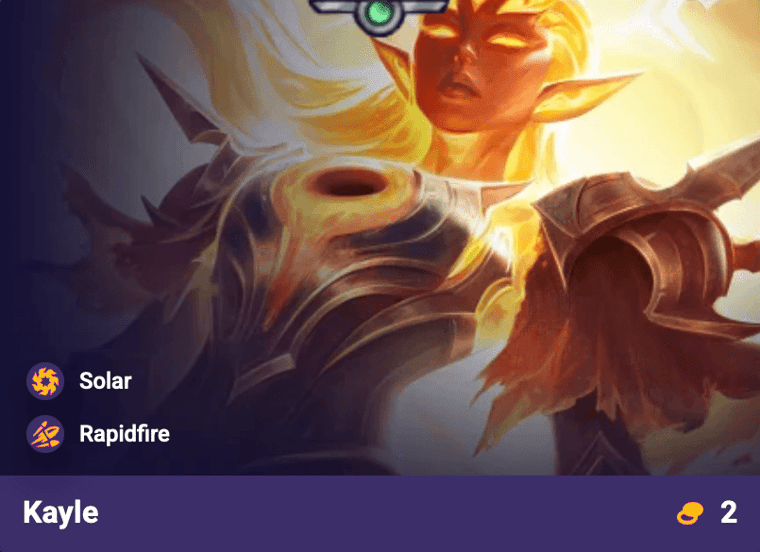
Passive: Kayle ascends based on her star level, granting her stacking bonuses.
1st Ascension: Attacks deal bonus magic damage.
2nd Ascension: Attacks Shred enemies hit for X seconds.
3rd Ascension: Attacks fire waves, dealing magic damage to all other units hit.
4th Ascension: Gain infinite range. Every 3rd wave is much larger.
Positioning: Backline
First Impressions:
Kayle scales to absurd levels if you're able to invest into Solar and reach her final Ascension. Although even before that, having basic attacks that Shred is a great way to break through enemy lines.
However, as is often the case with Kayle, either you're investing into her or you're not. The floor is pretty low, but the ceiling exceeds the skies!
Passive: After player combat, your strongest LeBlanc has a chance to create a copy of an ally on your board, increased by X per takedown.
Active: Launch a mirror image at the current target, dealing magic damage to them and adjacent enemies.
Positioning: Backline
First Impressions:
LeBlanc's passive ability is the main highlight, as being able to create free copies of your units is a valuable effect. That said, we don't know what the odds are like, so we'll ultimately have to wait and see.
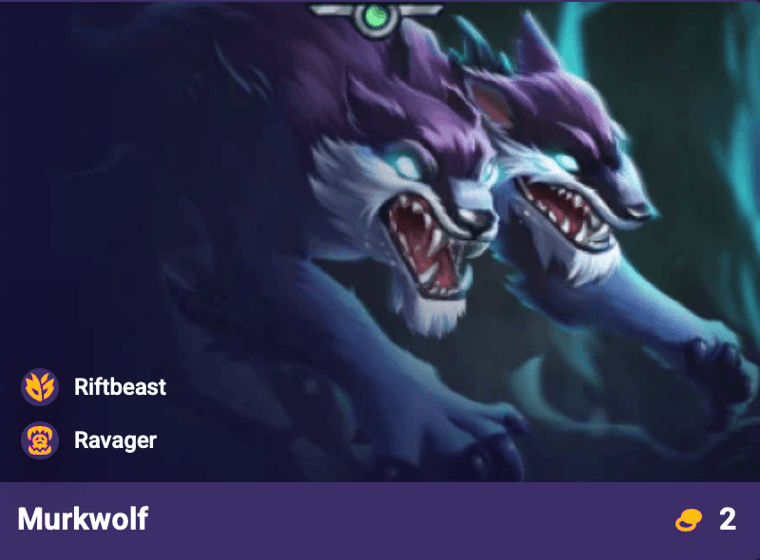
Leap to the lowest Health enemy within X Hexes and deal physical damage. The next X attacks deal bonus physical damage.
Grey Buff: Gain Precision and Critical Strike Chance, increased up to X based on missing Health.
Positioning: Midline
First Impressions:
Murkwolf is a mobile midline assassin who can leap and strike down weak enemies. With the Grey Buff, items, and some thoughtful positioning, there's definitely potential for Murkwolf to become a carry.
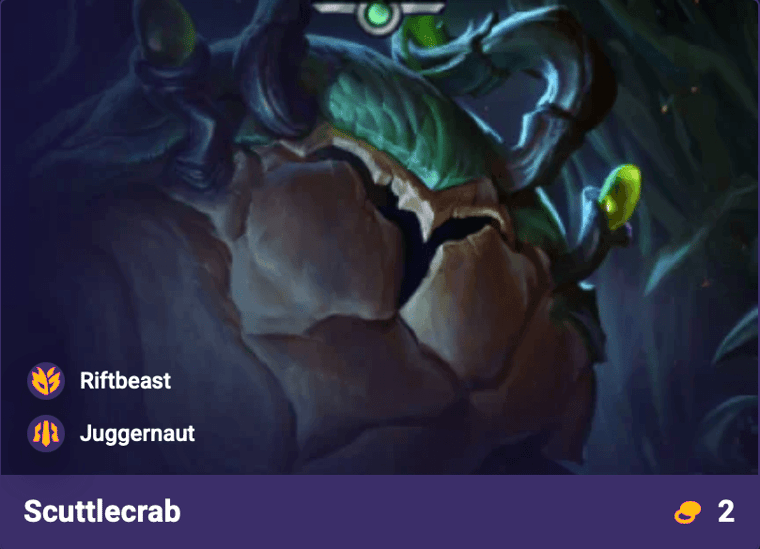
Passive: Attacks are replaced by a dance that deals physical damage to all adjacent enemies.
Active: Burrow underground, gaining Durability for X seconds and healing over the duration.
Green Buff: When allies fall below X Health, they restore X max Health.
Positioning: Frontline
First Impressions:
Scuttlecrab has some nice utility as a frontline tank, especially if you invest into the Green Buff. The passive safety net trigger can help keep allies alive, and Scuttlecrab itself is a nuisance to get rid of thanks to its burrow.
Gain Shield for X seconds. Then, cleave in a cone dealing magic damage and strike in a line, dealing magic damage to enemies hit.
Positioning: Frontline
First Impressions:
Sejuani is the third and final Solar unit who rounds out the reroll comp. On the surface, she looks pretty simple compared to the other two. However, being a tanky AoE magic dealer is nothing to scoff at.
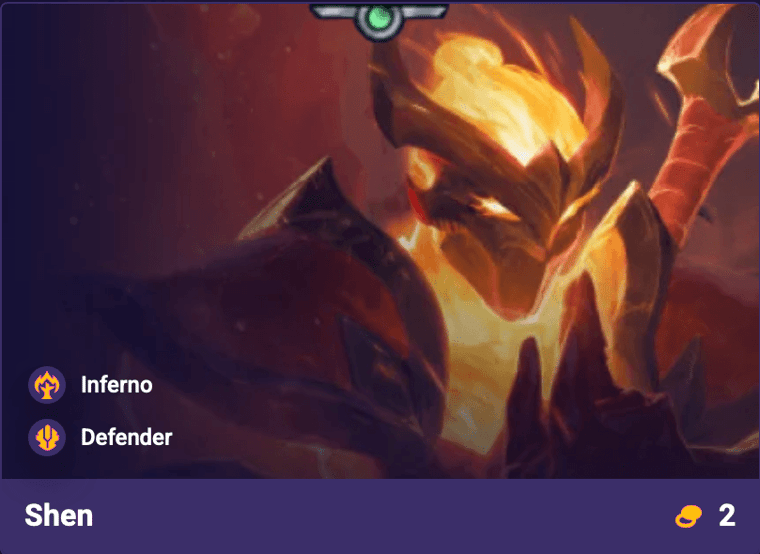
Grant Shield to Shen and a nearby damaged ally for X seconds. Both of their next X attacks gain Attack Speed and deal bonus magic damage.
Positioning: Frontline
First Impressions:
Shen could be a great support for teams that utilize Attack Speed well. His ability lets him aid damaged allies while simultaneously buffing their offense. Plus, with Inferno active, he also gains Burn/Wound utility. Not bad.
Throw 2 clusters of mushrooms that deal magic damage to the nearest enemies. Then hurl a giant mushroom that deals magic damage to target.
Each cast has a chance to forage an extra mushroom that can be collected for bonus effects.
Red: Reroll
Green: Tactician Health
Yellow: XP
Positioning: Backline
First Impressions:
Teemo's Fungus Among Us ability is a fun and explosive one, in particular due to its secondary effect. Free Rerolls, Tactician Health, and XP are all welcome, but it really depends on the odds. Outside of that, he's alright.
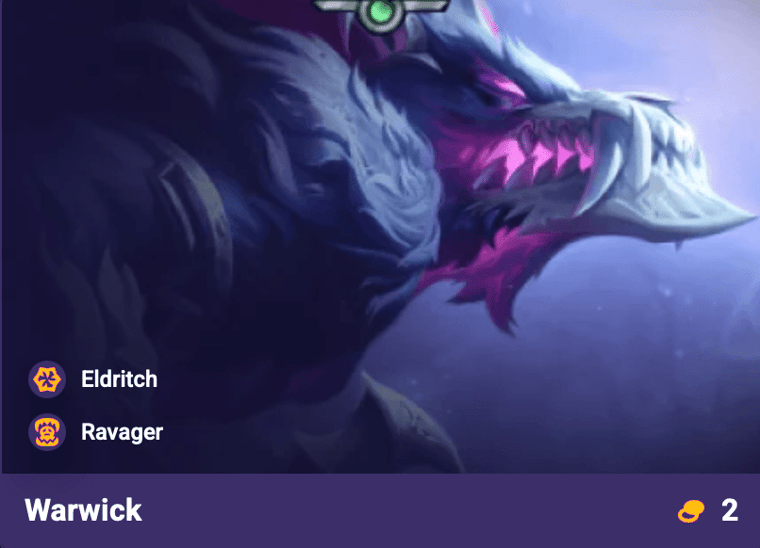
Bite the current target, dealing physical damage and healing for X of the damage dealt. Gain Attack Speed for the rest of combat.
Positioning: Frontline
First Impressions:
Warwick could become quite tough to handle with all his sustain. Not only do his jaws Heal him, but Ravager can also provide Omnivamp. He's got potential, but at worst he'll help enable other Ravagers.
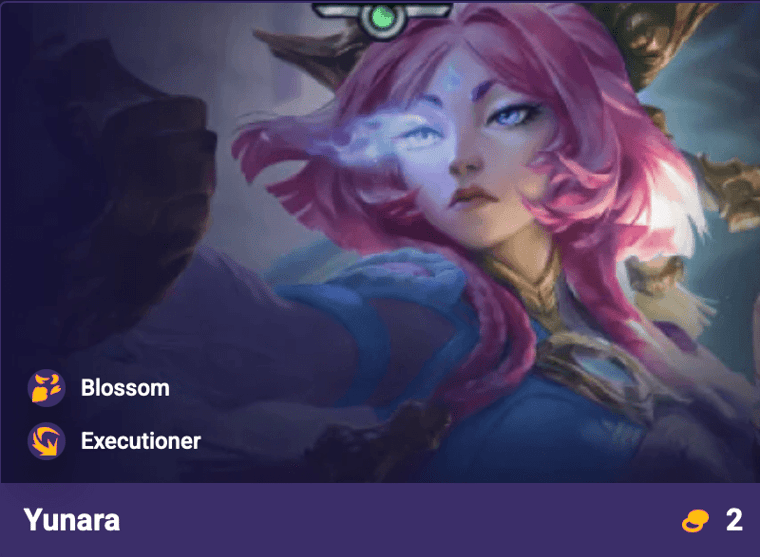
Dash, then launch an orb at the current target that deals physical damage and splits, dealing physical damage to nearby enemies.
Positioning: Backline
First Impressions:
Yunara is a 2-cost AD carry with some AoE capabilities. Her Cultivation of Spirit ability could do some real work if you decide to invest into her. Either way, she's one of the early pickups for Blossom and Executioner.
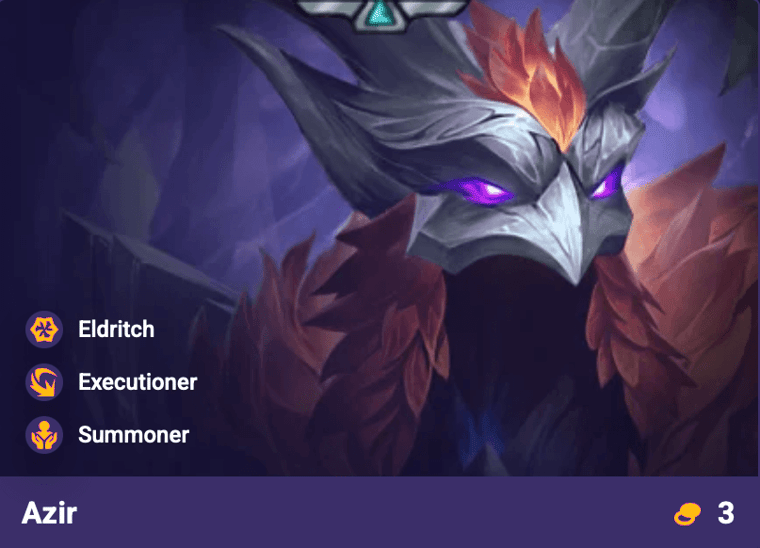
Gain Attack Speed and summon soldiers for the next X attacks. These attacks are replaced by commands which direct each soldier to deal X magic damage per attack.
Positioning: Backline
First Impressions:
Azir has potential as a 3-cost backliner with three traits. Executioner in particular fares well with his soldiers, allowing them to strike fast and stack Bleed onto enemies. Azir could be a good answer against defensive comps.
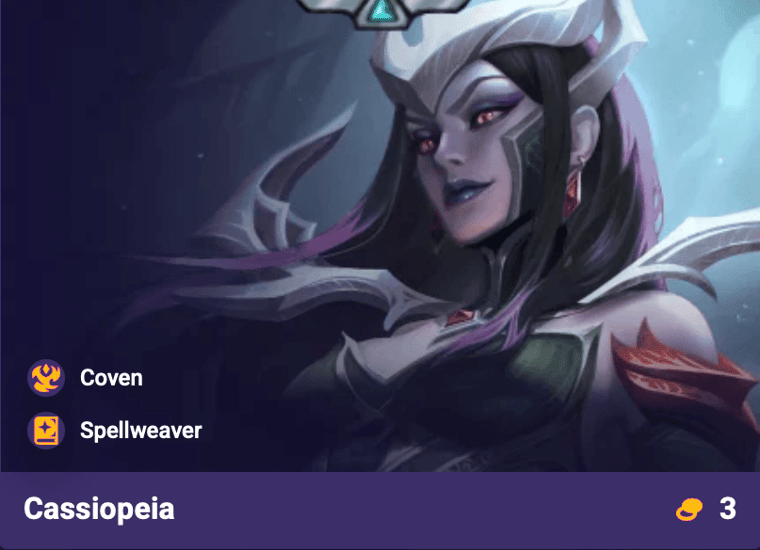
Poison the target and the nearest non-poisoned enemy, dealing magic damage over X seconds. Poisons stack.
Positioning: Backline
First Impressions:
Cassiopeia is a standard AP backliner that focuses on damage-over-time via Poisons. Her Noxious Blast can hit two foes at once, helping to spread venom among enemies. She'll likely be one of Coven's main AP carries.
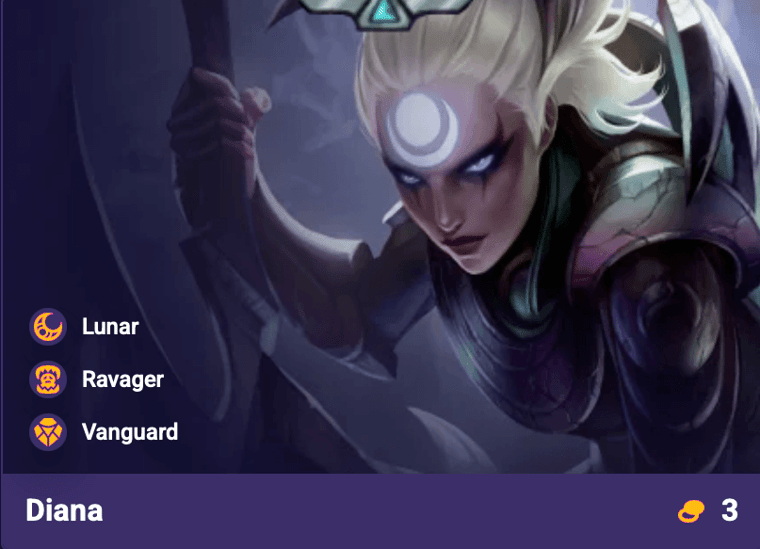
Gain shield for X seconds and send out a moonlight orb to the closest enemies, dealing magic damage.
Positioning: Midline
First Impressions:
Diana offers first access to the Lunar trait, which provides Attack Speed and Ability Power to adjacent allies. As one of three available Lunar units, she'll likely be sought after to enable the bonus.
Beyond that, she also has two other great traits with Ravager and Vanguard. You really can't go wrong with Diana.
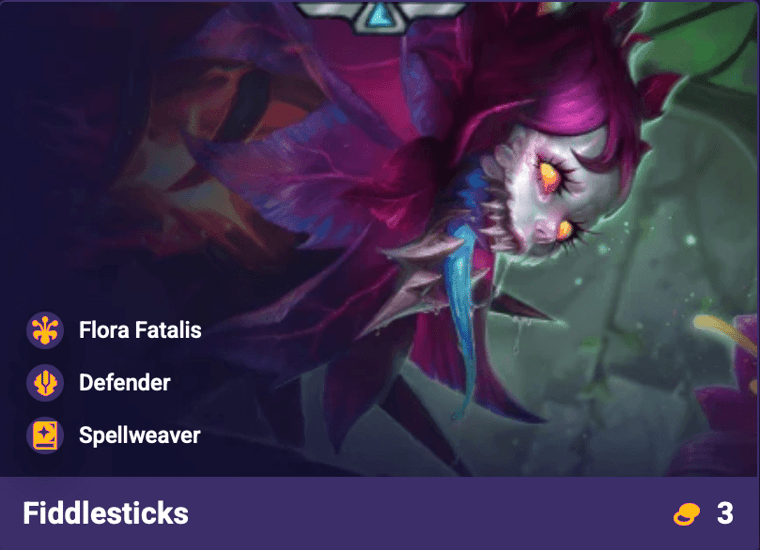
Reduce the Magic Resist of the nearest enemies by X. Then drain life from them over X seconds, healing for X Health and dealing magic damage to each over the duration.
Positioning: Midline
First Impressions:
Fiddlesticks is one of two Flora Fatalis units, which standalone allows you to harvest enemies and gain Mana on takedowns. With this, Fiddlesticks can cast more often, letting him lower enemy MR while constantly Healing.
Defender and Spellweaver amplify this further, making Fiddlesticks rather bulky for a caster. Overall, he has great utillity, and could be a worthwhile unit to invest into.
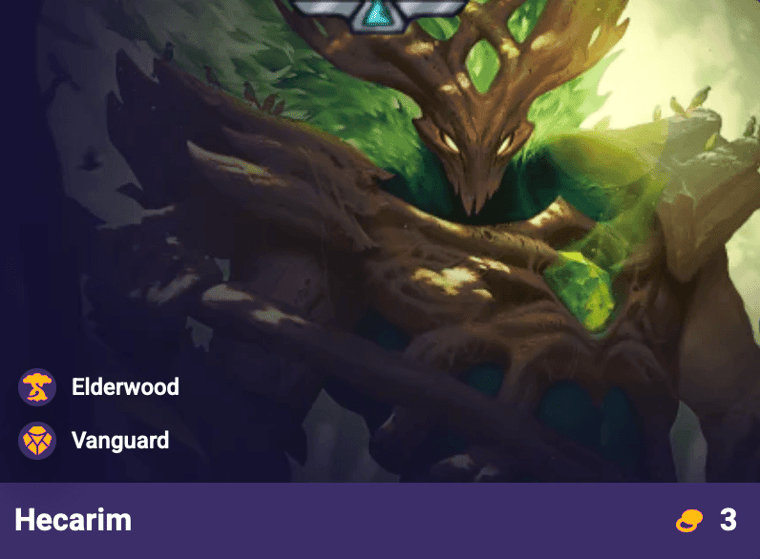
Gain Armor and Magic Resist for 3 seconds and restore Health over the duration. Launch spectral riders at the nearest enemies, dealing magic damage and Stunning them for X seconds.
Positioning: Frontline
First Impressions:
Hecarim has everything you could want on a tank. He can Heal himself, gain Armor/MR, and launch an AoE Stun. CC is always welcome, so I expect he'll be a primary pickup for Elderwood and/or Vanguard comps.
Leap to the farthest enemy within X Hexes, dealing magic damage. If they have no adjacent allies, deal X magic damage instead and gain mana.
Positioning: Midline
First Impressions:
Kha'Zix is one of two Rival units, both of which thrive and scale based on takedowns. While we don't know the details, it's clear that Kha'Zix has an evolution-based mechanic, so you'll want to field him as early as possible.
Adaptor: Launch acid at the two nearest enemies, dealing physical damage. Enemies below X max Health take physical damage instead.
Adaptor: Damages enemies over time.
Positioning: Backline
First Impressions:
Kog'Maw stands out amongst other 3-cost units due to the unique Caustic trait. This makes all of Kog'Maw's damage Shred and Sunder enemies for a duration, which is incredibly strong utility for any team.
Additionally, the Raining Artillery ability can hit two enemies at a time, ensuring more than one enemy is afflicted by the Caustic effect. On top of all that, you get two more flexible traits with Invoker and Adaptor. A+!
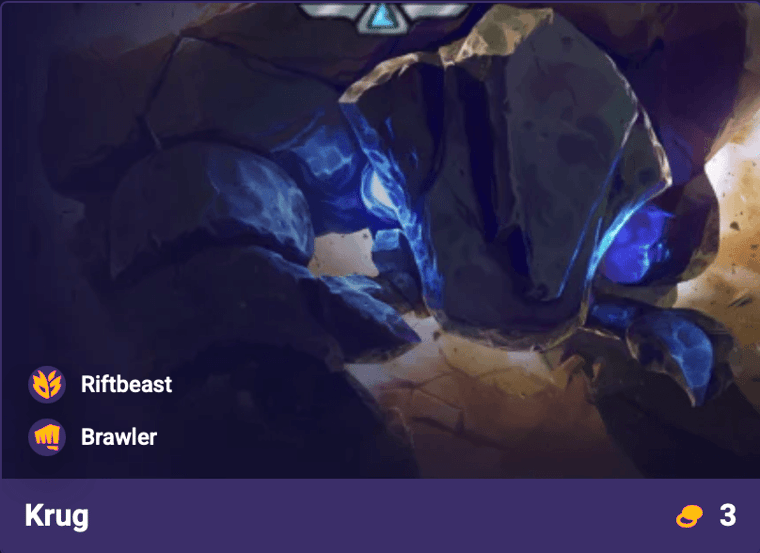
Passive: On death, split into two Kruglettes with X Health.
Active: Gain max Health, then roll into the target, dealing damage.
Slate Buff: On death, Krug and Kruglettes Shield allies for X max Health.
Positioning: Frontline
First Impressions:
Krug has hilarious tanking potential thanks to the on-death trigger which splits it in two. When granted the Alpha Mark from Riftbeast, it gets even sillier, as each death also grants Shield to allies.
At the very worst, Krug looks like a solid addition to any comp that utilizes Brawlers, but I'm excited to see its full potential with Riftbeasts.
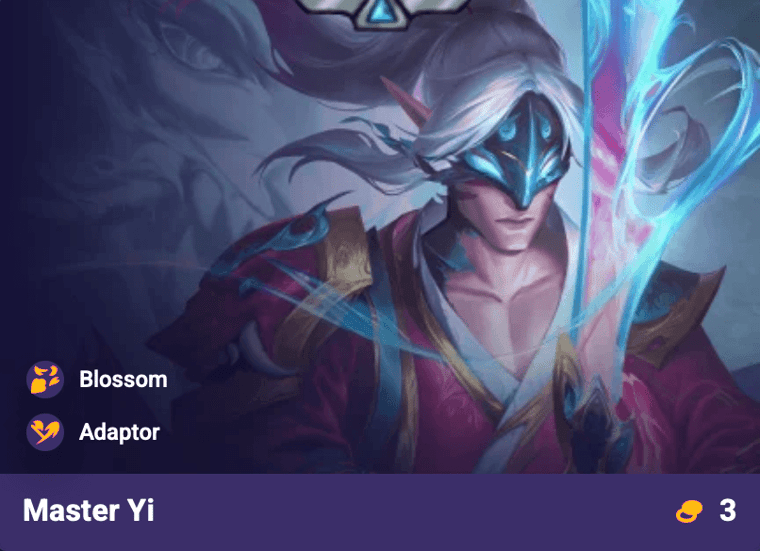
Passive: Every third attack is a Double Strike that hits twice. On takedown, gain a burst of movement speed.
Adaptor: Double Strikes grant stacking Attack Speed.
Adaptor: Double Strikes deal bonus damage and heal.
Positioning: Midline
First Impressions:
Master Yi is a flexible carry that can fulfill whichever damage role you need, thanks to Adaptor. He excels in longer skirmishes due to the stacking Attack Speed, and with help from Wisps, could potentially get out of hand.
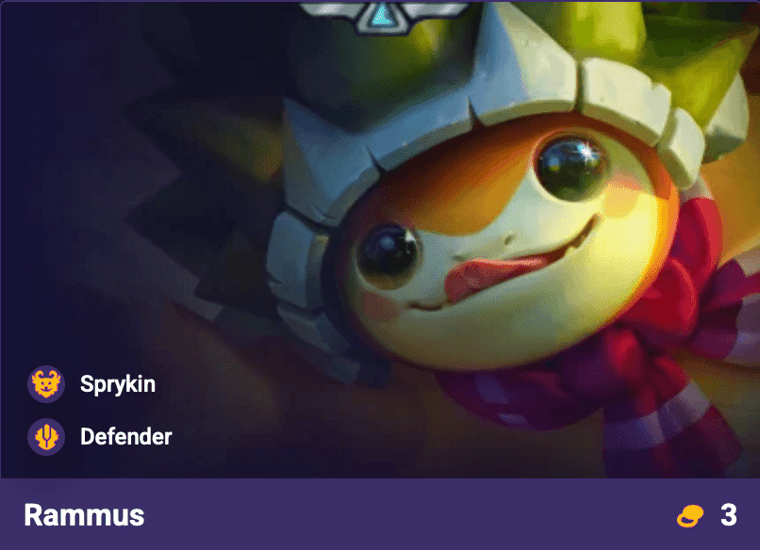
Taunt, forcing enemies to attack this champion. For X seconds, gain Shield and Armor and Magic Resist.
When the Shield breaks, deal physical damage to enemies in X Hexes.
Positioning: Frontline
First Impressions:
Rammus excels at redirecting enemy aggro by Taunting them, all while bolstering his defenses throughout the effect. This is a powerful form of CC, so I expect Rammus to be well worth the investment as a frontliner.
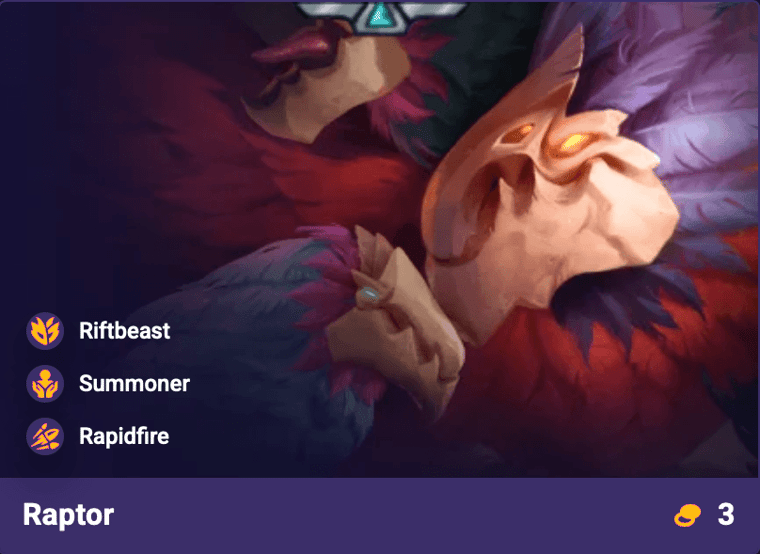
Summon 4 untargetable Tinybeaks nearby for X seconds. Whenever Raptor attacks, Tinybeaks attack the same enemy, dealing physical damage.
Orange Buff: Dealing physical damage reduces enemy Armor by X.
Positioning: Backline
First Impressions:
Raptor has the potential to eat through tanks with the Orange Buff's Armor reduction. With Rapidfire scaling up Attack Speed, the Tinybeaks could strike several times, piercing right through the enemy.
As another 3-cost unit with three traits, Raptor can fulfill many synergies even outside of Riftbeast. However, alongside the monsters is likely where Raptor will truly shine.
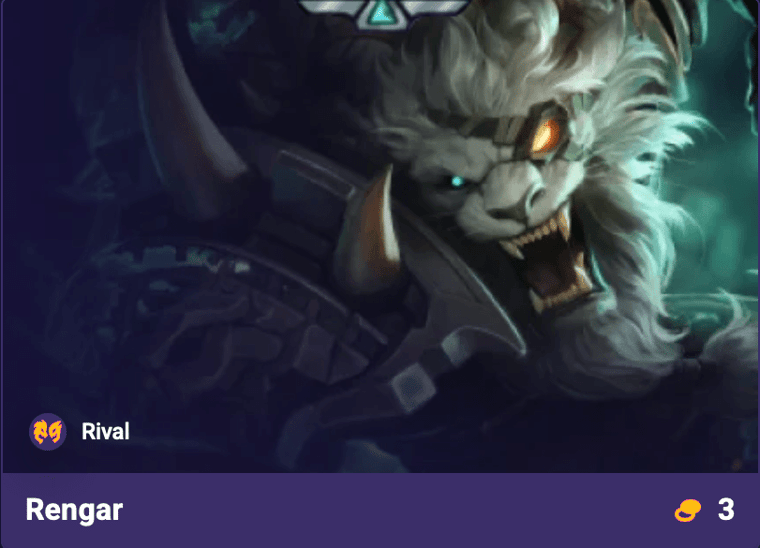
Jump to the lowest percent Health enemy within X hexes and stab them, dealing physical damage. Then heal for X of their missing Health.
Positioning: Midline
First Impressions:
Rengar is the Rival to Kha'Zix, meaning it'll also be important to field him as early as possible. It's all about stacking takedowns to scale in power, but unfortunately just like Kha'Zix, that's about all we know for now.
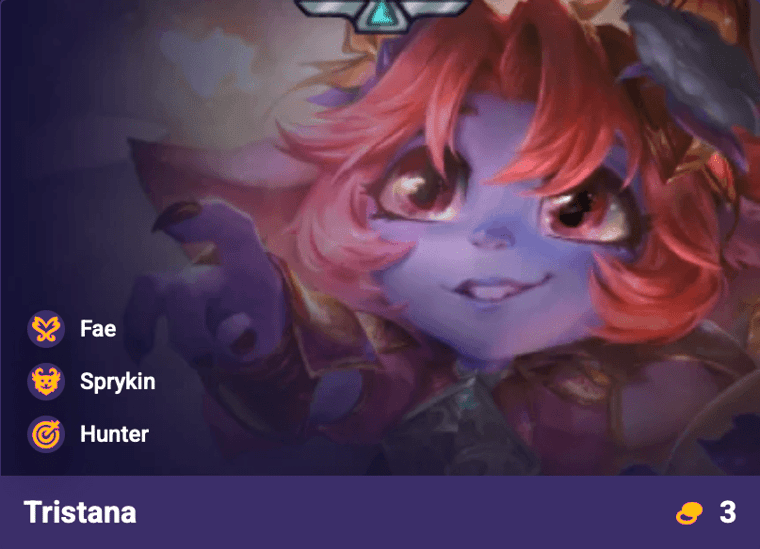
Attach an explosive charge to the target that lasts X seconds. While active, gain infinite range and Attack Speed. After the duration, the charge explodes and splits damage between all enemies within 2 hexes, dealing physical damage +X for each attack while casting.
If an enemy with an explosive charge on them dies, it attaches to Tristana's new target.
Positioning: Backline
First Impressions:
Tristana looks really strong as an AD backliner. She's got three traits which all boost her offense, has explosive AoE capabilities, and gets infinite range plus Attack Speed after casting. An obvious choice within Fae and Sprykin.
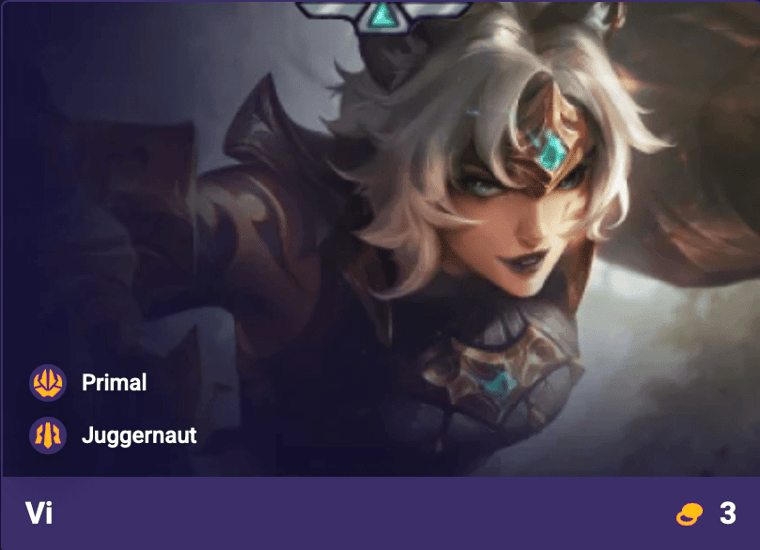
Active: Unleash a primal roar, restoring Health. Then gain Attack Speed, Durability, and immunity to crowd control for X seconds.
Positioning: Frontline
First Impressions:
Vi is an excellent frontliner with reliable Healing, both passively and actively. She also has access to an Attack Speed, Durability, and CC immunity buff, making her even tougher to break through.
On top of that, she's the first available Primal unit in the pool, making her a great addition to splash in some extra stats. Overall, very solid.
Launch a spirit bomb at the target within X hexes that has the most surrounding enemies. It deals magic damage to enemies in a X hex radius, reduced by X per hex away from the epicenter.
Positioning: Backline
First Impressions:
Ahri is the standard 4-cost AP carry for the Blossom trait. She excels at dealing AoE magic damage, as her ability prioritizes larger clusters of foes.
Plus, if you invest more into Spellweaver, Ahri gets access to in-combat AP scaling, further enhancing her explosive potential.
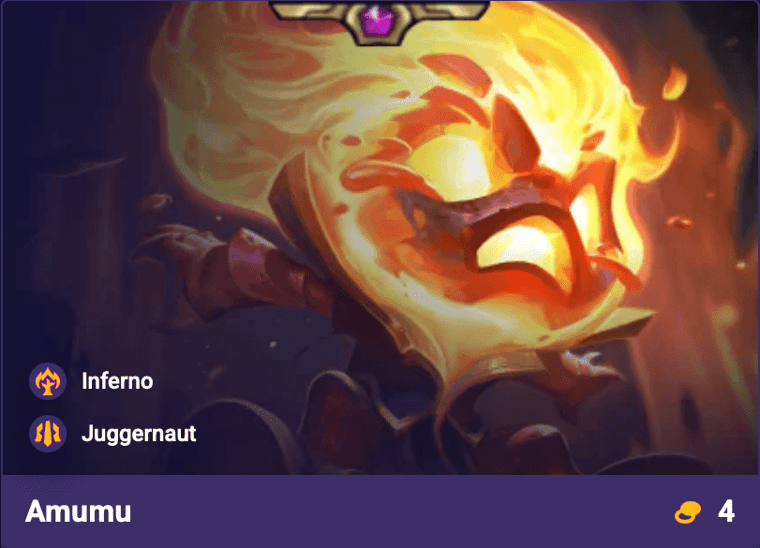
Passive: Every second, restore Health and deal magic damage to enemies within X hexes.
Active: Deal magic damage to enemies within X hexes and Stun them for X seconds, increased to X seconds if the target is Burning.
Positioning: Frontline
First Impressions:
Amumu has incredible CC capabilities, especially within Inferno comps. At a baseline you get access to an AoE Stun, but if the target is Burning, the duration is extended!?
I expect Amumu will be a high priority tank, even without reliable Burn support. You just can't argue against AoE CC.
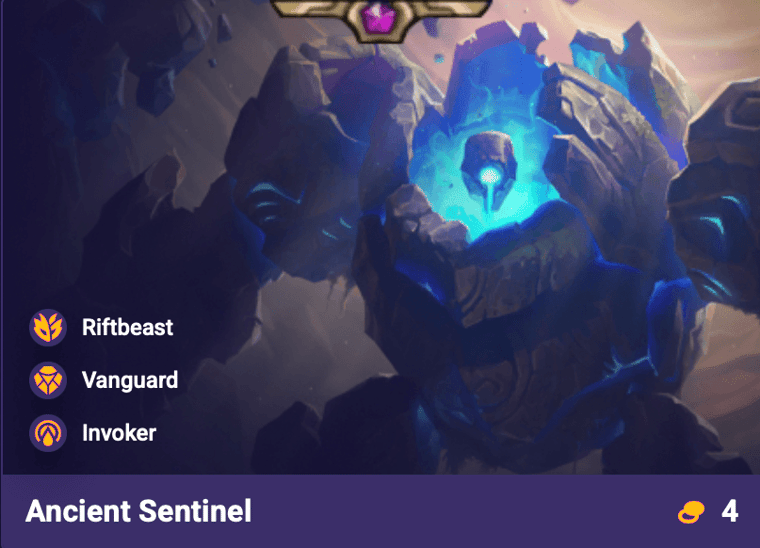
Gain Shield for X seconds. Slam the ground, sending a fissure in the direction of the most enemies. Enemies hit are briefly knocked up, take magic damage, and are Mana Reaved for X.
Blue Buff: Each time Sentinel casts, allies gain Mana Regen.
Mana Reave: Increase the Mana cost of the next Ability cast.
Positioning: Frontline
First Impressions:
Ancient Sentinel is yet another premium tank, coming with three strong traits, AoE CC, and a unique form of disruption: Mana Reave. Being able to delay enemy casts at the right time could make or break a fight.
Additionally, if selected to receive the Alpha Mark, Ancient Sentinel can provide Mana Regen to the team on every cast. This is everything you could ask for and then some, so keep an eye out for this one!
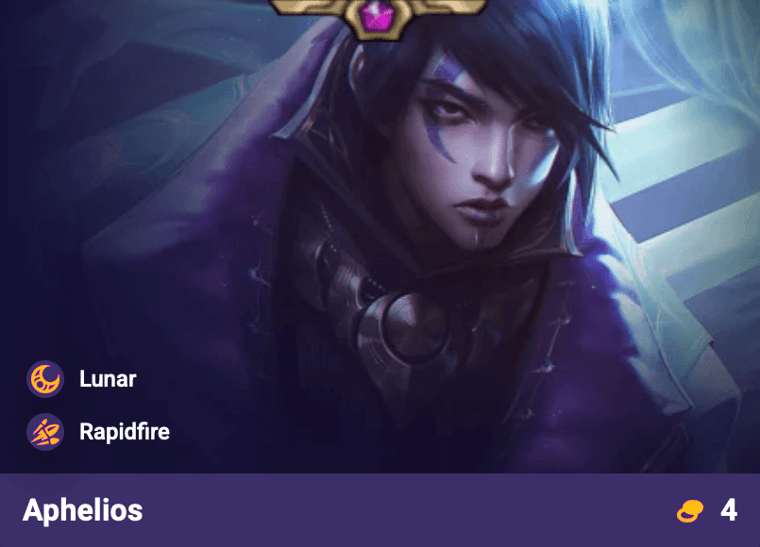
Equip Severum and swipe the target times over X seconds, each dealing +X max Health physical damage.
After the onslaught finishes, fire a blast that deals physical damage split among all enemies in a 2 Hex radius.
Positioning: Backline
First Impressions:
Aphelios will likely be sought after as the second of three Lunar units, helping to provide the Attack Speed/Ability Power buff to adjacent allies. It's a low commitment splash that's great for filling in the gaps.
As for his own combat abilities, he seems like a solid AD backliner with some added burst potential. Can't argue with that.
Passive: When the target dies, leap at the next target, dealing physical damage.
Active: Gain Attack Damage for X seconds. During this time ignore Armor.
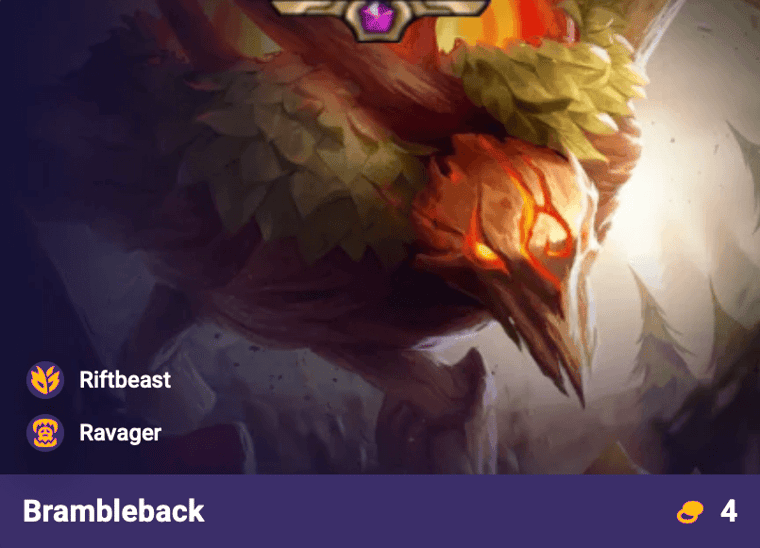
Red Buff: Attacks Burn enemies and heal Brambleback for X max Health.
Positioning: Frontline
First Impressions:
Brambleback has the ability to tear through tanks with its active Armor ignoring effect. This fits well with other Ravagers, making it easier to break through and access the enemy backline.
If investing into Riftbeast, the Red Buff enhances its attacks with Burn and Healing capabilities. There's a lot to like here, but Brambleback will likely need the right comp to truly showcase its power.
Blink away from the current target, deal physical damage to them, and gain Attack Speed.
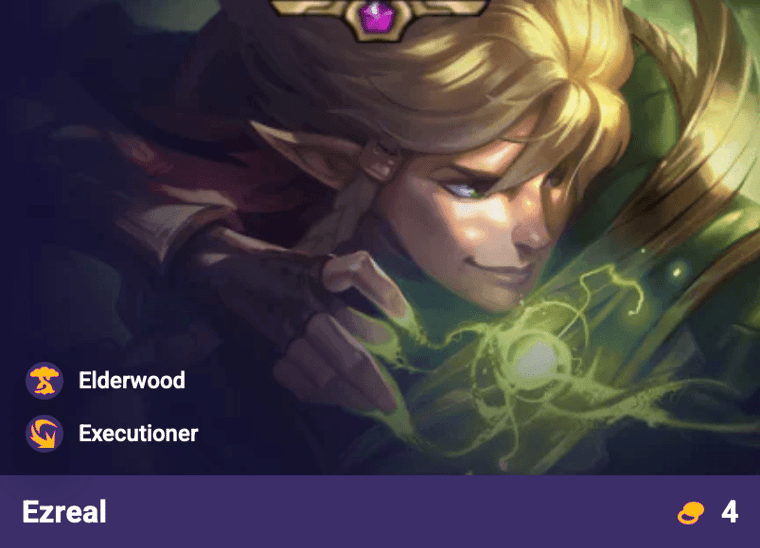
Every 5th cast consumes the Attack Speed granted from Nature's Wrath and fires a blast through the target that deals physical damage, reduced by X for each enemy it passes through.
Positioning: Backline
First Impressions:
Ezreal is Elderwood's 4-cost AD carry. As is often the case with Ezreal, he has high mobility with his blink ability, plus Attack Speed and AoE. Overall, pretty straightforward, but a likely candidate for investment.
Restore Health and send butterflies at nearby enemies. Enemies hit take magic damage and Sleep for X seconds. If they take damage, they wake up and take an additional X max Health magic damage.
Positioning: Frontline
First Impressions:
Lillia's Lilting Lullaby provides an AoE Sleep to those hit, which is very powerful. However, its effectiveness will likely depend on timing and positioning, seeing as enemies wake once they take damage.
If you can plan and maneuver your board to make the most of it, Lillia will be incredibly strong on the frontlines.
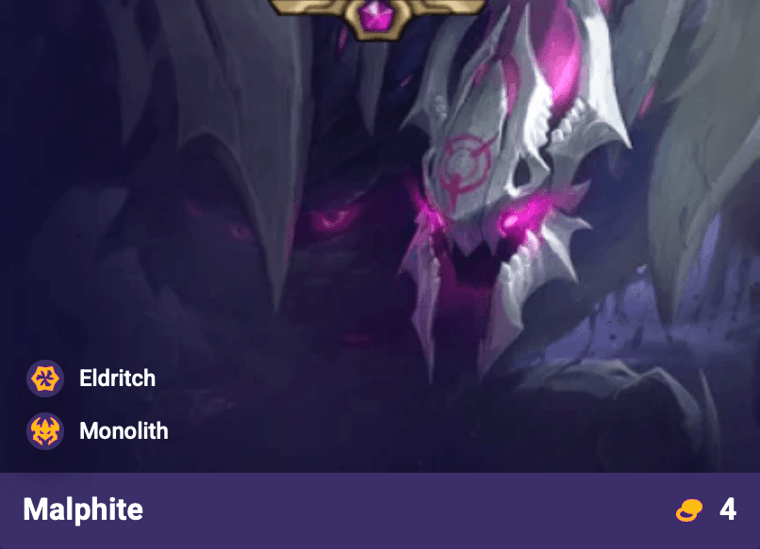
Gain Shield for X seconds and become petrified. When the shield breaks, unleash a wave of dark energy, dealing magic damage to enemies within X hexes.
Positioning: Frontline
First Impressions:
Malphite is inherently tanky like no other thanks to his unique trait Monolith. Gaining additional Armor and Magic Resist for each foe that targets him greatly encourages further investment. A bit of HP could go a long way!
Active: Fire a dark blast at nearby enemies, dealing magic damage to them and cursing them for X seconds. Then, spawn a X Hex withering zone for the same duration that deals magic damage per second. Cursed enemies take more damage per curse.
Positioning: Backline
First Impressions:
Morgana fulfills the standard 4-cost AP role for the Coven trait, combining AoE magic damage, damage-over-time, and Omnivamp.
With the inherent sustain, you may be able to invest a bit of defense into her, or at the very least, it'll help Morgana win close 1v1 situations.
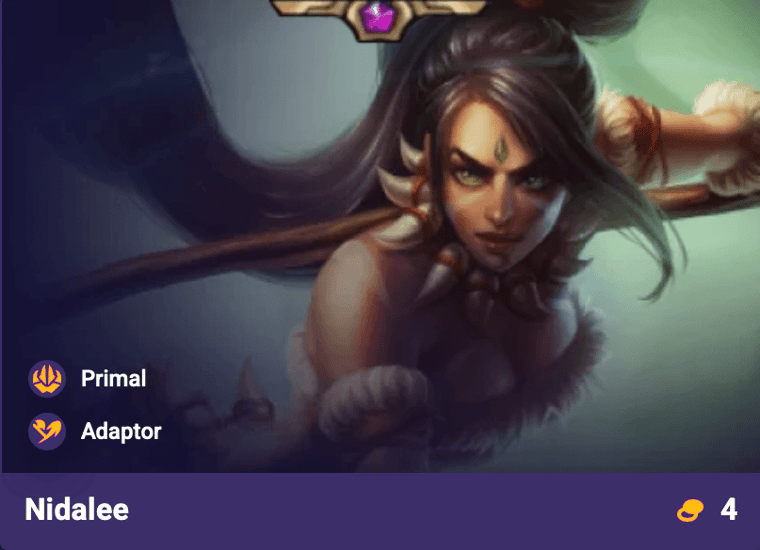
Adaptor: Gain Attack Speed for the next X attacks. These attacks are replaced with javelins that deal magic damage. The 3rd attack instead targets the furthest enemy with the least items and deals magic damage.
Adaptor: Transform into a Melee cougar Fighter that swipes enemies.
Positioning: Midline
First Impressions:
Nidalee is naturally flexible as an Adaptor, letting you build her to suit your current needs and resources. She's pretty simple overall, but one unique aspect is that she can focus on enemies with the least amount of items.
This could be a handy way to take out supporting backline units, as there are times where items aren't necessary with the value they provide.
Throw a large crossblade that deals physical damage to the current target and bounces X times between nearby enemies, dealing physical damage each bounce. When this kills an enemy, bounce an additional time.
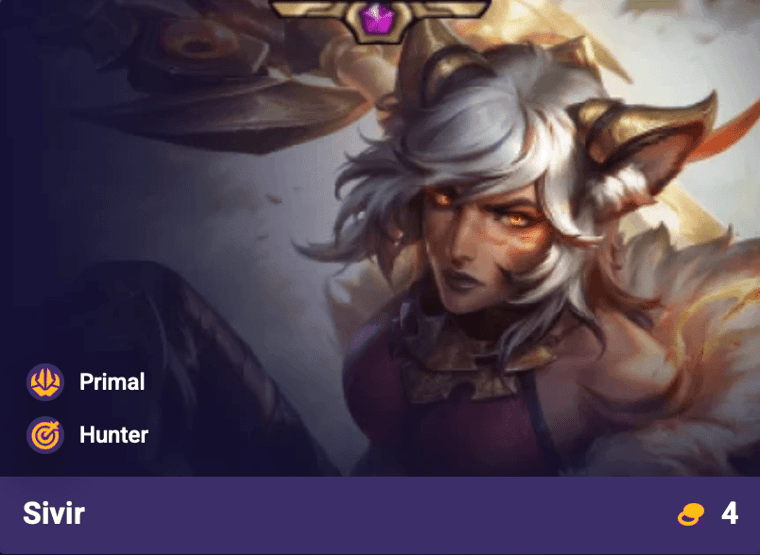
Positioning: Backline
First Impressions:
Sivir has the ability to snowball kills with her Boomerang Blade, making her a strong AD backliner to invest in. Hunter compliments the ability further by granting Damage Amp, after enough hits on the same target.
The Primal Blessings are still unknown at the time of writing this, but even without, Sivir looks to have solid potential.
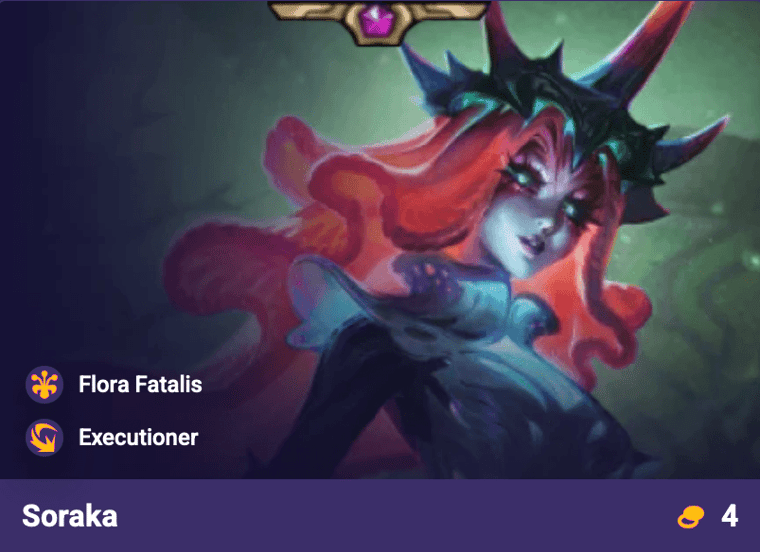
Call down a star on the current target, dealing magic damage. If a star has previously fallen on them, call down X additional stars that each deal magic damage.
Positioning: Backline
First Impressions:
Soraka is the second of two Flora Fatalis units alongside Fiddlesticks, and to no surprise, she also greatly benefits from the takedown Mana. While her ability is pretty simple, she's a low commitment addition to any team.
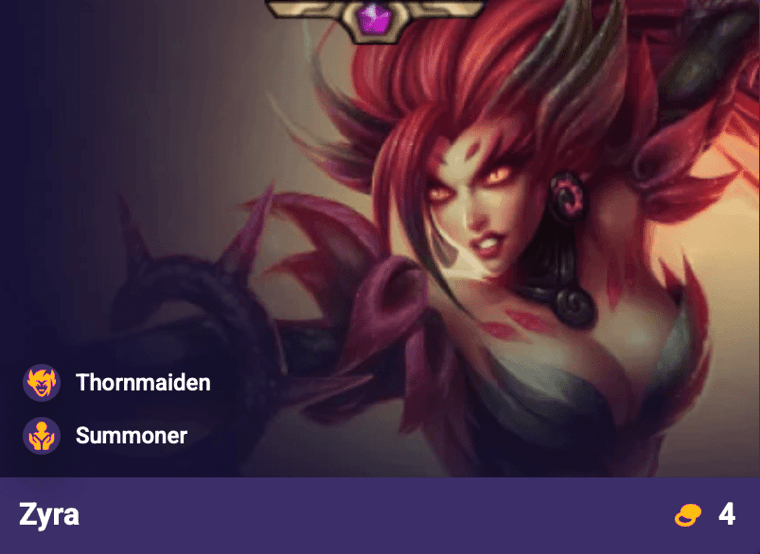
Spawn plants around the battlefield that attack the nearest enemy X times. Each attack deals magic damage.
Positioning: Backline
First Impressions:
Zyra's unique Thornmaiden trait grants a team-wide Durability boost, with increased effects while enough plants are alive. At a baseline, this is a welcome addition onto any team comp.
Despite lacking synergies outside of Summoner, Zyra more than merits the inclusion if you've got the space, even without investment.
Rain moonshards split among the nearest enemies, dealing X magic damage each.
If the moon is full, instead crash it onto the board, dealing magic damage split among all enemies.
Positioning: Backline
First Impressions:
Alune, like the other Lunar units, is a flexible addition to existing teams, but even more so thanks to her unique Attuned trait.
Each time she casts the moon cycles to a new phase, then grants the team Damage Amp or Durability depending on the result. Either way, you'll always receive a useful boost. You can't go wrong with Alune.
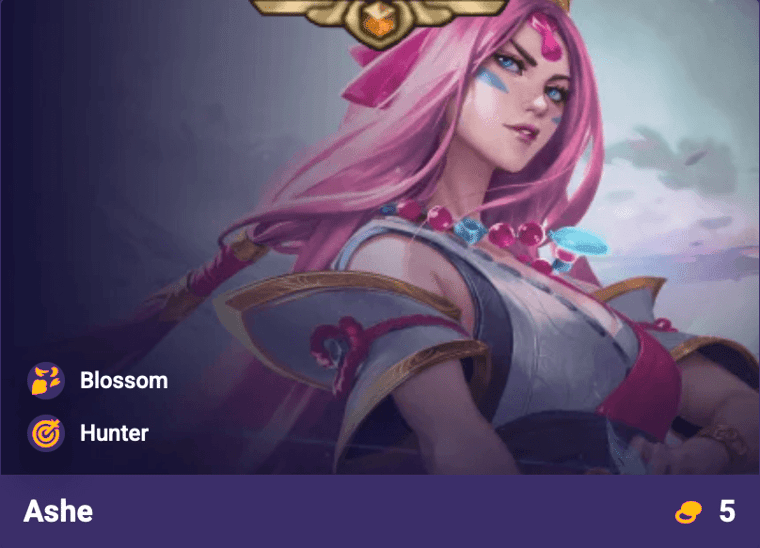
Fire an arrow through the longest line of enemies that deals physical damage, reduced by X per enemy hit.
The arrow tears open a rift for X seconds that deals +X max Health physical damage per second to enemies within and Slows them.
Positioning: Backline
First Impressions:
Ashe is a 5-cost AD carry for the Blossom trait, offering impressive AoE potential, damage over time, and some Slow utility. While rather simple on the surface, she'll surely pack a punch if you invest into her.
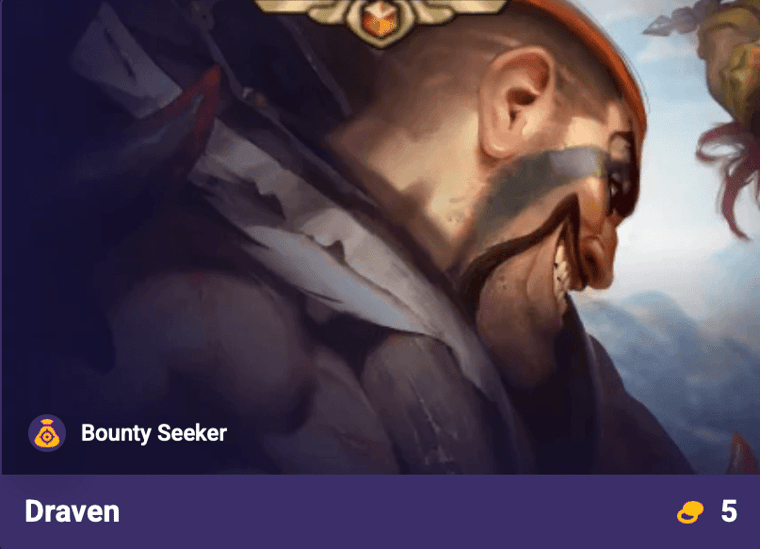
Passive: Attacks target random enemies in range and apply a bleed that deals physical damage over X seconds. Every attack has a chance to deal bonus physical damage and apply X bleeds instead.
Active: Throw two giant axes towards the enemy with the most bleeds. Deal physical damage to all enemies hit and consume their bleed, instantly dealing the remaining damage.
Positioning: Backline
First Impressions:
Draven allows you to truly roll the dice and see what happens, as every single attack targets a random enemy within range. Those hit are stacked with Bleed, which ultimately sets up for a big swing with Whirling Death.
Beyond his dangerous combat abilities, Bounty Seeker lets Draven become an additional source of loot. This includes a variety of rewards, which could really help push your advantage in the late game.
Overall, there's no denying Draven is powerful, but you'll have to be willing to rely on RNG to truly reap the rewards.
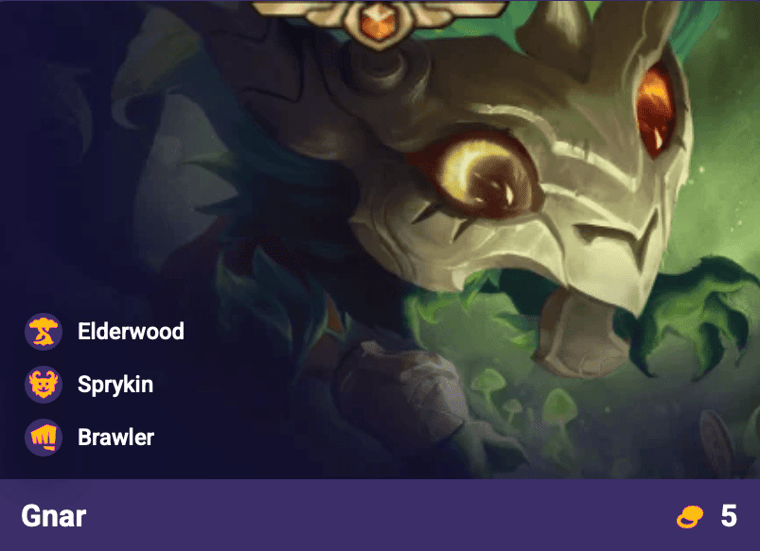
Passive: Gain Rage per second and Rage per attack.
Active: Transform into Mega Gnar and leap into the largest group of enemies within hexes. Then, deal physical damage to enemies within X hexes, reduce their Armor and Magic Resist by X, and Stun them for X seconds. Mega Gnar gains Health, and replaces his Ability with Grab n' Throw.
Grab n' Throw: Throw the target at the farthest enemy, dealing physical damage to them and physical damage to enemies they pass through. If there's only 1 enemy left, throw them off the battlefield instead.
Positioning: Frontline
First Impressions:
Gnar has a lot going for him and is sure to make an impact on the battlefield. Upon transforming, he gets to leap towards the largest cluster of enemies, setting up for an AoE Stun, plus an Armor/MR reduction effect.
That alone is impressive enough, but if he ever ends up against one final enemy, he can literally throw them off the stage. Gnar is awesome.
Passive: Shields from this ability can critically strike with Precision.
Active: Grant allies Shield and Damage Amp for X seconds. Then deal magic damage to enemies adjacent to them. After casting X times, also grant stacking Attack Speed to targets.
Positioning: Midline
First Impressions:
Ivern is a really unique supporting unit thanks to his Greenfather trait. This allows him to spawn seeds every combat (and on cast) which grow various biomes across the hexes of your board.
These have varying effects, which at this point aren't known. However, it provides another opportunity for skill expression with positioning. There's appears to be many biomes, so you'll have to plan to make the most of it.
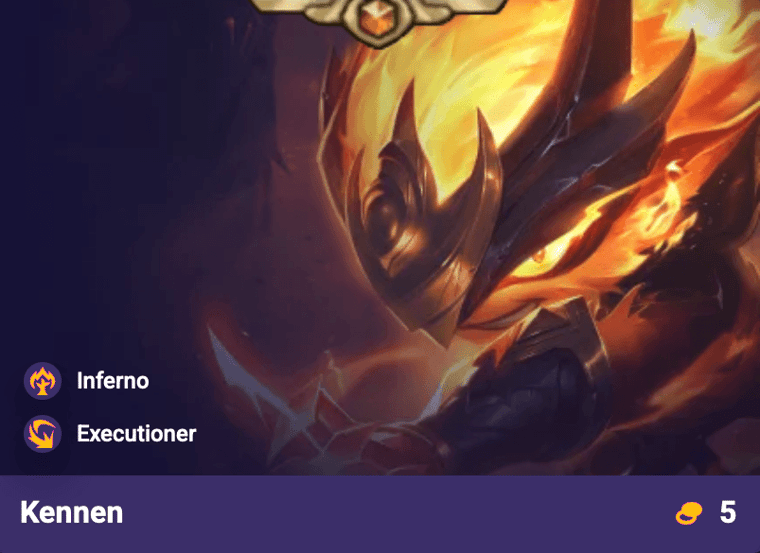
Charge up, gaining Ability Power per Burning enemy. Then, gain Shield for X seconds and rush through a nearby group of enemies, dealing magic damage to each.
After rushing, unleash a X Hex firestorm that deals a total of X magic damage split among all enemies hit over X seconds.
Positioning: Midline
First Impressions:
Kennen's Firestorm is sure to make an impact if you're playing a vertical Inferno comp. Gaining AP based on Burning enemies could make this incredibly bursty, and the Shield helps ensure he can rush in safely.
Outside of a dedicated Inferno comp he probably won't find much use, but when you do see Kennen on the opposing side, watch out!
Passive: On cast, all allies that share a trait with Lux gain mana.
Active: Fire a laser towards the largest group of enemies that deals magic damage, reduced by X for each enemy hit.
Blossom Bonus: The first target hit is dealt bonus damage.
Coven Bonus: Reduces the Armor and Magic Resist of targets hit by X for the rest of combat.
Elderwood Bonus: Casts grant all allies increased max Health for the rest of combat.
Eldritch Bonus: Stuns targets hit for X seconds.
Fae Bonus: Heals the lowest percent Health ally for X of ability damage dealt.
Inferno Bonus: Restores mana per takedown.
Lunar Bonus: Applies Vulnerable to enemies hit for X seconds.
Primal Bonus: Gain Attack Speed for X seconds after cast.
Solar Bonus: Weakens enemies hit by for X seconds.
Positioning: Backline
First Impressions:
Lux is the face of the set and for a good reason. As the sole Avatar, she can fulfill several different Origin roles while also counting twice for the trait.
If you're playing one of the supported Origins, there's pretty much no reason not to include her on the team. While some look stronger than others, all of them still seem useful.
Diving in closer, I would say the Coven and Eldritch bonuses stand out amongst the rest. The former reduces enemy Armor/MR, while the latter Stuns all those who are hit.
Again, all of the effects look great on paper, but if I were to pick my personal favorites it would be those two. Either way, I'm excited to try her out and see how well she shines on the battlefield!
Passive: After every X damage blocked, a sapling jumps towards a nearby enemy and deals magic damage. On death, saplings jump out.
Active: Deal magic damage to target and restore +X missing Health.
Positioning: Frontline
First Impressions:
Maokai rivals Malphite when it comes to sheer tankiness, as his Old Growth trait grants him the ability to permanently scale max Health.
There's a lot of potential to grow massively if you can acquire him early enough, but even if you do, it still requires defeating enemies around him. Regardless, I'm excited to try him out and see just how big he can become!
Passive: The first time Taric or his paired ally drops below X Health, unleash emerald energy from both of them, granting Shield to allies within X Hexes for X seconds.
Active: Restore Health. Taric and his paired ally deal bonus magic damage on their next X attacks.
Positioning: Frontline
First Impressions:
Taric is strong frontline support with AoE Shielding, Healing, and damage buffing potential. He excels at protecting your chosen unit, allowing you to focus more on a specific carry.
While he lacks additional synergies outside of Vanguard, Emerald Aspect makes him a flexible slot-in to just about any team.
Passive: Attacks deal damage to enemies adjacent to the target.
Active: Become untargetable and fly into the air, gaining Omnivamp. Upon returning, stun all enemies for X seconds and Ignite them for X seconds. Ignited enemies take X max Health physical damage per second.
Subsequent casts spew fire at the most enemies in a line through the target, dealing physical damage and Igniting them for X seconds.
The Elder Dragon Buff: Damaging an enemy below X Health executes them.
Positioning: Frontline
First Impressions:
The Elder Dragon caps off the Riftbeast comp as the Apex Predator of the bunch, boasting AoE basic attacks, a board-wide Stun/Ignite effect, and a built-in execute if given the Alpha Mark. This unit is nuts.
It's no surprise Elder occupies two team slots, but honestly, this becomes irrelevant later on as Riftbeast (10) gets a maximum team size increase. Plus, Elder Dragon also counts as two towards the trait.
Pulling off the vertical comp will likely be a challenge, but if you can reach for the skies, it'll result in an amazing finale!
Thanks for reading! Be sure to check out our meta team comps page, or head to our Team Builder to try and come up with your own comps.