Our Shattered Arkanis expedition guide covers the Level 1 route and all three boss encounters in Aion 2. Learn how to prepare the teleport points, handle dangerous attacks and complete Talisra's orb and barrier mechanics.
For recommended skills, Stigmas and rotations before entering, explore our Aion 2 class builds.
A huge thank you to NoBS Game Guides for sharing his Shattered Arkanis encounter tips!
Route and Monster Point Requirement
At Level 1, your party needs 20 monster points before it can access the final boss. Follow the dungeon’s objective counter as you clear enemies.
To reduce travel time, split the opening tasks:
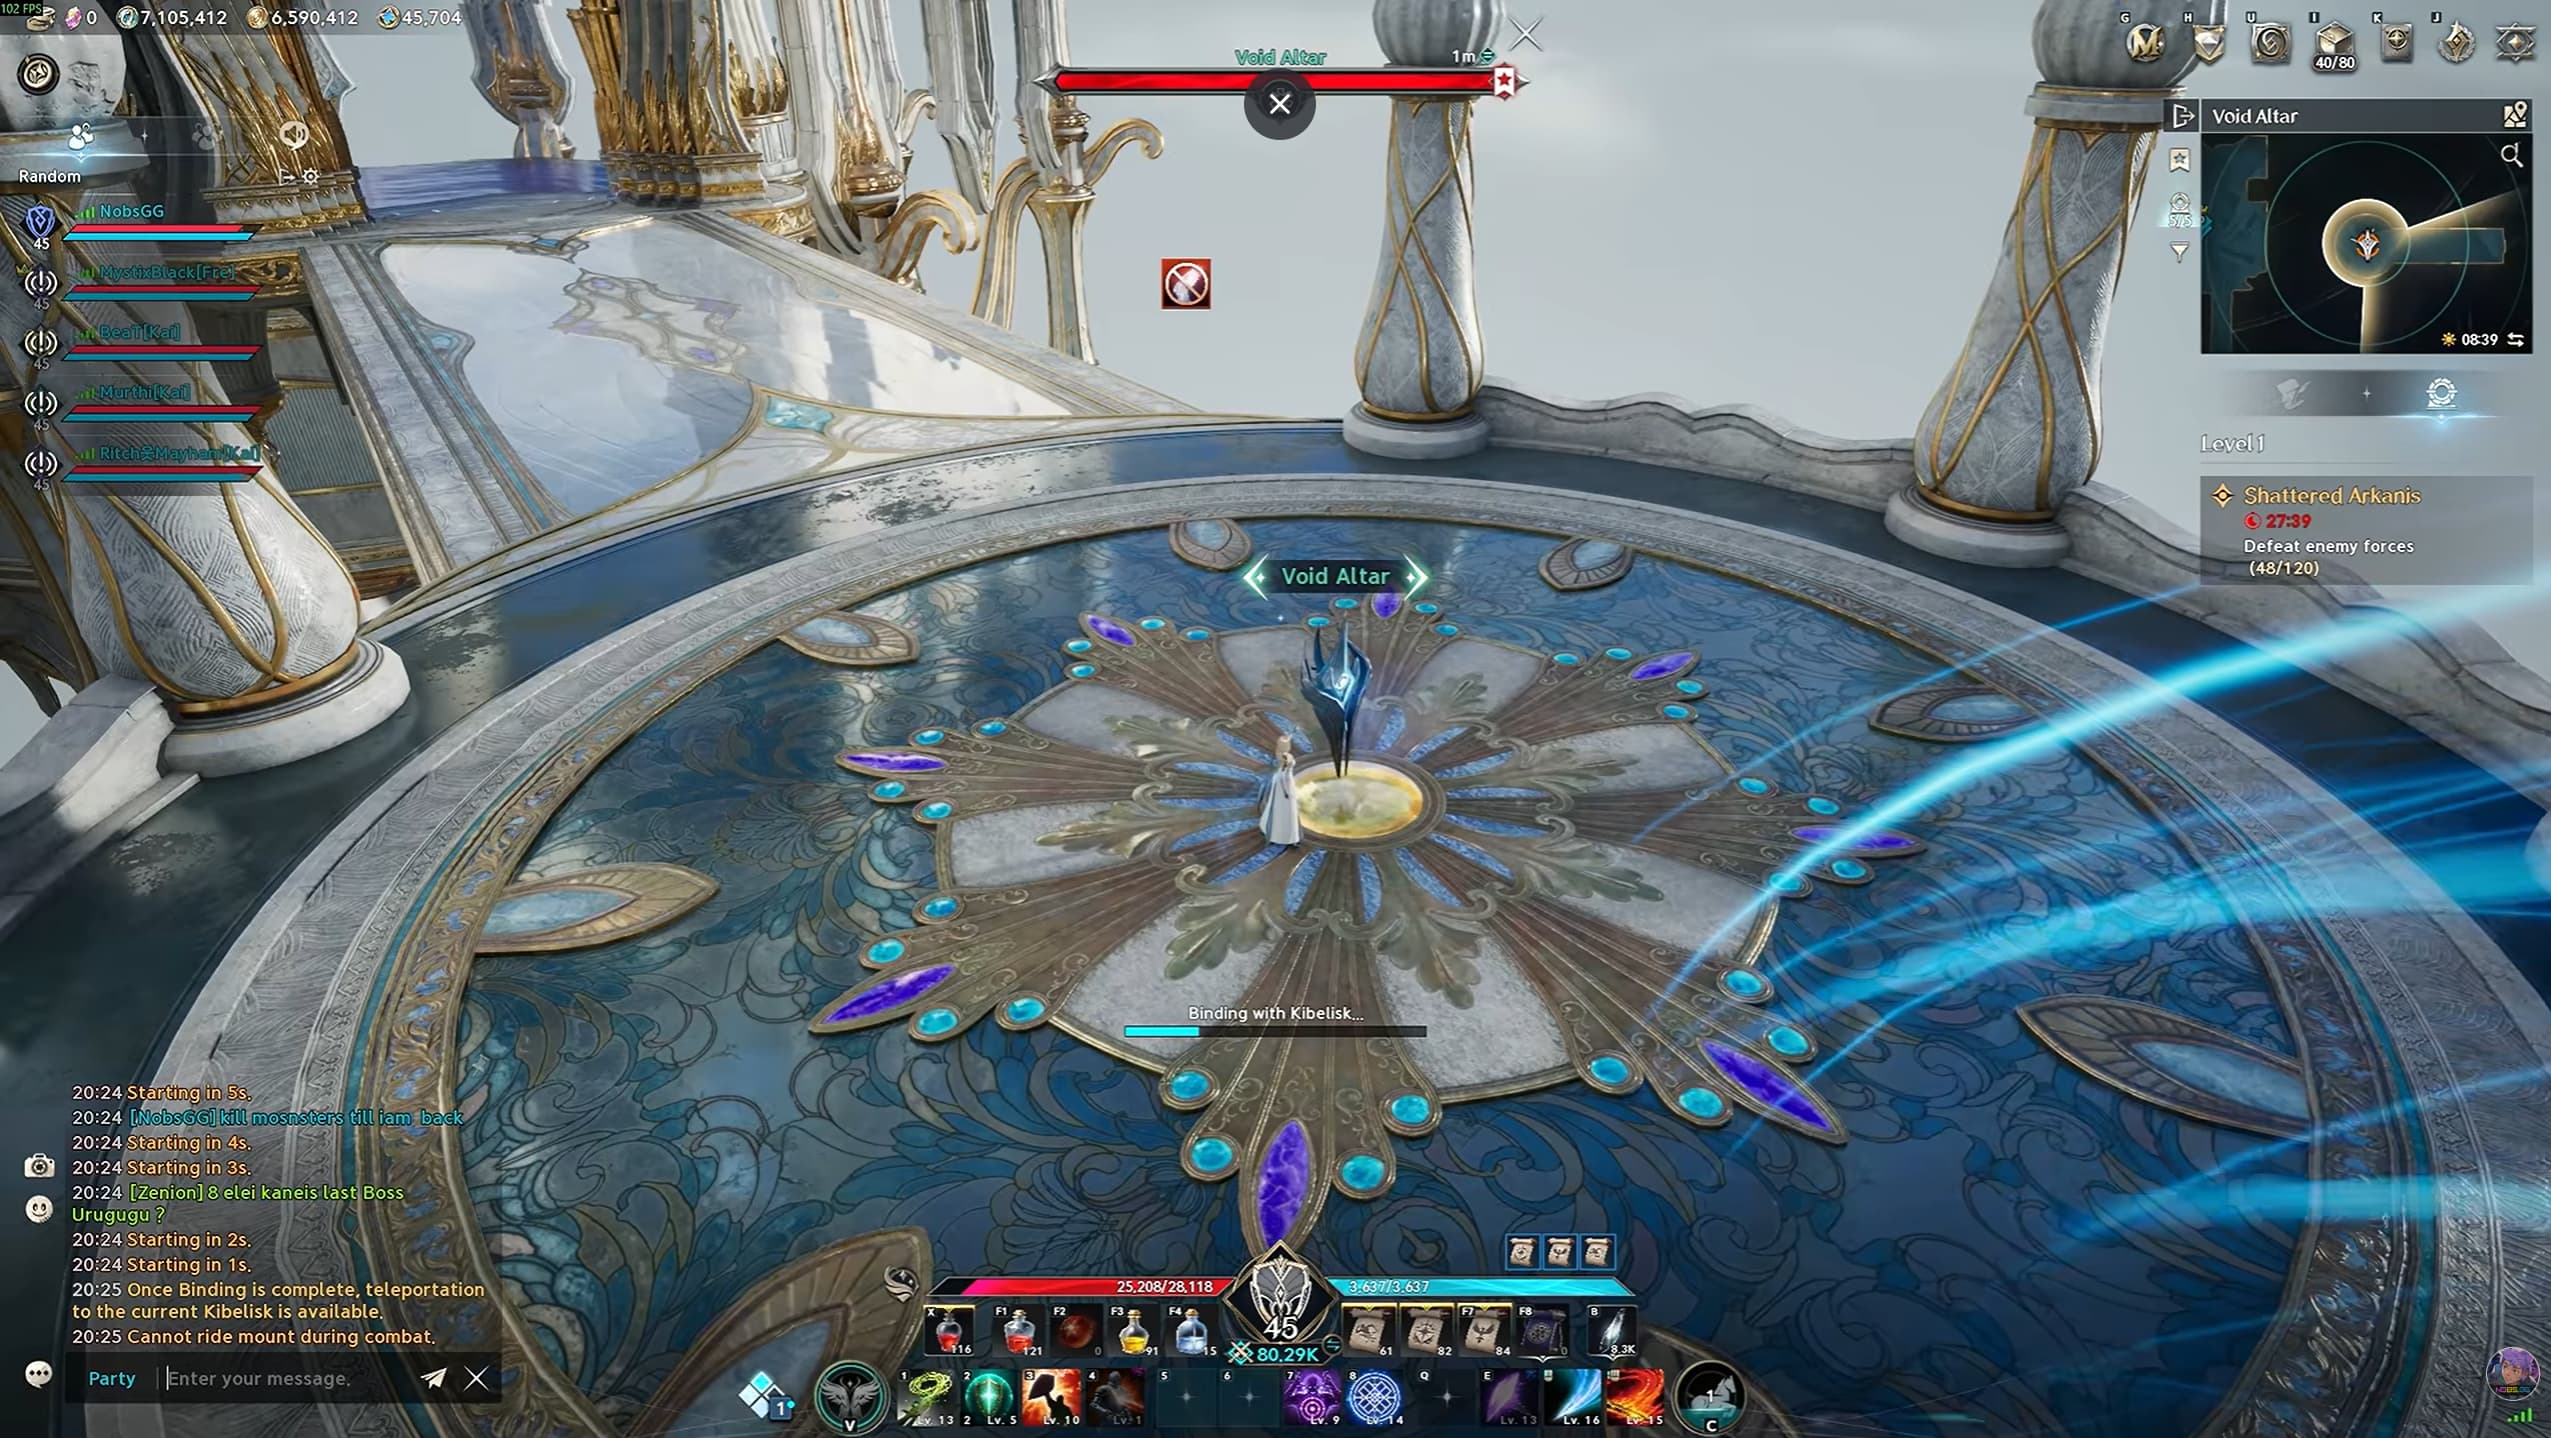
Send one player ahead to activate the two Kibelisks near the second and final bosses.
Have the remaining players clear monsters near the entrance or first boss until the 20-point requirement is complete.
Regroup for the first boss, then use the unlocked Kibelisks to travel between encounters.
Your clear performance does not determine your loot. This route helps you complete runs efficiently by reducing travel and unnecessary monster clearing.
If you are still working towards content entry requirements, our Aion 2 gear score guide covers useful equipment and progression upgrades.
First Boss: Siliator of Deceit
Siliator’s main threats are its chakrams and overlapping attack patterns. You can jump over its chakrams, giving you another way to avoid them alongside positioning and dodging.
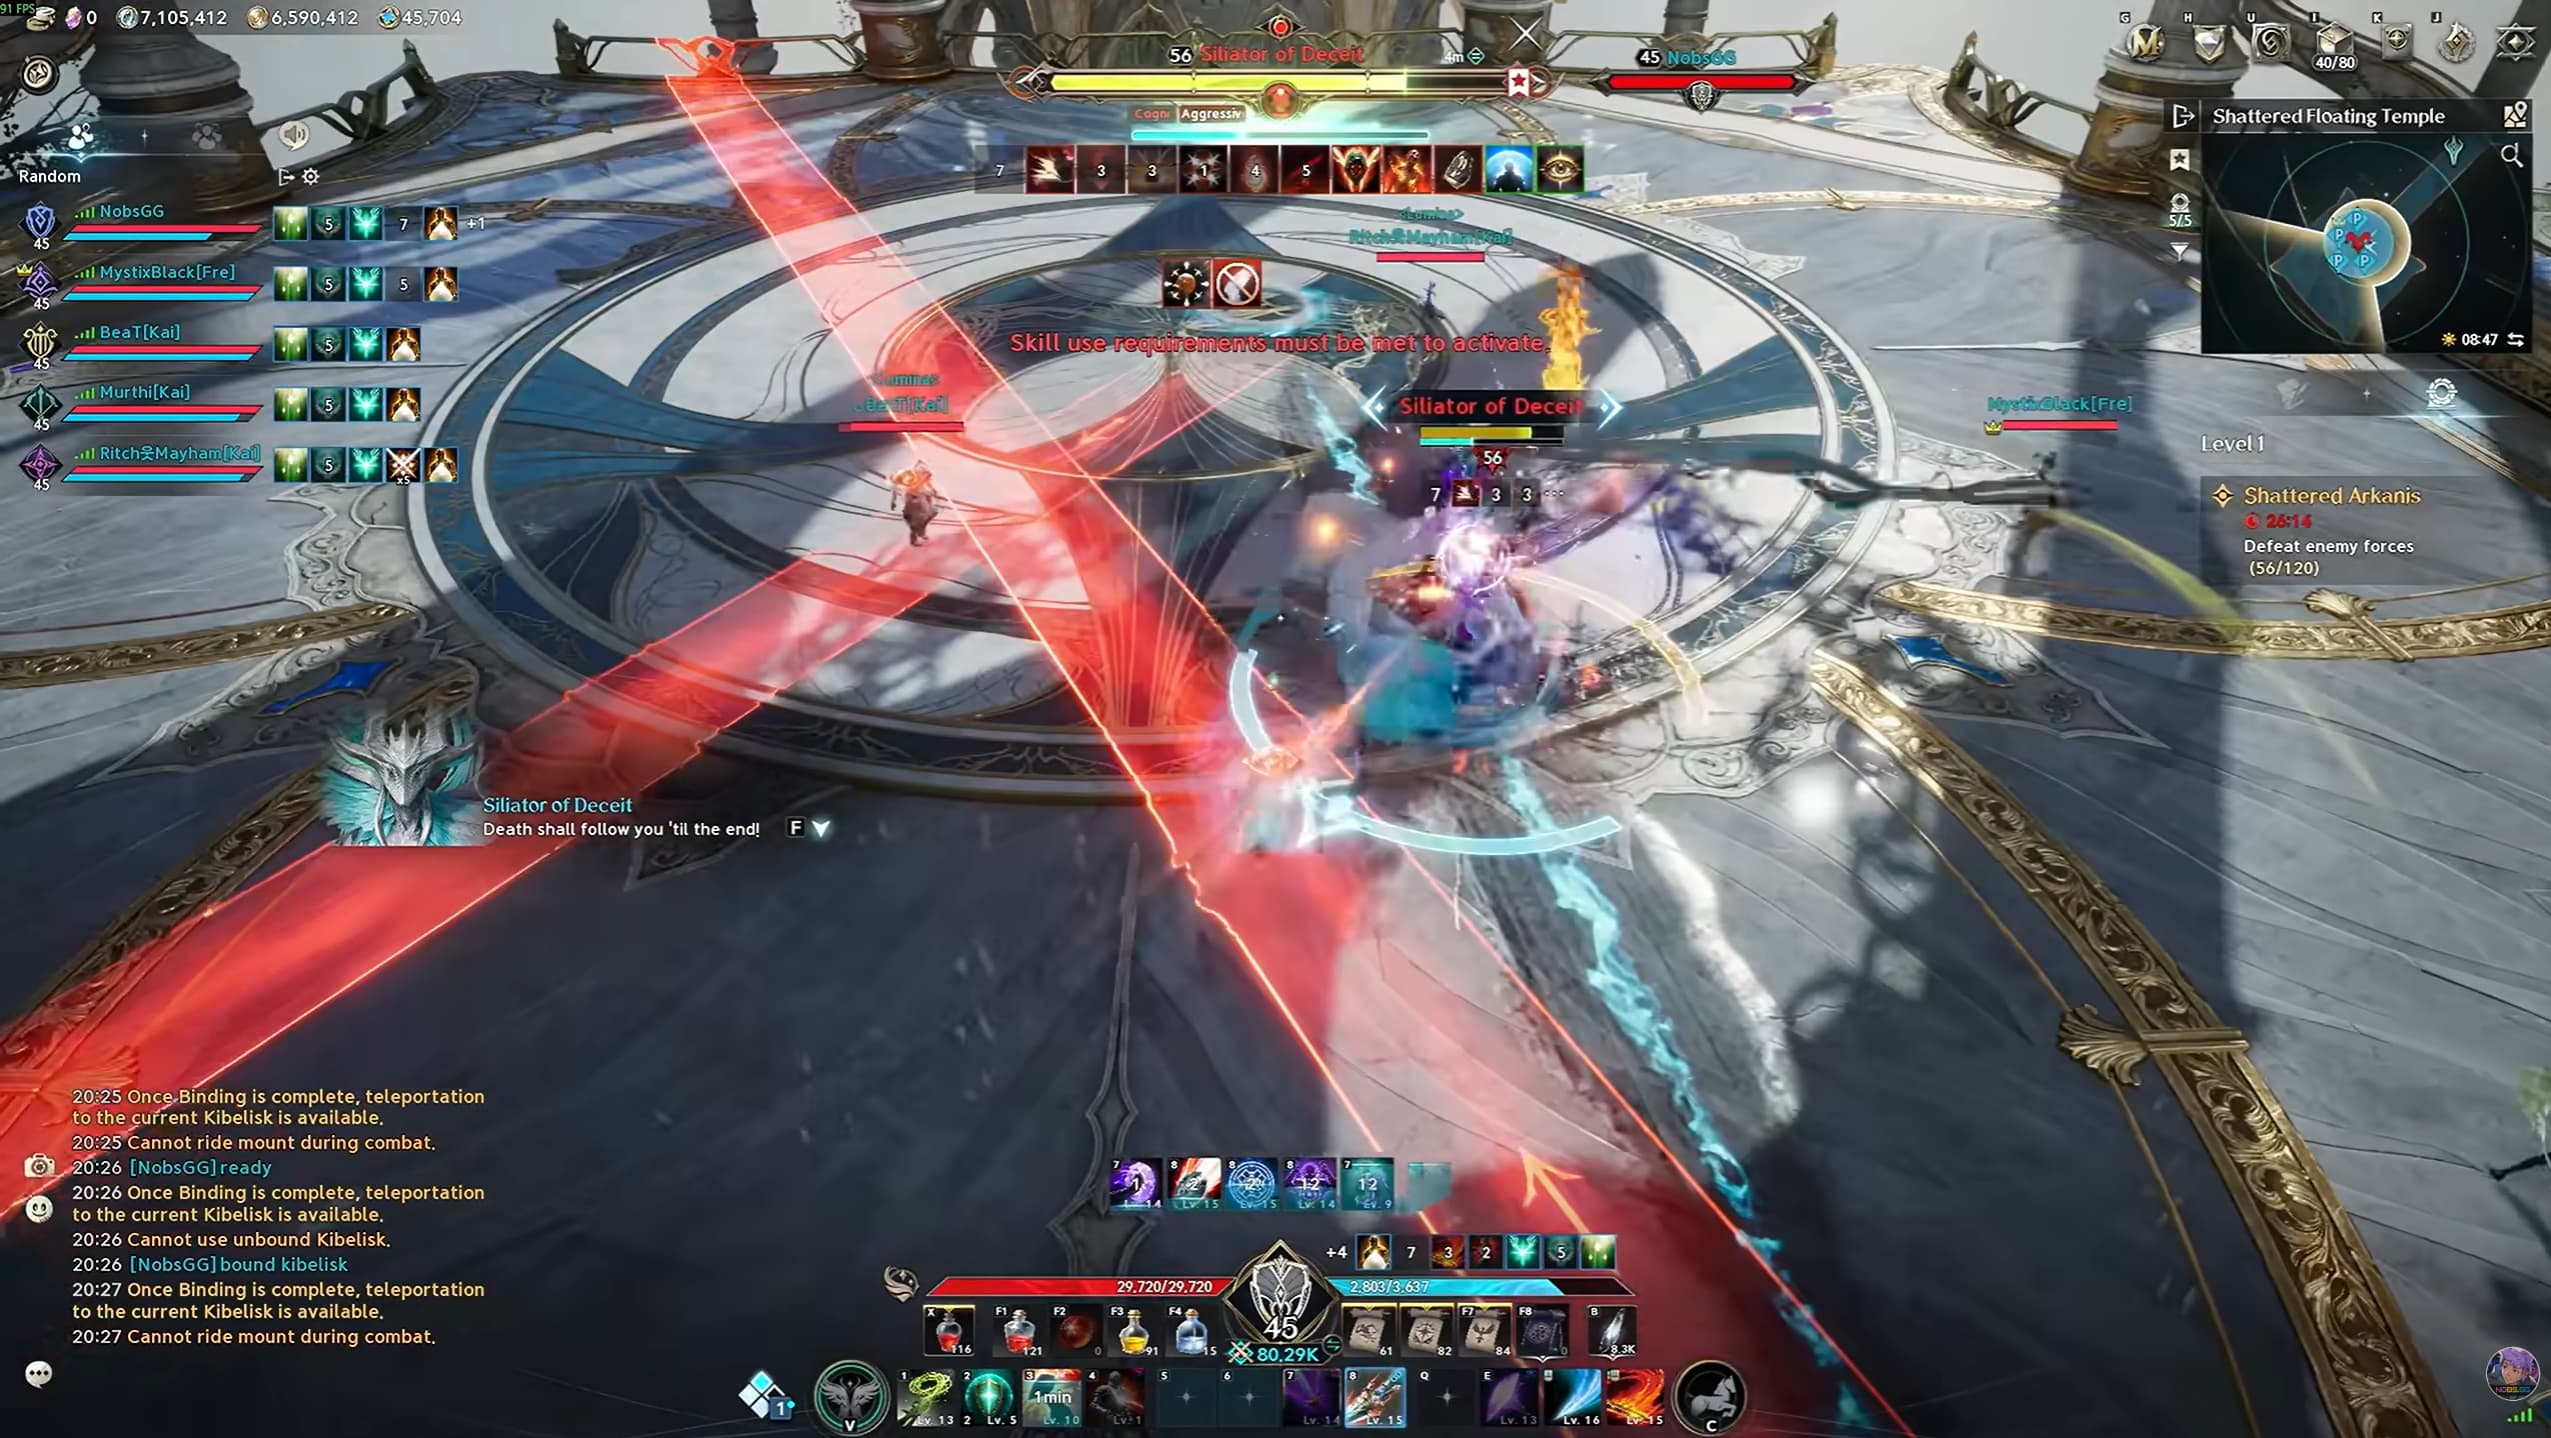
Collide the Marked Chakrams
Two players are marked with red lines, and a chakram begins following each of them.
The marked players should coordinate their positions so the chakram paths cross in an X shape. When the two blades collide, they disappear.
Avoid dragging the blades through your teammates. Jumping can help you avoid a hit, while bringing the chakrams together resolves the mechanic.
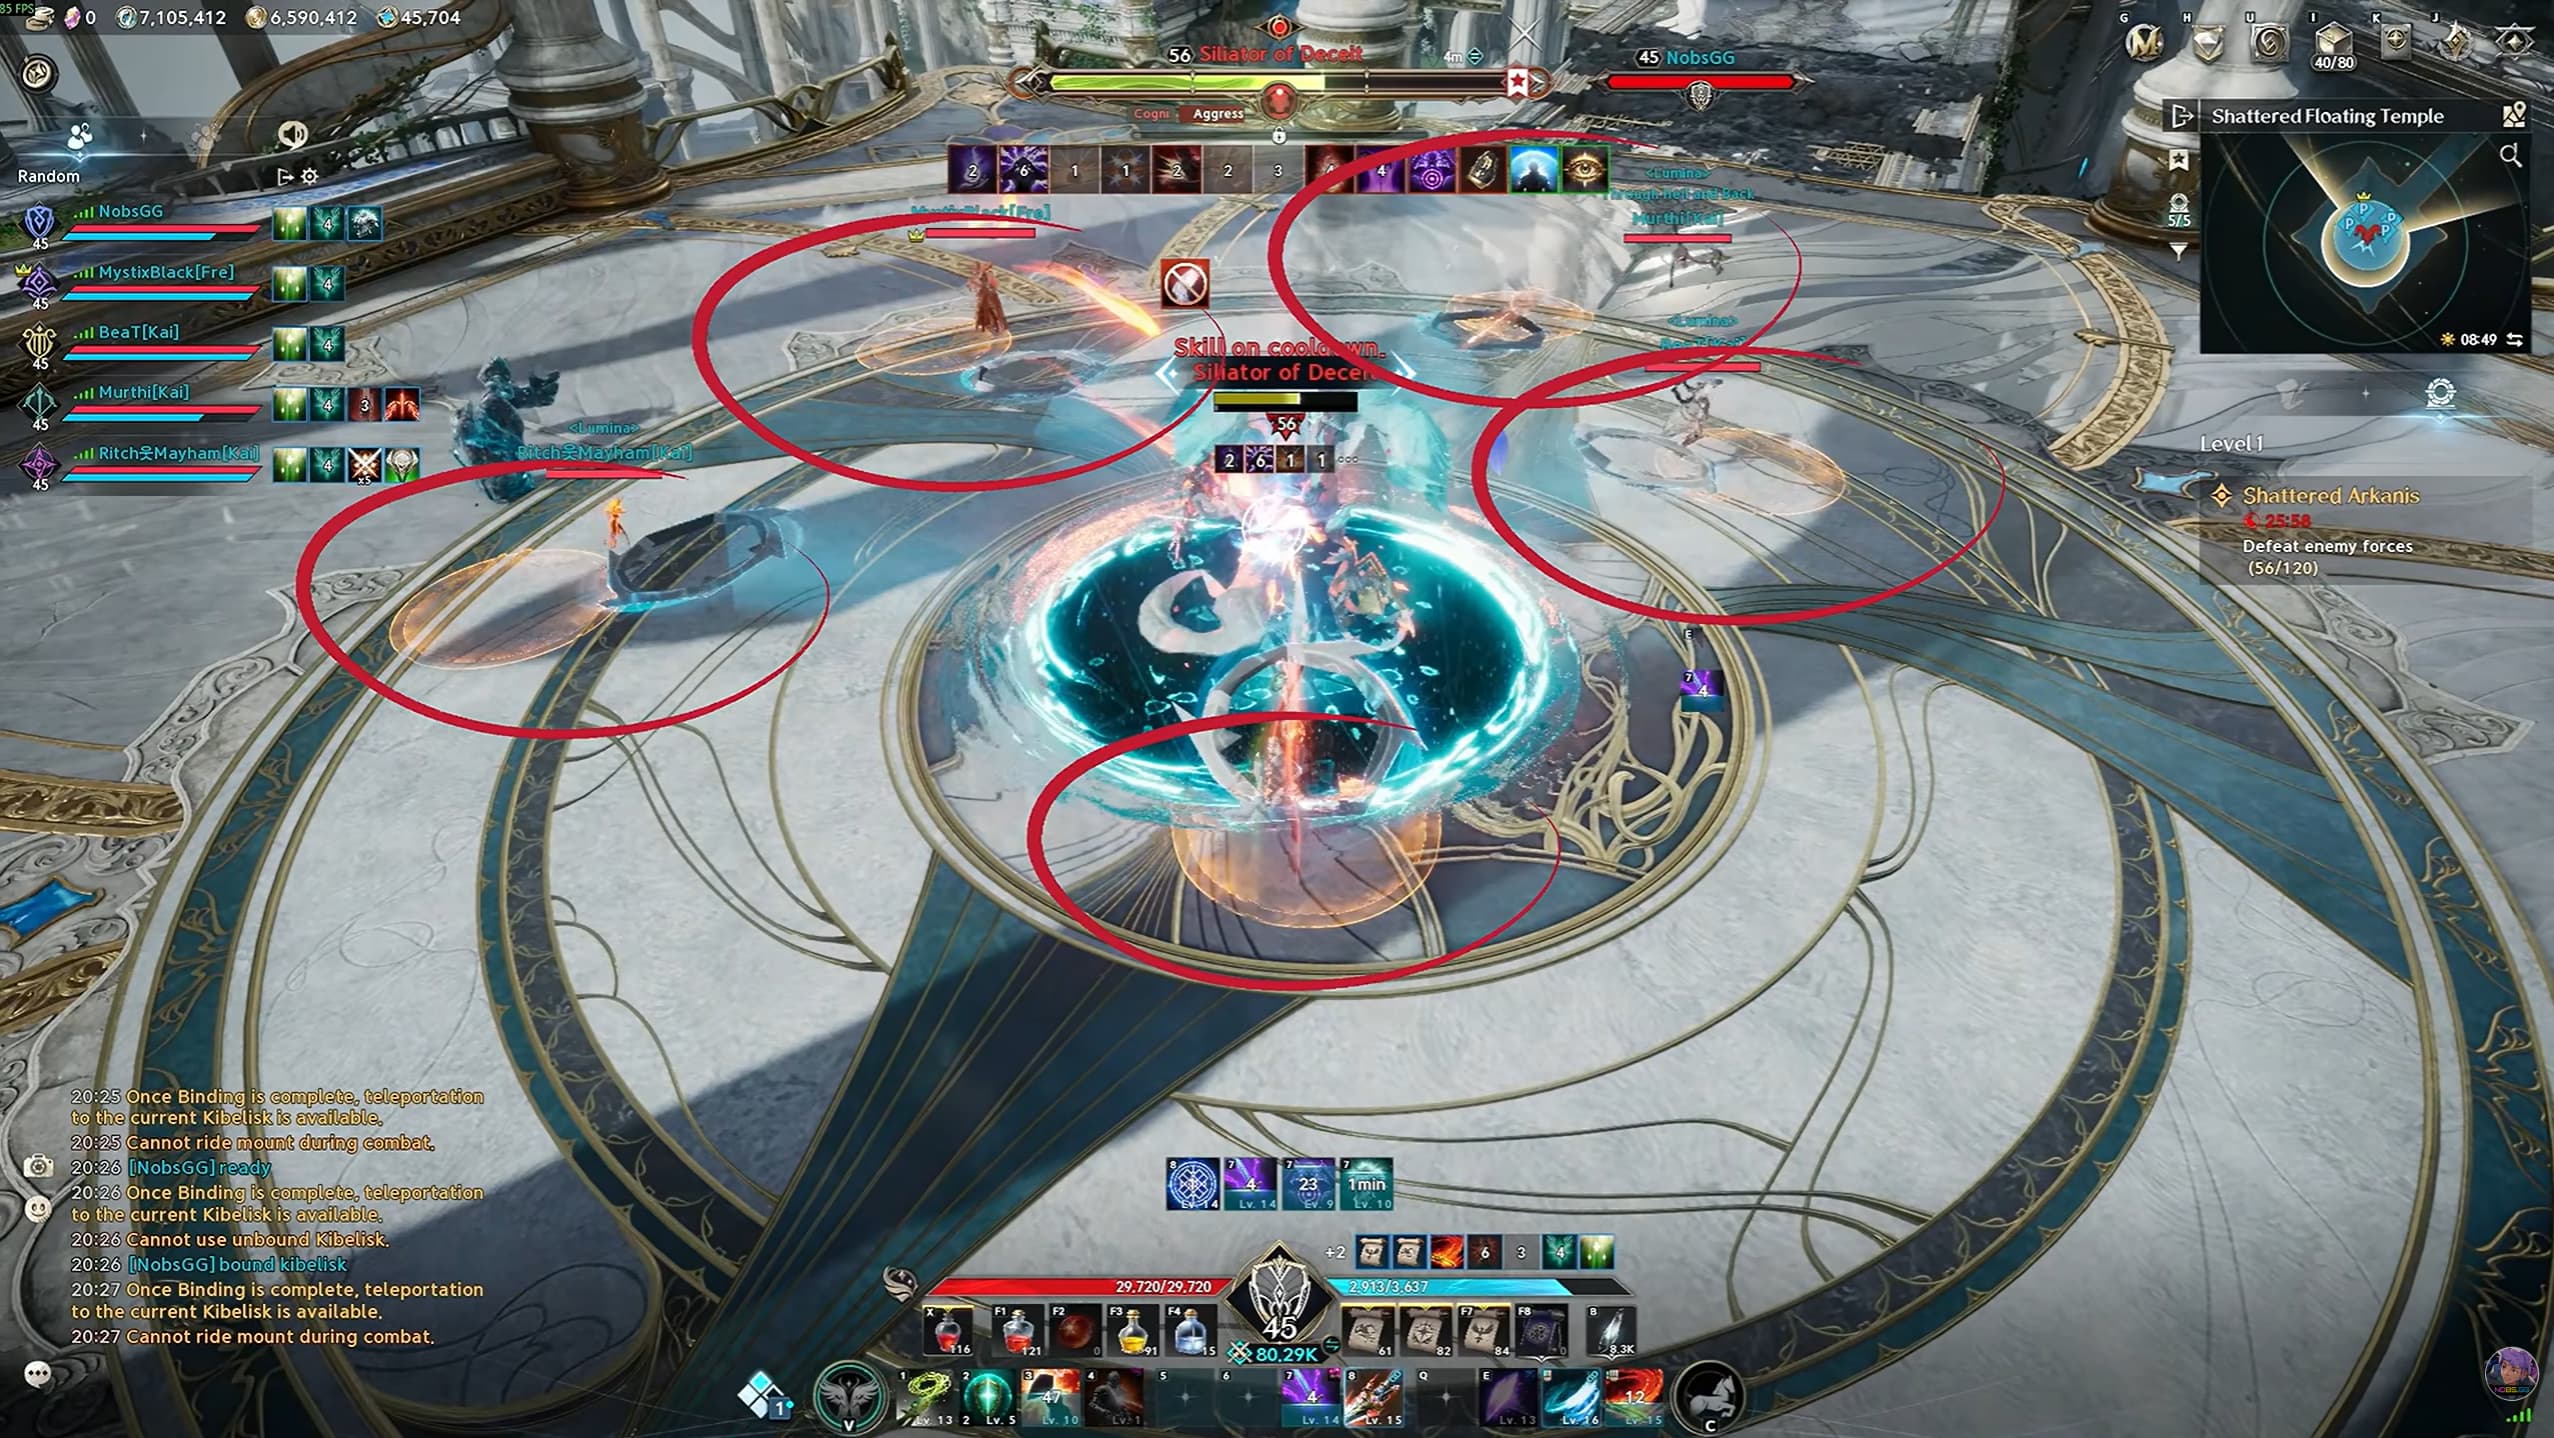
Avoid the Returning Blades
Siliator throws chakrams towards every player’s position, sends more around the arena, then recalls them.
A coordinated party can group together to bait the targeted throws and move in the same direction. Watch the return paths as well as the initial attacks.
If your group is spread out, find a gap between the lines, jump over incoming chakrams and keep a dodge charge available. Avoid crossing several attack lines at once.
Handle the Circle and Donut Attacks
Move the large red circle away from the rest of your party.
For the frontal strike, move behind the boss. The following donut attack leaves a safe area close to it, so melee players should stay close behind Siliator. Ranged players can also avoid the pattern by standing beyond its outer range.
If you die, revive at the nearby Kibelisk and return through the open arena entrance.
After defeating Siliator, teleport towards the second boss. Dodge through the damaging barriers on the approach to the next arena.
Second Boss: Ruthilis of Pain
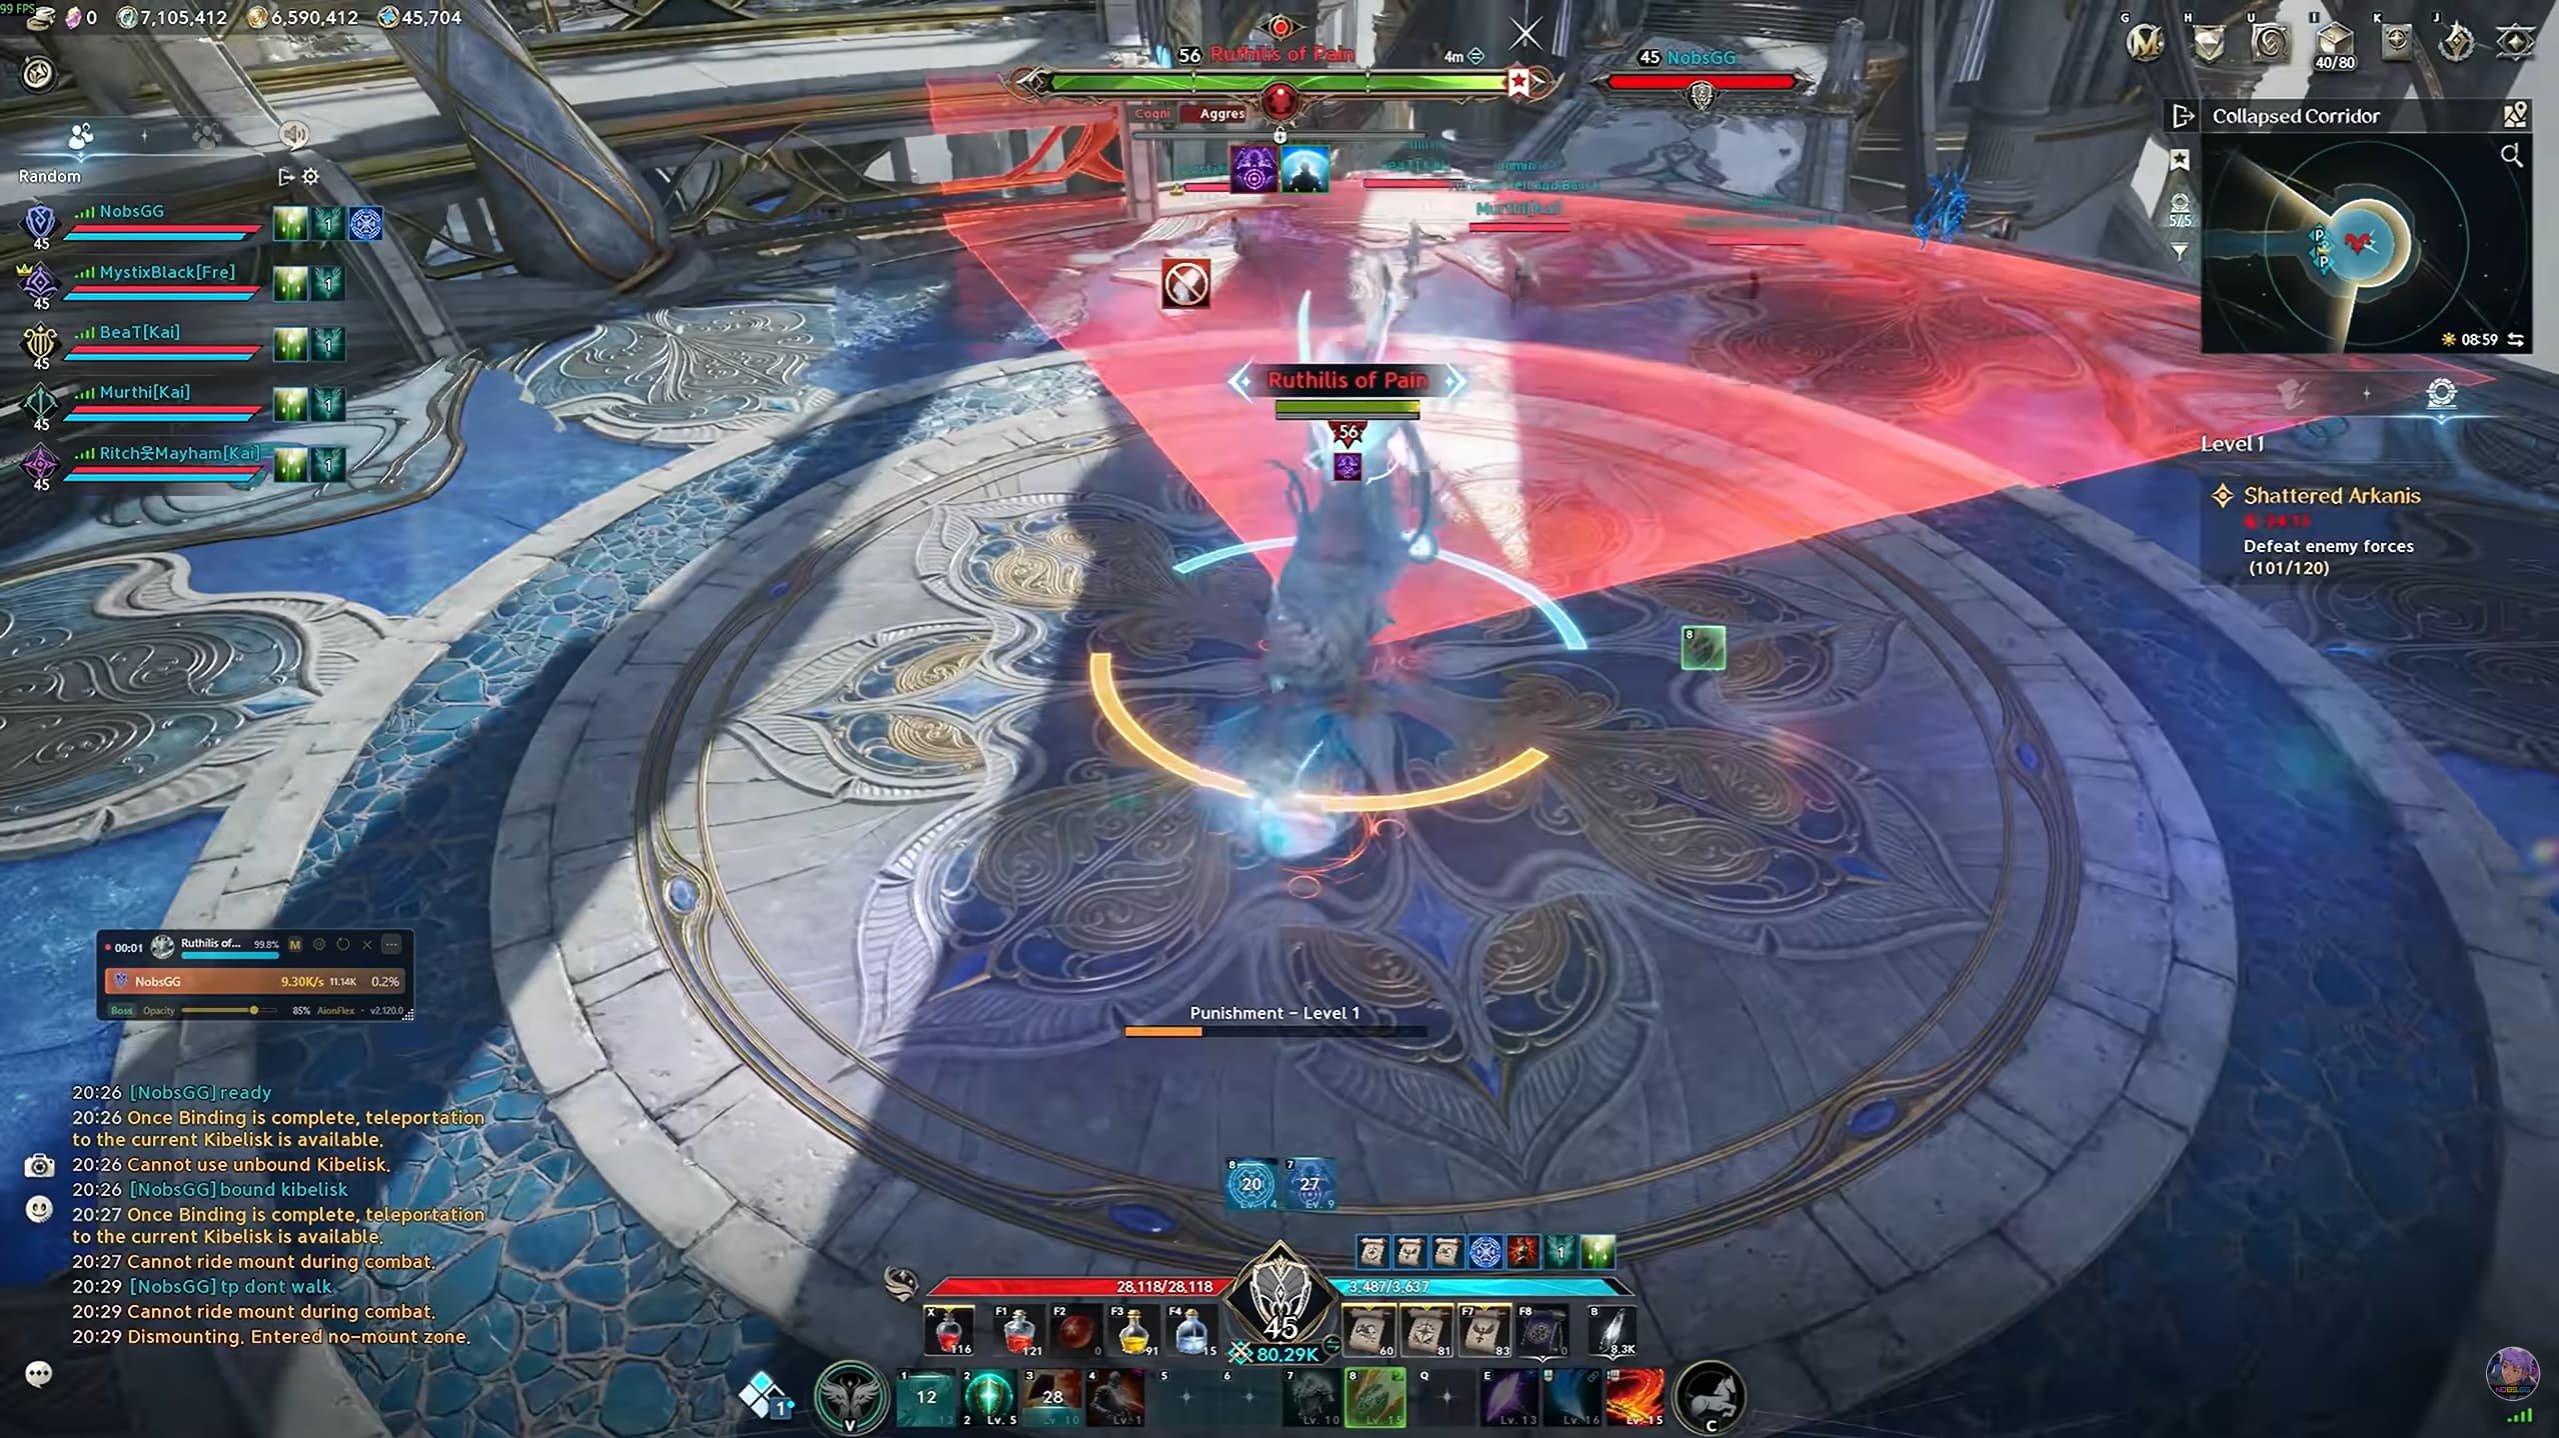
Move Away from the Entrance
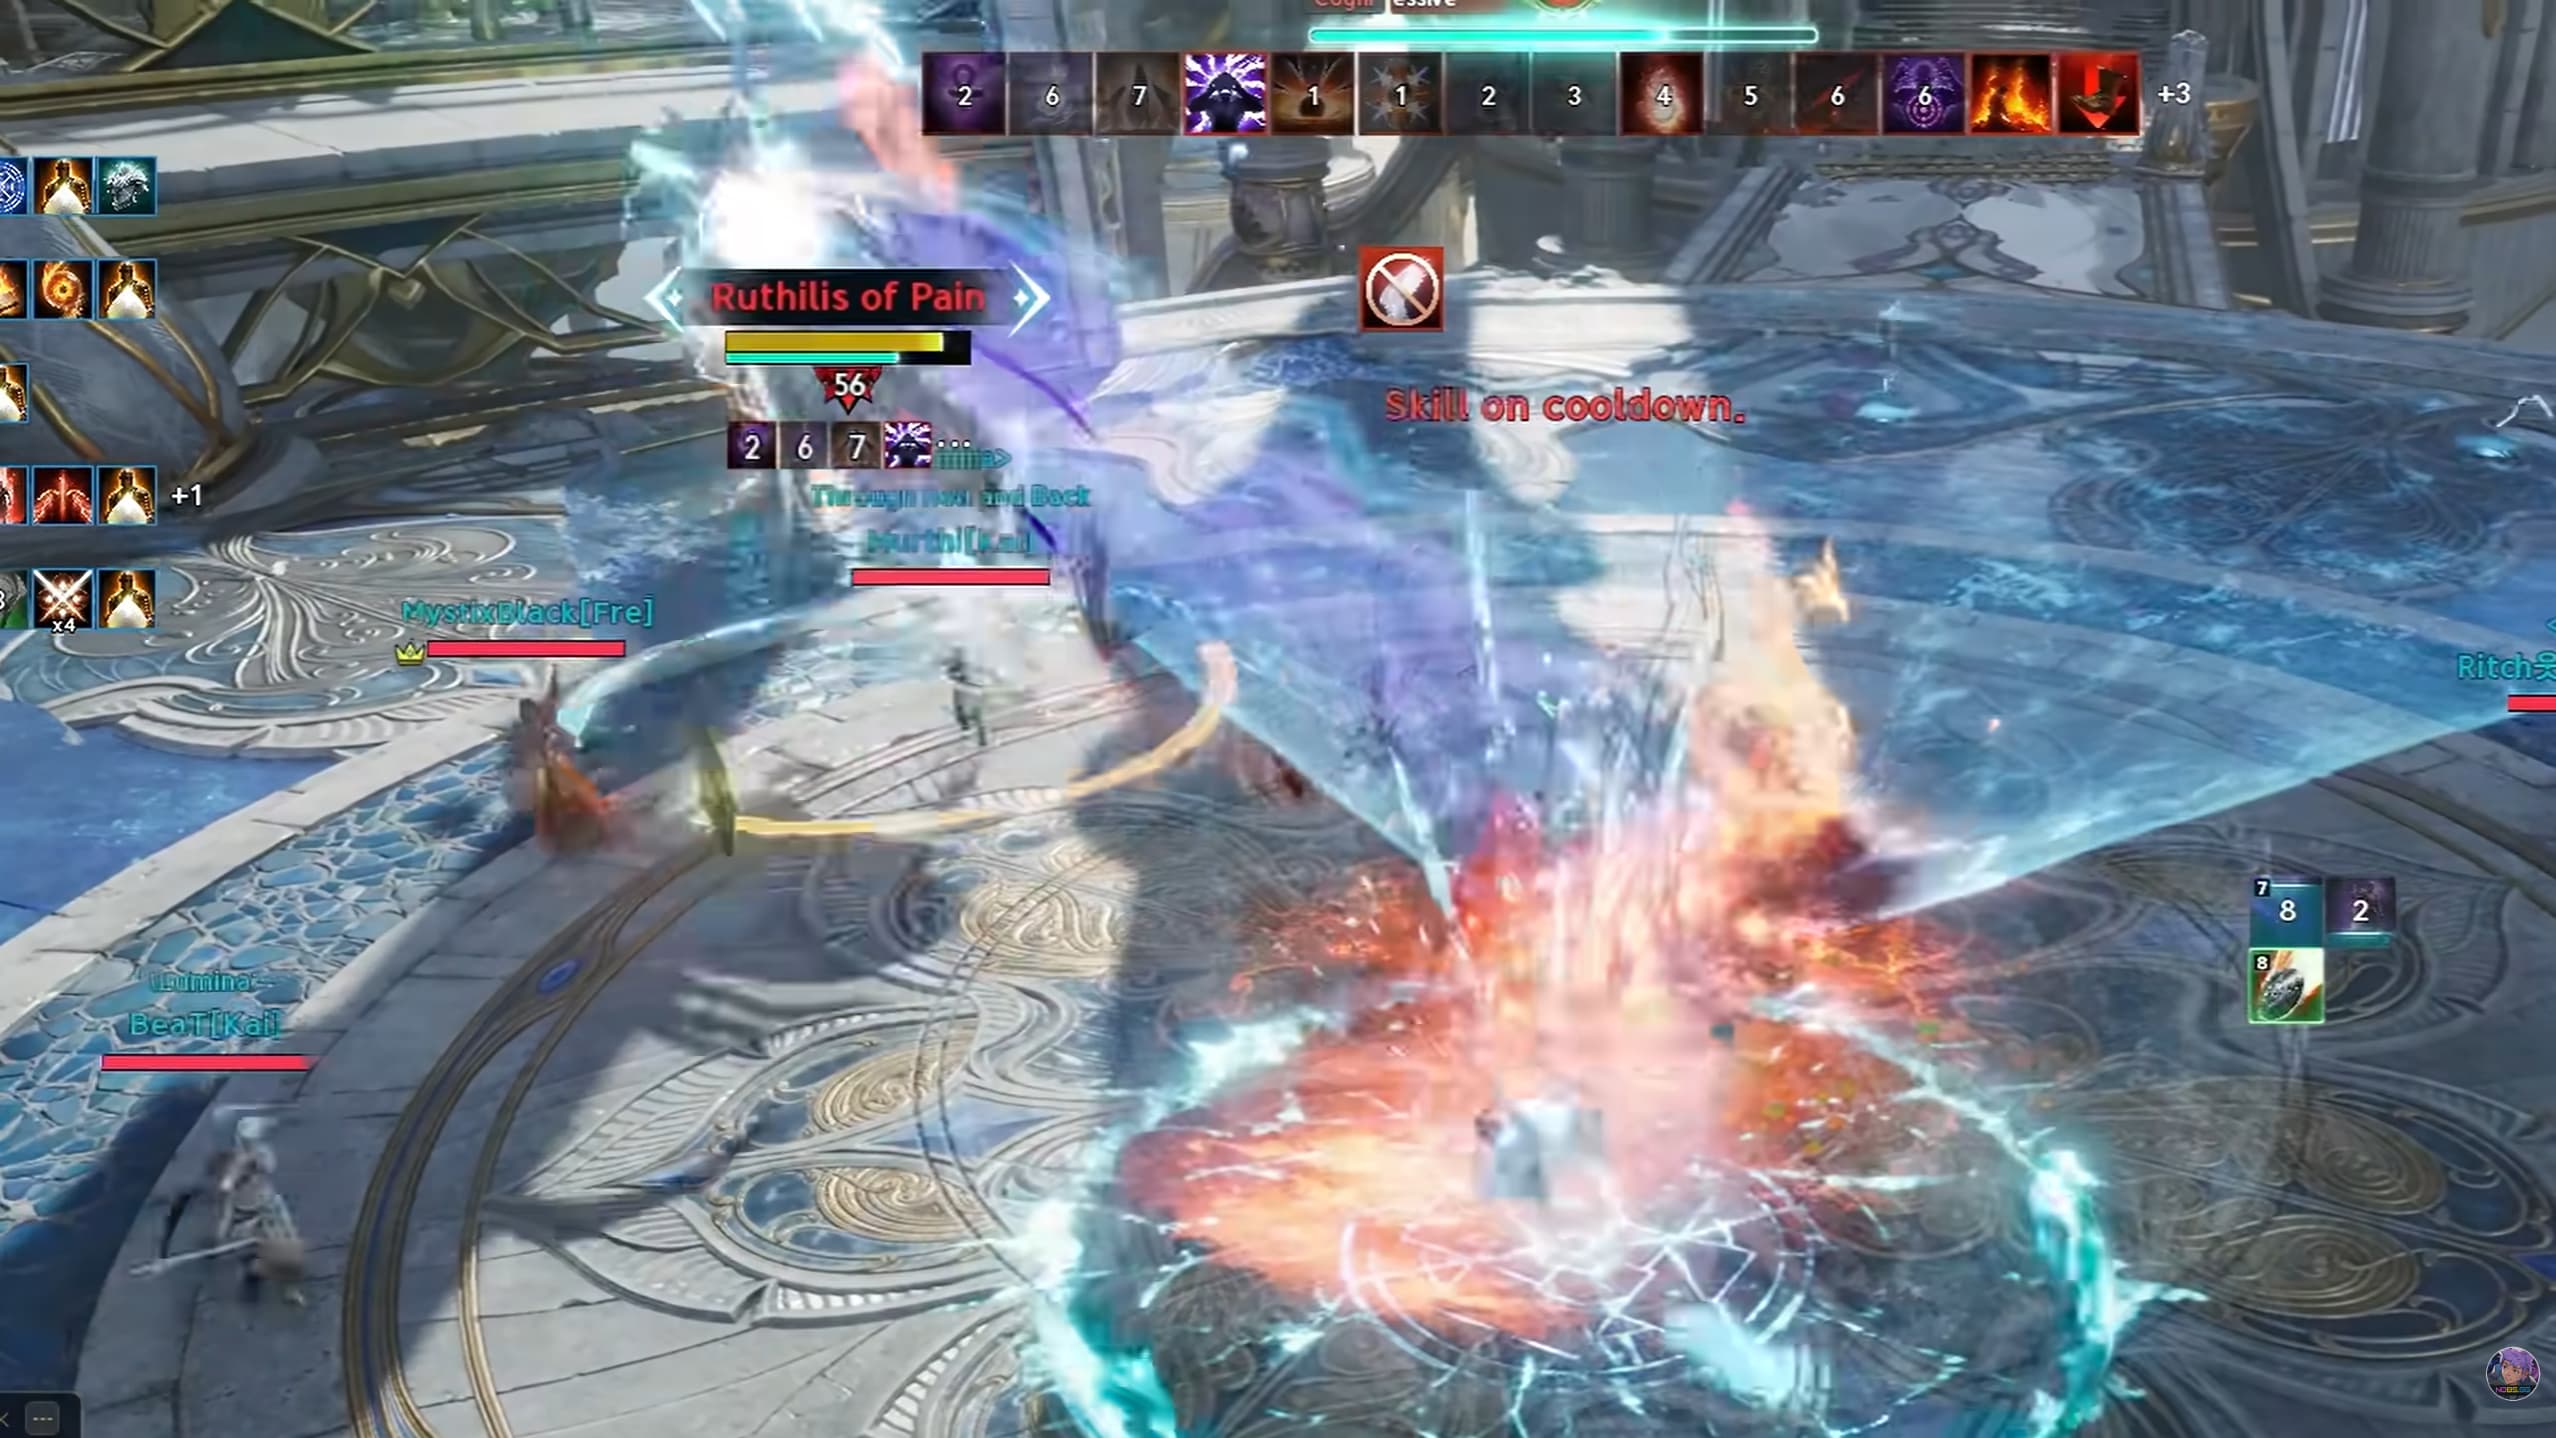
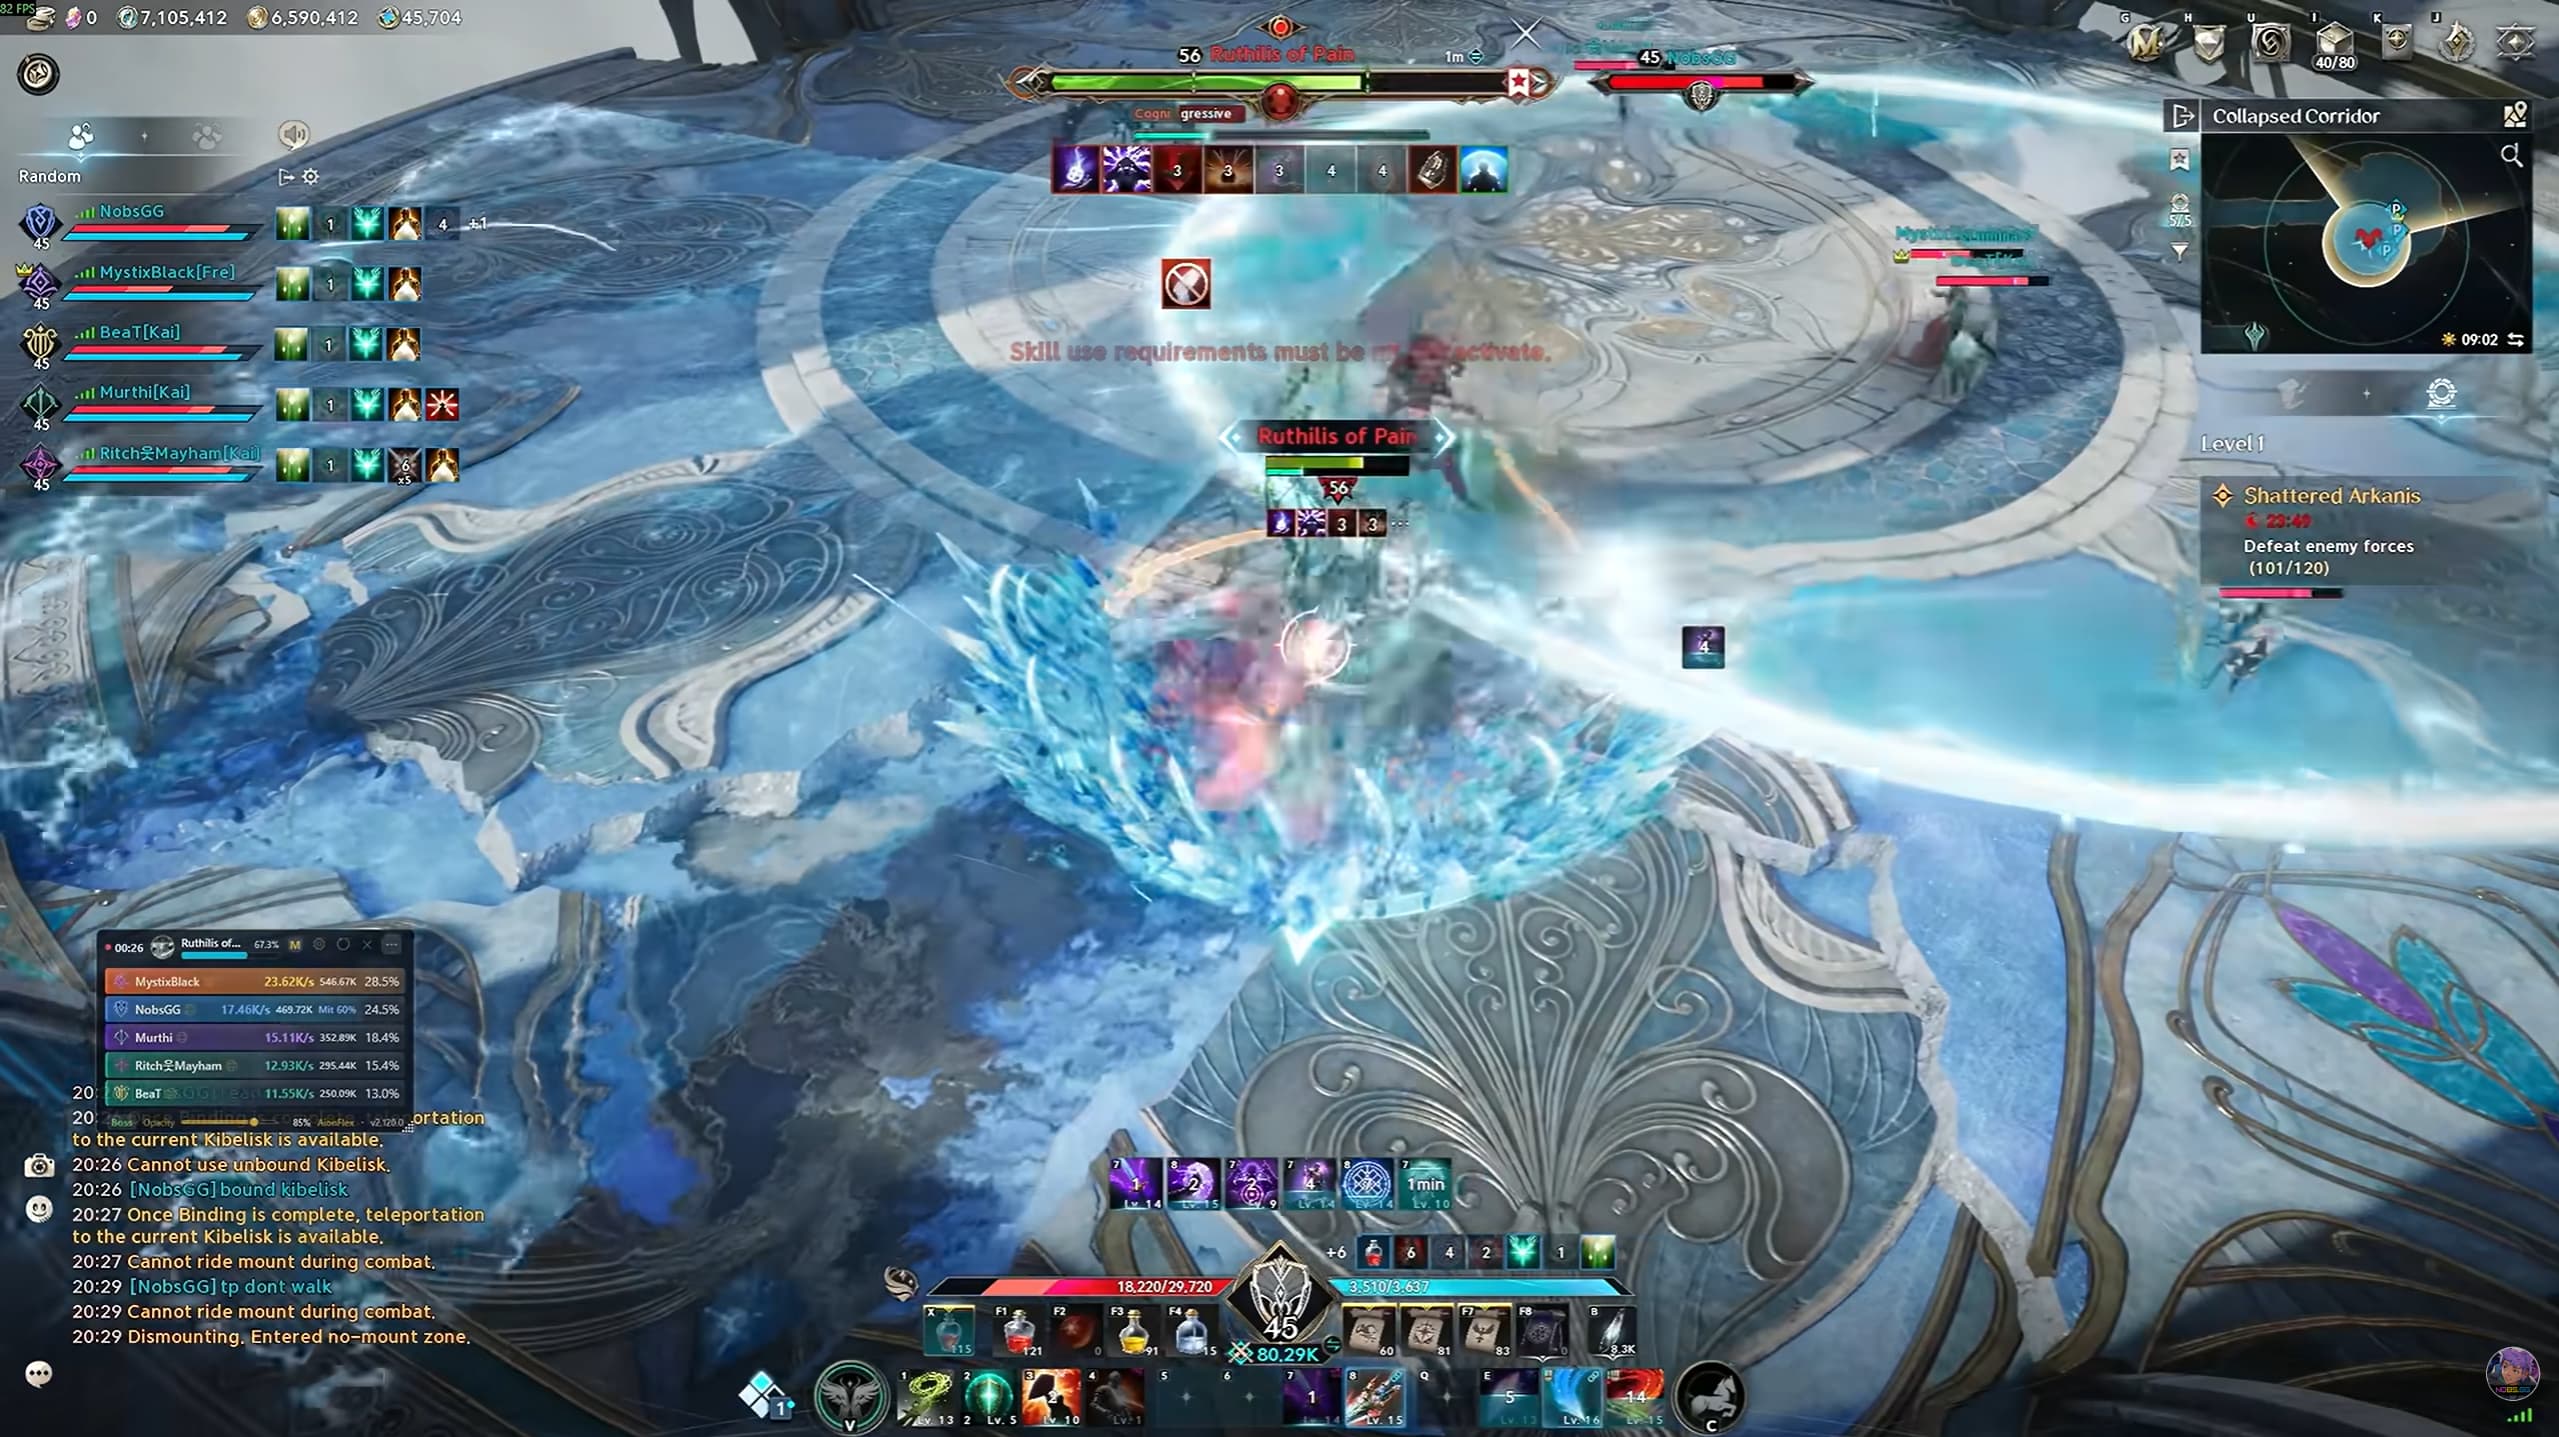
Ruthilis opens with a large, dangerous AoE aimed towards the arena door. Move away from the entrance before starting the fight.
If you die, revive at the nearby Kibelisk. When returning while the entrance hazard is still active, follow the very edge of the arena to rejoin your party safely.
Handle Jumps and Donut Attacks
Ruthilis jumps towards the furthest player and follows with a donut AoE. Watch its landing position and be ready to move out of the damaging ring.
When the arena glows red for the other donut attack, move underneath the boss into the safe area.
Jump the Lightning Rings
Getting hit by lightning causes a ring to appear around a player. Shortly afterwards, it releases an AoE that you need to jump over.
Watch your teammates as well as your own character. A ring on another player can still send an attack towards your position.
After defeating Ruthilis, teleport to the Kibelisk near the final boss in the bottom-right area of the map.
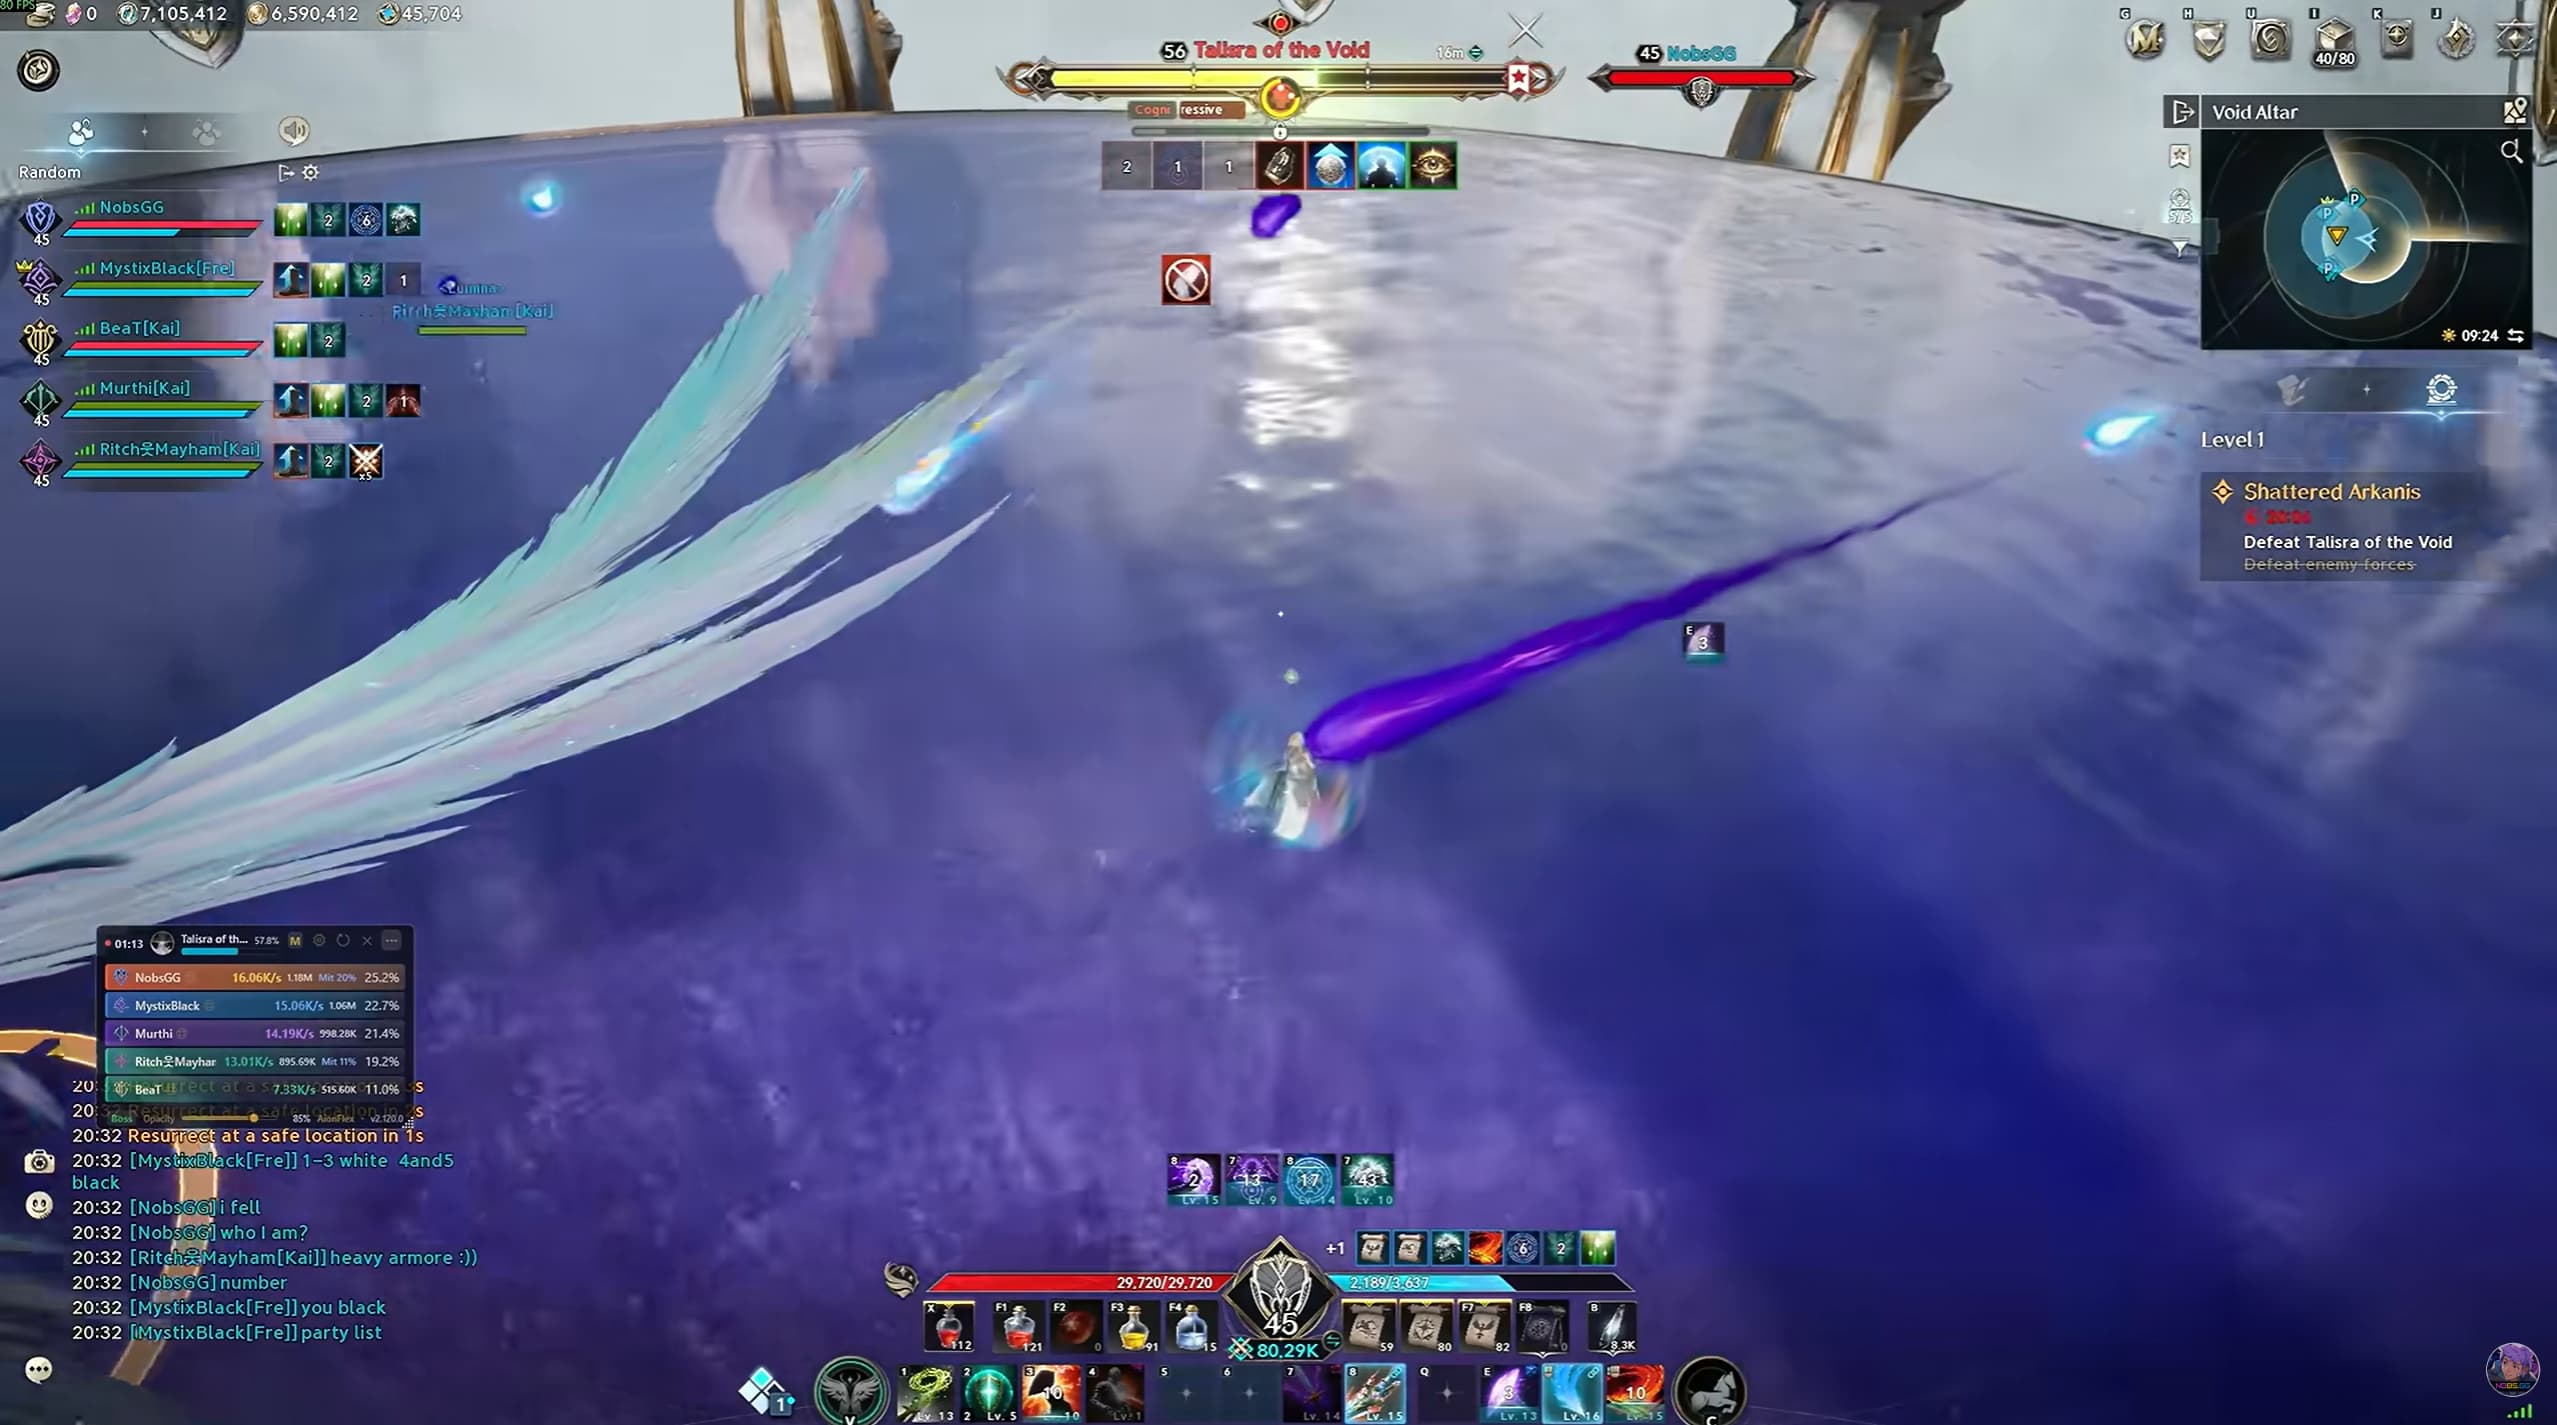
Final Boss: Talisra of the Void
Avoid the Cone, Wave and Following Beam
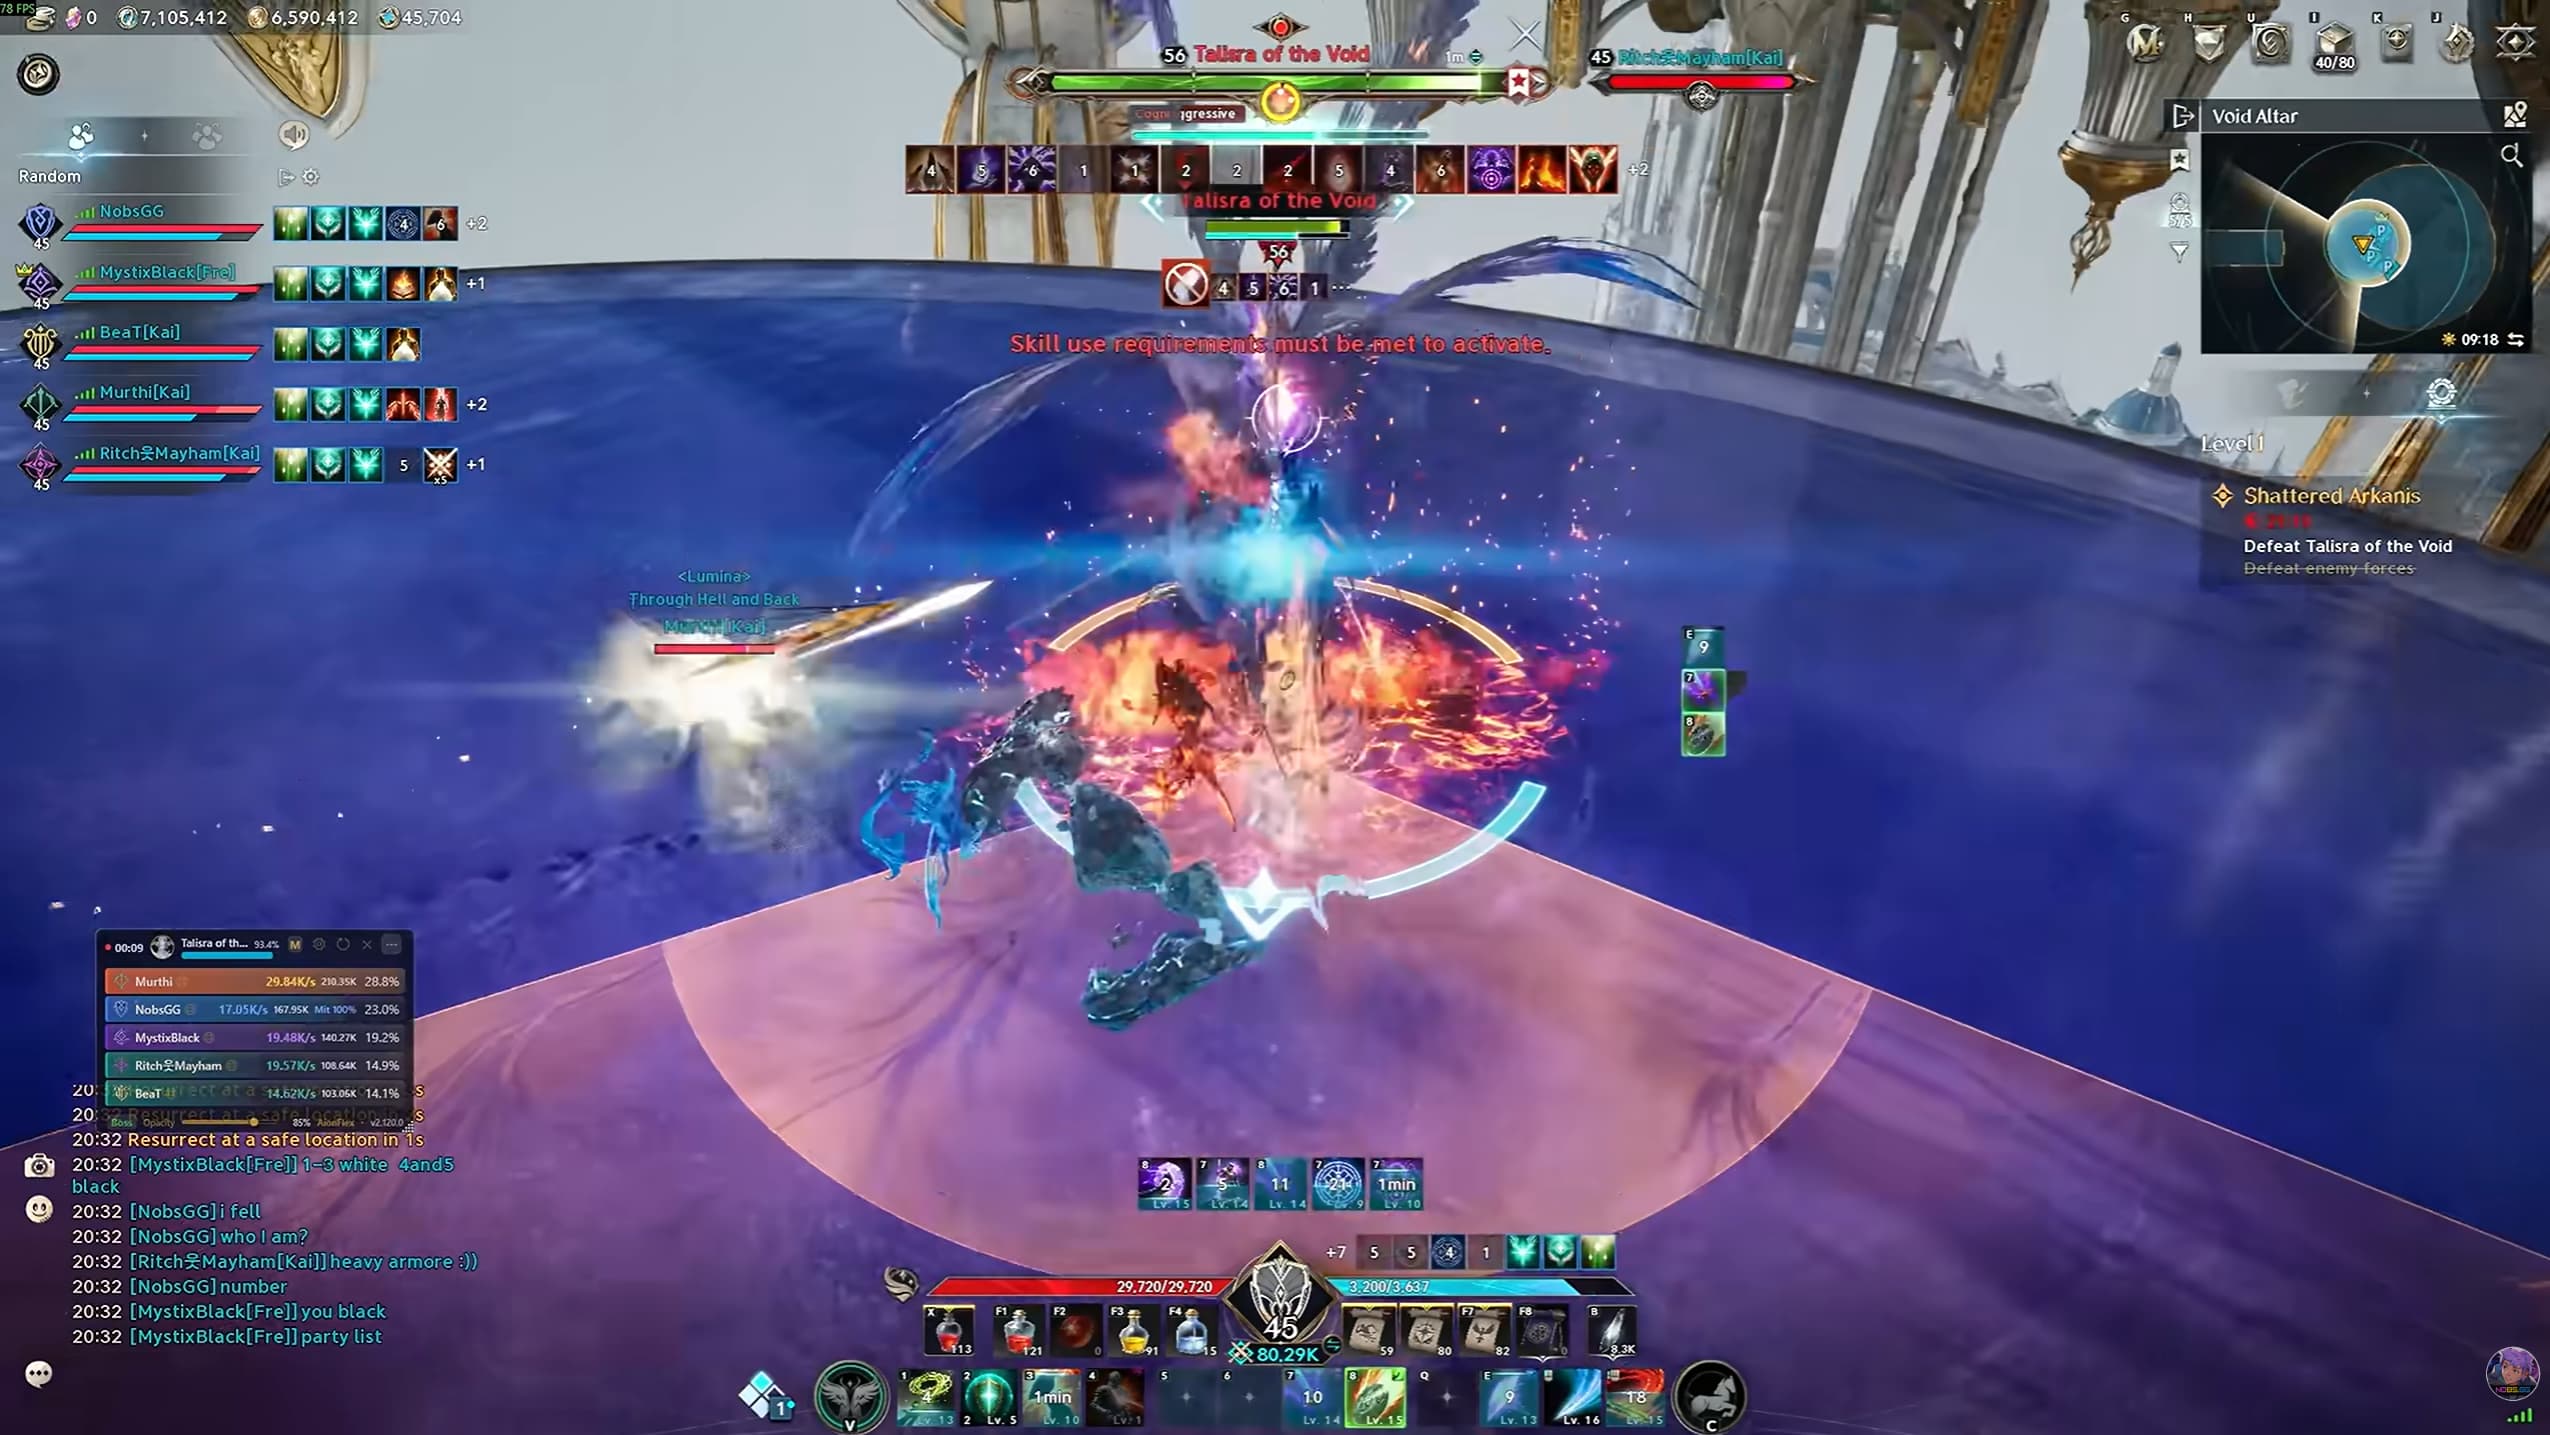
Talisra’s cone attack deals heavy damage if you remain inside it. Staying relatively close makes it easier to move around her and escape the cone.
She also sends an attack across the arena that you need to jump over. Be ready to jump again when it returns.
If you receive a large circle marker, a following beam will target you. Keep moving to stay ahead of it.
Destroy the Correct Pillar
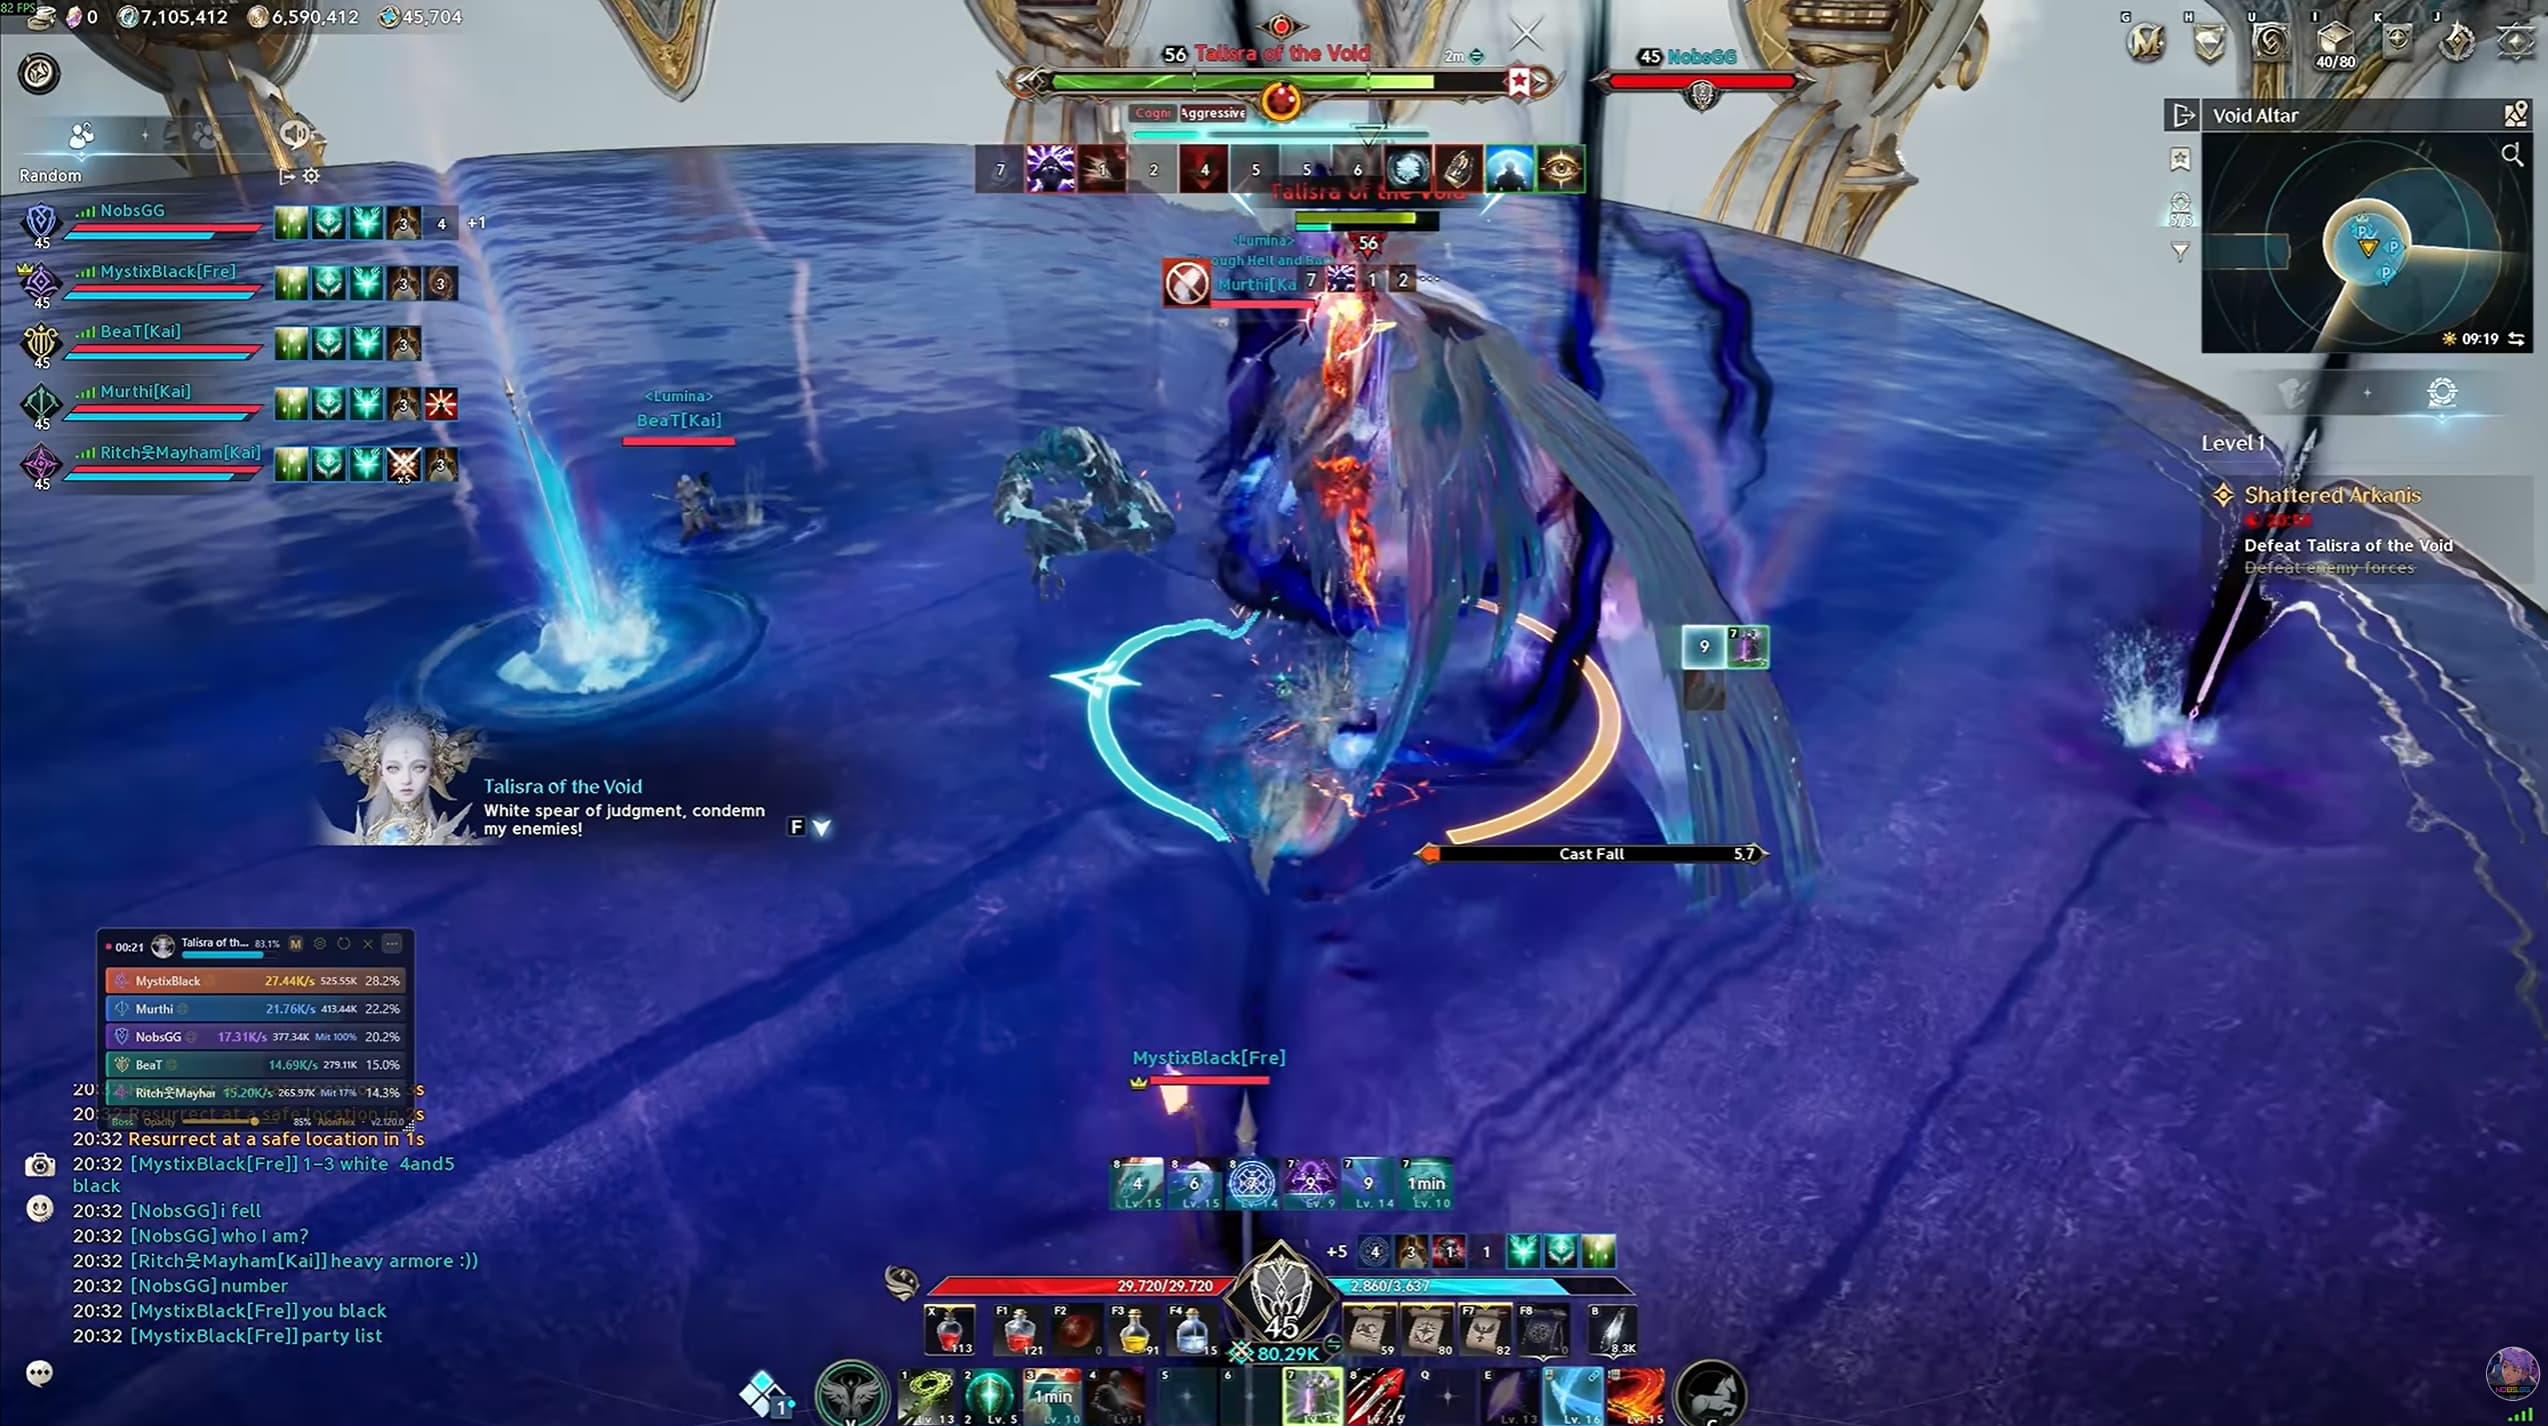
During Cast Fall, Talisra summons four pillars. Listen to her dialogue or read the on-screen line to identify which one to destroy.
For example, if she calls out White Spear, focus the white pillar.
At the same time, she jumps towards the player standing furthest away. Have a ranged player stand farther out to bait that attack while the rest of the group focuses on the correct pillar.
Failing to destroy the required pillar triggers a heavy party-wide AoE.
Collect Orbs of One Colour
Before starting the fight, agree on who will collect white orbs and who will collect purple orbs, with players assigned to both colours.
When Talisra moves to the centre, intercept the orbs travelling towards her. Each player should collect only their assigned colour.
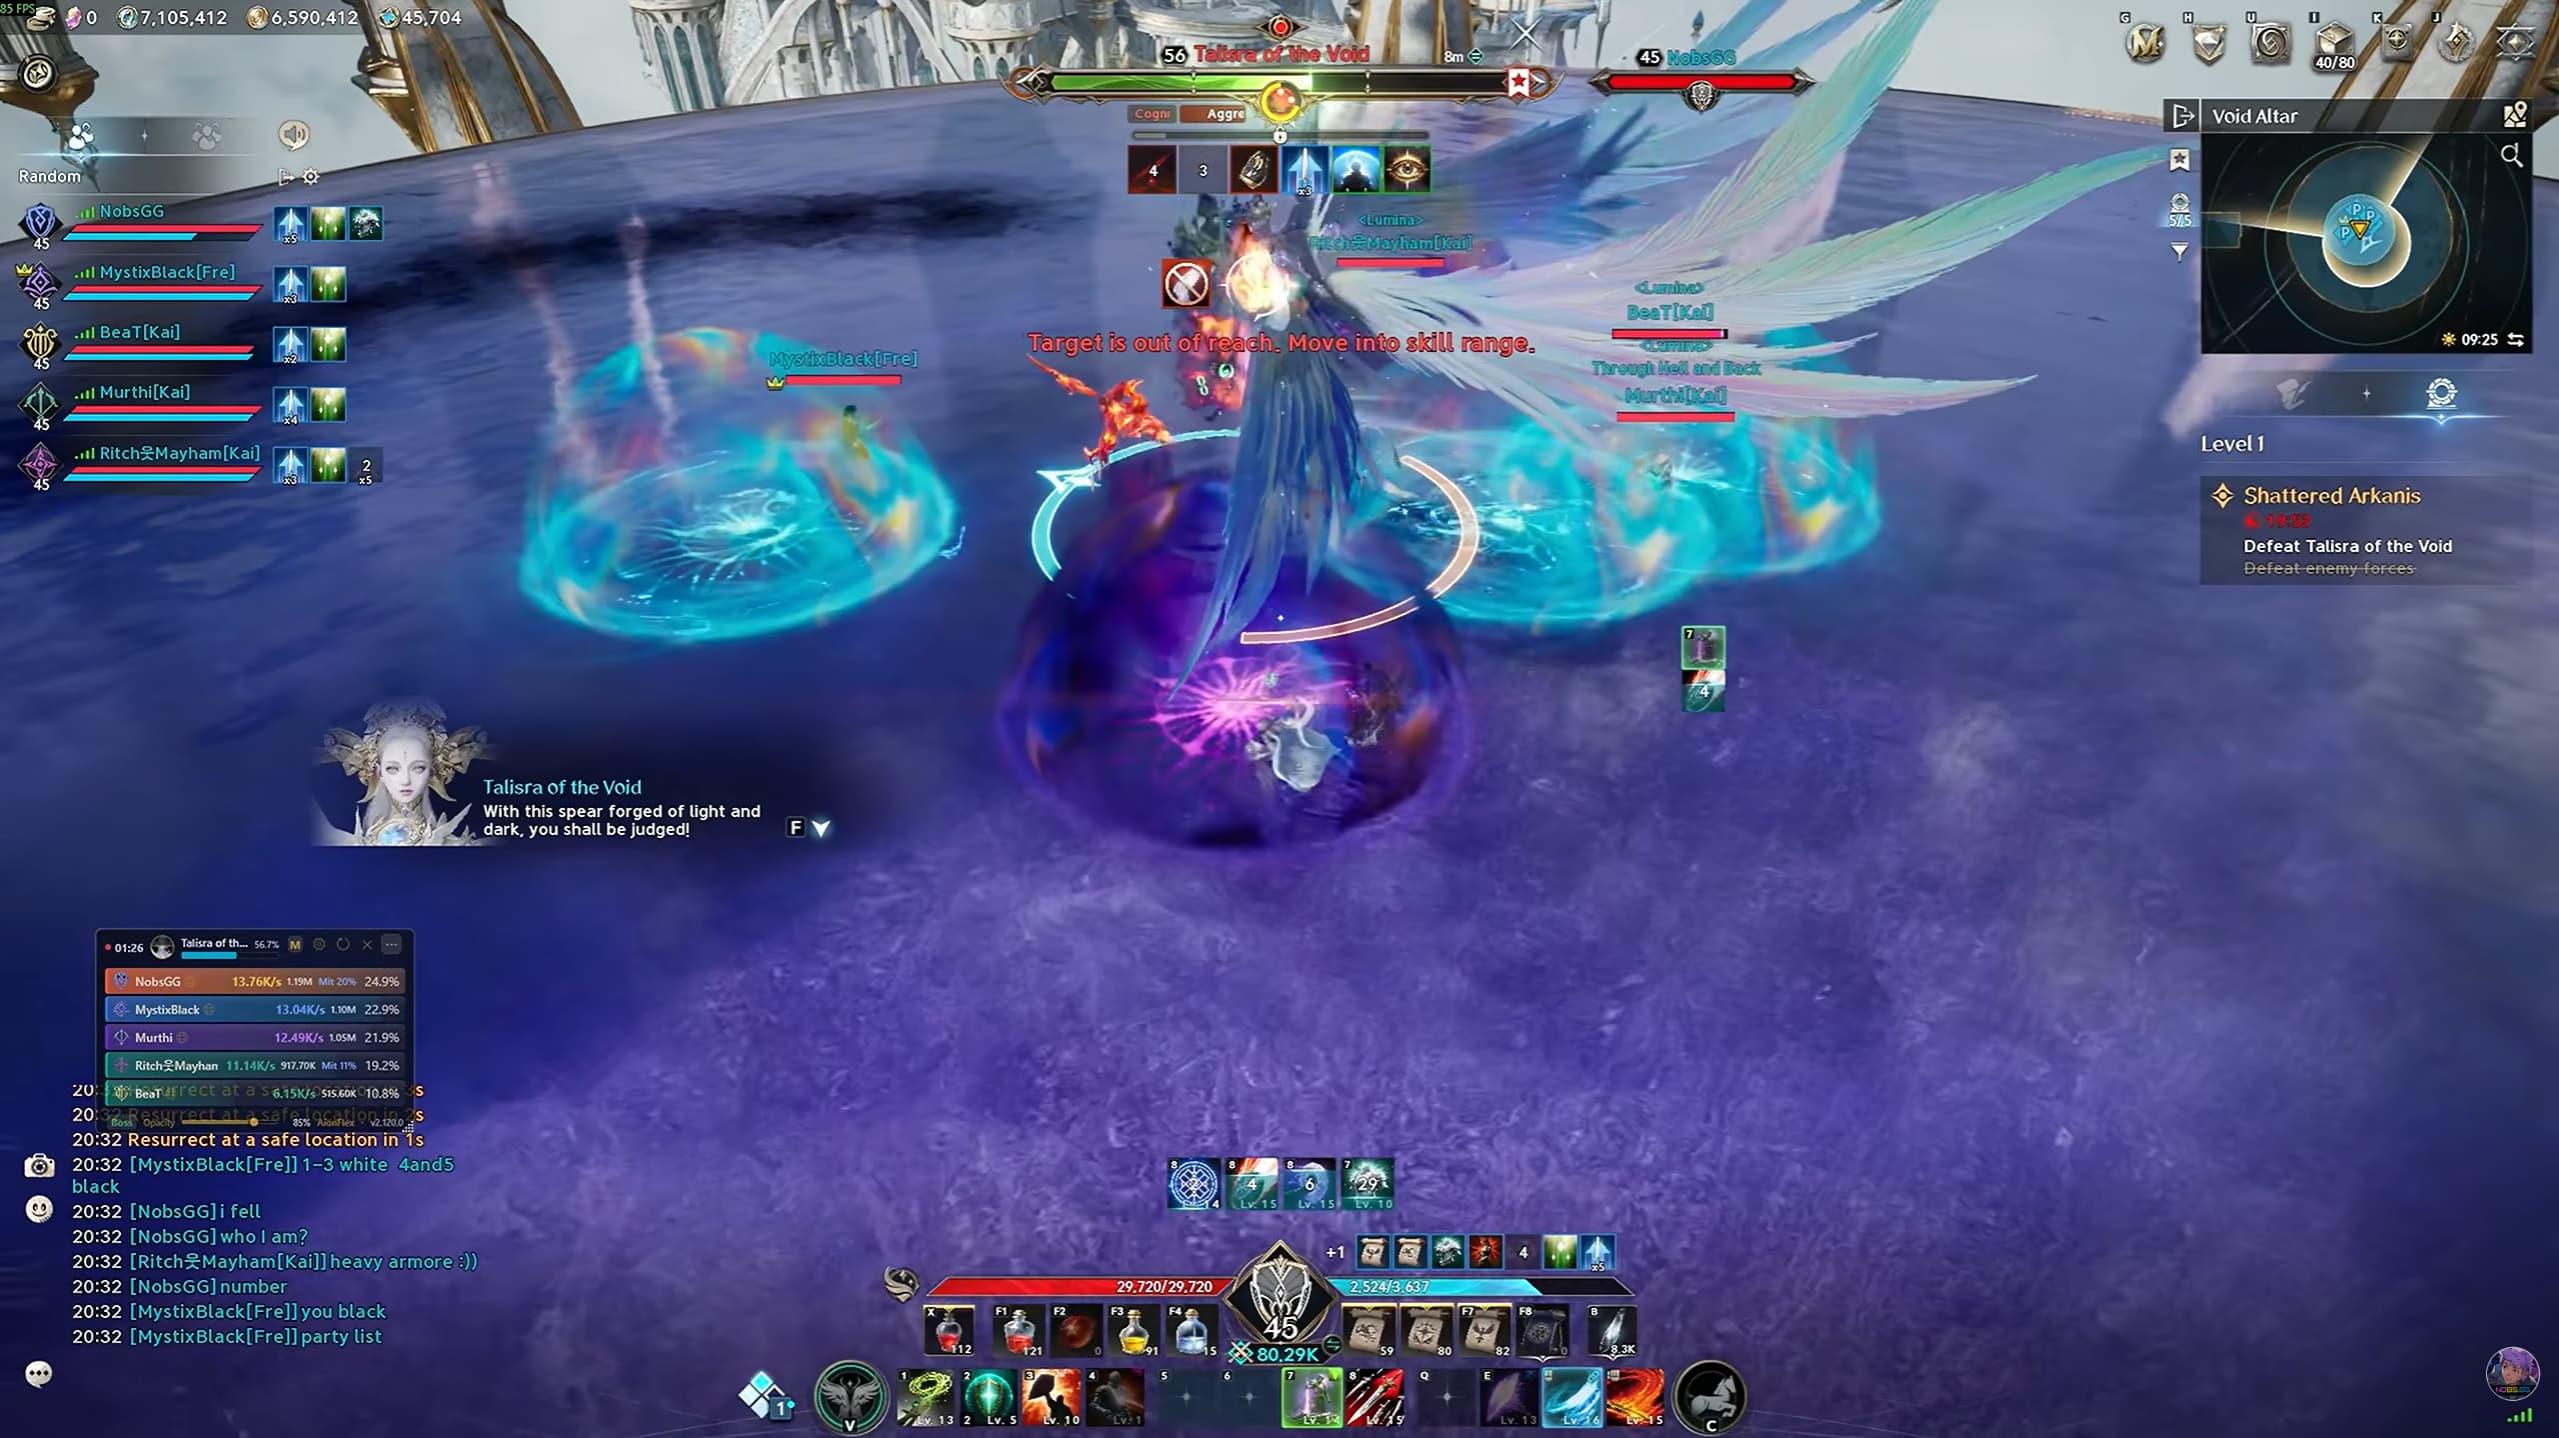
After the collection phase, players leave barriers on the ground matching the colour they collected. These barriers are needed for the next mechanic.
Follow the Barrier Colour Sequence
Watch Talisra’s staff as it flashes a sequence of colours. Remember the full order, then use the matching barriers for her attacks.
Enter a barrier matching the first colour before the first attack lands.
Wait for that hit to resolve, then move to a barrier matching the next colour.
Continue following the sequence until every attack has finished.
For example, a purple followed by white sequence means taking the first hit inside a purple barrier, then moving into a white barrier for the next hit.
Follow the colours shown each time the mechanic occurs. After the sequence ends, return to attacking and handle her repeated mechanics until she is defeated.