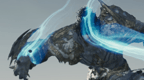
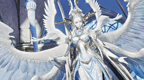
Our Deus Research Base expedition guide covers the route and all three boss encounters in Aion 2, focusing on Transcendence Level 2. Learn how to prepare the teleporter, position dangerous attacks and handle Atiel’s tether, wave and guard-break mechanics.
For recommended skills, Stigmas and rotations before entering, explore our Aion 2 class builds.
A huge thank you to NoBS Game Guides for sharing his Deus Research Base encounter tips!
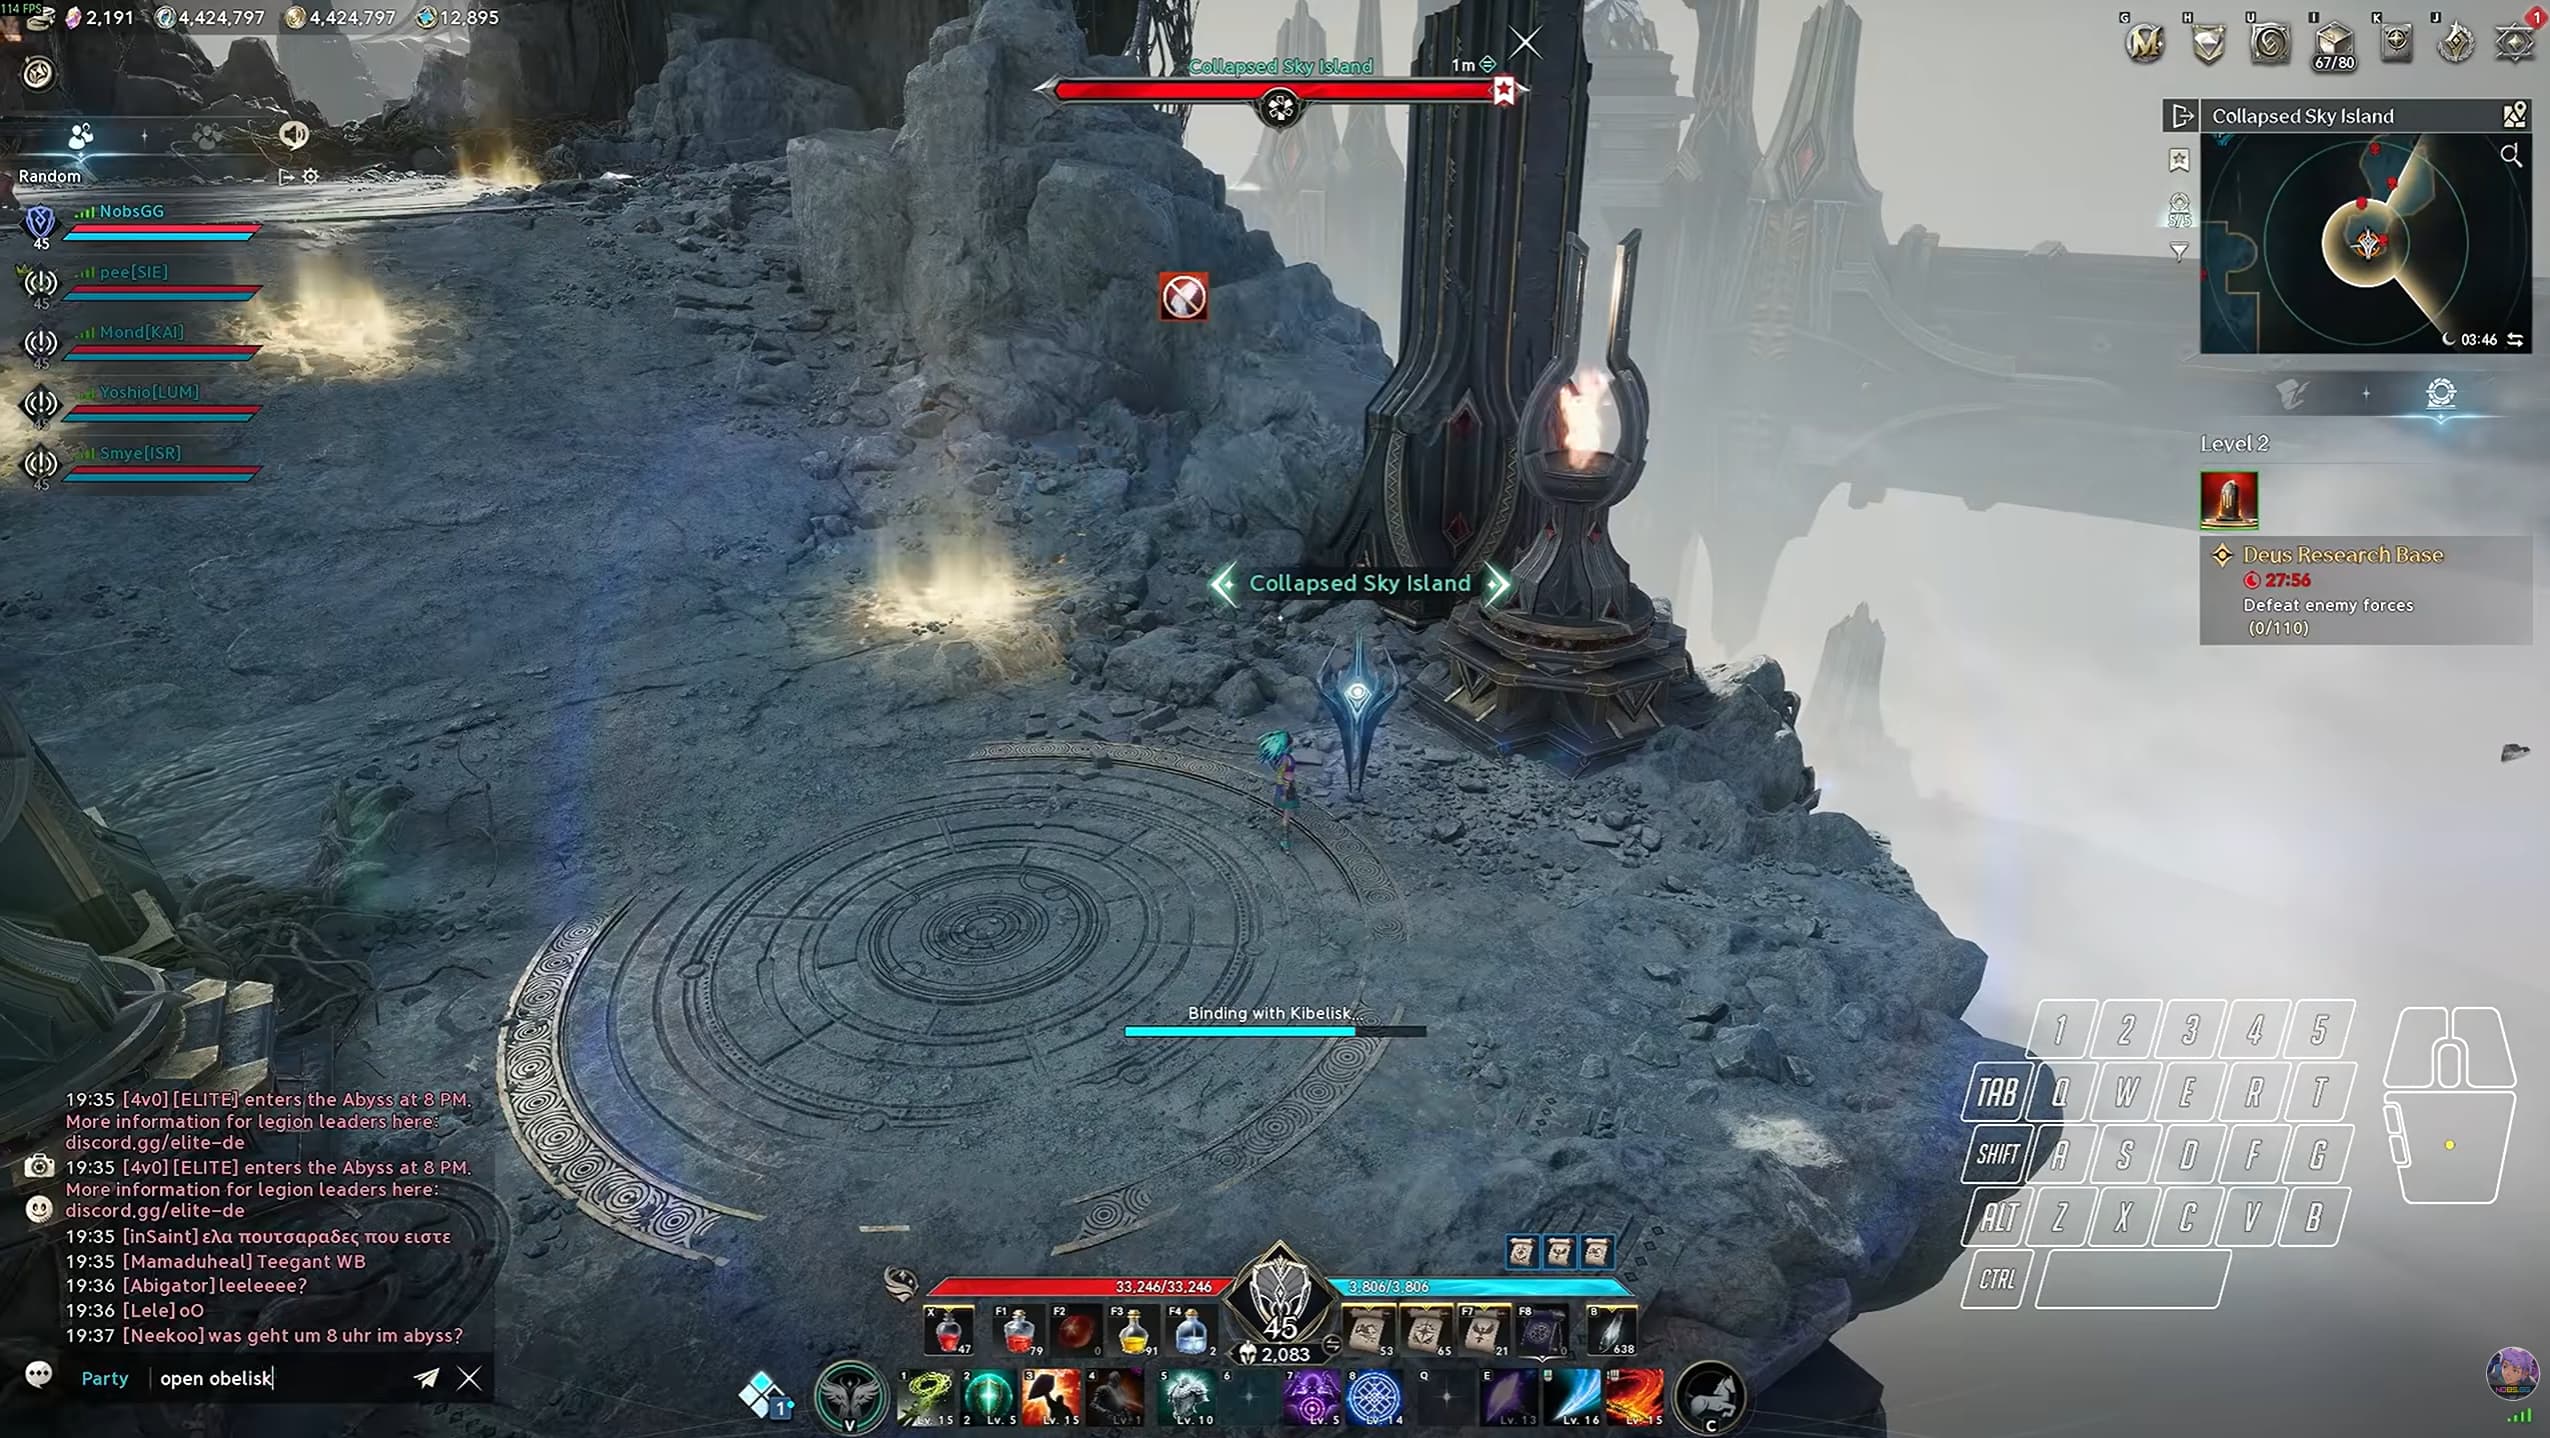
Clear Monsters and Unlock the Teleporter
Your party needs to meet the monster-clearing requirement before it can fight the final boss. Follow the expedition’s objective counter as you defeat enemies.
Split the opening tasks to reduce travel time:
Send one player ahead to unlock the teleporter near the second boss’s entrance.
Have the rest of the party clear monsters while the runner travels ahead.
Once the teleporter is active, the runner should return to the group.
An optional balcony shortcut can shorten the runner’s route, but an invisible barrier prevents a straightforward jump across. Take the normal route if you cannot reliably make the shortcut.
The aim is to prepare the next teleport point while the party progresses towards the monster requirement.
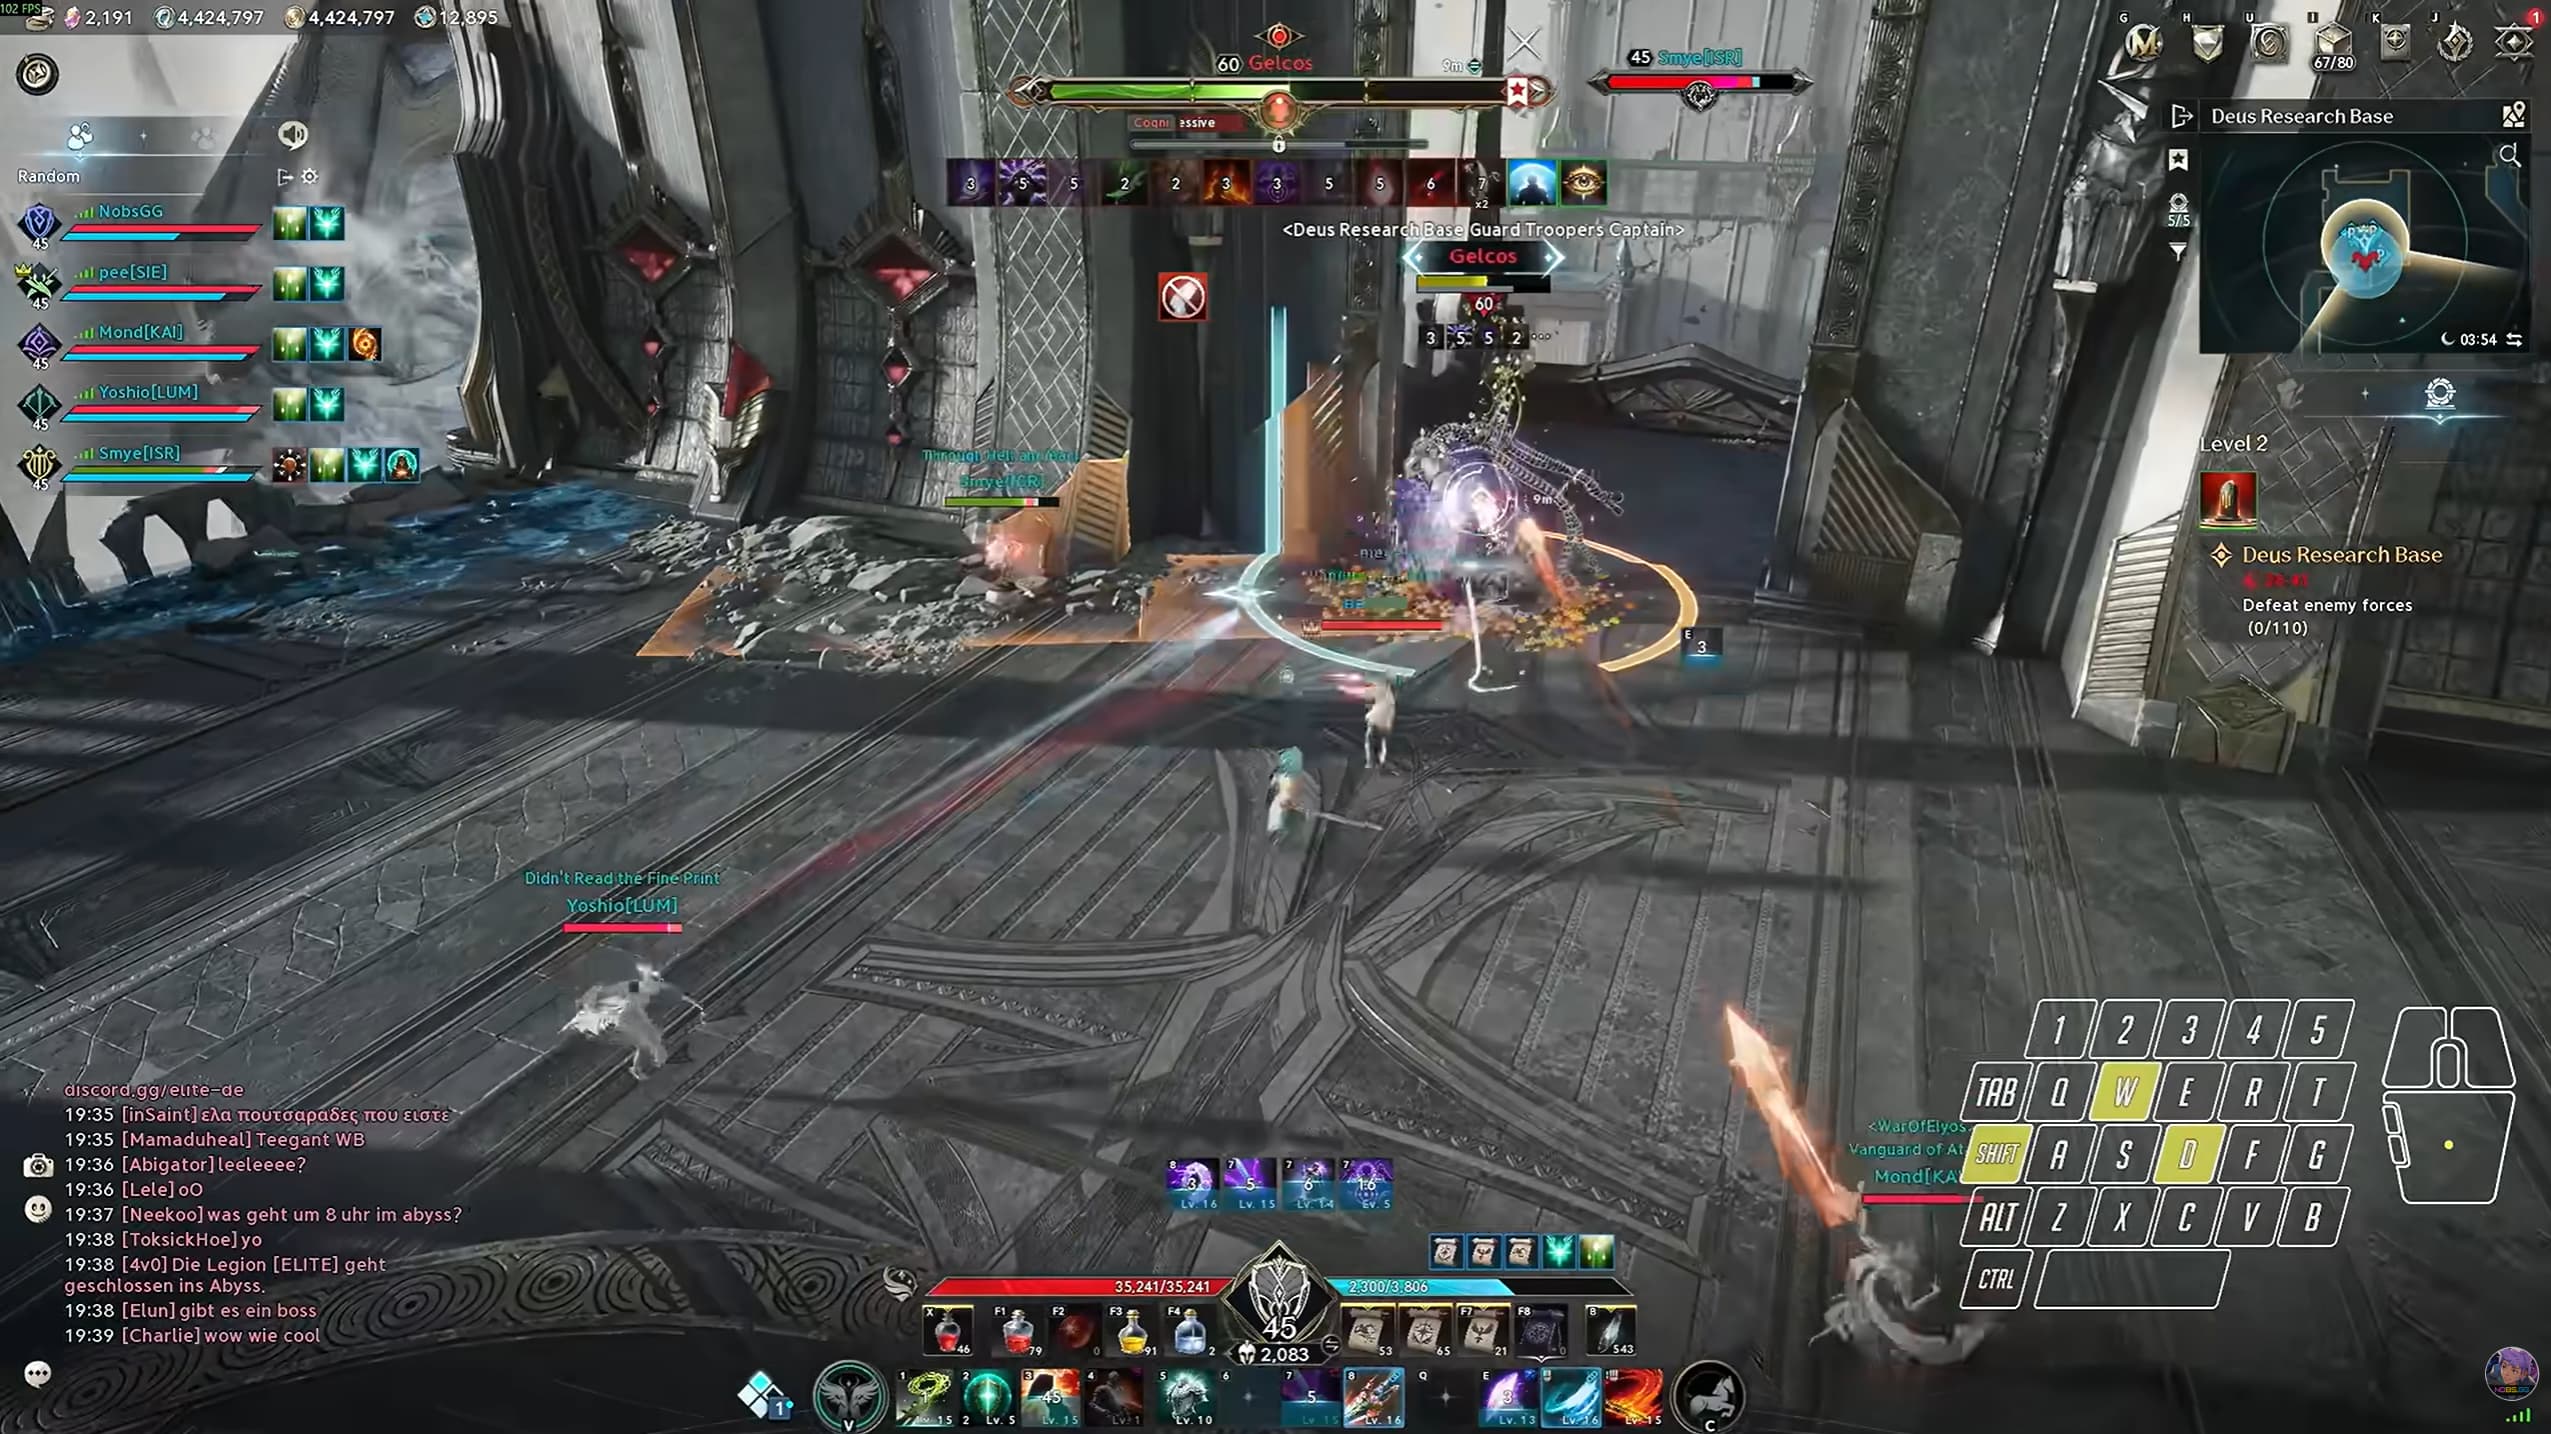
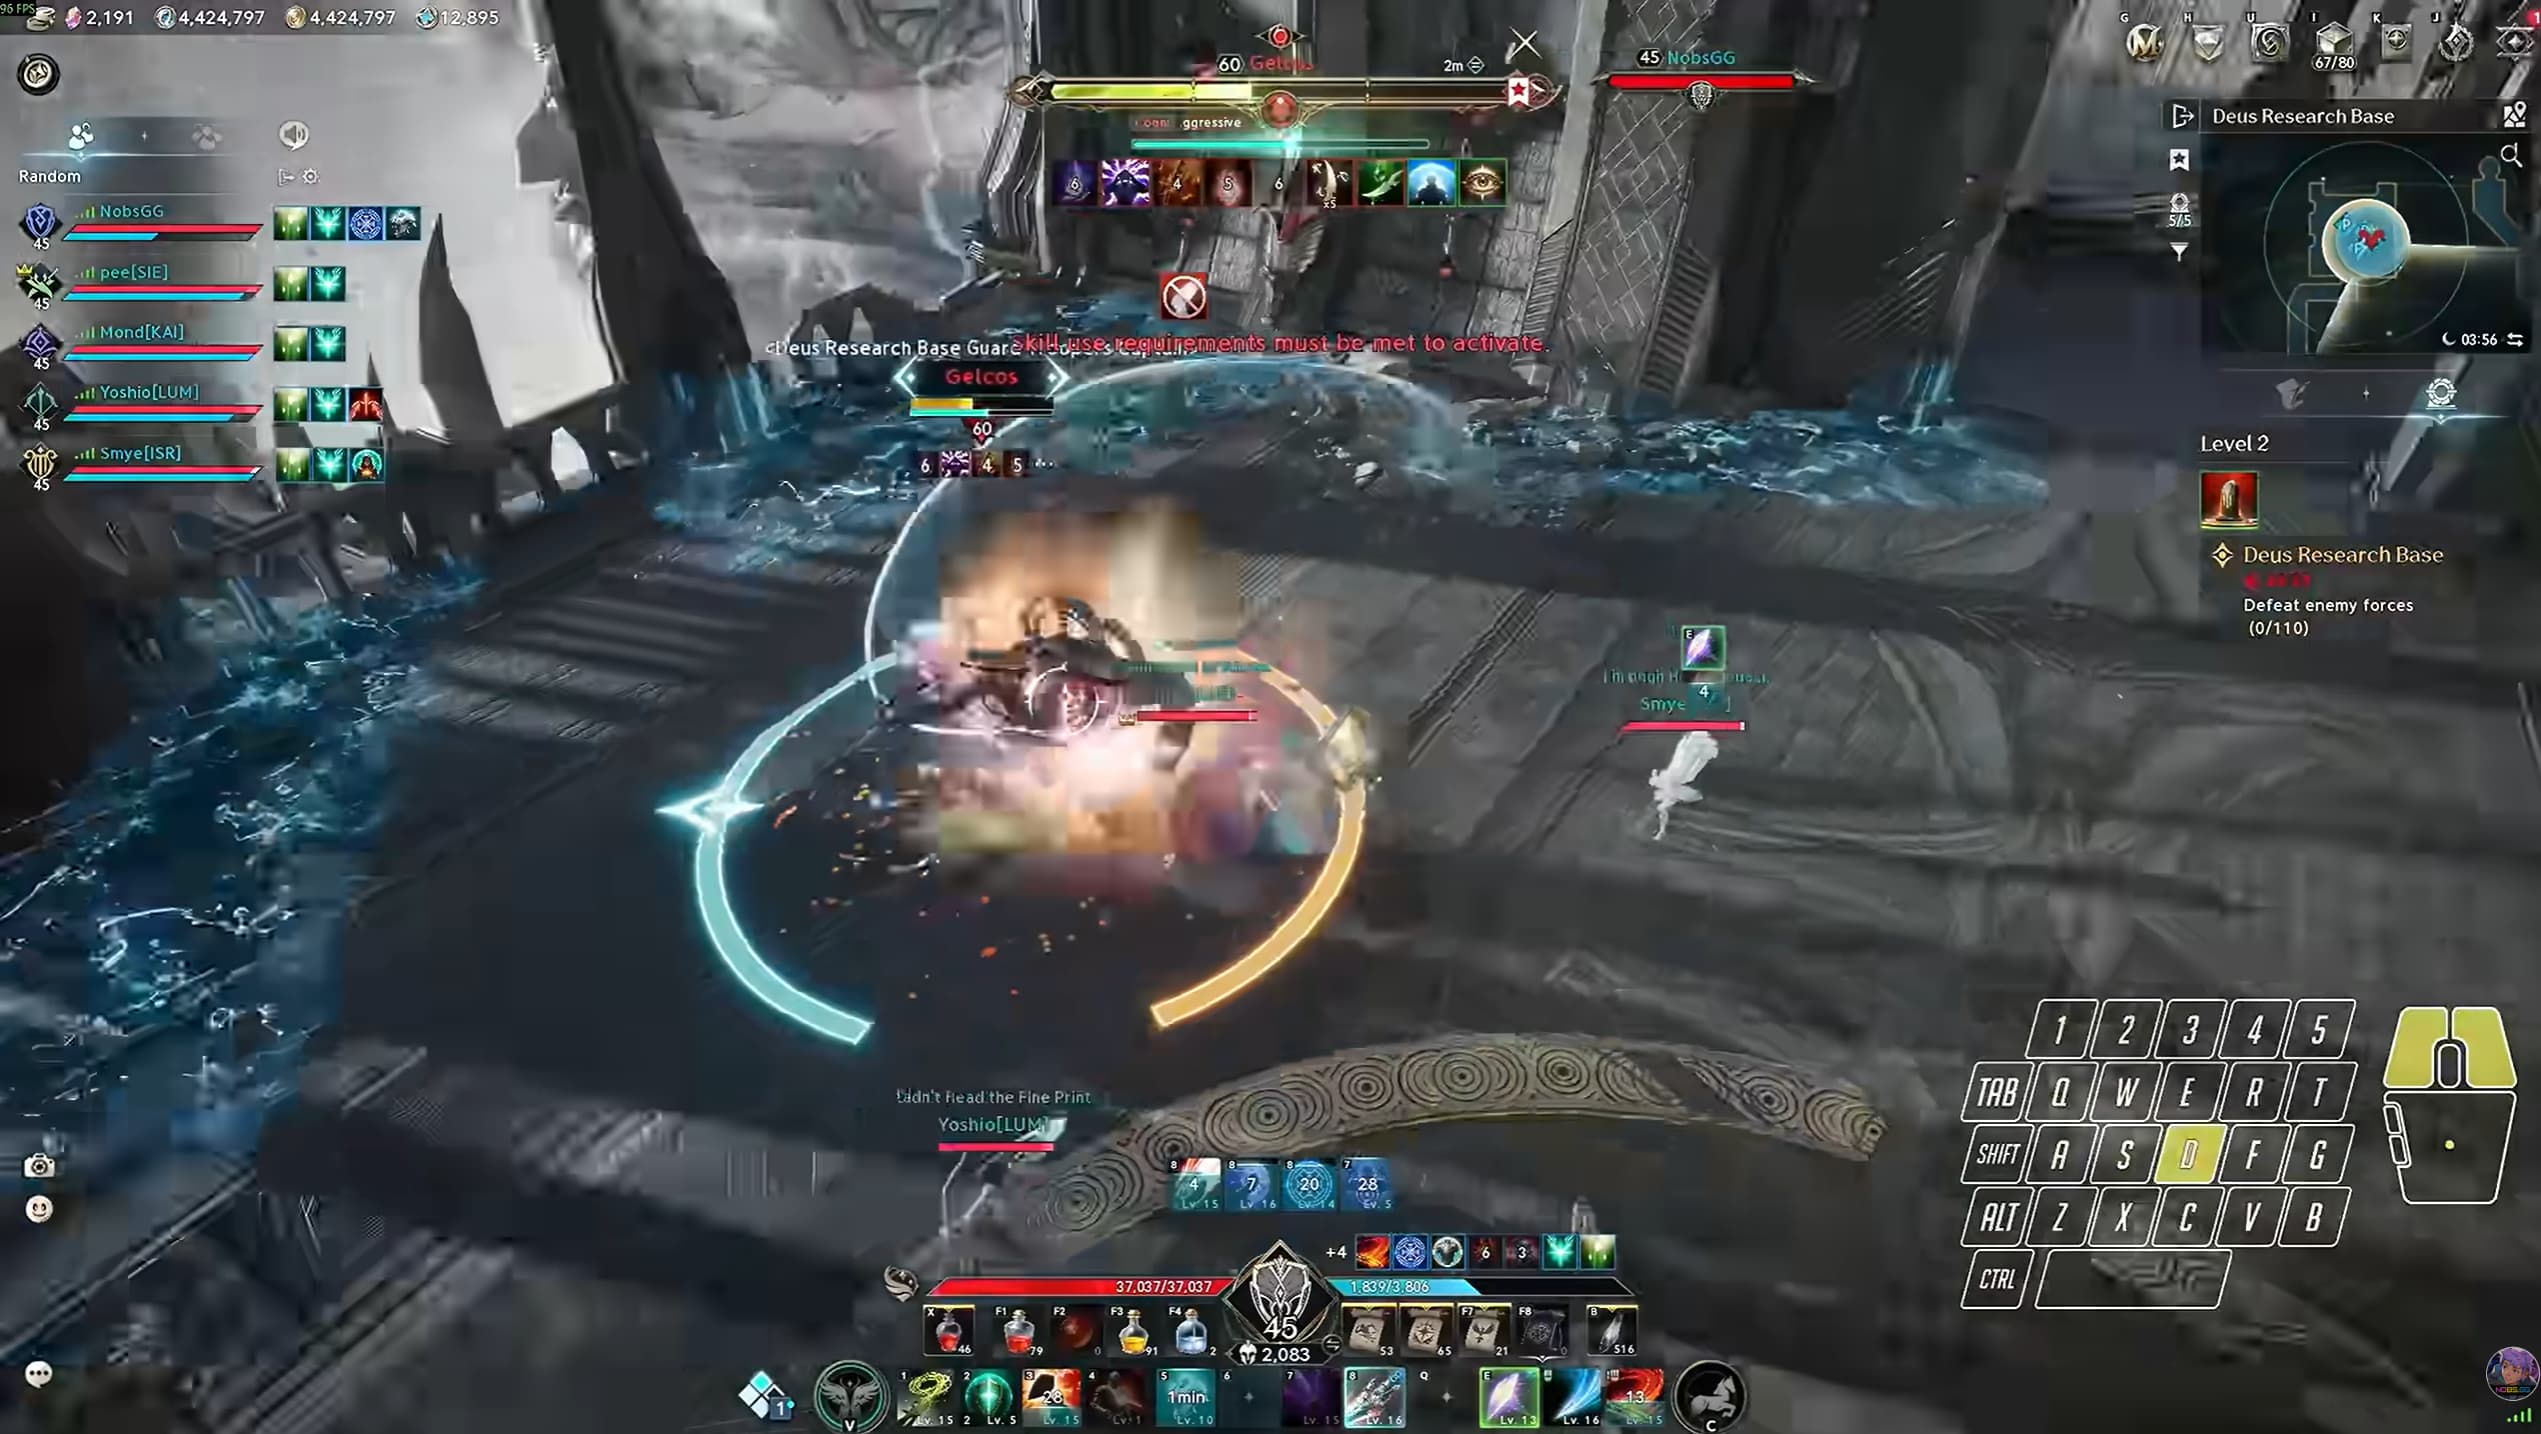
First Boss: Gelcos
Keep the Electrical Fields Away from the Centre
Gelcos marks a player and dashes towards them. Getting hit by the dash knocks you down, making it harder to escape the follow-up AoE.
That follow-up leaves a persistent electrical field on the ground. Gelcos repeats the dash and ground attack against the same player, then finishes with a jump attack targeting them again.
If you are marked:
Dodge the first dash, then bait the follow-up AoE towards the arena’s edge.
Dodge the second dash and keep the next electrical field away from the centre.
Watch for the final jump and move out of its AoE.
Keep these attacks away from your teammates and the middle of the arena so the party has room to move throughout the fight.
Avoid the Cleave, Whip and Vortex
Gelcos’s basic attacks cleave in front of him. Unless you are tanking, stay behind the boss.
When he pulls the party towards him, immediately move behind him again to avoid the following whip attacks.
For the vortex, run away from Gelcos. Although the effect appears across the arena, the damaging area has a limited range around him. Create enough distance to get outside it.
After defeating Gelcos, use the unlocked teleporter to continue towards Nazmun.
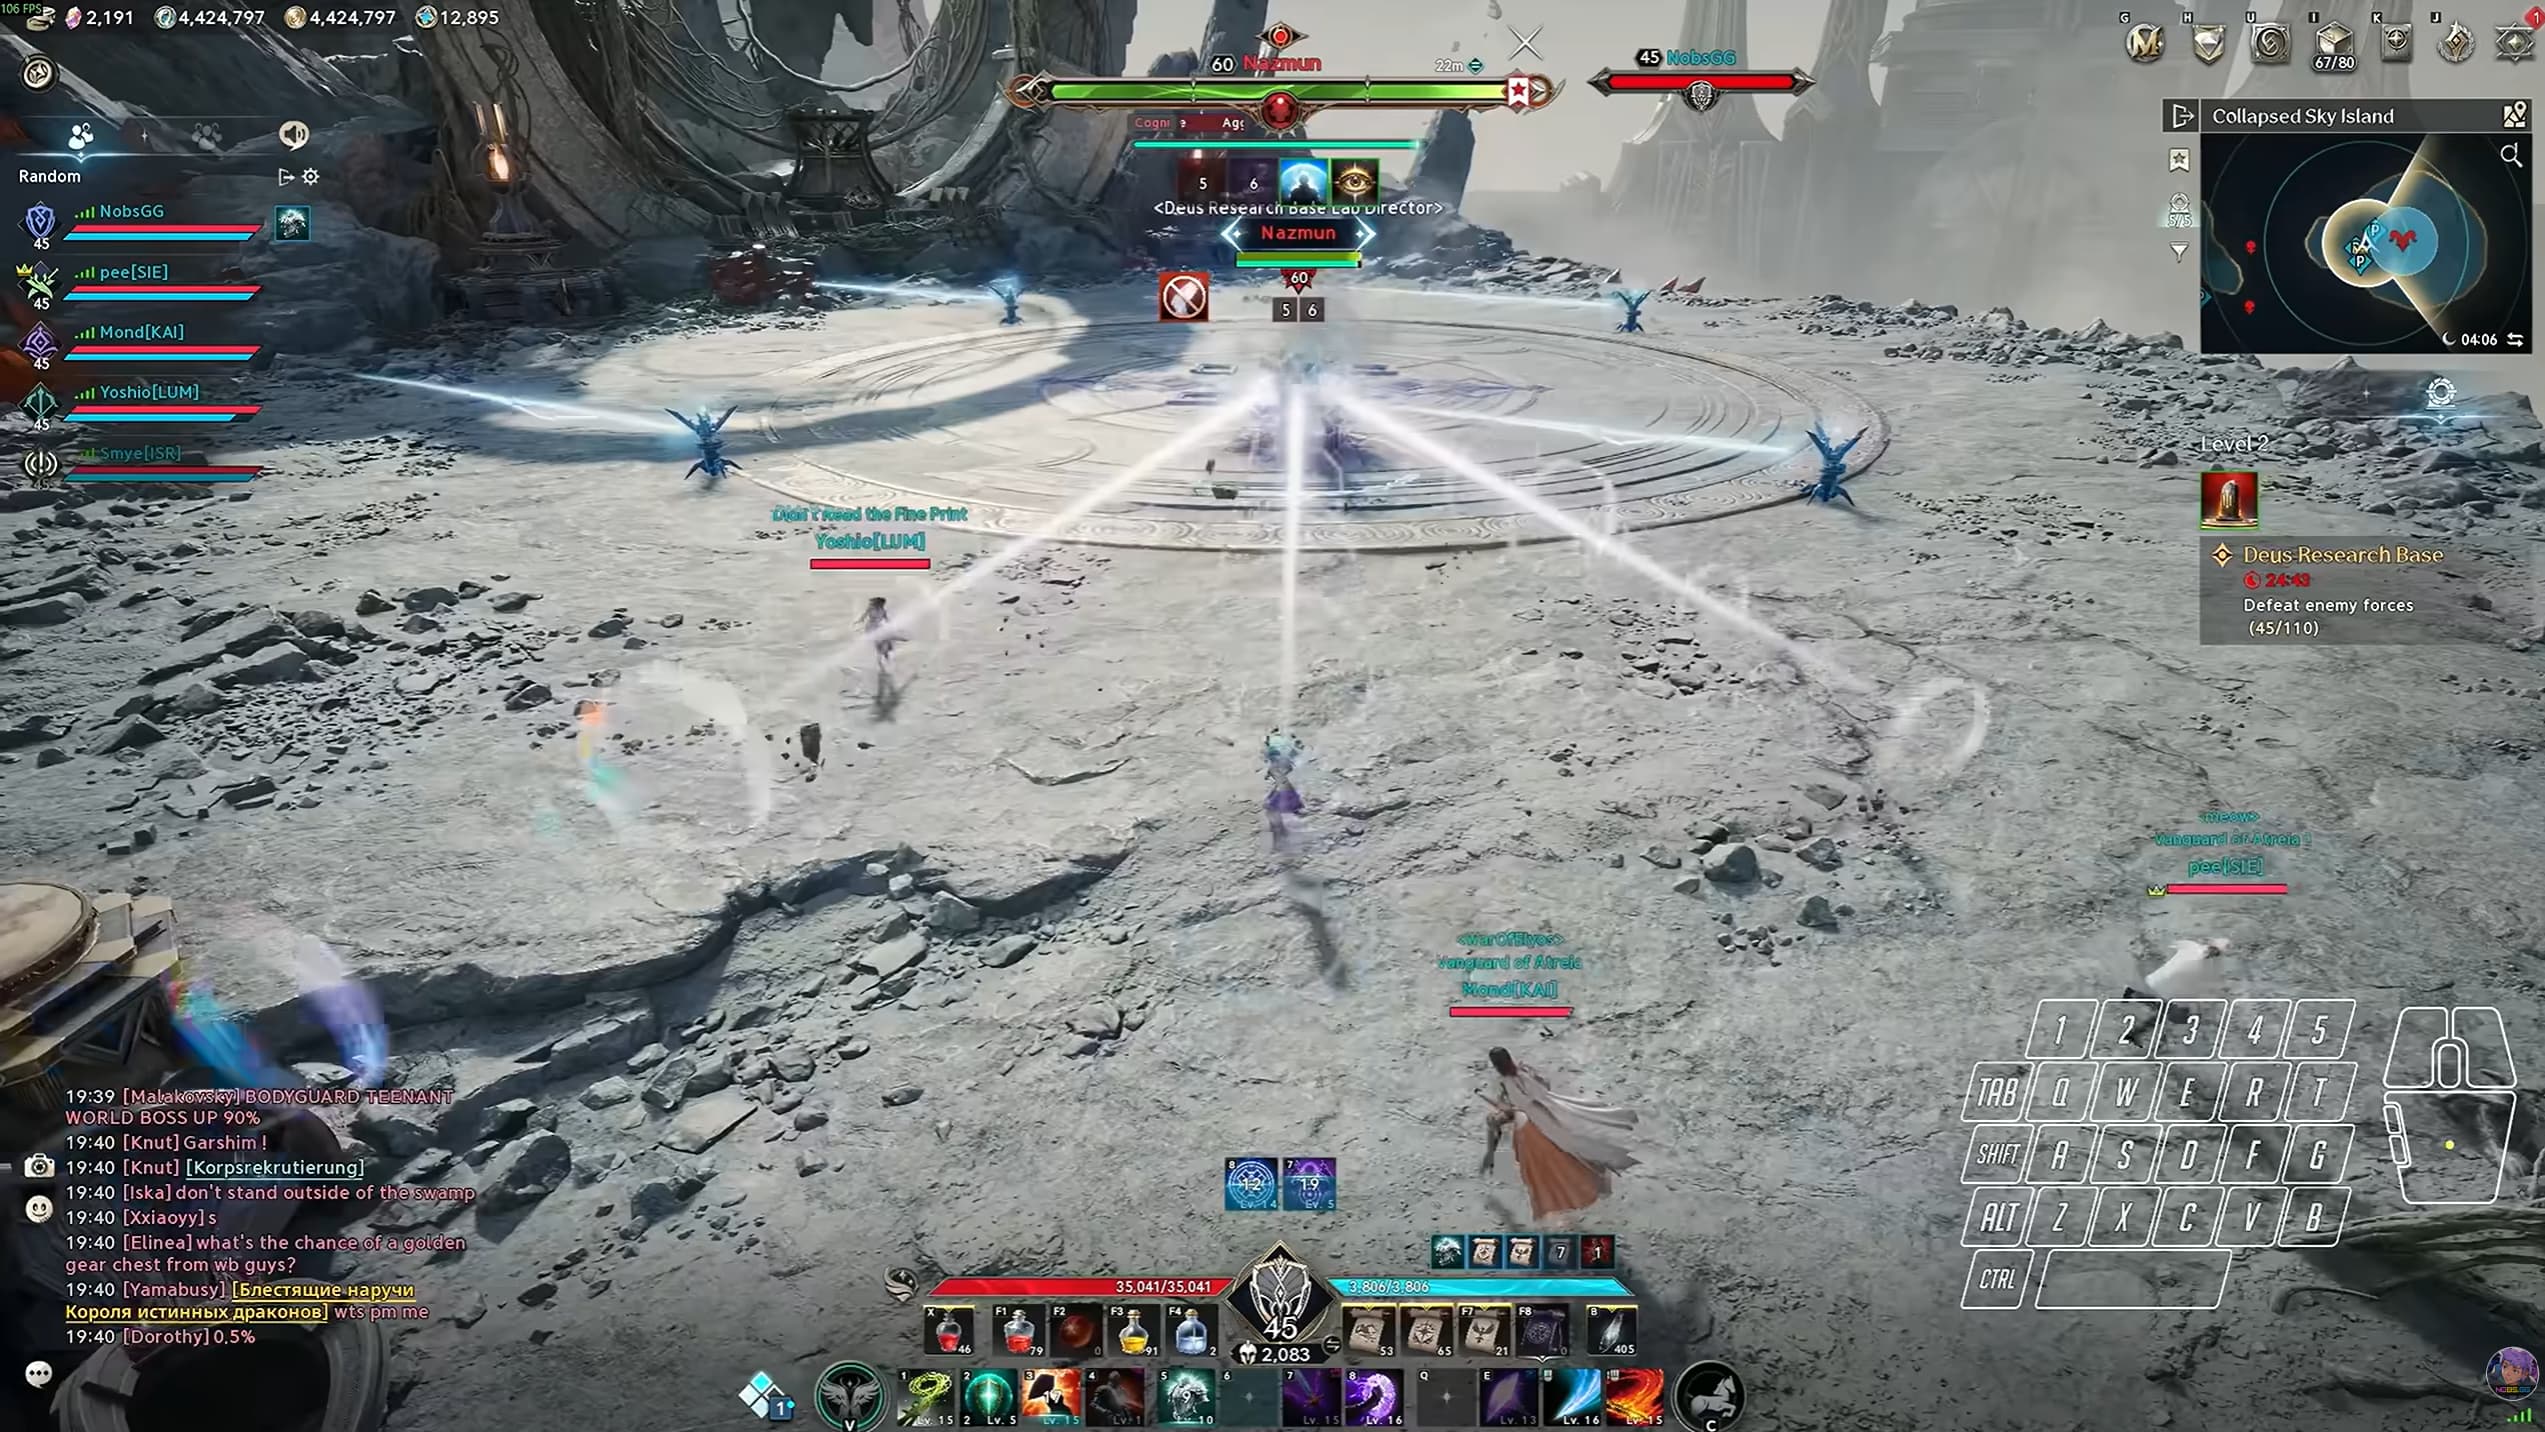
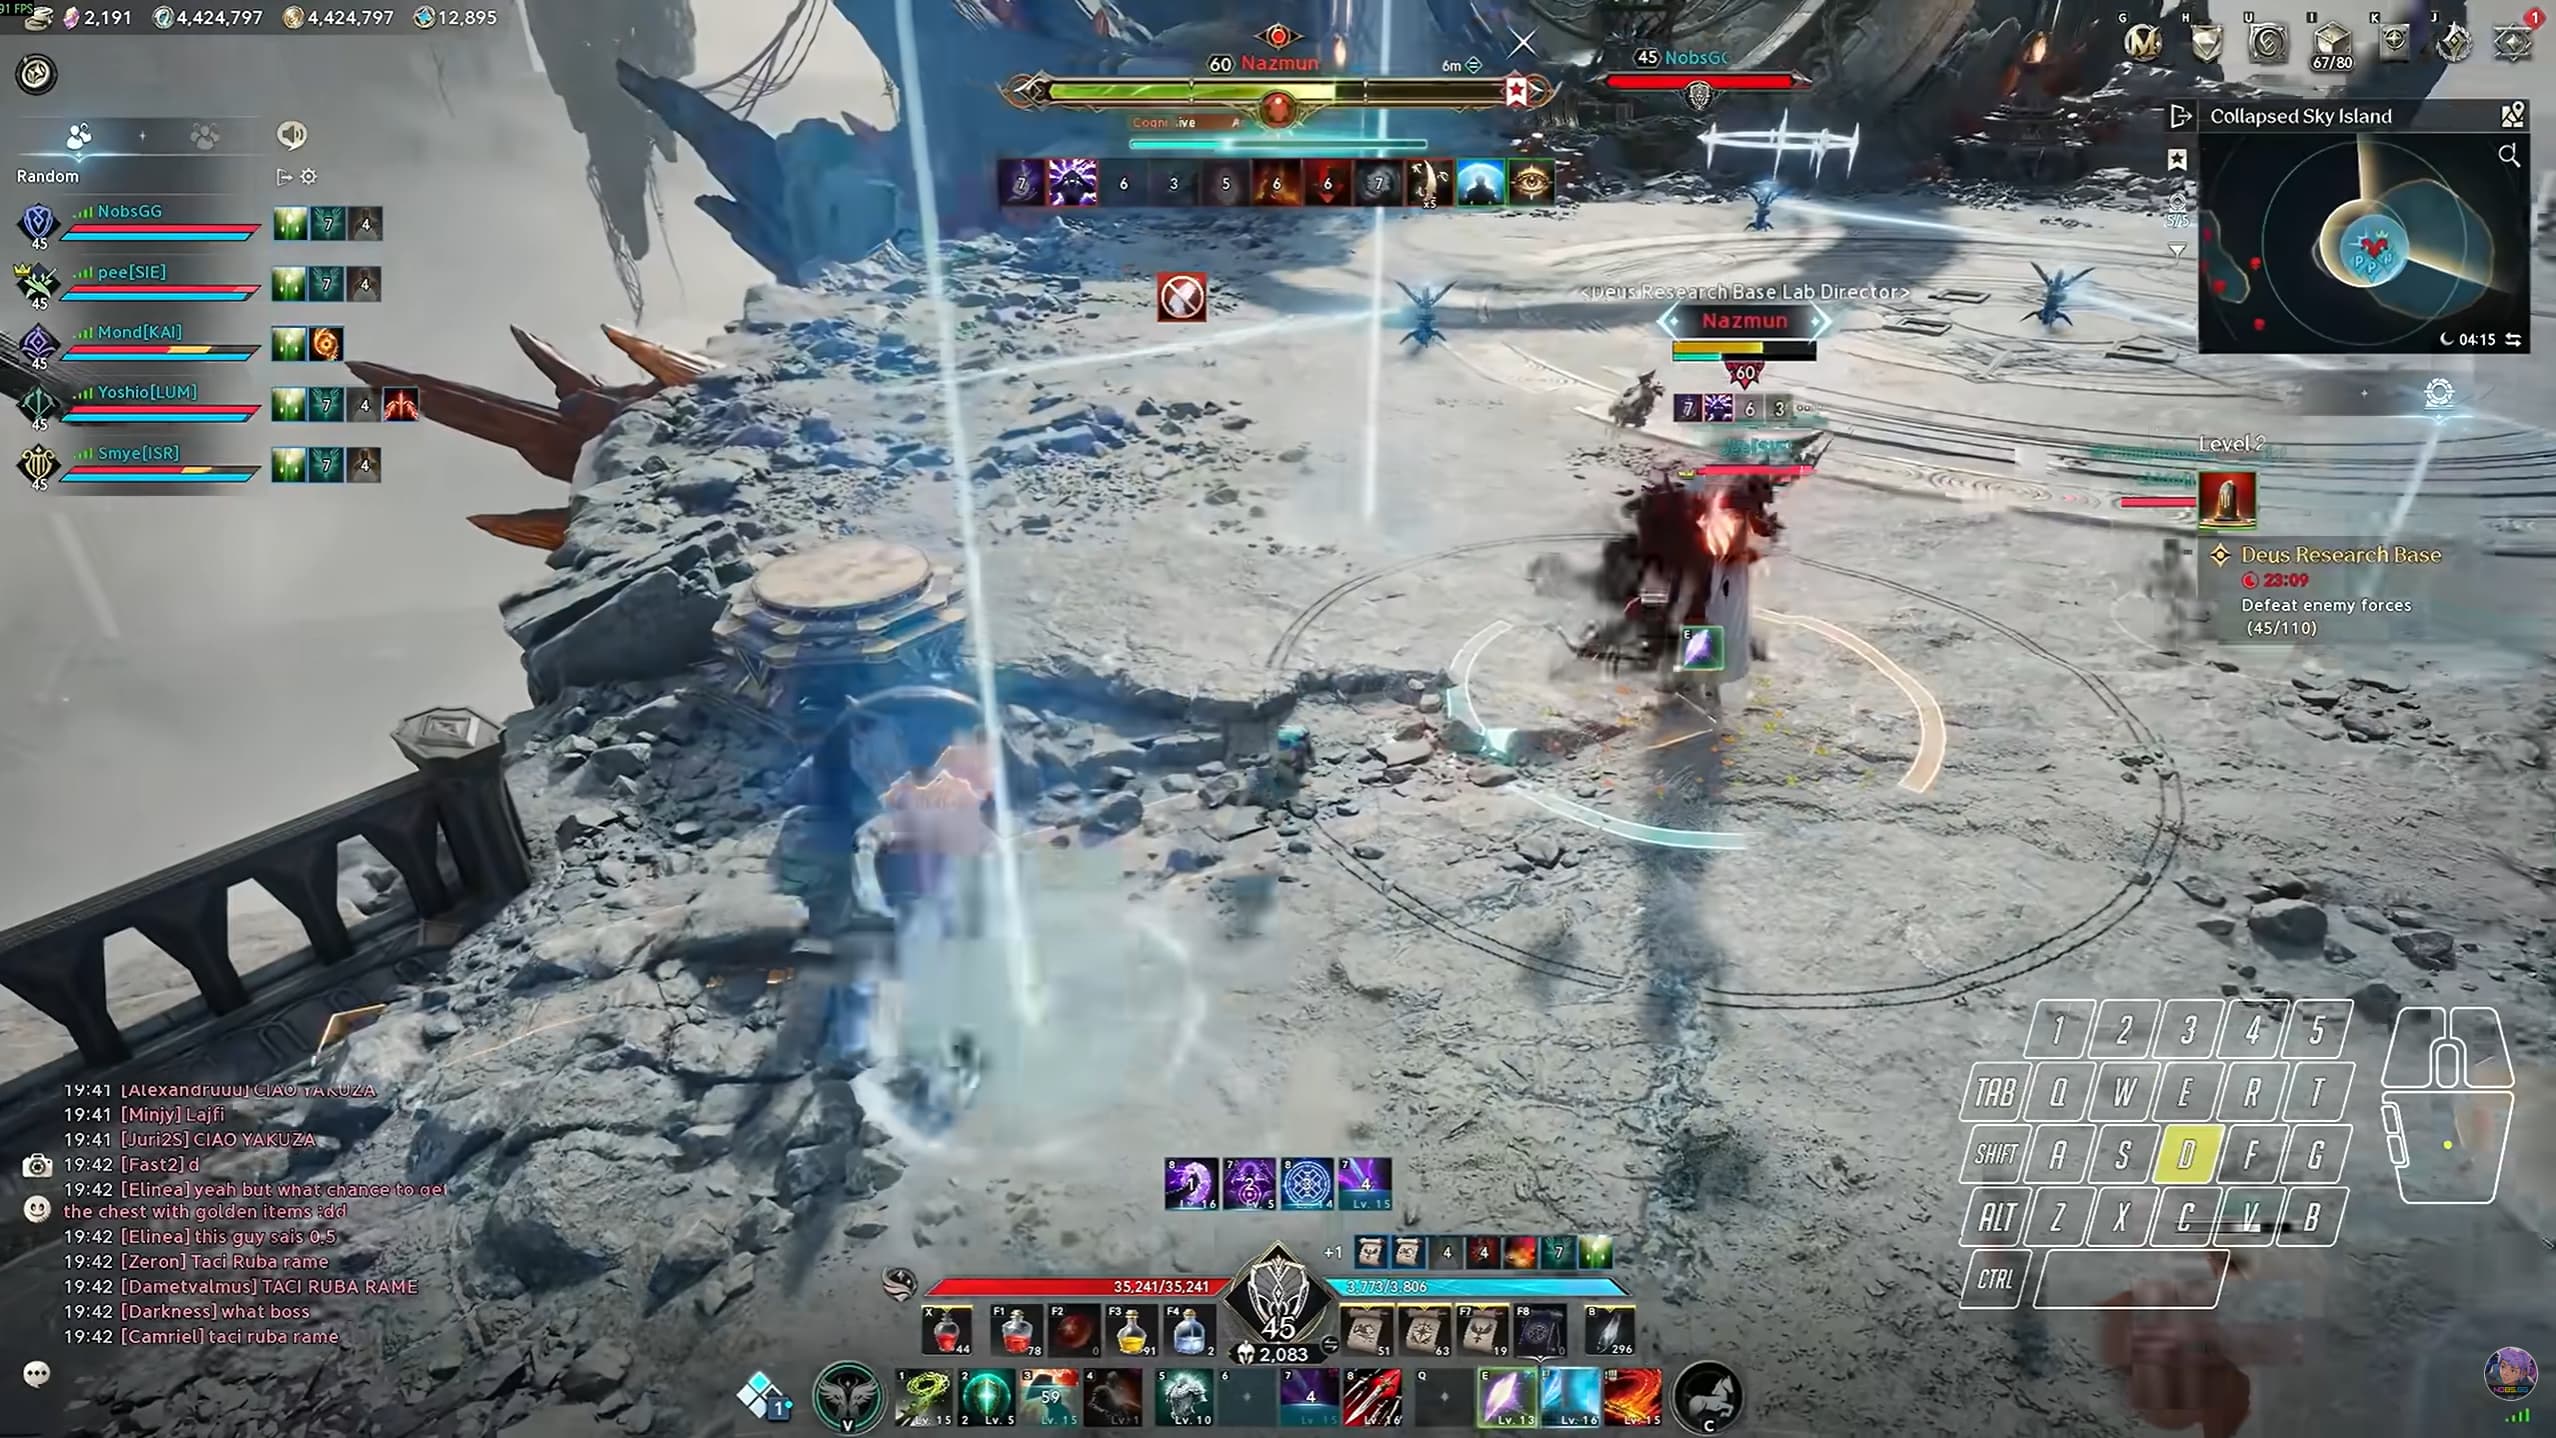
Second Boss: Nazmun
Pull Nazmun Away from the Rotating Lasers
Nazmun opens the fight by creating four lasers that rotate around the arena.
The tank should move her towards the far end of the arena, bringing the fight out of reach of most of the lasers. Depending on the position, one laser may still reach the group, so keep watching for it and move when needed.
Positioning the boss this way gives the party more space to focus on her other attacks.
Dodge the Line Attacks and Separate the Bombs
Nazmun attacks the tank with three consecutive line attacks. Block or dodge each one, and stay ready for the full sequence after avoiding the first hit.
She also targets the tank with a time-bomb AoE. Move away from your teammates before it detonates.
Later in the fight, two players receive this mechanic. Both marked players should move away from the group and each other until their bombs resolve.
Final Boss: Atiel
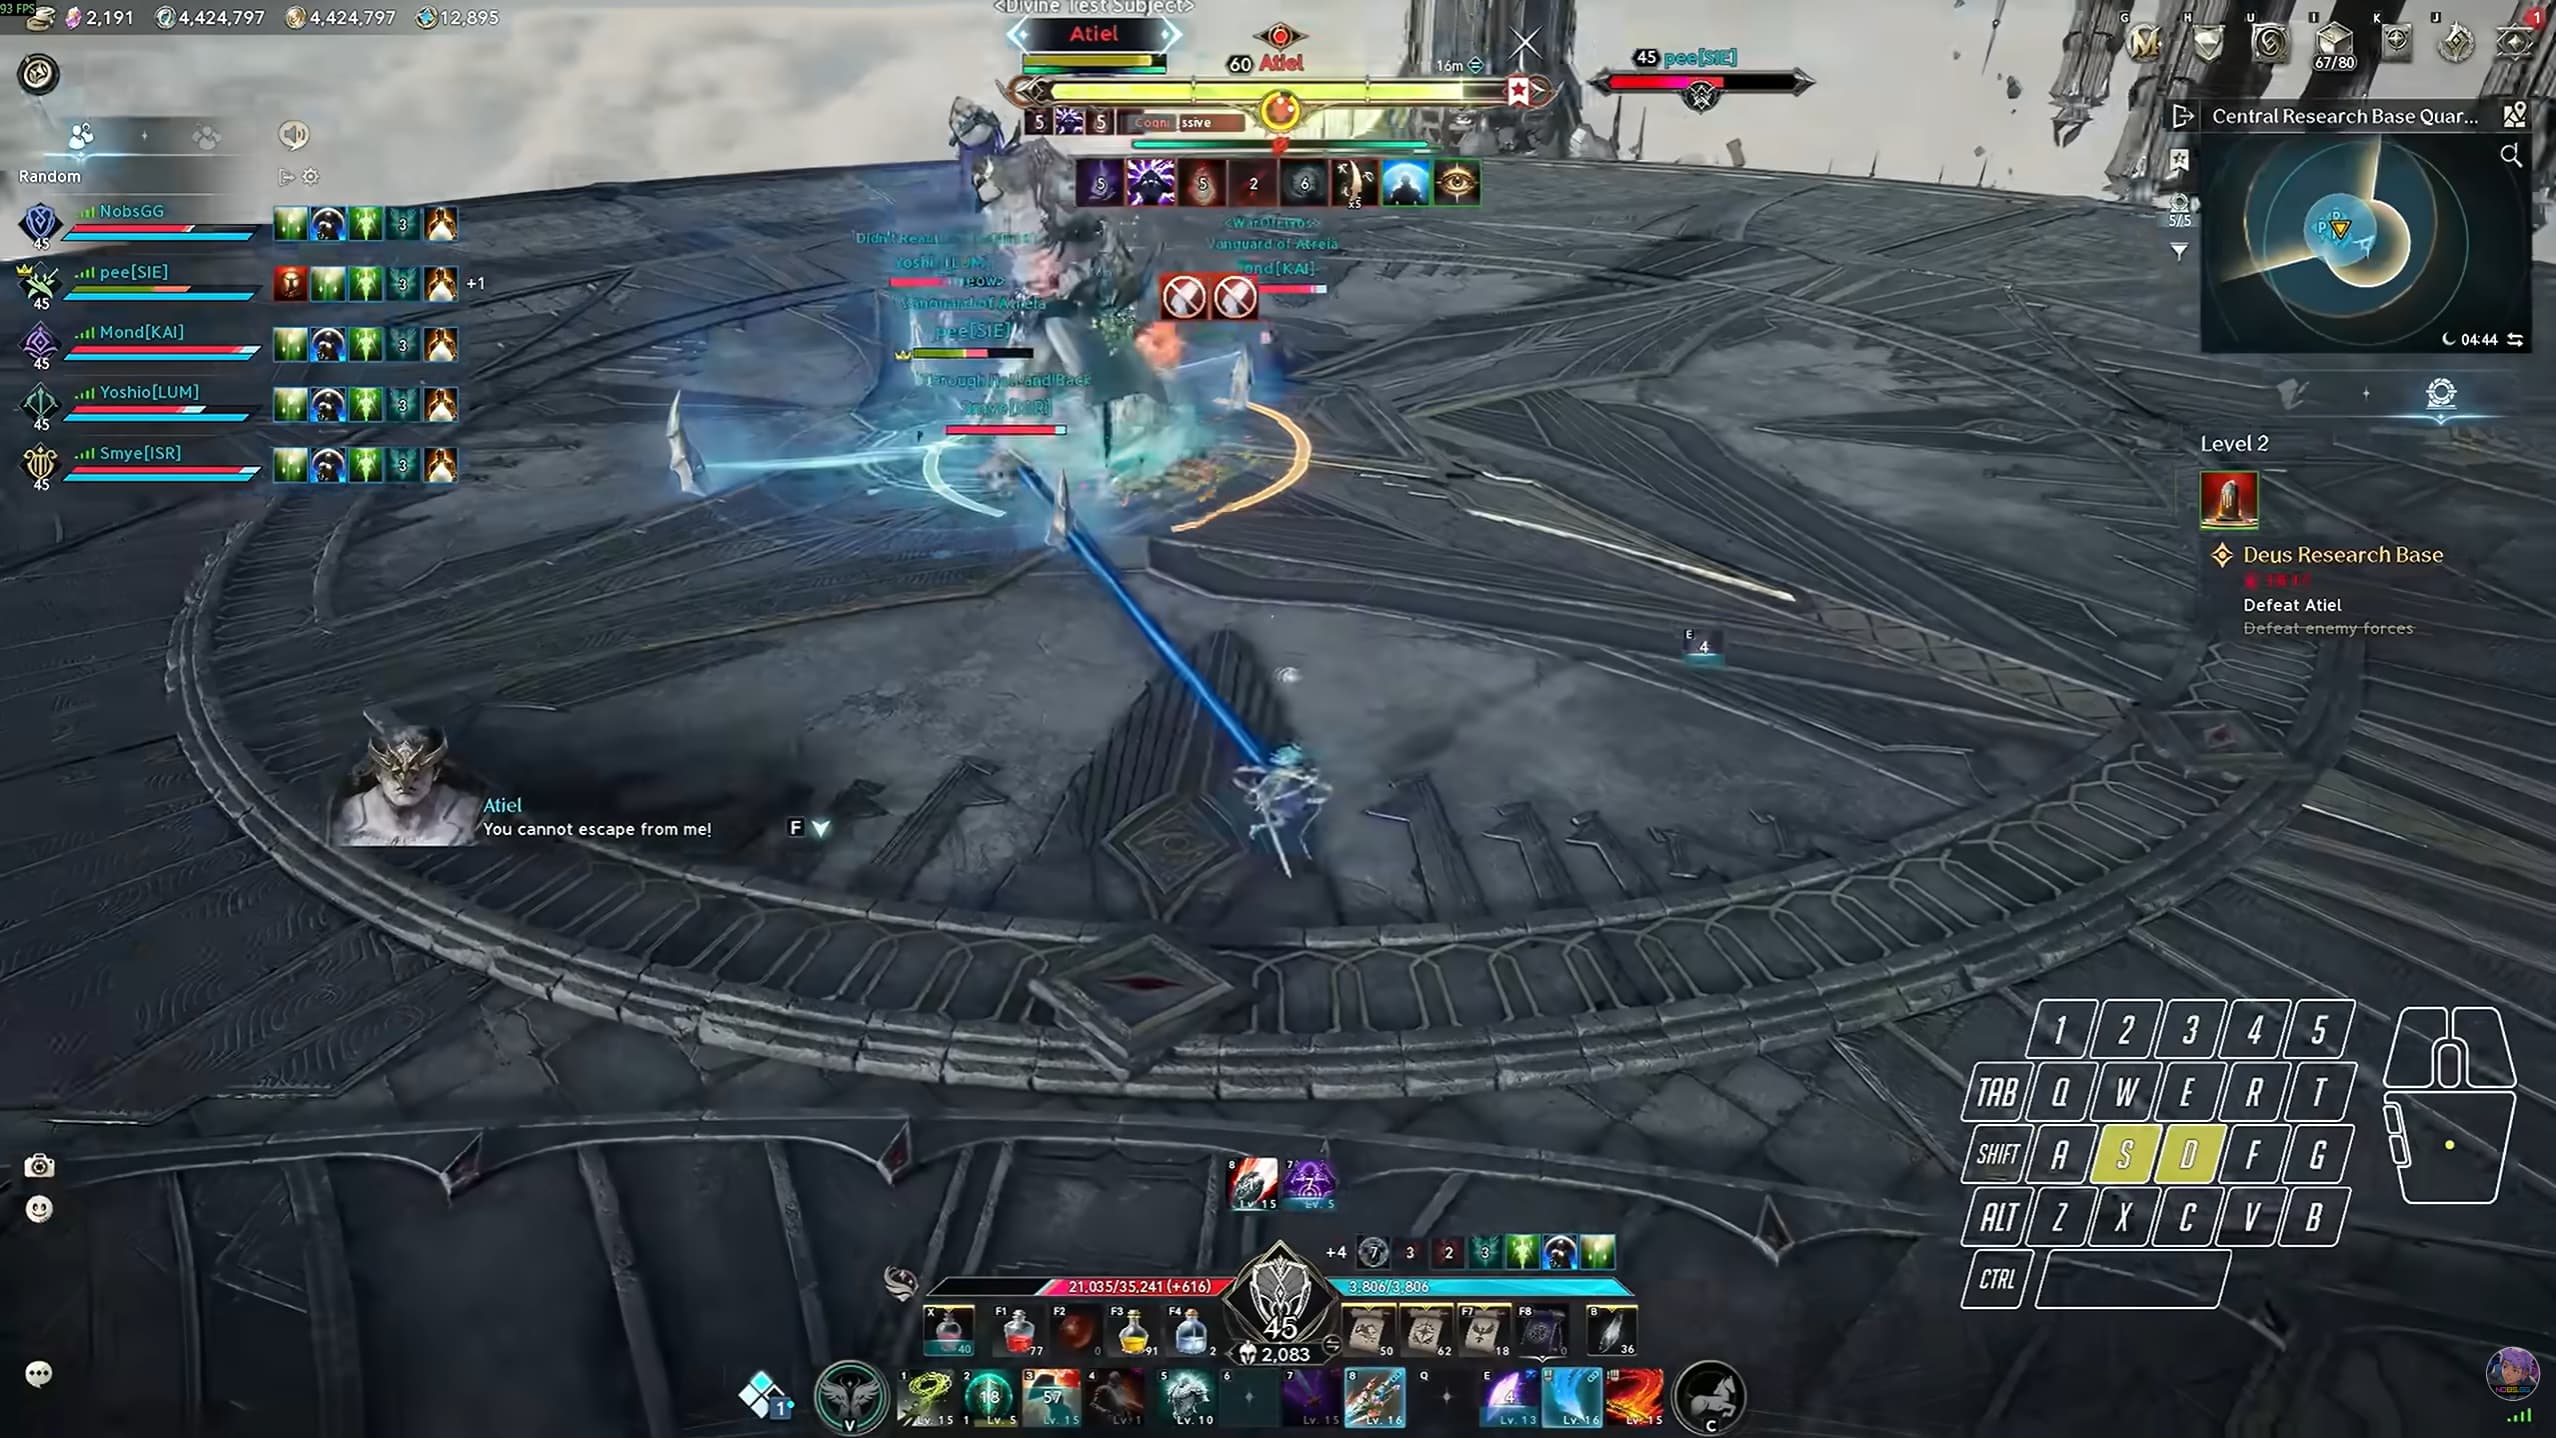
Watch for Atiel’s grab animation. He attempts to seize a player and slam them into the ground, so dodge as the grab begins. Continue avoiding or blocking his regular attacks between the major mechanics.
Break the Tethers, Then Stack Together
Atiel pulls the party towards him and creates tethers linking the tank to other players. These connections continuously damage the linked players until they are broken.
At the same time, another player is marked for an attack that the party needs to share.
Resolve the sequence quickly:
Move apart from the players you are tethered to until the connections break.
Find the player marked for the shared hit.
Stack on that player before the attack lands. Use a dash to return if breaking the tether took you far away.
Have shields and HP recovery items ready for this sequence. Our Aion 2 potions guide explains how to stock up on Life Potions and Life Serums before your run.
Avoid the Waves and Stay on the Platform
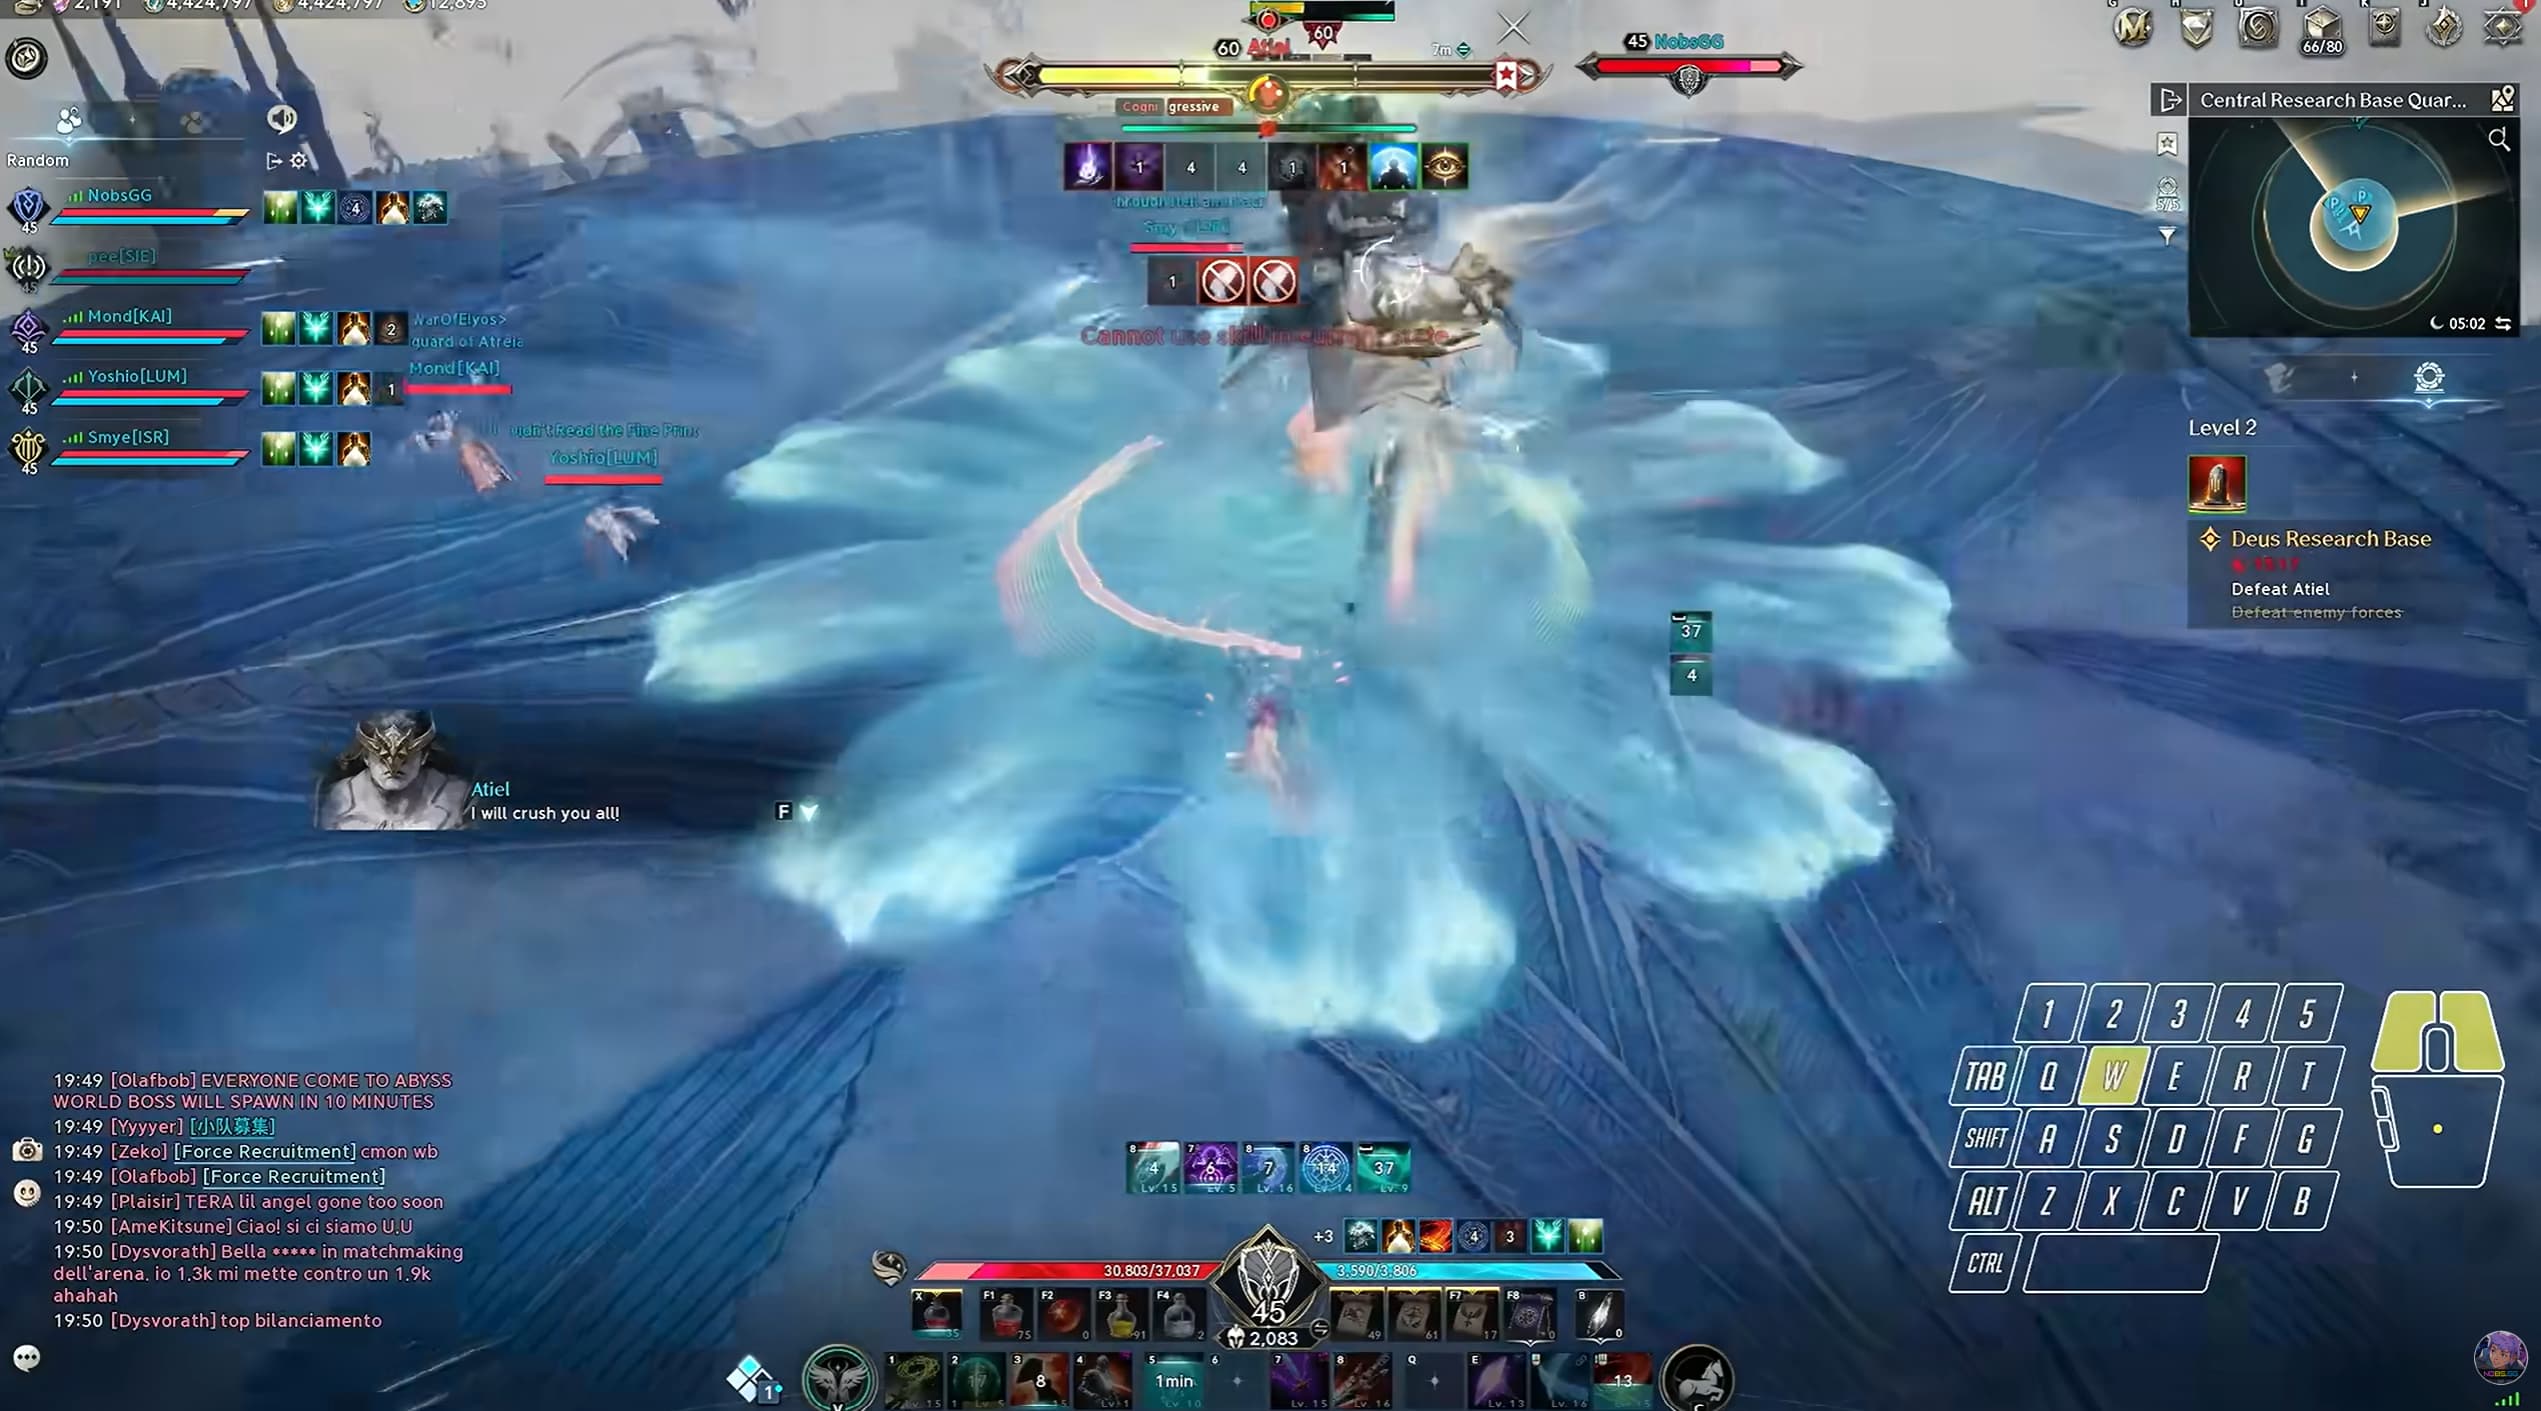
Atiel releases waves that deal damage and push players towards the edge of the arena.
The pattern shifts between waves, so an area that has just been struck can be safe from the next one. Watch the incoming pattern and move left and right between the gaps.
Keep checking your position as you dodge. Avoid drifting towards the edge, where another knockback could send you off the platform.
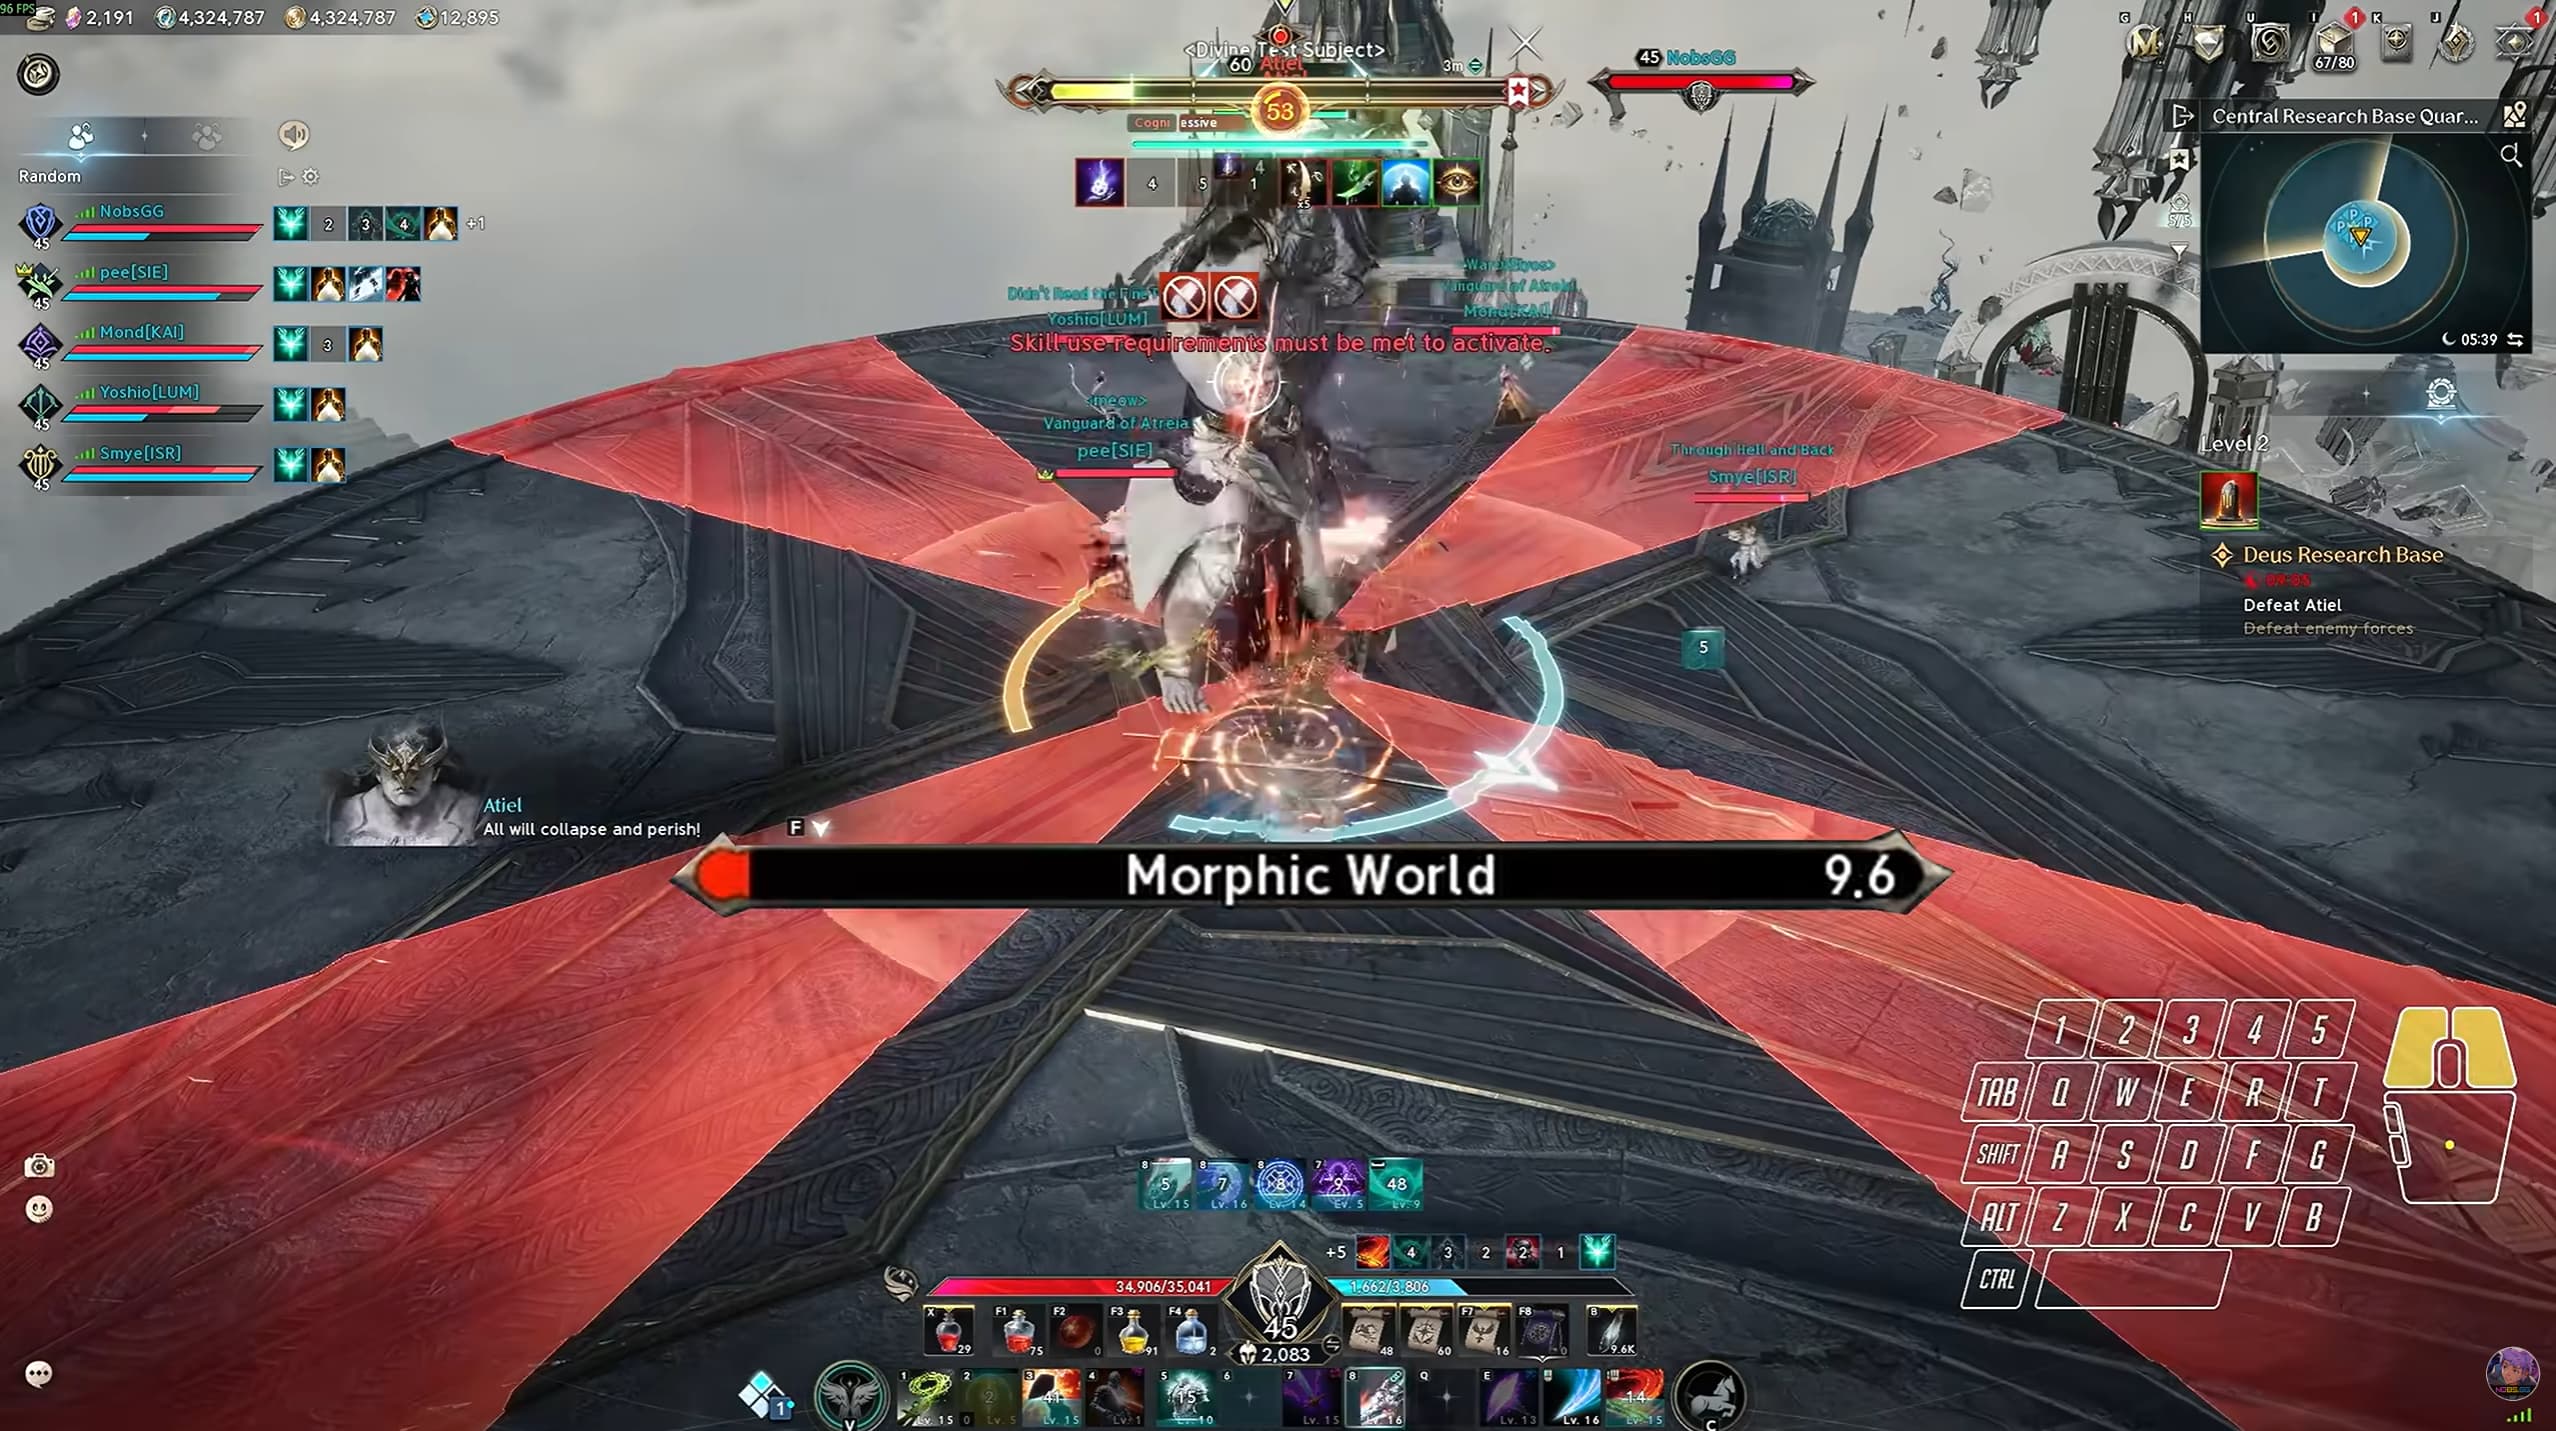
Break Atiel’s Guard During Morphic World
When Atiel casts Morphic World, your party has 10 seconds to break his guard. Failing this check wipes the group.
Keep rotating around the boss while attacking. Use your guard-breaking skills during this window and continue moving as you work through his guard bar.
Prepare those skills before the phase begins so your party can respond as soon as the cast starts.