WEAPONS
Weapon Elements
Since this is a mixed Gun/DOT build, the Weapon Element matters more than just for its Elemental Multipliers, due to DOT Ratios having to be considered on top of the usual factors.
DOT Ratios Example
Baseline Ratios each Status will follow on all weapons. The real damage values of course will vary per weapon, but the Ratios are the same.
- Corrosive - Lenght 25 ticks; Total damage 100; Damage per tick 4;
- Fire ---------- Lenght 16 ticks; Total damage 82; Damage per tick 5.125;
- Radiation - Lenght 13 ticks; Total damage 43; Damage per tick 3.3;
- Shock ------- Lenght 7 ticks; Total damage 68; Damage per tick 9.7.
MOBBING
Best Weapon Elements for Mobbing.
- Shock / Corrosive > Rest
- Shock has higher Card Damage than other DOTs, and is way burstier due to having the highest damage per tick, but has the lowest duration. Guns that already have very high Card DOT and/or can quickly stack up DOTs may prefer it over any other element.
- Corrosive has the longest duration and highest total damage, which makes it a great choice for any weapons, including slower weapons that won't stack DOTs as quickly as others. Paired with the Radiation from
 Corrupted Path, this also gives you the best elemental coverage.
BOSSING
Best Weapon Elements for Bossing.
- Adequate Elemental Match OR Corrosive > Rest
- Matching the proper element to the enemy's health bar type will be the best choice most of the time for bossing, since the Elemental Multiplier comes into play a lot more.
- There is an argument for Corrosive, though. Since it lasts the longest and has the highest total damage, it can be used to trigger a bunch of 1:1 duration DOTs from
 Central Procing Unit and 'guarantee' a kill, albeit at an usually slower speed.
Main Weapons
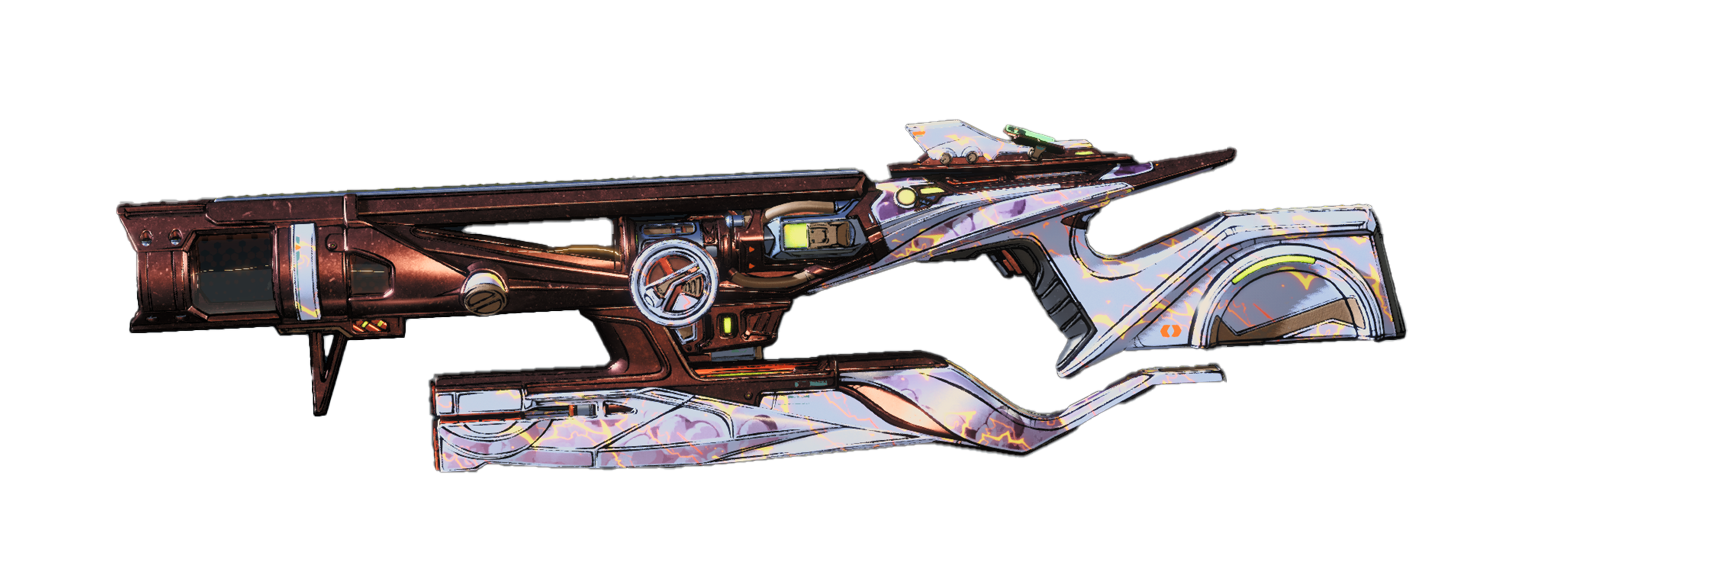
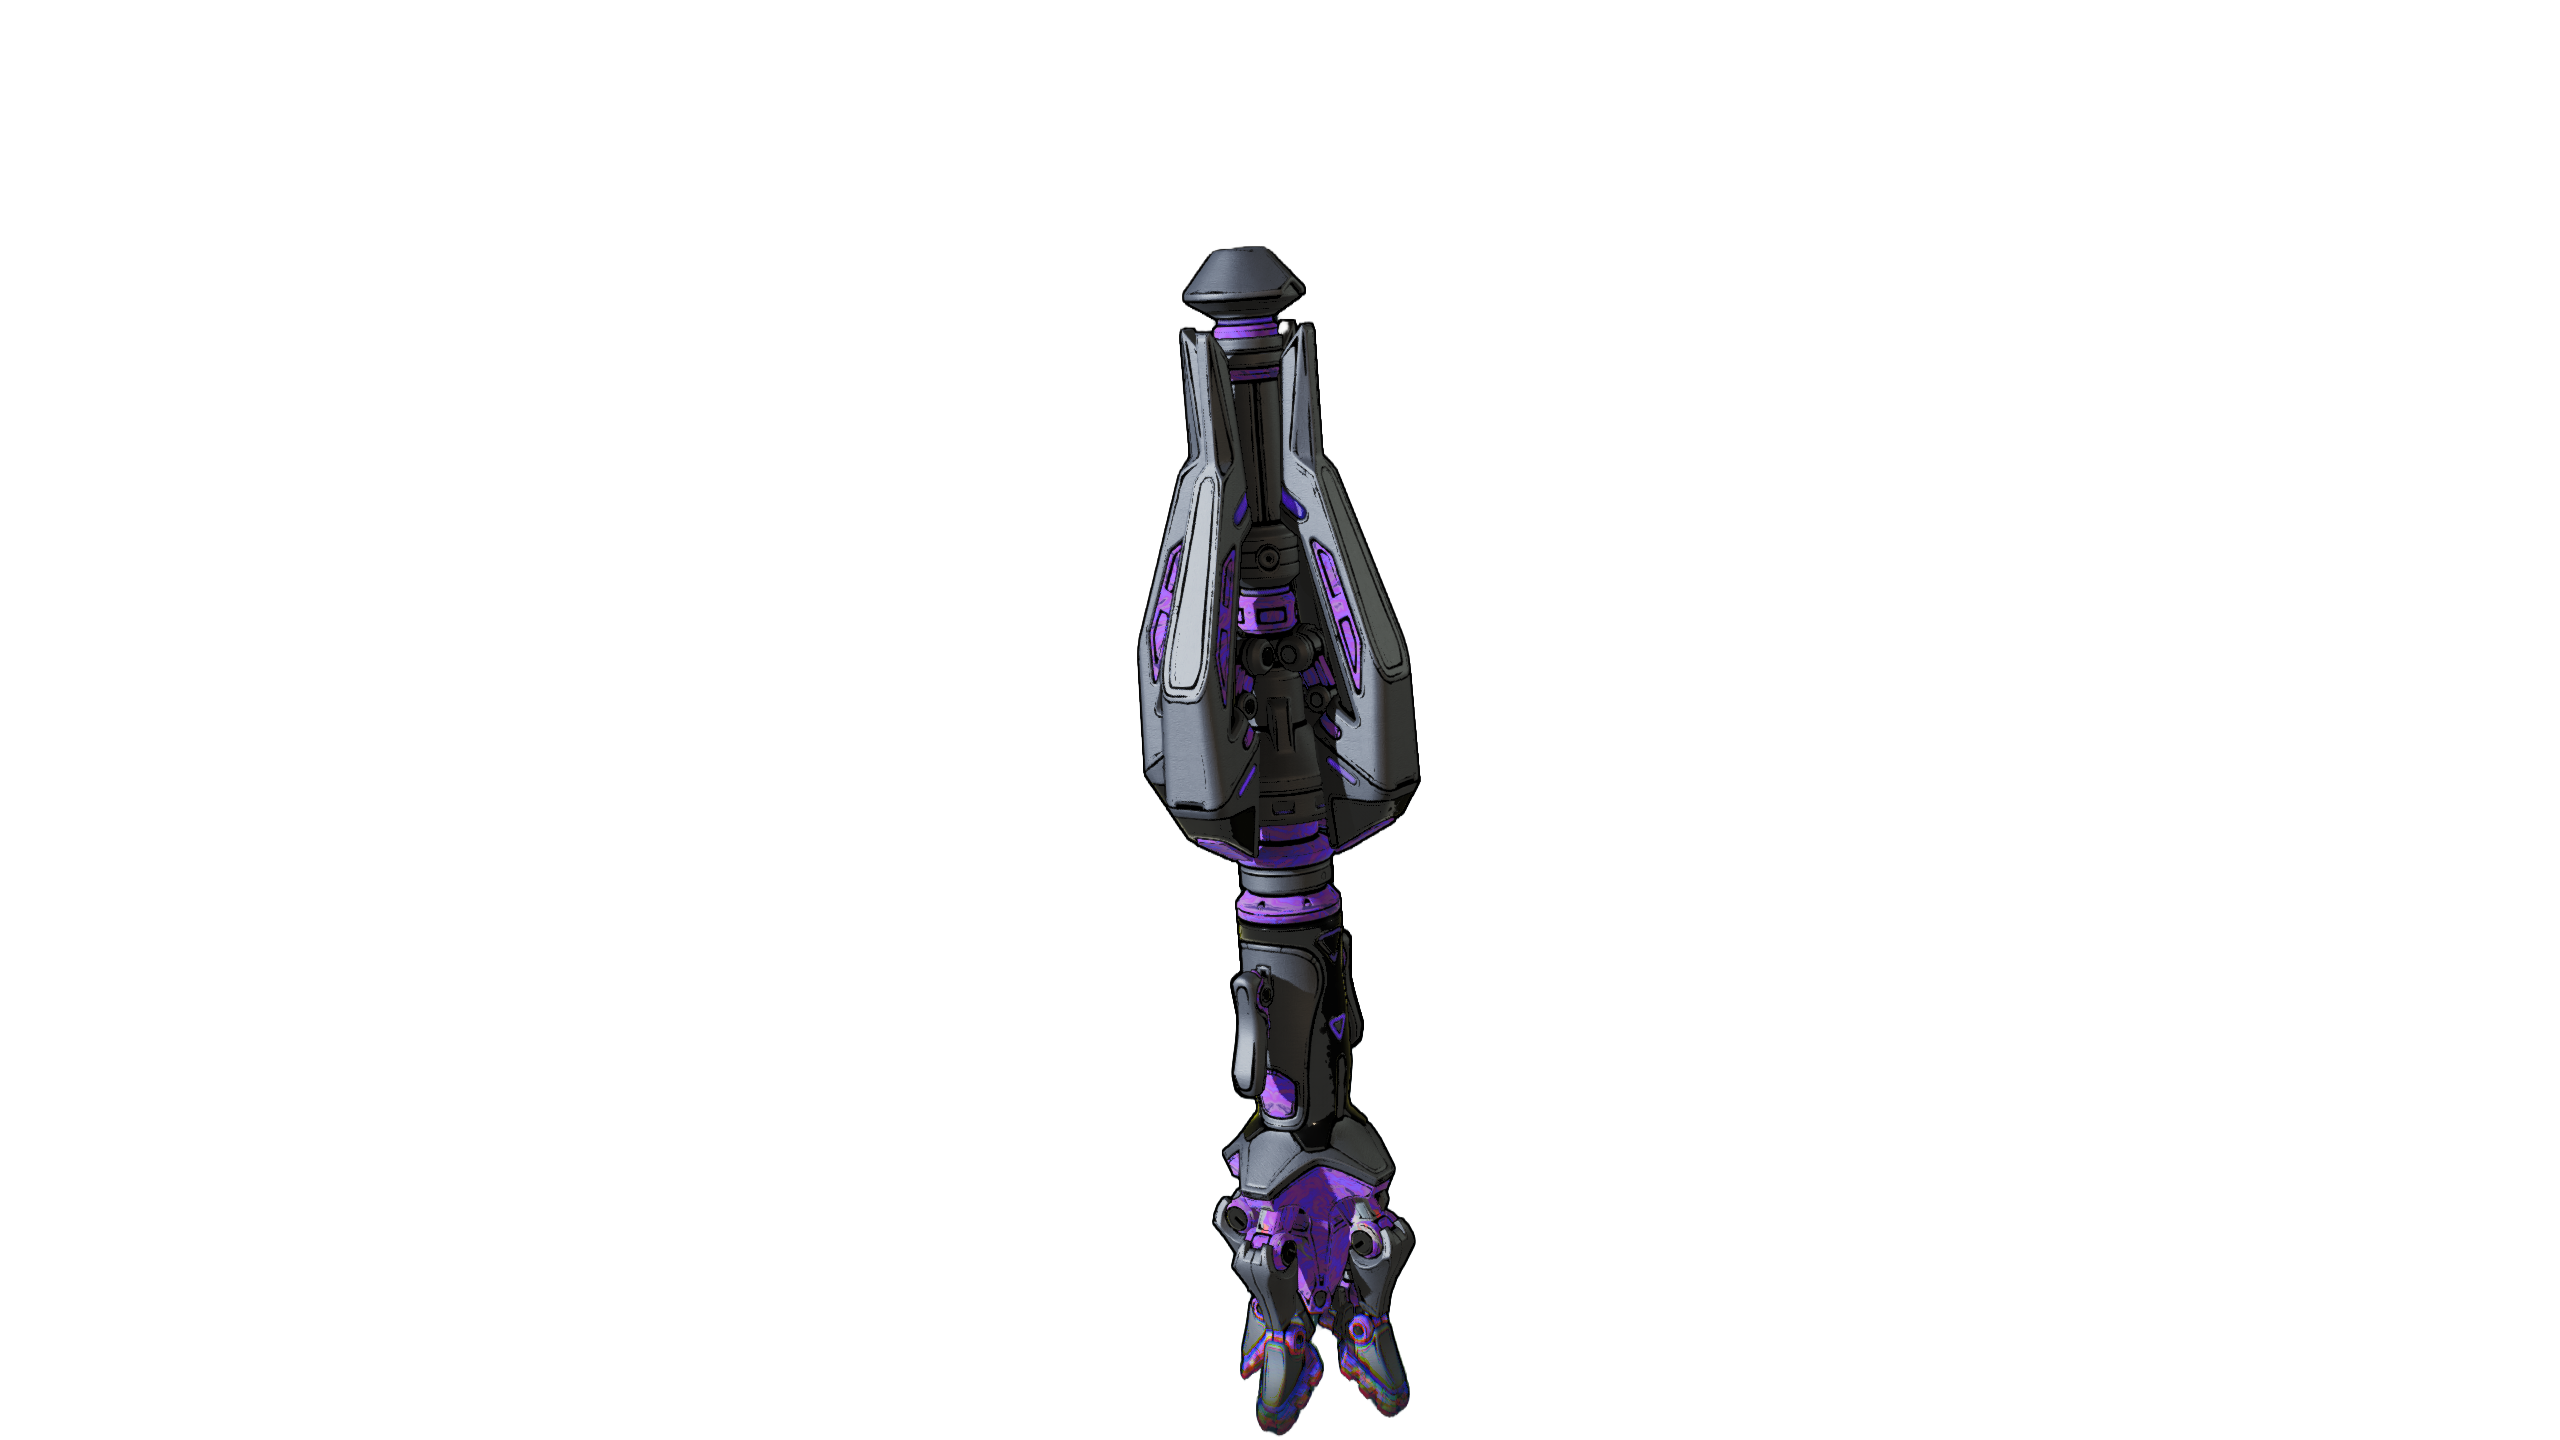
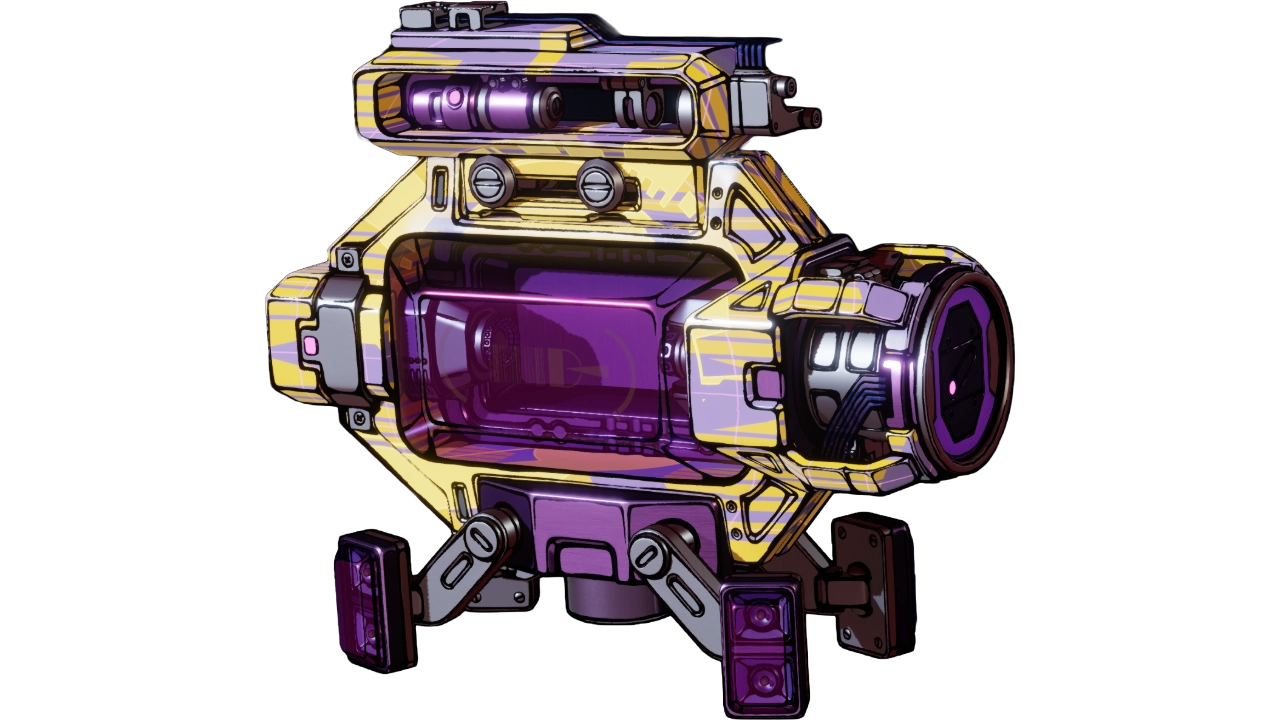
 Decompiler
 Maliwan Shotgun
The Decompiler with Torgue (Impact Mag) is the primary weapon of the build. It has great impact damage, good status damage and chance, and a decently large splash radius. It can do everything, be it bossing or mobbing.
The other recommended roll alongside Torgue is Daedalus (Underbarrel/Multi-Loader) Sniper Mode, though give absolute priority to Torgue first. Sniper Mode increases DOT damage a little further and helps with precision, which means decreased risks of self-downs due to spread. Daedalus Firing modes do NOT reduce projectile count on Maliwan Shotguns.
- Pair the Decompiler with a
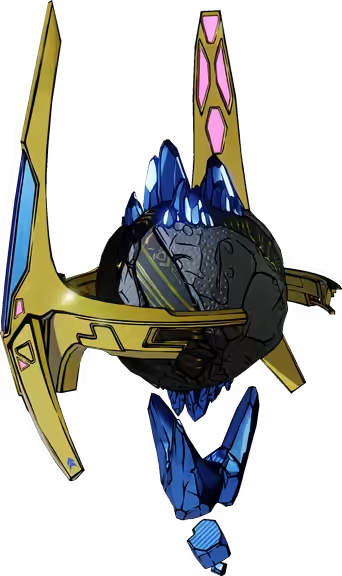 Pumper Enhancement. The Maliwan Enhancements are also ok choices, but won't match the insanity of a well-rolled Pumper.
 - 3/3
 High Caliber has great synergy with Pumper + radius boosts, and will protect you from any self-damage that would be caused from projectiles impacting enemies. You will still need to watch out and keep a distance from projectiles that impact the ground or objects, otherwise you risk downing yourself.
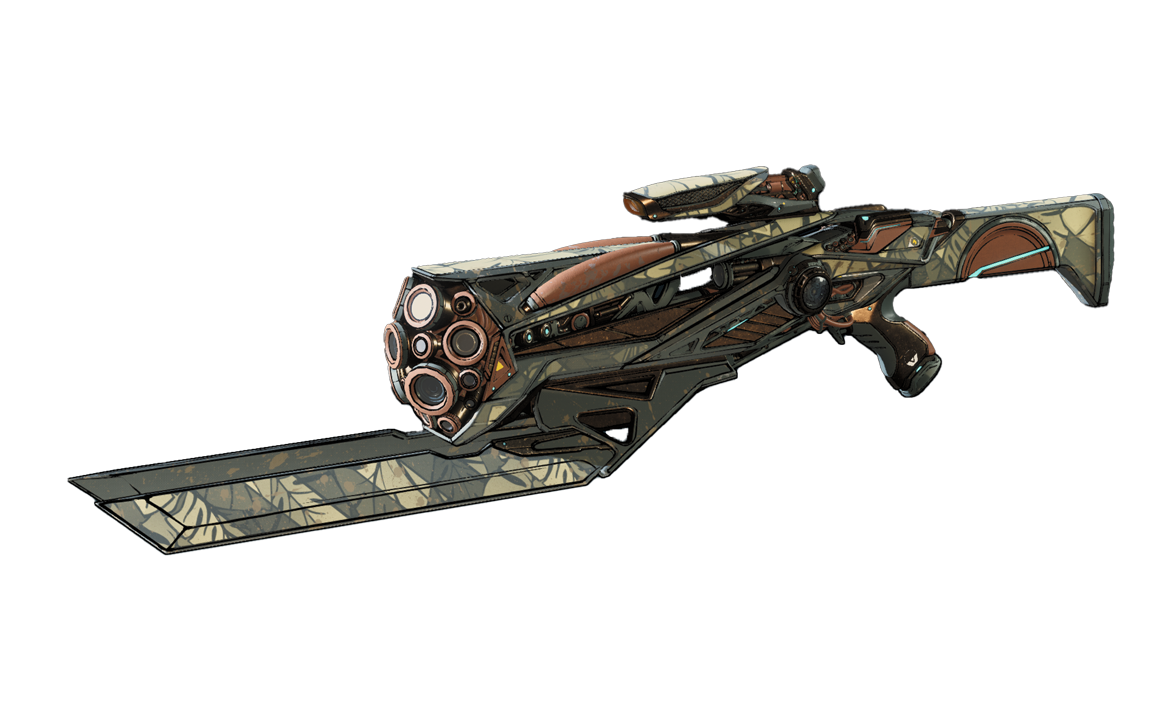
The Stellium Maliwan Shotgun is a great gun by itself for status effects, but what you really want is one with the Beam Tosser Underbarrel for specialized bossing damage, since it boasts the best gun status damage in the game. For maximum damage, you want Torgue (Impact Mag).
- The Vertex Maliwan Shotgun can also drop with Beam Tosser and is a valid alternative.
- The
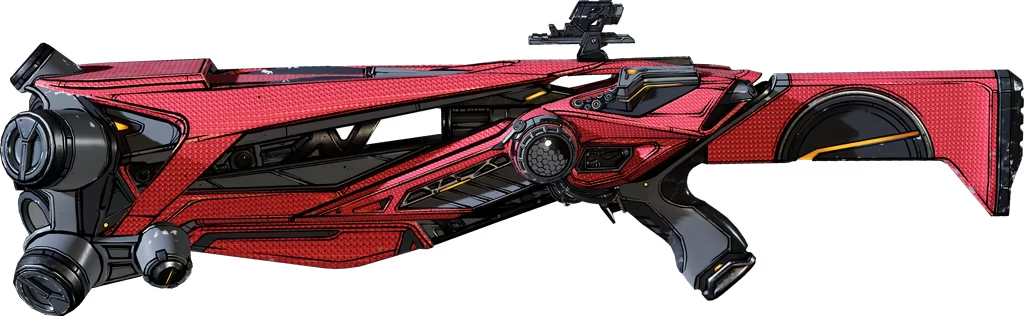 Kickballer,
  Reminisce and
  Discy Business are farmable options that can drop with Beam Tosser, but they don't peak as high as a Torgue-licensed Purple. They are good temporary choices until you find Purples.
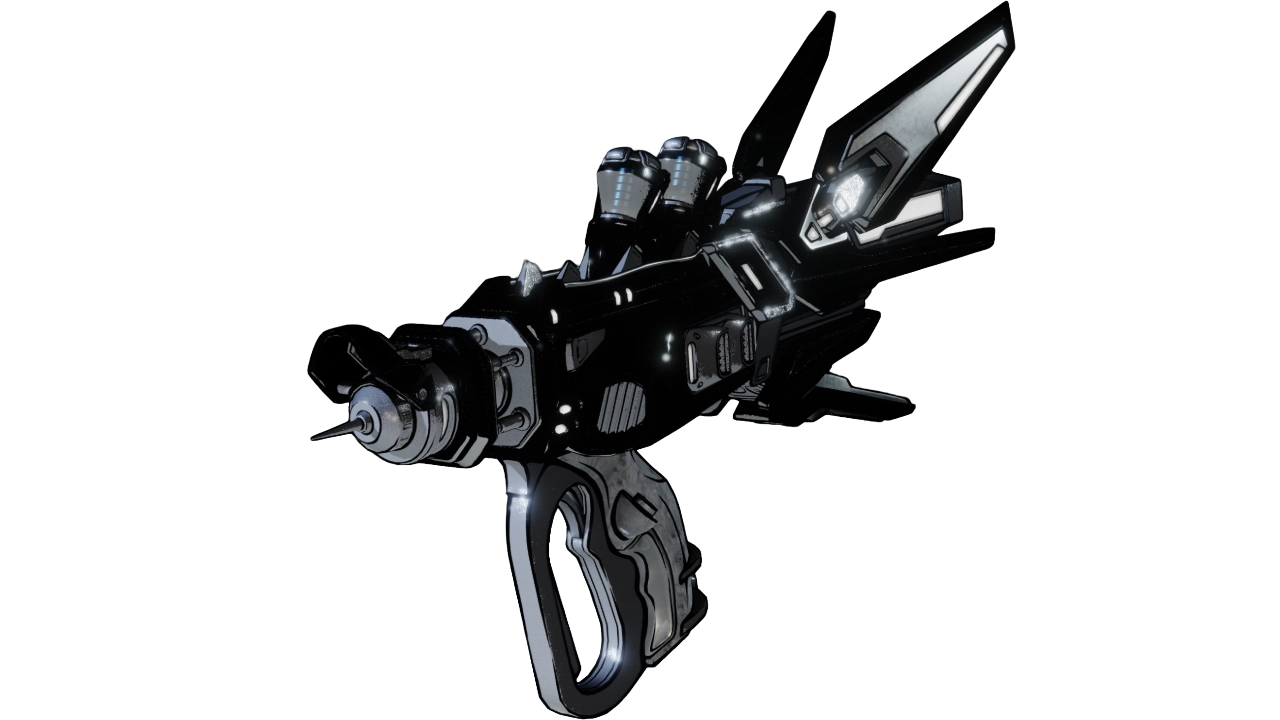
 Ohm I Got
 Honeymooner
The Ohm I Got has excellent synergy with this setup, and two possible Enhancement routes. Having Siphon parts on your Energy Shields is very important for using it.
- Look for Ripper (Charge Mag) if you'd like to max its DPS through a
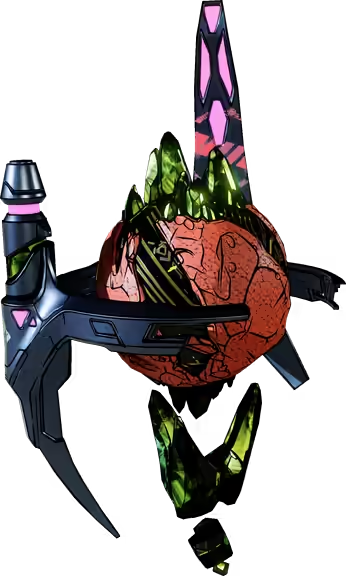 Binger/Short Circuit Enhancement. Higher peaks, but higher maintenance, and it means using it as main weapon and avoiding FFYL, otherwise you lose the Short Circuit effect. Fun but restrictive.
 - Look for a non-Ripper roll if you'd like to use a comfy setup with an
 Icon/
Icon/ Maestro/Primed Potency Enhancement. Lower peaks, but lower maintenance.
The Honeymooner has great card DOT, a good special effect and great synergy with the build. Its only issues are the wobbly, annoying projectiles and not-so-high rate of fire. For the maximum DOT, look for Torgue (Impact Mag). This gun is also capable of pretty much everything, though not to the same extend as Decompiler.
- Pair the Honeymooner with a Pumper Enhancement to increase its damage and make it way easier to land the shots.
- The Railgun Underbarrel it can drop with is also a very nice option for bossing, albeit generally worse than Beam Tosser. It does, however, have the property of working with the Primed Potency
 Maliwan Enhancement.
Other Weapons
 Devourer,
  Marshall's Claw,
  Clarity,
 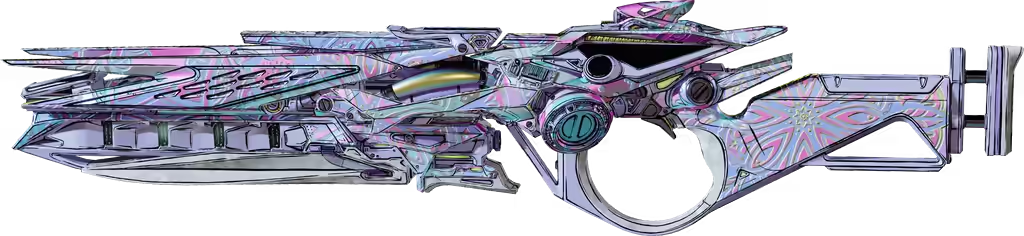 Complex Root,
  Exhibition,
  Cormano, Discy Business...
REPKIT
 War Paint,
  Font of Life,
  Triple Bypass and
  Order Repkit.
Look for these effects, or combinations of them if applicable:
- Amp (Amplified)
- Elemental Affinity (Reactive)
- Speed (Caffienated)
- Accelarator (Adrenalized)
ORDNANCE
 Slippy
- Can be used to trigger
 CQC and
  Flurry. It's not mandatory since Wyrm can also do it, but this gives you higher uptime and on-demand triggers.
 - A lower level variant of the Slippy is nice if you can get one, since it won't cause any relevant amount of self-damage.
 Waterfall
- Lingering + Alchemic + Overflow/Express
- Great roll combination for the purpose of triggering statuses for
 When it Rains and filling
  RAM.
RAM.
- Artillery + Ricochet + Overflow/Express
- Great roll combination for the purpose of triggering statuses for When it Rains and filling RAM. The Ricochet can also stack gun skills like
 Riddle You This.
CLASS MOD
 Hoarder
Main choice of Class Mod. Its special effect is high maintenance due to requiring an Empowered Melee every once in a while, but it is absurdly powerful due to providing up to 300% On Shot Gun Damage, which affects both Impact Damage and Gun Statuses.
Note: you don't have to actually hit the Empowered Melee to stack the special effect.
- +5
 Storage Upgrade; + Any
 Devourer
Great plug-and-play alternative choice that lets Wyrm cause great damage of its own, while also further increasing the Symbiosis-scaling aspects of the build.
- +5
 Fusion Friends-y; +2 or +1
  In Memoriam; +1
  Glass 'Em!
 Plague Engineer
This class mod is pretty cool, but its special effects suffer from being way too weak. The best thing about it is the fact it rolls When it Rains.
It's a nice plug-and-play fallback choice, and it is visually pleasing in the way it can quickly fill the screen with numbers, but not as strong as the other options. it's genuinely one of my favorites, but it is objectively a lot weaker.
- +3 When it Rains; +4
 Cat 5 or Preference
SHIELD
Note: if you intend to use the Ohm I Got, make sure to have a Siphon Tolling Energy Shield. Do not use Armor Shields with it.
 Super Soldier
- Siphon, Vagabond or Preference. This shield is perfect for general use on the build. It extends our magazines by virtue of the ammo regeneration, and boosts our DPS through the fire rate increase.
 Guardian Angel
- 150% Amp. Great offensive choice with good Amp uptime and a defensive special effect. Amp will increase the damage of gun statuses, making this a significant damage boost for specialized bossing or even for mobbing if you wish, though it has less QOL than Super Soldier.
 Watts 4 Dinner
- Siphon, Amp or Preference. Good choice, but since we're usually maxing out 20 DOTs very quickly, the Bonus Shock damage can become a detriment rather than a benefit. It's still an impact damage boost and will help DOTs on some of the other weapons.
 Honey Badger
- Siphon, Turtle or Preference. Good choice to protect yourself from your own damage/barrels. It won't save you 100% of the time, but can and will eventually save you from mistakes/accidents.
 Exfoliatrix
- Preference. Middle of the road, mixed offensive/defensive choice. It's not going to cause any 'wow' factors but is solid.
 Firewerks
- Preference. Cool offensive choice for mobbing.
 Hopscotch or
  Little Sister
- Turtle. Great defensive choices. You can consider a Boxer Jabbing roll for Little Sister to manually trigger drones. They won't do too much on this build though.
ENHANCEMENT
Stat Rolls to look out for on any Enhancement:
- Gun / Gun Type Damage
- You don't need to care about these too much when using Hoarder (and keeping up its effect), but they grow in relevance A LOT if using other Class Mods.
- Gun / Gun Type Splash Radius
- Radius rolls can make the Decompiler absolute insanity. There is, of course, the danger factor.
- Gun / Gun Type Status Application Chance
- Good rolls for guns that have very low status chance application (like <20% or so).
- Gun / Gun Type Fire Rate
- Good for chargeable weapons like a Ripper-licensed Ohm I Got. Also just a good roll in general.
Pumper Torgue Enhancement
- Main choice for all Torgue or Torgue-licensed weapons. Air Burst is extremely effective for spammy area clear, and Head Ringer grants an absurd radius boost.
Icon | Maestro | Primed Potency Maliwan Enhancement
- Decent alternatives to Pumper, or main choices for Maliwan guns that can't roll Torgue.
Binger | Short Circuit | High Roller Ripper Enhancement
- Excellent choices for maxing out the DPS of a Ripper-licensed Ohm I Got.
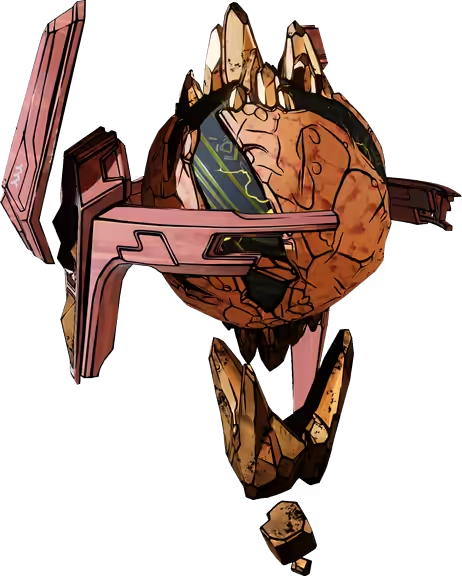 Quintain |
 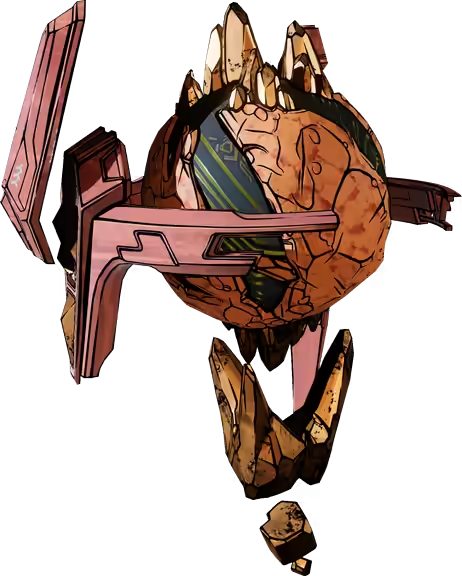 Blind Box Jakobs Enhancement
- Good alternatives for Jakobs-licensed weapons that have low radius or AoE scalability, making the extra ricochets more relevant than the effects provided by Pumper or the Maliwan Enhancements.



 Loveless
 Malignant Construct
 Loveless gun build centered around Status Effects, Impact and AoE damage, featuring extremely high Status Effect application chances and Splash Radius boosts.