Ordnance:
 Draupner - go to for bossing and mobbing (as long as you know the spawns well) just a disgusting gun. Also benefits from
  Active Fire on every shot because it recharges on every shot.
 Disc Jockey - go to for mobbing =
 Heimdahl - insanely good for mobbing. Can beat Disc Jockey especially in highest difficulty of the takedown. It has problems dealing with Vile Crystals and Ordonite
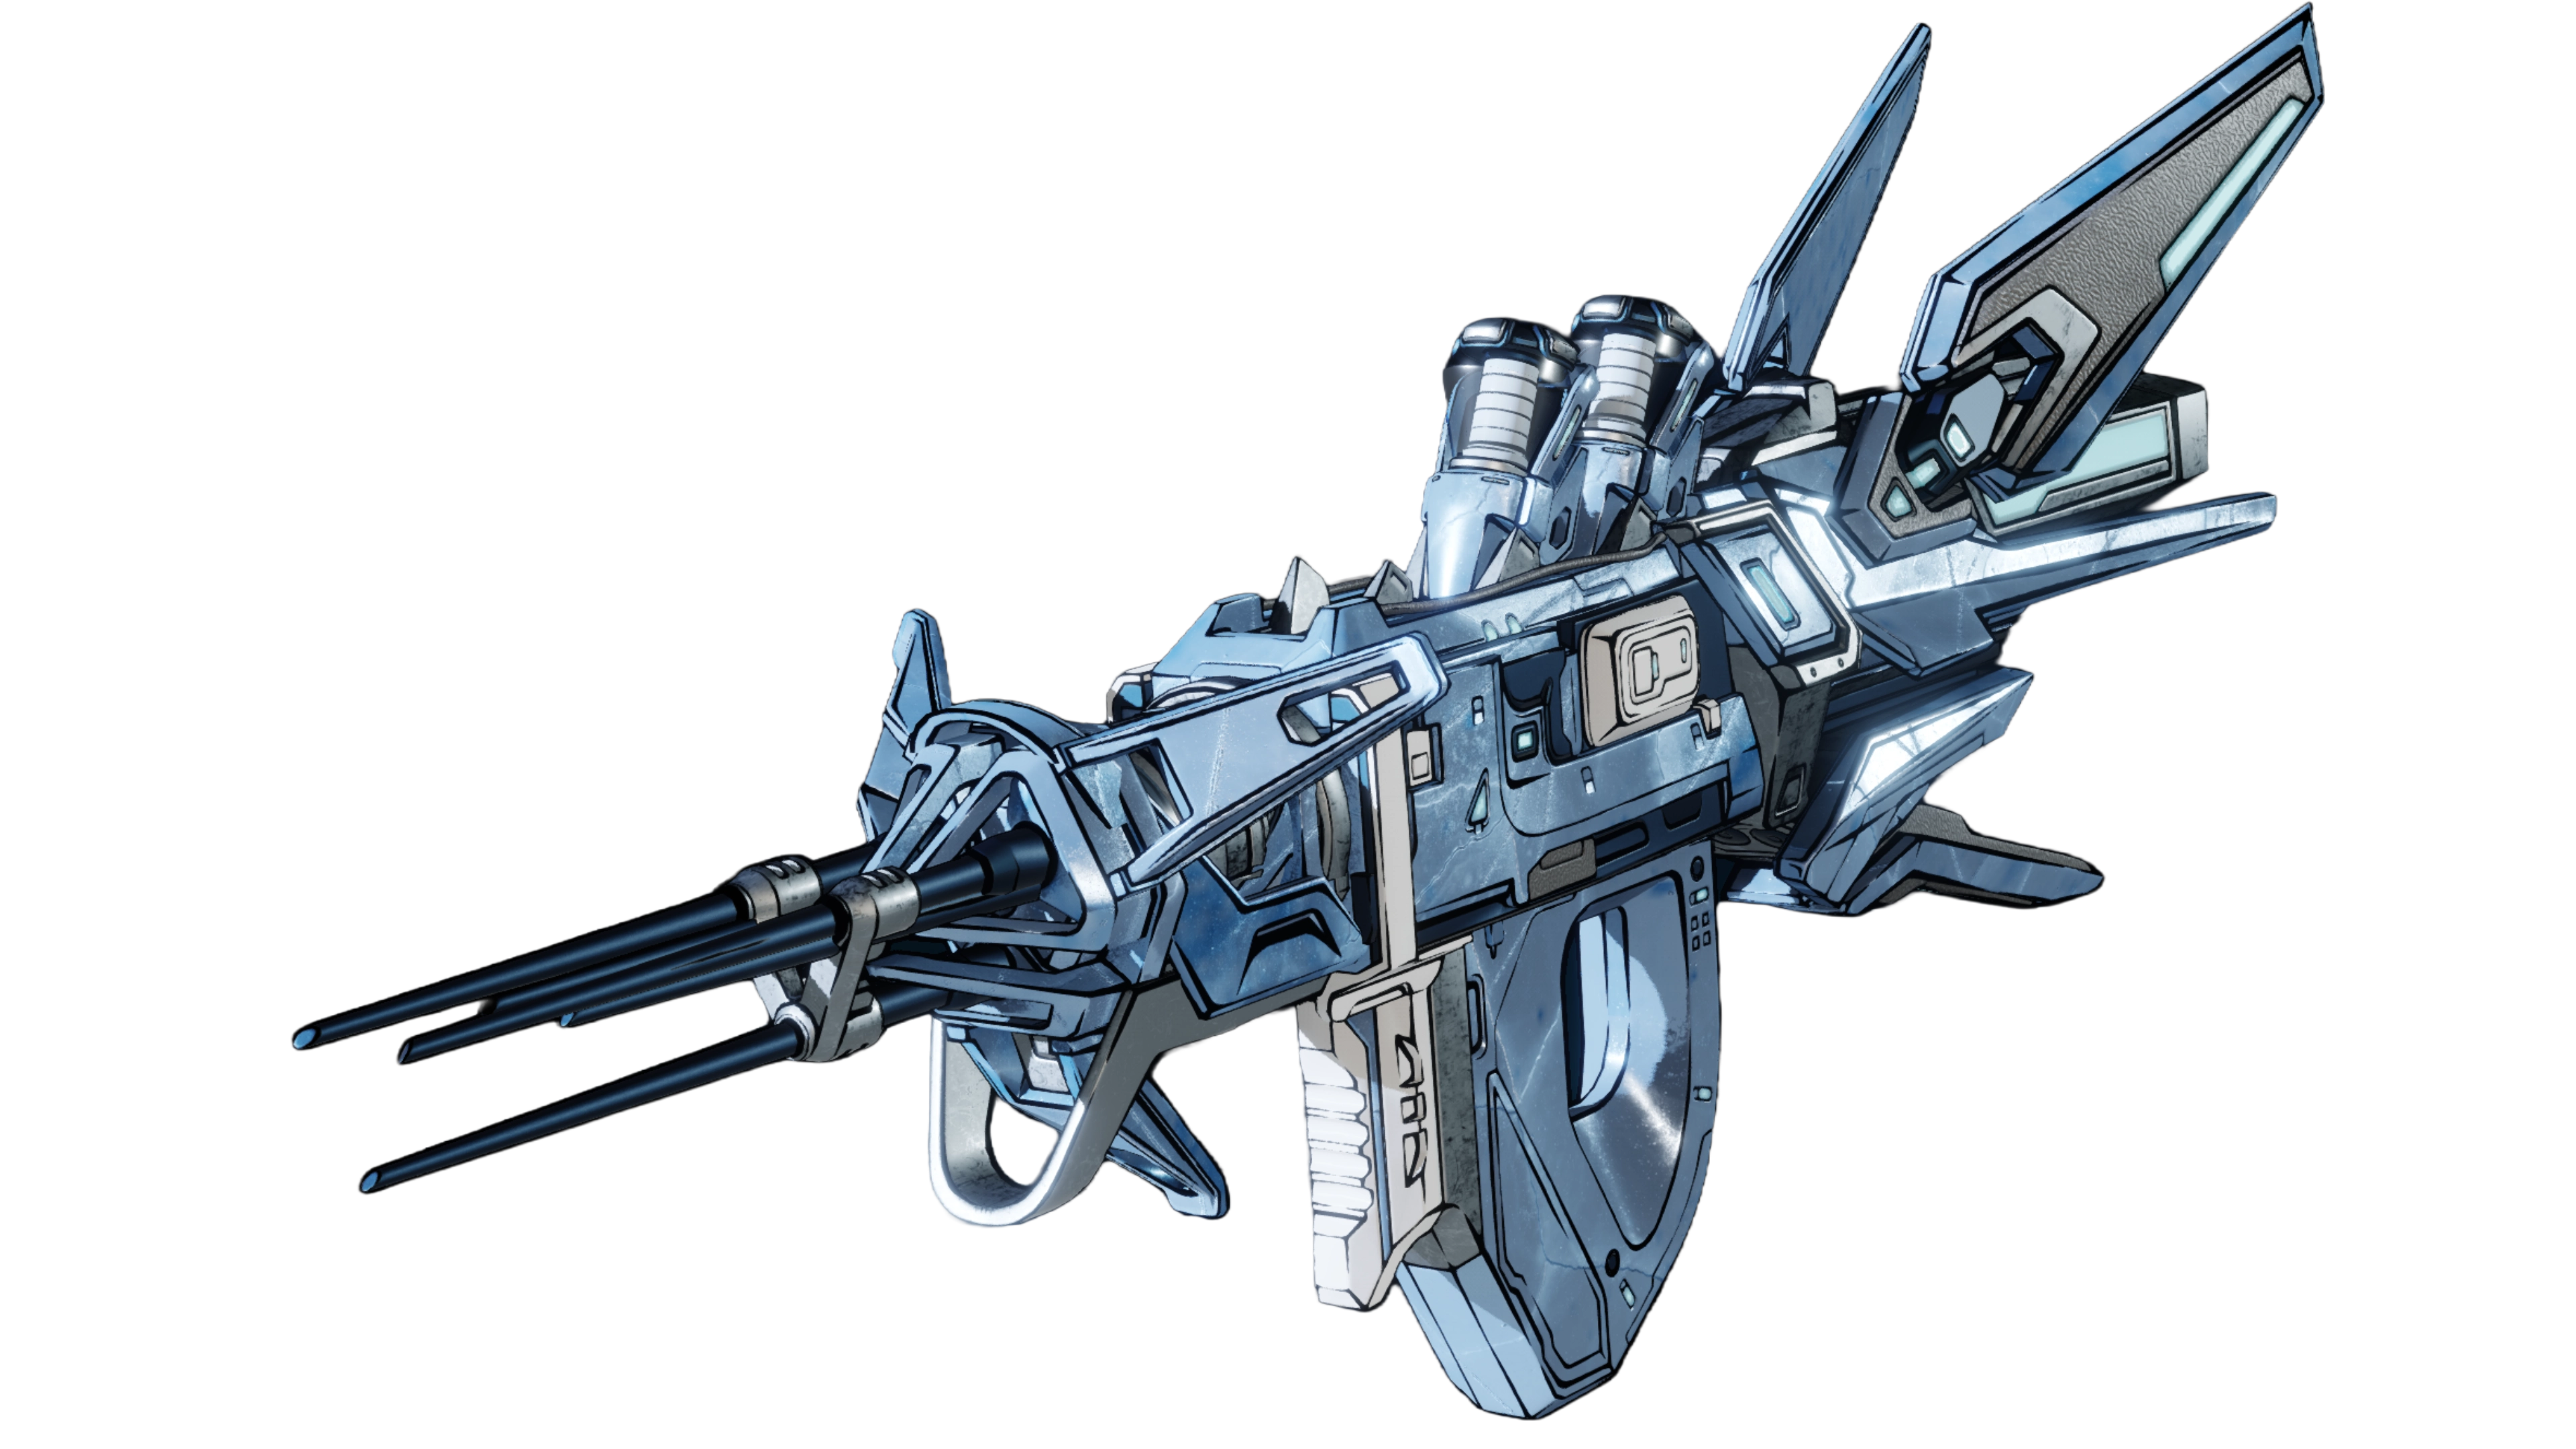
 Maliwan Heavy Weapon - MIRV and Two Shot parts for Hailspike. Insanely good for mobbing and bossing
 Bottled Lightning - 3 mag for optimal mobbing.
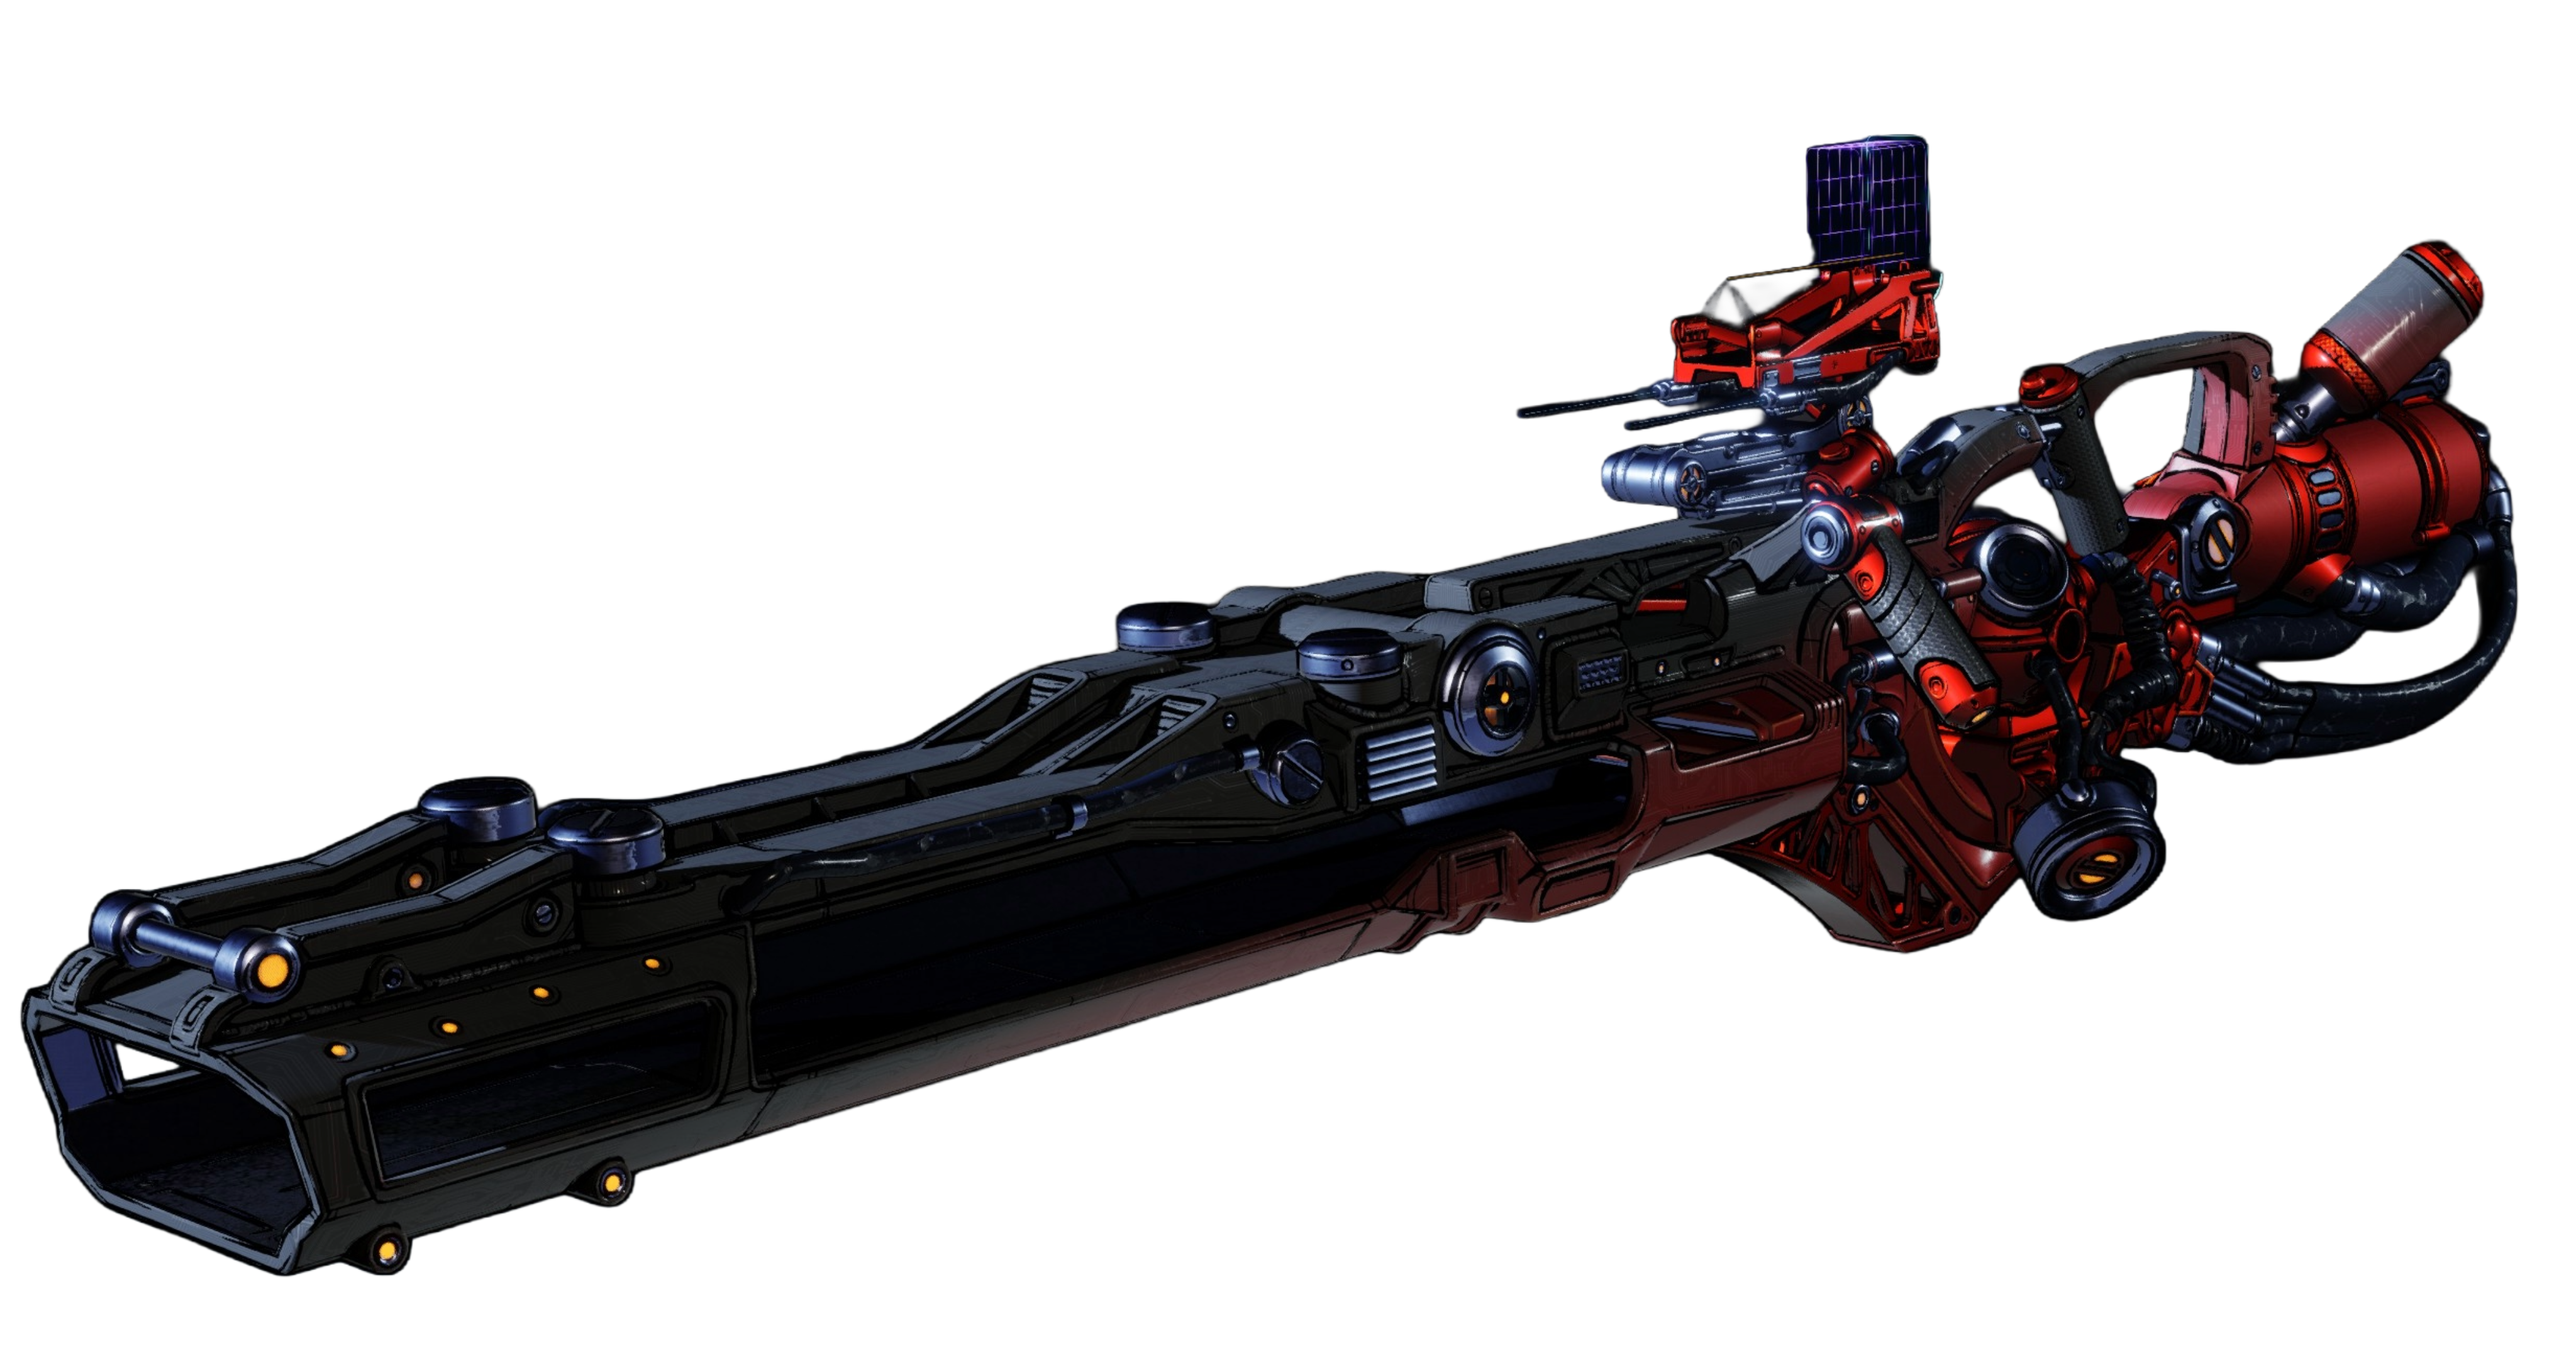
Torgue Heavy Weapon - Triple Barrel and Shrapnel Rockets parts for Honey Bunches for optimal bossing. Do not charge to shoot. Only shoot once
Torgue Heavy Weapon - Airburst and Shrapnel Rockets parts for Tonguewag. This is slightly weaker than Honey Bunches but still works well.
 Sprezzatura - used specifically for Bloomreaper Crystals which is explained in Gameplay. When paired w/
  High Caliber it can be really good for bossing on certain enemies
 Jetsetter - really good for bossing
 Atling Gun
Vladof Heavy Weapon - Explosive Rounds and Two Shot parts for Ootka
Torgue Heavy Weapon - Two Shot and Fire Rate parts for Rocket Socket
Guns:
 Vladof SMG - for the Taser underbarrel to shoot to proc
  Riddle You This,
  Contamination,
  Primal Surge, and
  Bullet Storm
 Ripper Sniper - for the Target Marker underbarrel to shoot for damage boost that will go into double dips
 Tediore AR - with buff drone for the damage and fire rate boosts. healing and movement is also nice. Can use a
  Laser Disker for it to also pair well in FFYL
Use any good gun for Fight For Your Life
Laser Disker - w/ Banger enhancement is solid damage
 Maliwan Shotgun Stellium - w/ Primed Potency enhancement
Class Mod:
Ideal passives to look out for: Ordnance Crit Chance, Gun Crit Chance, Status Effect Chance, Damage Dealt, Elemental Damage, Cryo Damage, Shock Damage, Status Damage, Gun Damage, Ordnance Damage
 Amon Class Mod Grenadier - gives points into
  Blackout for even stronger dot against shielded enemies and crit chance just means even more Blackout so it's just stronger and more often
Amon Class Mod Icebringer - gives points into  Tail of the Comet for an even stronger DoT. 10/5 is insane.
Amon Class Mod Cyborg - Gives points in  Endless Bombardment which helps w/ ammo upkeep in mobbing but has a hidden fire rate boost which leads to more DPS. Bonus points if you get
  Ballistic Bulwark as well
 Lamplighter - works really well when paired with
  Onslaughter. Get points in
  Eternal or
  Blast Furnace
Shield:
 Watts 4 Dinner - rolls with 150% amp roll for maximum damage. can also roll Siphon w/ 100% amp. Also gives shock bonus element
 Guardian Angel - rolls w/ 150% amp but w/ A LOT faster recharge
 Protean Cell - the bonus element applies to our status effects which is not normal for bonus elements. This makes it INSANELY STRONG for bossing. But this makes you VERY FRAGILE so for bosses that hit you a lot this is not ideal. Can also be used in mobbing because of Primal Surge.
 Super Soldier no longer works w/ Heavy Ordnance :(
Repkit:
Ideal Rolls: Get the roll with Action Skill Cooldown Rate for better Action Skill cycling. Or Amp for more damage. Can also go elemental or damage dealt
 Kill Spring - go to for mobbing. The healing means you don't have to interrupt your Heavy Ordnance for using Repkit. This also gives Overshield which makes it even better
 Triple Bypass - the 3 charges and regain are perfect for
  Now With Caffeine.
 Order Repkit - for 2 passives. Amp is a must have then either Elemental or Damage Dealt
Enhancement:
Any enhancement works. Something that helps the guns you use is good. But mainly just go for good passives. Gun damage is a MULT (only additive with High Caliber gun damage in this build). Other damage bonuses are Gun splash damage, Gun splash radius, Gun equip speed, Gun crit damage, Gun Status Damage, Gun Accuracy, Gun Fire Rate