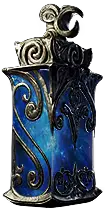
Weapon Lock your Crossbow to use it in both Weapon Set 1 and 2 (right Click the II above the Weapon Slot to lock it)
Crossbow
We cannot benefit from Elemental Damage for the Physical Variant.
So we want as much Physical DpS on our Crossbow as possible. If you selfcraft your Weapon, Damage as Extra Physical is also acceptable.
For the Suffixes 5+ Level to Attack or Projectile Gems is a must, we can also use Base crit, Attack Speed or Onslaught on Kill.
The Best Bases are 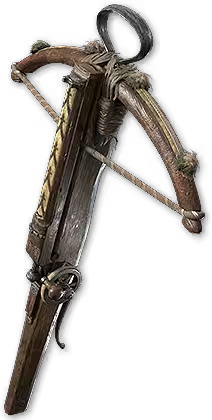 Flexed Crossbow or
 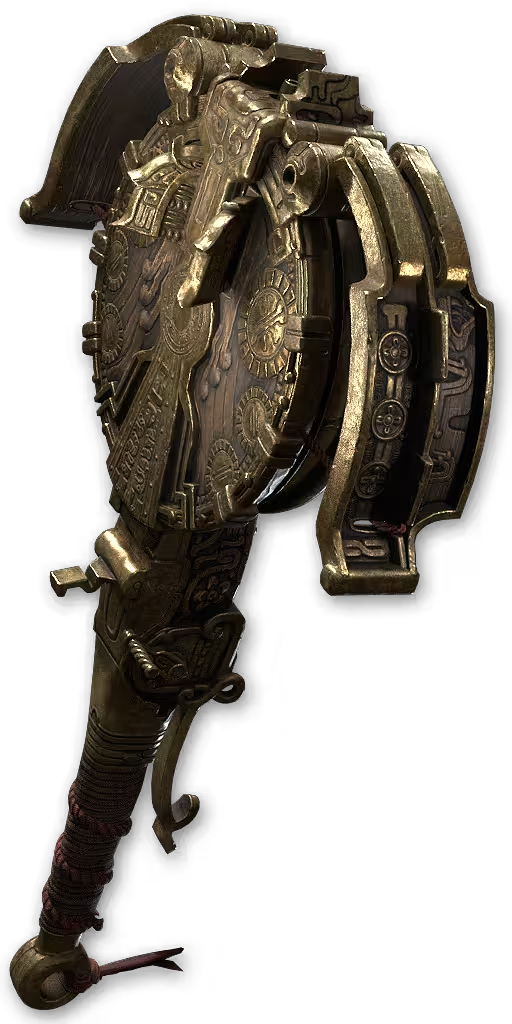 Desolate Crossbow.
Body Armour
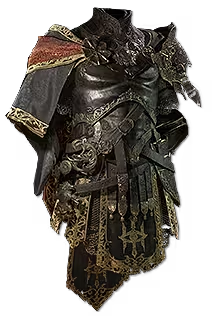 Morior Invictus with Spirit and Life Resistance is required to keep this Build running. Preferable we would like Life, but Attributes is also decent.
Sockets should be 1 Amanamu's Gaze for extra Flat Armour, then get a Mix with  Soul Core of Citaqualotl,
  Soul Core of Tacati &
  Soul Core of Jiquani. Priotise on capping Resistances first, then use the rest on % Life.
Gloves
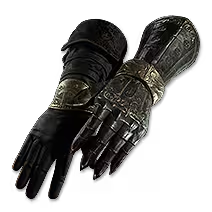 Sine Aequo are Insane for the Build. In combination with Tactician Ascendancy we can instantly Pin every Normal, Magic and Rare Enemy and almost instantly Pin Map Bosses. Then getting 20% More Damage for the duration of the Pin. If to expensive use Rare Gloves with Life, Armour and a Suffix Mix of Resistances & Armour applies to Elemental Resistances.
Rare Gear
For the Rest of the Rare Gear we want as much of Life, Armour and Resistances as we can get.
There are also specific Mods we want on each Item.
Belt
Rare  Plate Belt with Armour, Life & Resistances. Strength is also a decent Stat as it allows to allocate more Attribute Points into Dexterity.
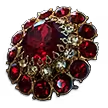
Unique Alternatives for the Belt slot are  Ryslatha's Coil and
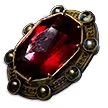
  Headhunter
Ryslatha's Coil with a solid Roll is a Big Damage Boost to our Build, but we will get Stat Starved and might have to adjust Gem Levels on our Skills.
Headhunter is insane for Mapping and gives both Strength and Dexterity, but won't do anything for Pinnacle Boss Fights.
[Footage from Video is with Headhunter, Ryslathas is about 25% more Damage]
Amulet
Amulet is one of the few Sources of % Life we have access to. So best Stats on Amulet are +3 to Projectile Attacks with % Life and Flat Life.
Other good Stats are % Armour & Resistances
I recommend a  Amber Amulet or
  Jade Amulet
Top Annoint is  Bestial Rage, not even expensive.
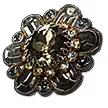
Rings
Invest well into your Rings, they provide several Good Stats for us.
You want High Flat Physical Damage, Flat Life, Flat Evasion (if using  Iron Reflexes) and any Amount of Attributes or Resistances on the Suffixes.
Helmet
Look for High Armour or Armour / Evasion (if using Iron Reflexes) with T1 Flat Life and any Amount of Resistances & Attributes.
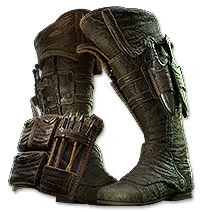
Boots
Highest Priority is of course Movement Speed.
Also Look for High Armour or Armour / Evasion (if using Iron Reflexes) with T1 Flat Life and any Amount of Resistances & Attributes.
Flasks & Charms
 Olroth's Resolve is a Solid Chase Item for the Build helping with survivability, but by no means required. With Overleech we can easily recover any Amount of Life, so as long as we do not get one shot we wont die. A solid
  Ultimate Life Flask with Instant Recovery or More Recovery on Low Life is also perfect.
 Lavianga's Spirits for the Mana Flask is fine but any
  Ultimate Mana Flask also works. We only use Mana for
  Artillery Ballista.
For Charms we want a  Staunching Charm, a
  Thawing Charm and a
  Silver Charm.
Unique Alternatives are  Nascent Hope,
  The Fall of the Axe and
  Rite of Passage.
For the Rite. Wolf, Cat or Stag are awesome cause of the Movement Speed. Chepaer alternatives are Bear or Ox for a defensive Boost.
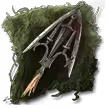
 Siege Cascade is an insane Skill that does both nuke Bosses with ease and anahilate Hordes of Enemies with Auto Aim. This build is the true Run & Gun personification in Path of Exile 2.
  A Solid Plan, we can use all the Skill Slots for Spirit Gems to buff us up instead of wasting them on nothing.