All tests and questions answered LIVE ON TWITCH
───────────────────────────────────────────────────────────────────────────────────
SPIRIT:
We have a total of 200 Spirit.
- Mod on Body Armour
- Enchant on Helmet
- Runes on Weapon
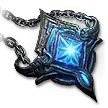
AMULET:
Annointment:  Overwhelming Strike
 Eventide Petals - is the way to go here because of the Ice Crystals/Flowers it produces that helps with damage and AOE through
  Midnight Zenith.
You want to try get +2 Cold Skills on the Amulet aswell.
- NOTE: If you get the necklace with lvl 19+ Midnight Zenith and it still have 4 slots, then use a Perfect Jewellers Orb on the actual necklace for the 5th slot.
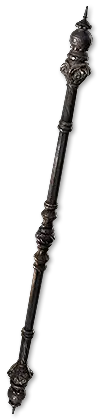
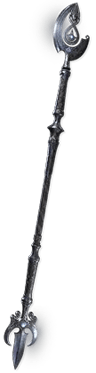
WEAPON:
If you are going for  Hollow Palm Technique, DONT worry about the weapon.
- Critical Hit Base: Don't settle for a QS without this. It will greatly lower your Crit.
→ This is GOOD  Sinister Quarterstaff /
 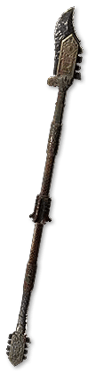 Bladed Quarterstaff /
 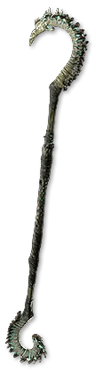 Bolting Quarterstaff
→ This is BAD 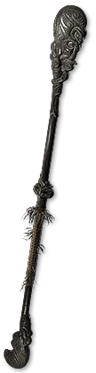 Dreaming Quarterstaff / Smooth Quarterstaff
 - +Flat Damage
- +Levels of Melee/Attack Skills
- Phys Damage
- Critical Damage Bonus
 Duality is a good option here aswell. Aim for super high Phys with crit and Attack speed. However, this also provides you some bonuses for Combos, which we are not utilizing 100% with this build. If you want to make the most out of Duality, then replace
  Hollow Resonance with
  Martial Adept and add
  Mantra of Destruction in the build.
GLOVES →  Way of the Stonefist
We are looking for mods like:
- Flat dmg
- Attack Speed
- Arcane Surge
You can find the Mod Conversions -> HERE
You can find the Crafting Guide -> HERE
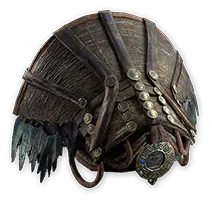
HELMET:
- EV, EV/ES, ES: All 3 are good choices. Personally I went for full ES.
- Rarity: A good place to stack rarity.
- Resistances: Depending on whether you need it or not based on your other items.
- Crit Hit: If you need more crit, you can add it here. However we get a lot from tree.
BODY ARMOUR:
- EV/ES: We want to go Hybrid here for our defense since EV got giga Buffed & ES is still goated.
- Spirit: Needed for our setup.
- Deflection: This also got giga buffed so stacking it will help our defense even more.
- ES Recharge: This will also help our defenses a bit.
- Resistances: Stack as much as you possibly can here so you allow other items to focus on DMG.
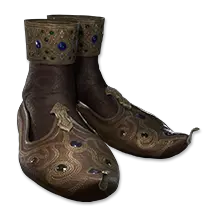
BOOTS:
- EV | ES | EV/ES Base: Any of these three will be perfectly fine.
- Movement Speed: Obviously
- Deflection: This got a giga buff so stacking it will help our defense even more.
- ES Recharge: This will also help our defenses a bit.
- Resistances: Depending on whether you need it or not based on your other items.
- Attributes: Depending on whether you need it or not based on your other items.
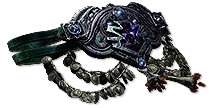
BELT:
The belt depends on what you manage to get. We have multiple options:
Rare: You can stack attributes, resistances, life or anything else that you need.
Unique: You can go for  Ingenuity to power-up the stats of your rings.
Unique: You can go for  Shavronne's Satchel to recover our ES with our Life Flask
Unique: You can go for  Headhunter if you get lucky or rich.
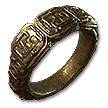
RINGS:
- +Flat Damage: This is the best stat to have on rings. Try get as many as you can.
- % Increased Damage: This is a decent option but not as good as +Flat.
- Resistances: Depending on whether you need it or not based on your other items.
- Attributes: Depending on whether you need it or not based on your other items.
- Leech Mana with Phys Dmg: This is a good option to have in case you're having mana issues.
JEWELS:
 Time-Lost Emerald /
  Time-Lost Sapphire
Crit Hit or Crit Dmg
Effect of Small Passives / Notable Passives
Either EV or ES Sapphire /
  Emerald
Crit Hit or Crit Dmg
Either EV or ES
Mana on Kill Heart of the Well
Gain dmg cold/lightning/fire
Crit hit/ Crit dmg
Mana on kill