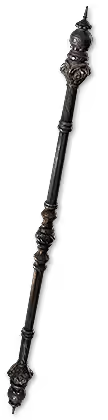
Weapon:
We need 11% Crit chance at the MINIMUM, so pick a staff with 11%+.
After that search for quarterstaff + Level of melee skills / Crit Damage / High DPS.
2nd Set:
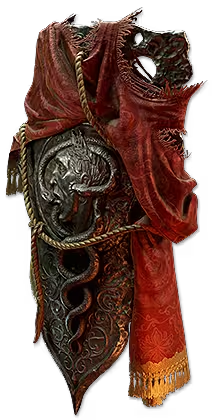 Redblade Banner is here to maximize the effects of
  Infernal Cry +
  Rattling Sceptre to generate skeletons for
  Profane Ritual +
  Sacrifice. (Dont forget to click on plus in the second set to add skeletons.)
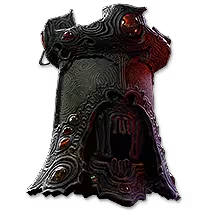
Chest Armor:
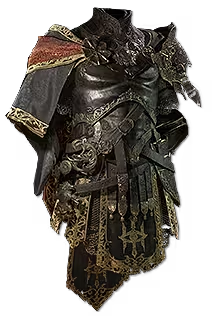 Morior Invictus together with
  Fox Talisman for quality will provide both, QoL AND Longer Flickers.
Get the one with 5 Sockets and 10 Spirit to meet requirements.
You can get Attributes / Elemental Resistance / Life / Global Defenses as a second bonus.
Those are in the order from best to worst - so take one that works for your budget.
Spirit / Elemental Res / Attributes should be perfect.
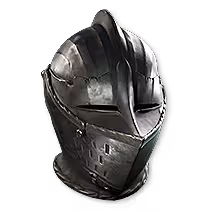
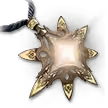
Helmet:
 The Deepest Tower is the main source of our damage since it will make ALL Enemies around us to count as they are on low life.
Activating great bonuses to the damage such as Execute,  Finality, Stars Aligned and Finishing Blows. You can get a CORRUPTED version with +1 Maximum Power Charge.
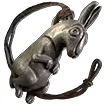
Gloves:
Here we will need a rare with +Level of Melee skills together with some Flat Damage, Life and Resistances. Base should be Evasion based too since we are stacking it to survive.
Boots:
At the boots we need at least 30-35% Movement speed to feel comfortable.
The rest is Rarity + Resistances.
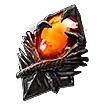
Amulet:
 Beacon of Azis is an amazing option because of spirit and unique bonus to ignore resistances. It is also rather cheap. Anoint
  Lust for Power to save points and avoid pathing to it.
Rings and Belt:
IMPORTANT - At one of the rings you will need Leech Physical as Life / As mana. Perfectly both but at least LIFE is mandatory for QoL and survivability.
The rest of the stats just any type of flat Elemental DMG + Life / Resistances.
At the belt you just need to roll all RES + Life as well.
IMPORTANT Jewels:
We need to have at least one Jewel with "Recover X% of Maximum Mana on Kill" otherwise you will have no mana when mapping.
Other Jewel stats should boost our
 Prism of Belief with +2 Levels of Flicker strike is also a great way to boost DPS but you can use +3 if you have enough currency. If you cant find / afford +2 JUST USE A RARE JEWEL INSTEAD.
You can also use  Against the Darkness jewel with added damage as Fire / Cold / Lightning. I've been using one with Fire only.
 From Nothing is also a great option and should jump to
  Unwavering Stance so you can take Finality +
  Escalation and small passives.
Flasks:
IMPORTANT -  Olroth's Resolve is boosting our survivability by A LOT so I really recommend it for harder maps. Use it once in every 5-15 Seconds while Flickering to get a Guard Benefit + use it if your health is dropping.
For the Mana Flask just aim to get the Max Charges Version for the Ambrosia DMG bonus.
 Herald of Ash +
  Wind Dancer and manually activate
  Flicker Strike to do INSANE Amount of Damage to everything. Due to the gemling passives we will be able to make our Flickers VERY long too.
 Storm Wave will help with charges generation if the