Valheim’s inventory fills quickly once you are carrying armour, weapons, food, and supplies for exploring. Mining adds another problem: you can reach your weight limit while still having empty slots for more items.
This guide explains how inventory space and carry weight work, what to pack for different trips, and how the Megingjord, temporary buffs, storage, Carts, and Portals help you bring resources home.
If you’re still getting started, our Valheim beginner guide covers your first tools, shelter, and food in the Meadows.
Understand Inventory Space and Carry Weight
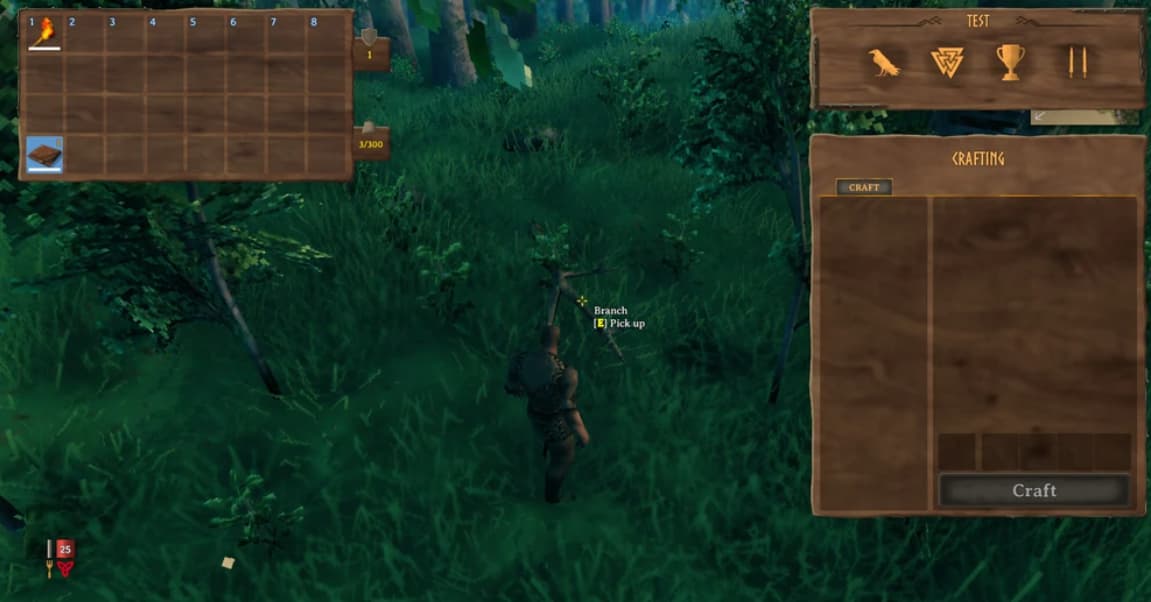
You begin with 32 inventory slots, eight of which form your hot bar. Worn armour and accessories use slots too. Valheim 1.0 also introduces inventory upgrades sold by Haldor, giving you another way to make room as you progress.
Your starting carry weight limit is 300. This includes everything you are carrying, from equipped gear to food and materials. Empty slots do not guarantee that you can carry another heavy stack.
Check which limit is causing the problem:
No free slots: Store items you do not need and combine matching partial stacks where possible. A small leftover stack still occupies a slot.
Too much weight: Unload heavy materials or increase your carry capacity. Rearranging those materials within your inventory will not make them lighter.
Exceeding your weight limit applies Encumbered. Movement slows, walking drains Stamina, and normal Stamina regeneration stops. You also lose options such as running, jumping, dodging, and blocking, making an overloaded trip dangerous near enemies.
Pack for the Trip You Are Planning
Before leaving home, decide what you intend to bring back. A mining trip, a dungeon run, and a short food gathering trip do not need identical supplies.
Build your loadout around the job:
Weapons: Bring a dependable setup suited to the enemies you expect. A Club or mace is useful against Skeletons, while a bow helps with hunting and fighting Trolls from a distance. Avoid carrying several weapons that serve the same purpose.
Tools: Take a Pickaxe when you intend to mine. A Hammer earns its place when you are building or repairing, especially if you are carrying Portal materials. Leave tools for unrelated jobs at home.
Food: Eat before leaving, then pack enough replacement meals for the length of the trip. Keep a reserve at home, but bring supplies for longer expeditions.
Meads: Choose protection and recovery supplies for your destination. Poison Resistance Mead deserves space when you are preparing for the Swamp.
Lighting: Bring a Torch when you expect to need light, such as during dungeon exploration. Check whether it serves a purpose on a short daylight trip.
Lighter armour can reduce the weight of your equipment, but choose protection appropriate to the area. Start by removing unused weapons and leftover materials before compromising the gear you rely on to survive.
Buy and Equip the Megingjord
The Megingjord costs 950 Coins from Haldor. While equipped, it adds 150 carry weight, raising your normal limit from 300 to 450.
The belt still occupies an inventory slot. Its benefit is the extra weight allowance, which makes it useful for mining and gathering heavy materials.
Keep it equipped when relying on that capacity. Carrying it in your inventory without wearing it does not provide the bonus. Your armour, weapons, and other supplies also count towards the new limit, so all 450 units are not available for loot alone.
Other effects can raise your capacity for a limited time:
Mead of Troll Endurance: Adds 250 carry weight for five minutes. Its recipe uses Powdered Dragon Eggshells from the Bog Witch. It can help move a heavy load between a gathering site and nearby storage.
Moder’s Forsaken Power: Adds 300 carry weight for five minutes while active. It becomes an option after you unlock her power through the Mountains boss fight.
Corpse Run: Adds 150 carry weight for 50 seconds after you collect all the items from your Tombstone. This helps you move away with your recovered equipment.
With the Megingjord, Mead of Troll Endurance, and Moder’s power active together, your total capacity reaches 1,000. Adding Corpse Run brings it to 1,150 while every bonus remains active.
Plan around the timers. If a bonus expires while you are carrying more than your remaining allowance, you become Encumbered. These effects are most useful when the destination is already close and the route is clear. Use Corpse Run to complete a recovery safely, rather than treating it as a routine hauling upgrade.
Organise Storage Before Leaving Home
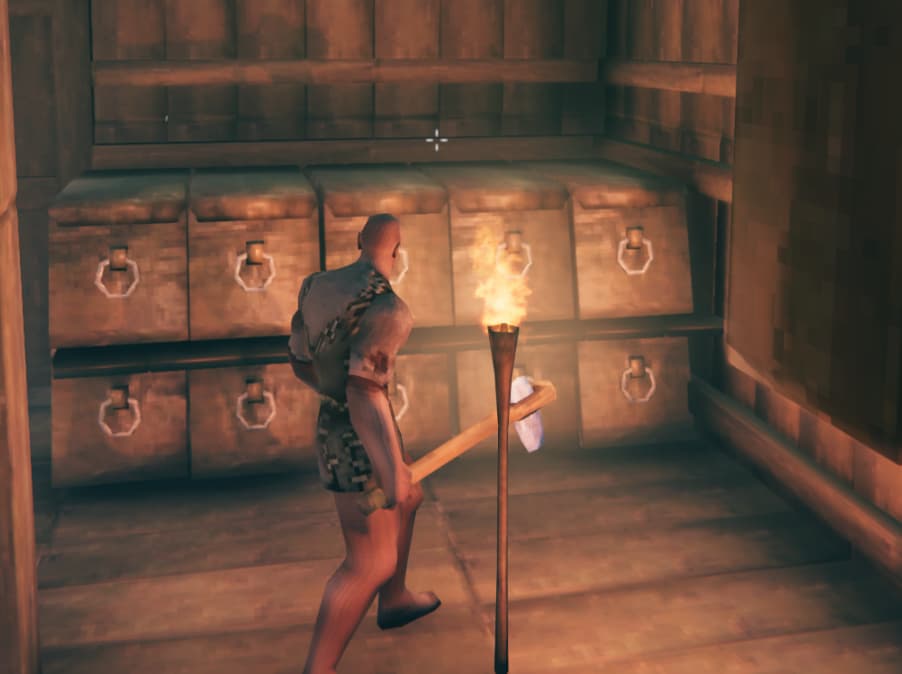
A clear storage system makes it easier to leave with space for useful finds. Group materials by purpose, such as food and farming, metals, building materials, and spare equipment. Signs can help you identify chests without opening each one.
Keep frequently used supplies near the places where you need them. Food belongs near your cooking area, while ore and Coal are easier to process when stored near your Smelter. Leave enough room to reach the chests and move through the base while carrying materials.
After each trip, unload resources, combine partial stacks, repair your equipment, and check the supplies for your next outing. Avoid letting one chest become a permanent mixture of everything you brought home.
For more help expanding the home around your storage and crafting areas, see our general building guide.
Use a Cart for Heavy Gathering Trips
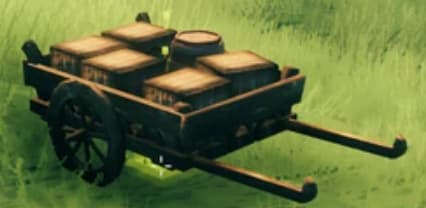
A Cart gives you a separate inventory with 18 storage slots. Build one with 20 Wood and 10 Bronze Nails, using your Hammer within range of a Workbench. Bronze Nails are made at a Forge, making the Cart available during Black Forest progression.
Carts do not have a fixed carry-weight cap like your character. However, the weight of their contents and the terrain affect how difficult they are to pull. Filling one with heavy materials can make a steep return route impractical.
Prepare the route before loading it. Clear obstacles and use a Hoe where useful to improve uneven ground. A longer path across flatter terrain can be easier than dragging a loaded Cart up a short, steep slope.
Use the Cart for a planned collection run, such as hauling ore from a mine or moving Wood to your base. Scout the area first and keep an eye on nearby enemies. The Cart can be damaged, and protecting it is harder when you are already struggling to move it.
Use Portals and Plan Your Metal Transport
Portals let you return home to unload suitable items, restock, and repair equipment. They are especially useful when an expedition takes you far from your main base.
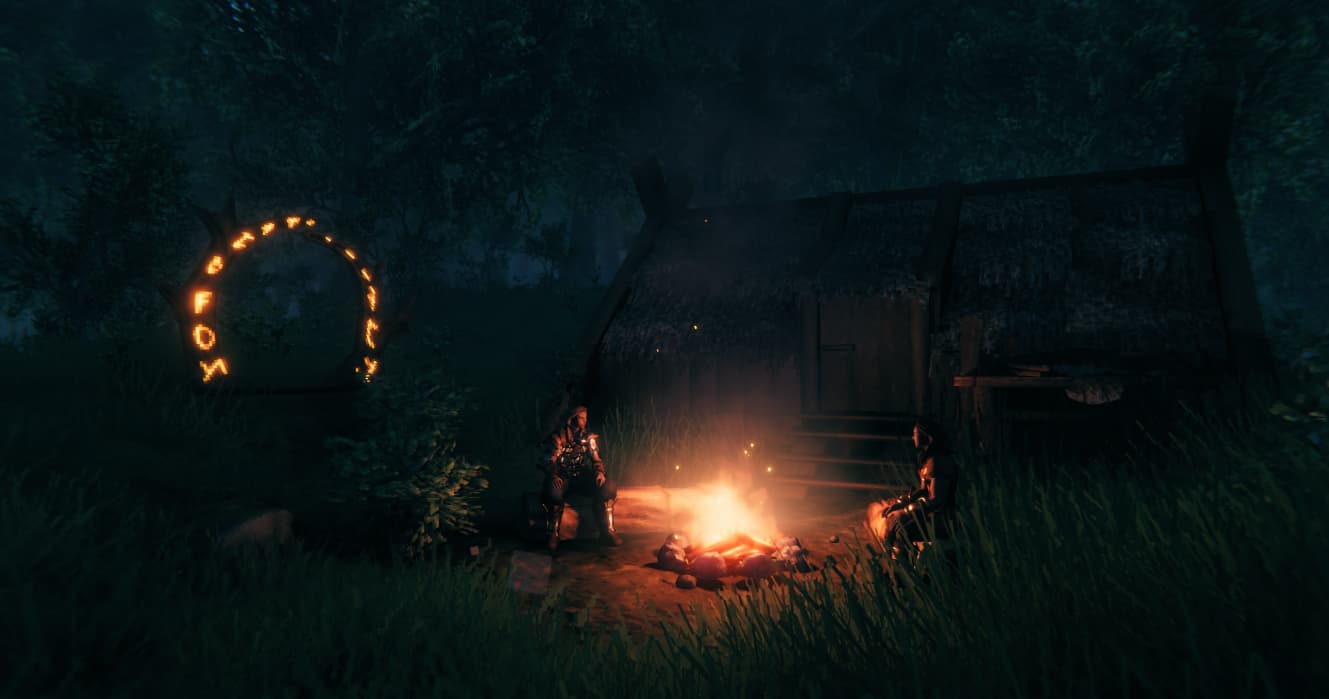
Before setting off, leave an unconnected Portal at home with a short, memorable tag. When you find a suitable place to stop, build another Portal and give it the same tag. Check that the connection works before depending on it for your return journey.
Each ordinary wooden Portal requires:
20 Finewood
10 Greydwarf Eyes
2 Surtling Cores
Bring a Hammer and 10 Wood for a temporary Workbench as well, unless a usable Workbench is already at the destination. Budget for these supplies when deciding how much room to leave for loot.
On default Portal settings, ordinary wooden Portals cannot transport ores or metal bars. Copper Ore, Tin Ore, and Scrap Iron therefore need another route home, even though finished metal equipment can pass through.
Store restricted materials in a chest while you use the Portal for repairs or to unload other loot. Move the metal overland with a Cart, or use a Karve or Longship to transport your resources by boat. Later Stone Portals can transport metal, and world settings can change the restrictions.
For more help establishing these routes while moving from bronze to iron, follow our Meadows to Swamp walkthrough.
Make Room for Loot and Recovered Gear
Check your inventory before opening another chest or starting another mining session. If you are close to your limit, unload first or decide which materials you will collect on a second trip.
When you become Encumbered, stop somewhere safe and reduce the load. Splitting a heavy stack lets you store or set aside enough items to move again. Mark any temporary storage on your map so you can return for it.
Inventory space also matters during corpse recovery. Spare equipment and newly collected loot can leave too little room for everything in your Tombstone. Clear unnecessary items before approaching it, and check that your Megingjord is equipped after recovering your belongings if you need its weight bonus.
Use the short Corpse Run window to reach safety and organize your gear. Keeping room for what you expect to collect makes both routine gathering and unexpected recovery trips easier to manage.