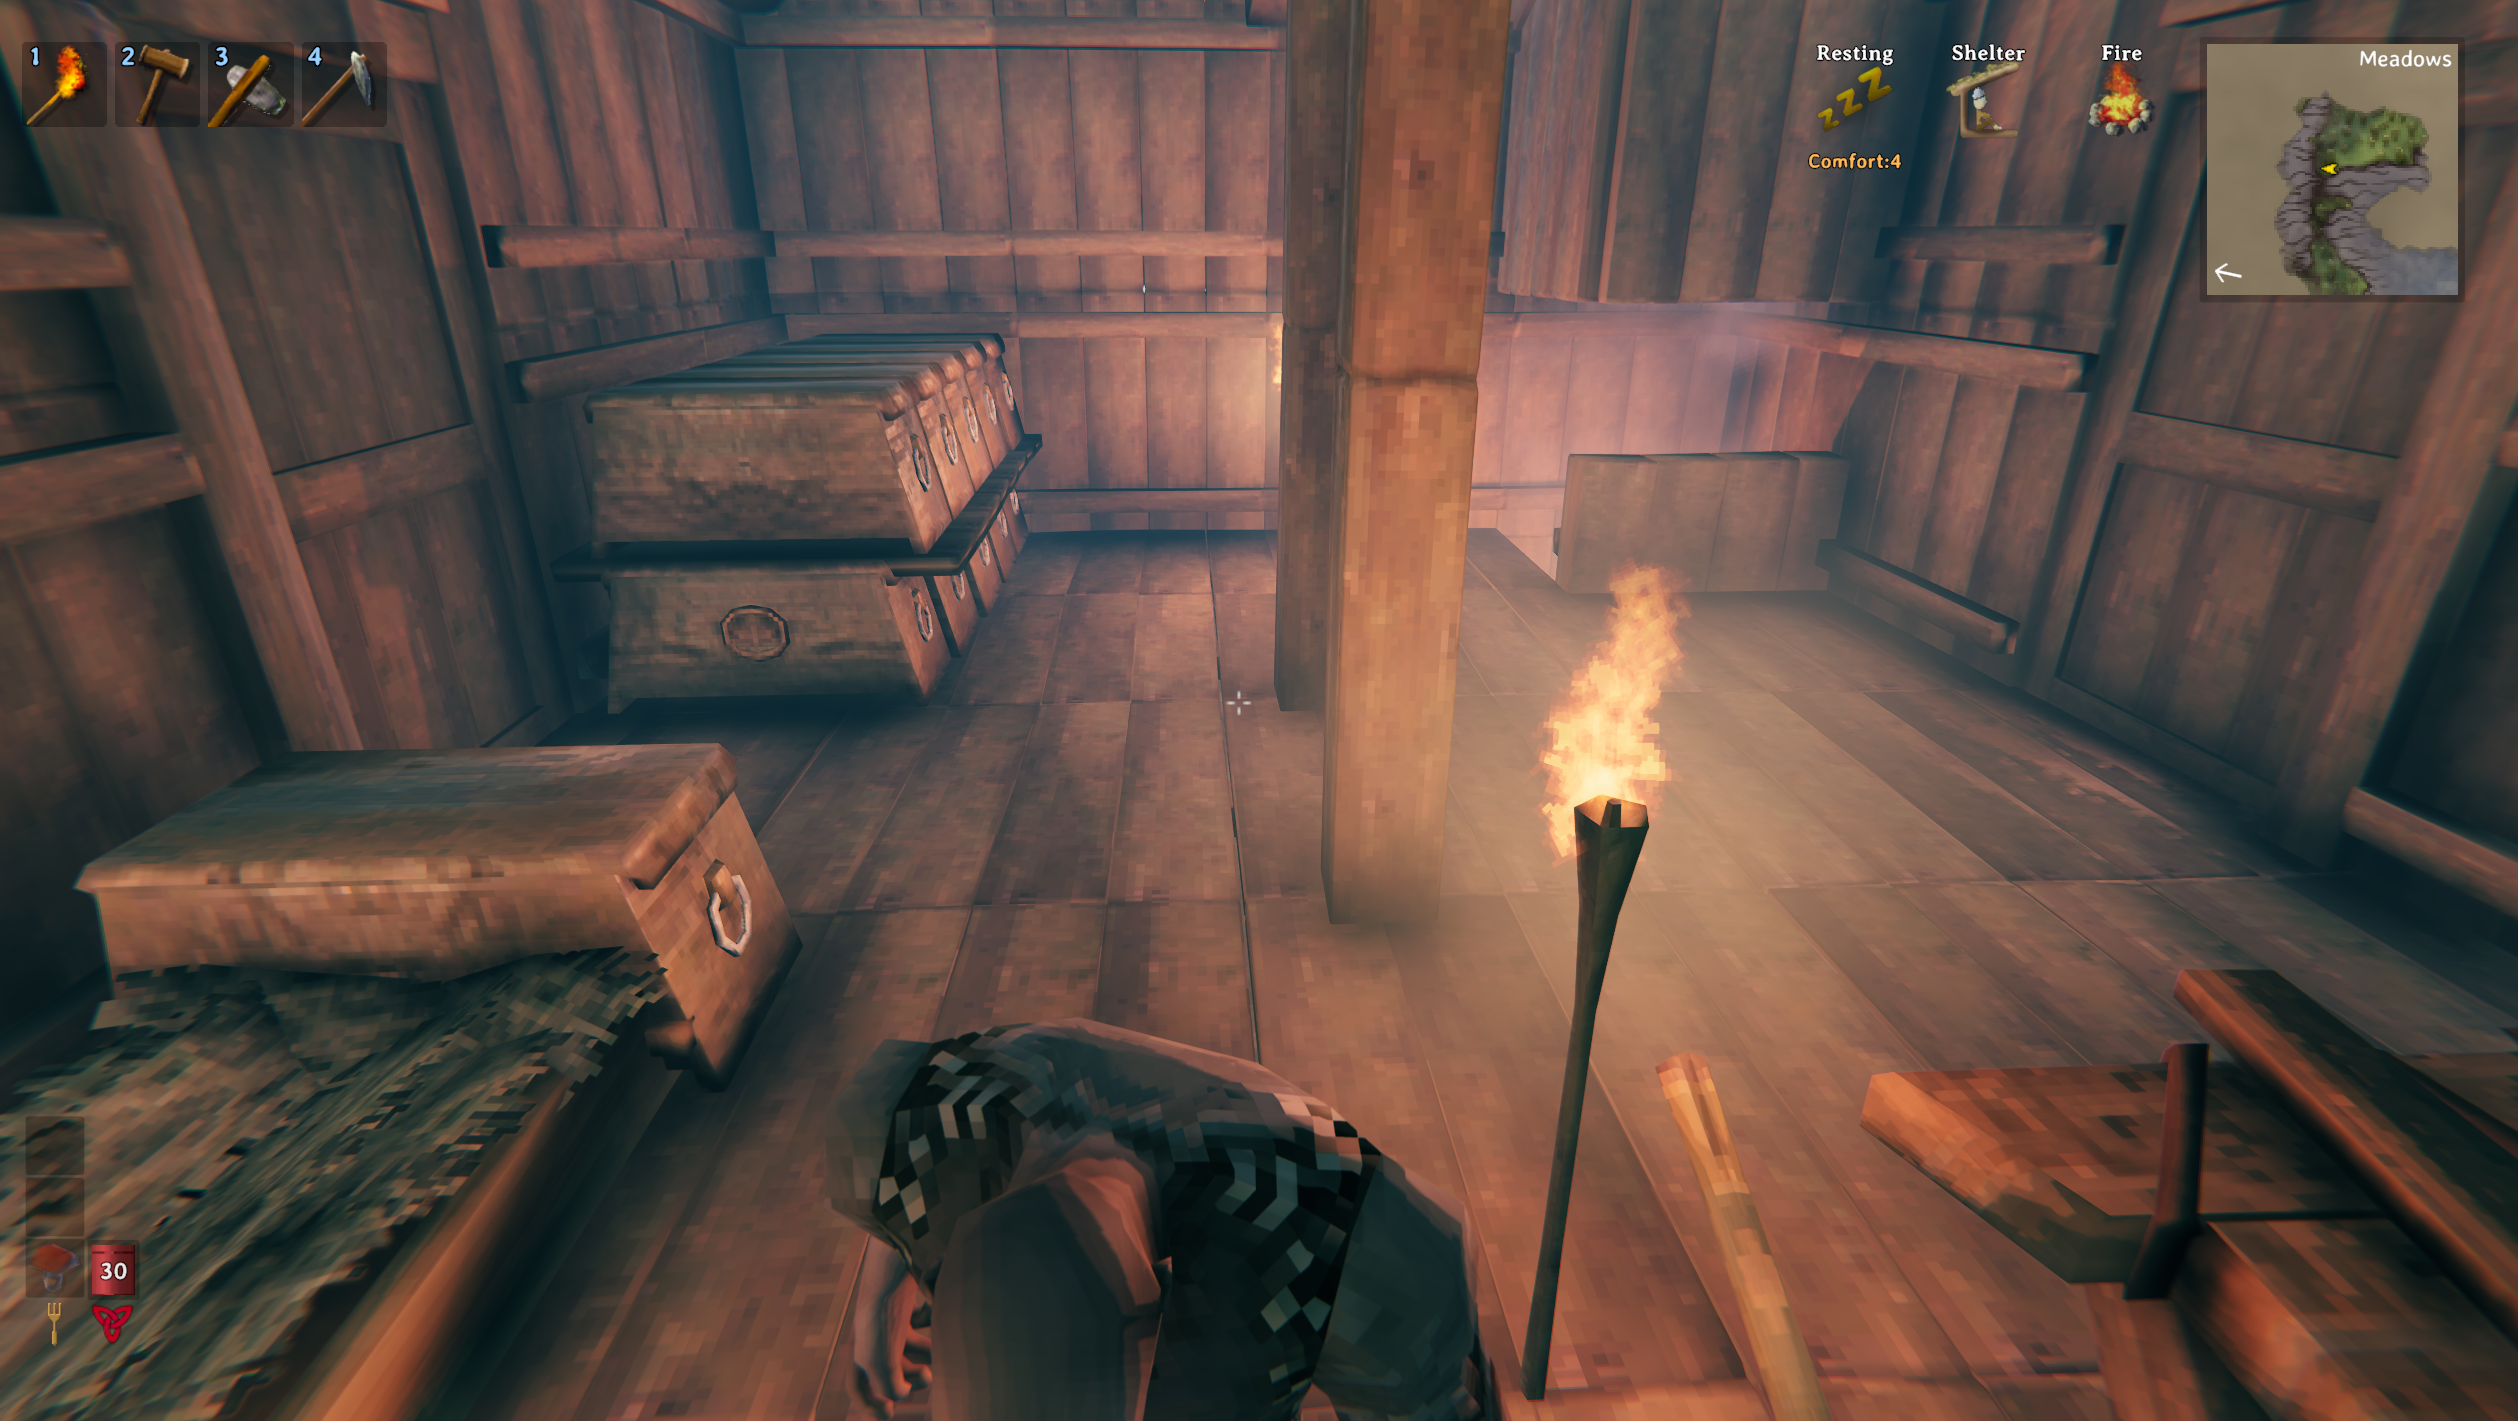
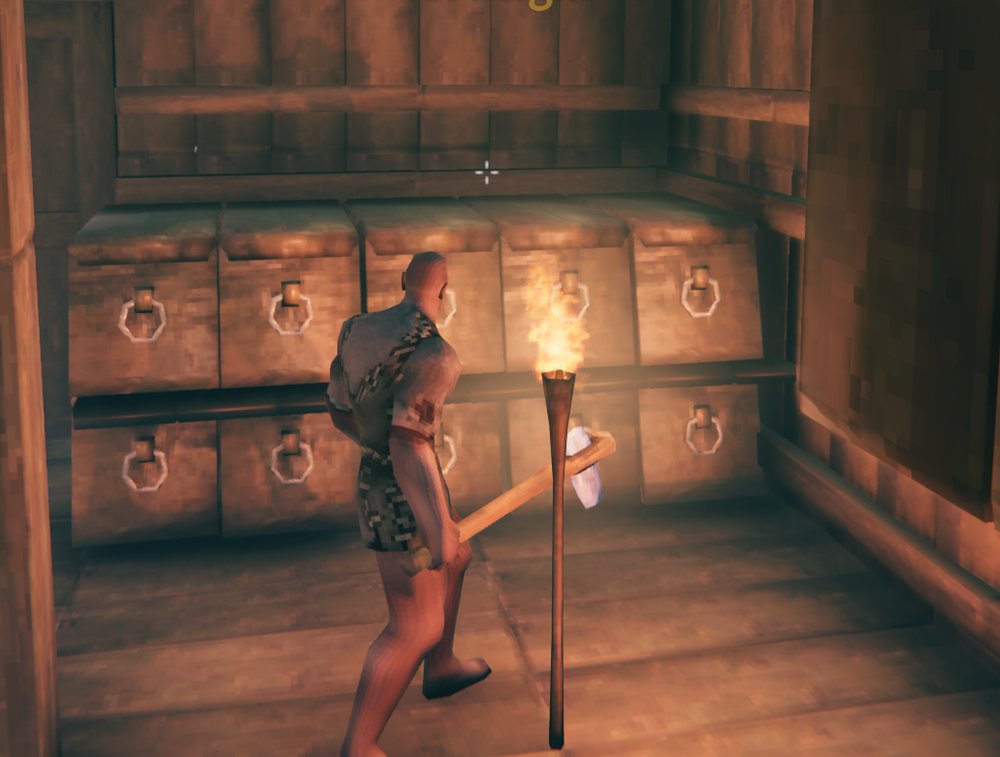
Building is a major part of Valheim, but it is more than just placing walls and making a base look good. Your home is where you craft and upgrade equipment, cook food, store resources, use Portals, gain the Rested buff, and recover between expeditions.
Valheim also has several building mechanics that are not immediately obvious. Structures need proper support, exposed wood can take weather damage, smoke from fires needs somewhere to escape, and furniture can directly improve the duration of your Rested buff through Comfort.
In this guide, we'll cover the most important building systems you need to understand, including structural integrity, support color codes, smoke ventilation, Comfort, workstation placement, terrain, storage, and basic base defense.
The goal is not to tell you exactly how your base should look. Instead, this guide will give you the foundation needed to build structures that are functional, stable, and easy to expand as you progress through Valheim.
Getting Started With Building
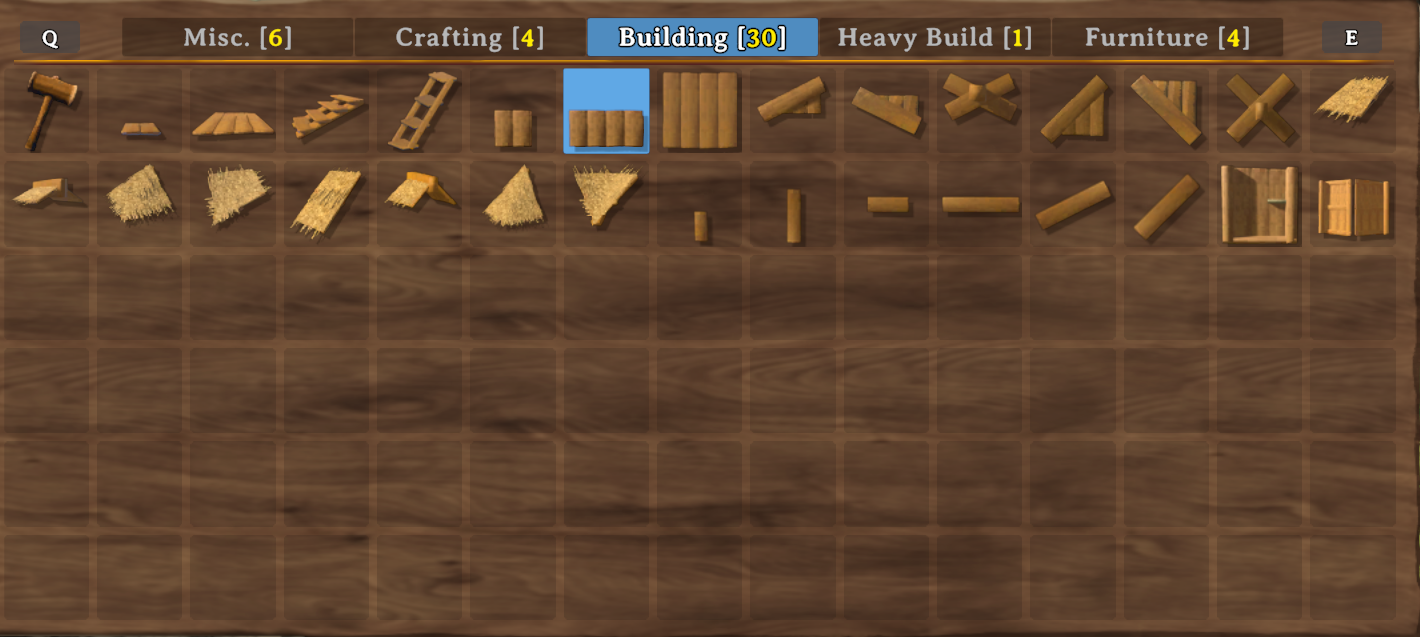
Before you can start building, you first need to craft a Hammer. The Hammer is your main construction tool and gives you access to walls, floors, roofs, furniture, crafting stations, and other building pieces as you unlock them.
Most early building pieces also require a nearby Workbench. Once placed, the Workbench creates a build radius around it, and many structures can only be placed while you are standing within that area.
Start With a Simple Shelter
Your first base does not need to be large.
A small shelter with a roof, Bed, Campfire, Workbench, and some storage is more than enough for your first few days. You can expand it later once you unlock more materials and crafting stations.
The most important thing early on is making sure the base is functional. You want somewhere where you can:
Repair your equipment
Gain the Rested buff
Sleep and set your spawn point
Store resources
Cook food
Upgrade your equipment
Once those basics are covered, you can start worrying about making the base larger or improving how it looks.
Use Snapping When Placing Building Pieces
Valheim uses a snapping system that allows building pieces to connect to specific points on nearby structures.
When placing floors, walls, beams, or roof pieces, move your cursor close to an existing snap point and the new piece will automatically align with it.
Using snapping makes it much easier to keep floors level, walls straight, and roofs properly aligned.
You can still place pieces freely when needed, but most normal structures are much easier to build by using the snap points.
Rotate Pieces Before Placing Them
Building pieces can also be rotated before placement.
This is especially important for angled roof pieces, beams, stairs, and decorative objects. Before placing something, make sure its orientation matches the rest of the structure.
If something looks slightly wrong, it is usually better to correct it immediately rather than trying to build around it later.
You Can Dismantle Pieces
If you place something incorrectly, you do not need to destroy it with a weapon.
With the Hammer equipped, you can dismantle building pieces directly and recover the materials.
This means you can experiment with layouts without worrying too much about making mistakes.
Prepare the Ground Before Building
For larger structures, it is worth spending a little time preparing the terrain first.
The Hoe allows you to flatten and raise ground, which can make it much easier to create a stable and level foundation.
Building directly across uneven terrain can make floors difficult to align and may complicate your structural support later.
You do not need perfectly flat ground for every structure, but having a solid foundation will make the rest of the build much easier.
Structural Integrity and Support Colors
One of the most important building mechanics in Valheim is structural integrity. You cannot keep stacking building pieces upward forever. Every piece needs enough support from the ground or from other supported pieces beneath it.
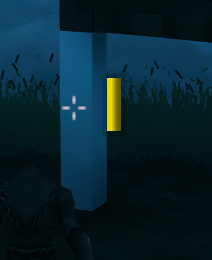
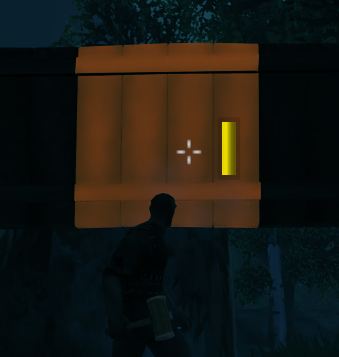
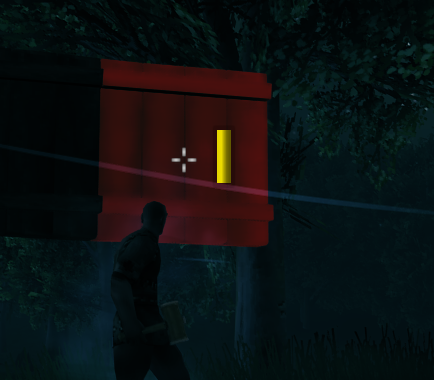
When you equip the Hammer and look at a building piece, Valheim shows its current support level using a color. These colors make it much easier to understand why a structure is stable or why part of it keeps collapsing.
Blue
Blue pieces are directly connected to the ground or otherwise considered fully grounded.
These provide the strongest possible support and are the best foundation for larger structures.
If you are building something tall, try to create as many strong grounded supports as possible before extending upward.
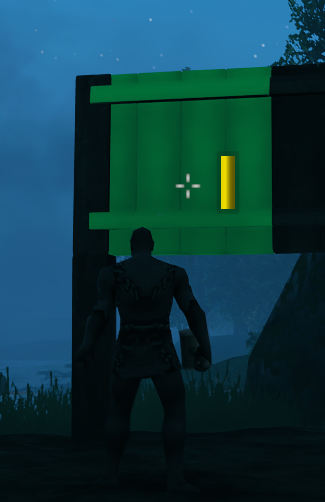
Green
Green means the piece is still very well supported.
You are usually safe to continue building from green pieces without worrying about stability.
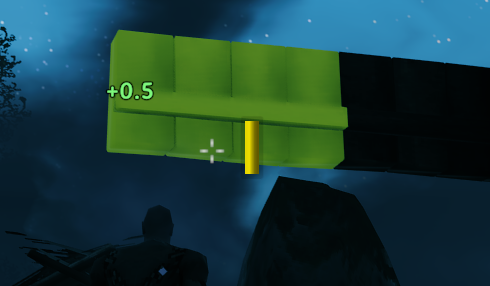
Yellow
Yellow means the structure is beginning to lose support.
The piece itself is still stable, but you are getting closer to the limit of how far you can extend from the nearest strong foundation.
If an important wall, roof, or beam is already yellow, adding additional support is usually a good idea.
Orange
Orange indicates weak structural support.
Pieces at this stage are close to the maximum distance they can be supported from the ground.
You can often still build from them, but additional pieces may quickly turn red or collapse entirely.
Red
Red is the weakest support level.
A red building piece can still remain standing, but it is effectively at the structural limit. Trying to extend much further from it will usually cause the new piece to collapse.
This is an important distinction for beginners. Red does not necessarily mean that the existing piece is about to break. It means you have almost no remaining support to continue building from that point.
How Structural Support Works
Support is transferred from one building piece to another.
A wall connected directly to the ground may be blue. A beam attached above it may become green, then another piece farther away may become yellow or orange.
The farther your structure gets from a strong foundation, the weaker the support generally becomes.
This is why very tall buildings and large roofs often fail when they are built entirely from basic Wood pieces.
Use Better Materials for Larger Builds
As you progress, you unlock building materials that allow you to create much larger structures.
Core Wood poles are one of the first major improvements because they allow you to create stronger and taller supports than normal Wood.
Later, Stone and reinforced structural pieces make it possible to support much more ambitious builds.
You do not need these materials for a basic early-game house, but they become increasingly important once you start building towers, large halls, or wide roofs.
Build the Foundation First
If you are planning a larger structure, it is usually better to establish the foundation and main supports before worrying about decoration.
Make sure your lower supports are properly grounded, then build upward while periodically checking the support colors.
If a roof section keeps collapsing, the solution usually is not to repeatedly place the same piece. Instead, add another support beam, connect the structure to a stronger grounded section, or redesign that part of the roof.
Smoke and Ventilation
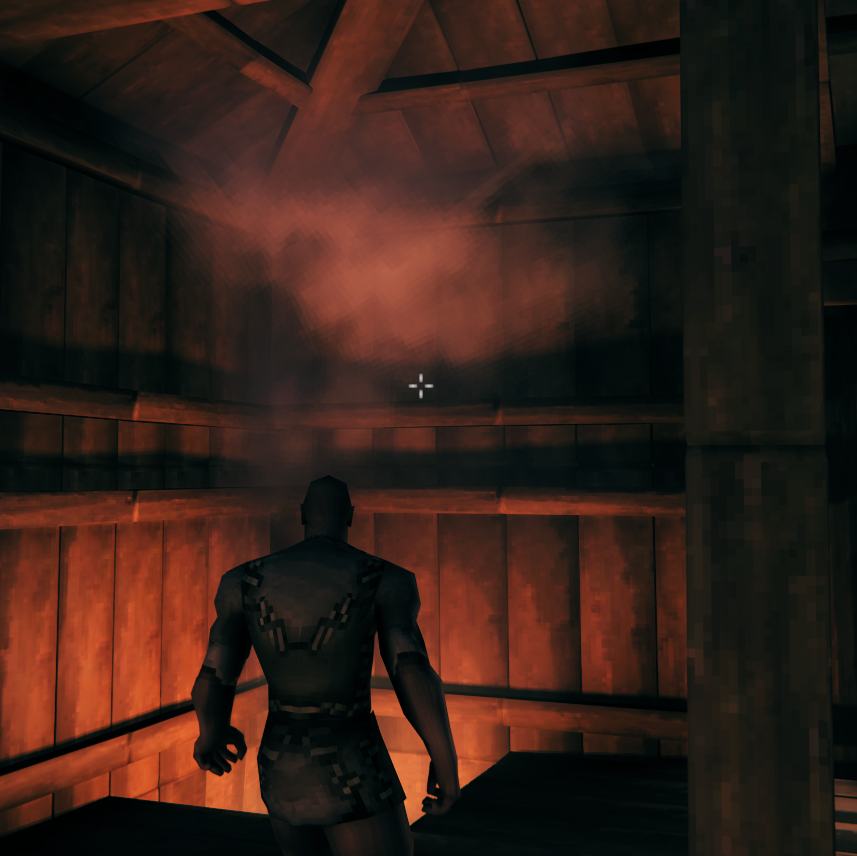
Campfires and other indoor fires produce smoke, which needs somewhere to escape. If smoke builds up inside an enclosed room, it can eventually start damaging your character.
The simplest solution is to leave a clear path above the fire so the smoke can rise and exit the building. A small chimney, roof opening, or raised section of the roof is usually enough.
At the same time, the fire still needs to be protected from rain. If it is too exposed, bad weather can extinguish it.
The goal is therefore simple: keep the fire sheltered while giving the smoke a clear route outside.
For a basic house, you do not need an elaborate chimney system. As long as smoke can rise without getting trapped underneath the roof, your fireplace setup will usually work fine.
Comfort and the Rested Buff
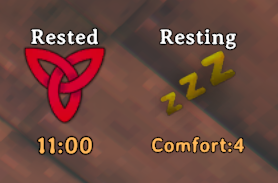
Comfort is an important part of building in Valheim because it directly affects how long your Rested buff lasts.
You gain Comfort from certain furniture and decorative objects placed around the area where you rest. Items such as Beds, Chairs, Tables, Rugs, Banners, and better fireplaces can all contribute to your Comfort level.
The higher your Comfort, the longer your Rested buff will remain active after resting at your base.
Because Rested greatly improves Health and Stamina regeneration, Comfort is more than just a cosmetic mechanic. Improving your interior can directly make exploration, combat, farming, and building more efficient.
You do not need to fill your house with random furniture, though. Many Comfort items only count once within the same category, so placing several identical items usually does not keep increasing the bonus.
For most bases, it is enough to gradually add different Comfort items as you unlock them.
Weather Damage and Roofing
Weather also affects your buildings in Valheim. Wooden building pieces that are exposed to rain can gradually take weather damage, which is why proper roofing is important for more than just making your house look finished.
Weather damage will not normally destroy wooden pieces completely, but it can reduce their durability significantly. This makes exposed structures easier to damage later and gives the wood a visibly worn appearance.
Protect Wooden Structures With a Roof
The easiest way to prevent weather damage is to place a proper roof above exposed wooden pieces. Walls, floors, beams, and other parts underneath sufficient roof coverage will be protected from rain.
This is particularly important for the main parts of your house and other structures you want to keep in good condition.
Not every wooden structure needs to be completely covered, however. Things such as outdoor fences, docks, or decorative structures can be left exposed if you do not mind the weathered appearance and reduced durability.
Repair Weathered Pieces
If part of your structure has already taken weather damage, you do not need to rebuild it.
Equip your Hammer and repair the affected building pieces. Repairs do not require additional building materials, so maintaining an exposed structure is mostly a matter of occasionally repairing it.
For most normal houses, simply adding a proper roof from the beginning will prevent weather damage from becoming much of a problem.
Building With Terrain
The terrain itself is an important part of building in Valheim. Before placing a large structure, it is often worth preparing the ground first so your foundation is easier to align and support properly.
The Hoe and Pickaxe are the two main tools used for this.
Flatten the Ground First
The Hoe allows you to level terrain, which is useful when creating floors, roads, courtyards, and larger foundations.
Flattening the area before building makes it much easier to keep your first floor level and prevents you from constantly adjusting pieces around uneven ground.
You do not need to flatten an entire hill for every build. Often, preparing only the area where your main foundation will sit is enough.
Raise and Lower Terrain
You can also use the Hoe to raise ground, while the Pickaxe allows you to remove terrain and dig downward.
This gives you much more control over the shape of your building area.
Raising ground can help create a solid foundation underneath a structure, while digging can be useful when building into hillsides or creating lower sections of a base.
Use Terrain as Support
Terrain counts as extremely strong structural support.
Building pieces that are directly connected to the ground will normally appear blue when checking structural integrity, making terrain useful for supporting larger structures.
This means you can sometimes improve a weak section of a building simply by extending a support down until it properly connects with the ground.
Natural terrain can also become part of the design itself. Building into hills, around rocks, or across different elevations can create much more interesting structures than completely flattening every area.
Do Not Overprepare the Terrain
It is easy to spend too much time trying to make every piece of ground perfectly flat.
Valheim's building system works well with uneven terrain, and some variation can make a build feel much more natural.
Prepare the areas that need a stable foundation, then let the rest of the terrain become part of the structure.
Building Materials and Progression
As you progress through Valheim, you unlock new building materials that let you create larger, stronger, and more detailed structures.
You do not need the most advanced materials to build a good base, but understanding what each material is good at makes planning much easier.
Wood
Wood is the foundation of early building.
It is cheap, easy to gather, and flexible enough for basic houses, storage buildings, docks, and small halls.
For most early structures, regular Wood is all you need.
Core Wood
Once you reach the Black Forest, Core Wood becomes one of the first major building upgrades.
Its poles and beams are especially useful for taller structures and stronger vertical supports, making it easier to build larger roofs and multi-story buildings without hitting structural limits as quickly.
Stone
Later, Stone opens up a very different style of construction.
Stone pieces are much heavier and more durable than Wood, making them useful for foundations, walls, towers, and larger permanent structures.
They also combine well with wooden upper floors and roofs, letting you create stronger bases without building everything from one material.
Reinforced Building Pieces
As you progress further, you gain access to stronger structural pieces that make ambitious builds much easier.
These are especially useful for large halls, tall towers, wide roofs, and structures with fewer visible support beams.
You do not need to replace an existing base every time you unlock a new material. Instead, use stronger pieces where they actually solve a structural problem or improve the design.
Mix Materials Instead of Replacing Everything
Some of the best builds in Valheim use a combination of materials.
You might use Stone for the foundation, Core Wood for major supports, and regular Wood for walls and roofing.
This can give you much more freedom than trying to build the entire structure from a single material.
Storage and Organization
As your base grows, the amount of resources you collect increases very quickly. Keeping your storage organized early can save a lot of time later.
You do not need a massive storage room immediately, but it helps to separate commonly used materials into different Chests. For example, you can keep Wood and Stone, food, monster drops, metals, and equipment in their own storage areas.
Use Signs
Signs are useful for labeling Chests and making larger storage areas much easier to navigate.
Once you have several rows of Chests, relying on memory alone quickly becomes annoying. A simple label above or beside each Chest is usually enough.
Store Items Near Where You Use Them
Try to keep frequently used resources close to the part of the base where you actually need them.
Food ingredients can stay near your cooking area, while building materials can be kept closer to the main entrance or construction area.
This keeps your base practical and reduces the amount of time spent running back and forth between different rooms.
Leave Space to Expand
Your storage needs will increase as you reach new biomes and discover new resources.
Leaving some empty space around your storage area makes it much easier to add more Chests later without having to redesign the entire room.
Practical Building Tips
Once you understand structural support, terrain, weather damage, and Comfort, most of the remaining building process comes down to planning and experimentation.
A few simple habits can make larger builds much easier to manage.
Start With the Foundation
Before building walls and roofs, make sure the basic footprint of the structure works.
Place your floor, main supports, and entrances first. This gives you a clear idea of the size of the building and helps prevent problems later when you discover that the roof or interior does not fit properly.
Check Structural Support While You Build
Do not wait until the roof starts collapsing before checking your support colors.
Periodically equip your Hammer and inspect important beams, walls, and roof sections. If parts of the structure are already orange or red, it is usually easier to fix the support immediately rather than after the entire building is finished.
Plan Your Roof Early
Roofs are often where structural problems become most noticeable.
If you are building a large hall, think about how the roof will be supported before completing all of the walls. You may need interior beams, Core Wood supports, or stronger materials to reach the center of a wide building.
Testing a small part of the roof first can save you from rebuilding a large section later.
Leave Room for Expansion
Your first version of a base rarely remains your final version.
Leave some space around important rooms and avoid building everything tightly together. As you unlock more decorative pieces and building materials, you may want to expand existing rooms or completely change part of the structure.
Use Snapping as a Tool, Not a Restriction
Snapping is extremely useful for keeping structures aligned, but you do not need to use it for everything.
Combining snapped pieces with more freely placed beams, decorations, and smaller details can make a build look much less uniform.
Once you understand the basic building system, experimenting with placement is one of the best ways to create more interesting designs.
Build for Function First
Especially during your first few biomes, focus on making the building practical before spending large amounts of time decorating it.
Make sure you have enough room to move around, your fire is properly ventilated, your storage is accessible, and the structure has enough support.
You can always improve the appearance afterward.
Most importantly, do not worry about making every build perfect. Valheim's building system gives you plenty of freedom, and experimenting is a large part of learning what works.