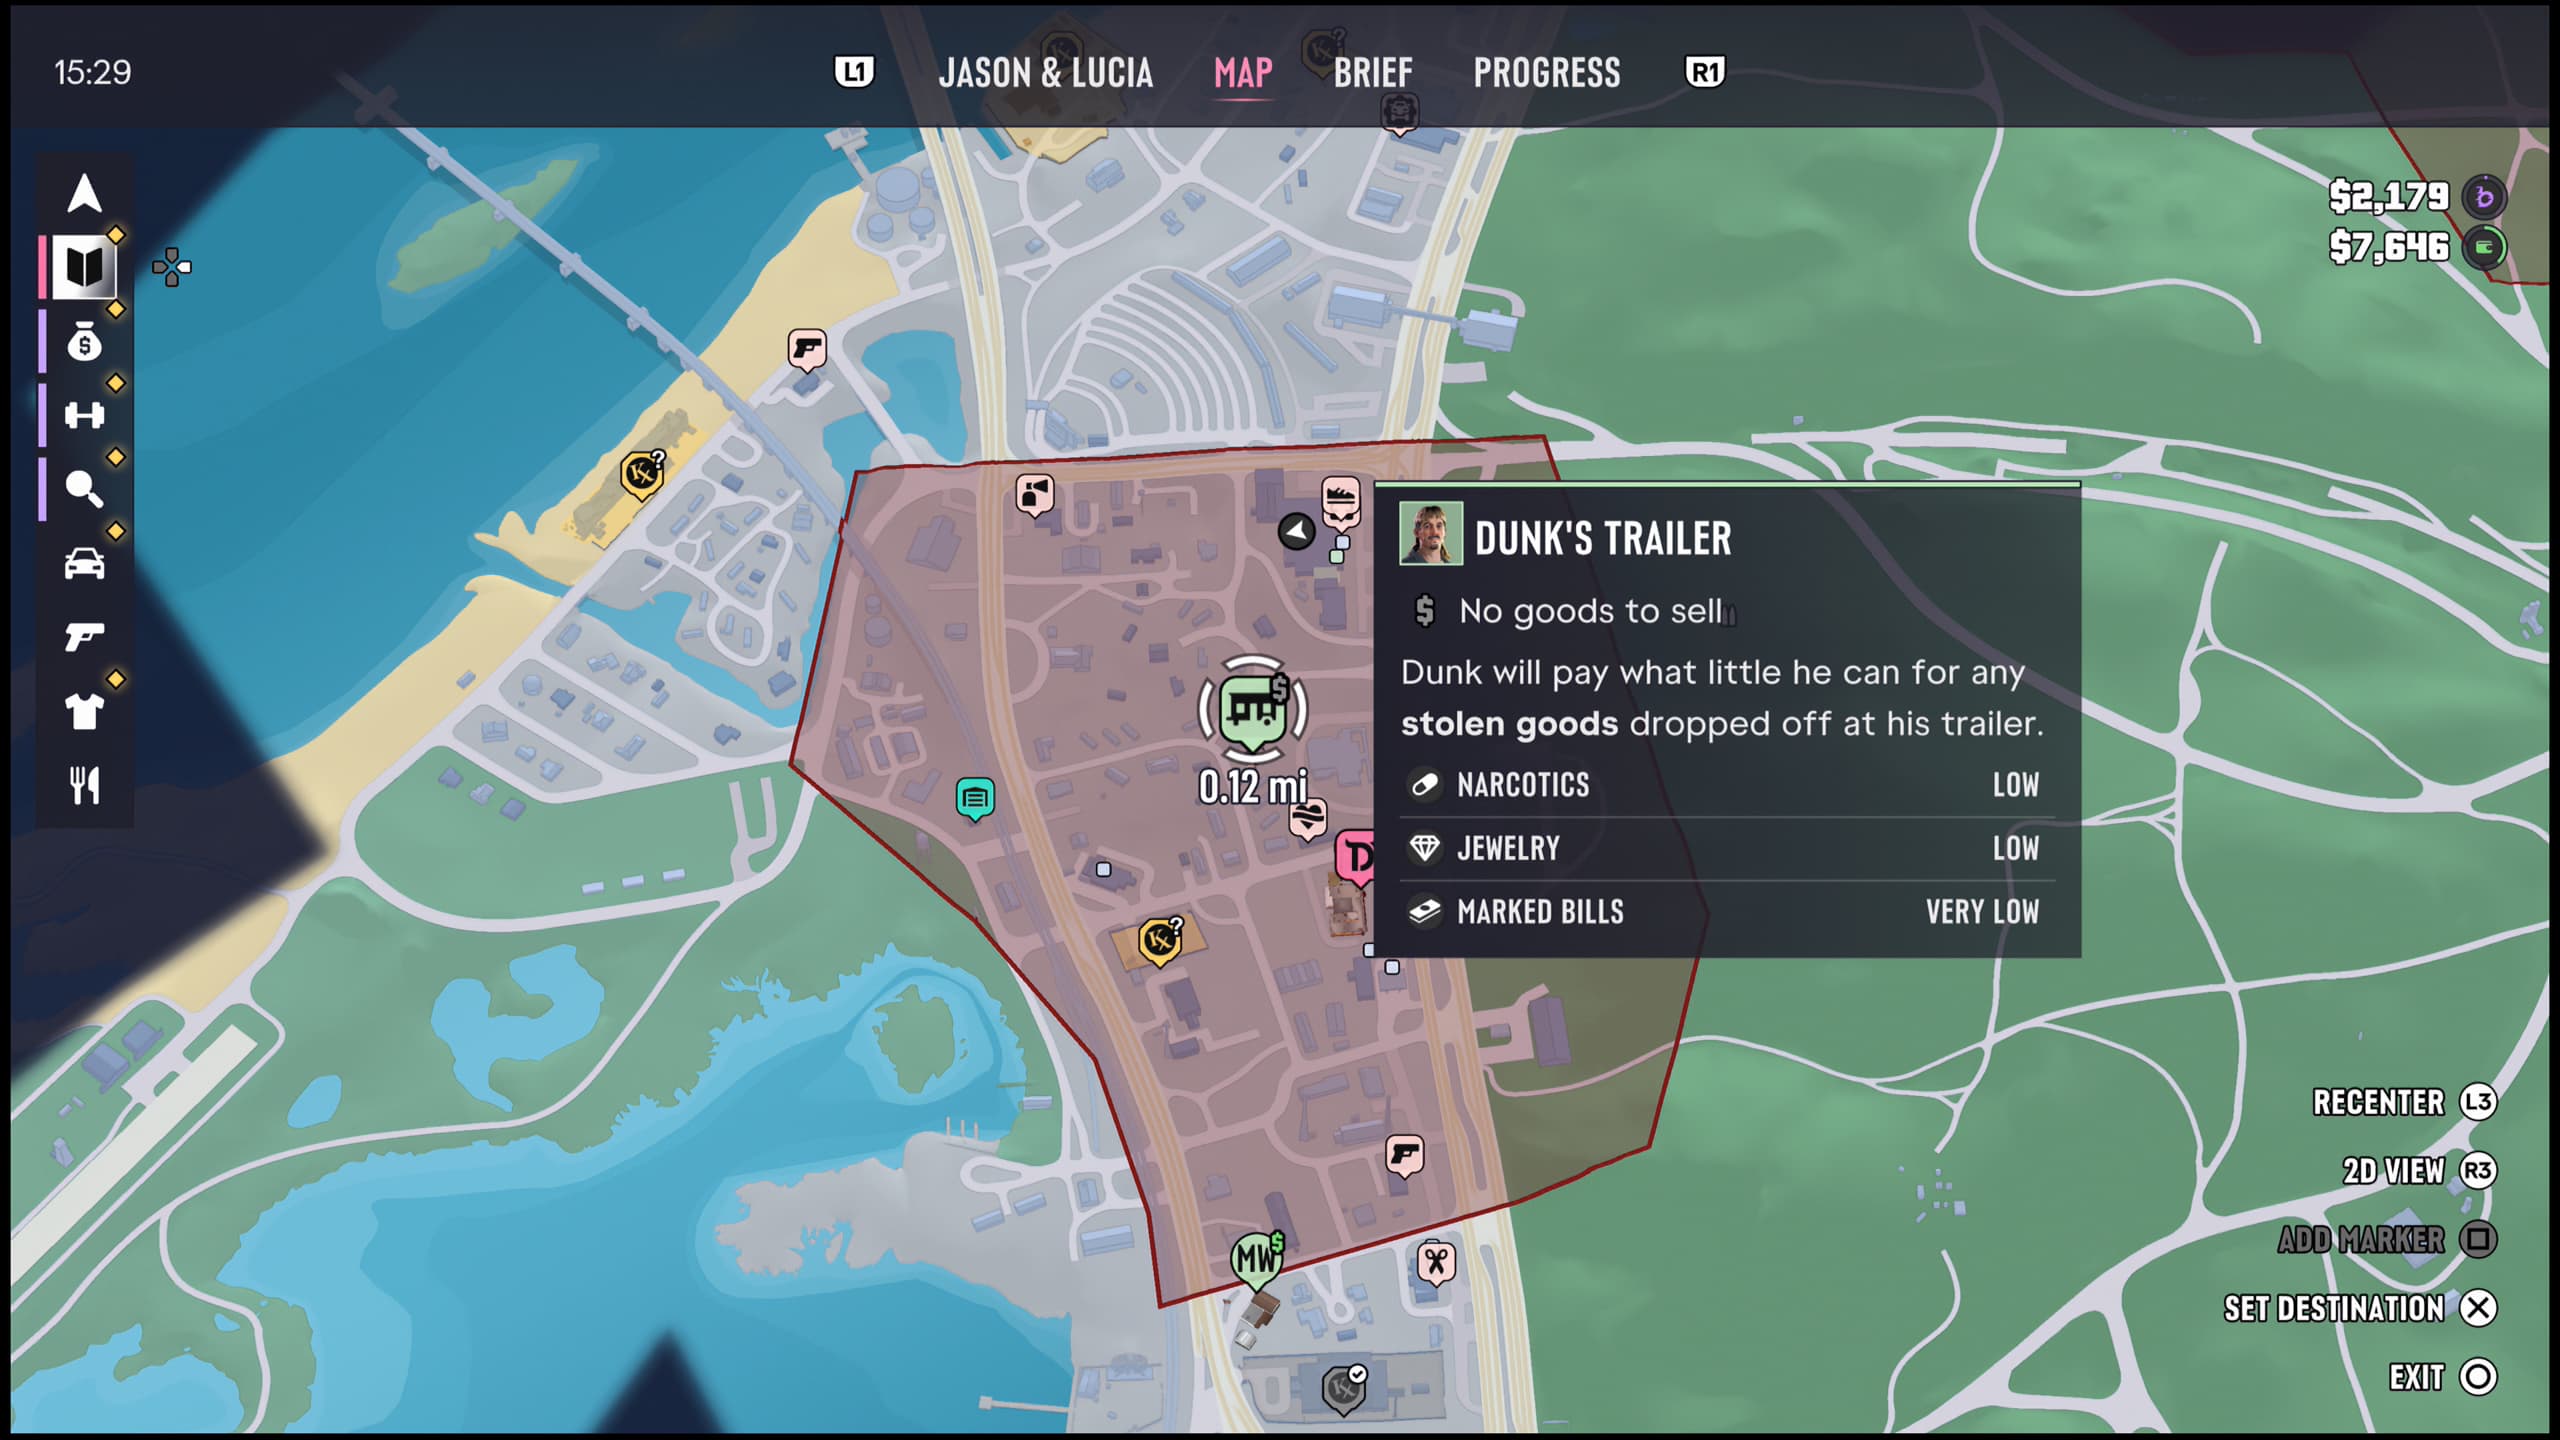
During the Chapter 2 Mission 'Coffee Break' in Grand Theft Auto 6. , Jason gets the choice between 1 of 3 different robbery/heist missions. While you can do all of them at any point thereafter, you'll still need to pick one in the moment regardless. In this guide, we're going to cover the 'Bowling Alley' robbery with Lucia, including the locations for all valuables you'll need to grab.
 Use your favourite features in-game with our Desktop App
Overview
Mission Start and End Points
0
2
0
0
0
0
0
Entering the Alley
We'll be doing this robbery with a loud approach, starting by eliminating all enemies outside of the building. While you can choose to save your focus ability for inside, we chose to use it outside to make dispatching of the guards much quicker.
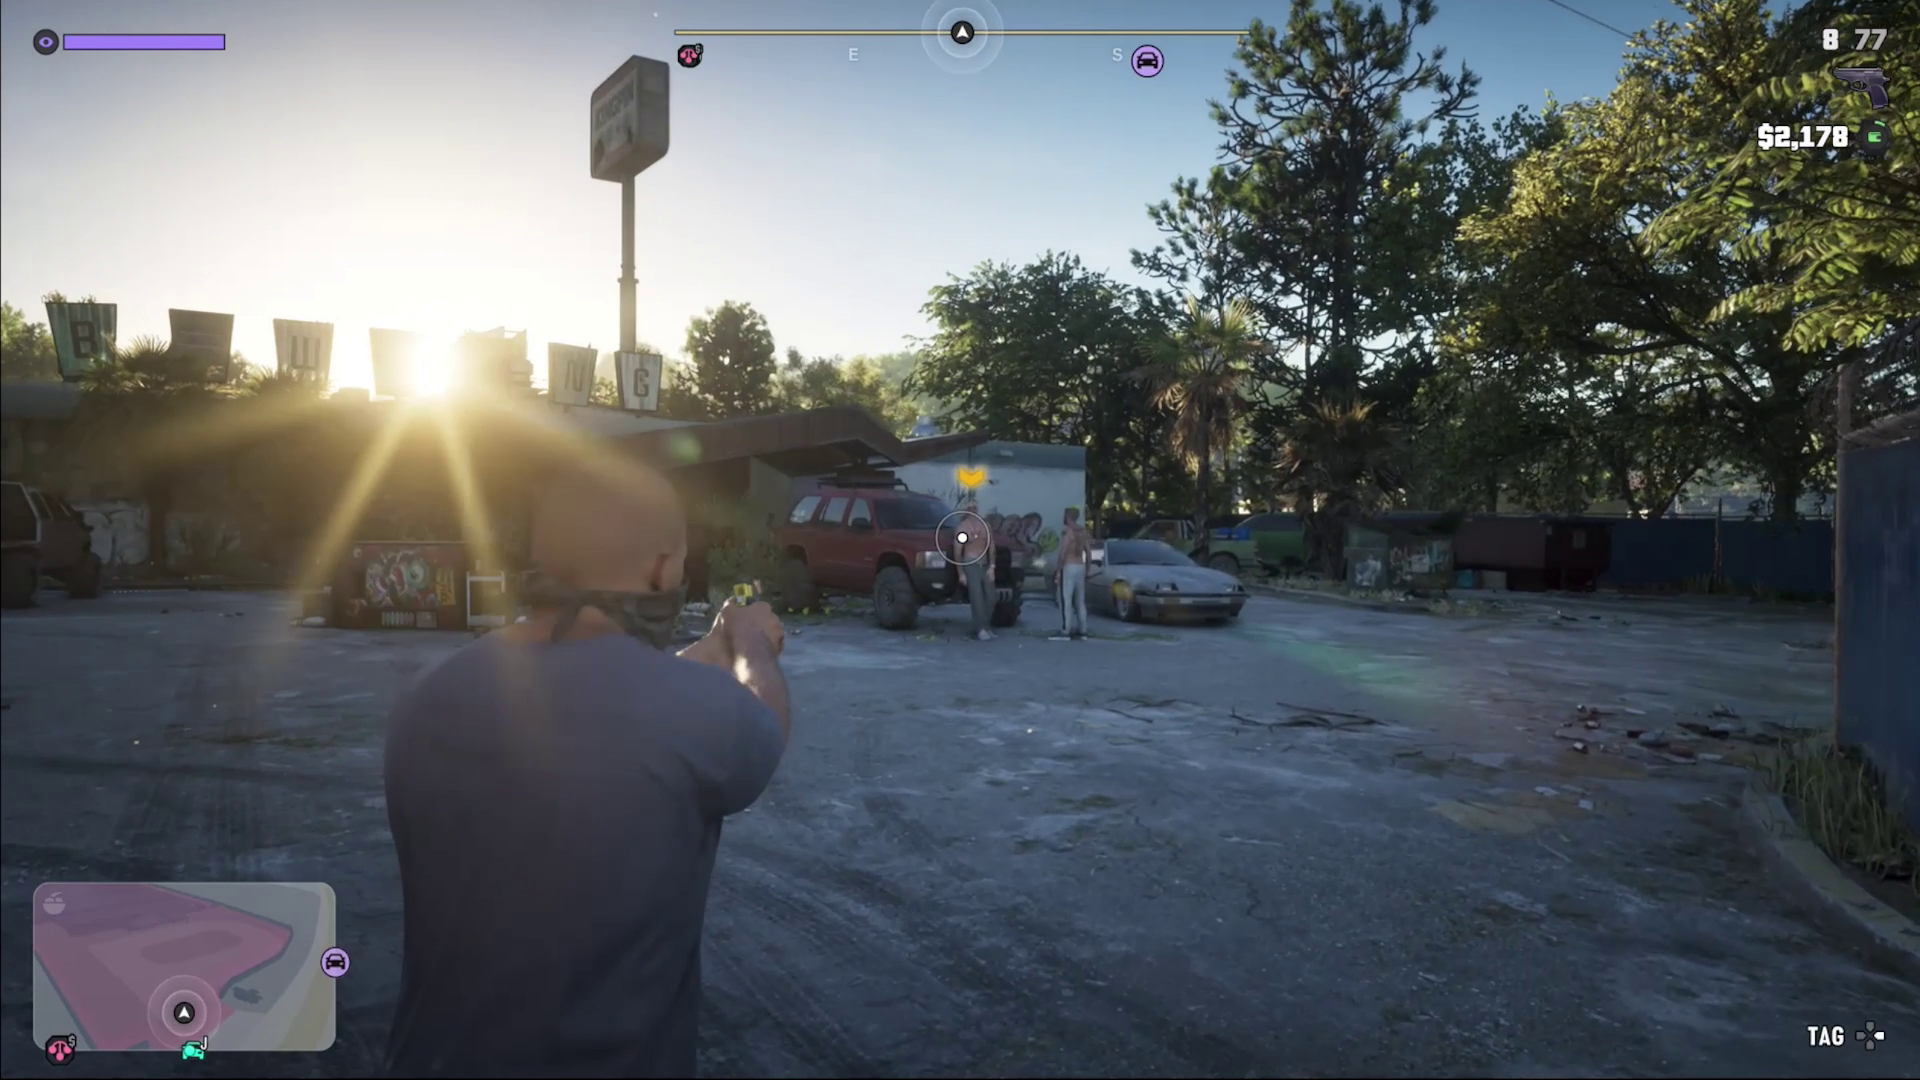
Inside Enemies
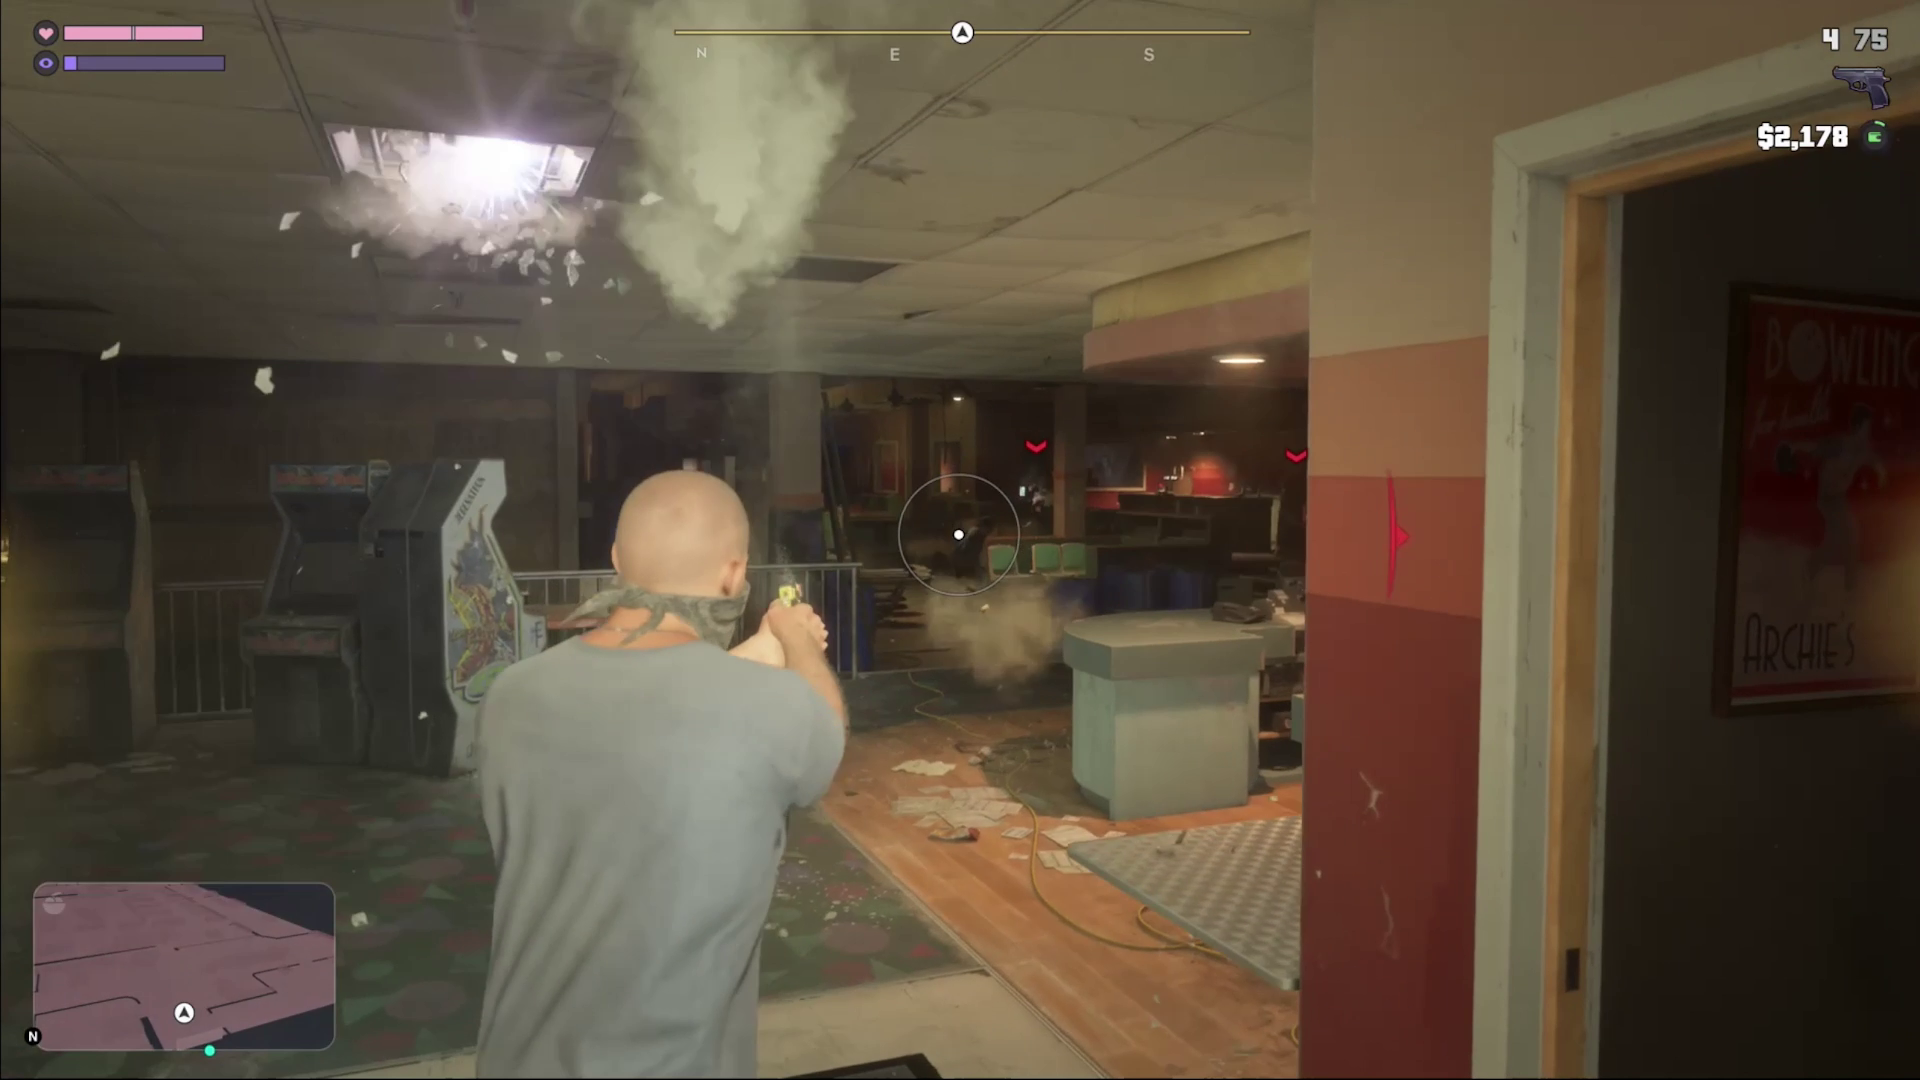
Be aware that once you get inside you'll immediately be bombarded by enemies with shotguns, rifles, and more. The safest route here it to try and make it behind the counter in front of you, or choose the side door. If Lucia is with you, she'll do a good job at taking out enemies while you get a flank position.
Remember that even when you think all enemies are gone, there can still be some hidden trying to flank you. This is why it's handy to have a partner for this robbery. It's also key to note down that your time in this robbery is limited. If you spend too long, the cops will come and make everything much much harder to escape.
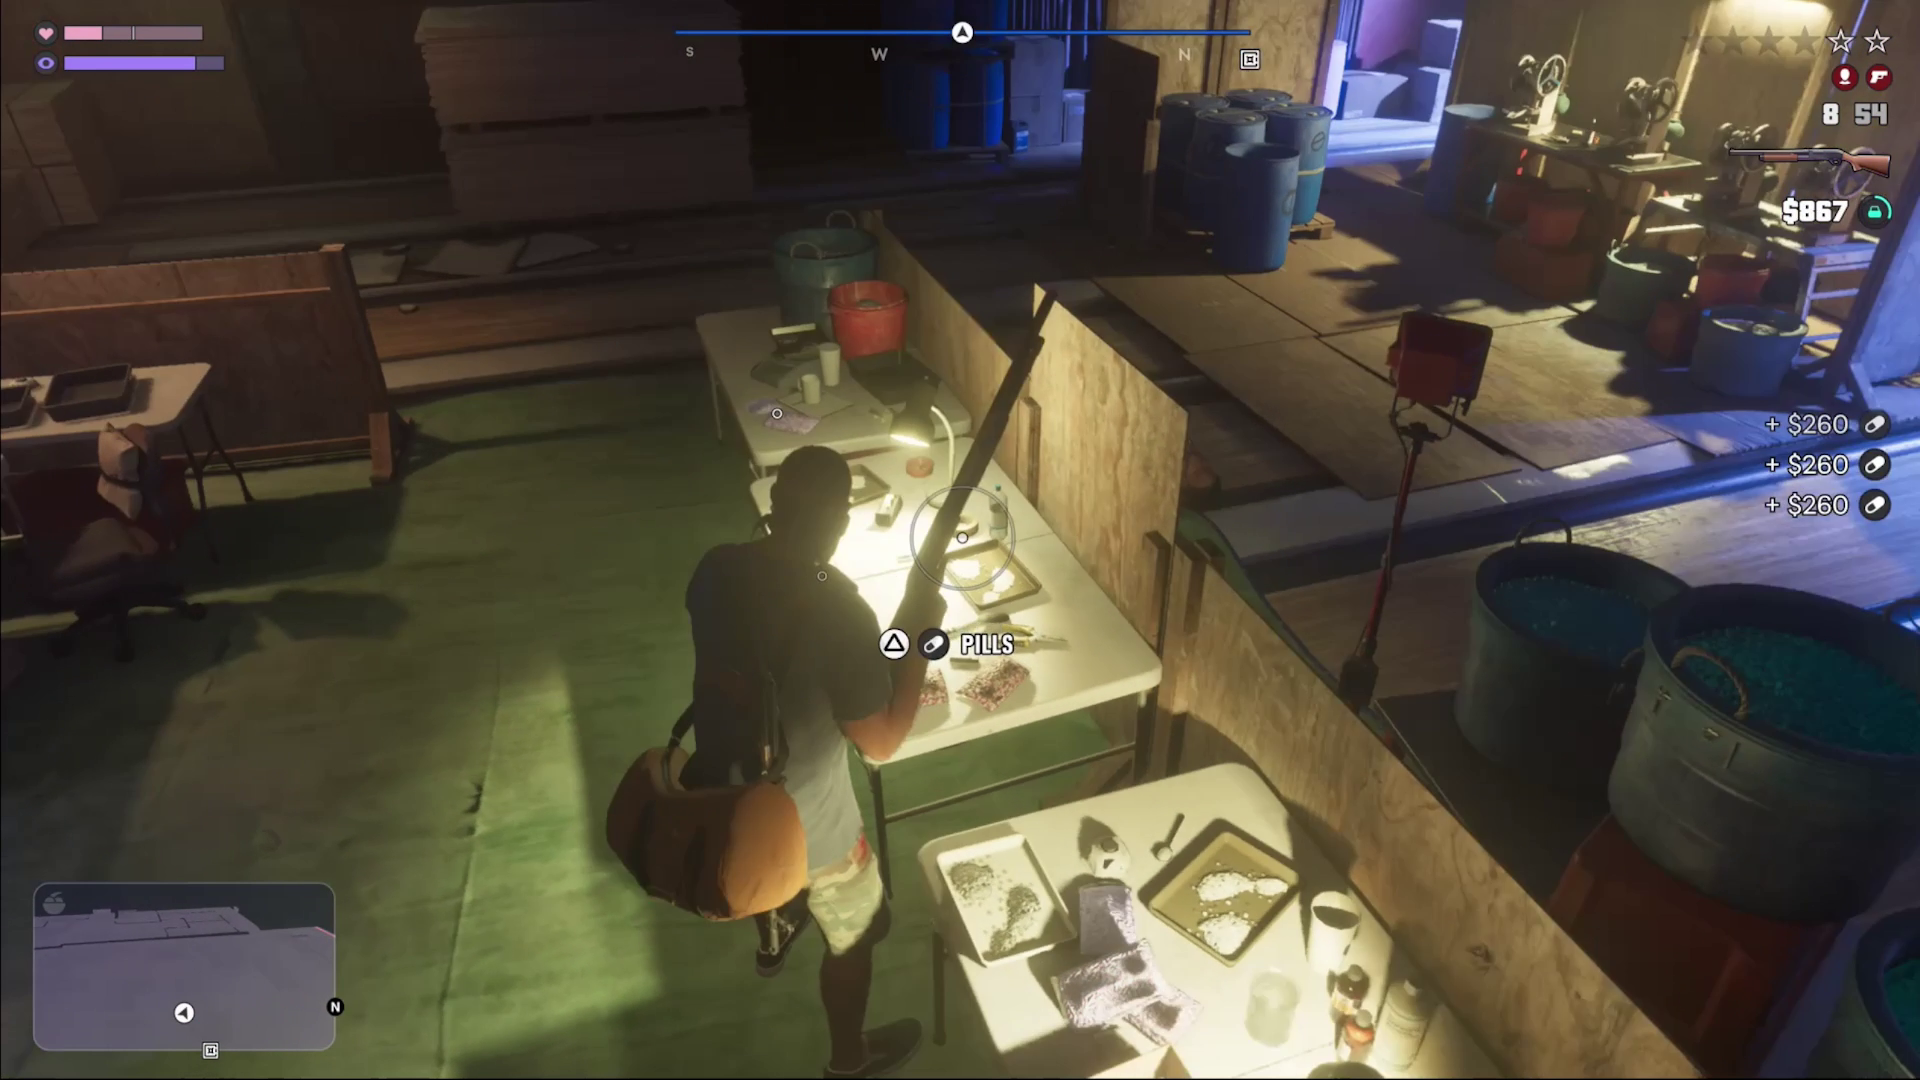
Loot Location: Pills
Straight in the center of the building you'll be able to find a plethora of tables holding a ton of pill bags. Once the area is clear, head over to them and pick up all bags of pills. If your bag is full, you can hold right on the D-PAD and hand one off to your partner while you continue to loot.
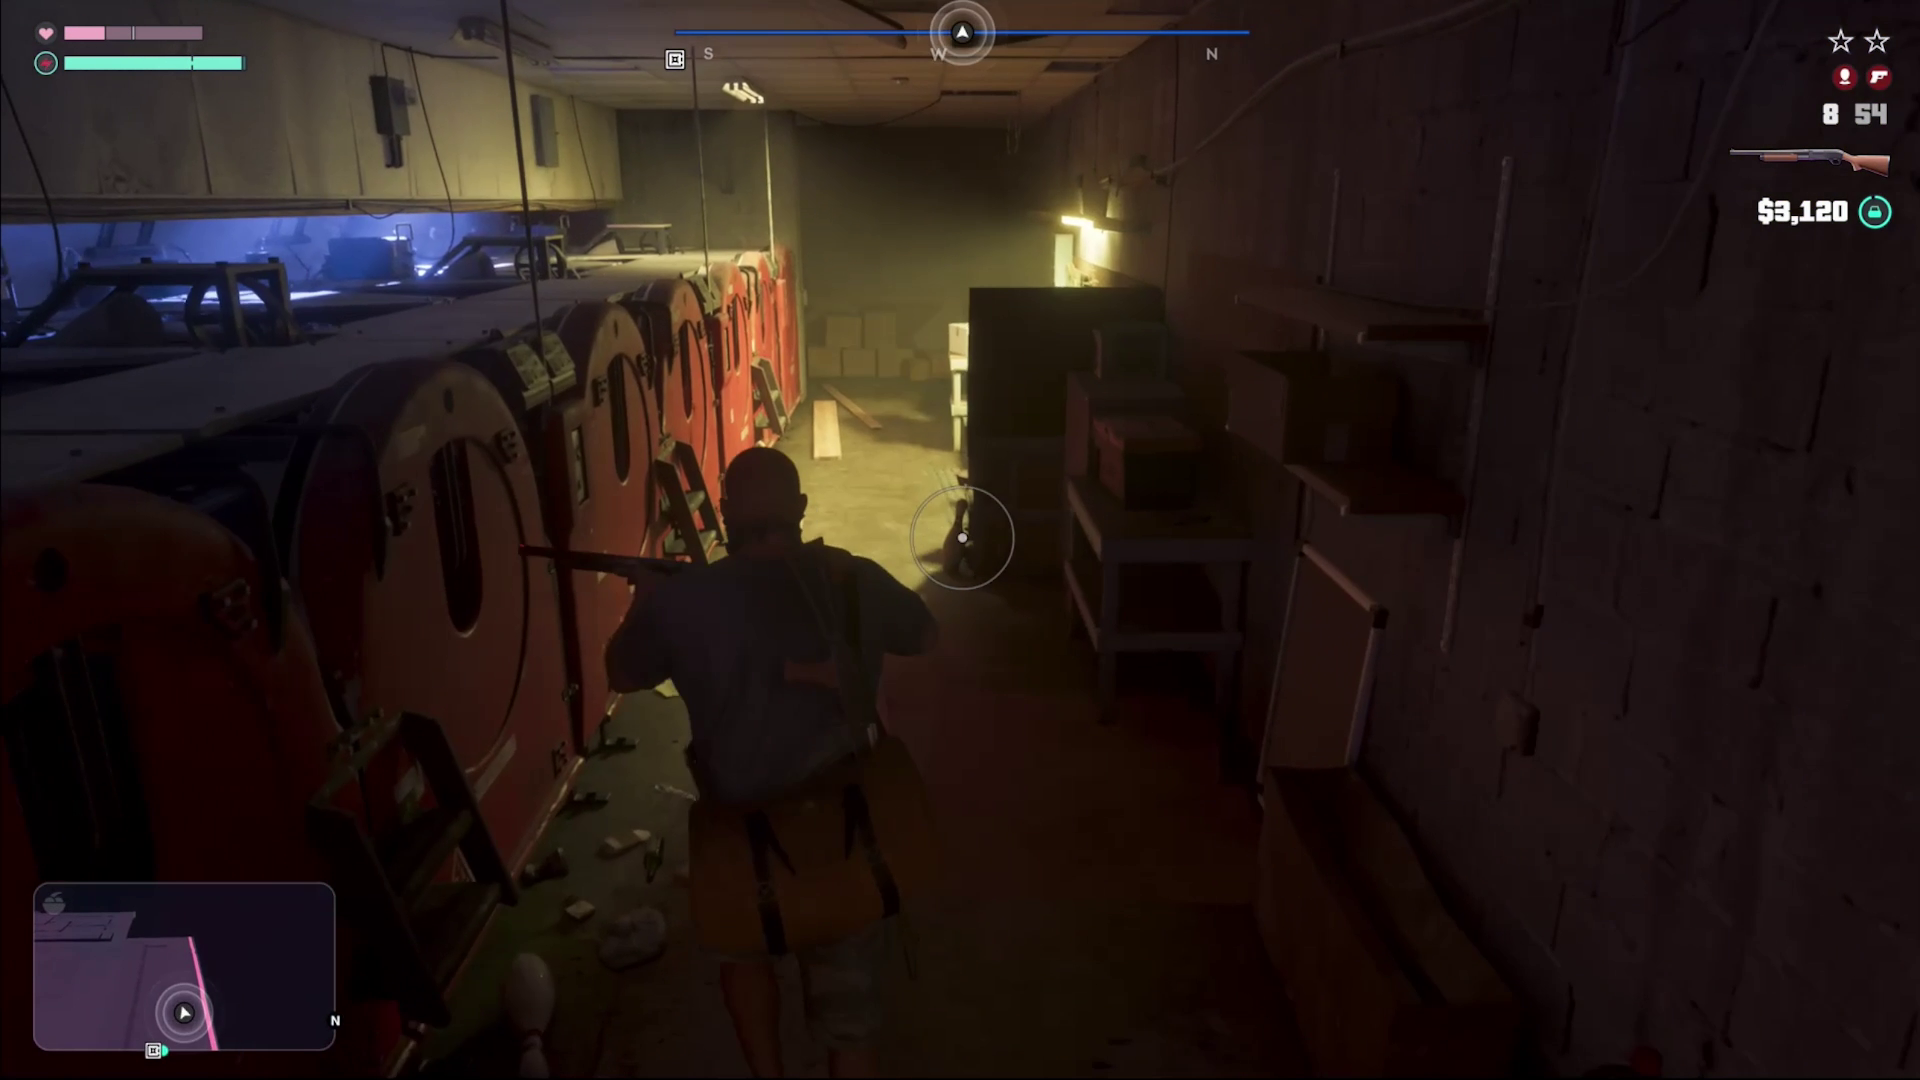
Loot Location: Explosives
The next loot location is off to the side of the building. Down at the end of the hall pictured it a toolbox filled with sticky bombs and grenades. These are the key to opening the safe here in a moment, so make sure you grab them as a priority to make opening it extremely fast.
Extra Loot: Cash & Watches
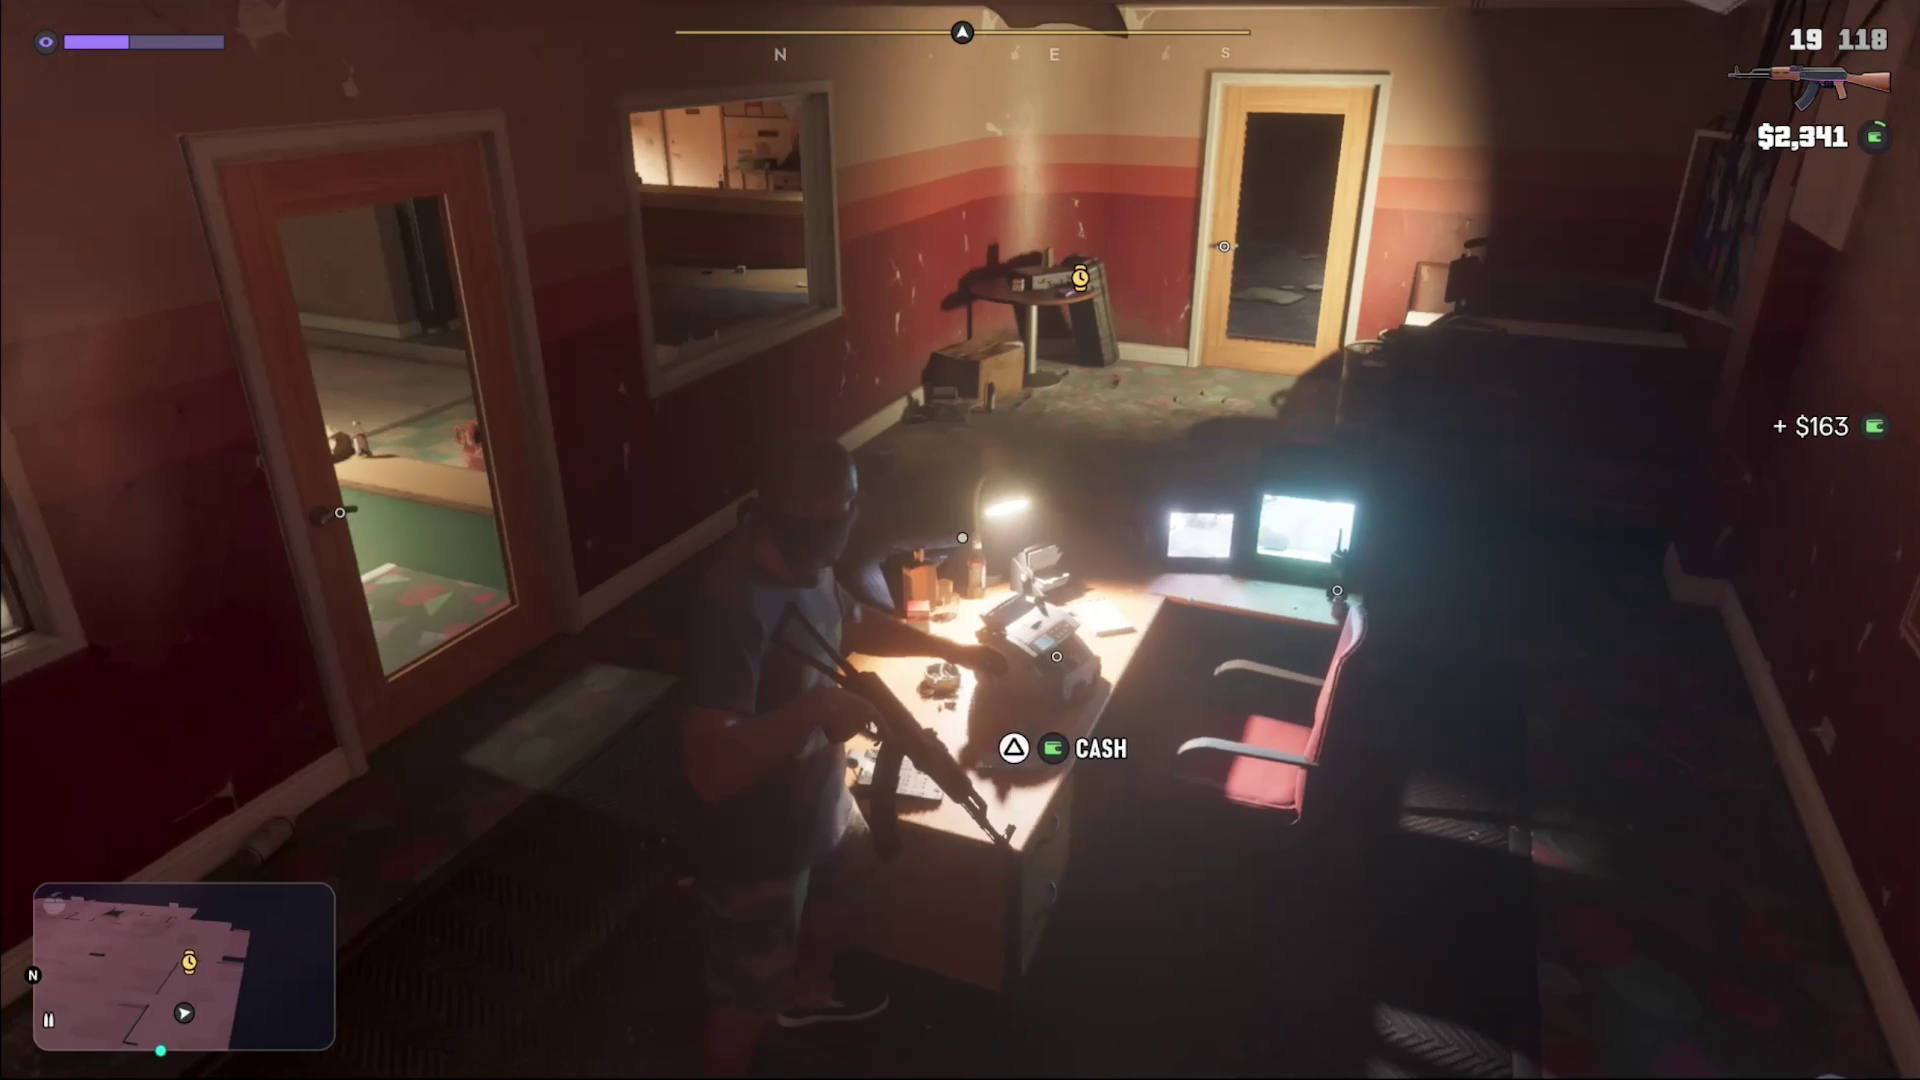
From the entrance of the building, head to the far-right where you'll find a small office. Inside is a bunch of cash sitting on a desk, alongside a valuable watch in the corner of the room. Grab these on the way to the safe.
Loot Location: The Safe
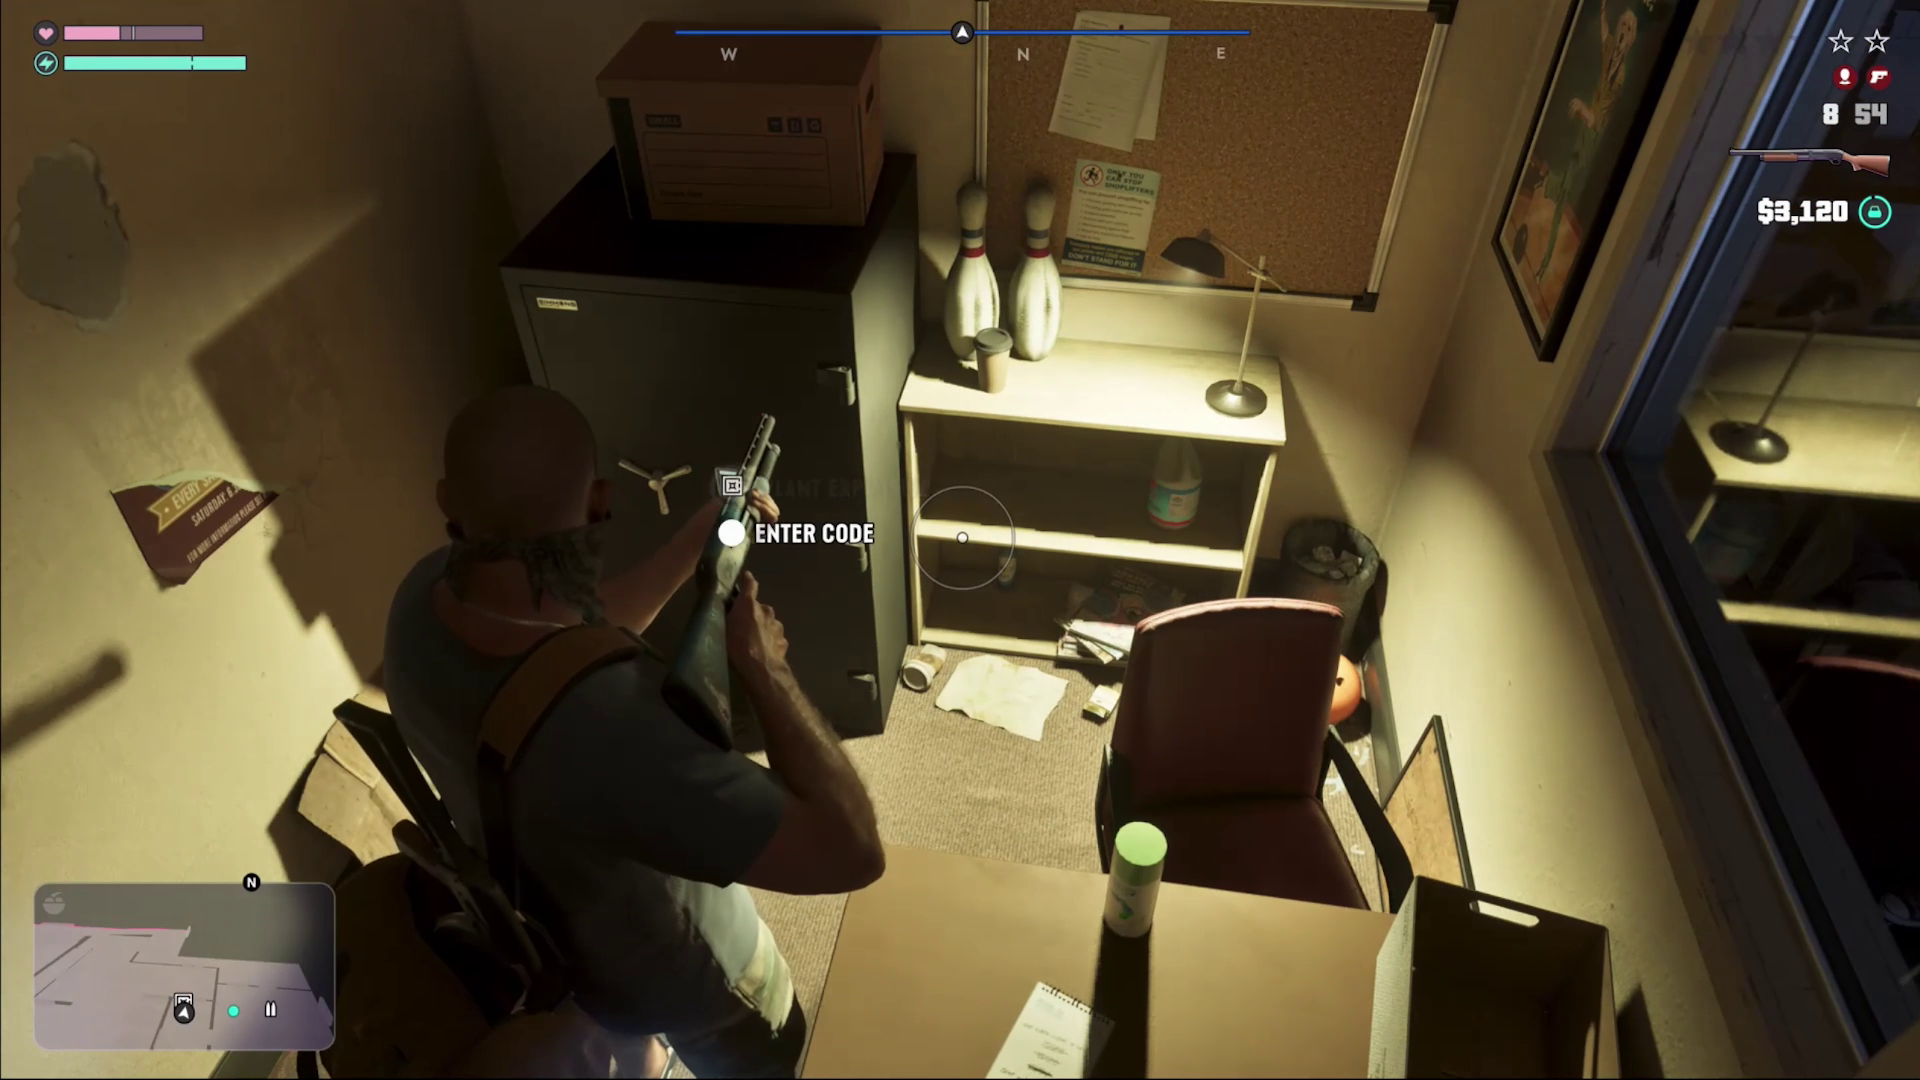
From the perspective of the entrance, head to the back of the building. When you get to the back, you'll find an office/storage area with an illuminated room inside. Once you enter this room (and assuming you grabbed the explosives previously shown) place a sticky bomb on the safe door with Triangle/Y.
Then, stand back and blow the charge. Once done, you can head back to the safe and collect all of the loot inside.
Unique Item Location: Gutterball Moreland 850 Shotgun
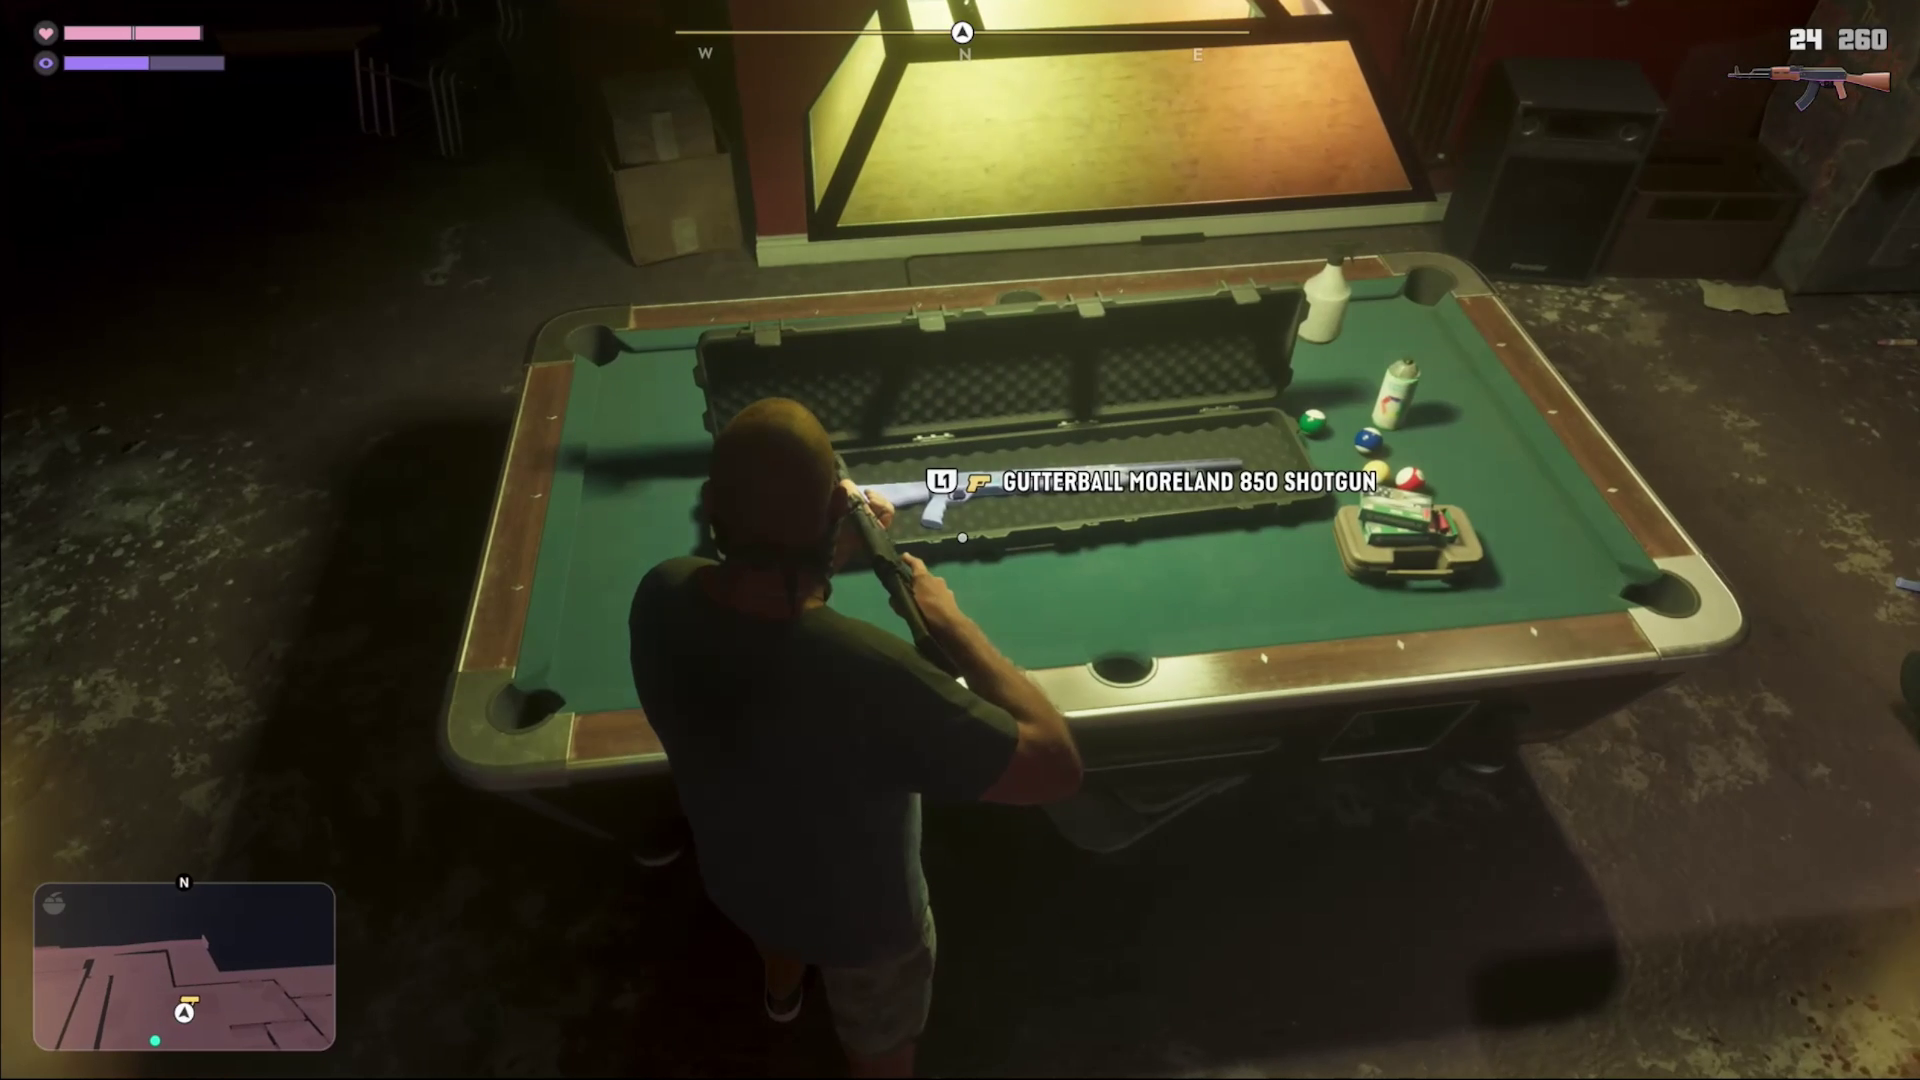
Just before the office area you should see a lit up pool table surrounded by enemies. After clearing out the enemies, head over to the table where you'll find a weapon case. Inside you can get your hands on the Gutterball Moreland 850 Shotgun, which will then add it to your weapon collection.
Where to Sell Loot?
Once the robbery/heist is over, you can take your bags of loot to any fence in the game and sell them. In the case of Chapter 2, this will be Dunk's Trailer.