menu
MobalyticsUse your favourite features in-game with our Desktop App
Gamebase Guide

Valheim 1.0: Getting Started in the Meadows

Guides
Valheim
By Oli
Updated on Sep 9, 2026
Sep 9, 2026

Overview

Your first few days in Valheim are about getting a small home working: gathering materials, making useful tools, finding food, and having somewhere safe to sleep. Once those basics are in place, hunting and exploring the Meadows become easier to manage.

This Valheim 1.0 guide follows those starting steps, from arriving at the Sacrificial Stones to establishing a routine and preparing for Eikthyr. Use it to decide what to work on next during your first sessions.

Gather Materials and Listen to Hugin

You begin at the Sacrificial Stones, which serve as your initial spawn point. Speak to Hugin, the raven who appears as you discover mechanics and reach progression milestones. His messages explain new features and help point you towards your next steps.

Collect Wood and Stone from the ground, along with any berries and mushrooms you find. Look along riversides and shorelines for Flint, which is useful for your first tools and weapons.

Pick up every new type of material you find. Discovering resources reveals crafting recipes, so something you do not need immediately may still help you find your next upgrade. If a recipe is missing, you may need to discover another ingredient or the crafting station it uses.

Make Your First Tools and Gather Wood Safely

A Stone Axe and Hammer are useful first priorities. The axe helps you gather wood, while the hammer gives you access to building pieces and structures such as the Workbench. These let you start turning your collected materials into a home.

Be careful when chopping trees. Falling trees and rolling logs can kill you, so move clear when a tree starts falling and watch the logs afterwards. They can continue moving and strike other trees while you are collecting wood.

You can use this to gather wood faster by directing falling trees into neighbouring trees, helping break them down. Stay clear of the falling timber and let the logs settle before approaching.

Build a Small Shelter and Claim Your Bed

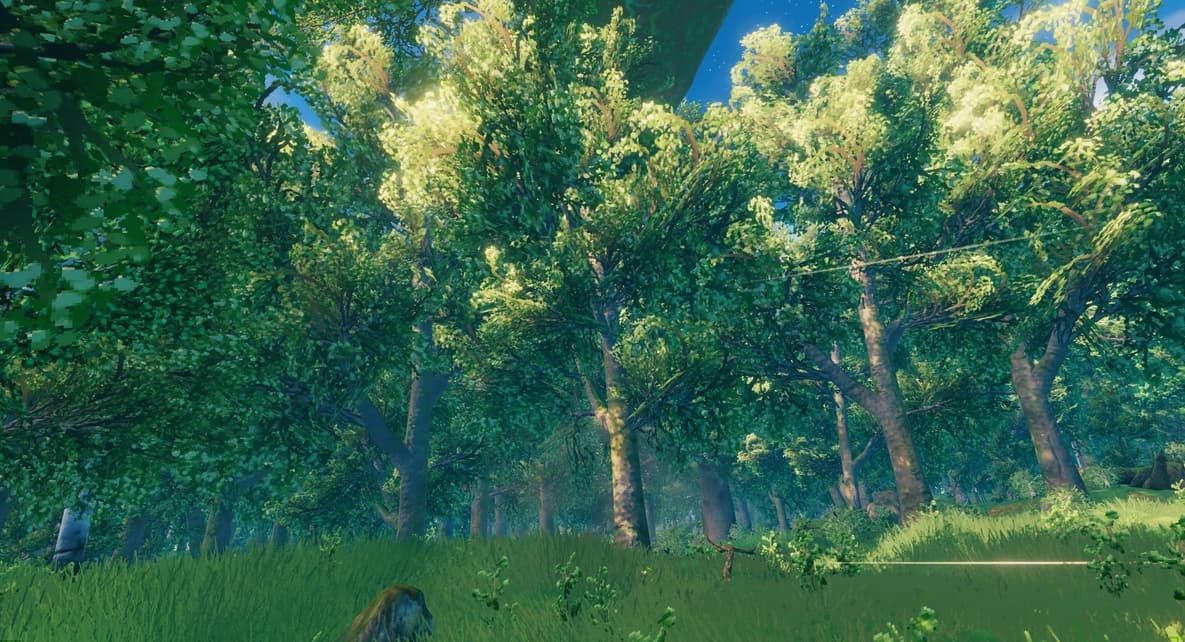
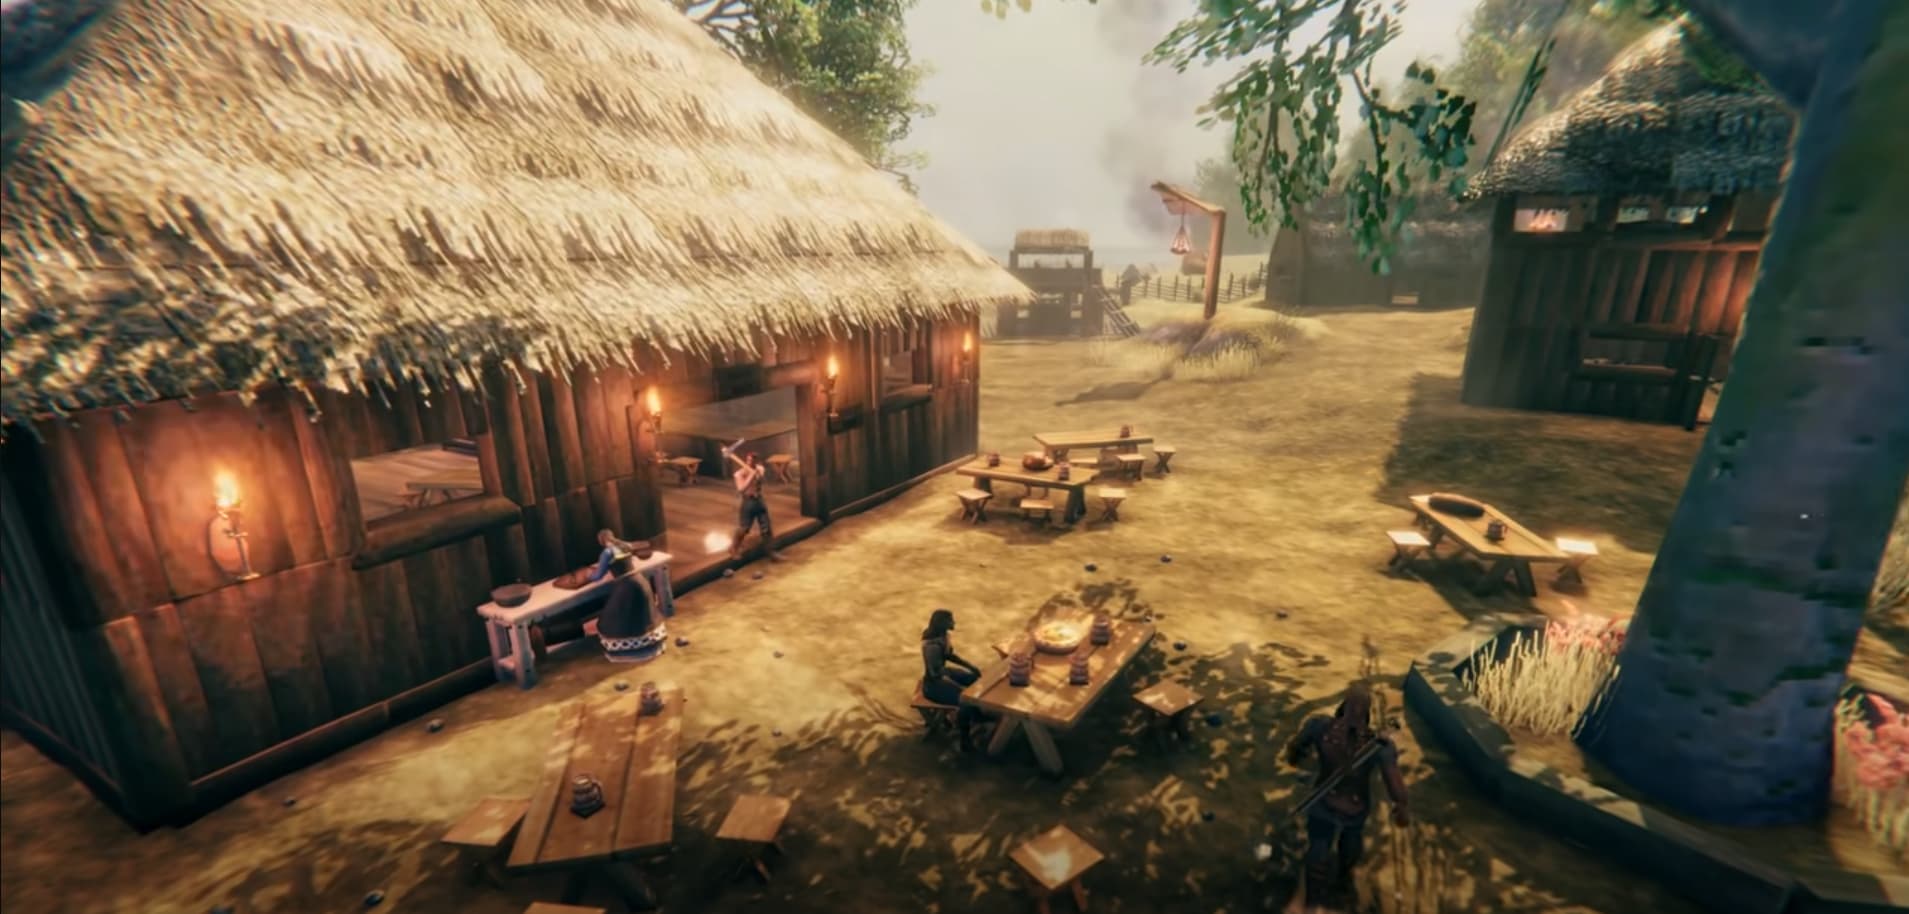
Choose a spot in the Meadows with nearby resources and room for a compact wooden shelter. Set up a Workbench, put a roof over your shelter, and make space for a Bed, storage, and a nearby campfire. If the Workbench needs shelter, improve the cover around it until you can use it.

Build and claim your Bed to set your spawn point. Interact with it after placing it. Having a home spawn makes recovering from mistakes easier than returning to the Sacrificial Stones.

A nearby fire is needed for sleeping. Give smoke a route out of the building and keep the fire protected from rain, so your sleeping area remains safe and usable.

Craft a Hoe early to level ground, raise terrain, and clear paths. Use it to prepare your building area and make routes between nearby places you visit regularly.

When you return home, store materials you do not need and repair your equipment. Your early gear can be repaired at the Workbench without spending crafting materials, making this an easy habit to establish immediately.

Cook a Simple Meal and Fill Your Food Slots

You cannot starve to death in Valheim, but going without food leaves you with much less Health and Stamina. Eating is essential preparation for your early gathering trips and fights.

You can have up to three different foods active at once. Several copies of the same food will not fill all three slots, so gather a mixture of ingredients.

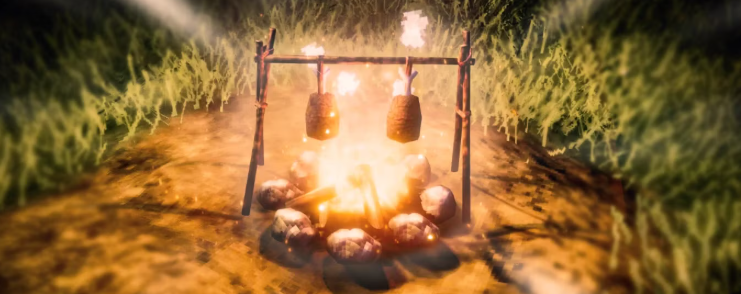
For a simple starting combination, use cooked meat, raspberries, and mushrooms. Place a Cooking Station over a fire to cook meat, and collect the food when it is ready.

Pay attention to both Health and Stamina when choosing food. Health helps you survive mistakes, while Stamina supports attacking, running, and gathering. Bring replacement meals when exploring, and leave a small food reserve at home for your next trip or recovery after a death.

Rest at Home and Sleep Through the Night

Once your shelter and fire are working, take a break in a dry, sheltered spot until the Rested effect appears. Sitting beside the fire is an easy way to prepare before heading out again.

Rested provides 50% increased Health regeneration and 100% increased Stamina regeneration. That faster recovery helps you keep gathering and recover between fights while you are learning the game.

Comfort determines how long Rested lasts. Suitable furniture and decorations near your campfire can increase Comfort as you improve your home. Our Comfort and Rested guide explains how to extend the buff further.

Spend your first few nights sleeping in your shelter. Nighttime can bring more enemies and more dangerous encounters, while the Cold effect reduces Stamina regeneration. Daylight gives you more forgiving conditions for learning the area around your base.

Craft Your First Weapon and Start Hunting

Your Stone Axe can handle your first fights as well as chopping trees. Against early Greylings, favour a Torch so you can burn them with its attacks.

Once your Workbench is usable, craft a Flint Spear with 5 Wood, 10 Flint, and 2 Leather Scraps. Find Flint along shorelines and riverbanks, and hunt boars with your axe to collect the Leather Scraps.

The spear is useful for hunting deer and boars. Its secondary attack throws the weapon, which you can retrieve afterwards, giving you a ranged option without crafting arrows. Aim somewhere you can recover the spear if you miss.

Keep your first outings close to home and gather during daylight. Gradually extend your trips as you become familiar with the area.

Practise blocking, dodging, and secondary attacks against manageable enemies. Leave enough Stamina to defend yourself, recover between attacks, and give yourself room to retreat if several enemies arrive.

Before each trip, check your food, equipment condition, and remaining Rested duration. Return to rest when the buff runs low, and head home before your supplies run out.

Recover After an Early Death

If you die on default settings, all your carried items and equipment are left in a Tombstone, and you lose a percentage of your skill levels. You can return to recover your belongings. These penalties can differ with your world settings.

The setback depends on where you died and how far you have progressed. Recovering basic tools near your Meadows home is generally easier than reaching valuable equipment left deep in a dangerous area.

Before returning, eat from your food reserve, refresh Rested, and bring spare equipment if the route is unsafe. Approach carefully if enemies are still nearby, then move somewhere safe to sort out your gear after recovering it.

Your Next Milestone: Prepare for Eikthyr

Once you have a working shelter, dependable food, and equipment you are comfortable using, begin preparing for Eikthyr, the first boss. Improve your gear and practise with your weapons before committing to the fight.

In normal progression, defeating him gives you Hard Antler, which you use to craft the Antler Pickaxe. This lets you begin mining copper and tin in the Black Forest. Stronger pickaxes will be needed for some later ores.

Use your first sessions to establish that routine at home, then work towards the boss when your supplies are reliable. Our Meadows to Swamp progression guide covers the route through the next stages, including bronze equipment, iron, and Bonemass.

Table of Contents

See More

Valheim 1.0: Getting Started in the Meadows
Updated on Sep 9, 2026
All Map Escape Locations - Halloween: The Game
Updated on Sep 9, 2026
How To Win As Michael Myers - Halloween: The Game
Updated on Sep 9, 2026
Valheim - Progression Guide for All Biomes
Updated on Sep 9, 2026
Valheim 1.0: Comfort and Rested Explained
Updated on Sep 9, 2026

Like our guides?

Add Mobalytics as a preferred source on Google!