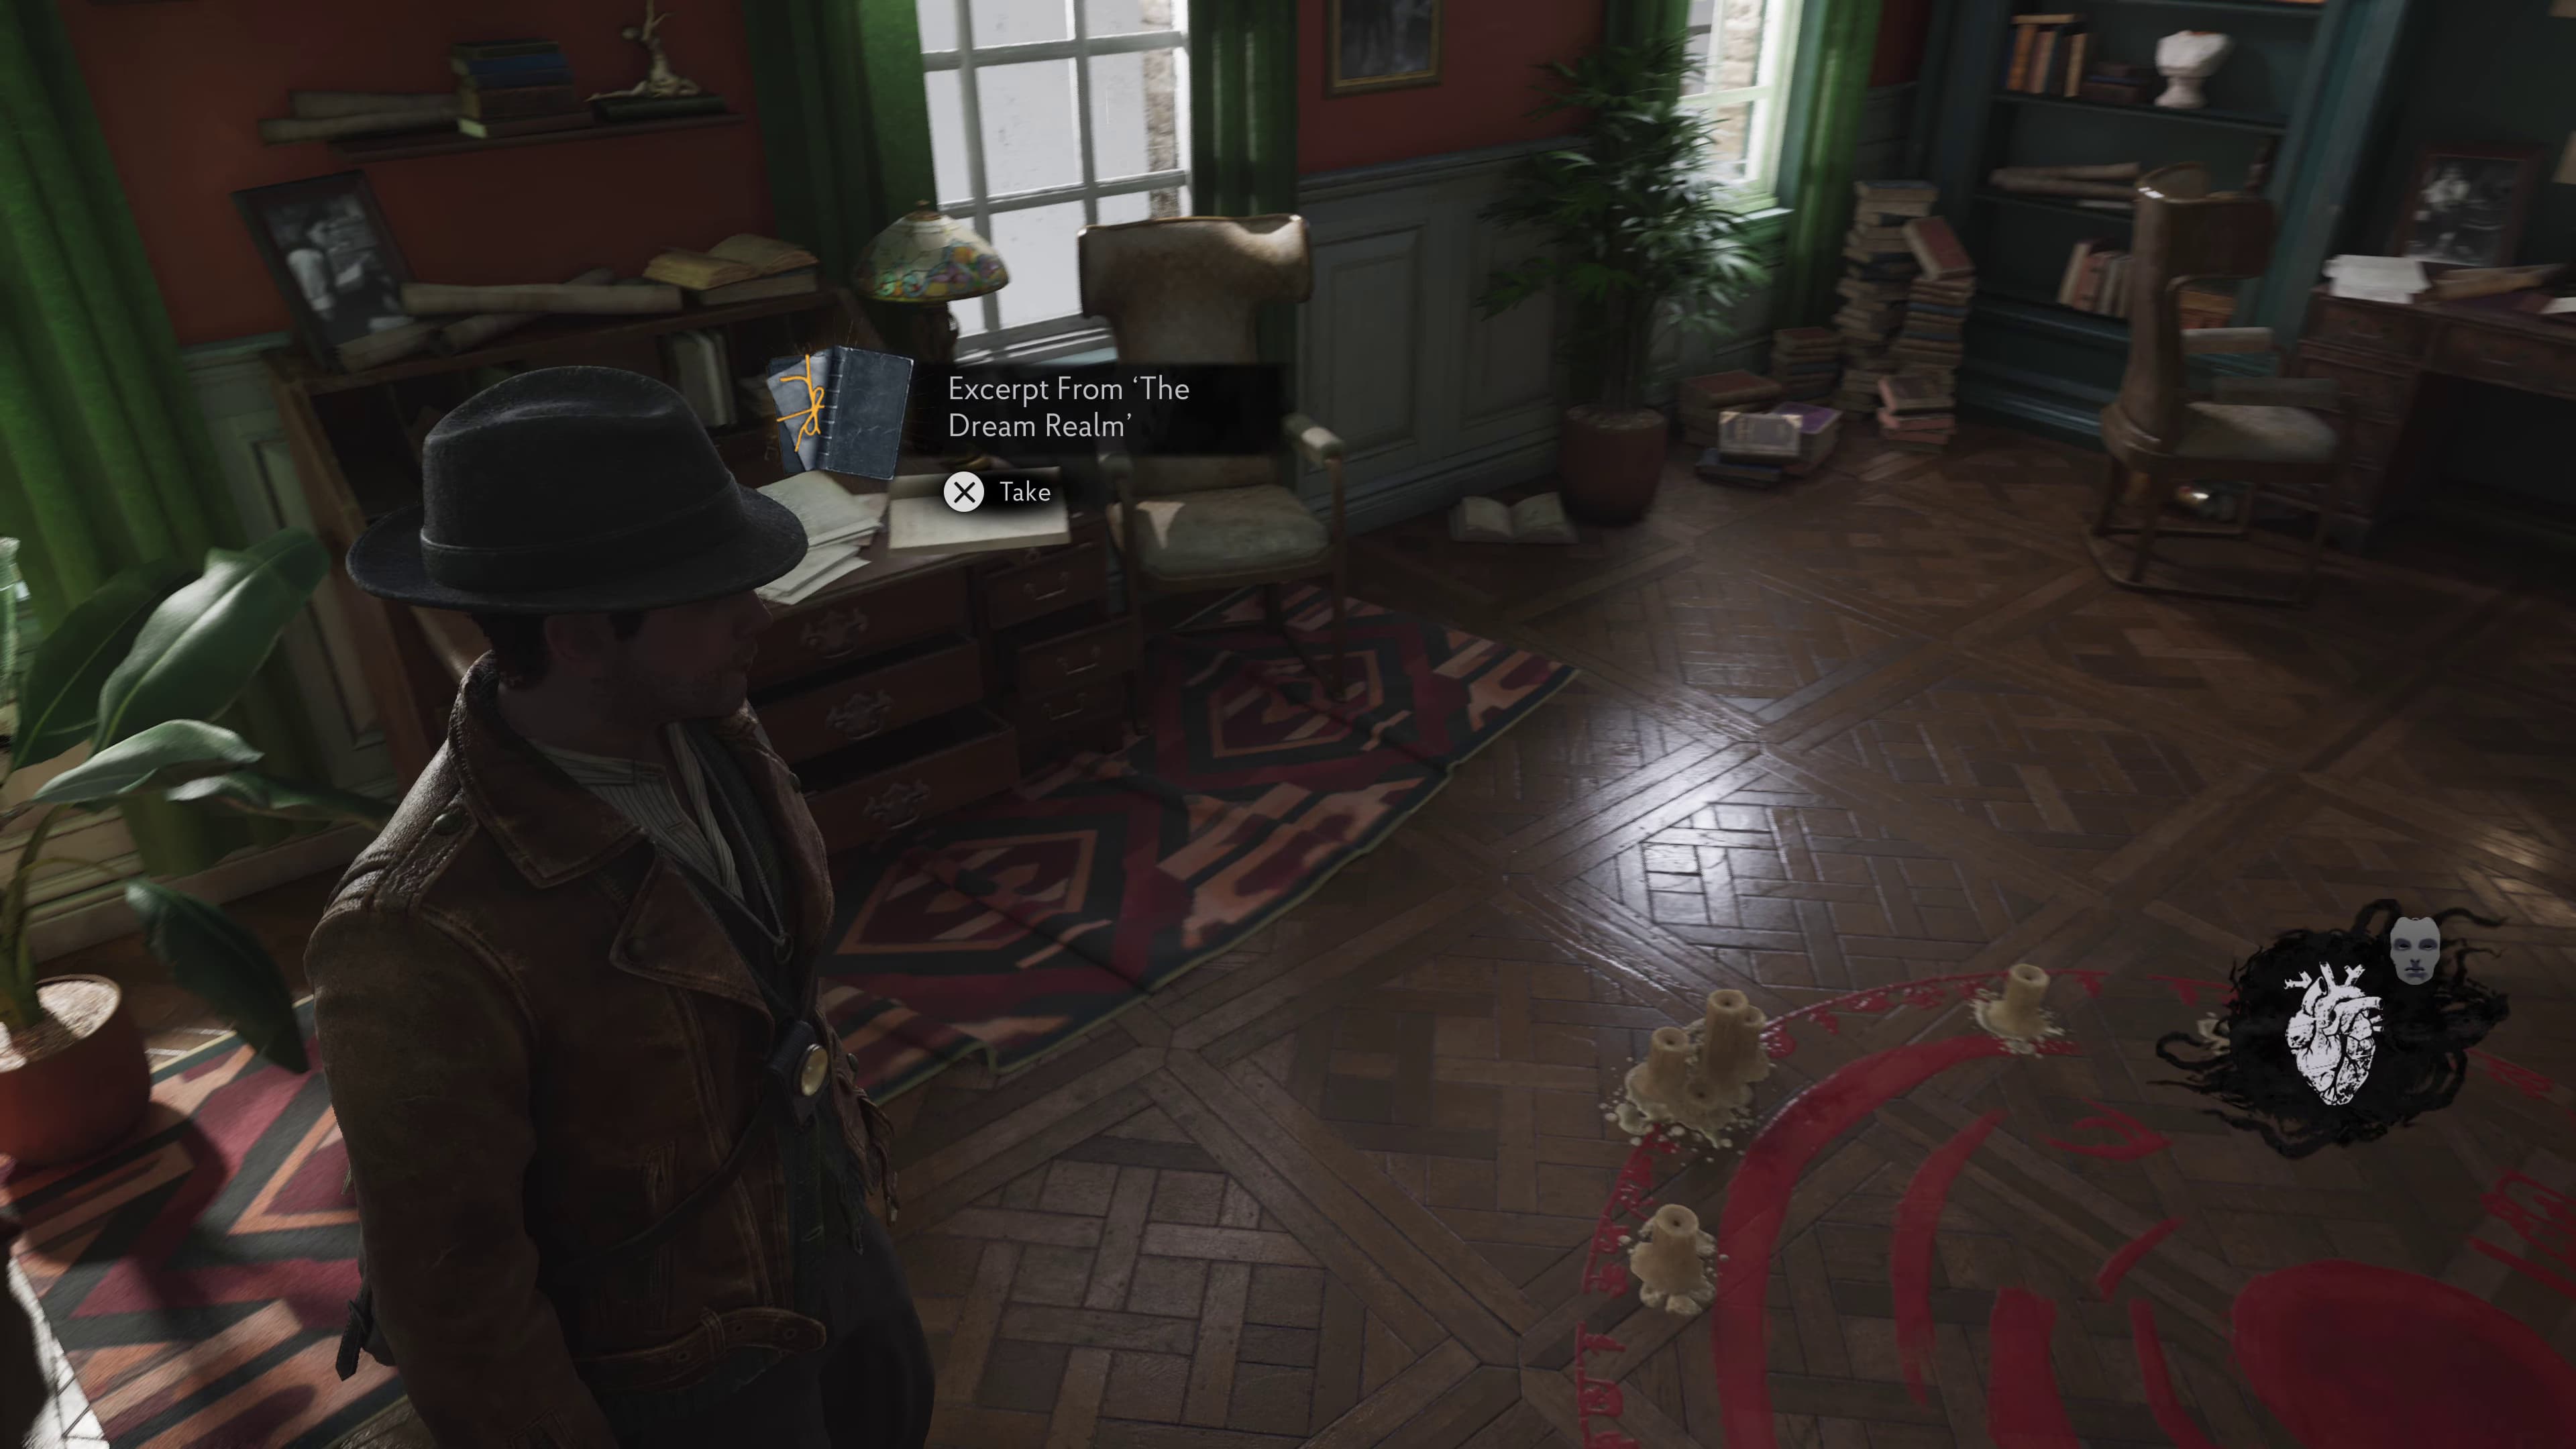
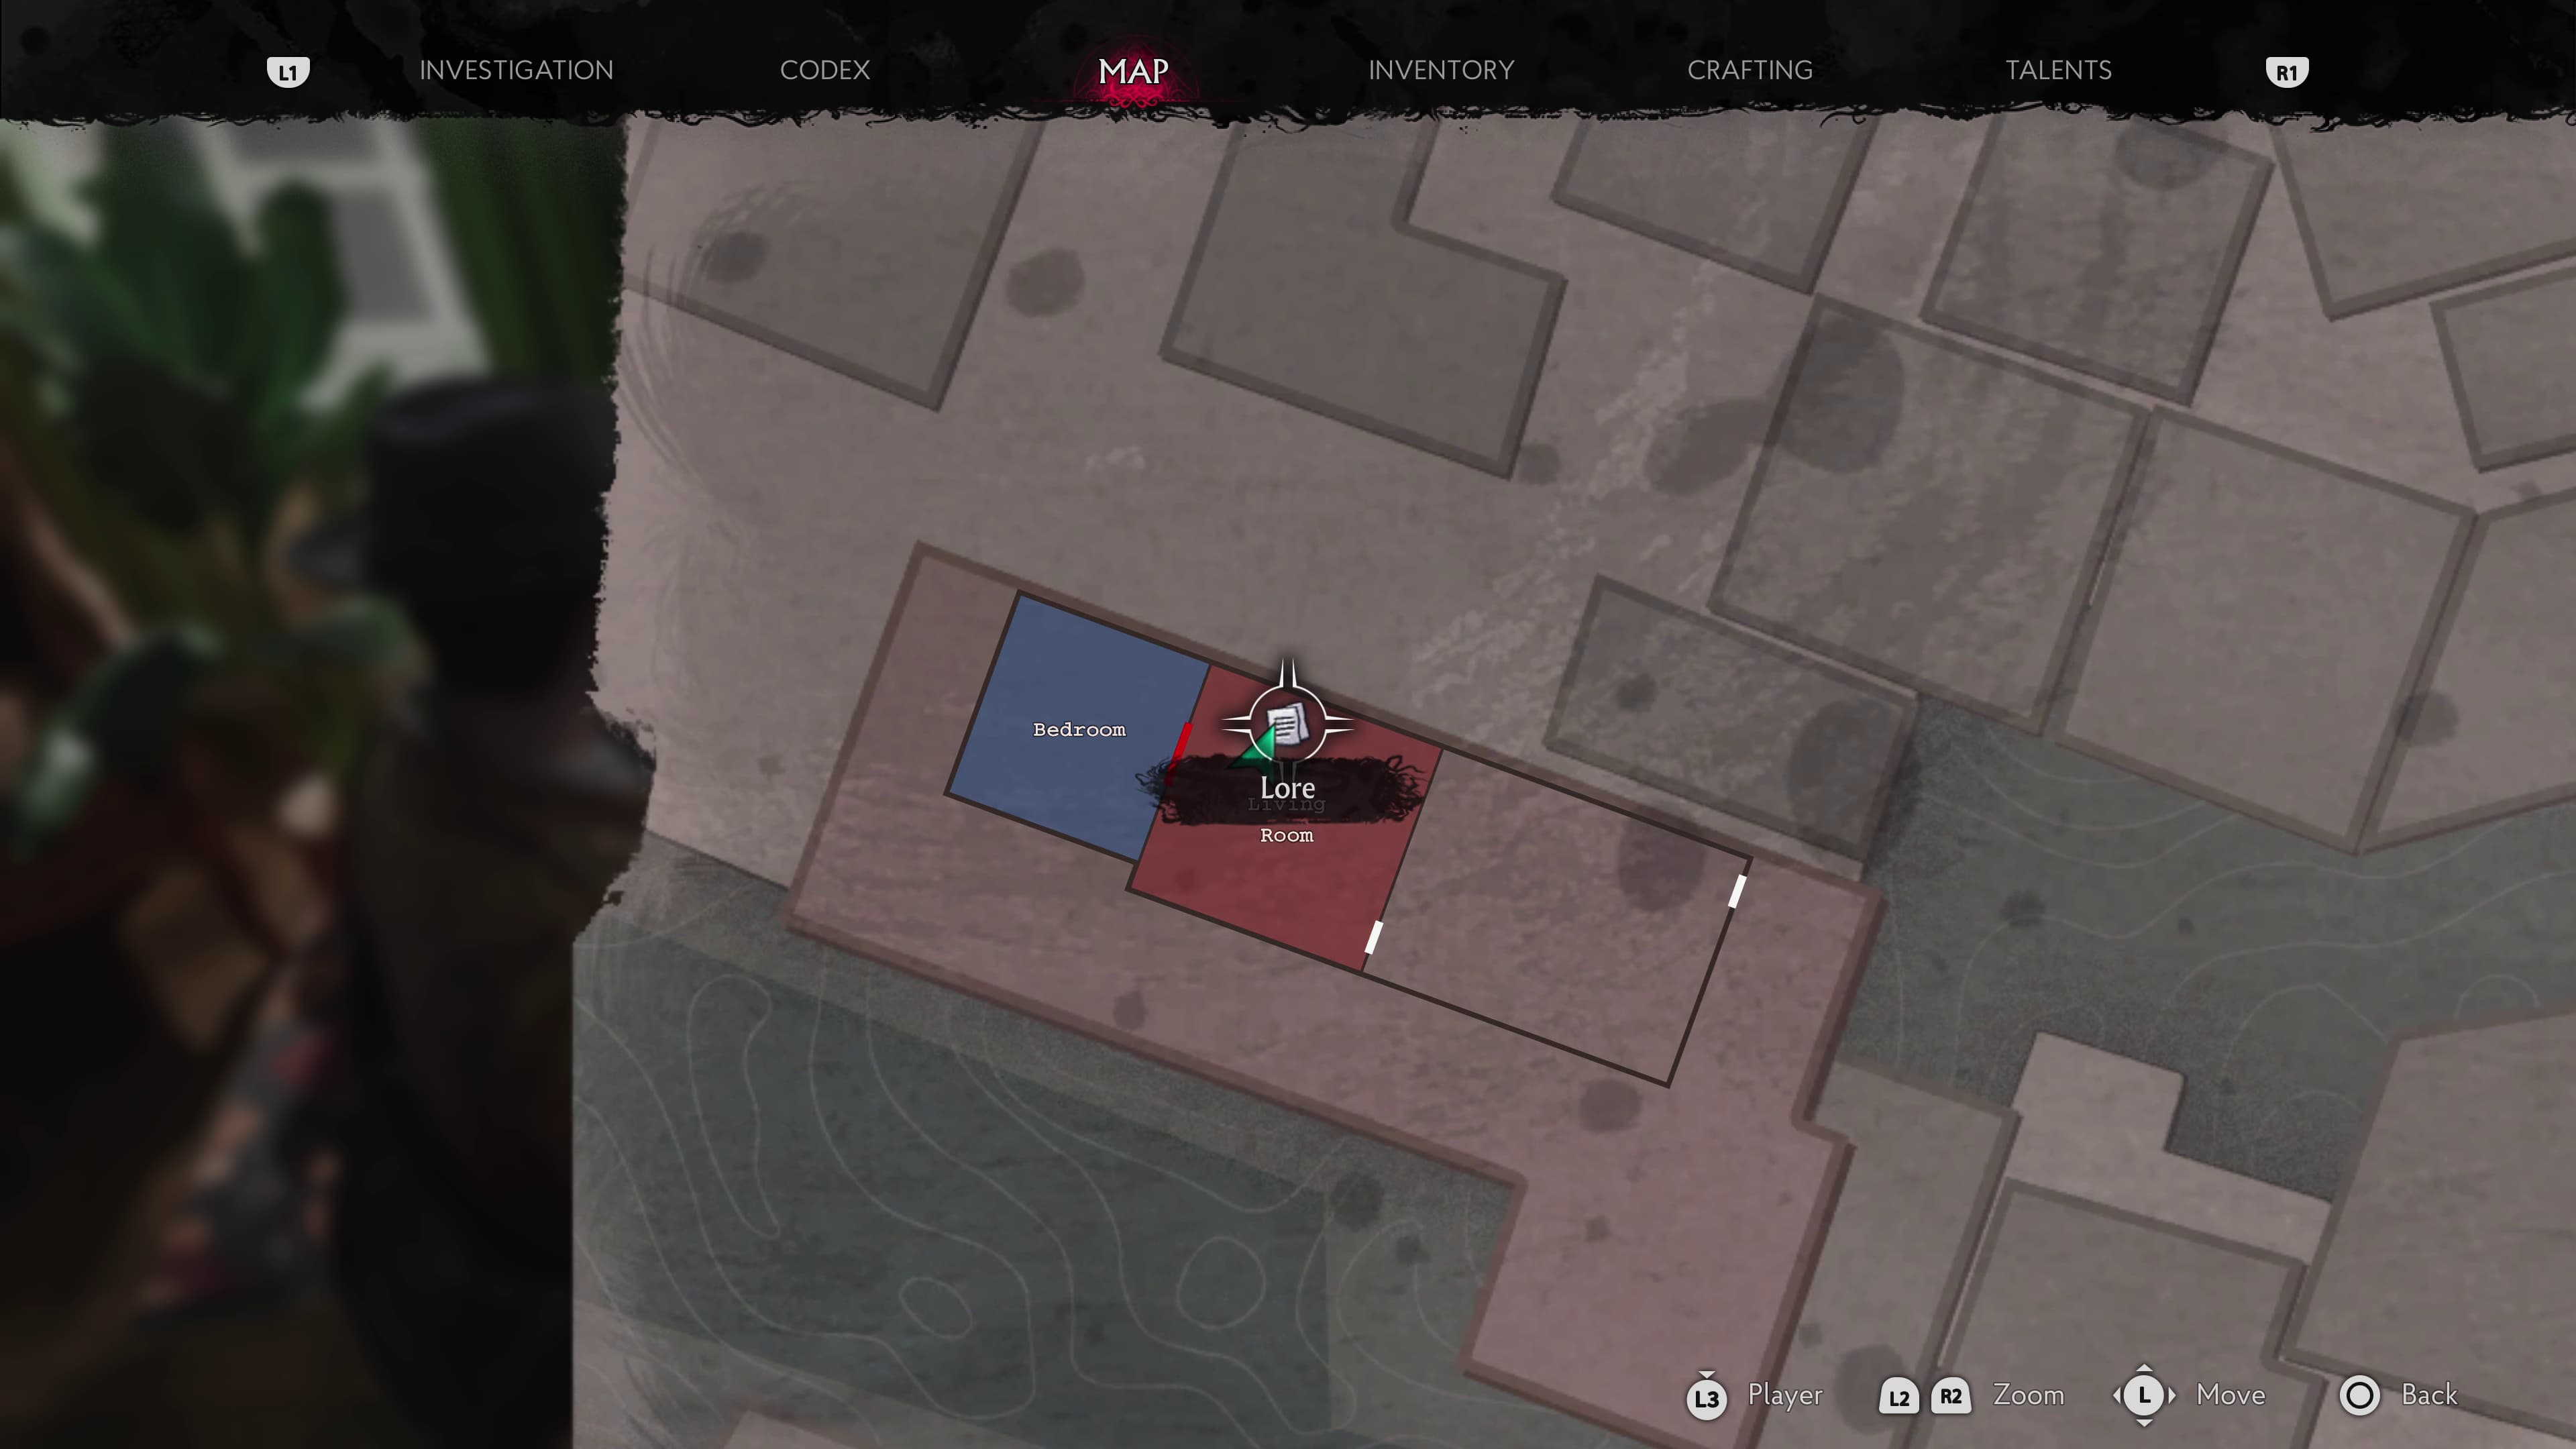
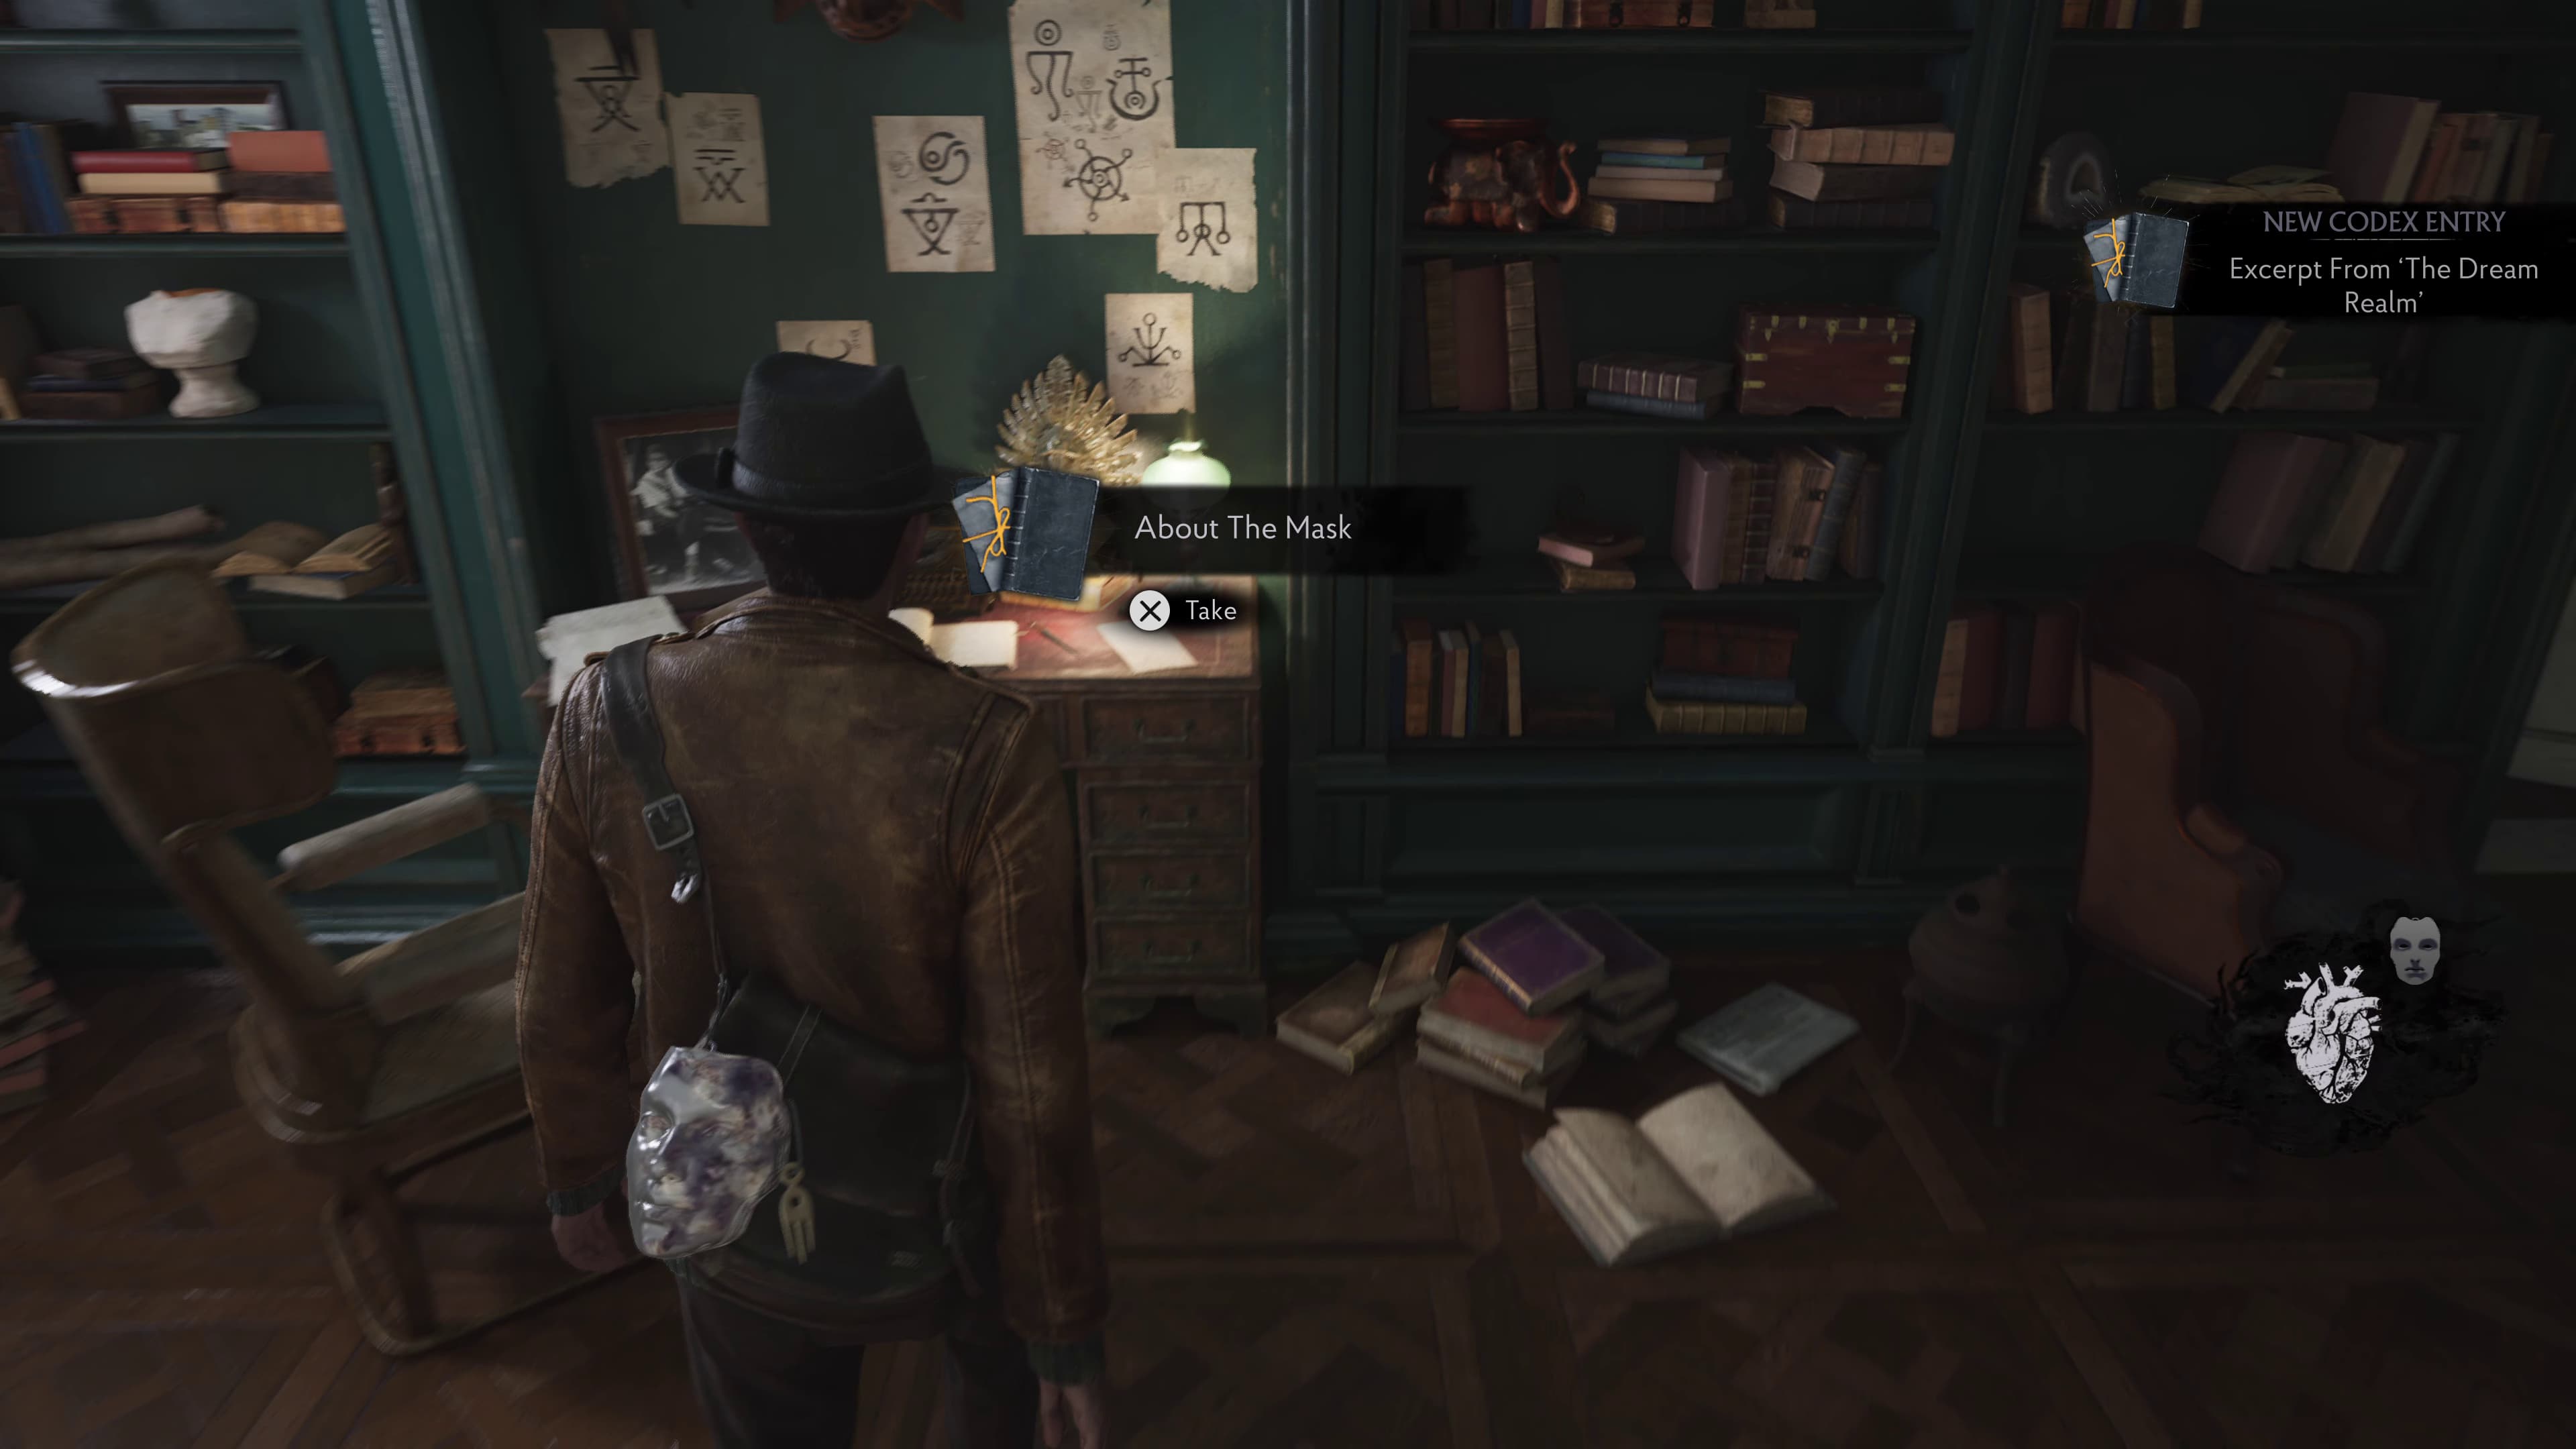
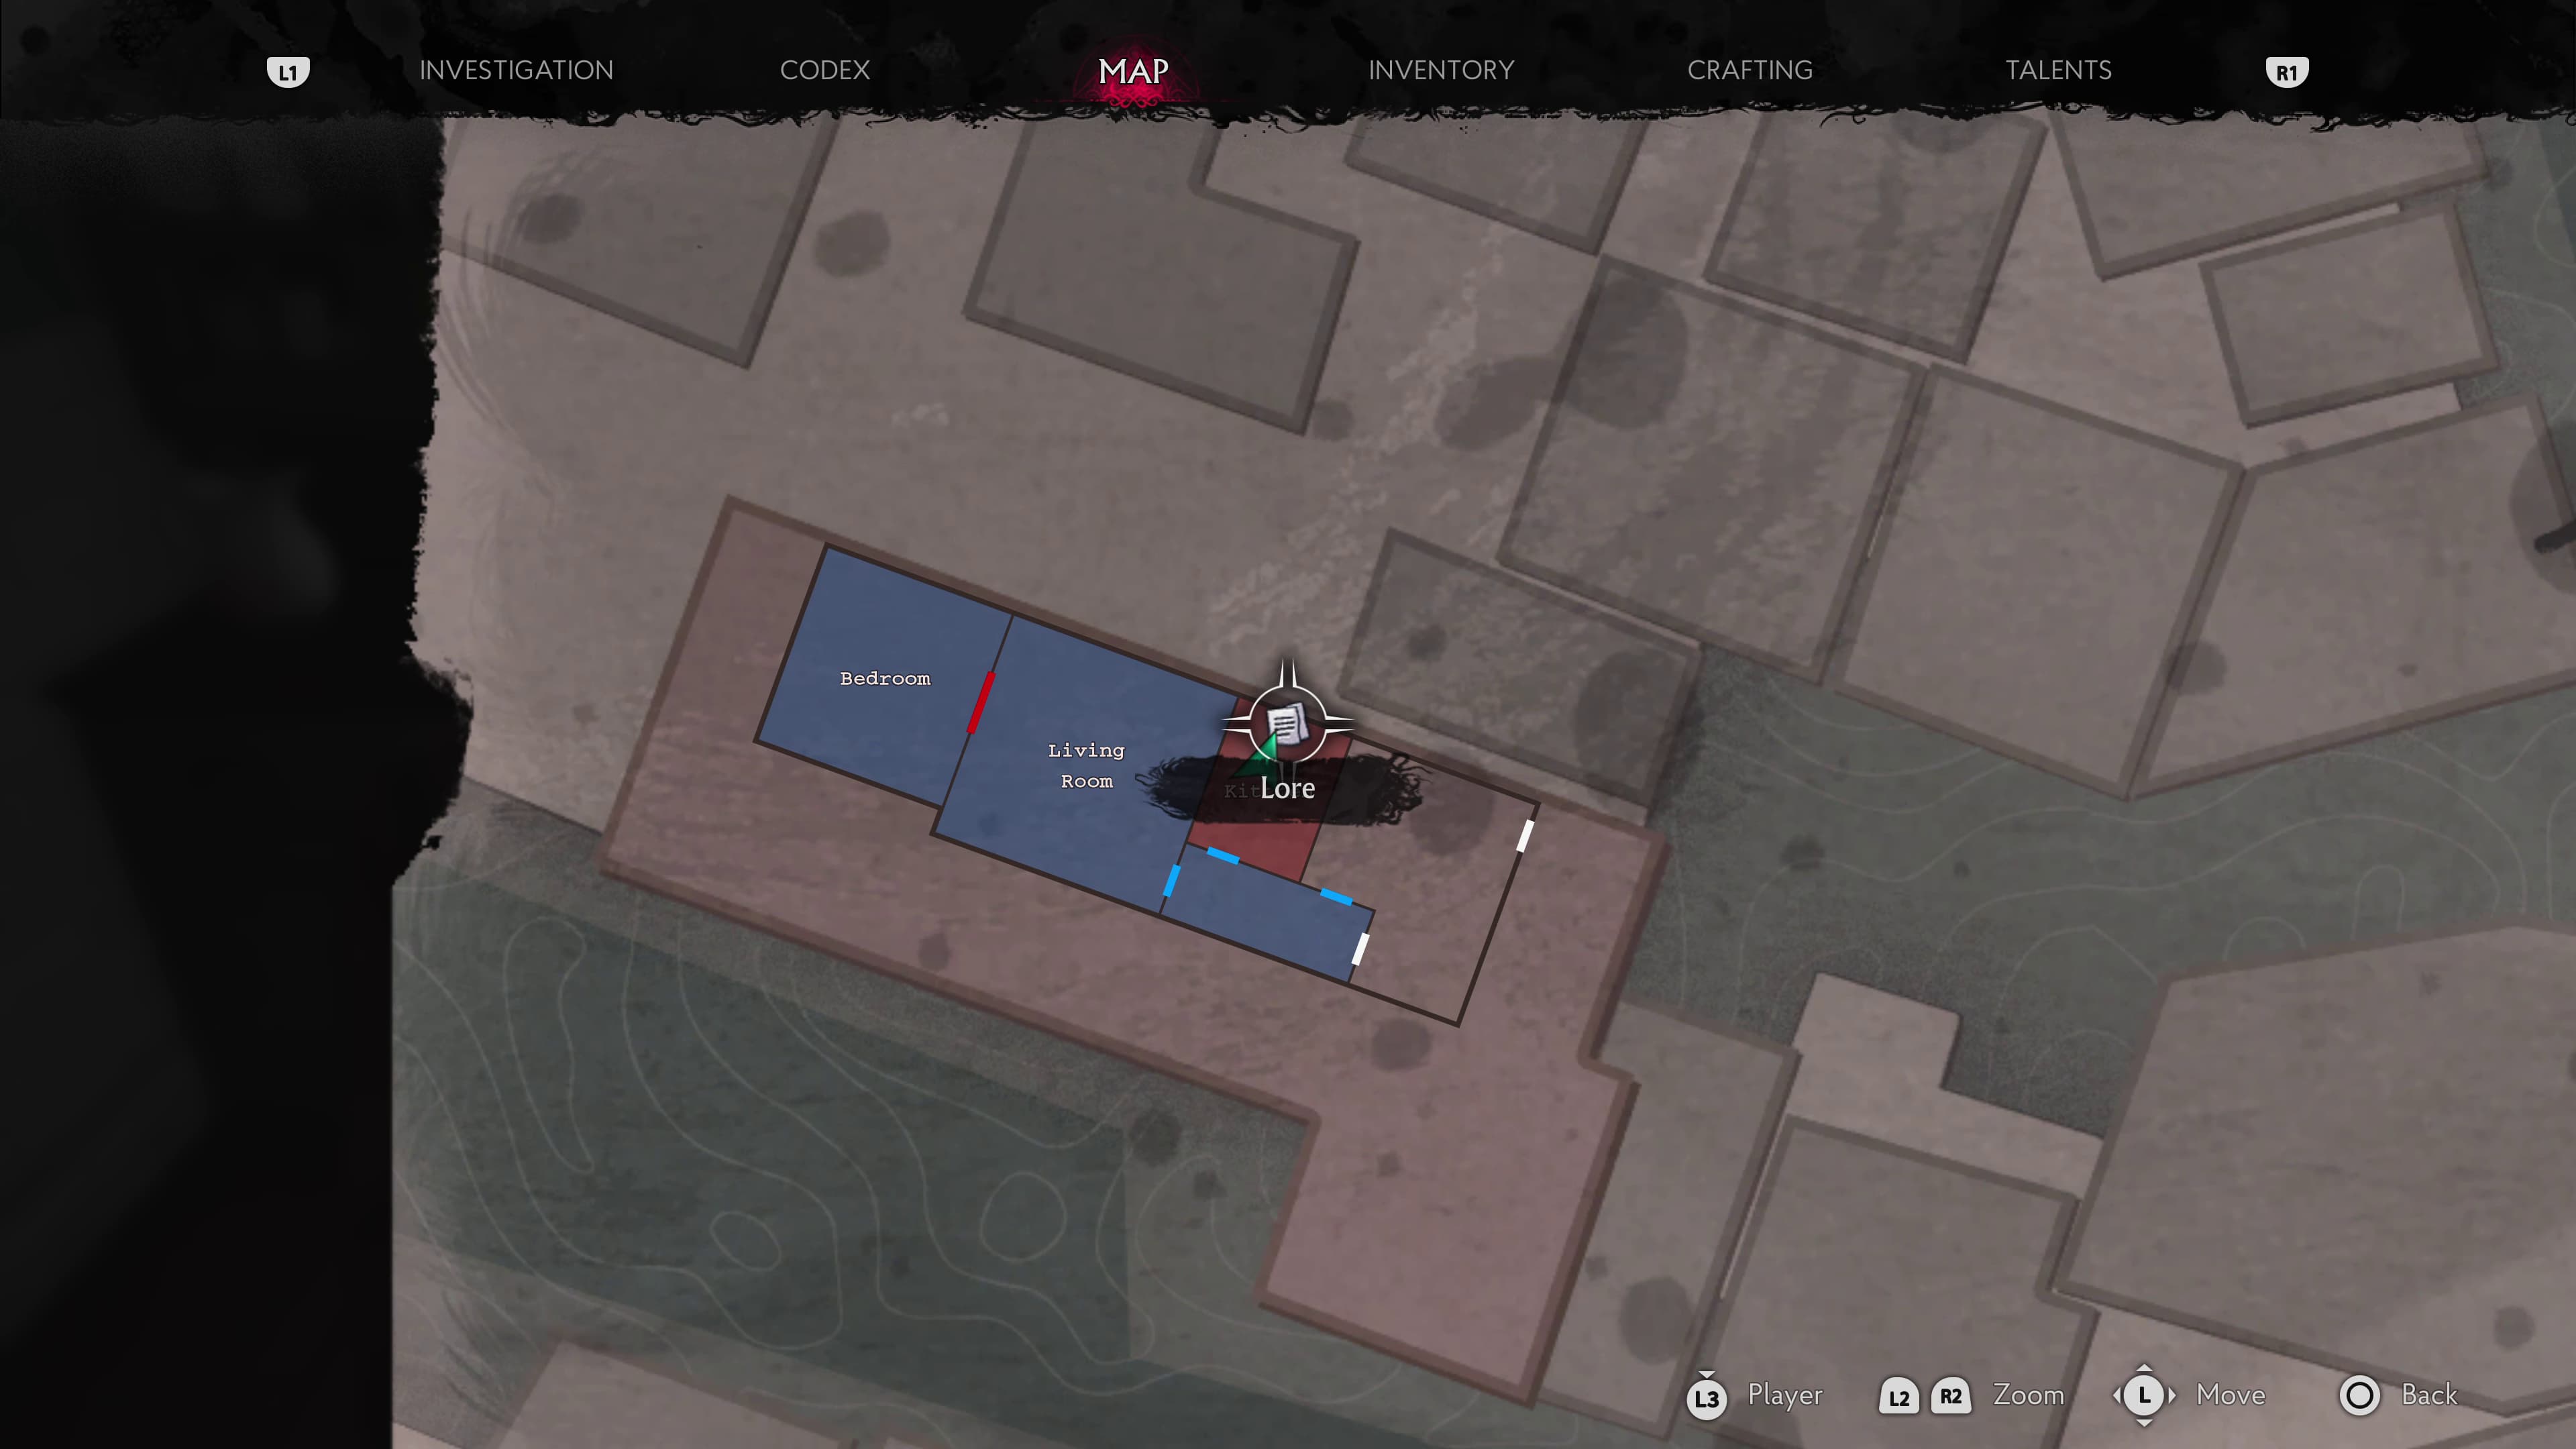
Starting from the very beginning after the cutscene with Calvin sat beside Faye's body, we will find ourselves in the Living Room where there are 2 Lore Documents to find, the first (Excerpt From 'The Dream Realm') being immediately to the left on the desk, and the second (About The Mask) being to the right on the next desk along.
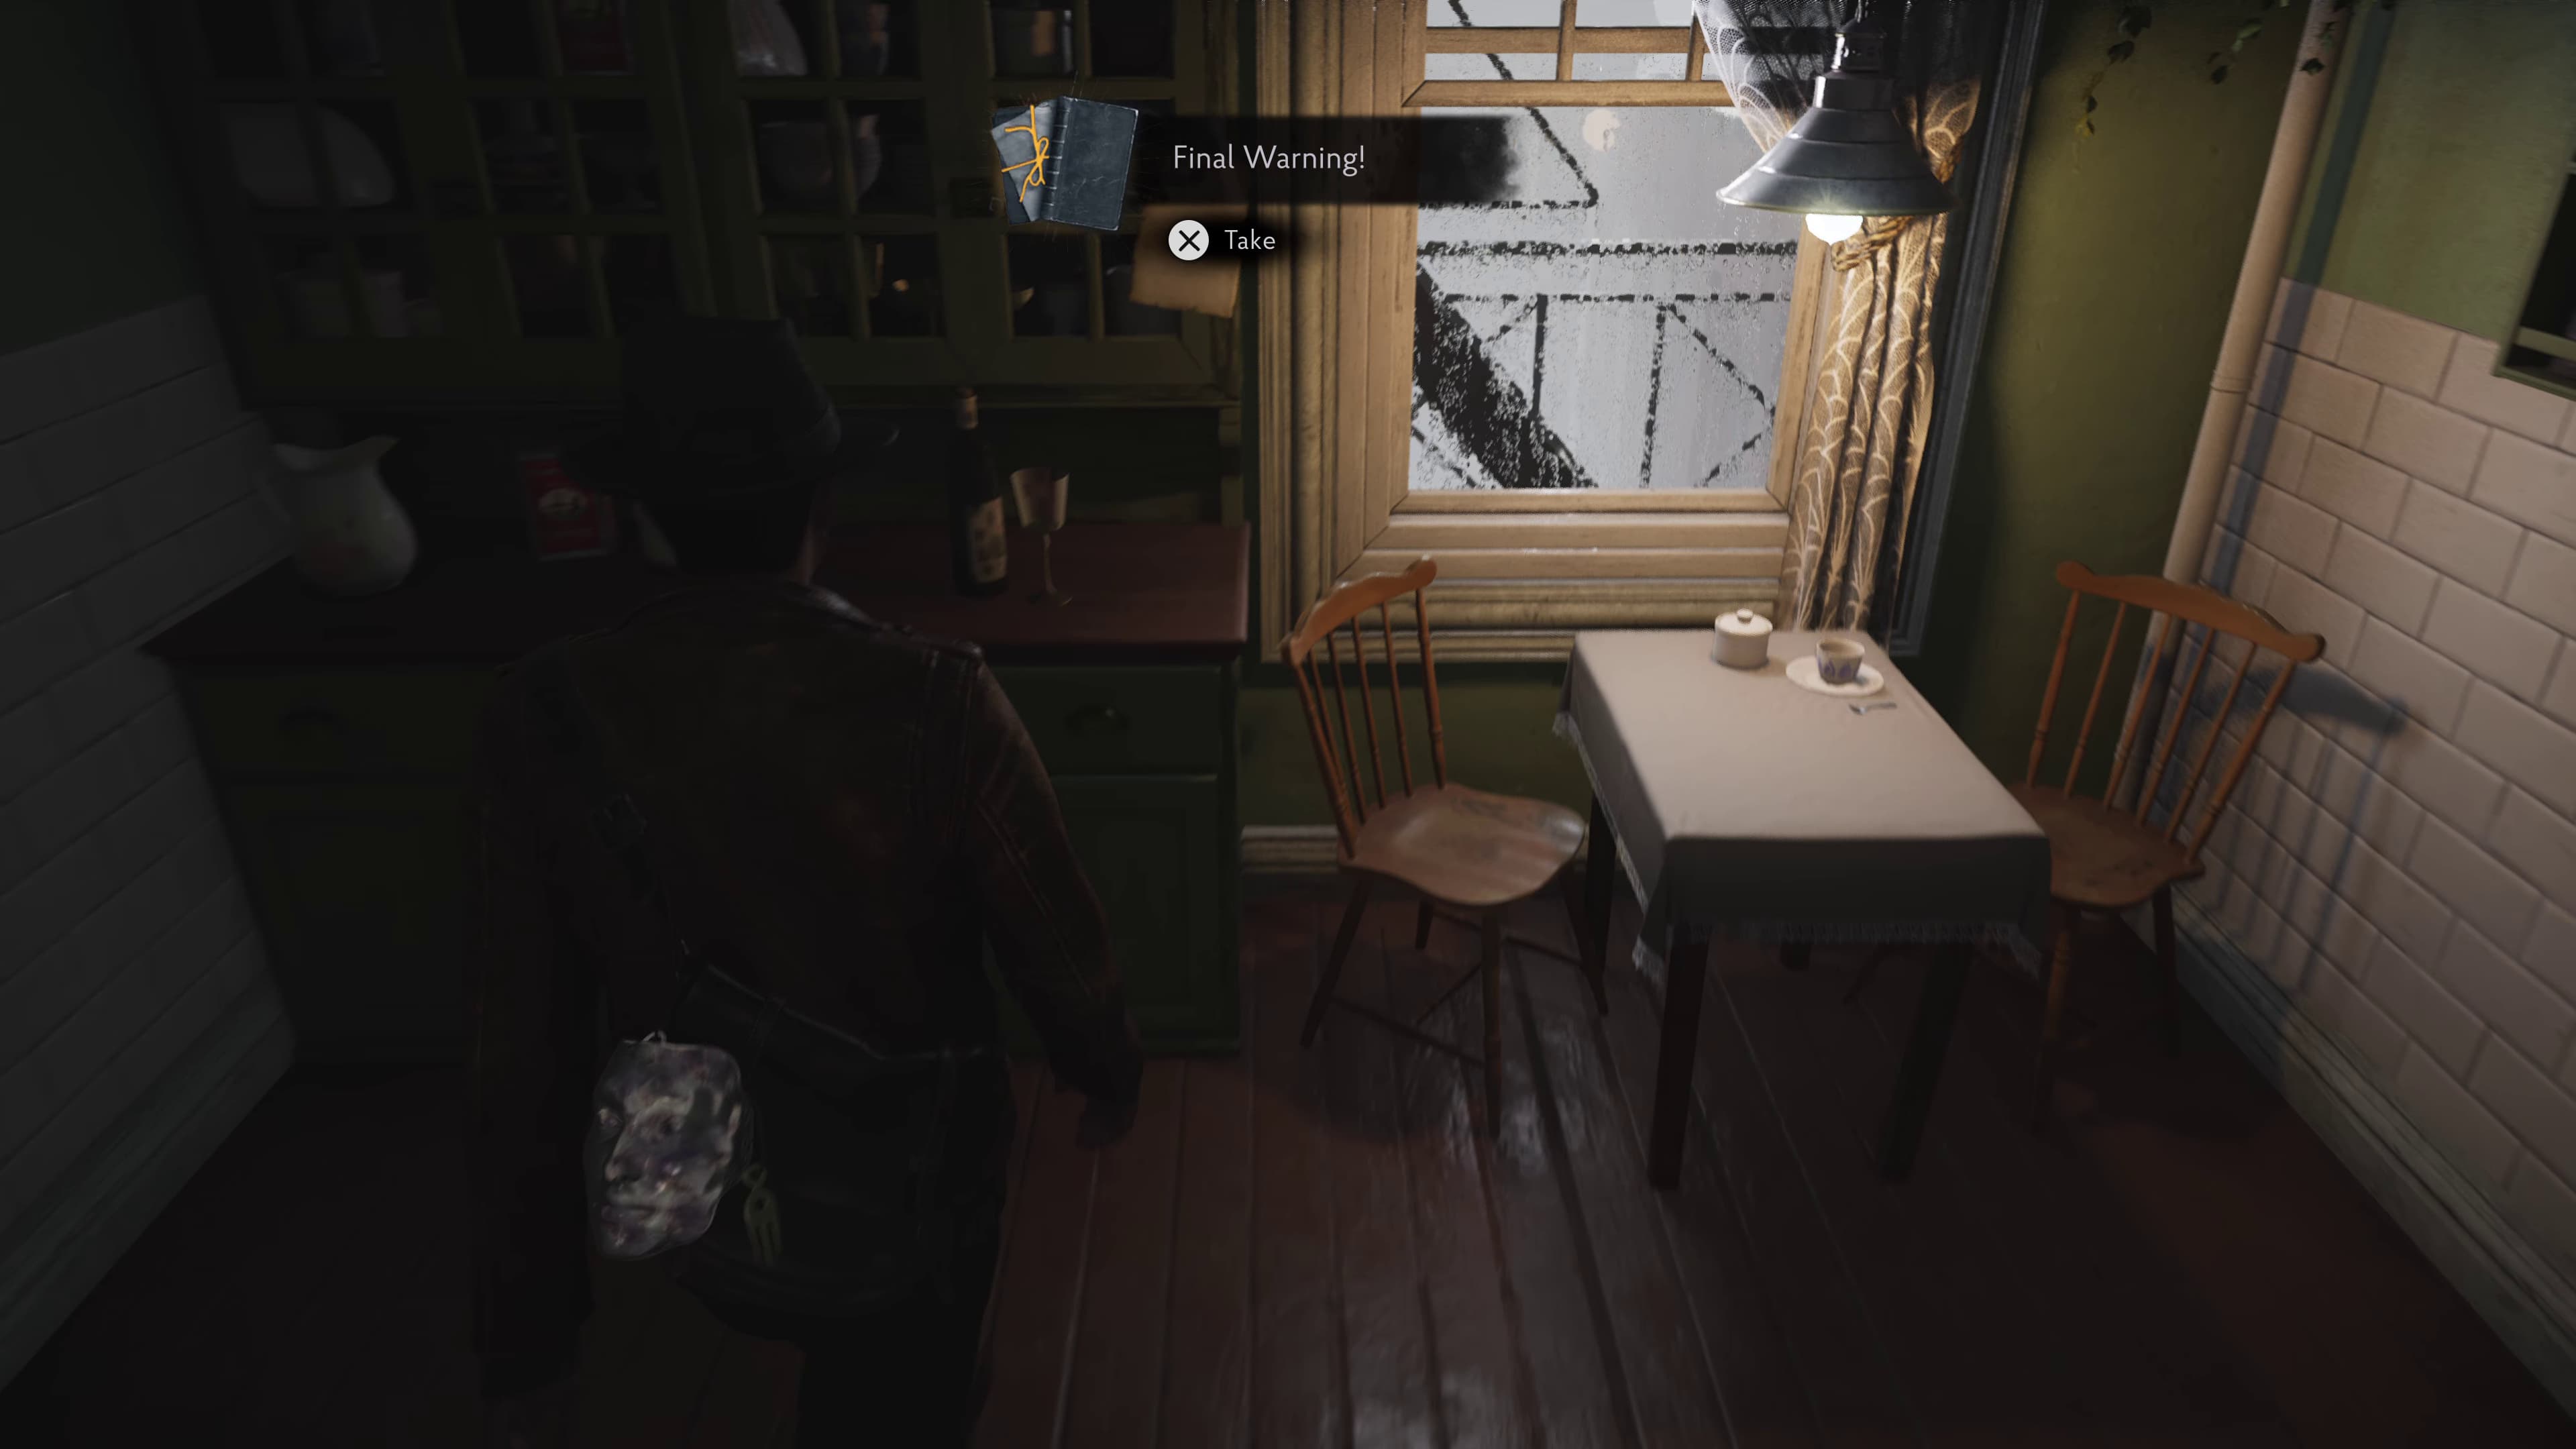
Making our way into the Kitchen from the Living Room, we will find our next Lore Document (Final Warning) pinned to the cabinet.
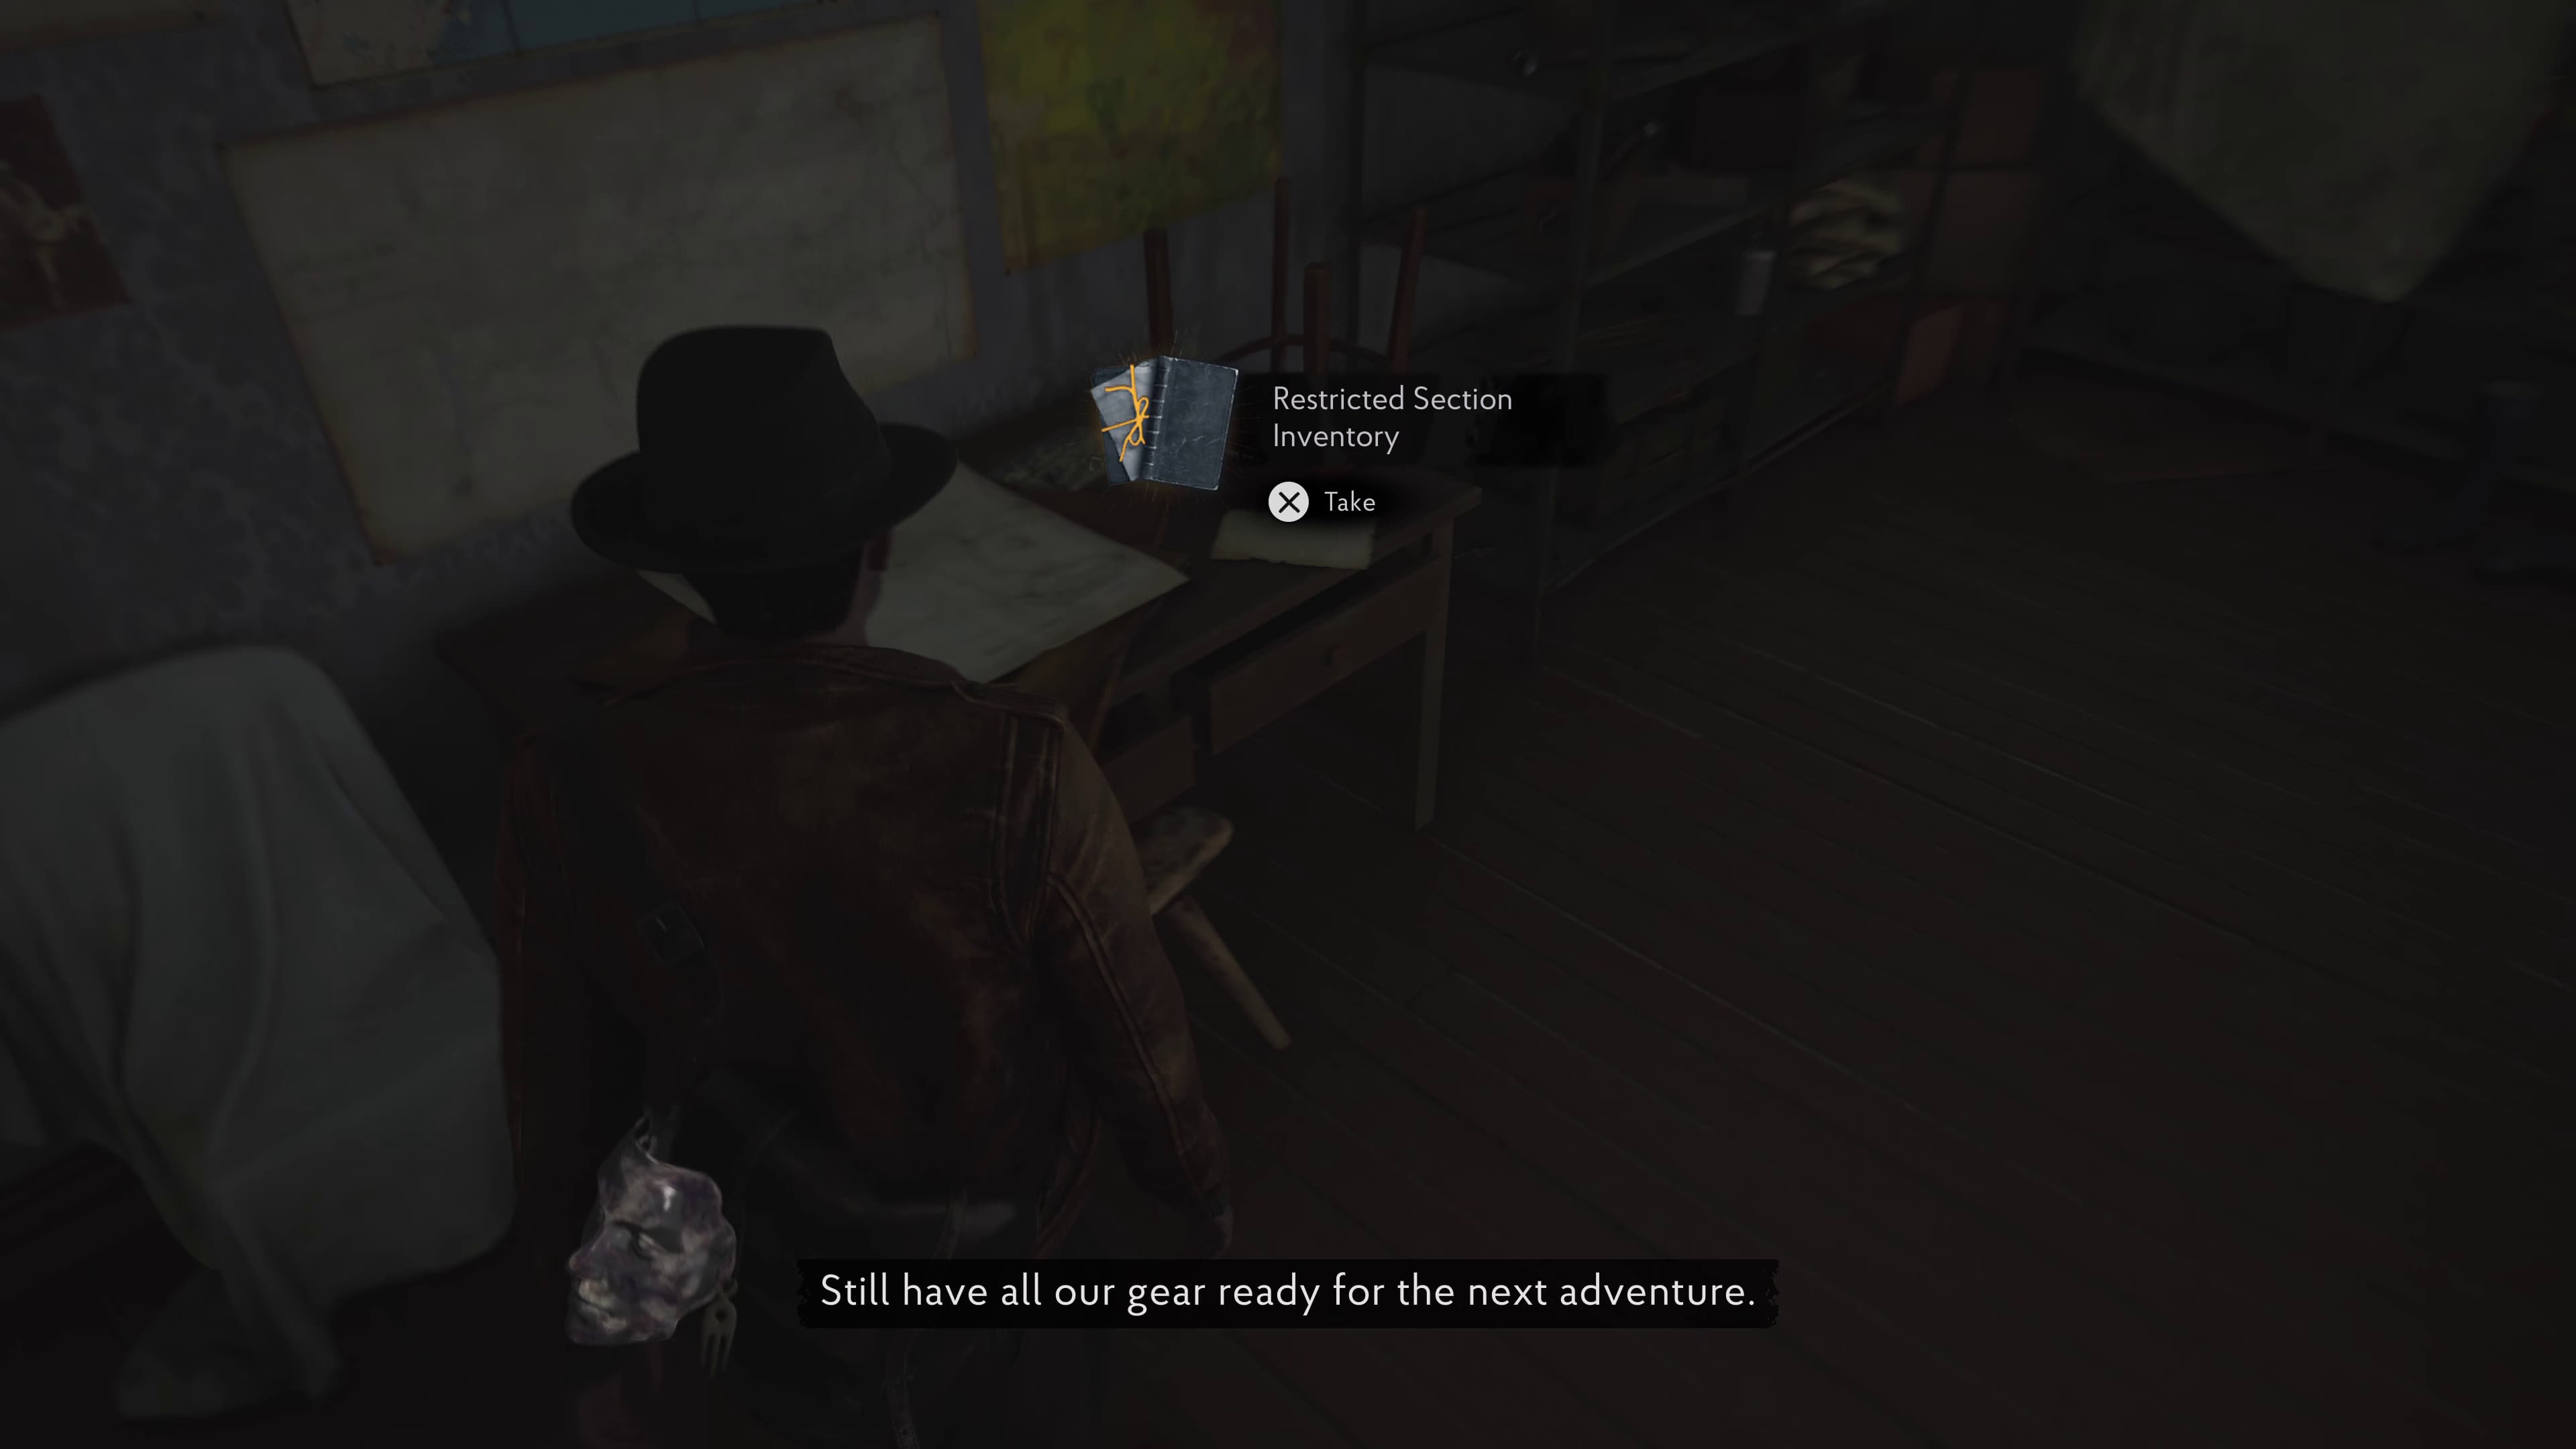
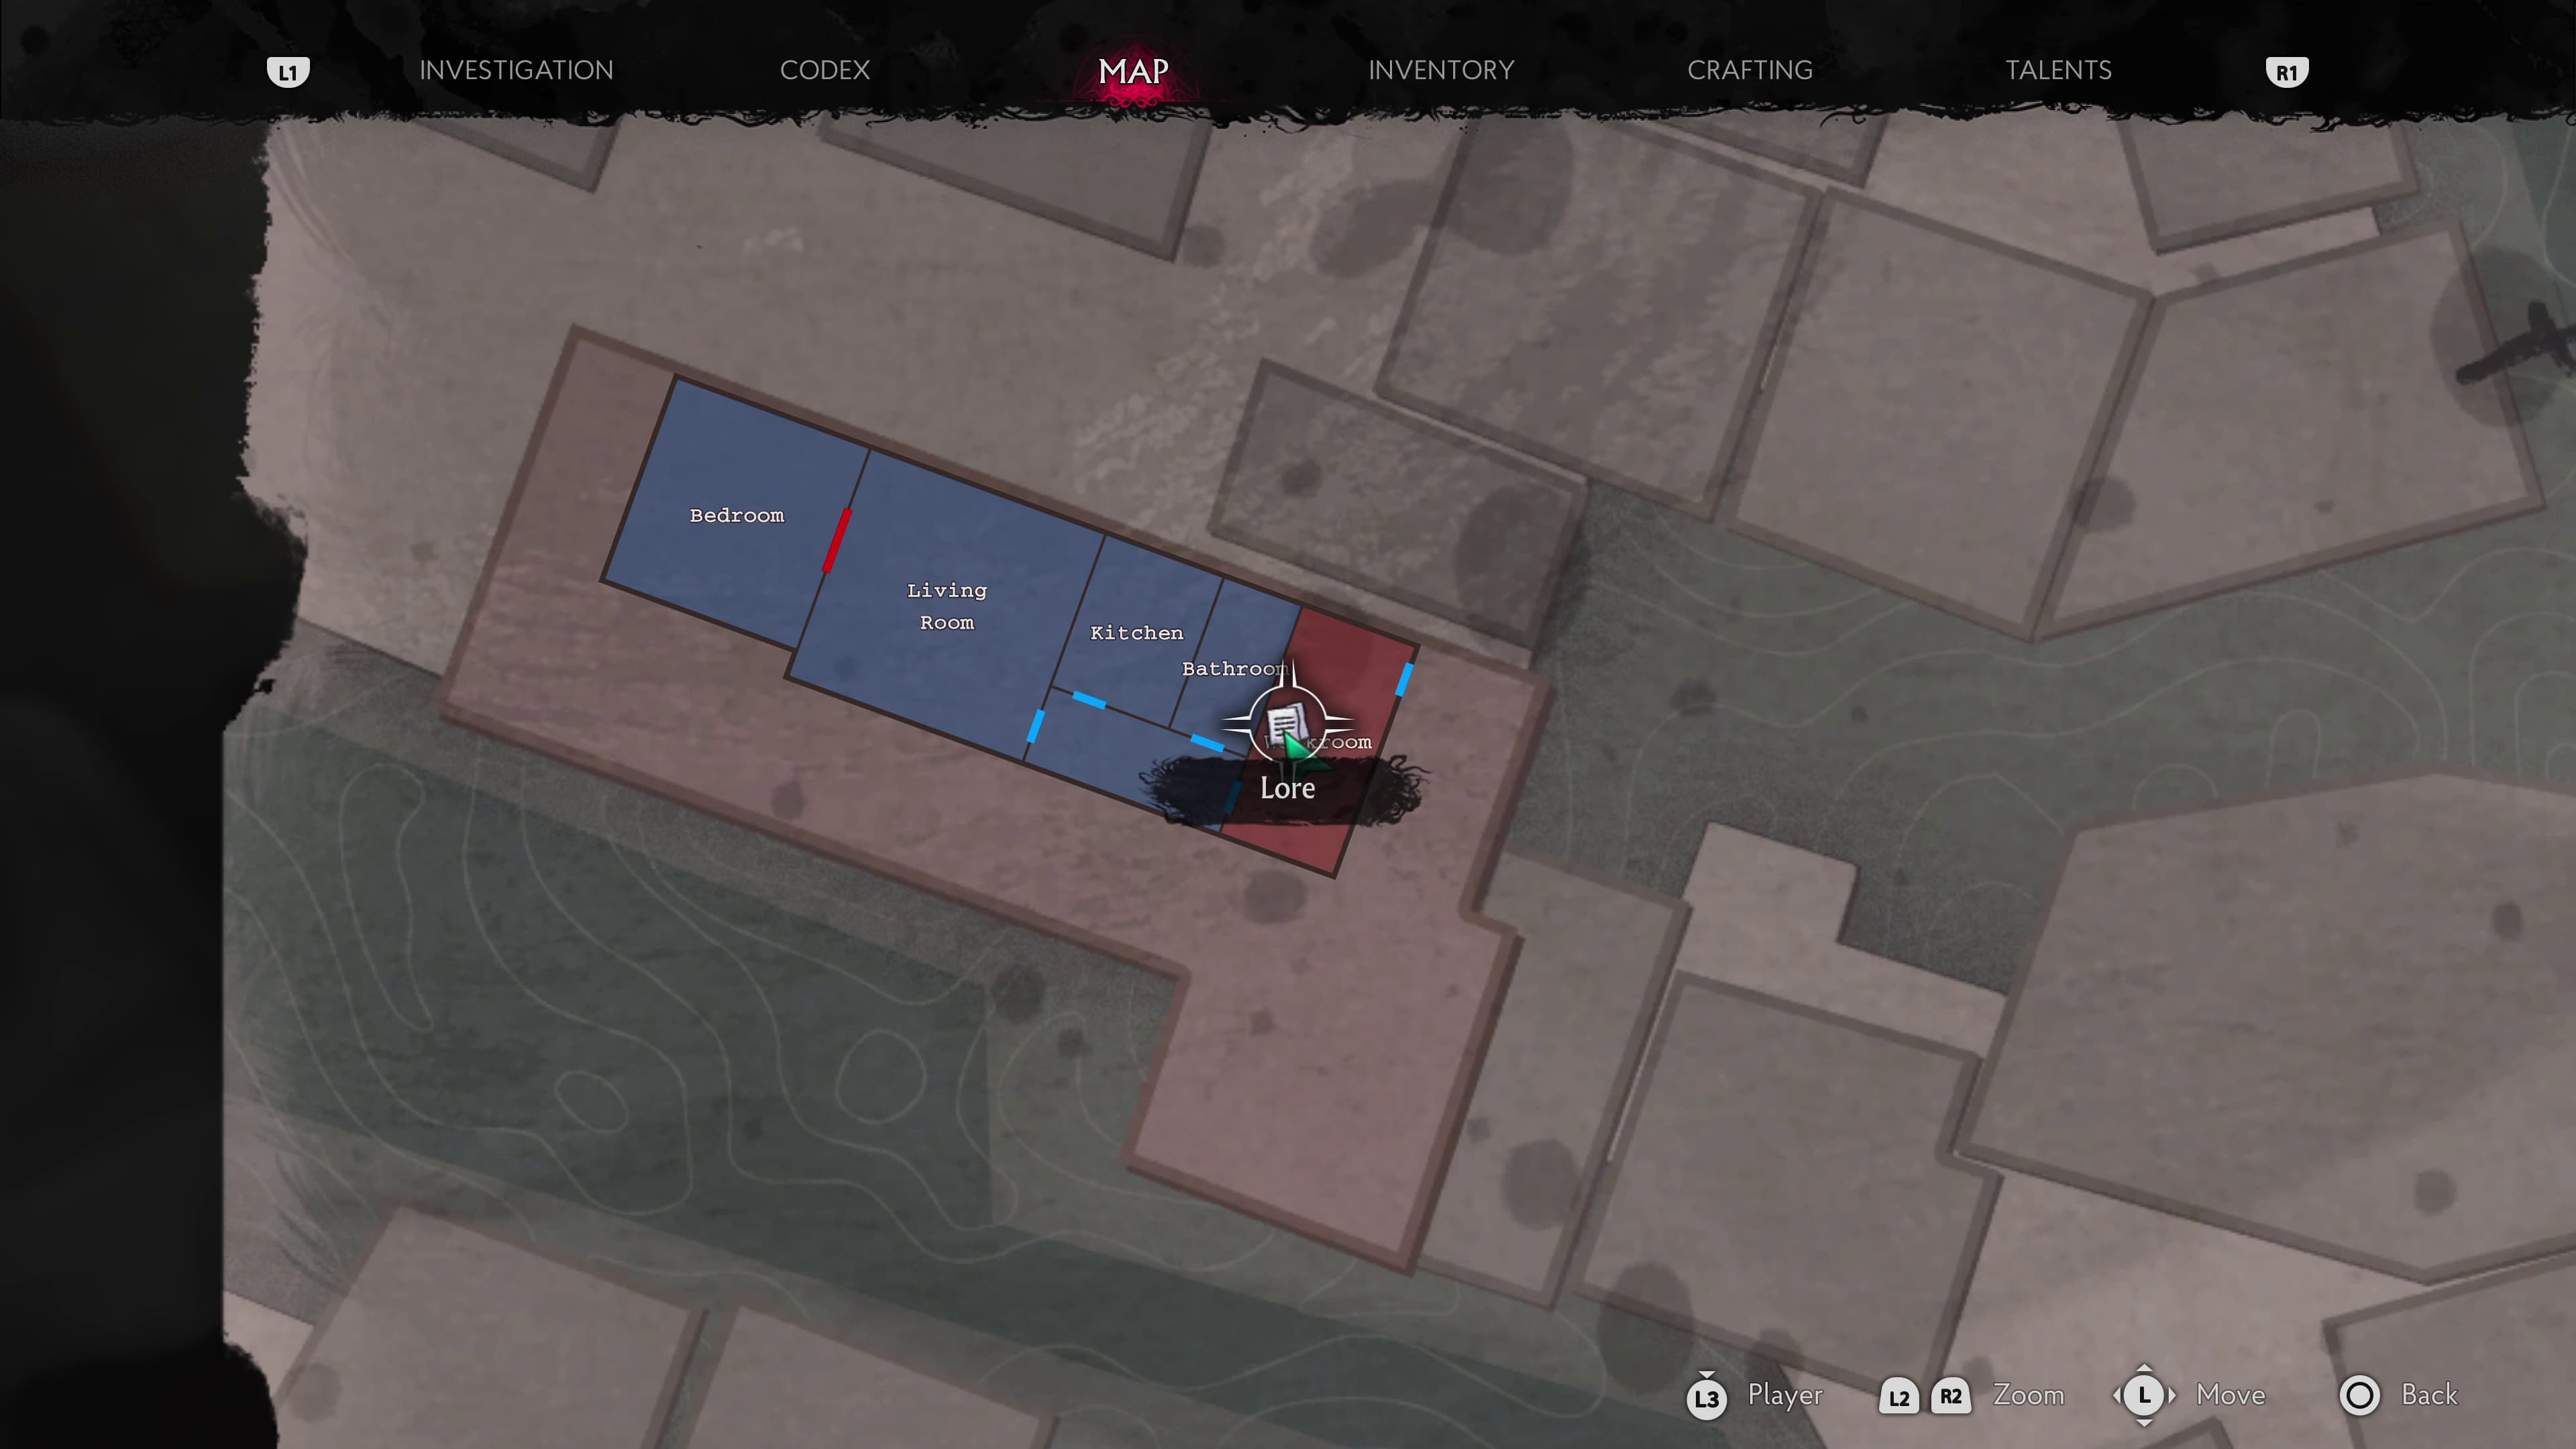
Now making our way into the Work Room, as soon as we enter on the desk on the left, we will find our next Lore Document (Restricted Section Inventory).
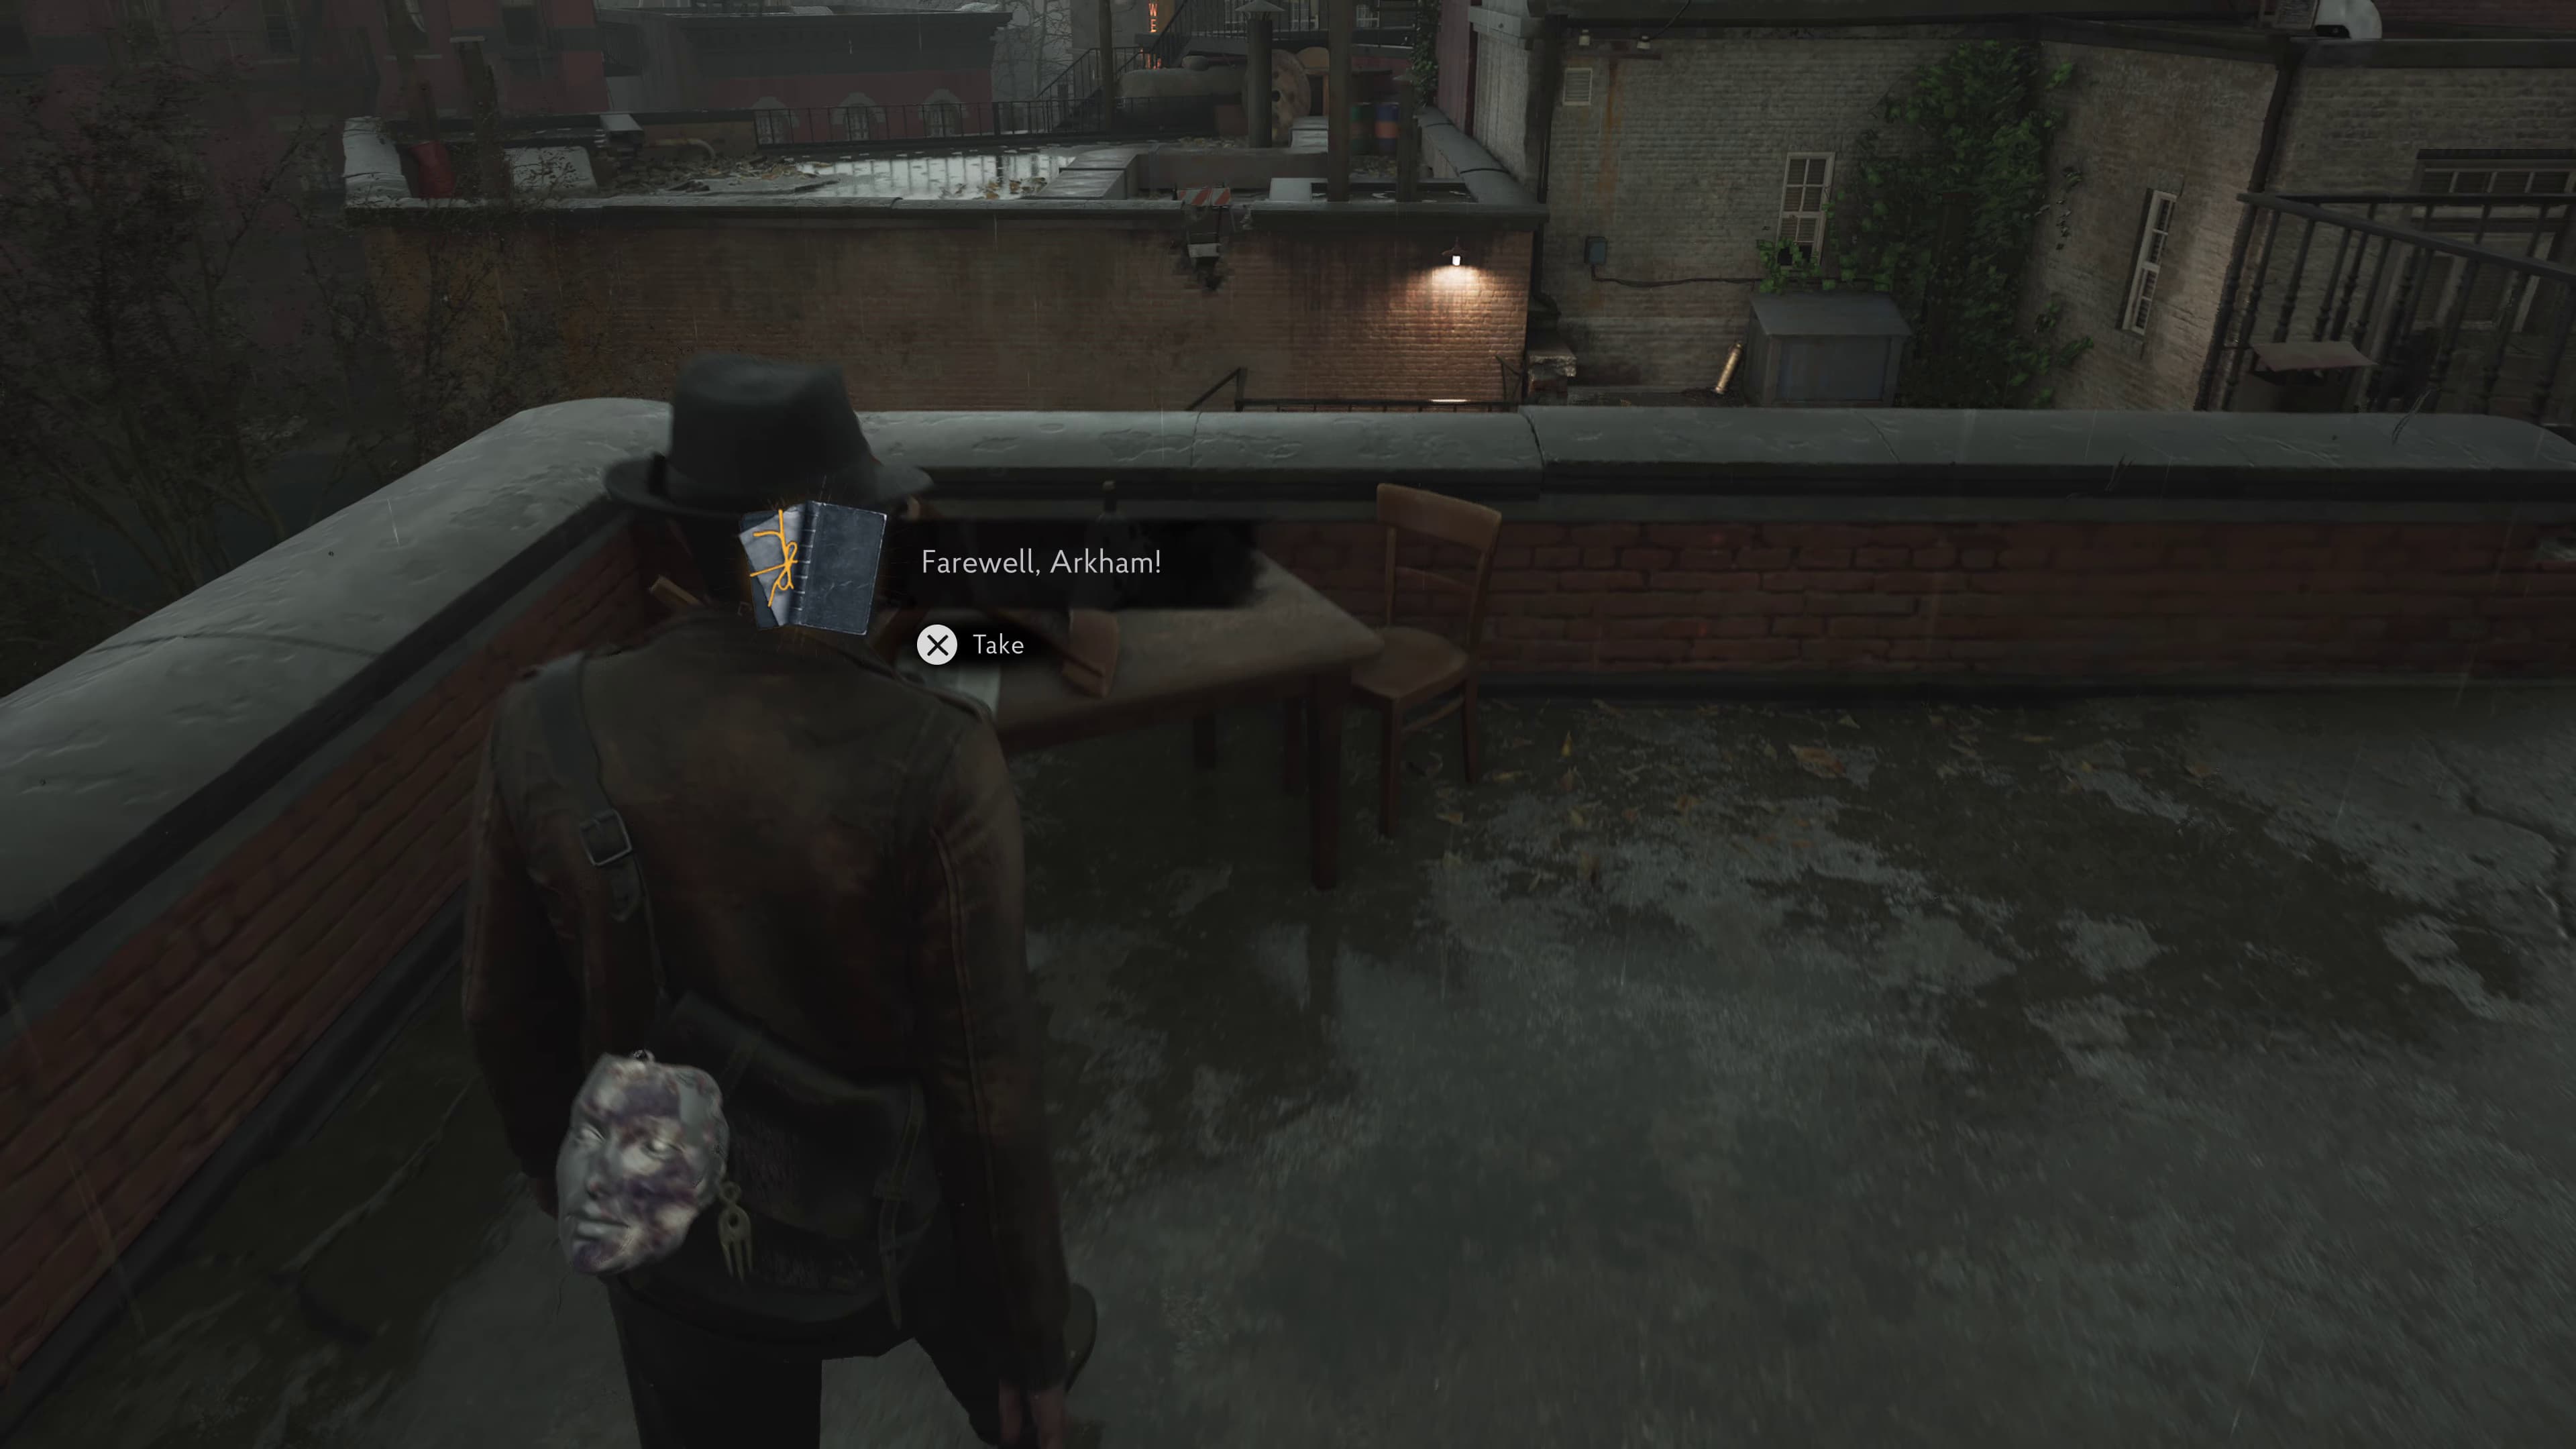
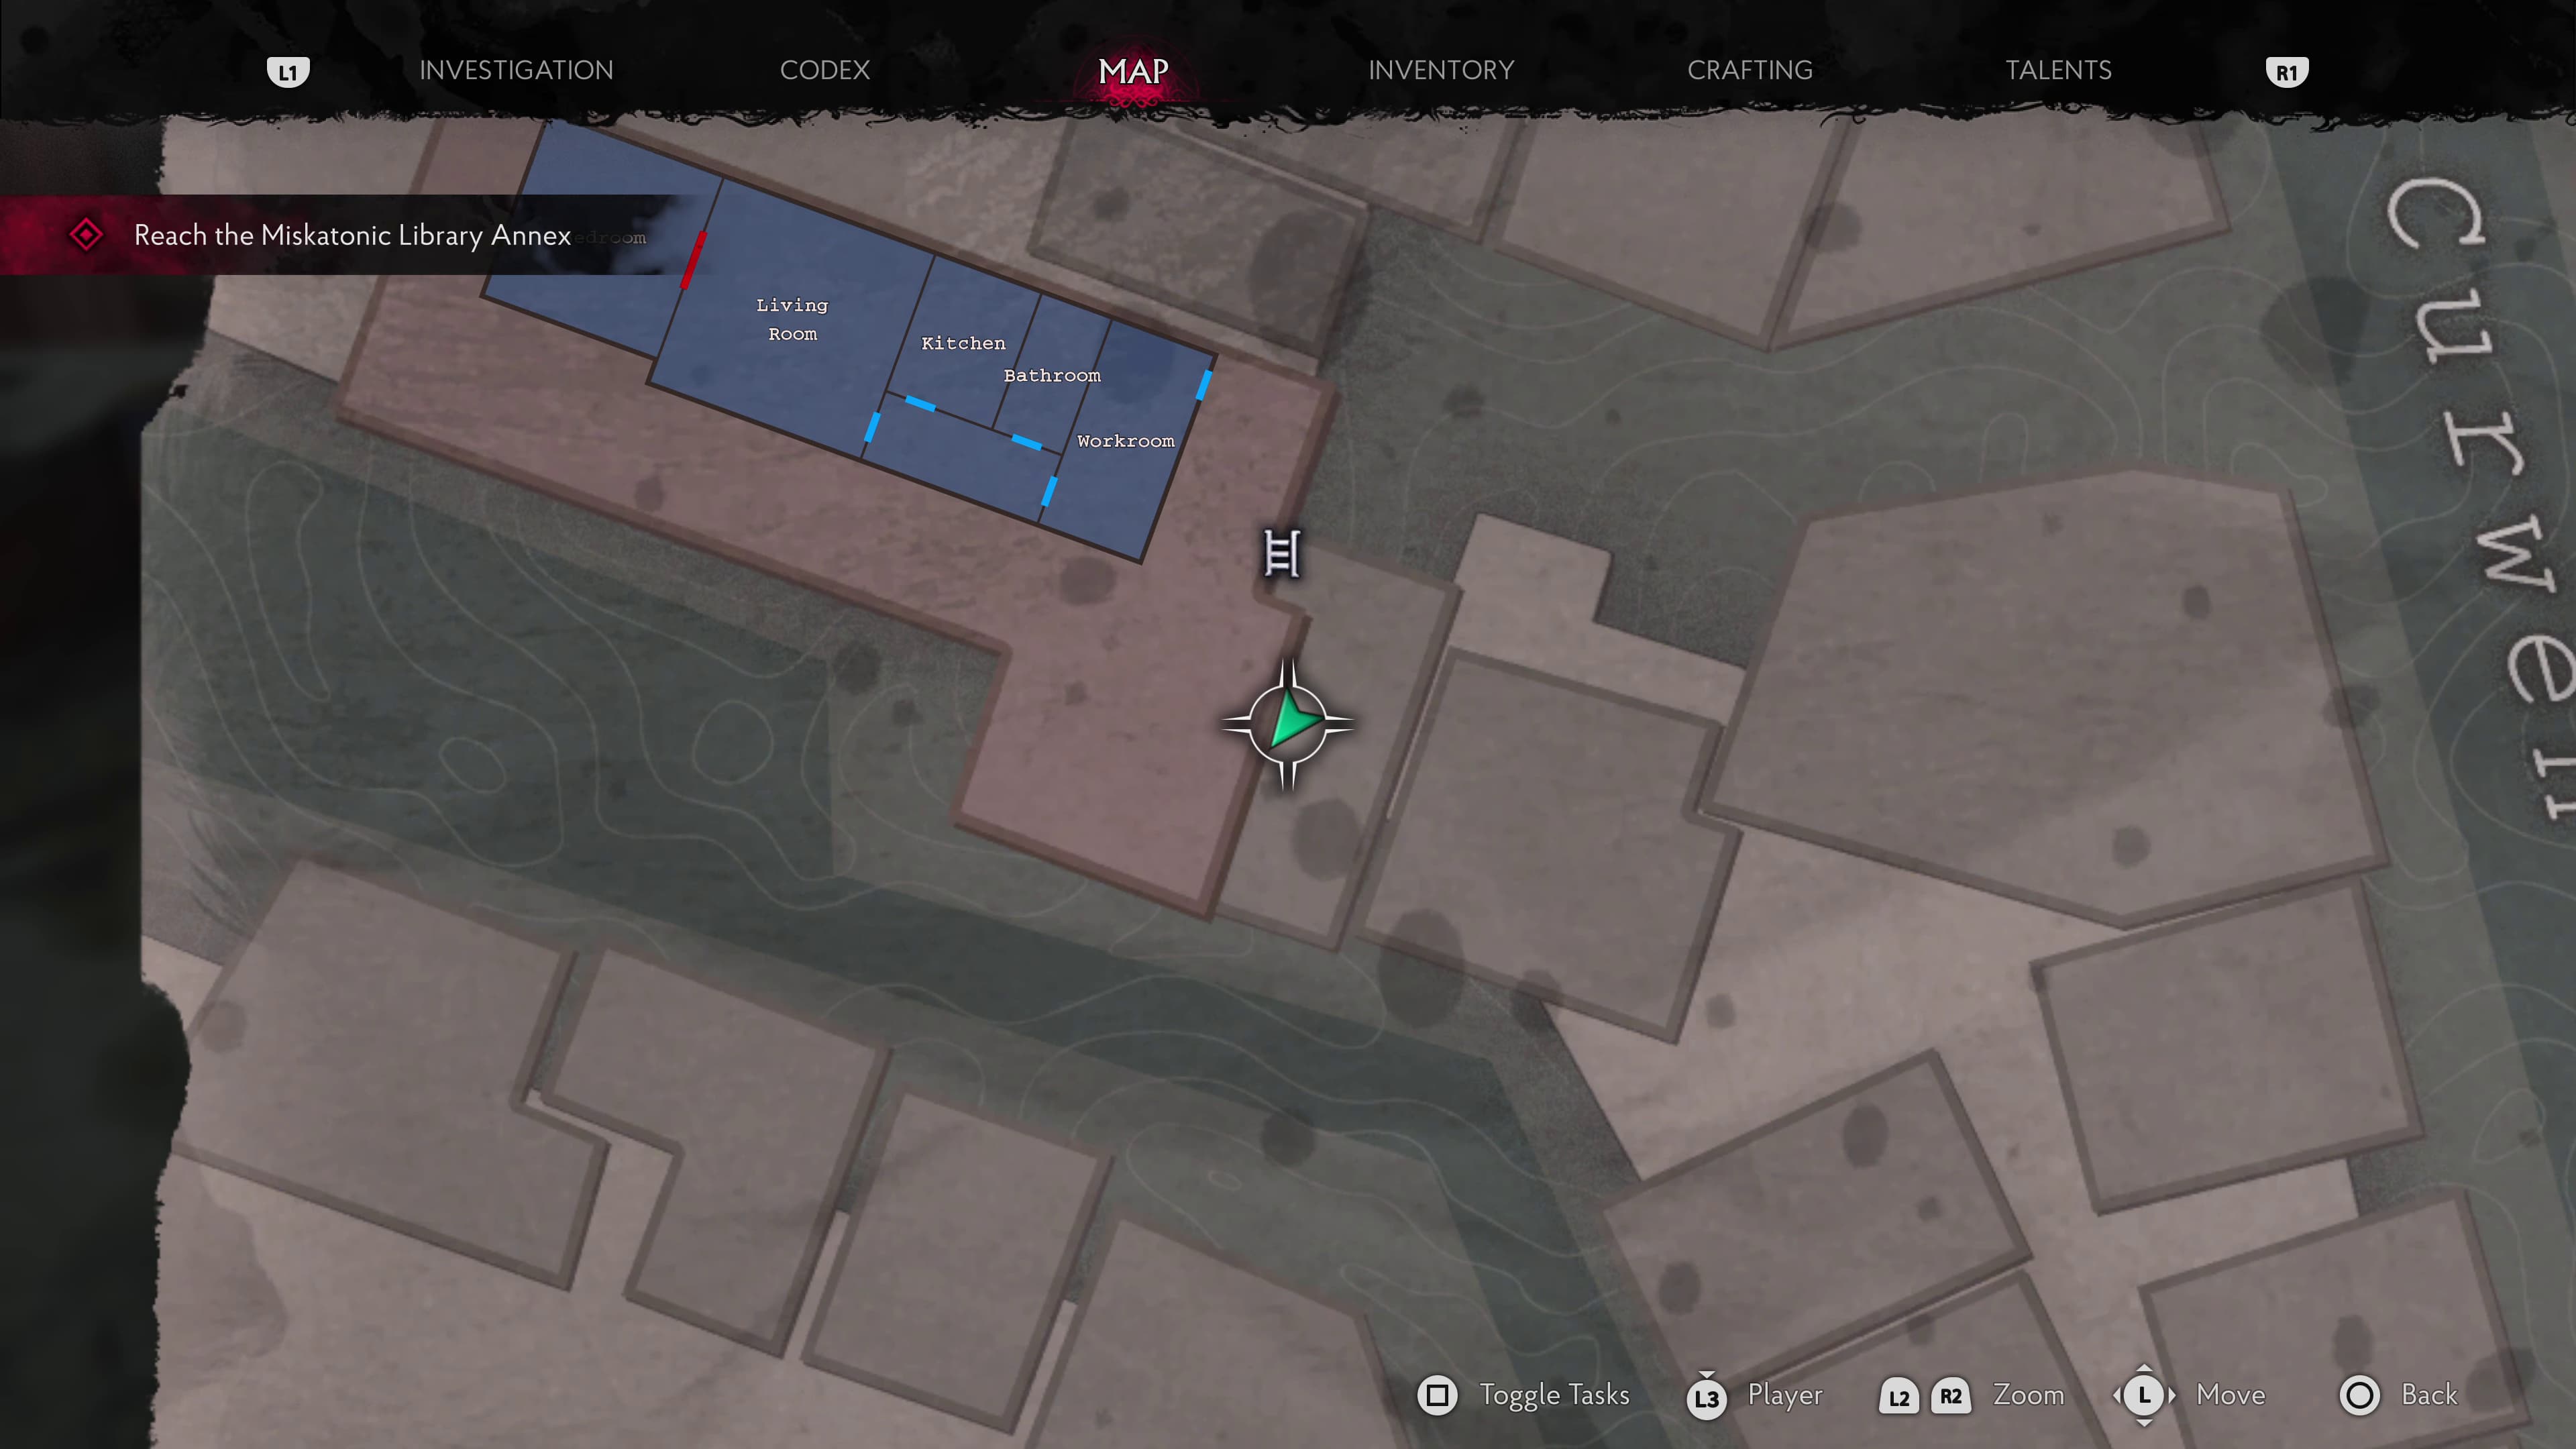
Now heading outside into the balcony area, head down the first ladder, and just ahead on a table with an upturned chair, will be the next Lore Document (Farewell, Arkham!).
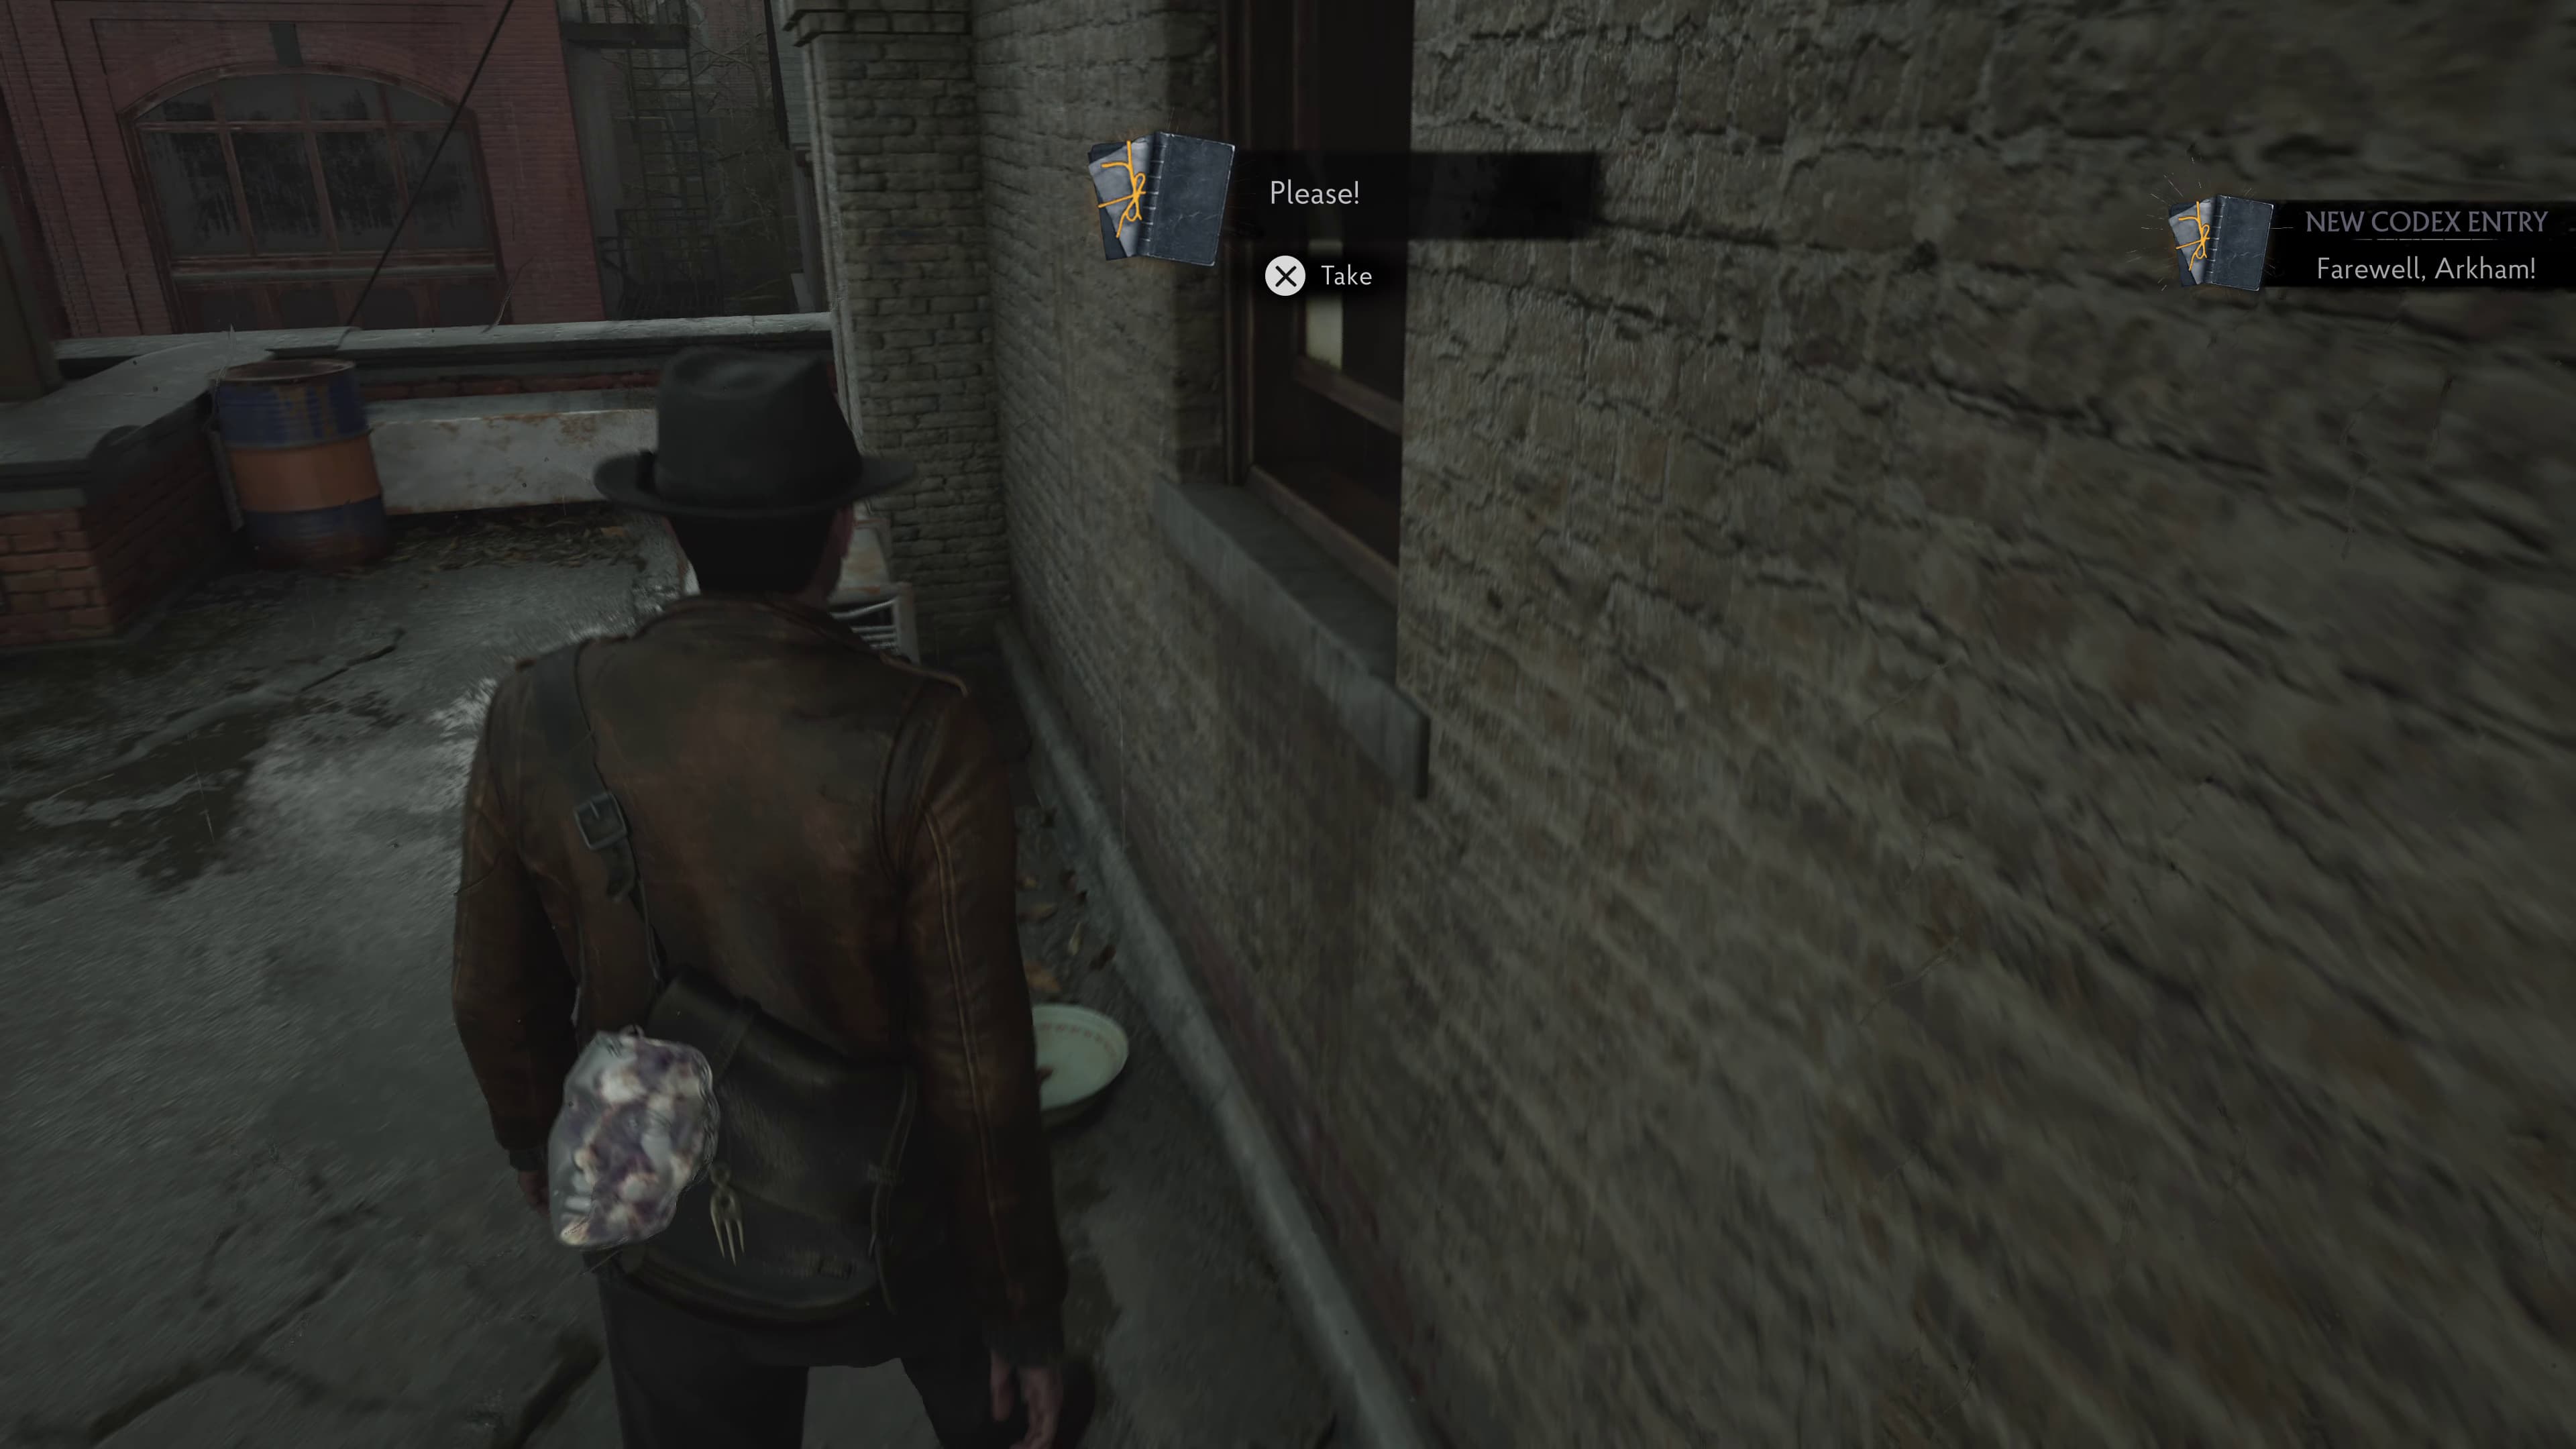
From here, turn to the right and face the building again, you will find the next Lore Document (Please!) pinned to the window.
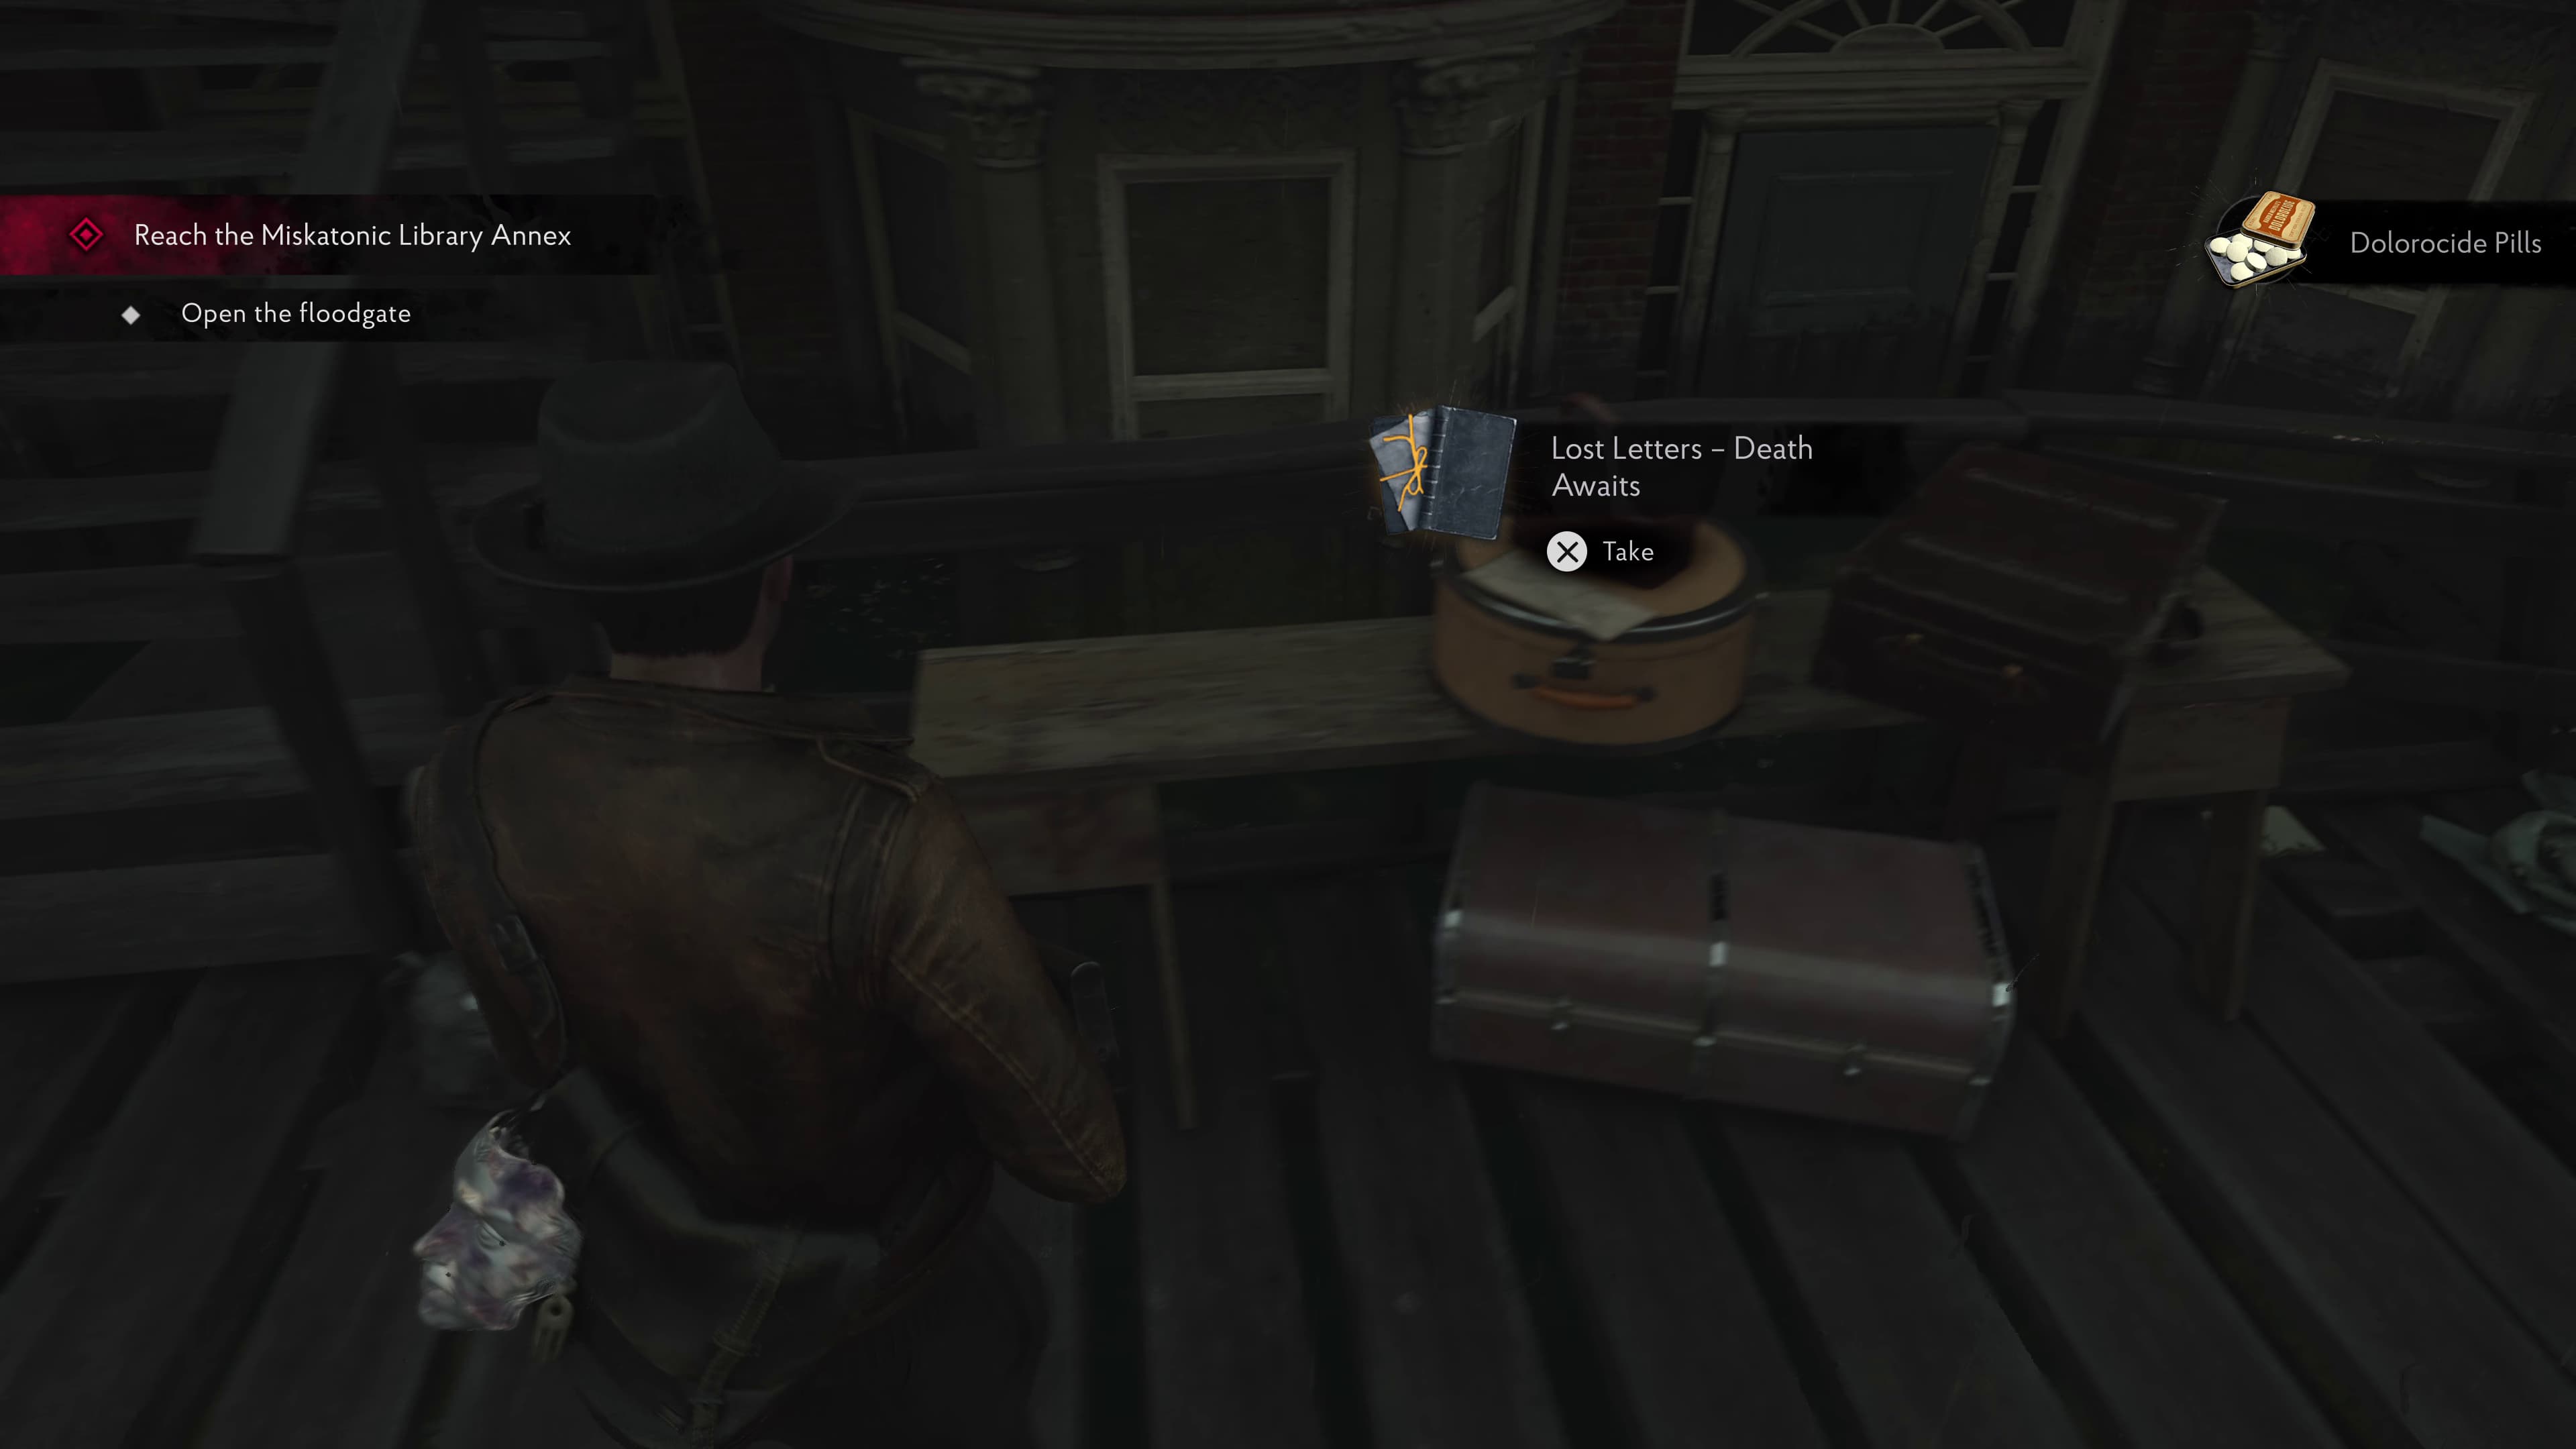
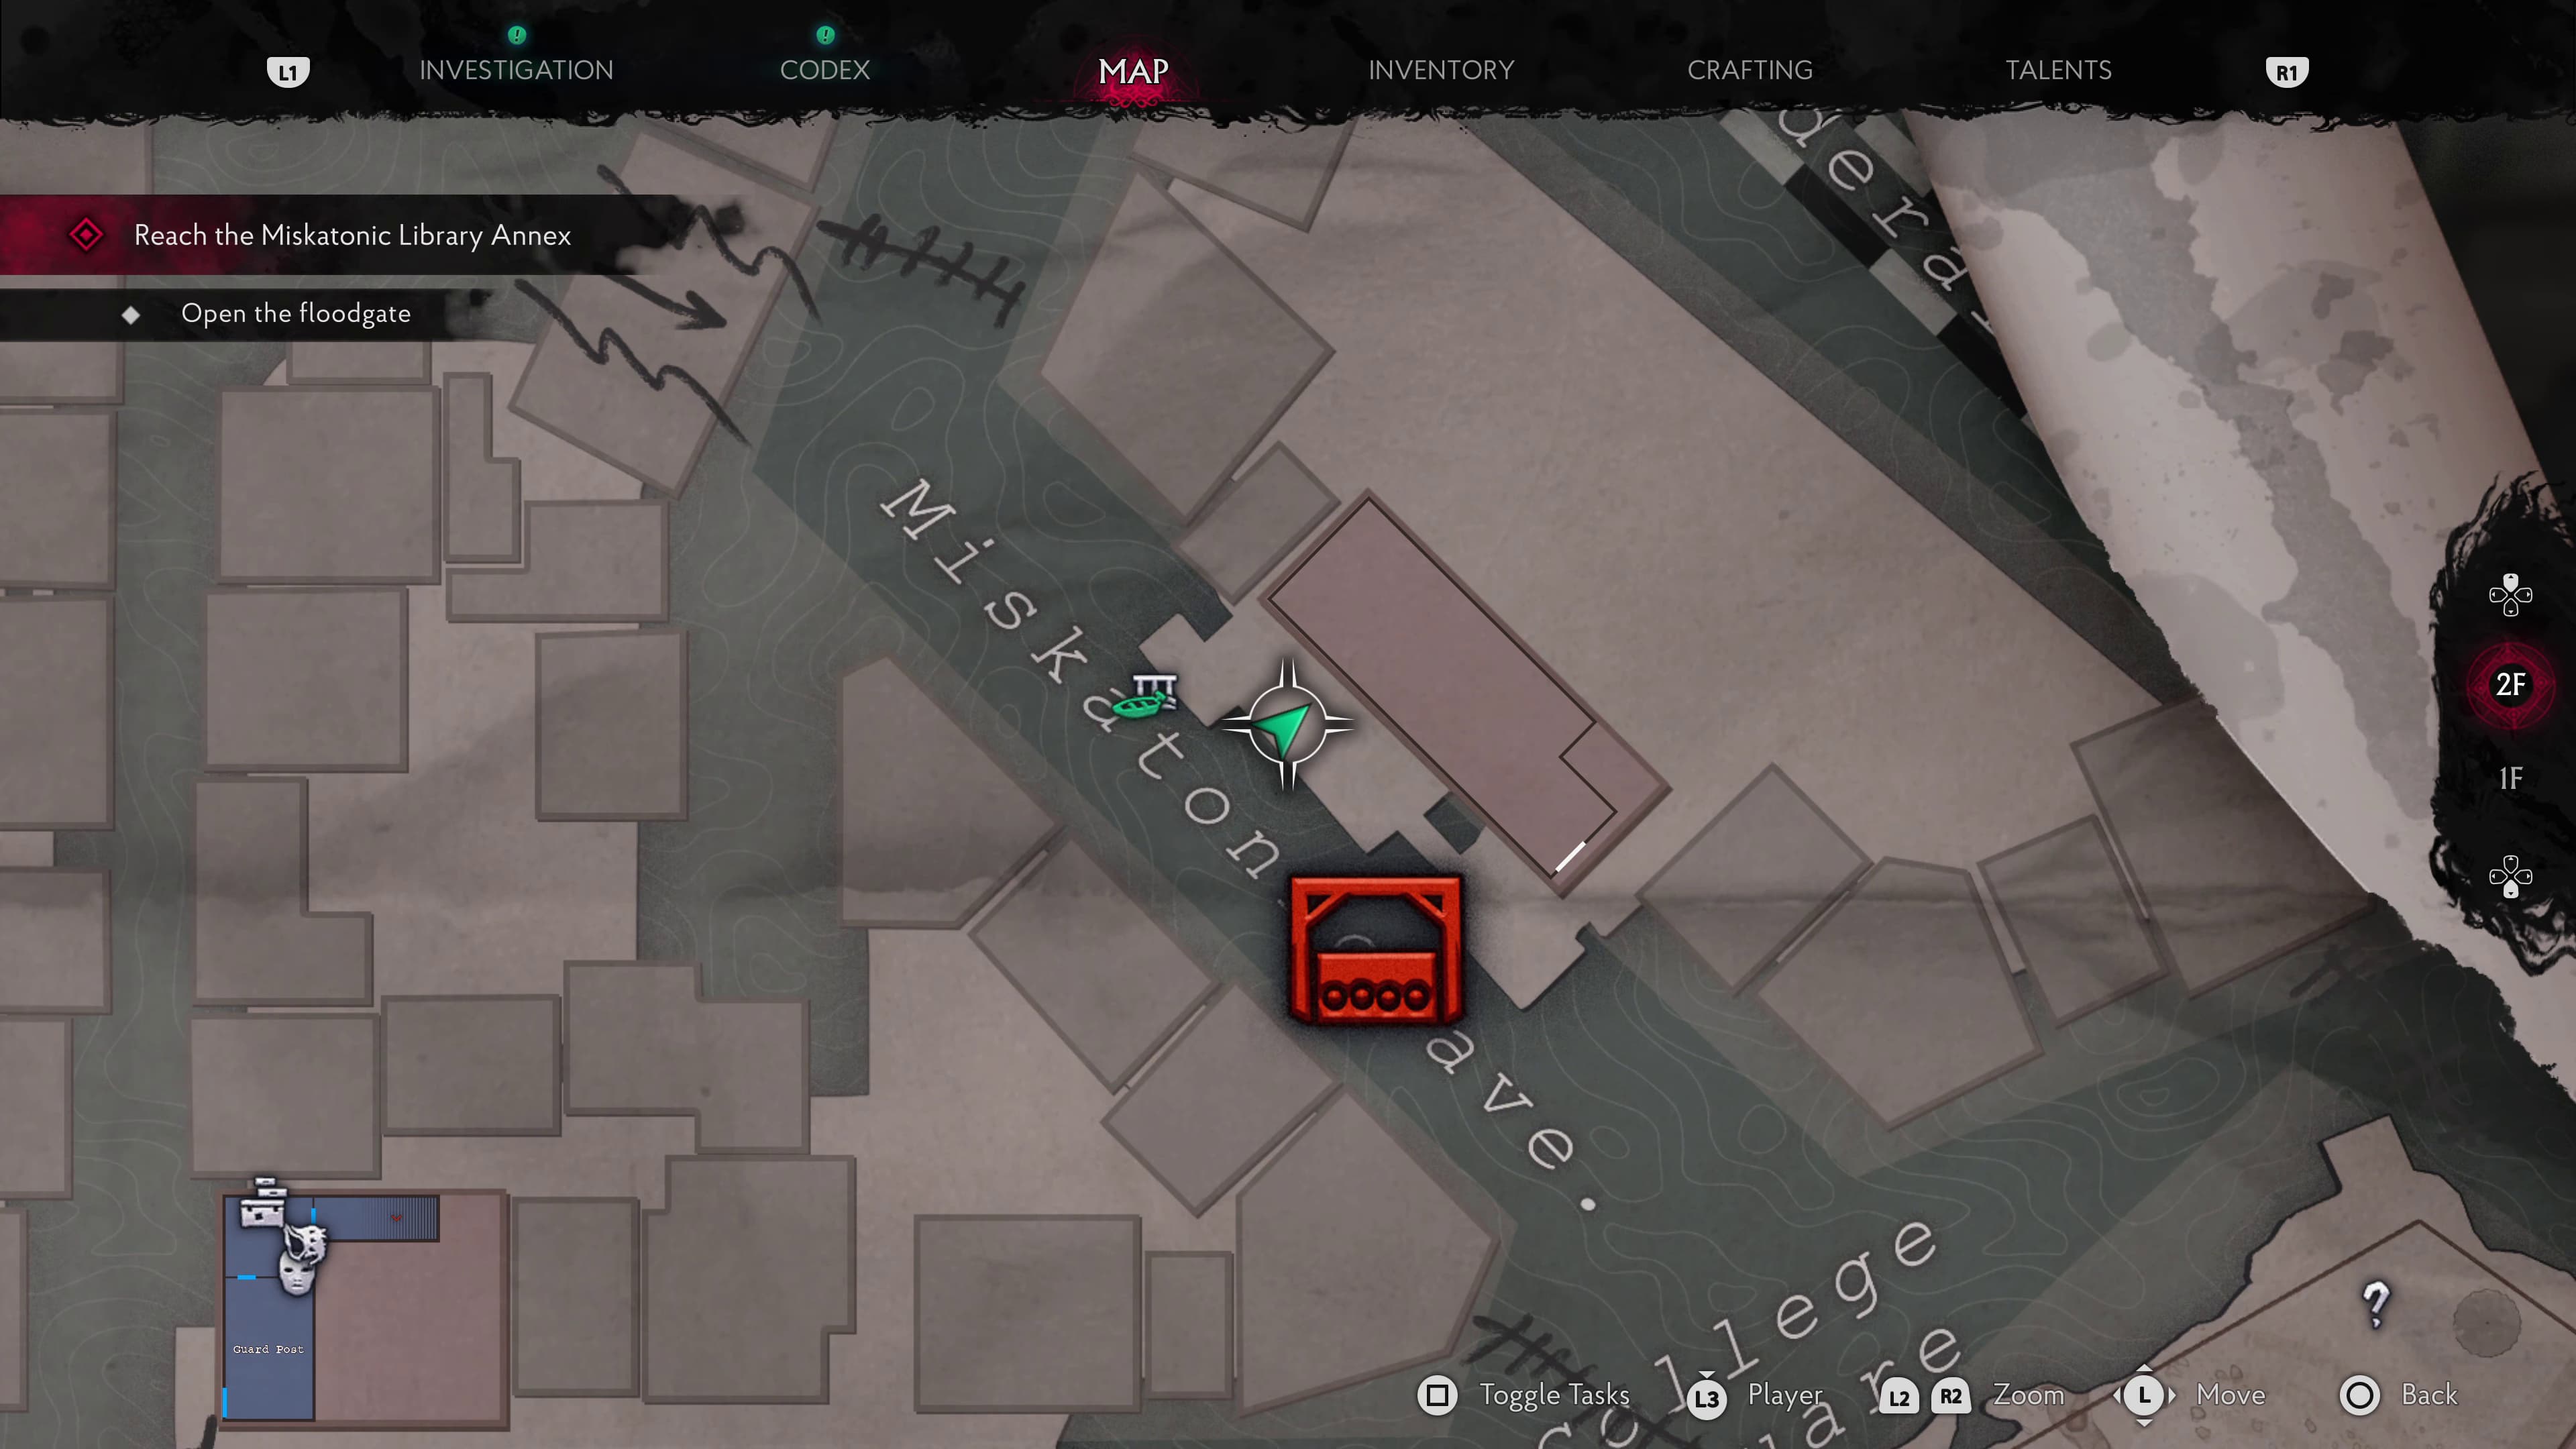
Keep advancing until you make it to the dock at Miskatonic Avenue. Once getting off the boat, the final Lore Document (Lost Letters - Death Awaits) will be on a round briefcase before heading inside the house.
This is everything found for the A New Day segment, so keep progressing until we enter the University where we will begin The Wake Up Call.
The Wake Up Call
In this area there will be:
20 Lore Documents
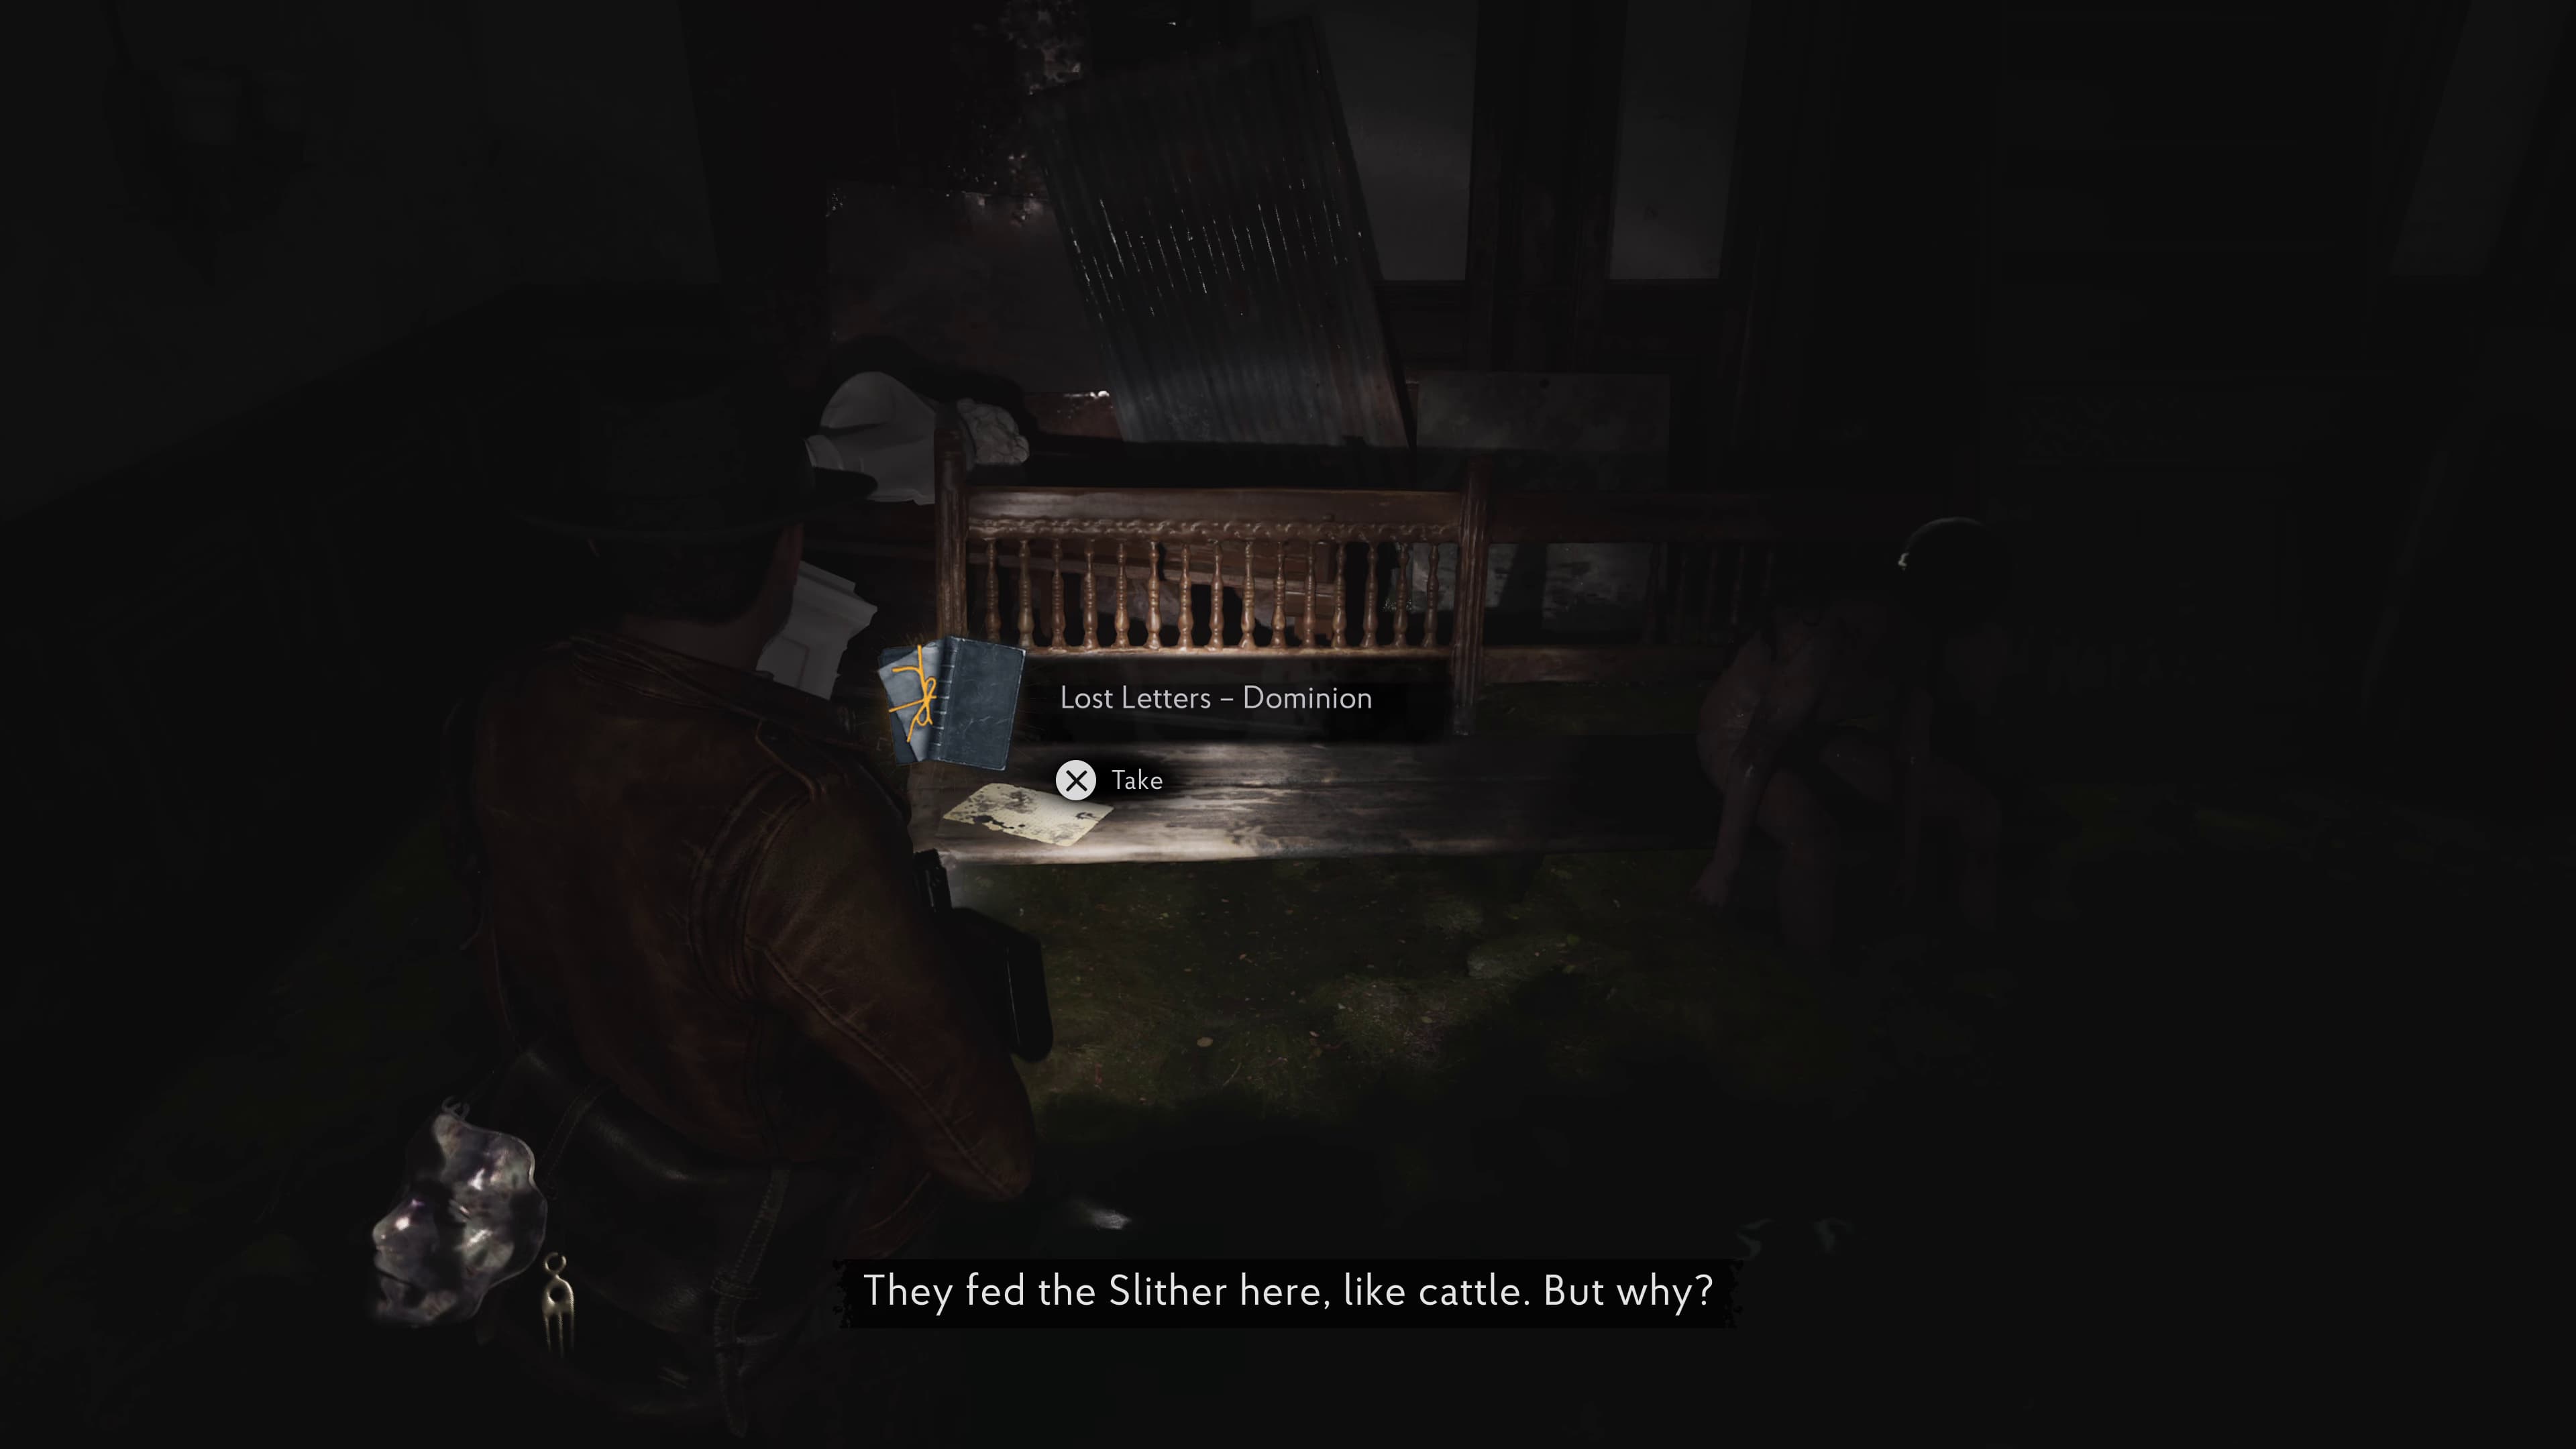
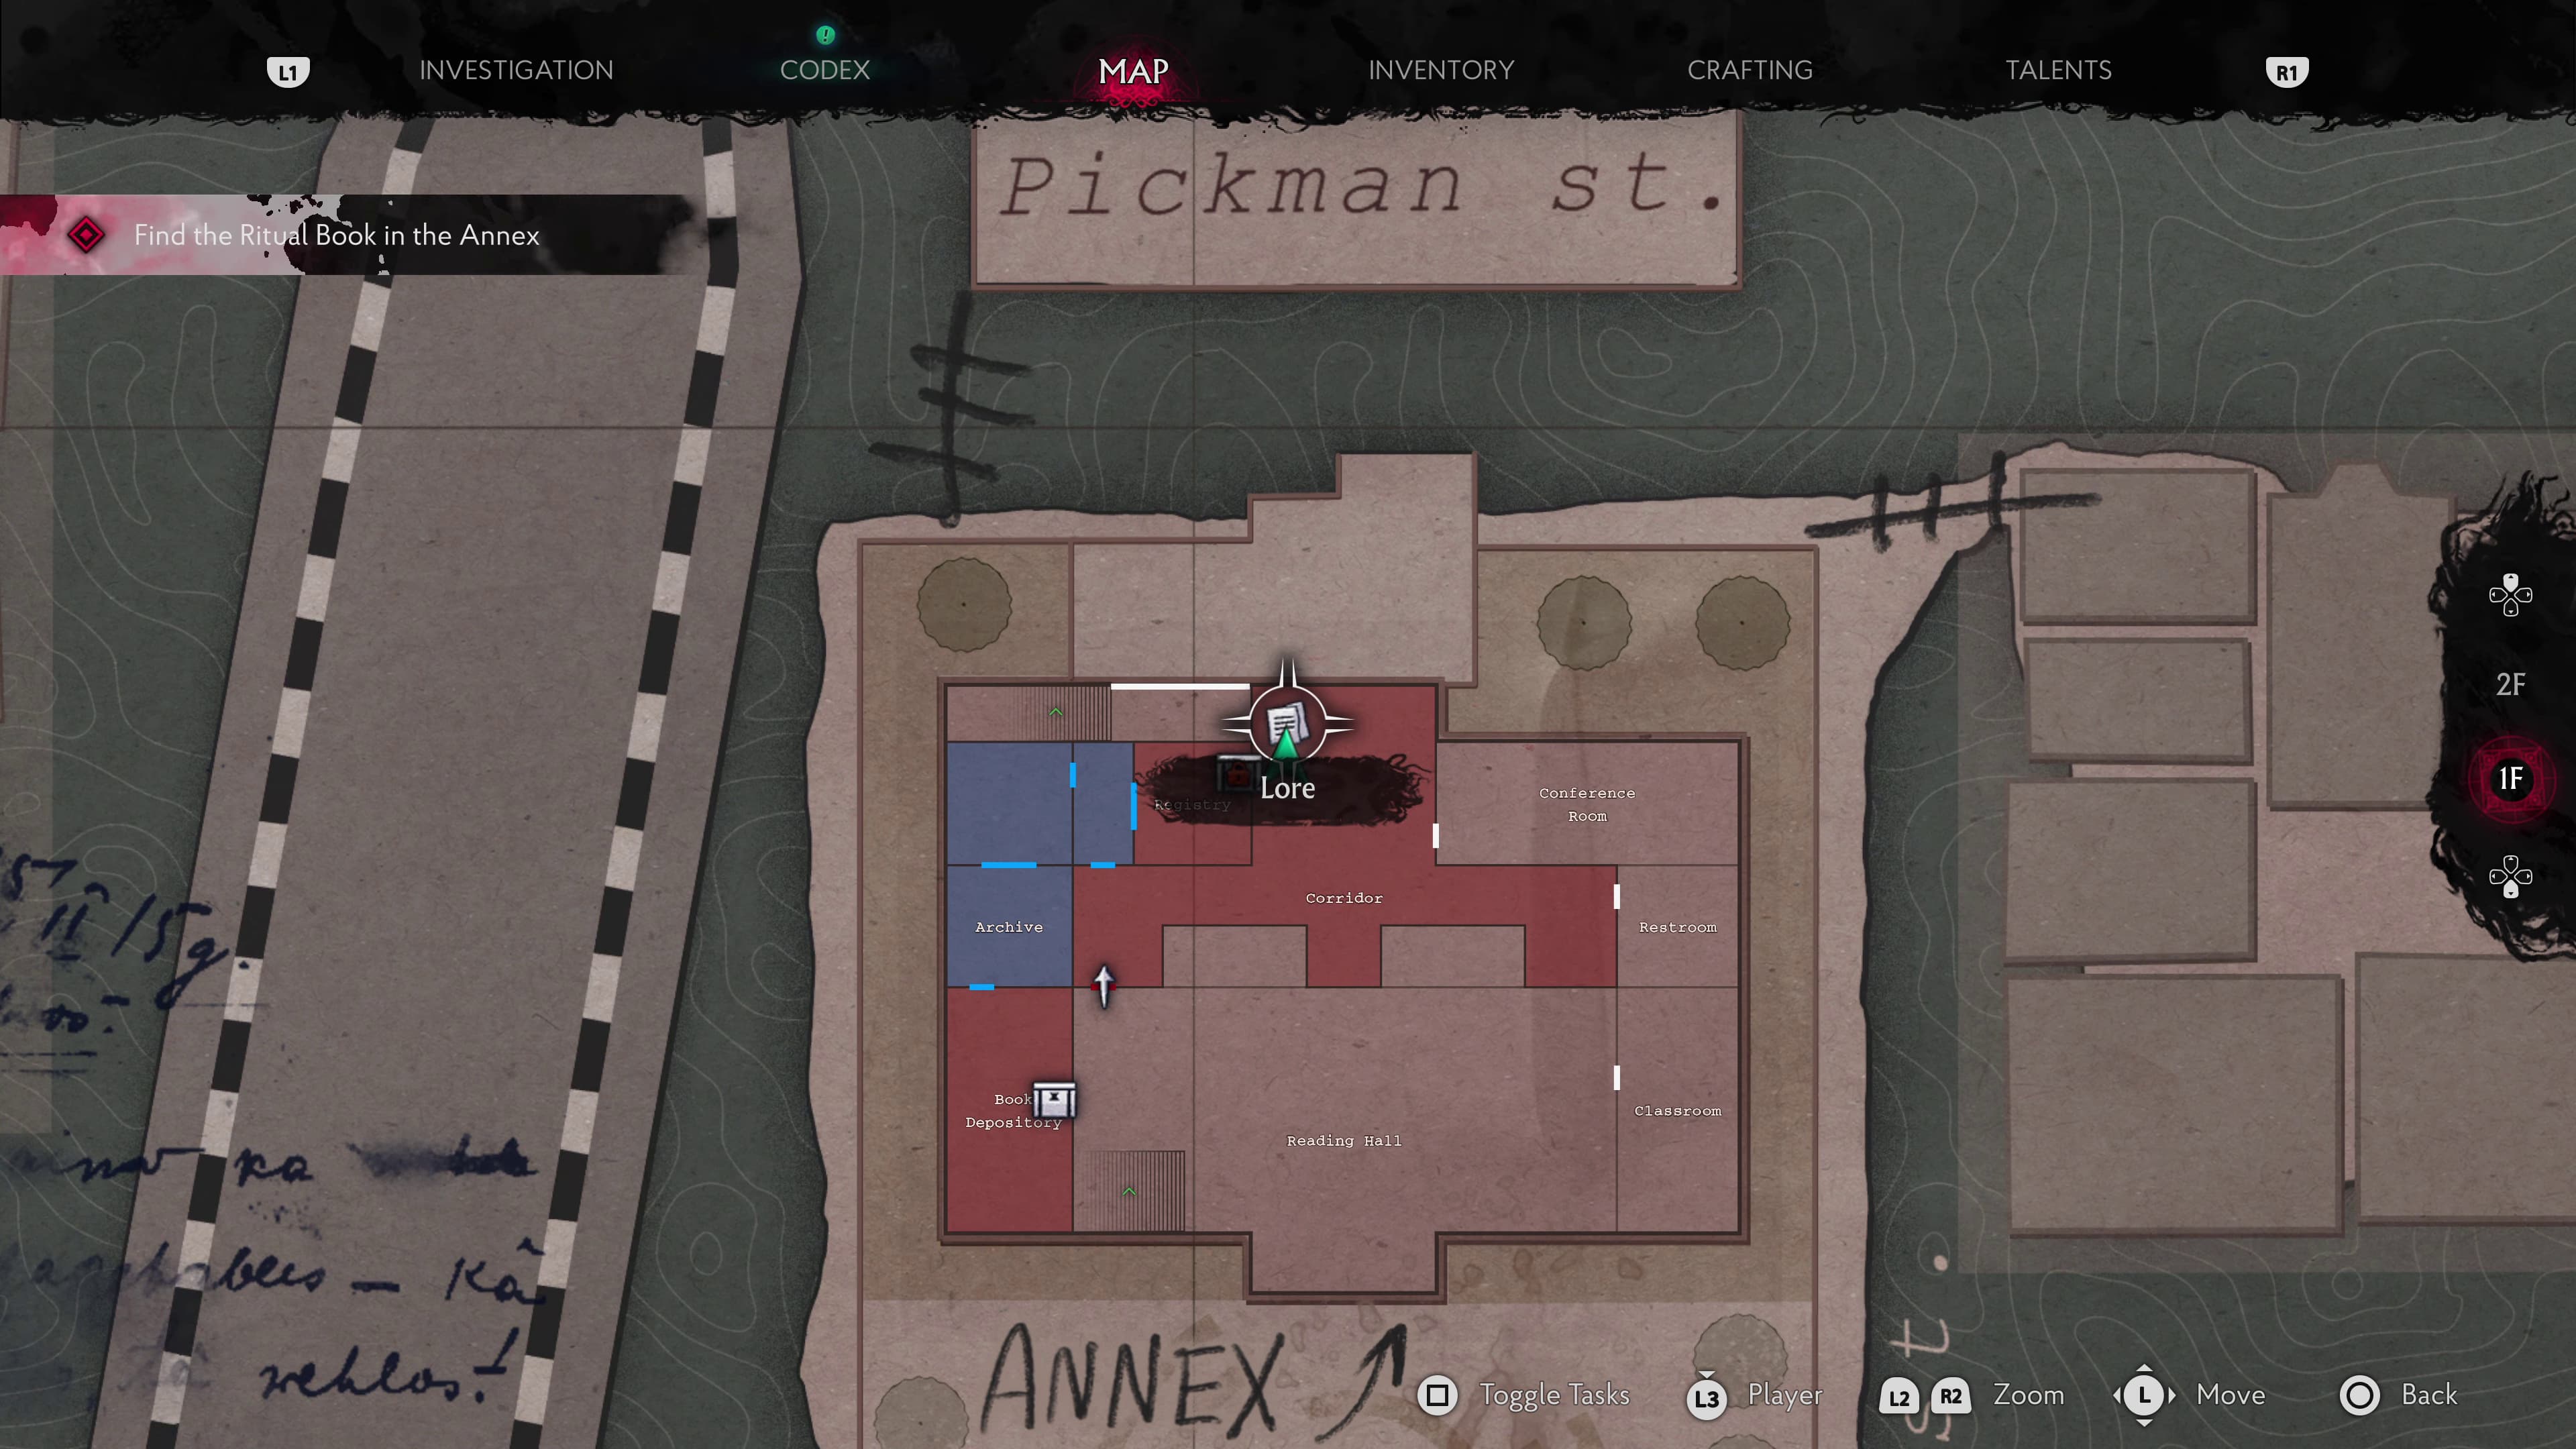
Advance through the University and out into the Corridor, take a left as soon as you see the hanging body, on the bench at the back will be the next Lore Document (Lost Letters - Dominion).
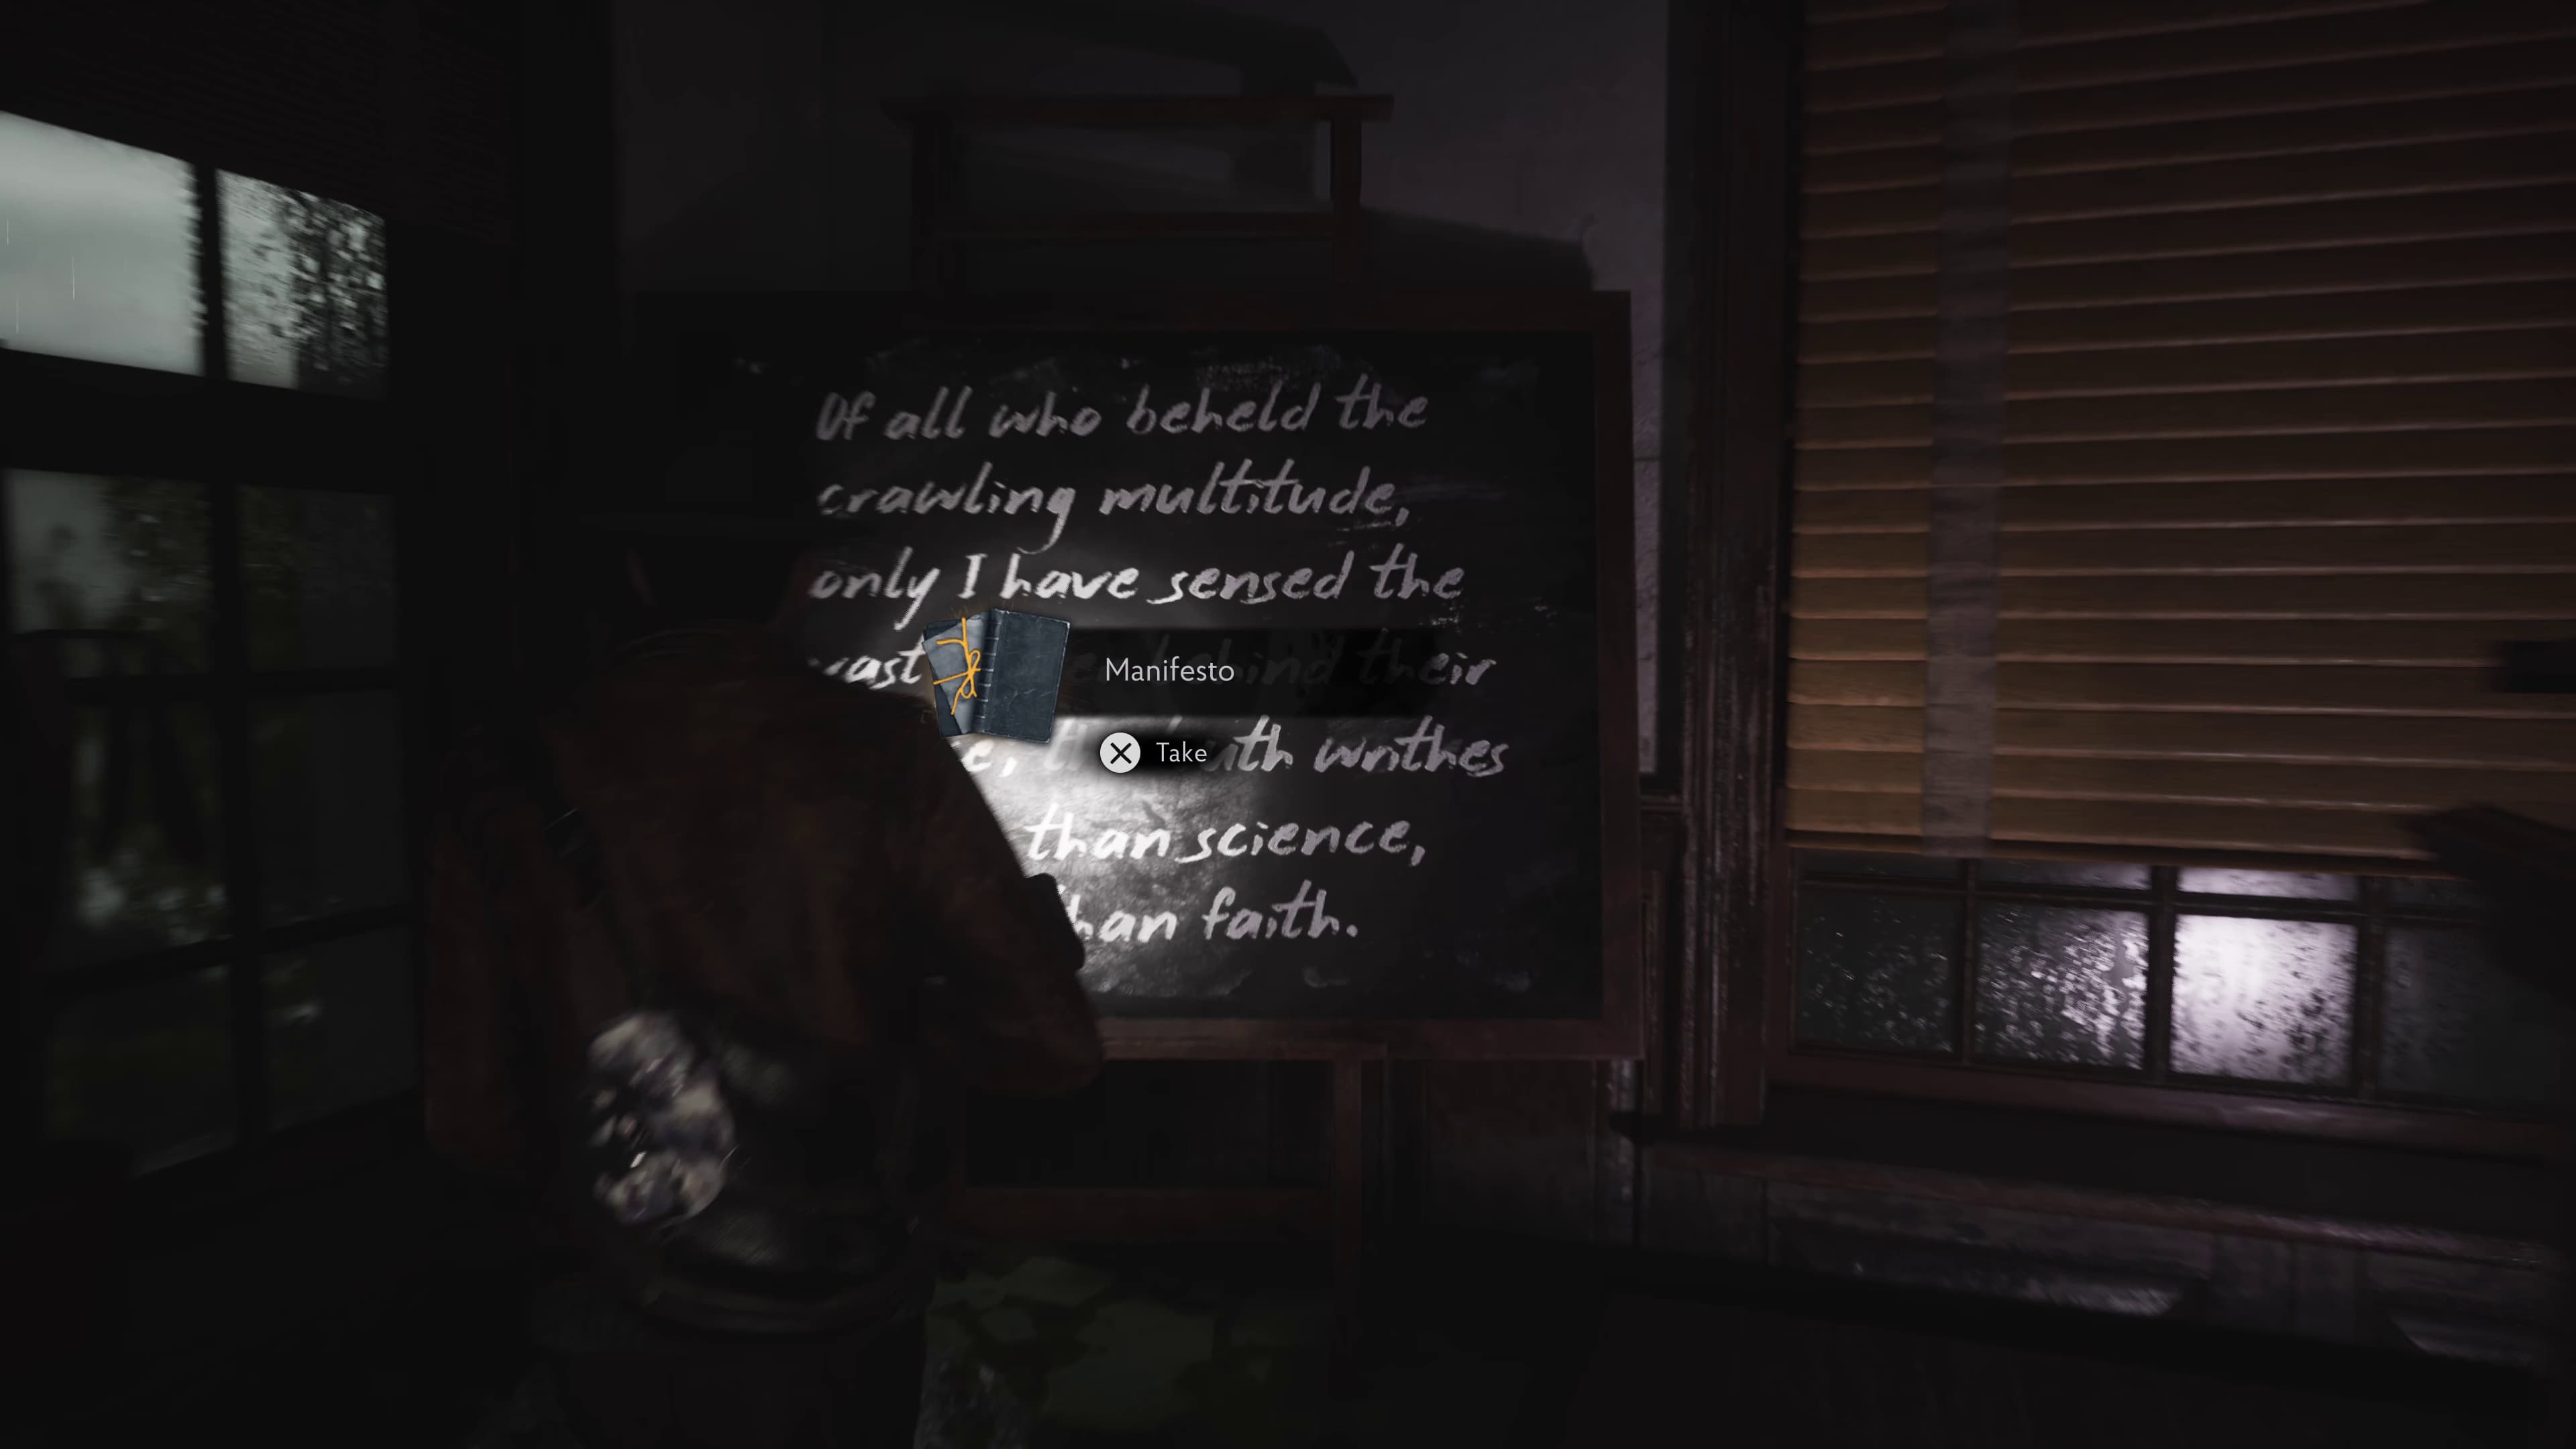
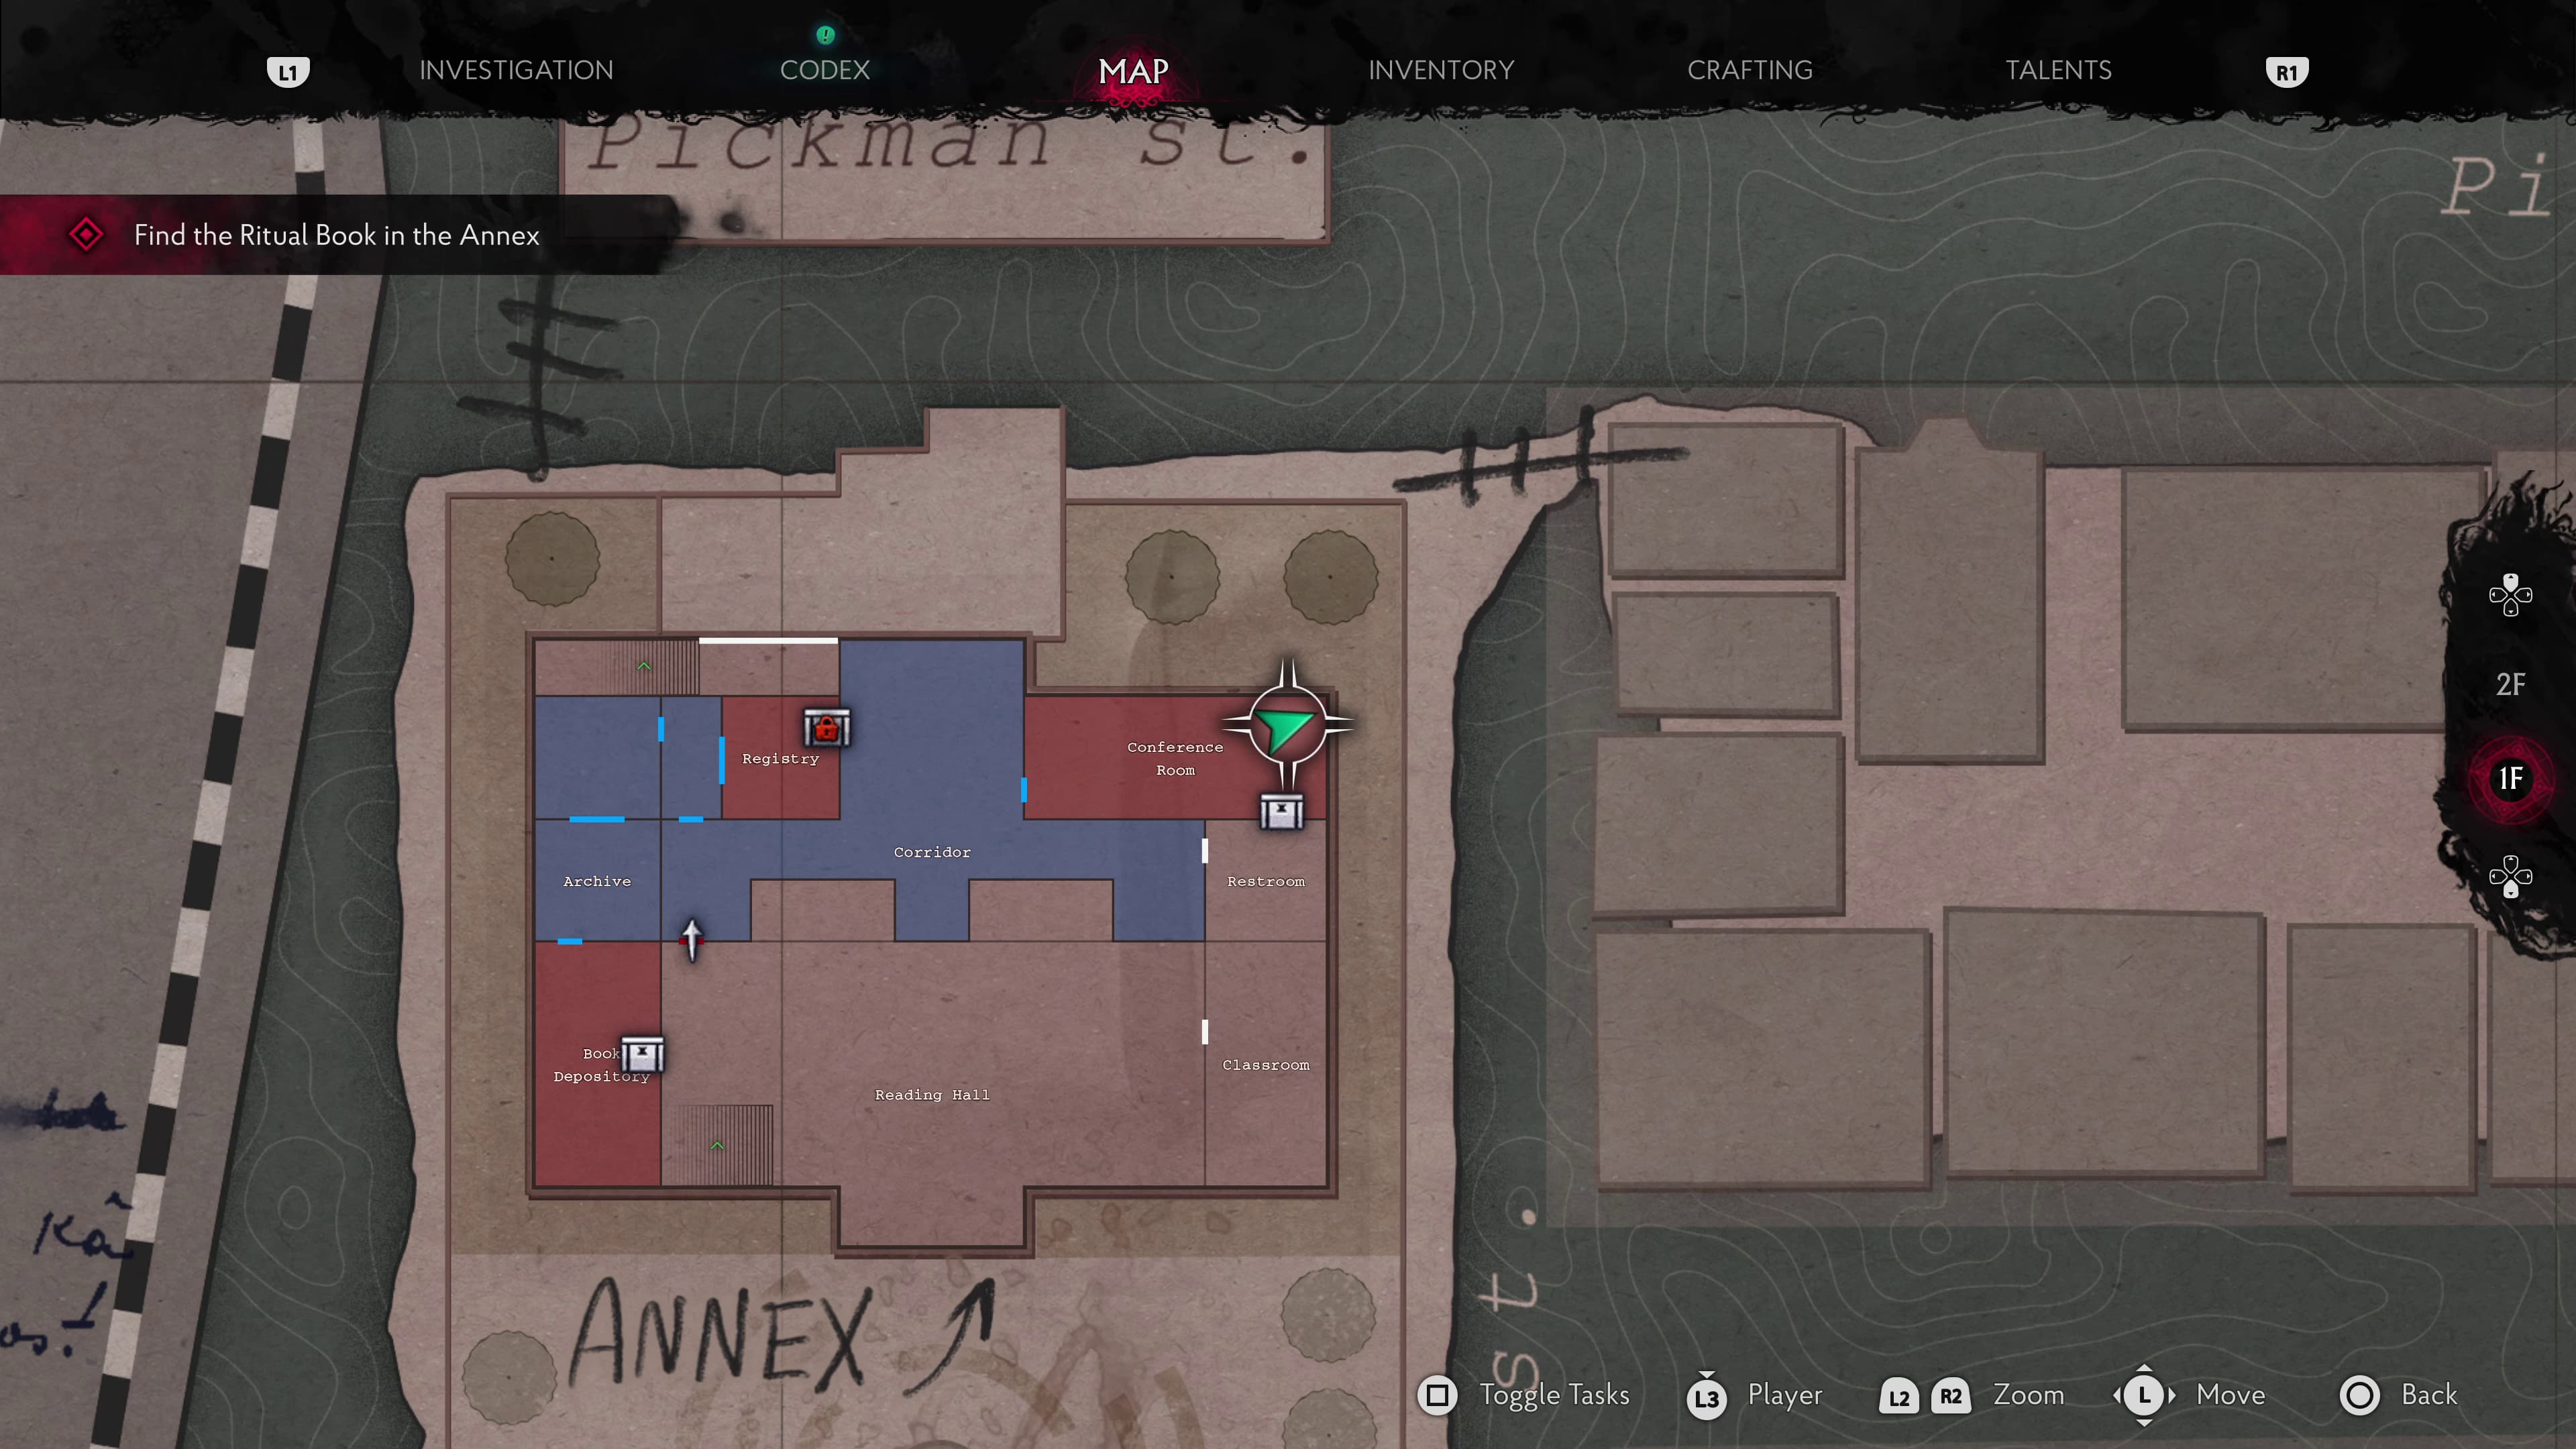
Next, head into the Conference Room, and at the back is a blackboard, interact with this for your next Lore Document (Manifesto).
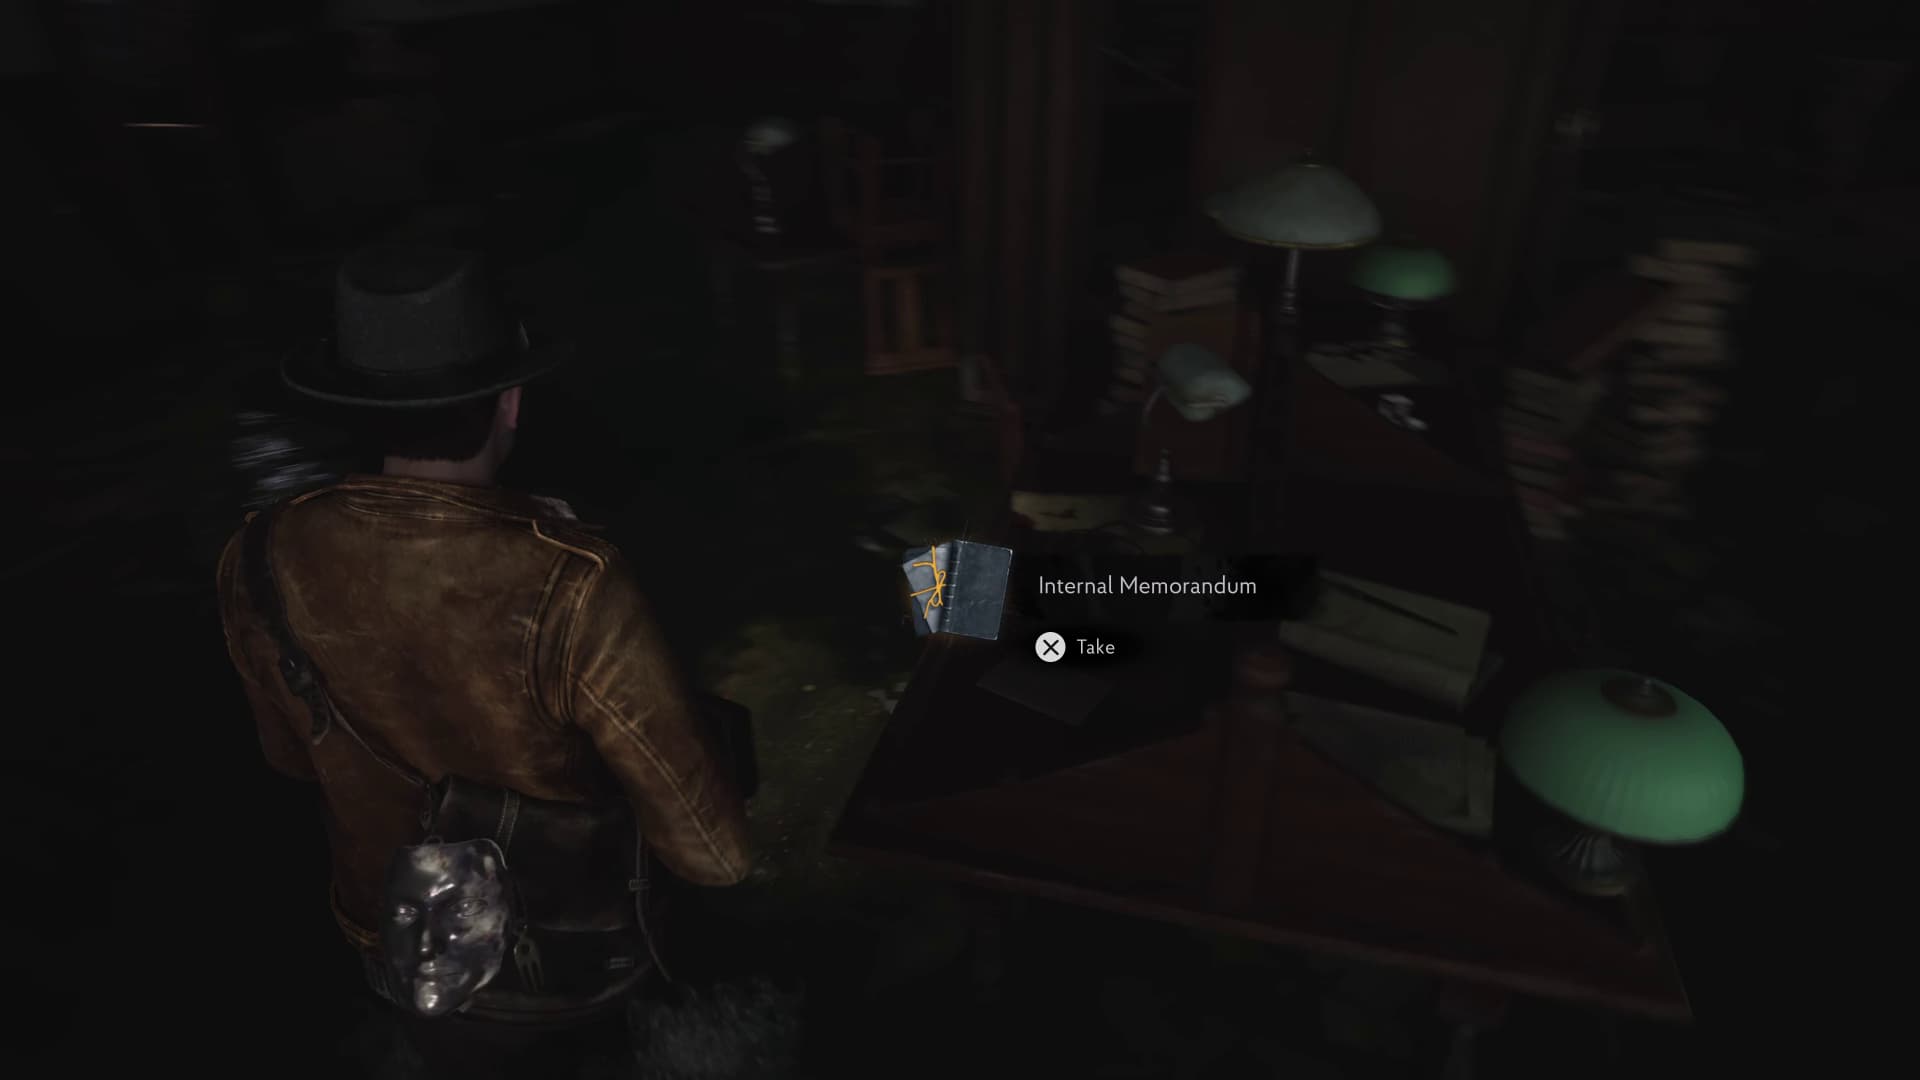
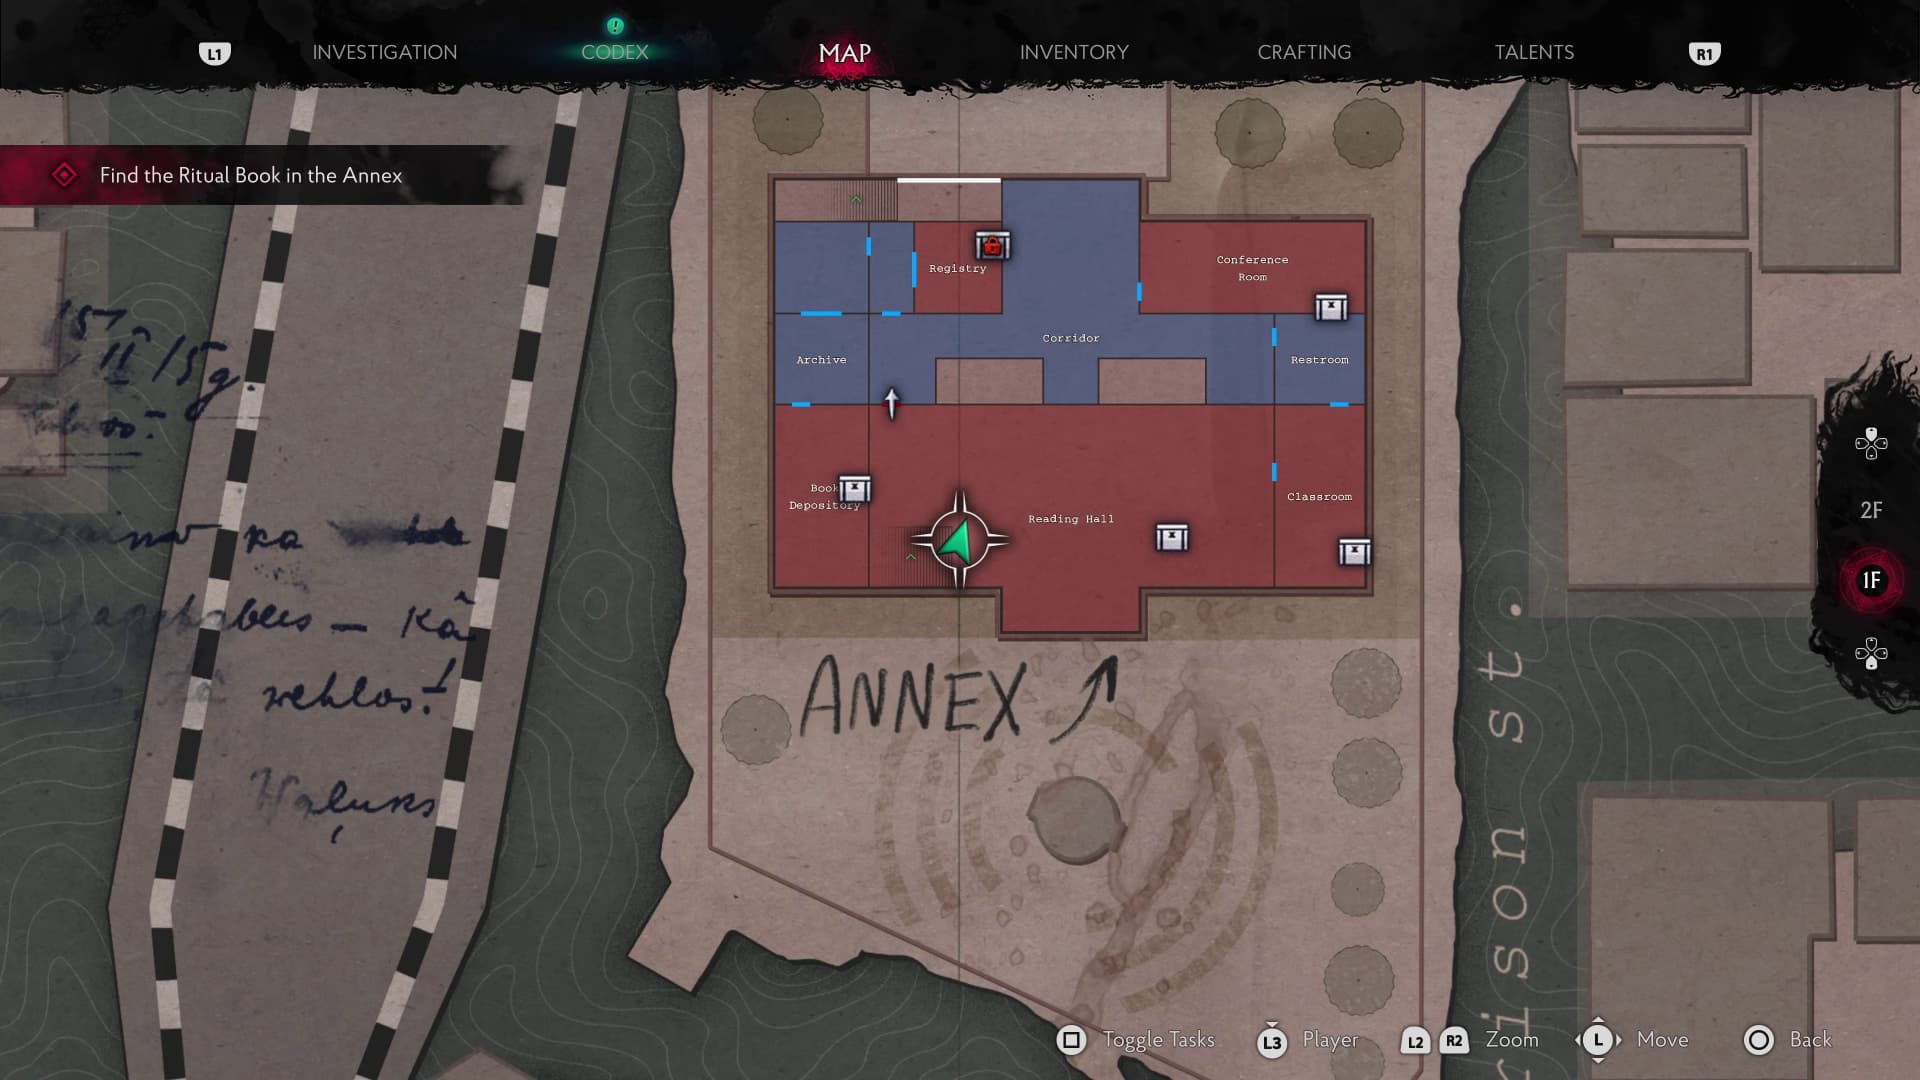
Keep advancing through the area, through the restroom and and classroom, and out into the Reading Hall. Make your way to the back of the Reading Hall towards the broken ceiling where we will be advancing up shortly, on the nearby desk will be the next Lore Document (Internal Memorandum).
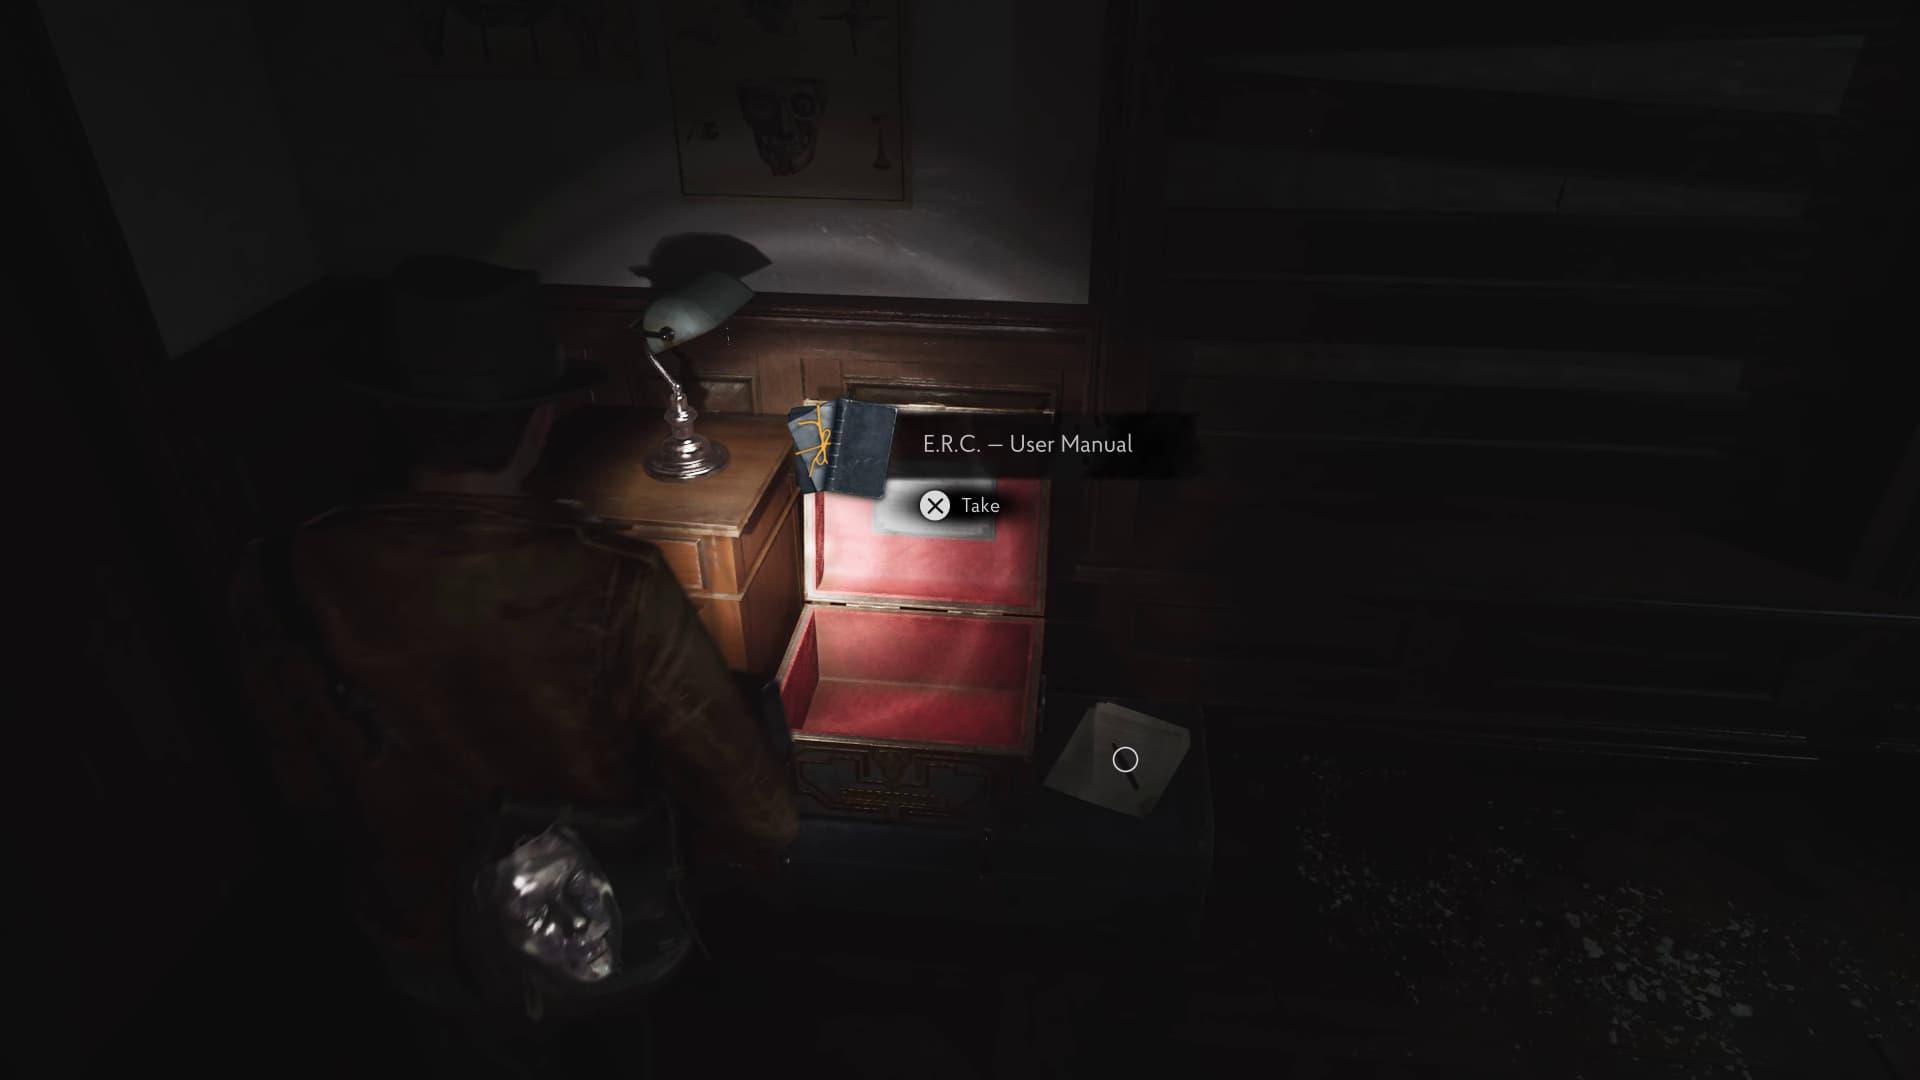
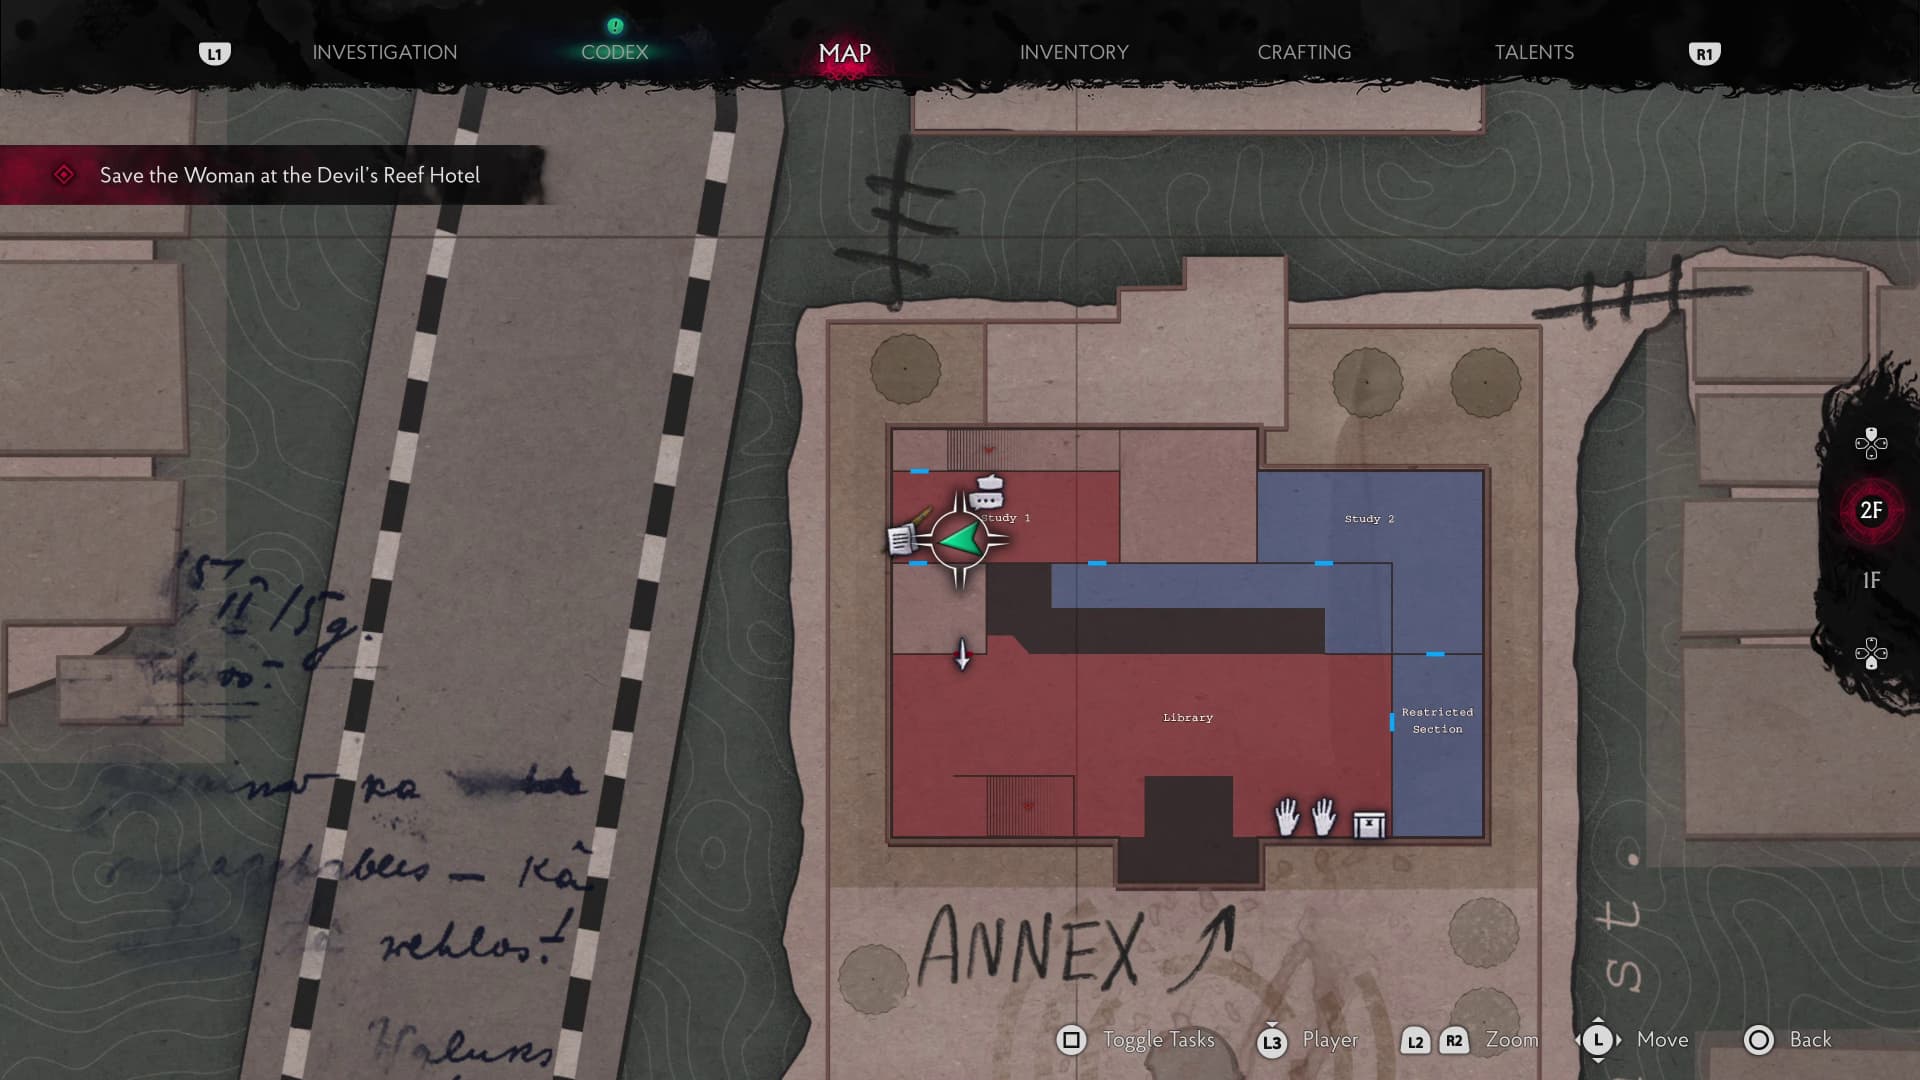
Keep advancing now until you make it into Study 1, after talking with the French man with worm eyes. In this room with him you will find another Lore Document (E.R.C User Manual) to collect.
Then keep advancing back up and out of the window and to the boat, to keep progressing to the next dock at the Church.
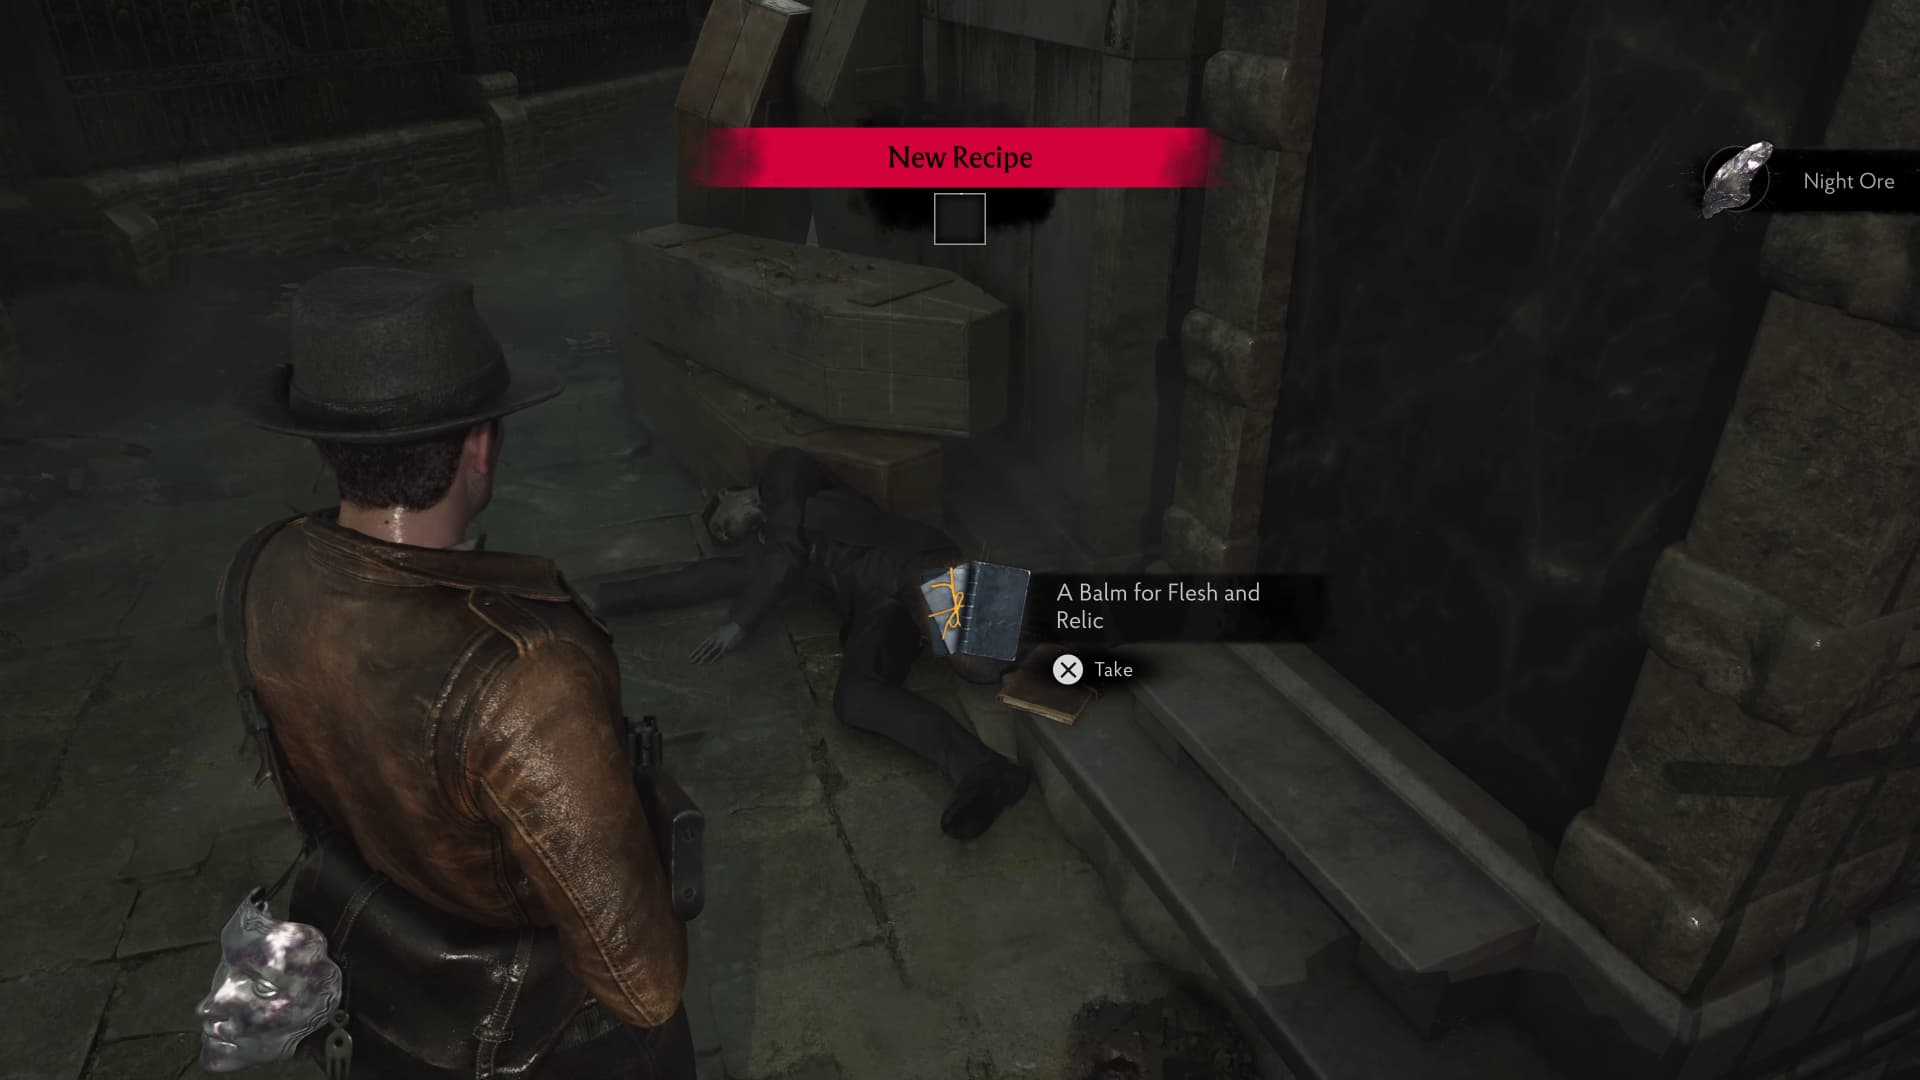
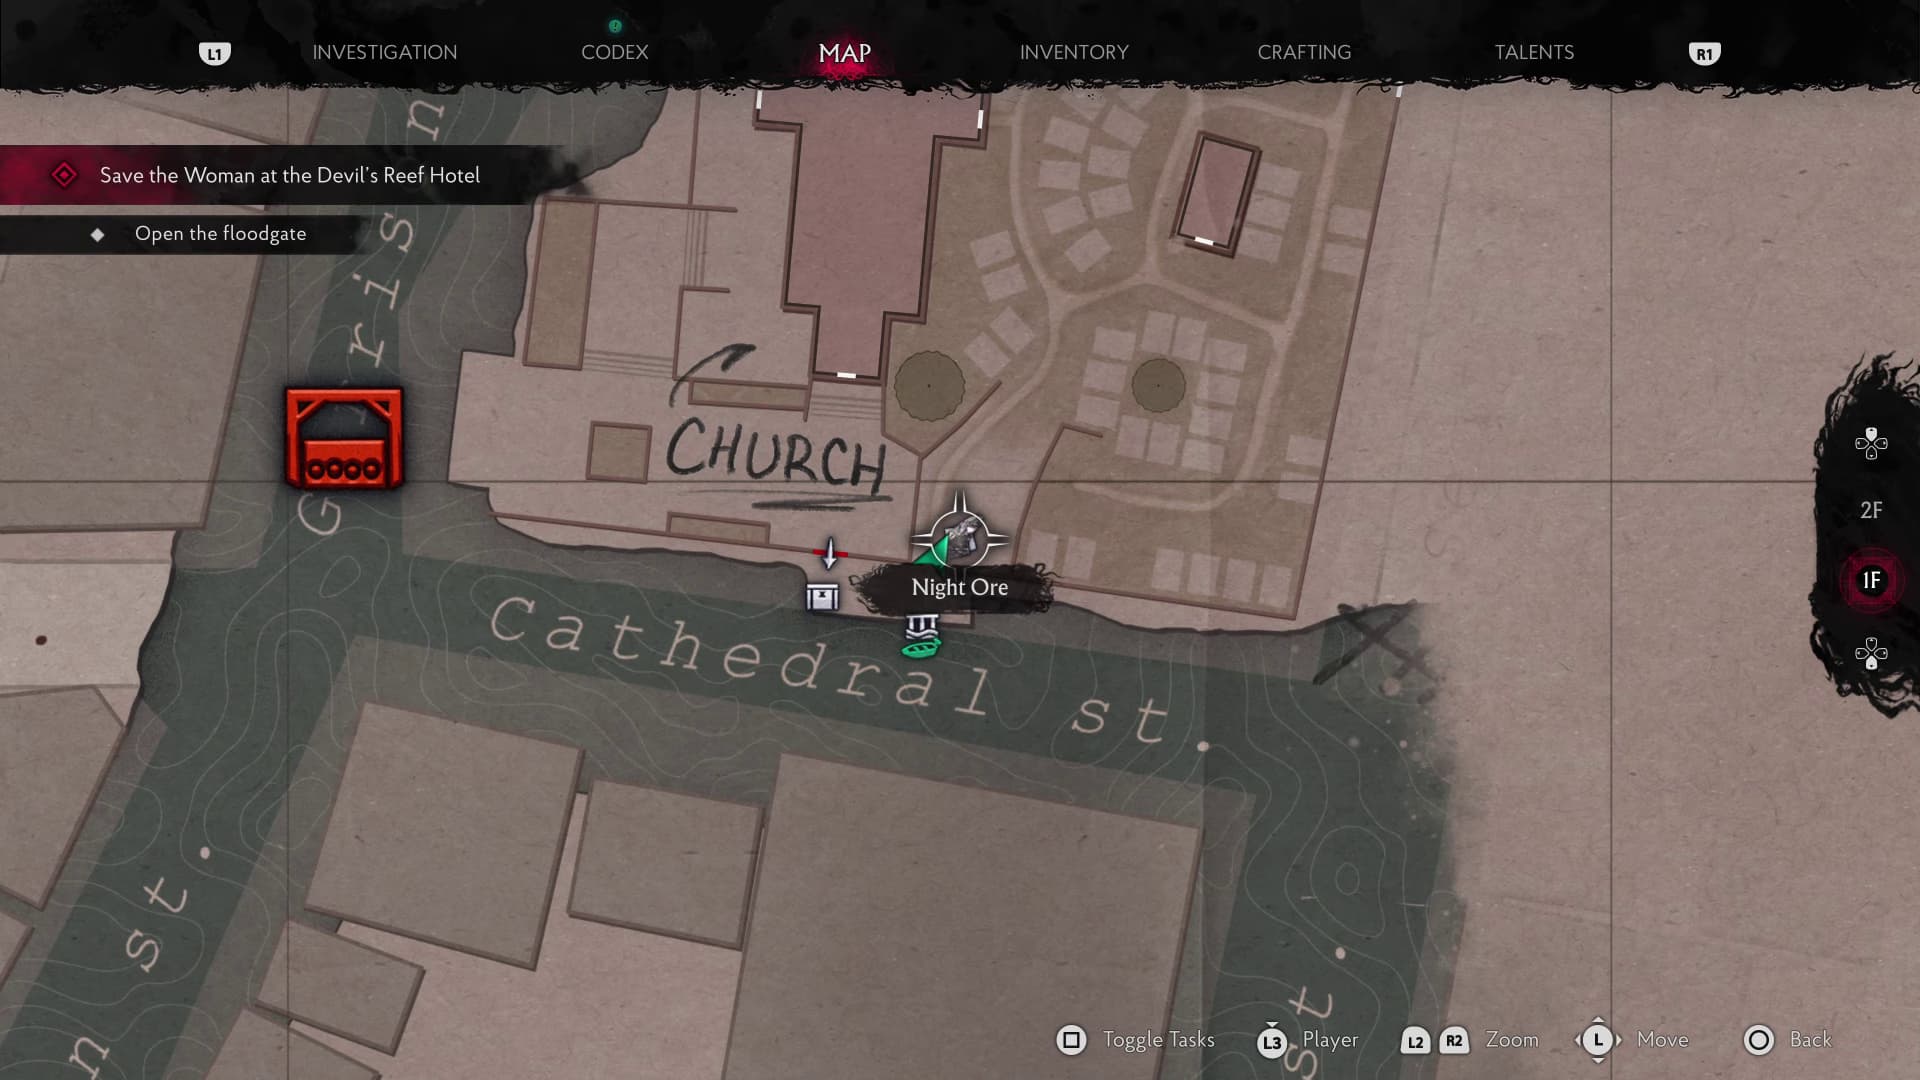
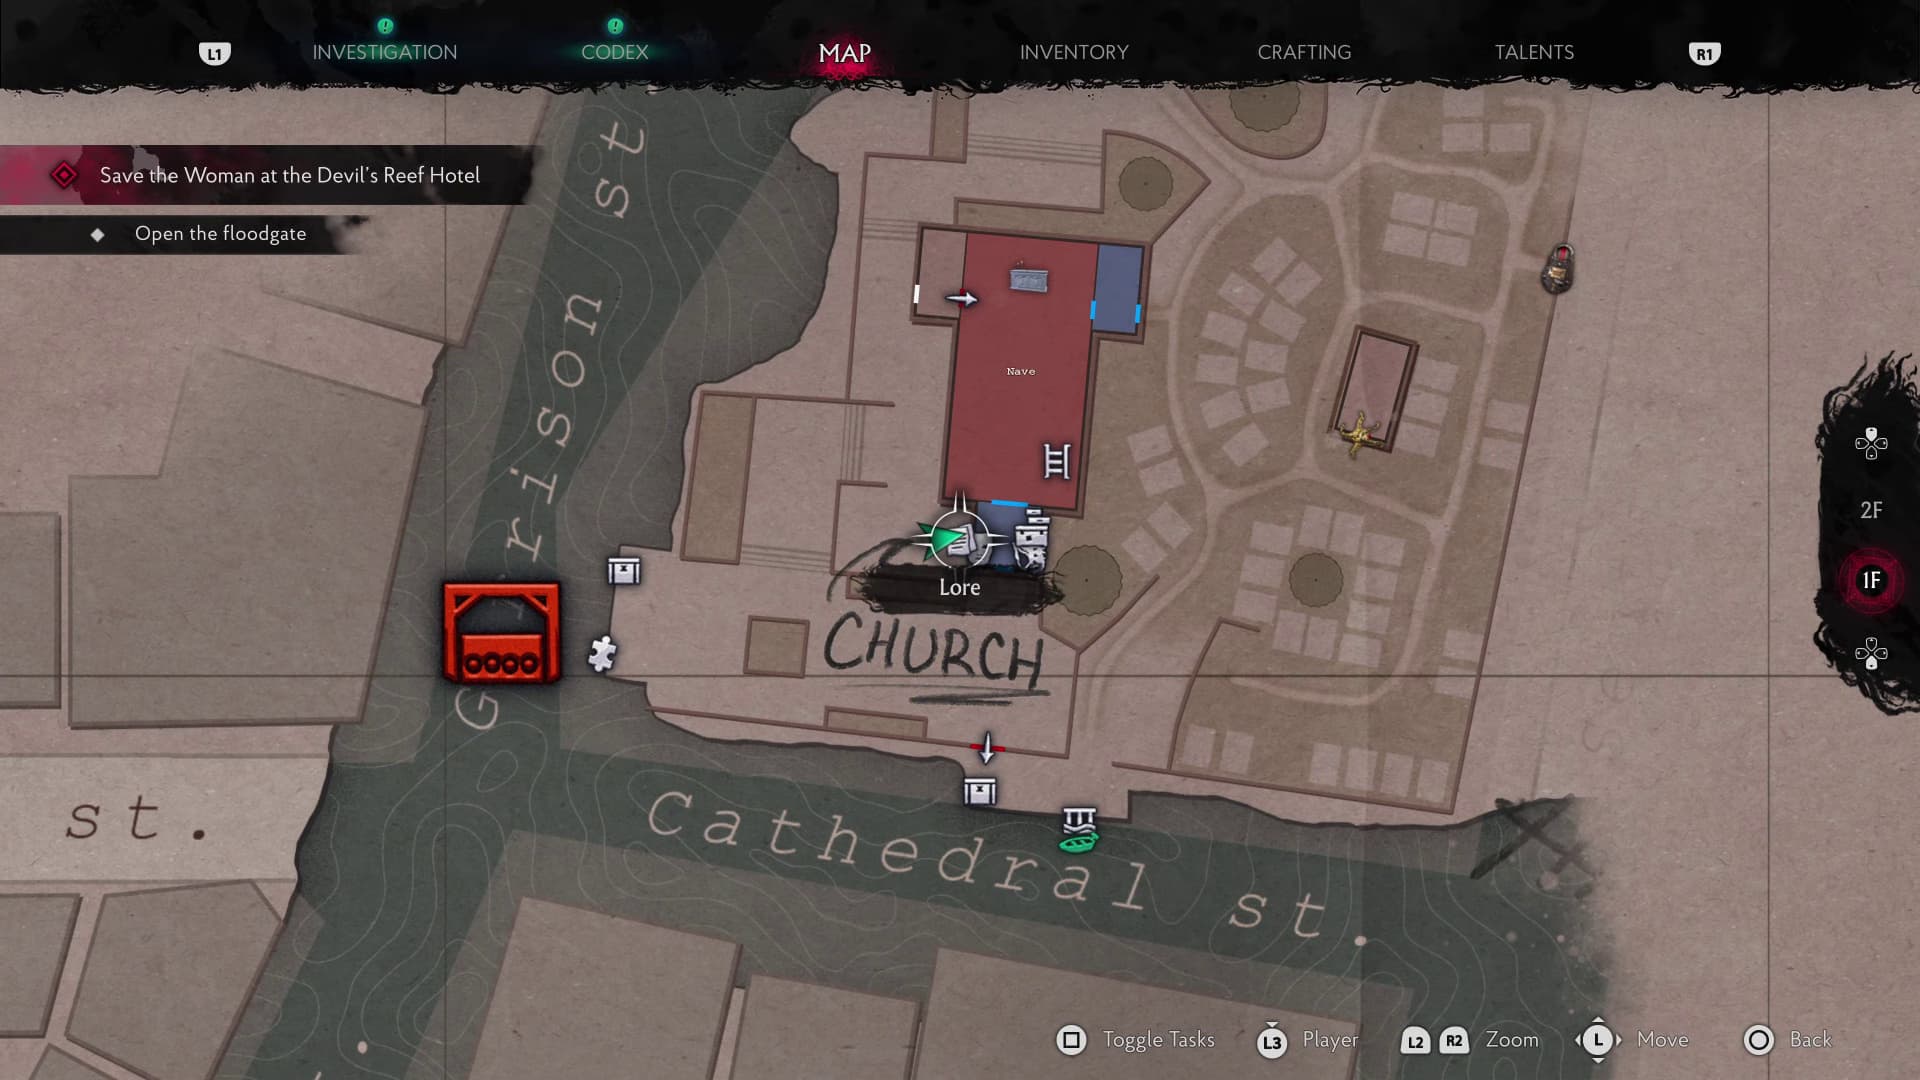
As soon as you exit the boat at the Church dock, on the ground to the right by the body is a Night Ore, collect this and as well there will be a Lore Document (A Balm for Flesh and Relic).
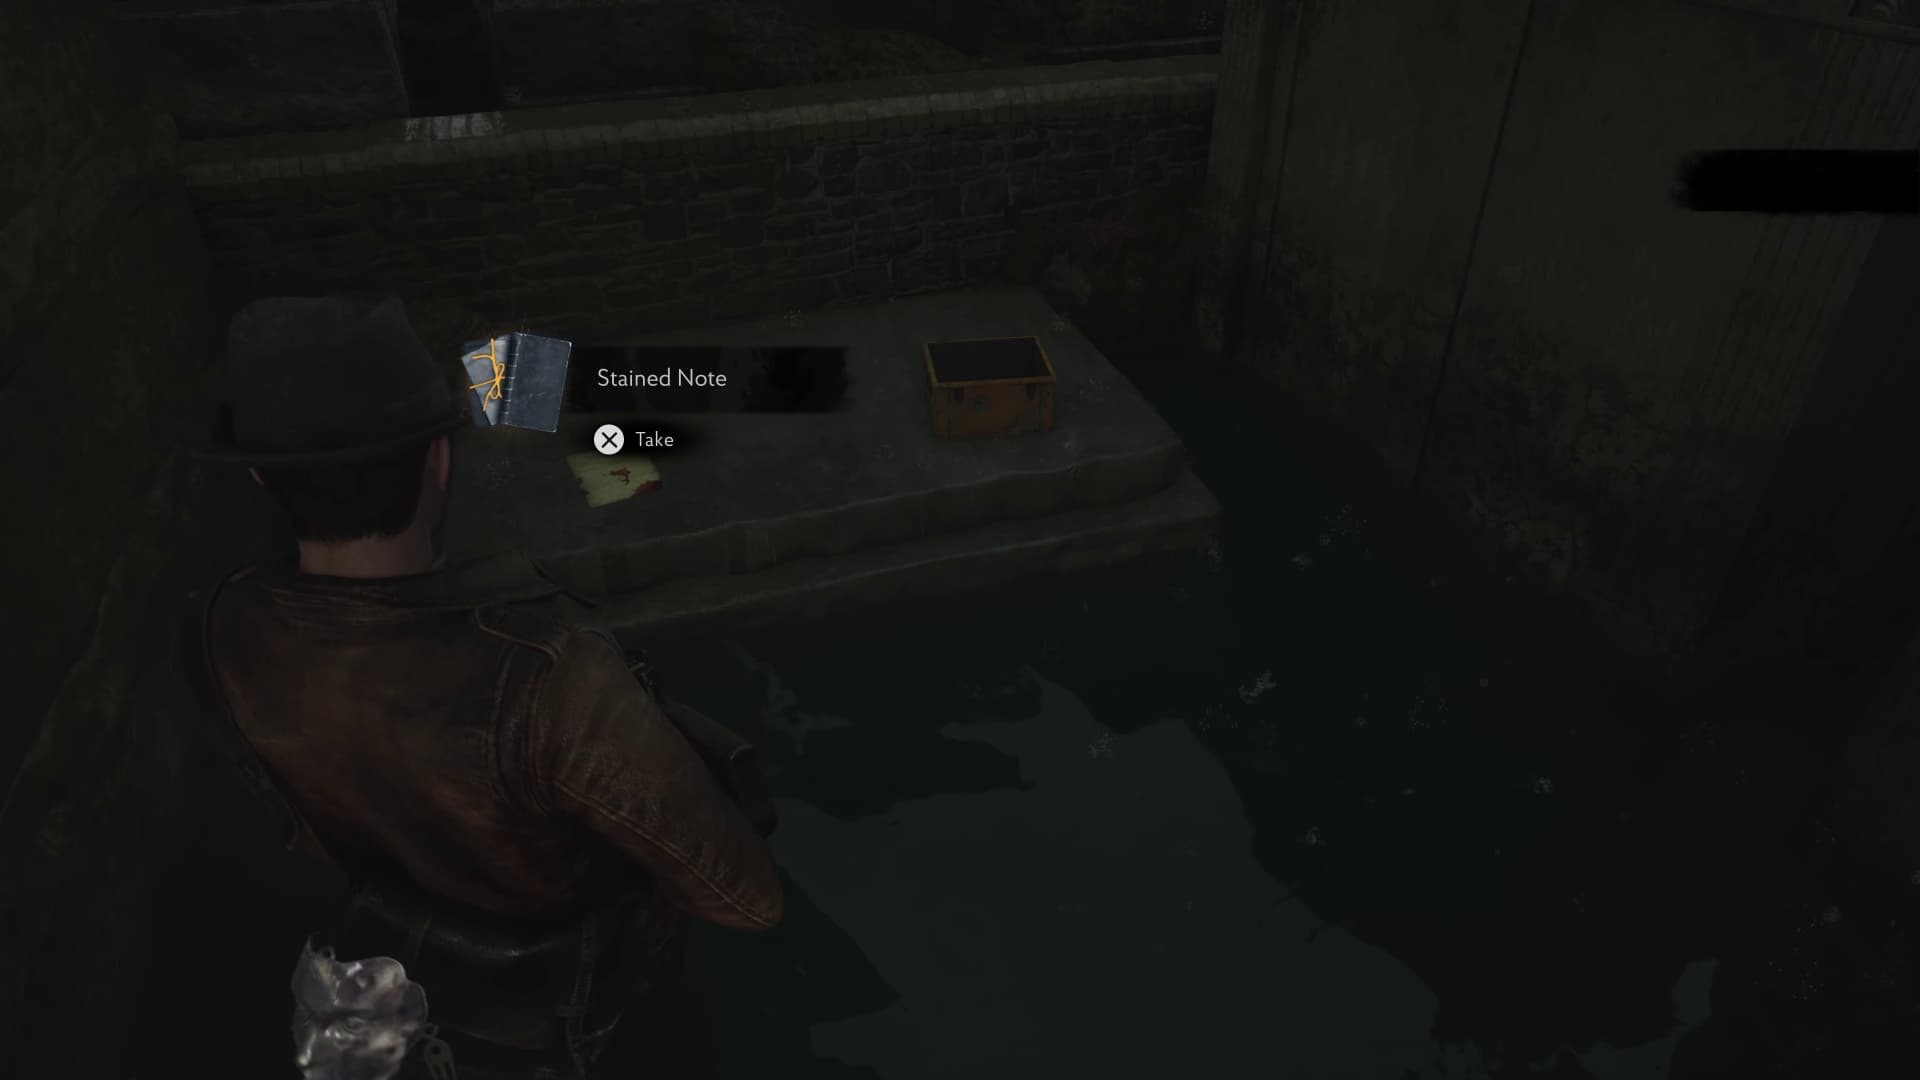
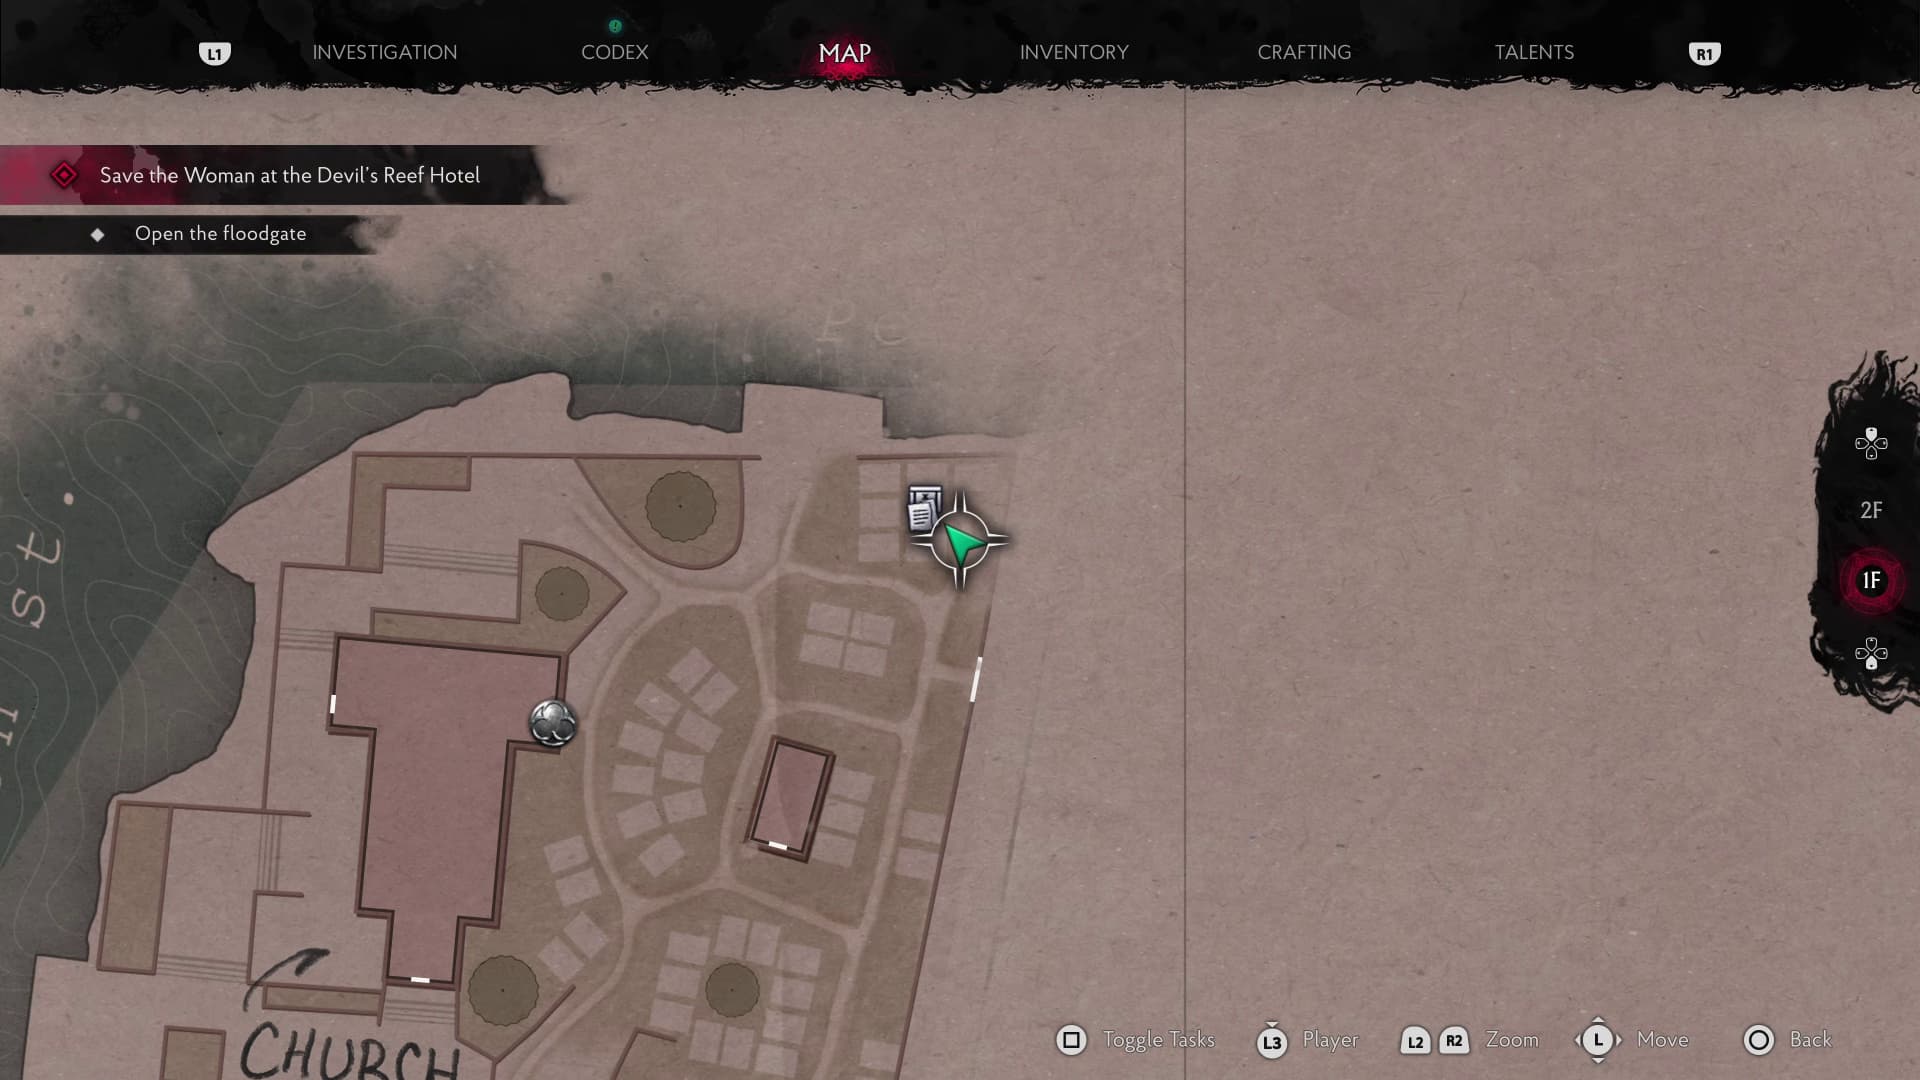
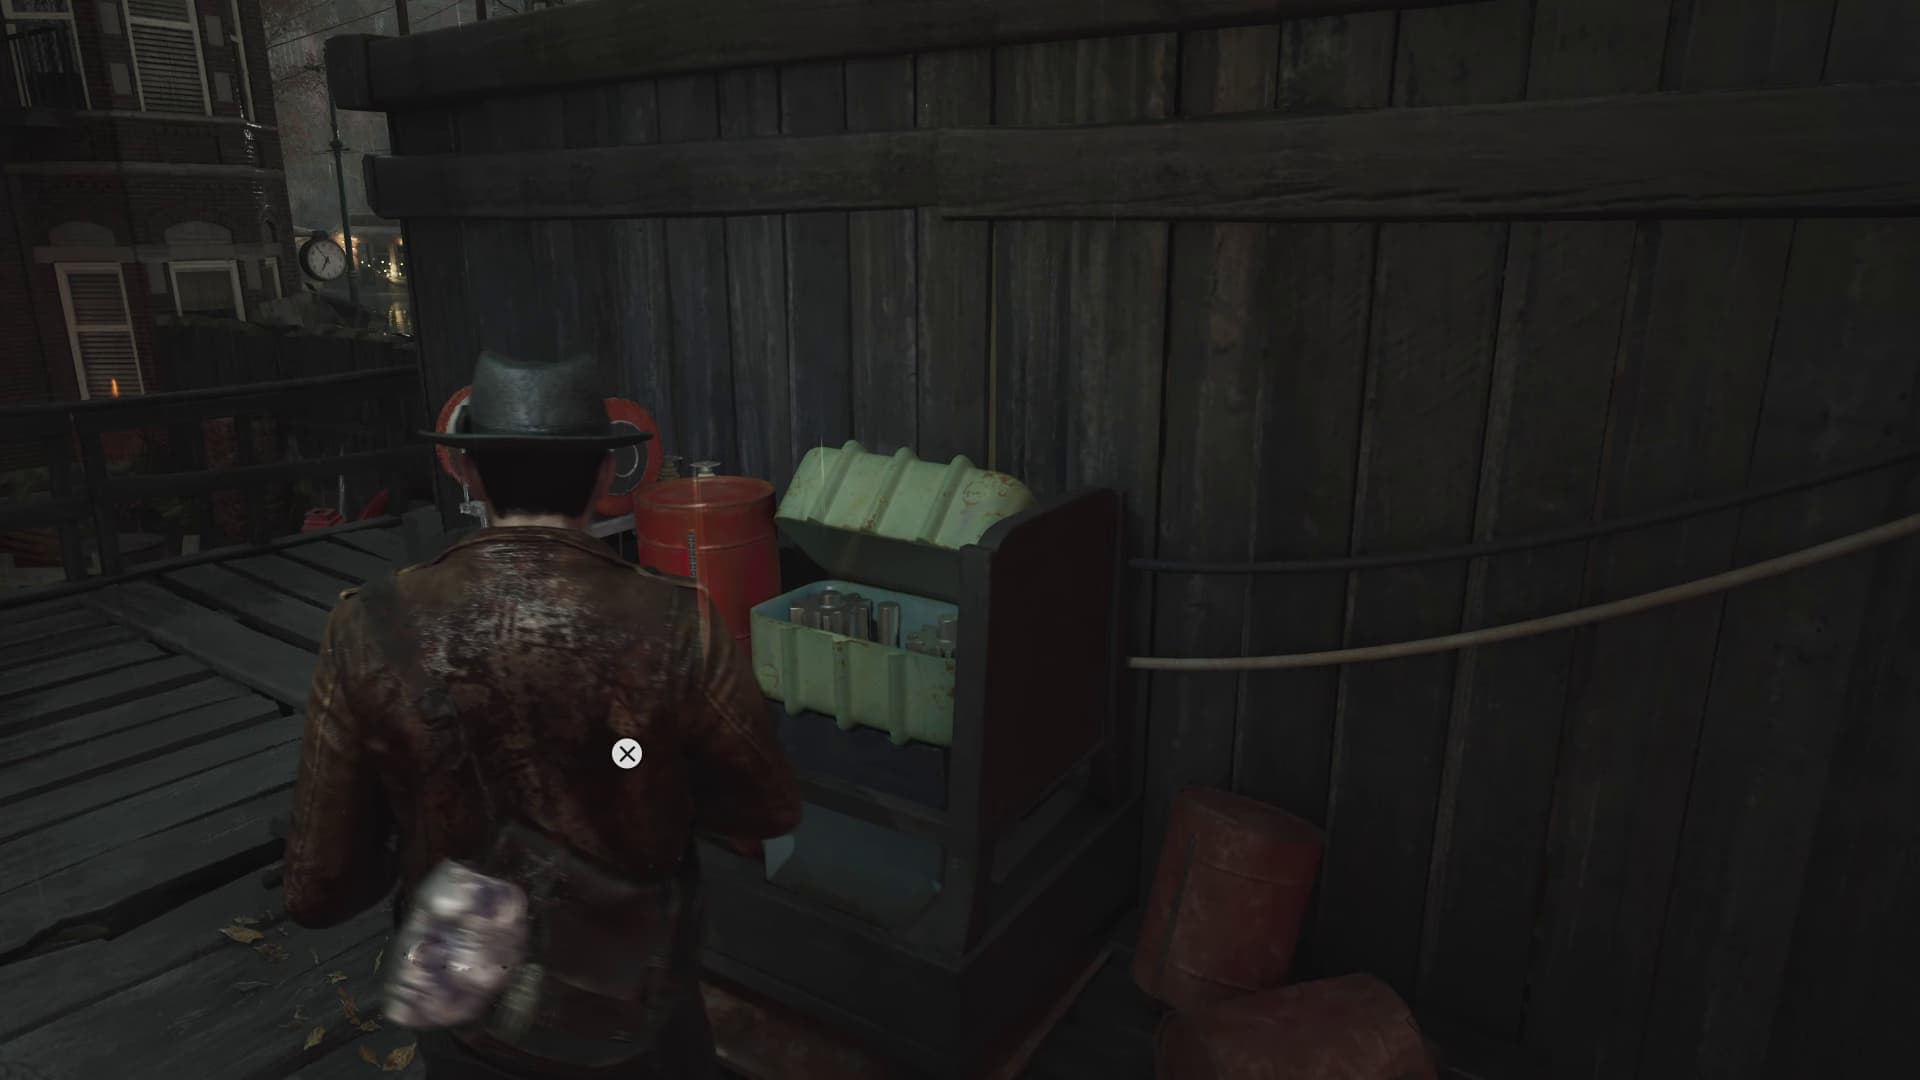
Keep advancing through the church yard, keeping to the left, as soon as you enter into the shallow water, take an immediate left to find, around the corner another Lore Document (Stained Note) next to an ammo box.
Turn around to keep advancing straight through the shallow water section, at the opposite end you will find a statue with a red plant wrapped all over it, at the base is the Church key (Key Item) to backtrack and unlock the white door to get into the Church.
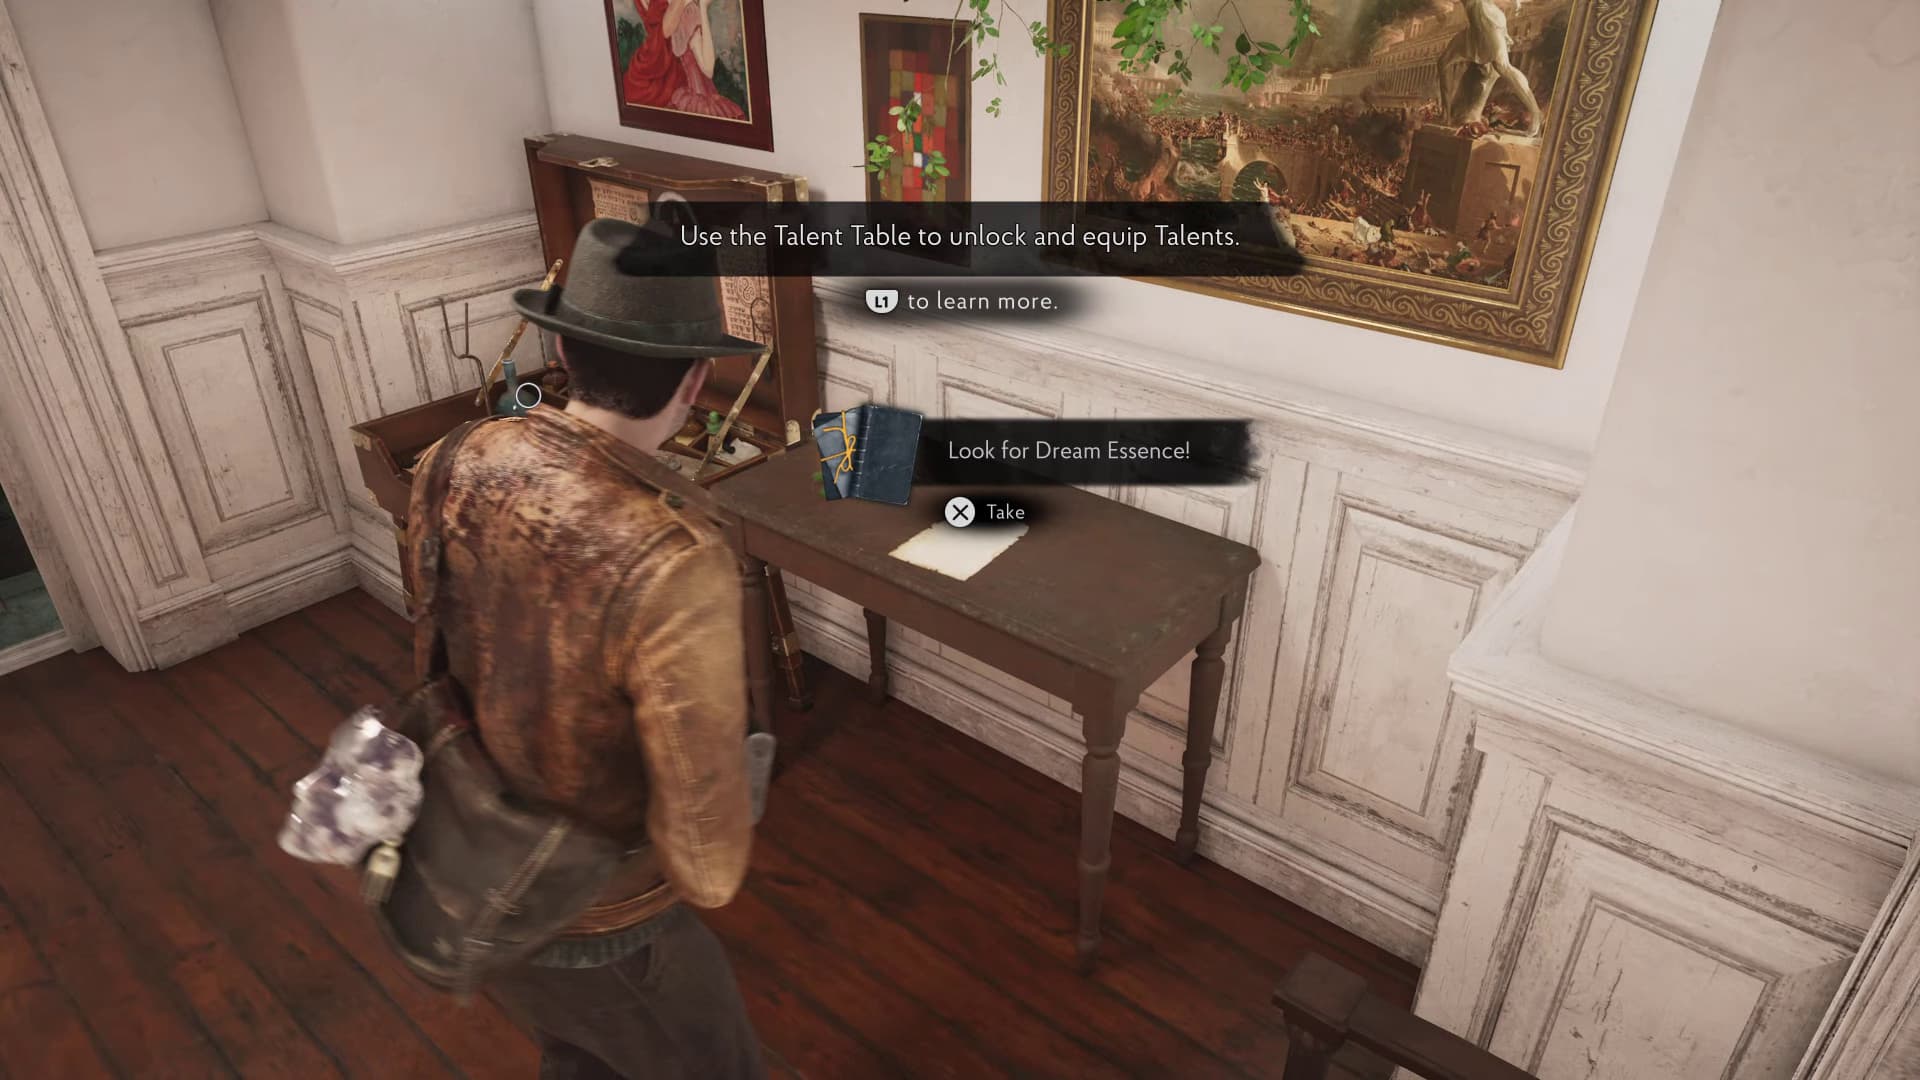
Make your way into the save room at the back of the Church, and inside on the table on the right will be a Dream Essence and another Lore Document (Look For Dream Essence!)
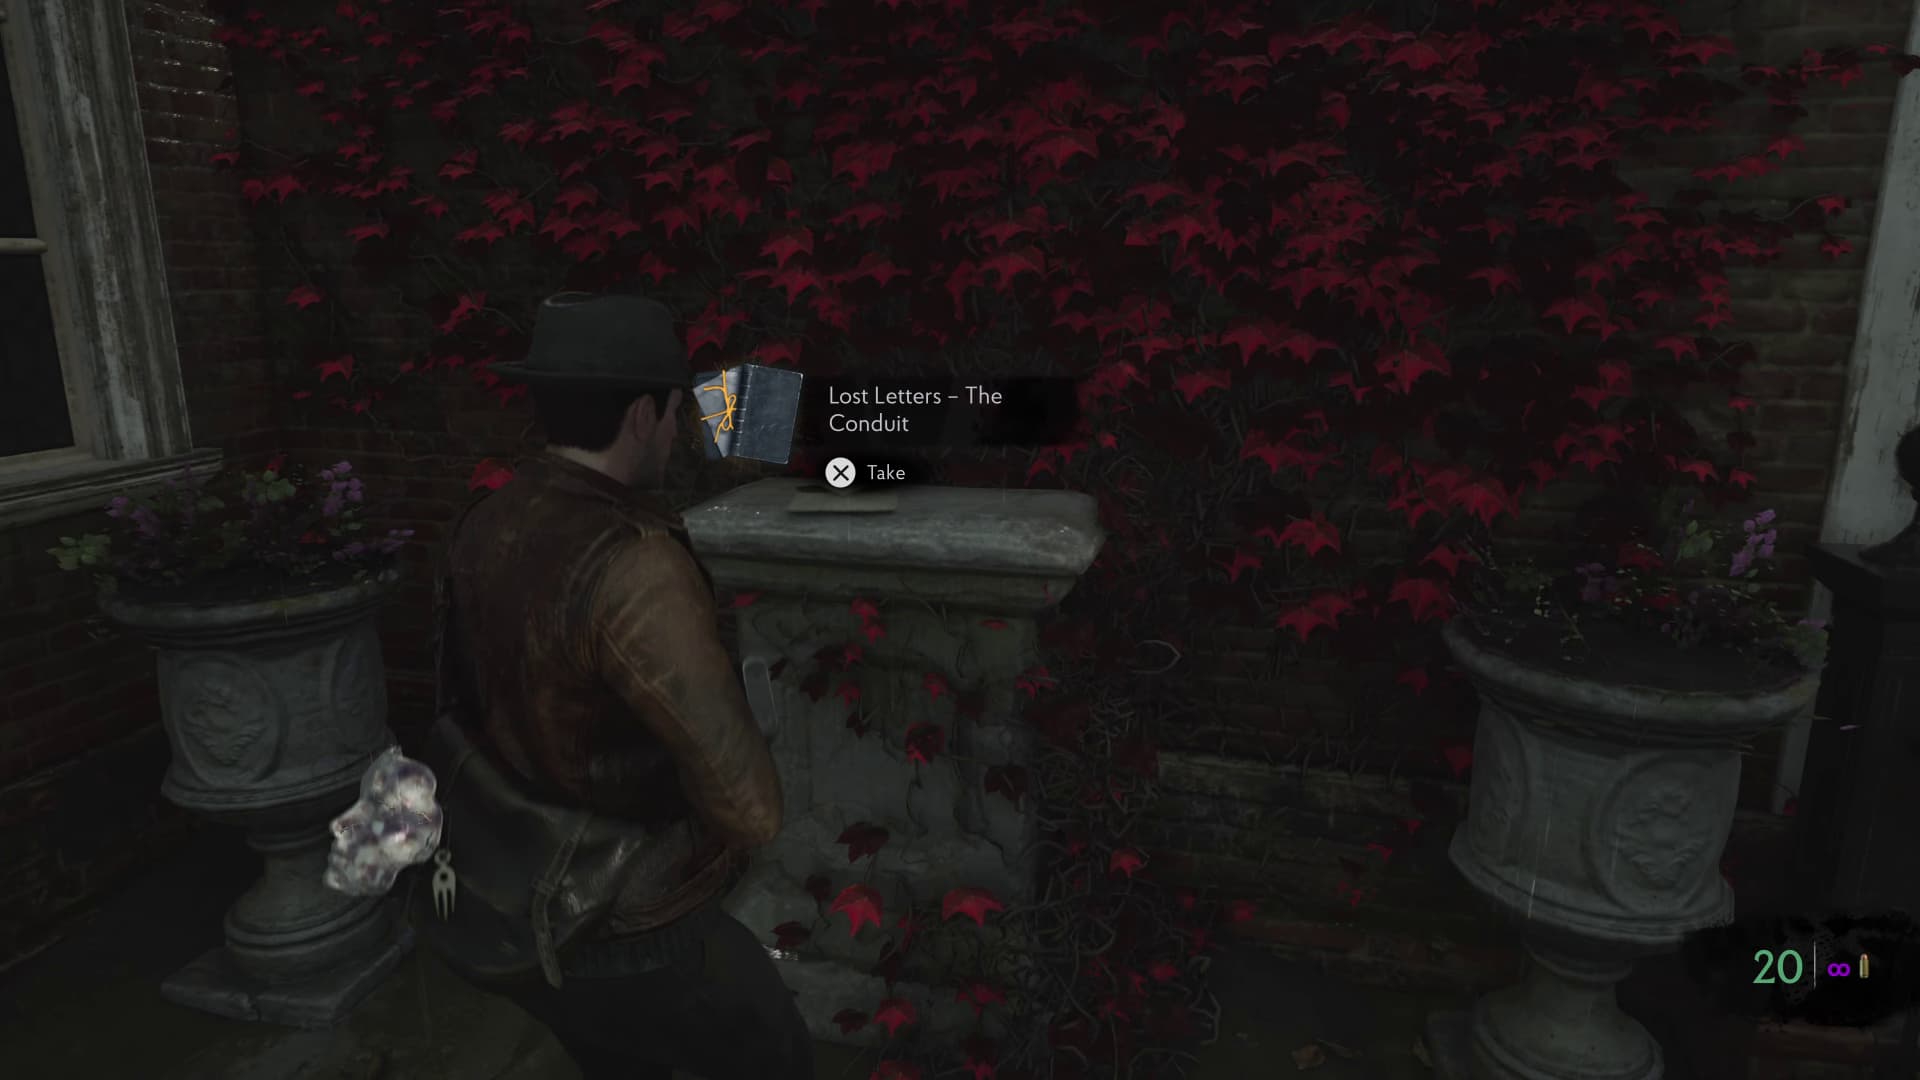
Head out of the back save room door and head all the way around to the right. Head up the stone stairs, once you make it to the top of all the steps, looking at the church, make it to the right to find a little pedestal where the next Lore Document will be (Lost Letters - The Conduit).
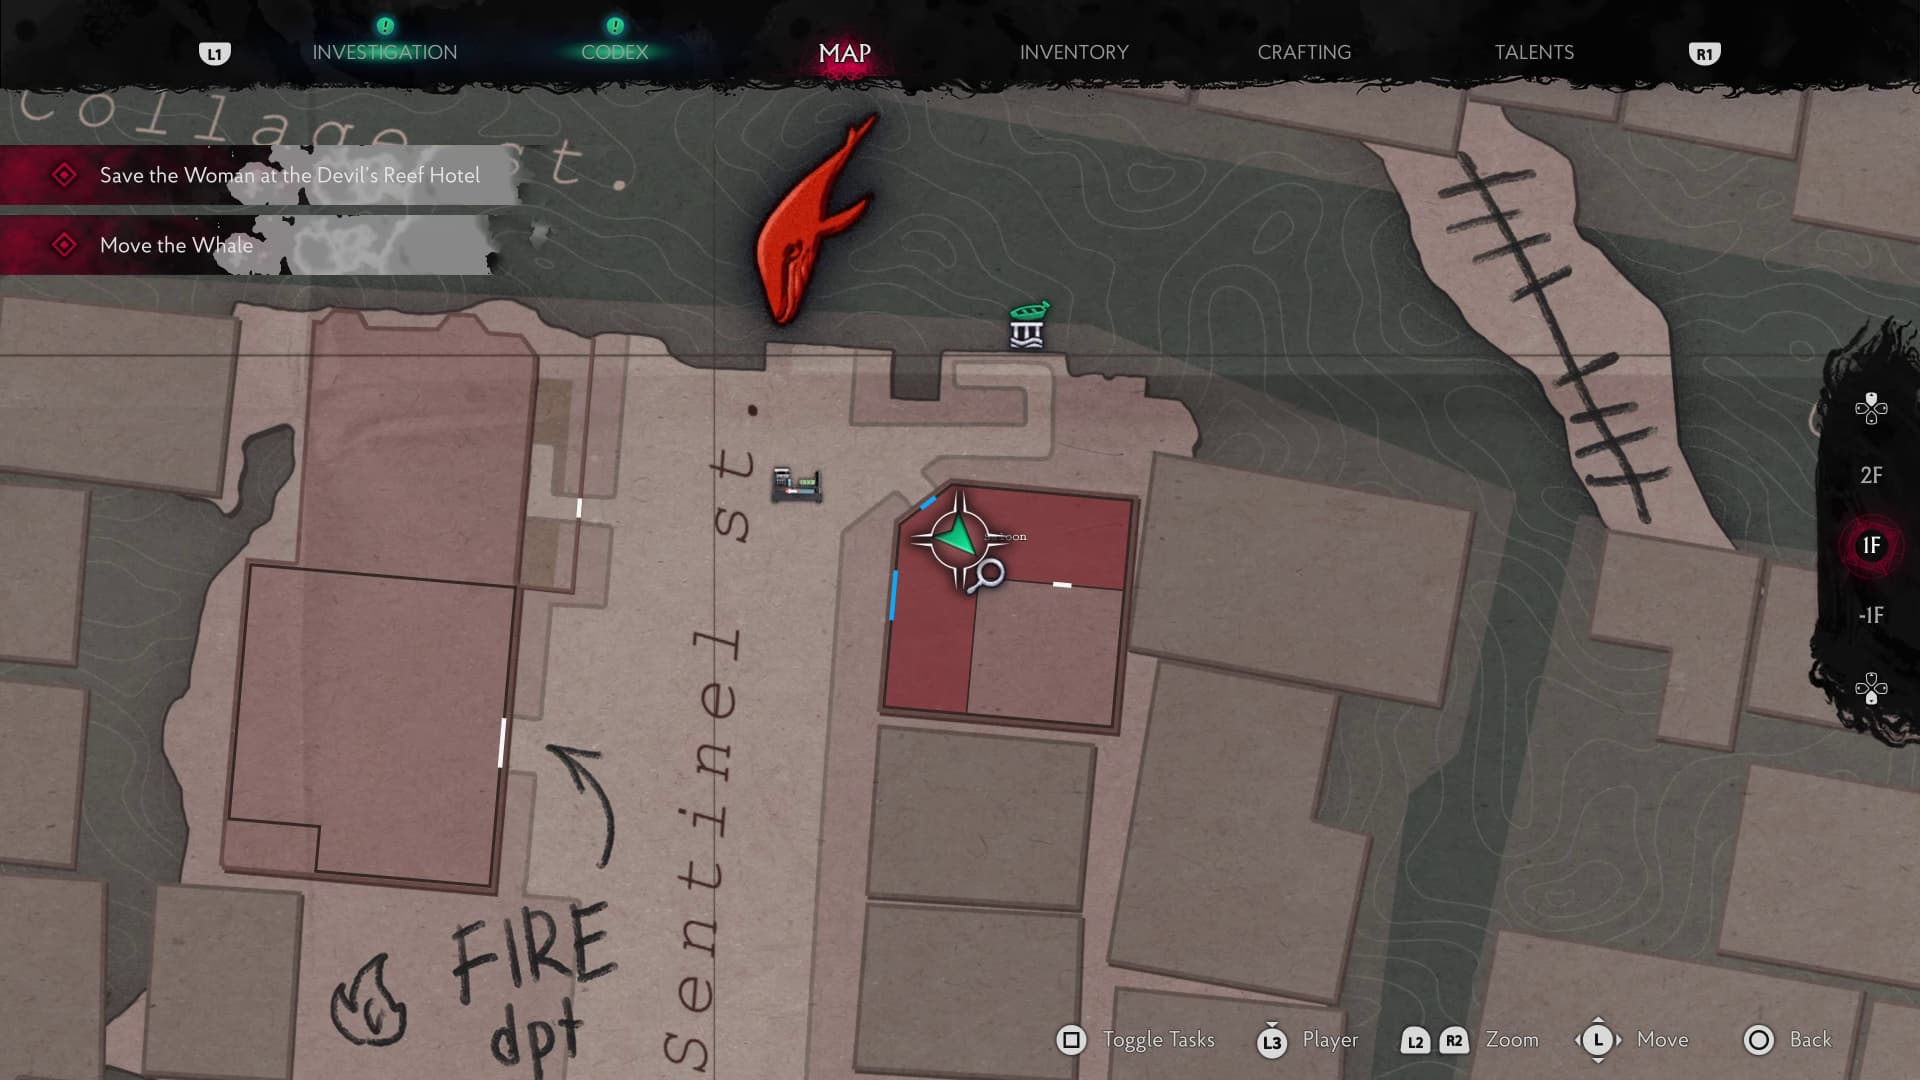
Keep advancing the story now until you get on the boat again and make it to the next dock, where the whale is in the water.
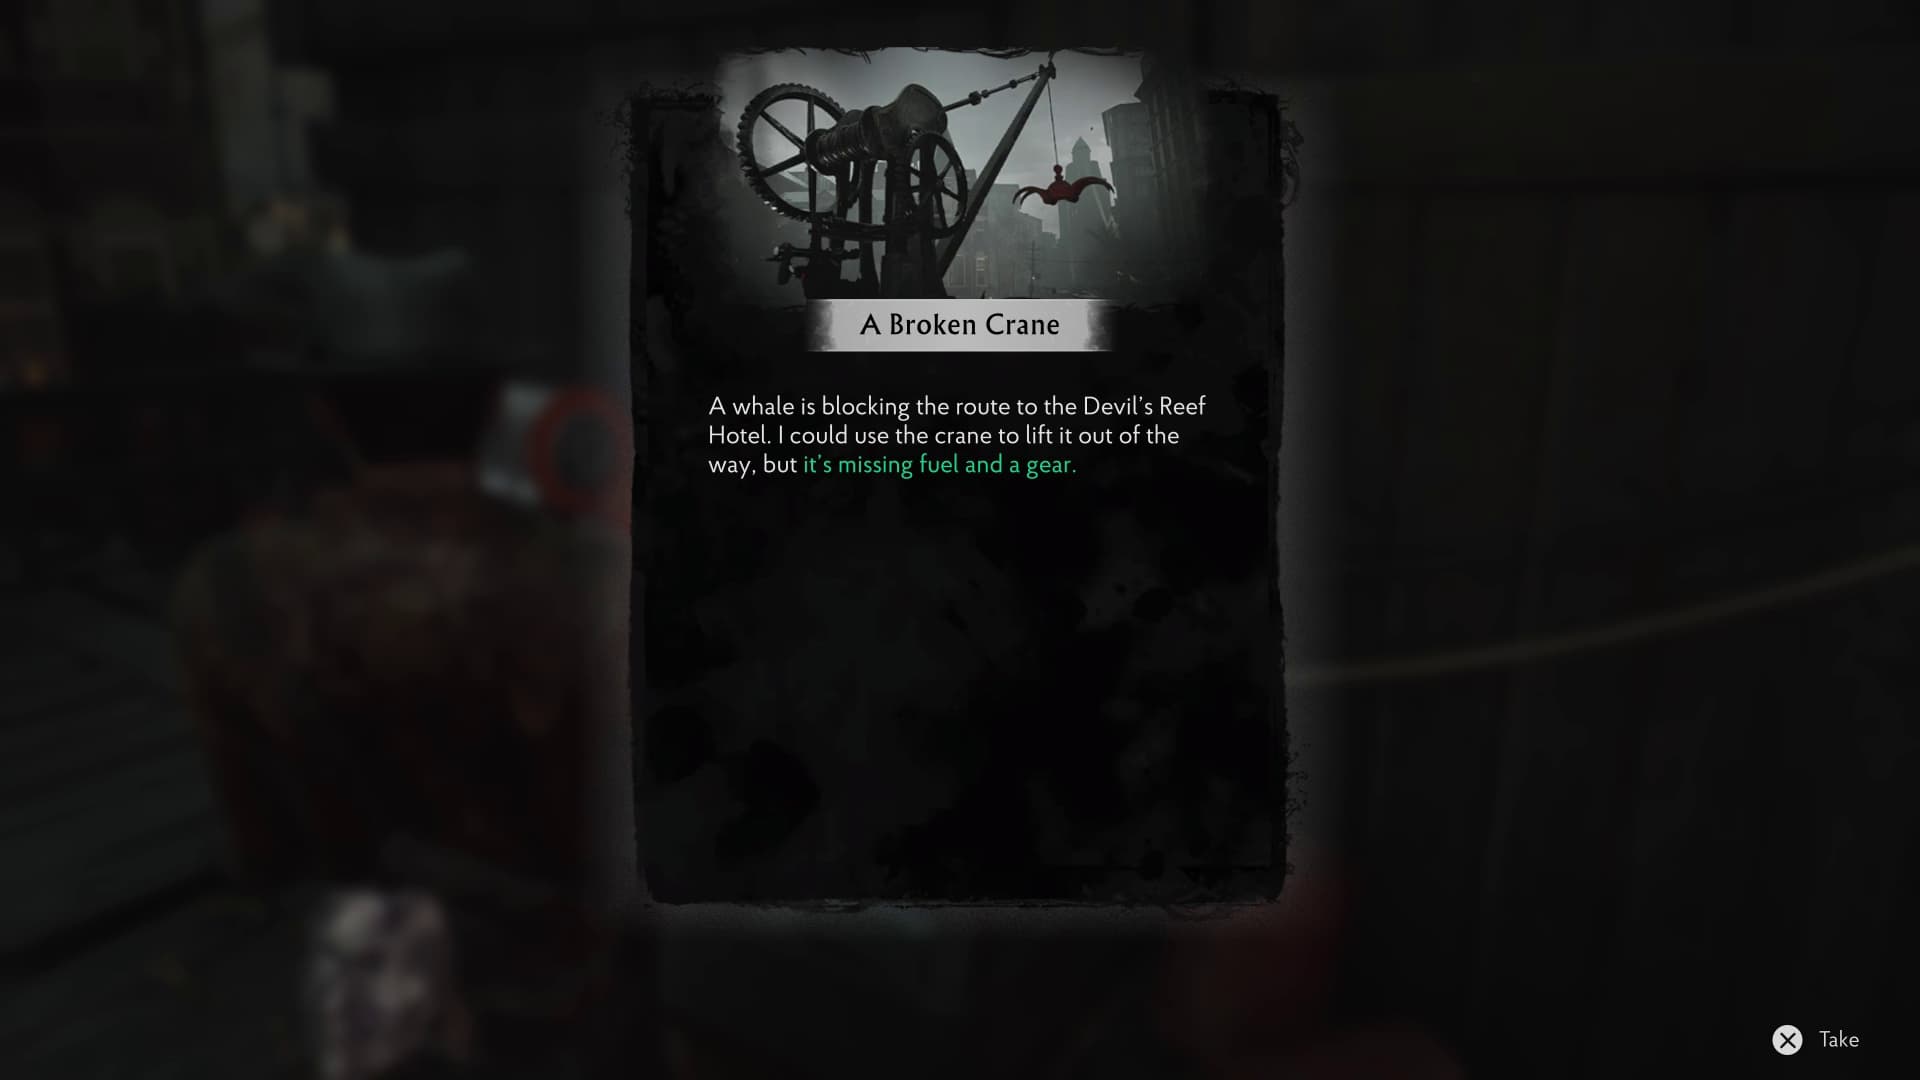
At this dock, make it over to the generator on the right and interact with it and you will automatically collect another Lore Document (A Broken Crane).
Follow the spider enemy into the saloon, and on the bar directly ahead will be the Graveyard Key, be sure to pick this up.
Keep progressing until you make it back to the Church area where you can unlock the Graveyard gate with the key from the Saloon.
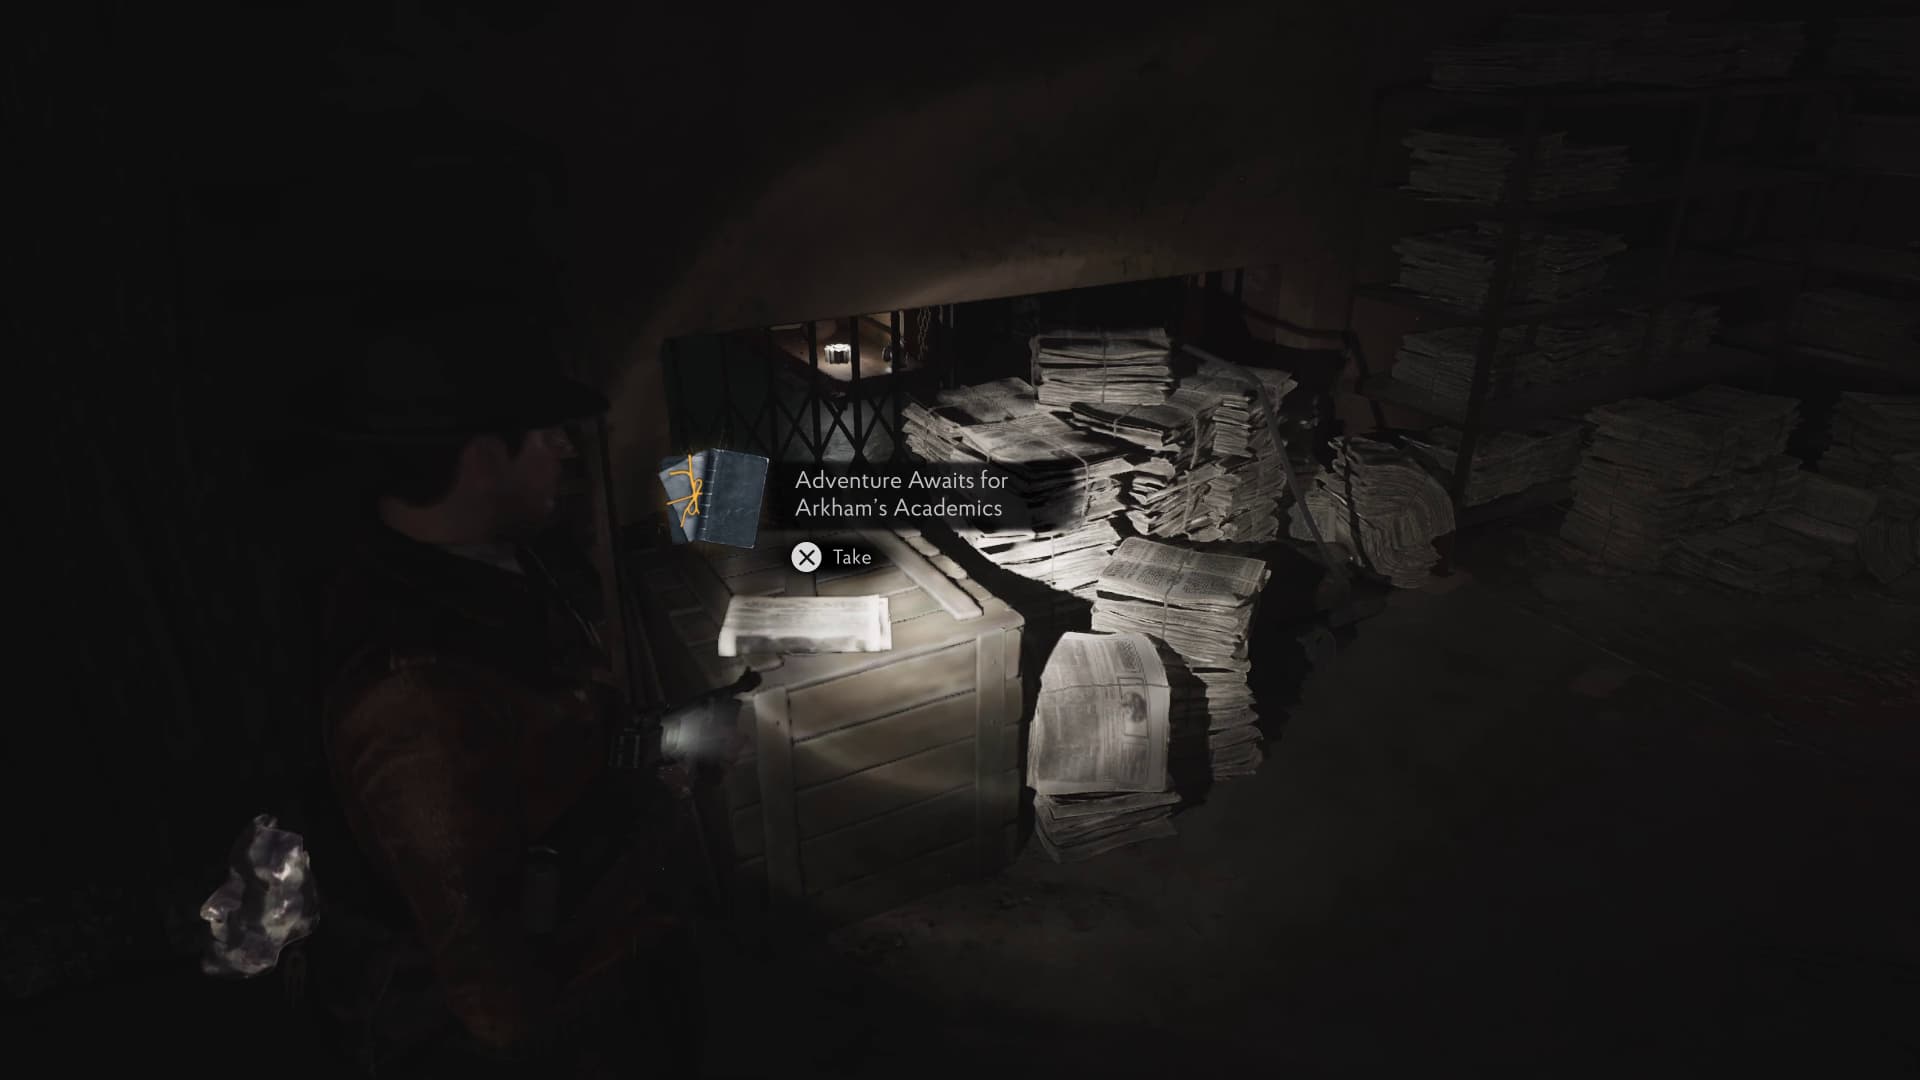
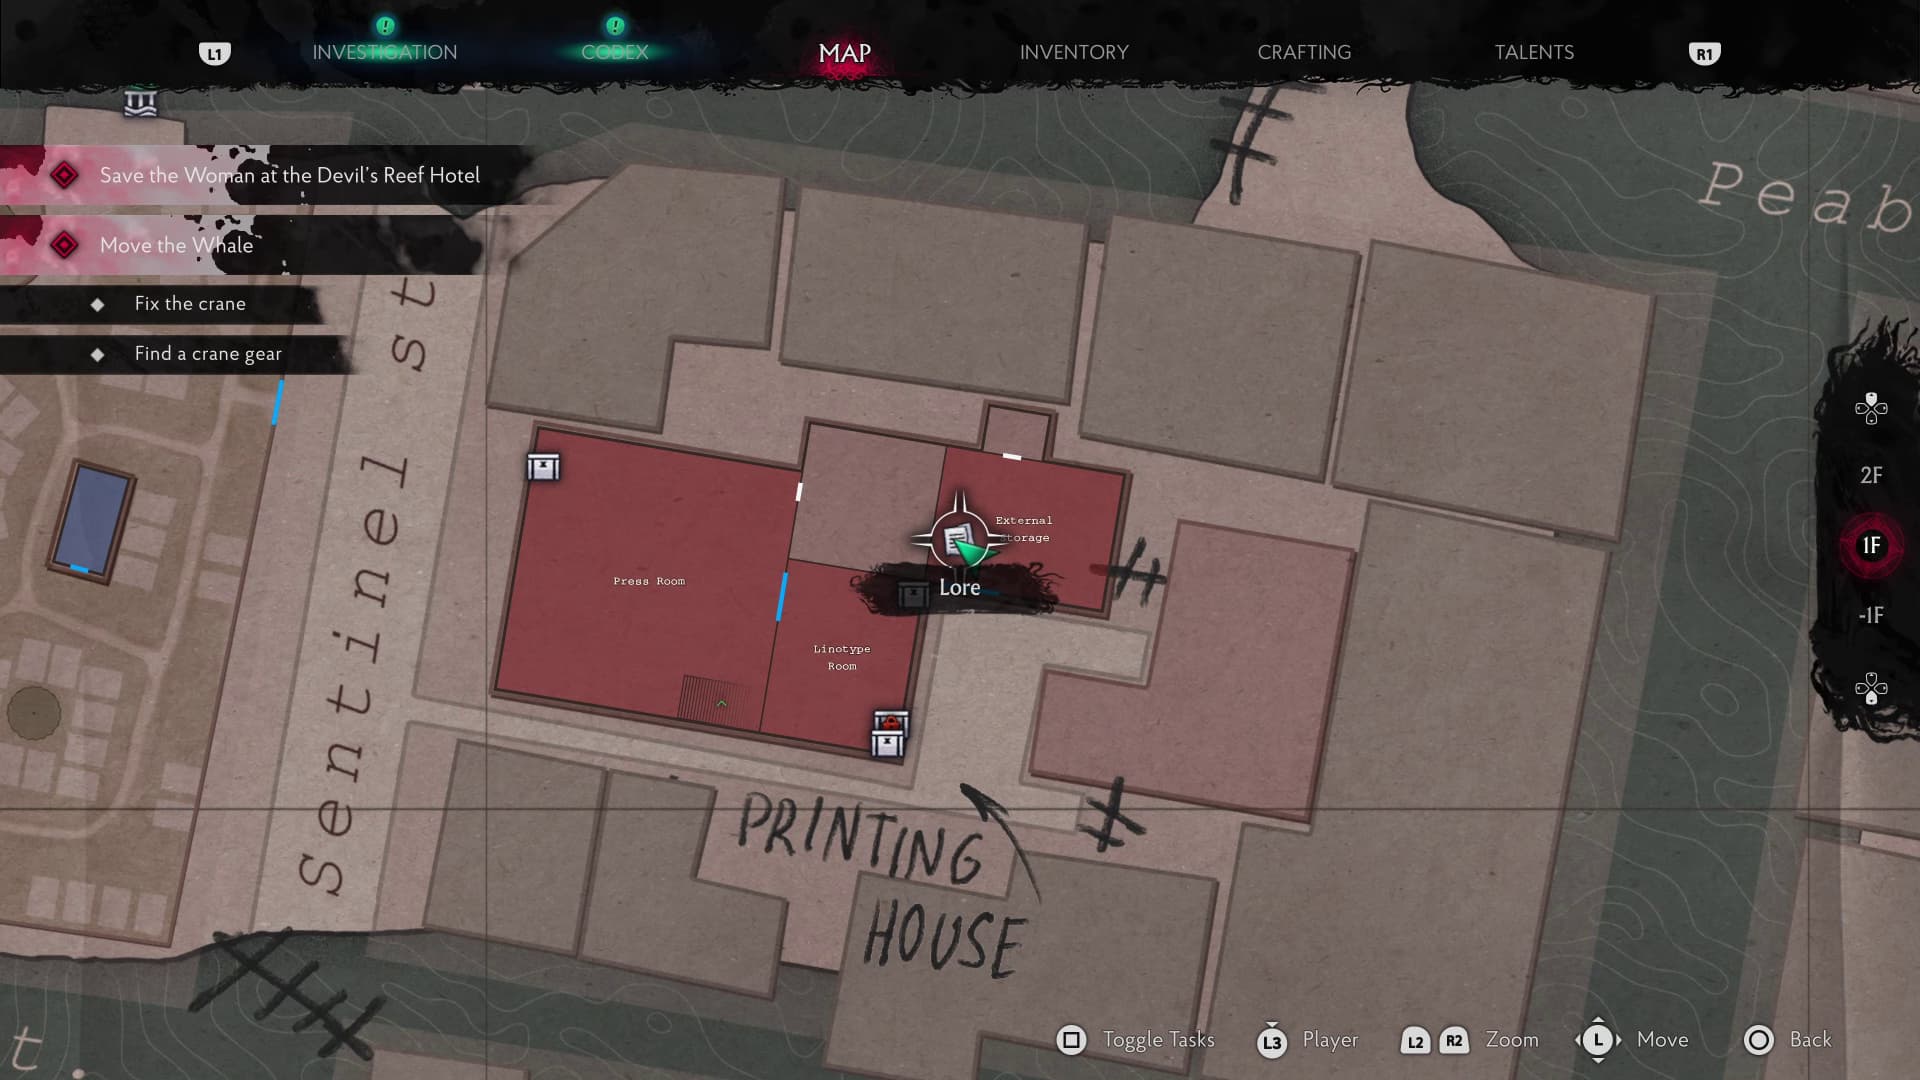
Progress all the way through and out of the Press Room, through the brick wall and outside where there will be more enemies. As soon as you exit the water on the stone steps, take a right into External Storage and ahead will be the next Lore Document (Adventure Awaits for Arkham's Academics).
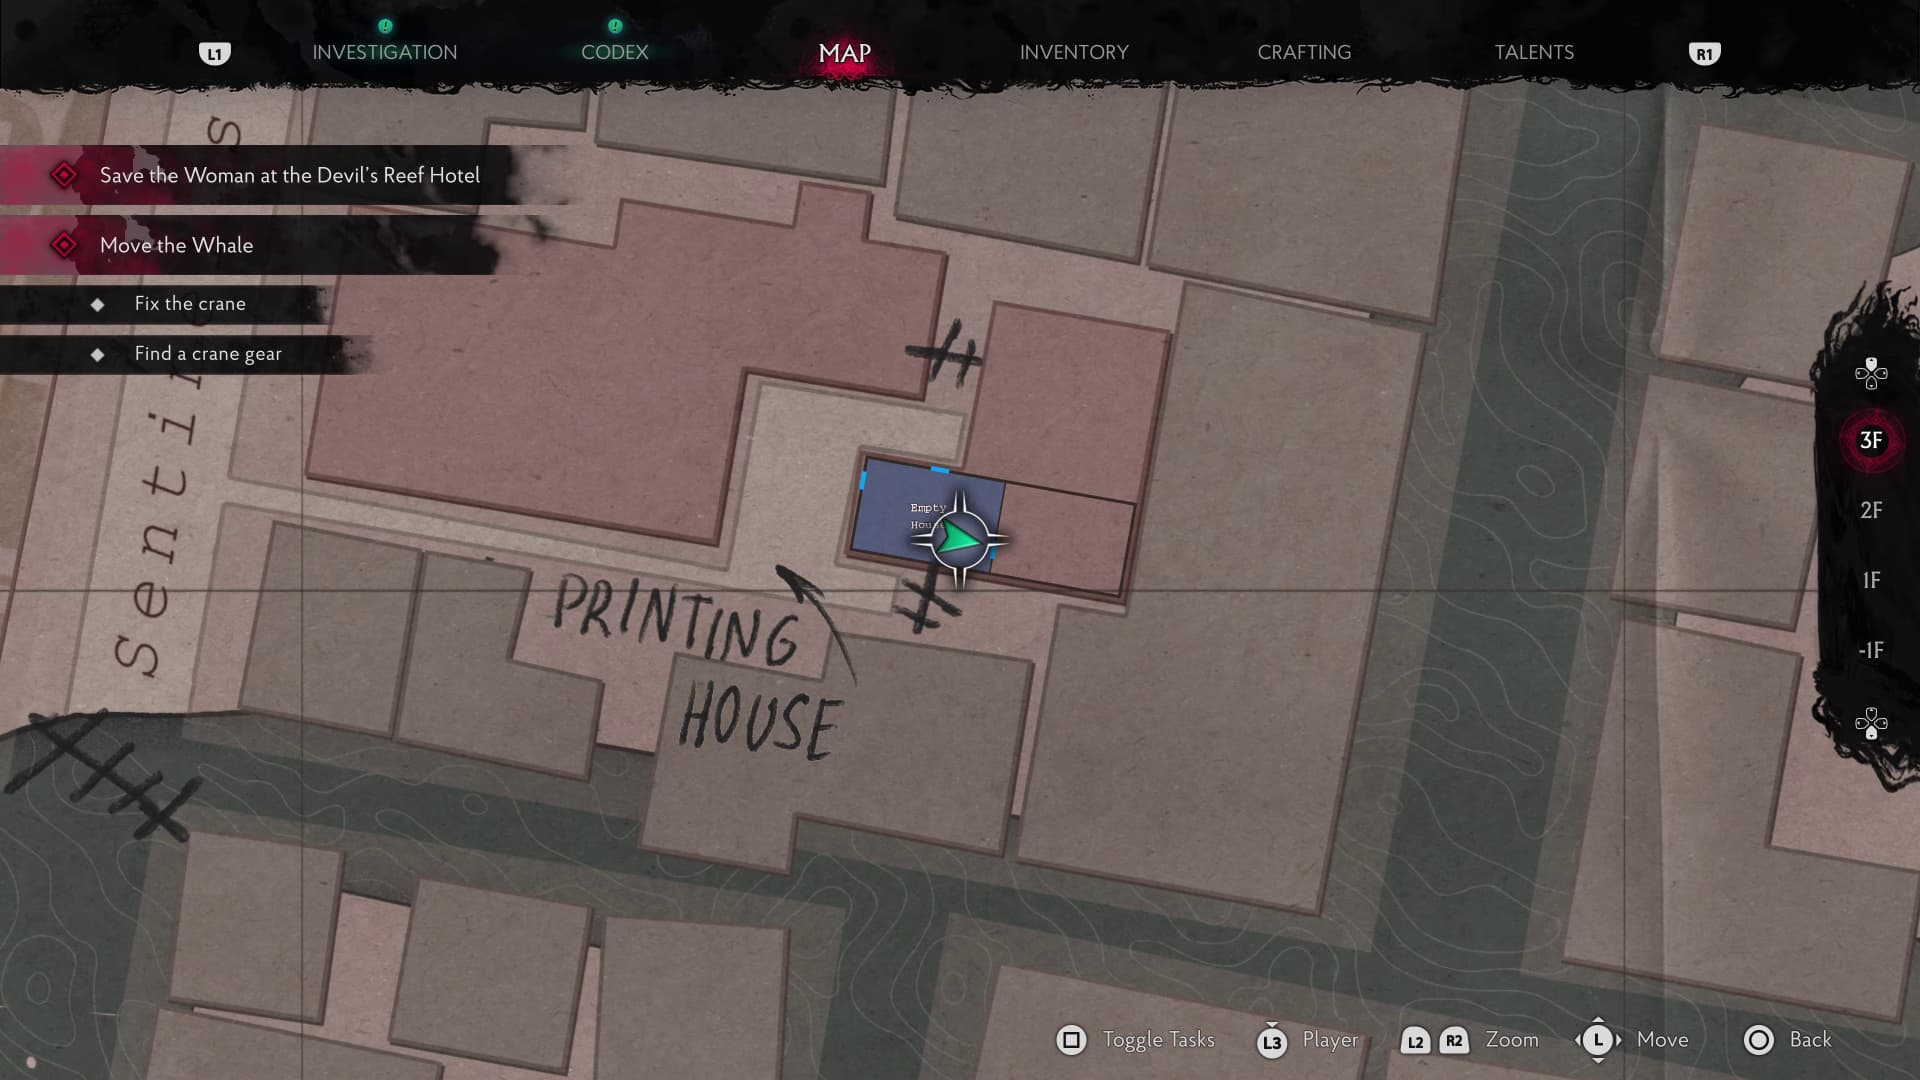
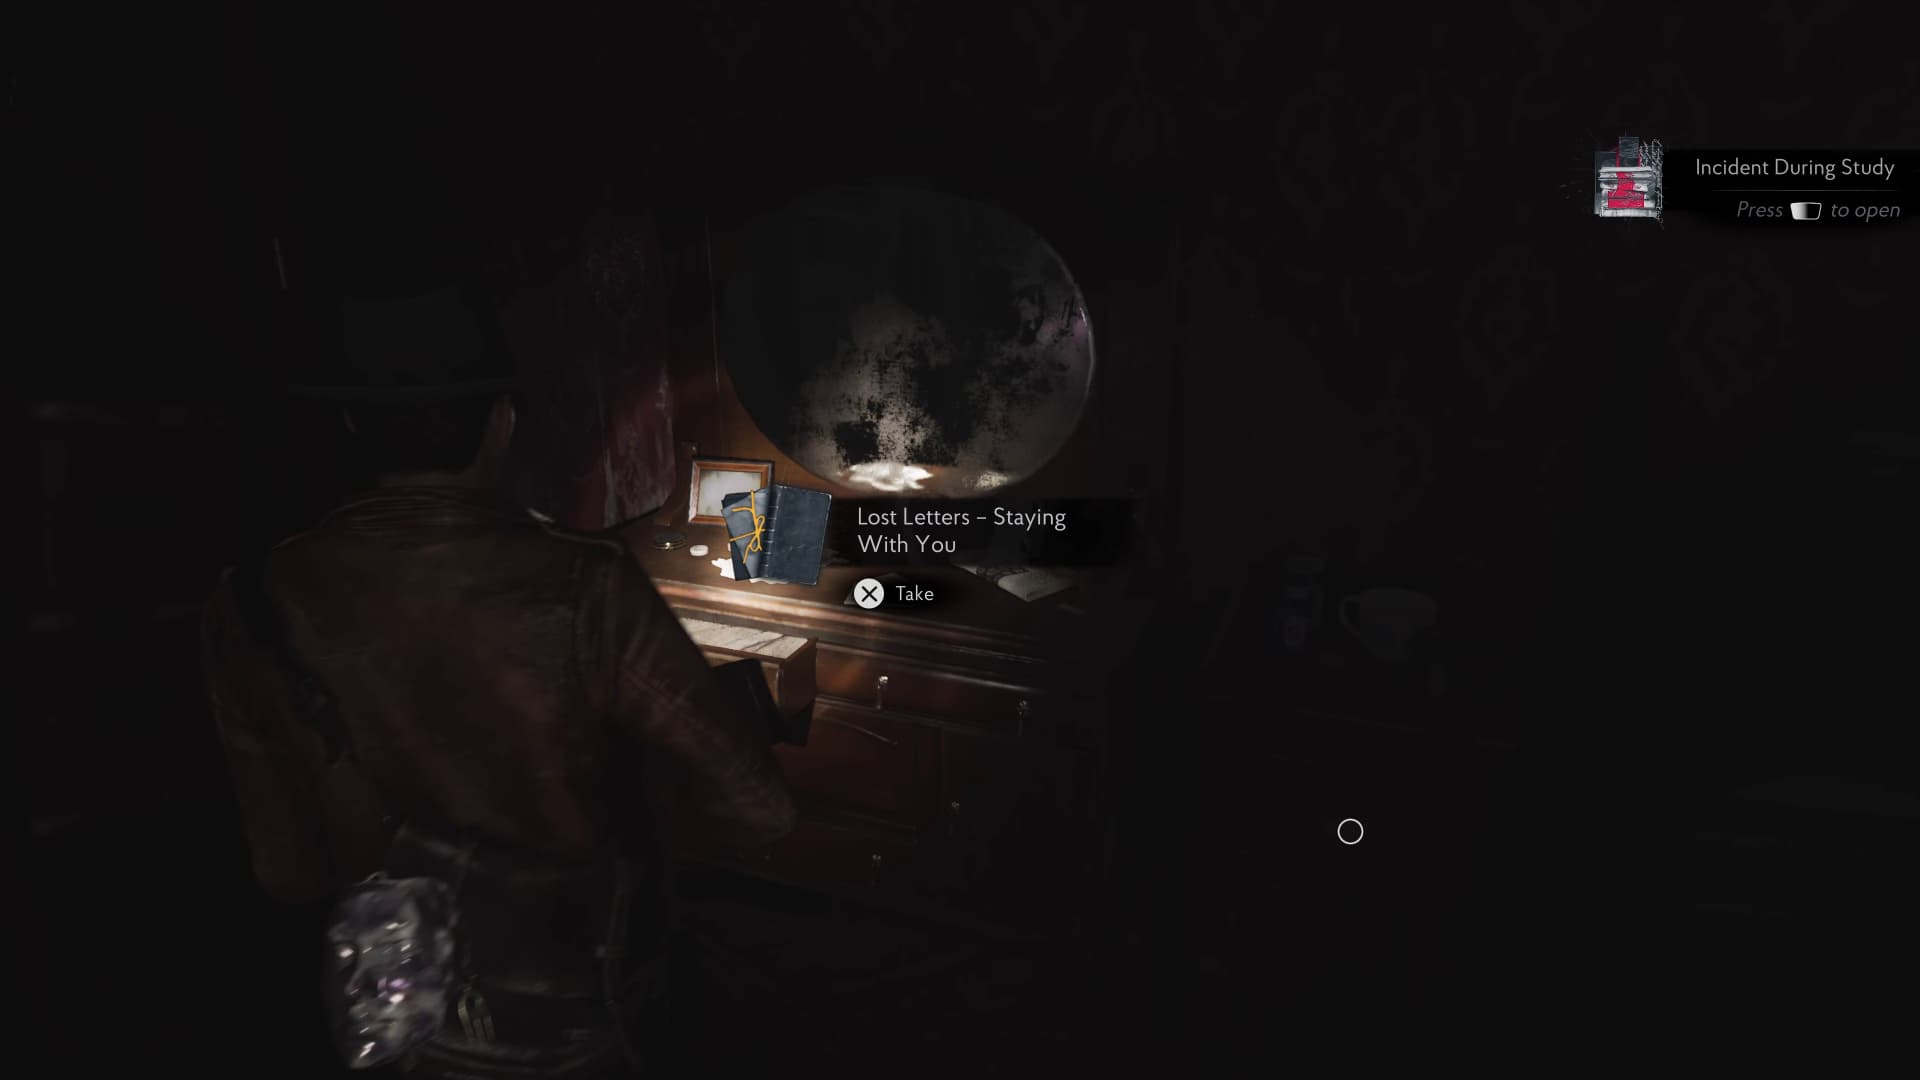
Keep advancing up the metal stairs and into the first house though the open window. In the back room of the Empty House will be an enemy to take out, on the left by the dresser with the mirror is the next Lore Document (Lost Letters - Staying With You).
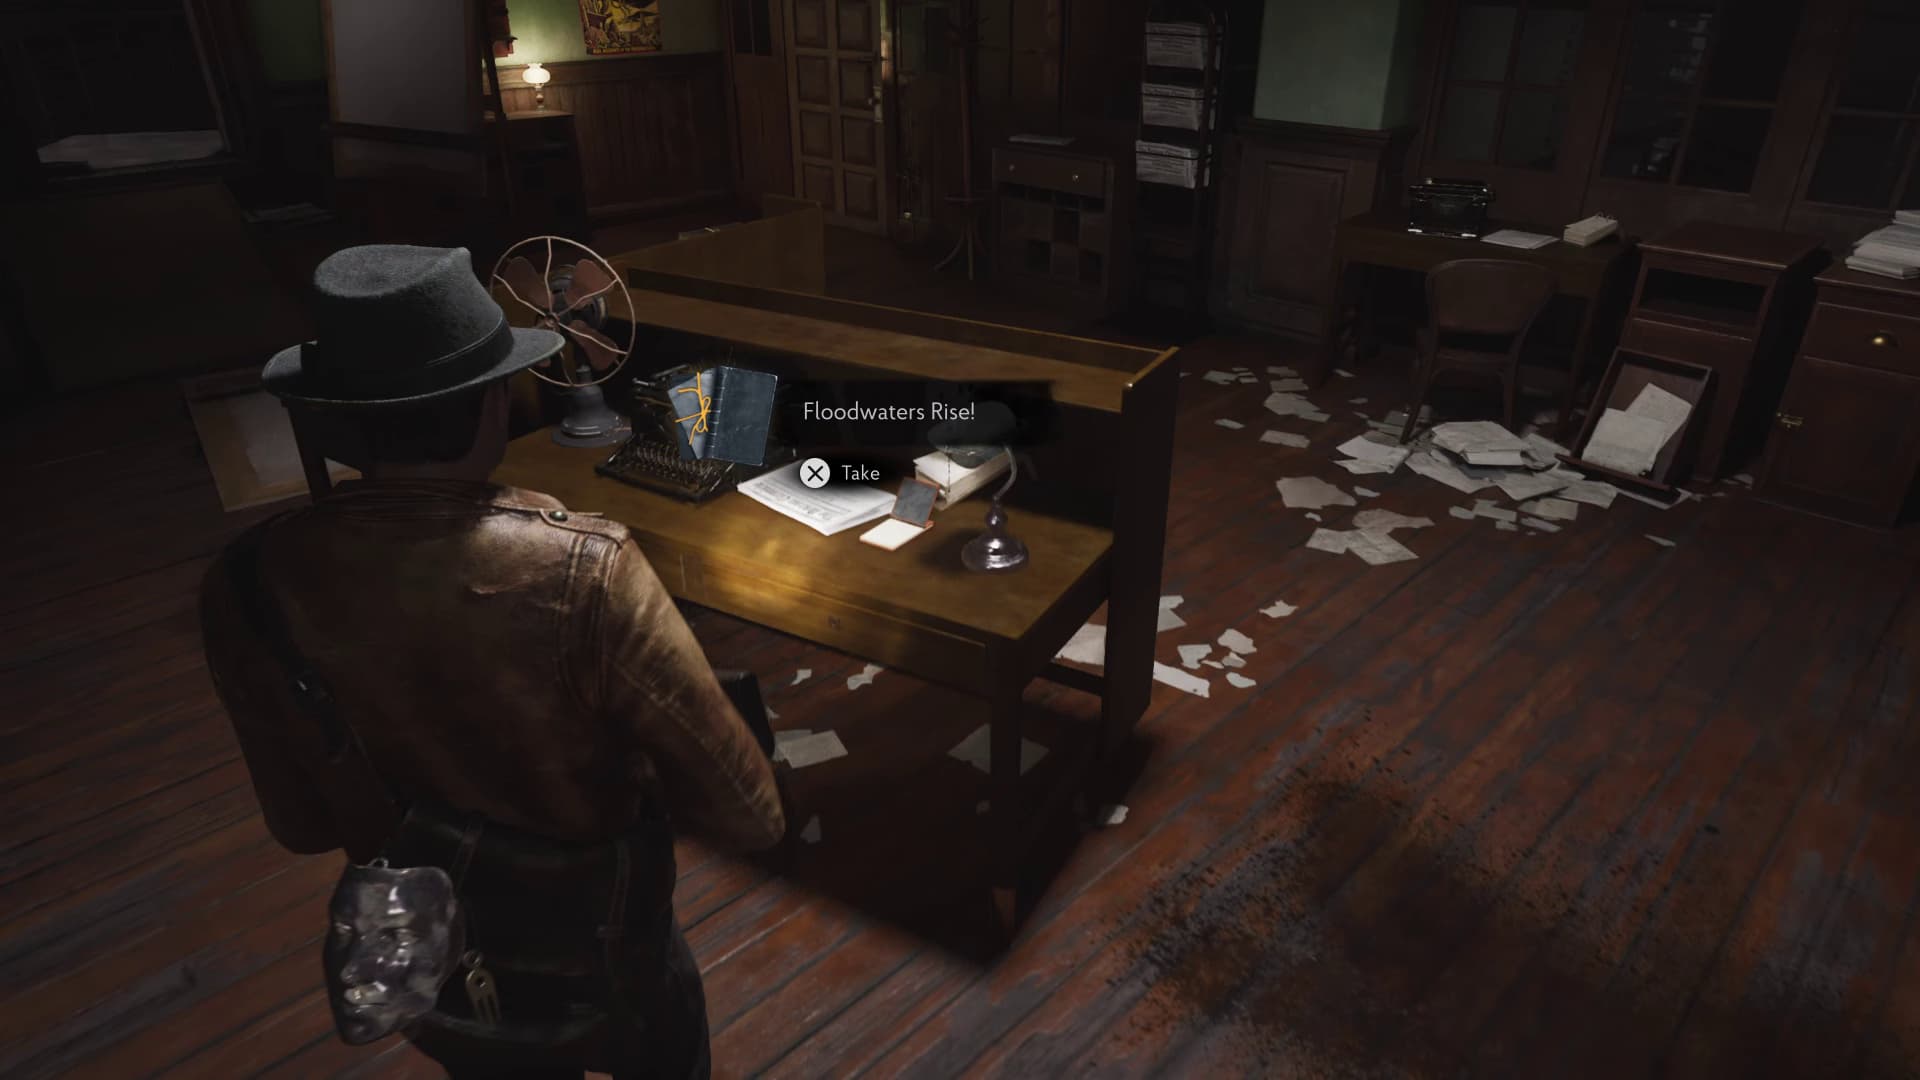
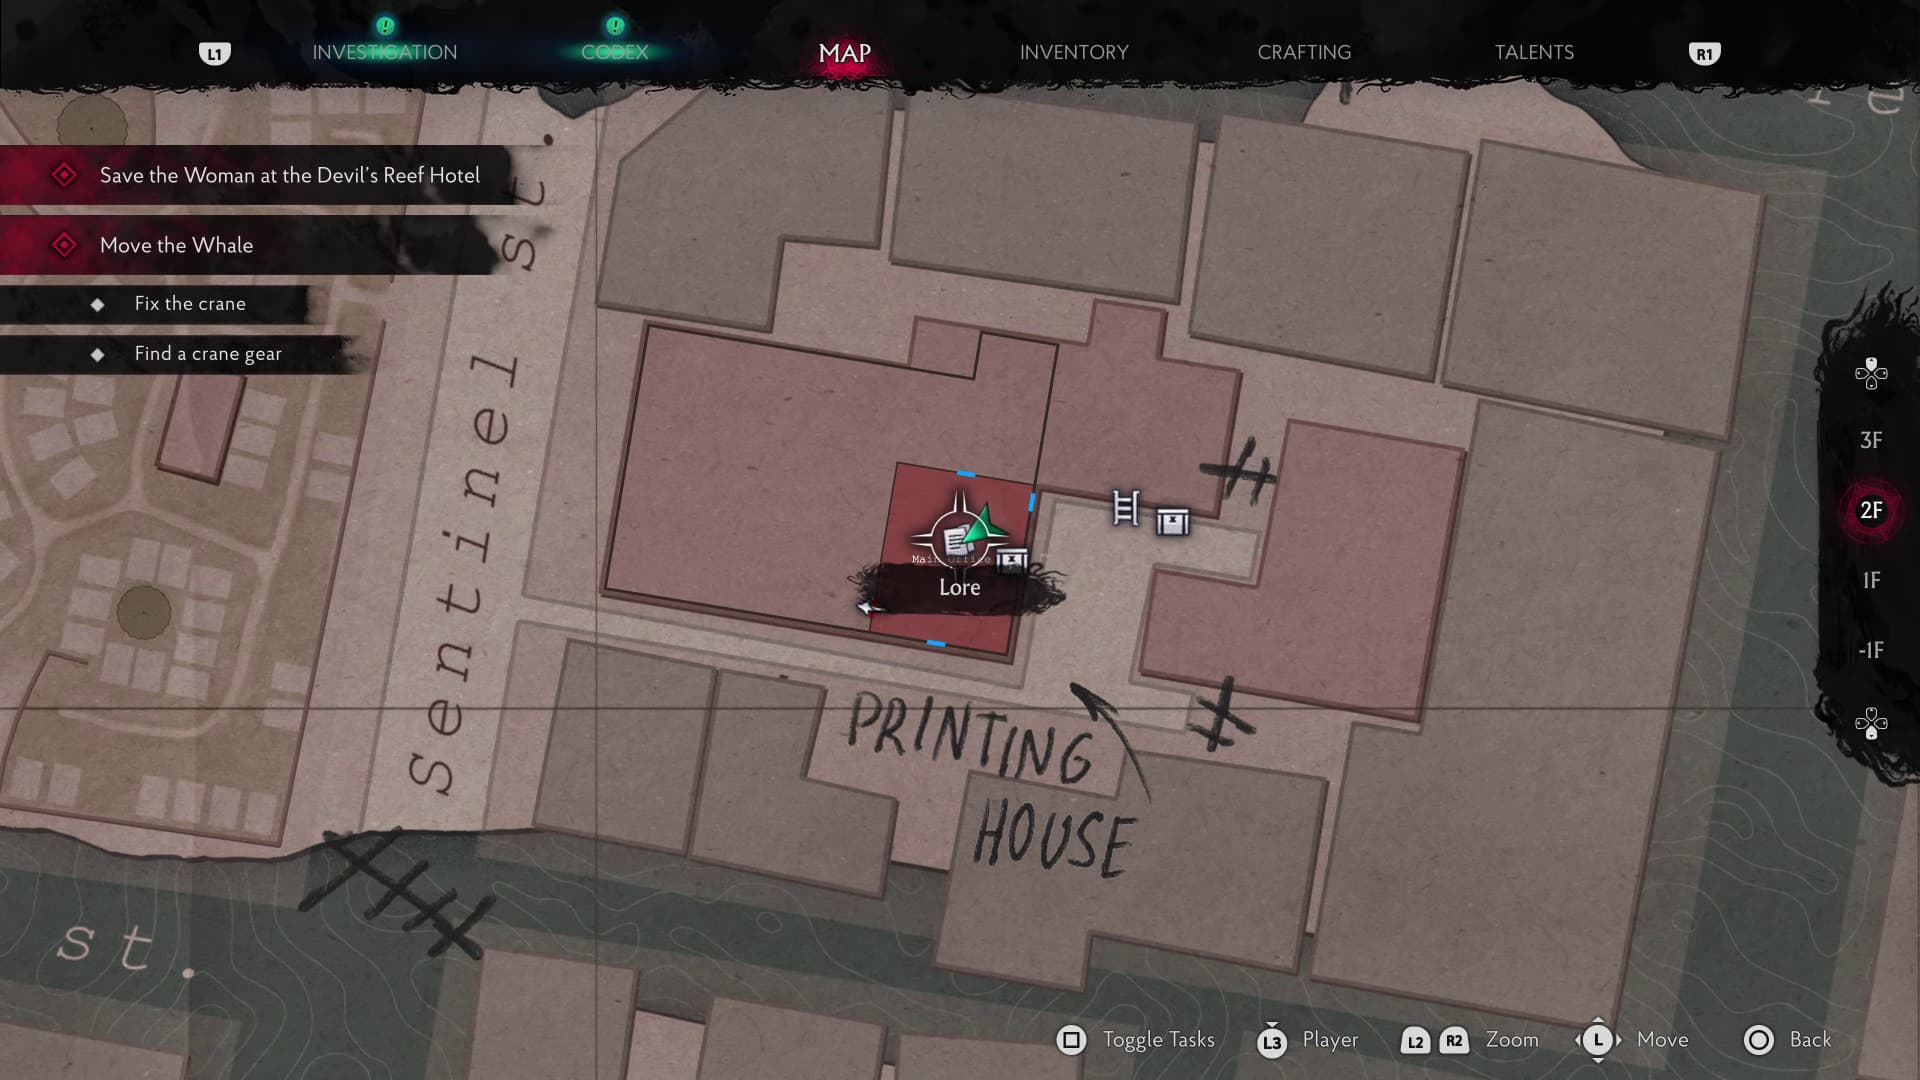
Keep advancing to make it back into the top room of the Printing House, the Main Office, directly ahead after entering in the open window will be the next Lore Document (Floodwaters Rise!).
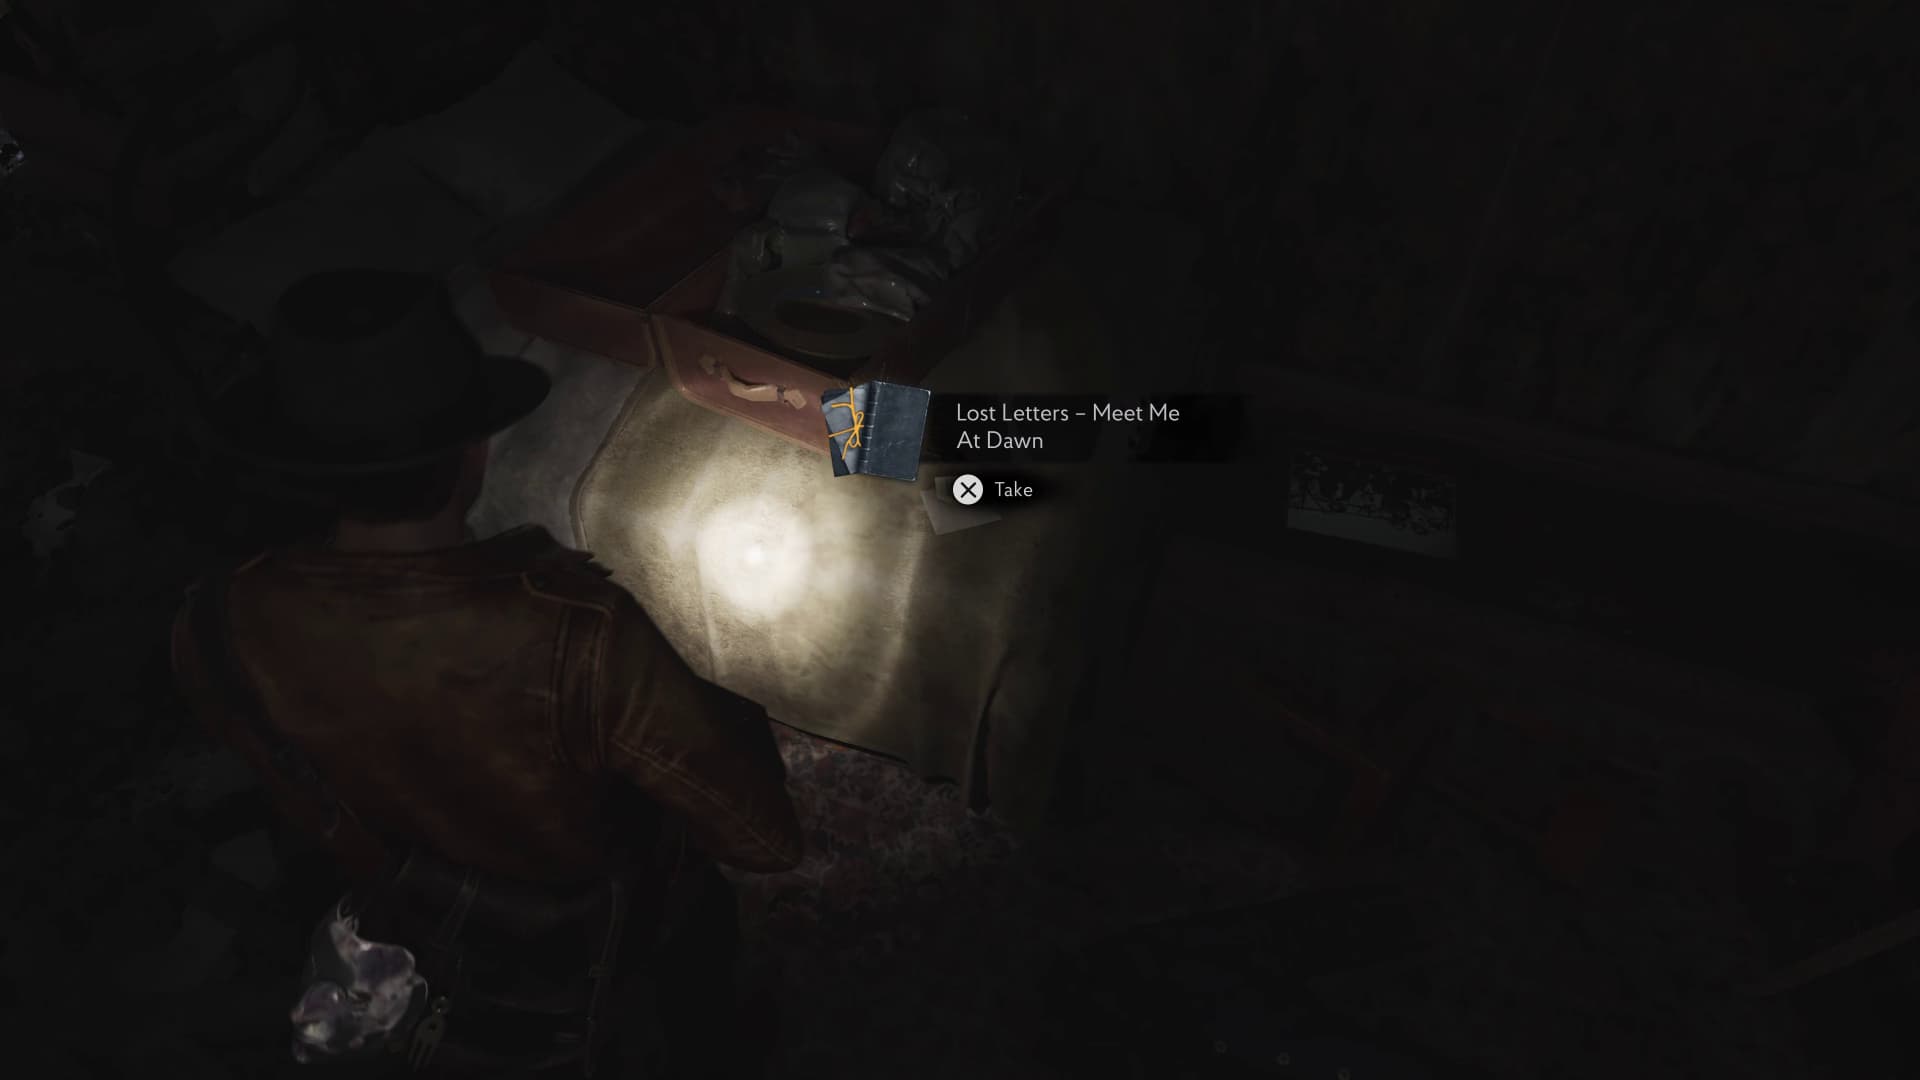
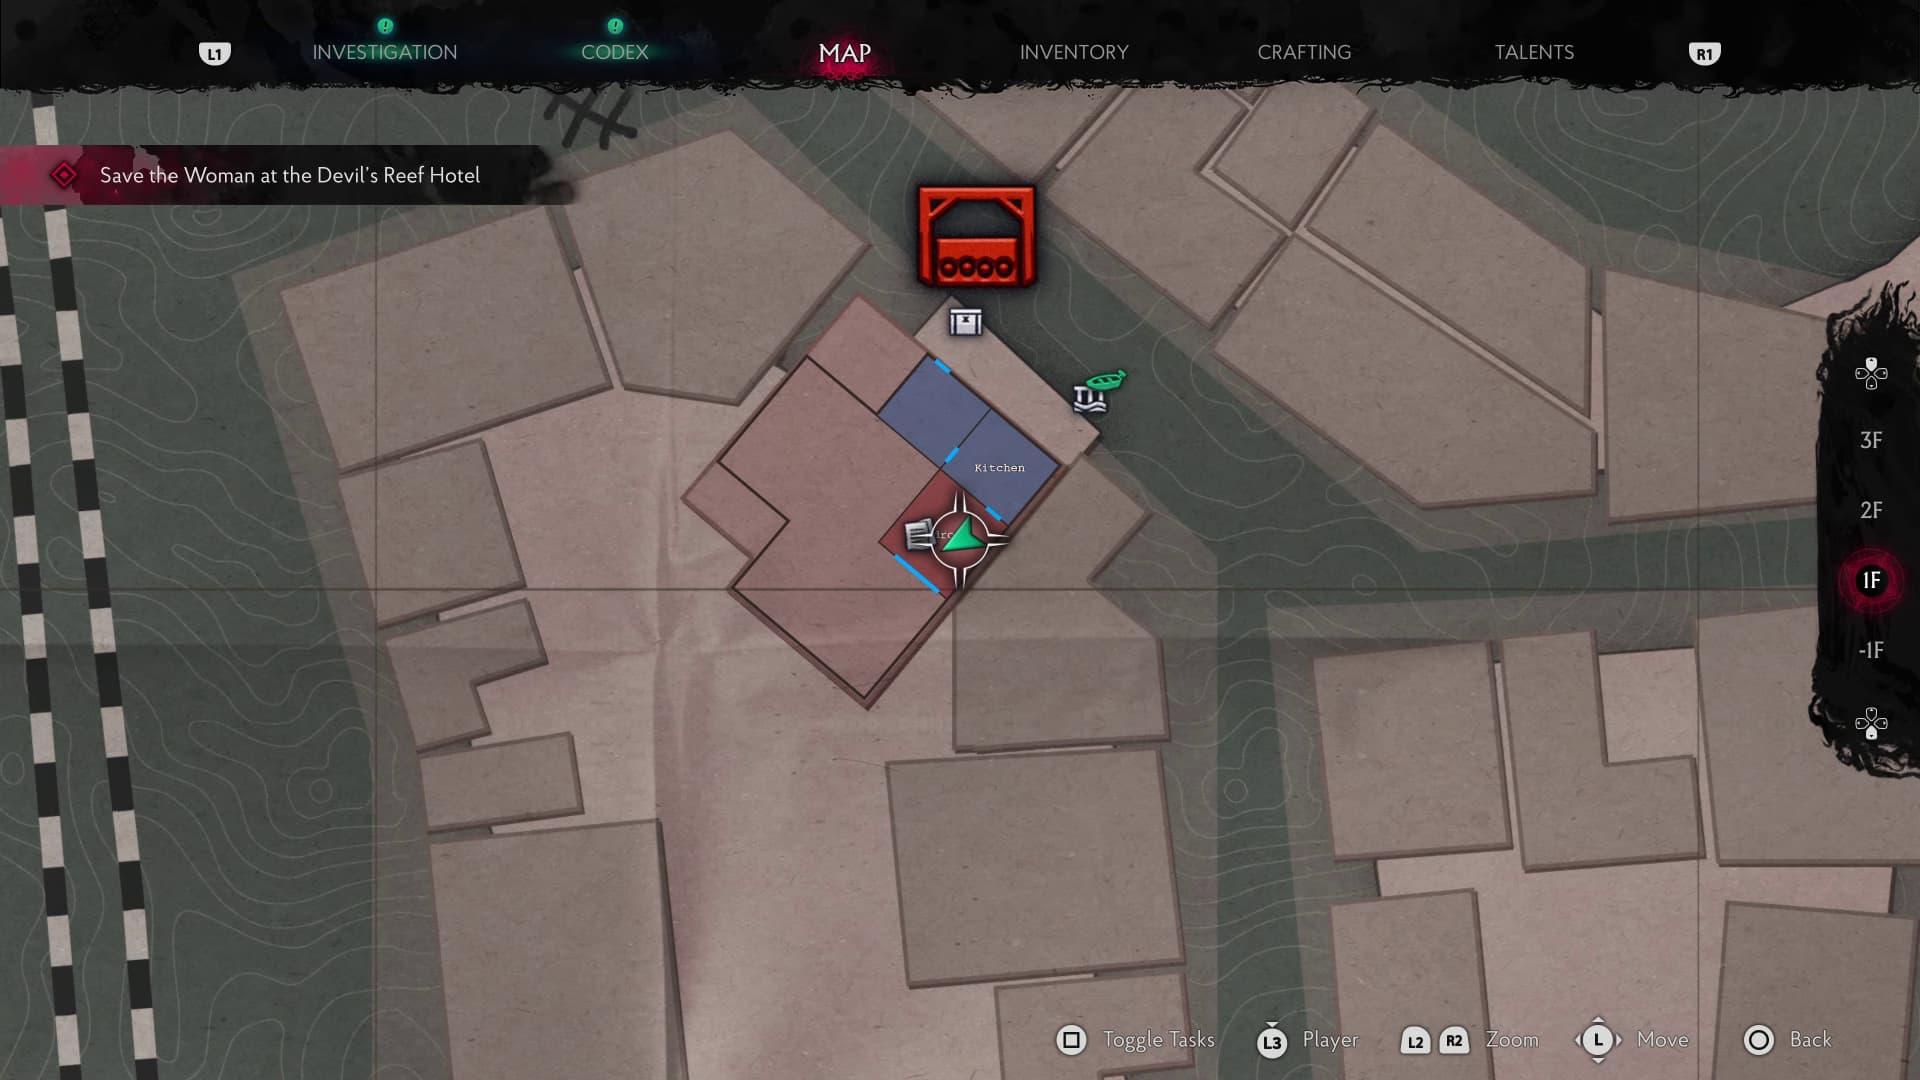
Now you can keep on advancing in the boat, under the lifted whale and to the next dock. After exiting the boat at this dock, make it inside the open window and into the Kitchen area. Keep progressing into the Bedroom where on the bed on the right, will be the next Lore Document (Lost Letters - Meet Me At Dawn) to collect.
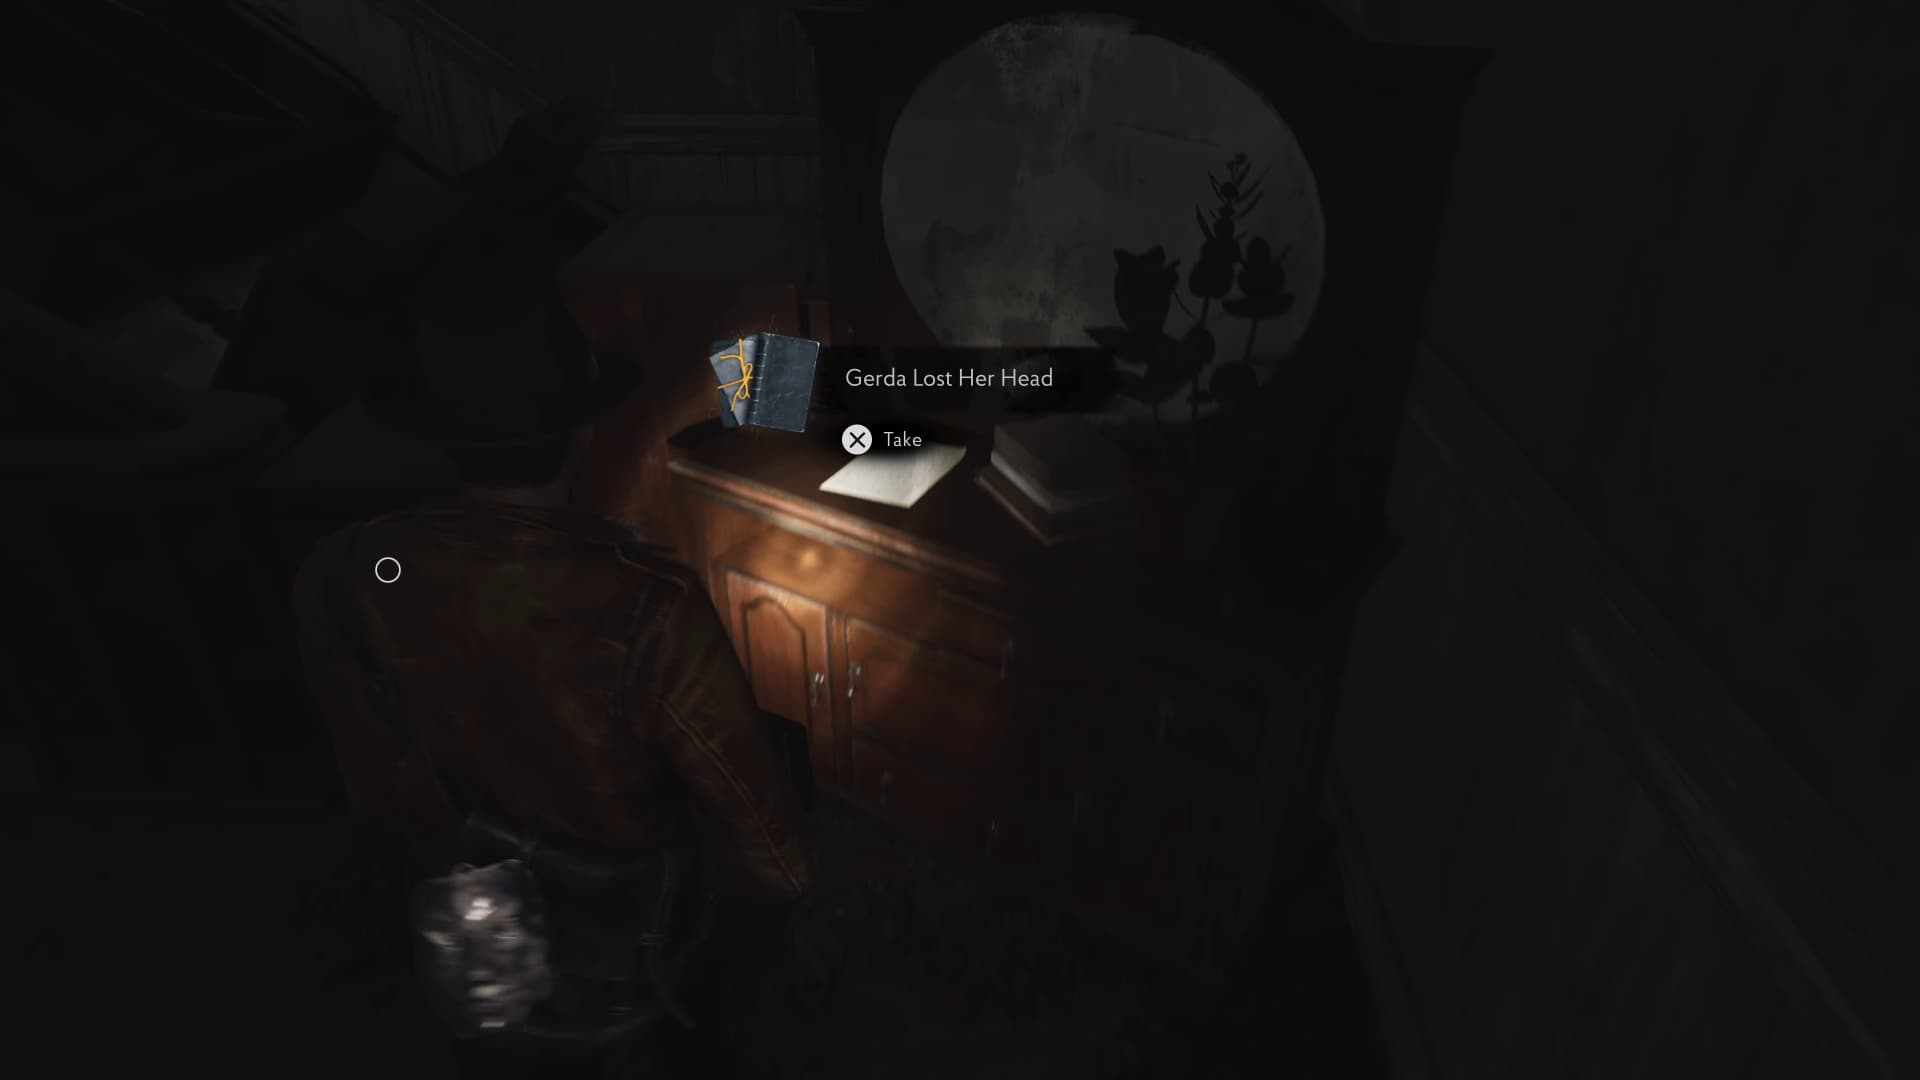
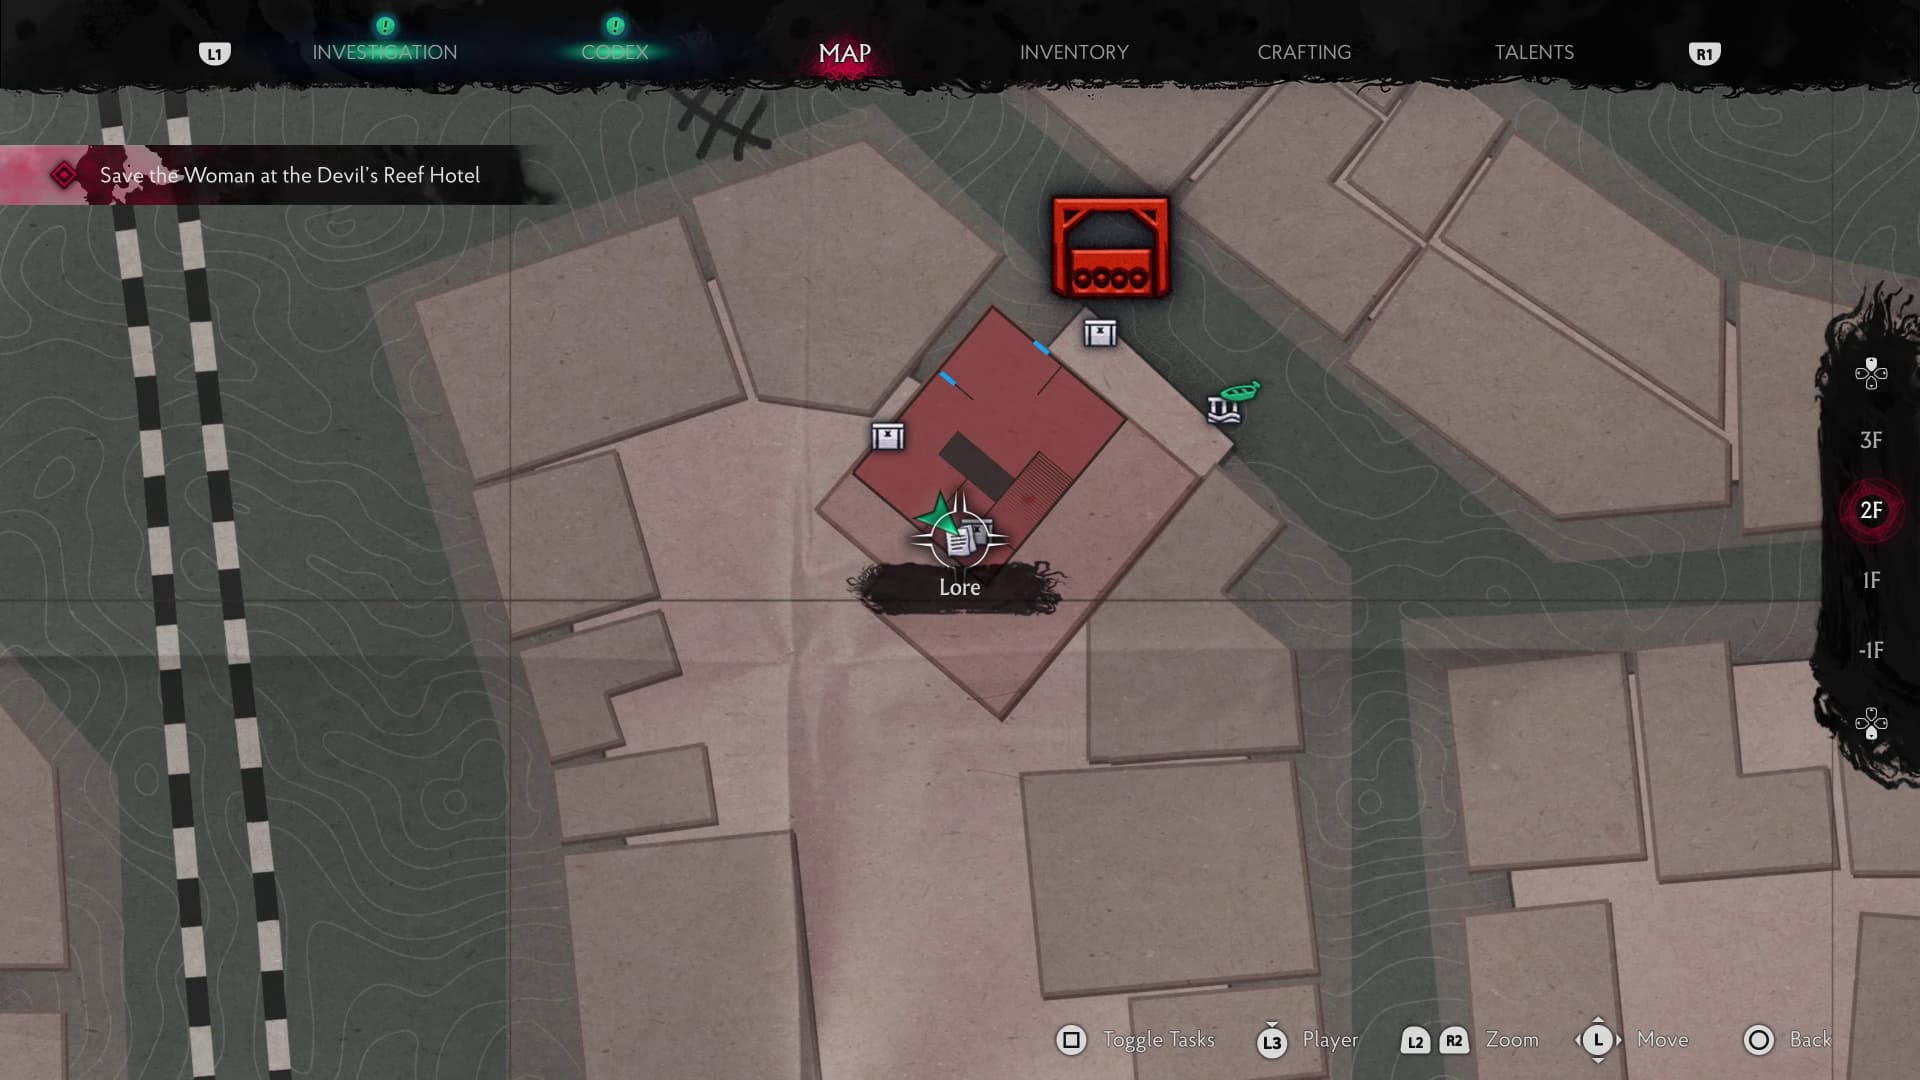
Keep progressing through the house, past the piano, and up the stairs, heading to the back of the house, near the next staircase up, there will be a dresser with a mirror and the next Lore Document (Gerda Lost Her Head) to collect.
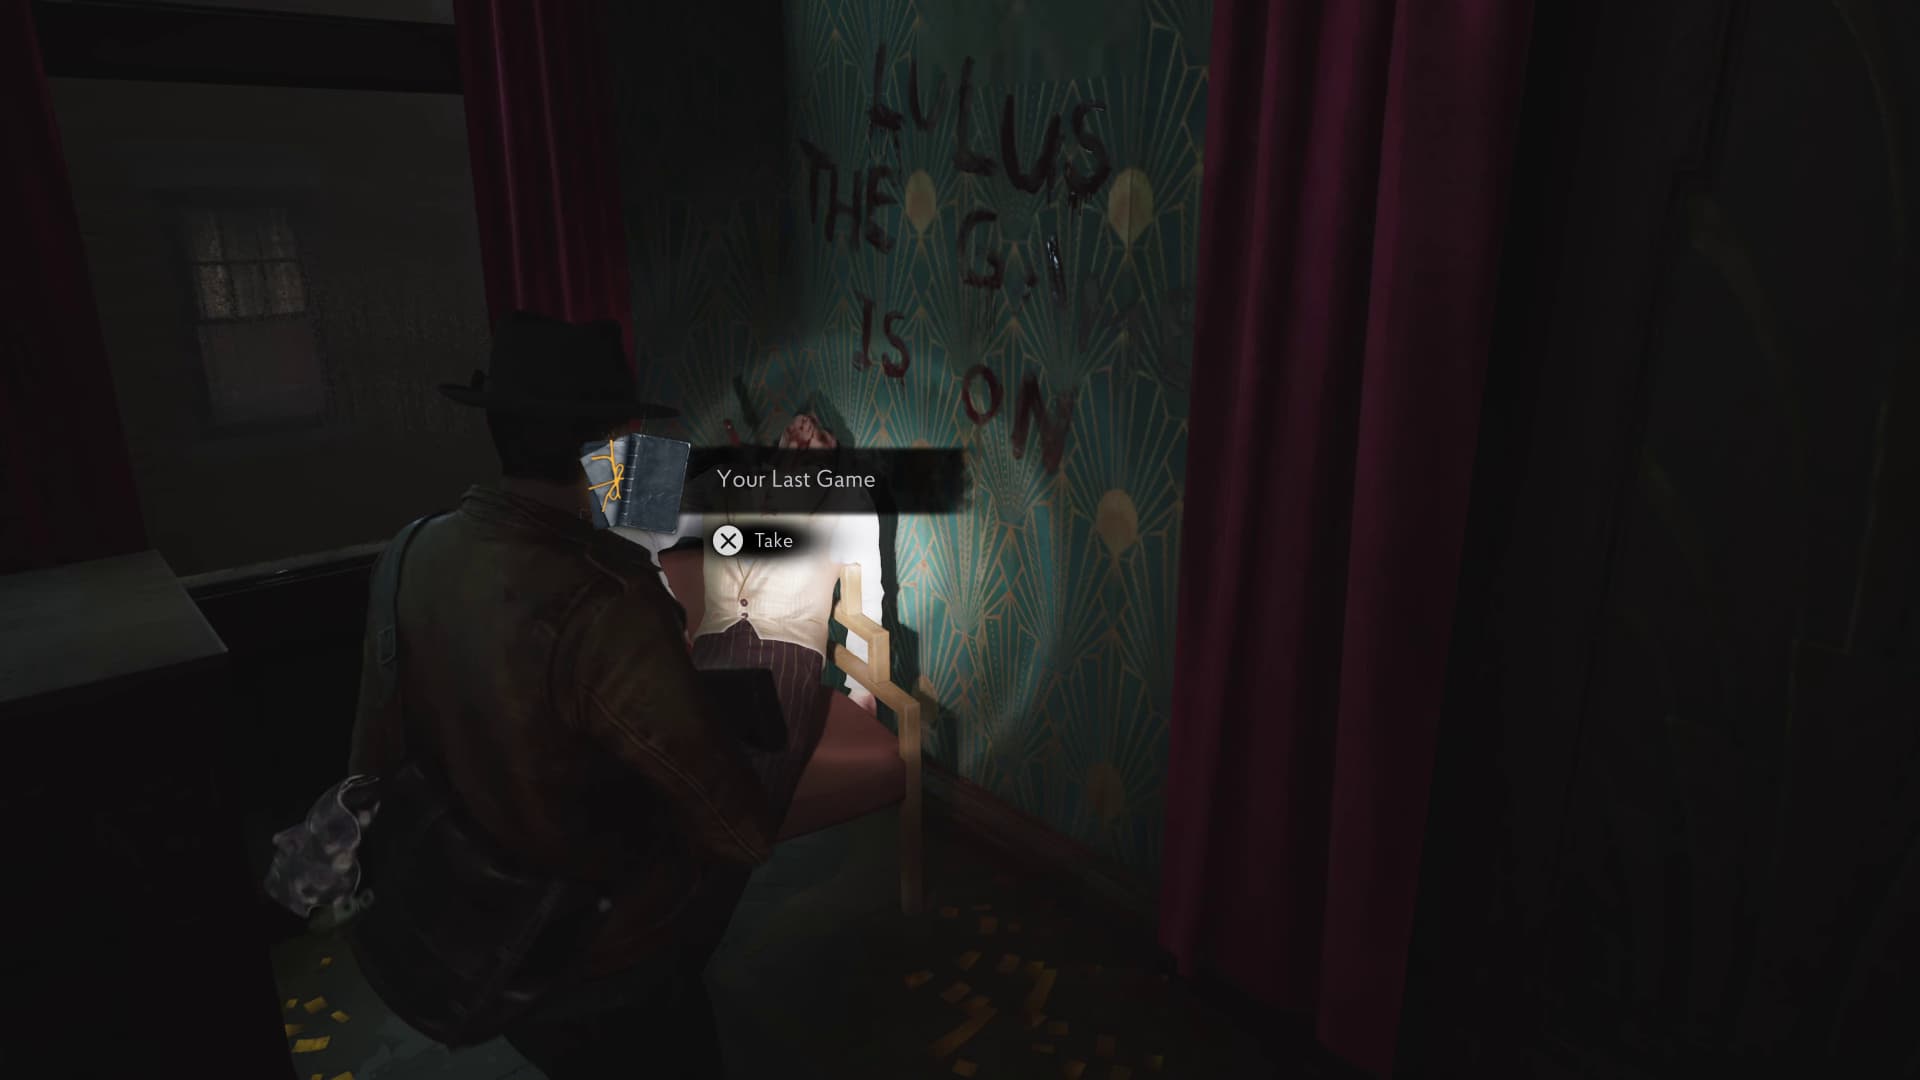
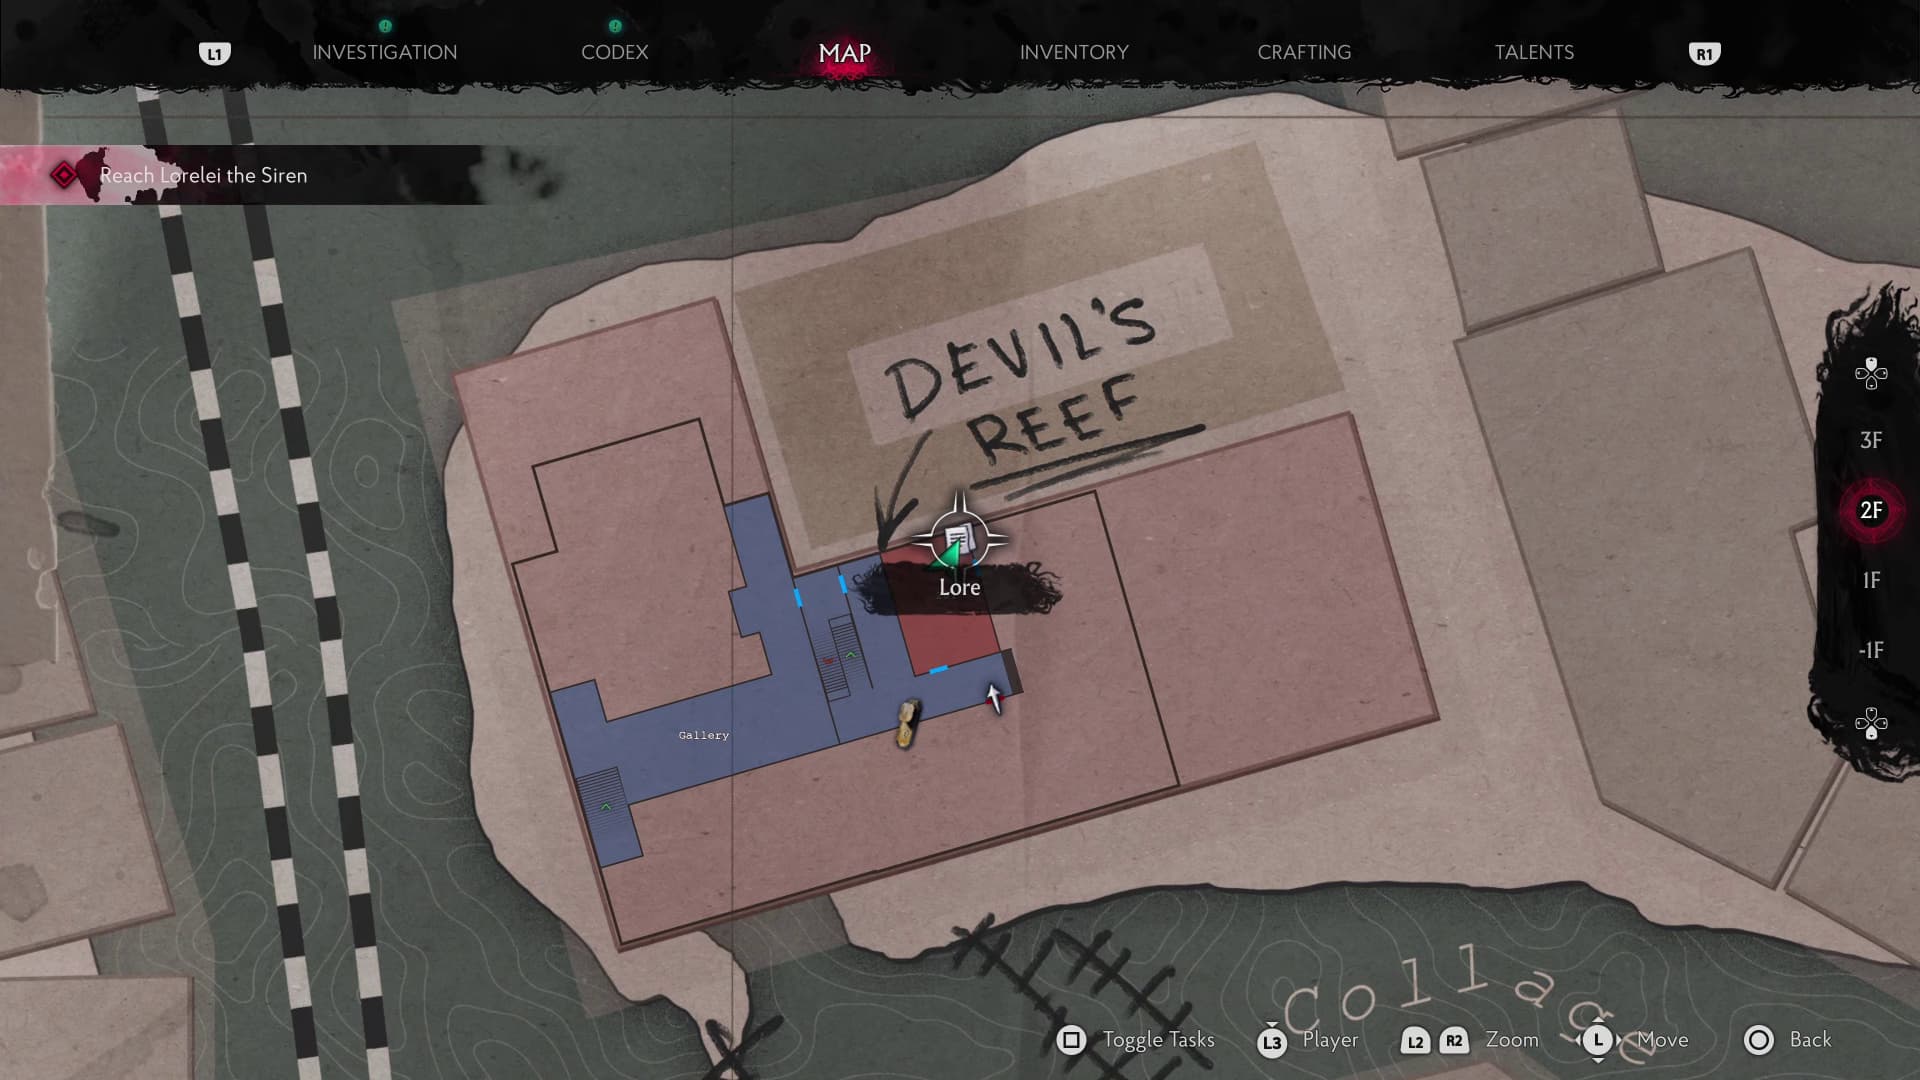
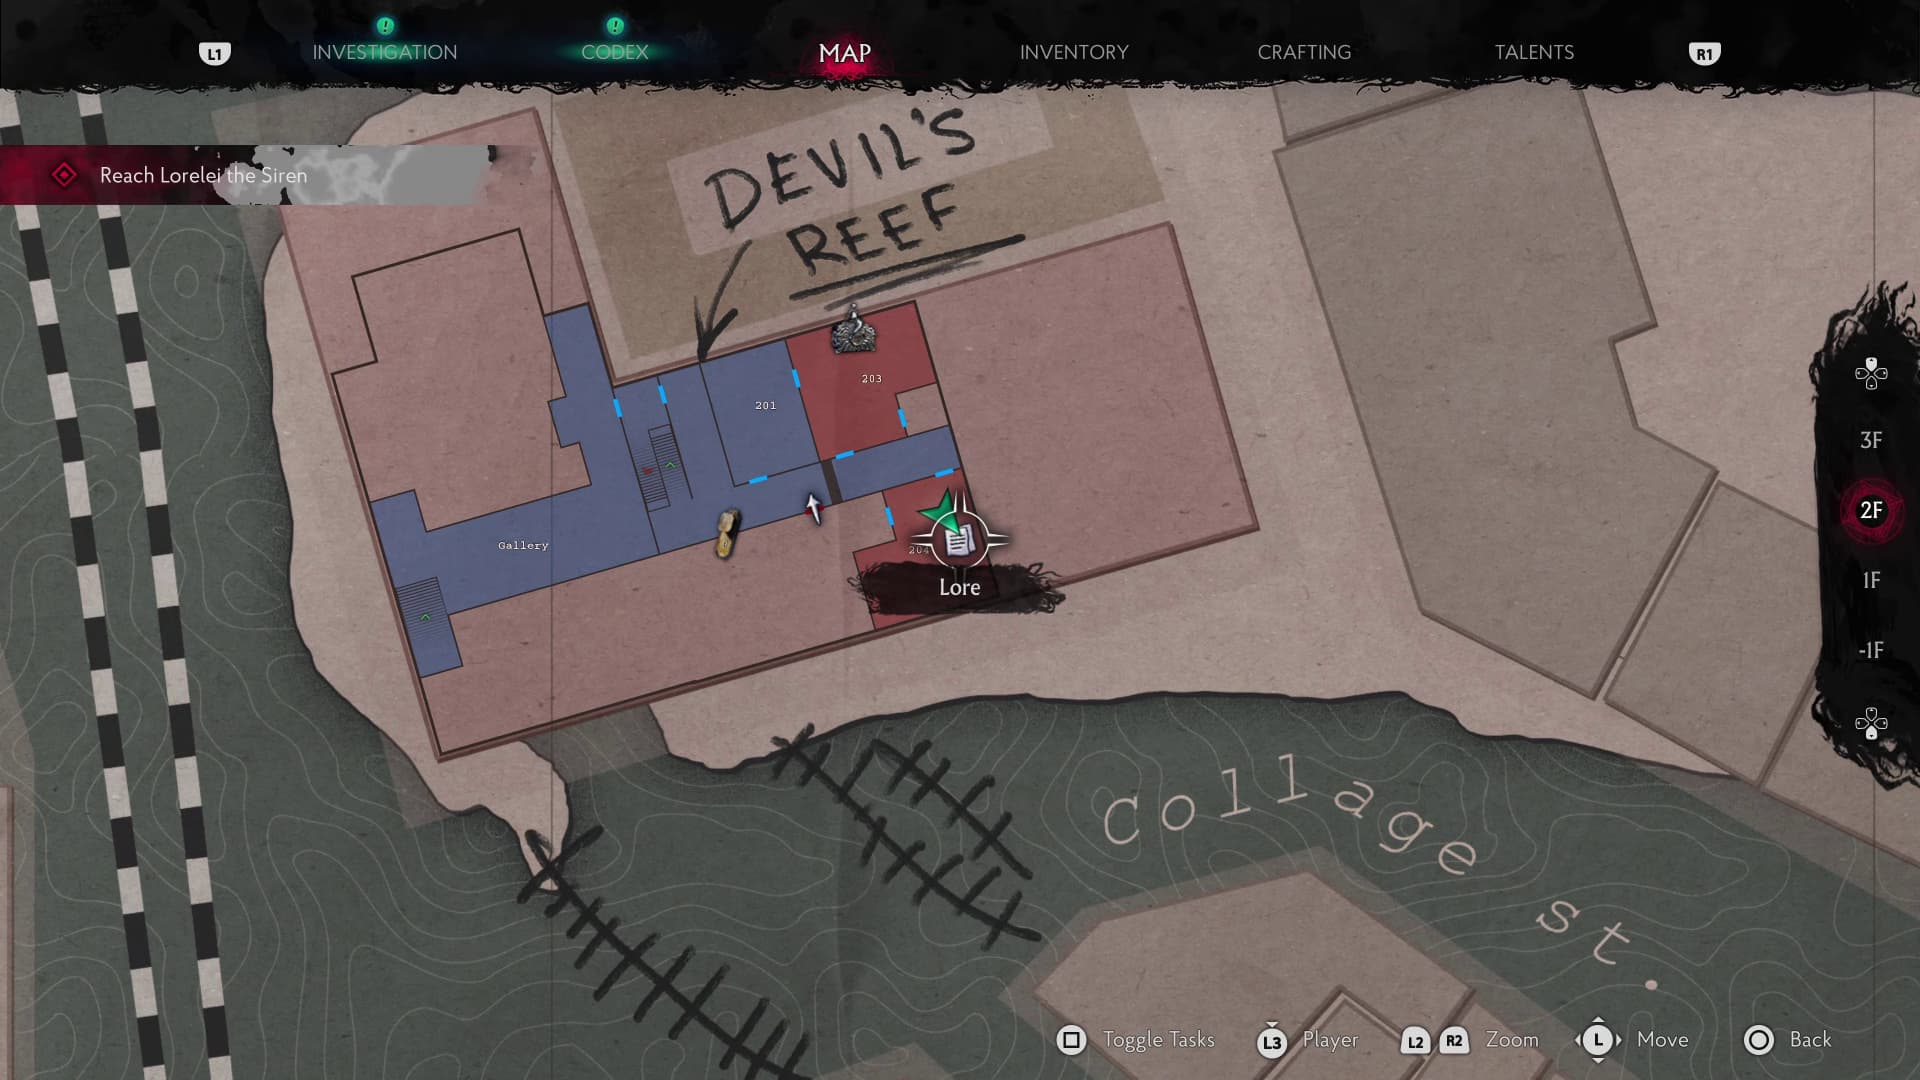
Now you can keep on advancing through the next gate and on to the hotel. After having the cutscene with Lorelei, head through the door directly behind you and make your way into room 201. Inside on the body in the back corner on the chair will be the next Lore Document (Your Last Game).
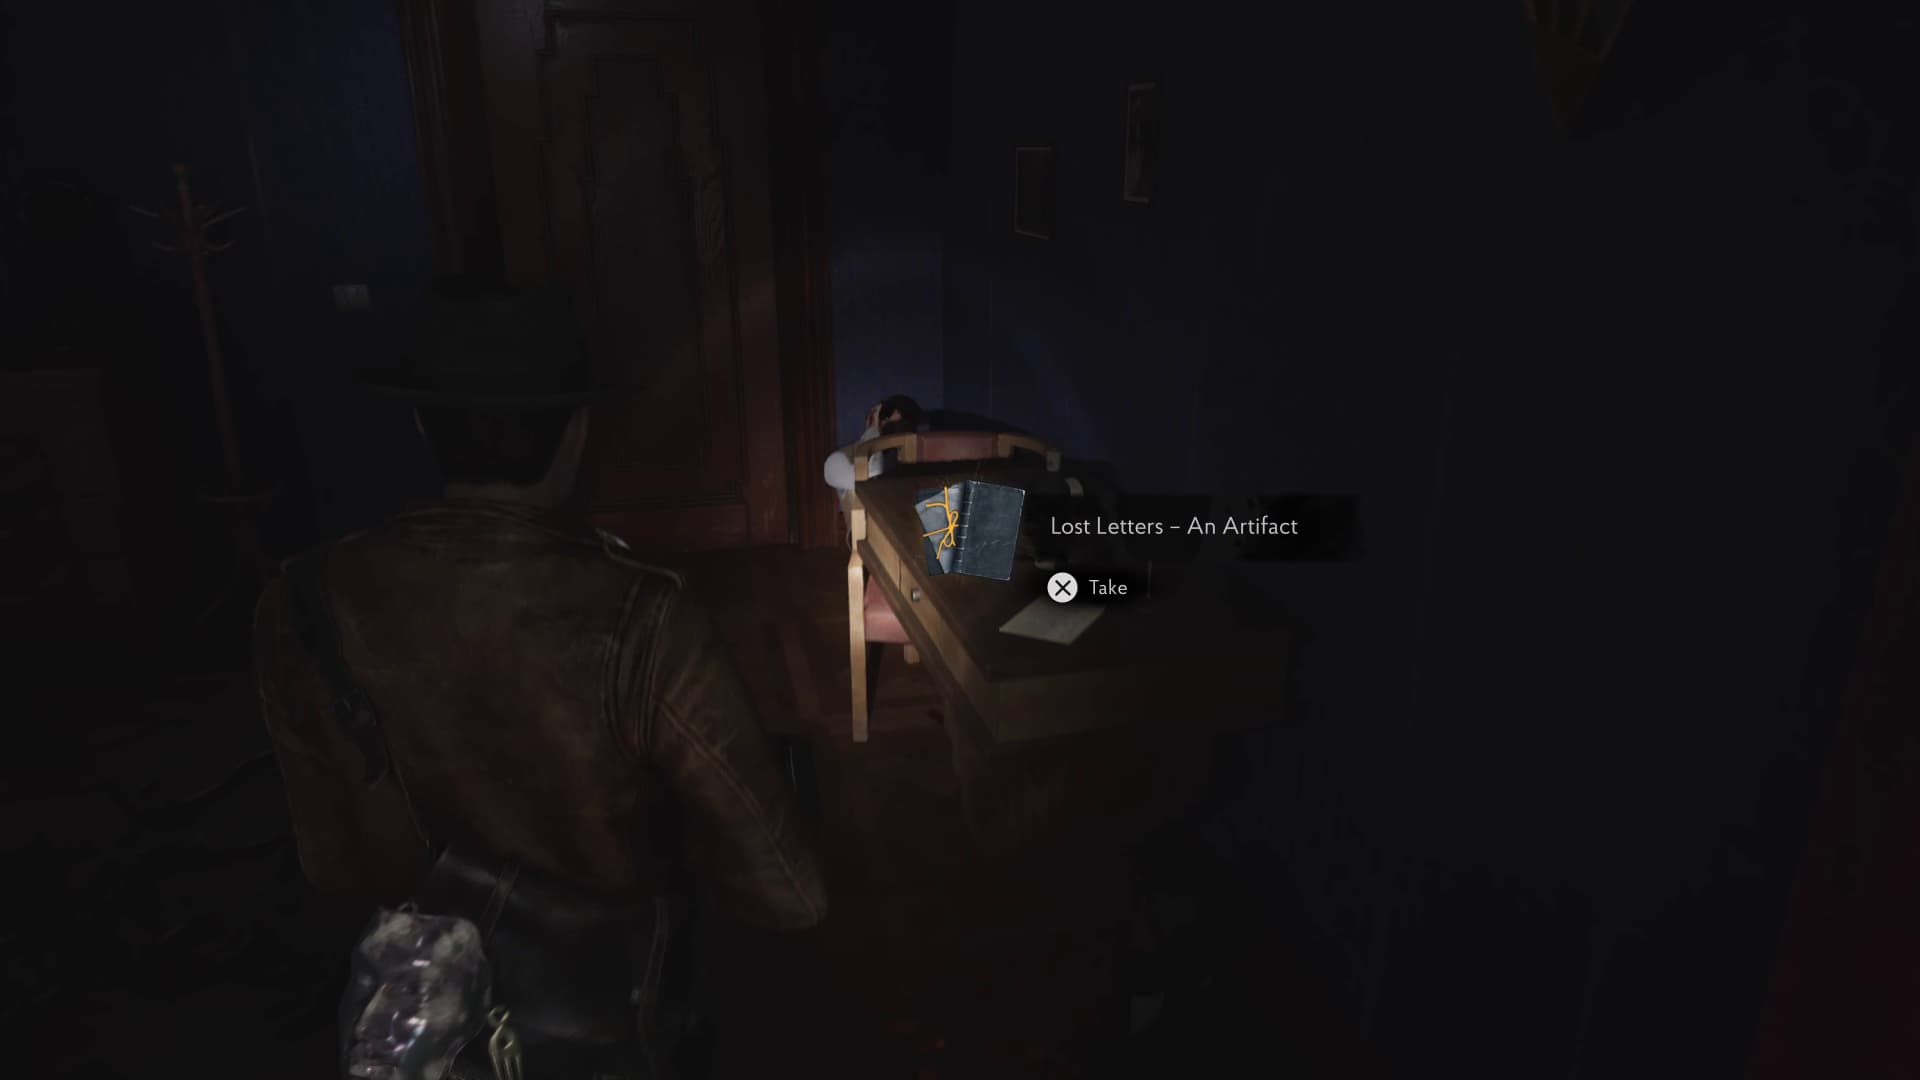
Make your way through the door just to the right into room 203, and directly on the right on a cabinet will be the next Lore Document (Lost Letters - An Artifact).
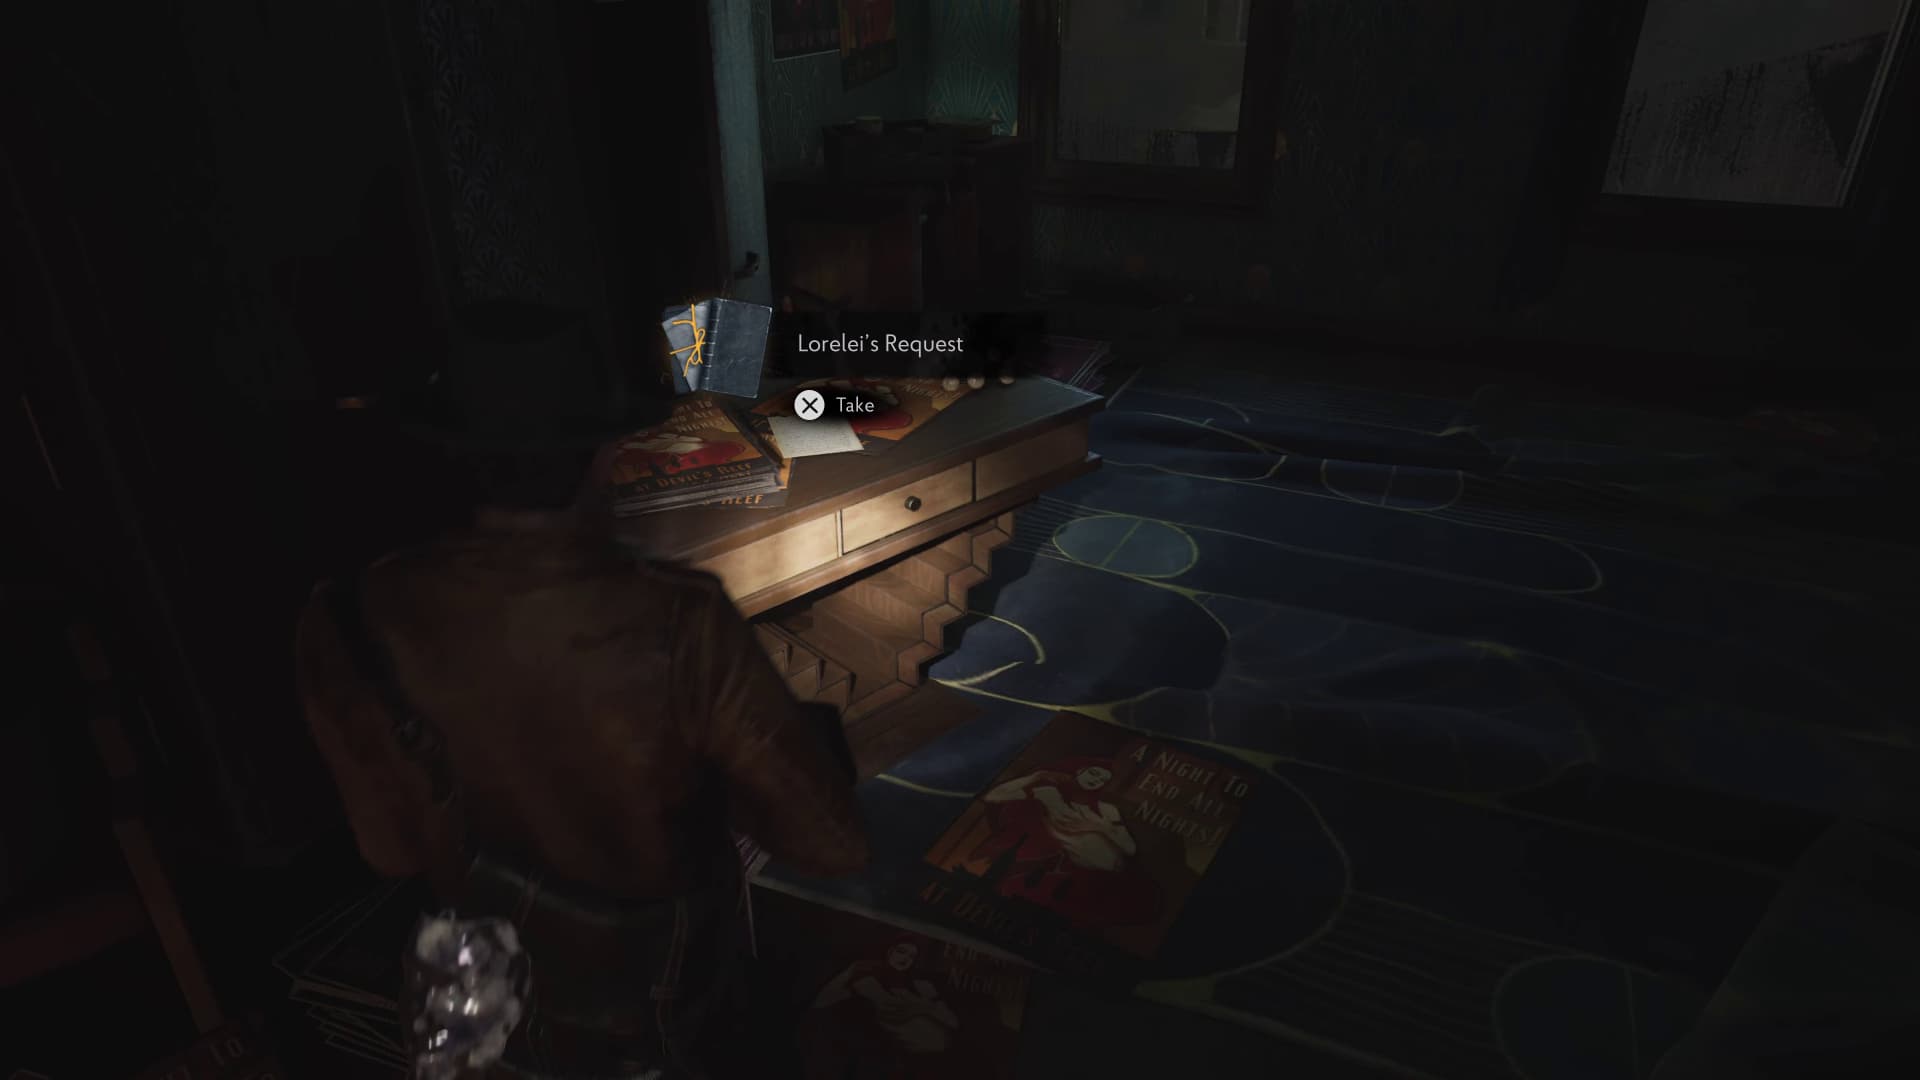
Advance out of this room and over the corridor to room 204. Directly ahead inside will be the next Lore Document (Lorelei's Request) to collect.
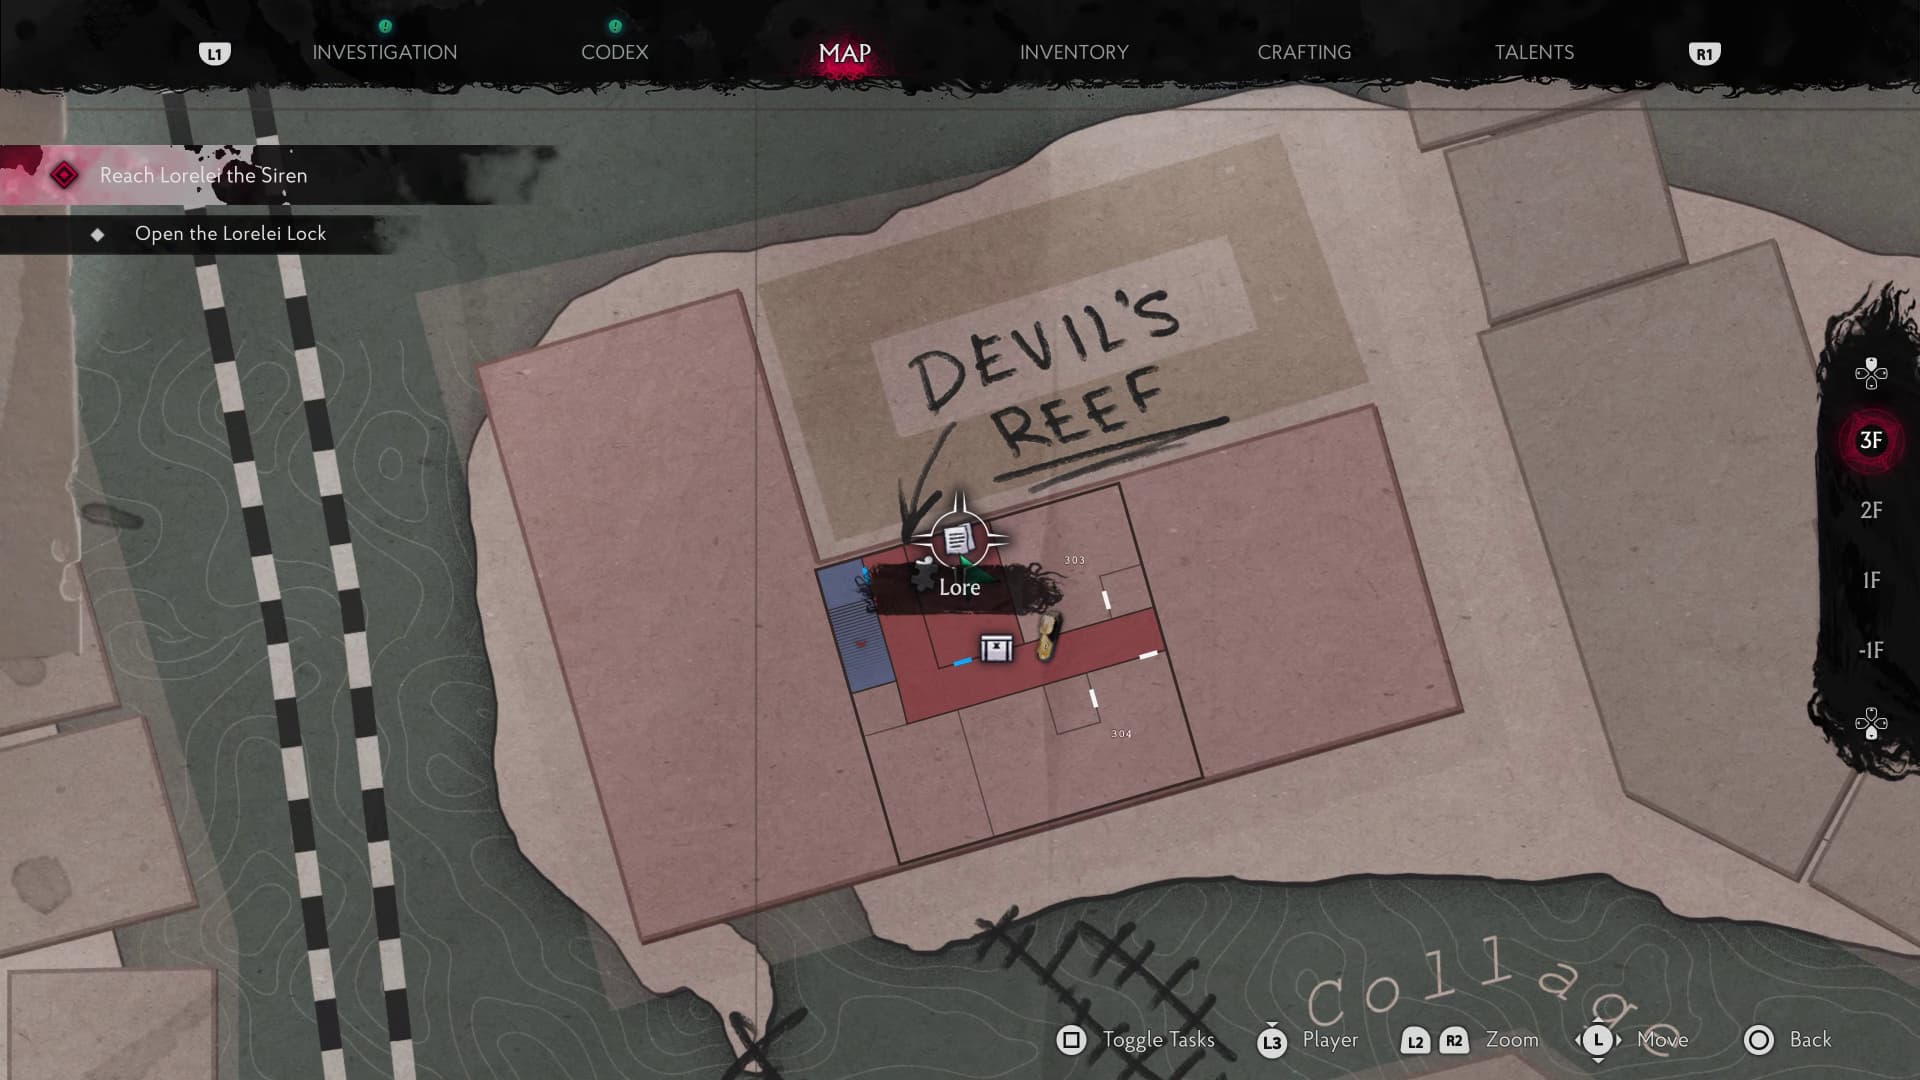
After descending down into the bar area and through the save room, make it up the stairs to the right of reception and to the right again. Then head up the next flight of stairs where the creepy silhouette is and then into room 301 in this floor, you will need to move a cabinet to get into this room.
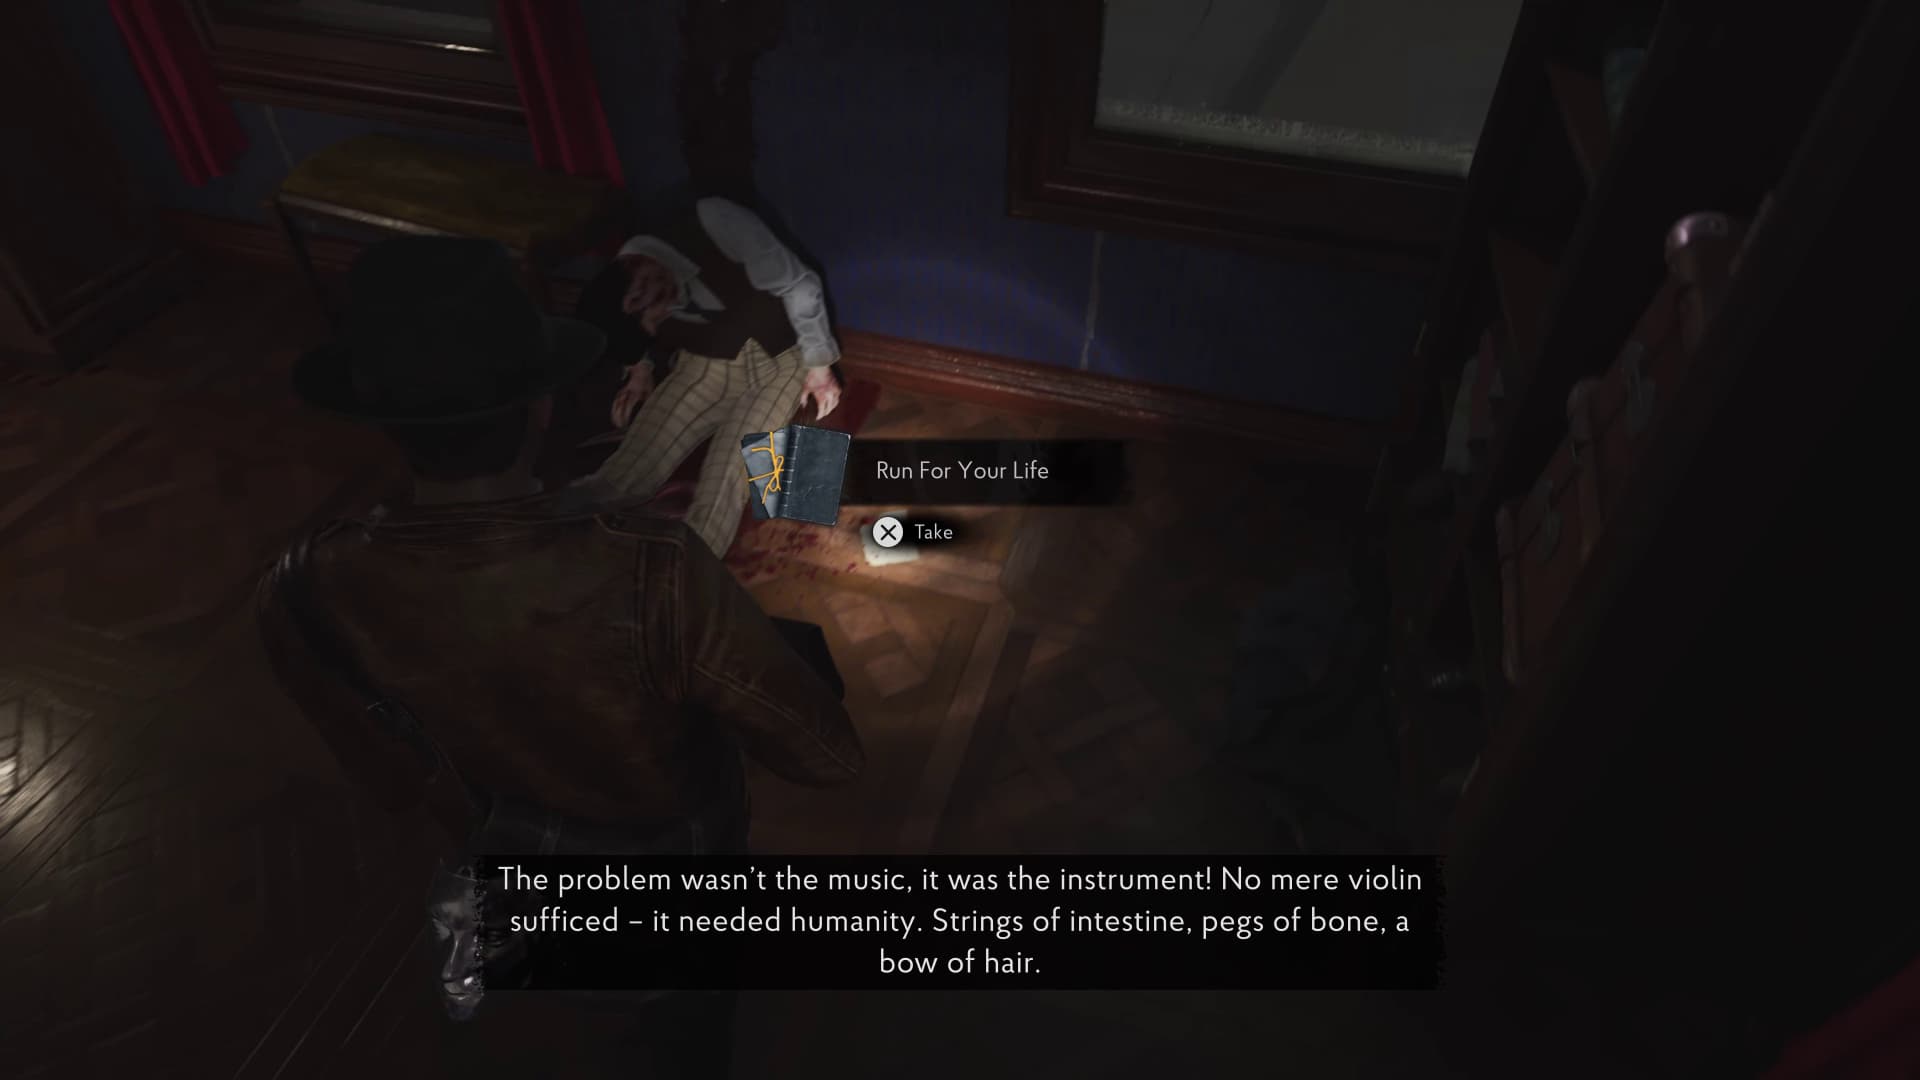
In the back of this room on the floor is the next Lore Document (Run For Your Life) to collect, and to the left of here is another safe to crack, inside is another weapon attachment. (Safe Code 2137)
After collecting all of the Lorelei Locks for the cellar puzzle, make your way down and through the now unlocked door.
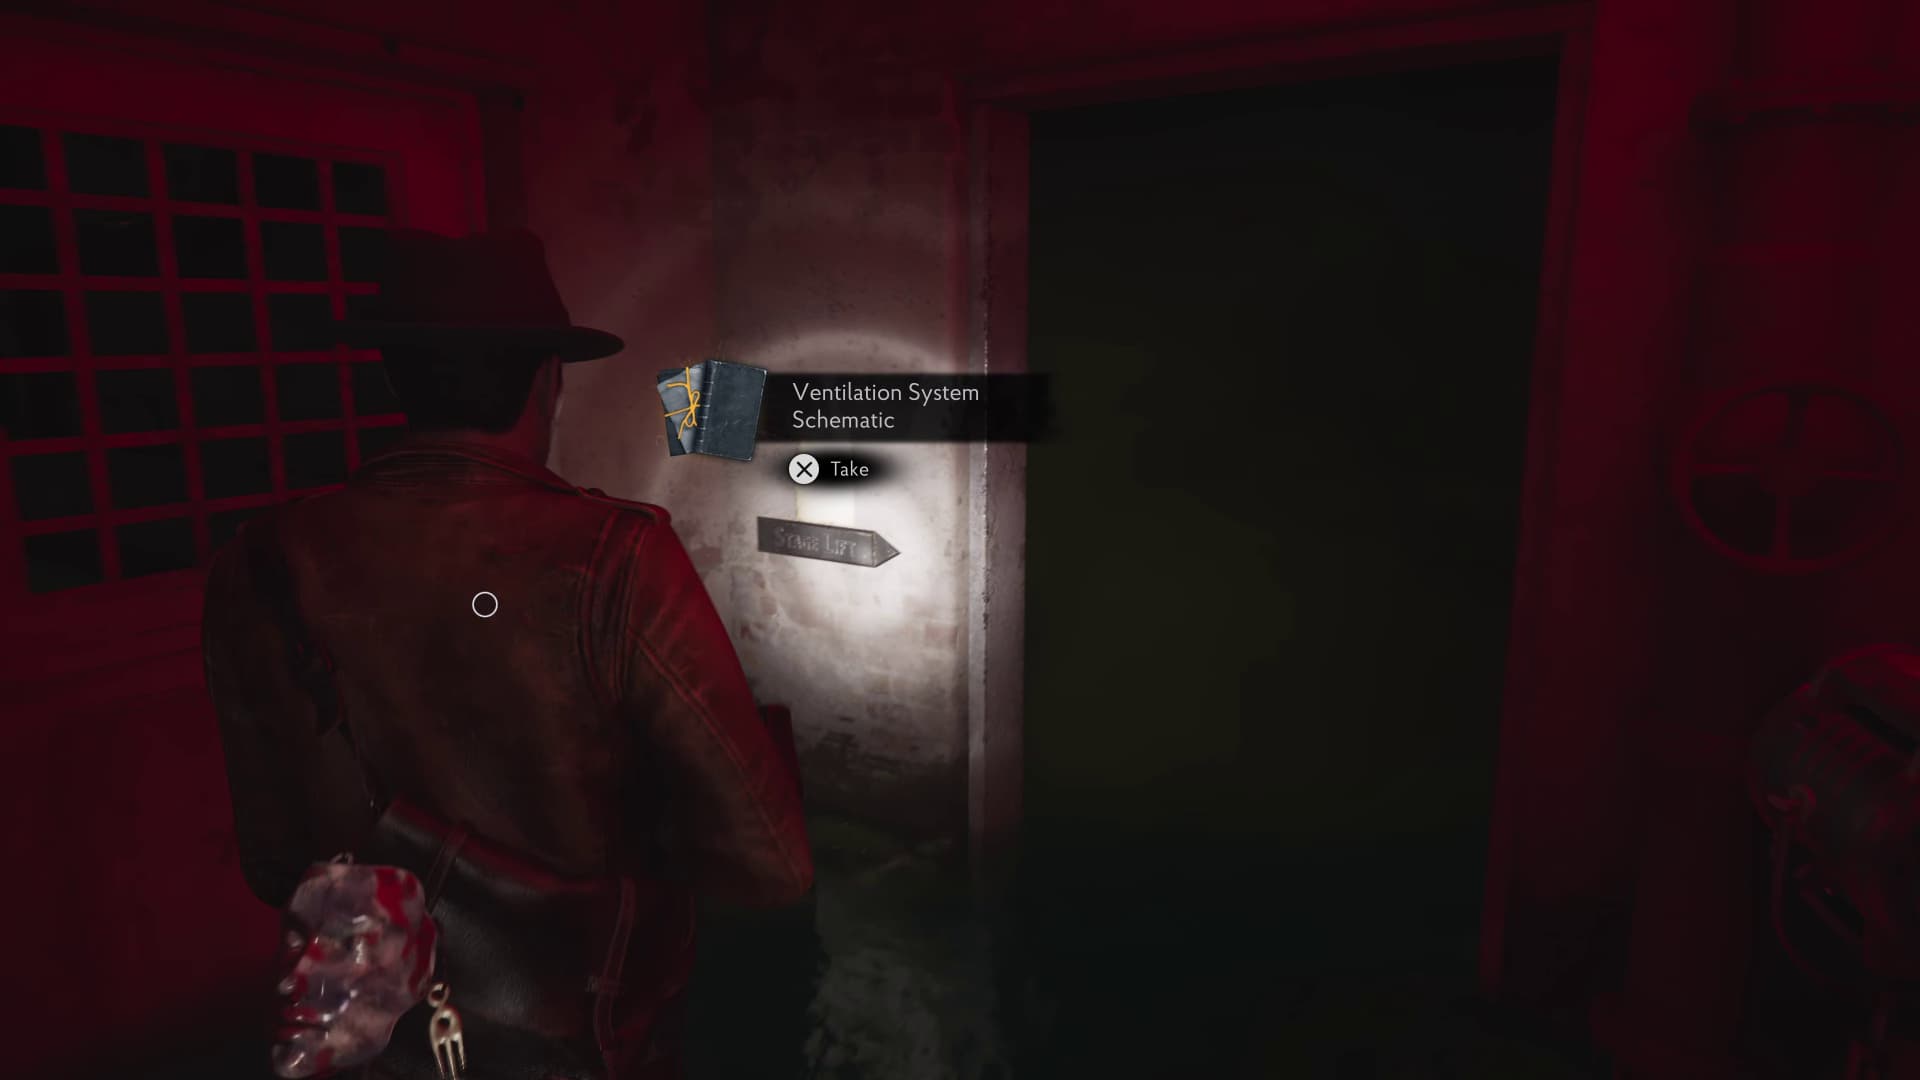
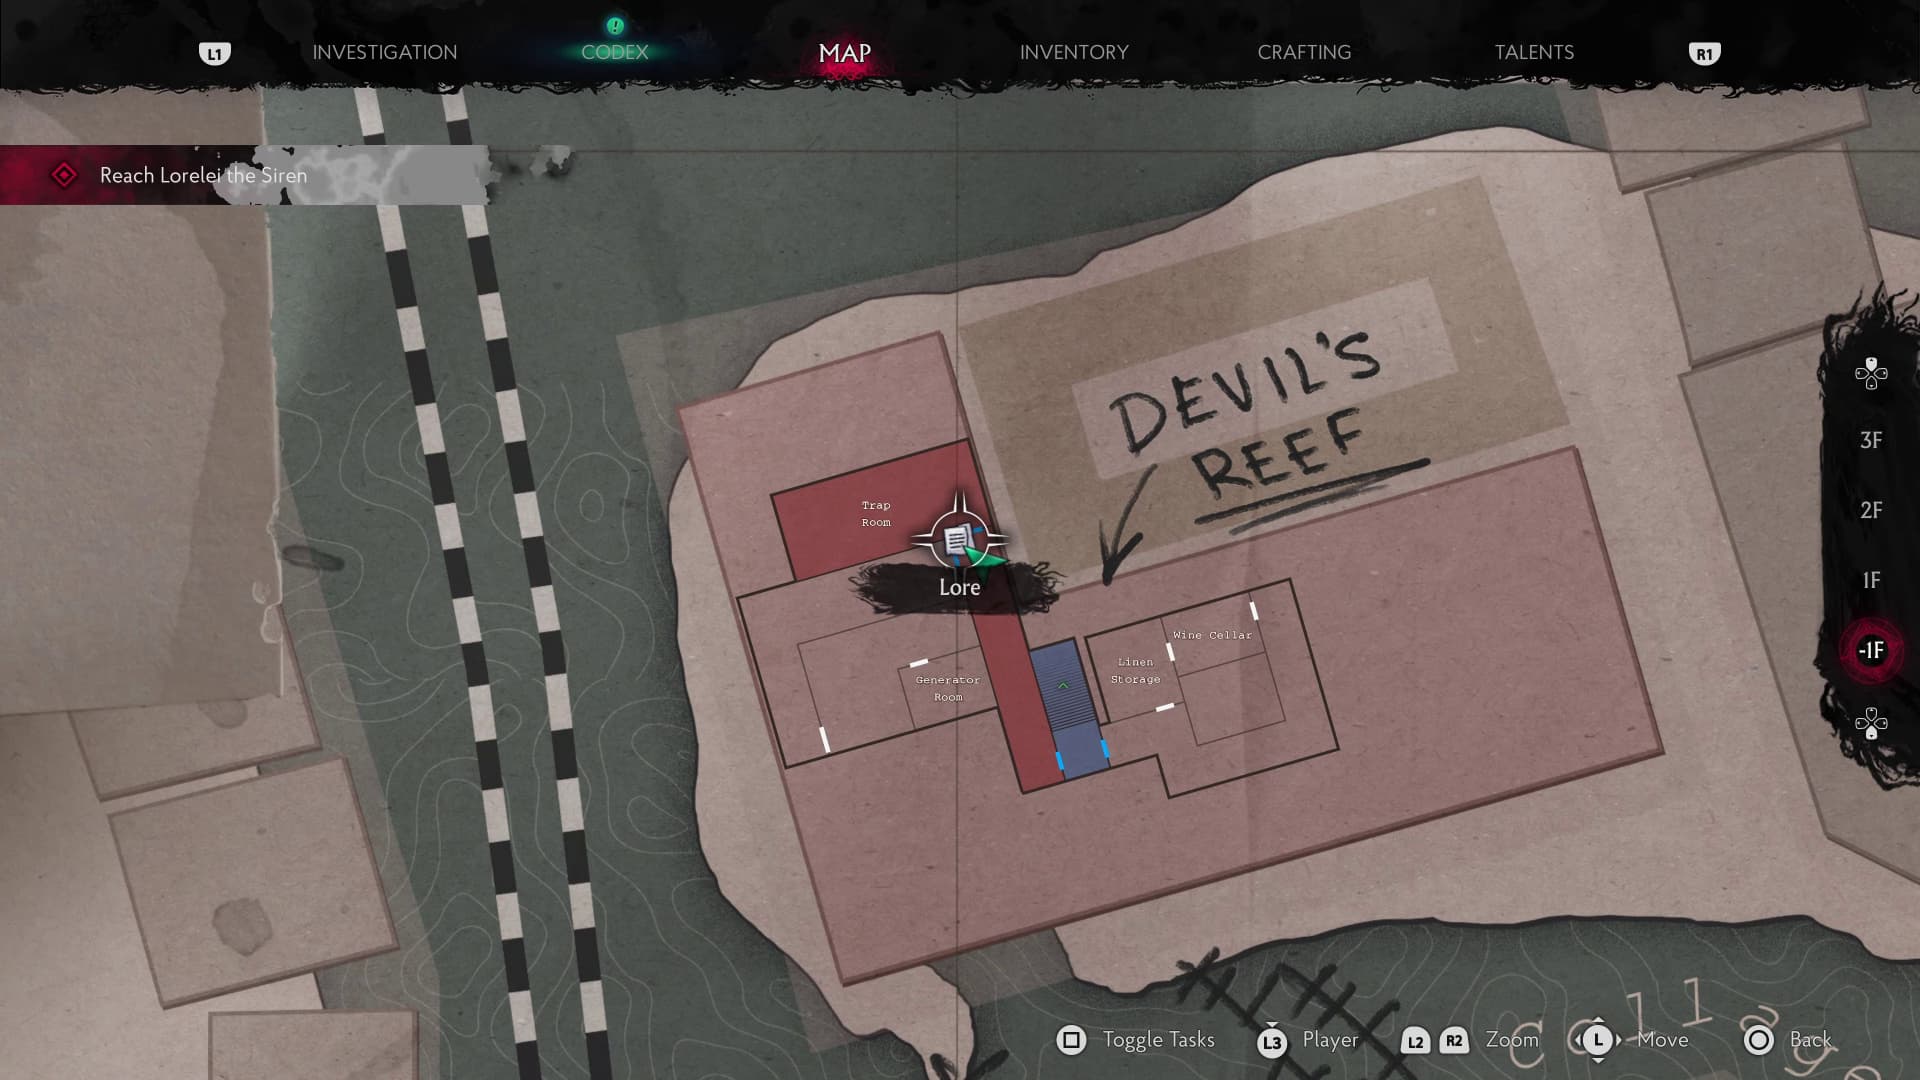
In the first corridor just before the Trap Room on the wall will be the next Lore Document (Ventilation System Schematic).
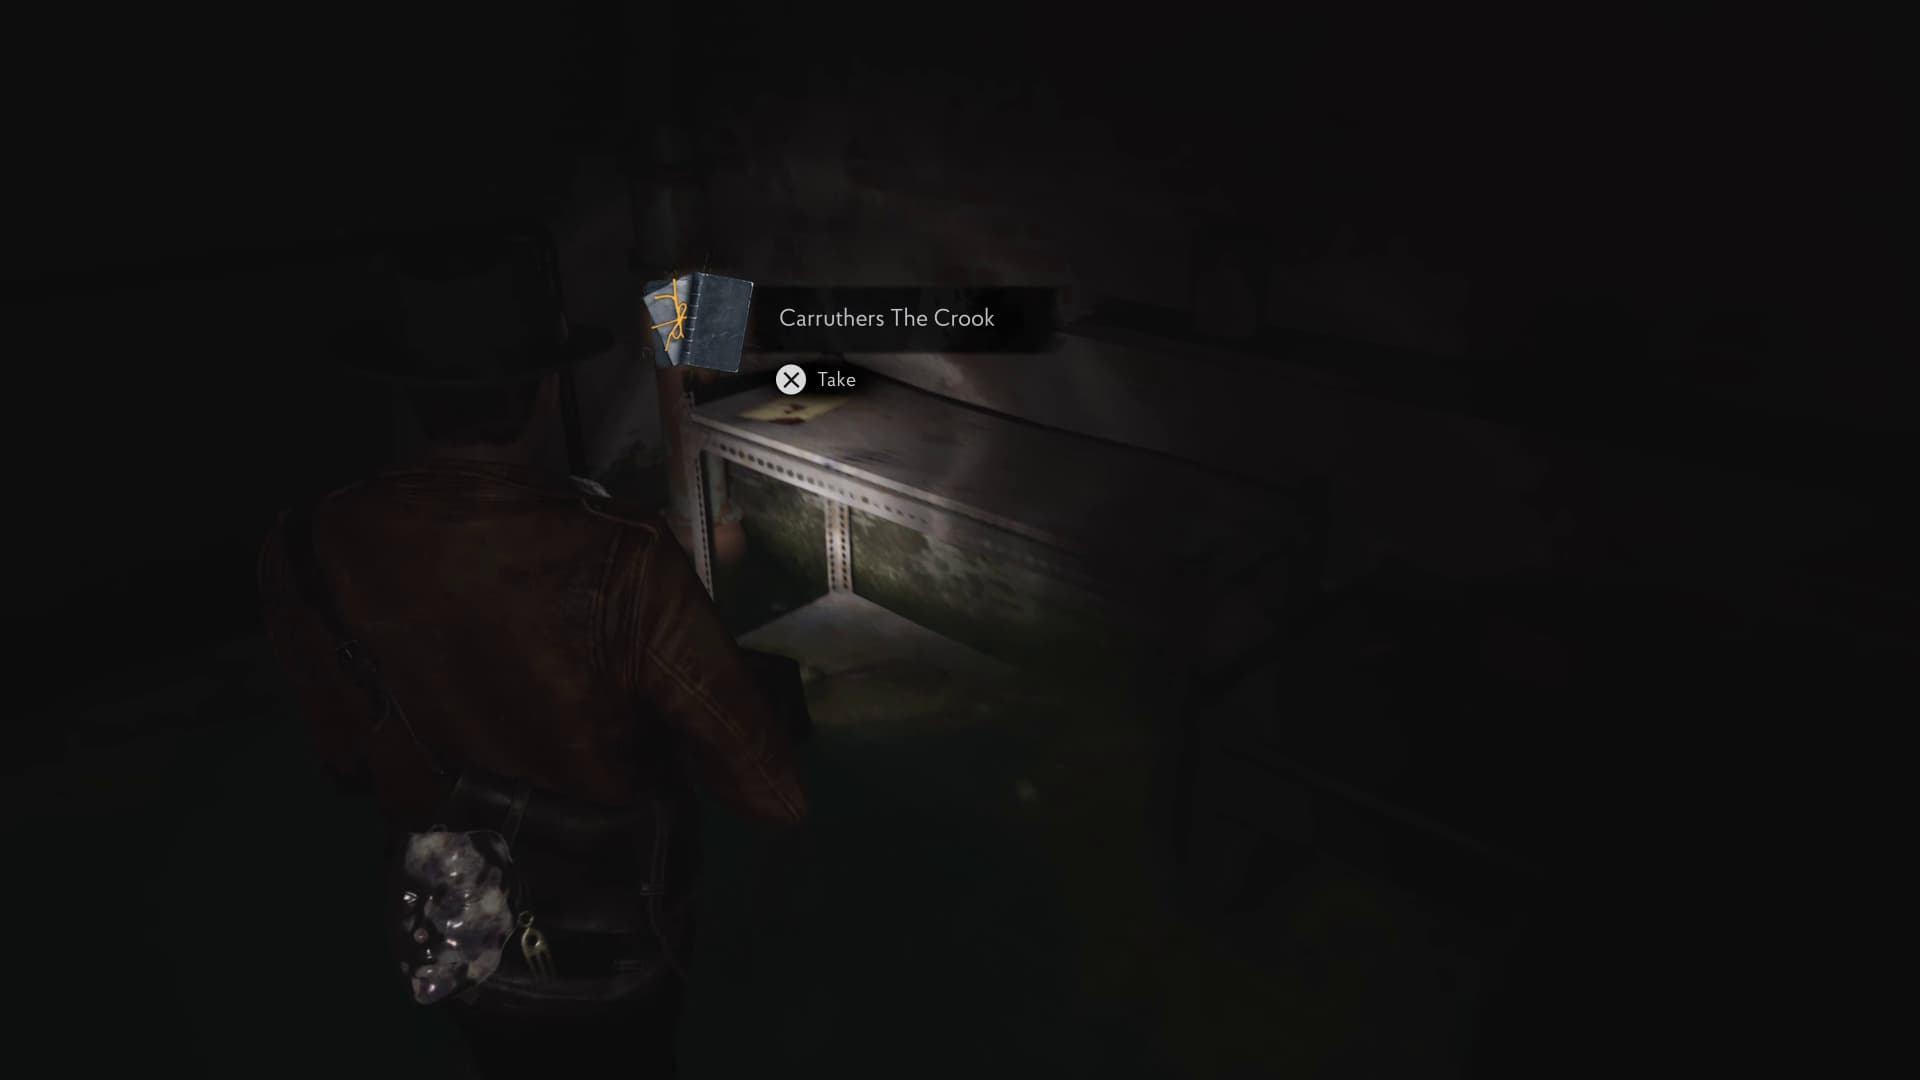
Head through the door directly left of the last Lore Document, through the corridors and into the next open room just outside of the Generator Room, on the right on a counter top will be the next Lore Document (Carruthers The Crook) to collect.
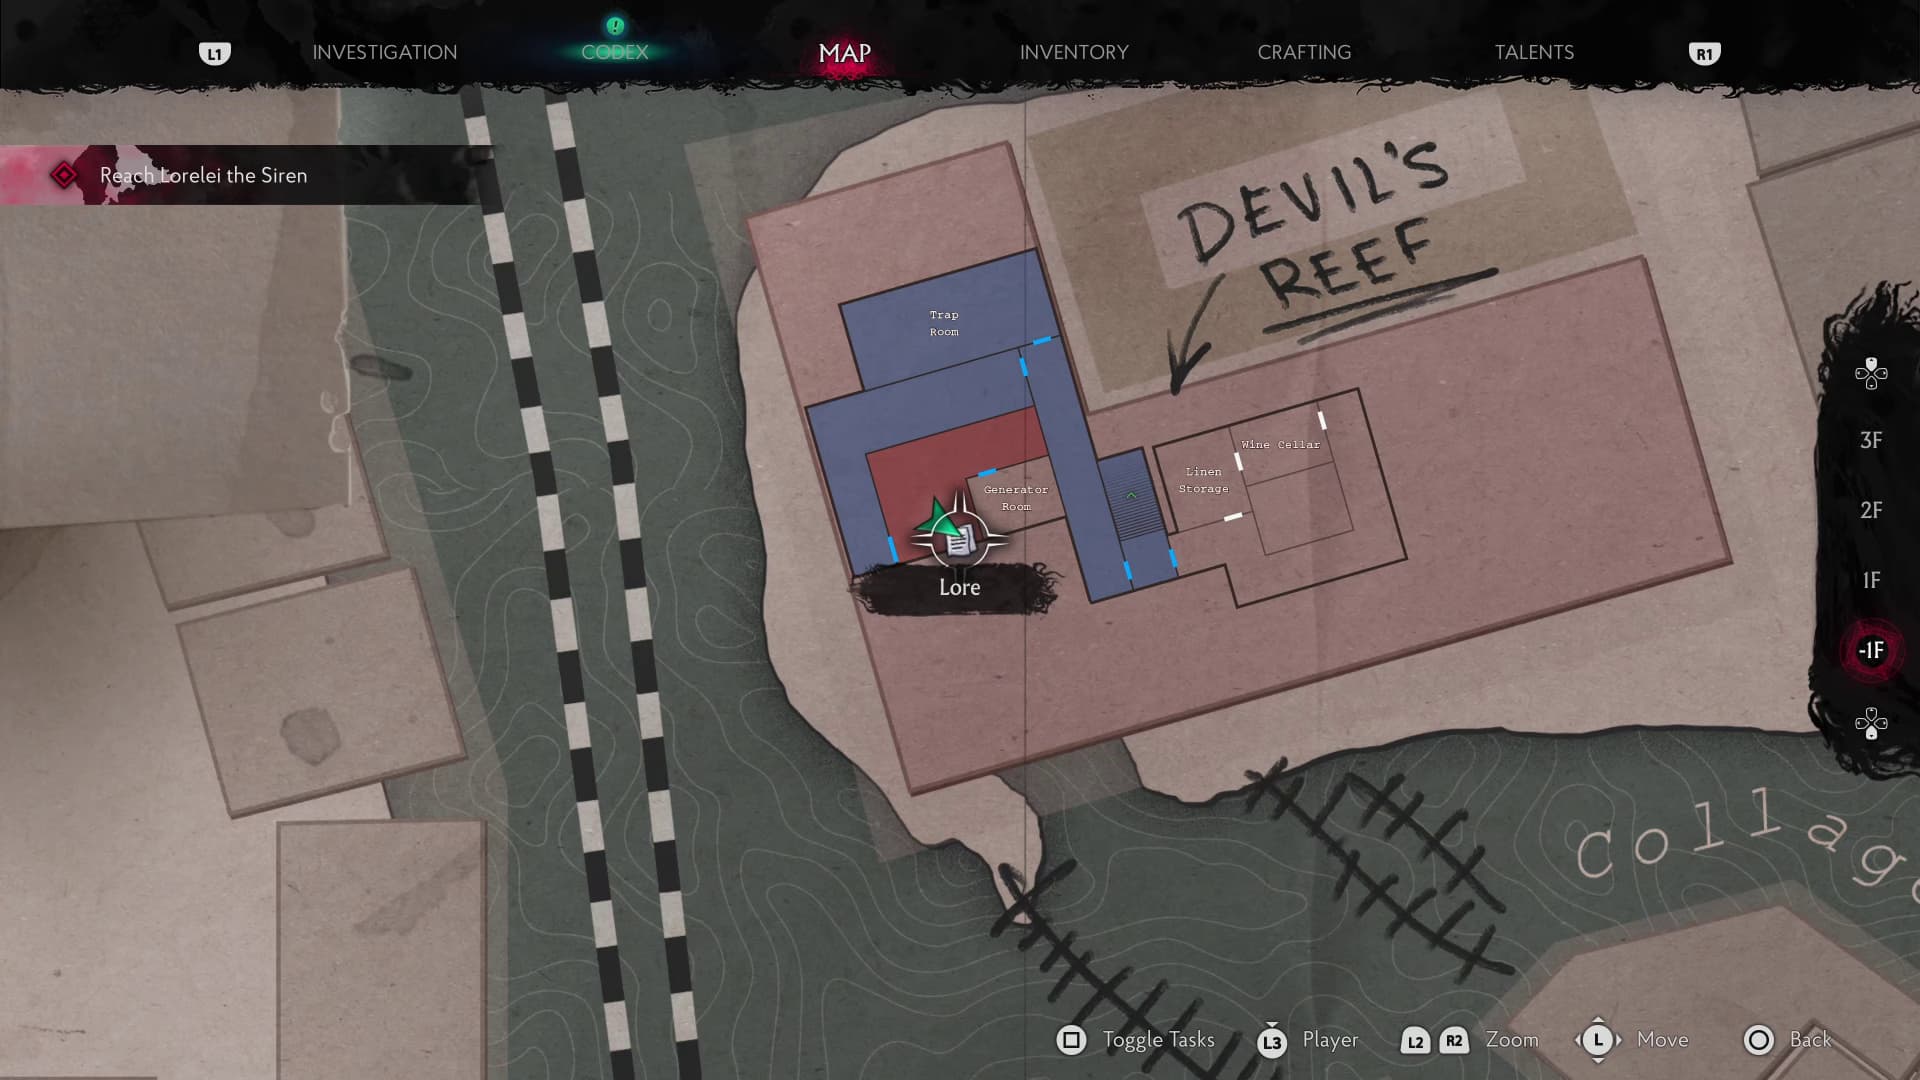
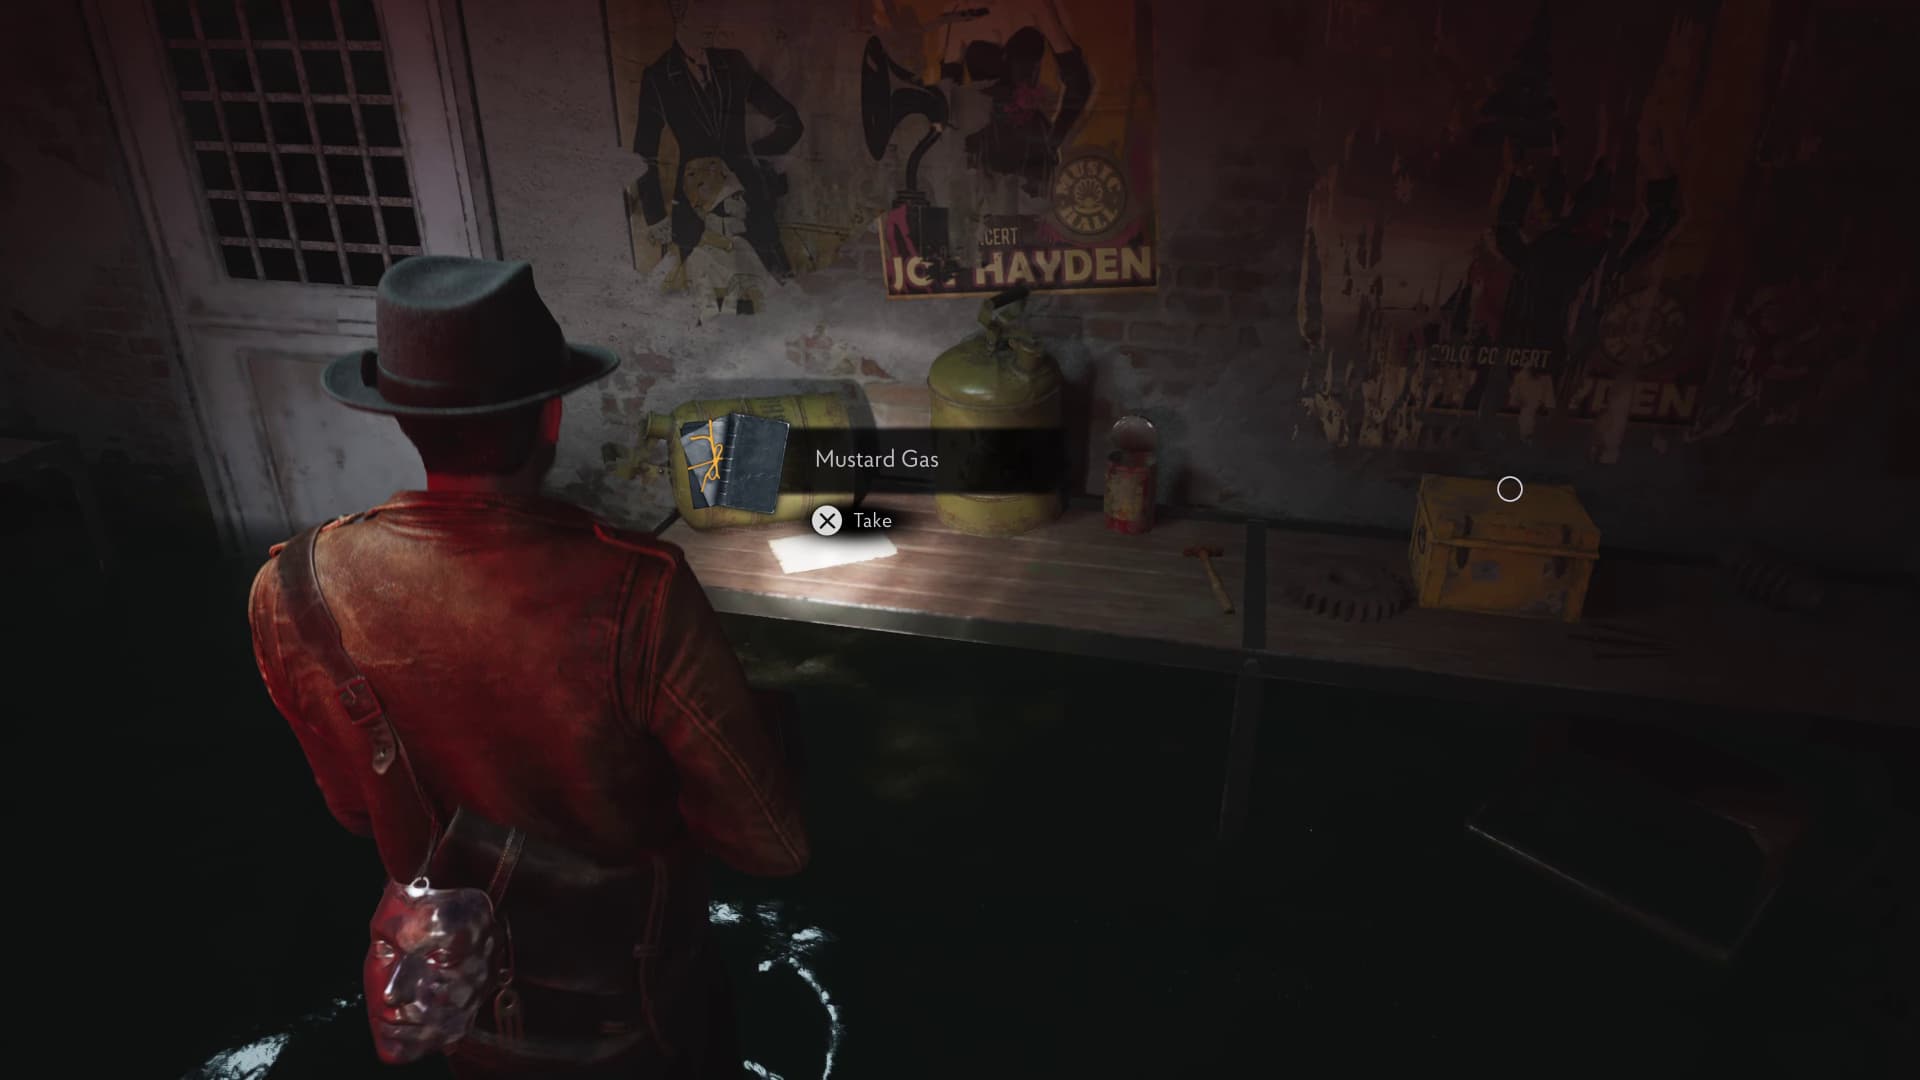
Now make it into the Generator Room to complete the gas puzzle. There will also be the Submachine Gun just to the left of the Generator if you haven't picked this one up already, and just behind, opposite the Generator will be the final Lore Document (Mustard Gas) for this area.
This is all of the Lore Documents for The Wake Up Call. Keep progressing through the game to make it to the next area, A Sight For Sore Eyes, at the Asylum.
A Sight For Sore Eyes
In this area, there will be:
18 Lore Documents
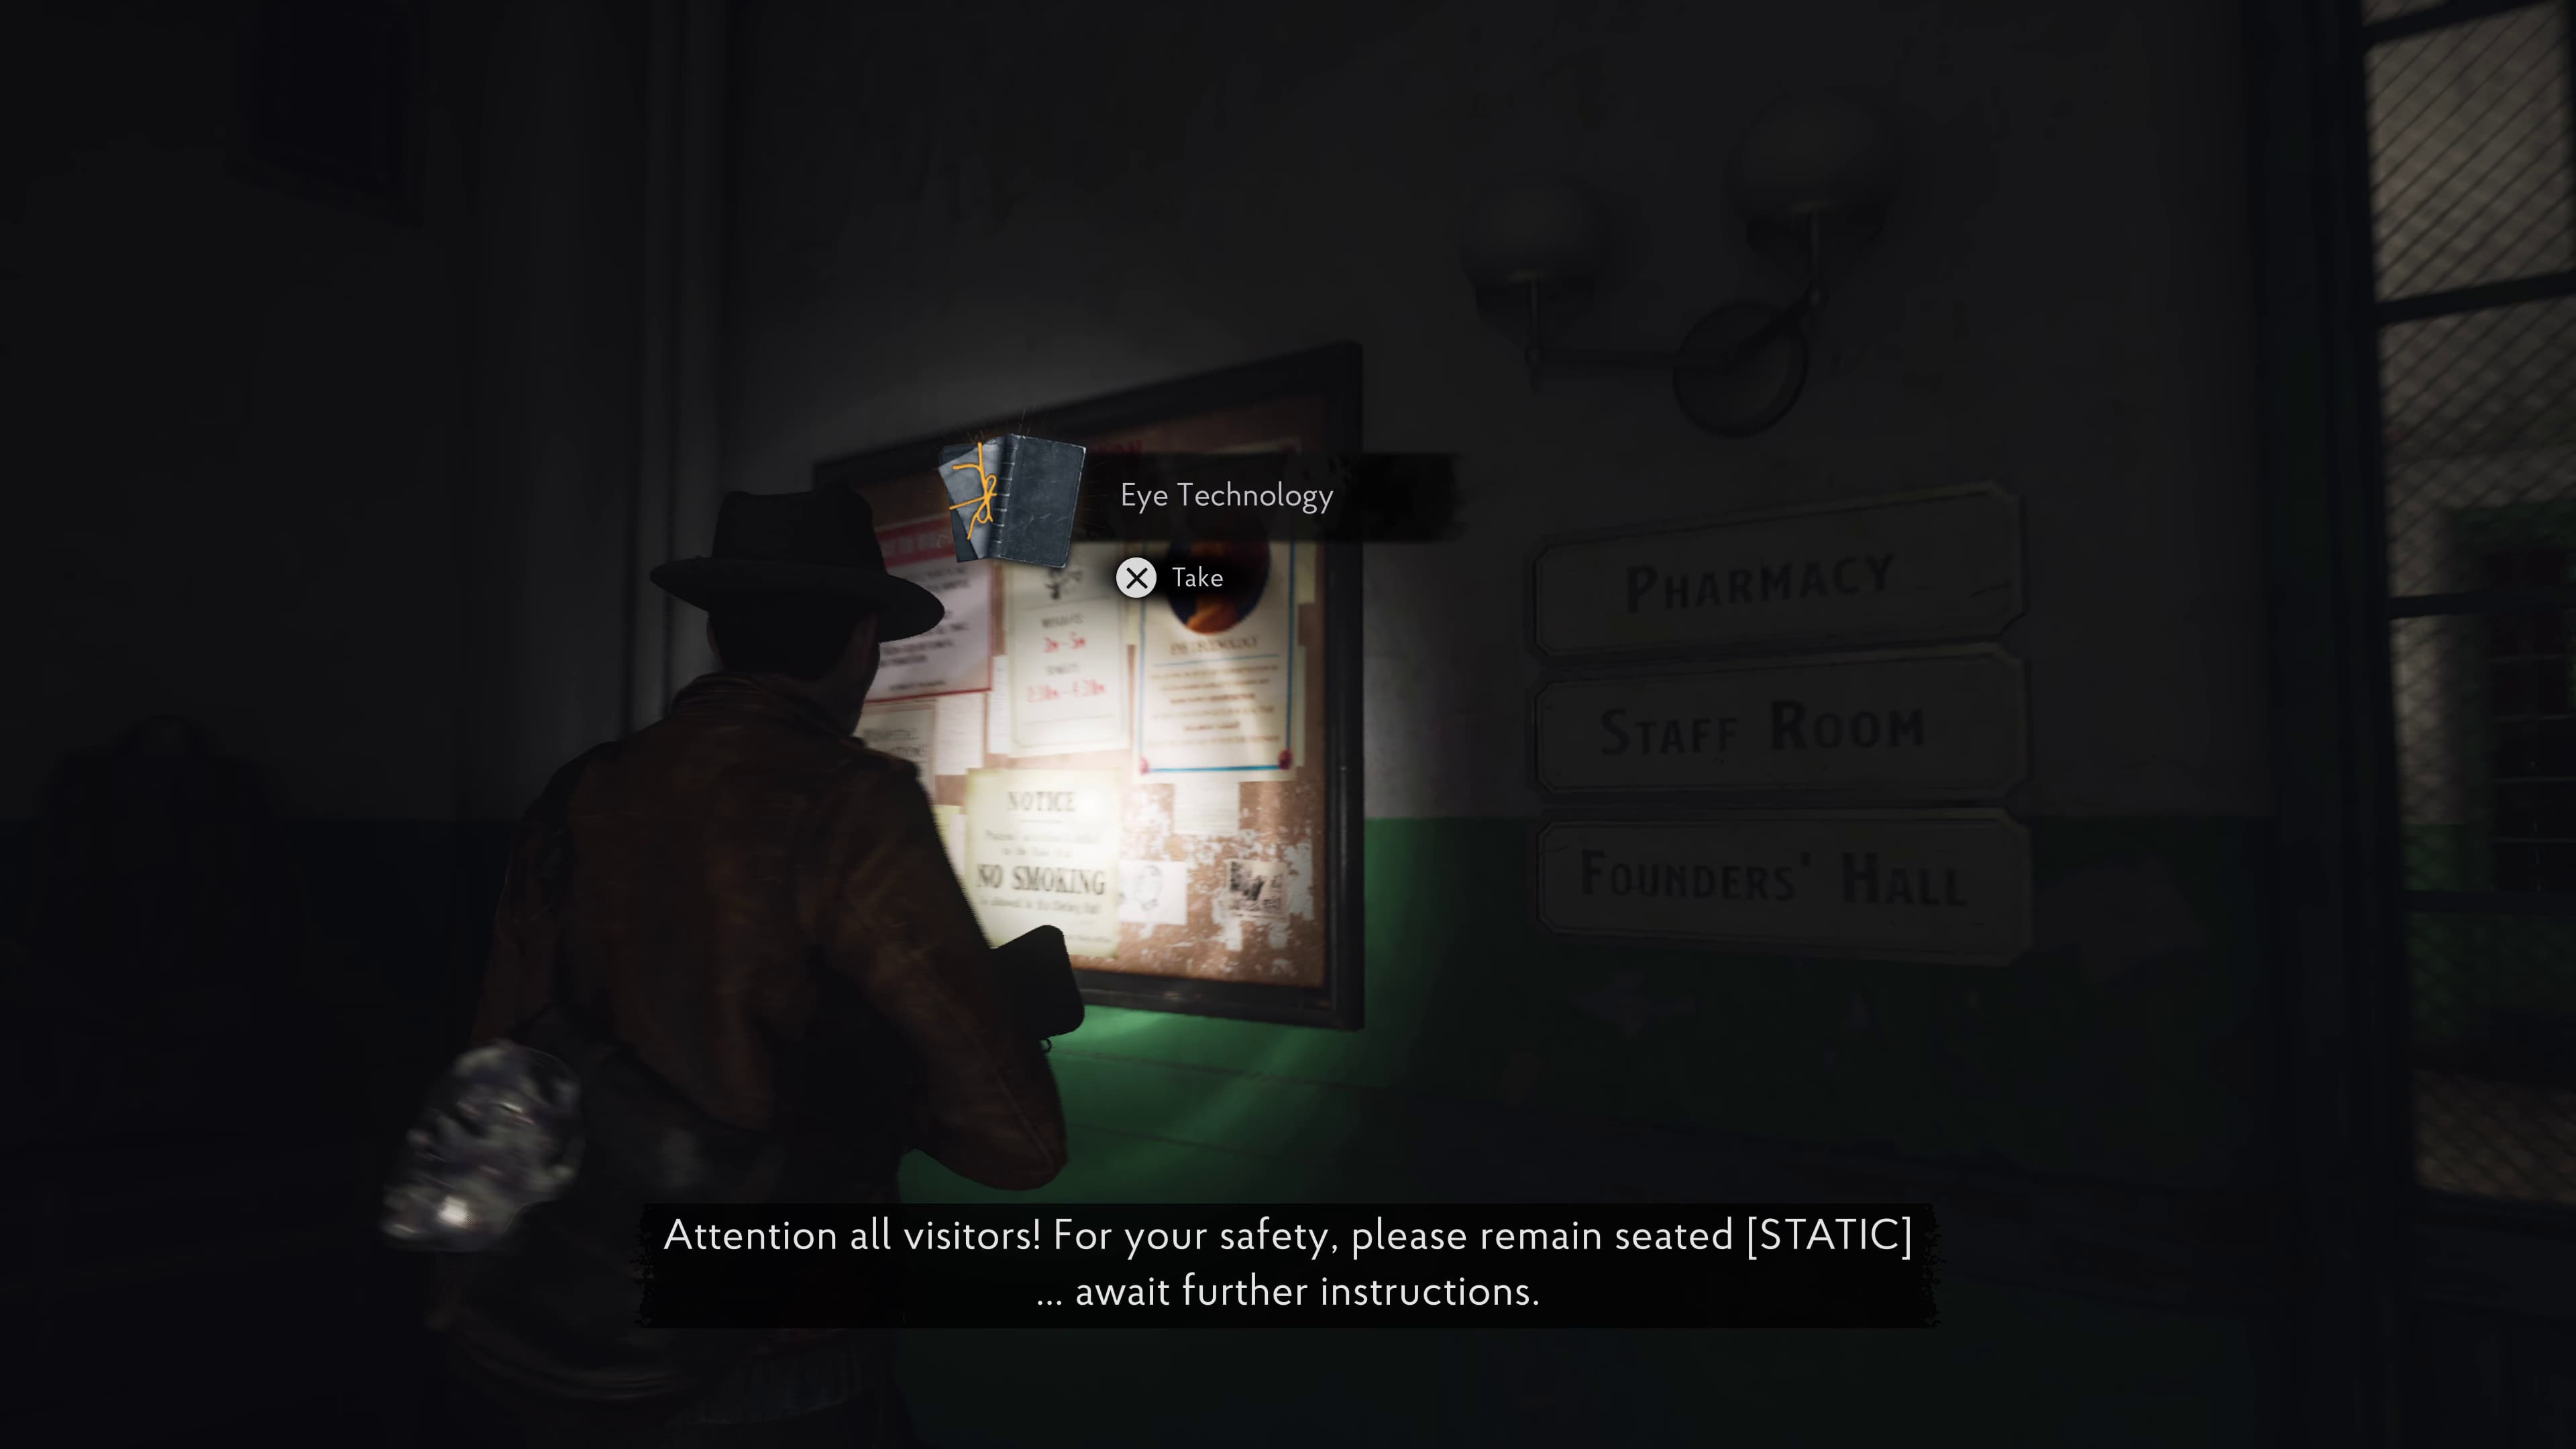
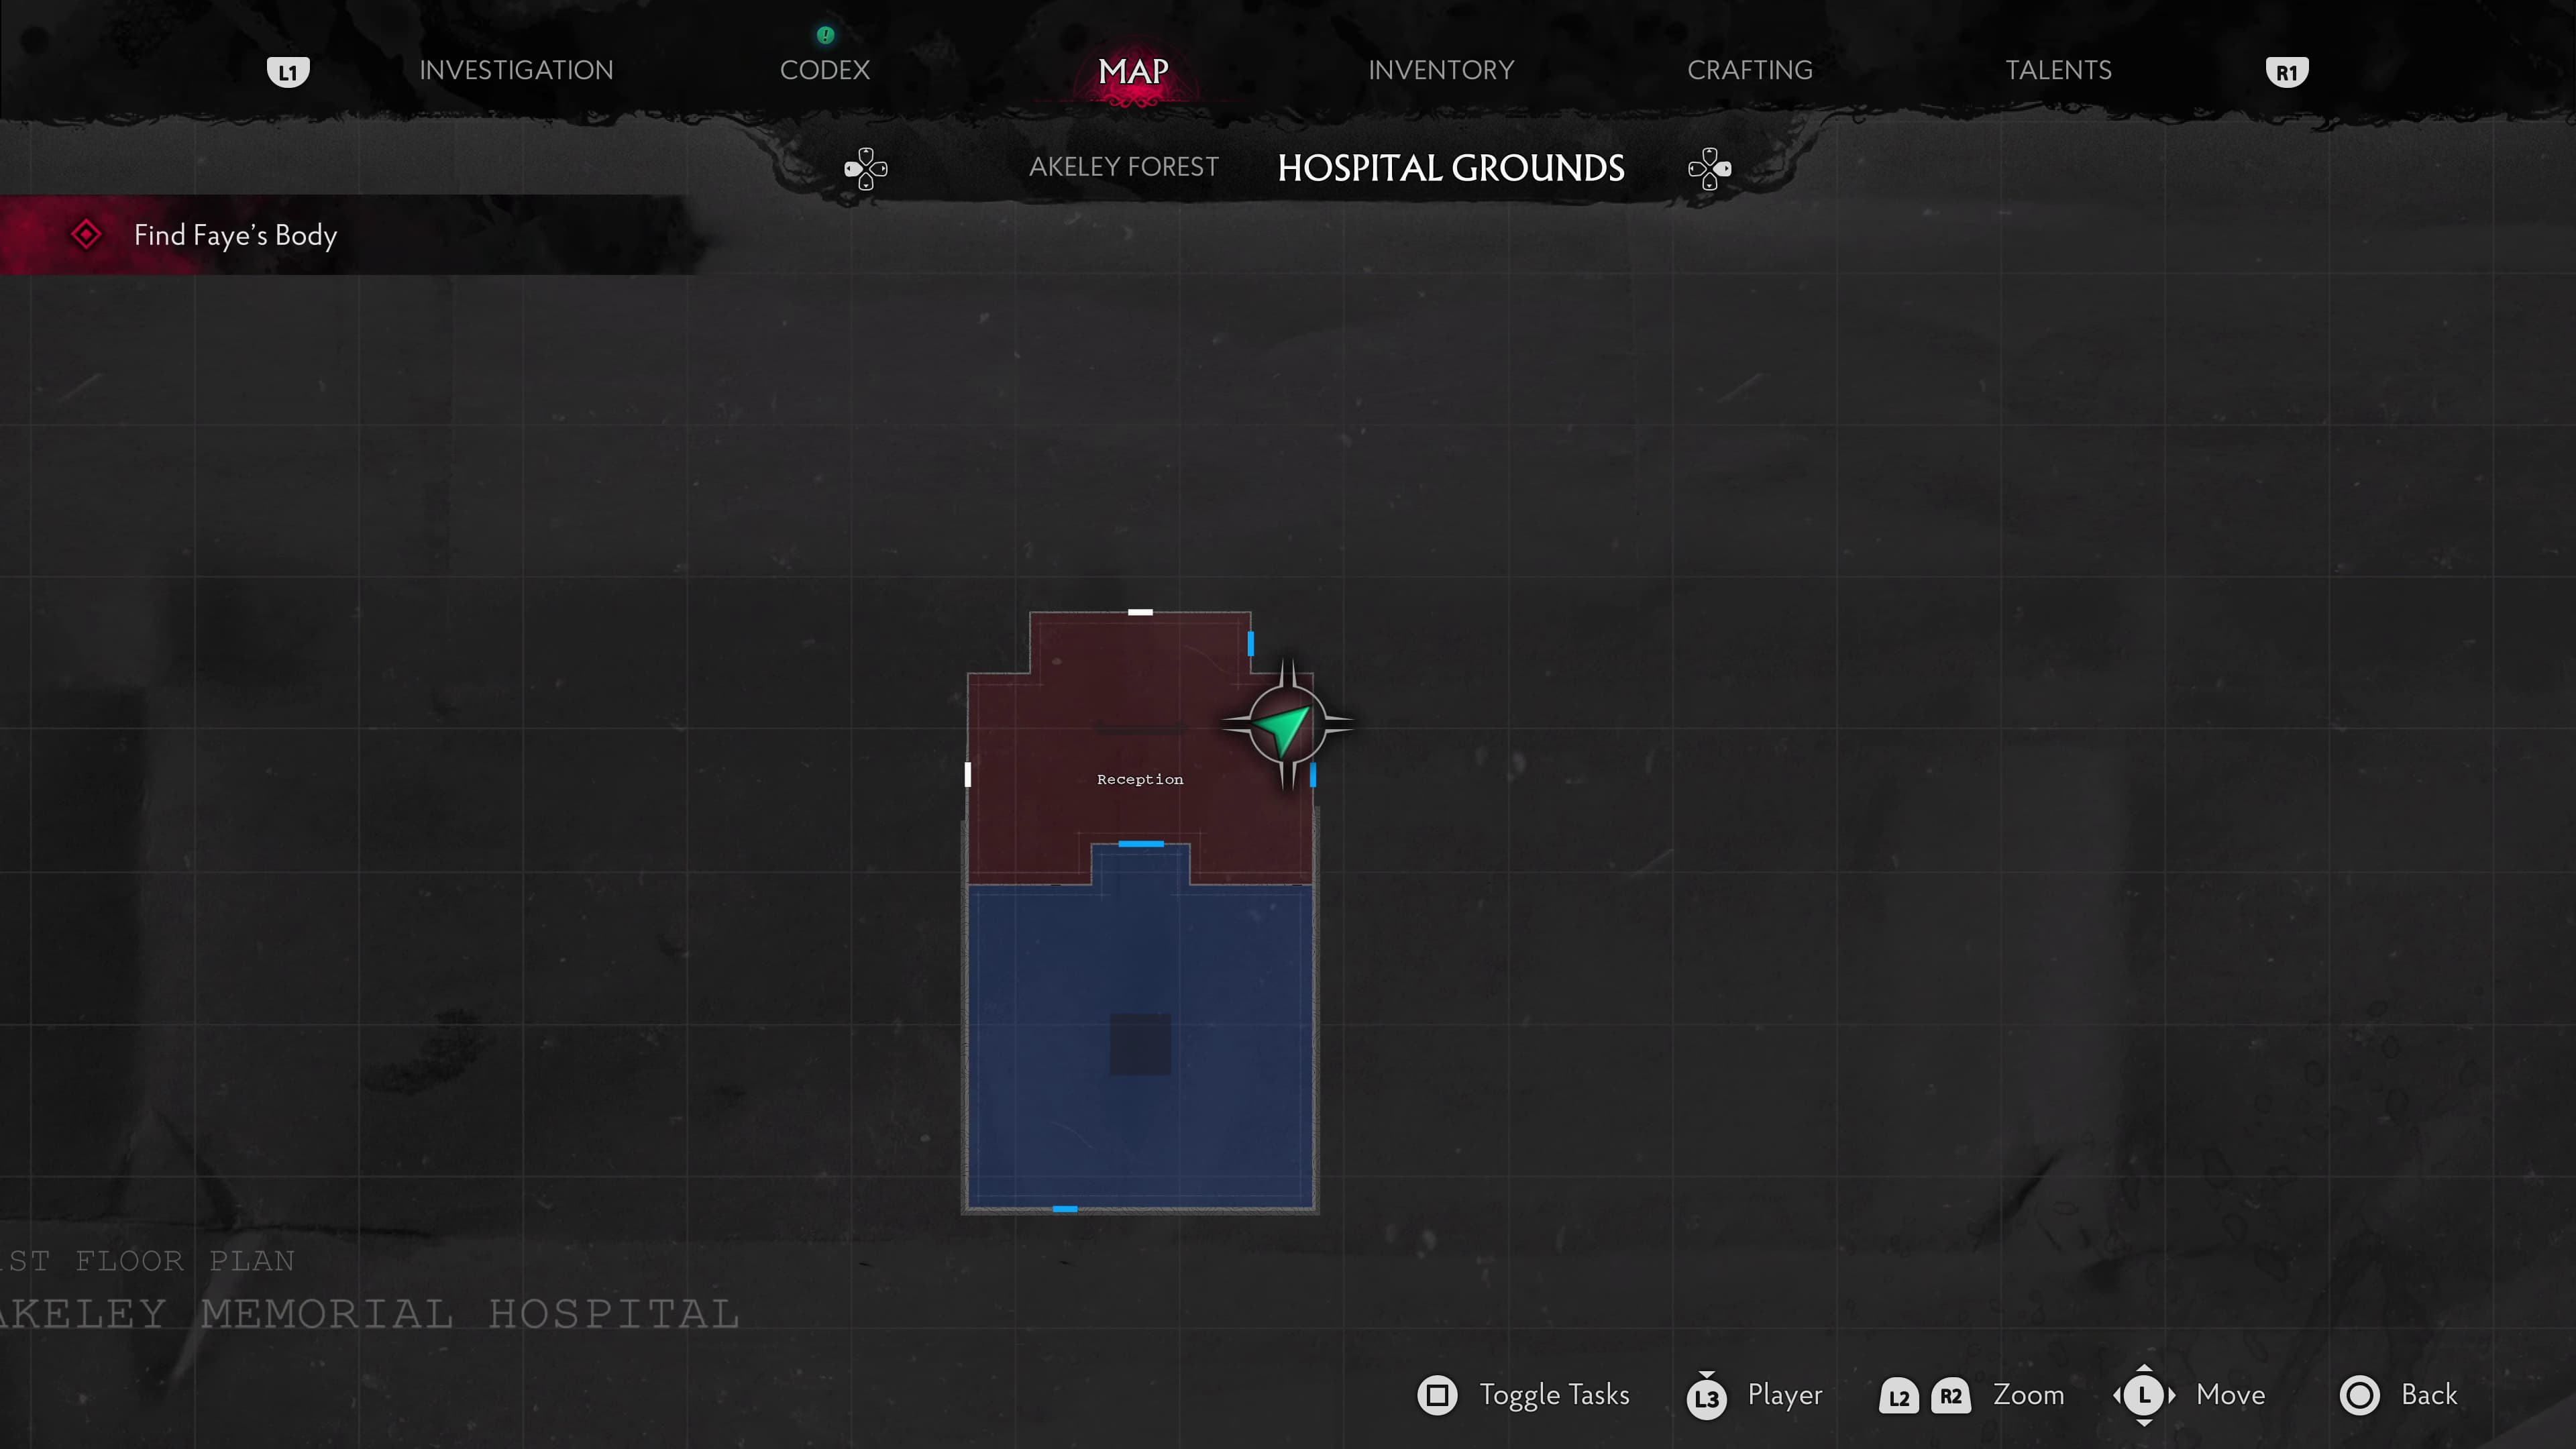
After exiting the boat, keep progressing up the hill and into the Reception of the Asylum. As soon as you enter the Asylum in the back right corner, on a corkboard will be the next Lore Document (Eye Technology).
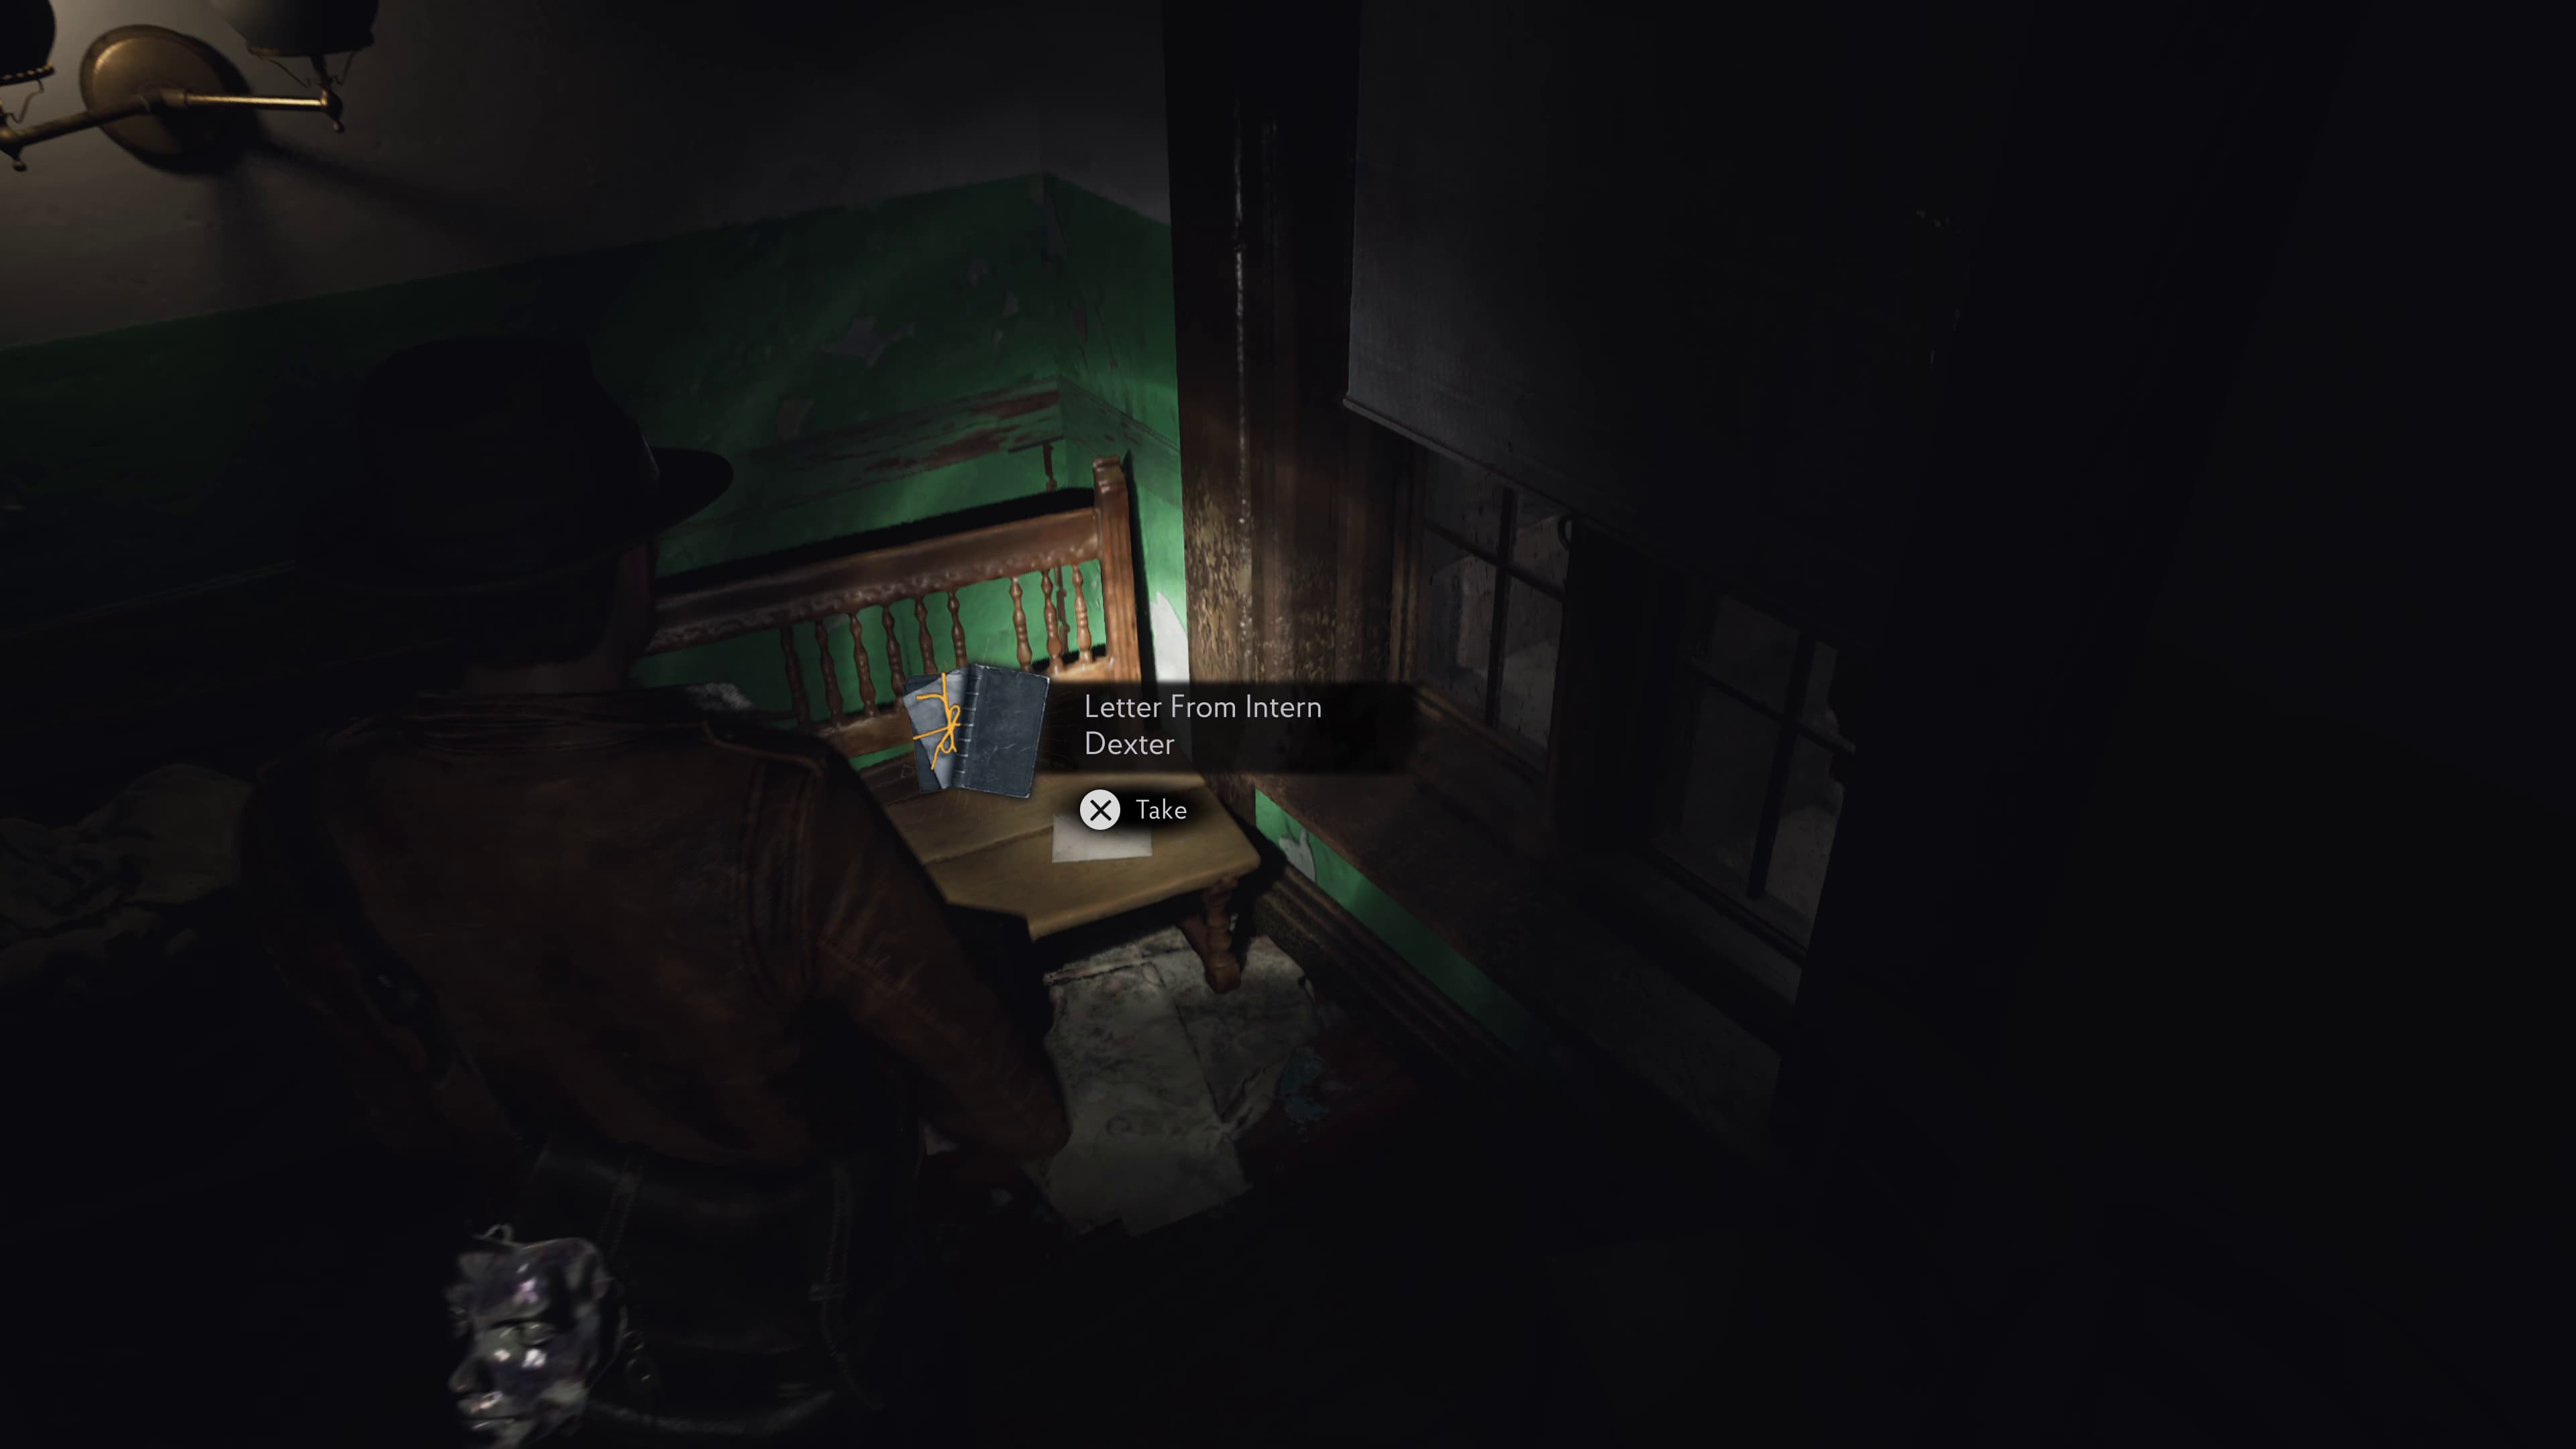
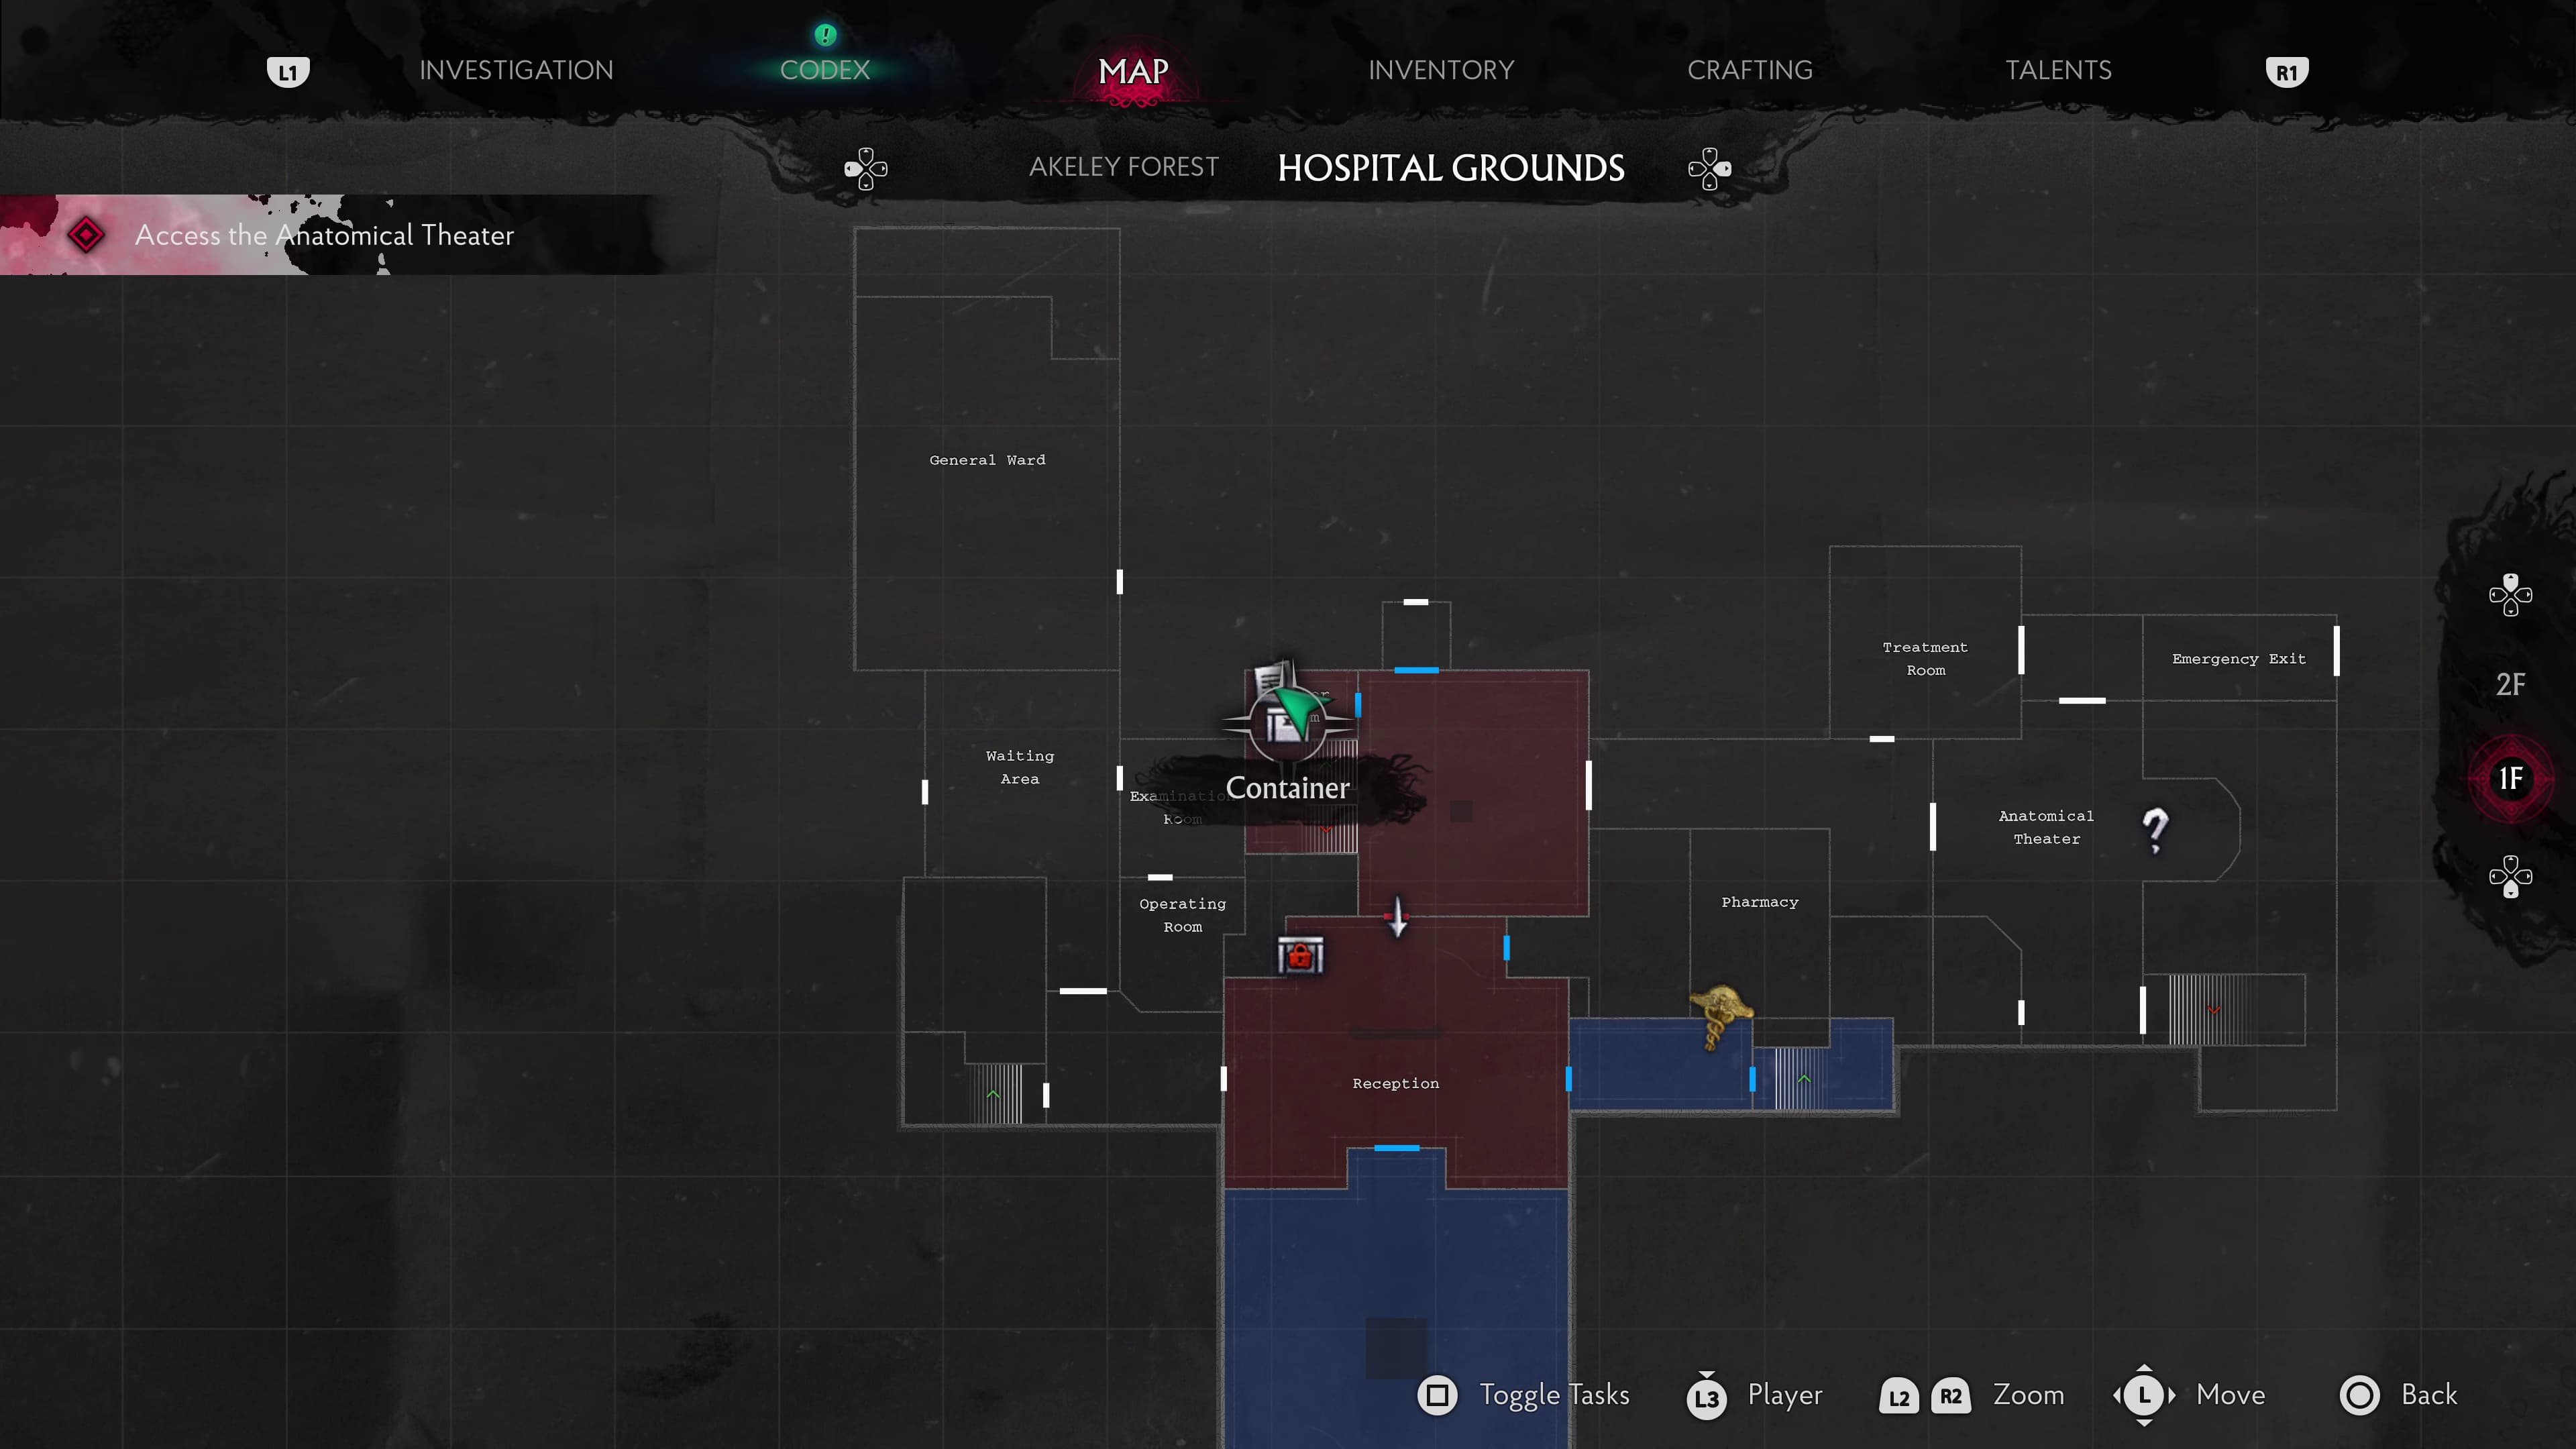
Head through the door on the right from Reception and up the stairs straight ahead, there will be a cutscene, and from here make it out of the window and onto the balcony, keep advancing to make it to the next room, from here, head downstairs again. There will be a map on the right wall to collect, and to the left of the stairs a Locker Room. In here on a bench will be the next Lore Document (Letter From Intern Dexter).
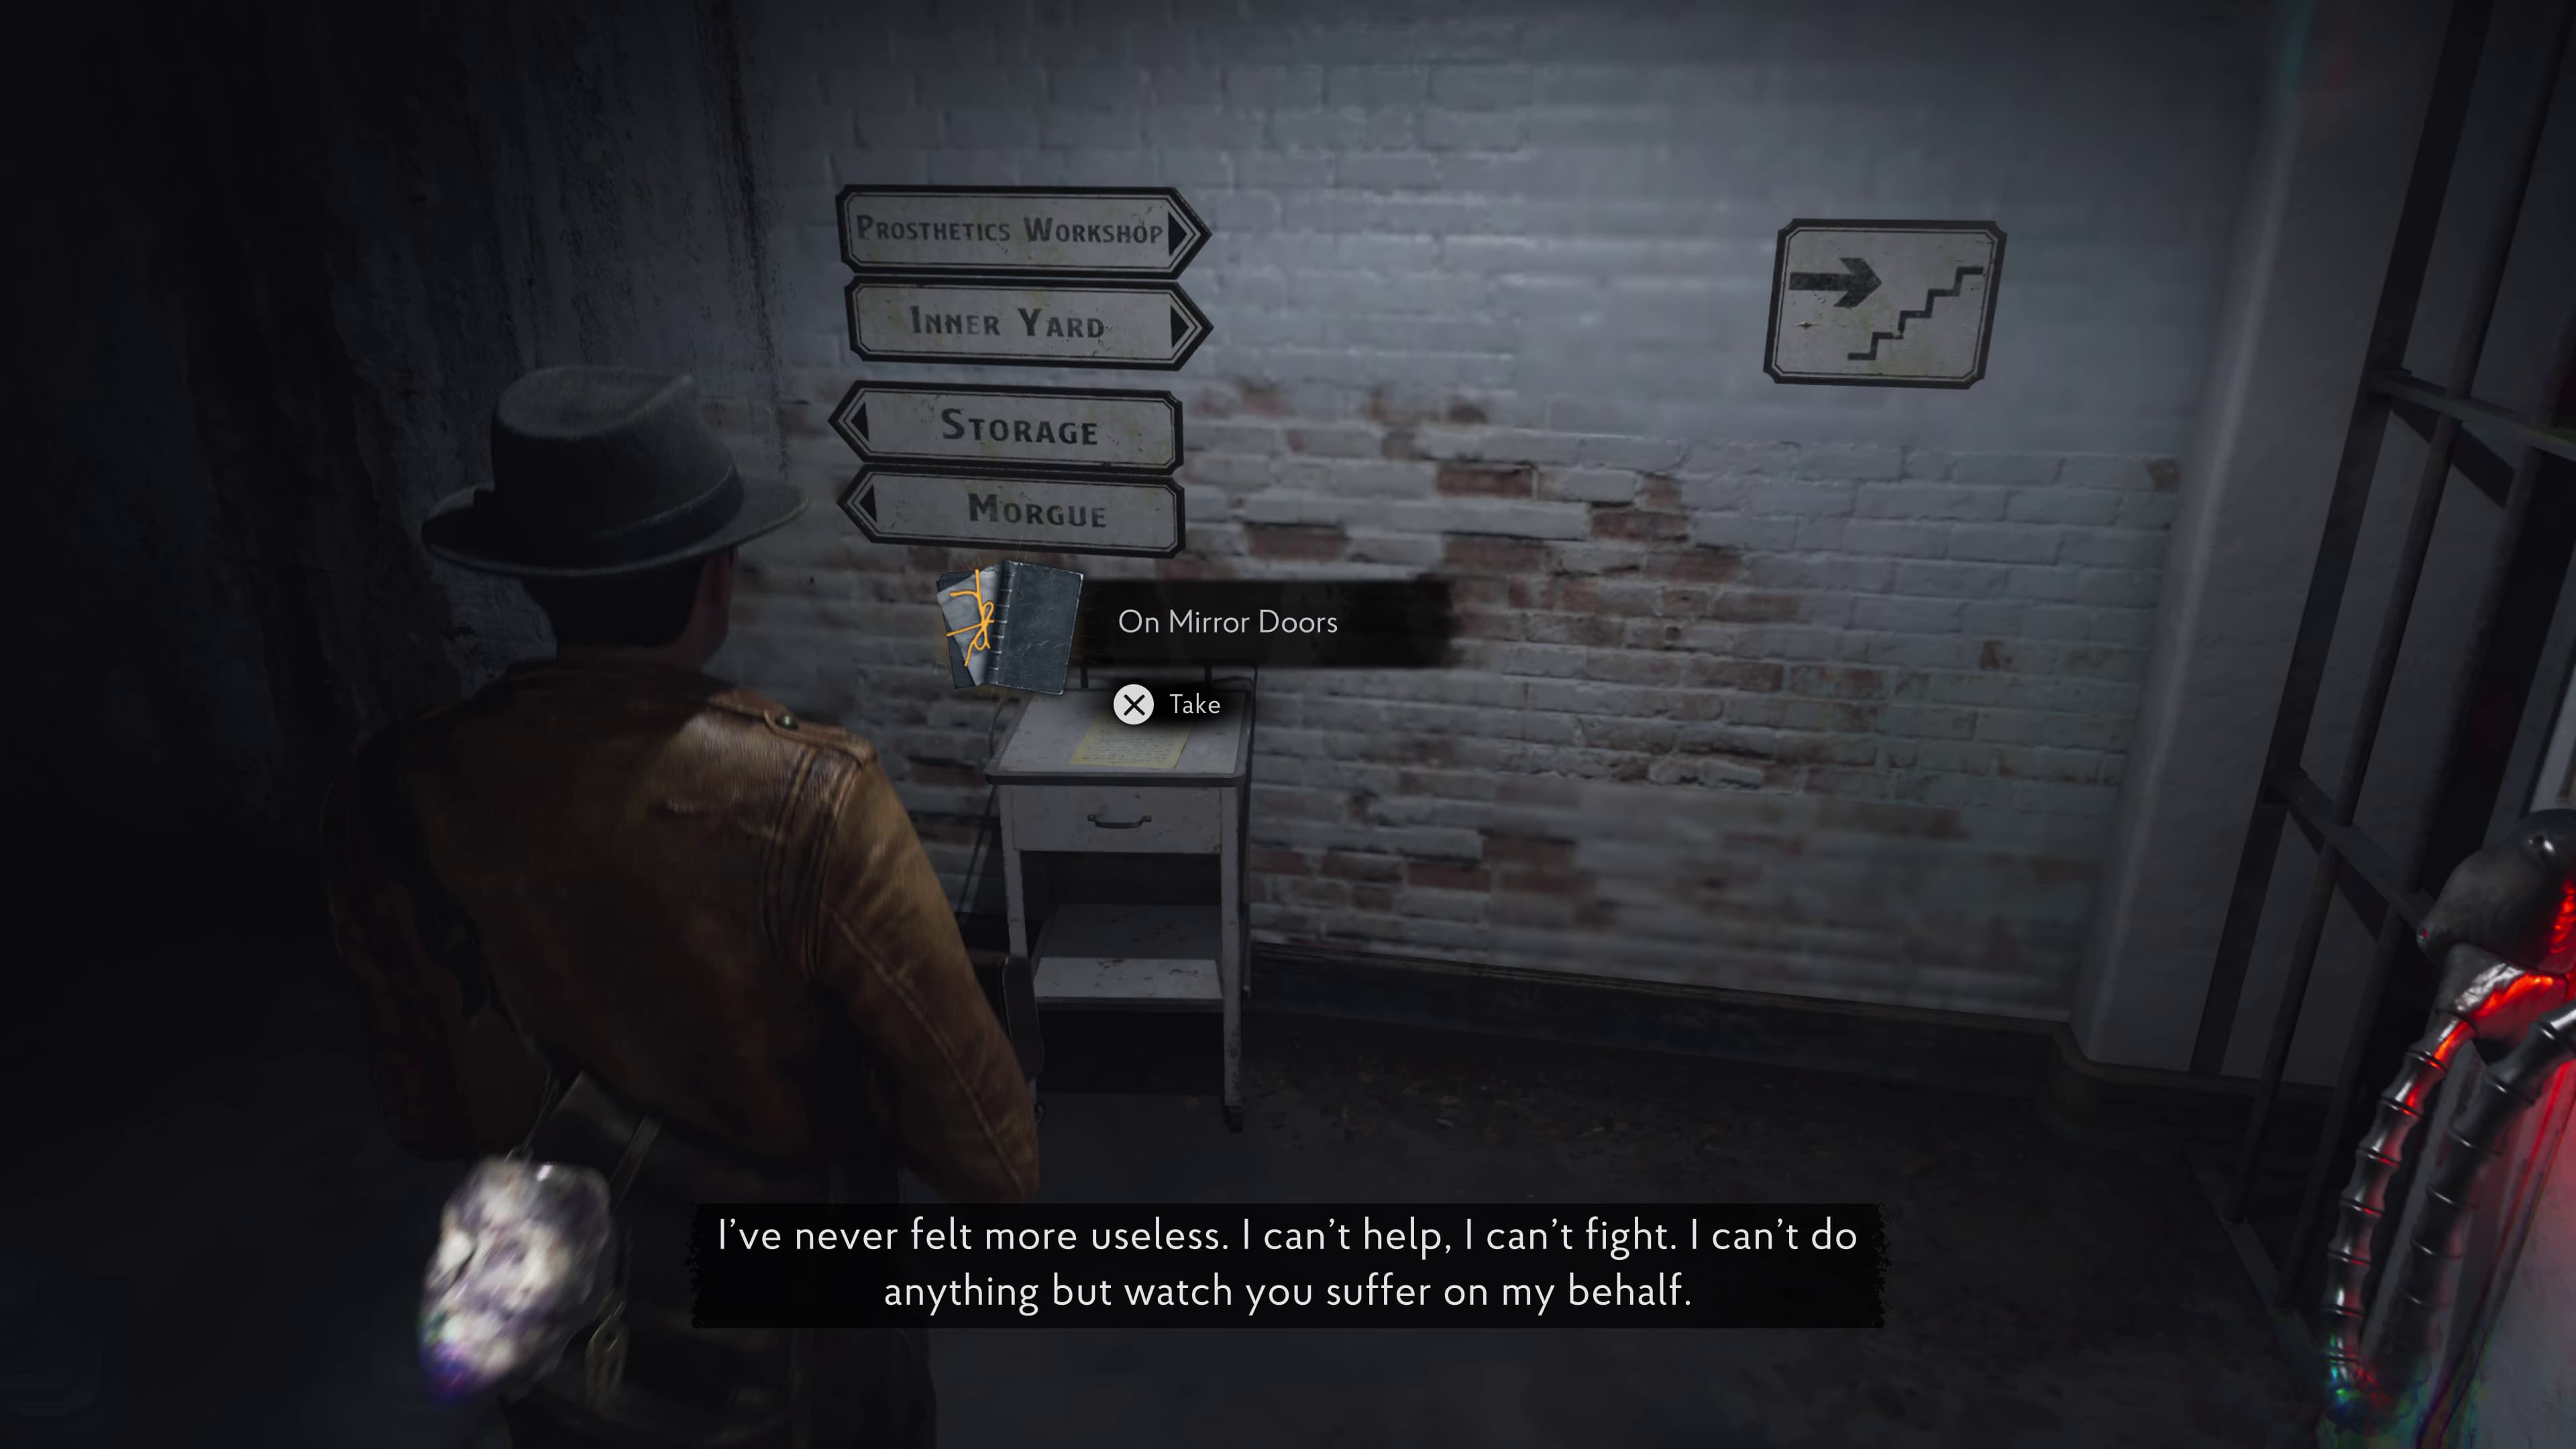
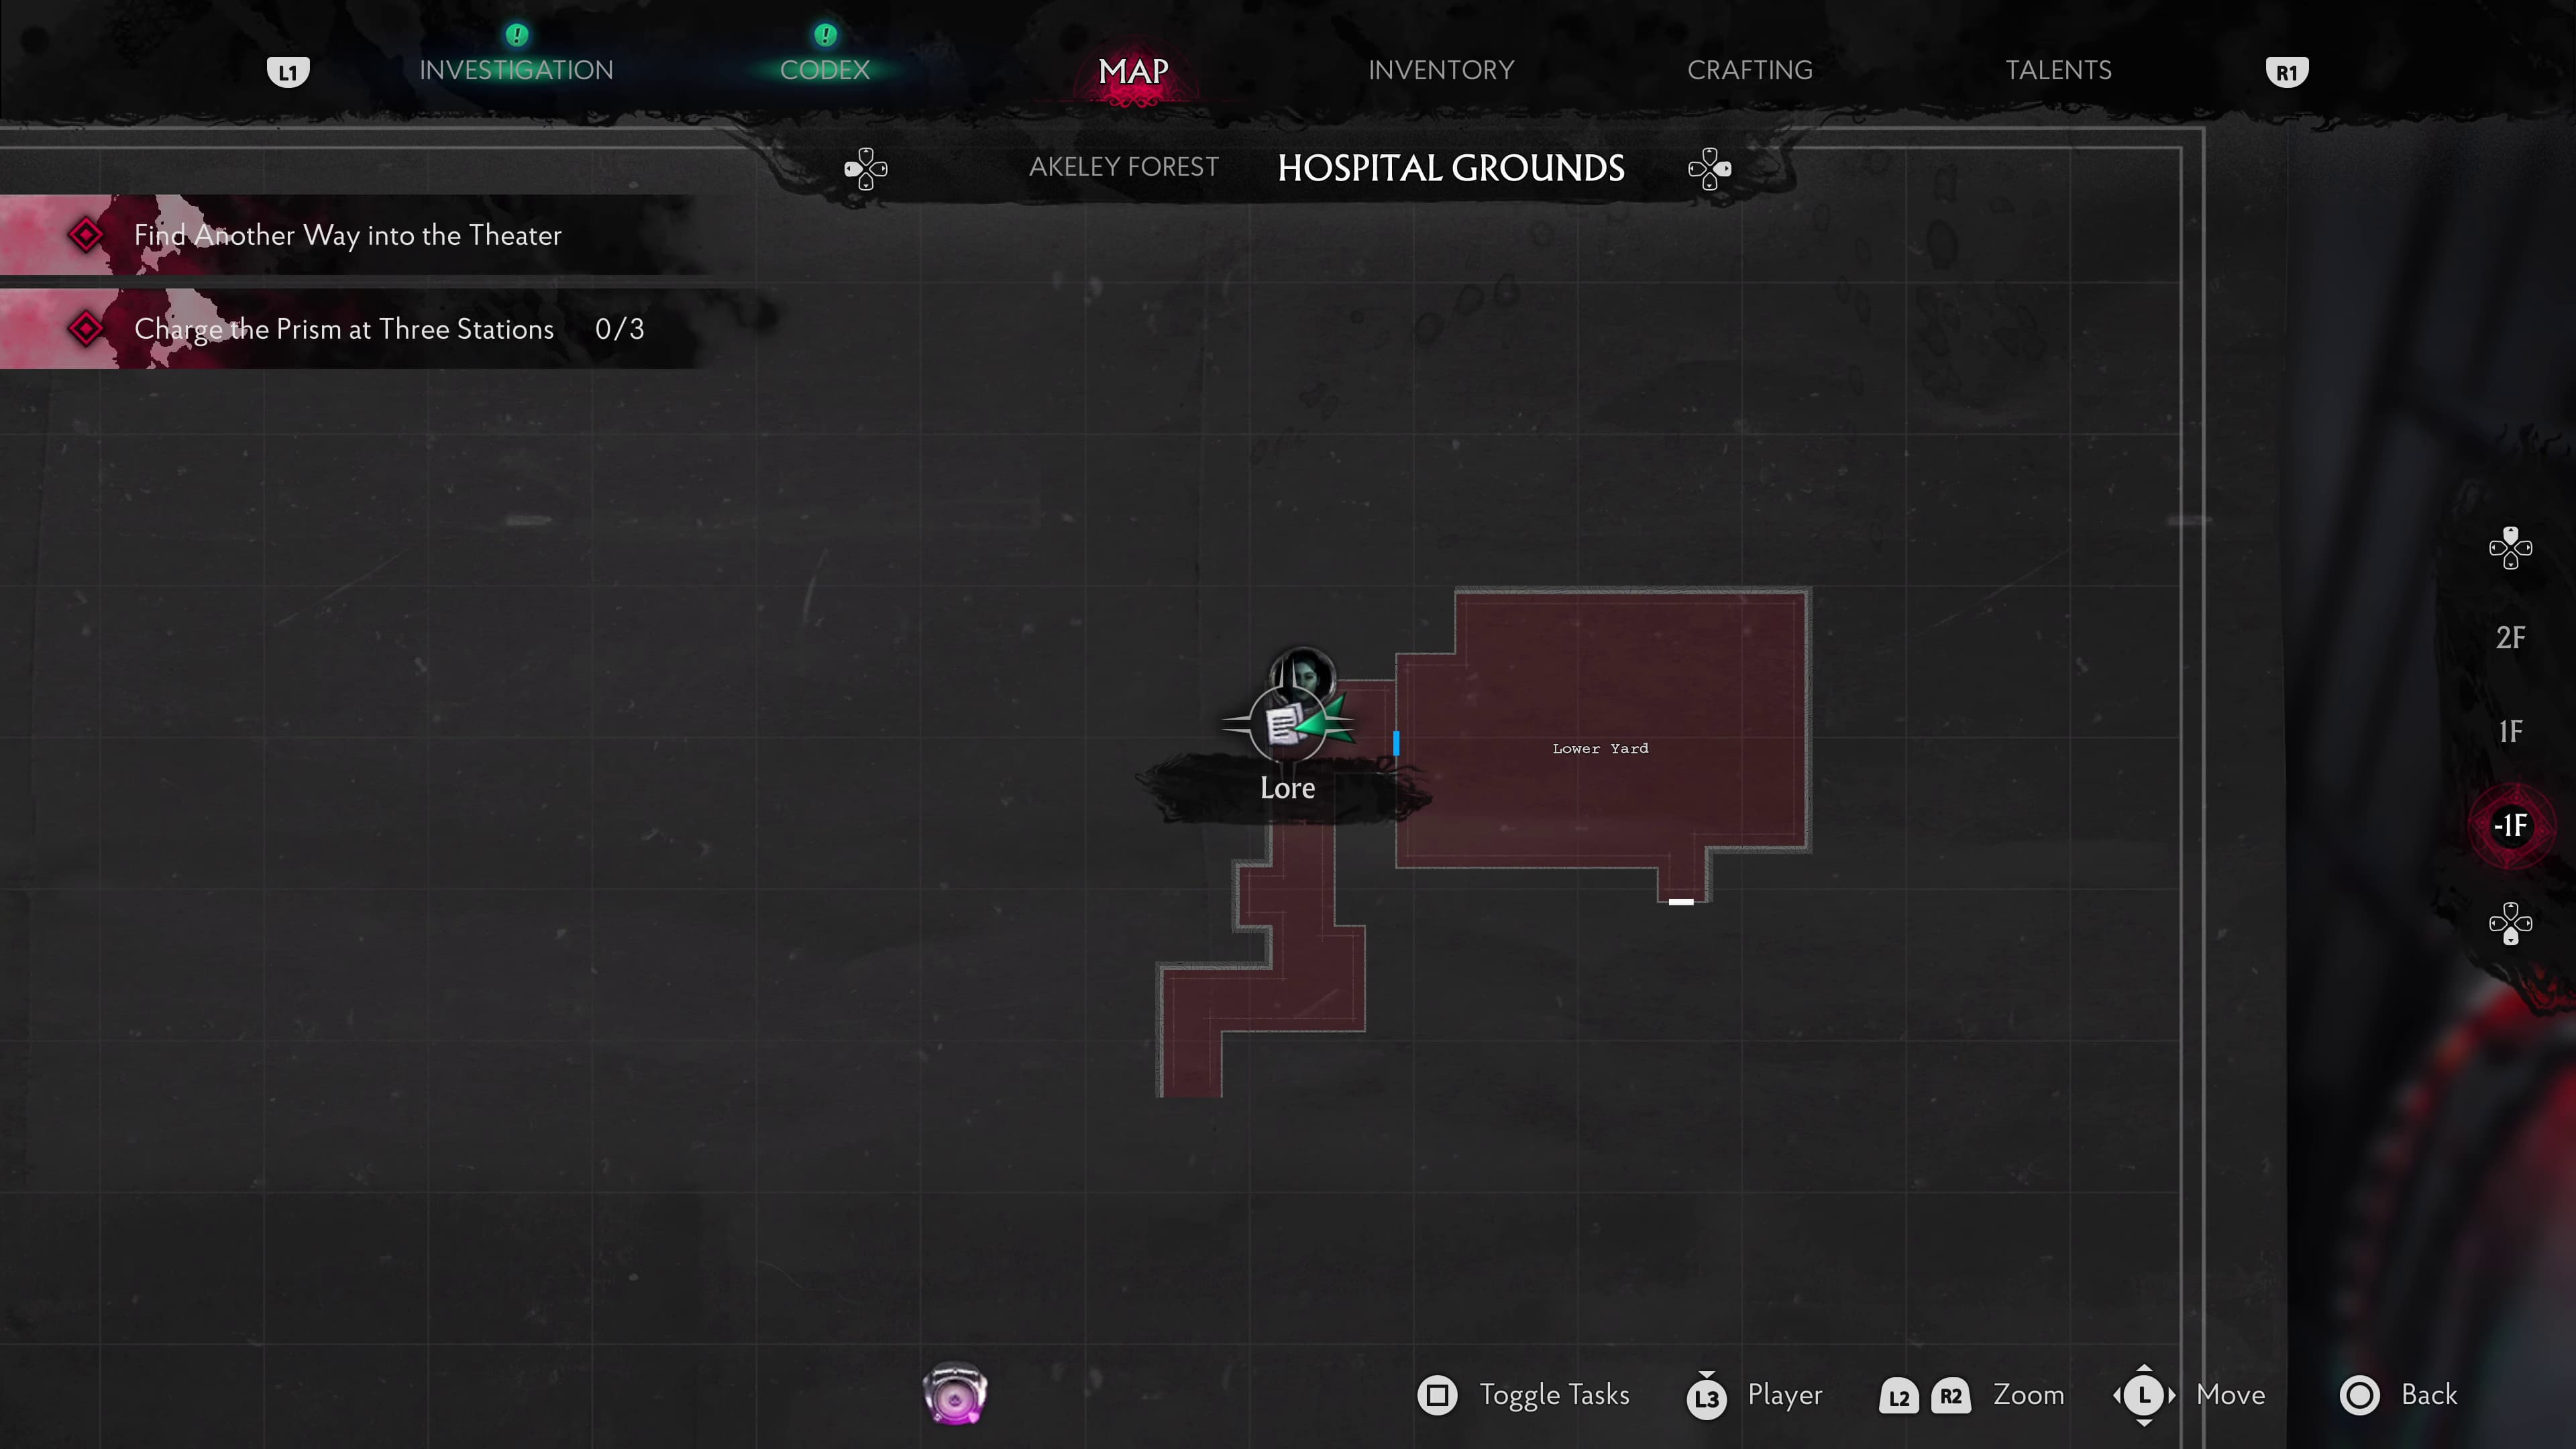
After collecting the Prism and making it outside, after the cutscene, enter through the white door straight ahead, and inside on a small cabinet will be the next Lore Document (On Mirror Doors).
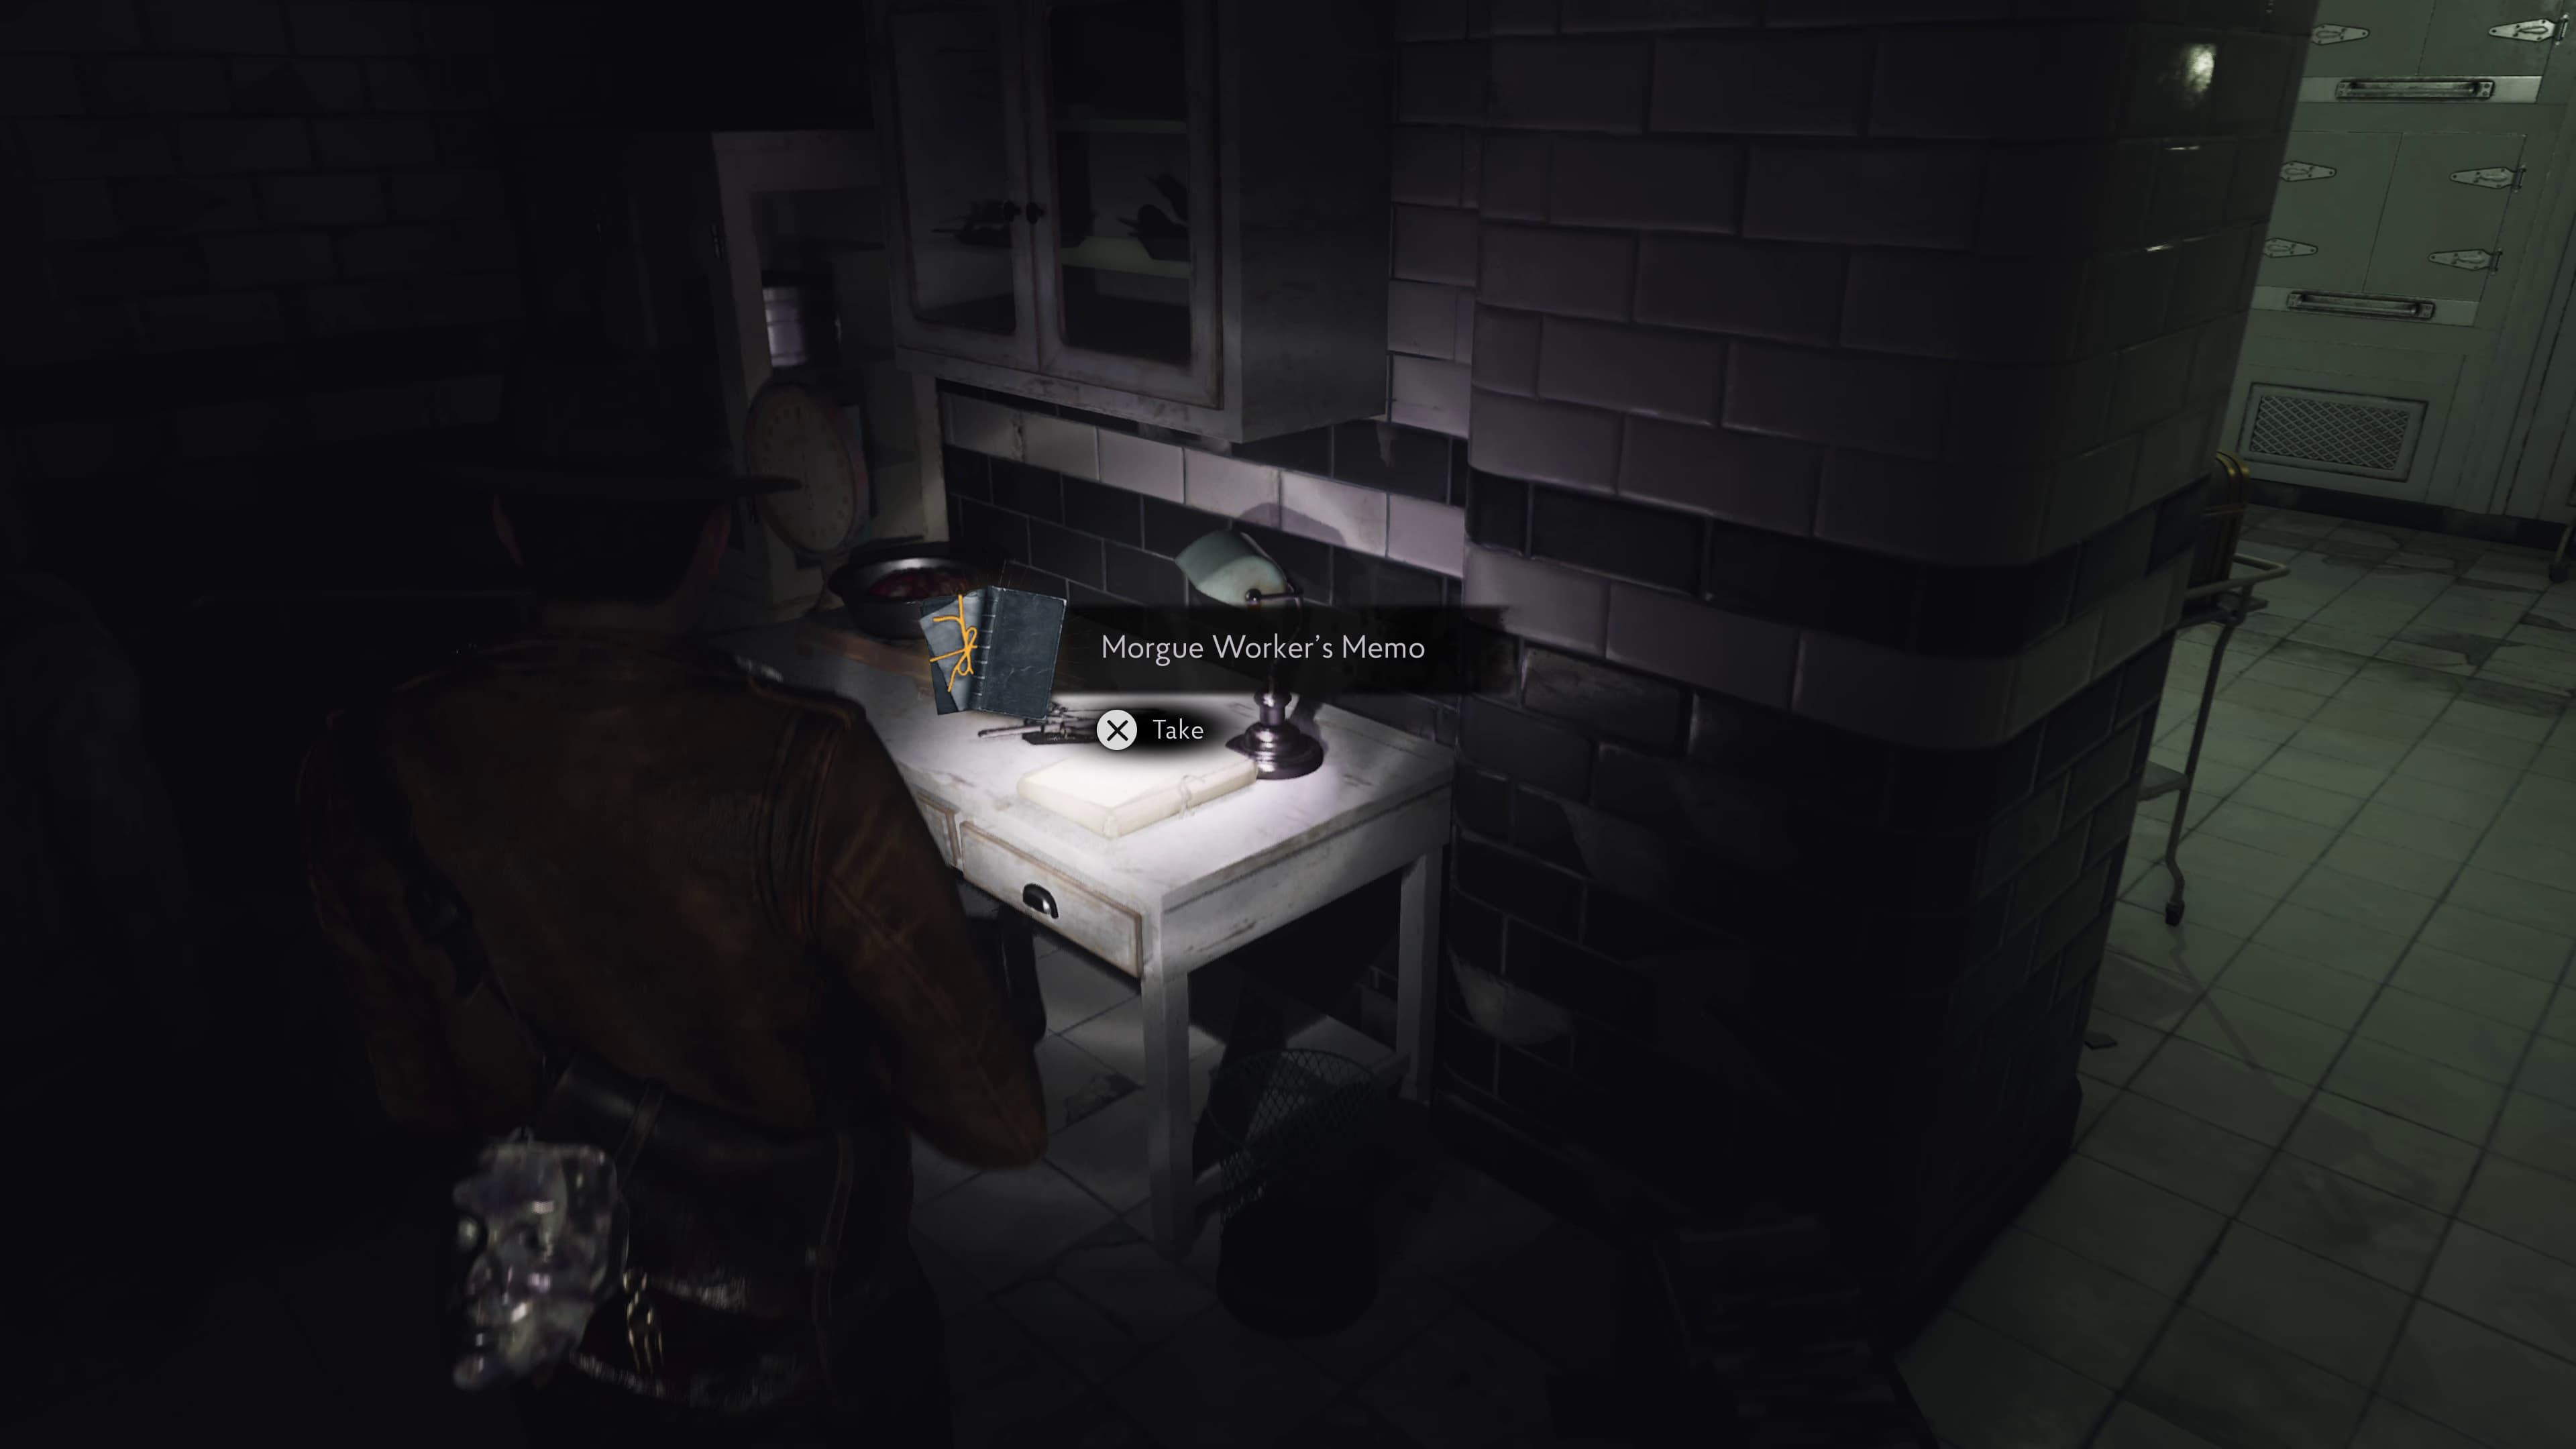
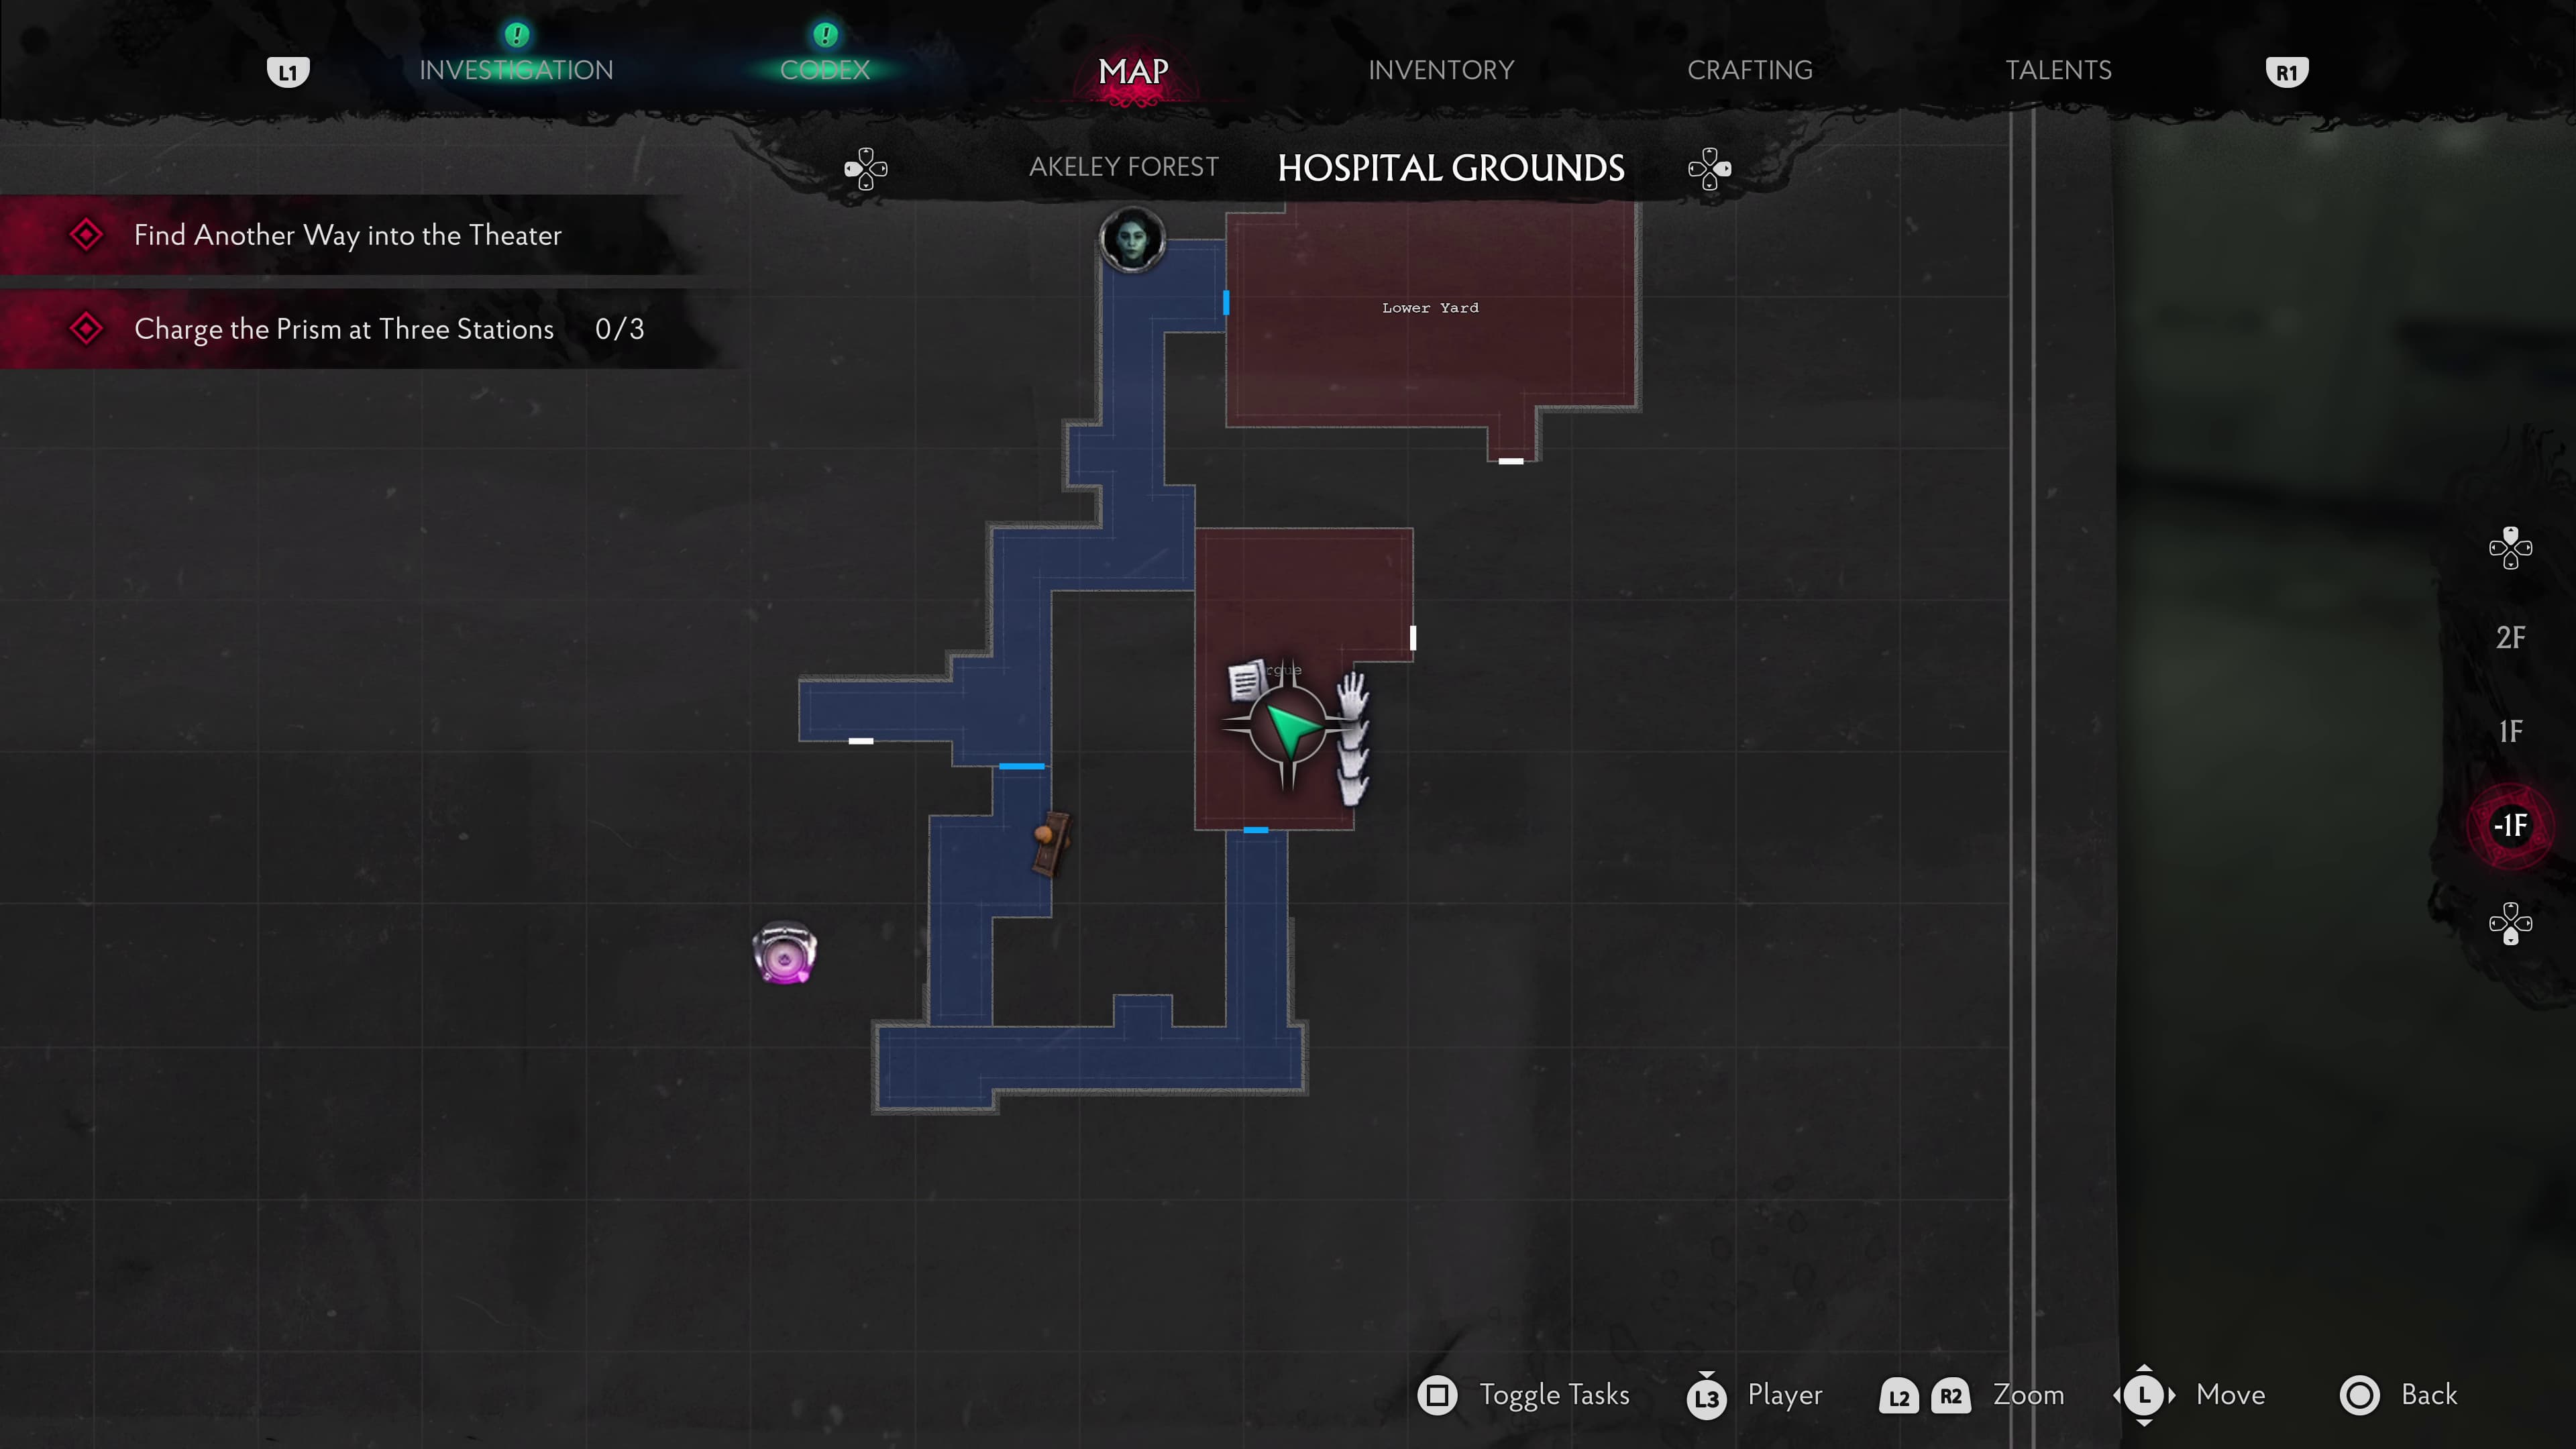
Keep progressing in this area until you make it into the Morgue. As soon as you enter the Morgue, on the desk behind the covered body on the table, will be the next Lore Document (Morgue Workers Memo).
Keep advancing the story until you make it out to the garden beside the Gazebo area. Use the Acid to de-rust the door handle. Head left and through into the Treatment Room to complete the Blue Prism puzzle.
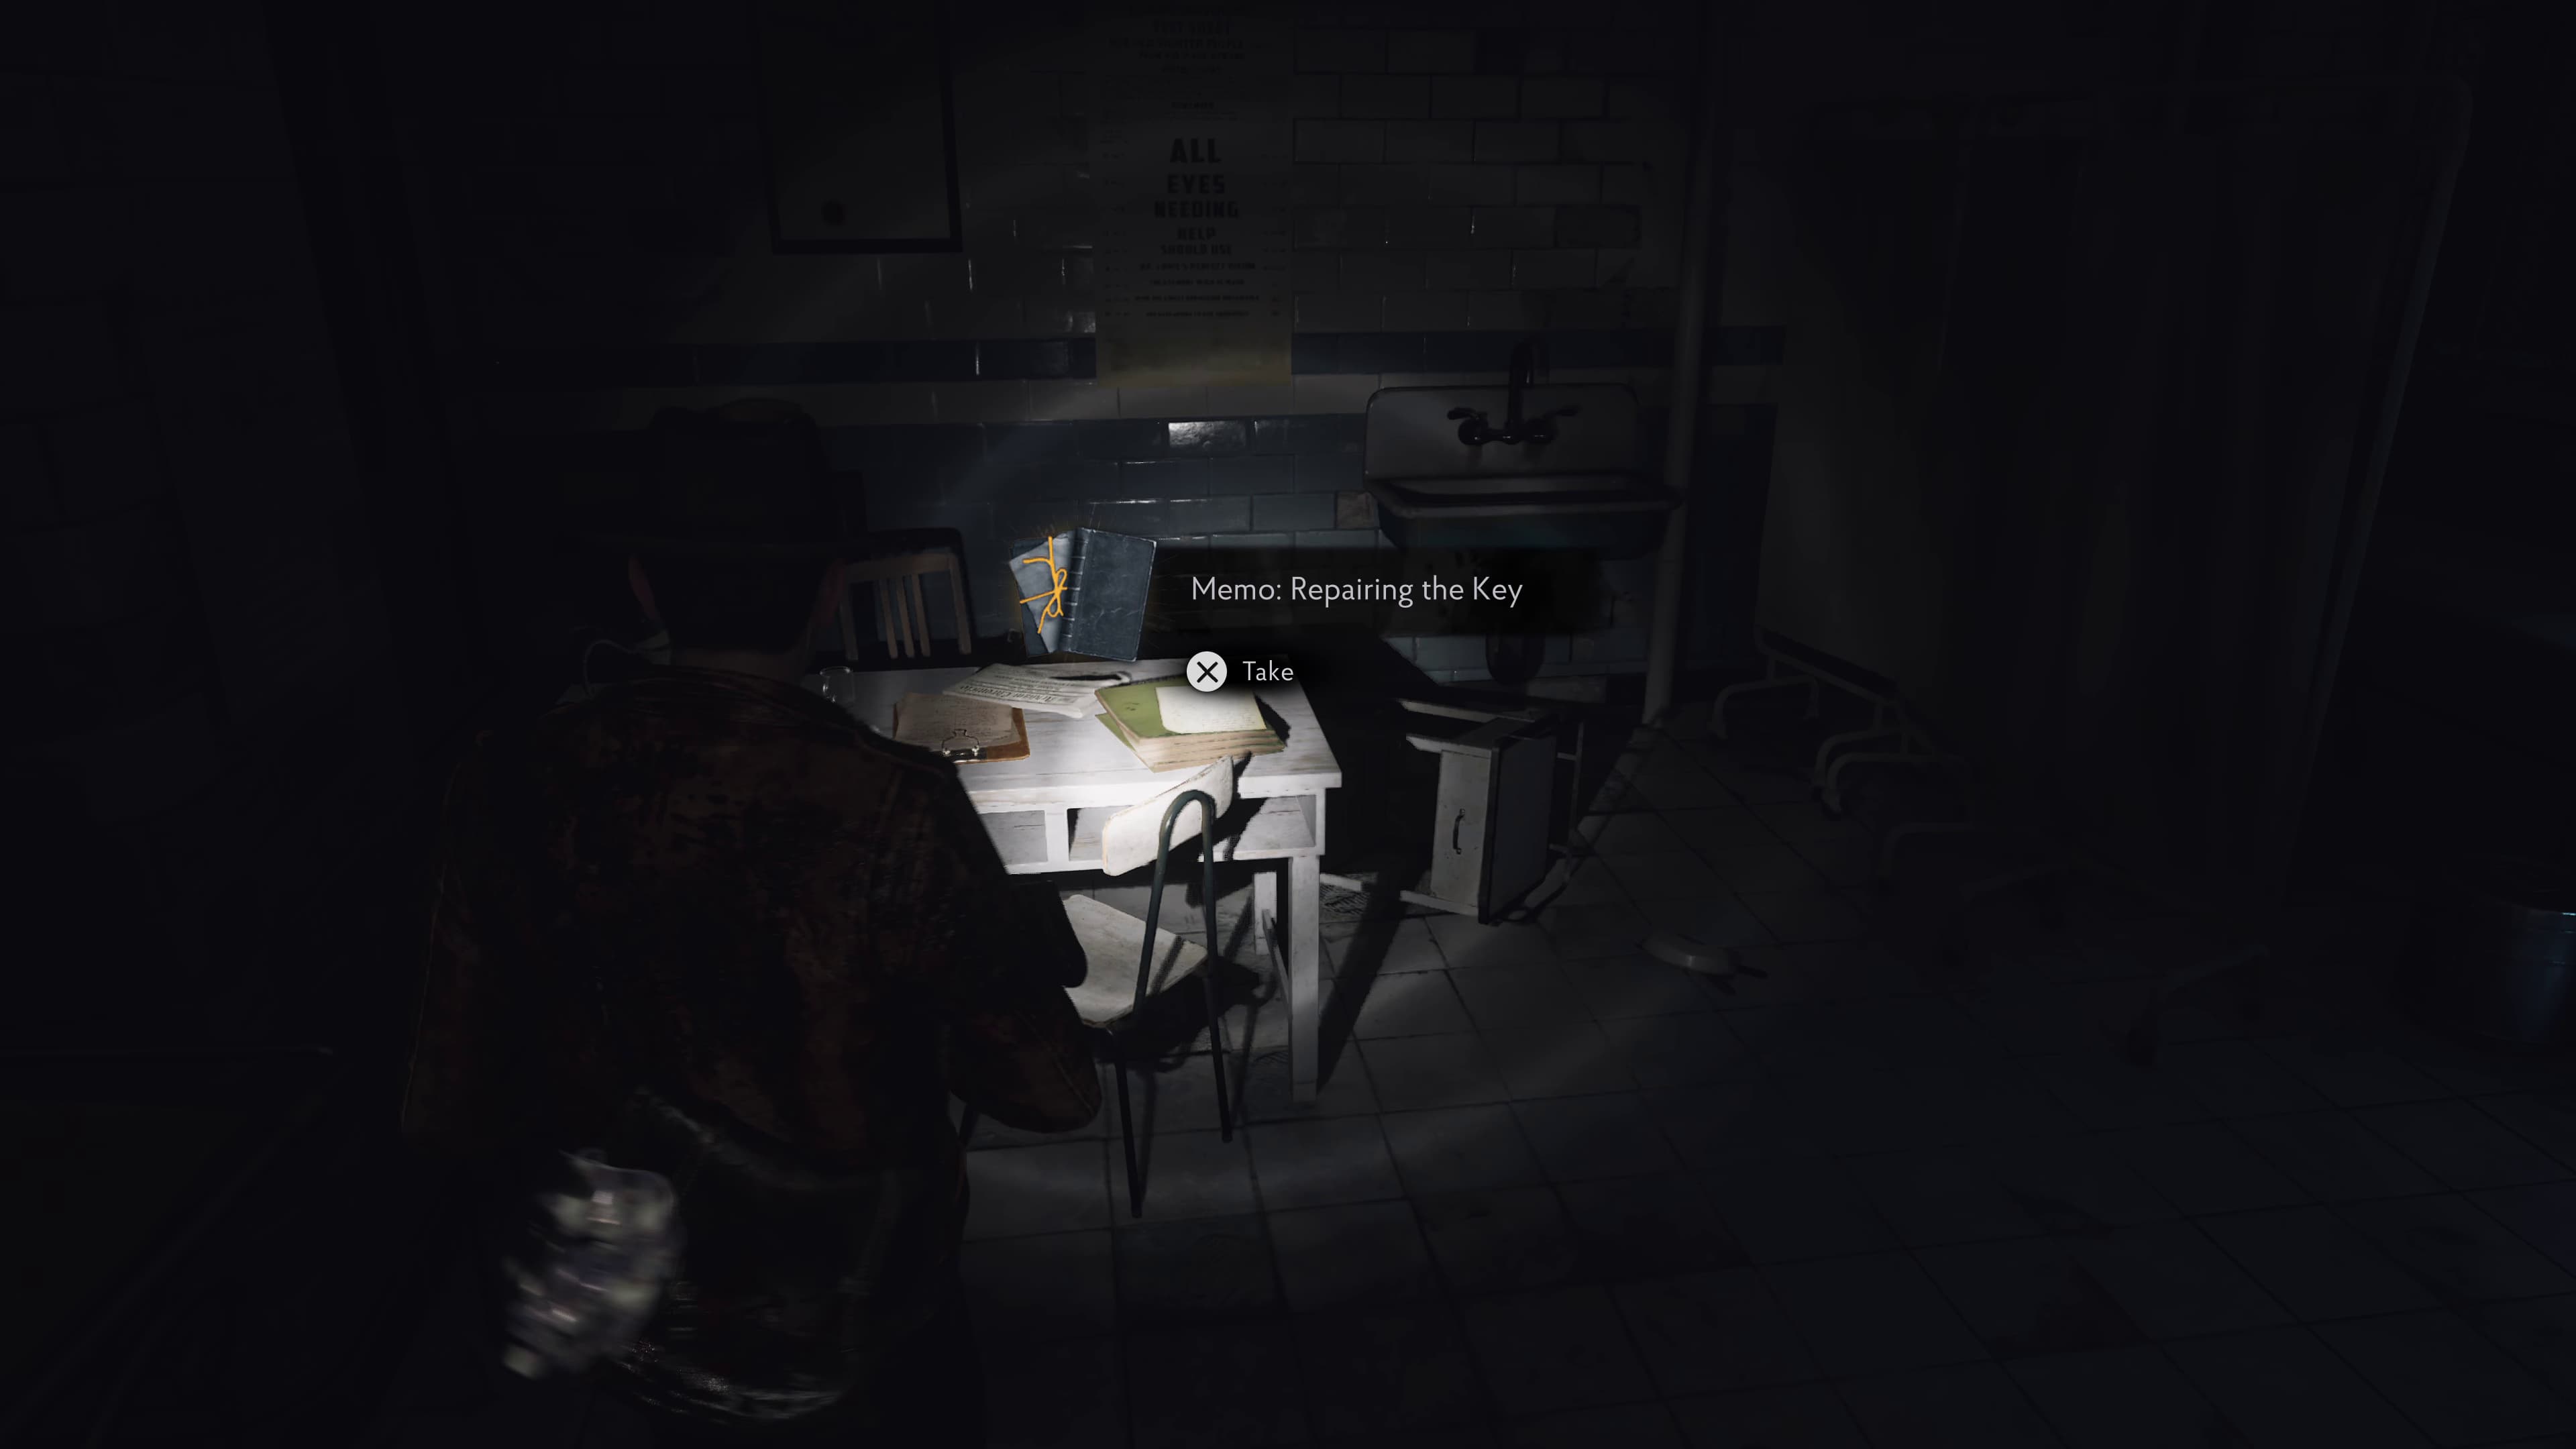
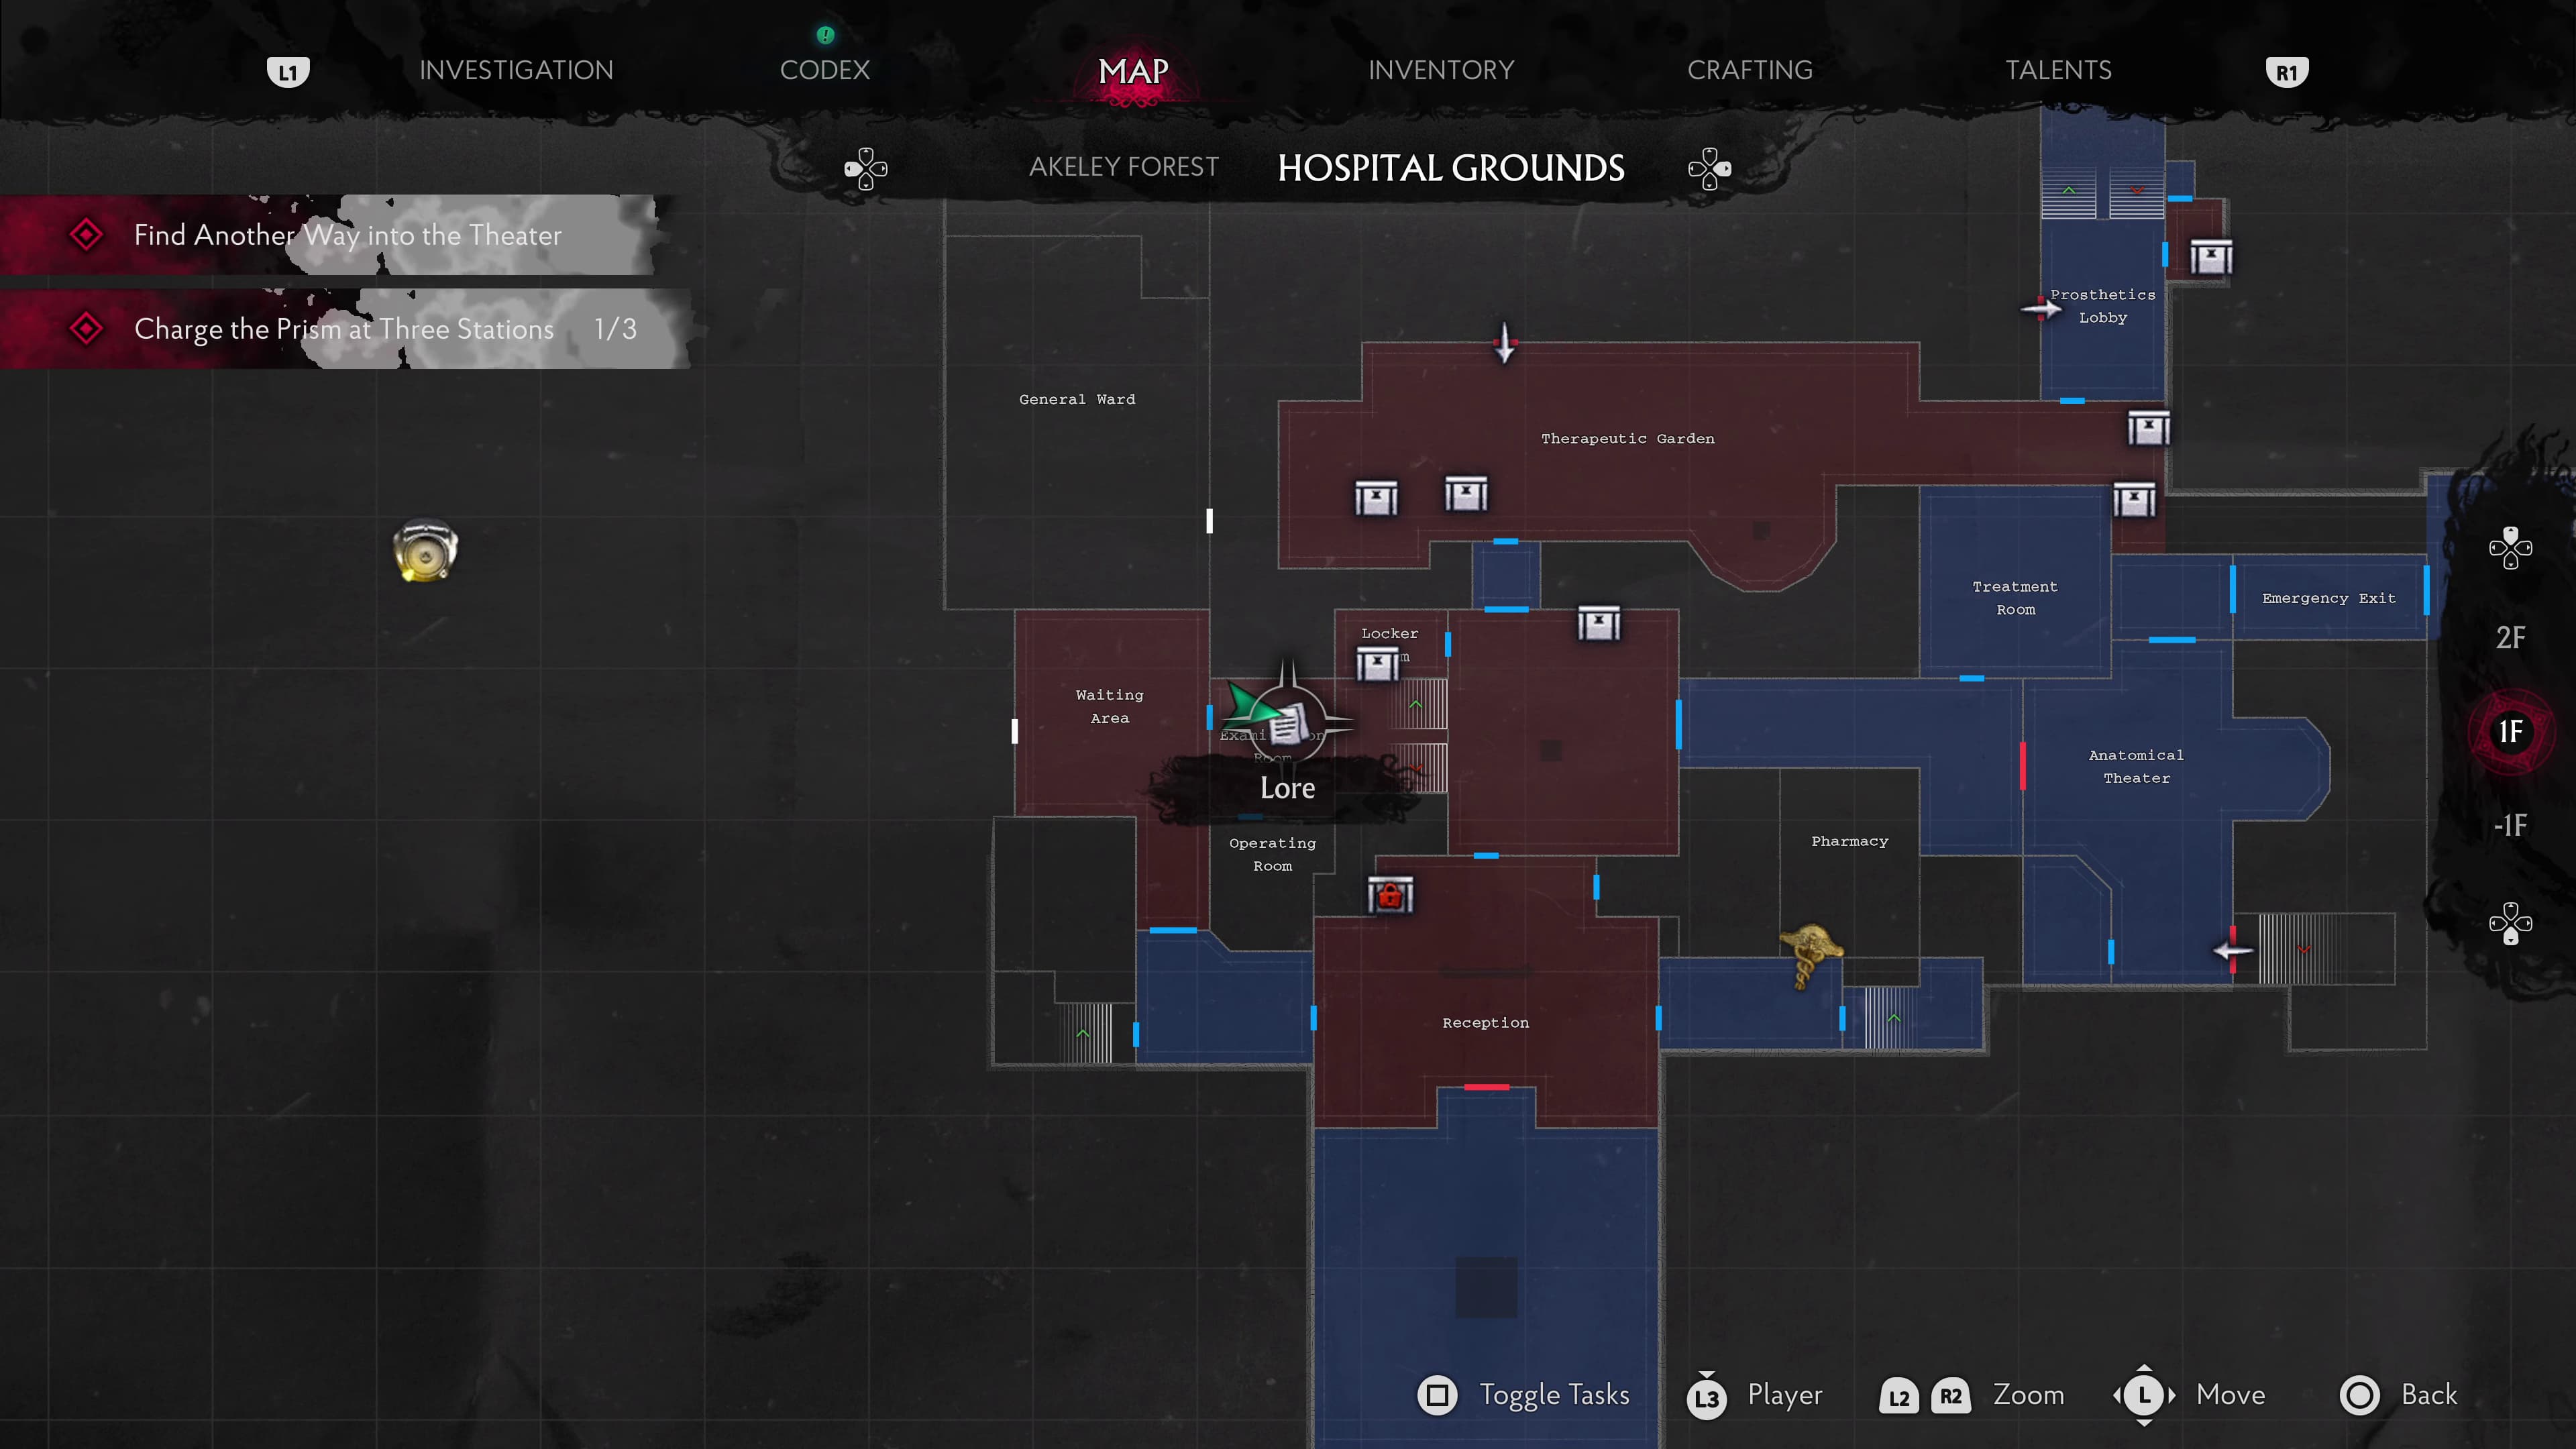
Heading back out of here and back into Reception, we can now use the door in Reception with Nurse Kitty's face to advance. Before heading upstairs, head into the room on the right, going around the bed and into the Examination Room, in here will be the next Lore Document (Memo: Repairing the Key).
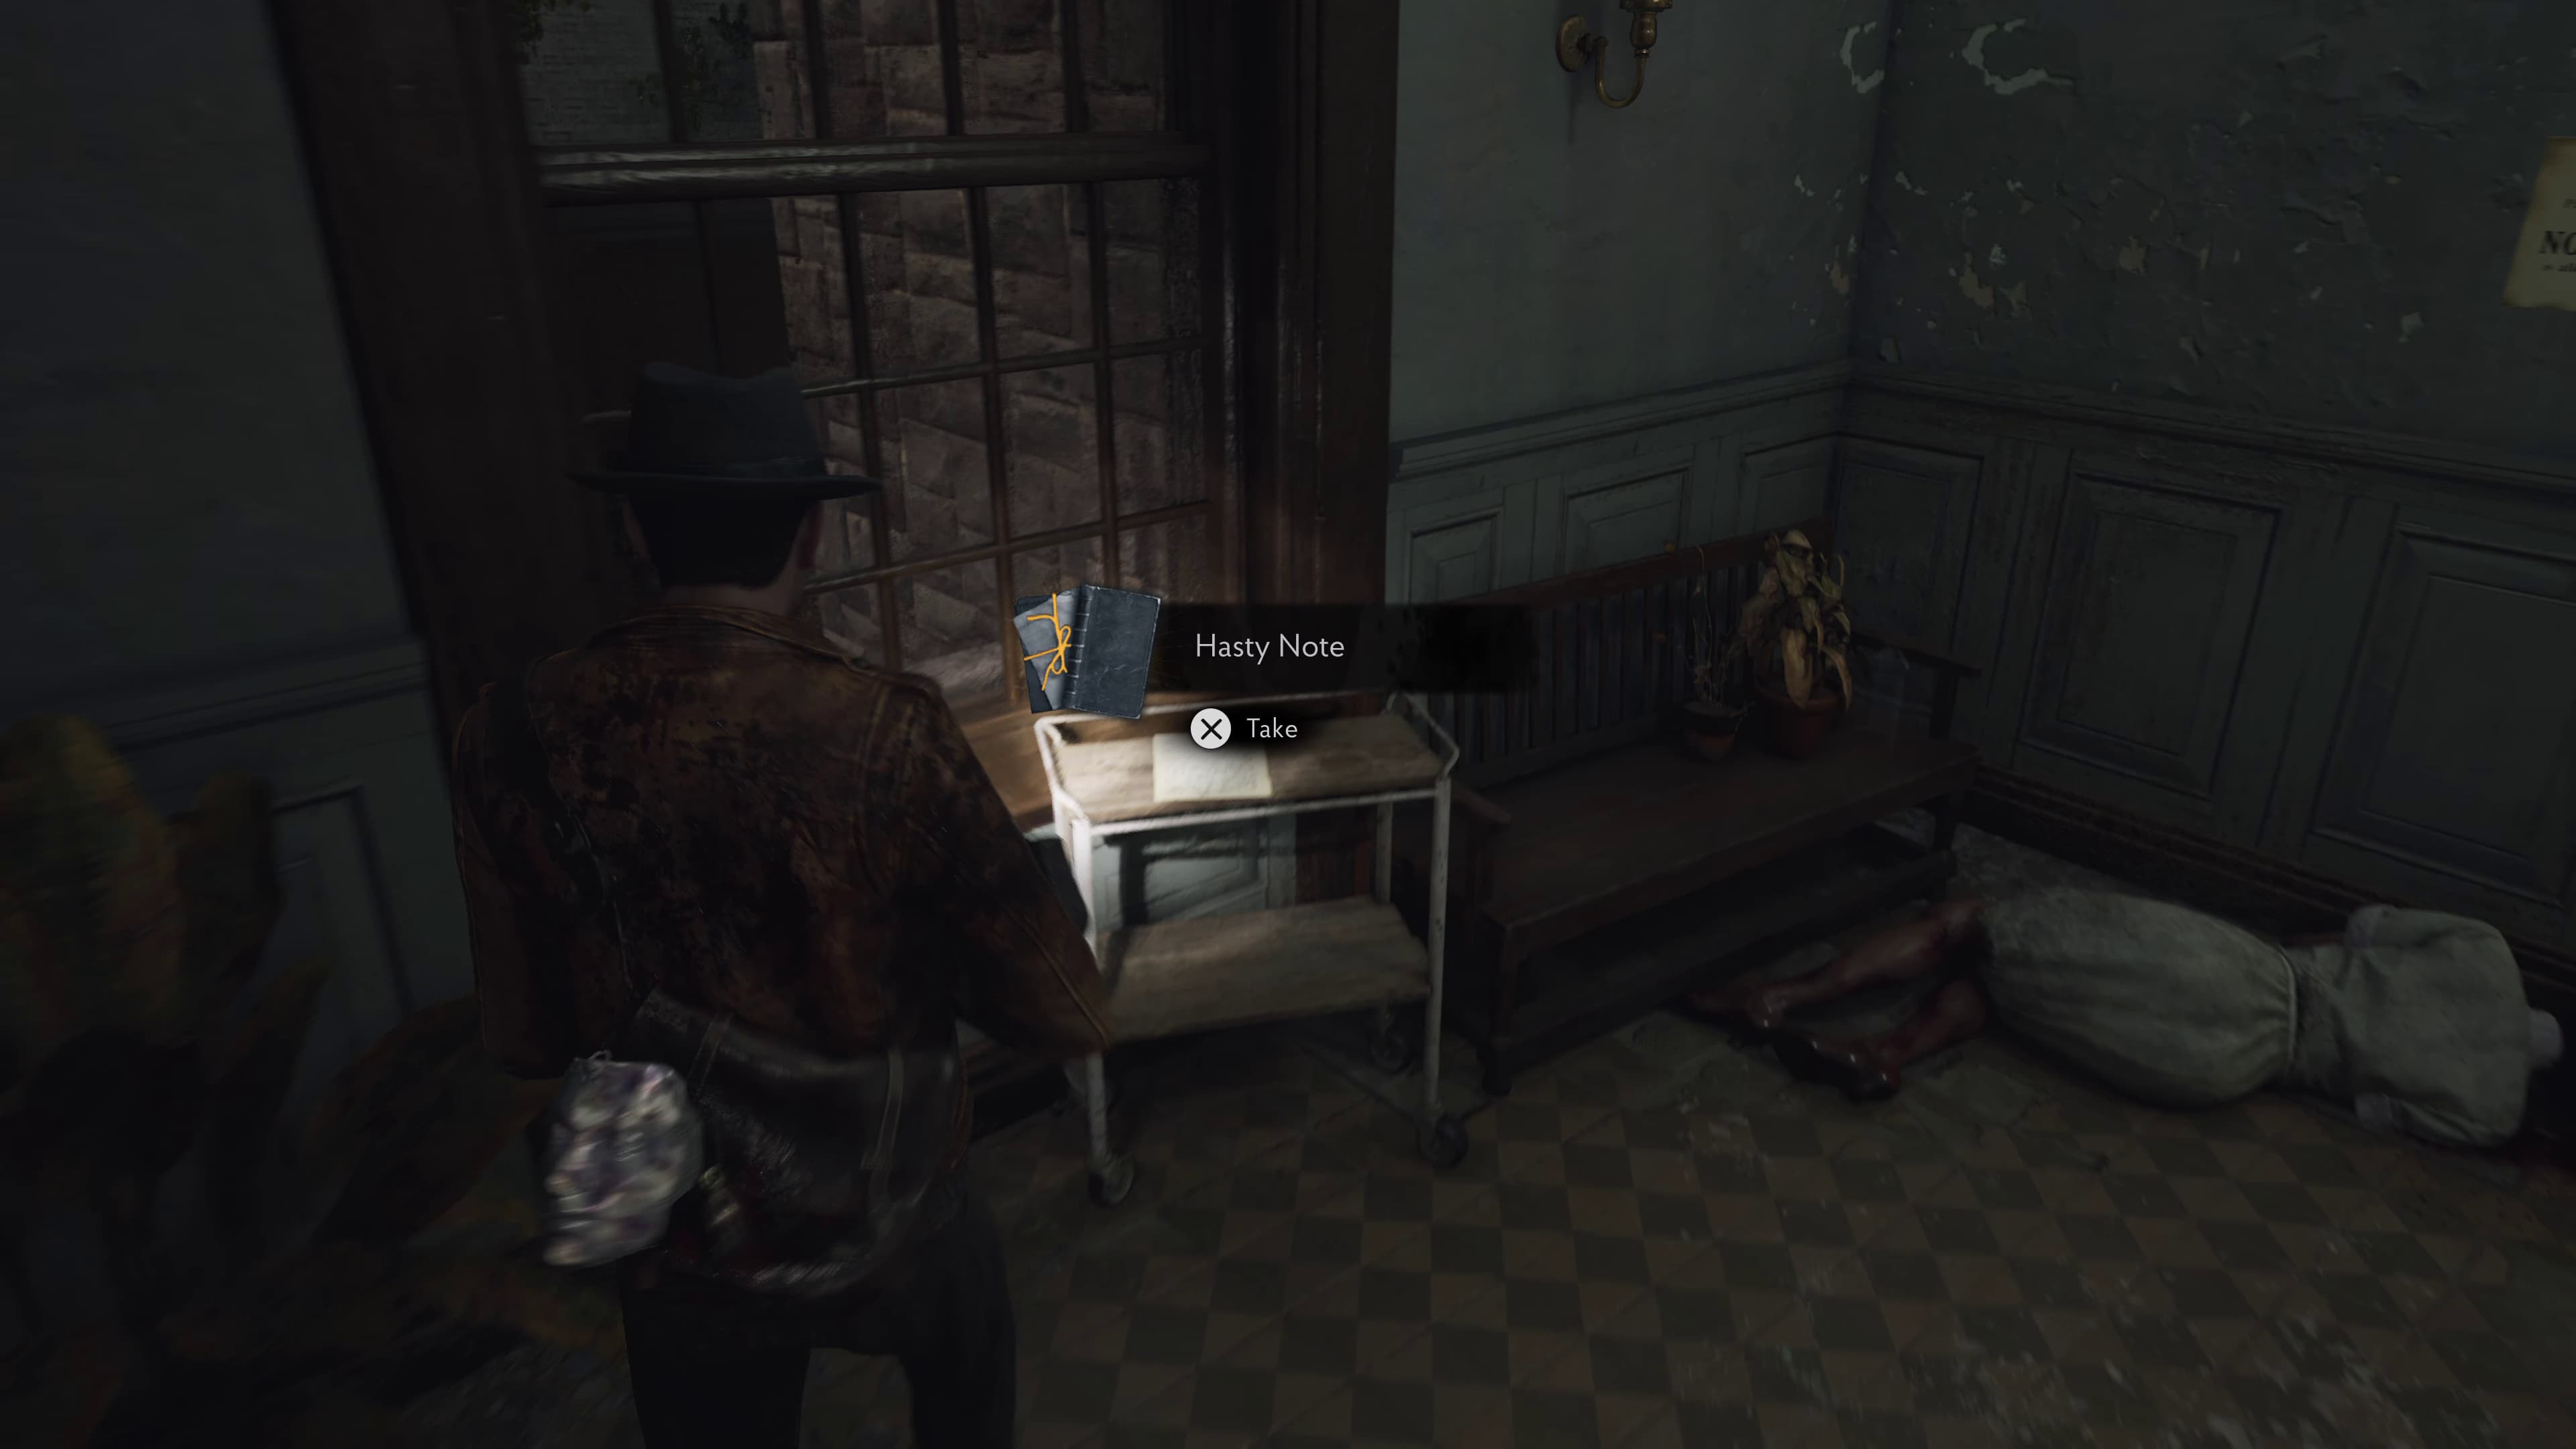
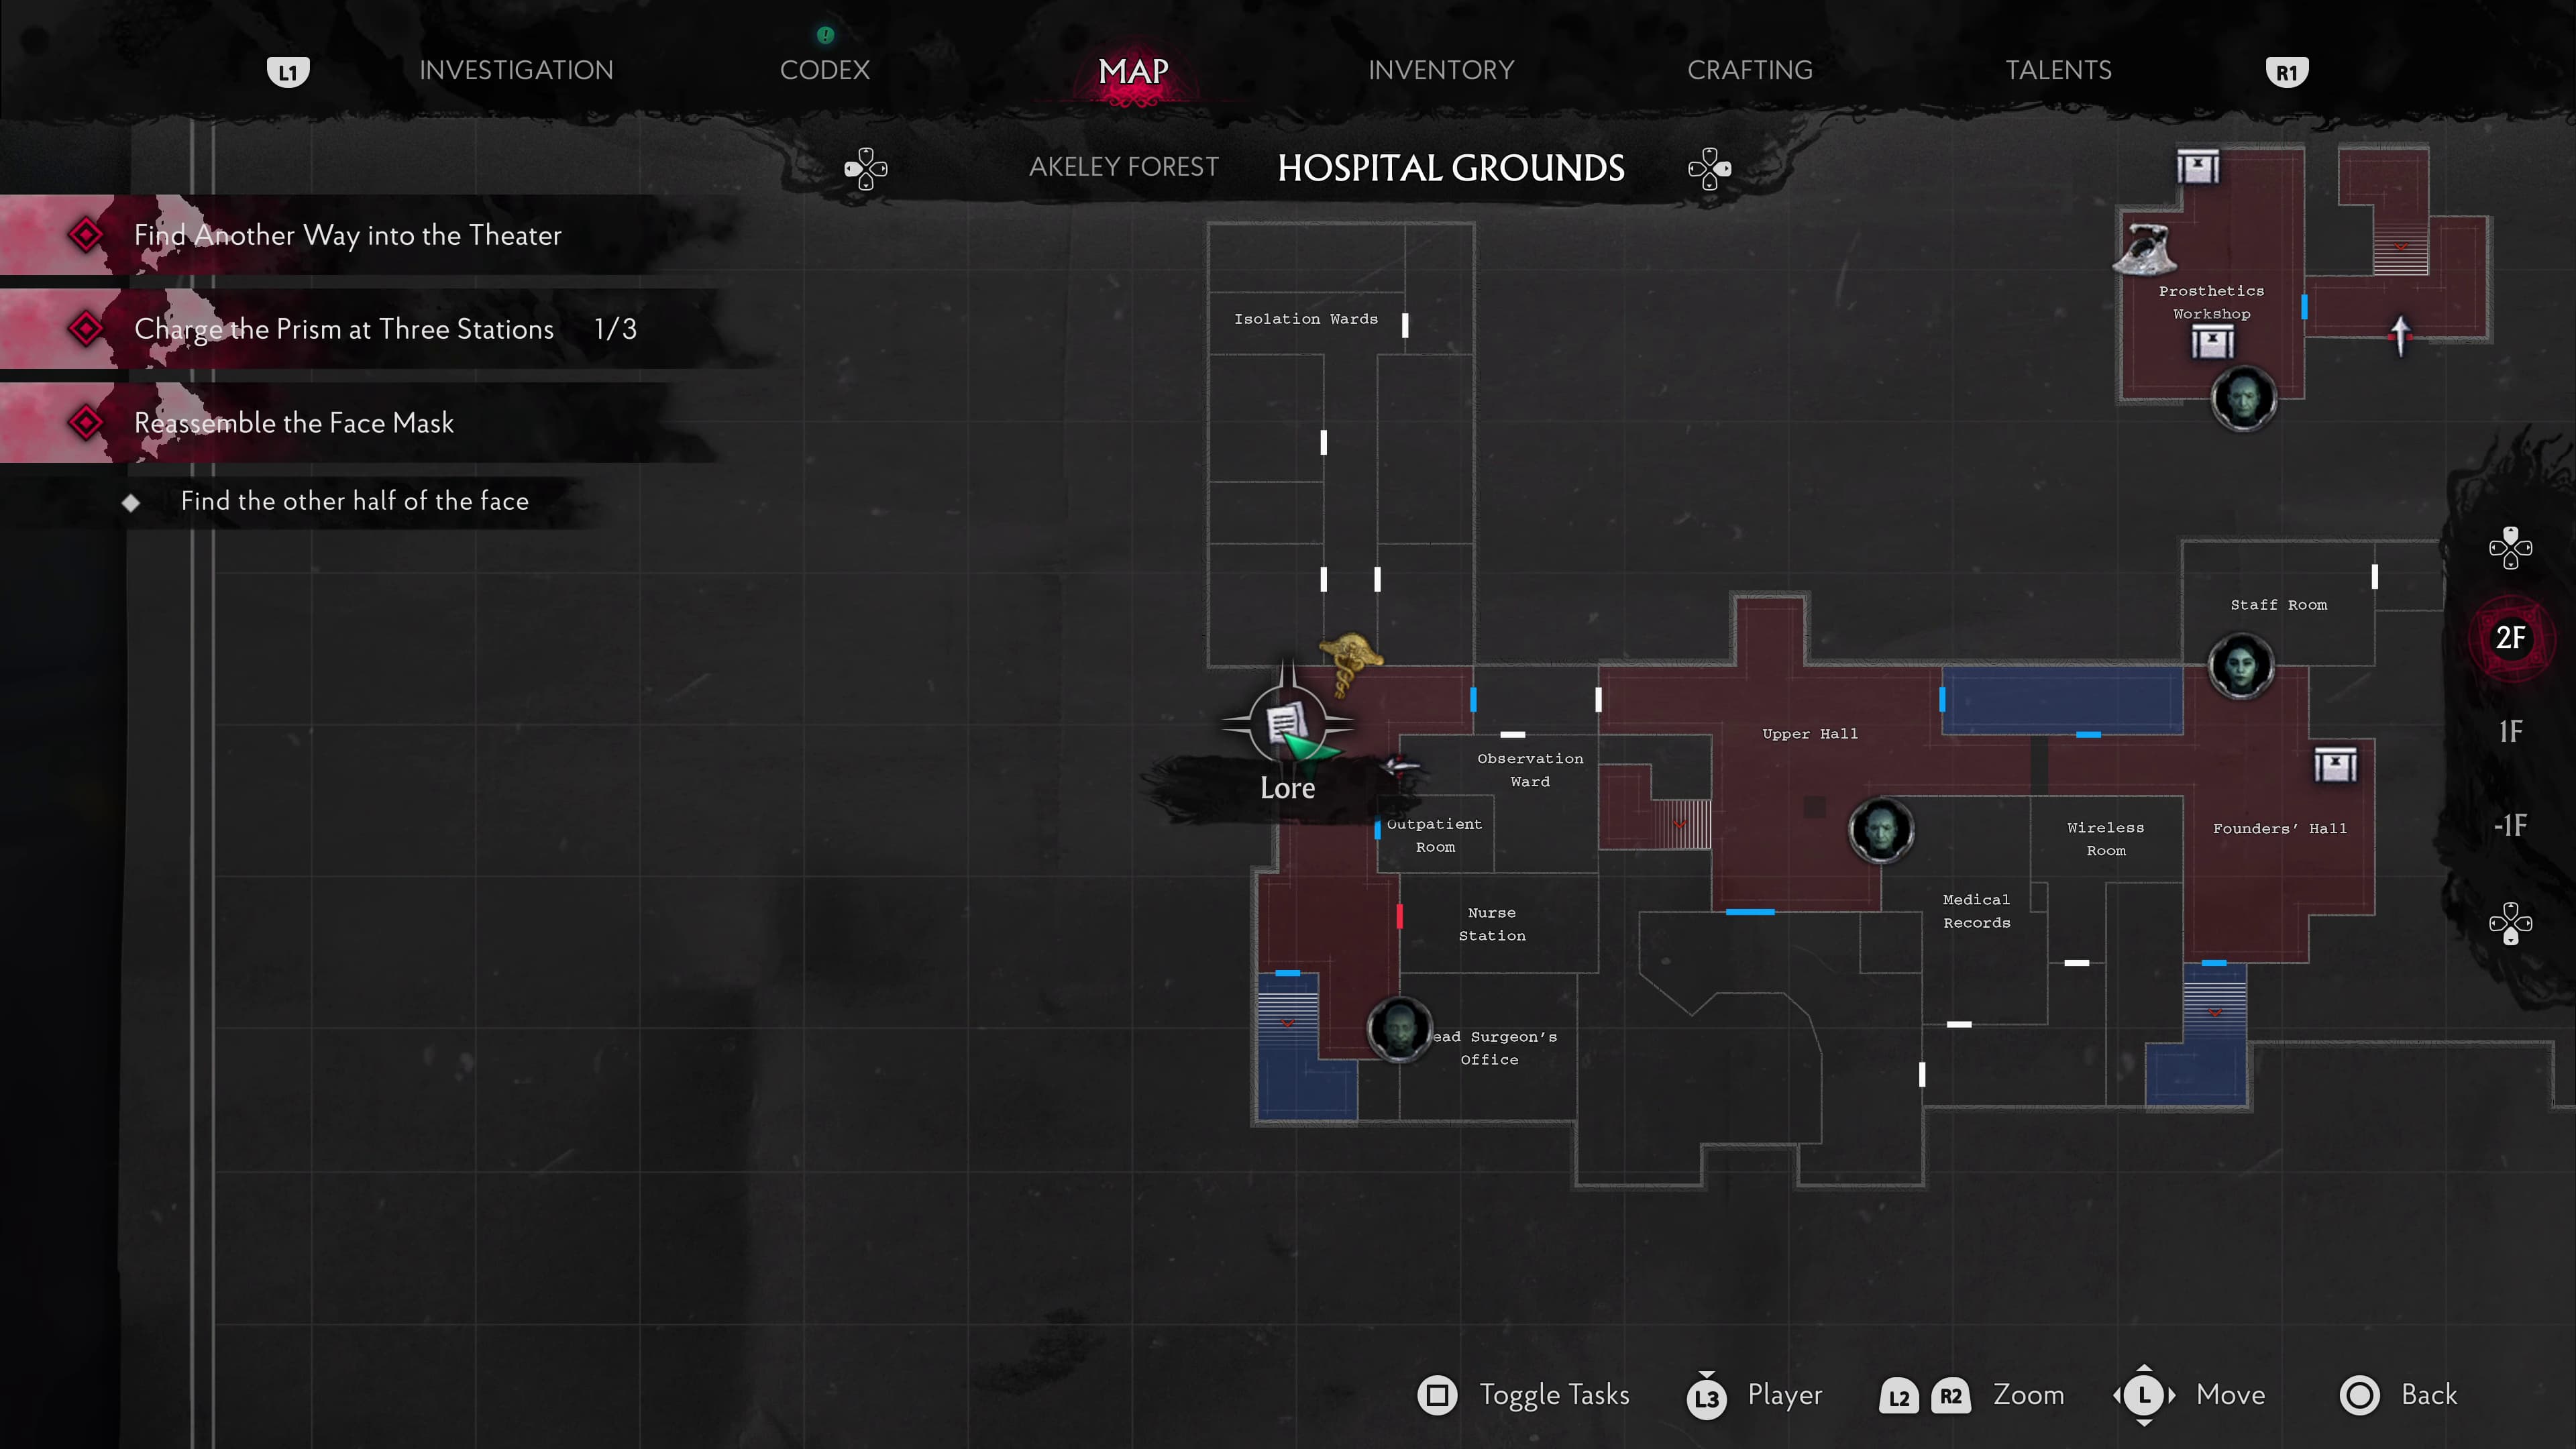
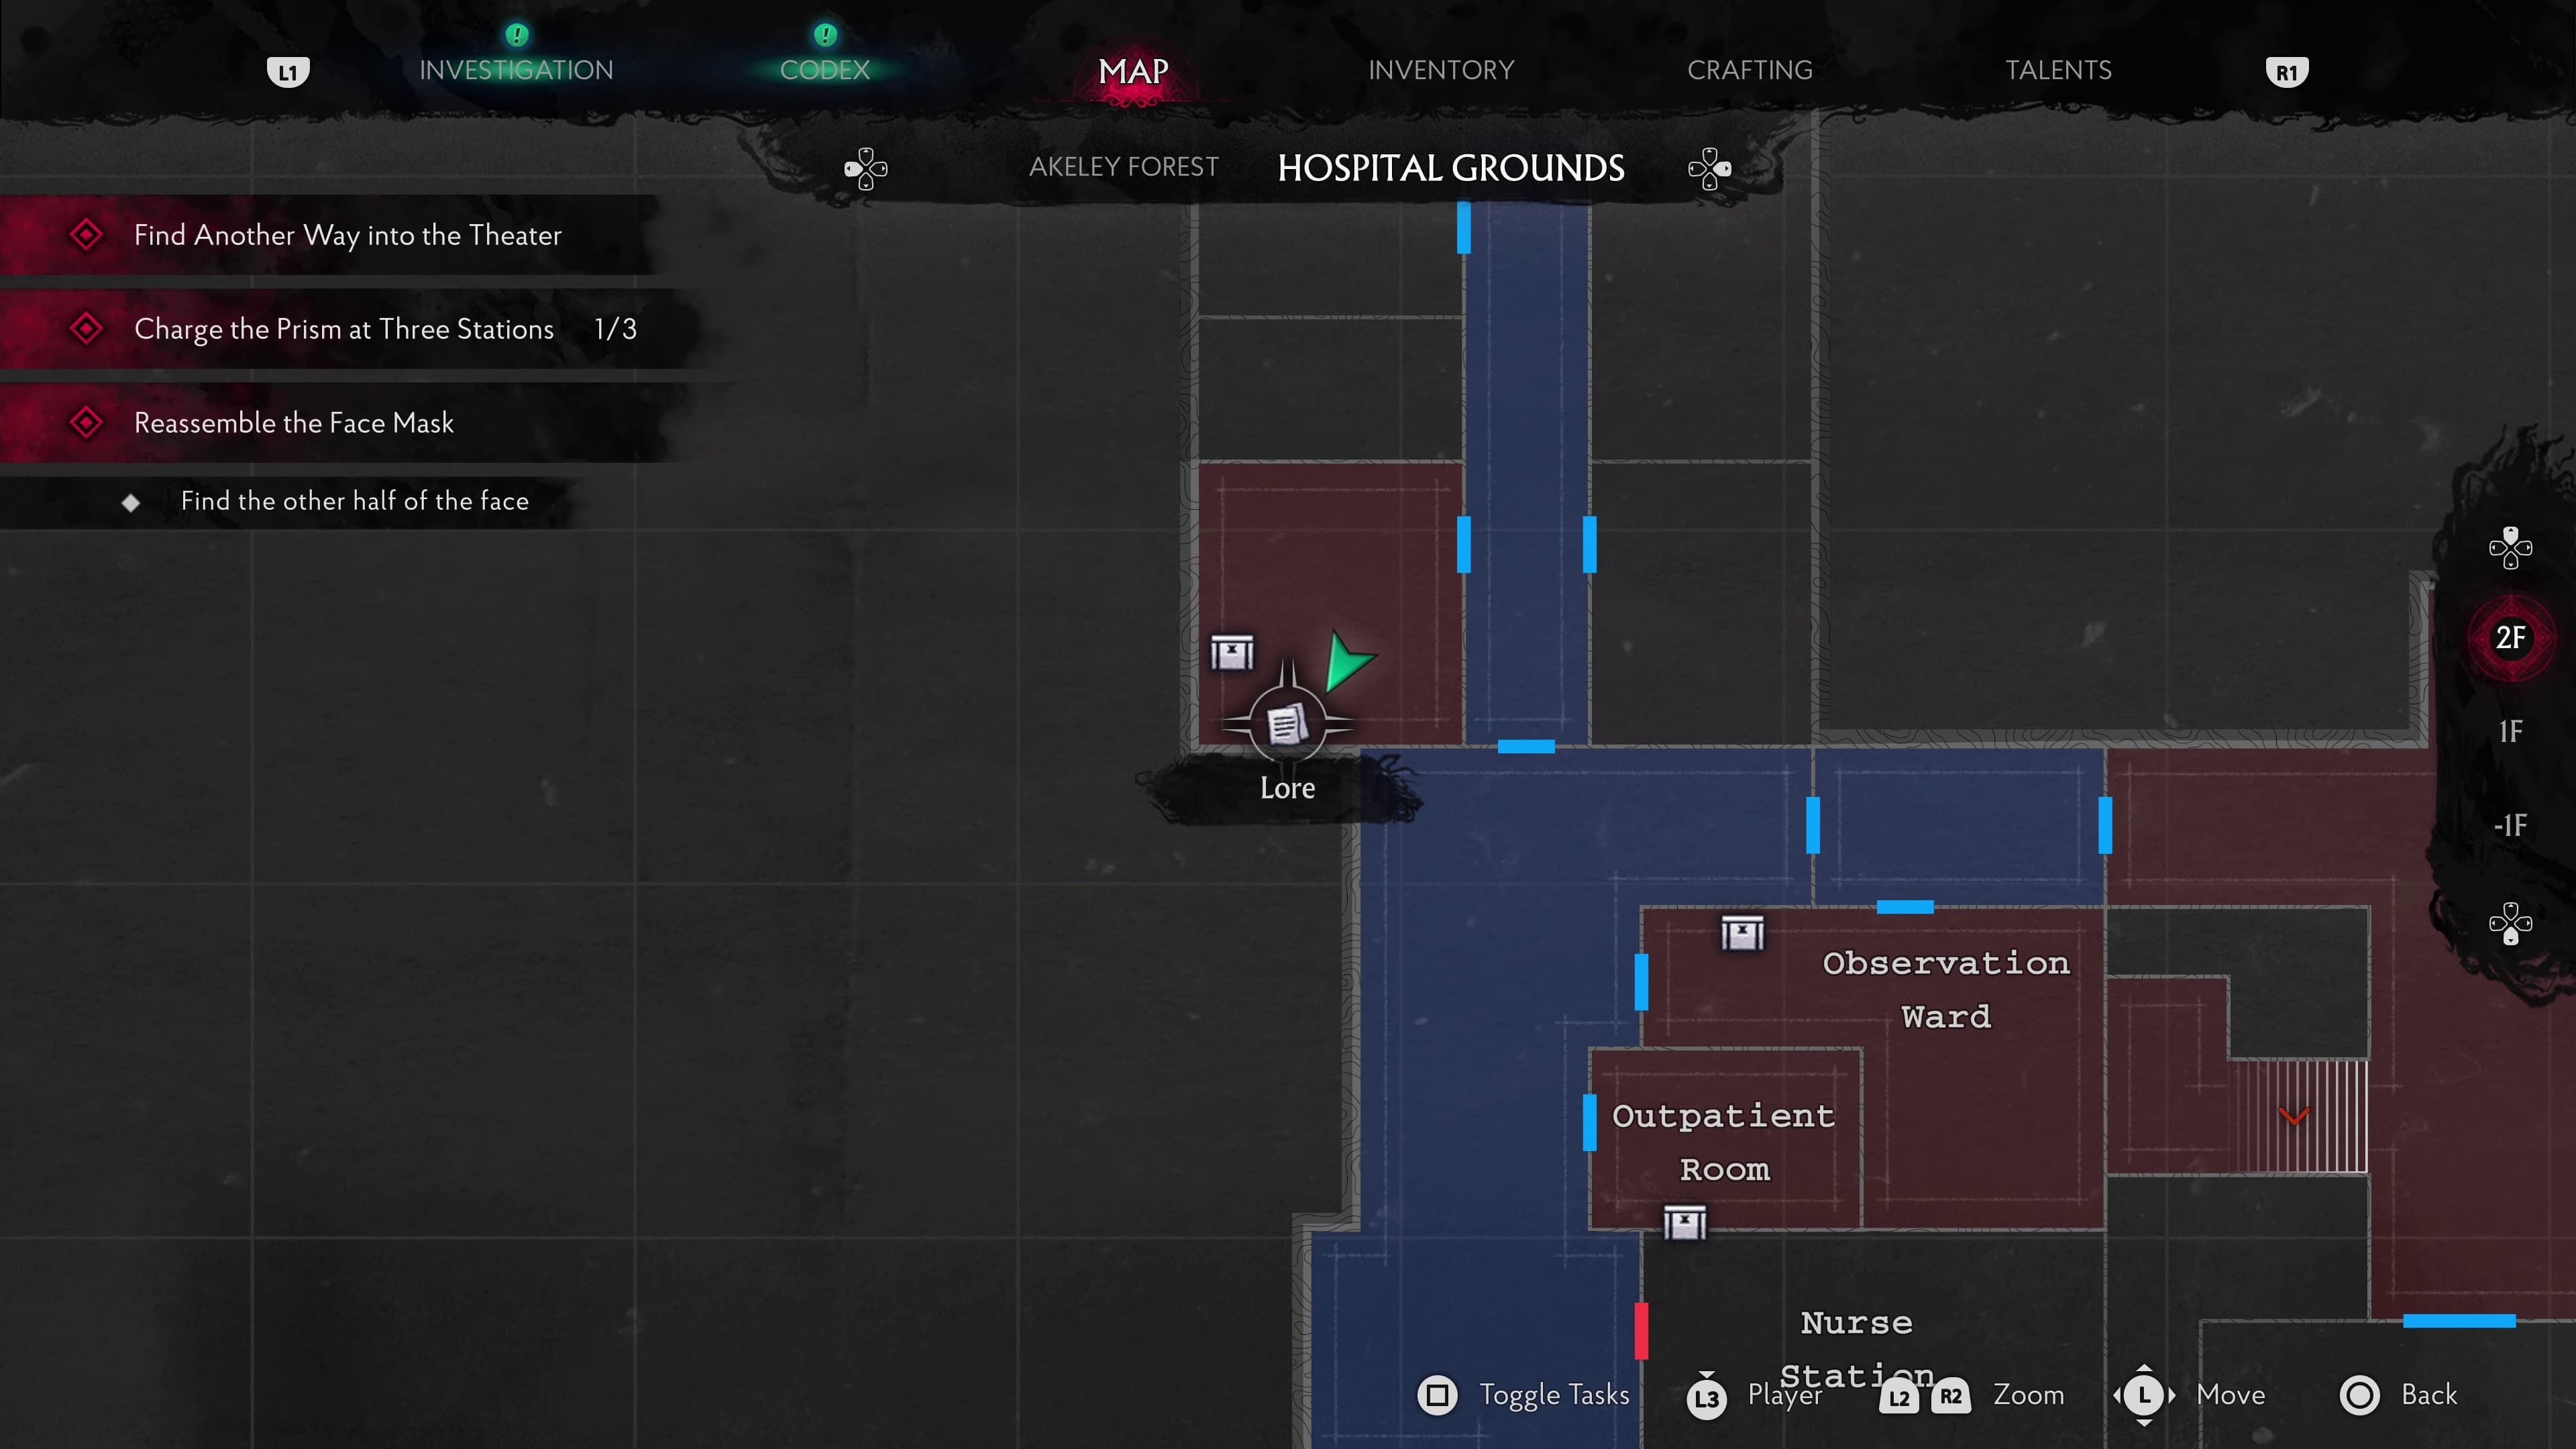
Keep advancing into the next room along to collect half of Father Nathaniel's Face. Back out of here and make it up the stairs to the right, right at the top of the stairs is a map. Keep the windows to your left head to the back of this room, on a small cabinet will be the next Lore Document (Hasty Note).
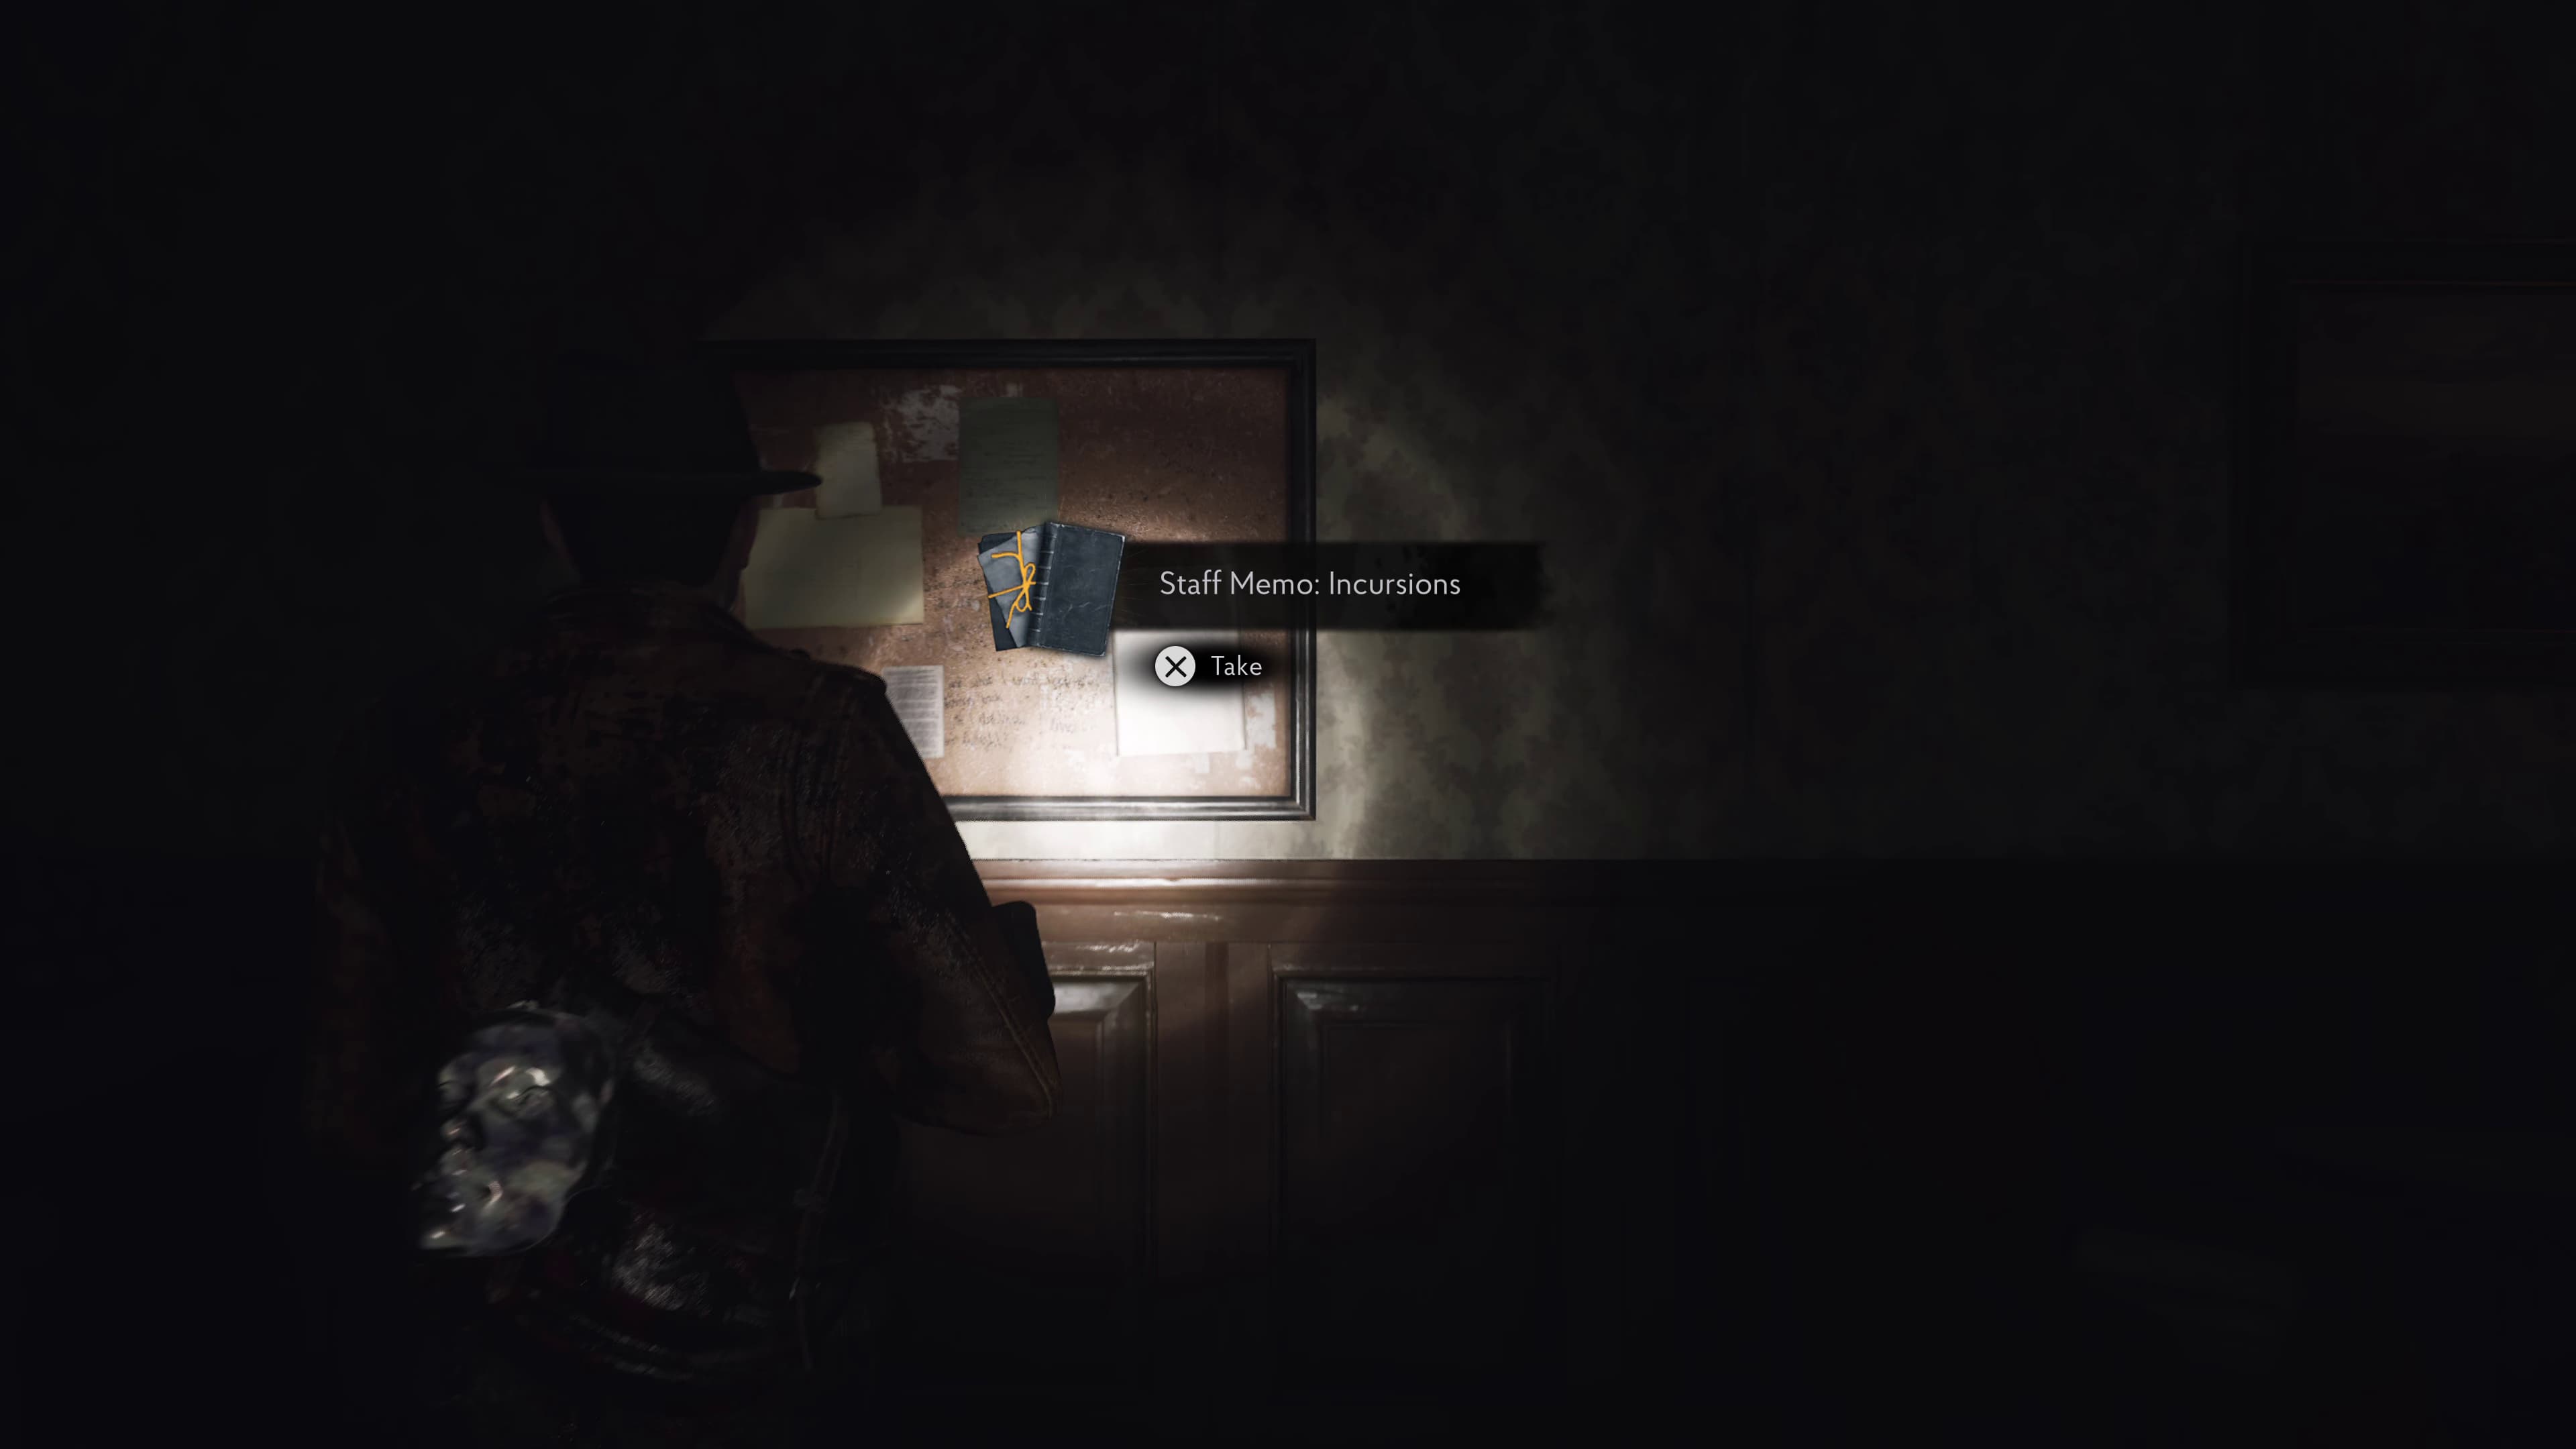
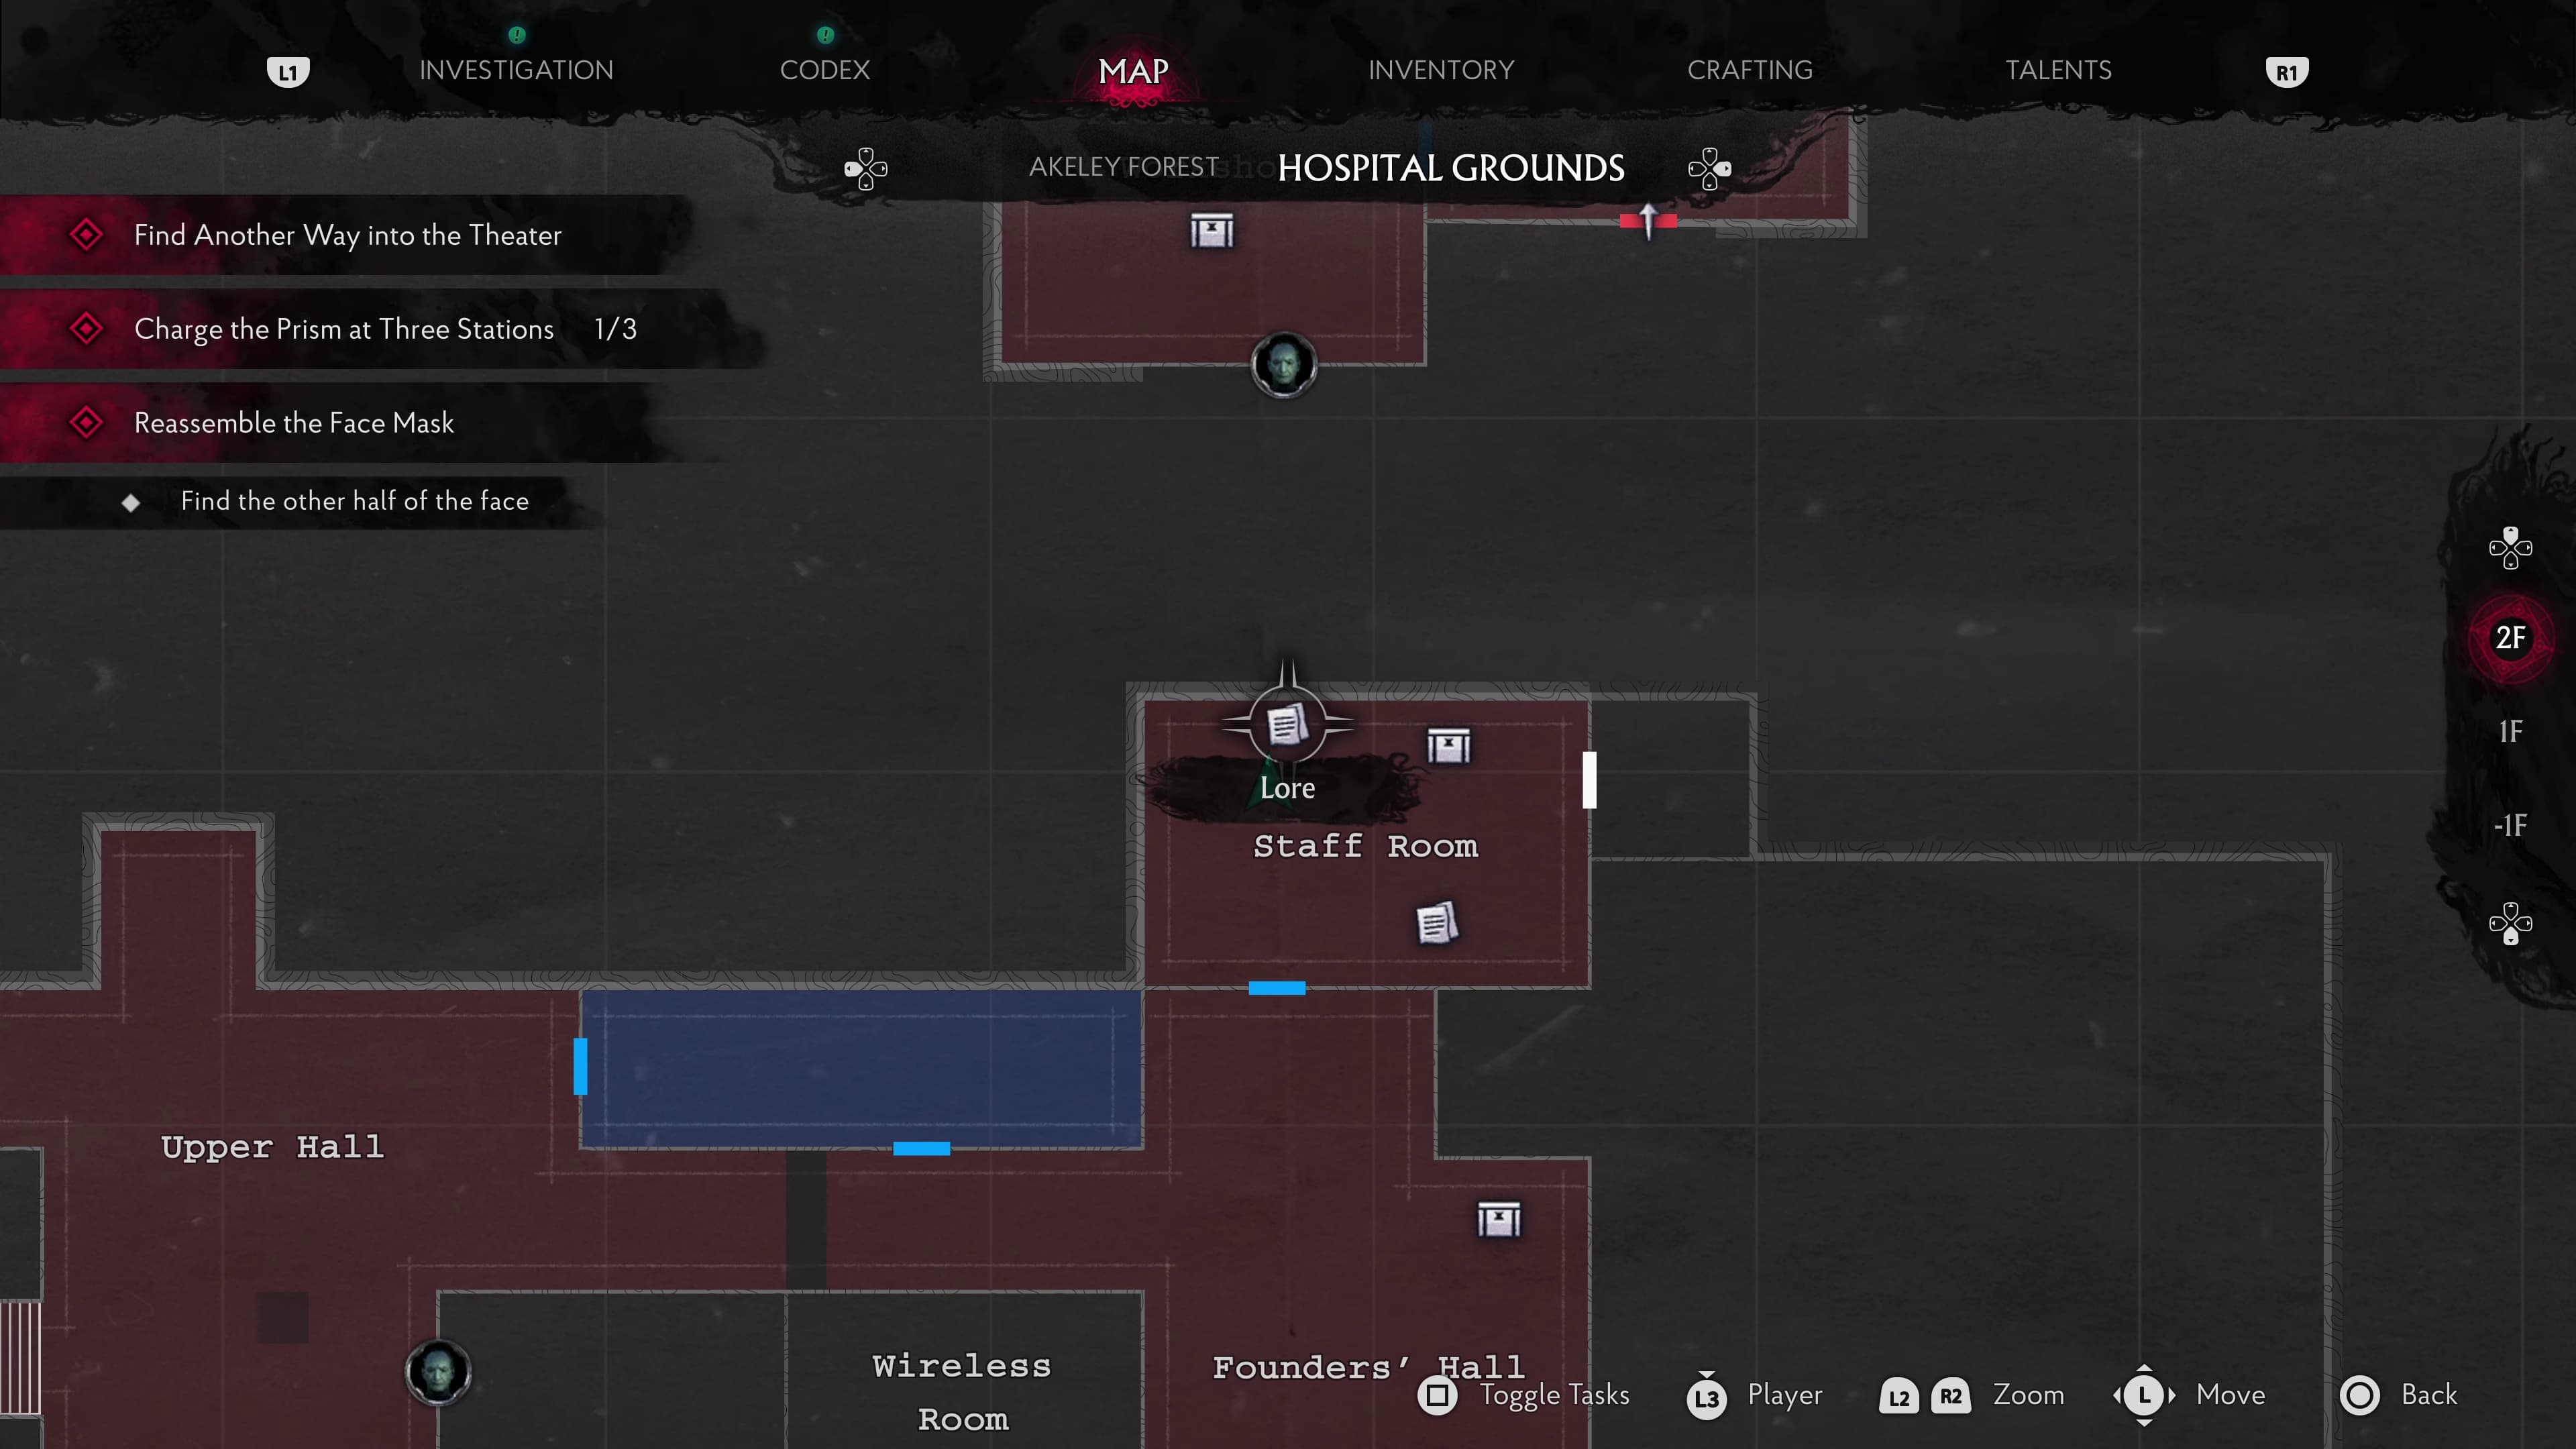
Keep advancing the story again until you use Nurse Kitt's face for the final time to the Staff Room. Straight ahead on a corkboard will be the next Lore Document (Staff Memo: Incursions).
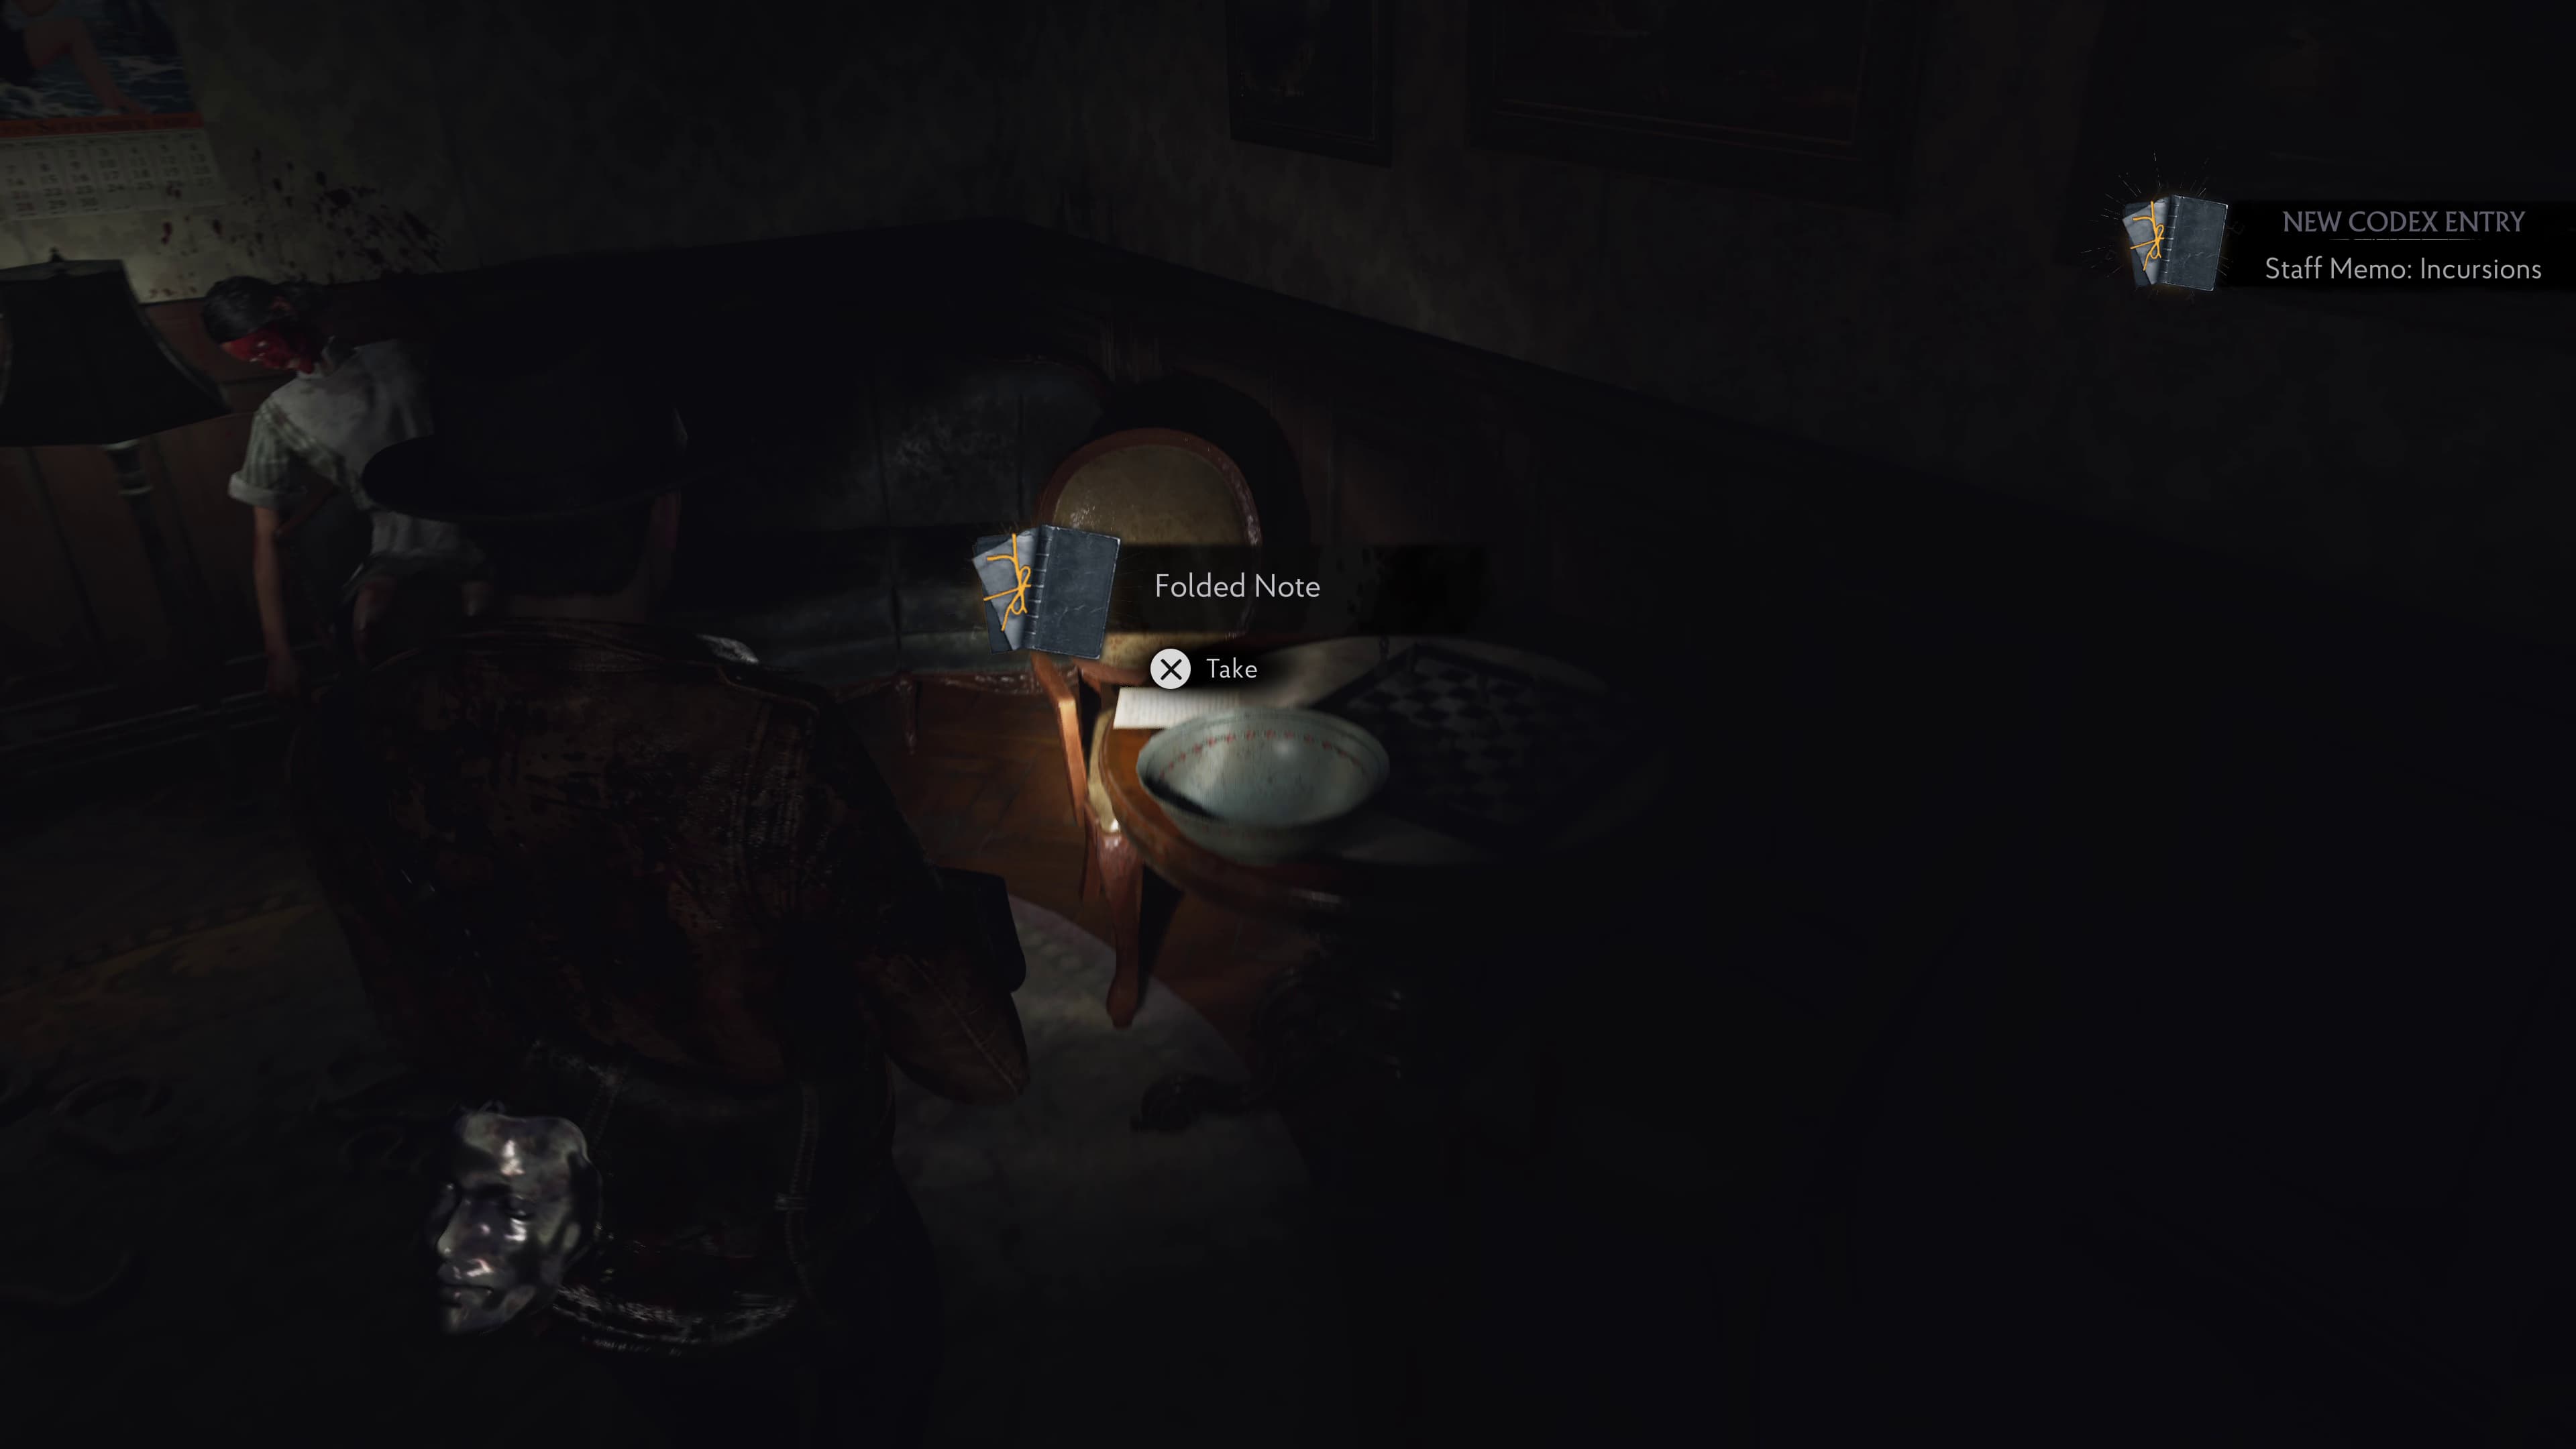
Directly opposite on a small table will be the next Lore Document (Folded Note).
Head out through the door on the left and collect the Caduceus Key. Now make it back out of the Nurse Kitty door, out of the window we entered in a few moments ago, back across both balconies to the floor where the Observation Ward and Outpatient rooms are located. Now we can use the Caduceus Key to open the door on the right.
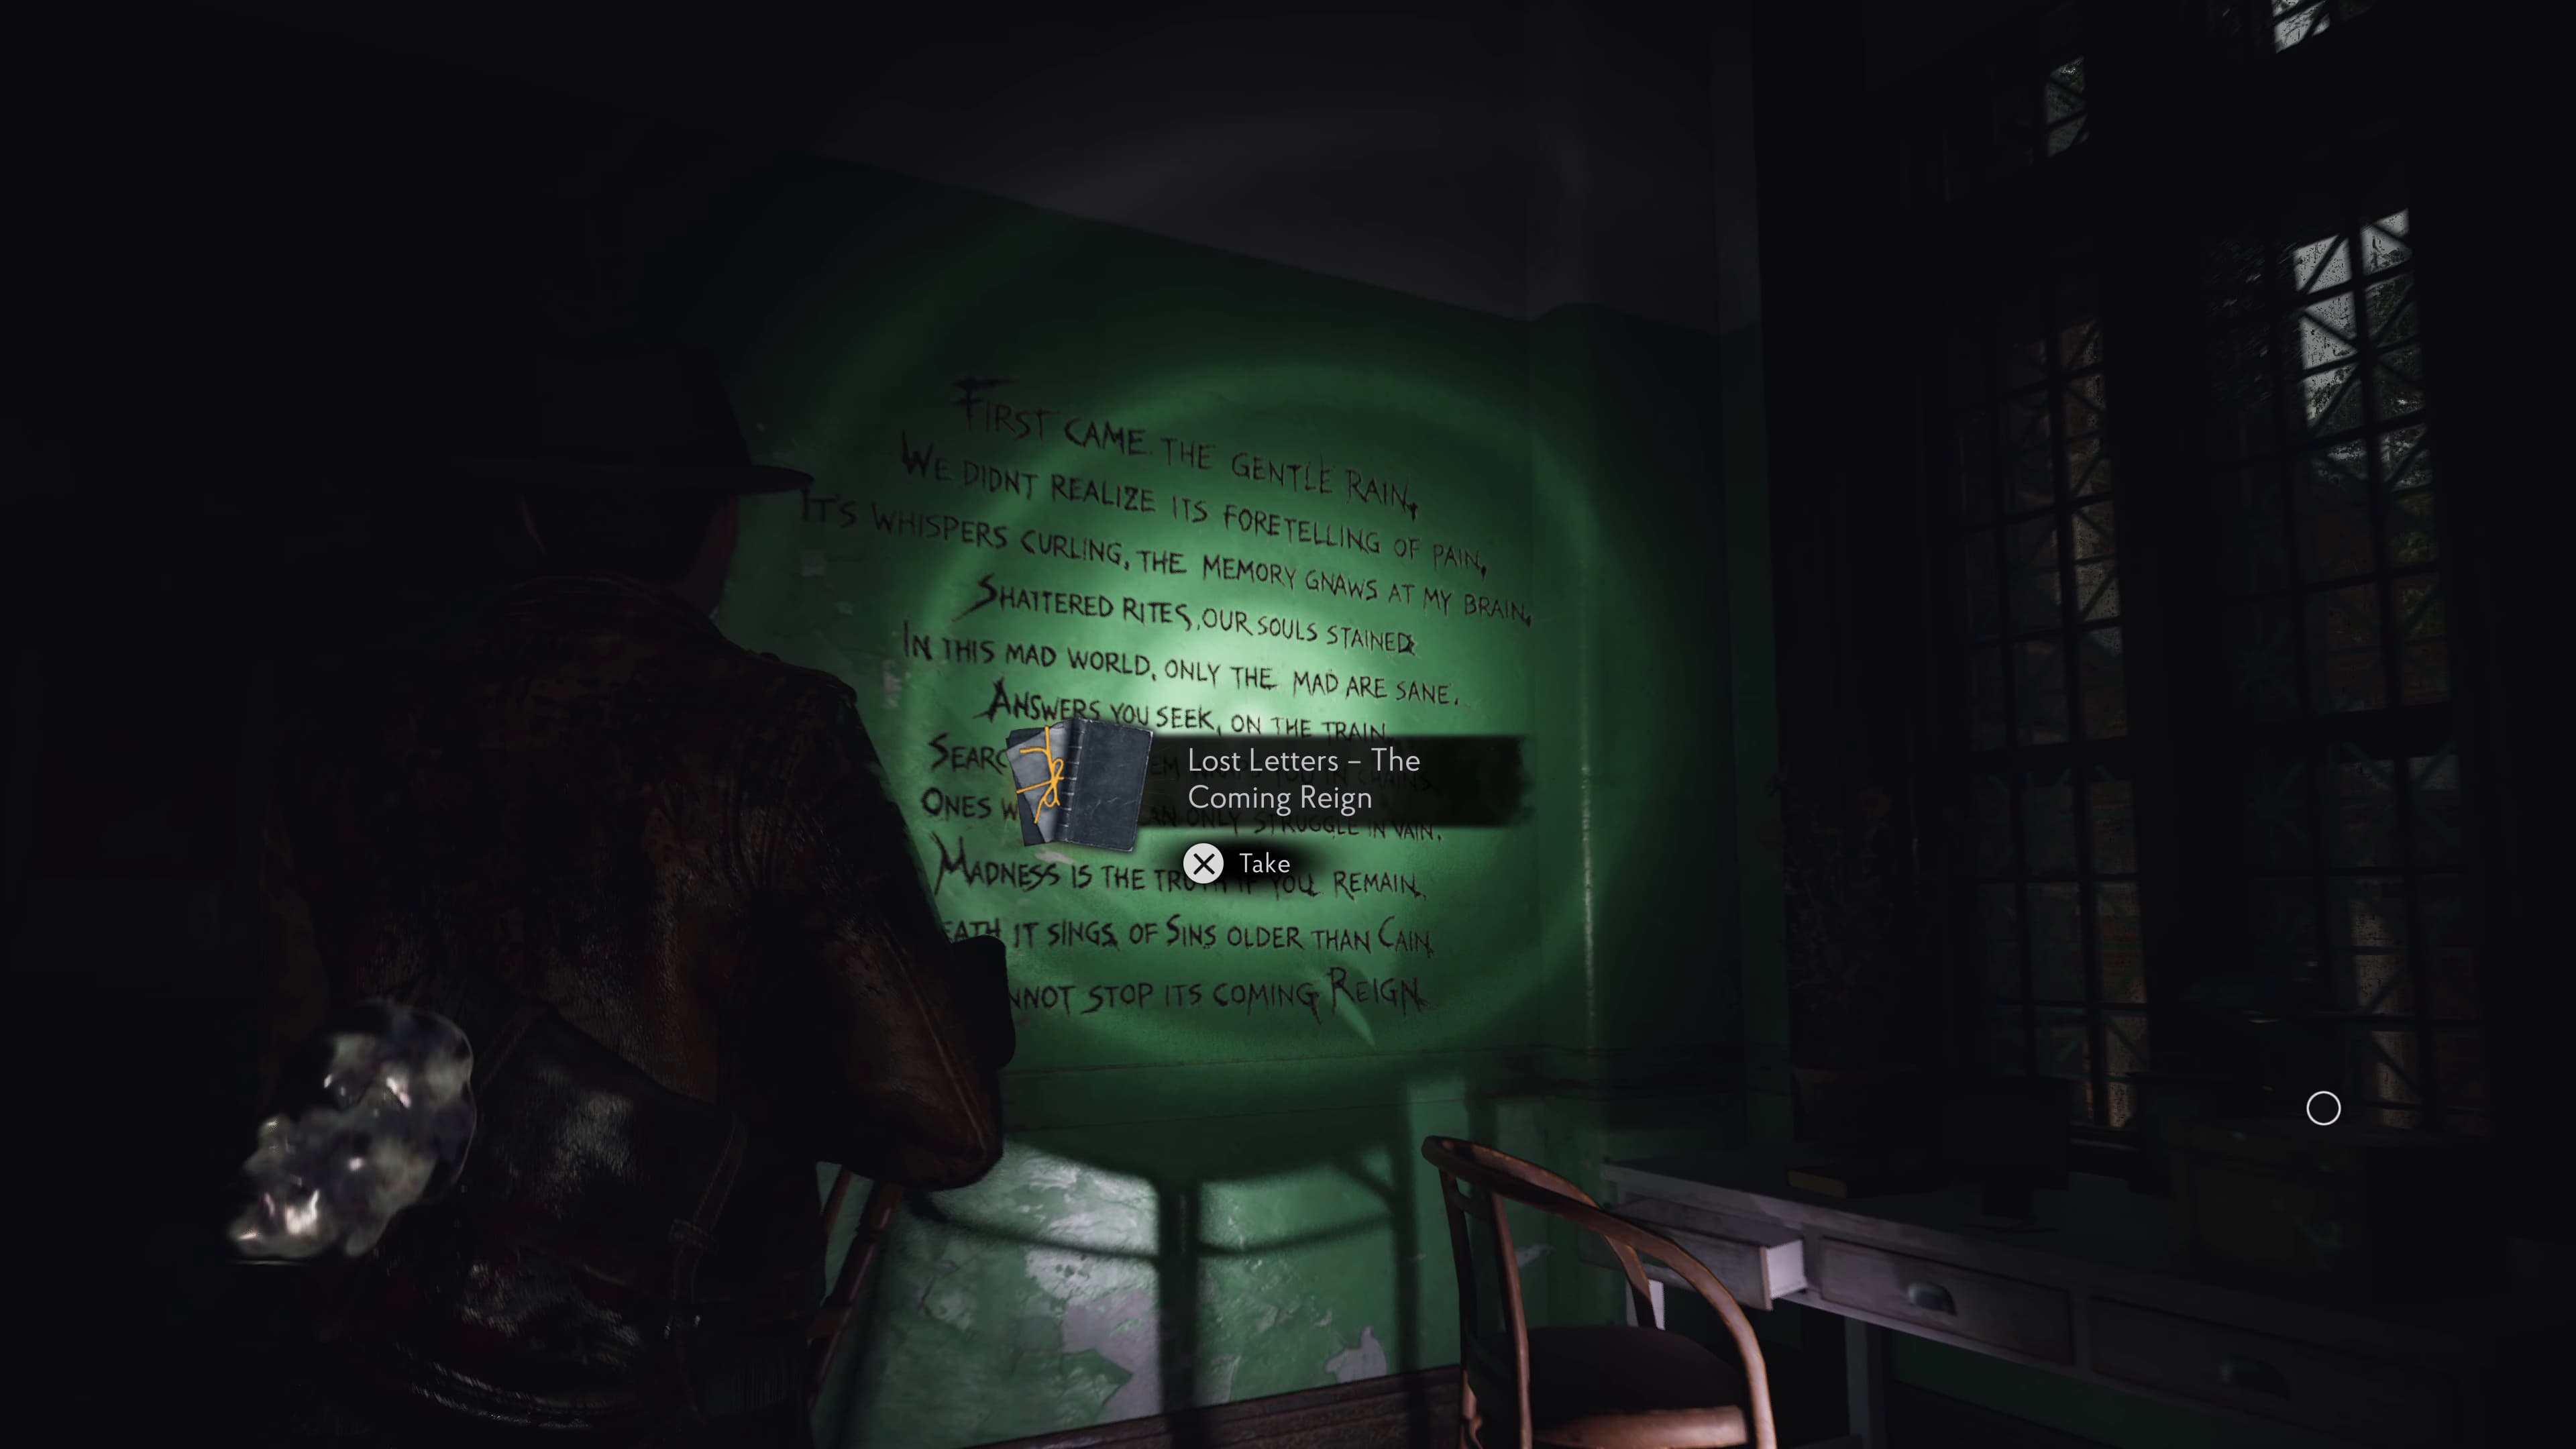
Immediately after unlocking this door, head into the room on the left to find inside words written on the green wall, interact with this to automatically collect the next Lore Document (Lost Letters - The Coming Reign).
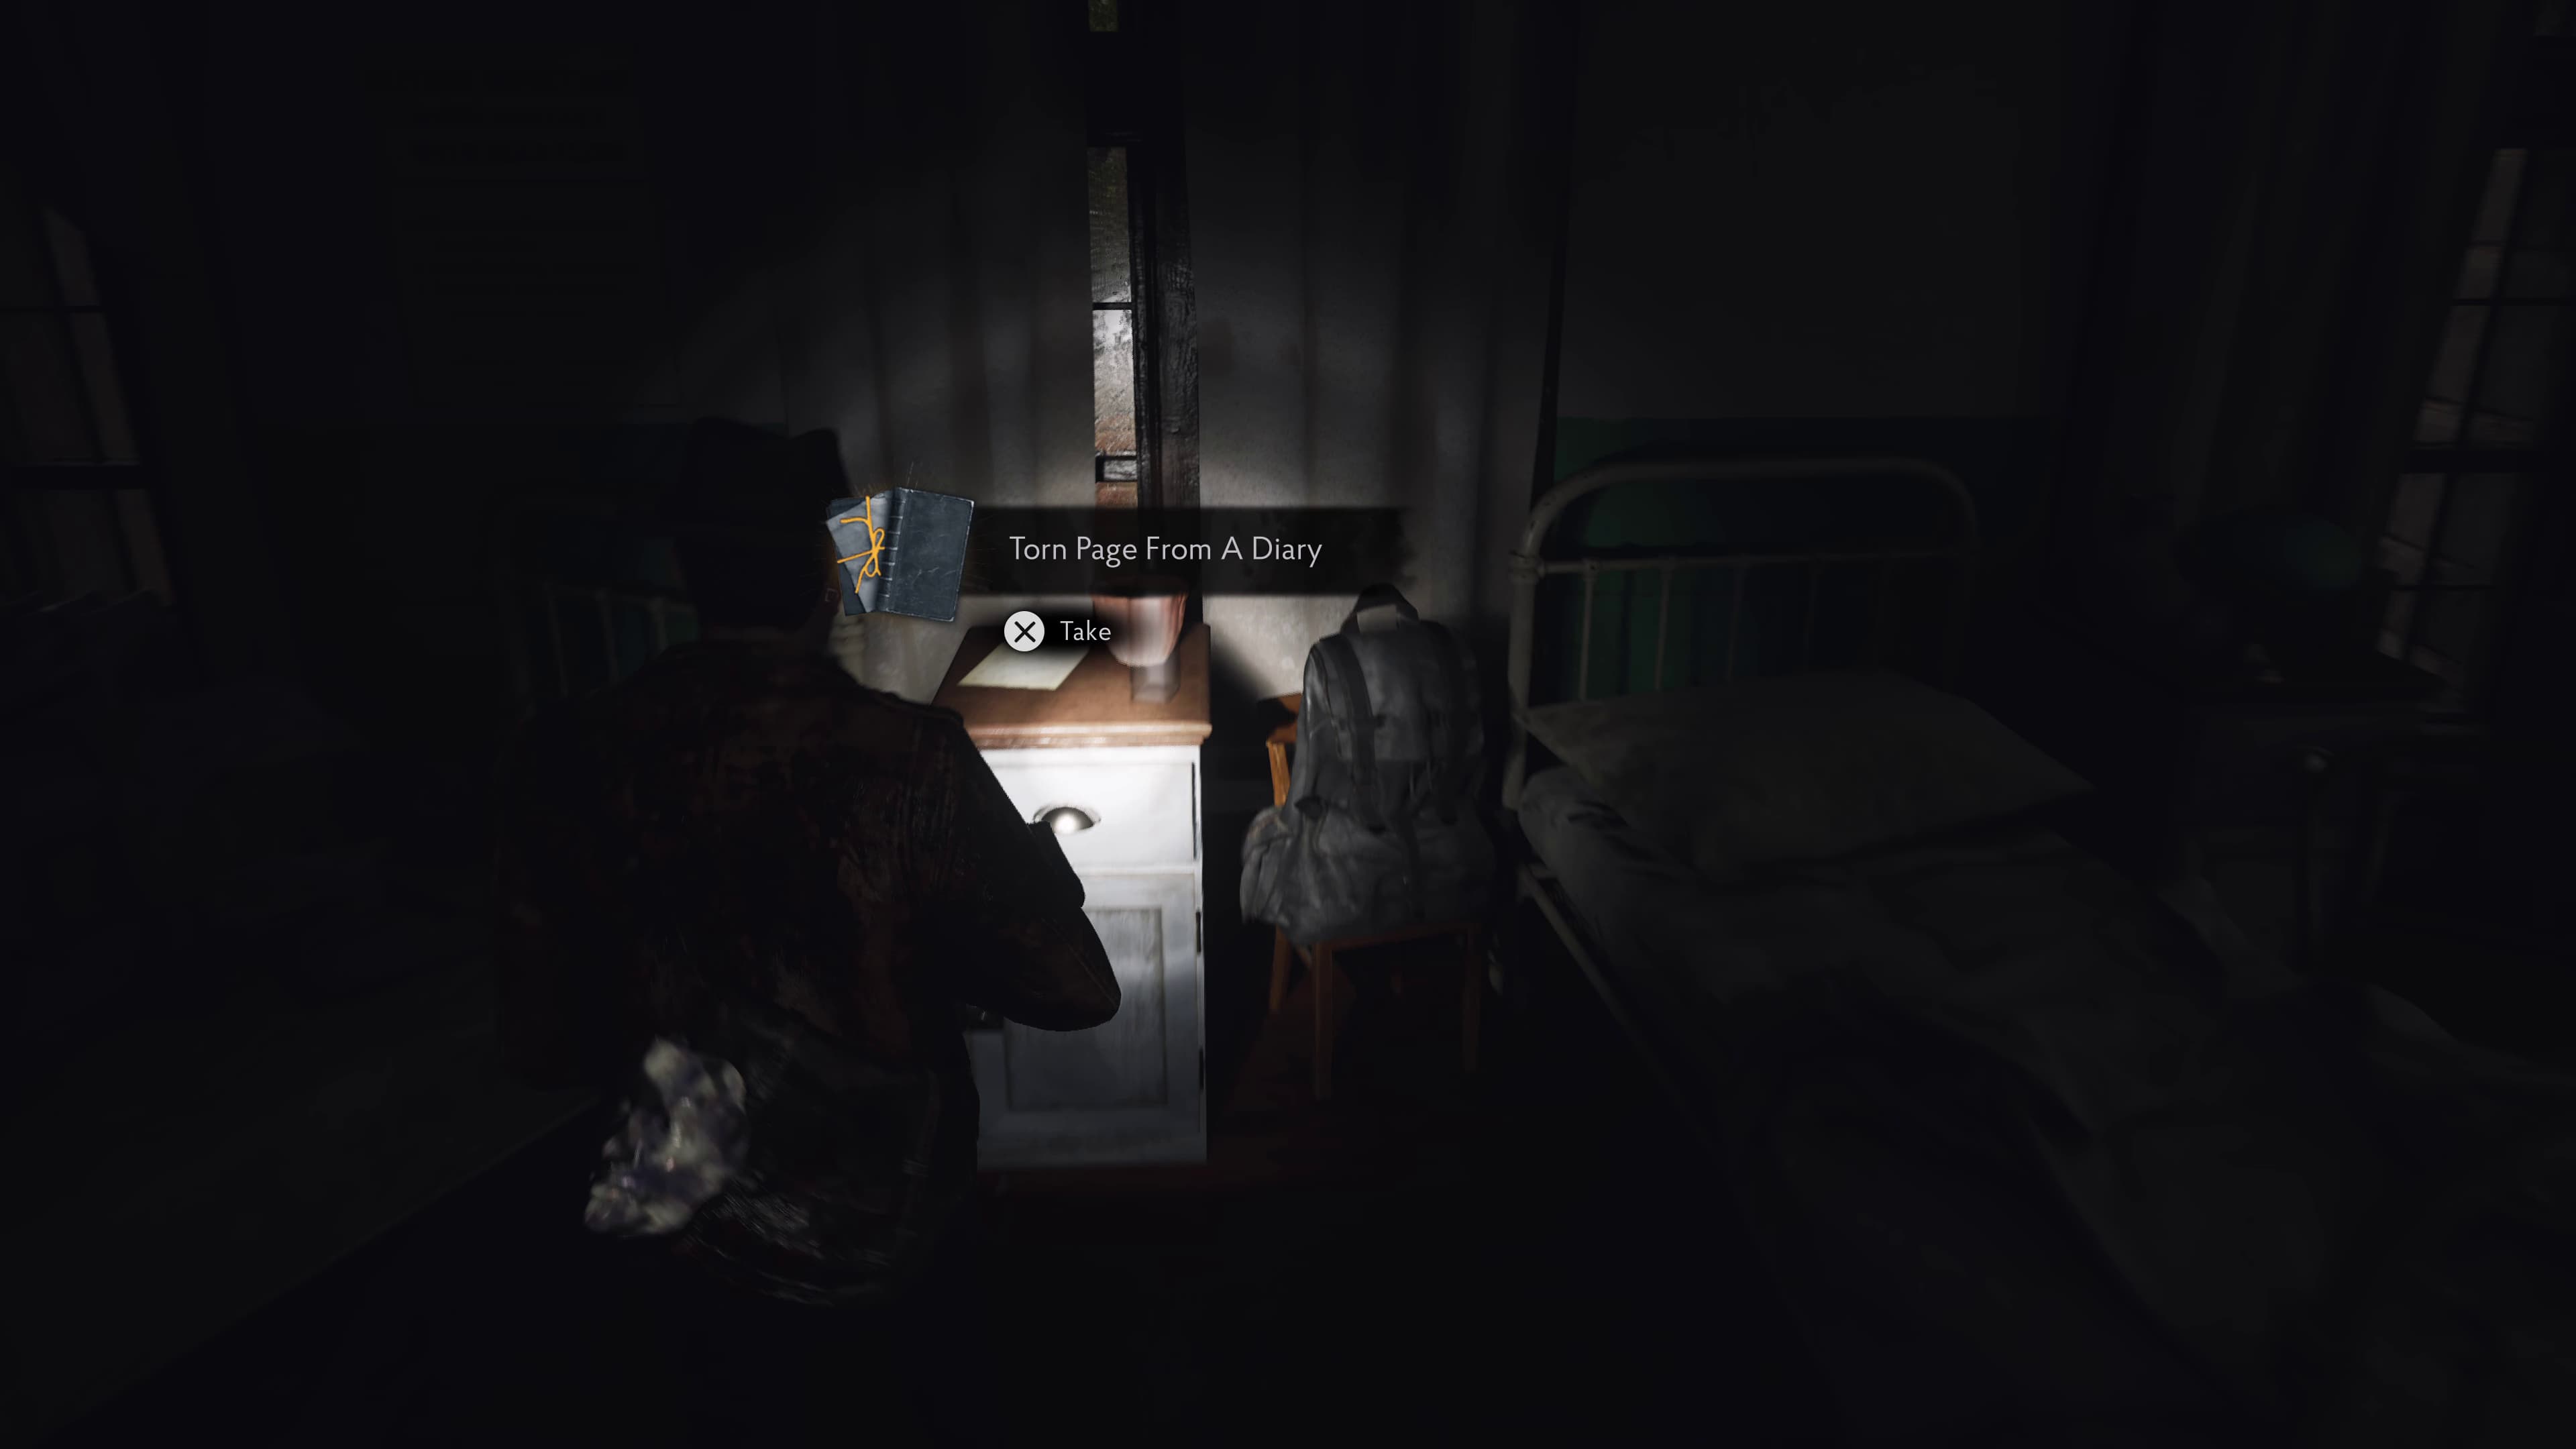
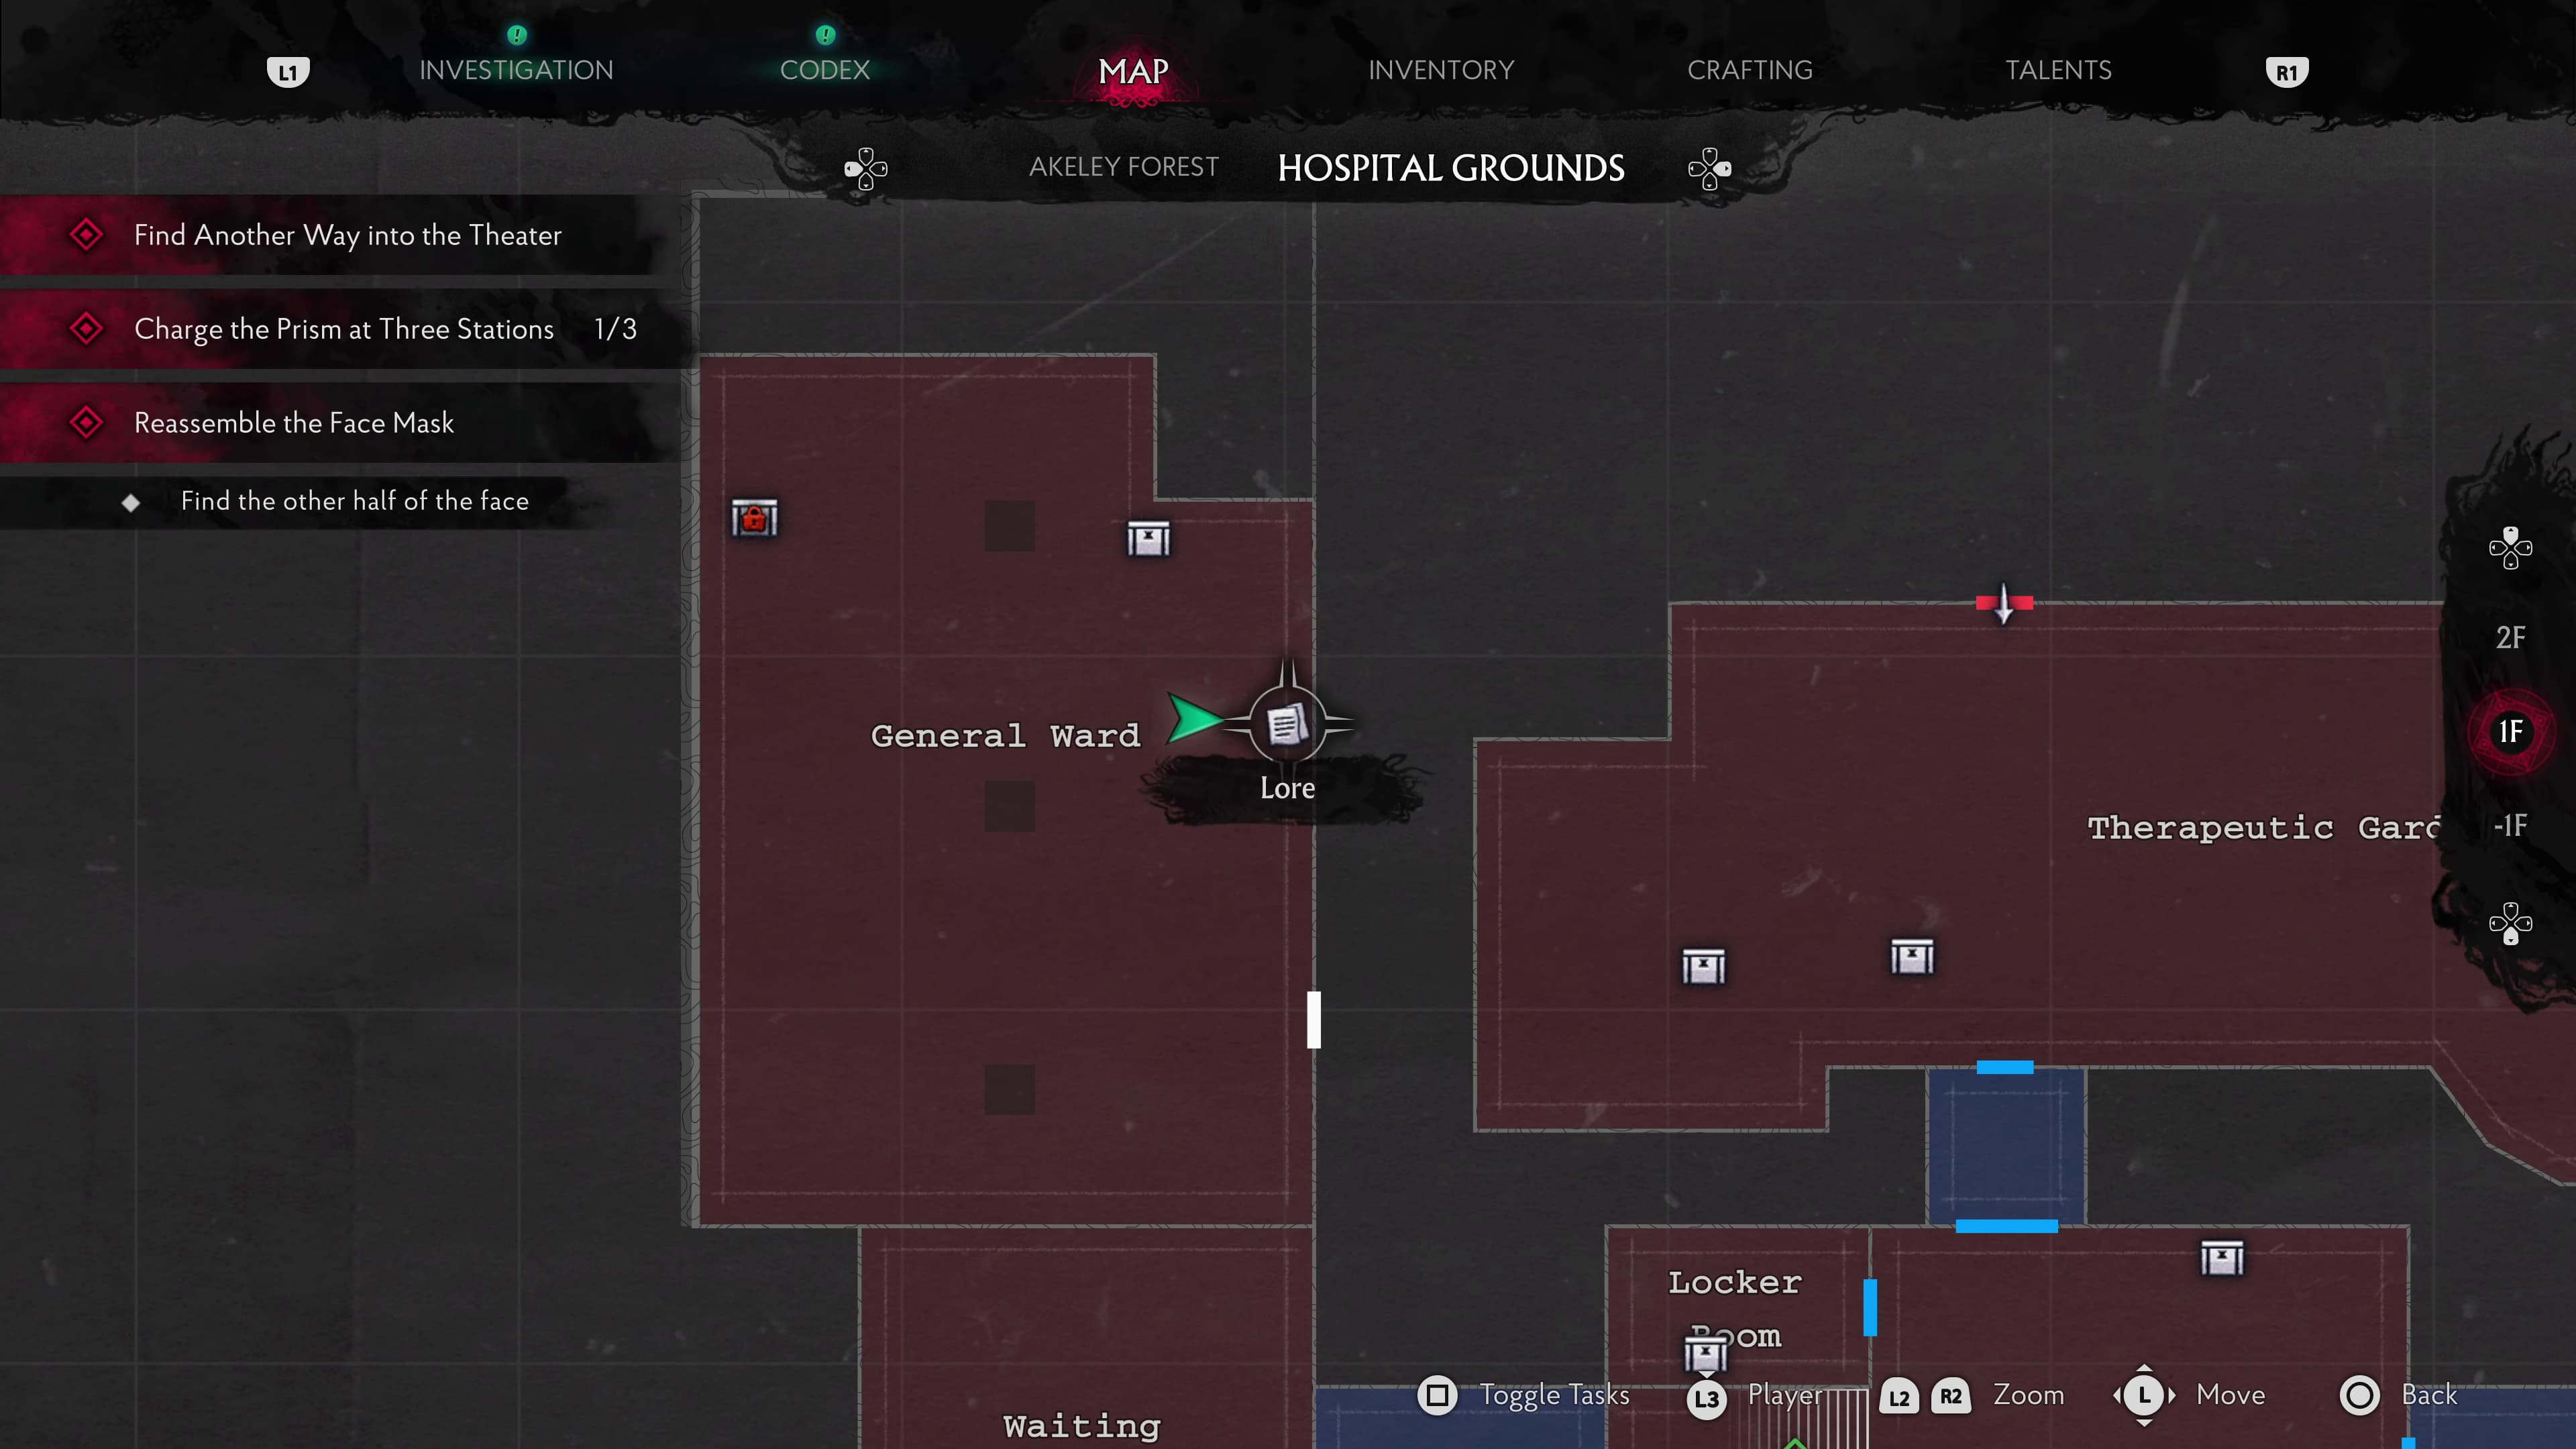
Now keep advancing to the end of the corridor where you will drop down into the General Ward below. After taking out the enemies in here, head over to the left, in-between two beds on a small cabinet, will be the next Lore Document (Torn Page from a Diary).
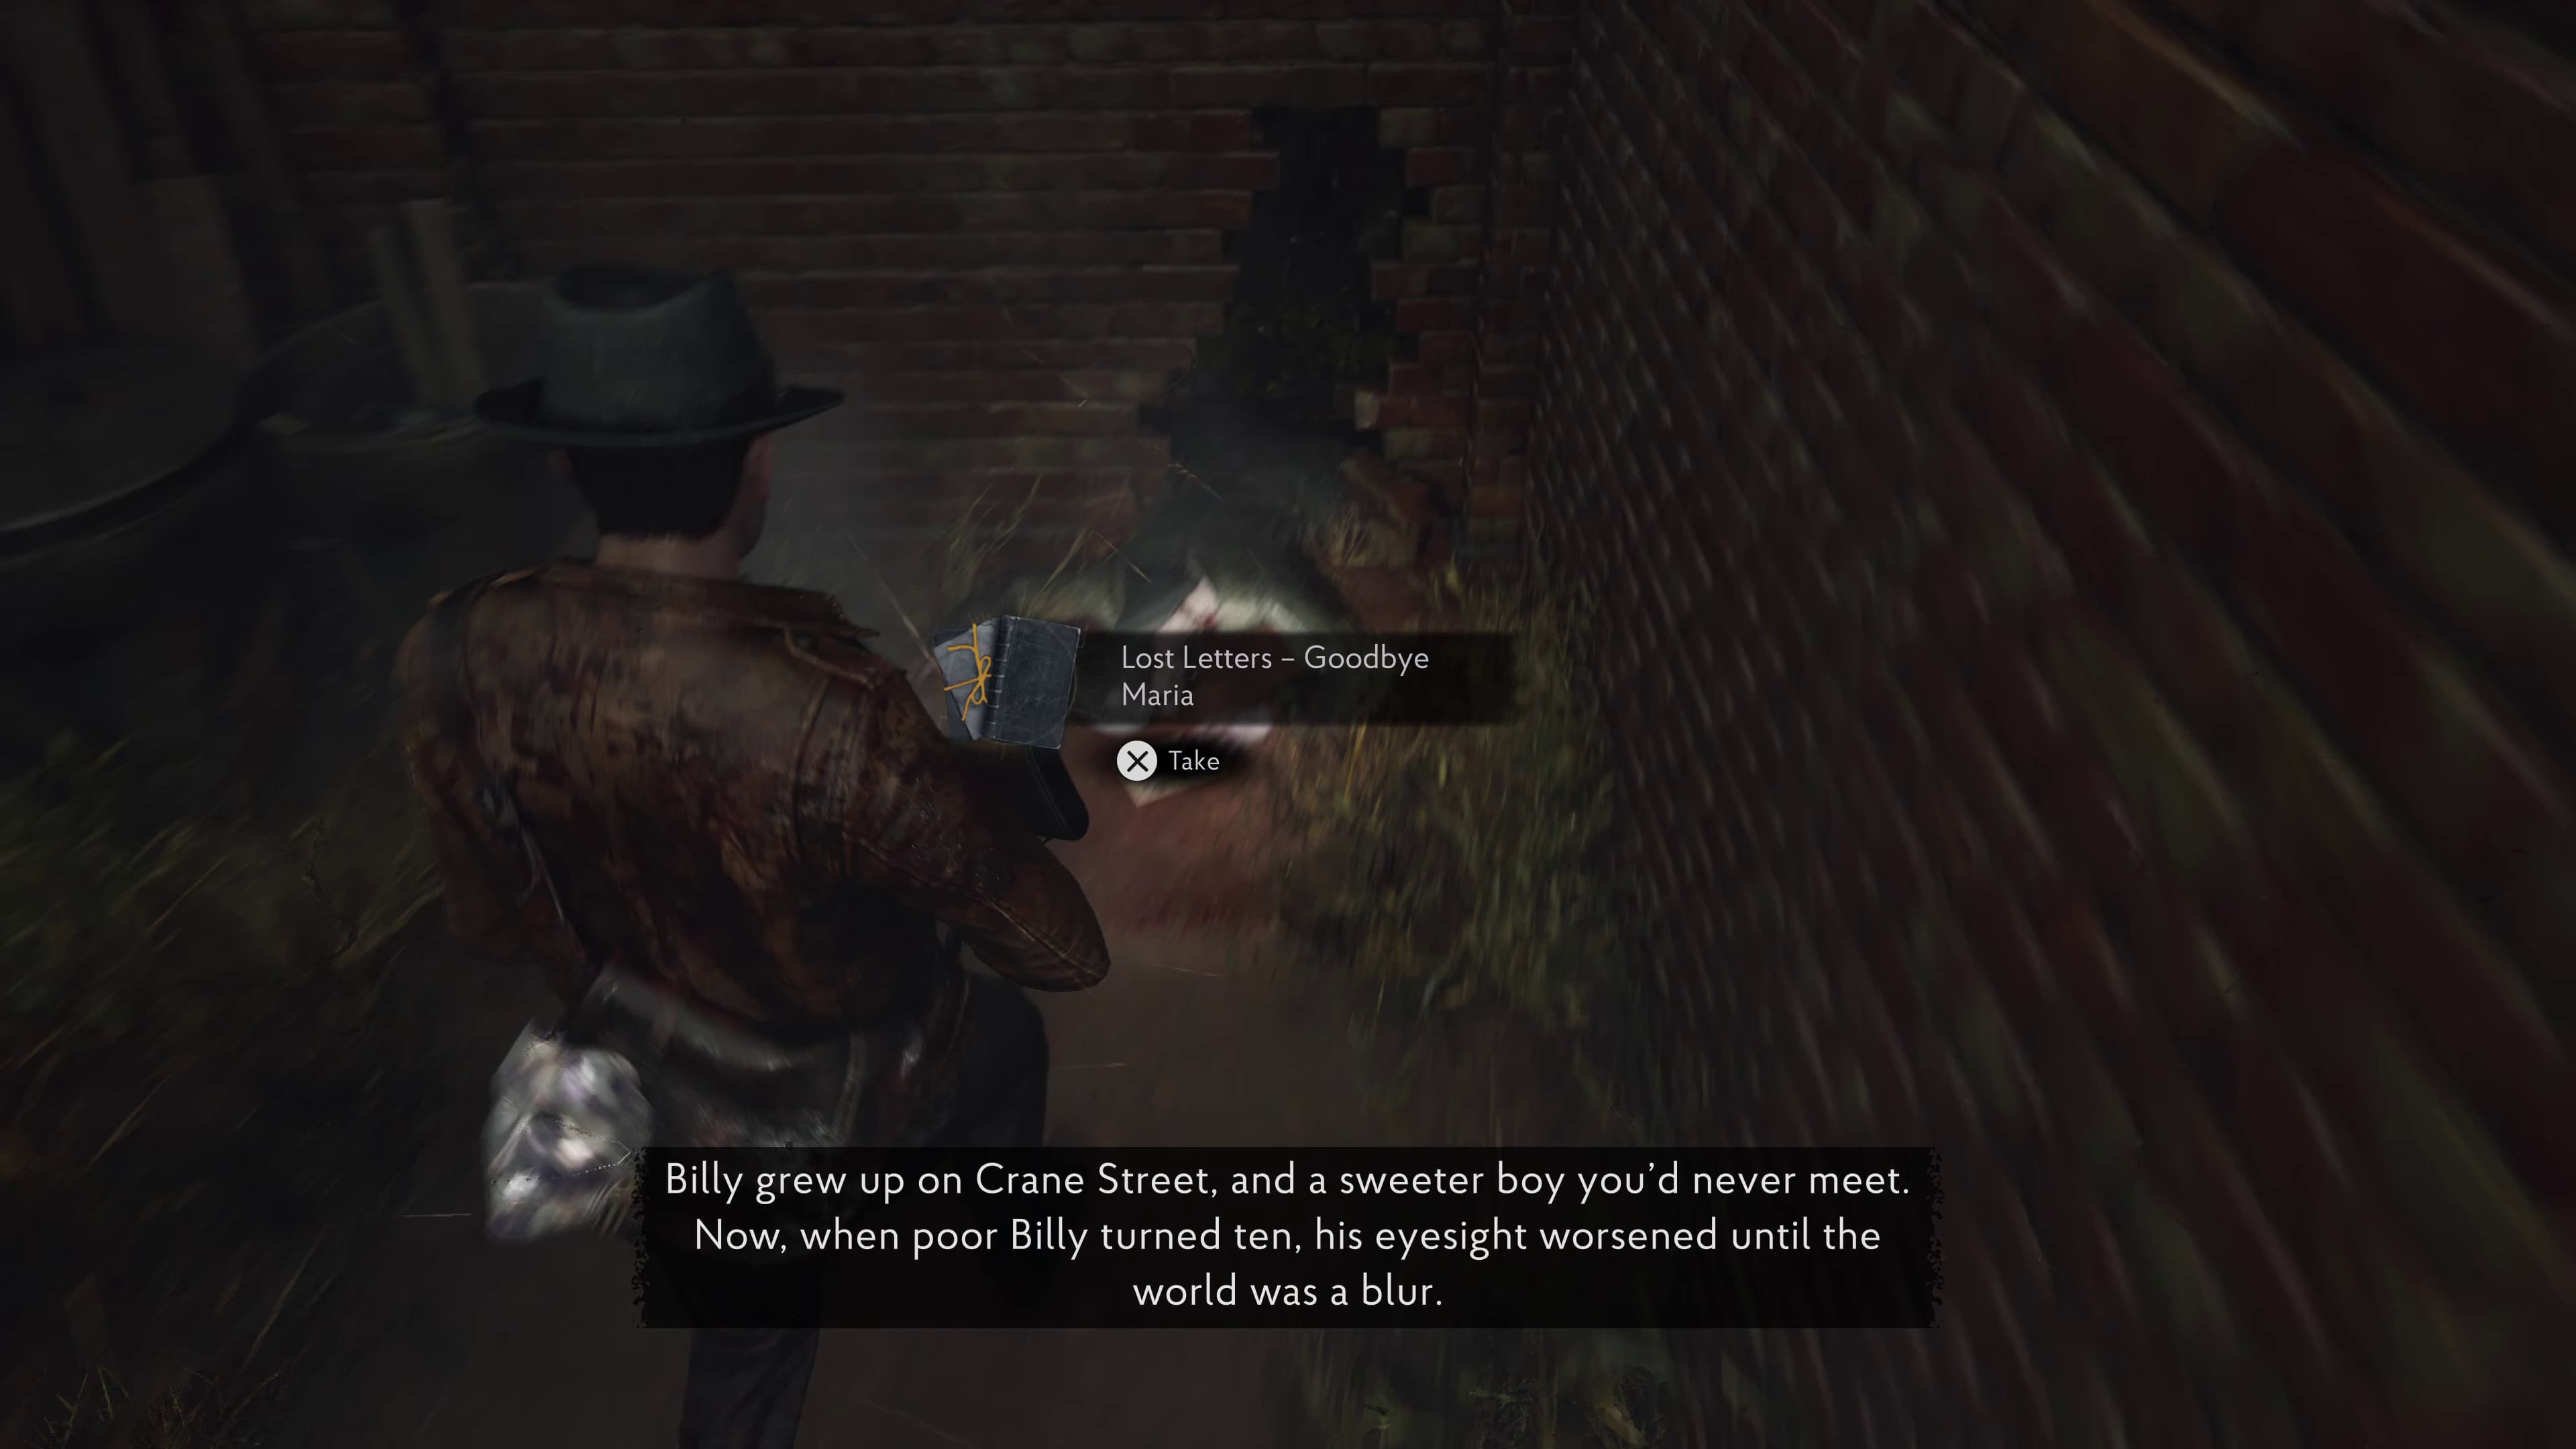
Head back out of the Gazebo area the way you came in, but take a right to keep advancing, head right again and immediately through the next gate turn left to find the next Lore Document (Lost Letters - Goodbye Maria) on the ground.
Keep advancing on from here, take out the bigger enemy in the next area and make it back inside to Orthotic Consulting, to find the other half of Father Nathaniels face to collect. Make it back up to the Prosthetics Workshop to put his face back together.
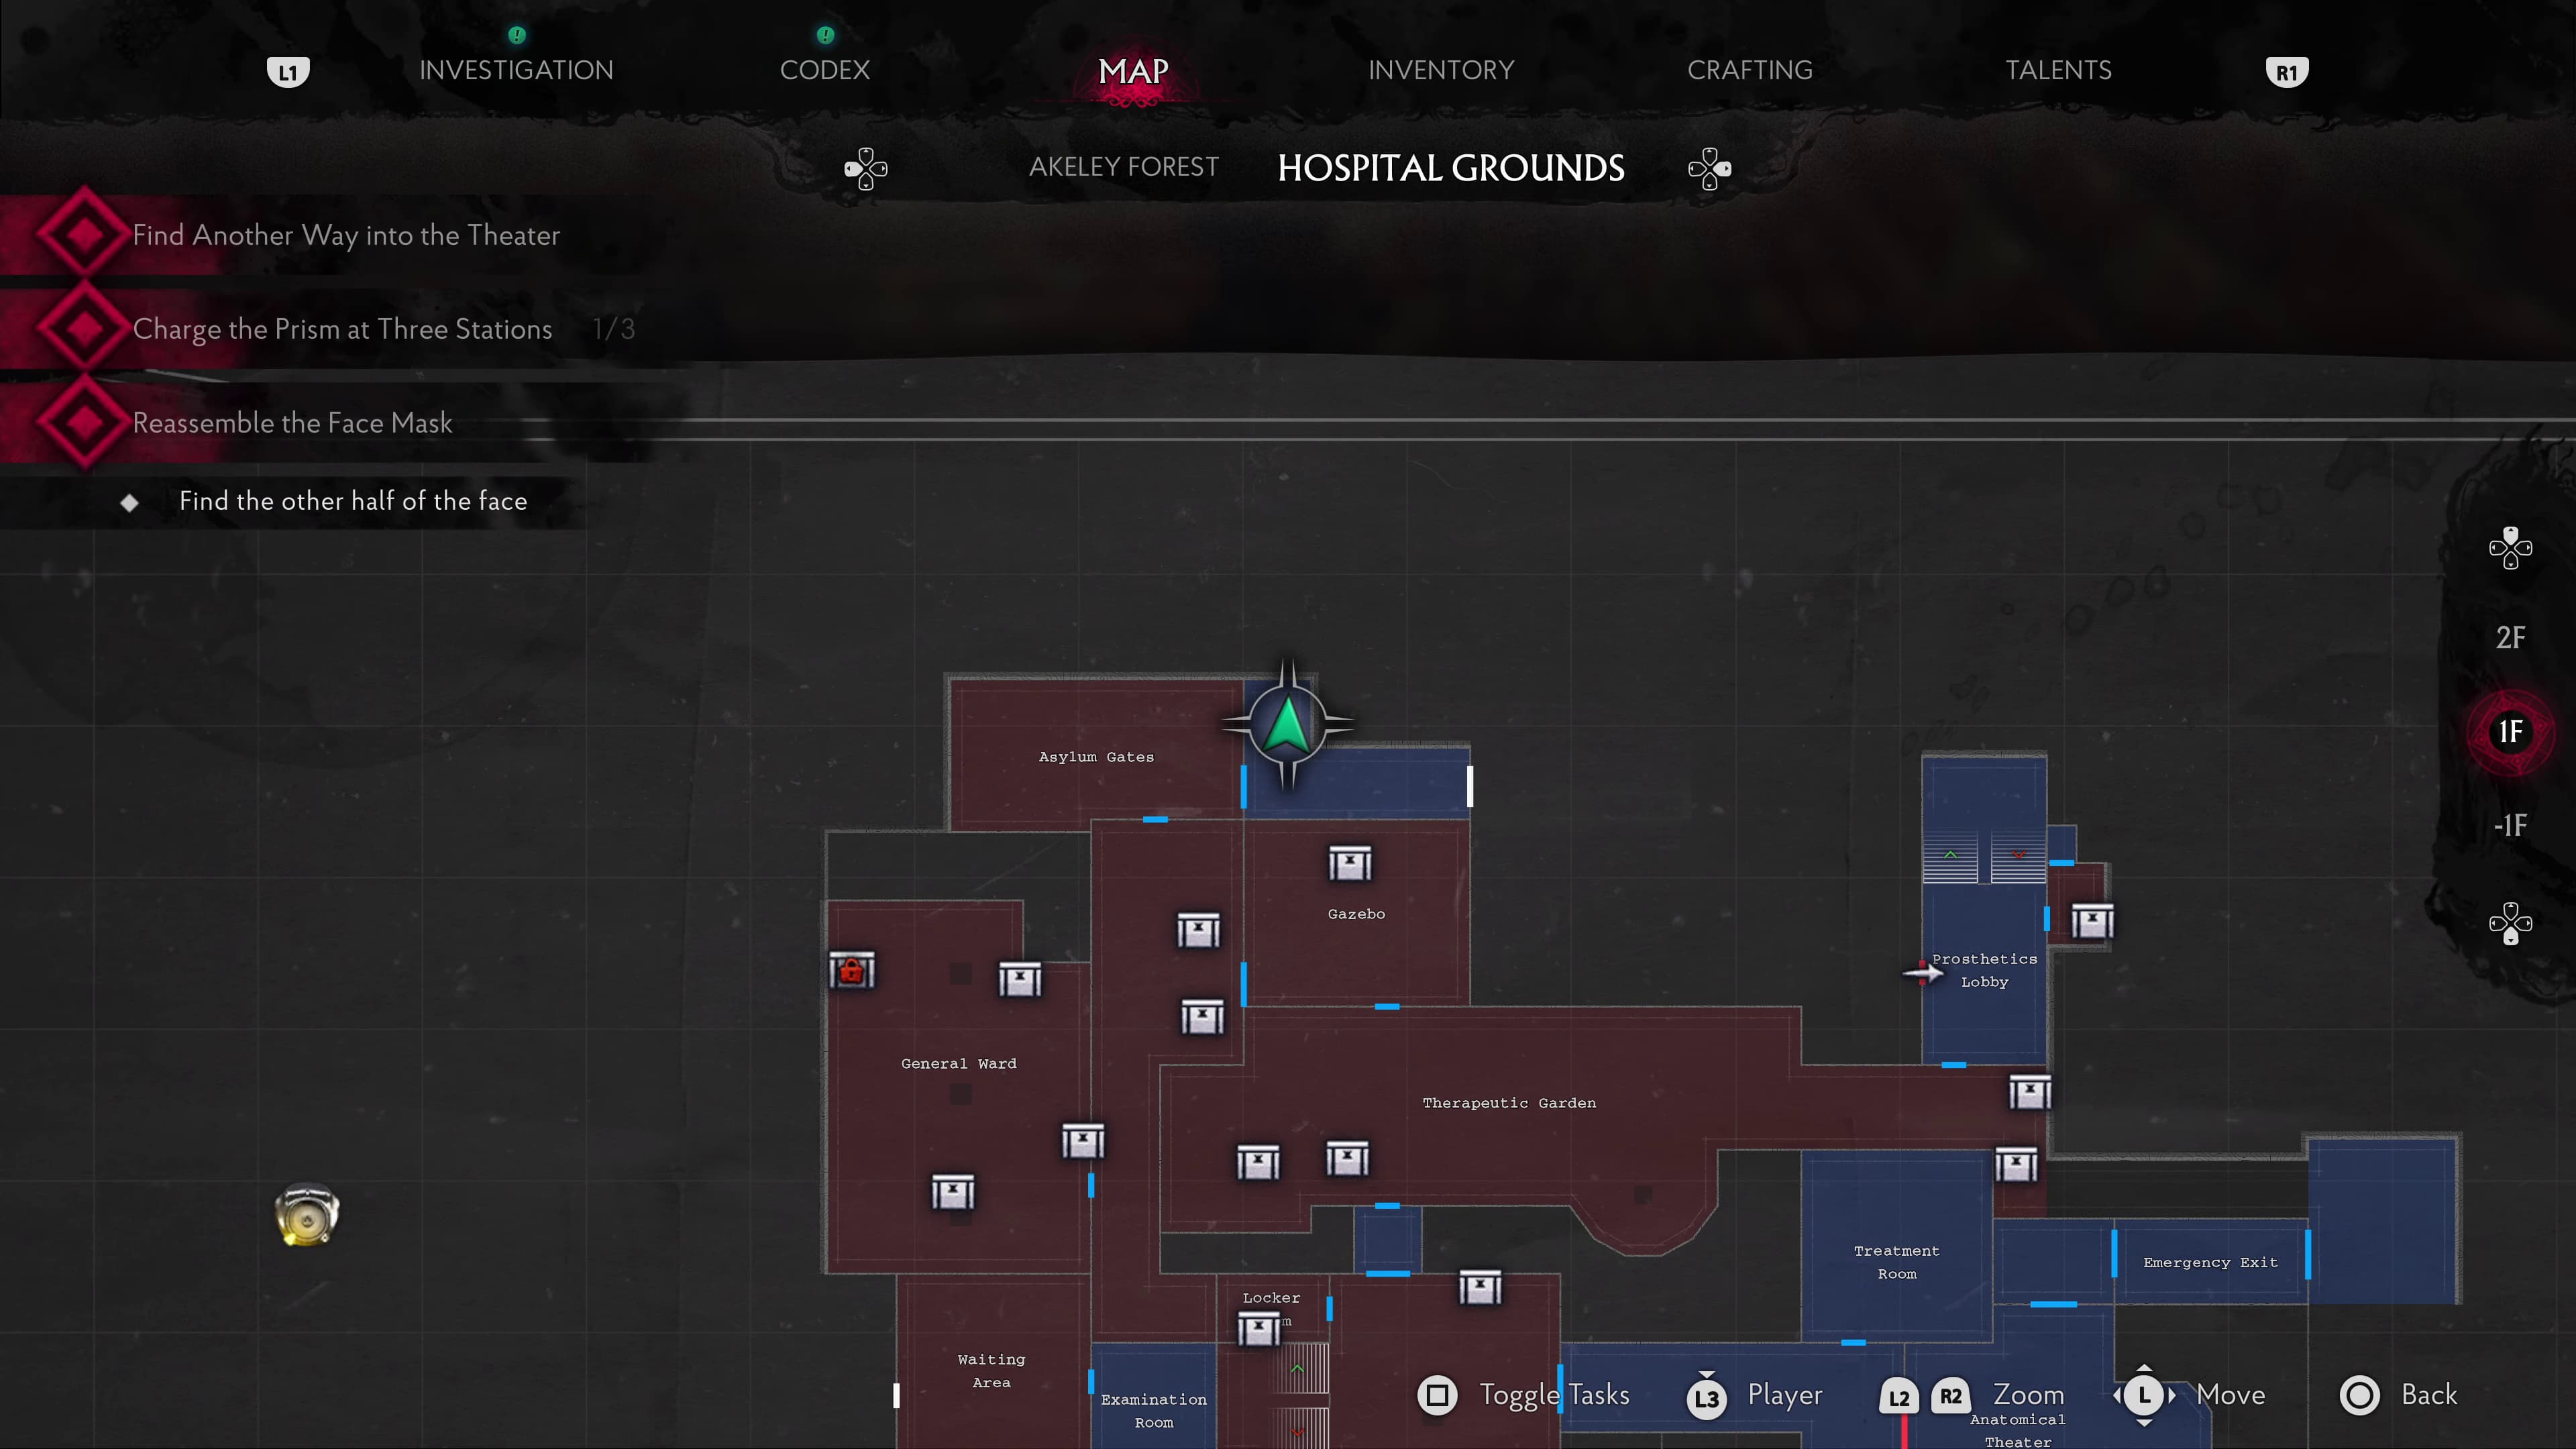
Head into the Upper Hall, and around to the left in here and unlock the next Father Nathaniel door, into Medical records.
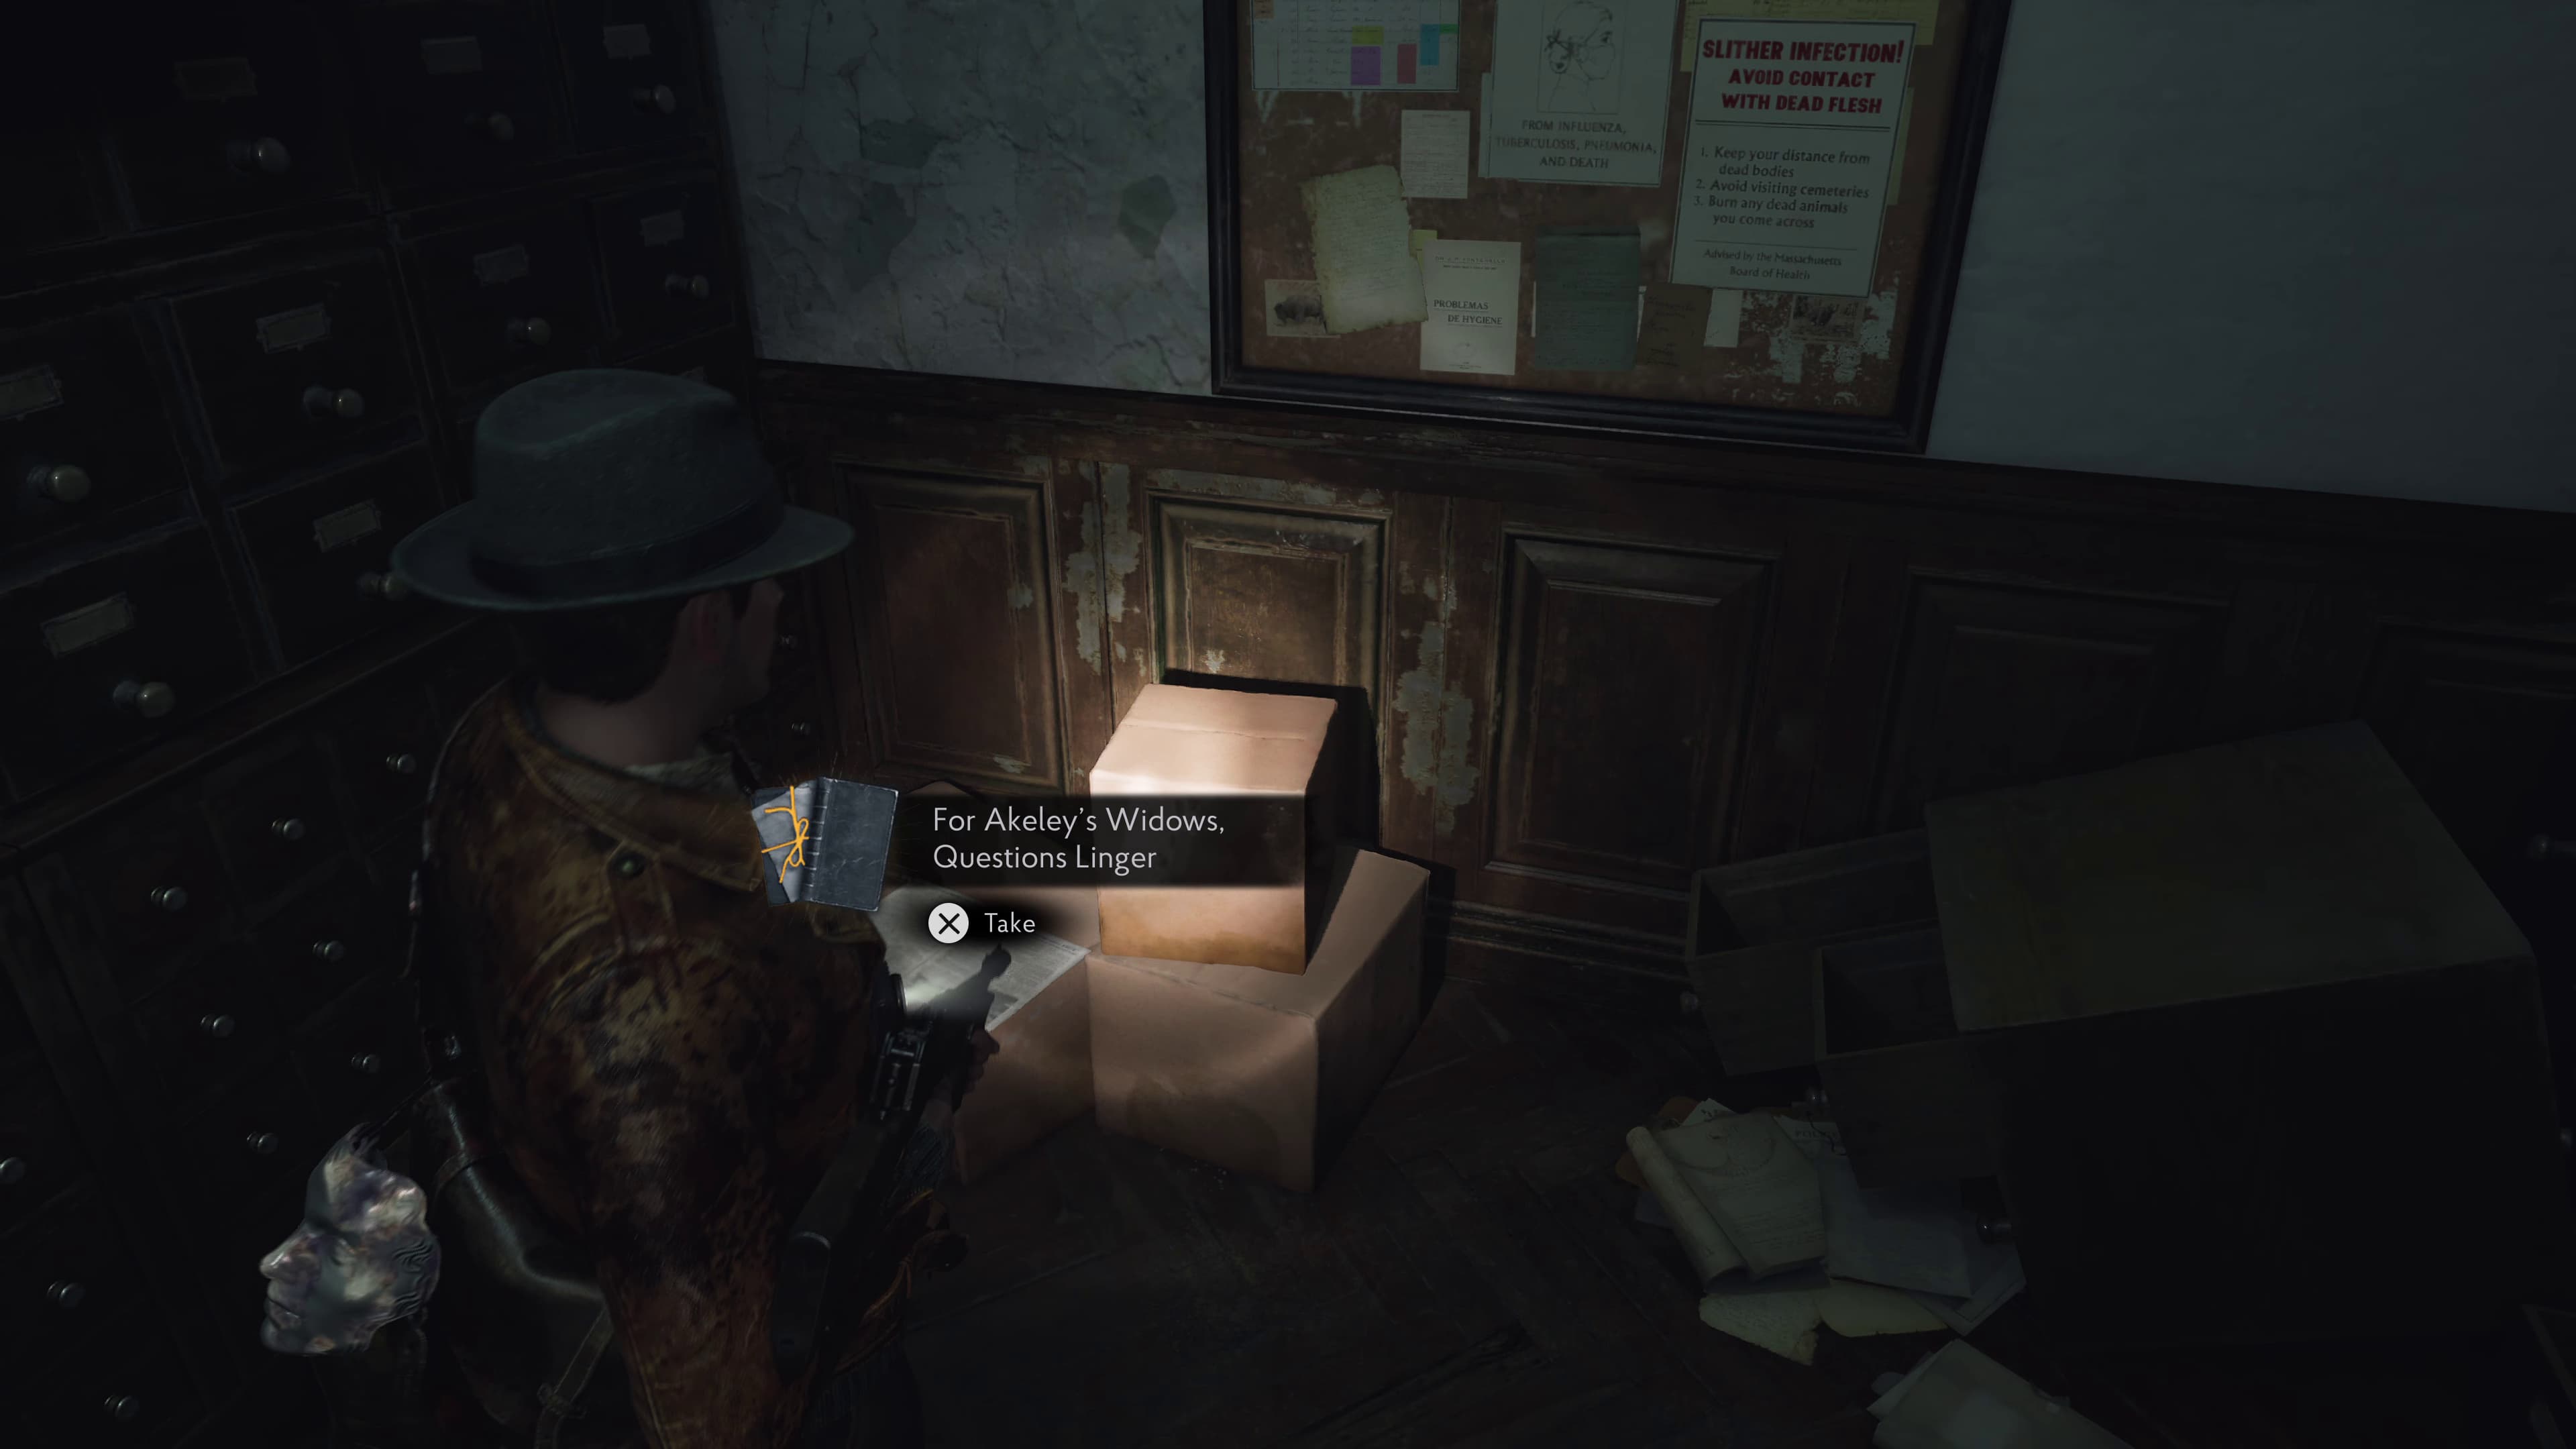
Straight ahead inside on the boxes will be the next Lore Document (For Akeley's Windows, Questions Linger) to collect.
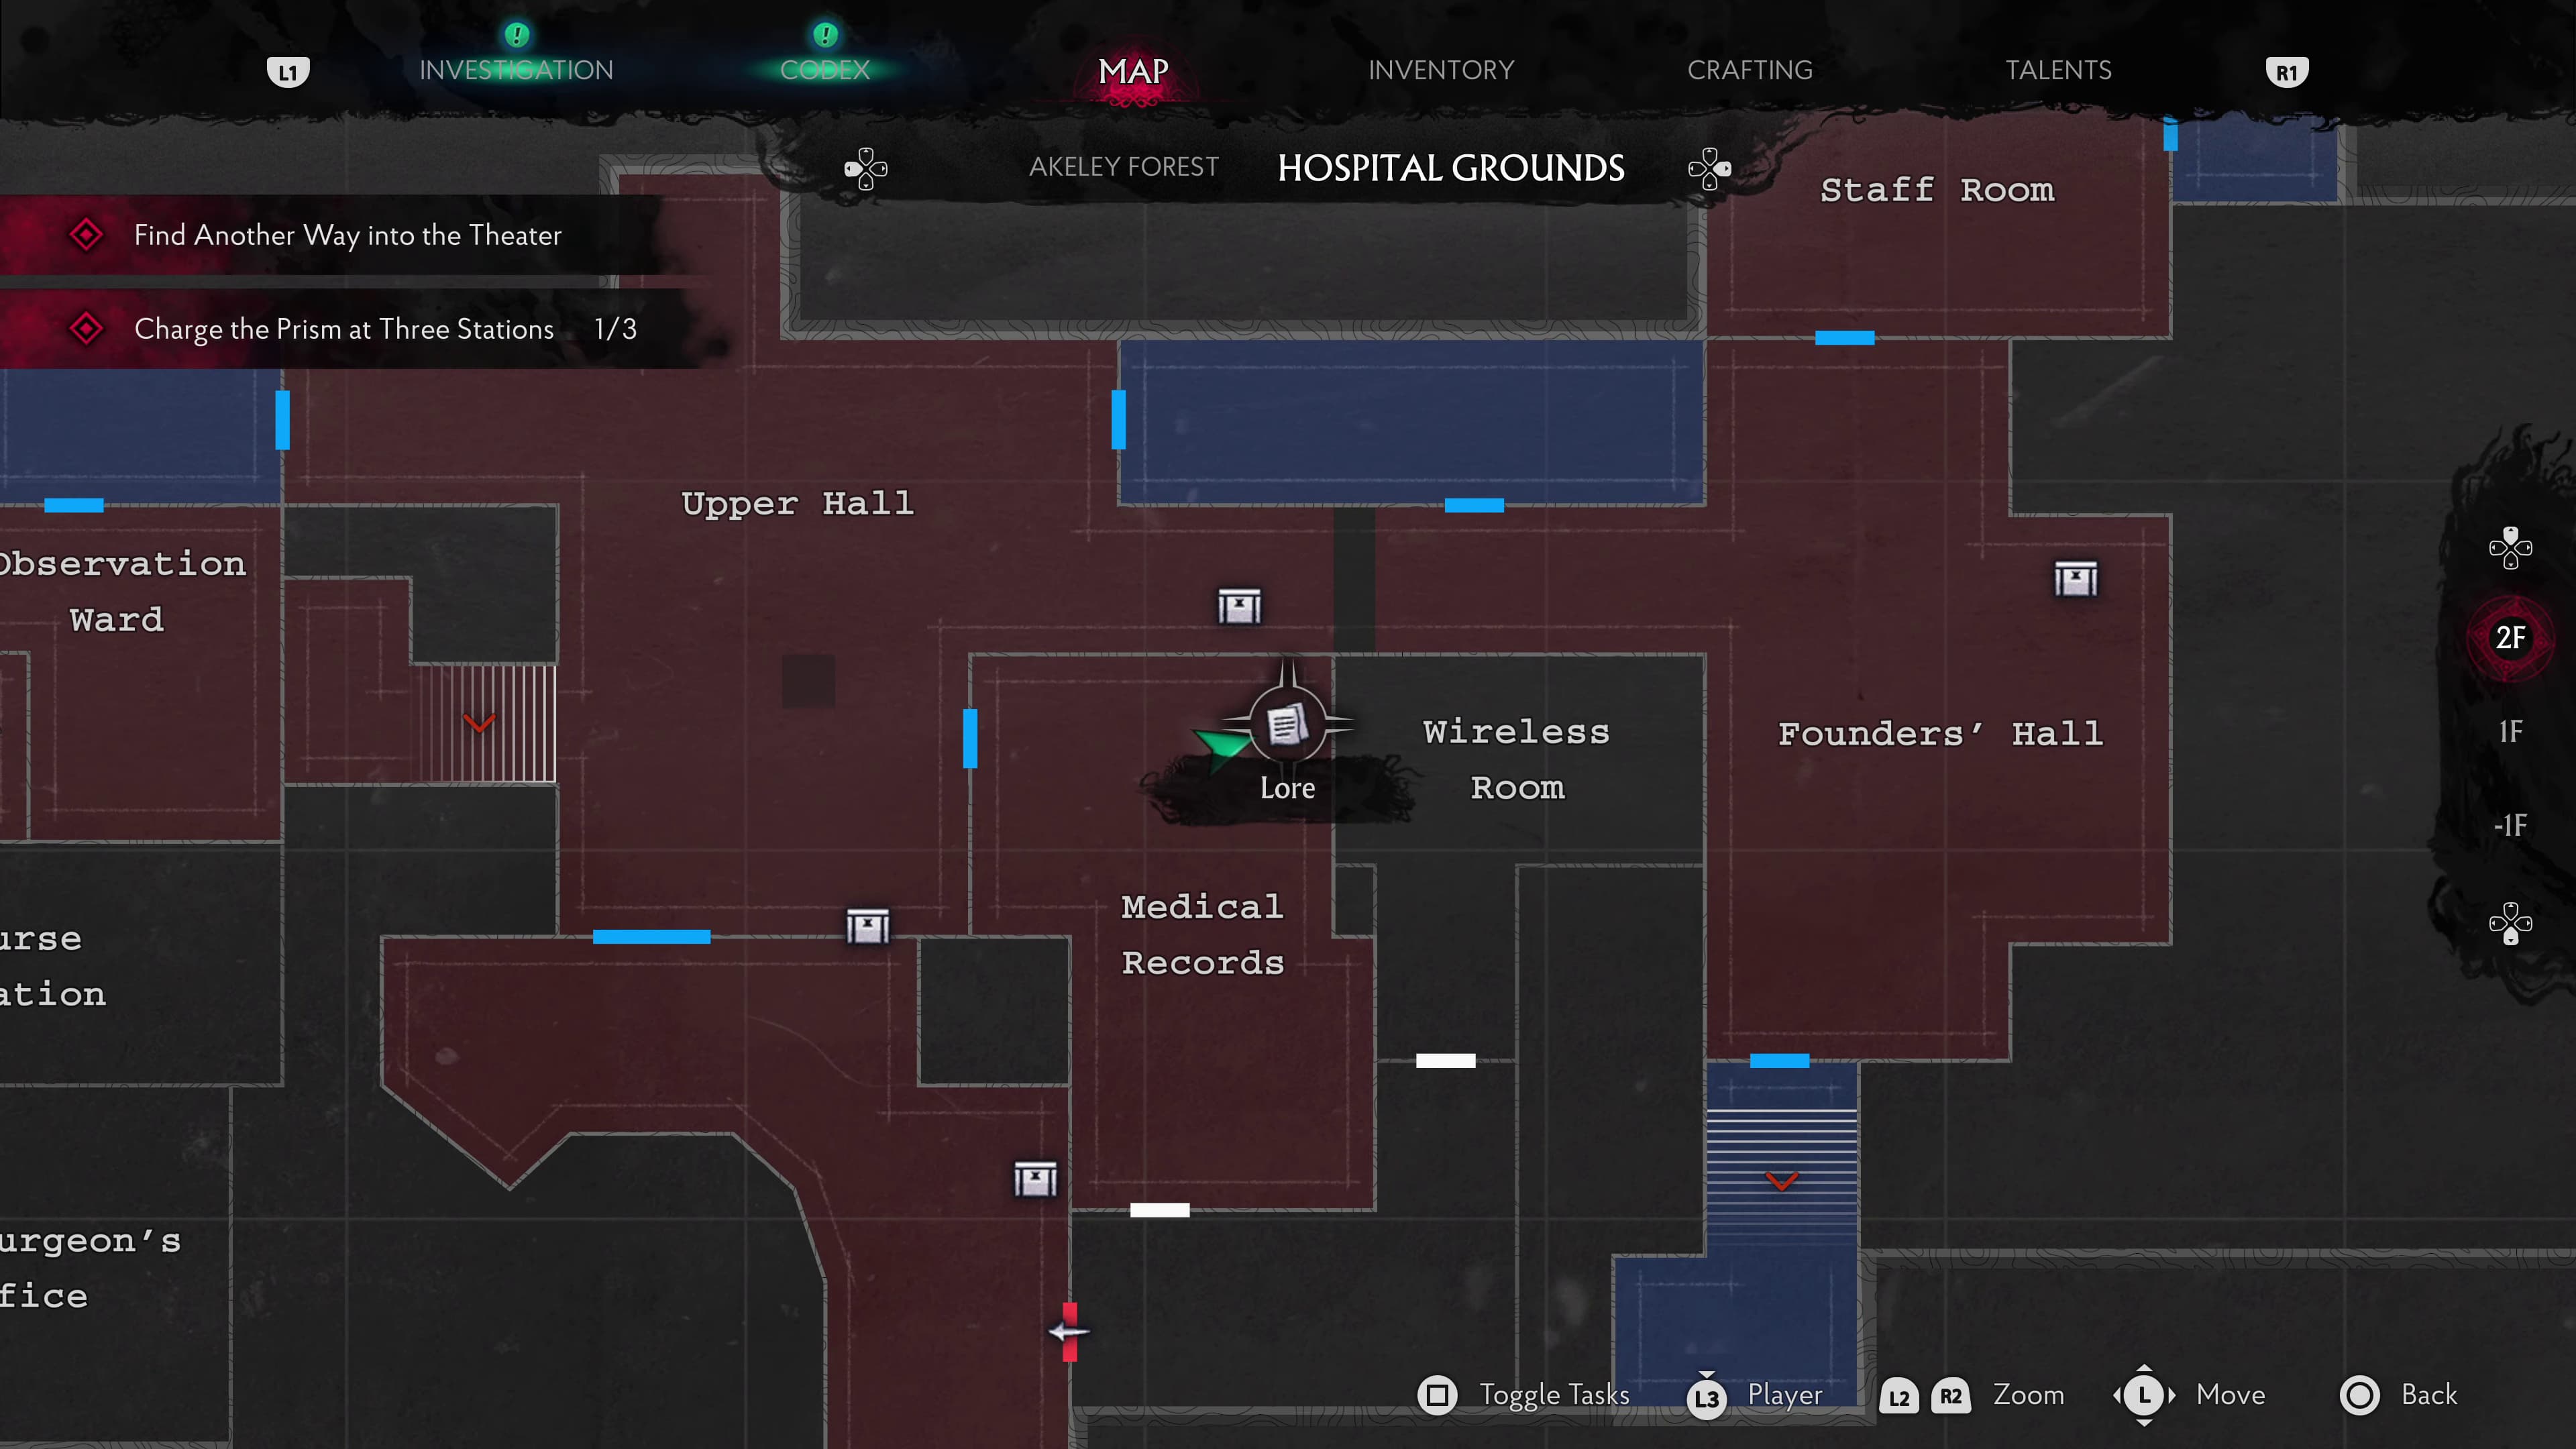
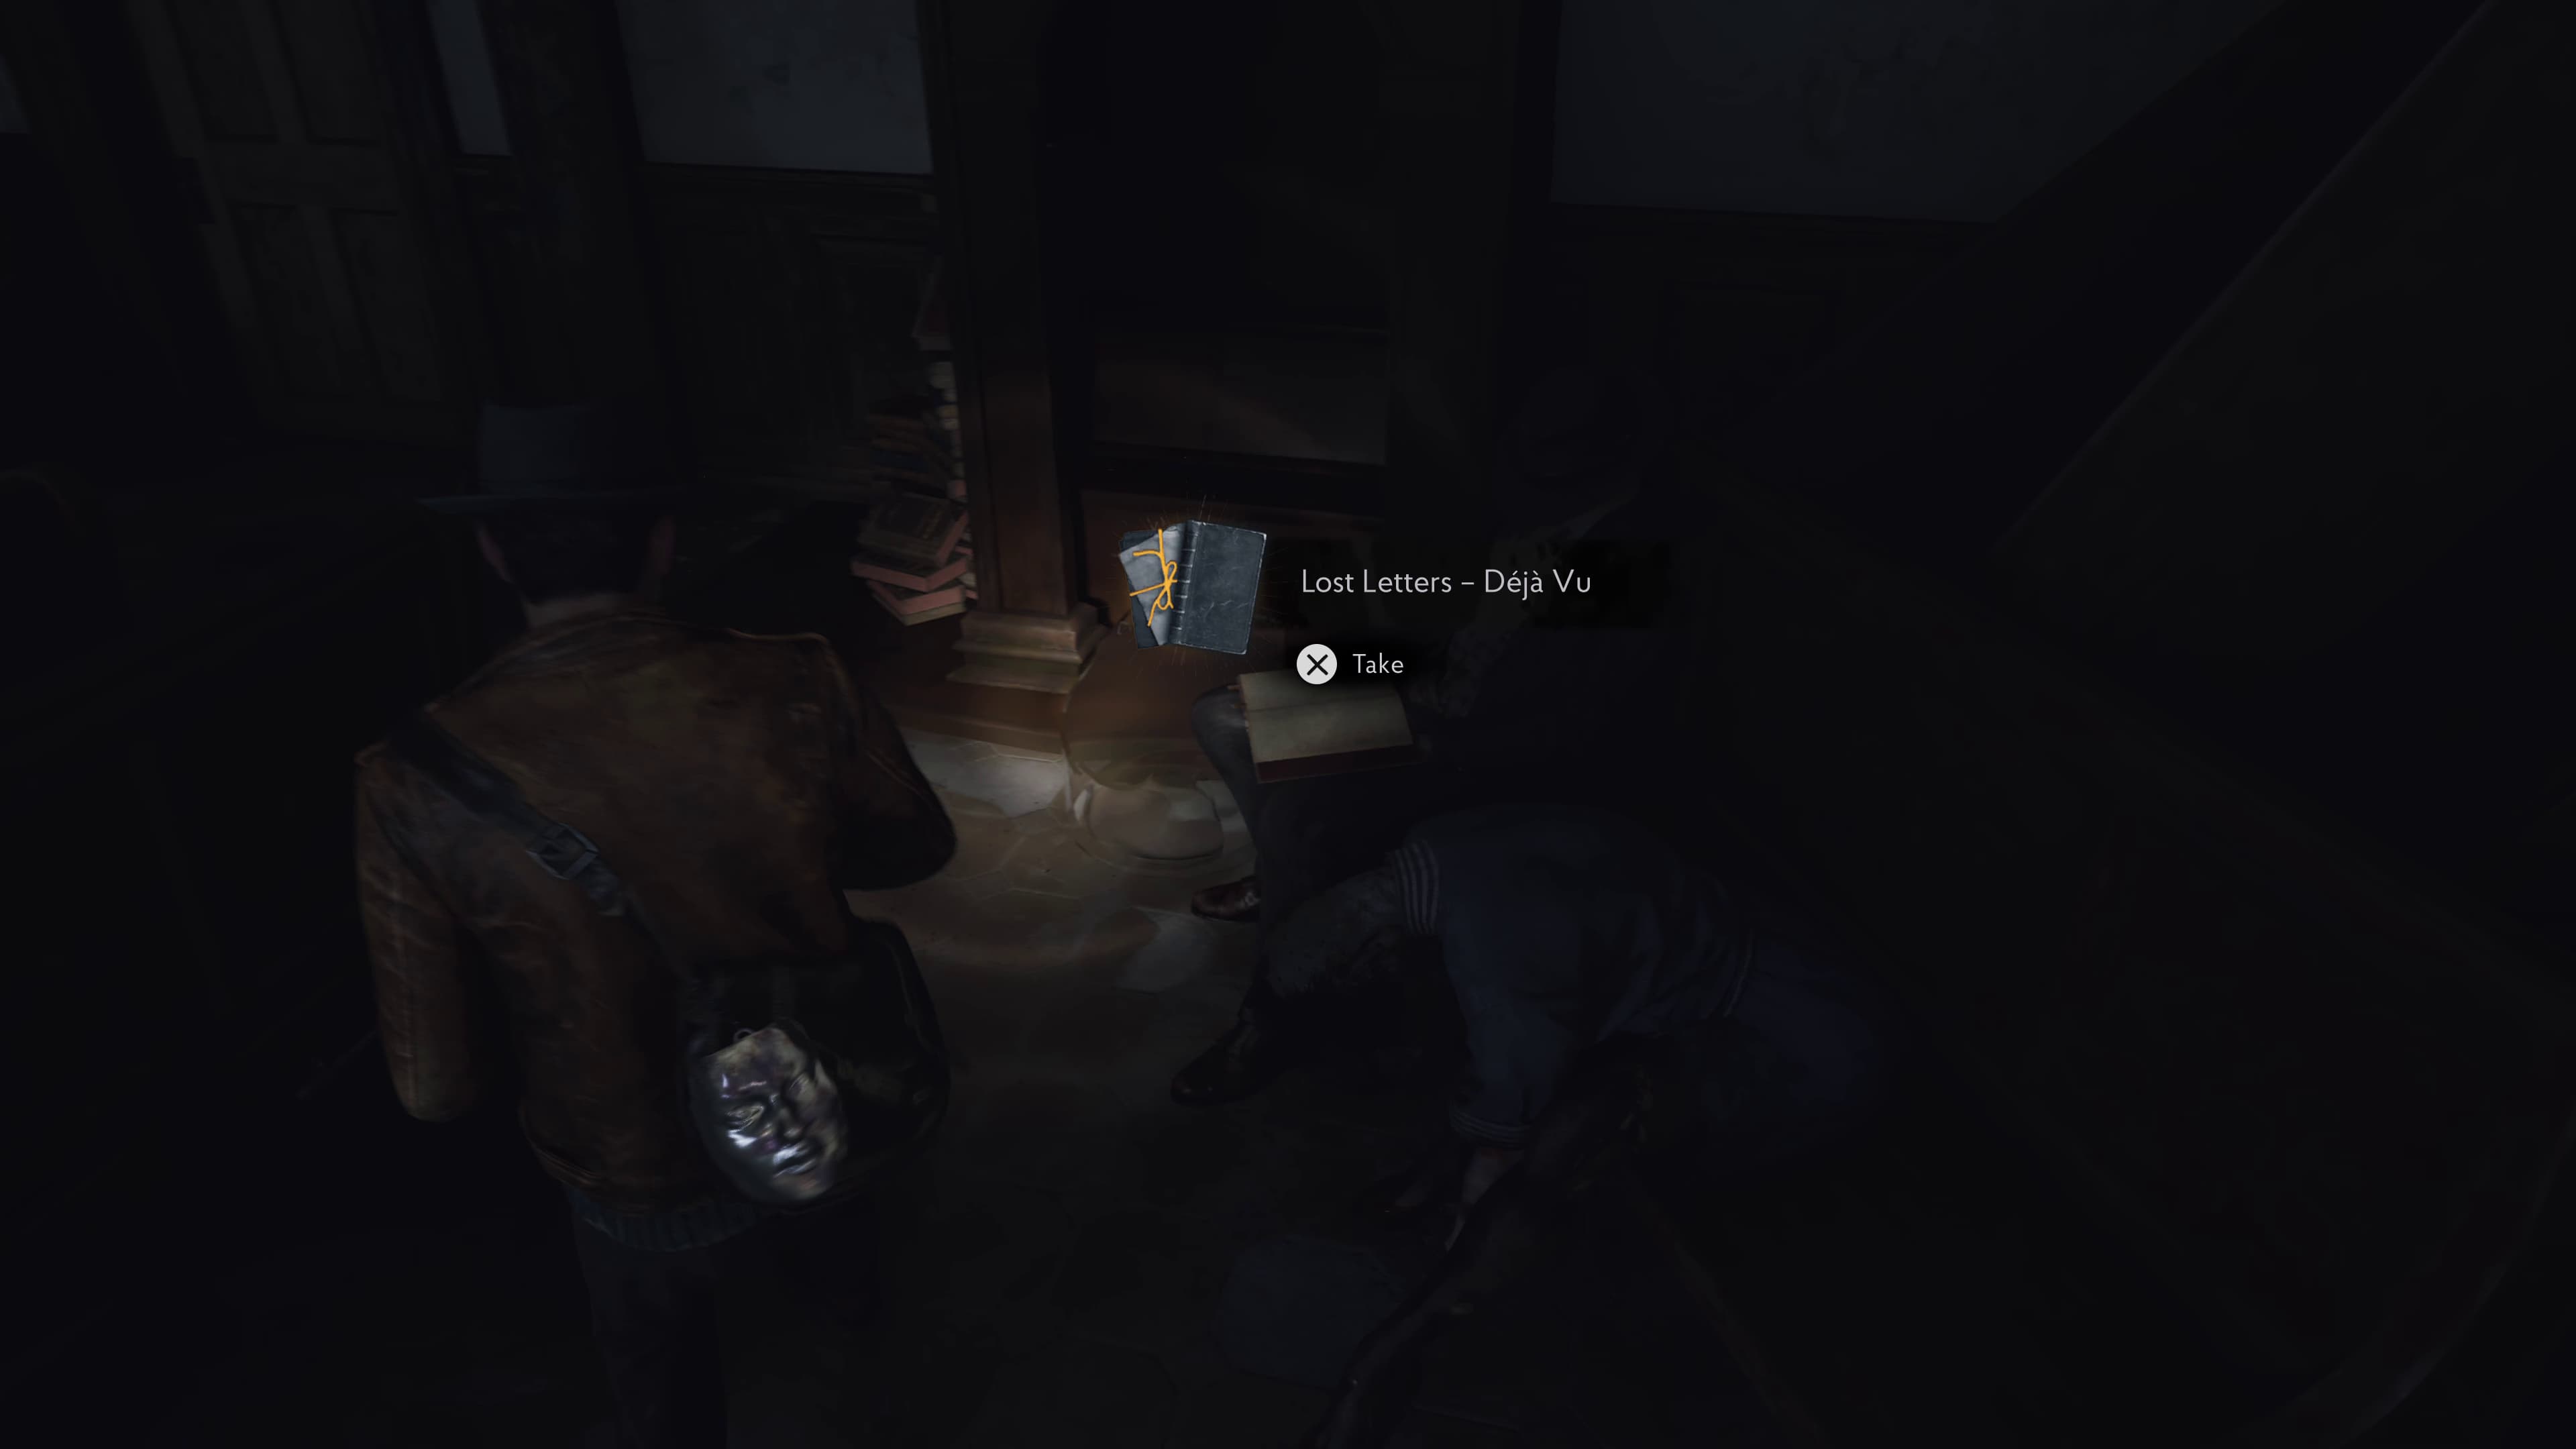
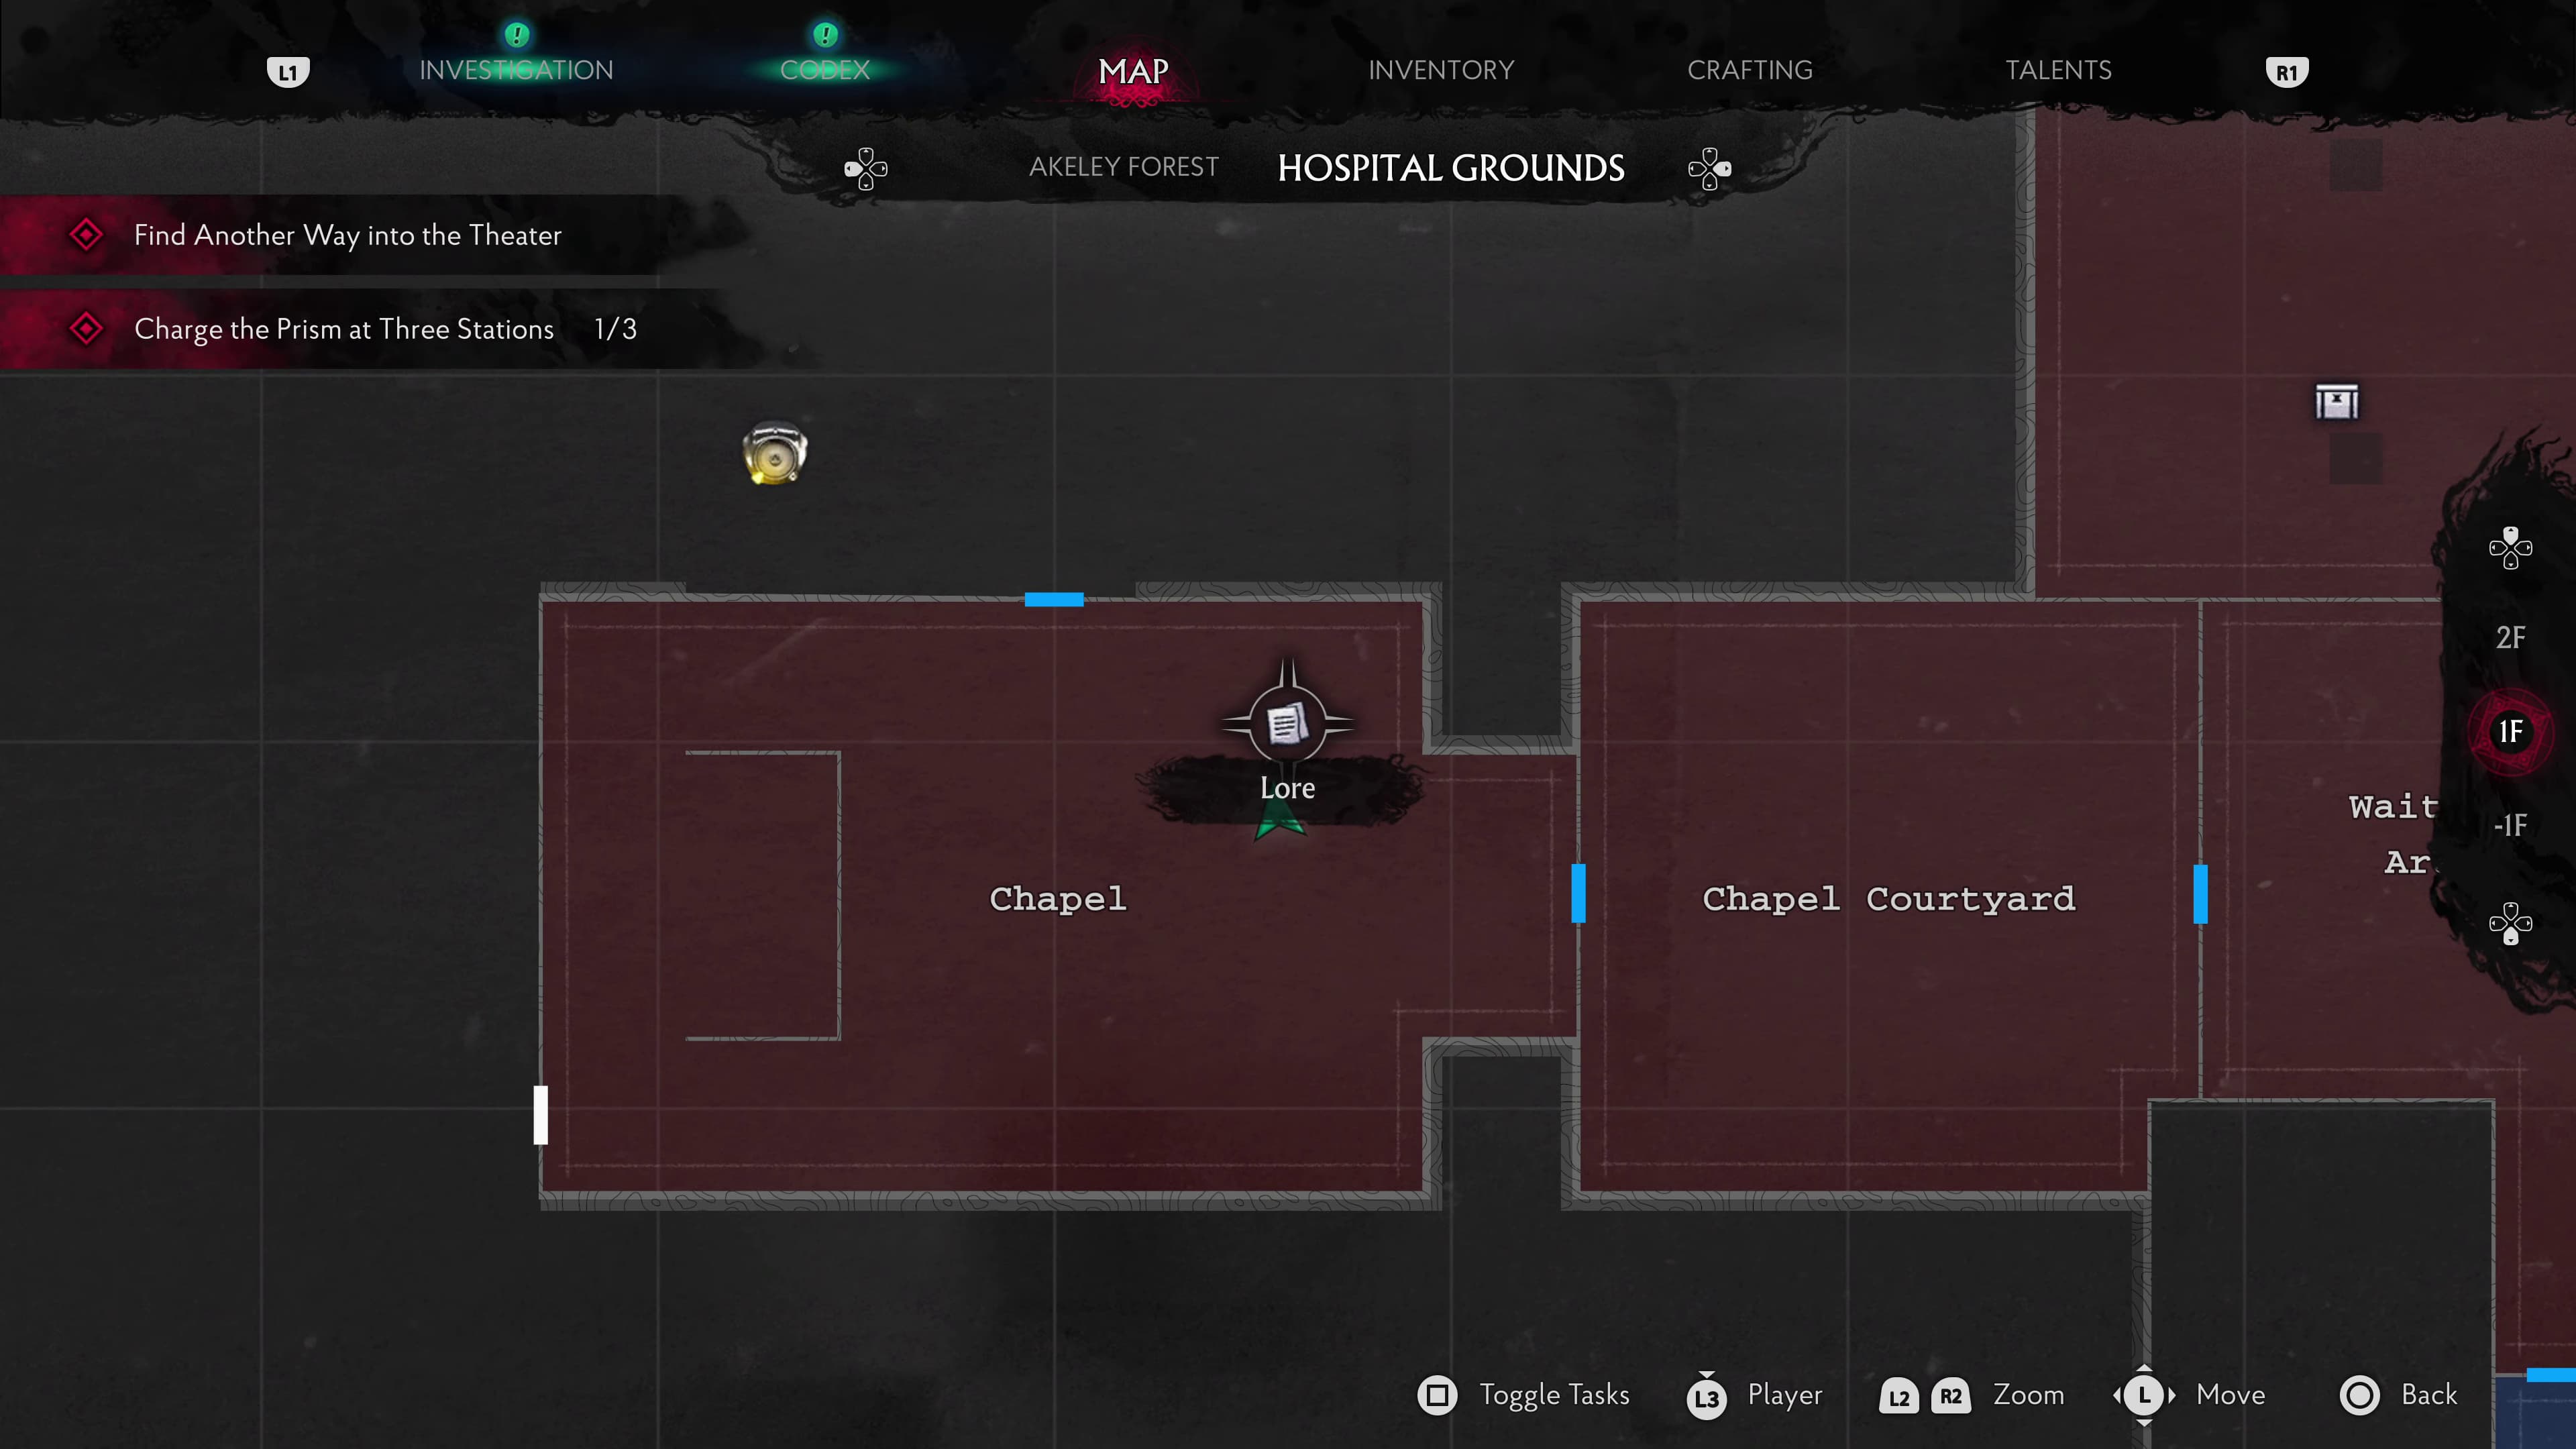
Make your way through into the Waiting Area to use Father Nathaniels face for the last time, to open the door to the Chapel. After entering the Chapel, on the right with the bodies, will be the next Lore Document (Lost Letters - Deja Vu).
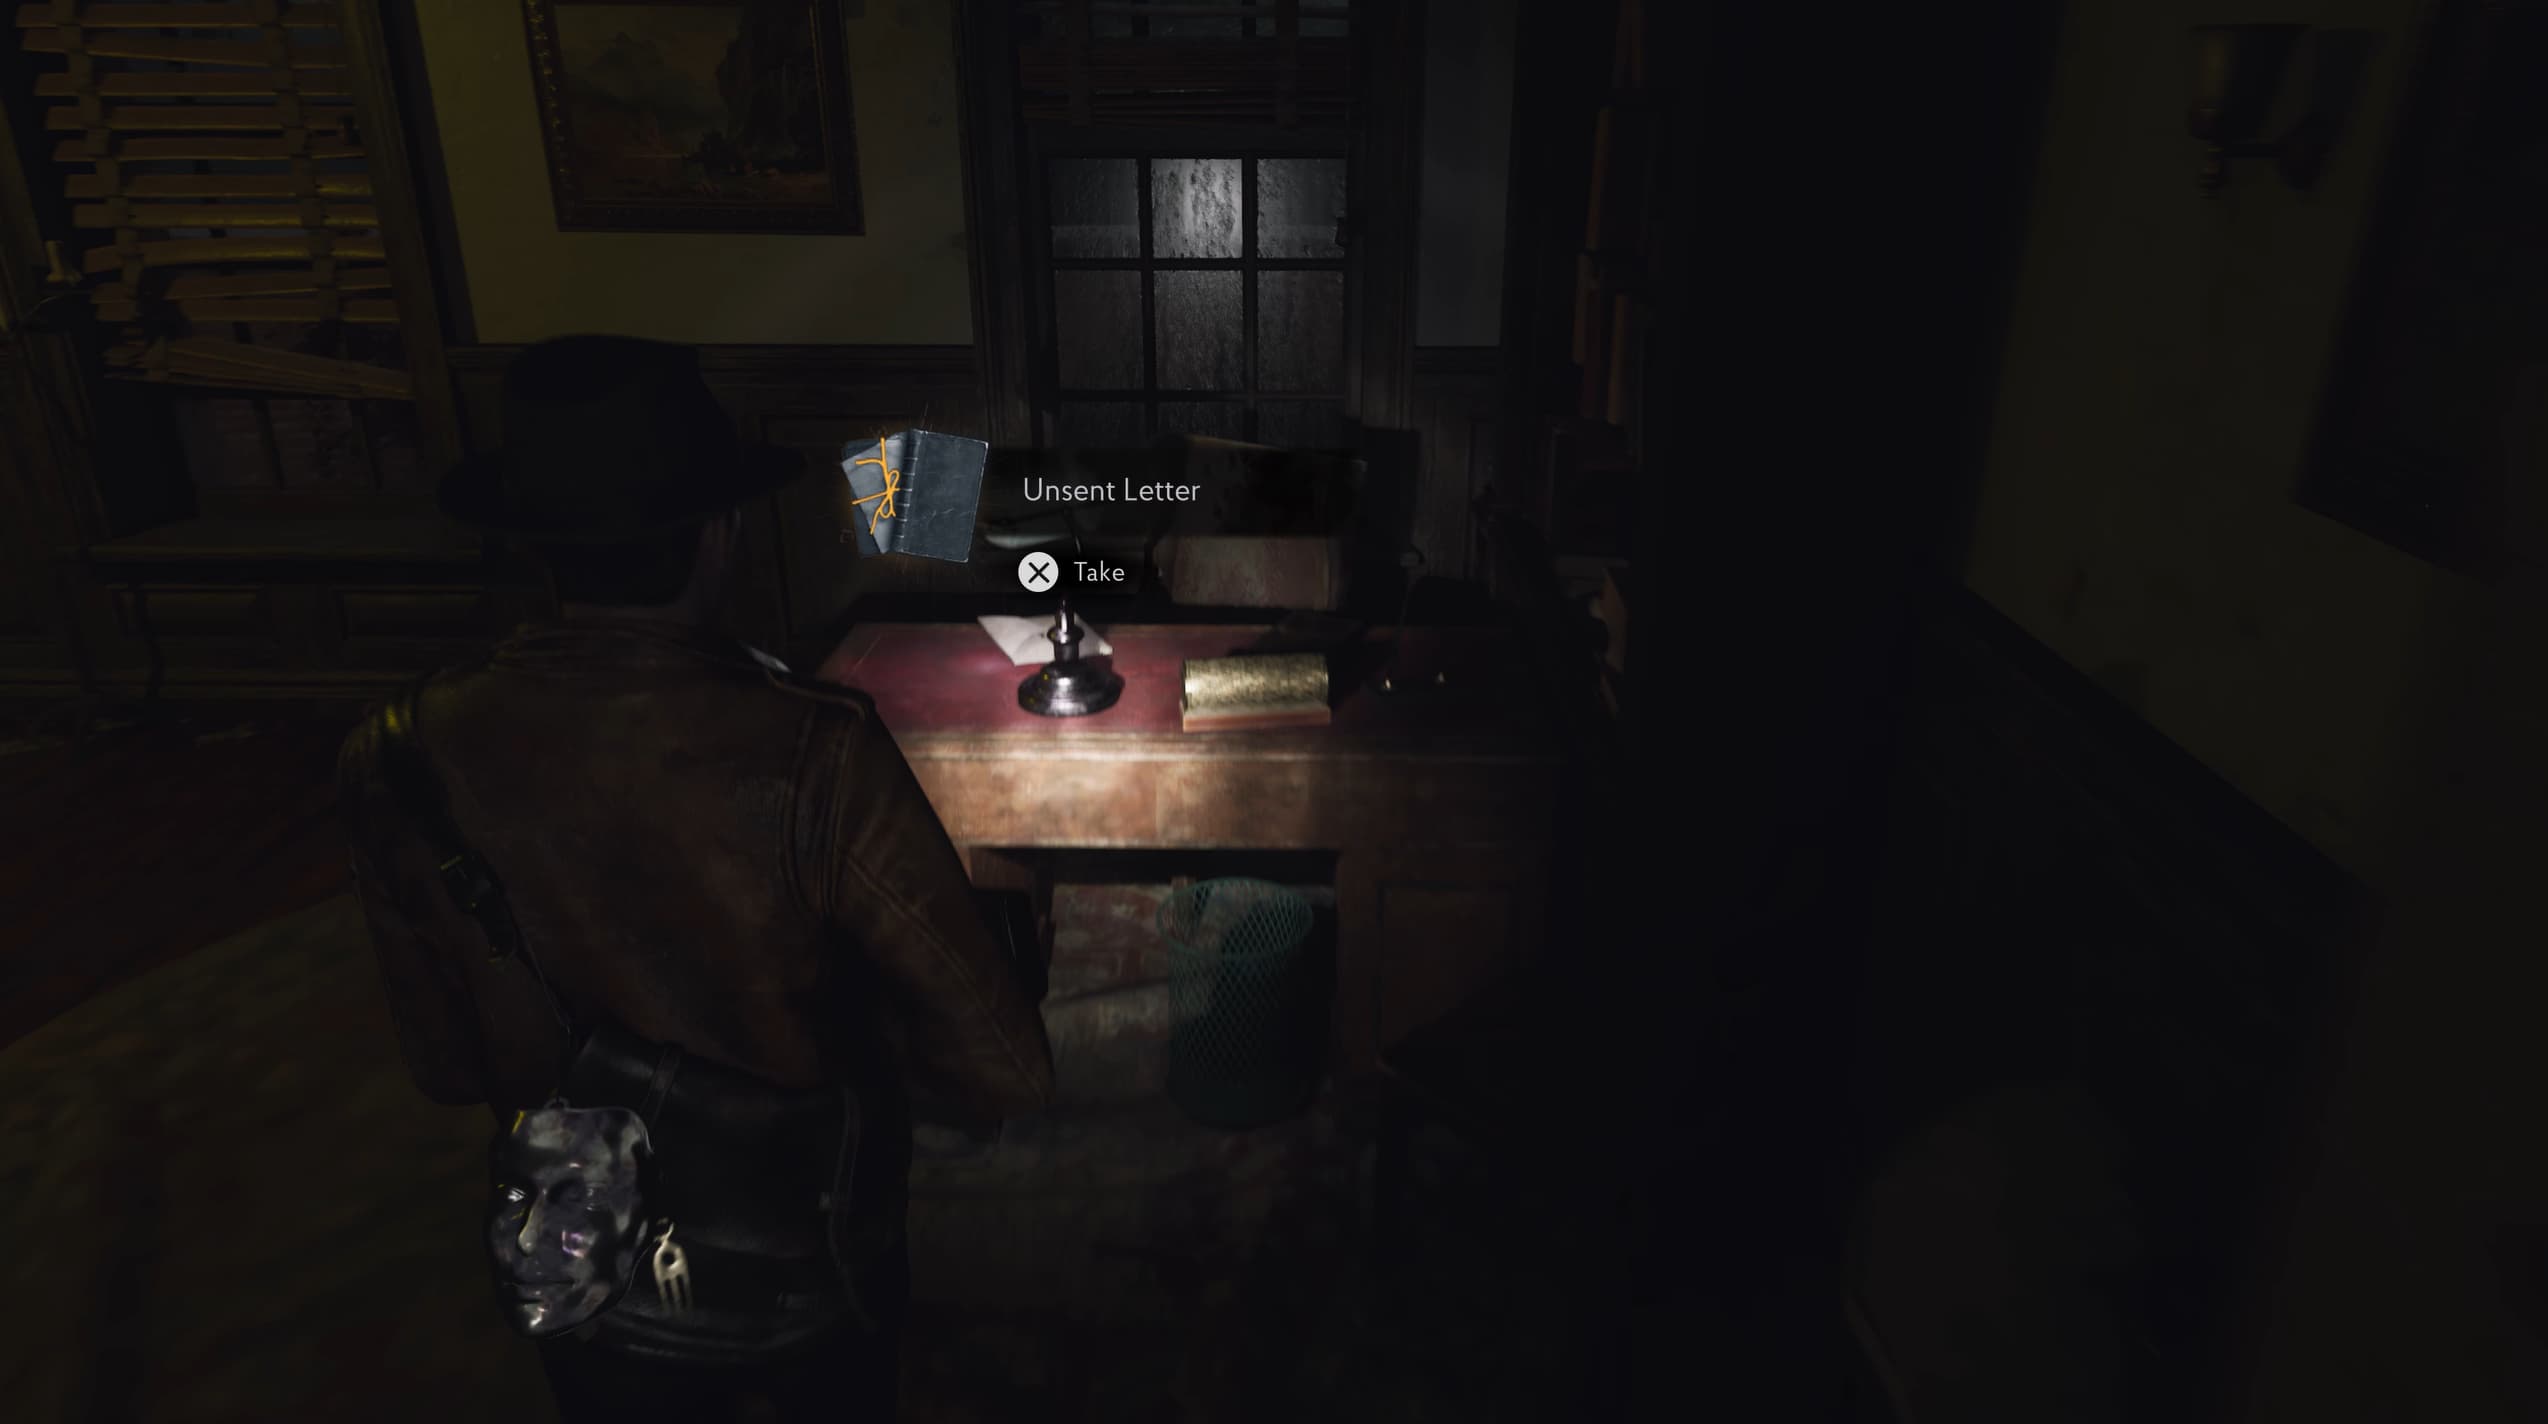
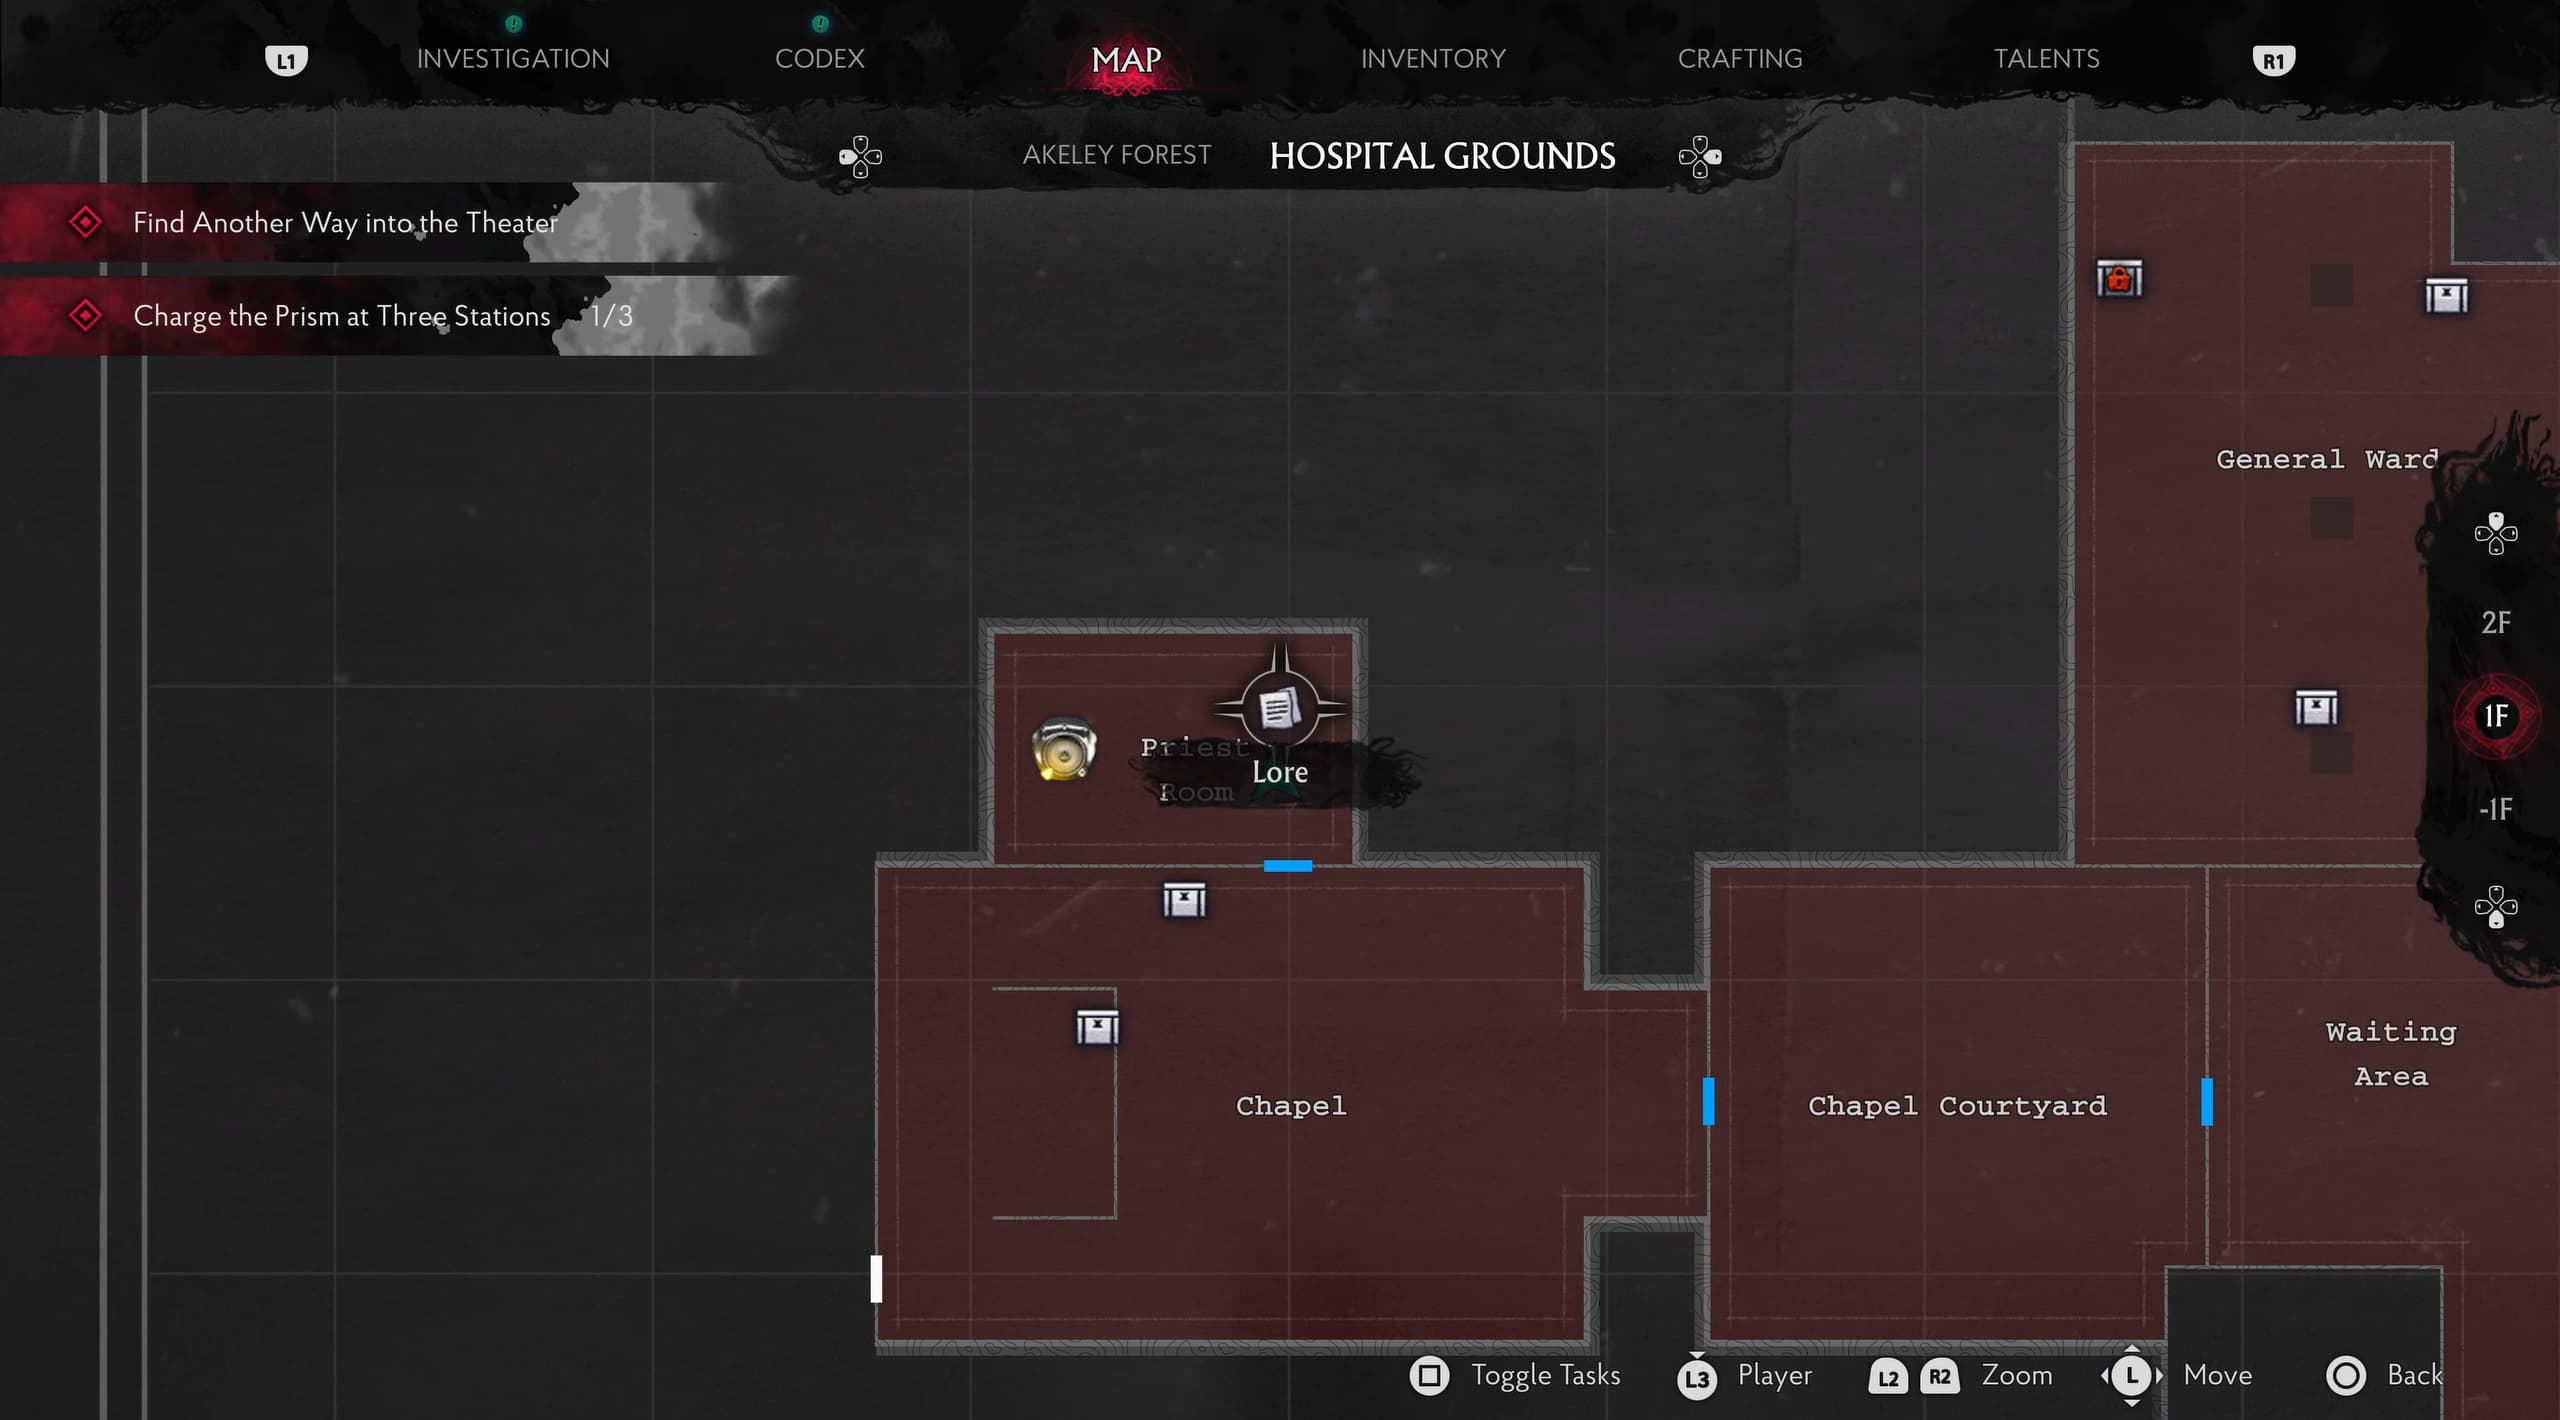
From here, head into the Priest Room, directly ahead on the desk will be the next Lore Document (Unsent Letter).
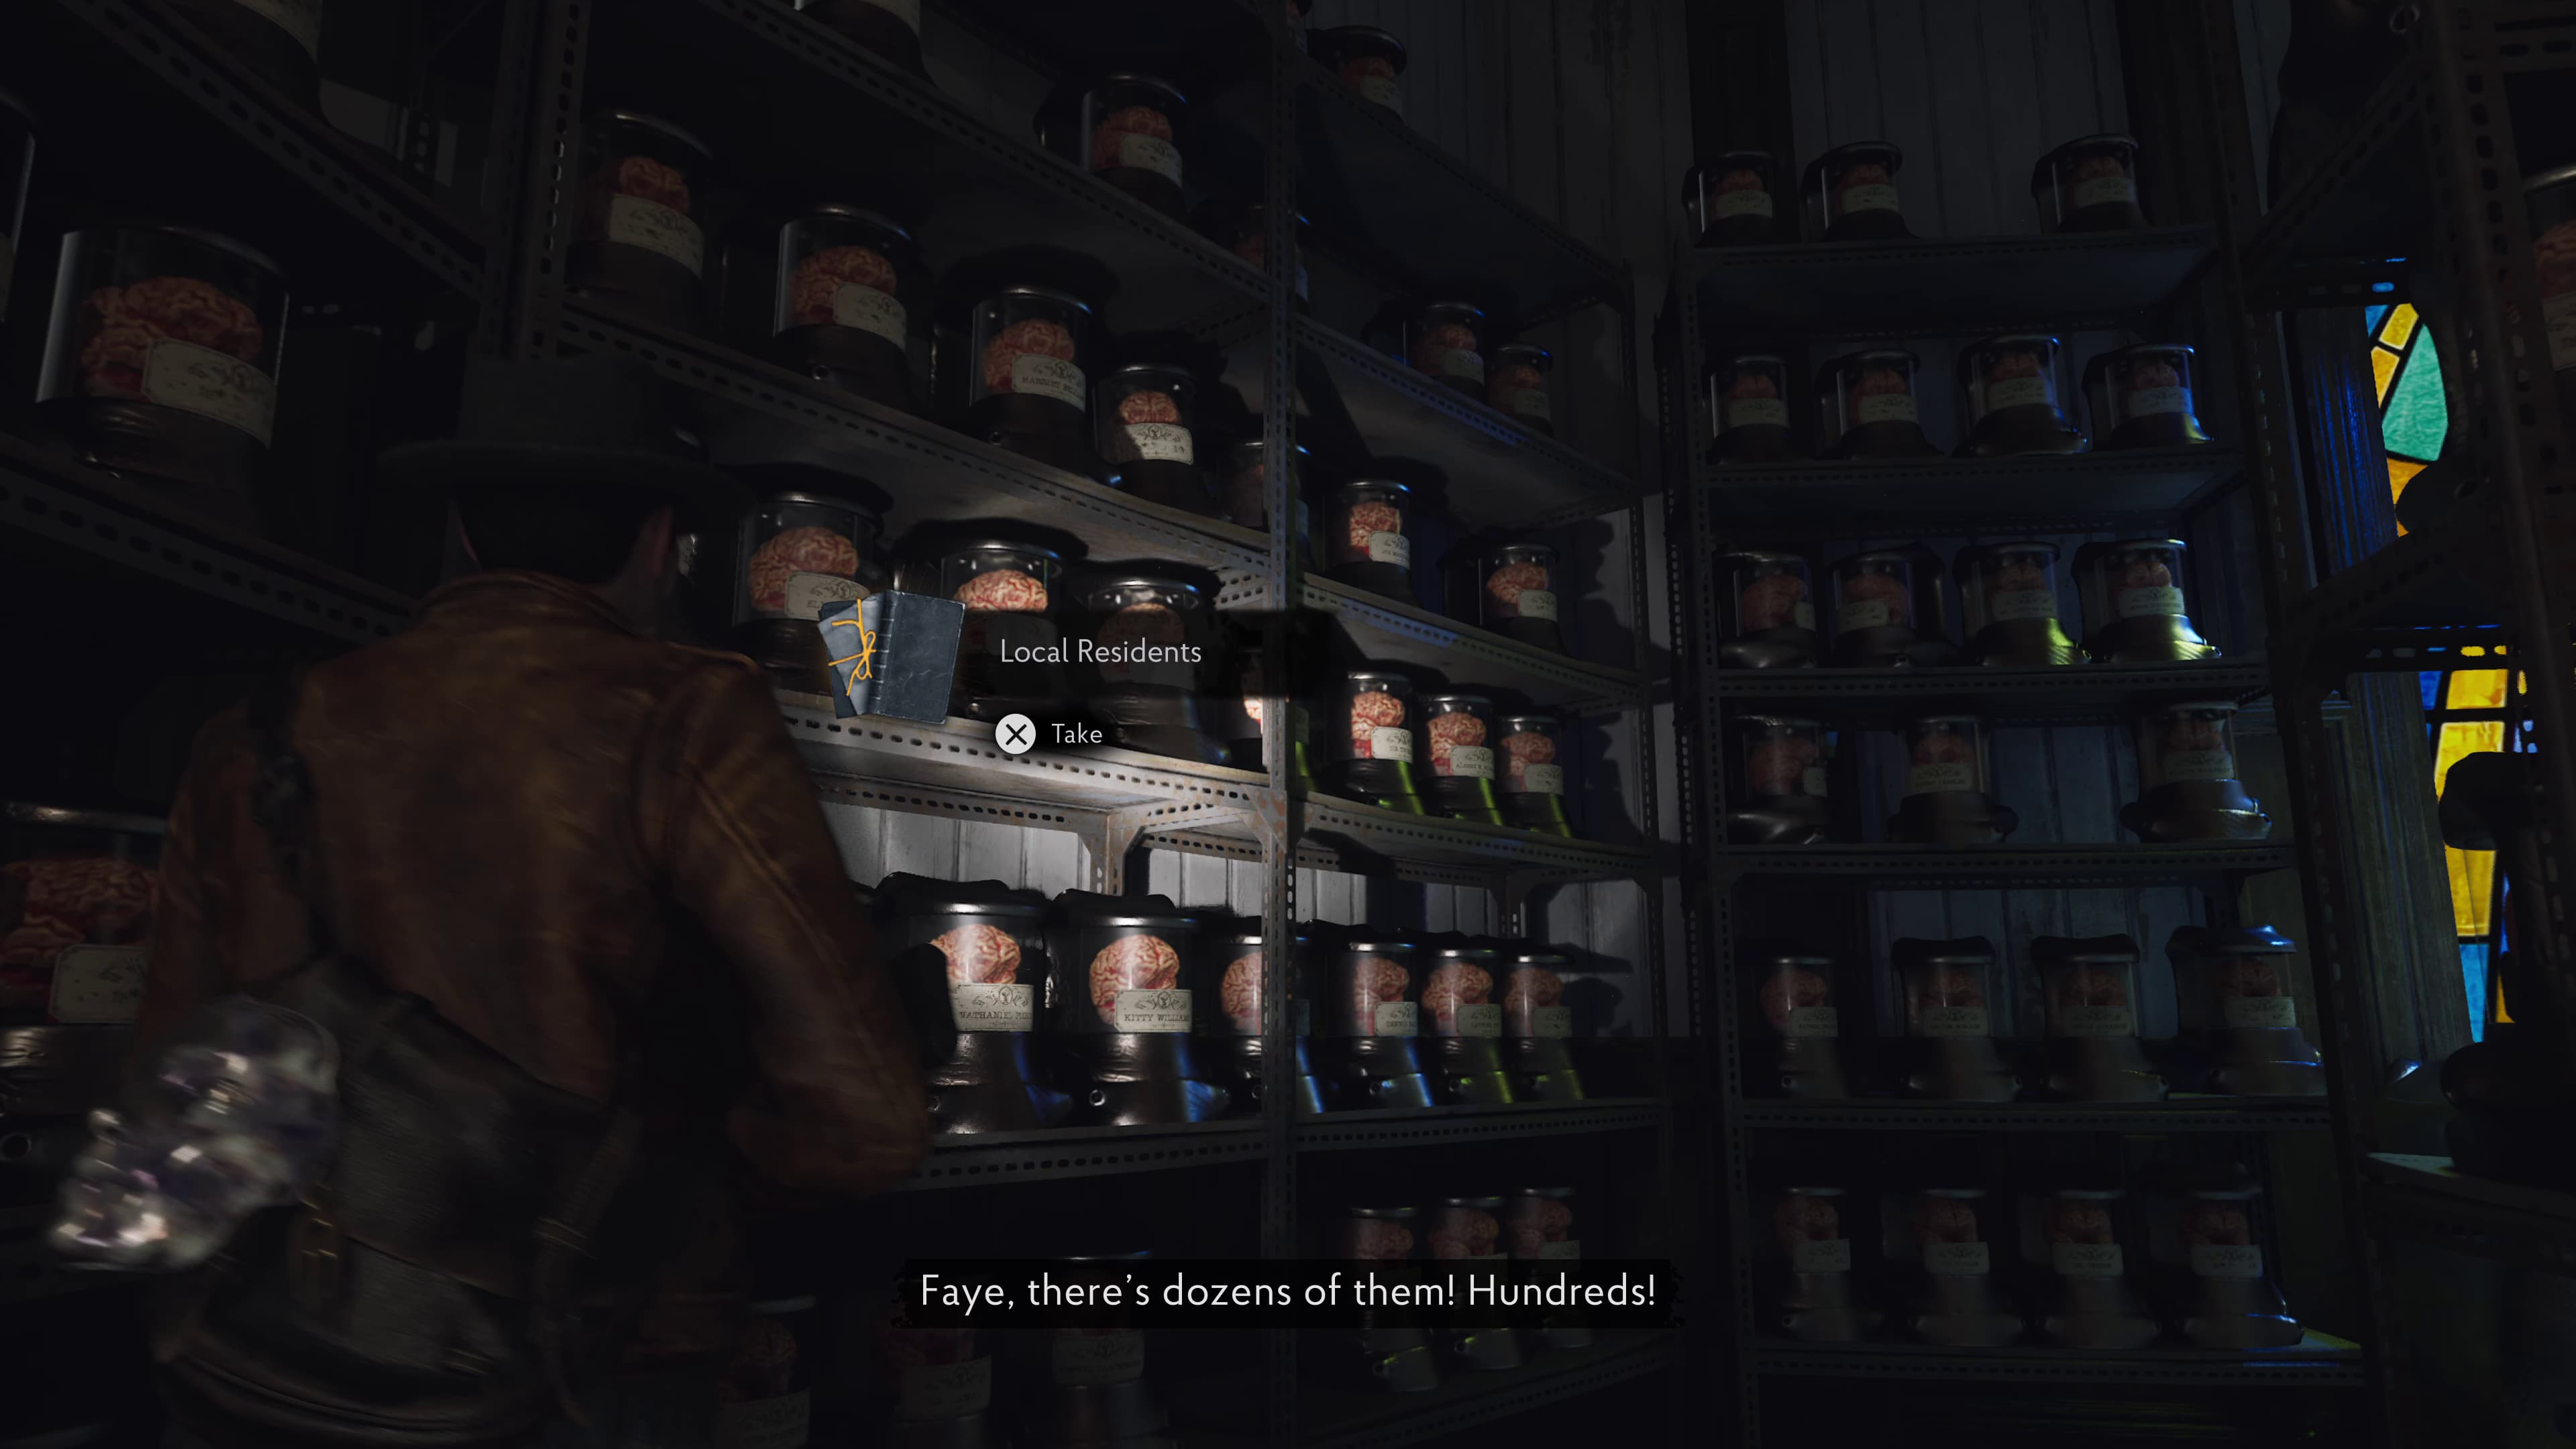
Now to complete the Yellow Prism Puzzle. Afterwards, exit the Priest Room and follow The Head Surgeon into the room he entered. Straight ahead on the left brain shelves will be the next Lore Document (Local Residents).
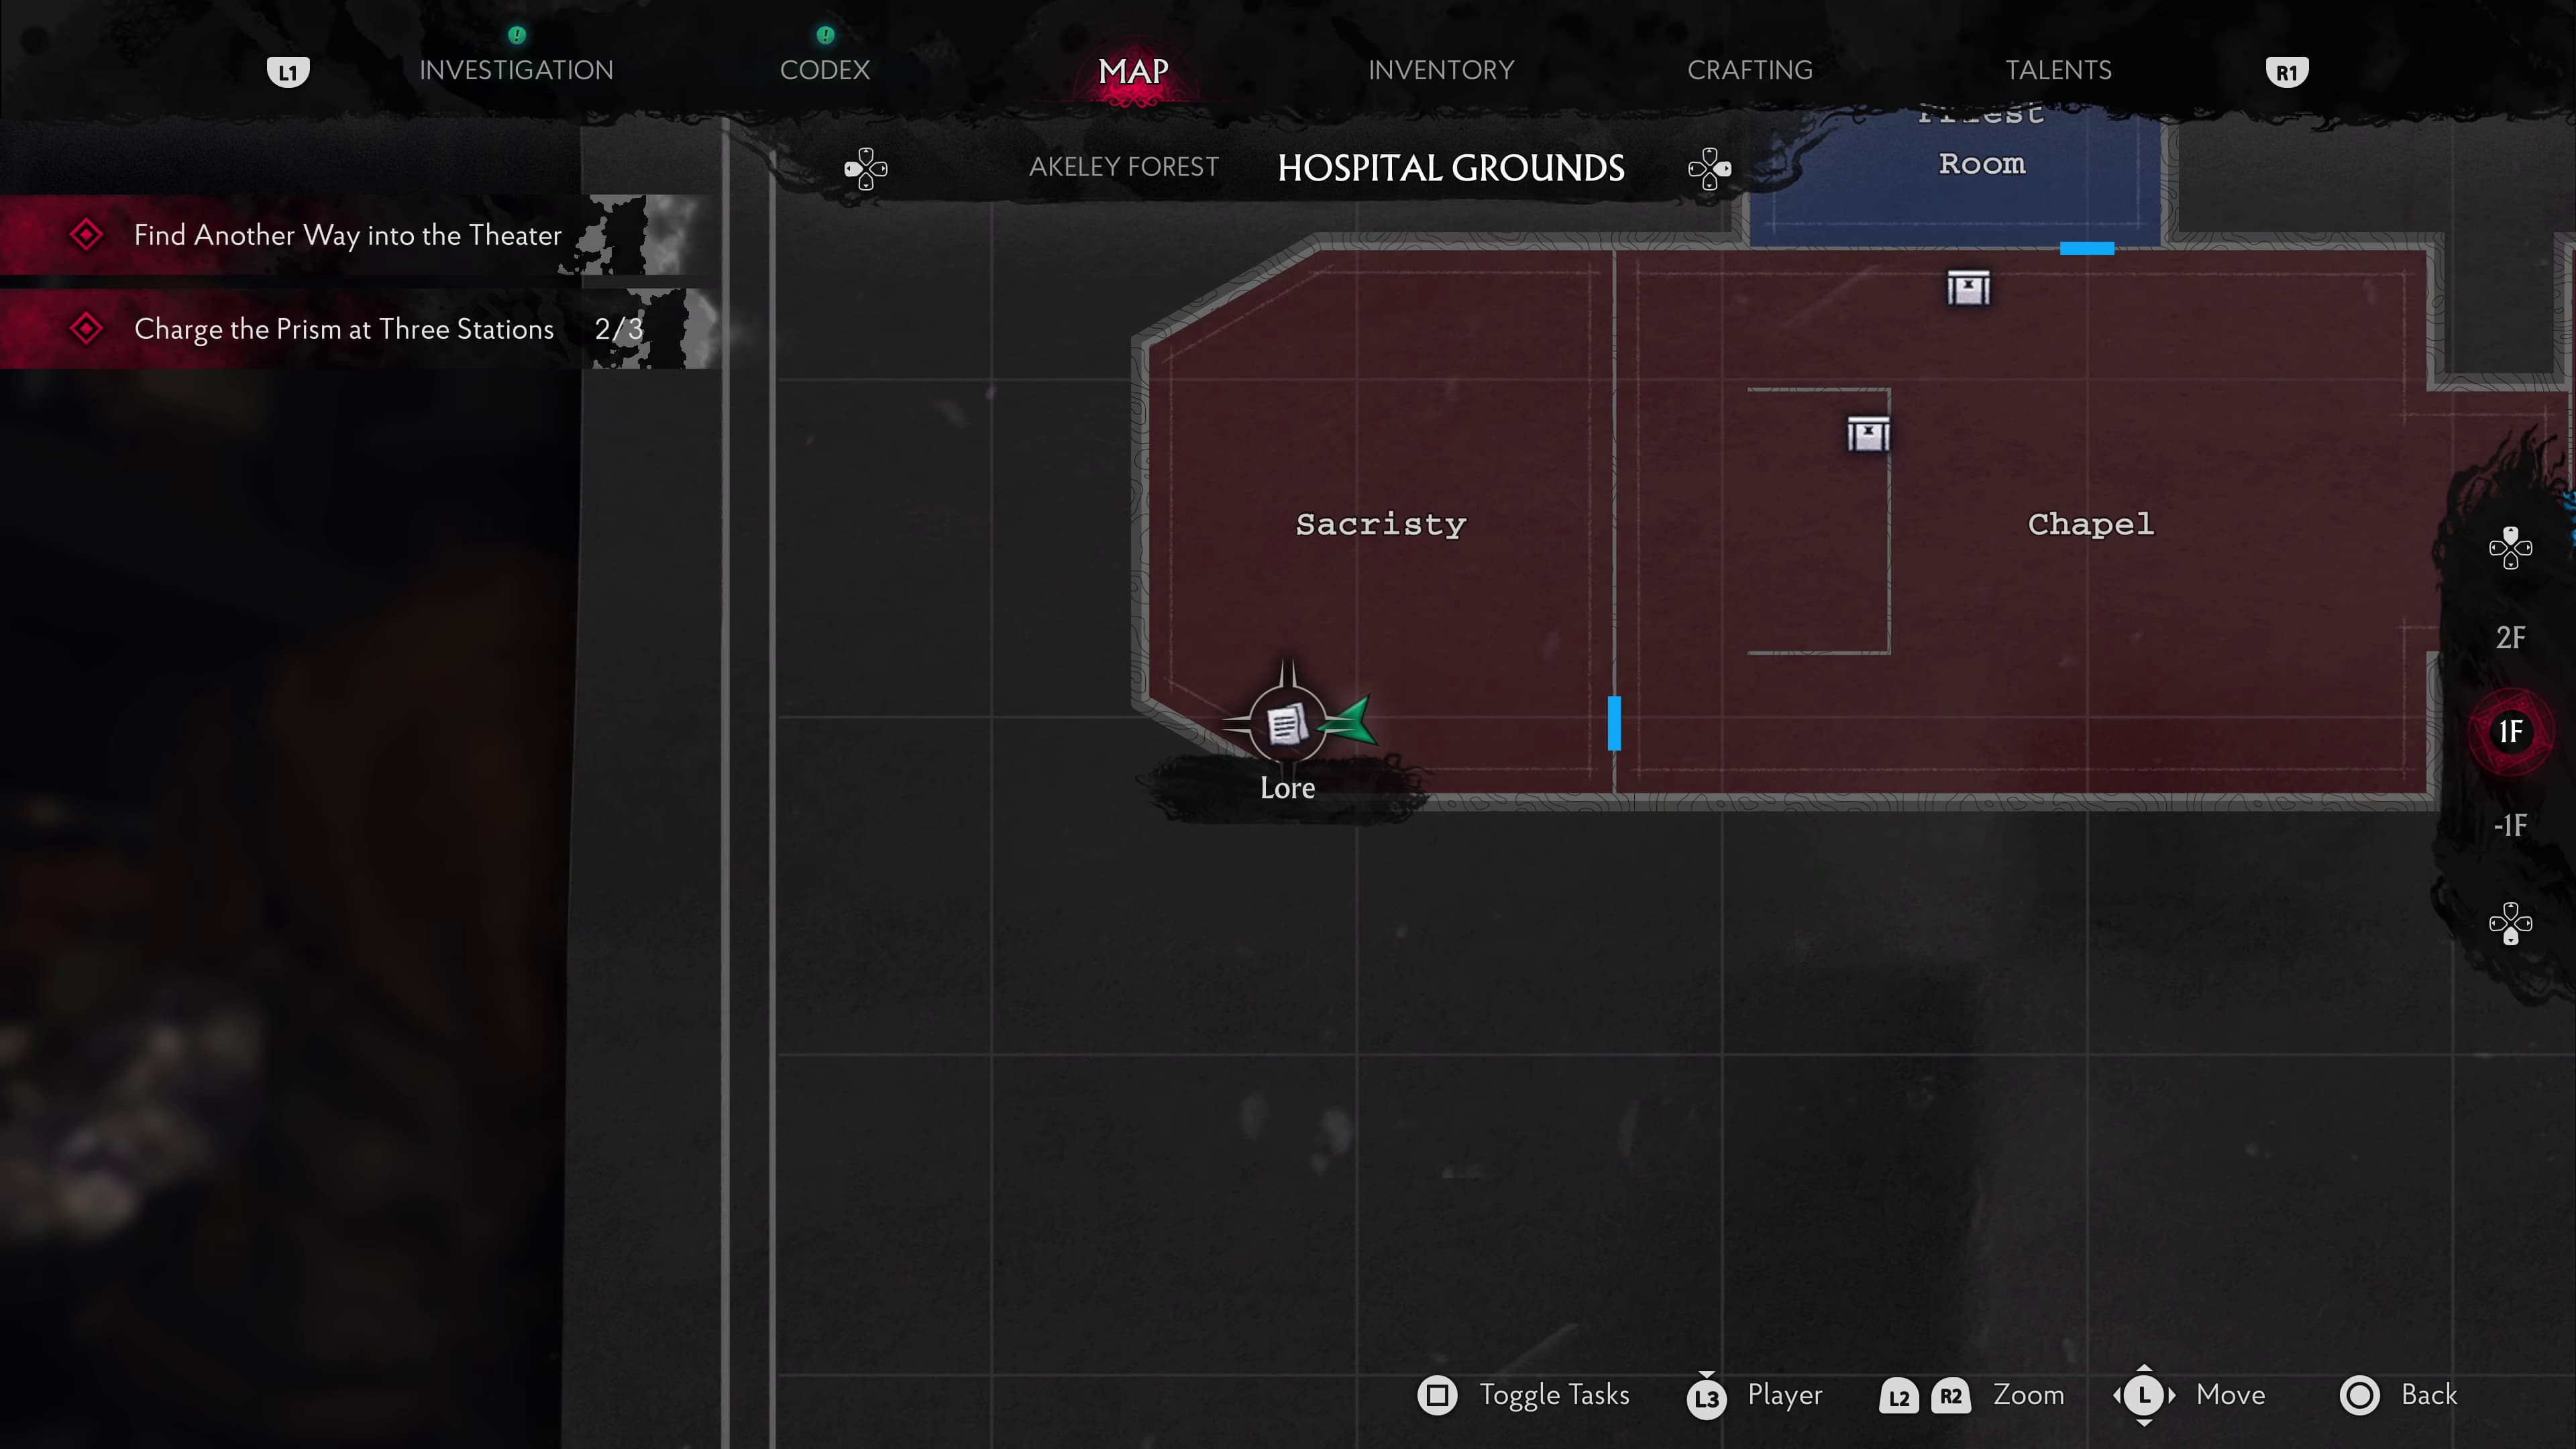
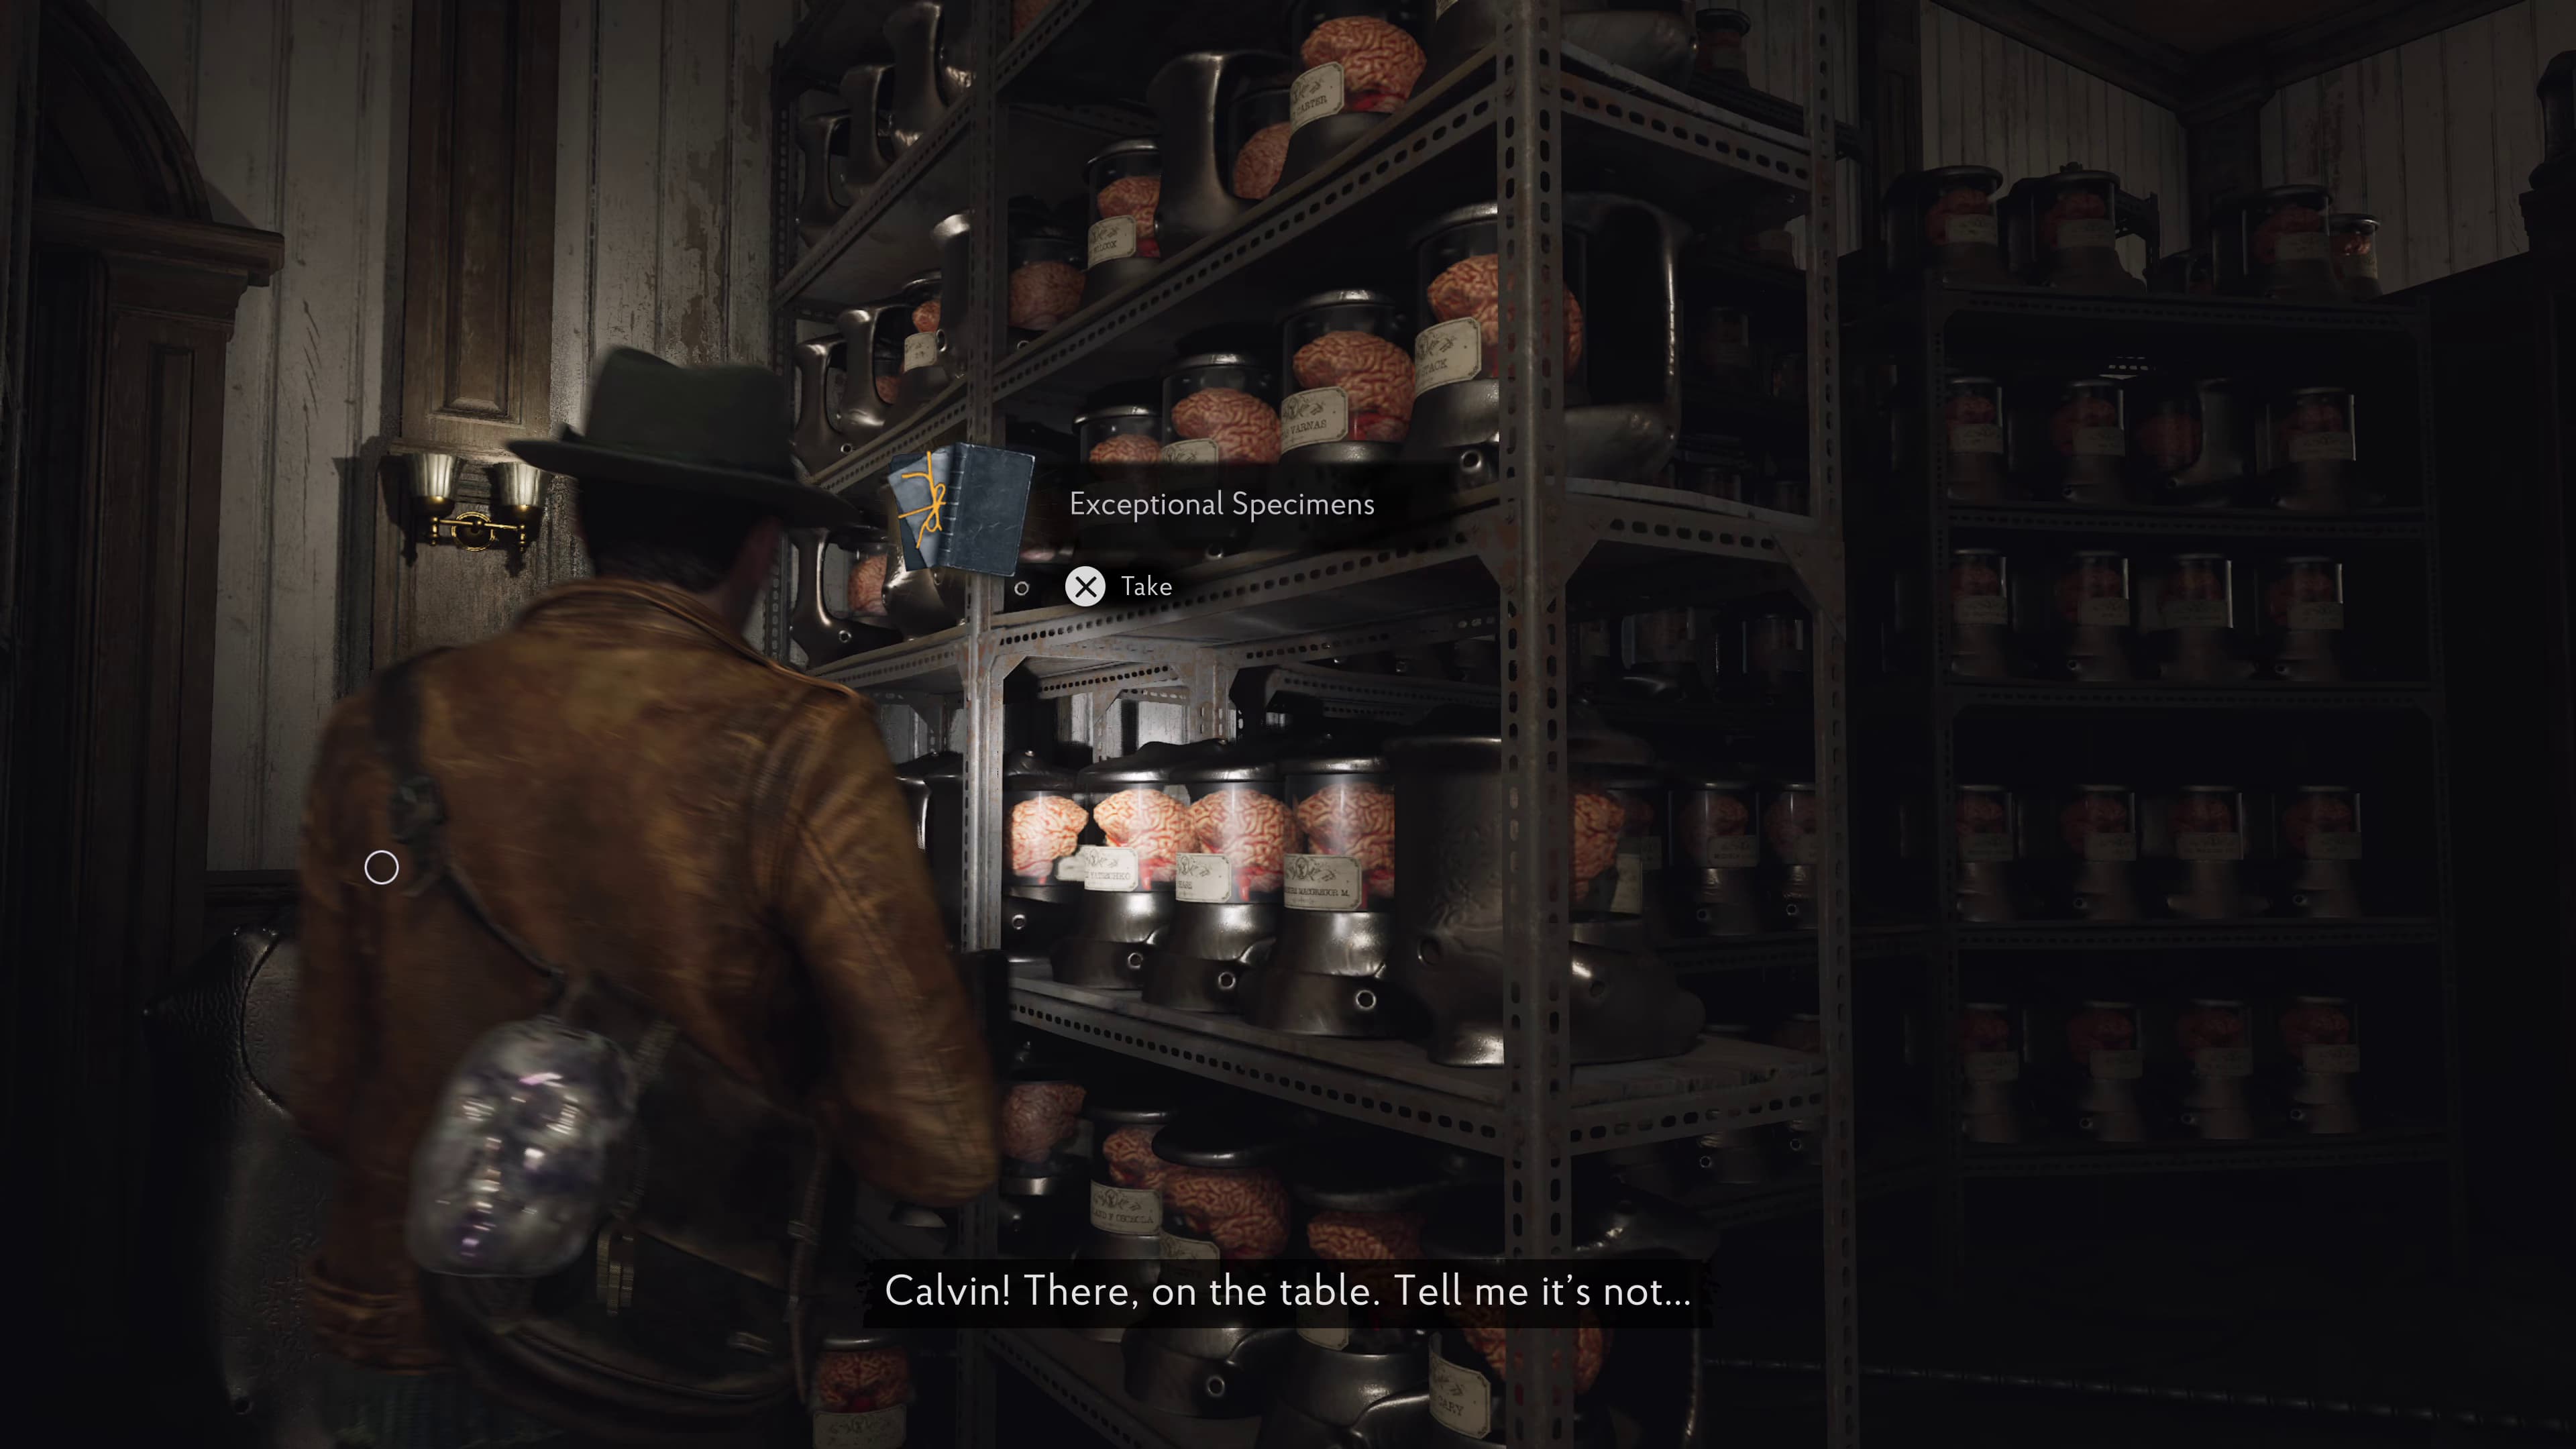
Keep advancing in the Sacristy room, after squeezing through the shelves, the brain shelf on the right, opposite Thaddeus's face will be the next Lore Document (Exceptional Specimens).
Exit the Chapel after the cutscene, and advance up to the floor where the Observation Ward and Outpatient rooms are located, on this floor will be a door to unlock using Thaddeus's face.
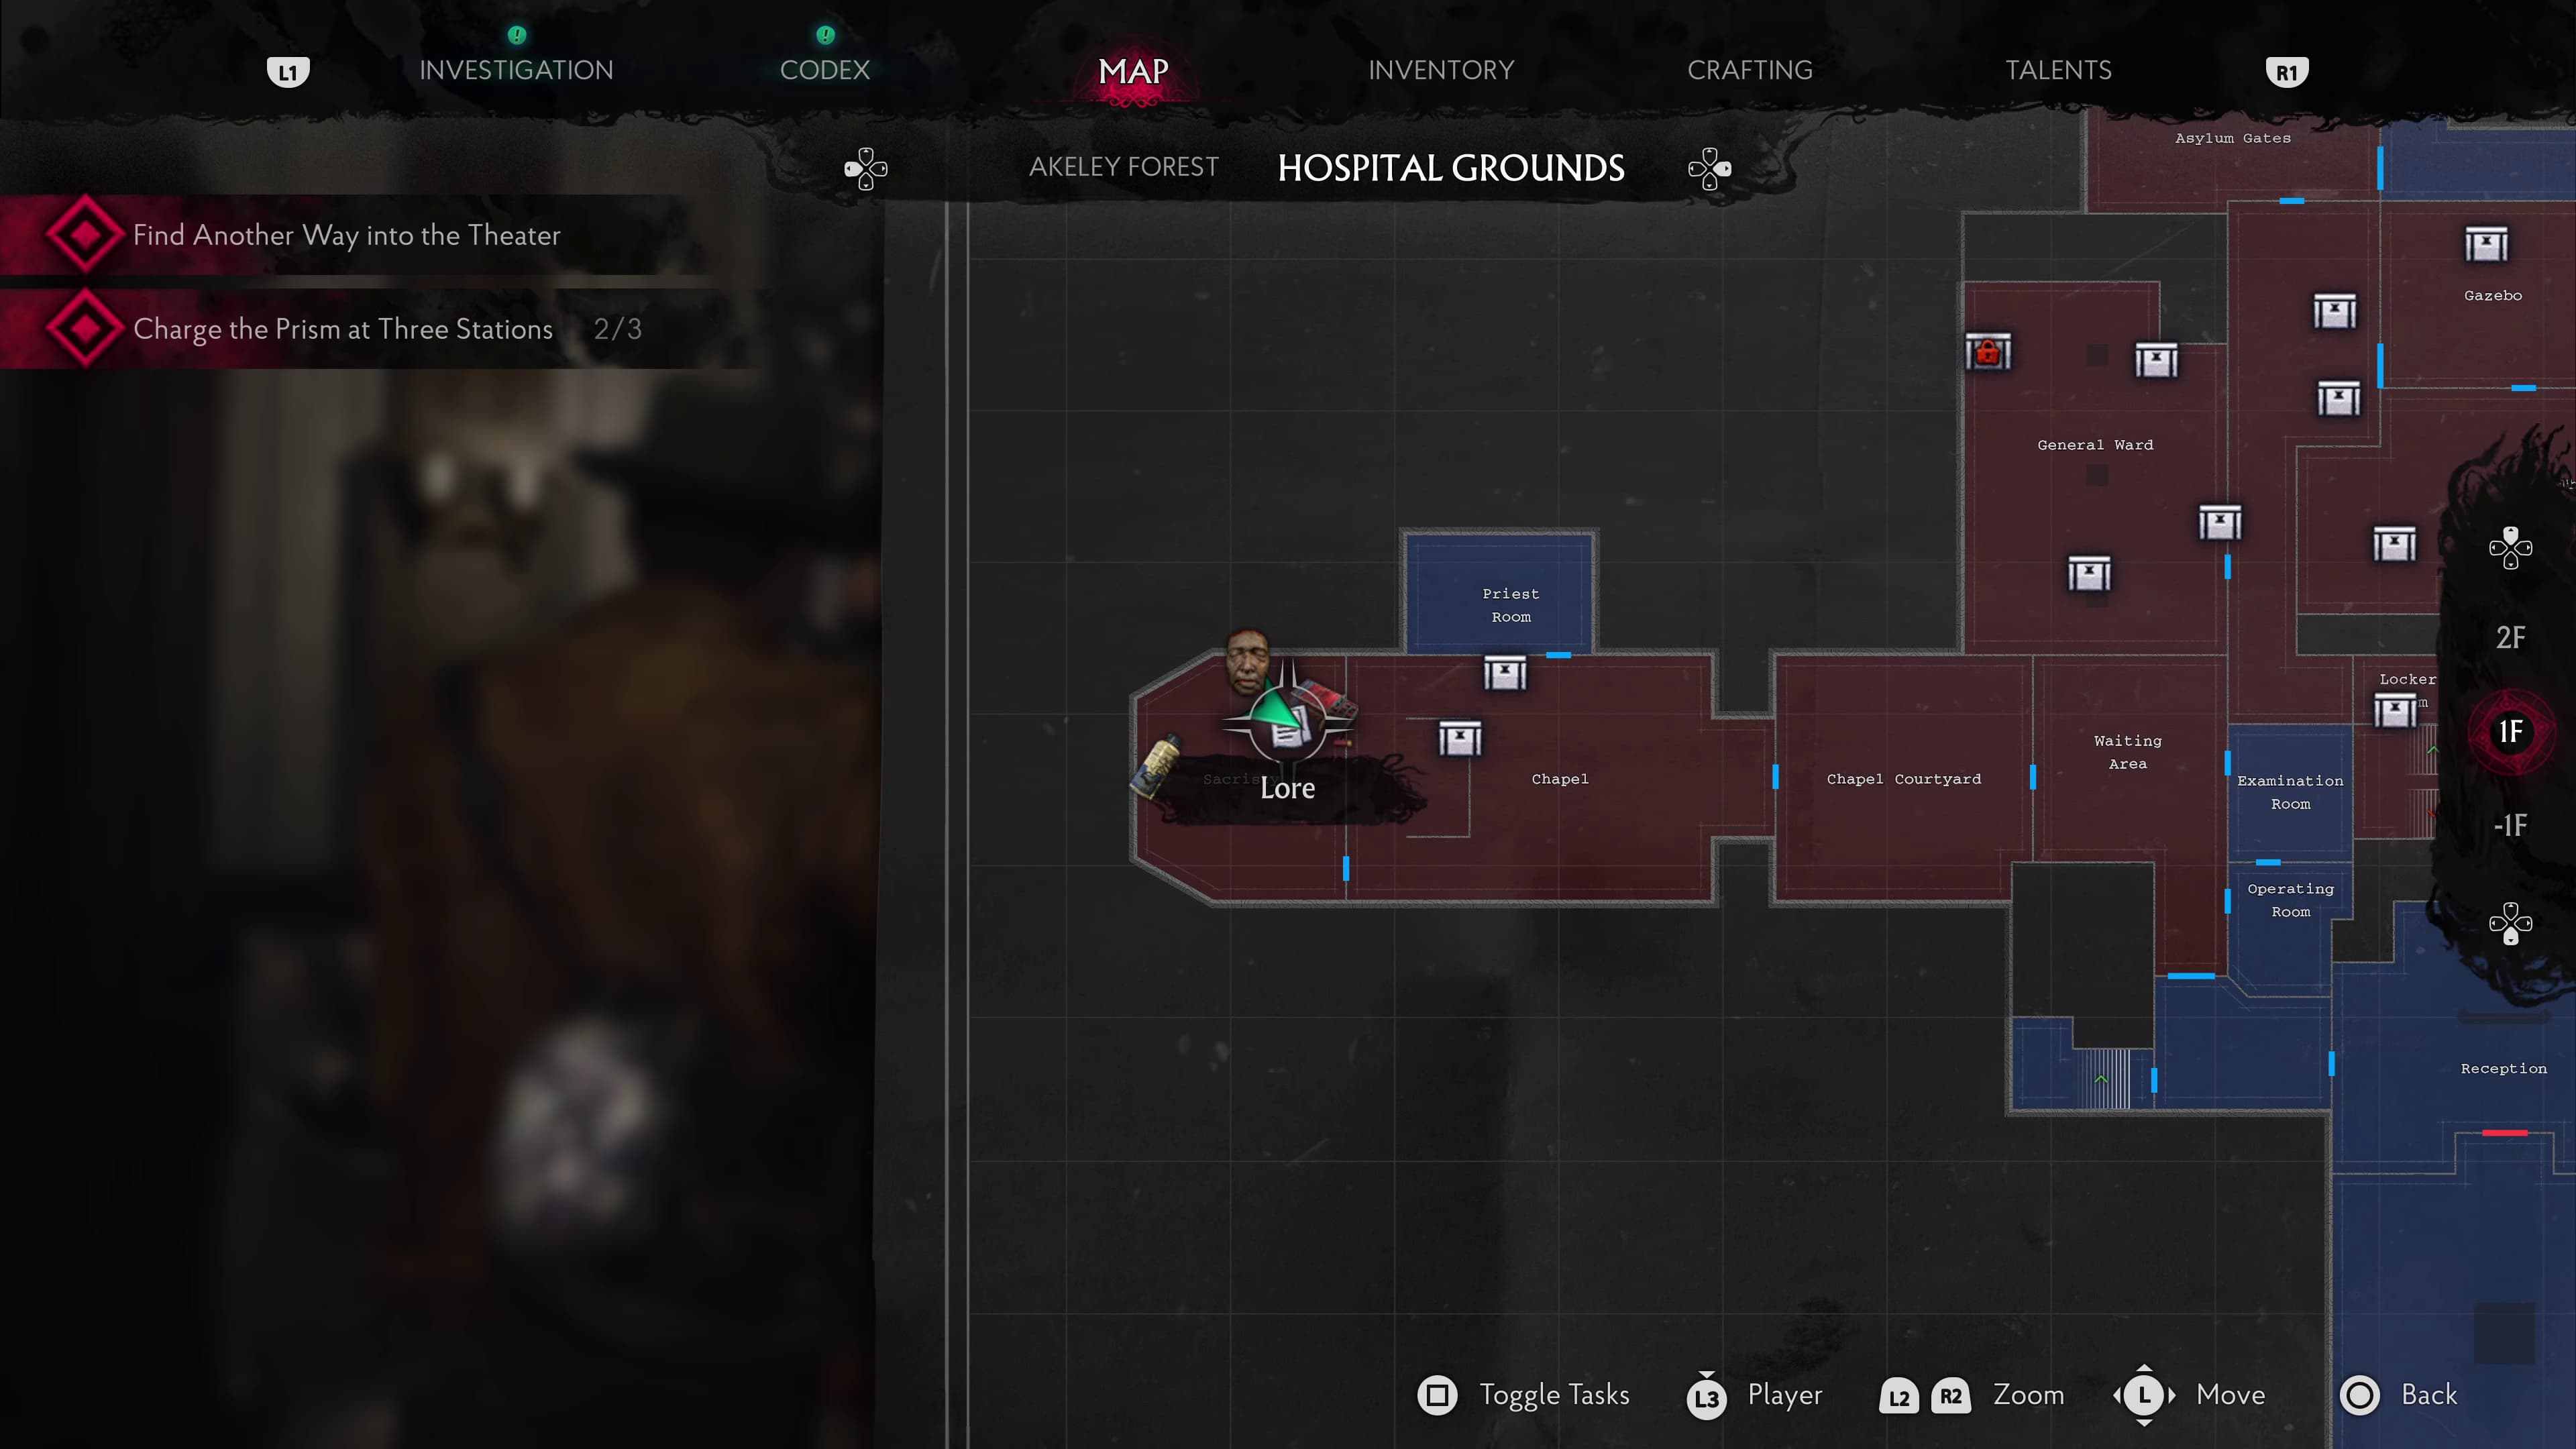
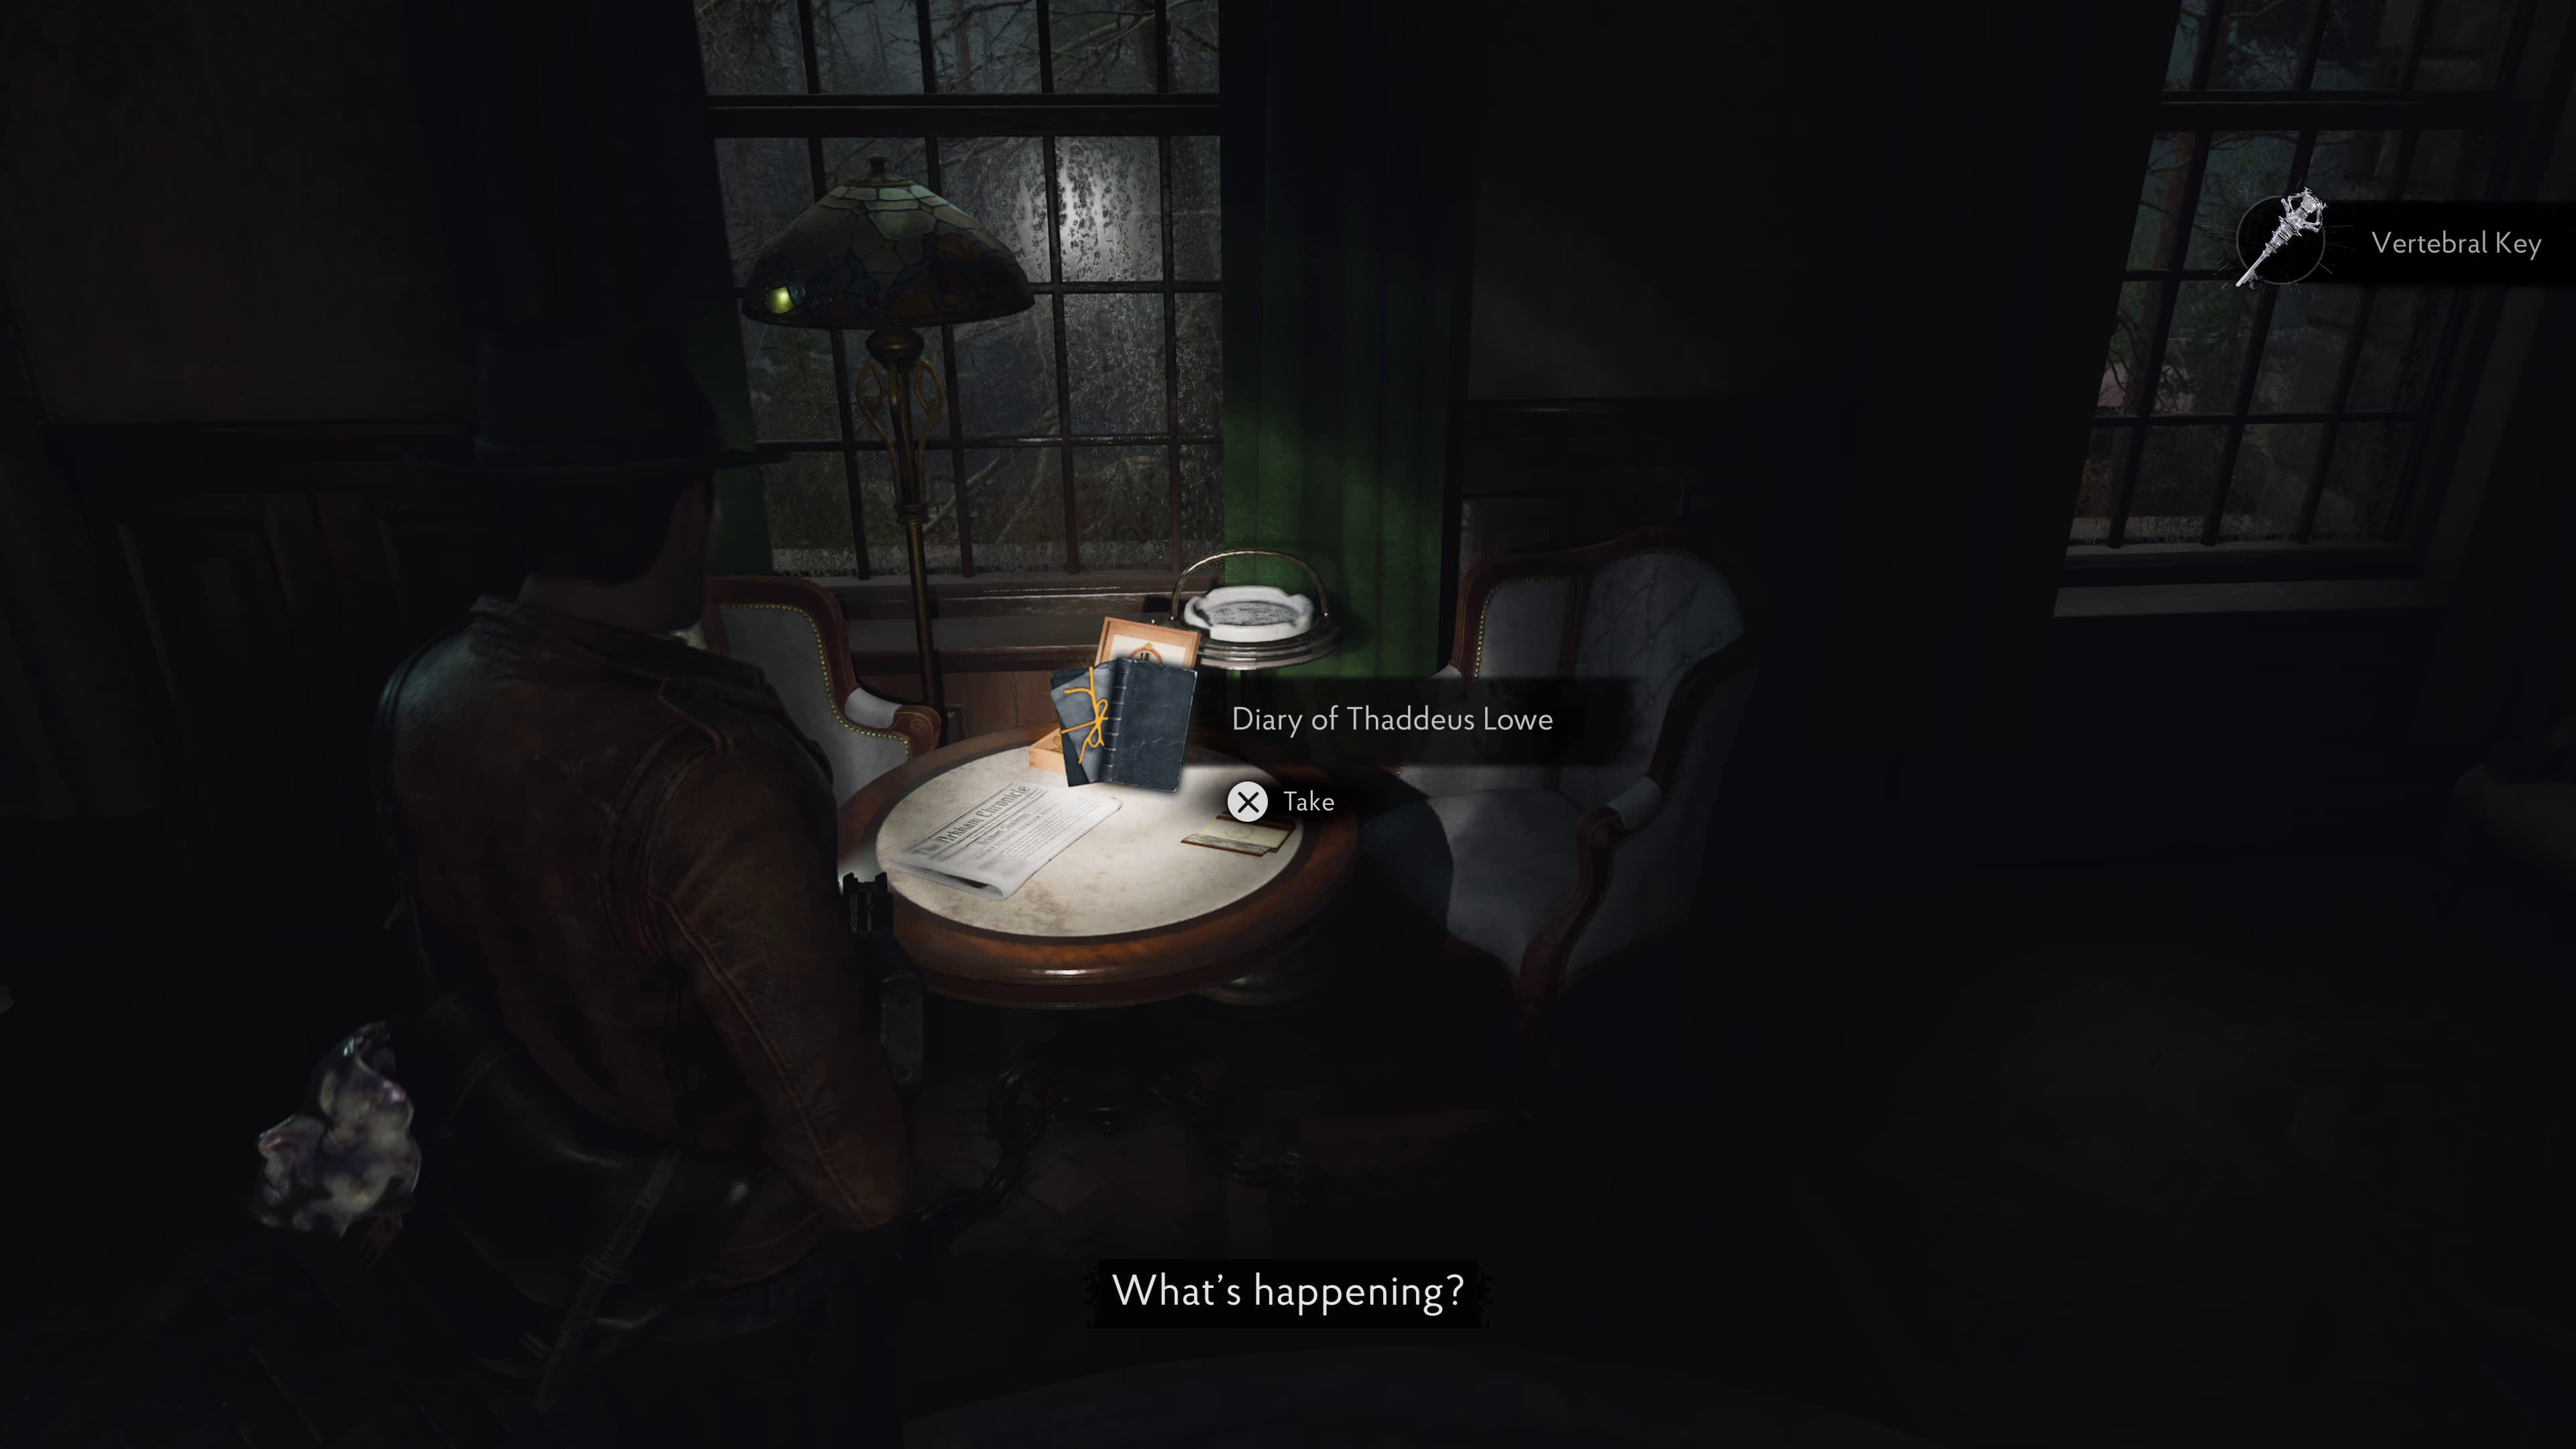
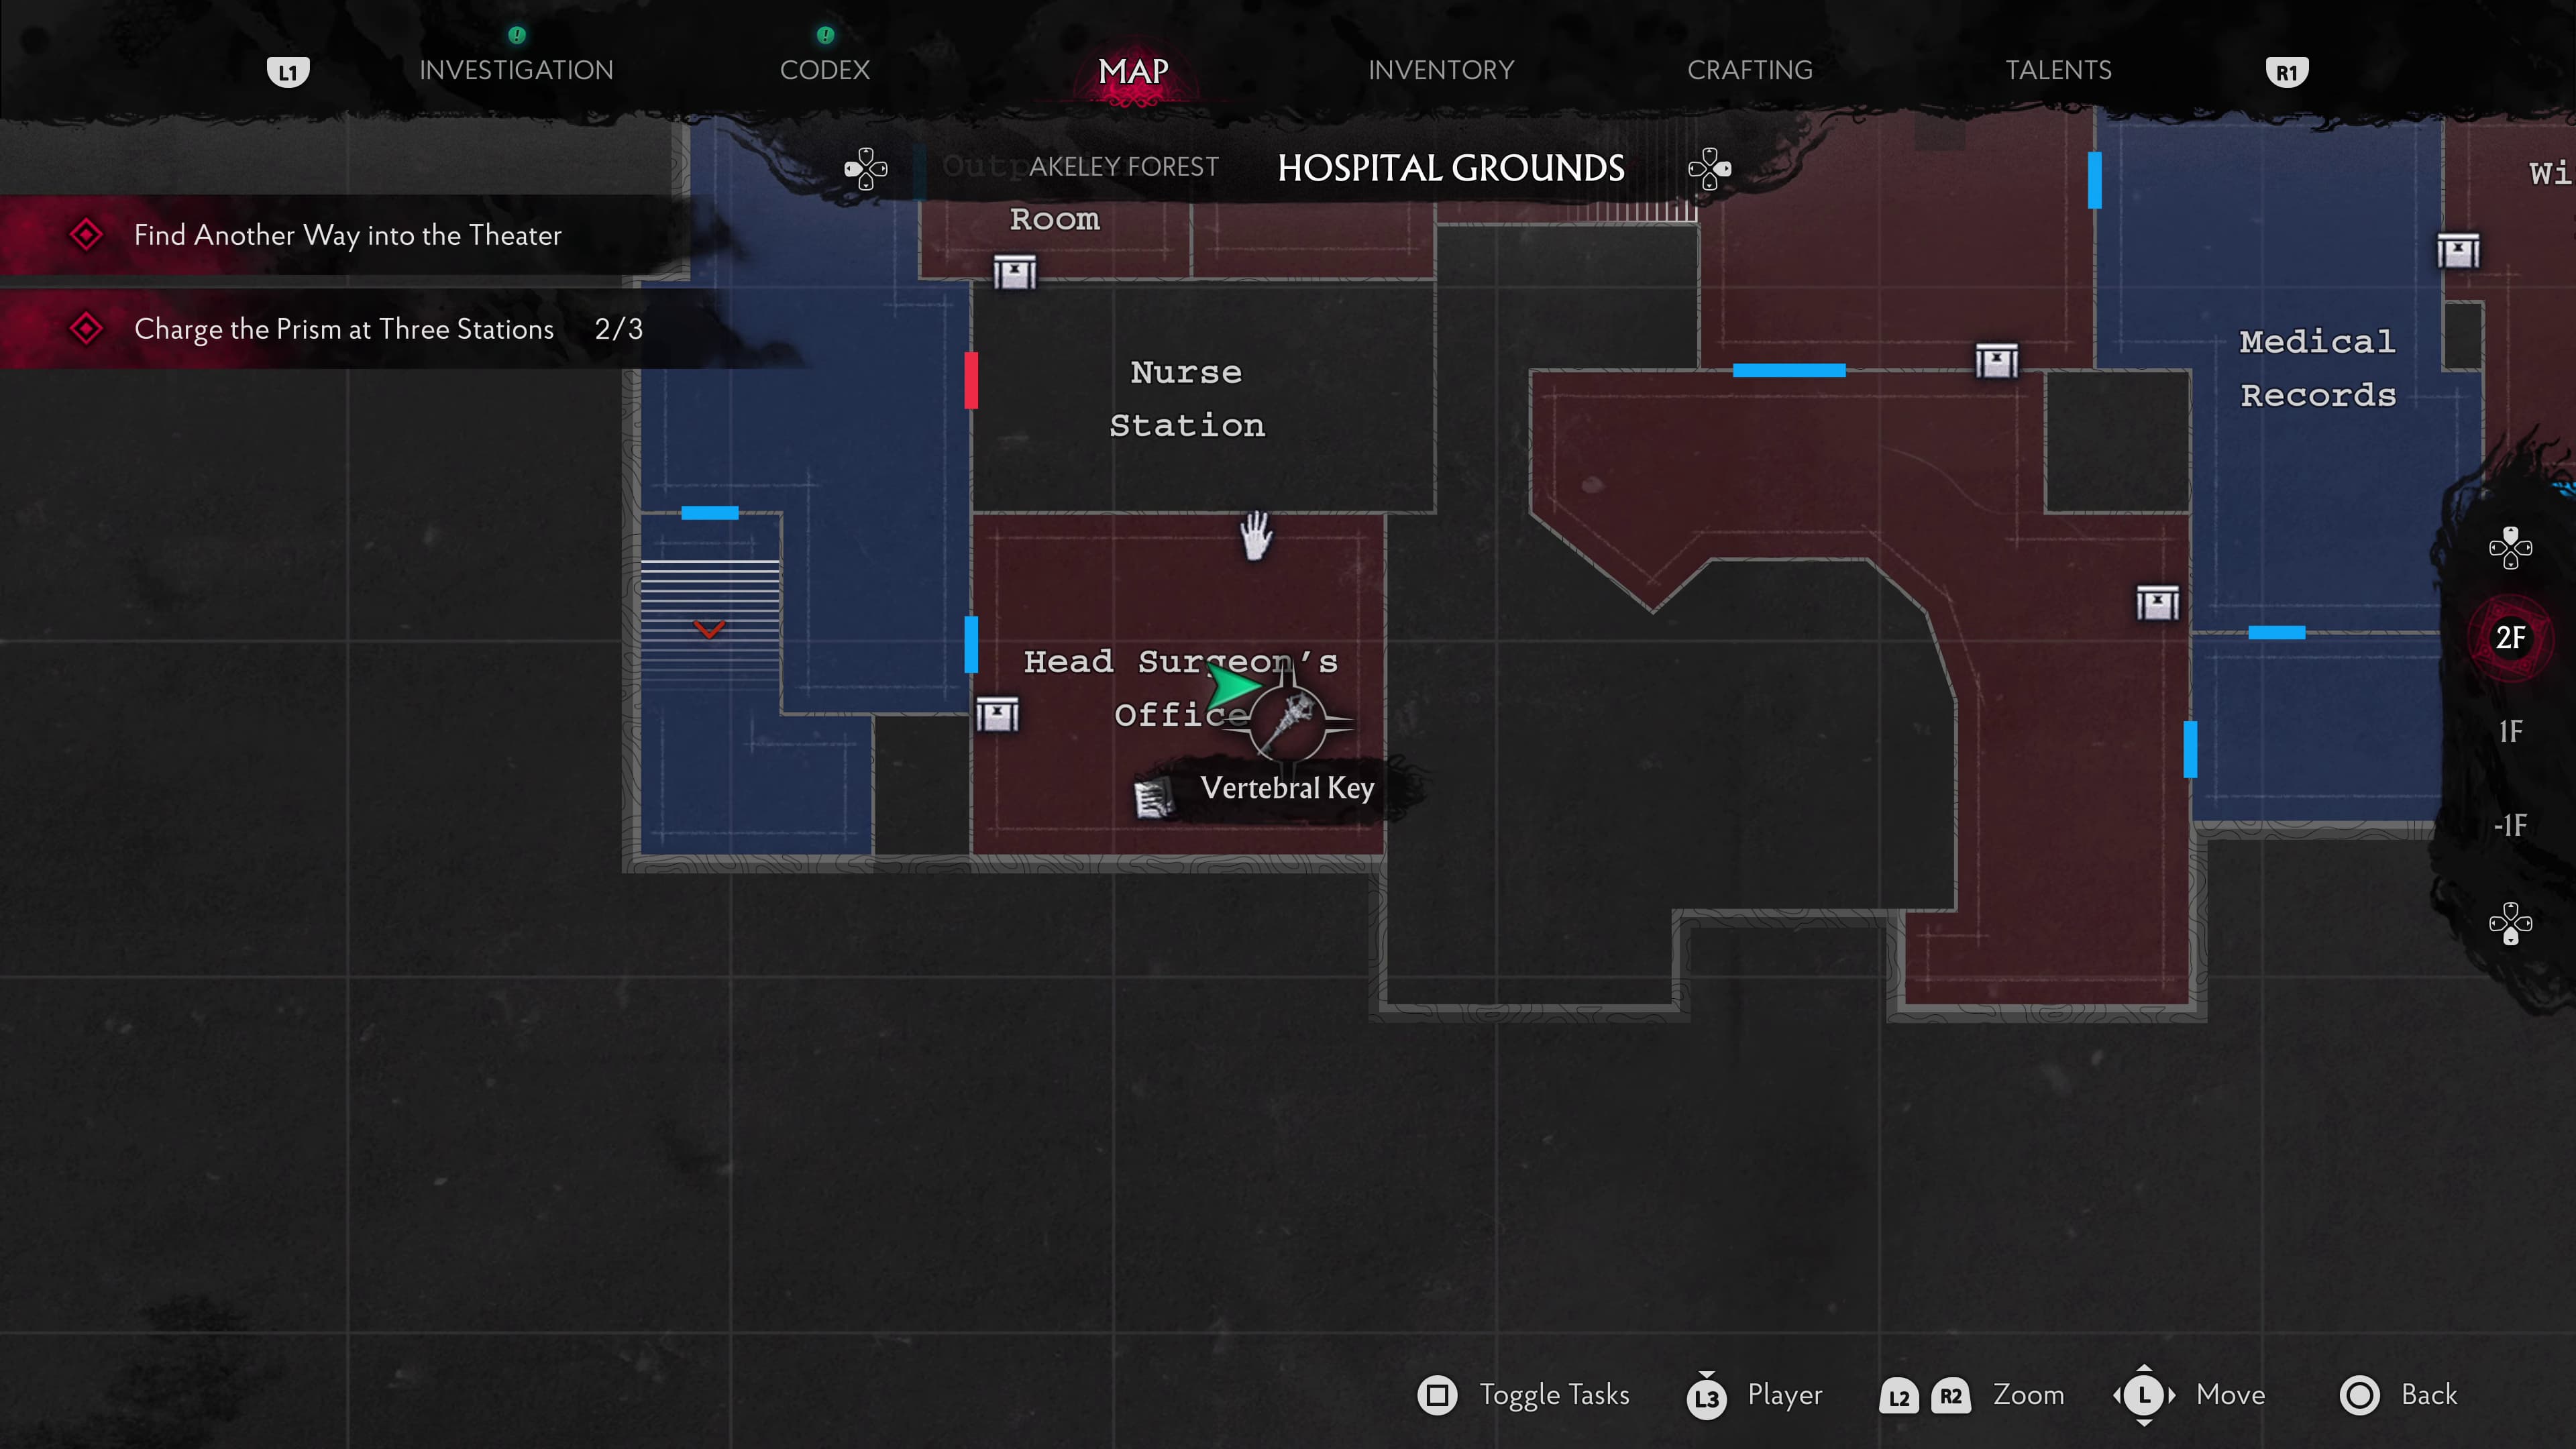
After entering the Head Surgeon's Office, ahead on the desk will be the Vertebral Key (Key Item) to pick up, and just to the right on a smaller table will be the next Lore Document (Diary of Thaddeus Lowe).
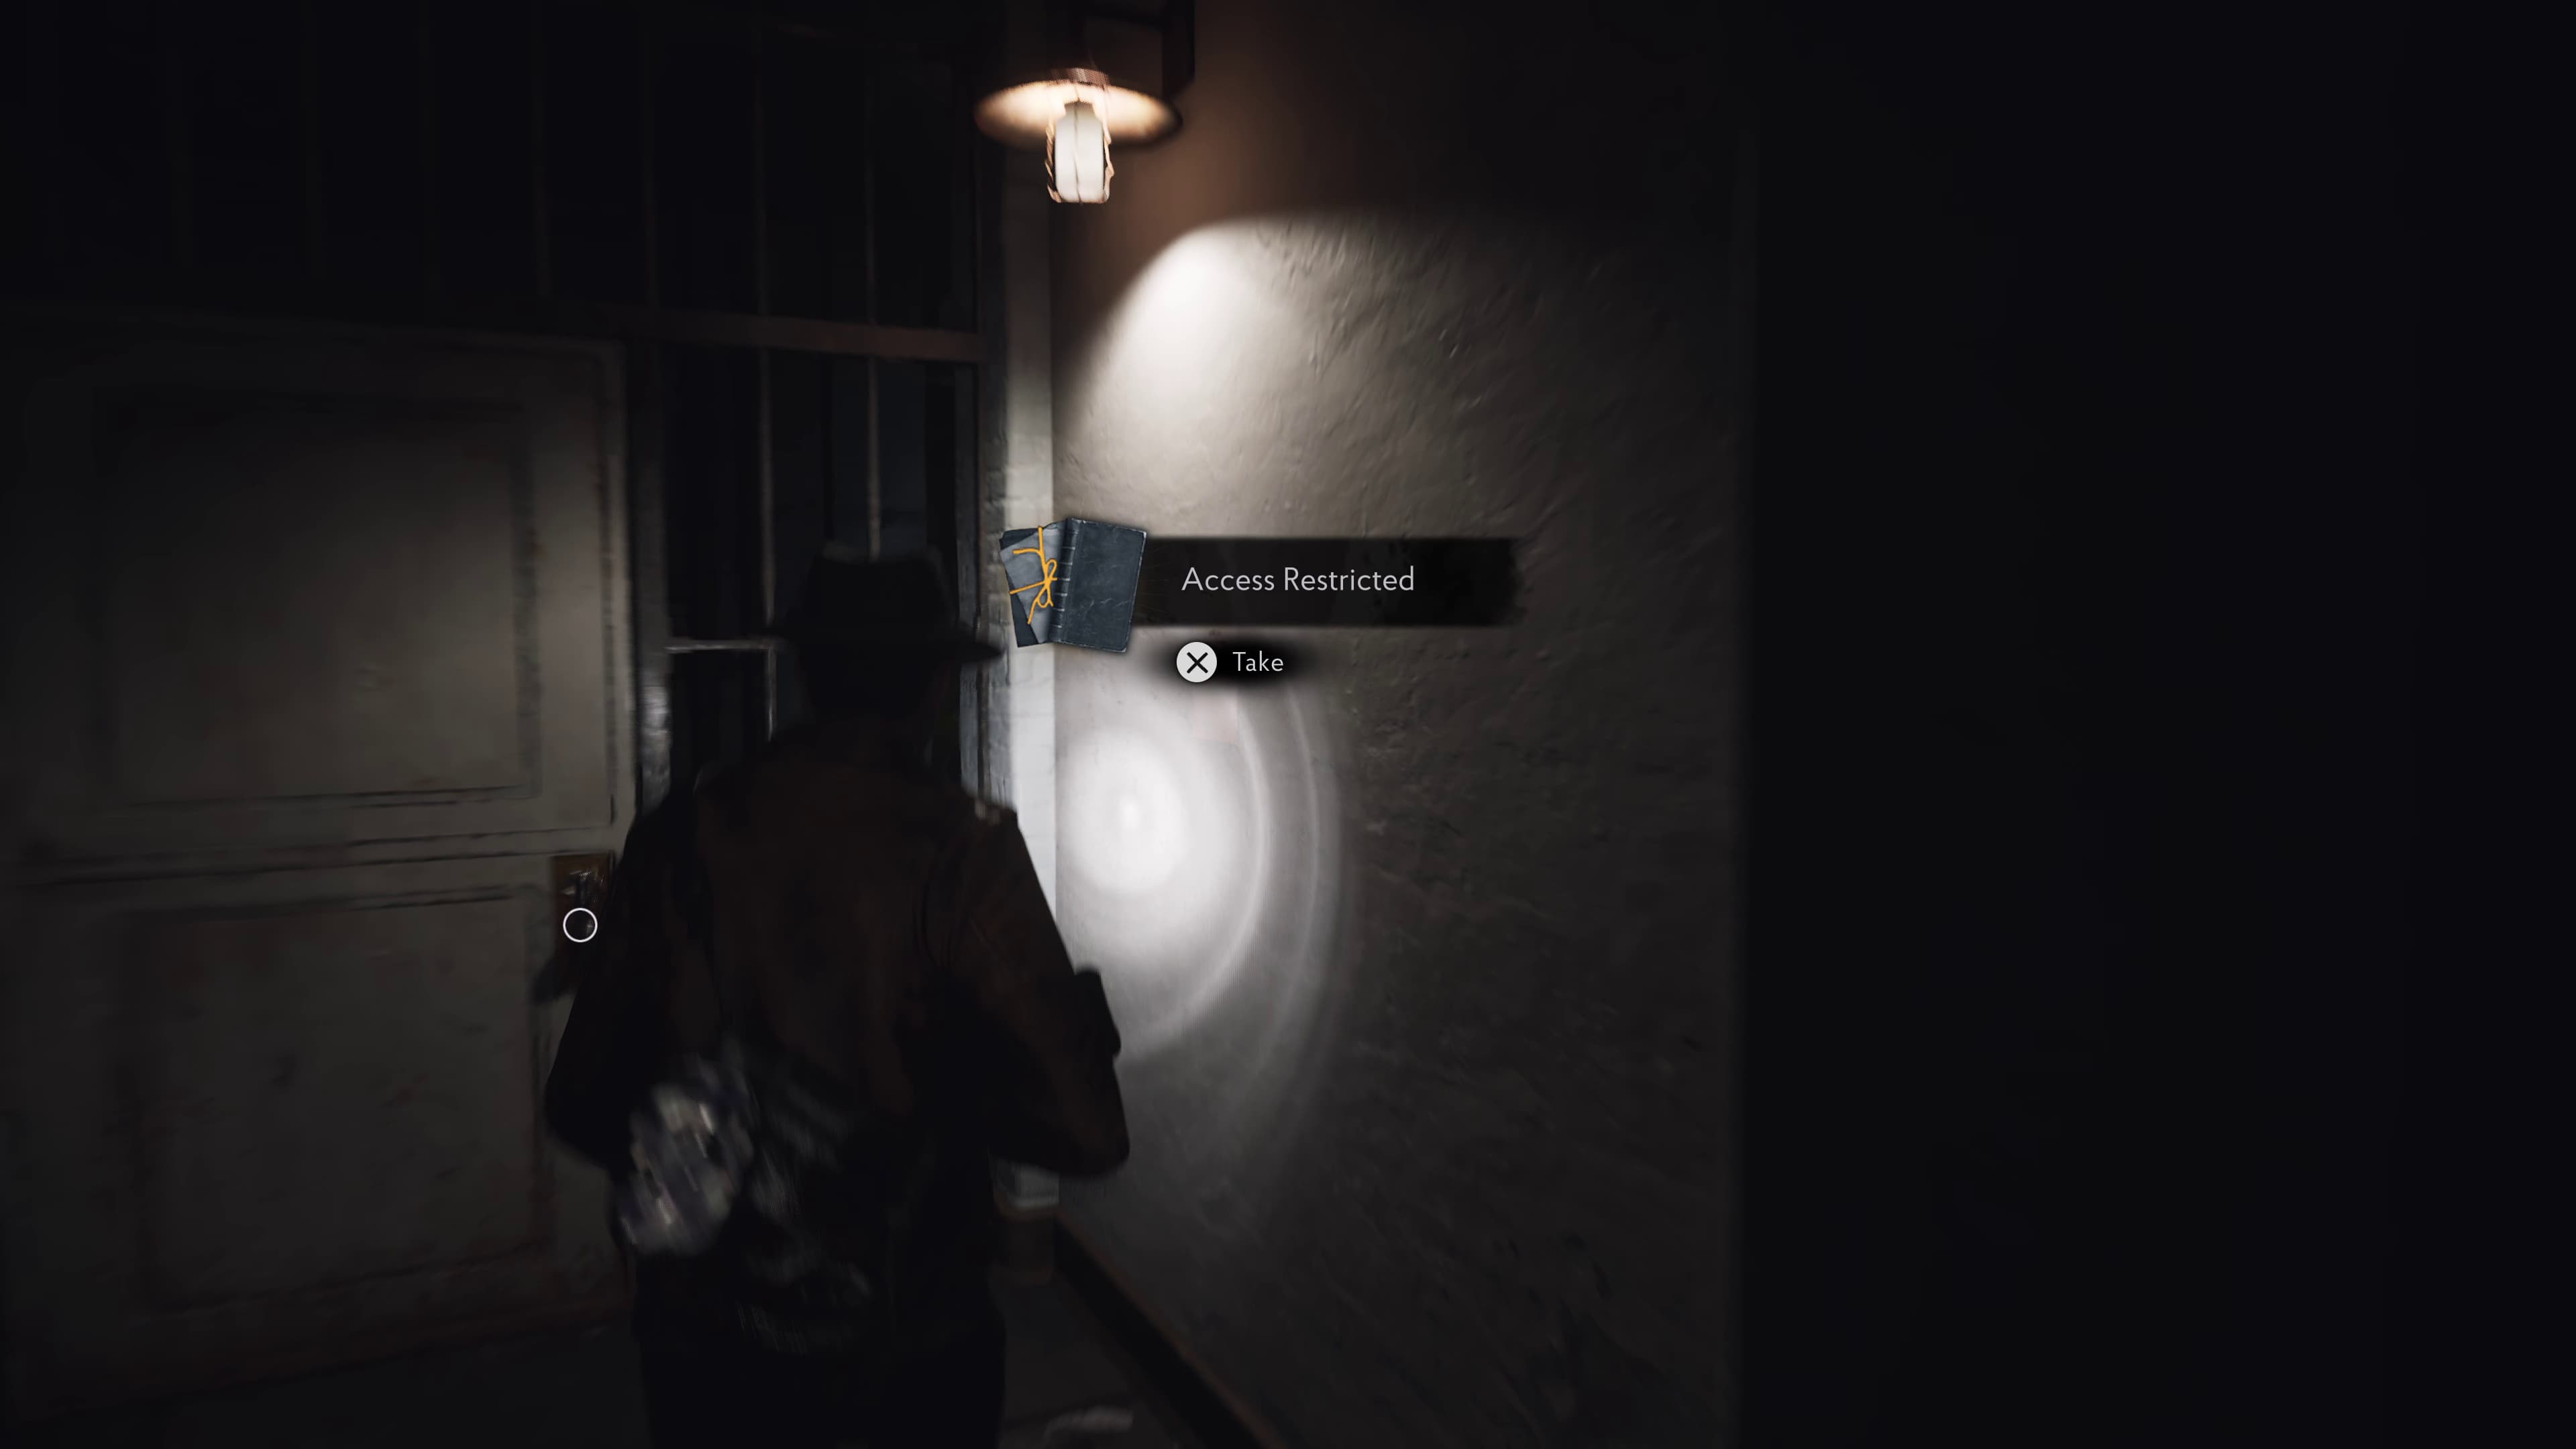
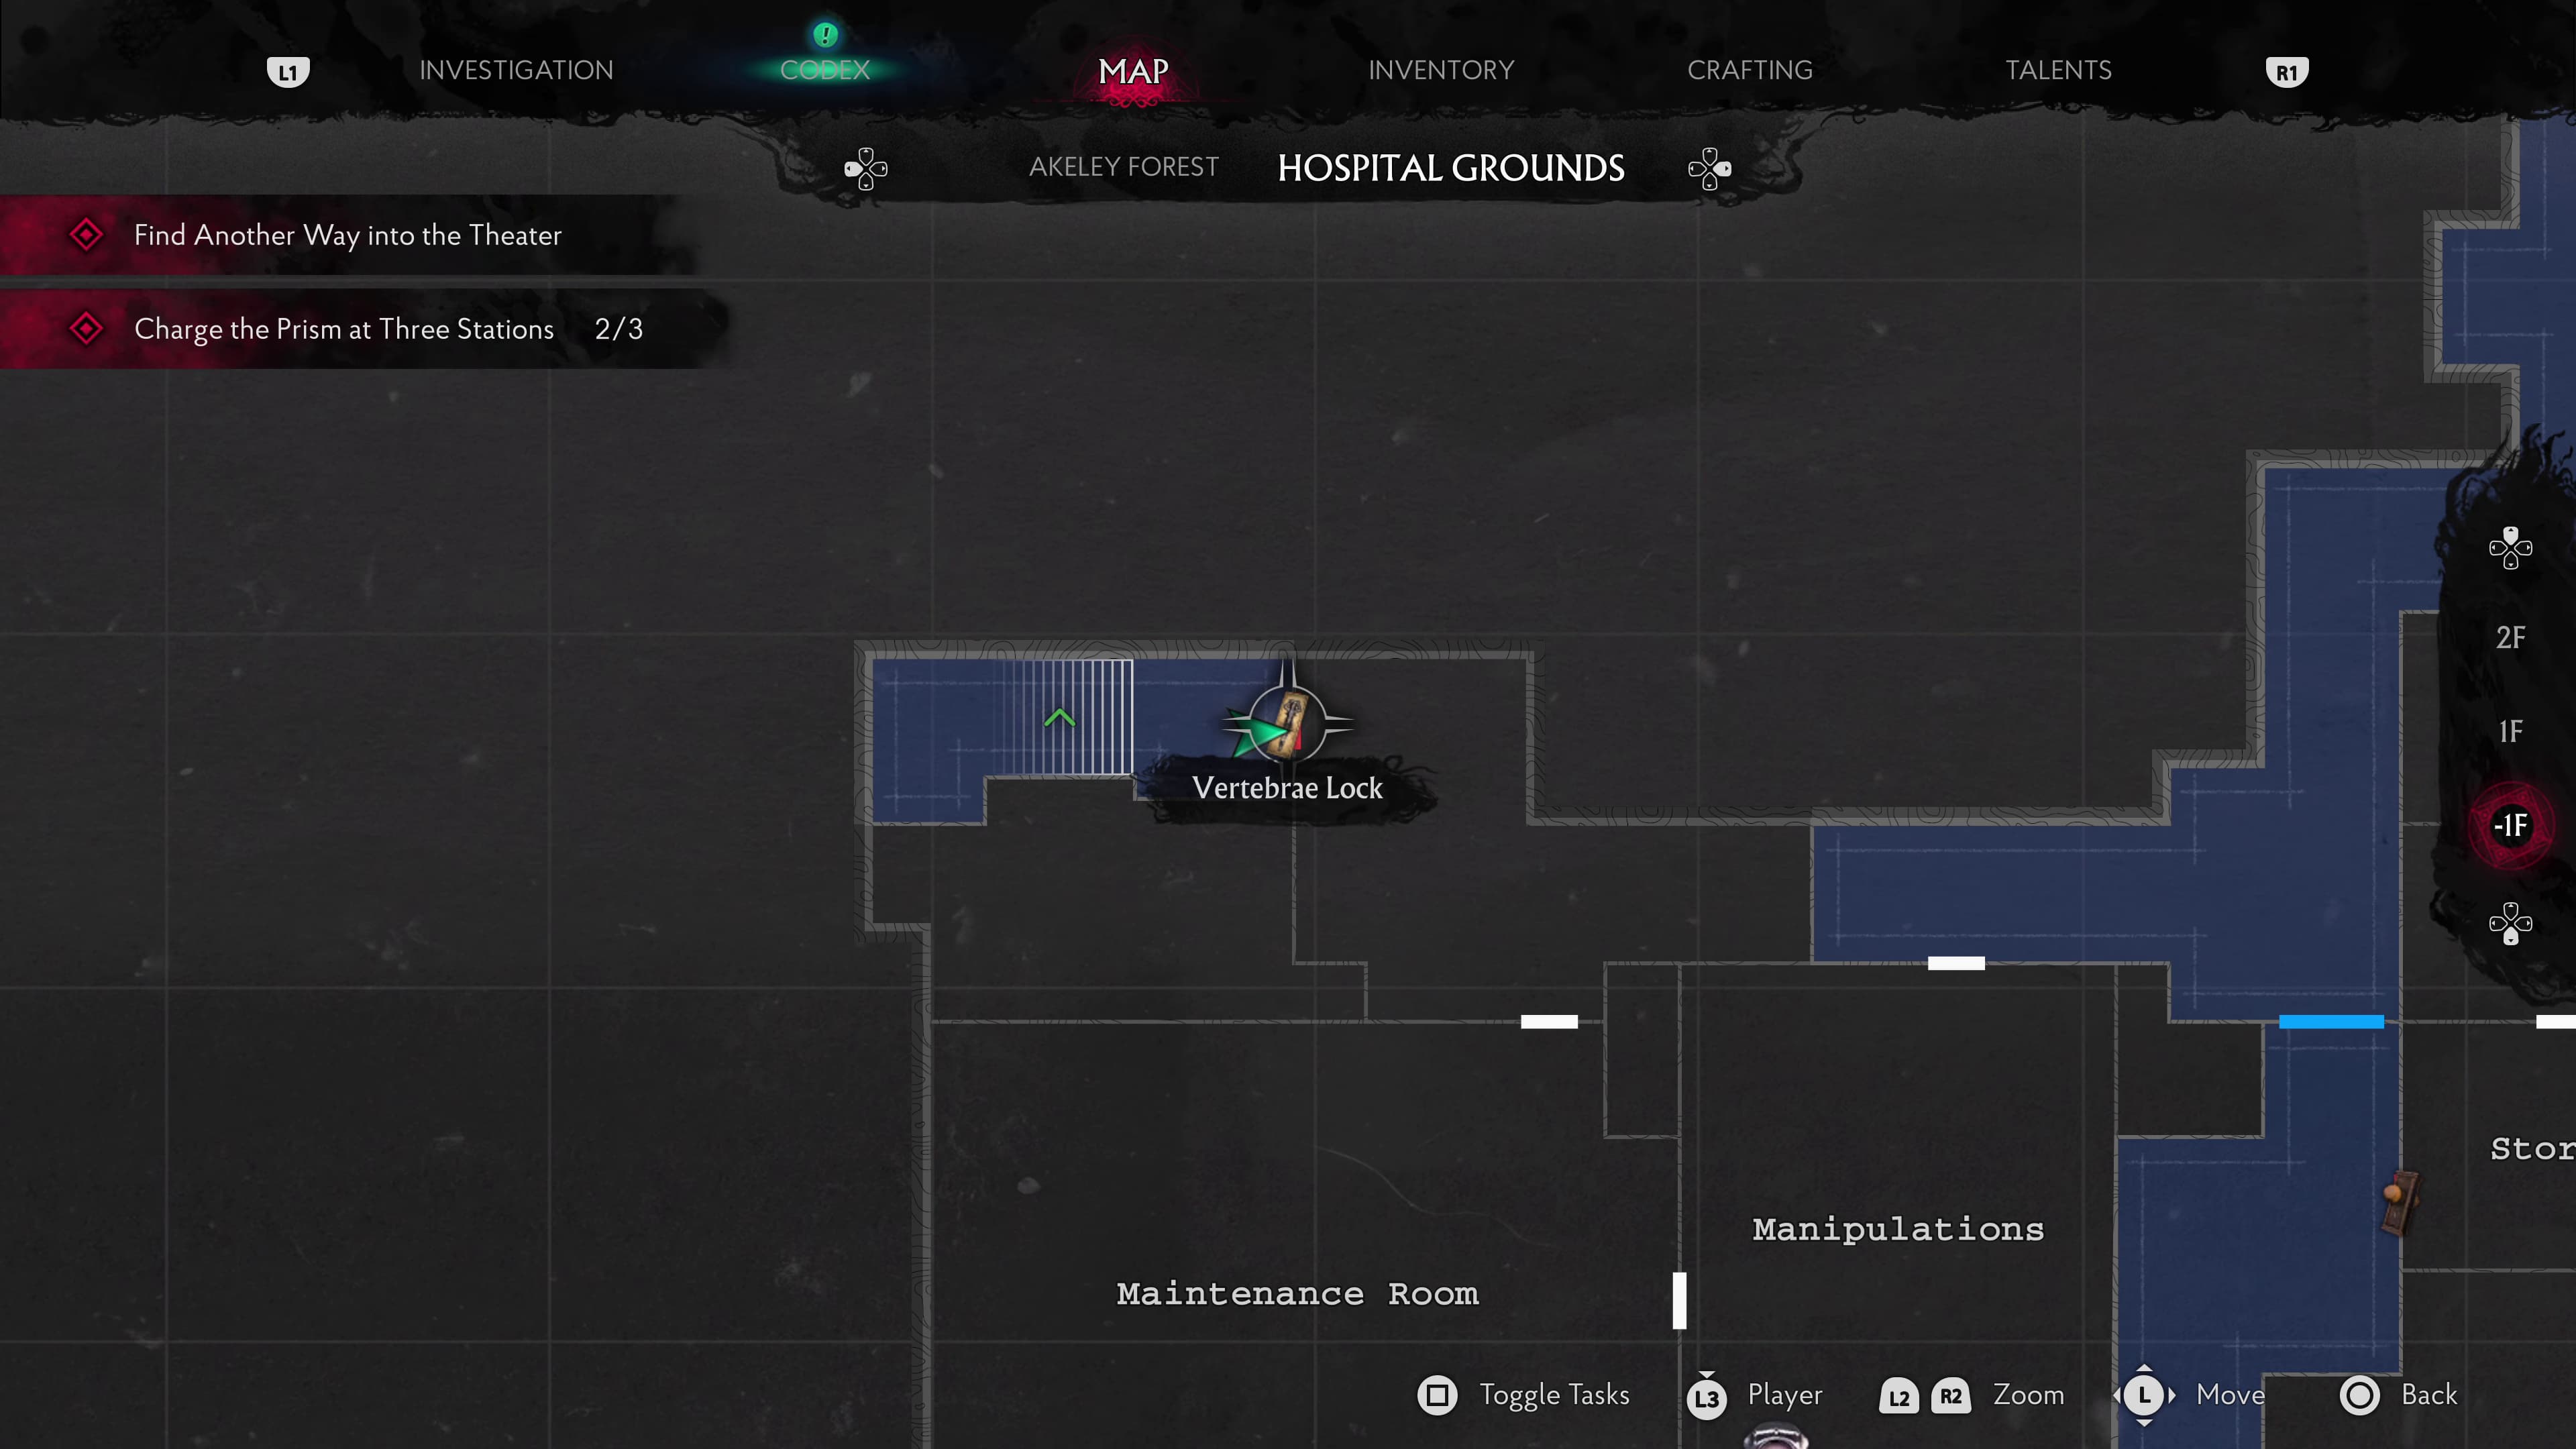
From here, make it back outside and into the Gazebo area, take a right through the gate and back inside through the door straight ahead. As you're looking at the back of Reception door, head downstairs to find the final Lore Document (Access Restricted) pinned to the wall before unlocking the cell type door ahead.
This is all of the Lore Documents for A Sight For Sore Eyes, keep progressing through the level until you make it to the next section Time And Tide.
Time And Tide
In this area, there will be:
22 Lore Documents
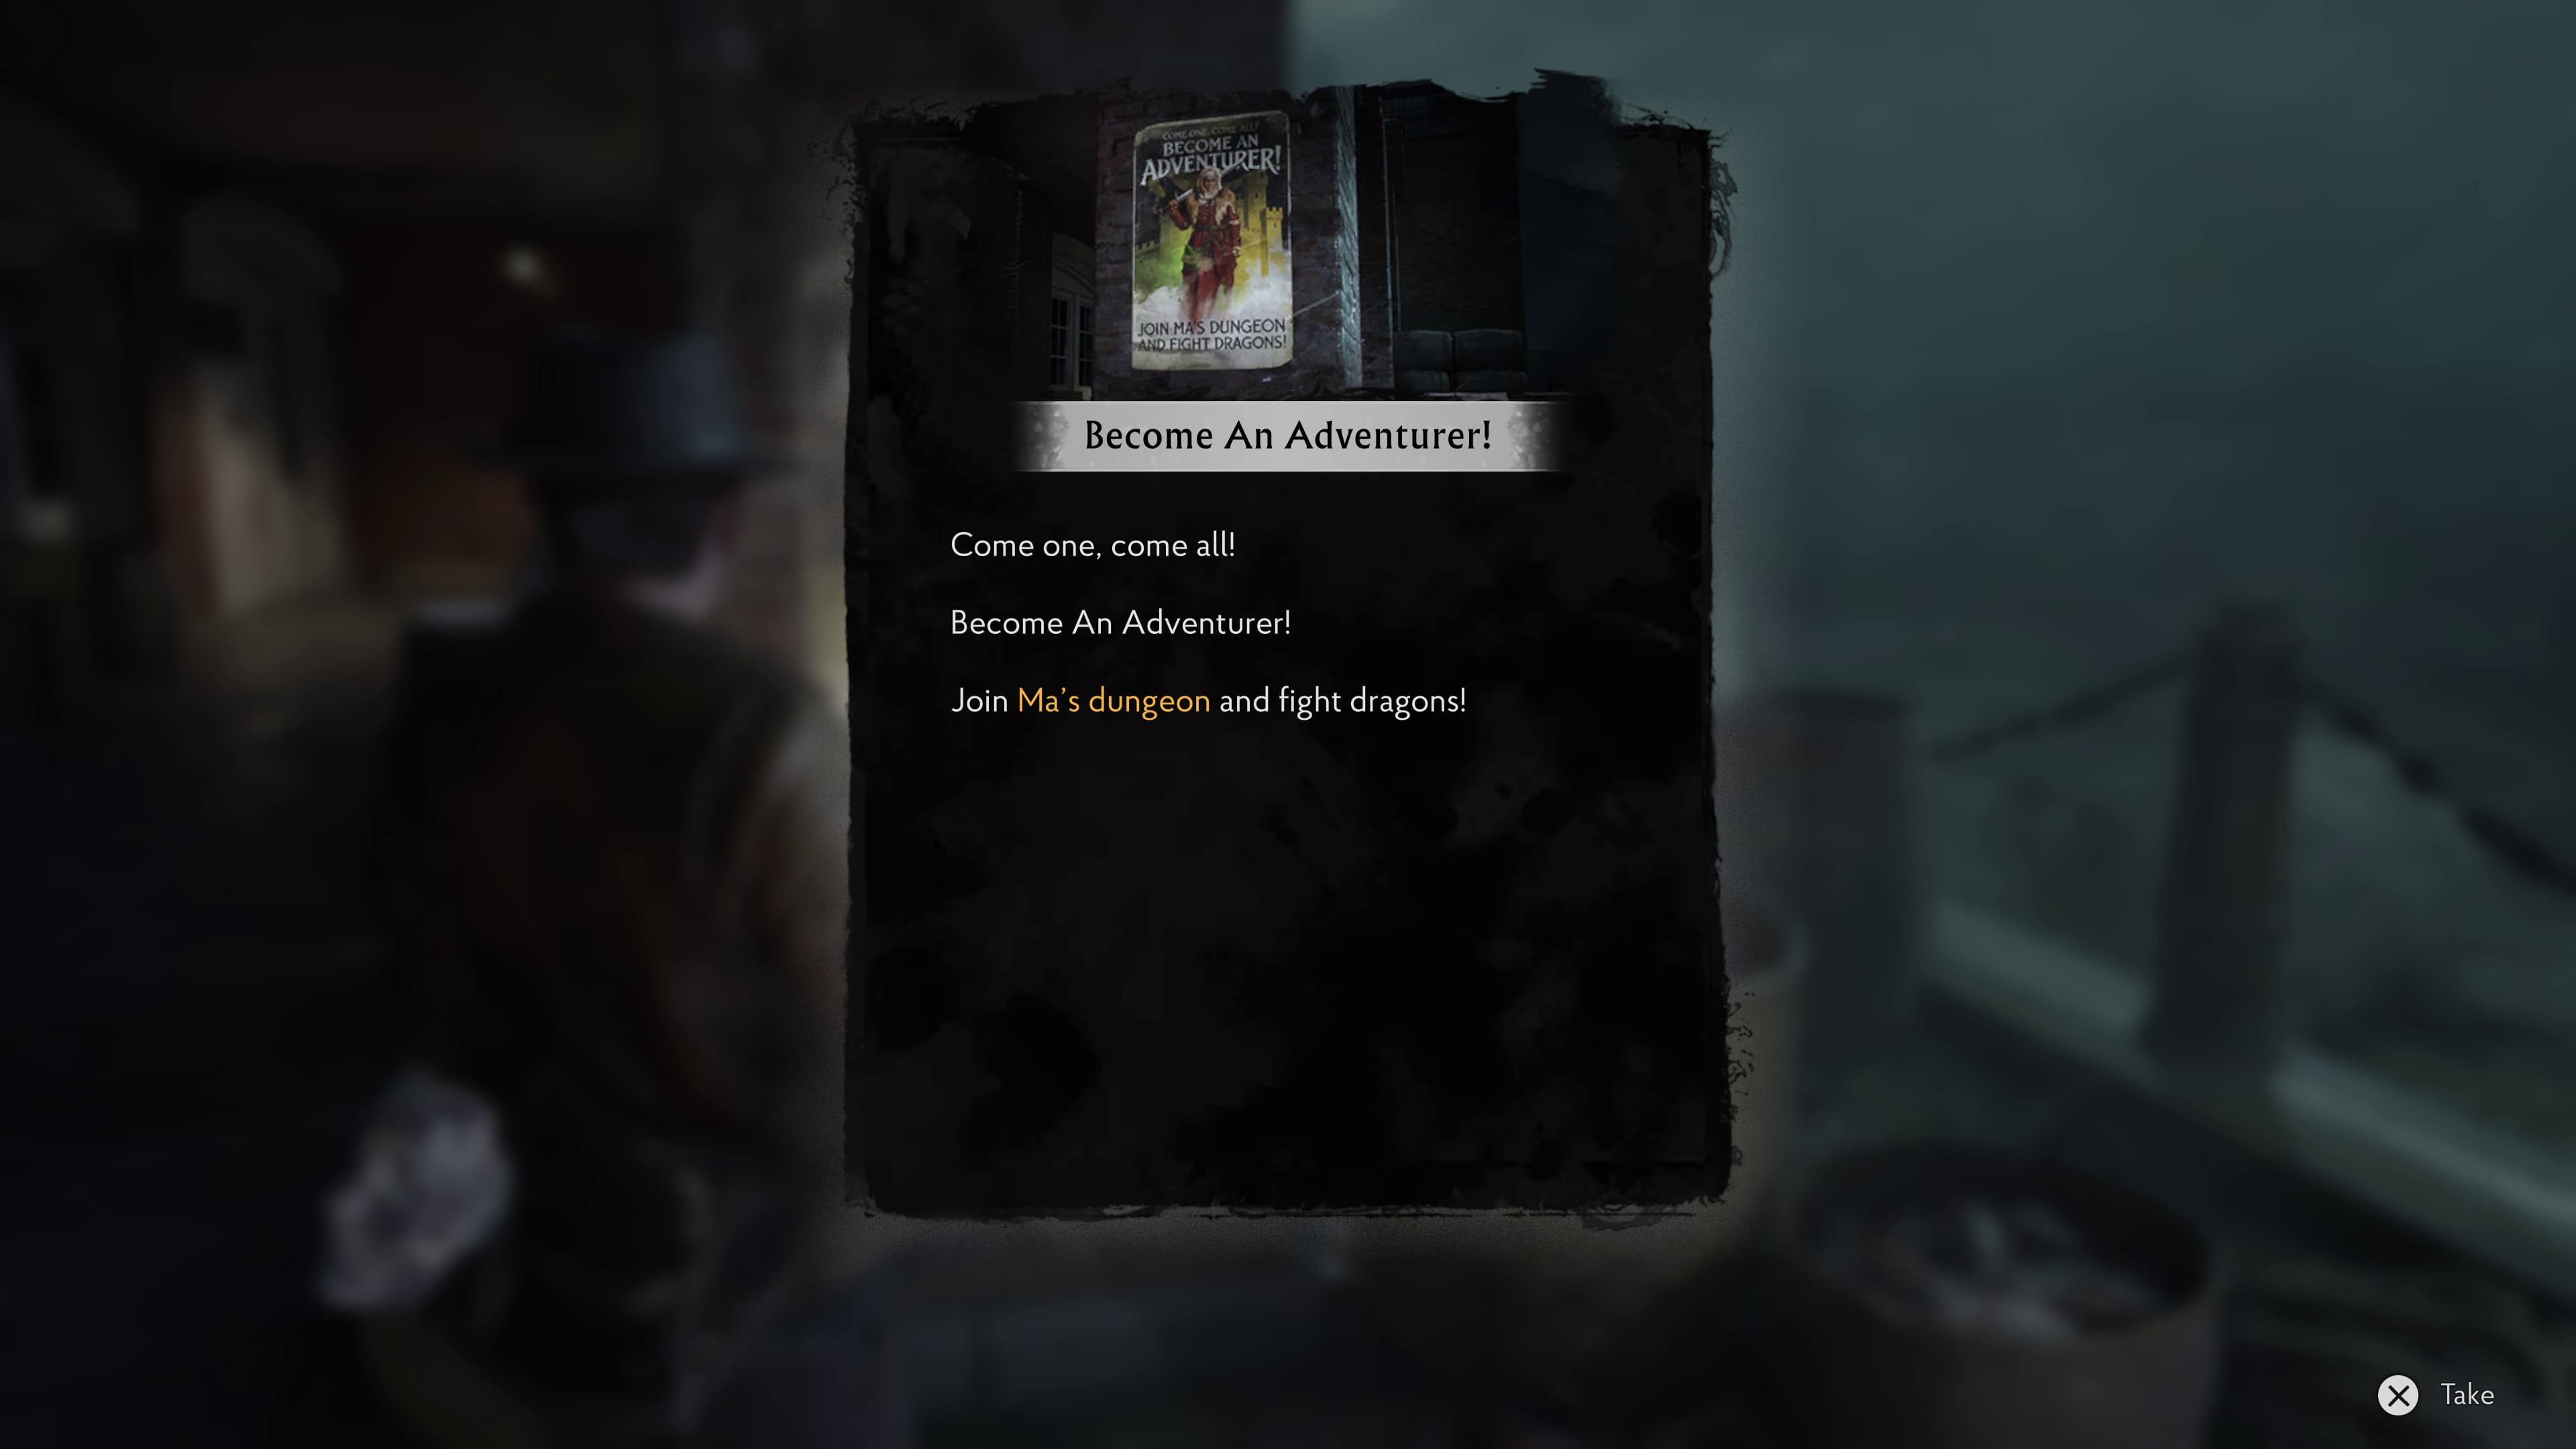
As you load into the new location, make your way across the truck in the ground, head around the building, and on one of the columns will be a poster to interact with, this is the first Lore Document (Become An Adventurer!) in this area.
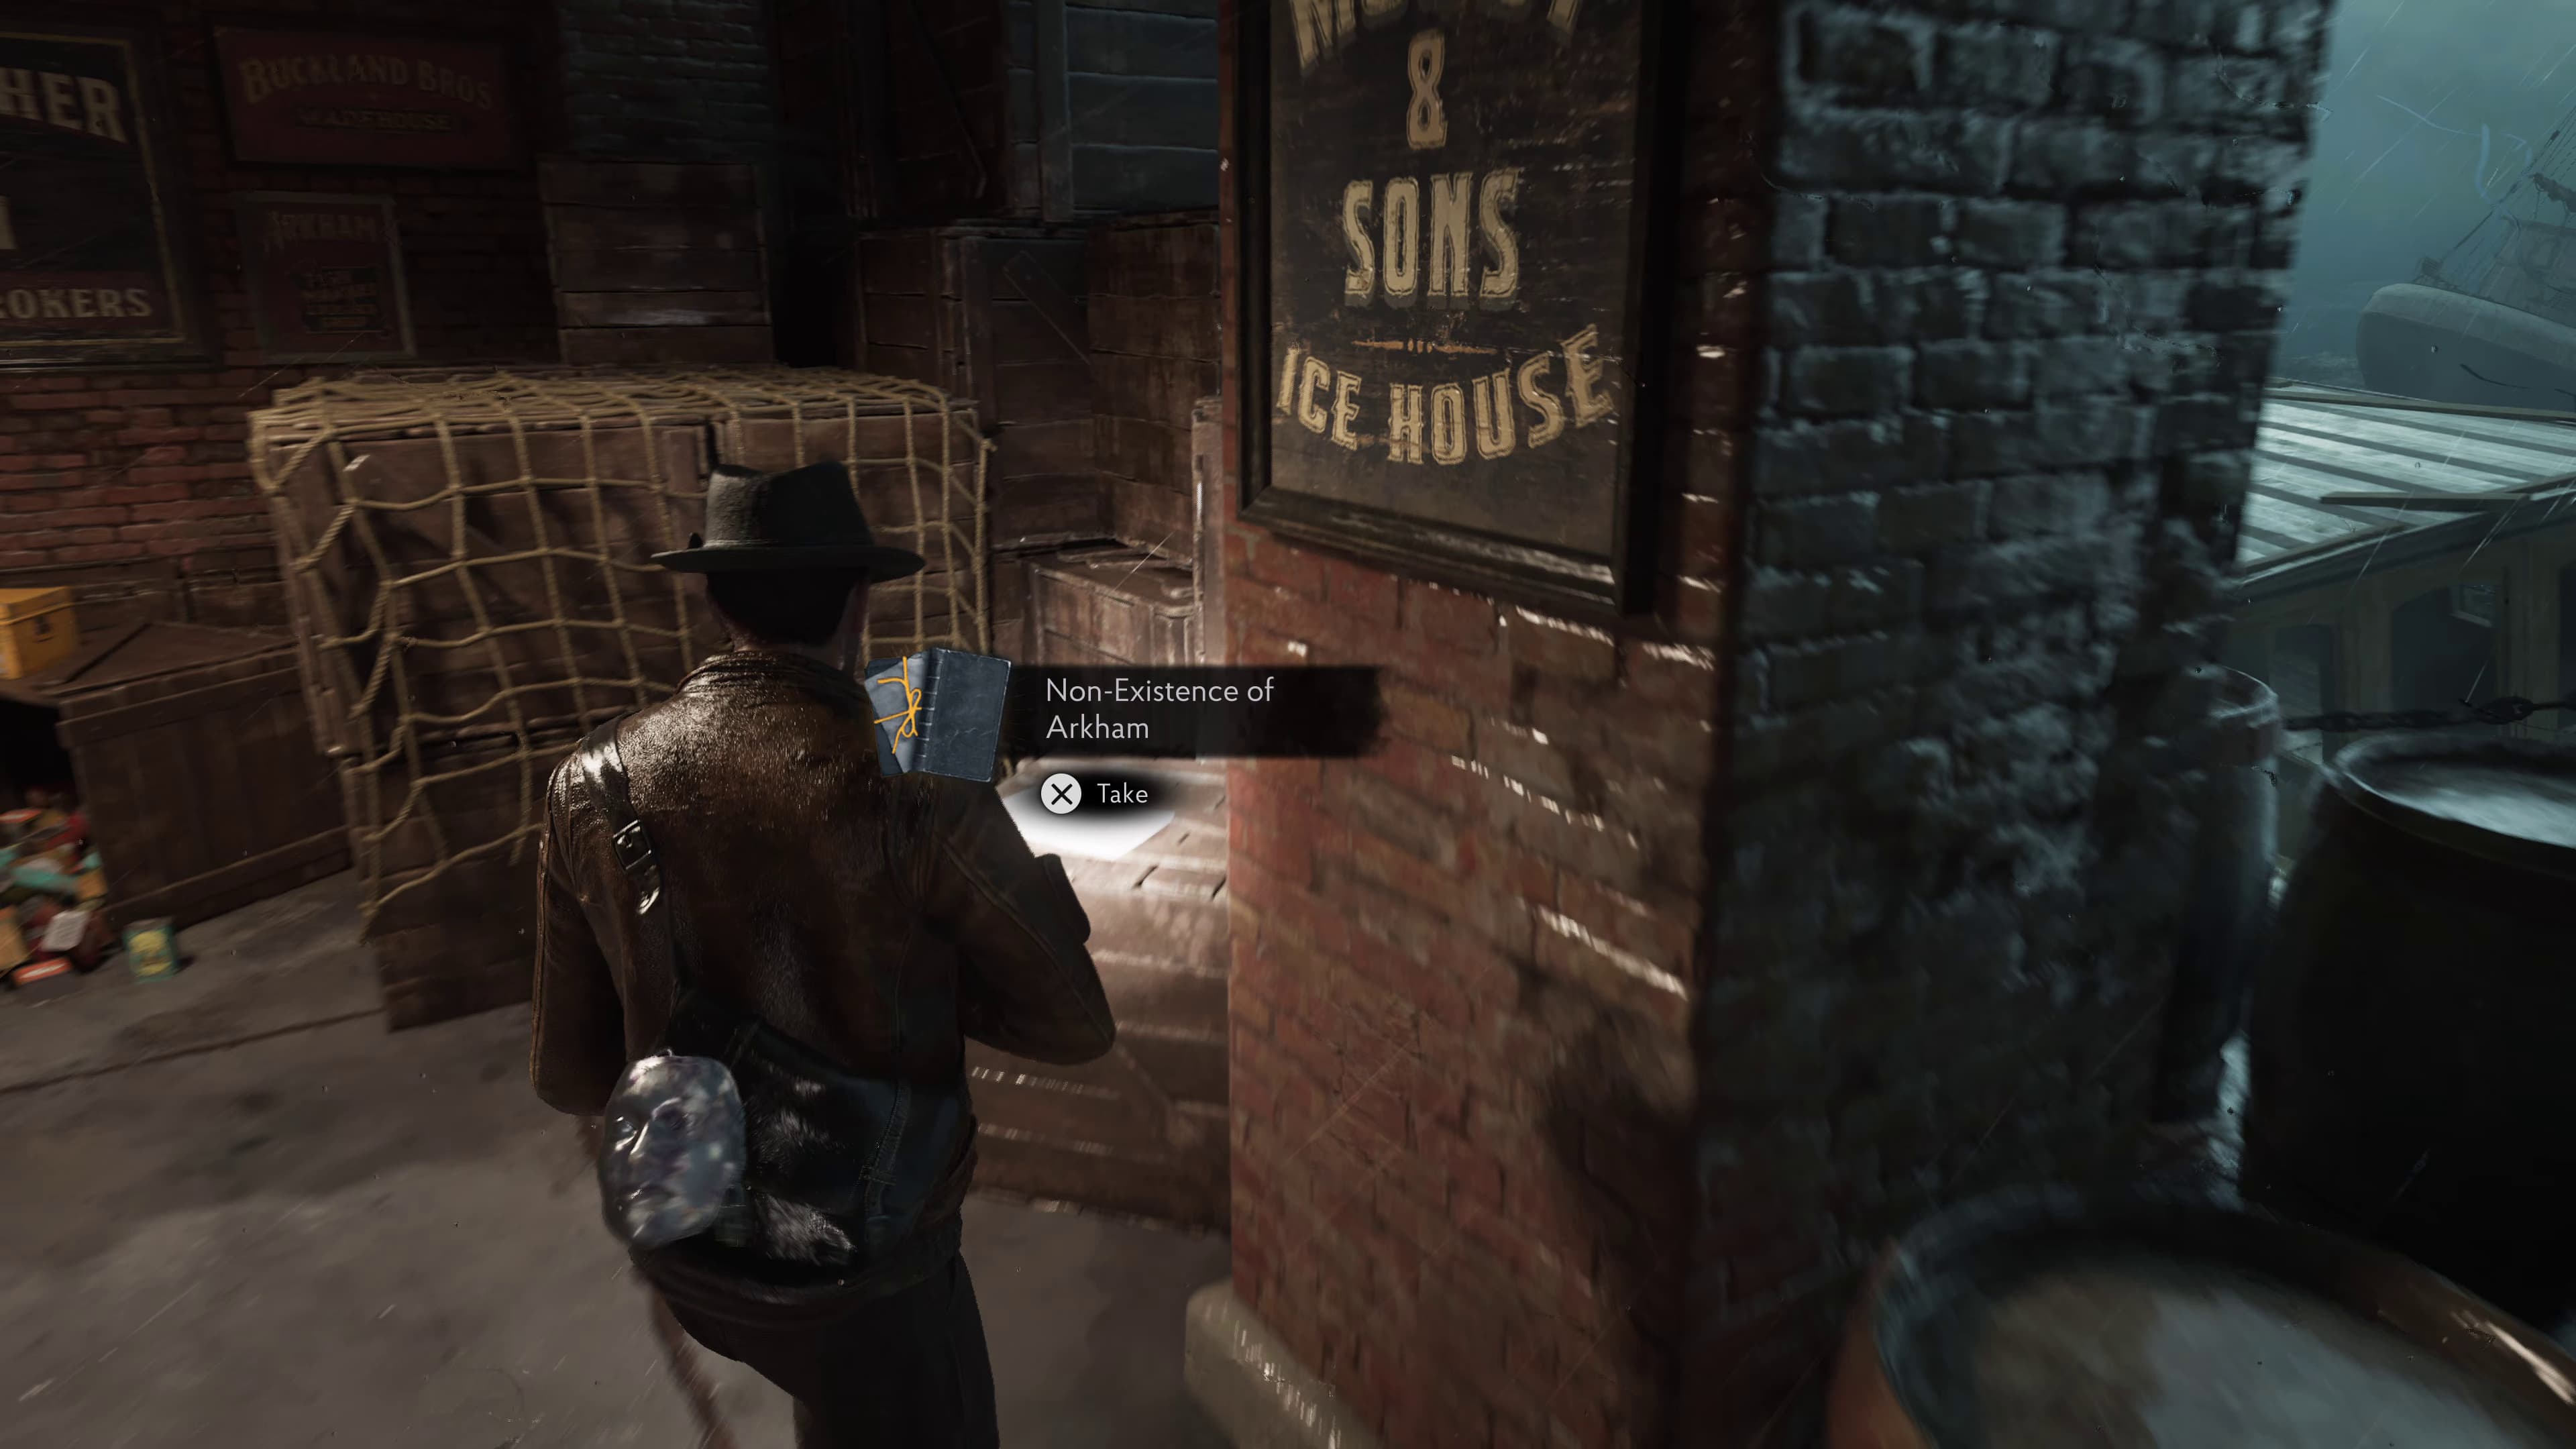
Keep advancing forwards from here, to find on the crates to the right, the next Lore Document (Non-Existence of Arkham).
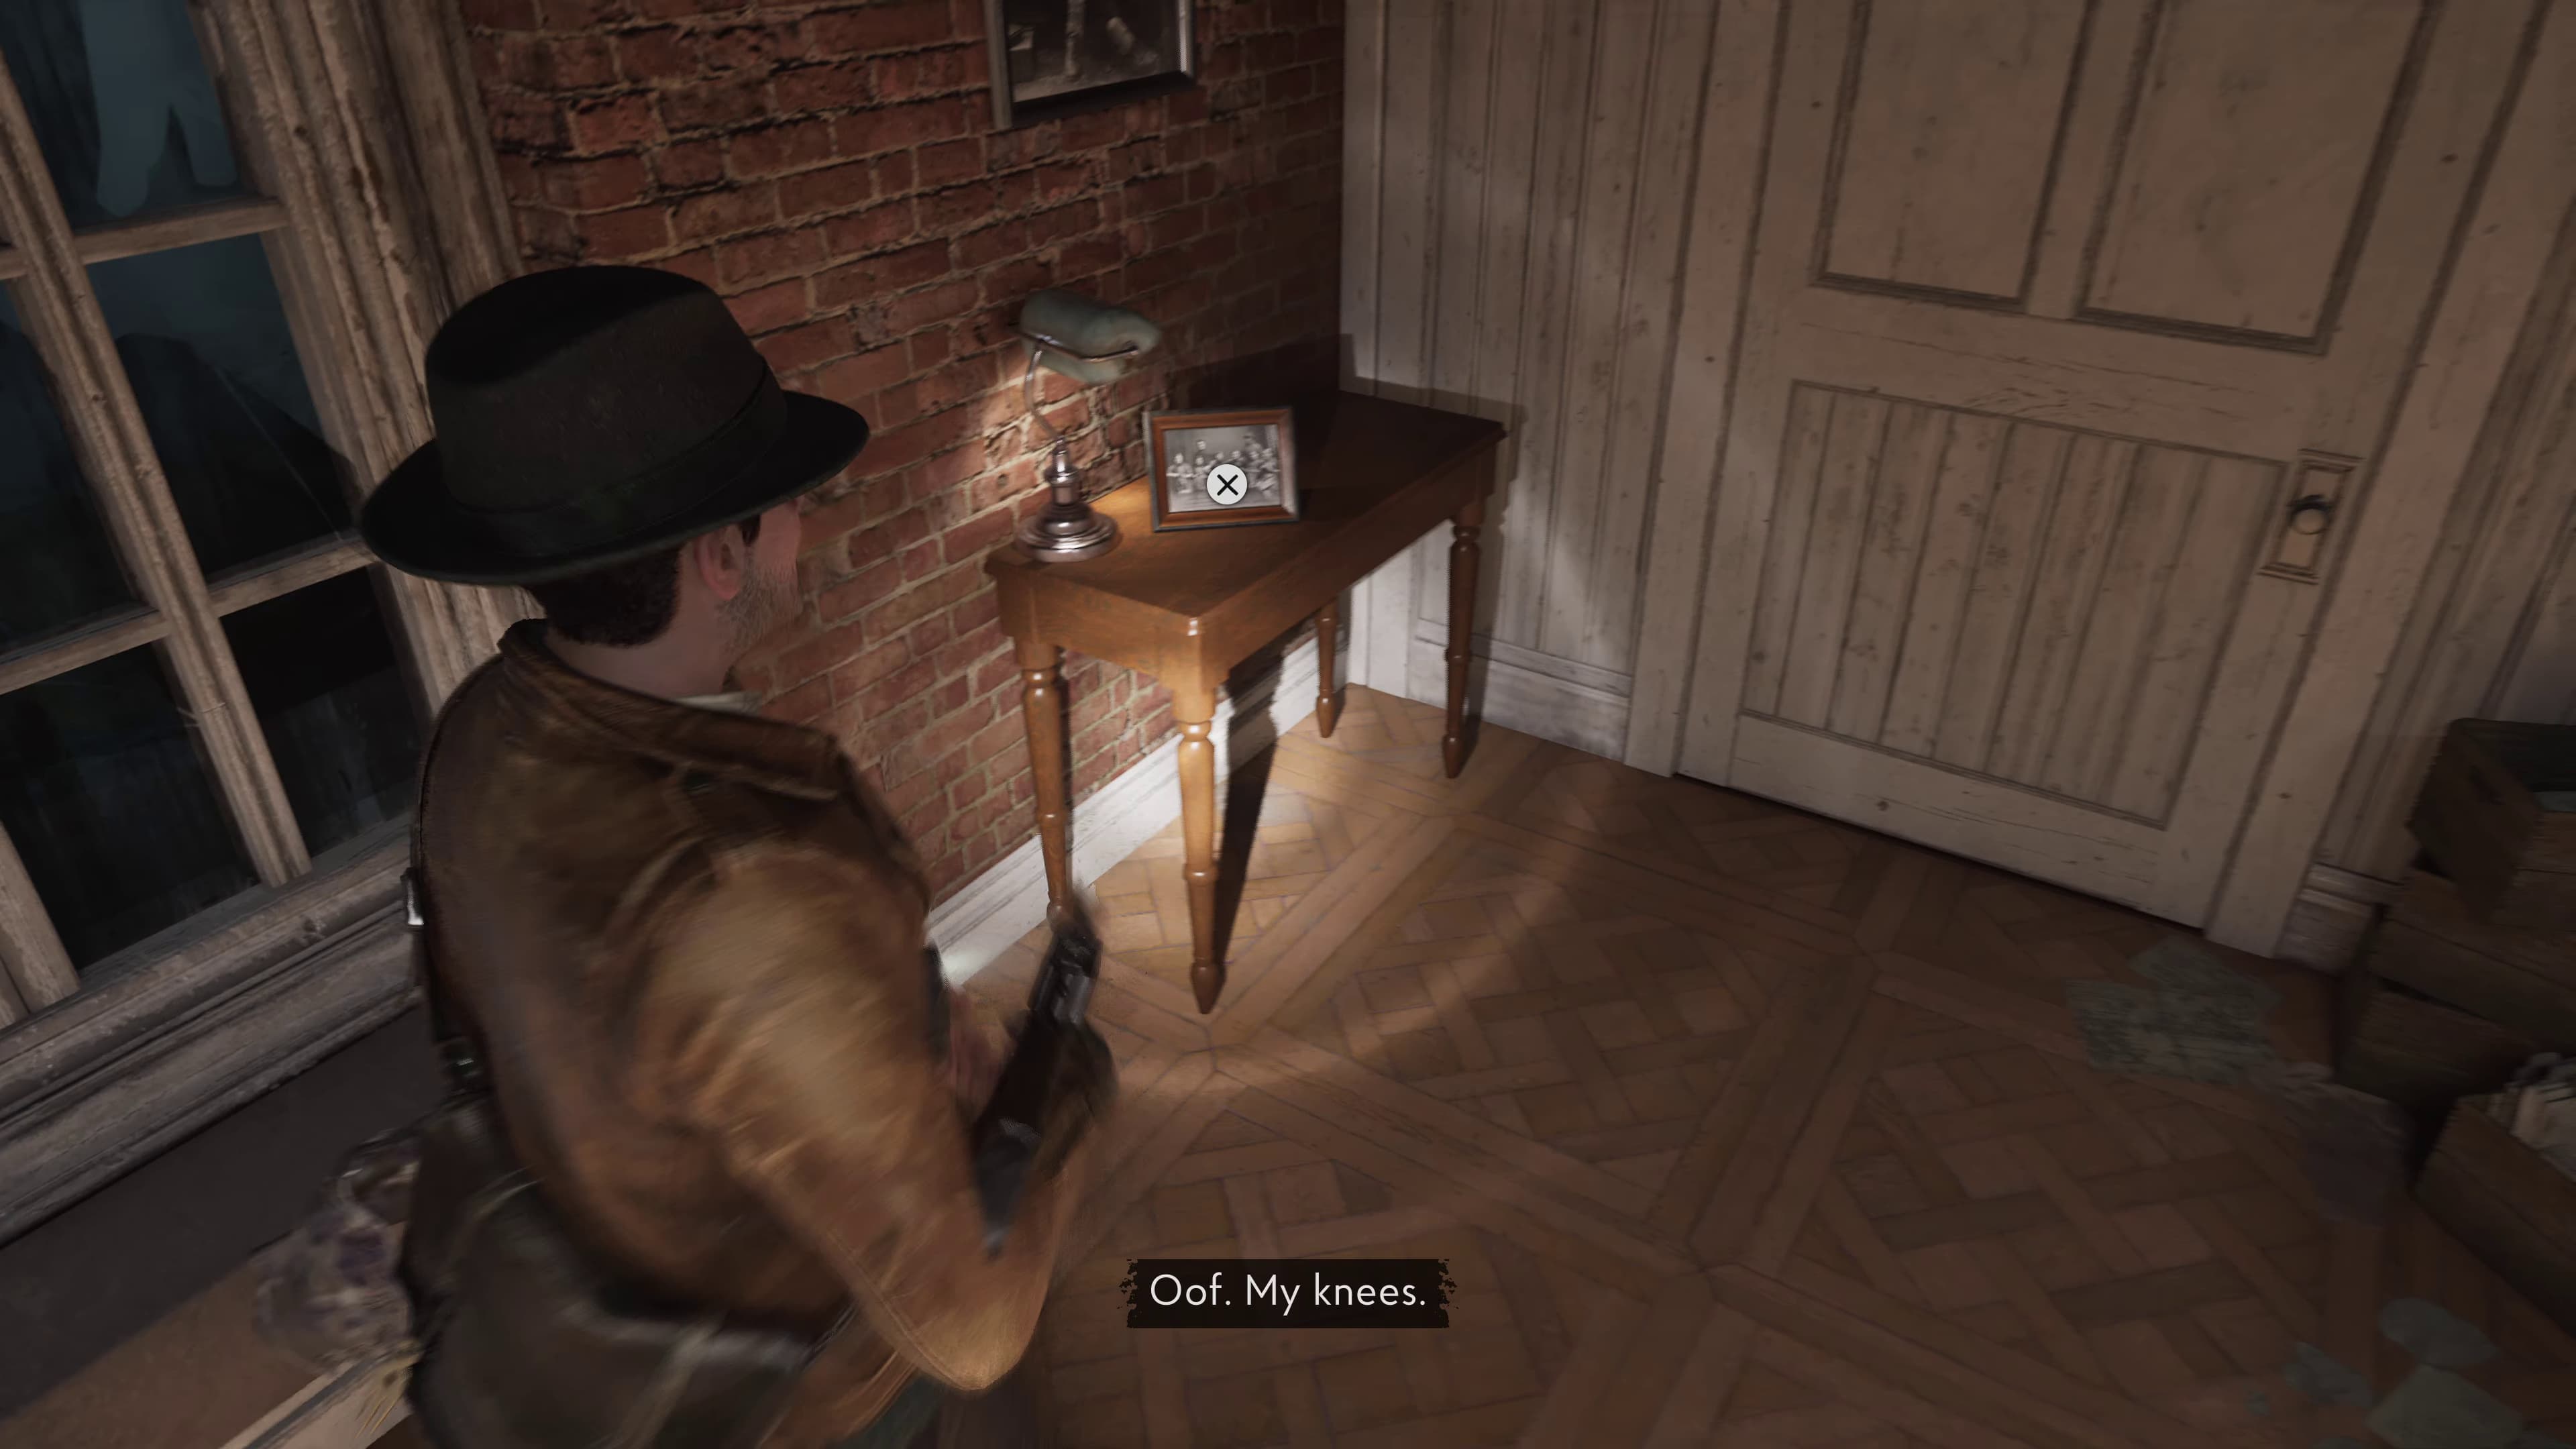
Keep advancing until you make it down the ladders from the roof, inside the building. As soon as you drop down from the second ladder and Calvin complains about his knees, straight ahead on the table is a picture frame to interact with, this will be the next Lore Document (The Filleter Crew).
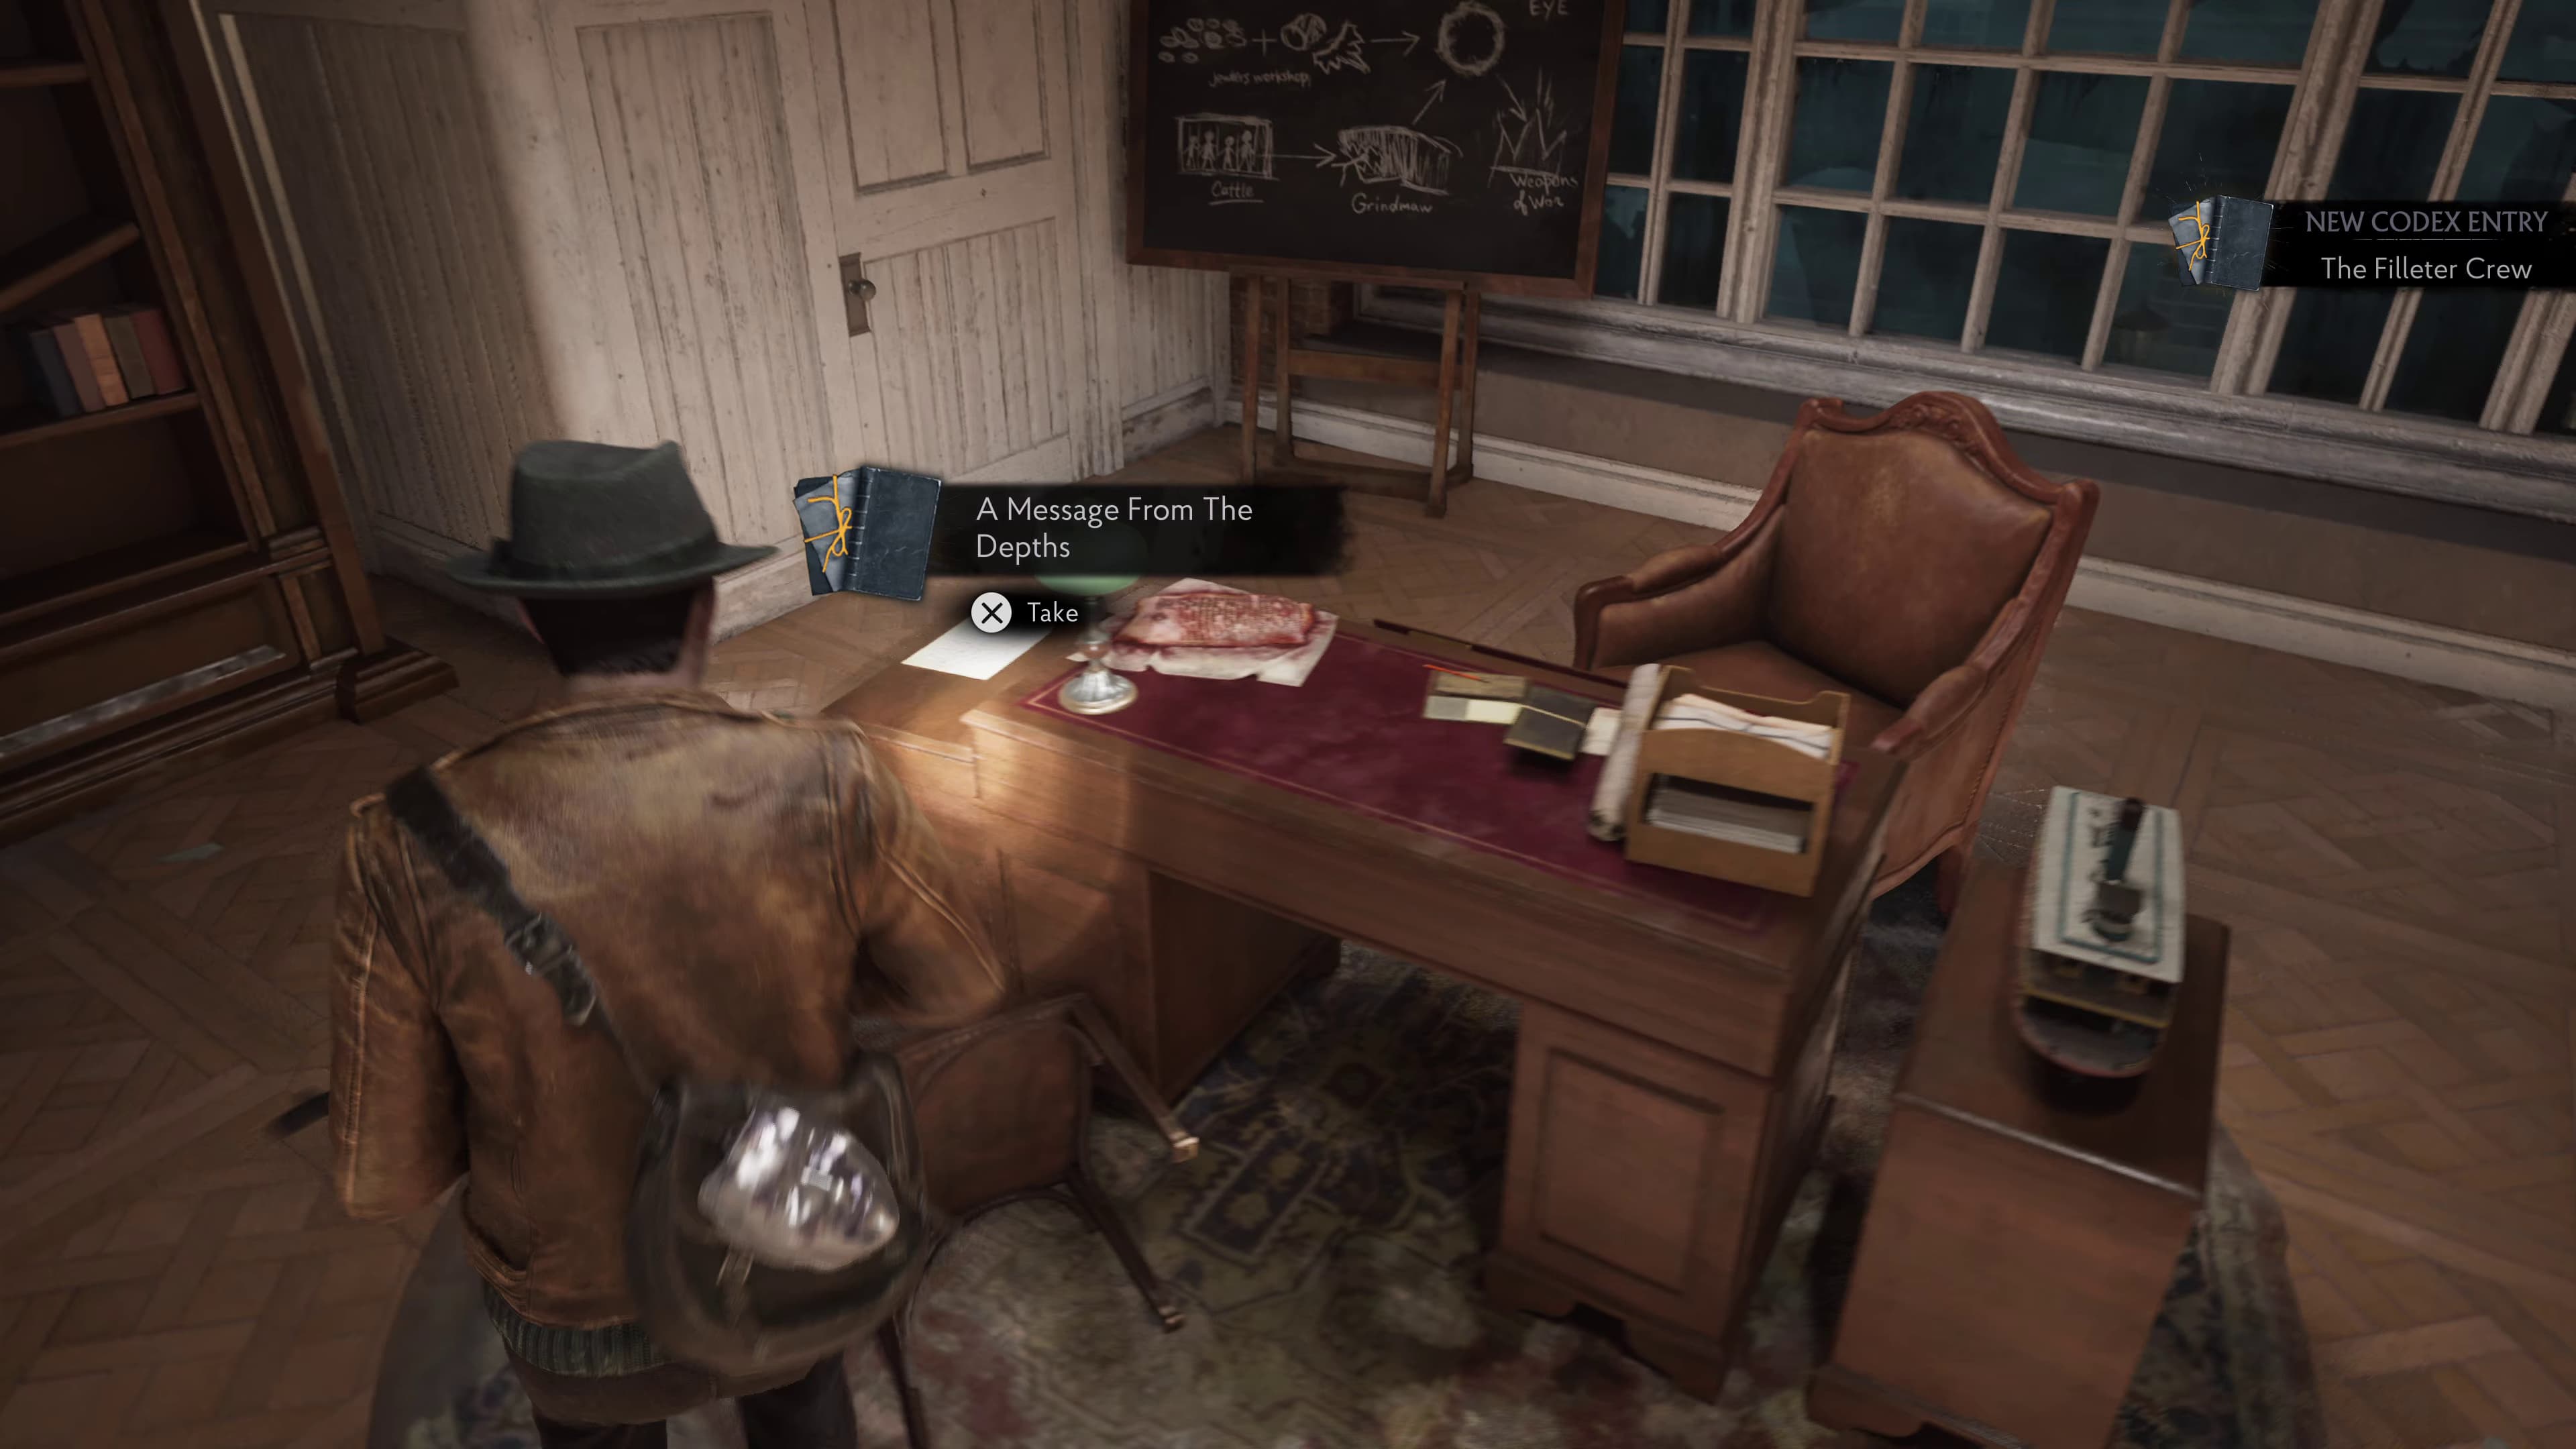
In the same room on the desk in the middle of the room is the next Lore Document (A Message From The Depths).
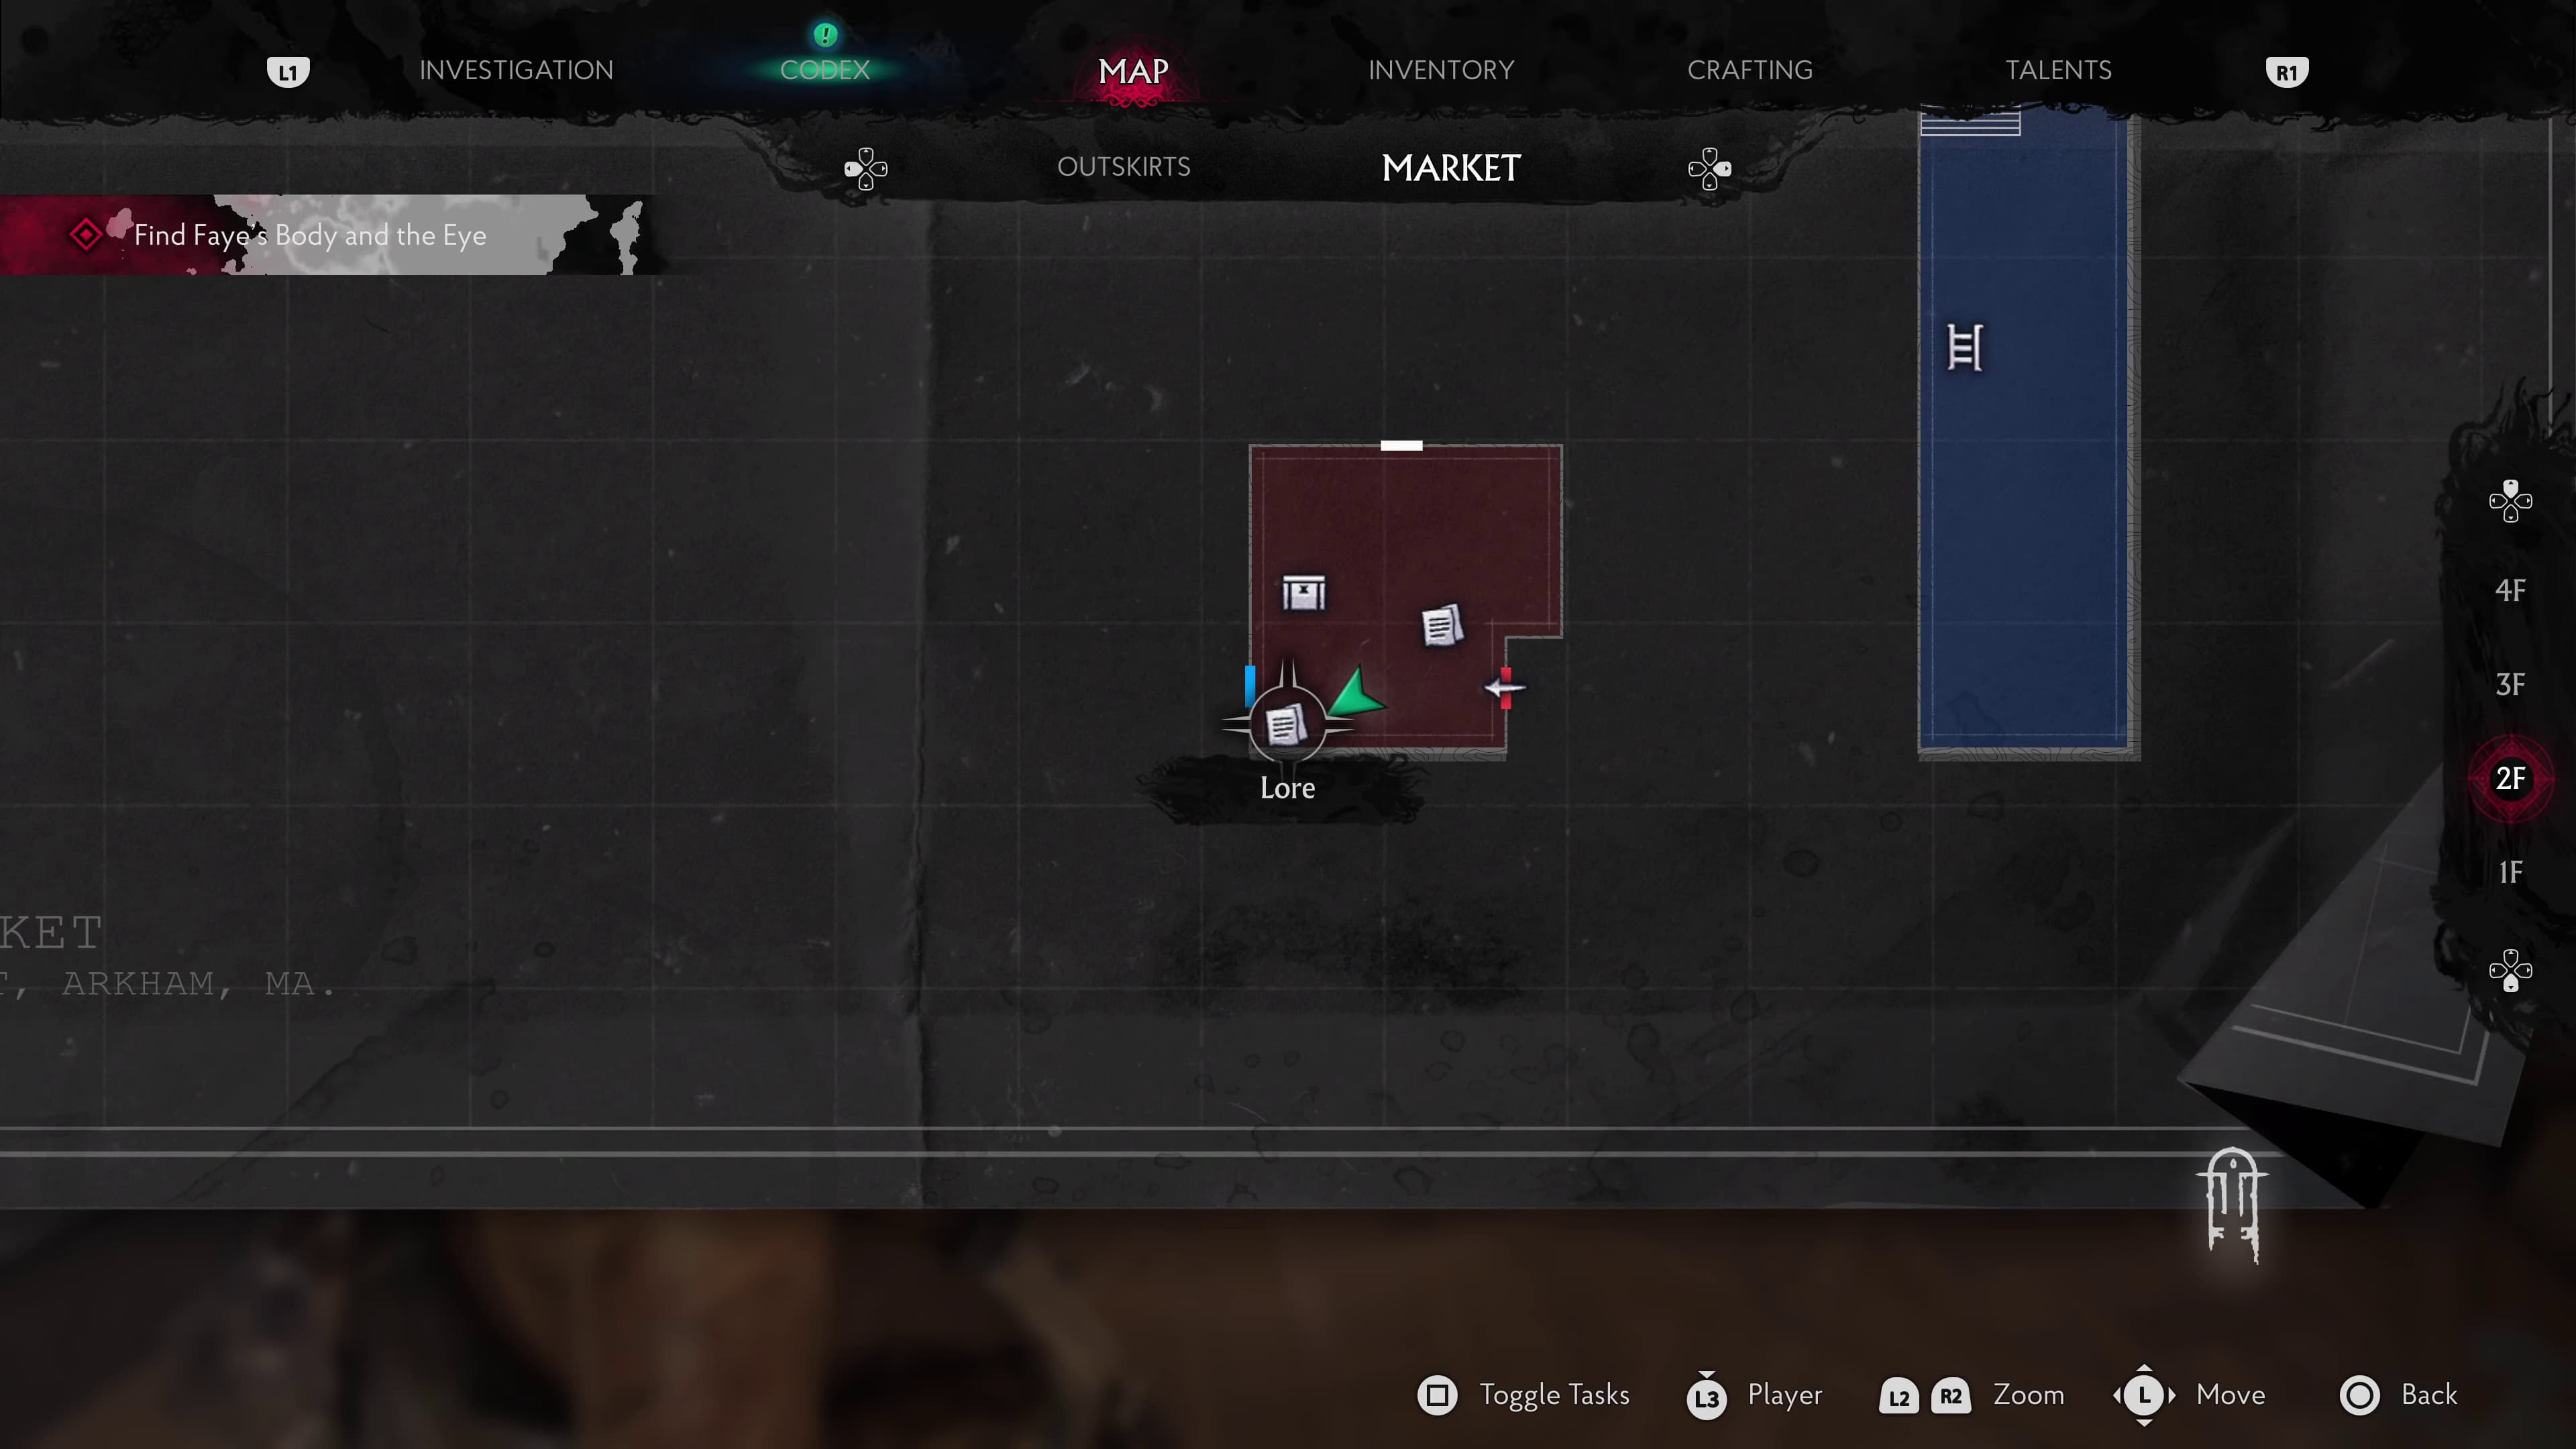
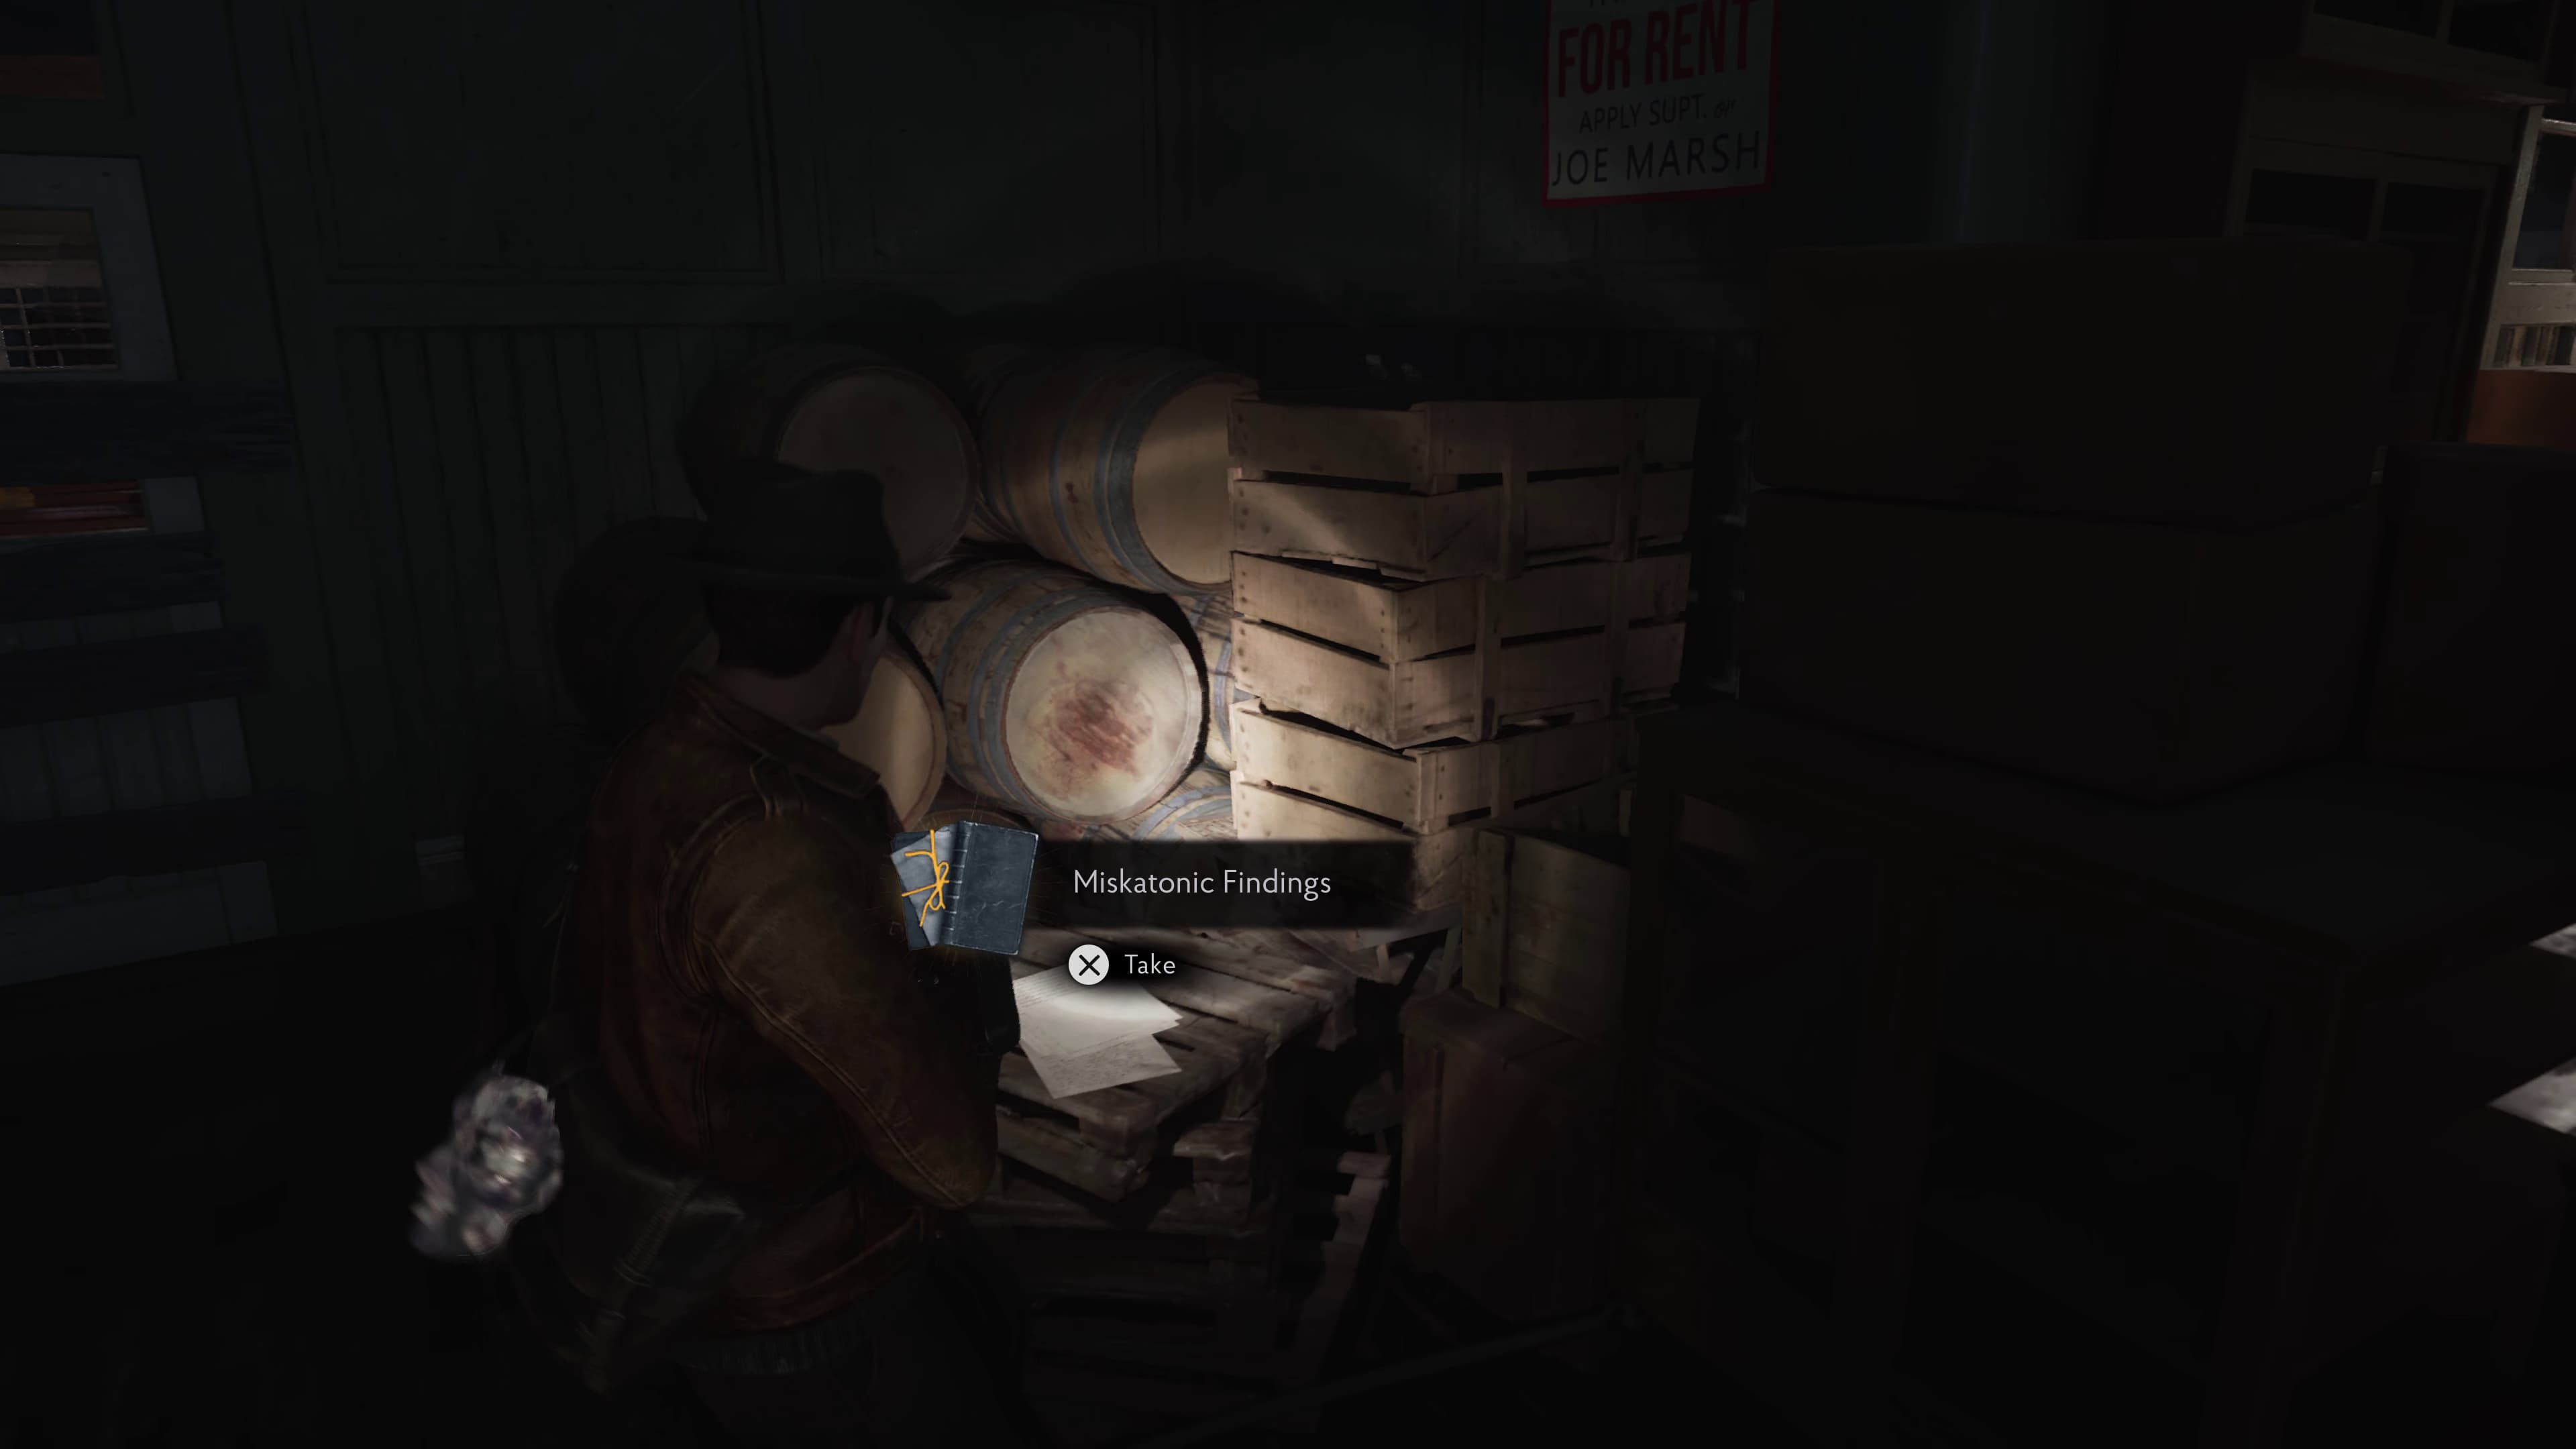
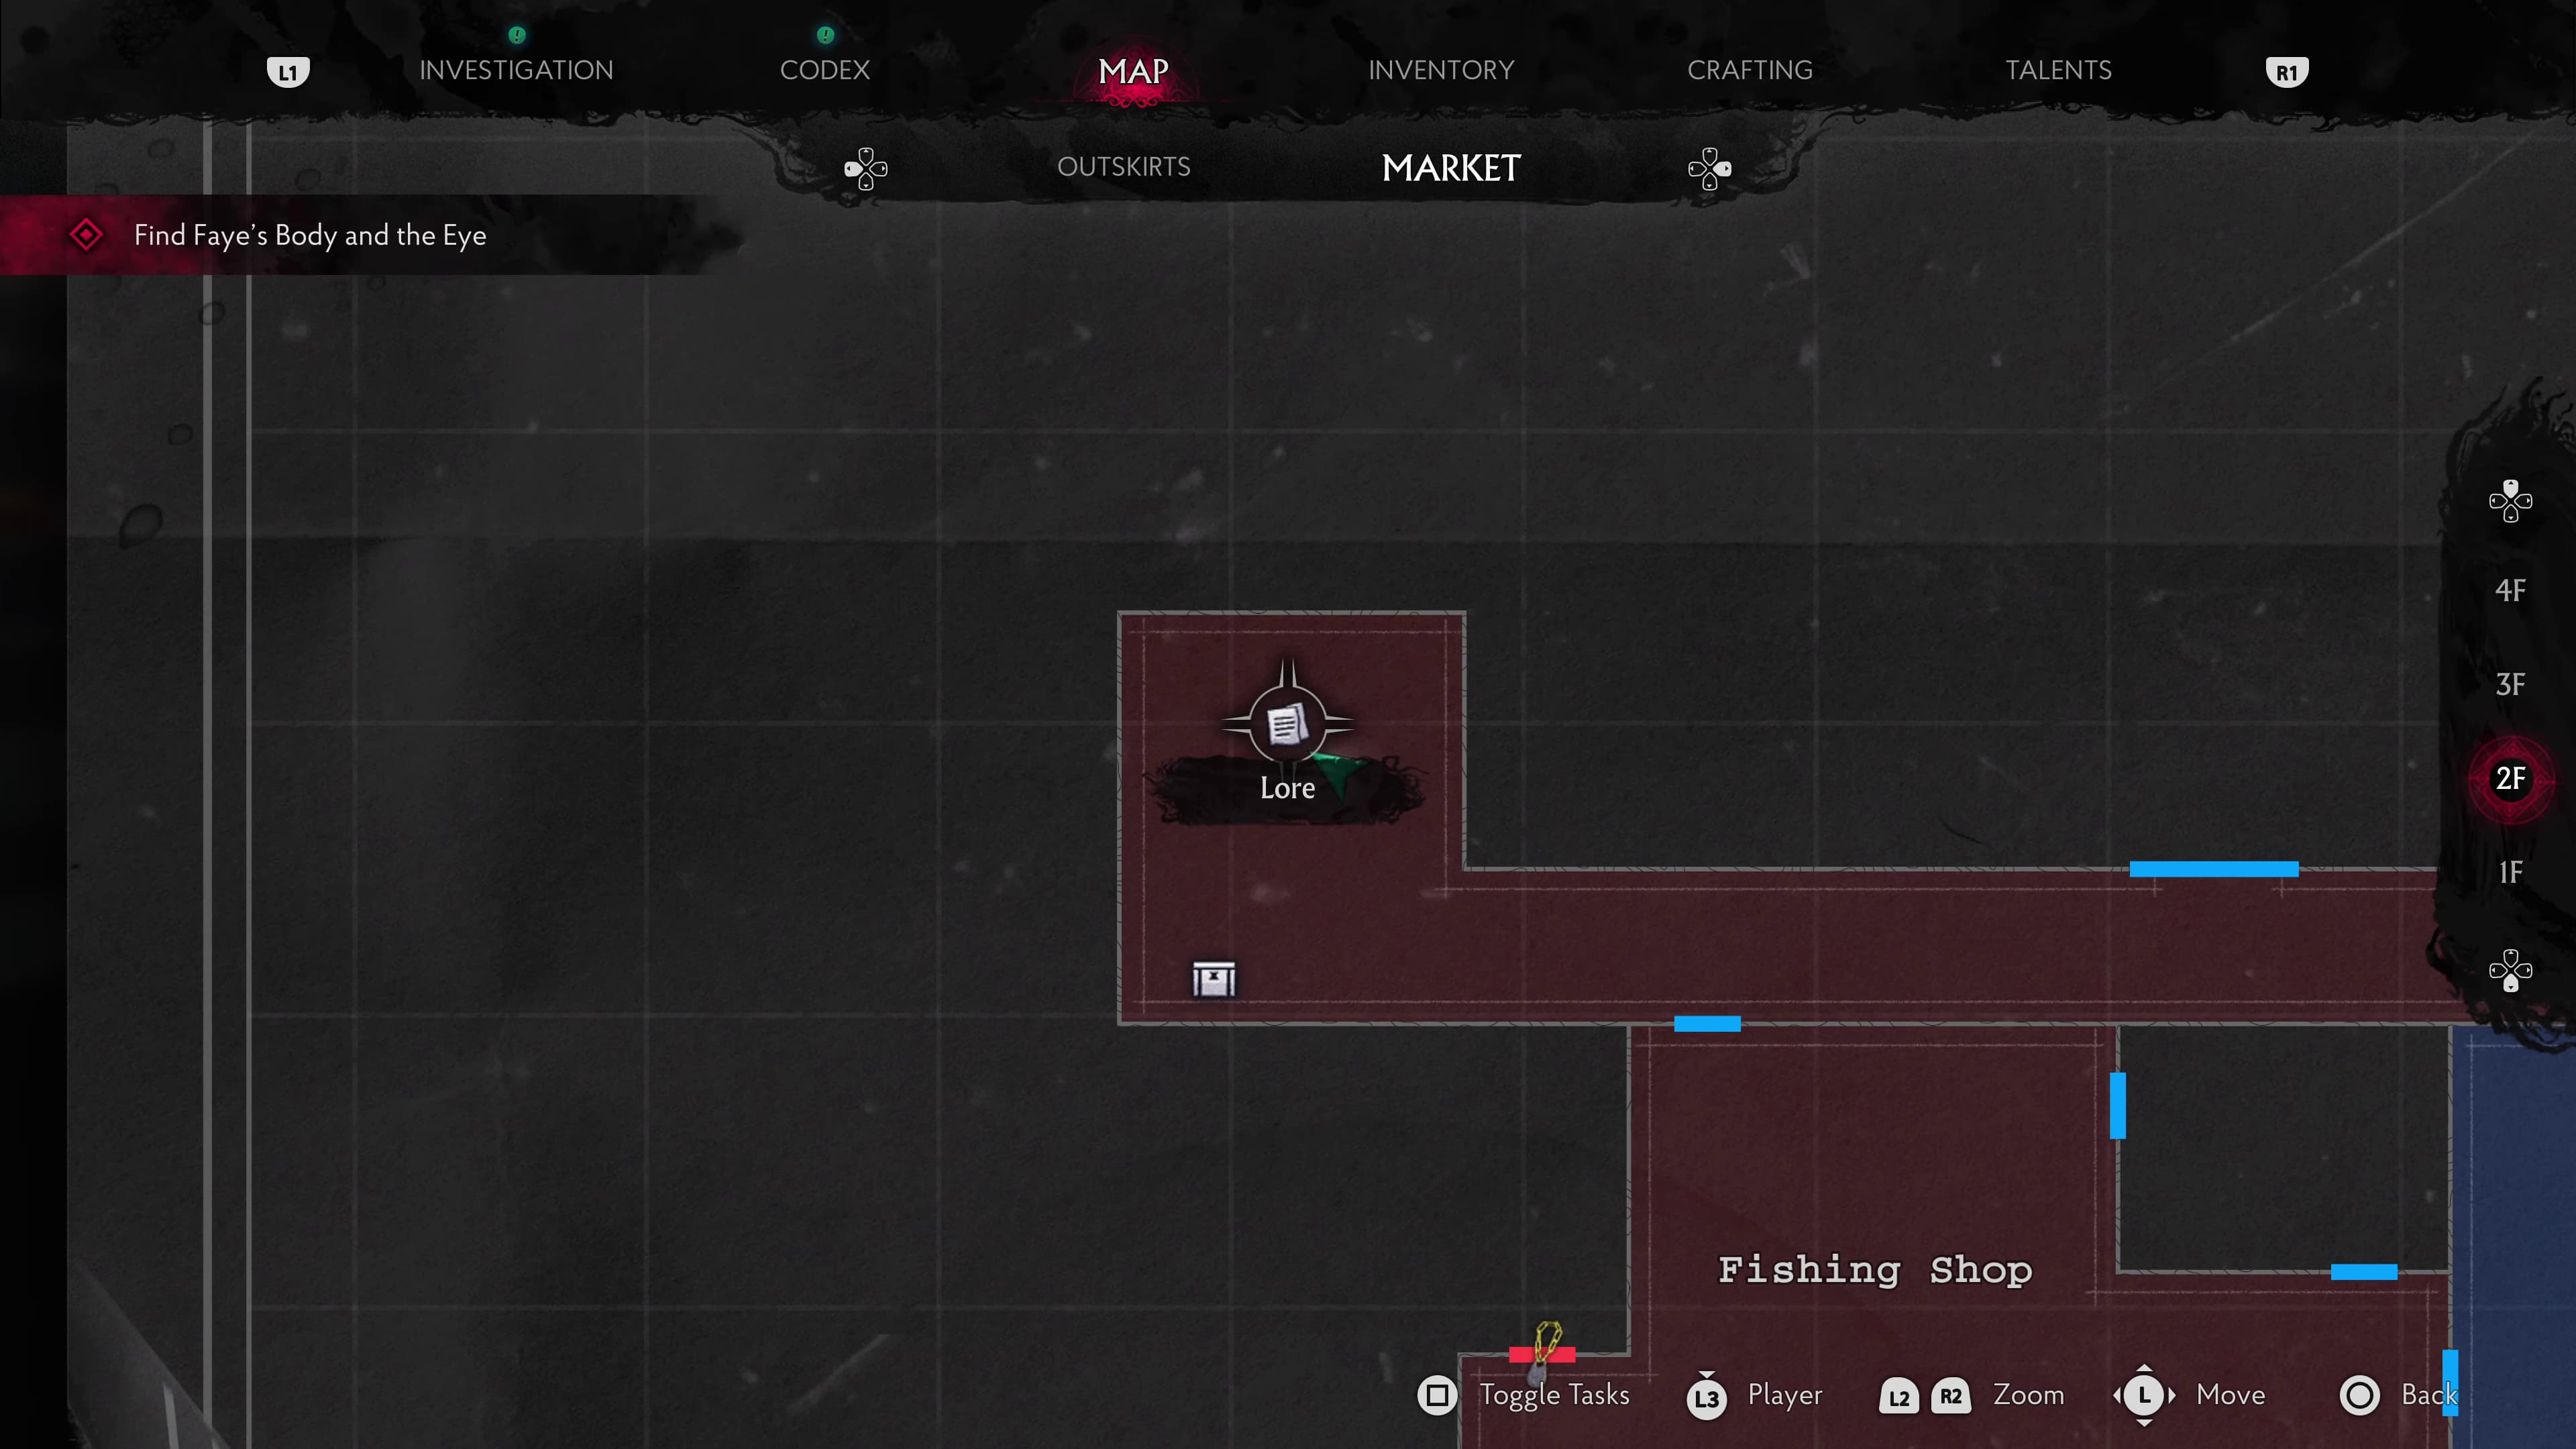
Make your way out of the Fishing Shop, and head left to find the next Lore Document (Miskatonic Findings) on the pallets.
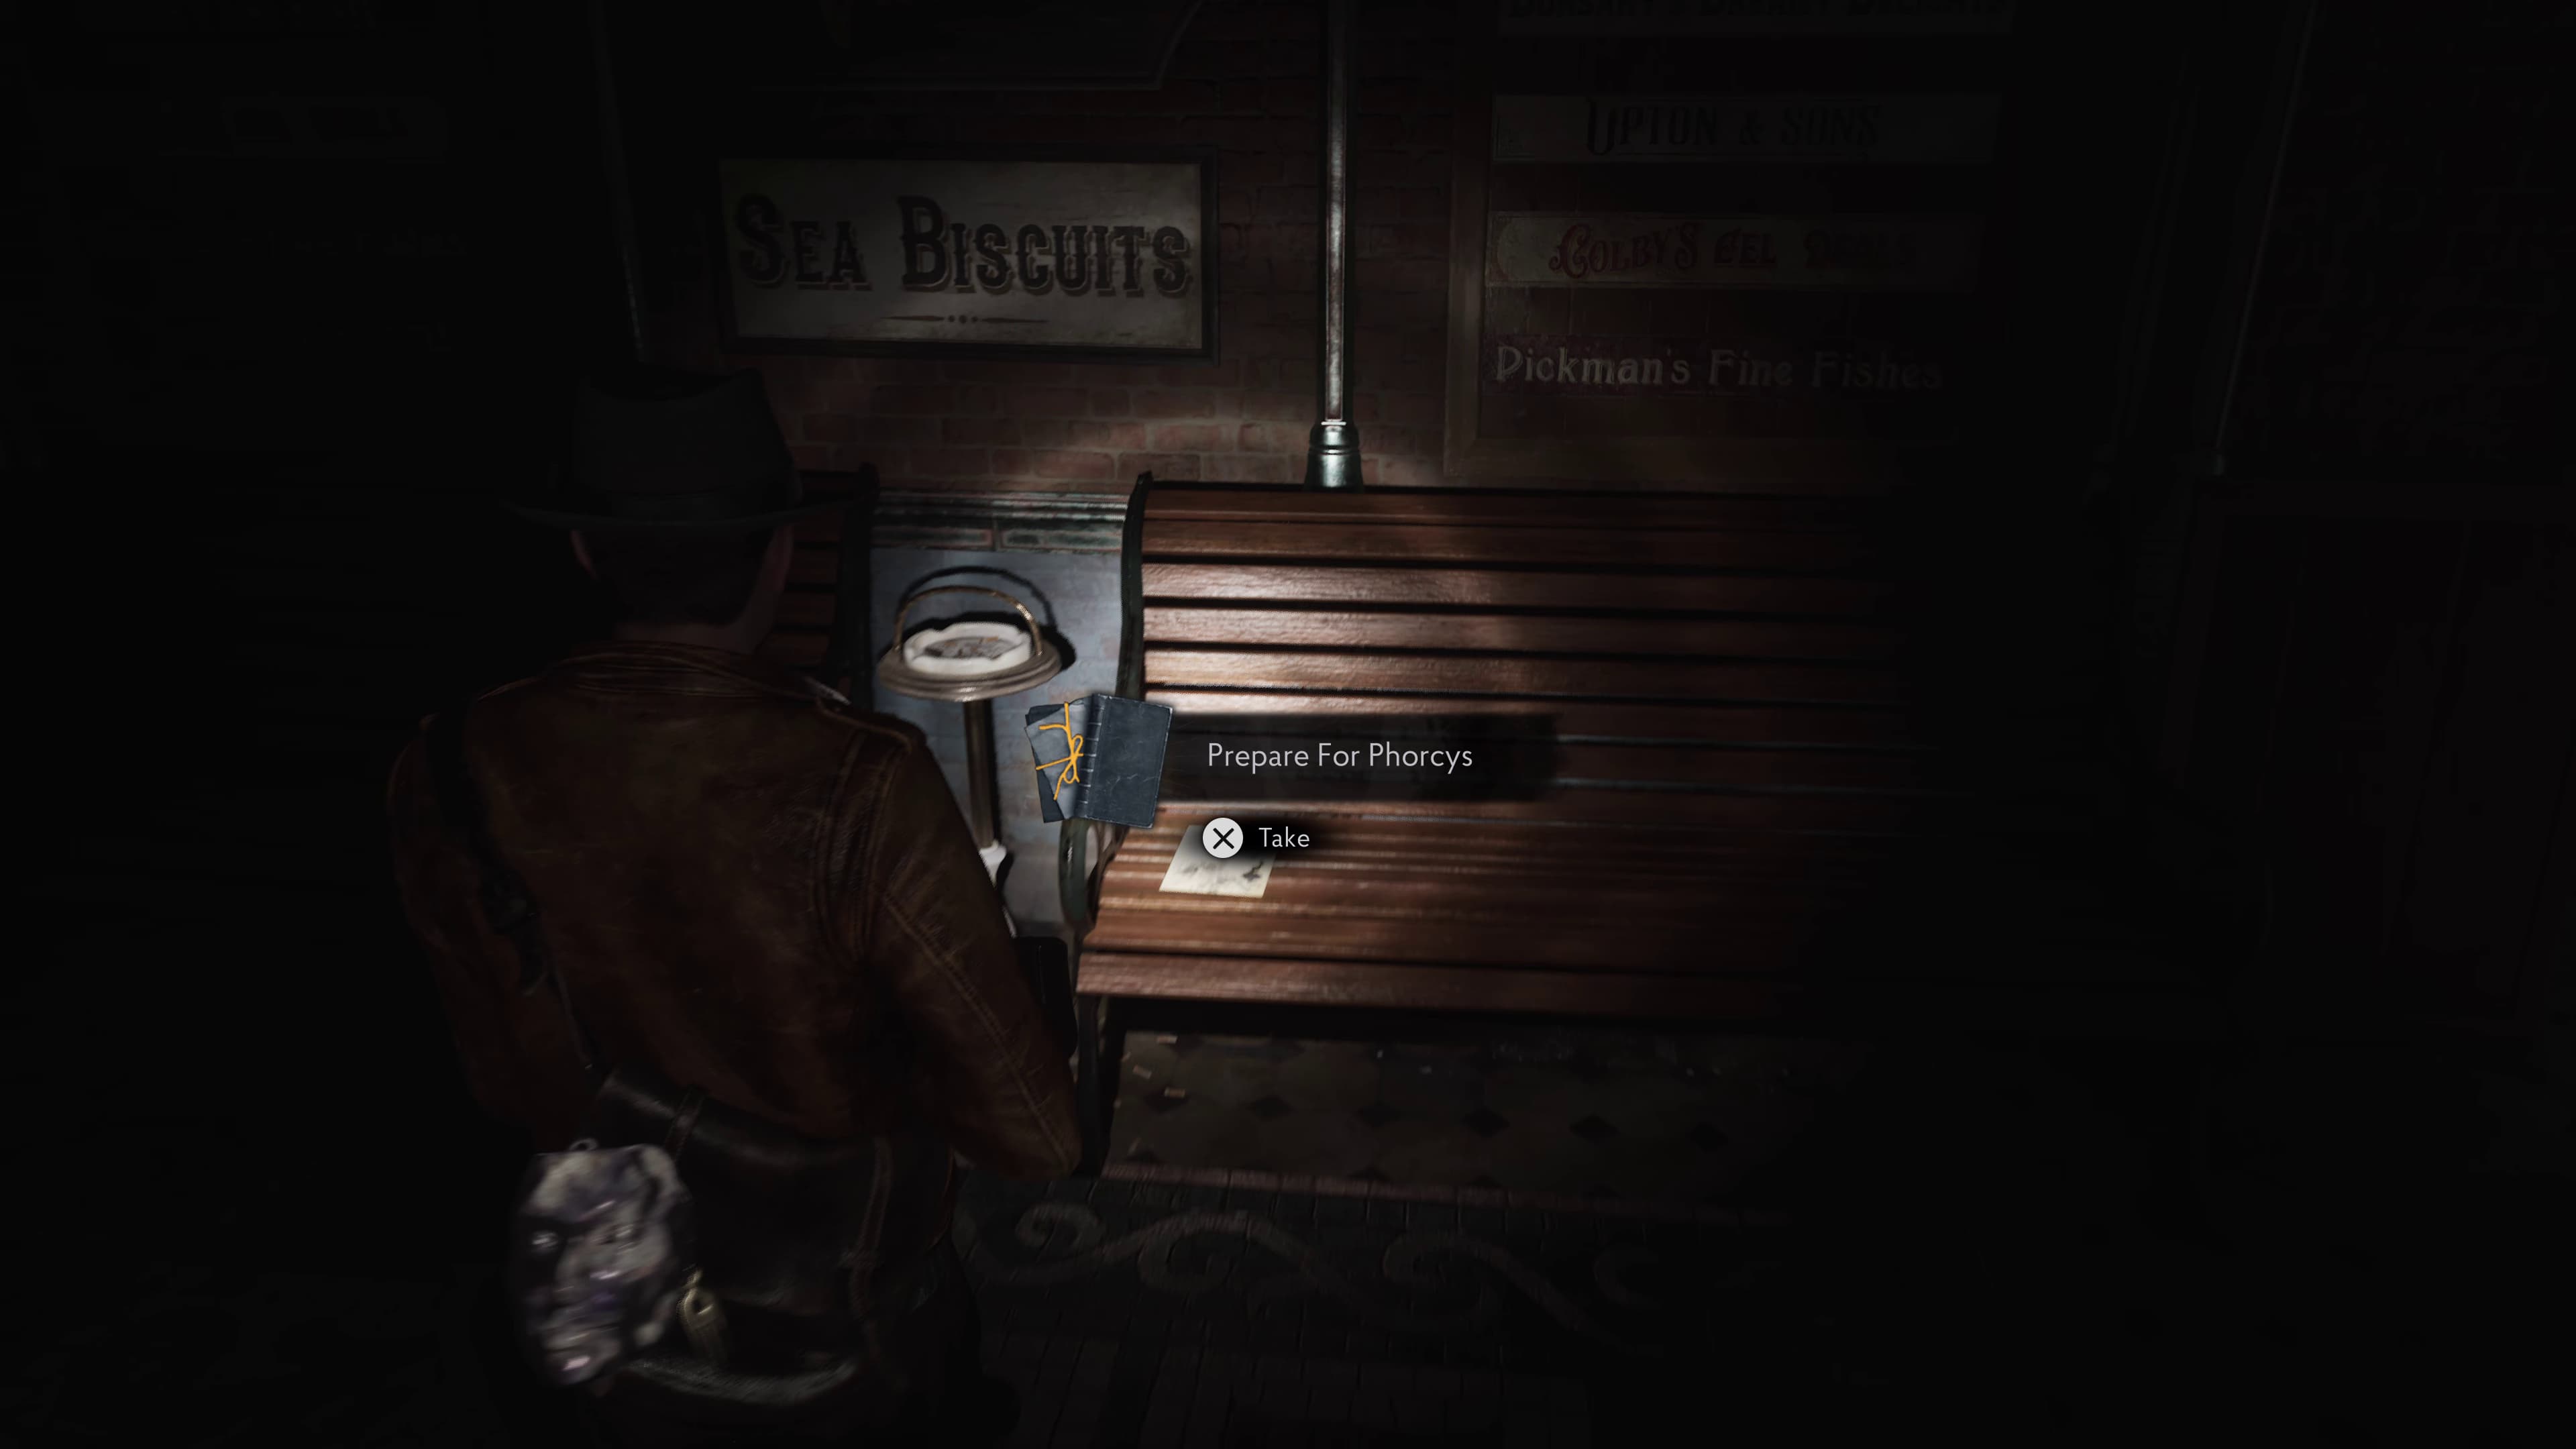
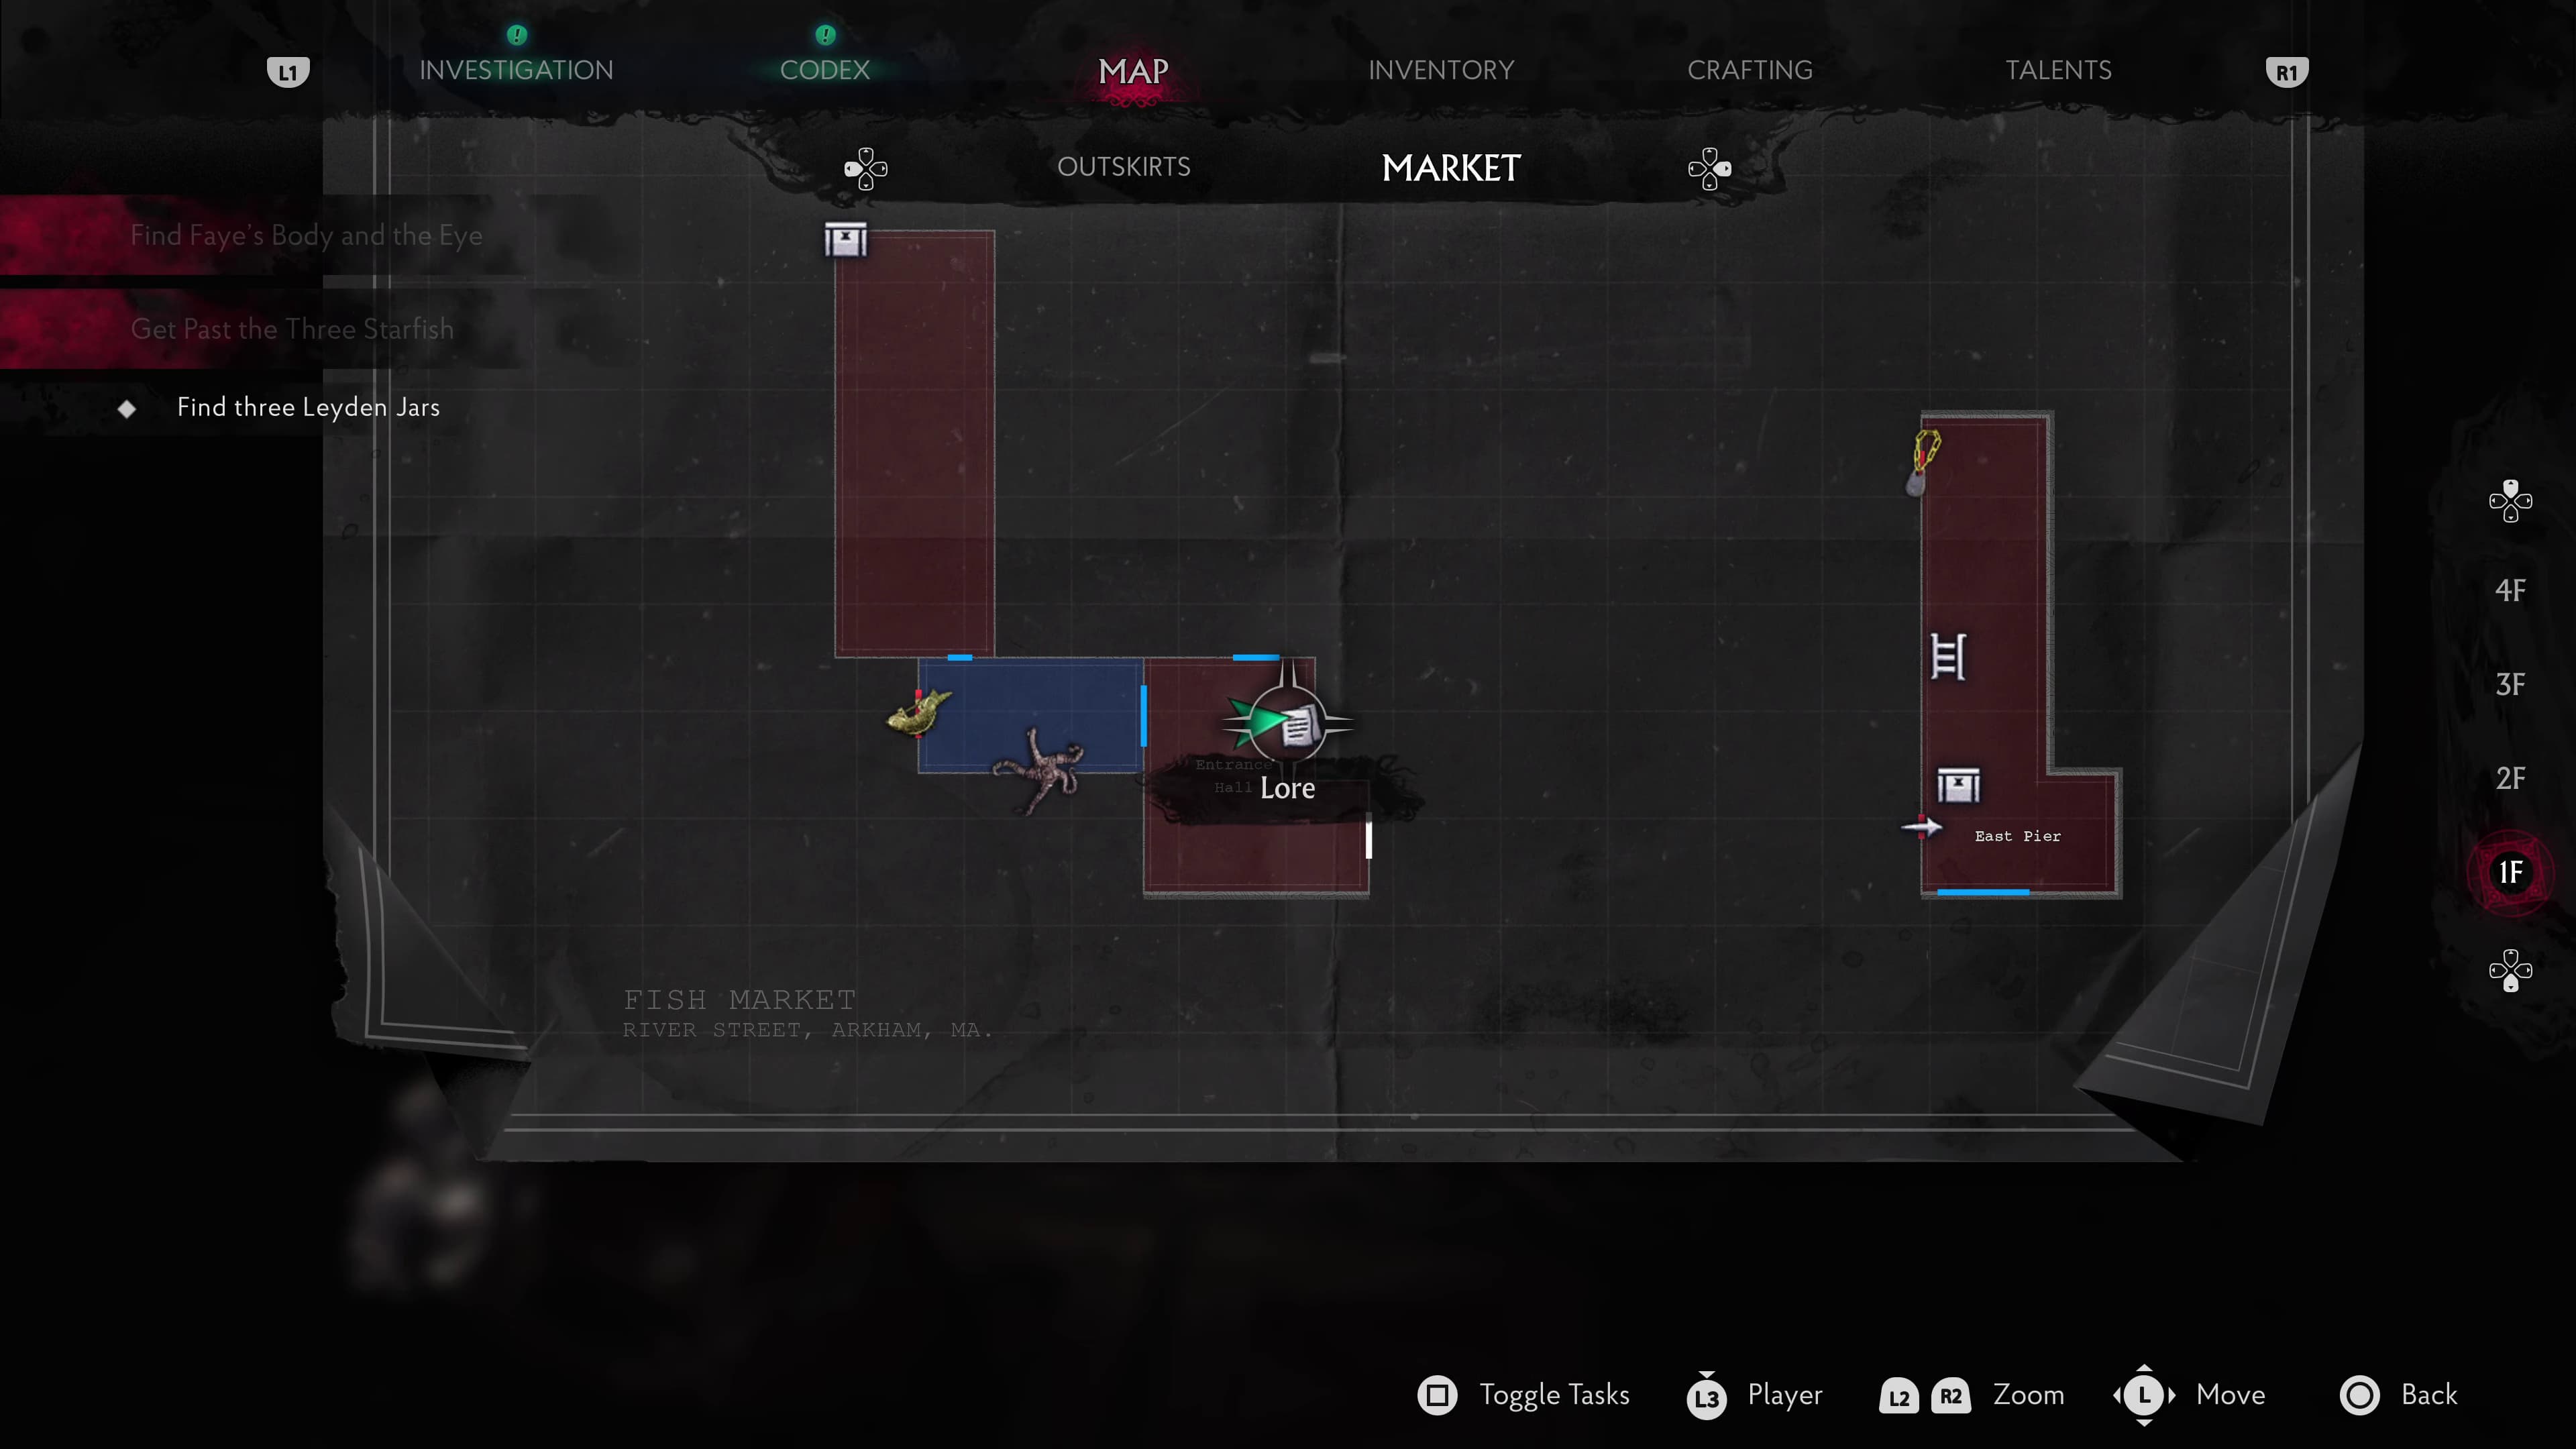
Progress through this area, heading into the Entrance Hall. Straight ahead on the bench will be the next Lore Document (Prepare For Phorcys).
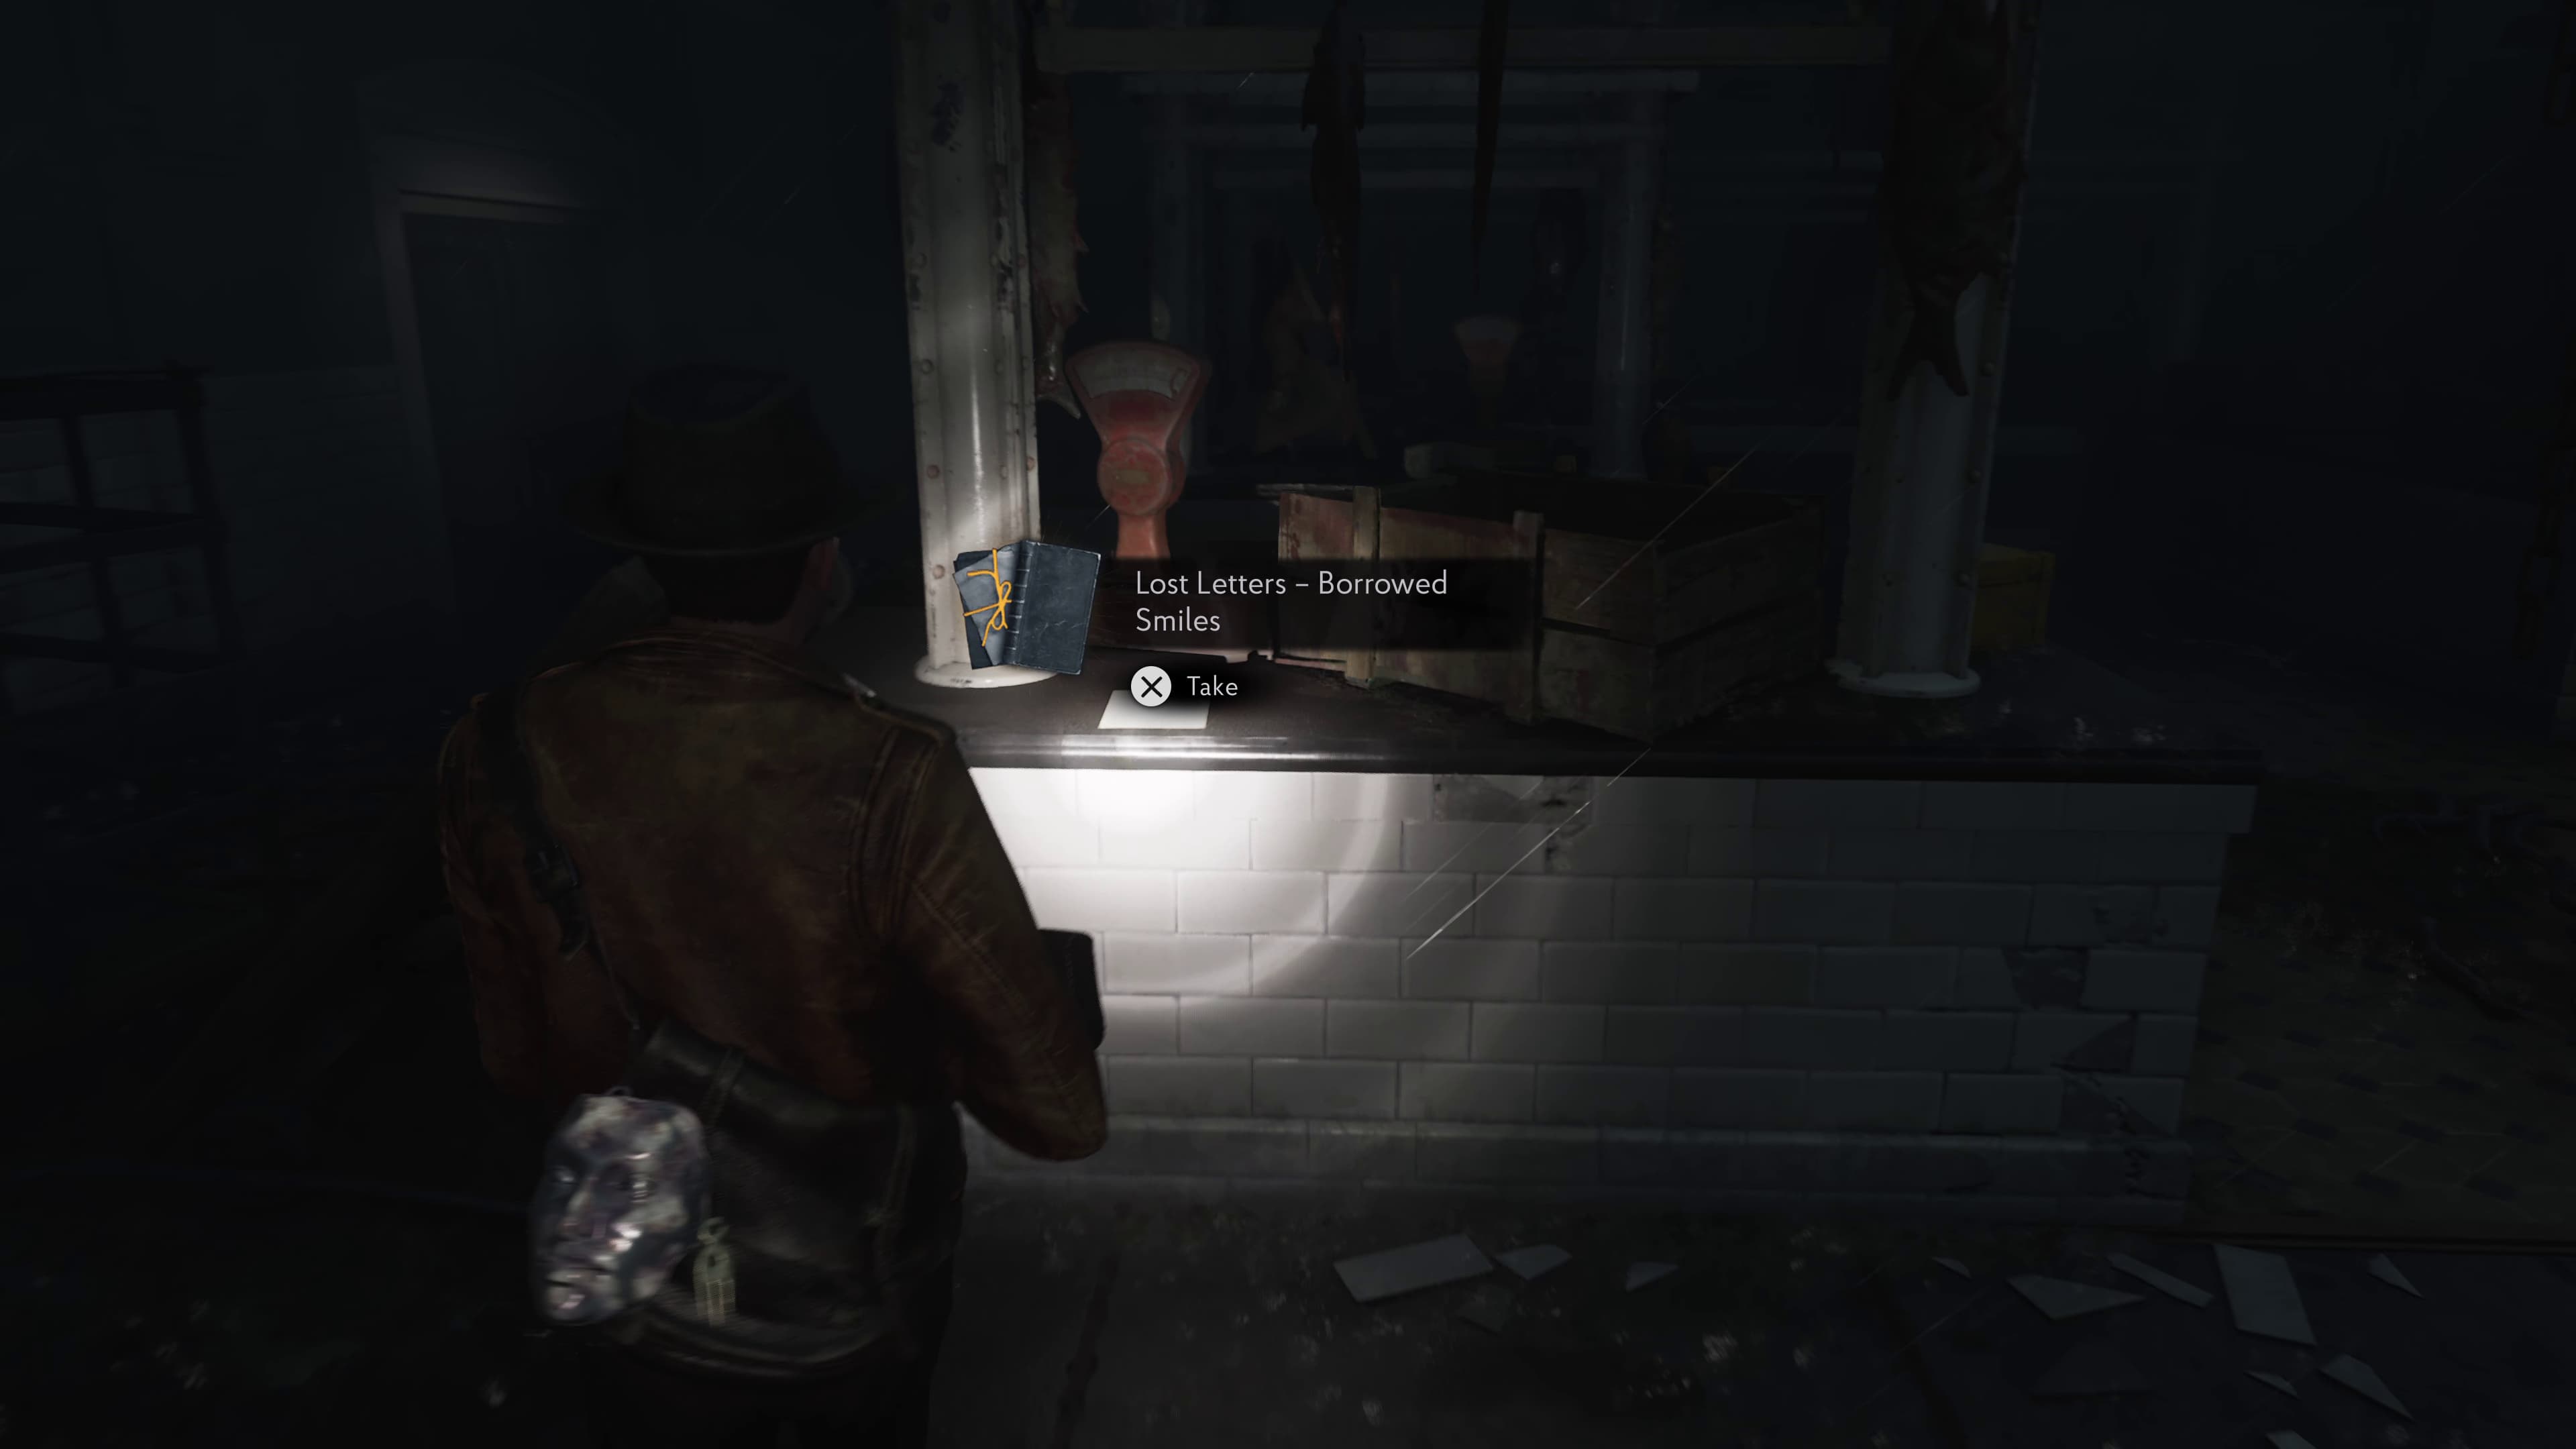
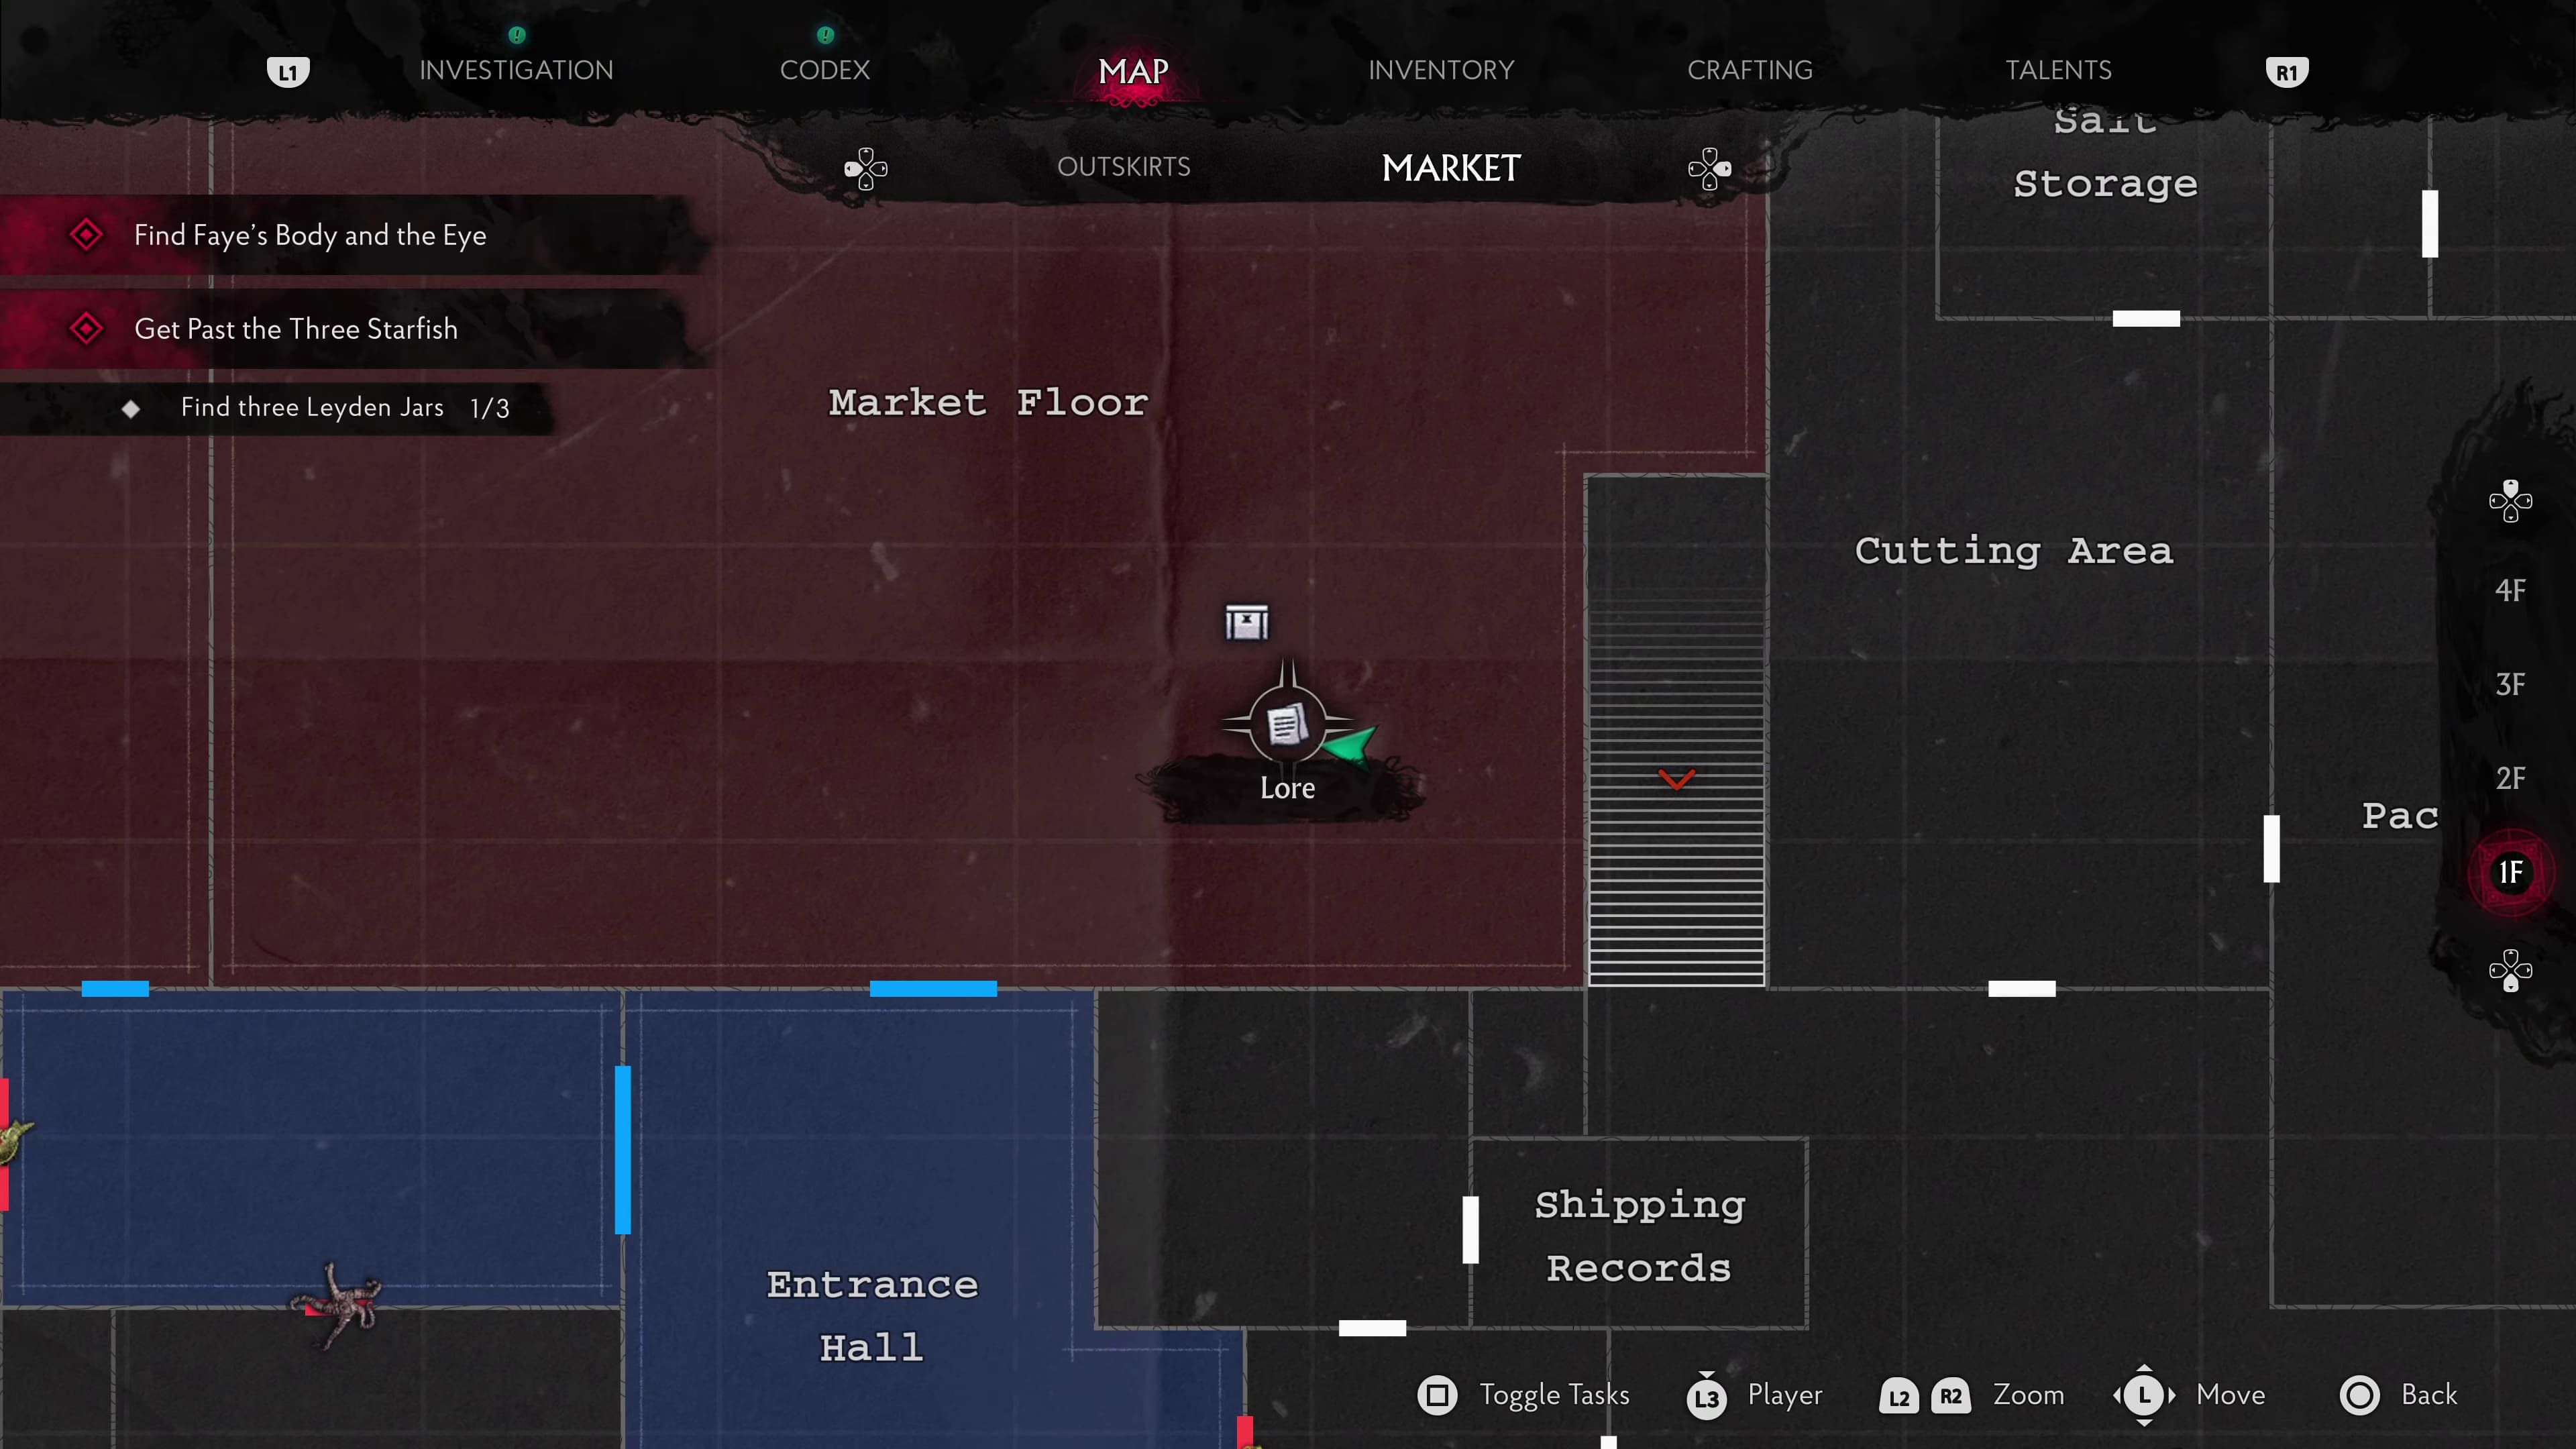
In the same room by the East Wing door will be a map to collect. Now head out to the Market Floor, heading around to the right of the first right stall you see, on the countertop will be the next Lore Document (Lost Letters - Borrowed Smiles).
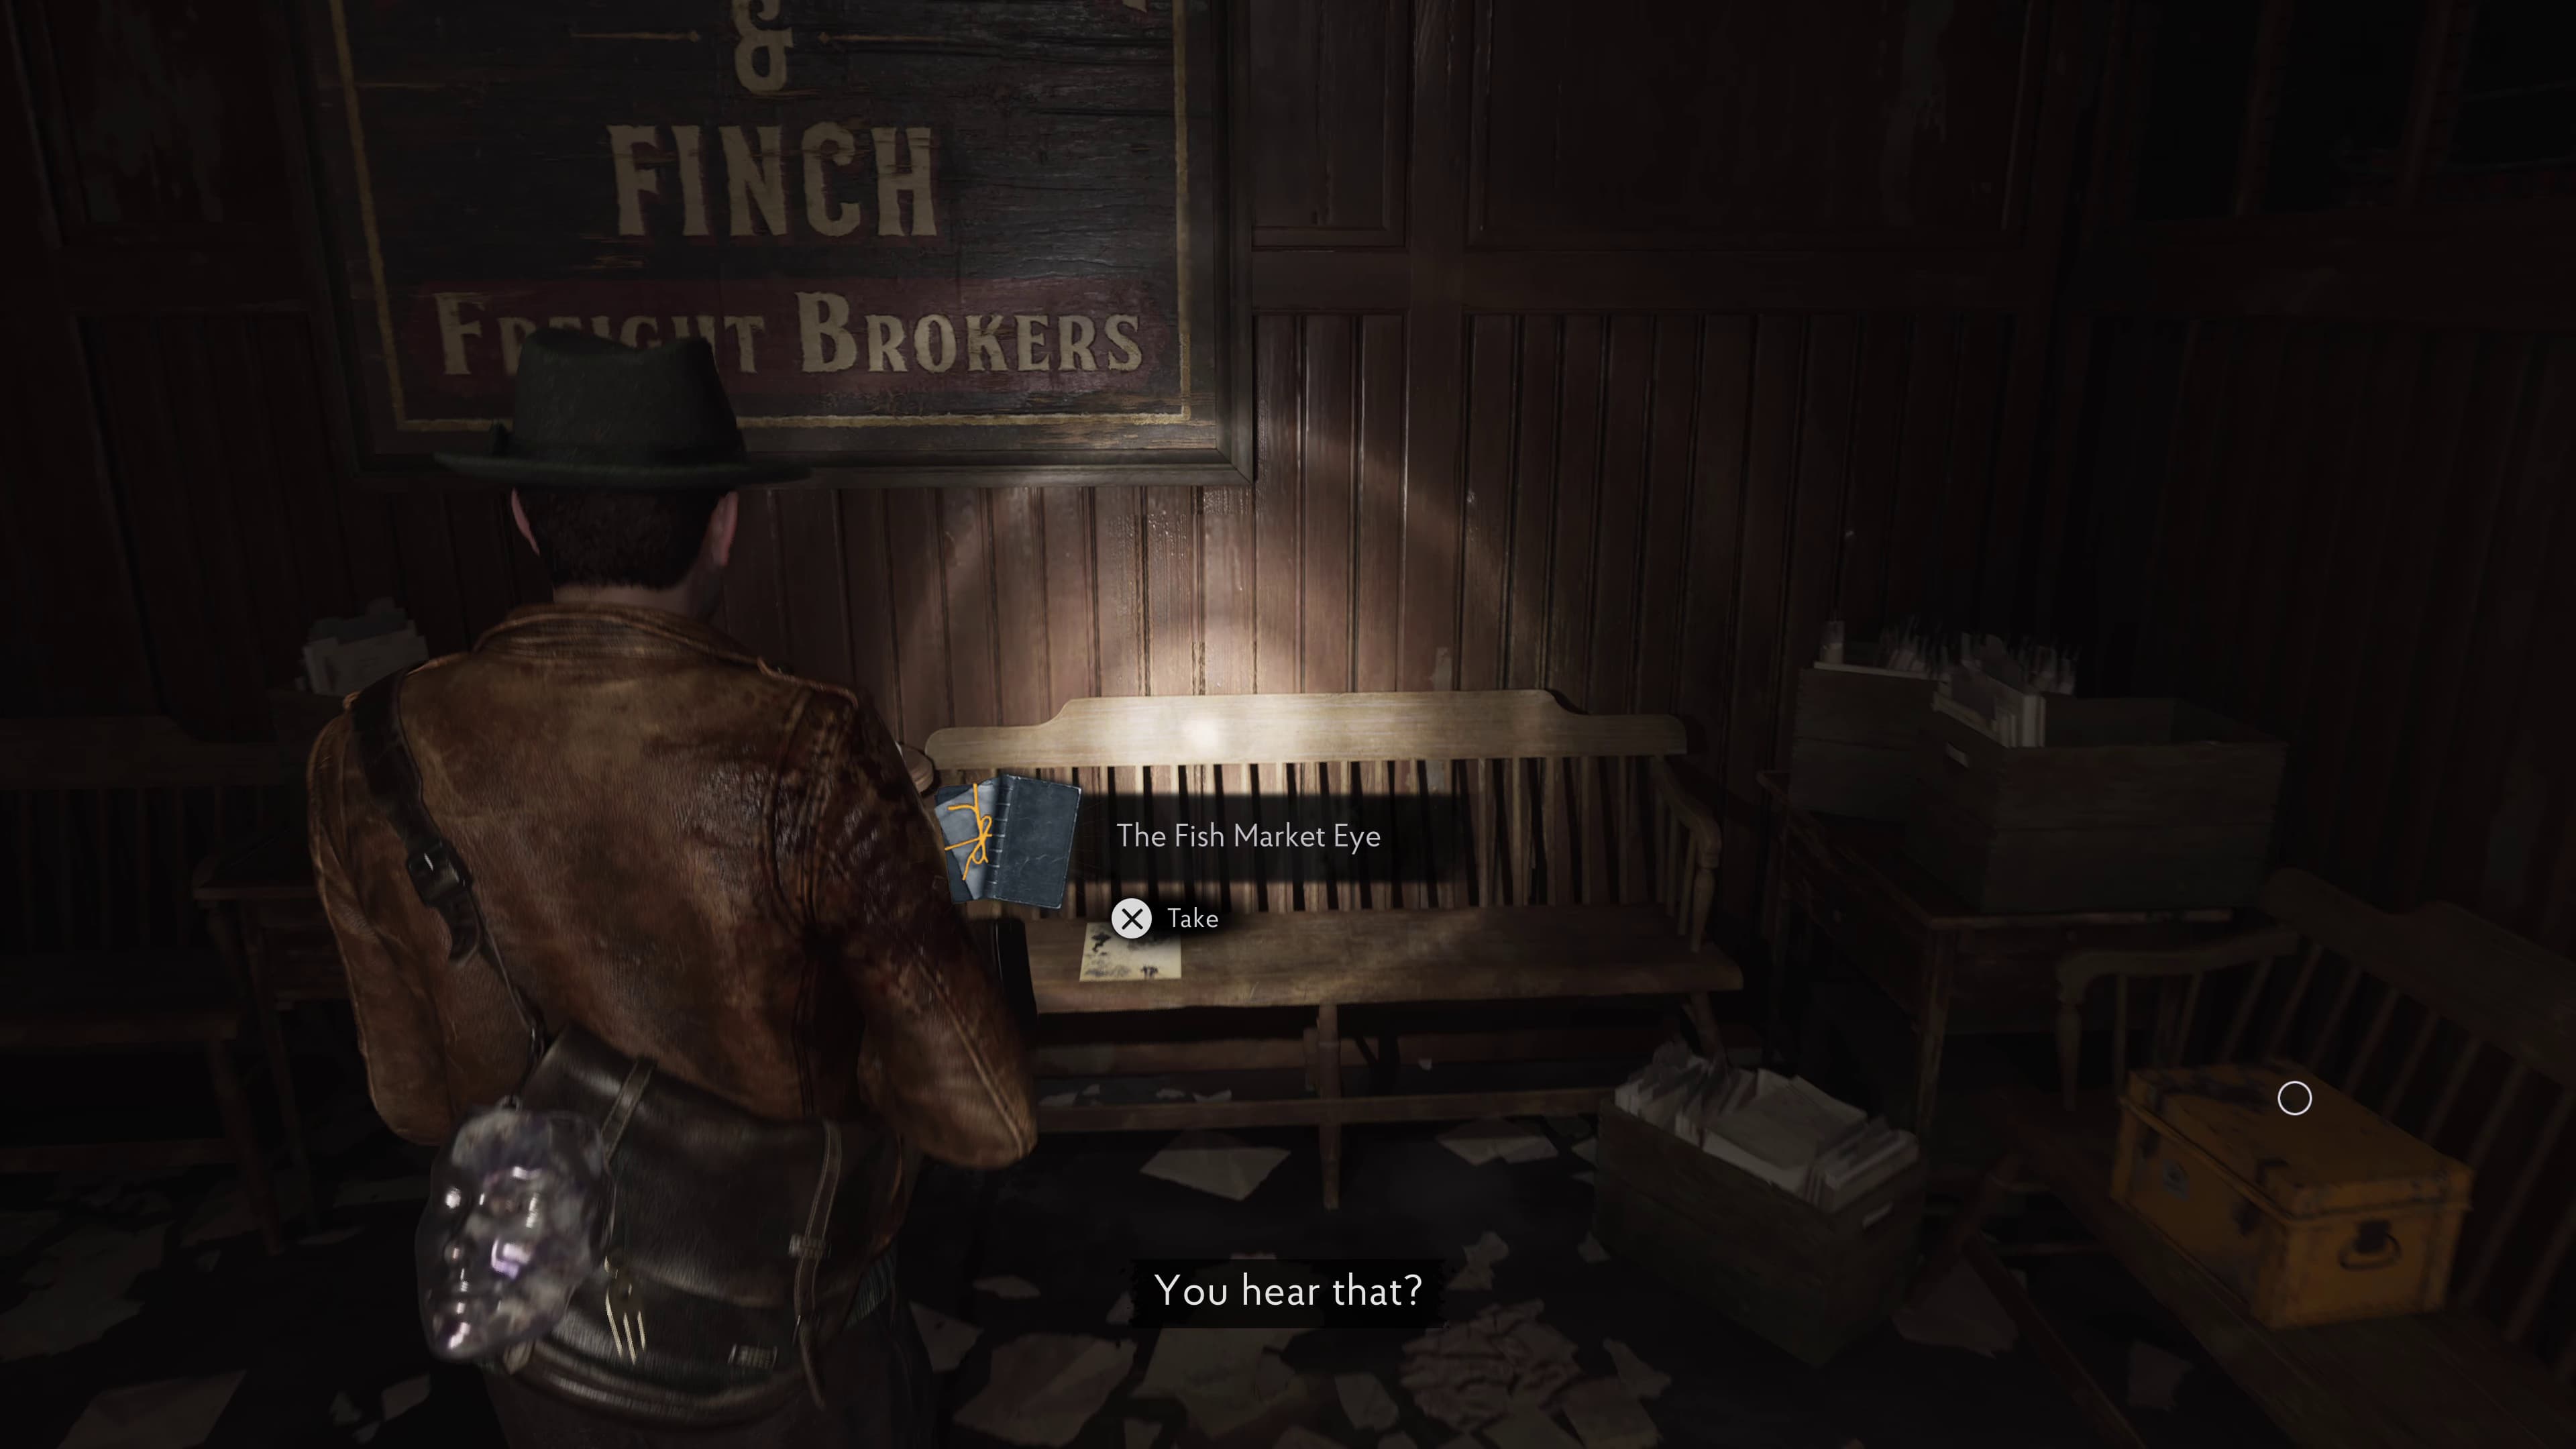
Make your way back up and out of the East Wing, to now unlock the West Wing with the Fish Eye Key. As soon as you enter the West Wing on the benches to the left will be the next Lore Document (The Fish Market Eye).
Now progress through the white door to the West Staircase, head up, and at the top of the stairs on the left wall will be a map to pick up. The door just next to where the map was can now be unlocked with the boltcutters. Heading through here and to the right, we can re-collect the Leyden Jar from the Starfish.
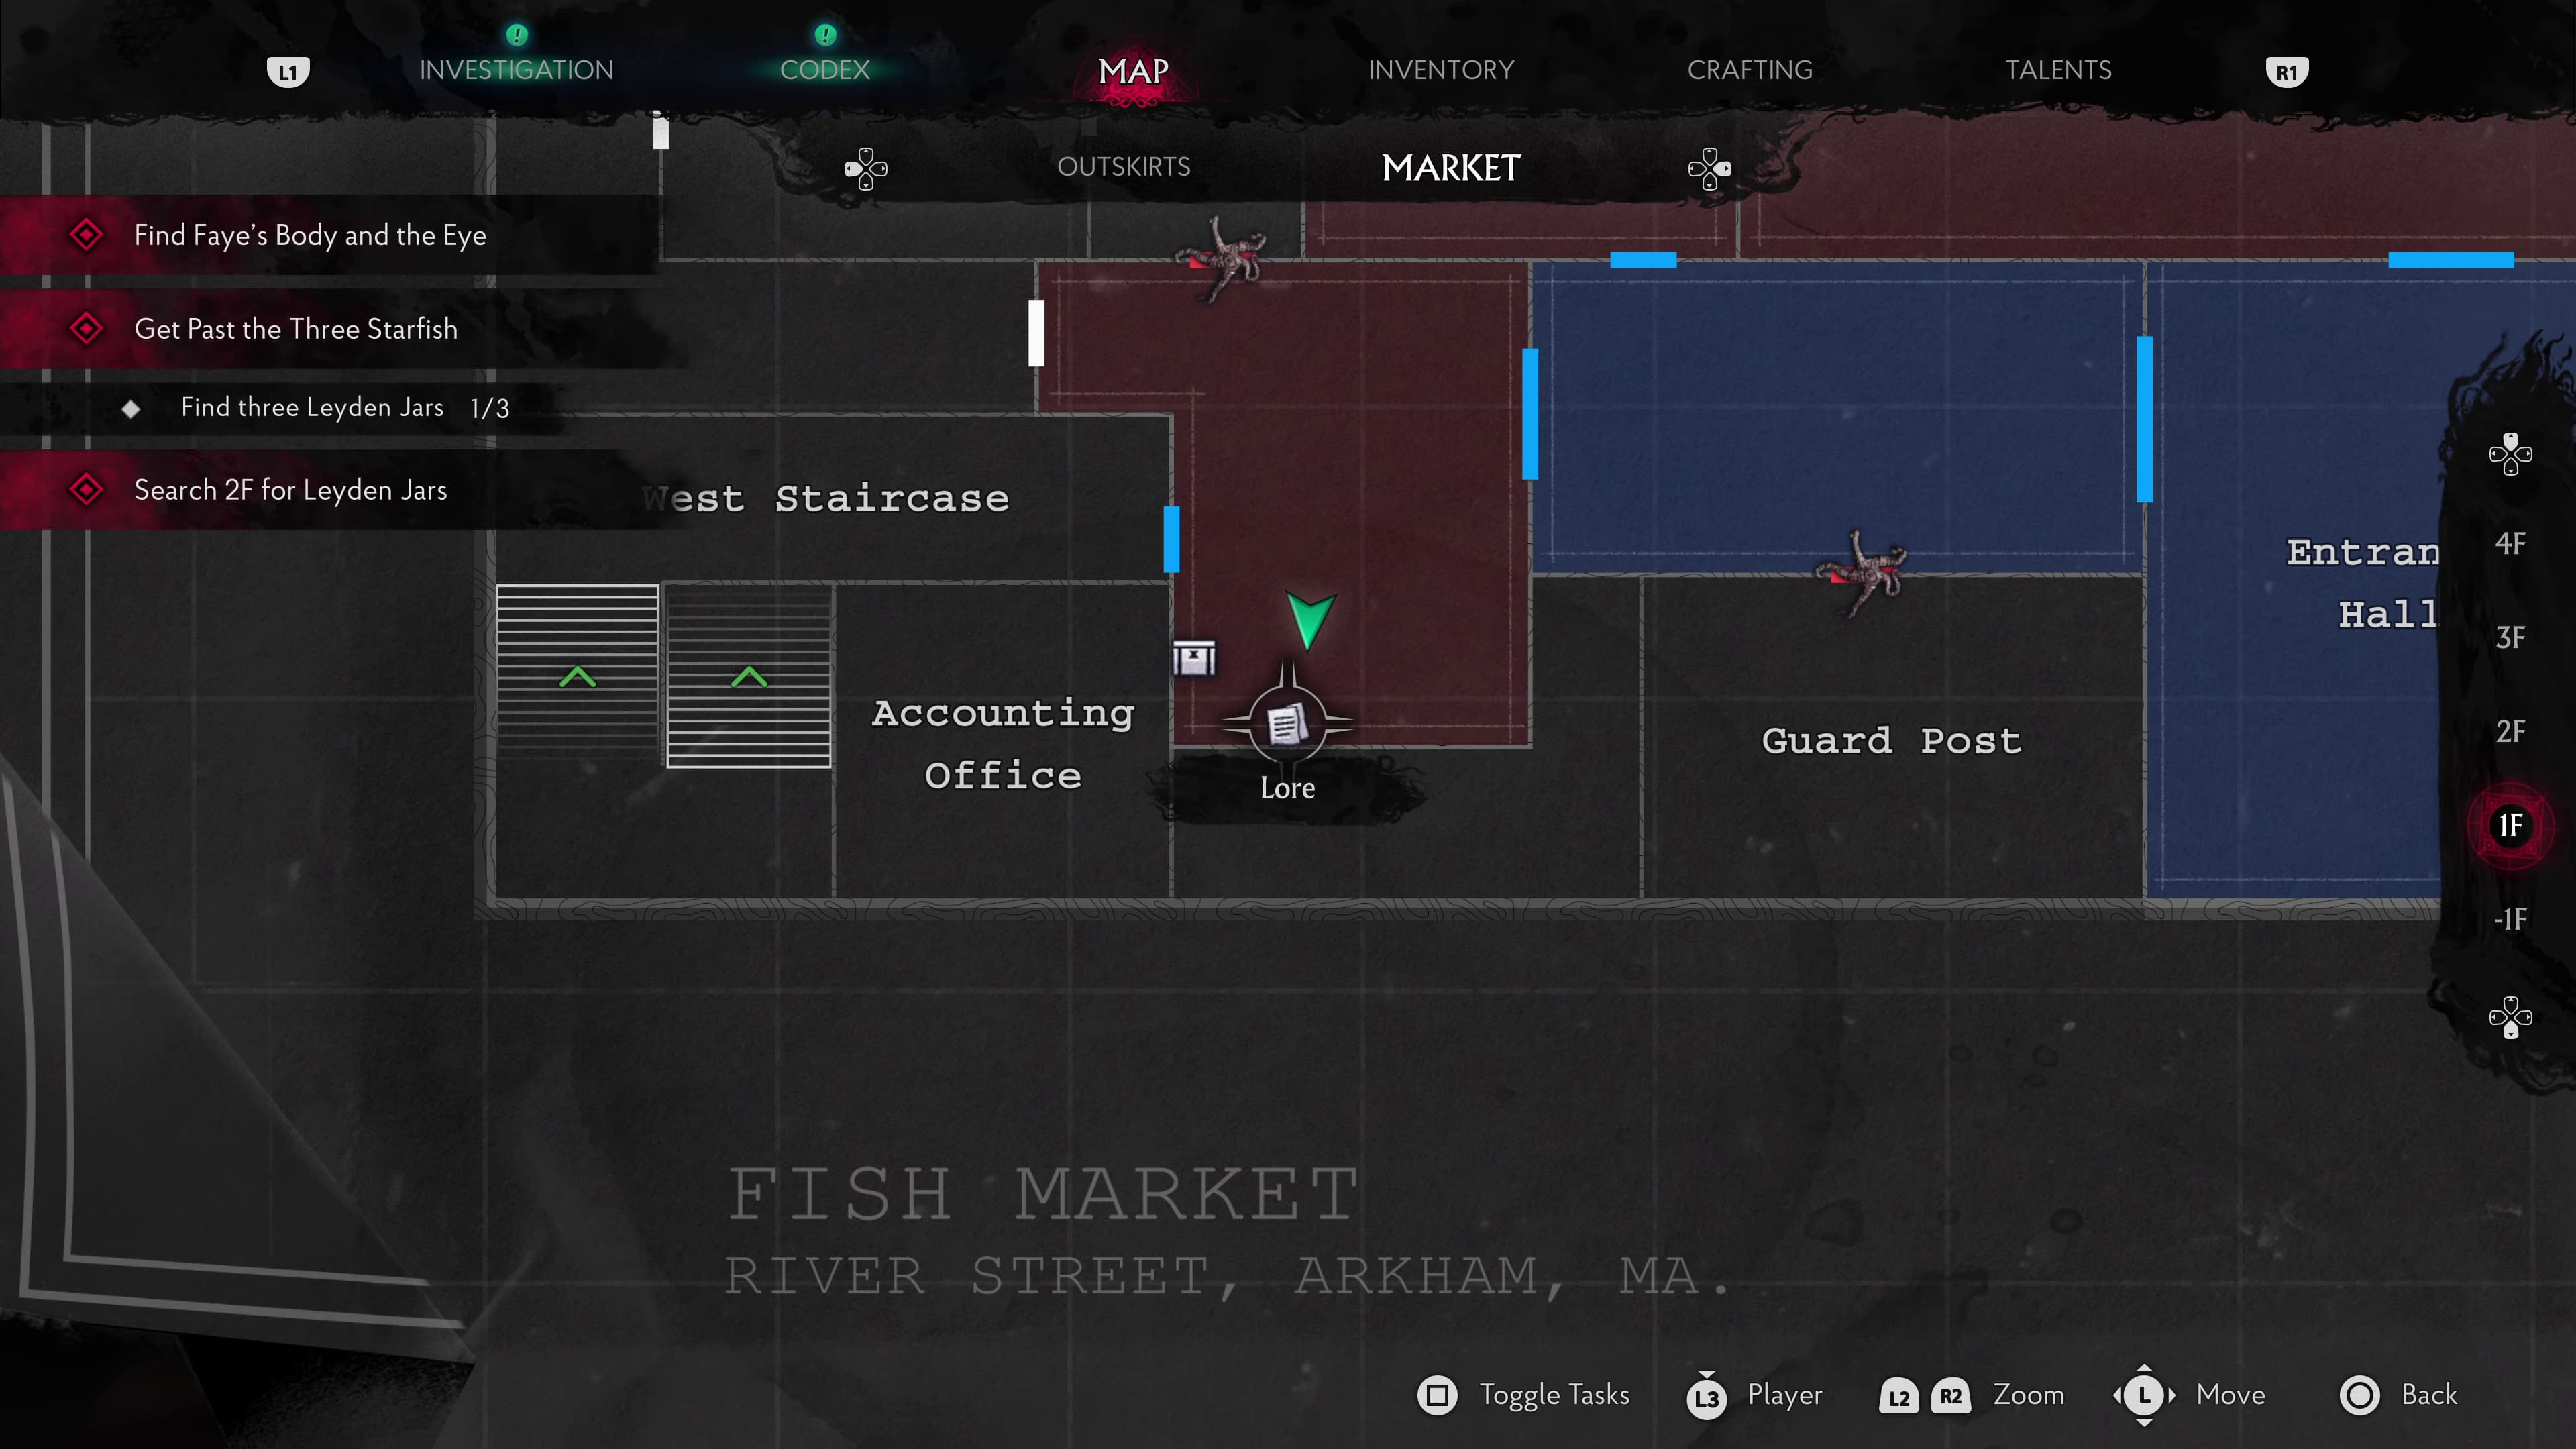
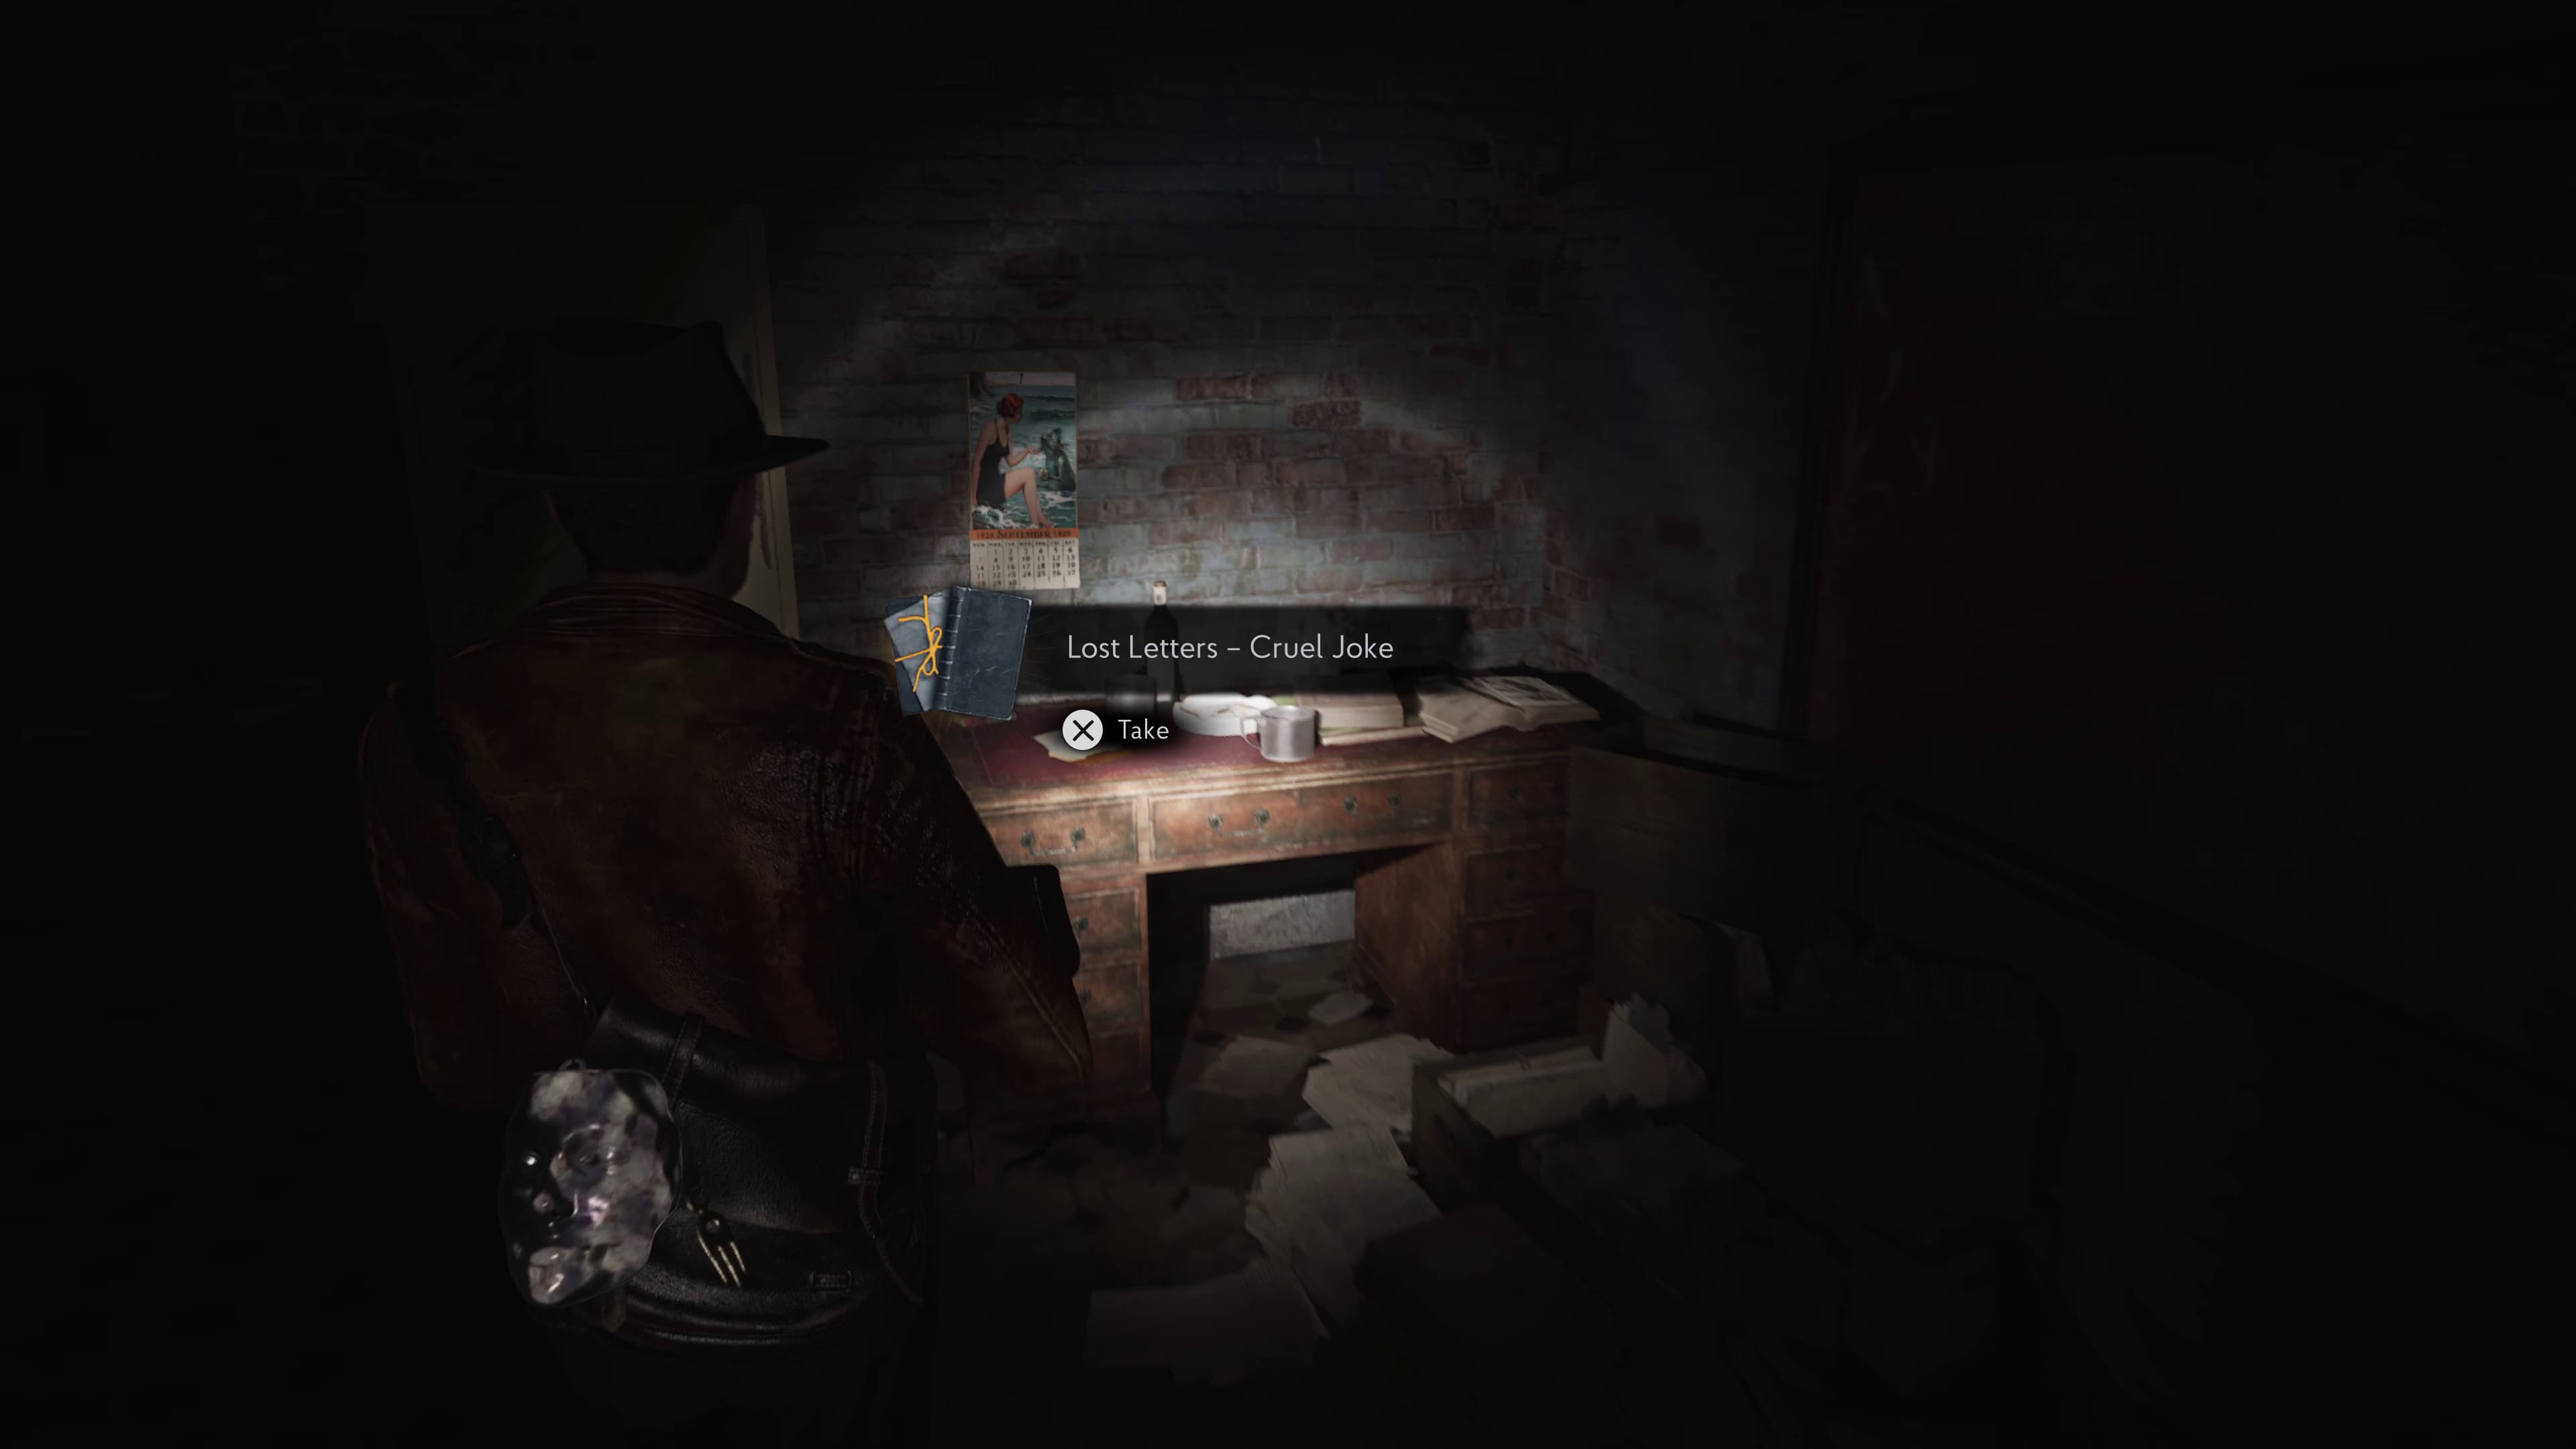
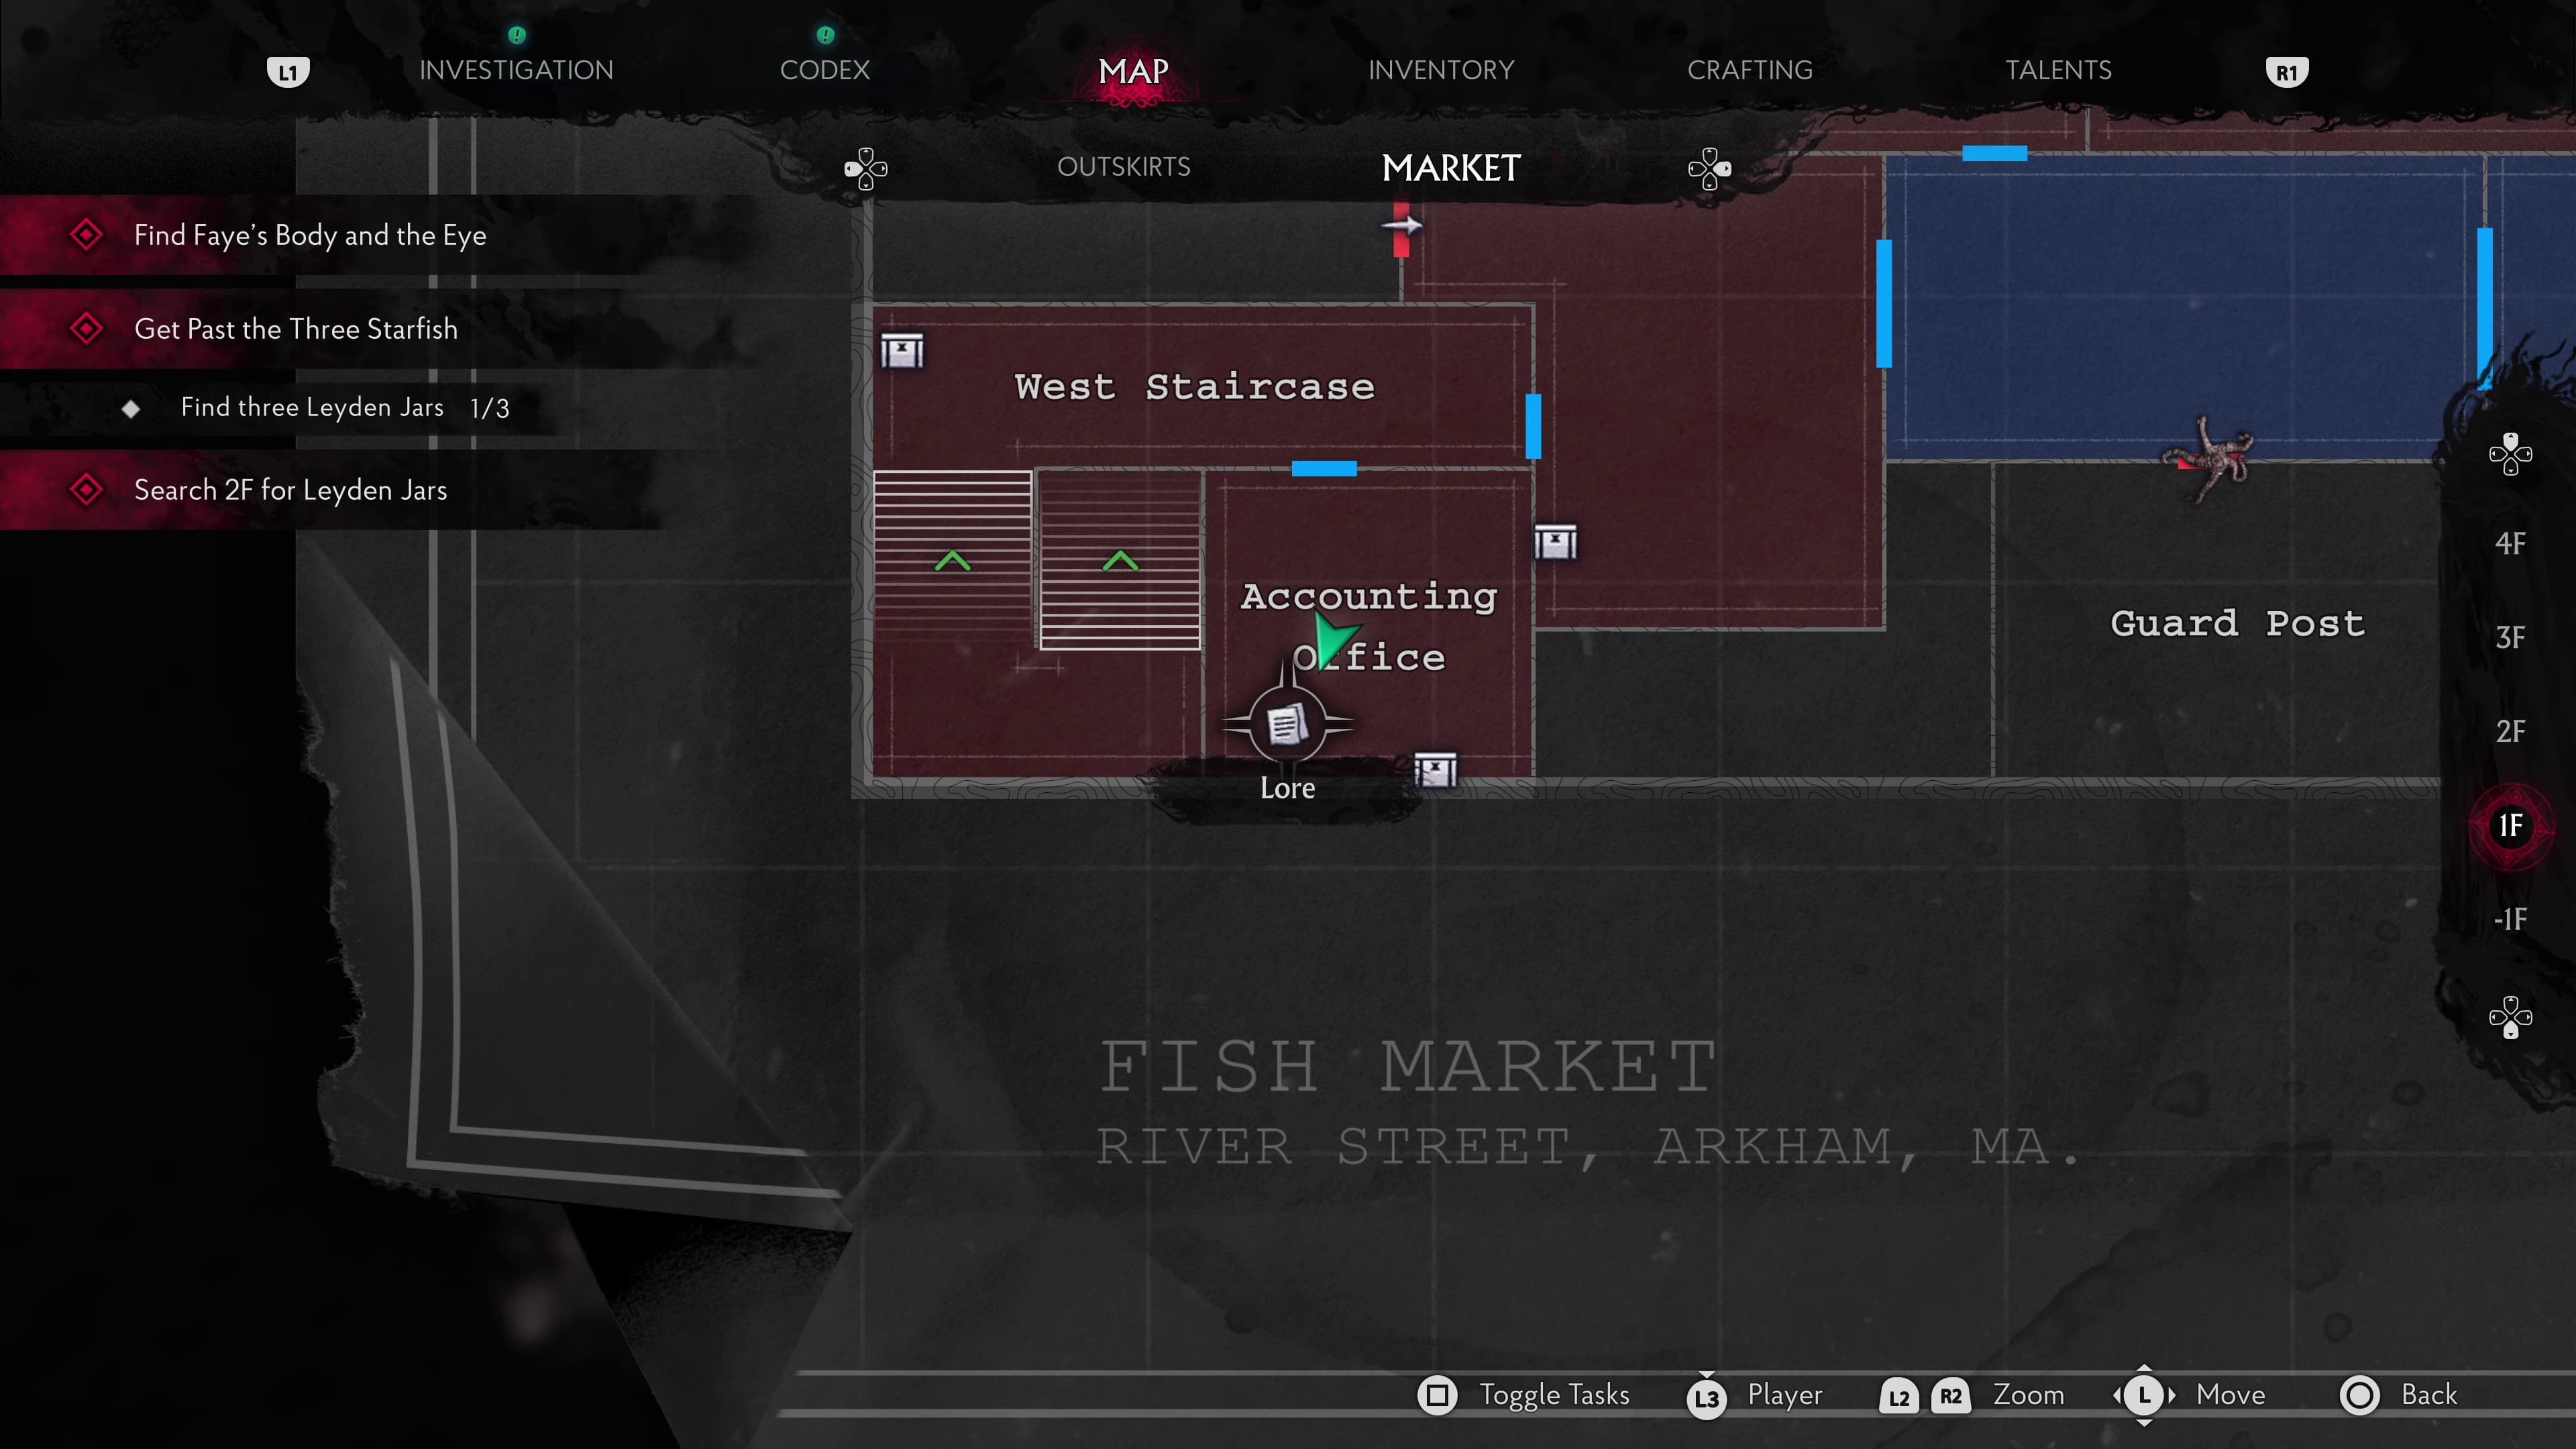
Backtrack down the stairs to the West Staircase, an enemy will burst out of the Accounting Office. After taking him out, in the Accounting Office you will find the next Lore Document (Lost Letters - Cruel Joke) on the desk in the back right.
Make it back towards the Market Floor and take out the Fish Man. Progress through to the East Wing again and to the Starfish straight ahead to insert the Leyden Jar, to access the East Pier.
Head around to the left to open the doors with the boltcutters, inside the very back corner of the Packing Area will be the next ERC Crate, I will bring us back here later when we have a Pen to unlock it.
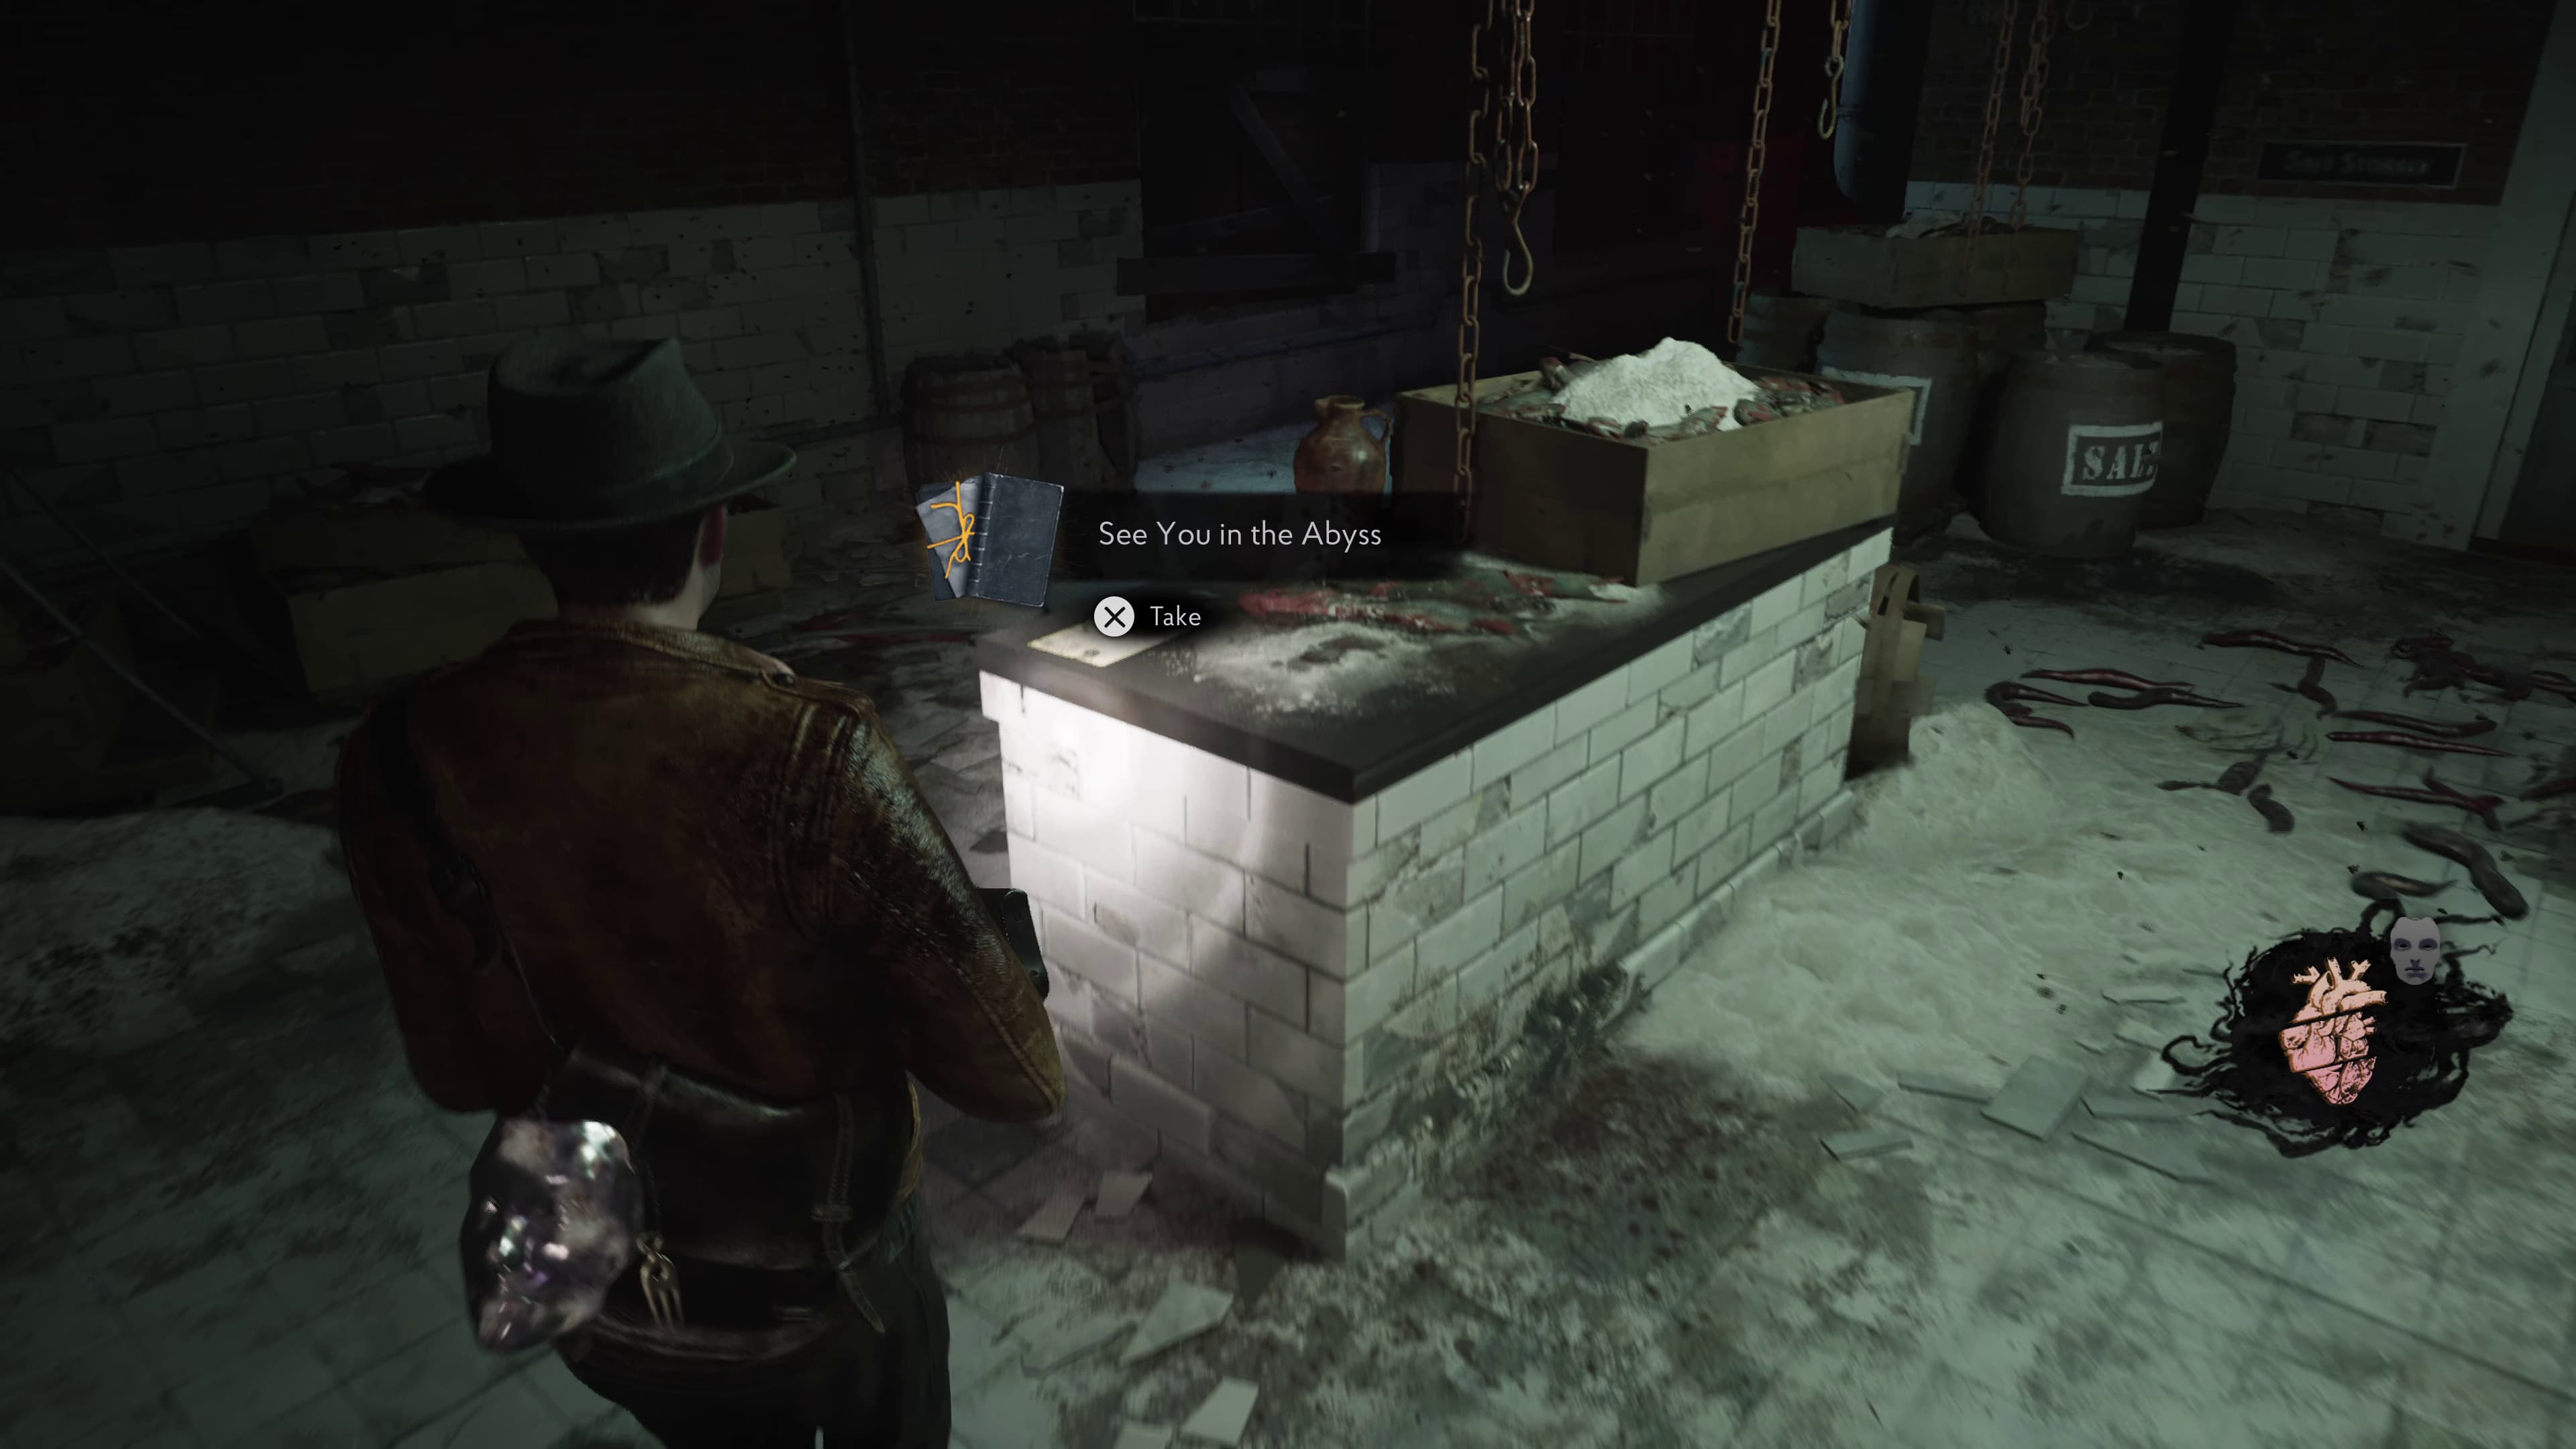
Progress through into the Cutting Area to find on the center countertop, the next Lore Document (See You in the Abyss).
Progress quite a lot with the level until you make it back out of Cold Storage.
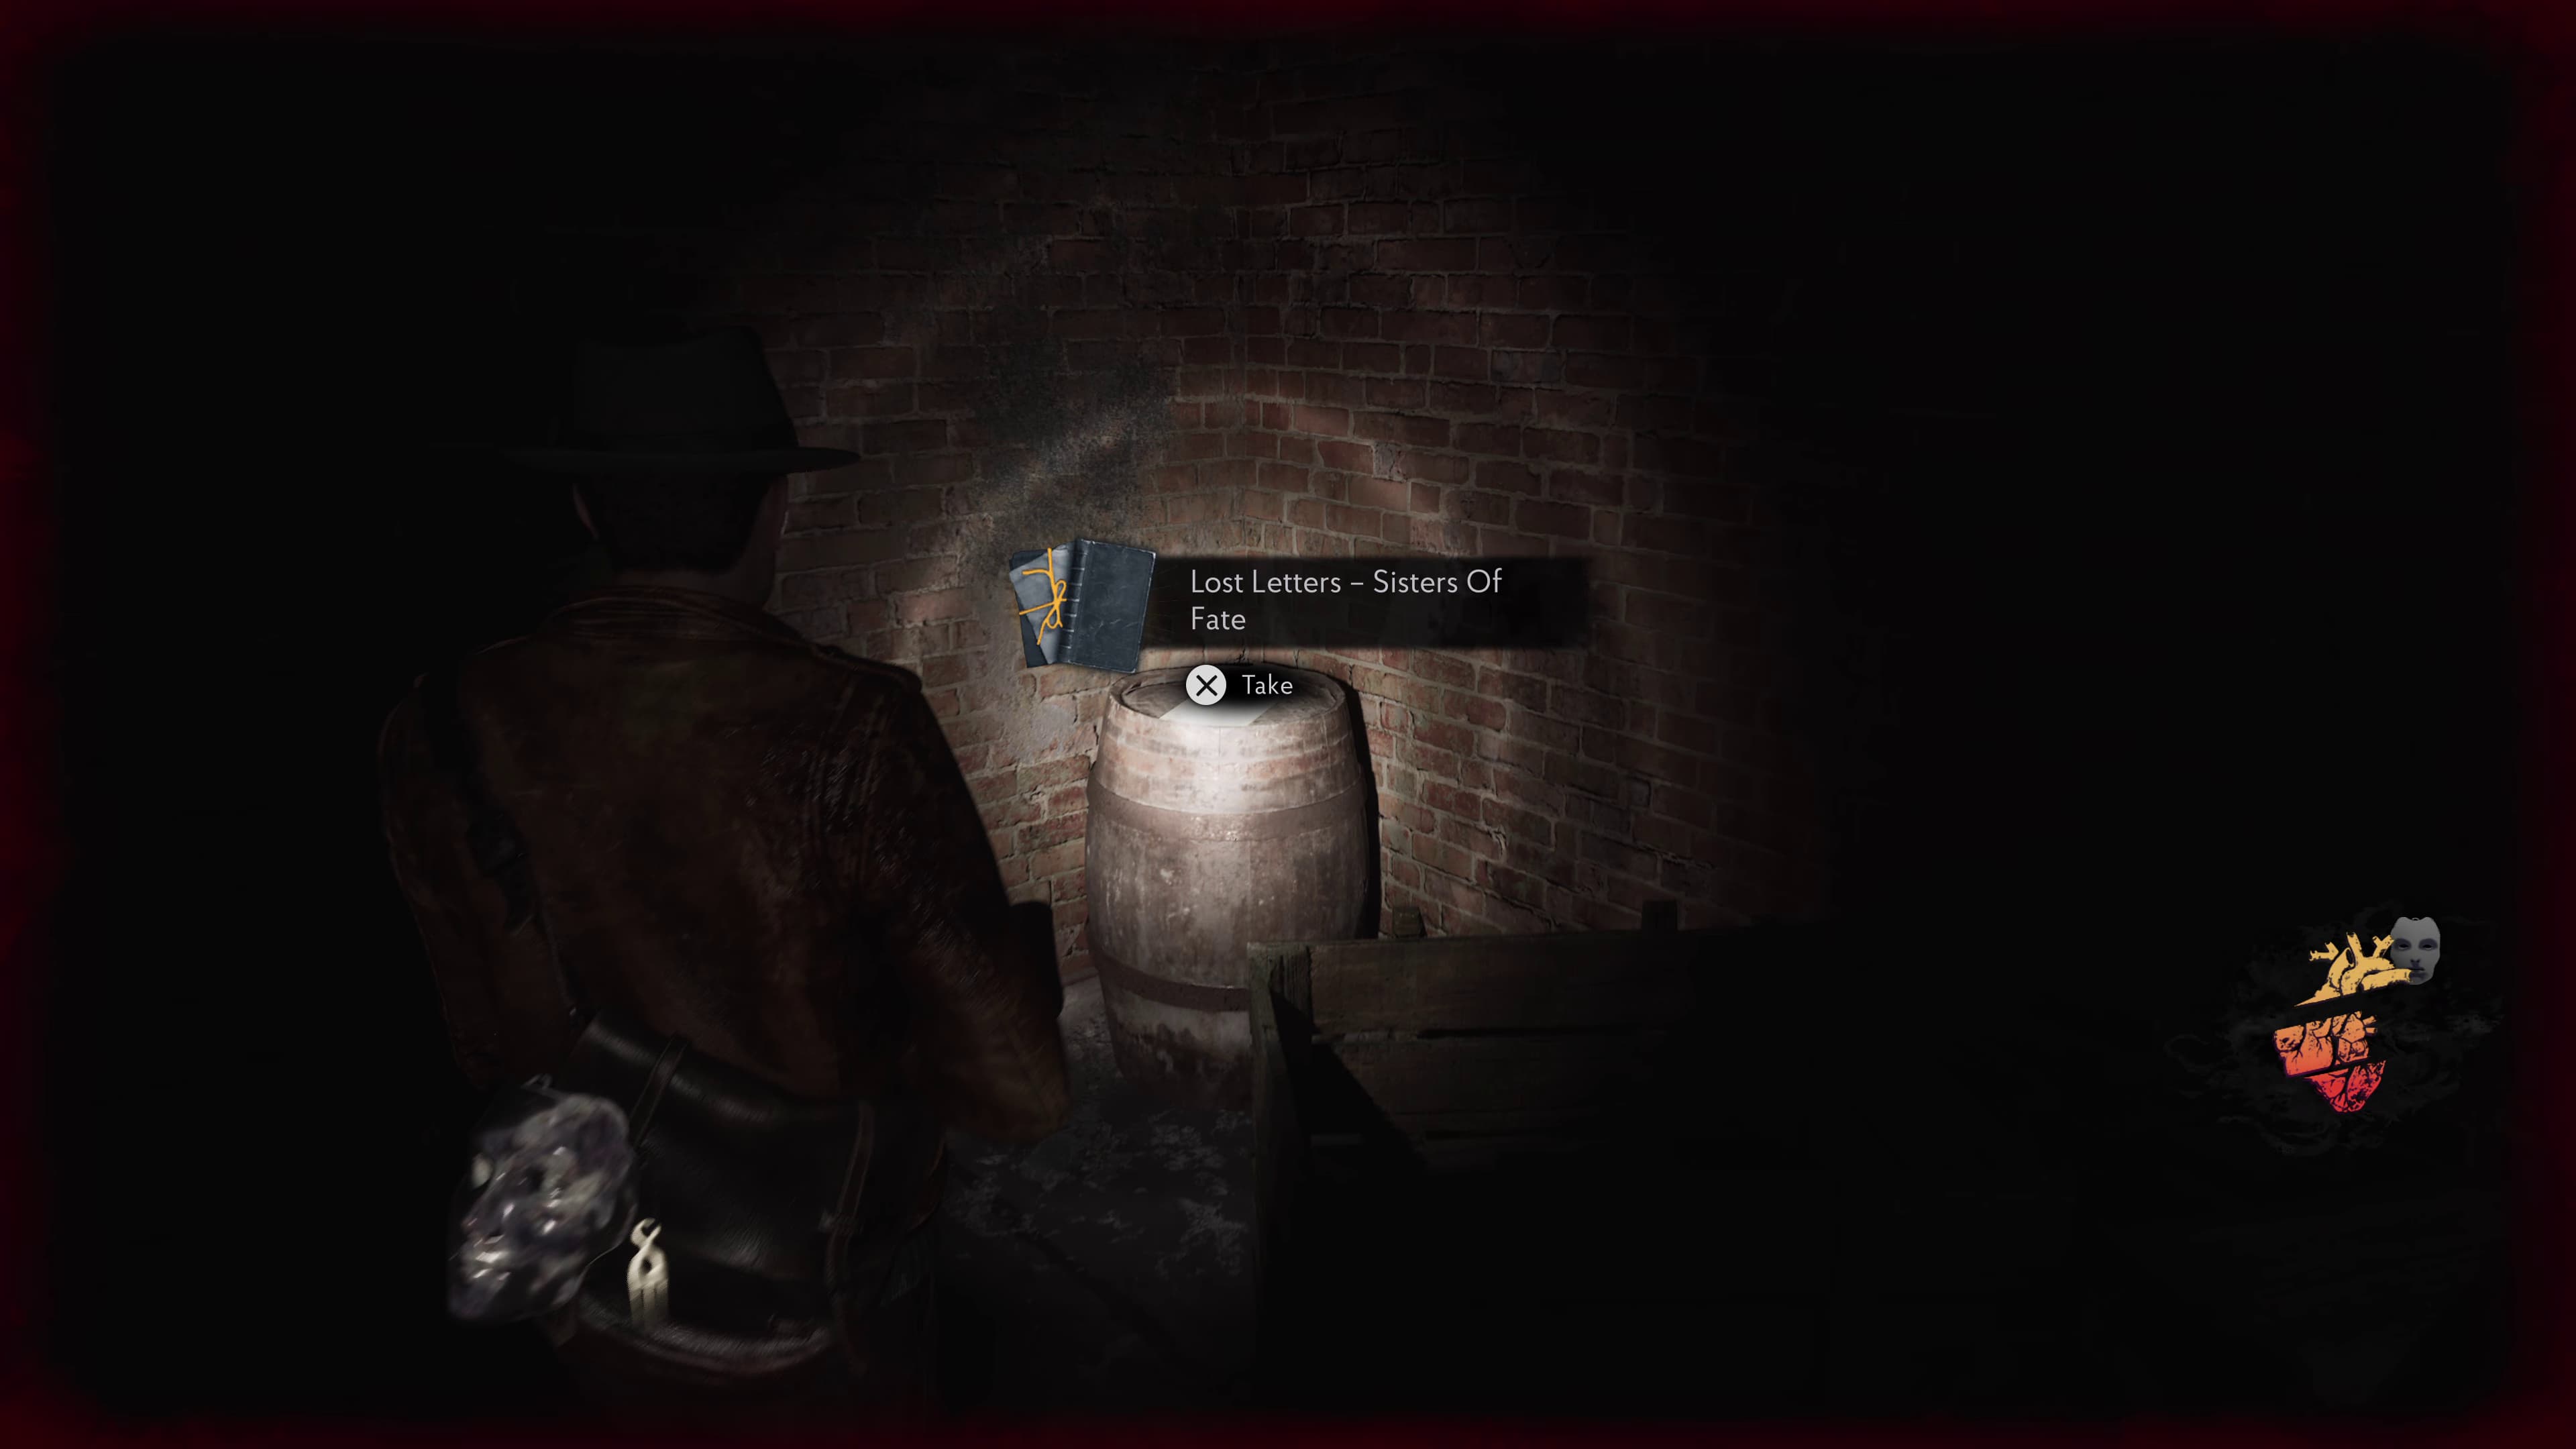
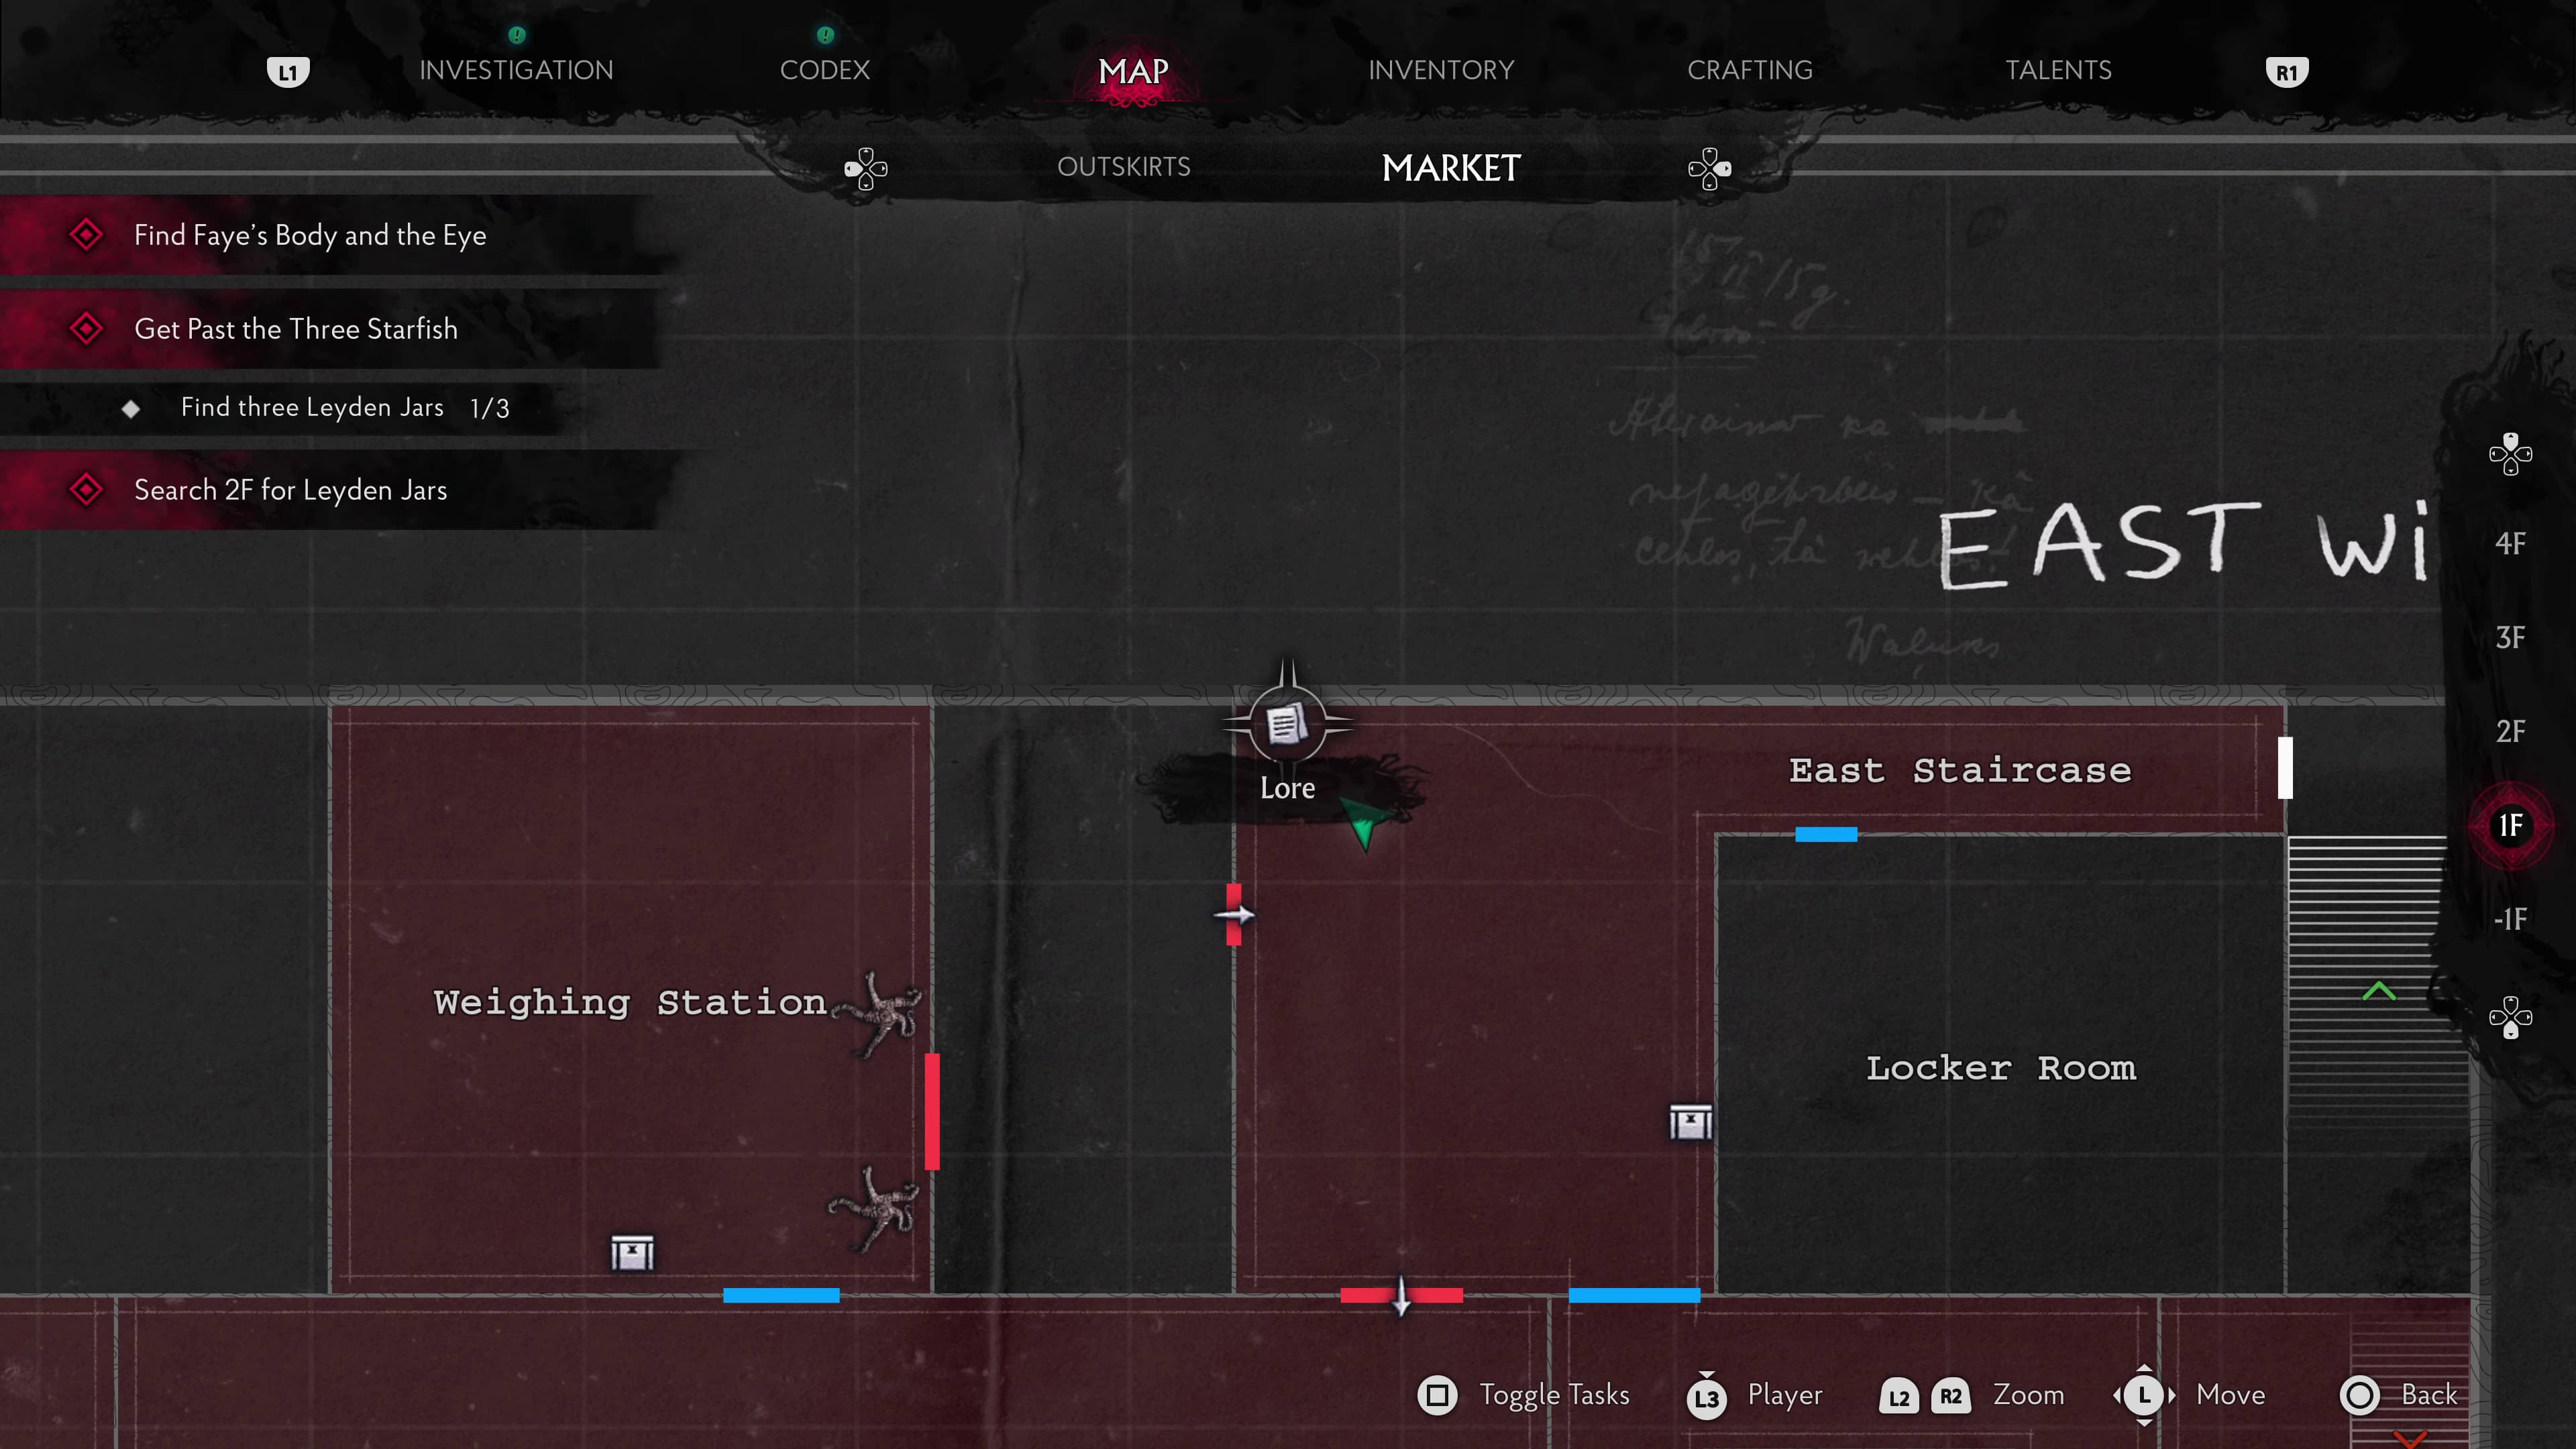
After turning off the steam, make your way into the East Staircase, in the back left of this area, on a barrel will be the next Lore Document (Lost Letters - Sisters Of Fate).
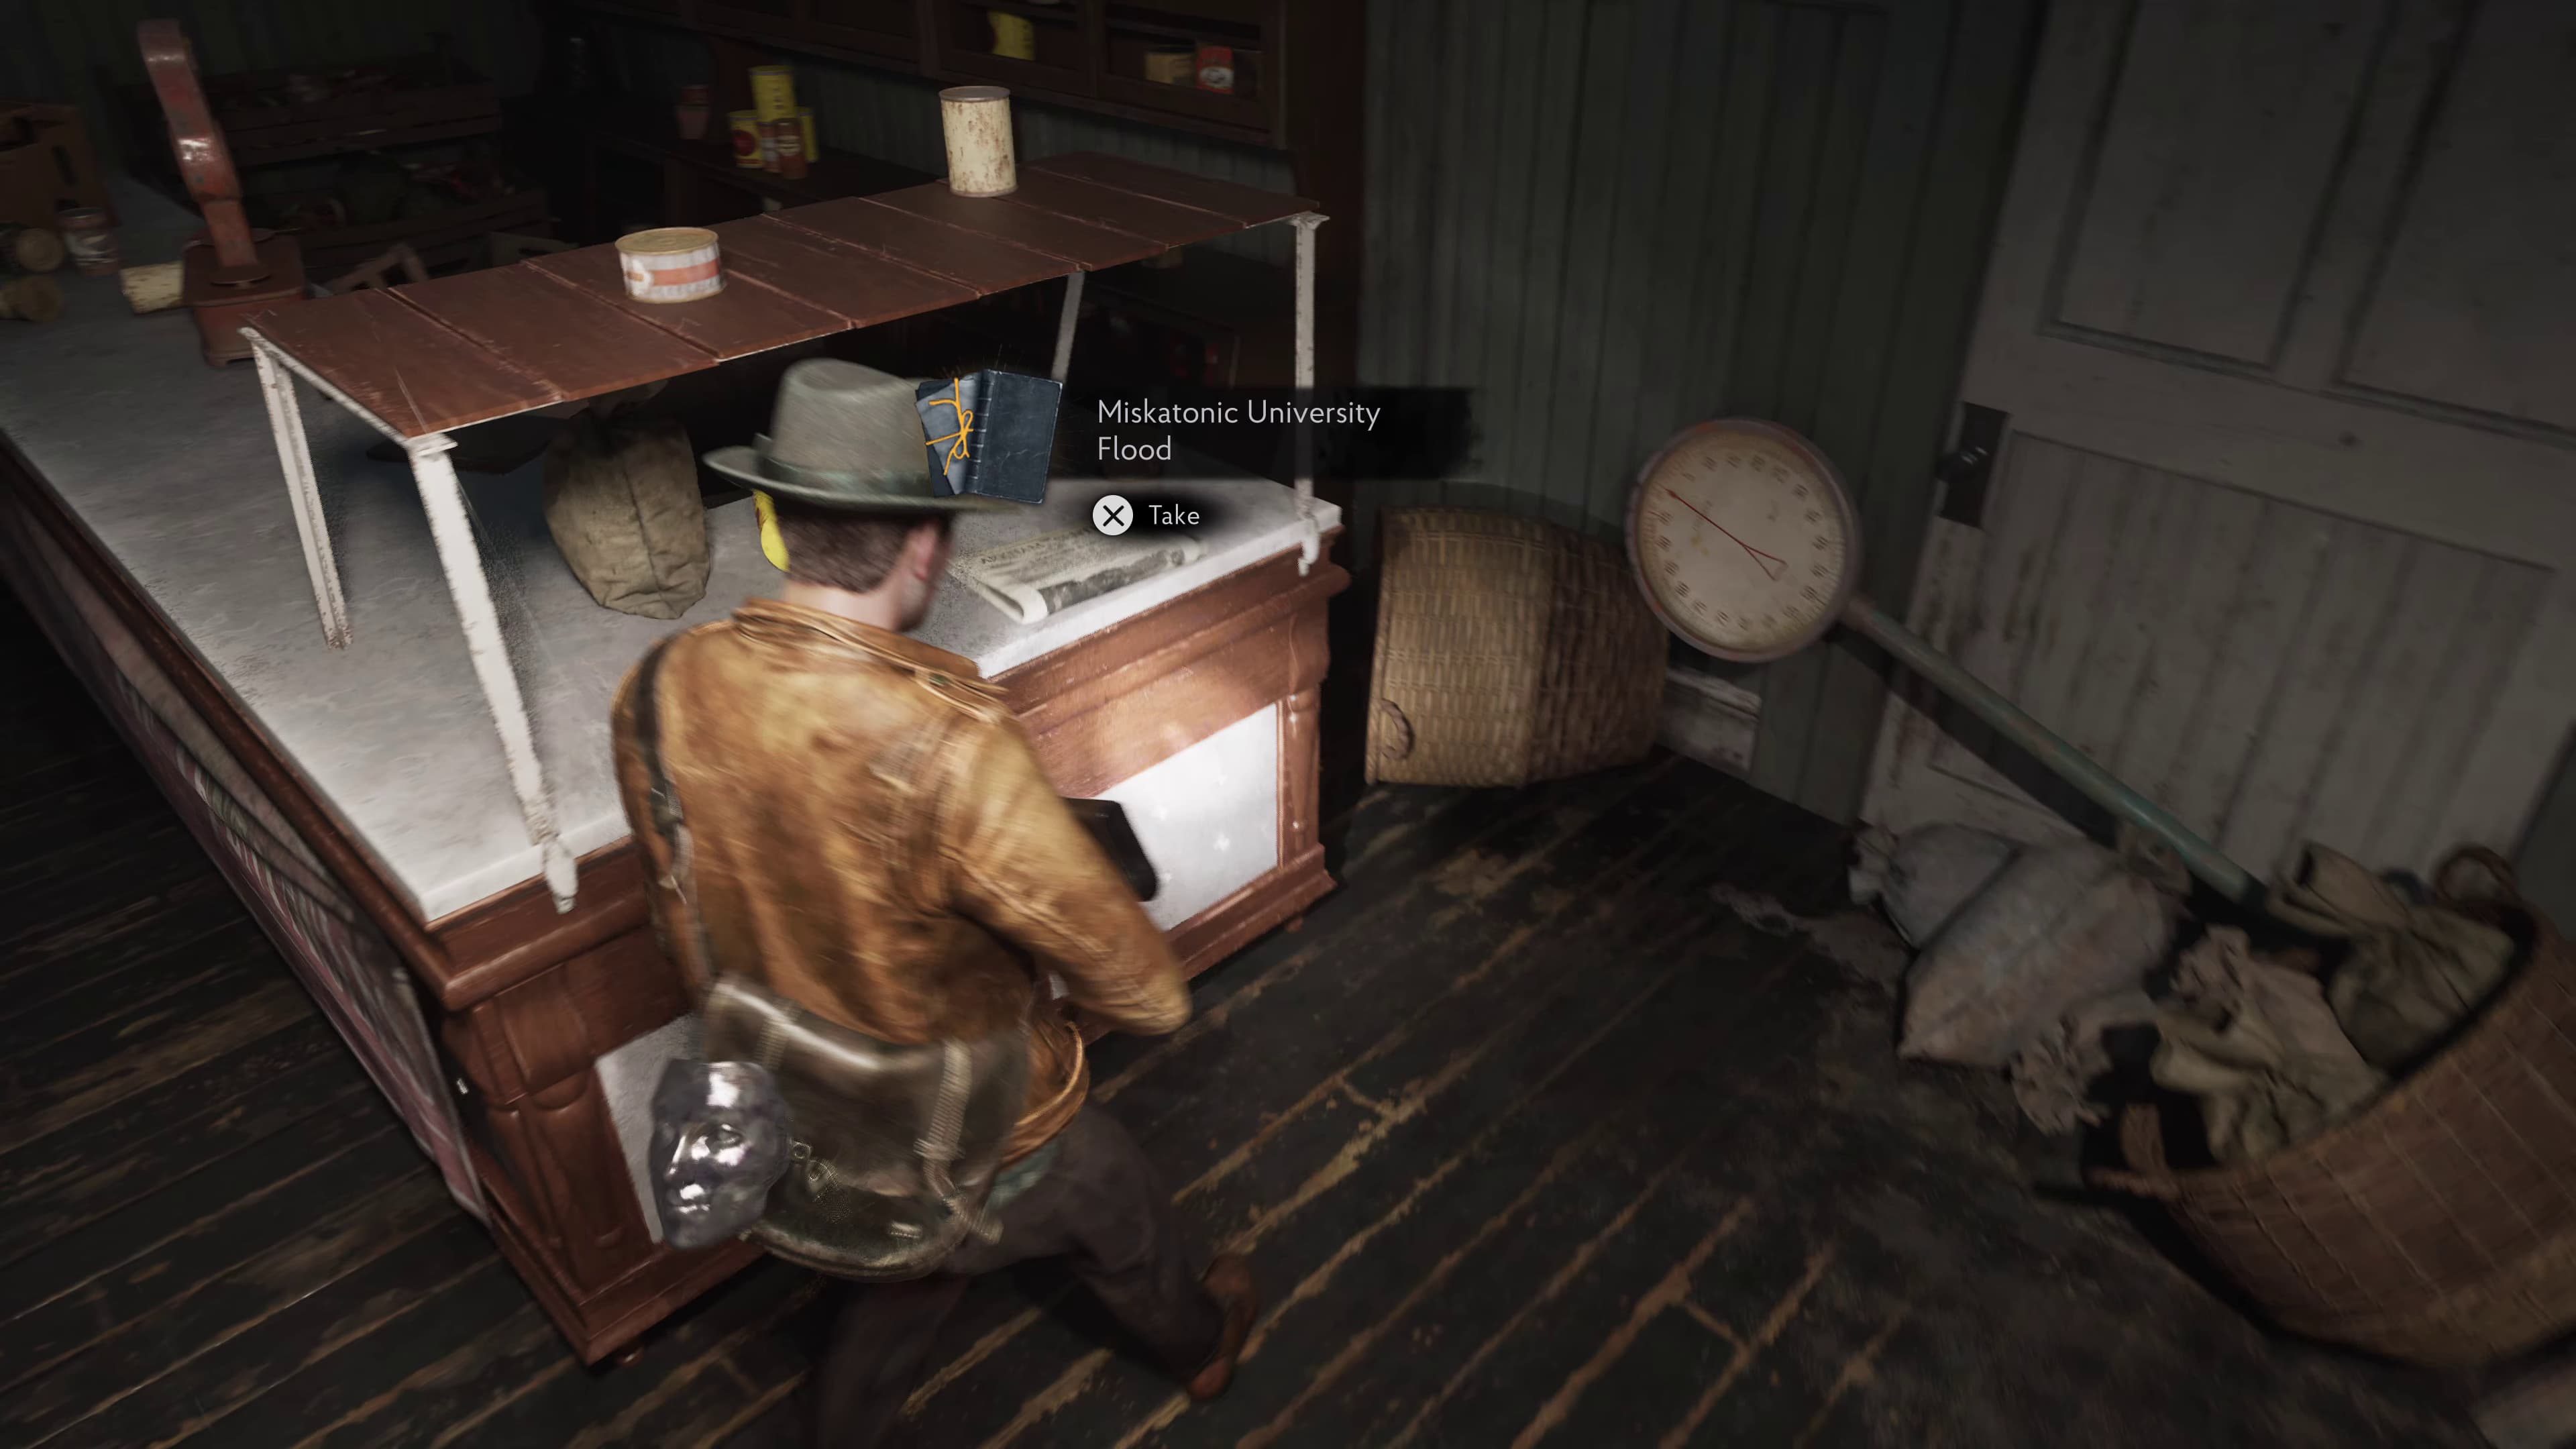
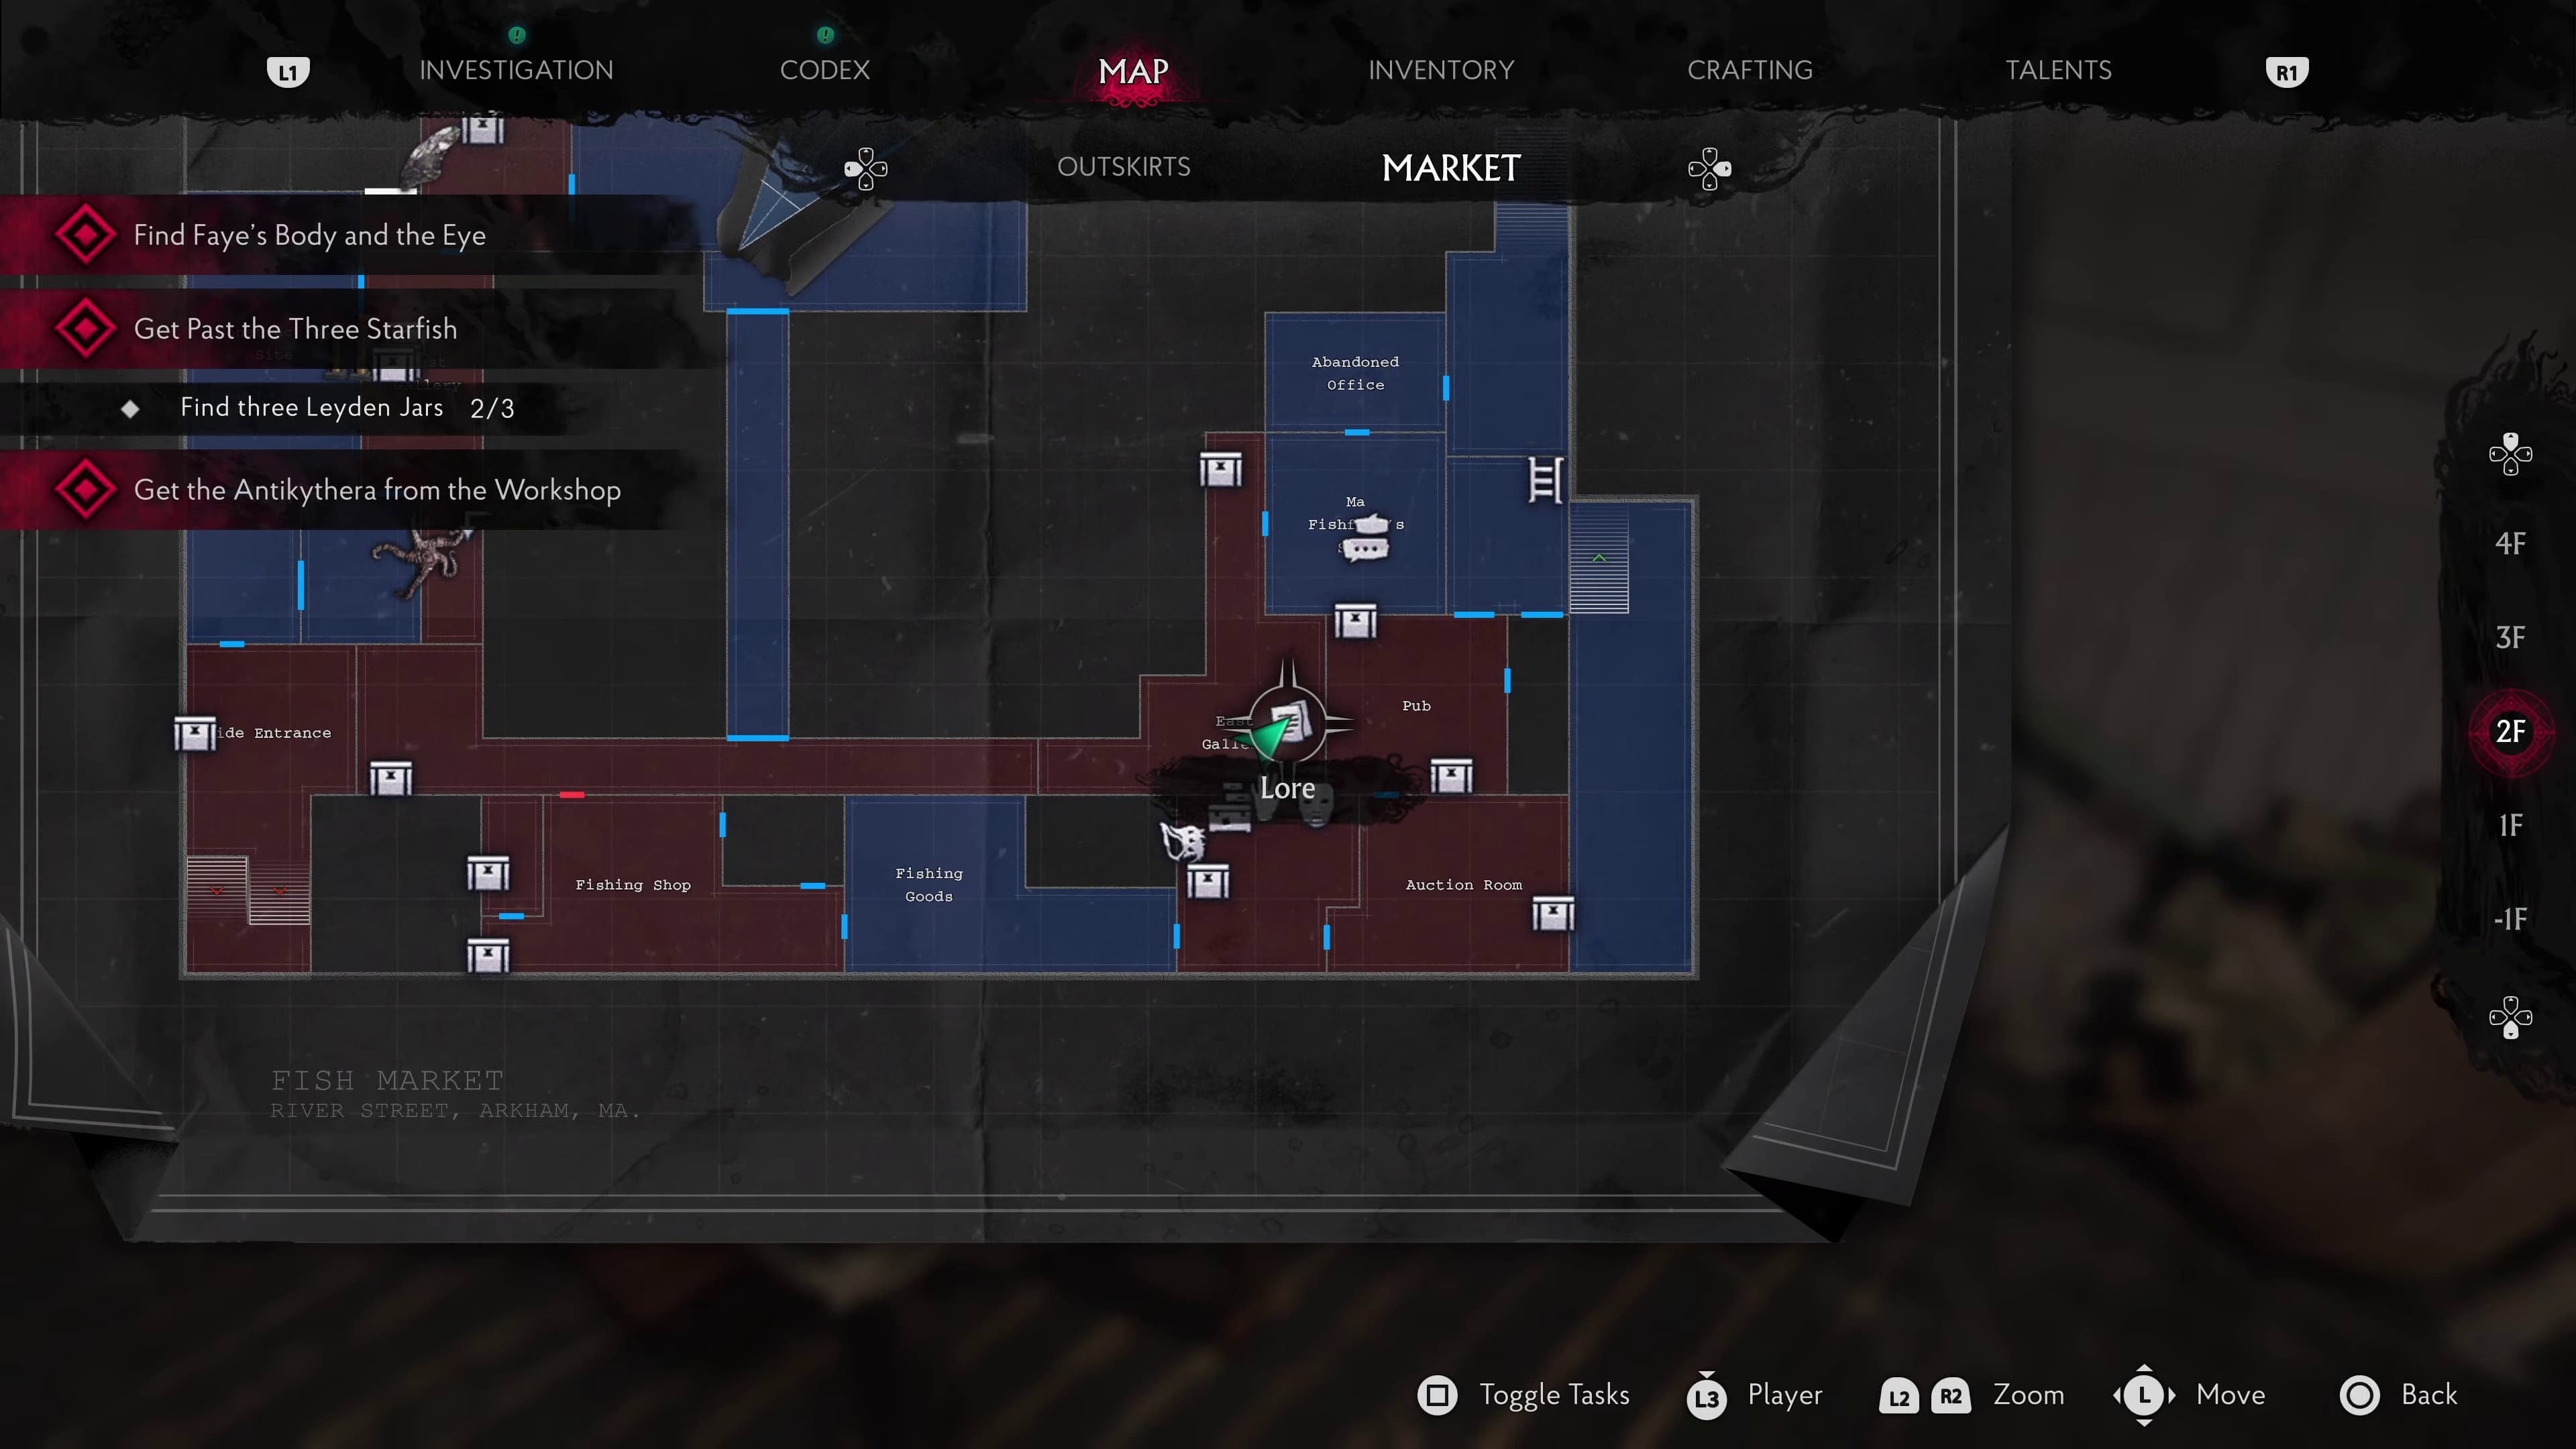
Keep progressing again with the level until after making into Ma's shop. Take the Leyden Jar on her counter and make it out onto the East Gallery balcony. Out here on the stall counter all the way to the left is the next Lore Document (Miskatonic University Flood).
Make your way back through the south doors of the Market Floor and over to the West Wing, the Starfish on the right can now be opened with the following Starfish, also having a Leyden Jar to open.
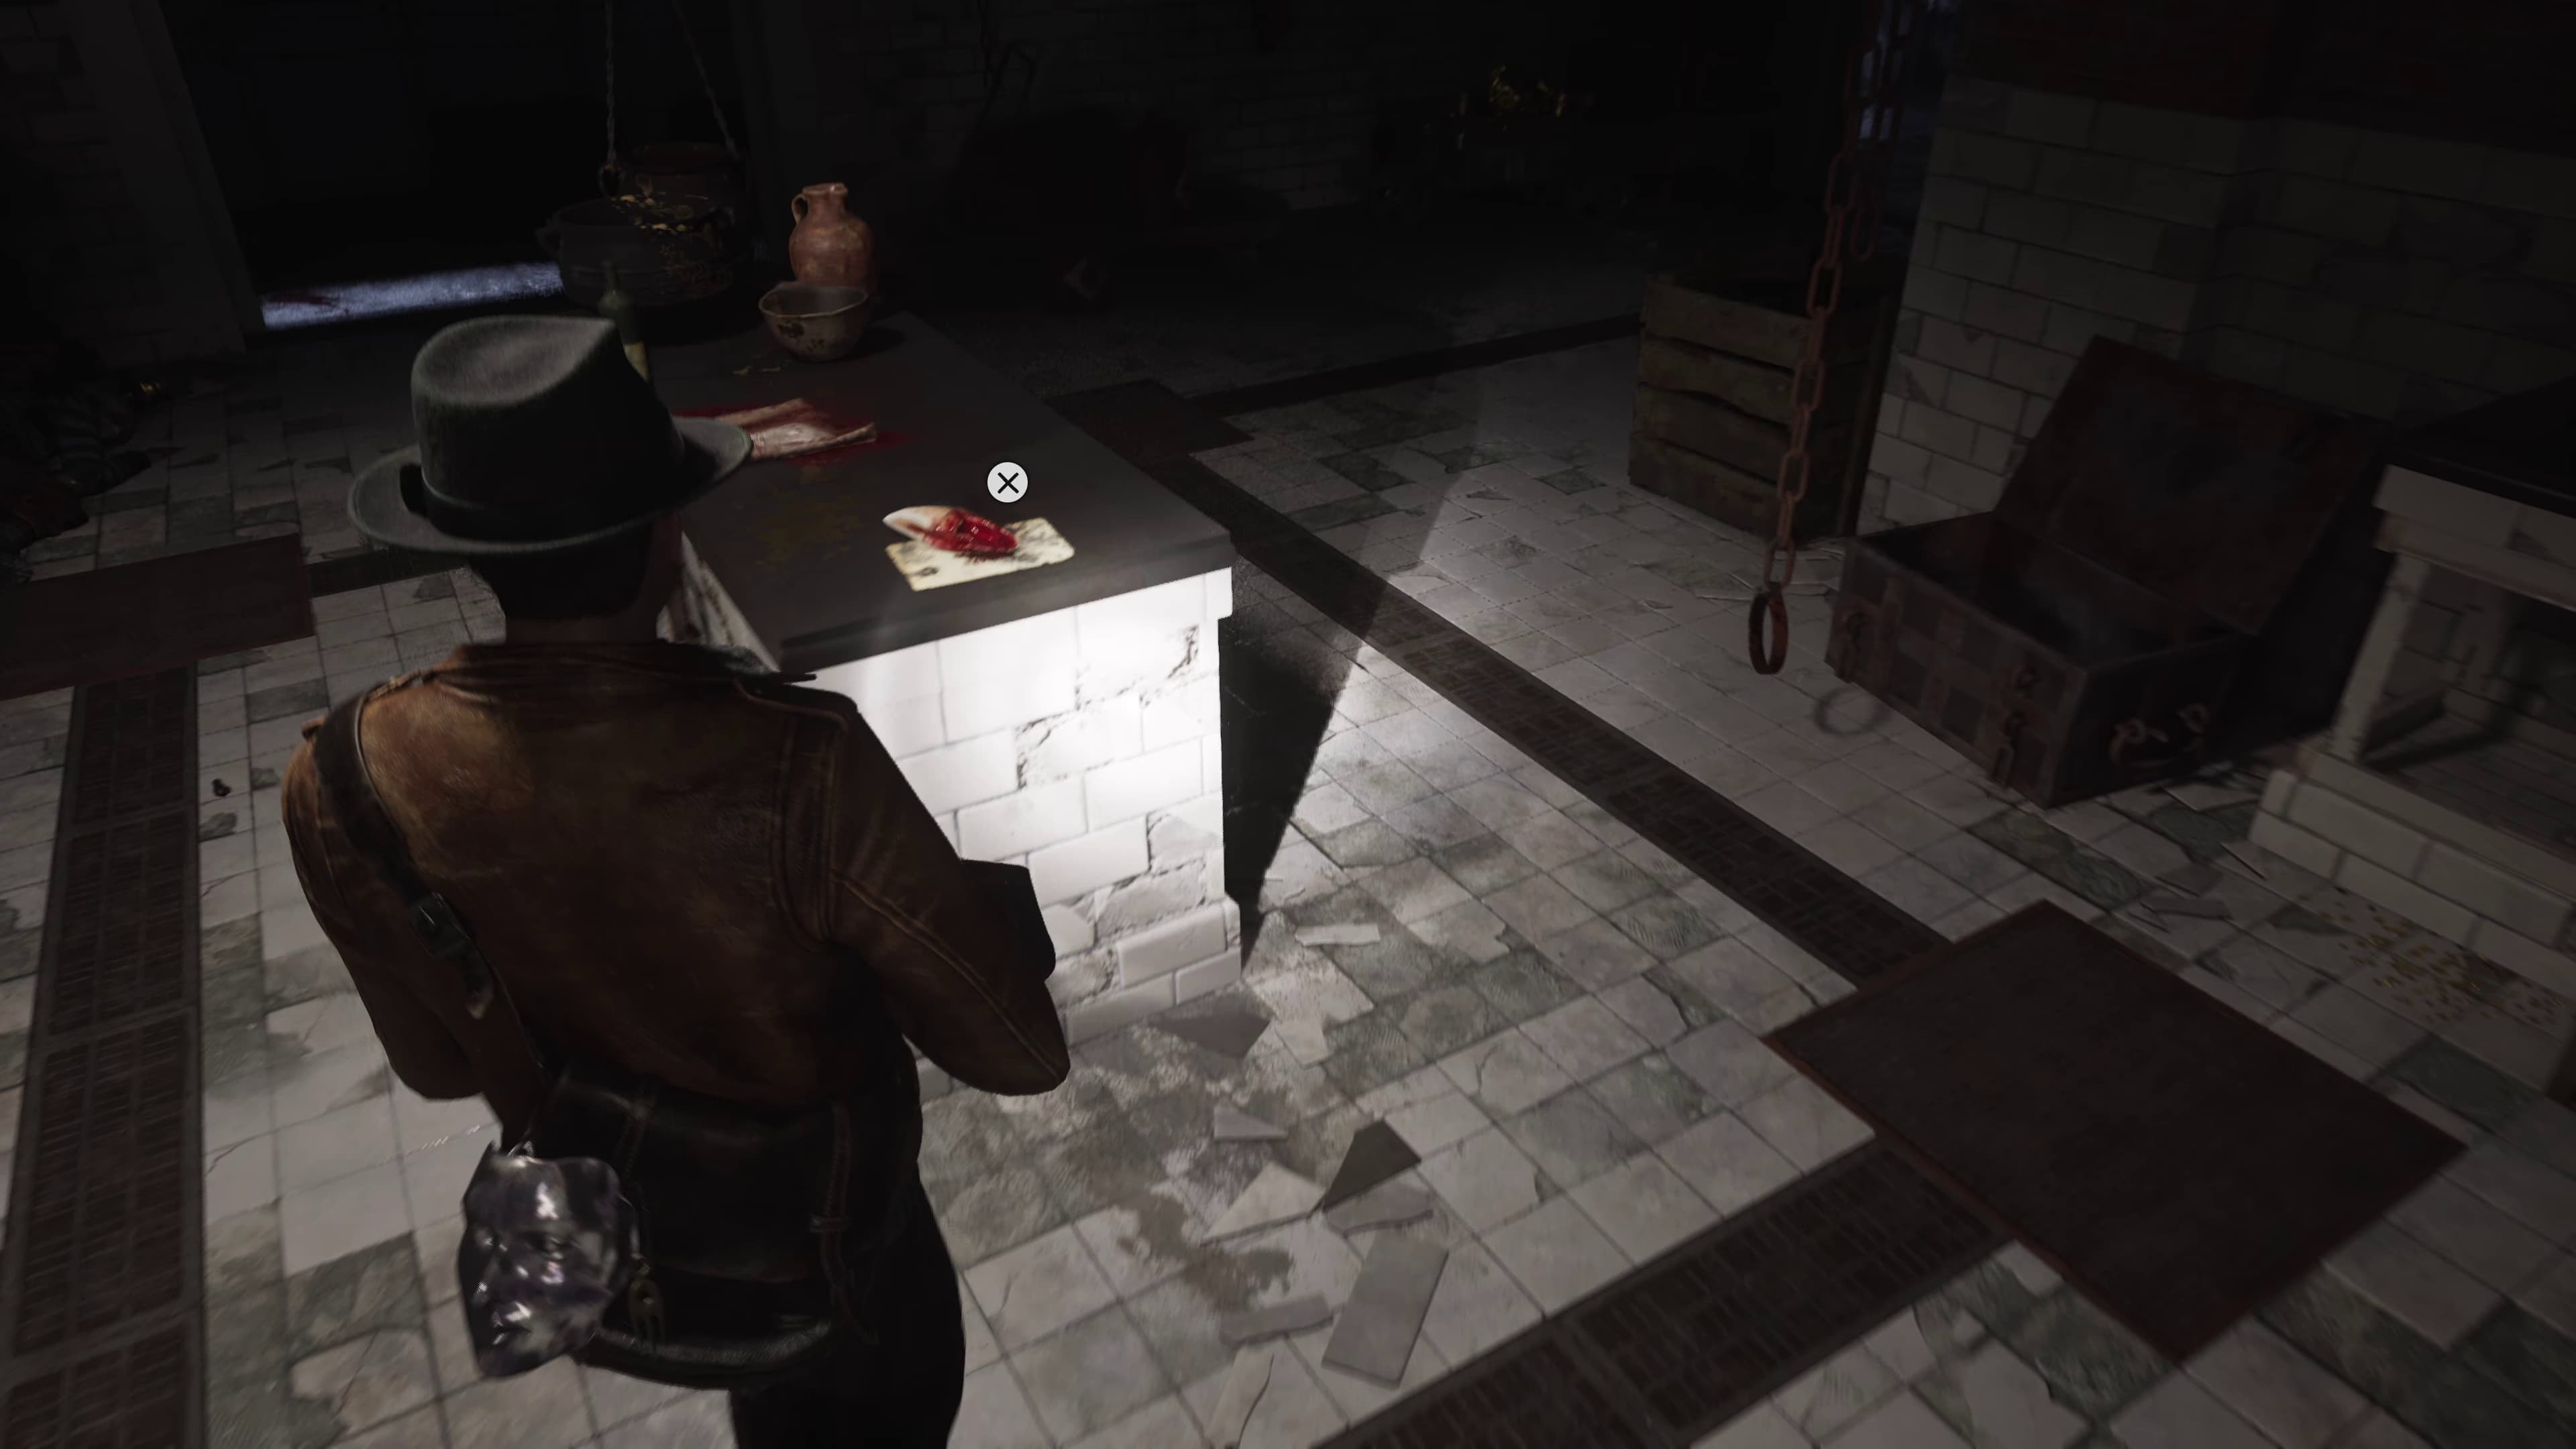
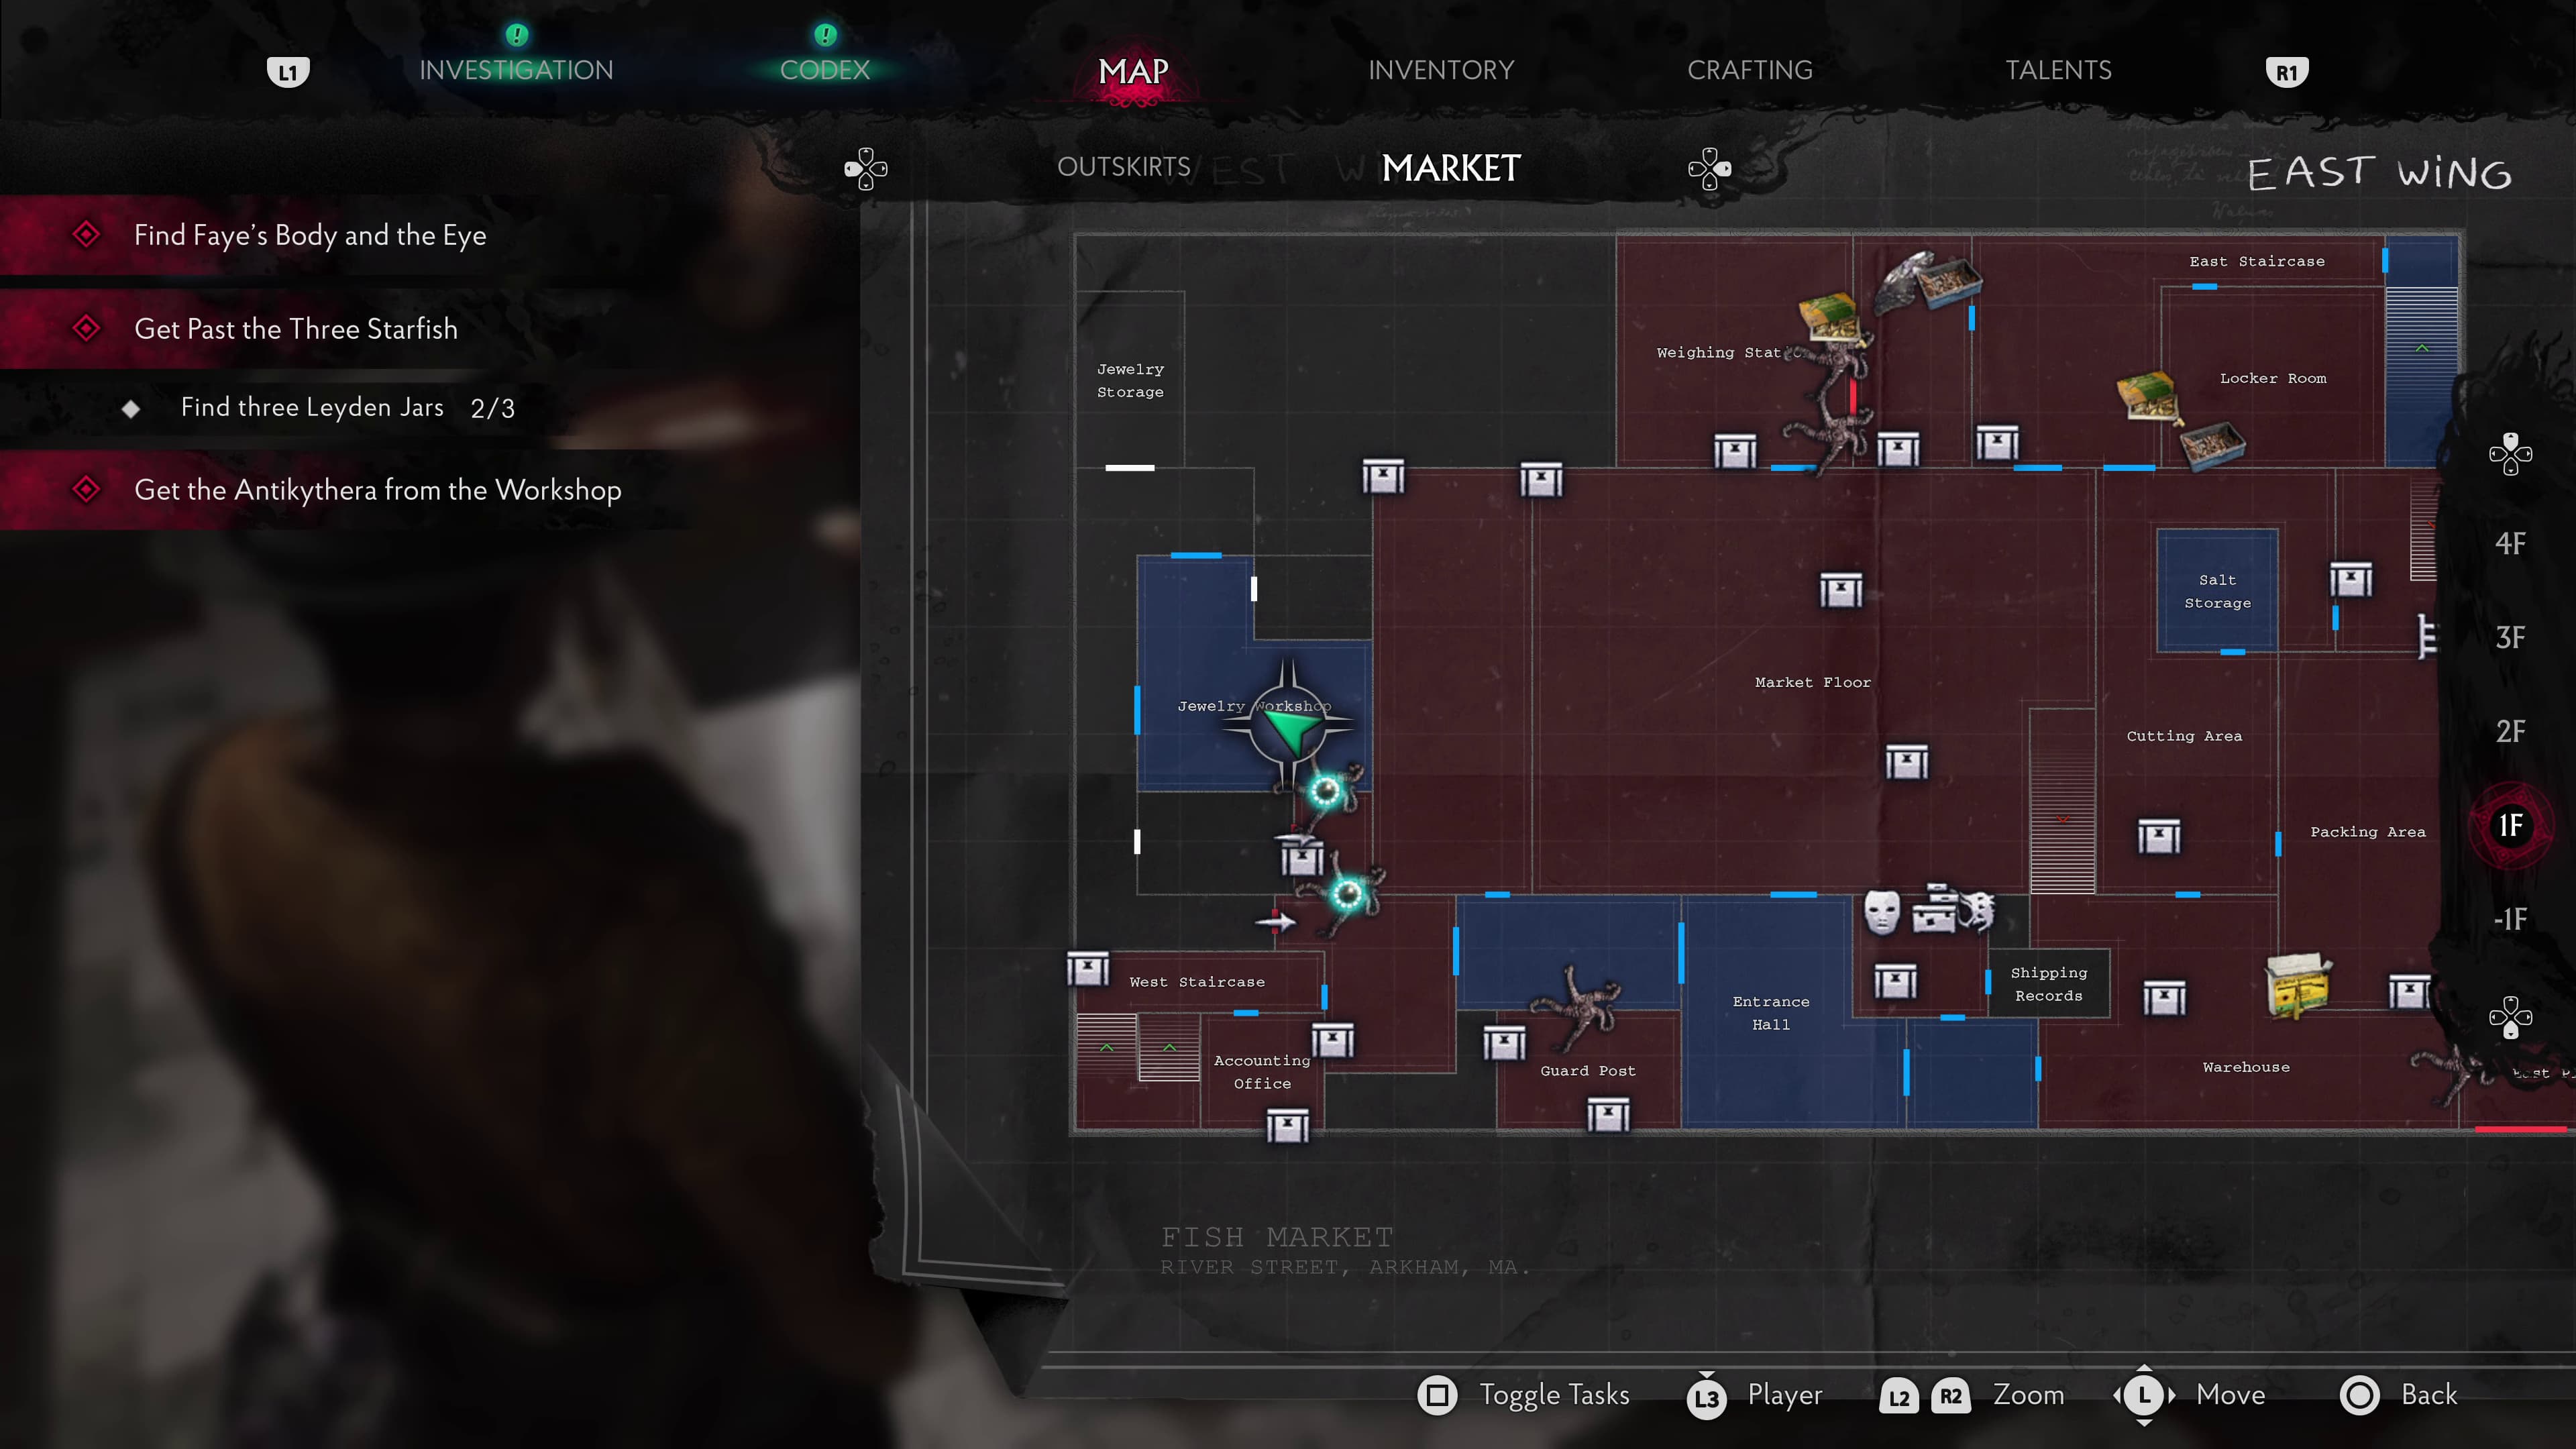
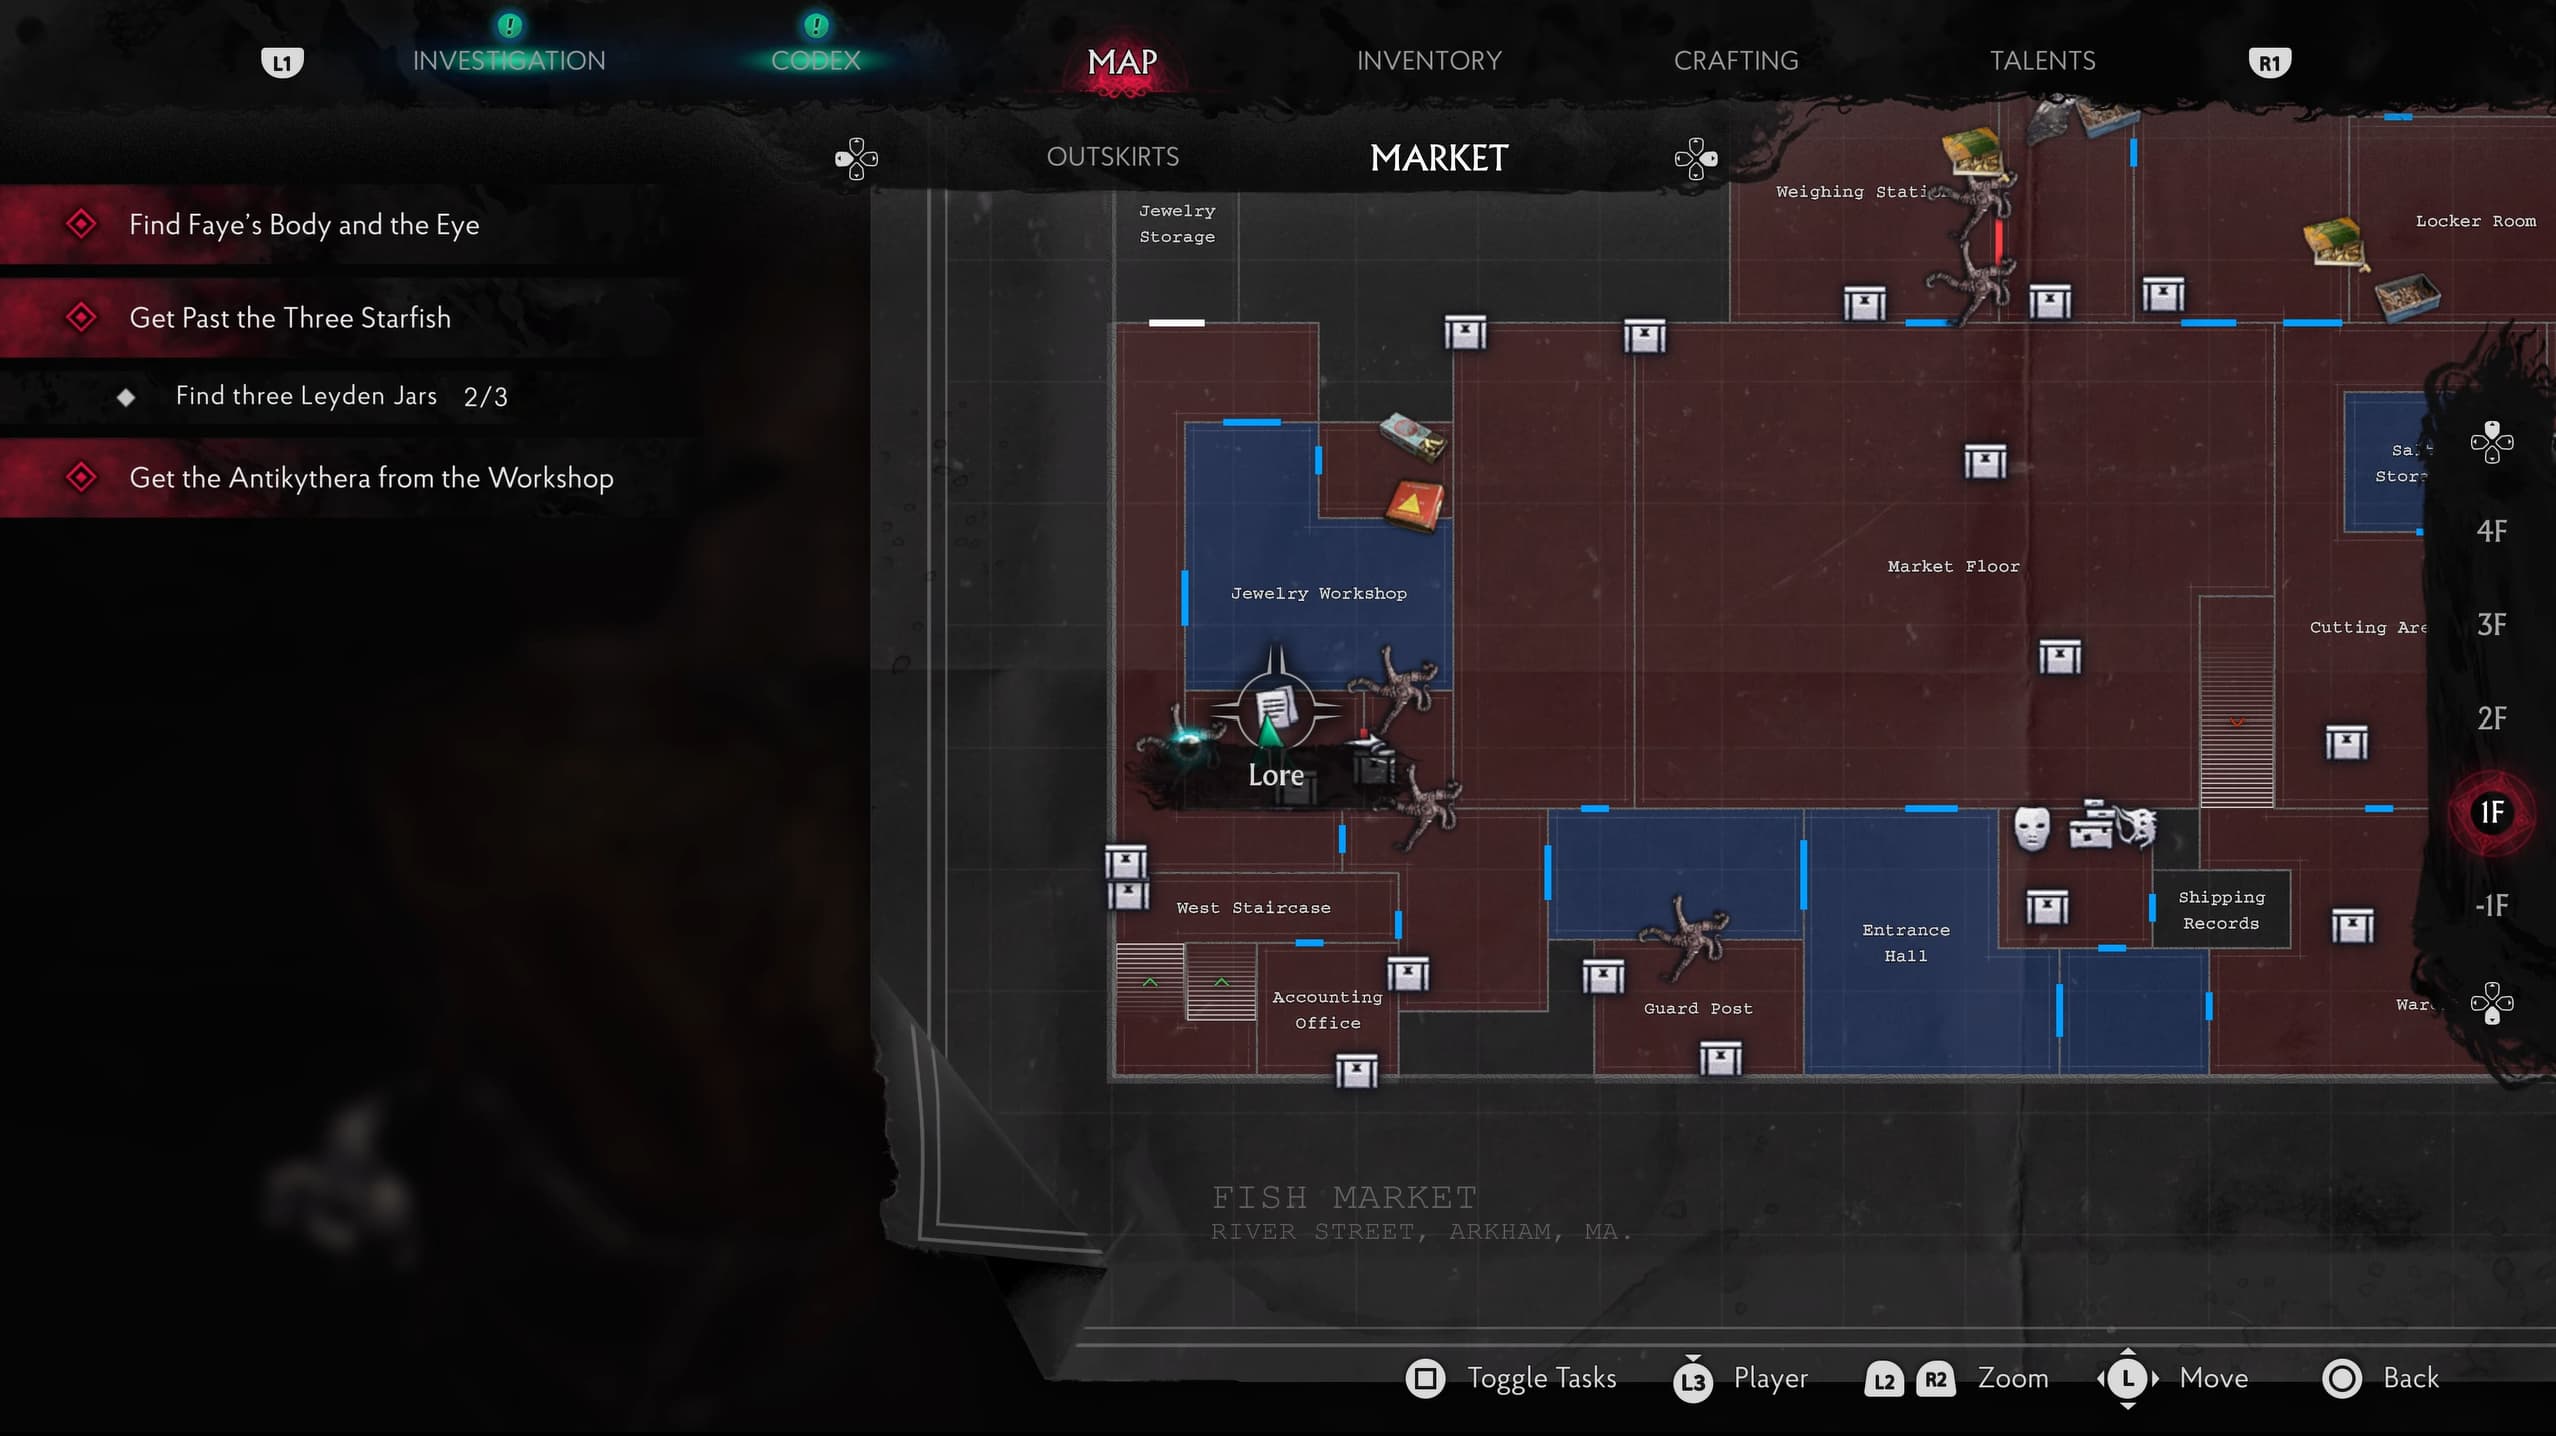
Inside the Jewelry Workshop on the central countertop will be the next Lore Document (Jewelers Be Warned!), interacting with the large tooth will give you this Lore Document.
Now head to the west corridor of this area and out through the cell like door, head back in to collect the second placed Leyden Jar, then back out to collect the first placed Leyden Jar, now head back into this area through the cell type door on the left that you just unlocked.
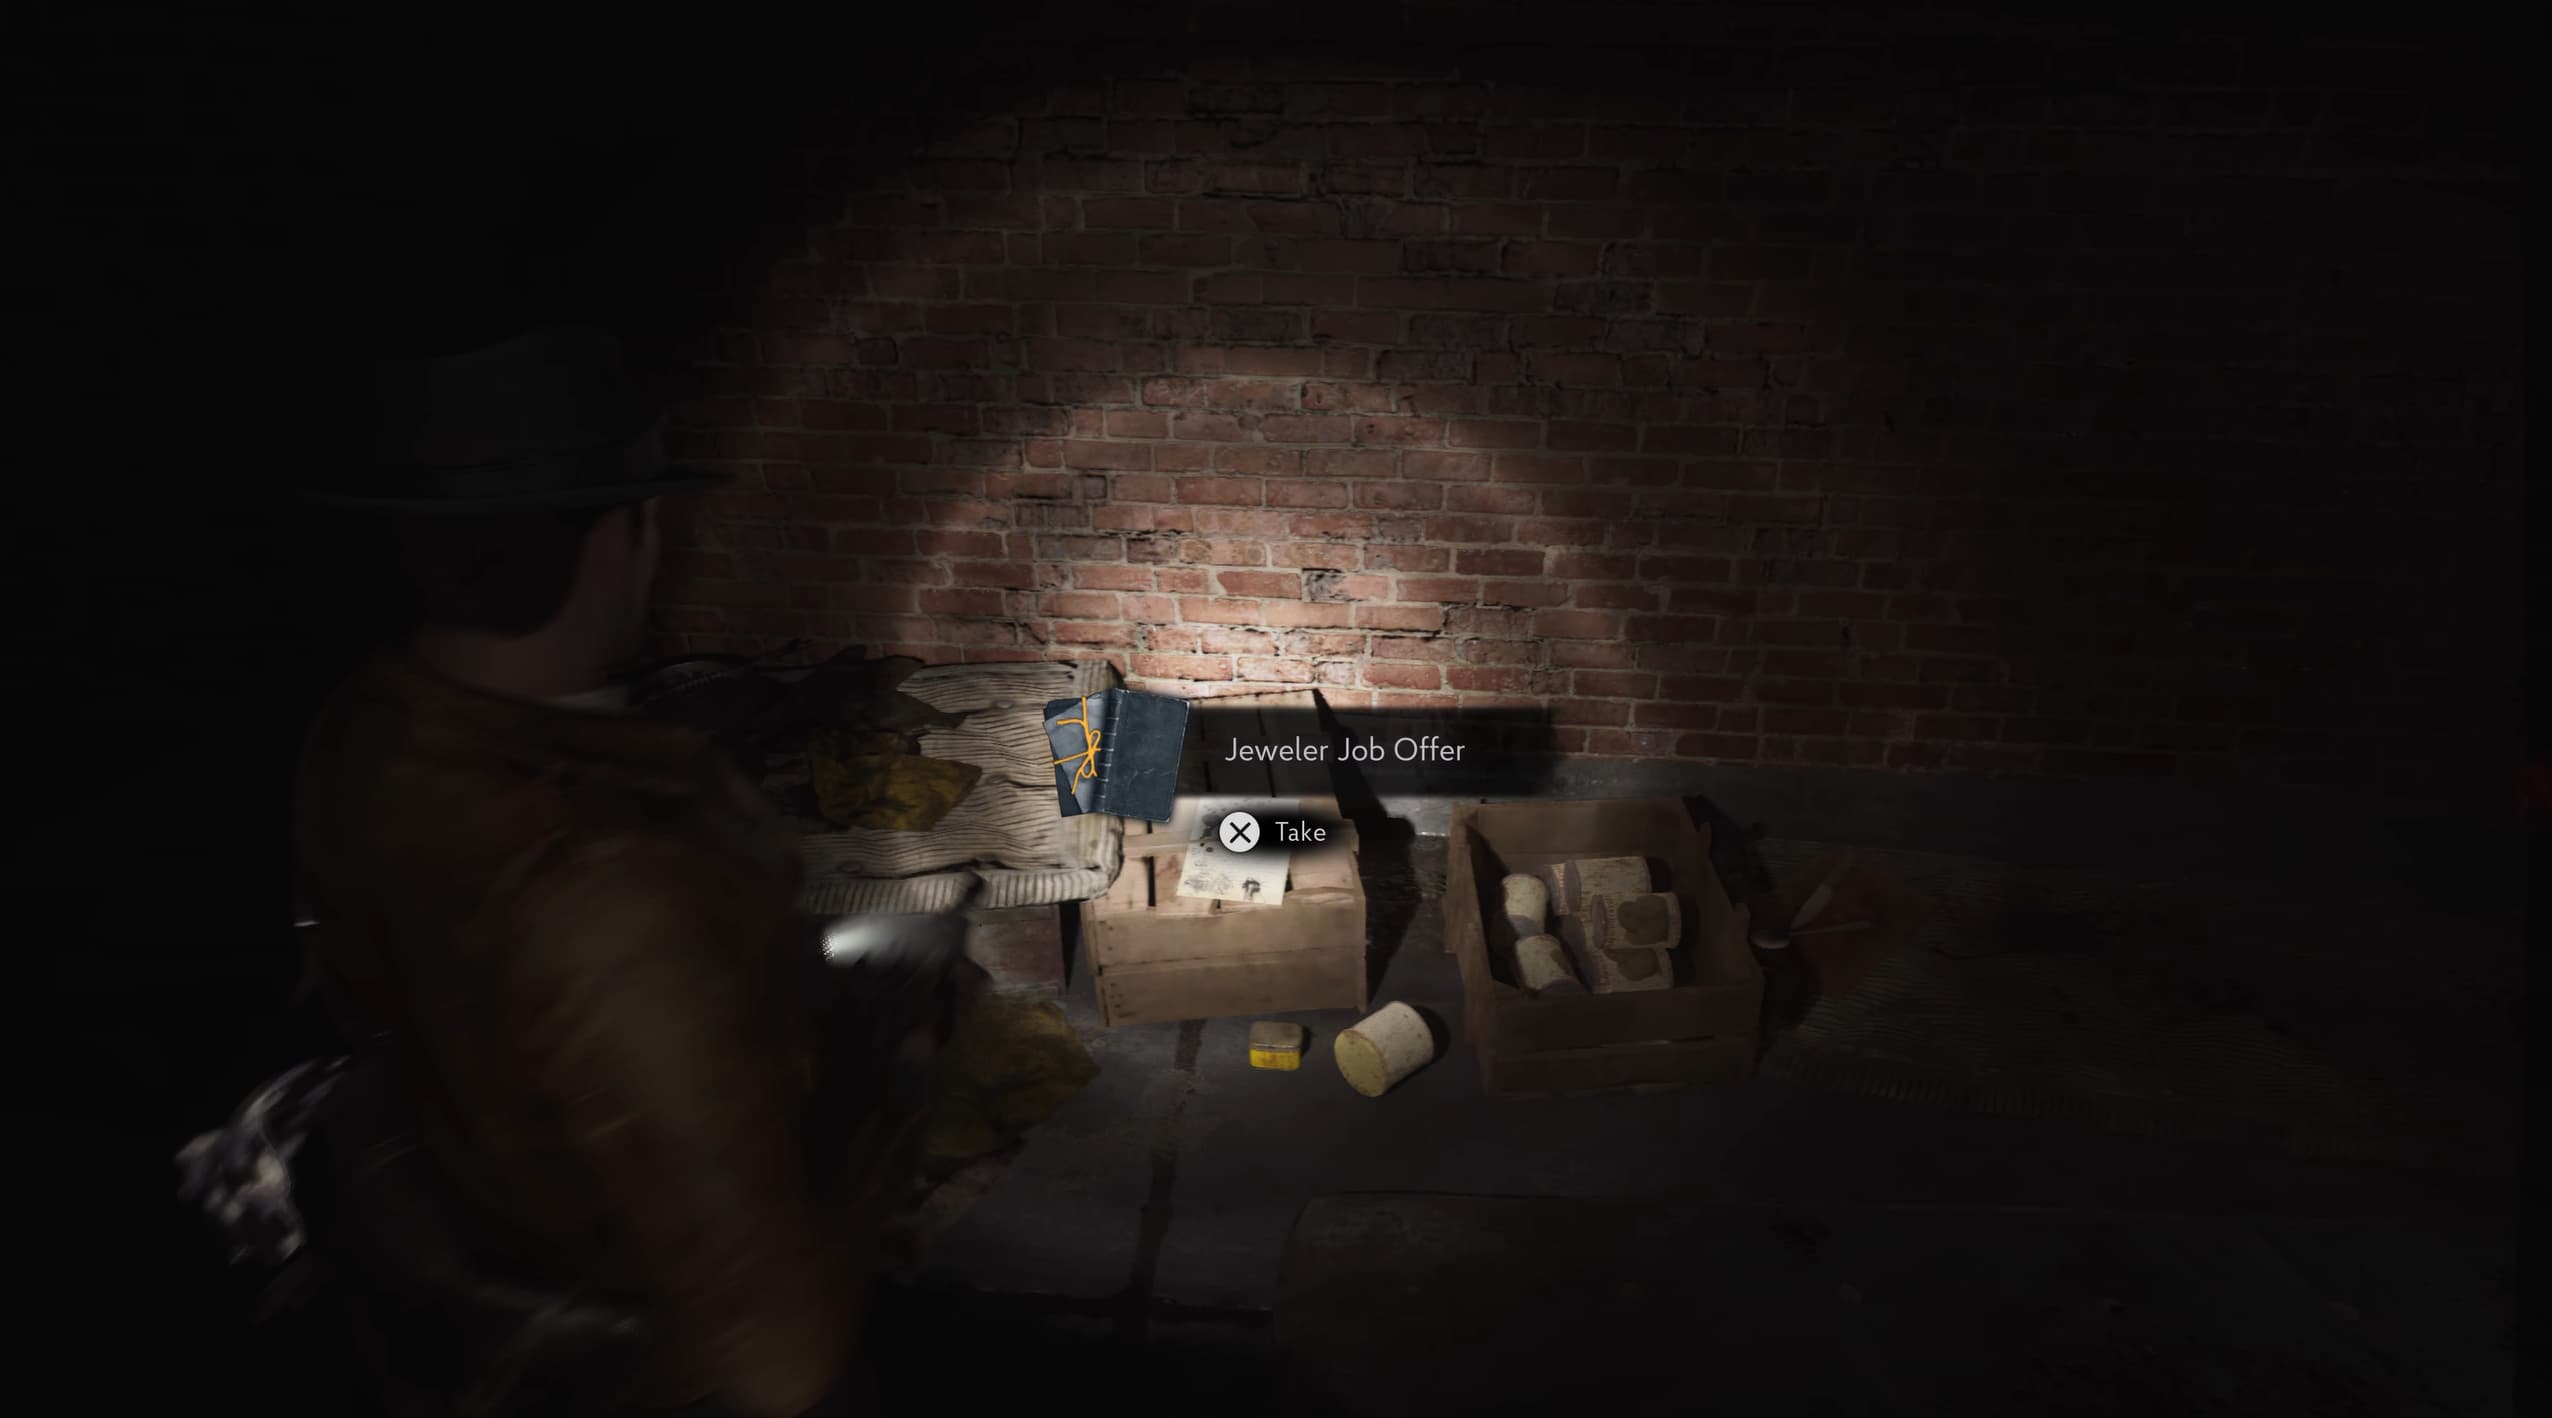
Make your way around the corner to see 1 Starfish blocking a small prison cell, use a Leyden Jar to open it, inside will be the next Lore Document (Jeweler Job Offer) on the crate to the left.
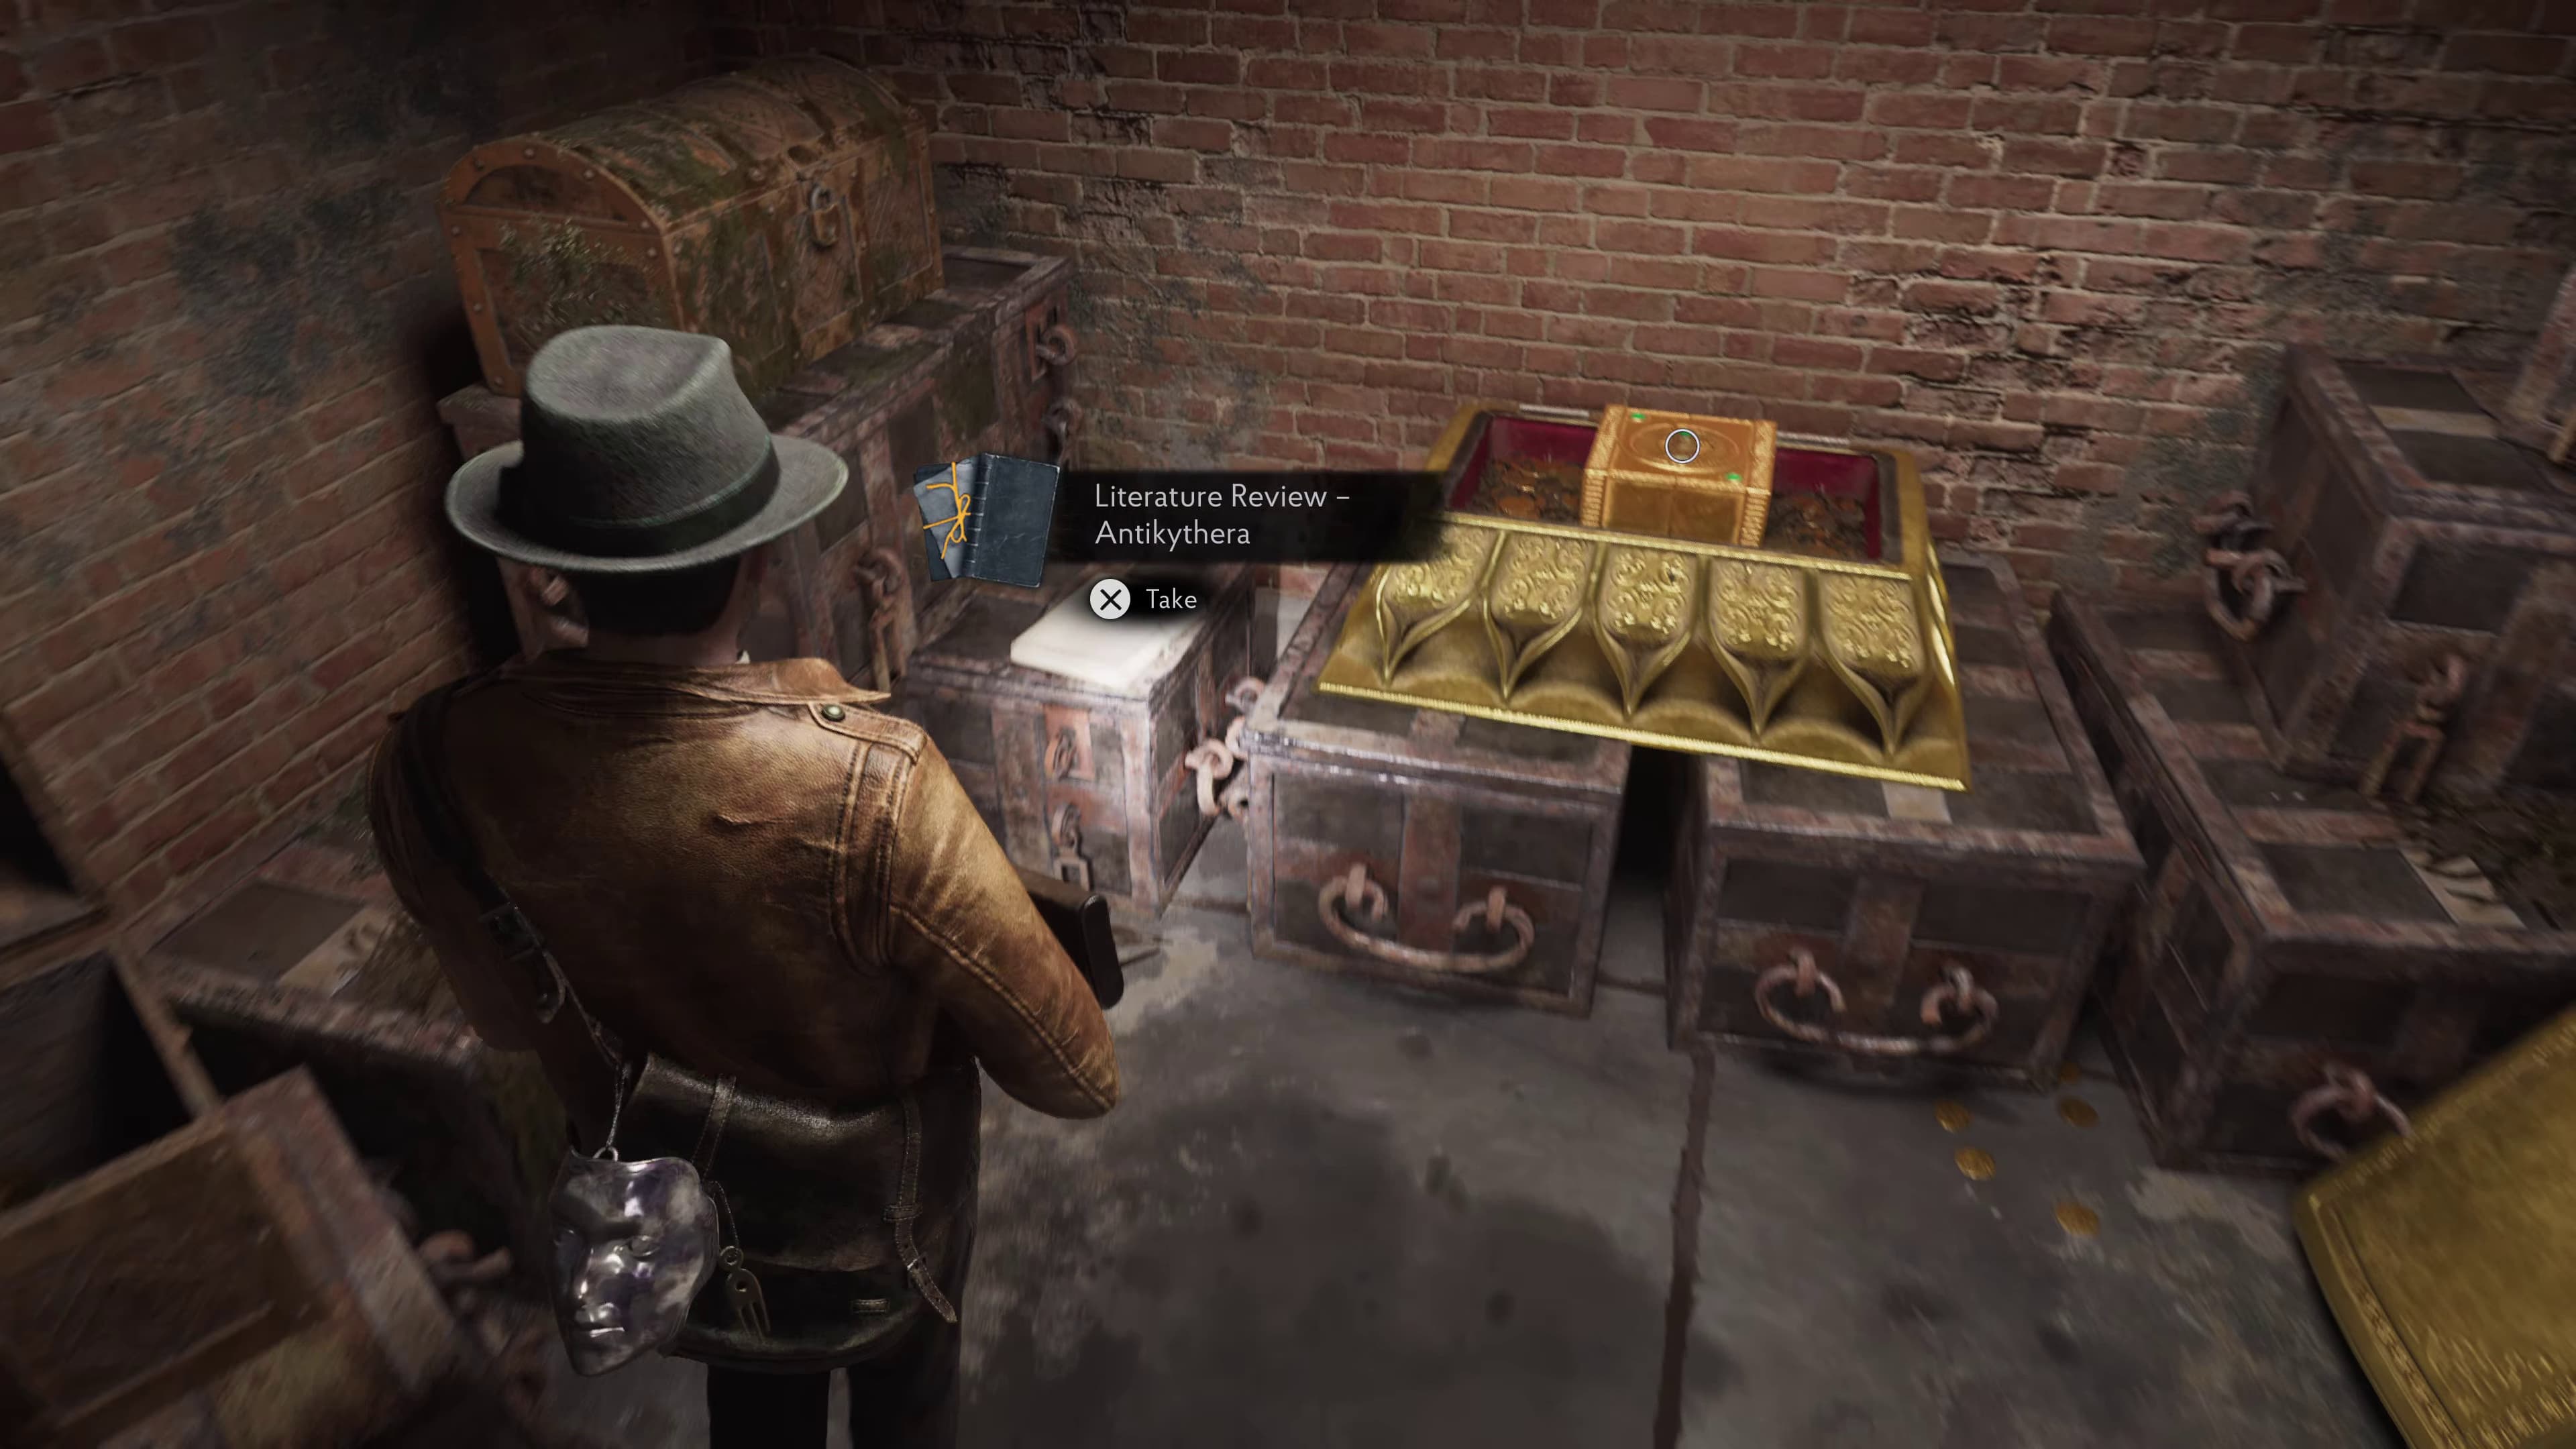
Back out of the cell, take back the Leyden Jar, and head to the top of the area where 2 Starfish are covering the door, make your way inside and in the back left of the room is the next Lore Document (Literature Review - Antikythera).
Collect also the Antikythera (Key Item) and make your way out of here, collecting your Leyden Jars before fully exiting the West Wing.
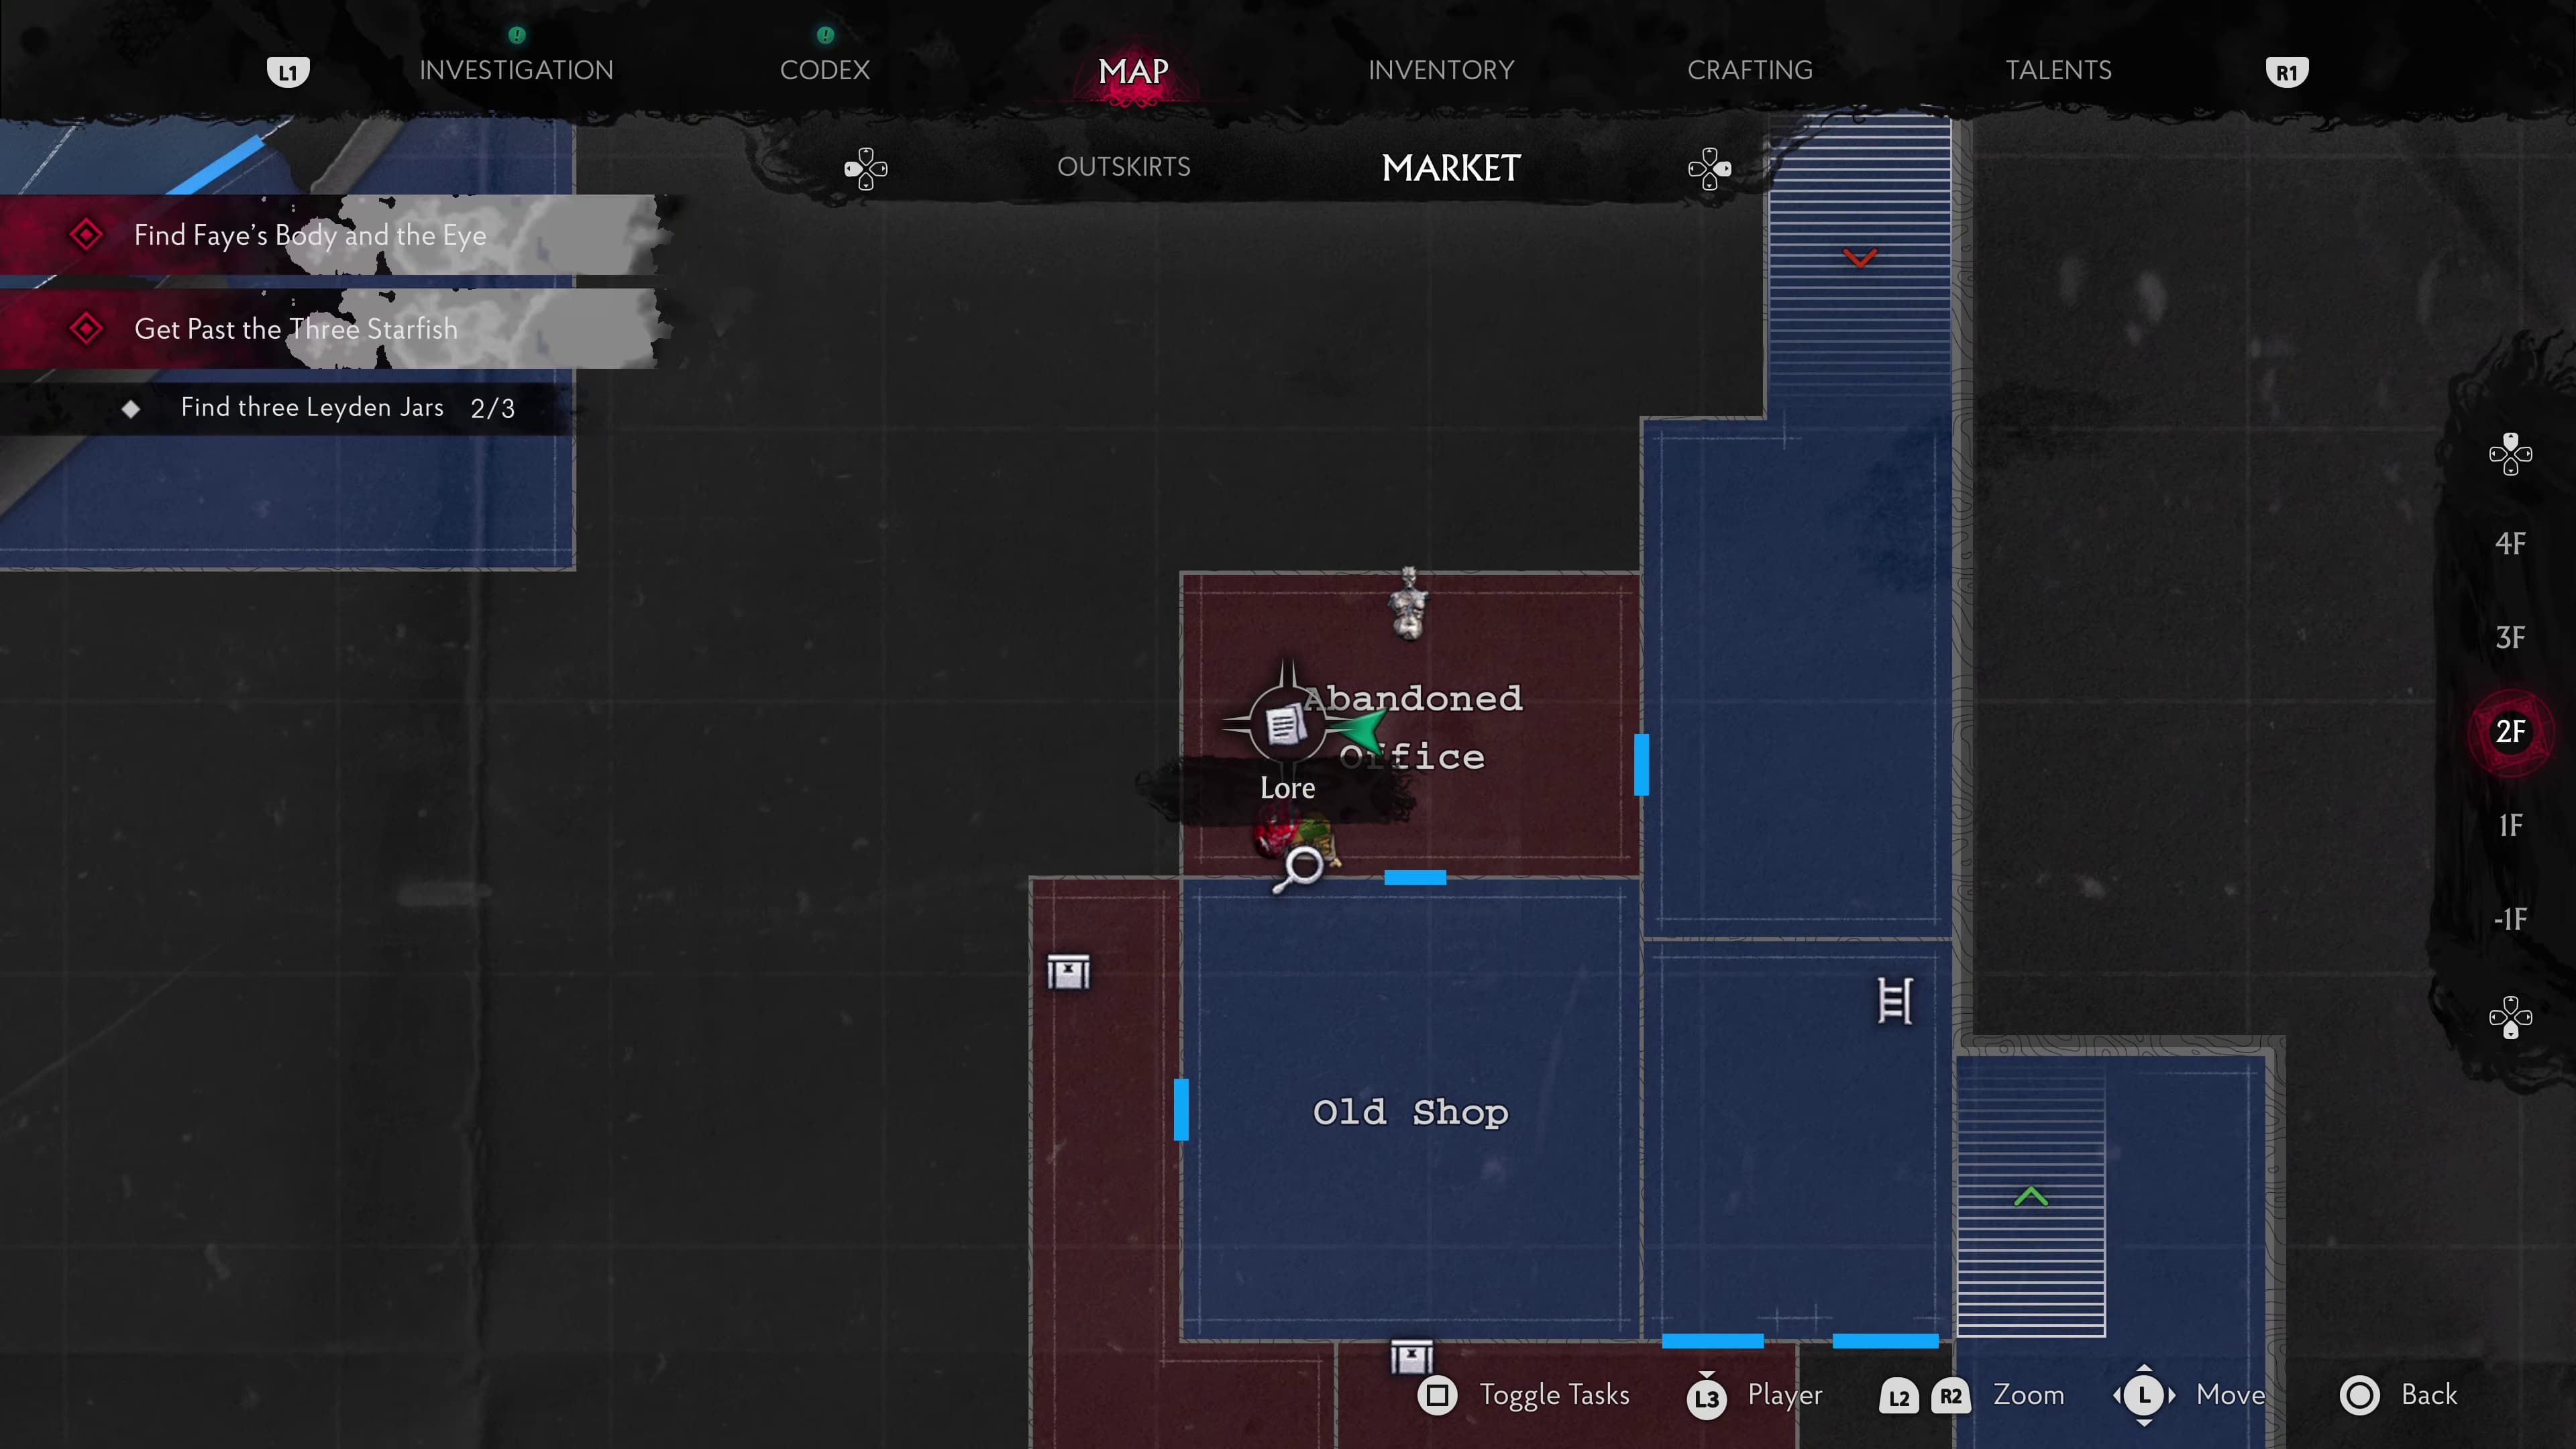
Make your way all the way back up to Ma's Shop, and go to collect the shining Leyden Jar on the countertop, make your way back into the Abandoned Office.
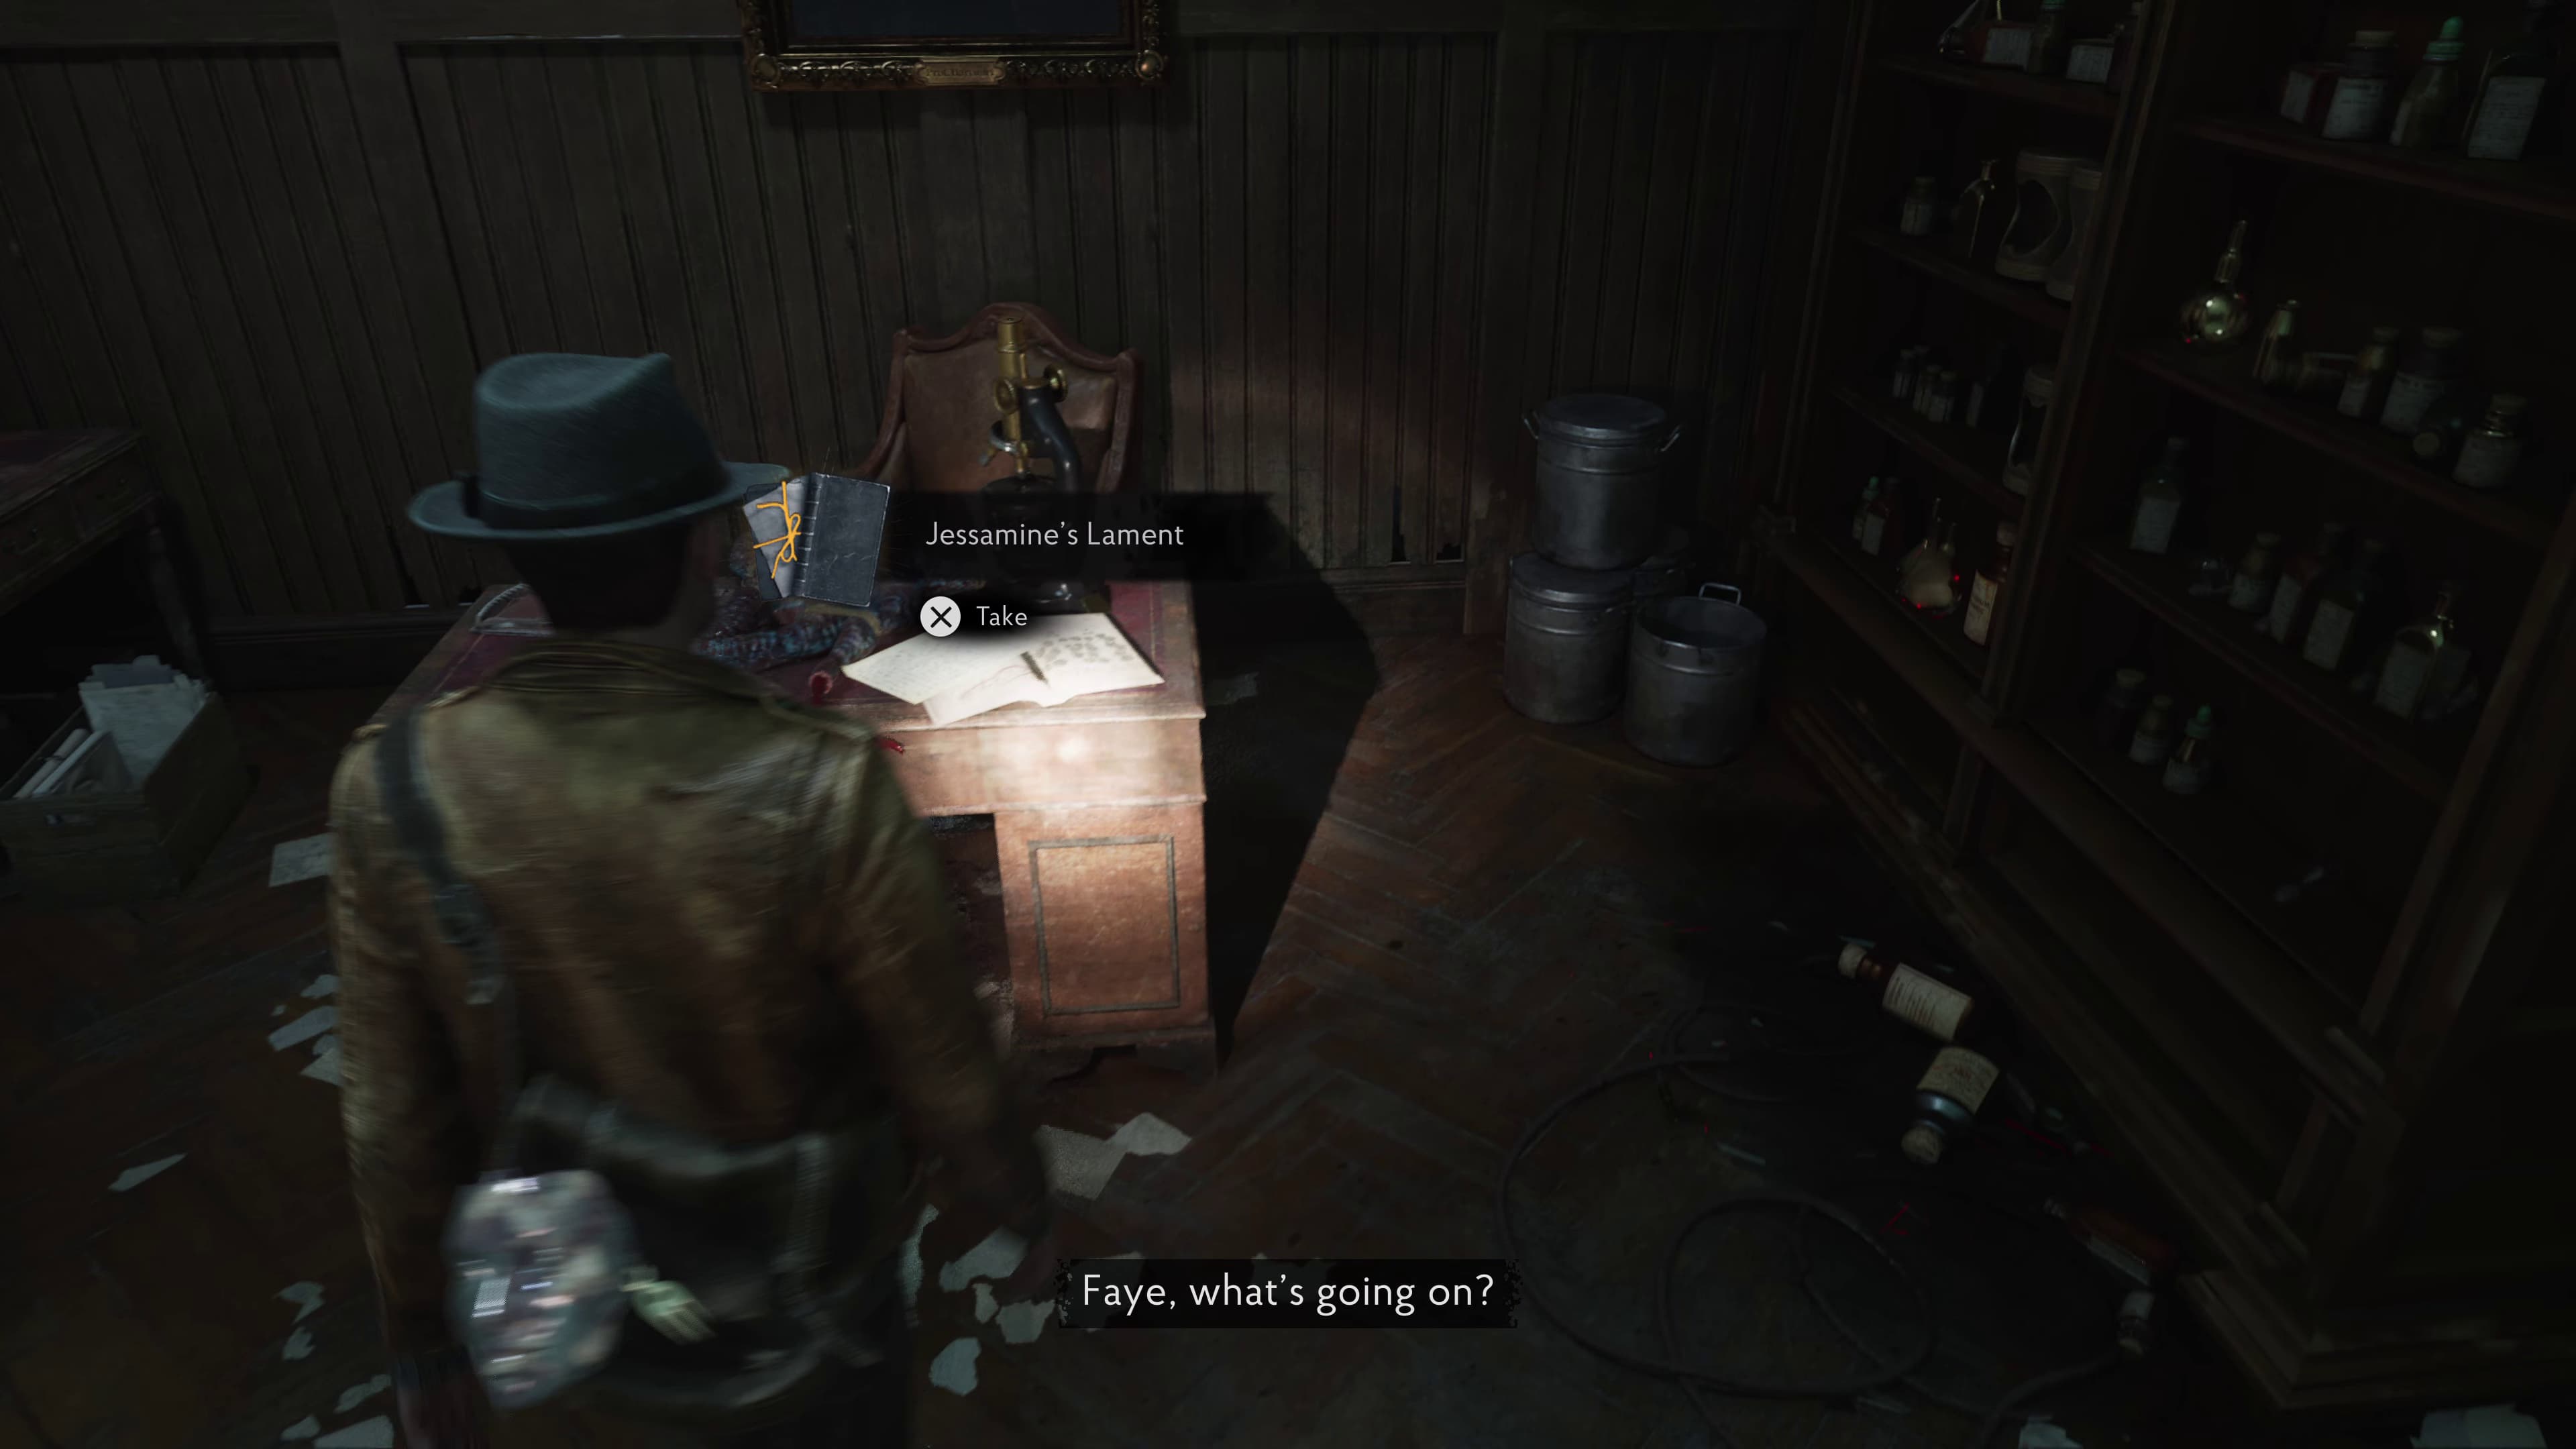
Interact with the Leyden Jar inside the safe (Safe Code 6294) after the glisten has all gone, and on the main desk will be the next Lore Document (Jessamine's Lament).
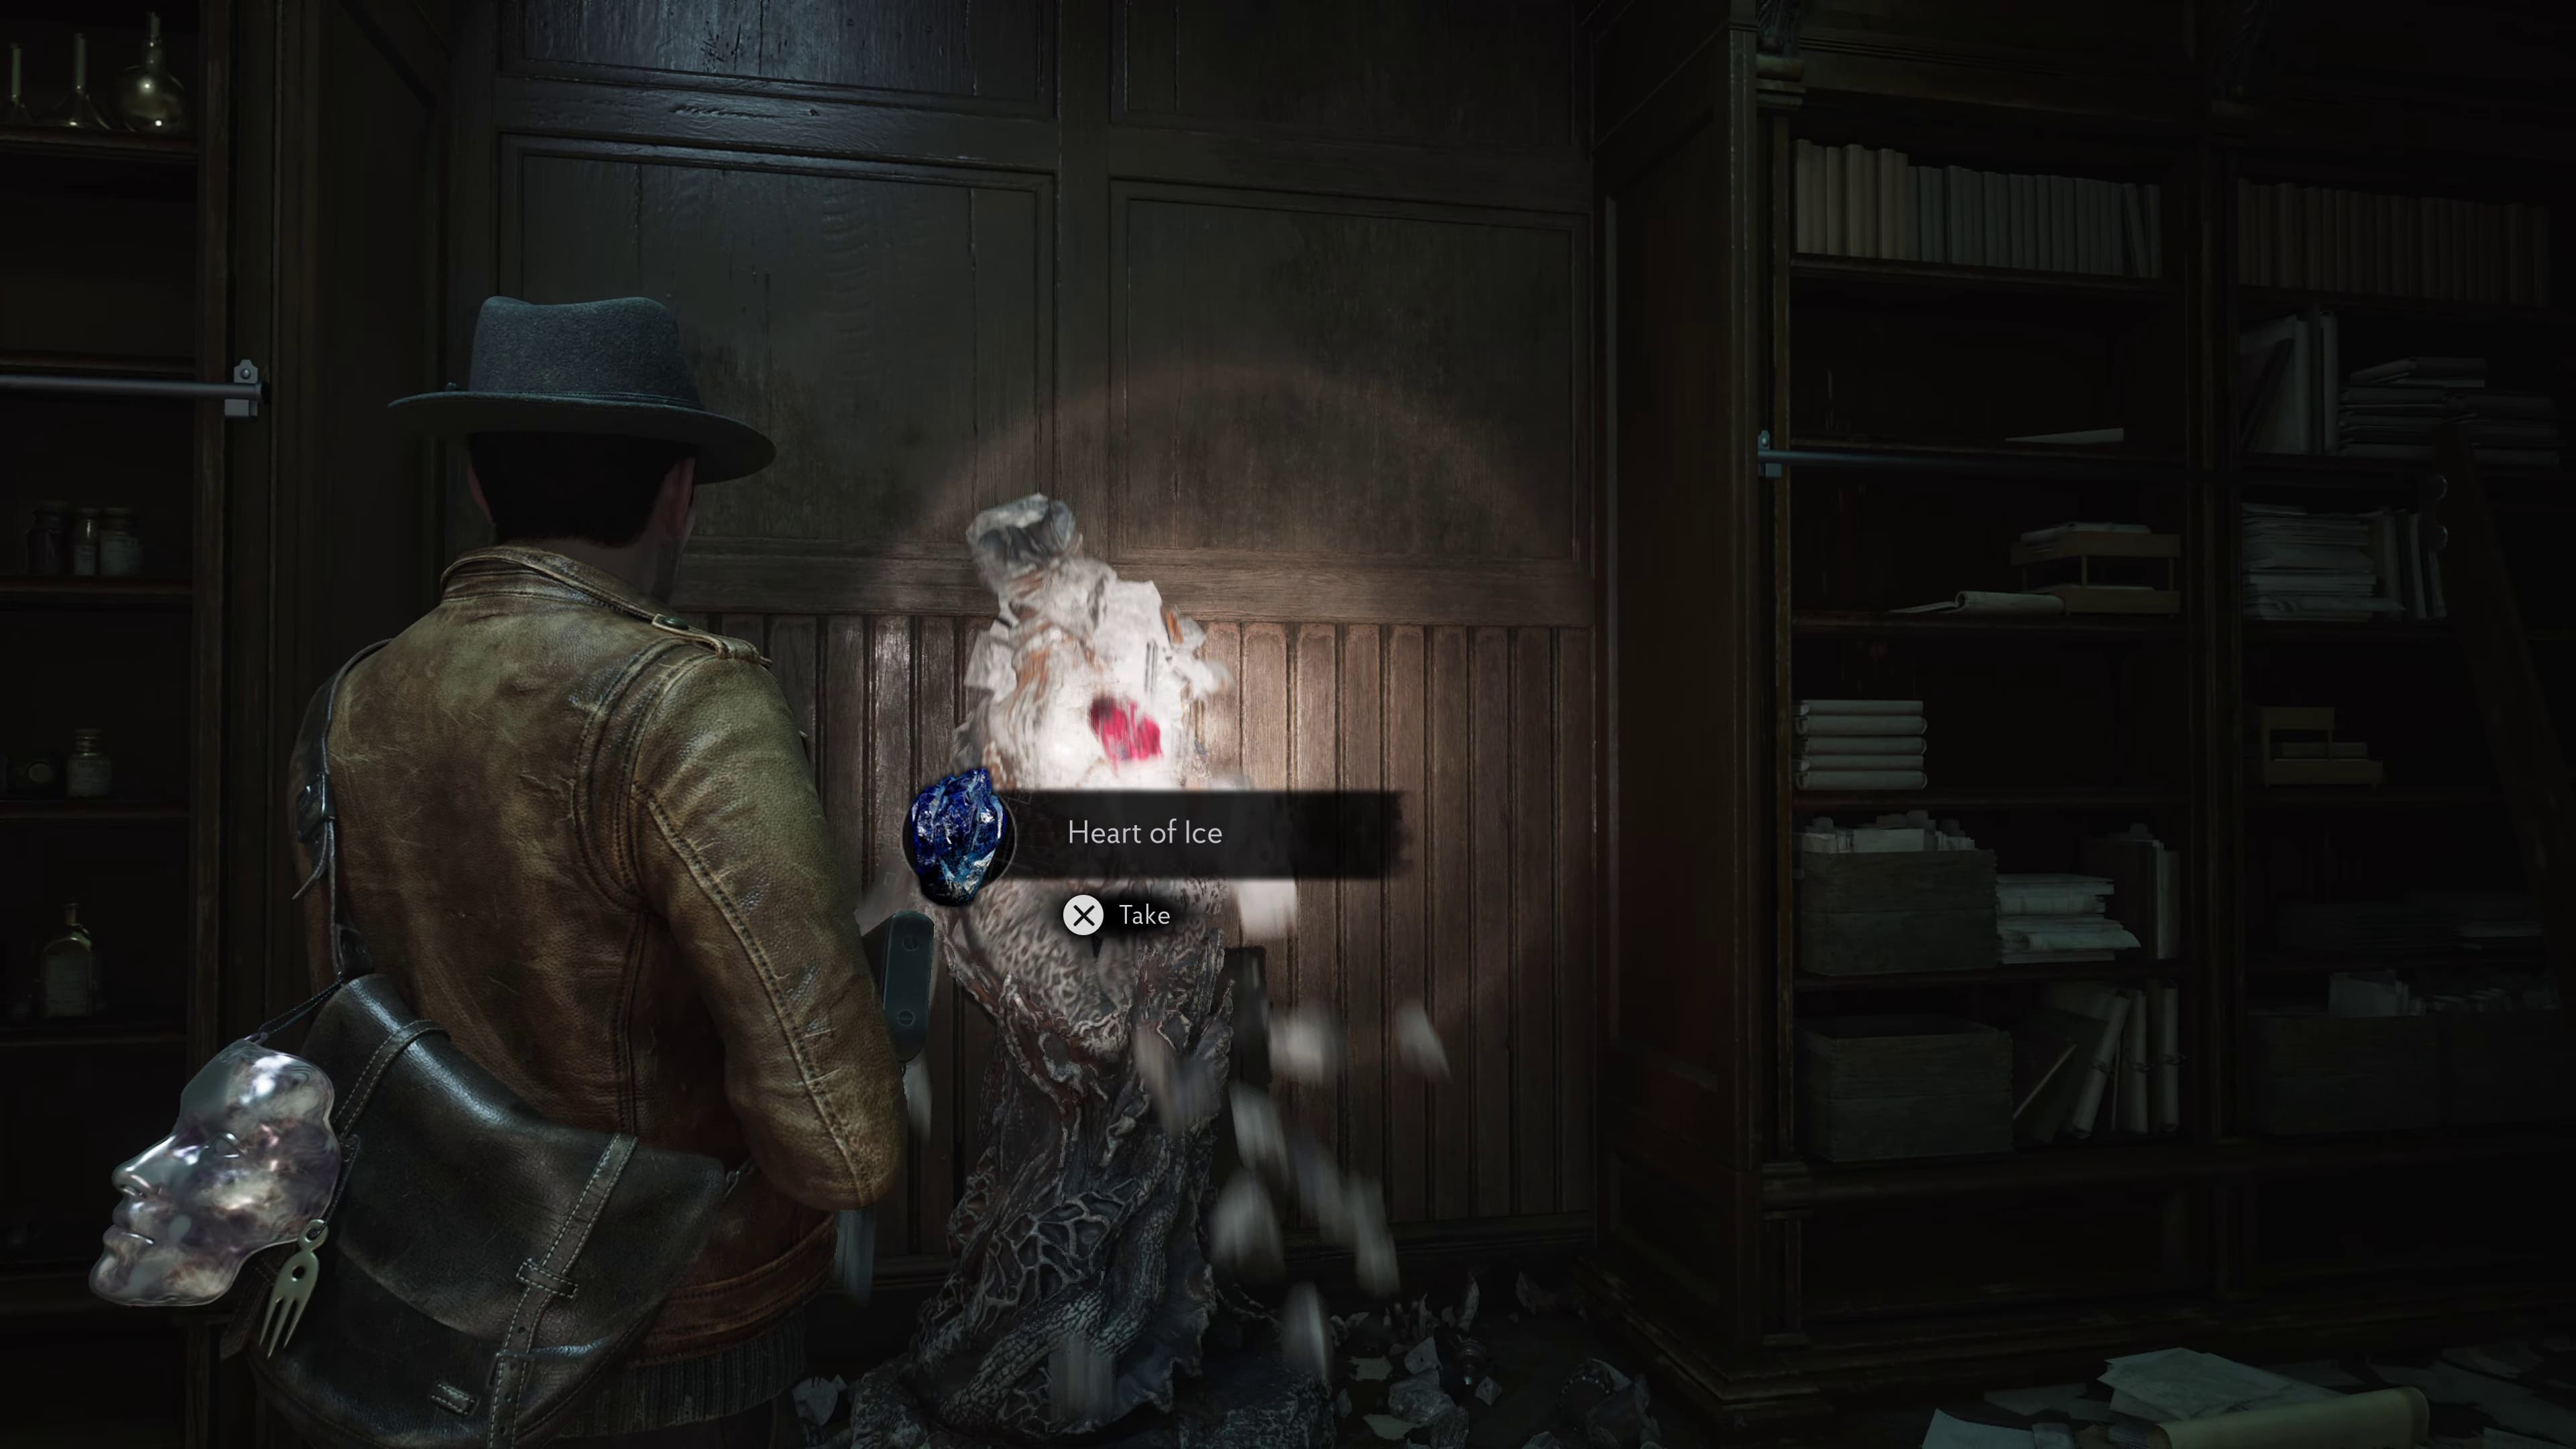
Inside the safe will be the next Evidence (Cryptic Riddle) and of course the heart for the Statue Puzzle. After completing the Statue puzzle, take the Heart Of Ice and this will automatically give you the next Lore Document (An Icy Heart).
Now make your way back out of the other door in the Abandoned Office, and head downstairs, all the way through down to Cold Storage. Use the Heart Of Ice on the statue down here and take the Leyden Jar.
Exit out of Cold Storage and make it all the way back over to the West Wing. Head upstairs to the Construction Site to charge the third Leyden Jar. After doing so, make your way back out and to the 3 Starfish, insert all Leyden Jars to keep advancing in the ship.
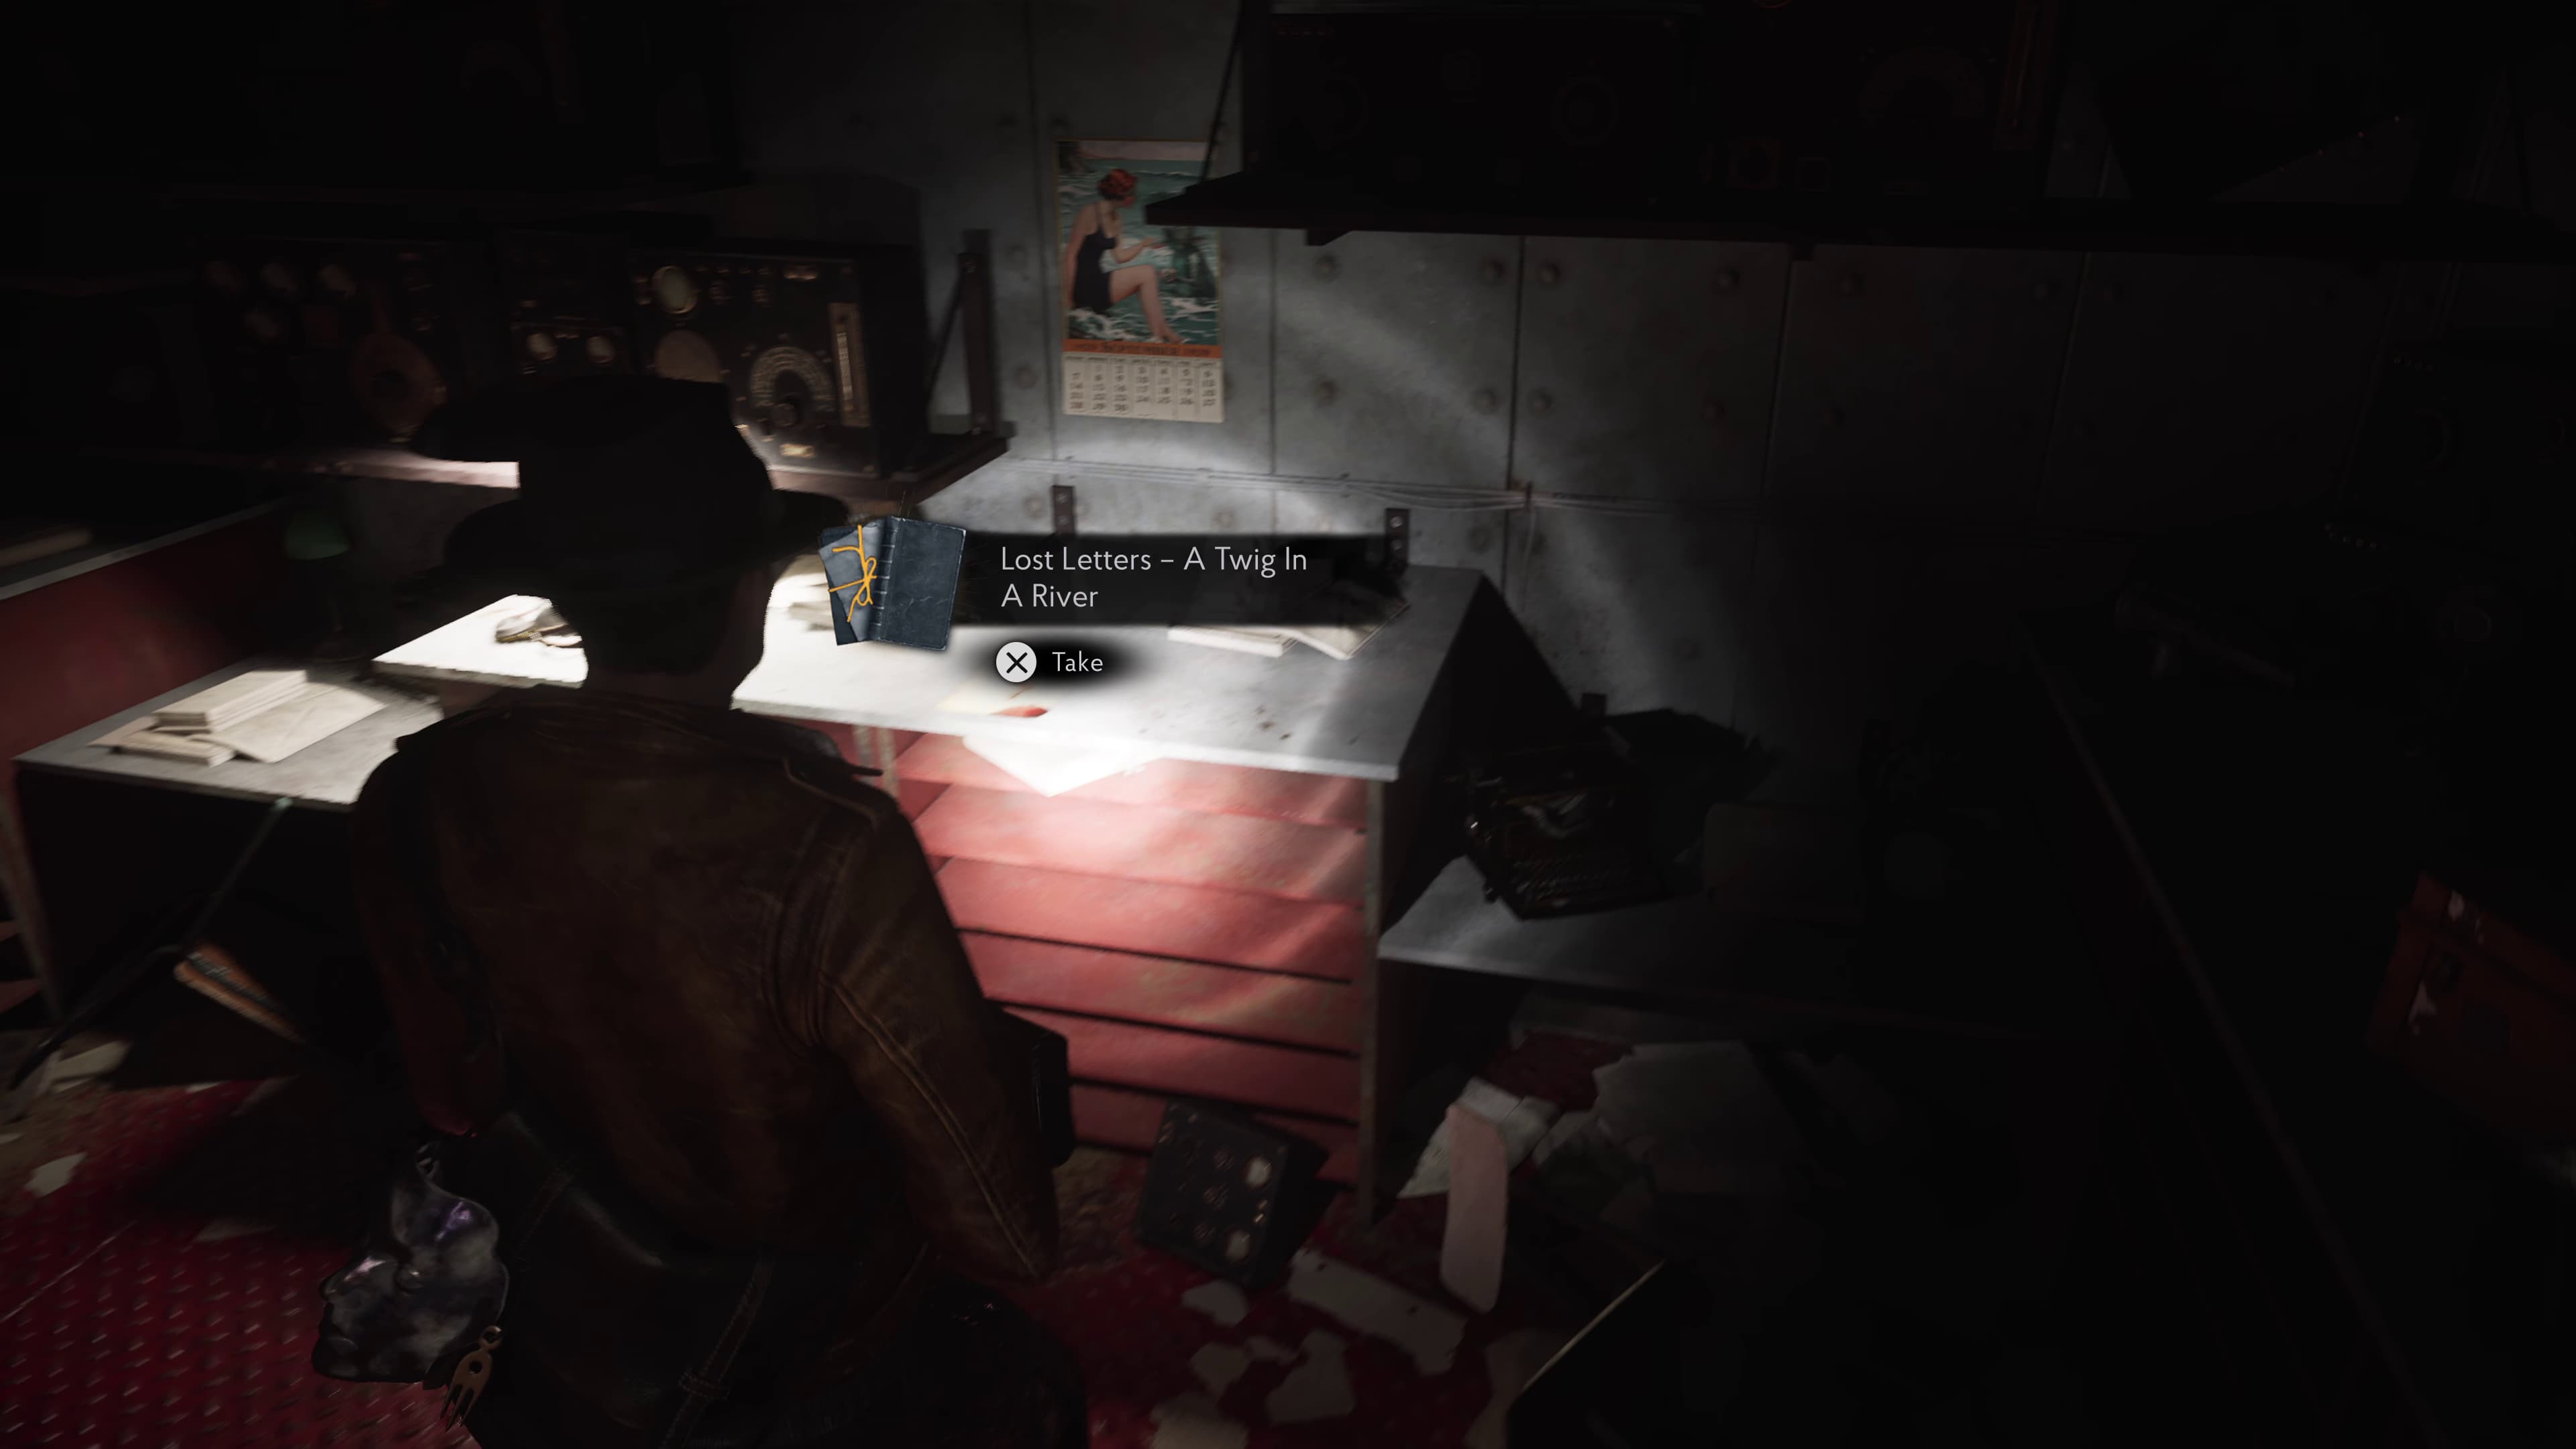
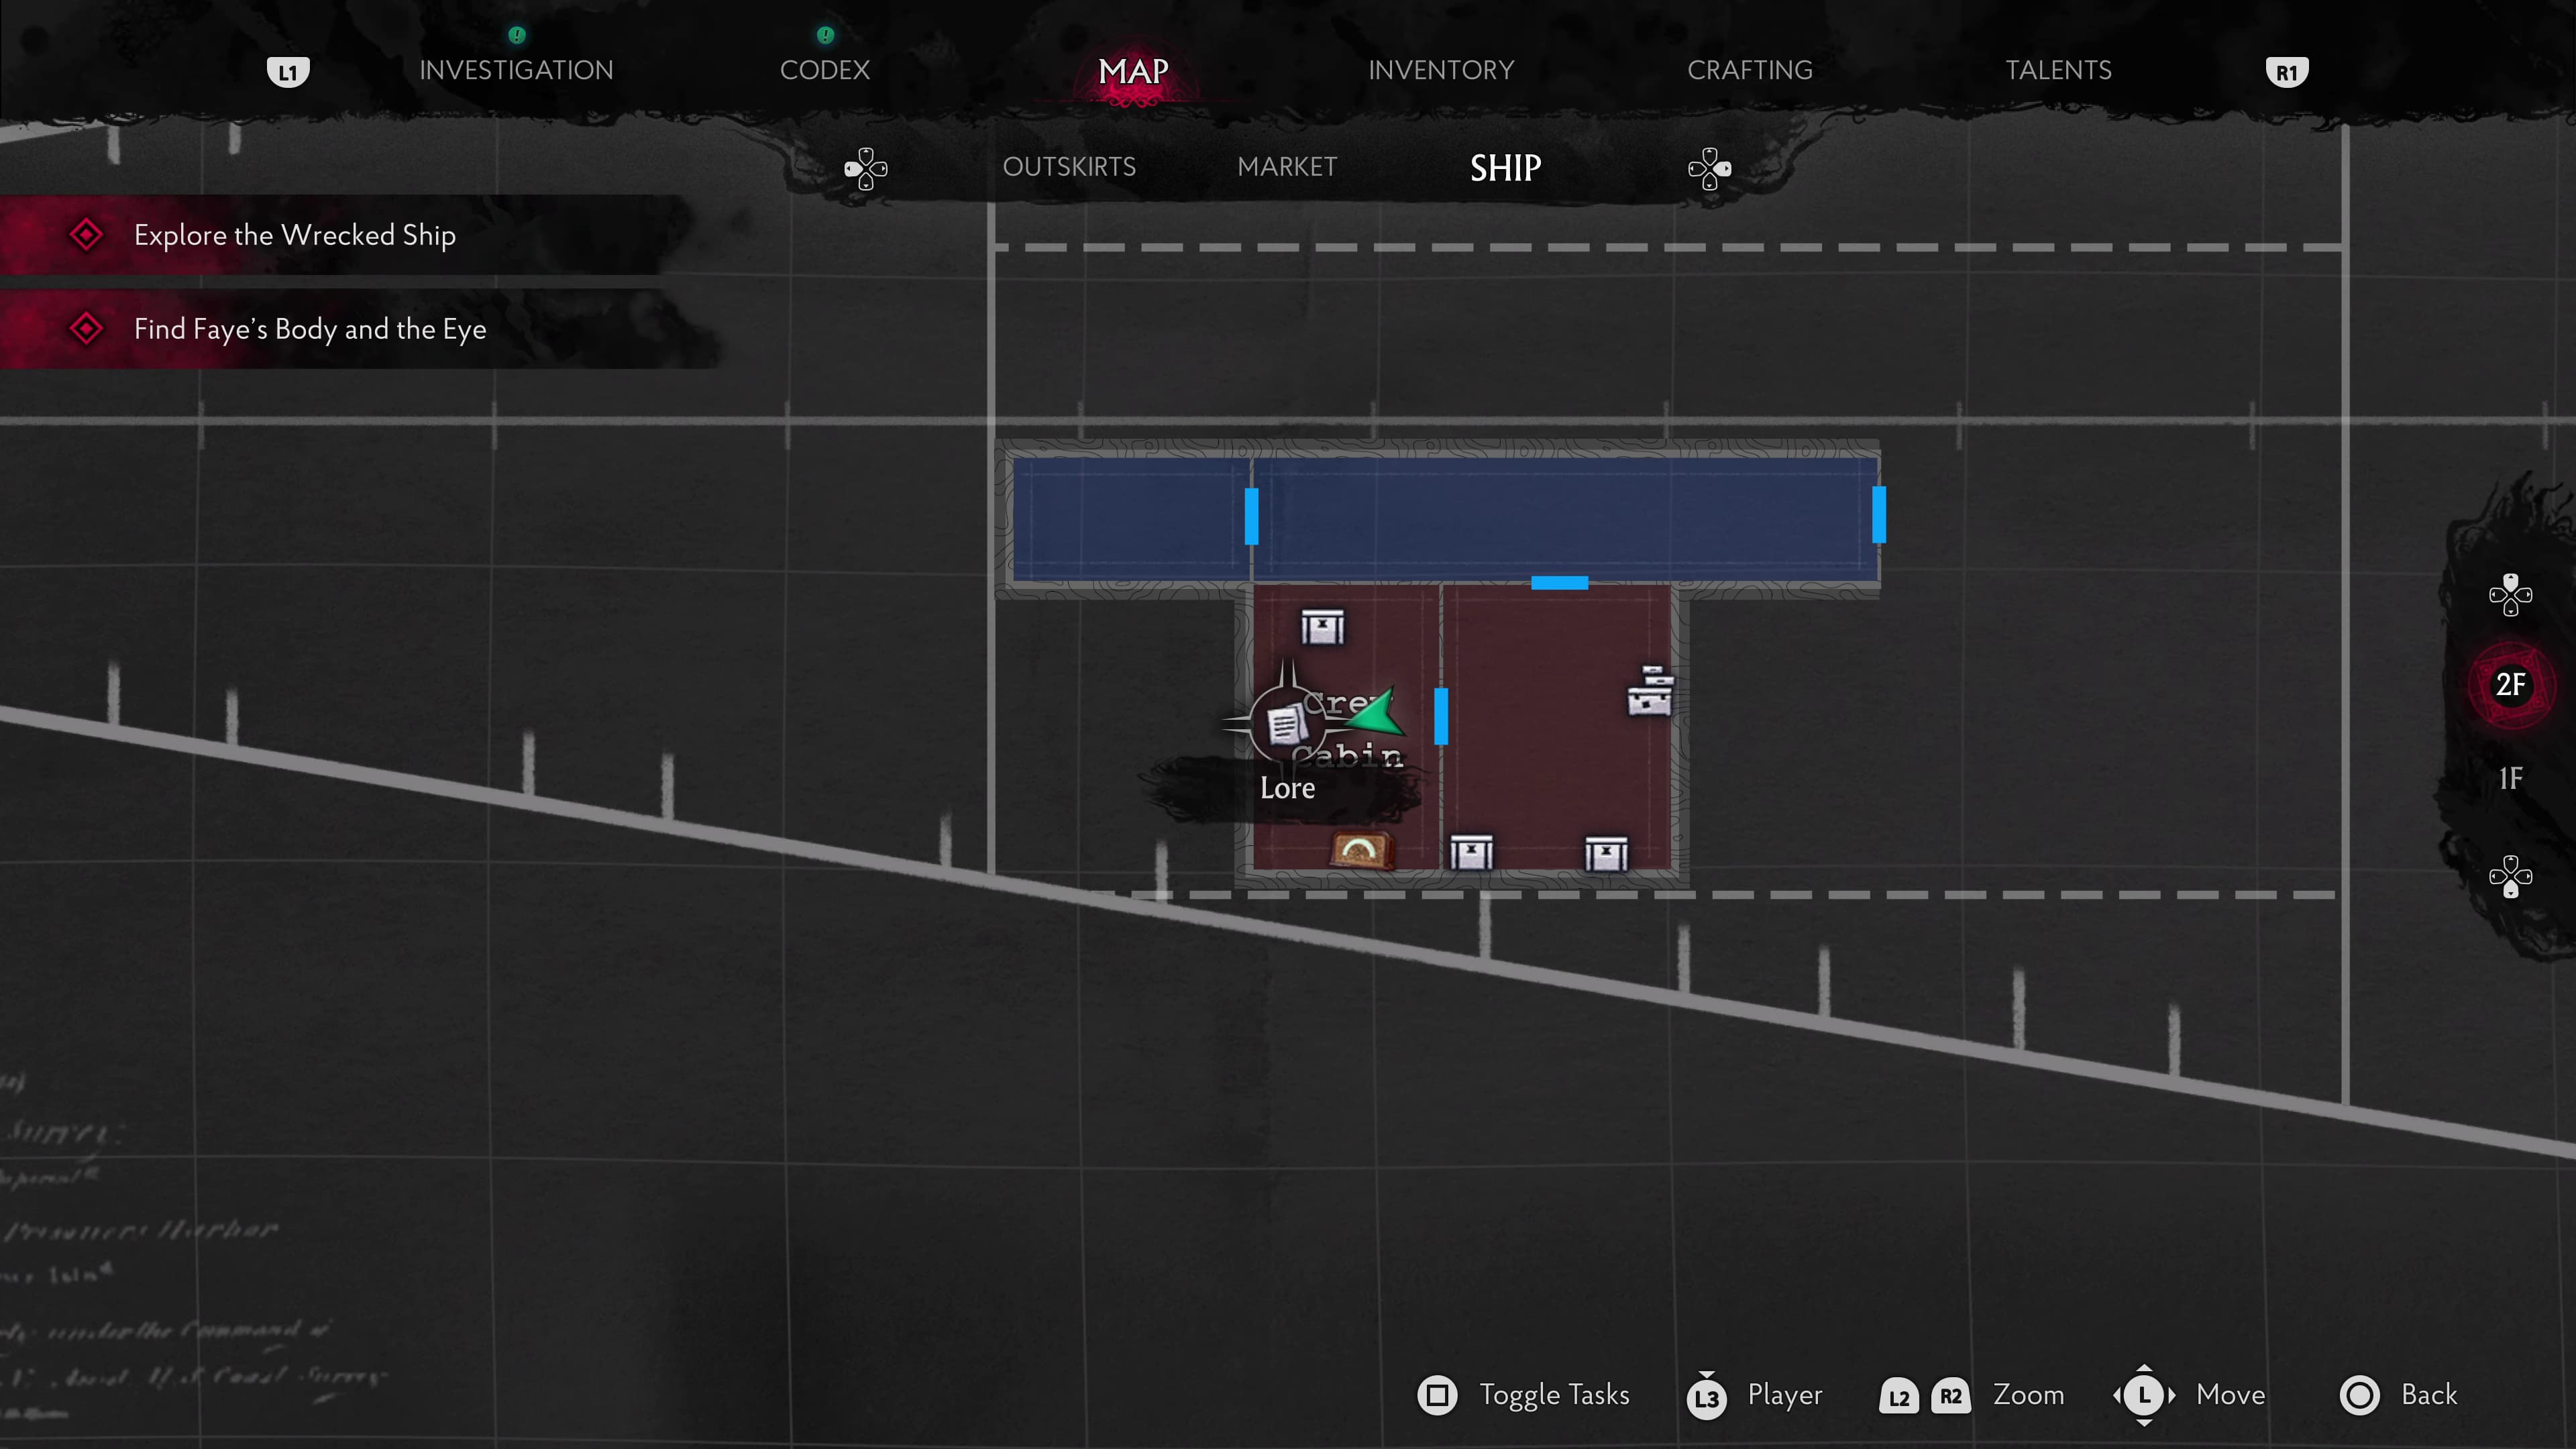
As soon as you make it up the first metal stairs, make an immediate right in towards the Cabin Crew. In the Cabin Crew room you will find a Lore Document (Lost Letters - A Twig In A River).
Make your way out of here towards the next outside area, on this platform is the next map to pick up.
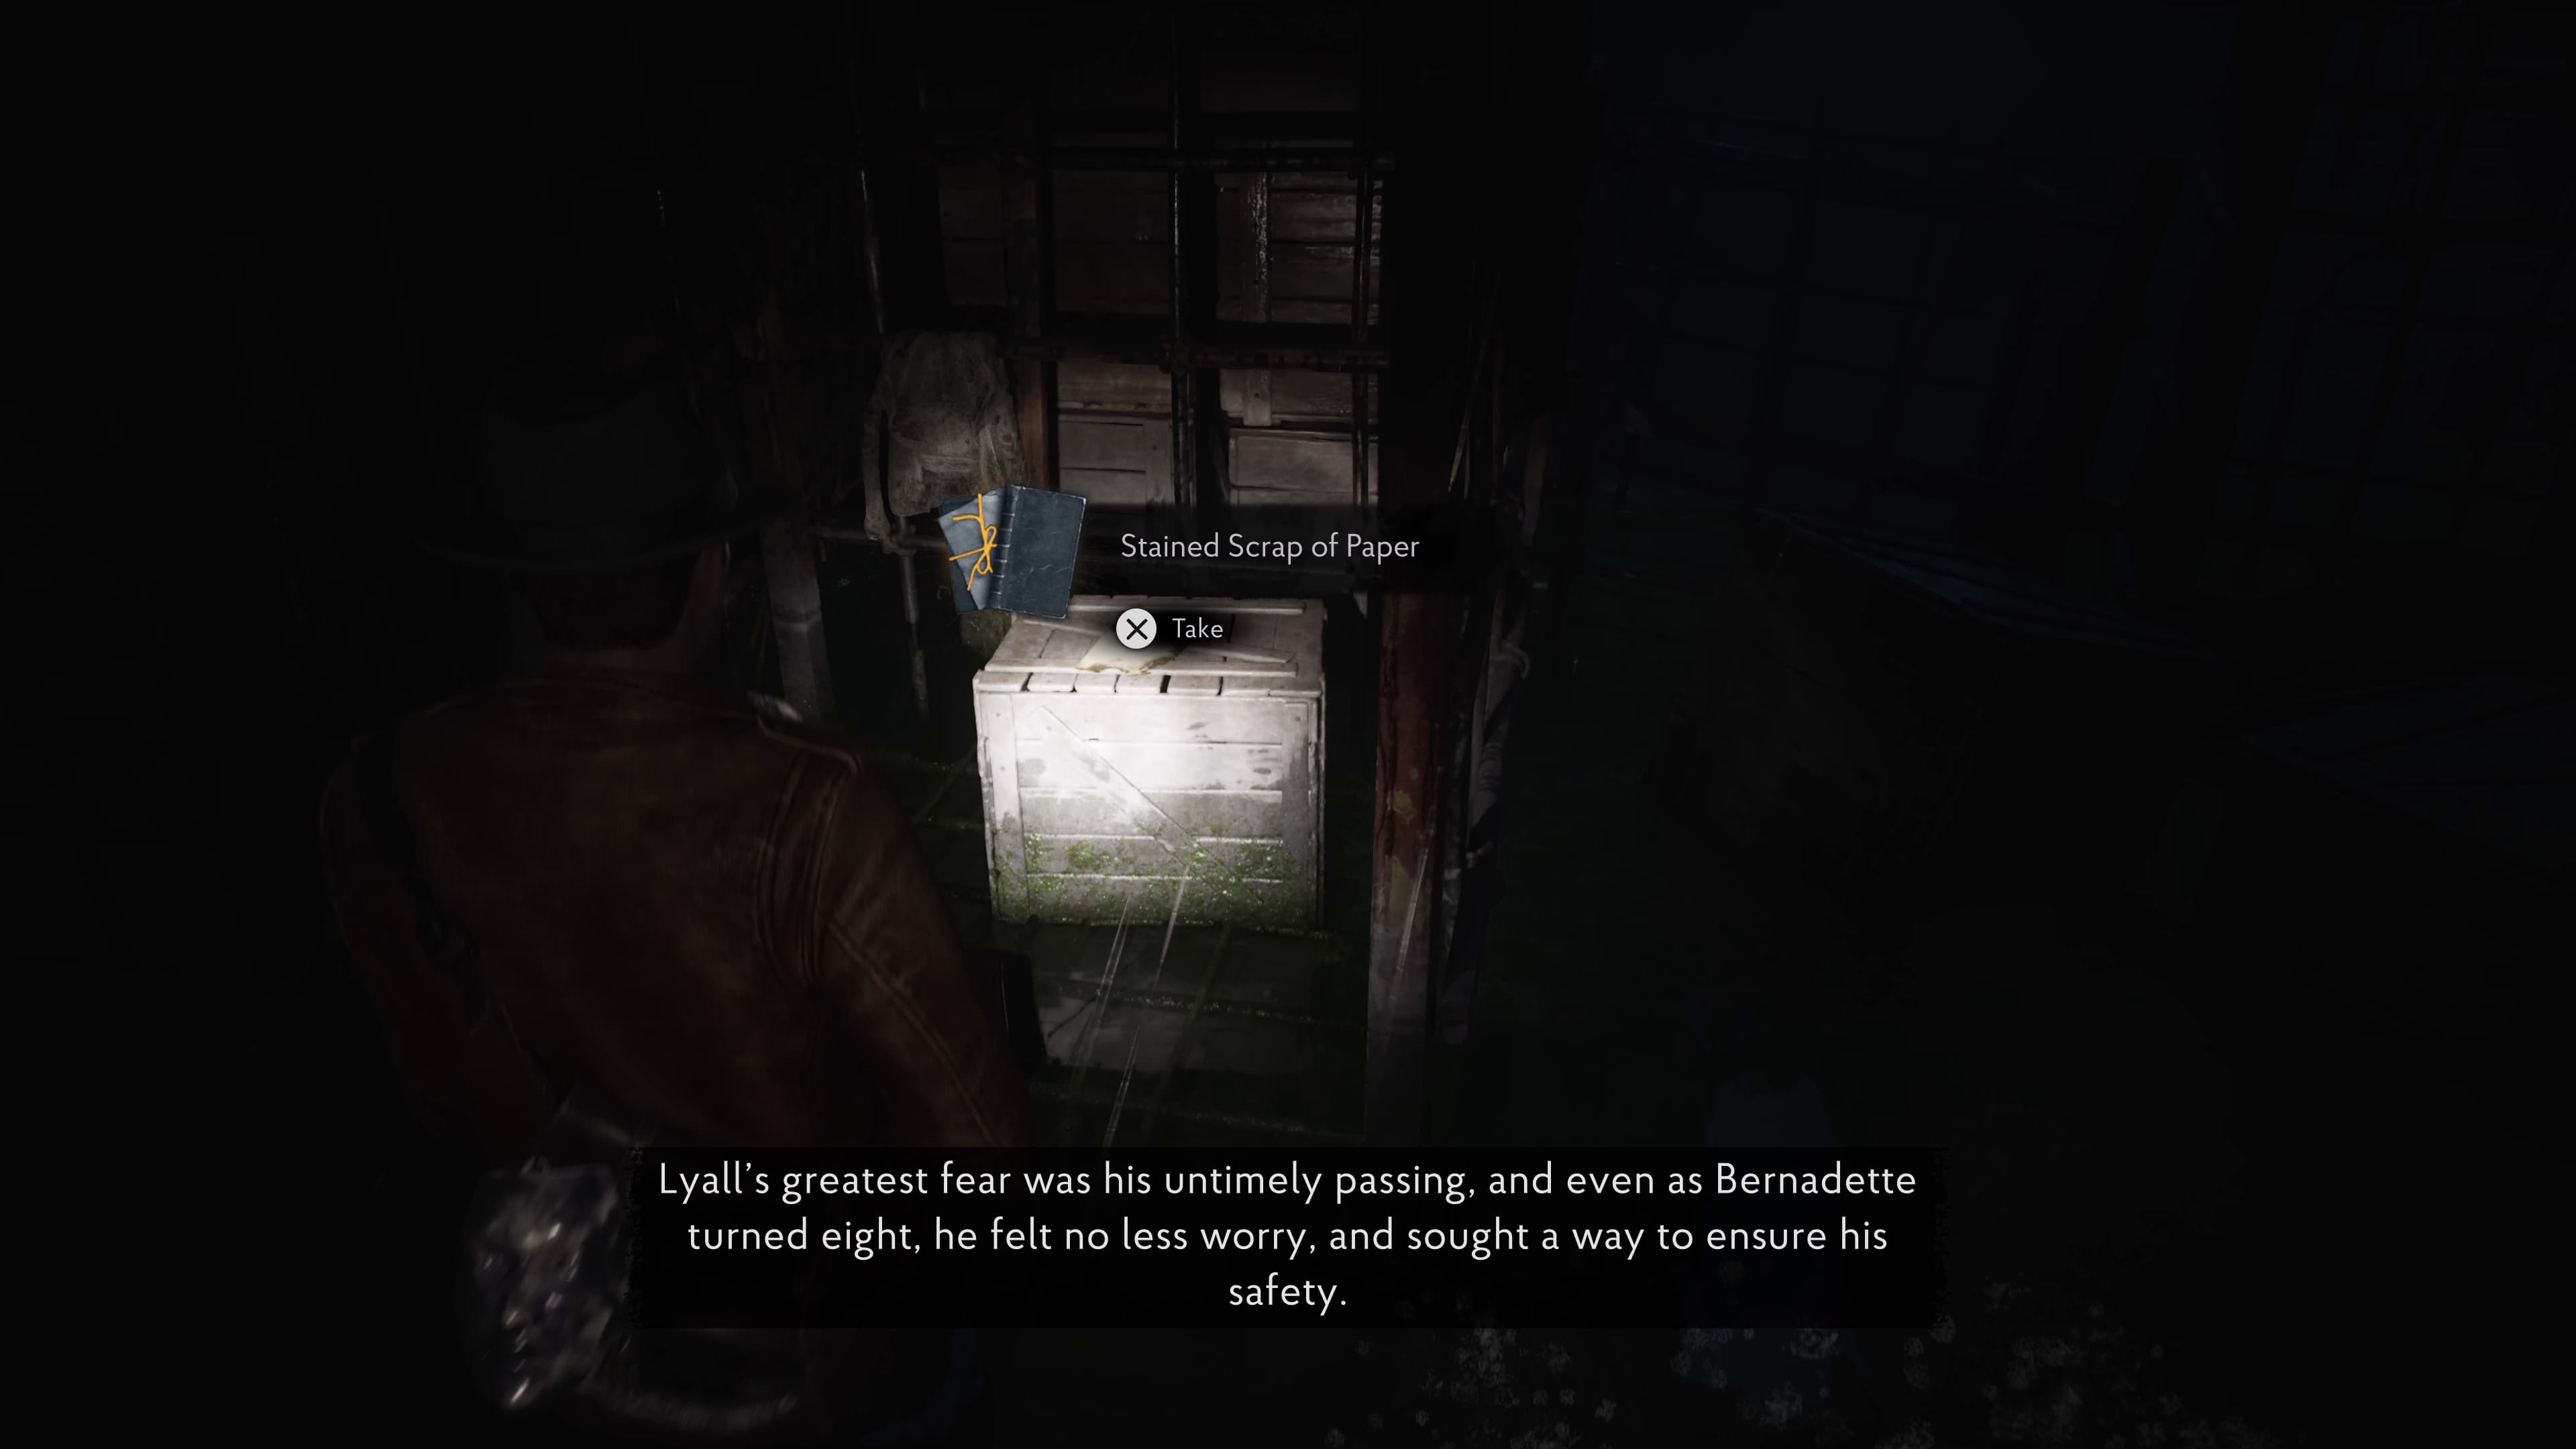
After dropping down into the shallow water, immediately ahead in a cage on a crate is the next Lore Document (Stained Scrap of Paper).
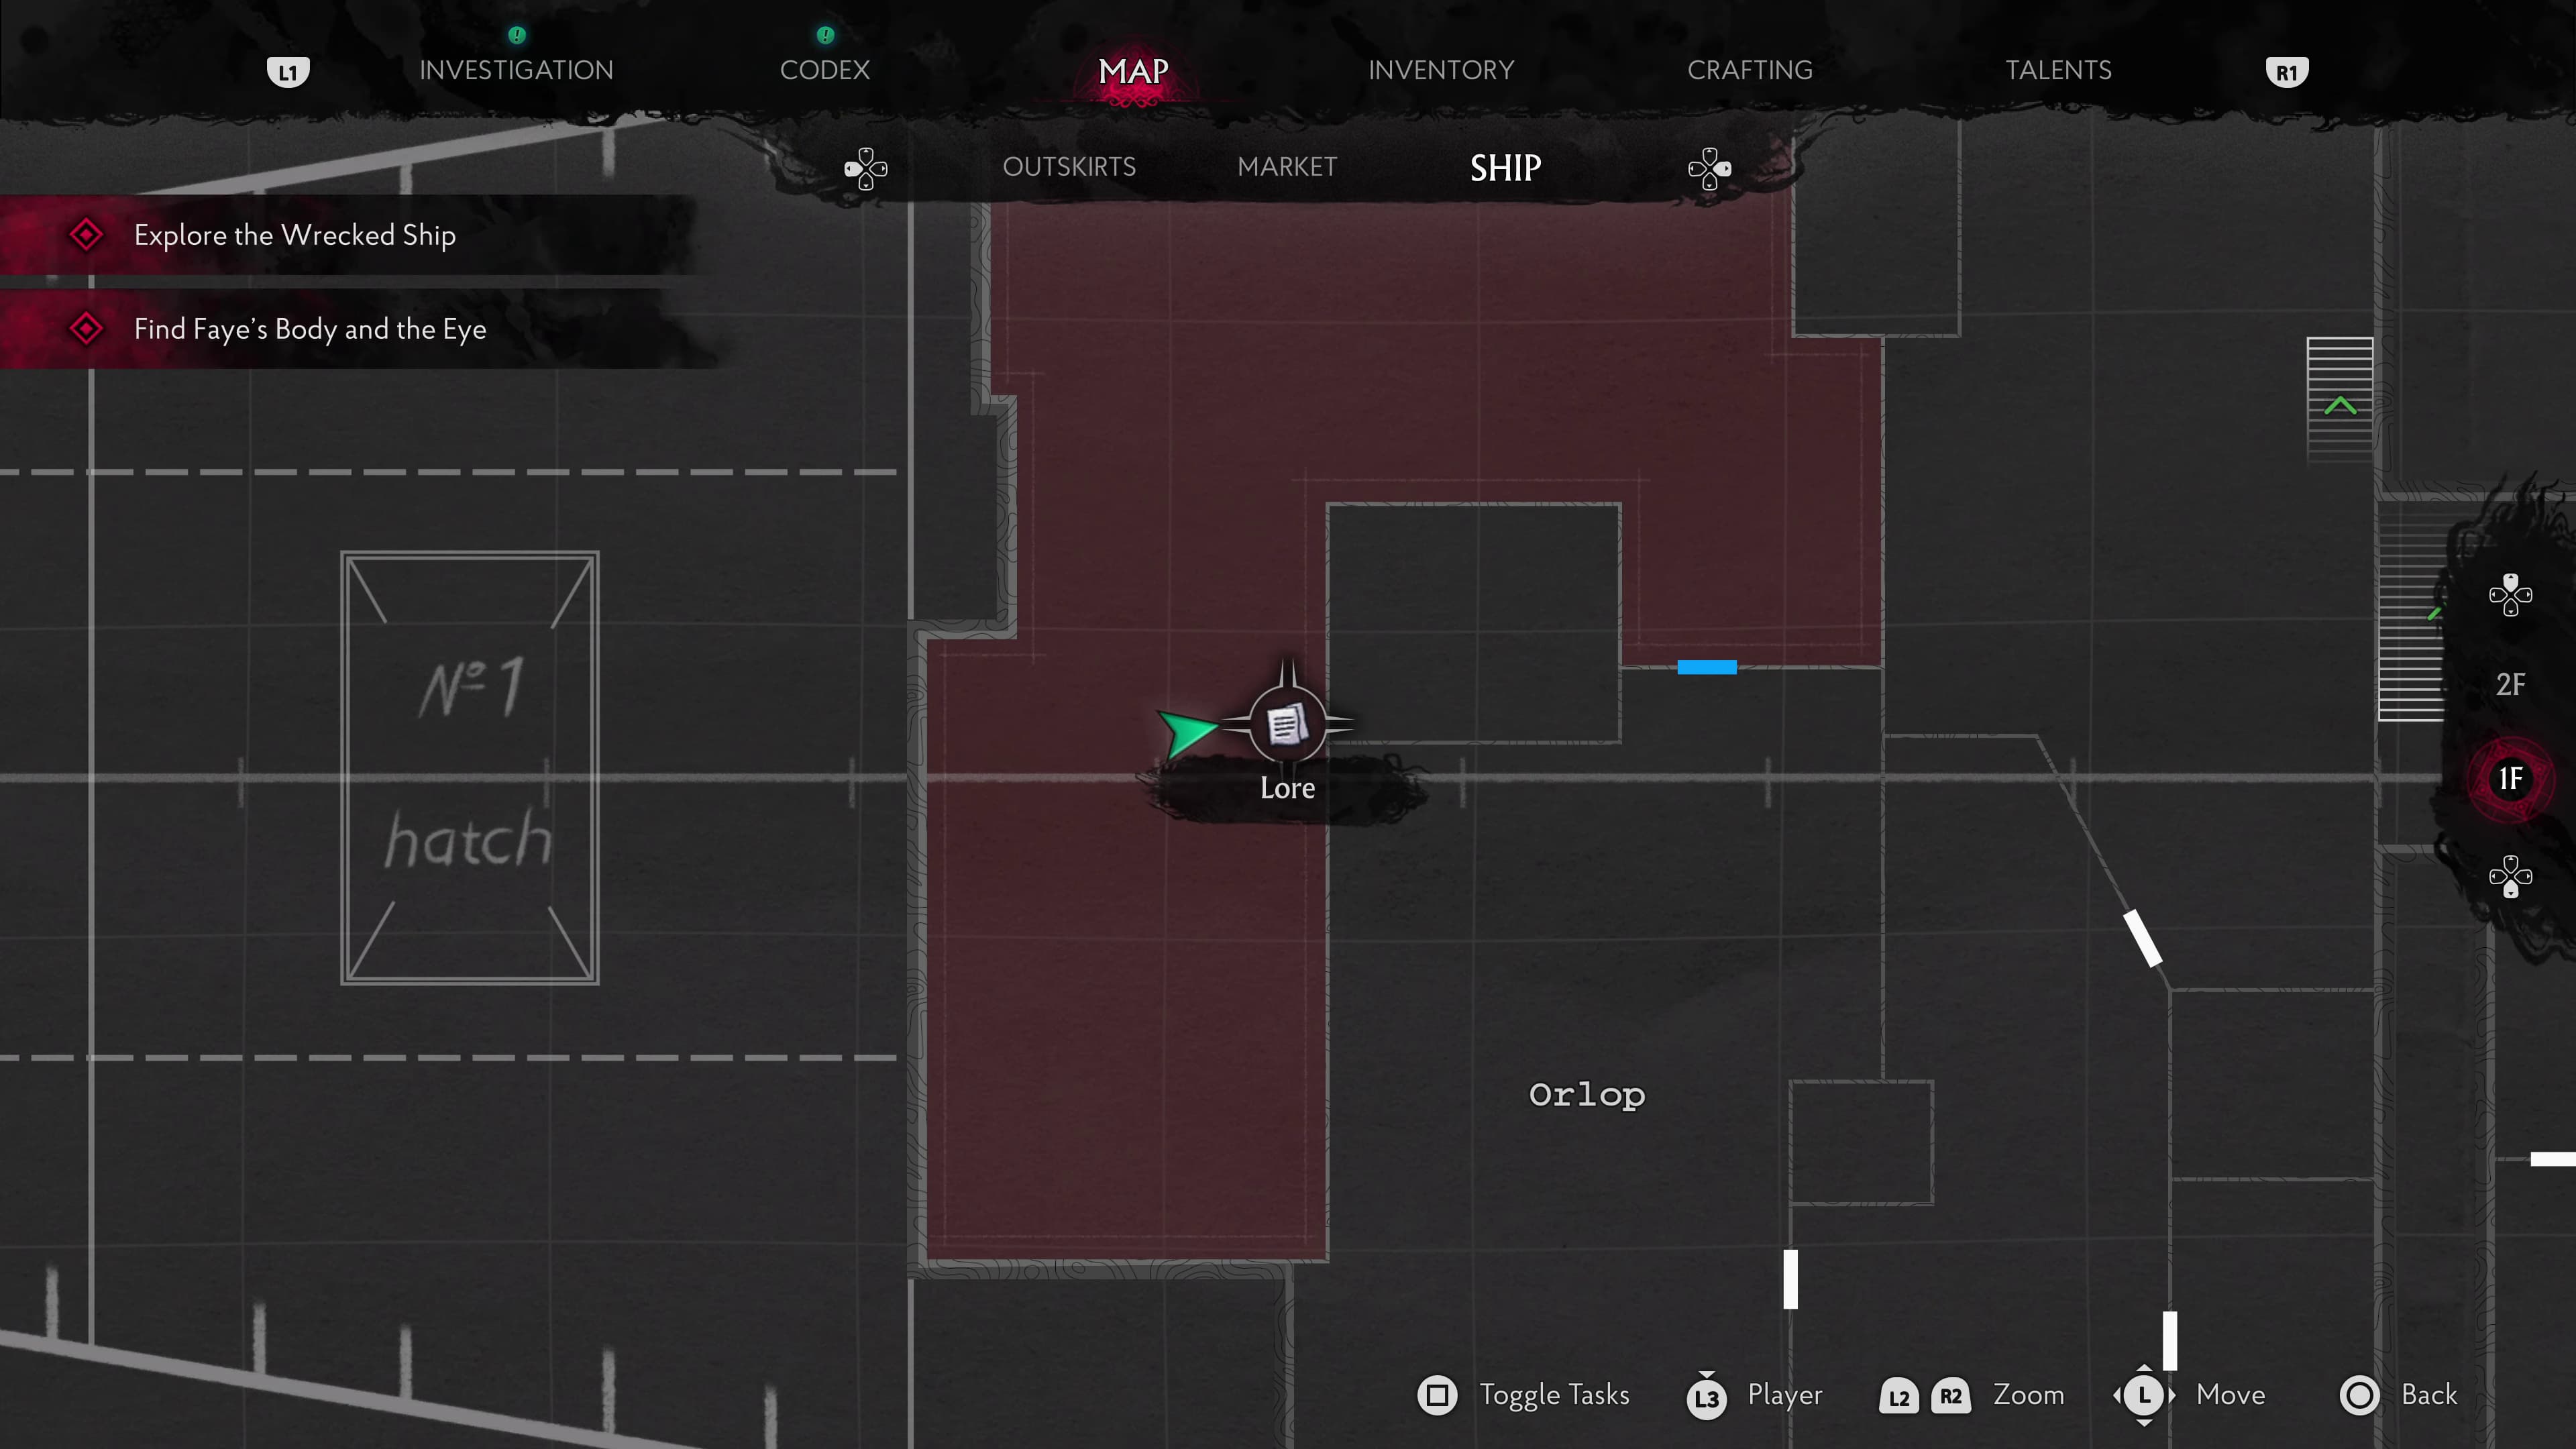
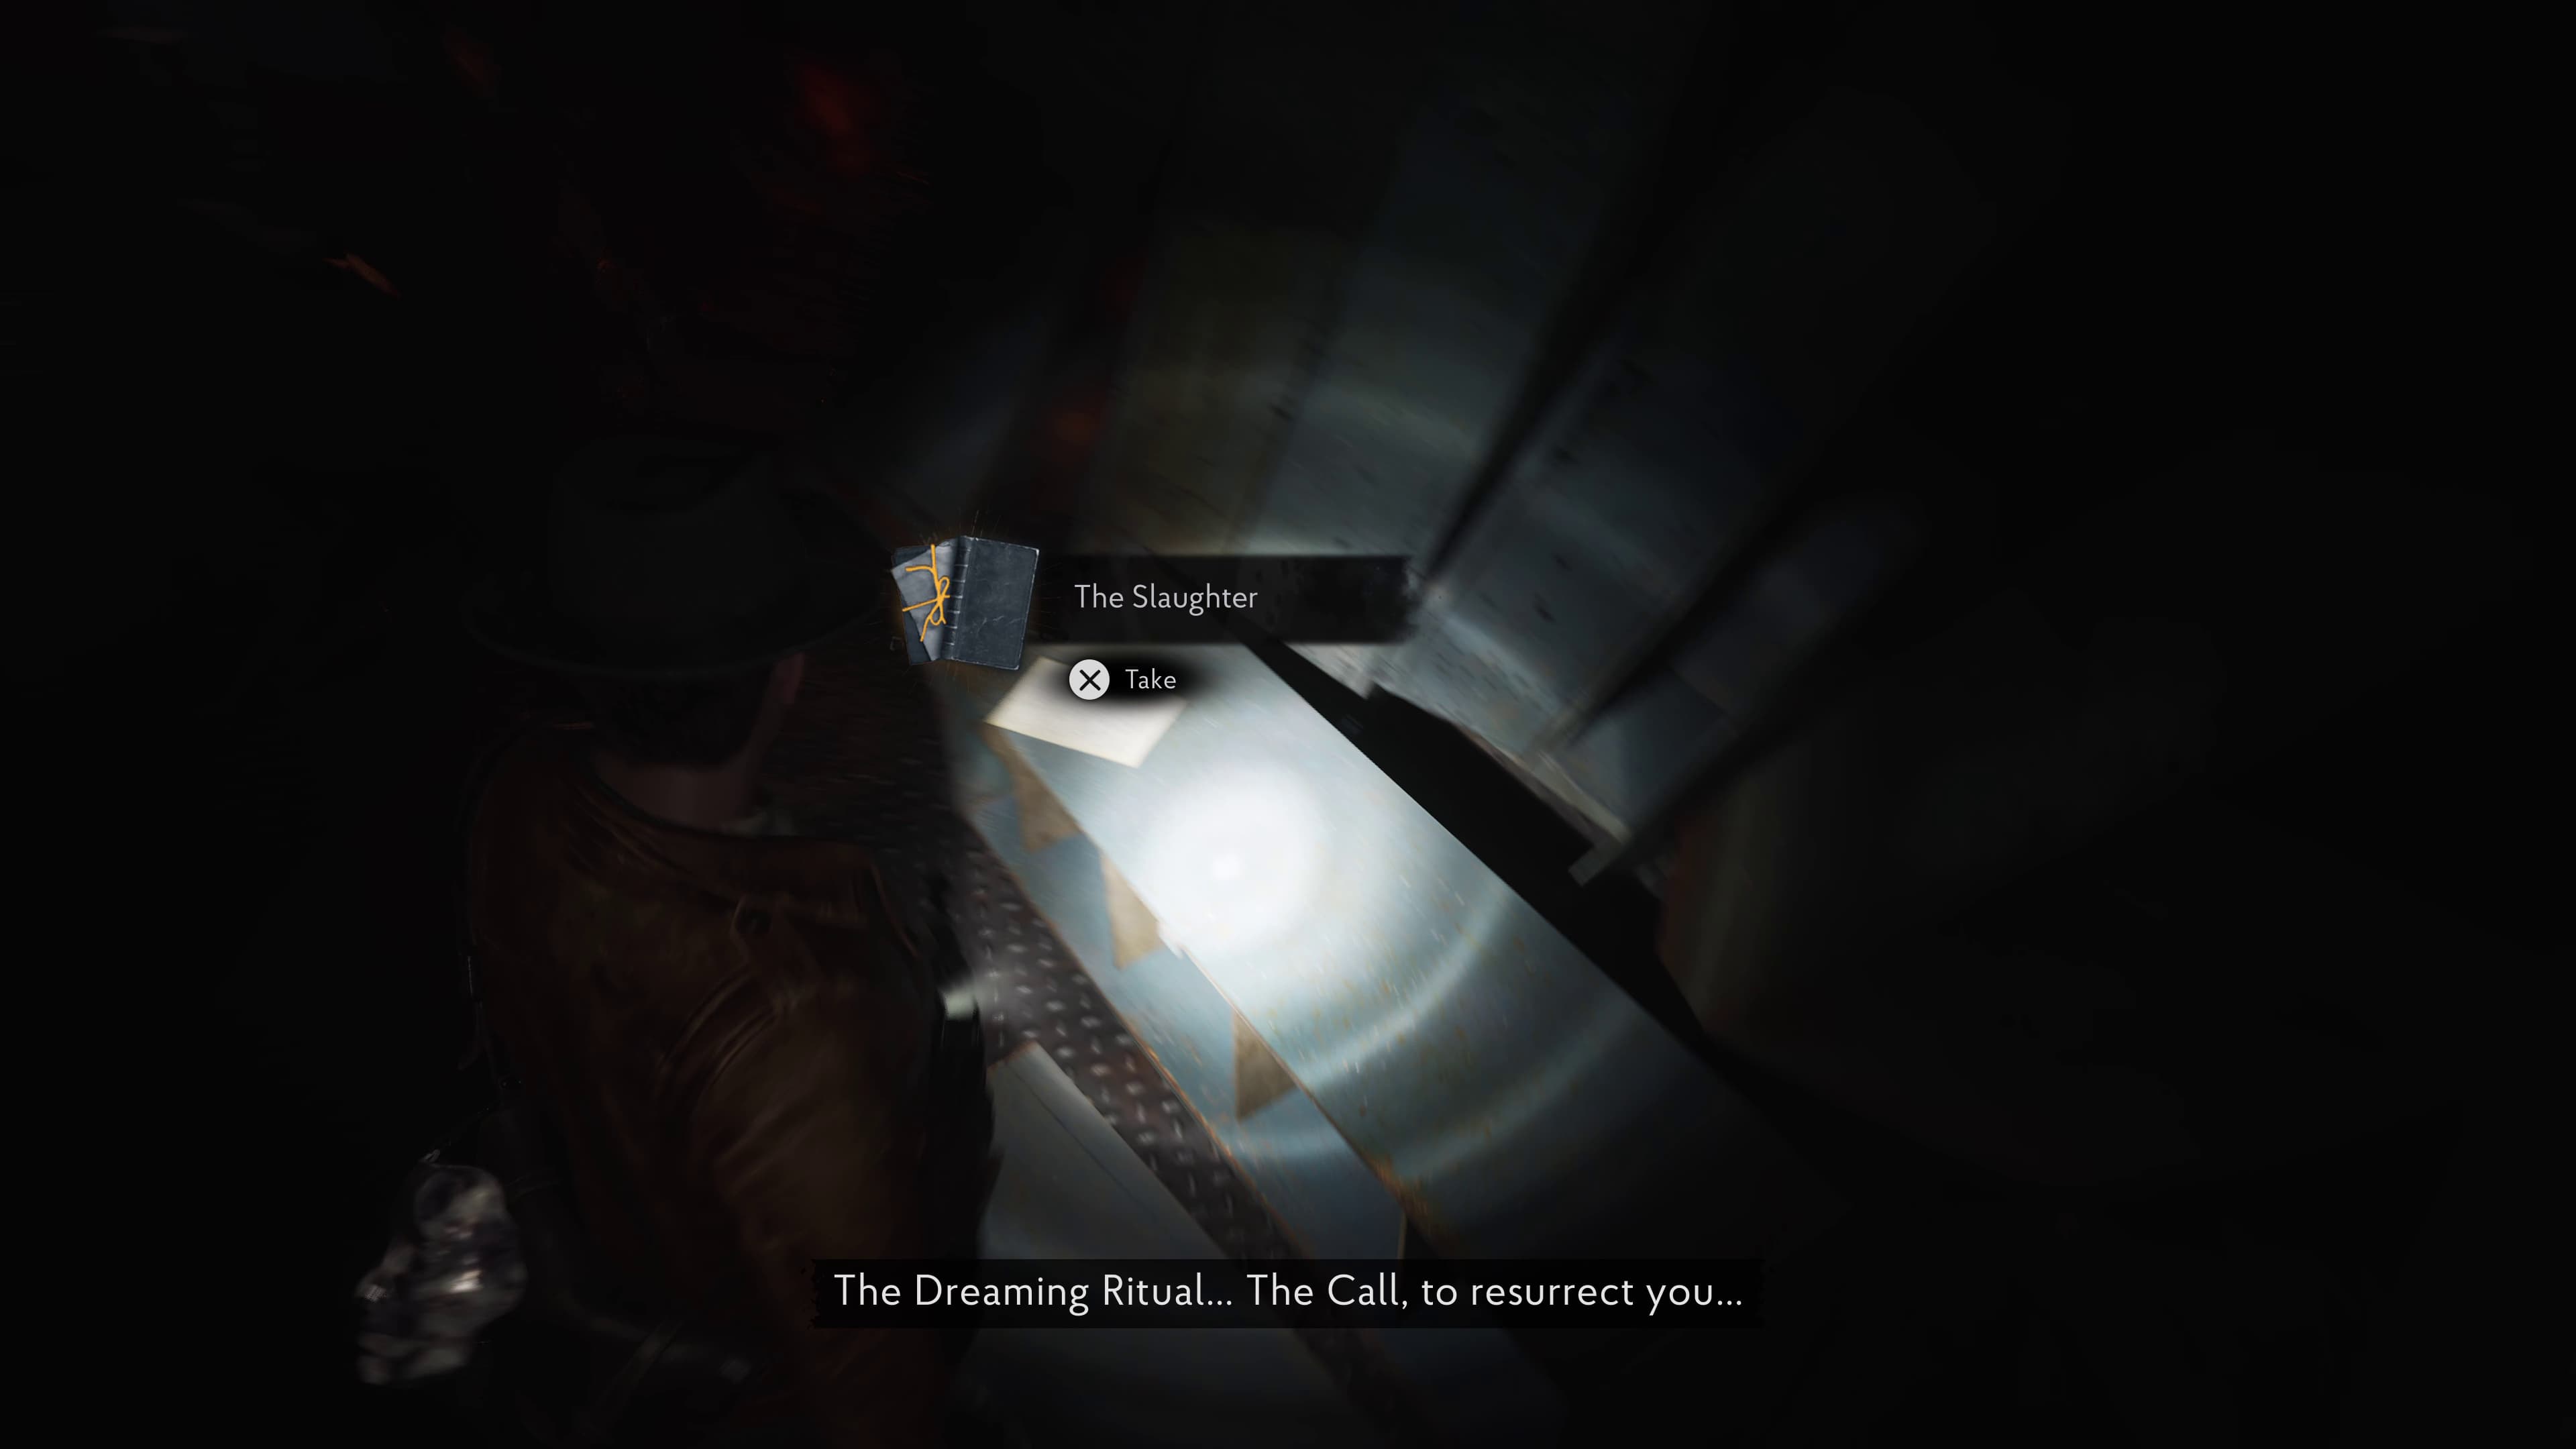
Progress all the way to the other side of the ship and head through the electricity room, and out the other side to come to some more stairs. Before going down, make your way to the back of the stairs where on a fallen locker, will be the next Lore Document (The Slaughter).
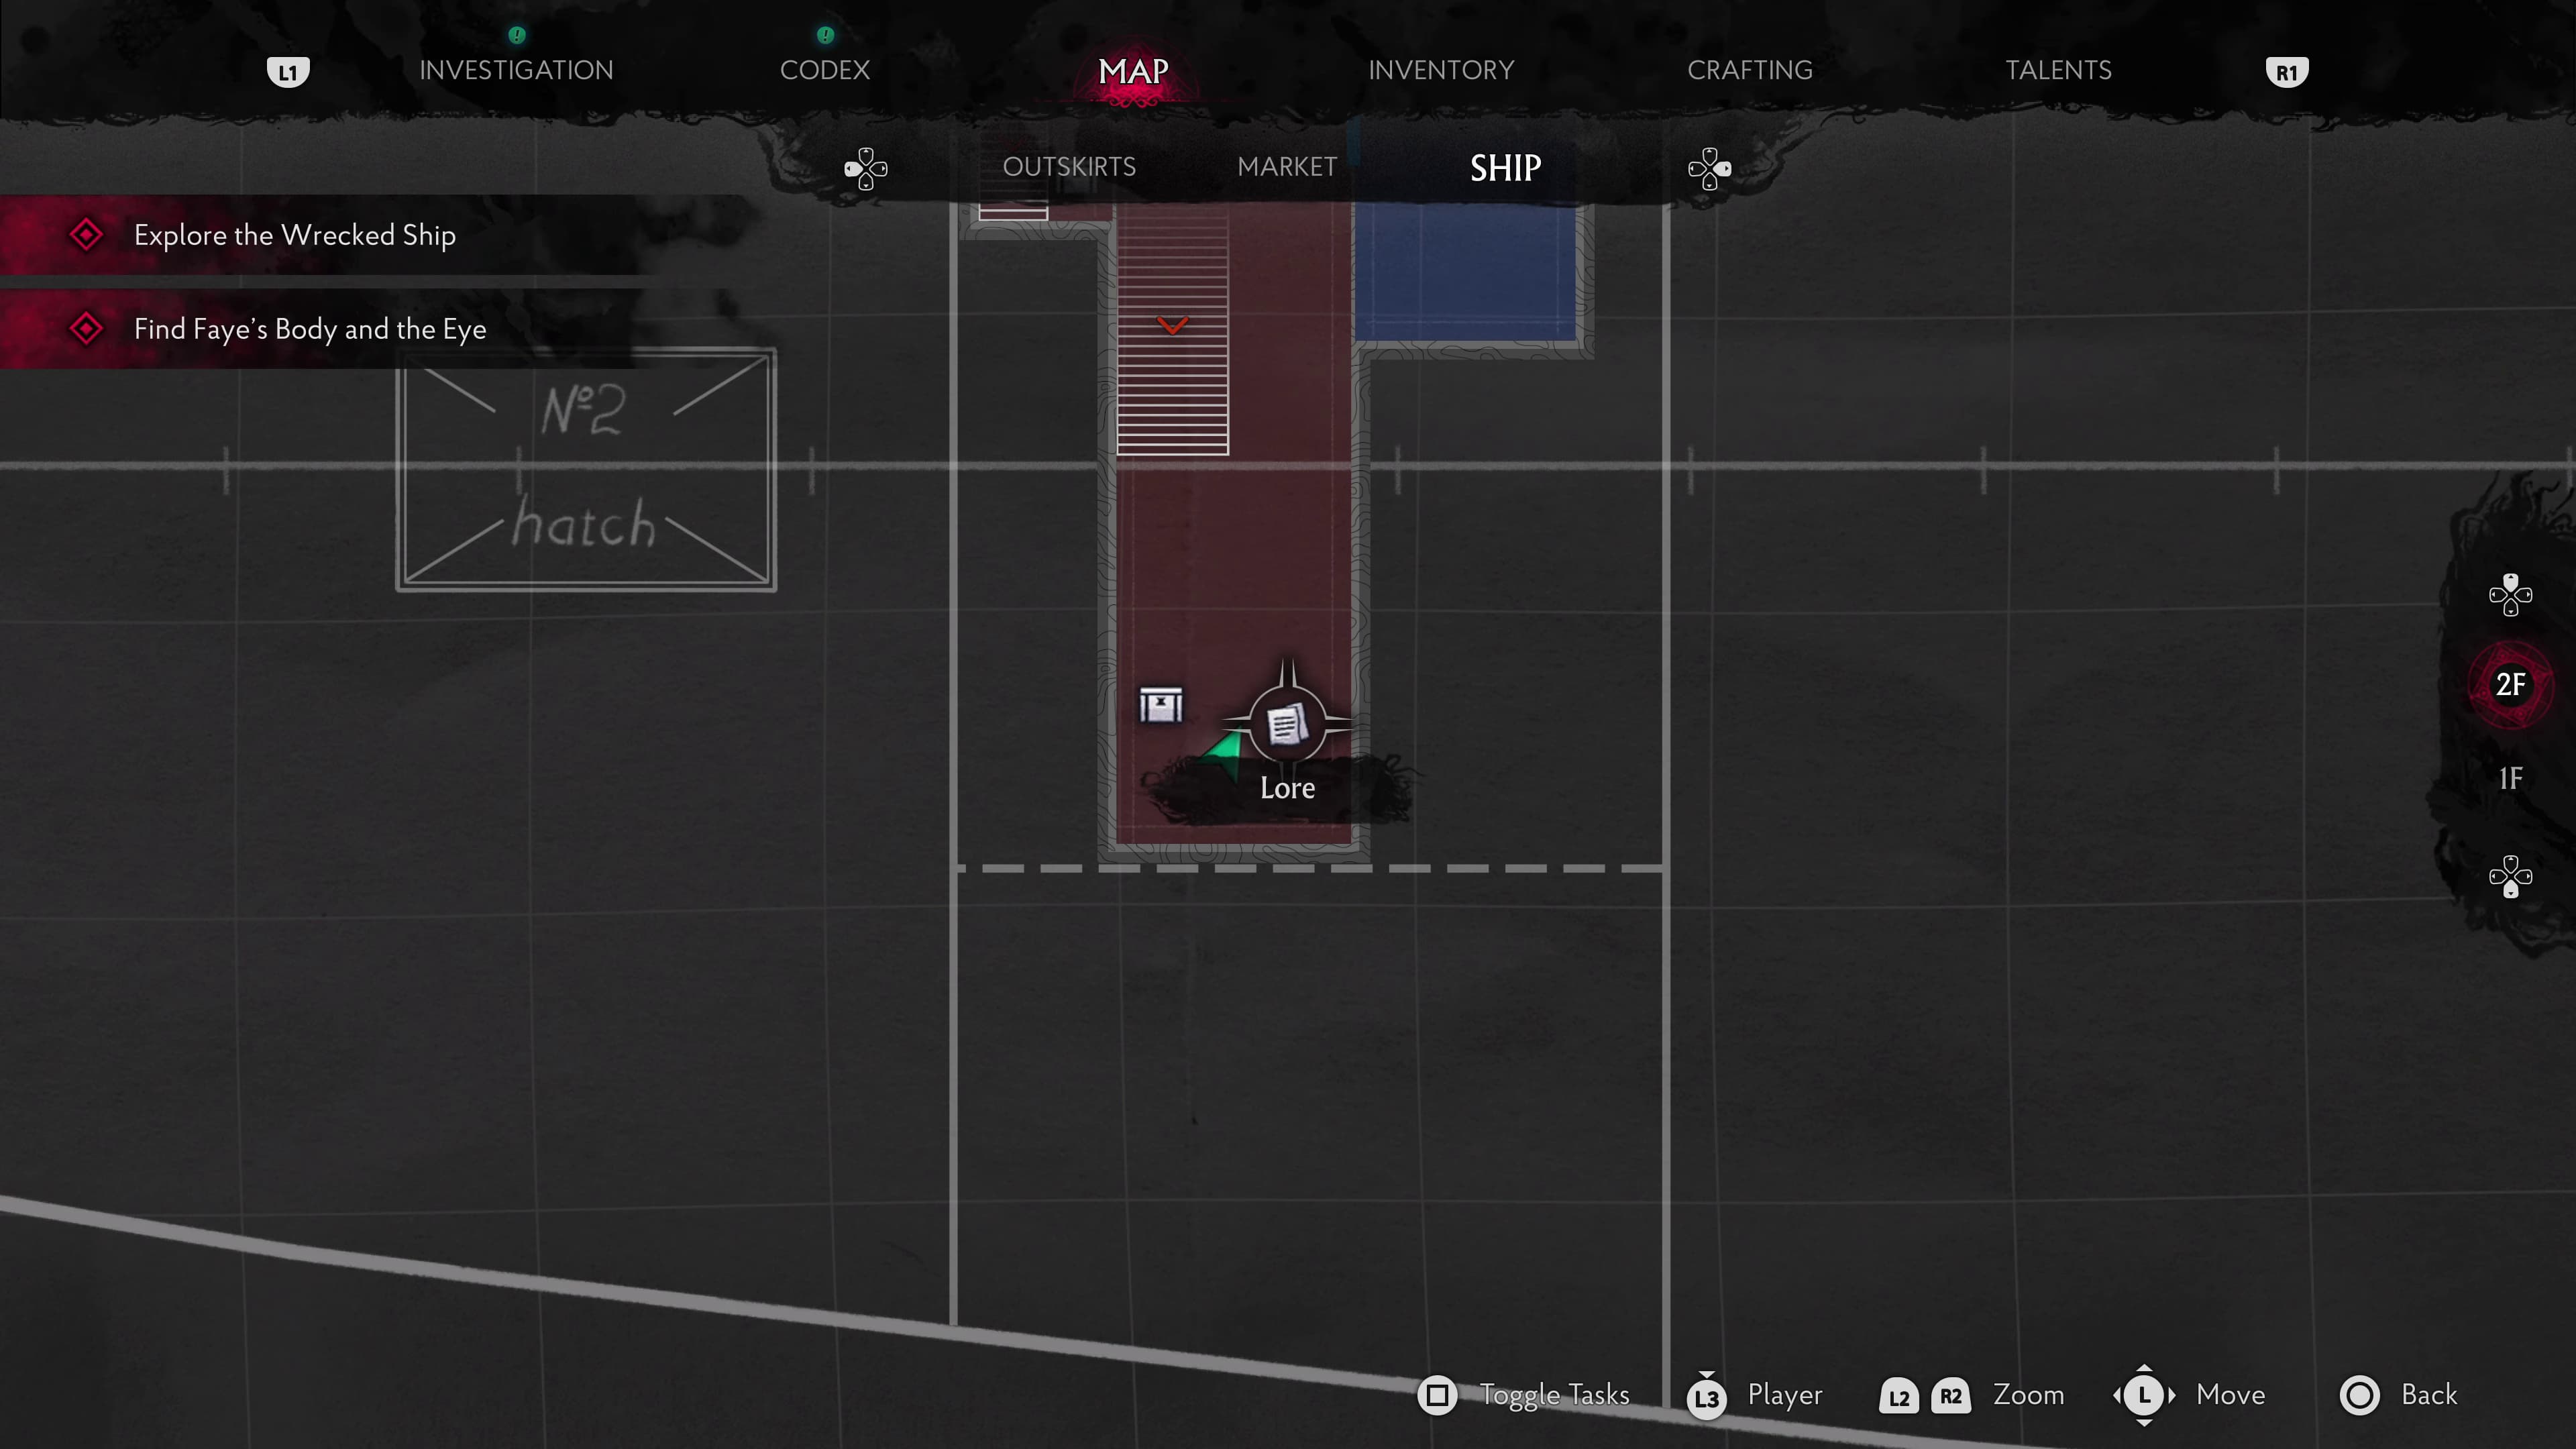
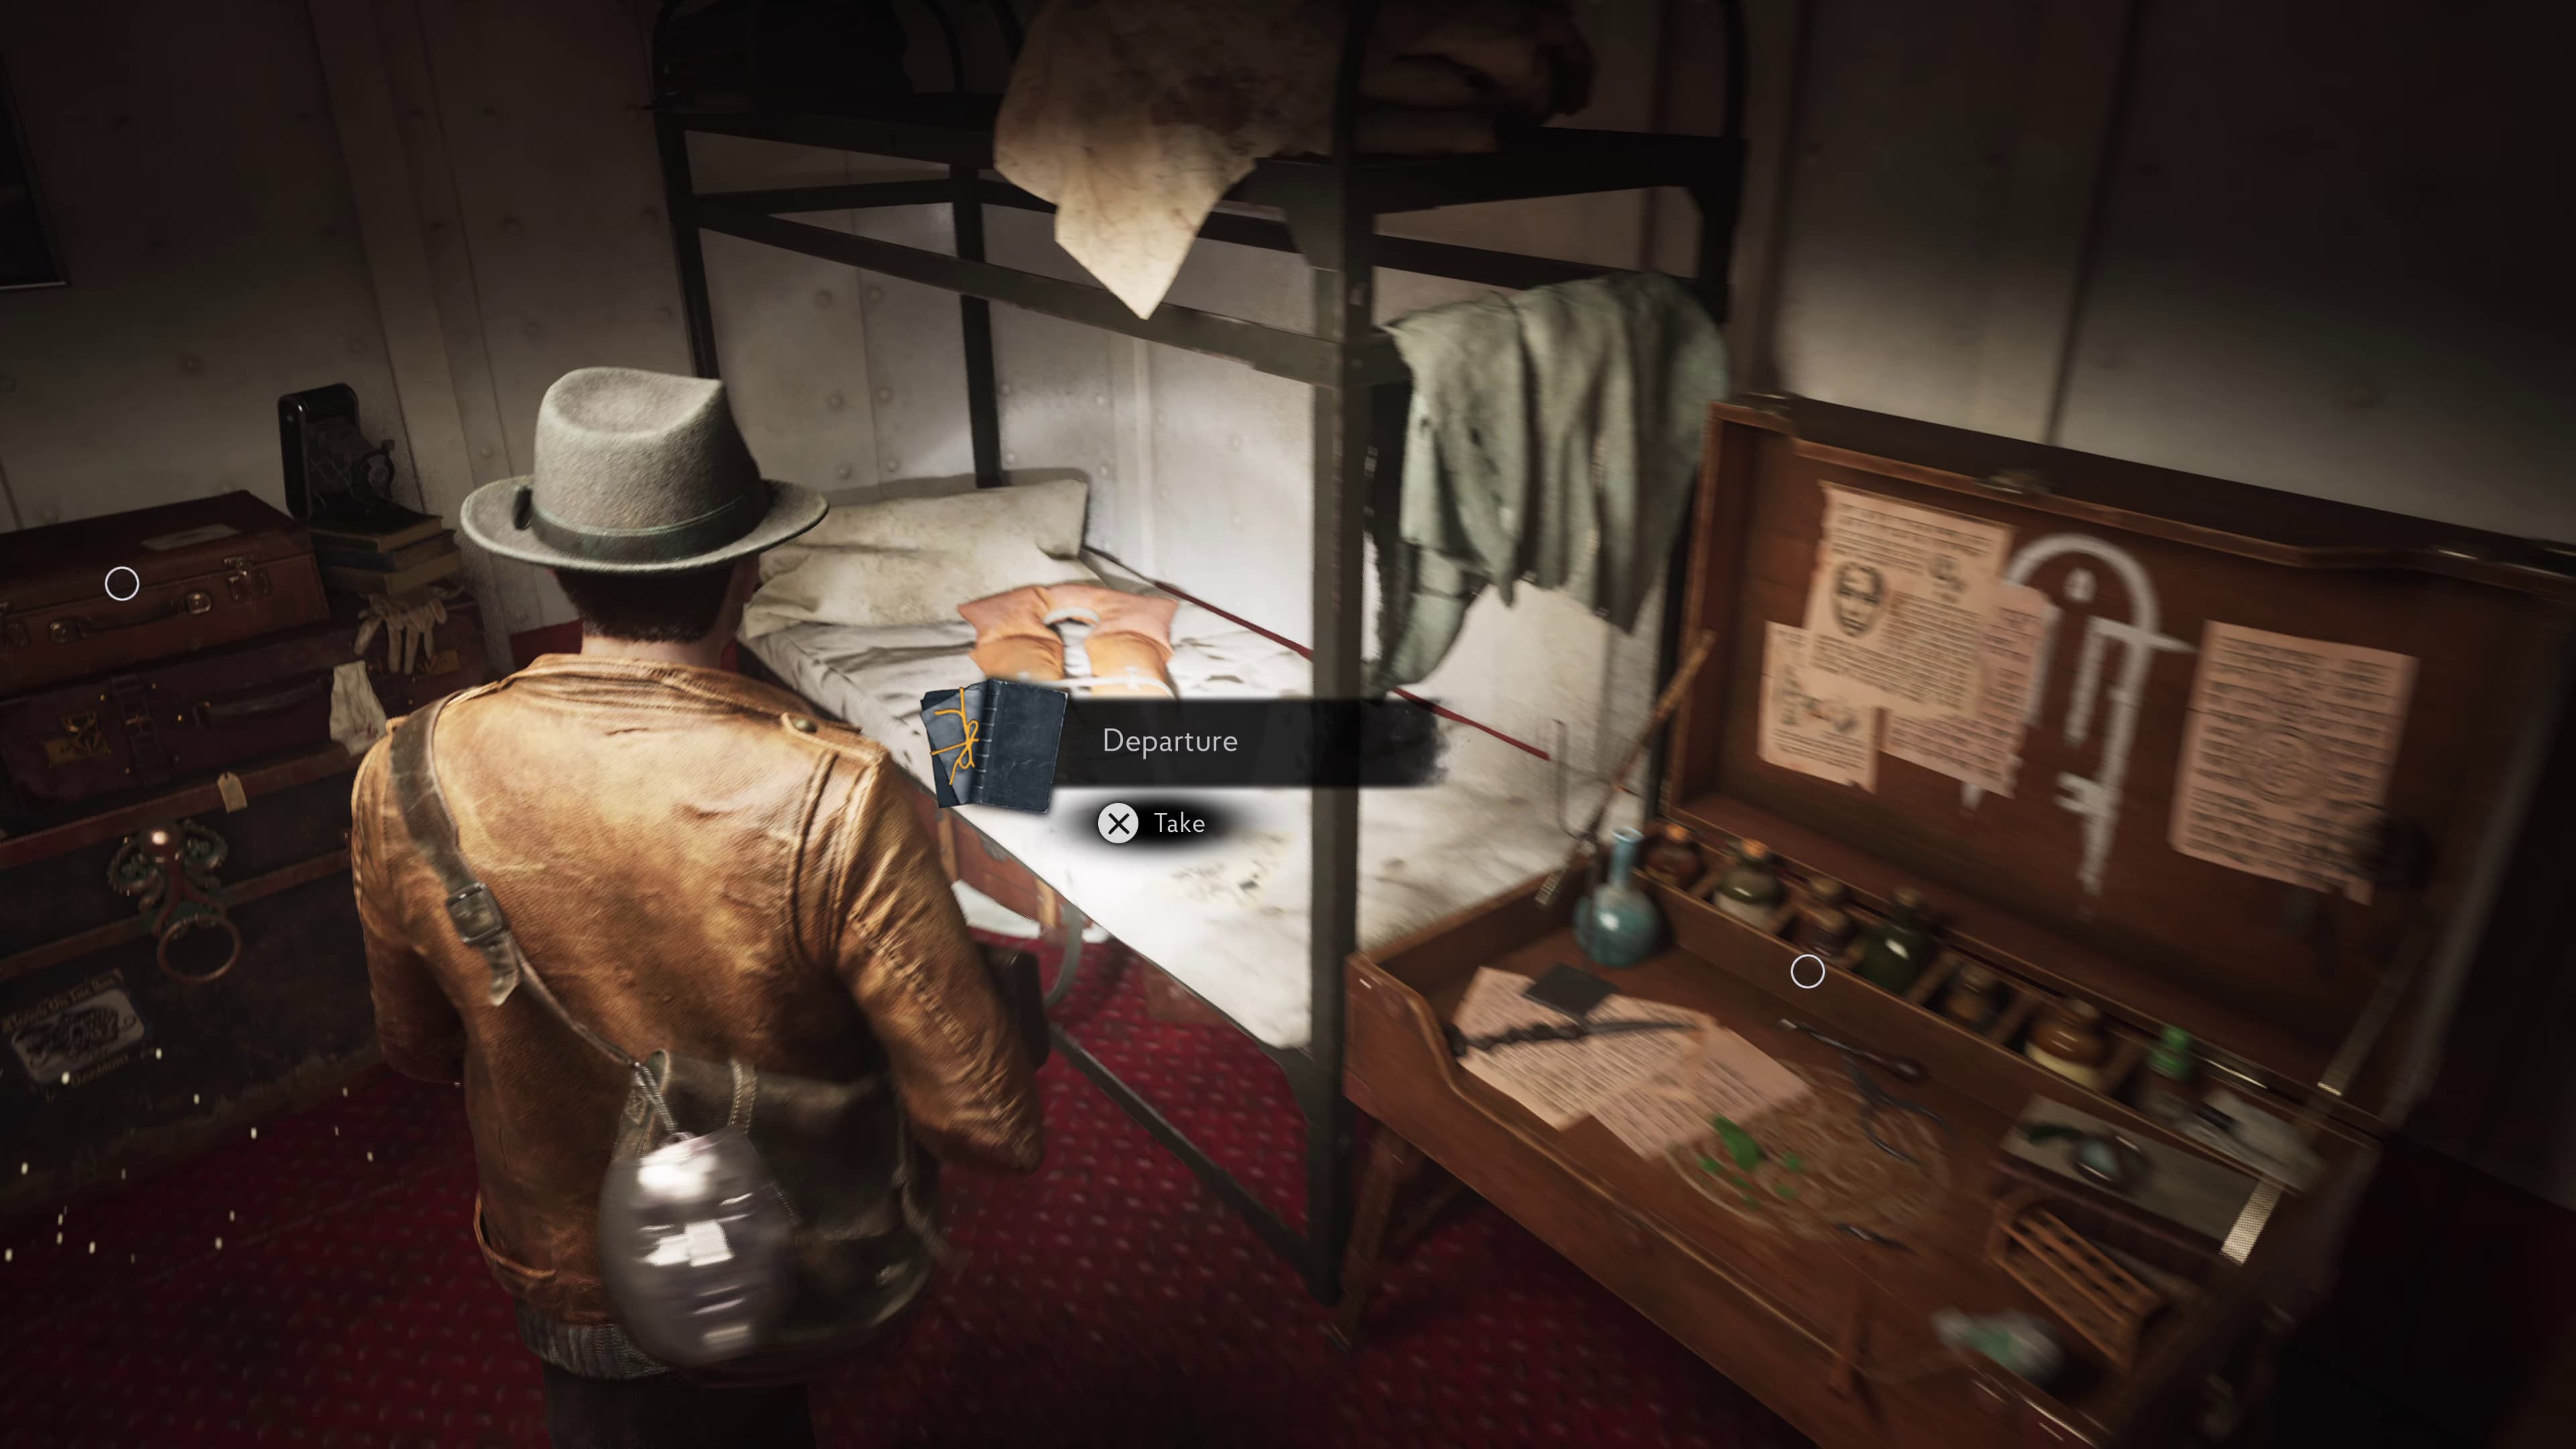
Now make your way down the stairs and straight ahead into the save room, on the bed on the right will be the next Lore Document (Departure).
This is all of the Lore Documents done for the Time And Tides section. Keep progressing through the story until you make it into Cold Comfort.
Cold Comfort
In this area, you will find:
11 Lore Documents
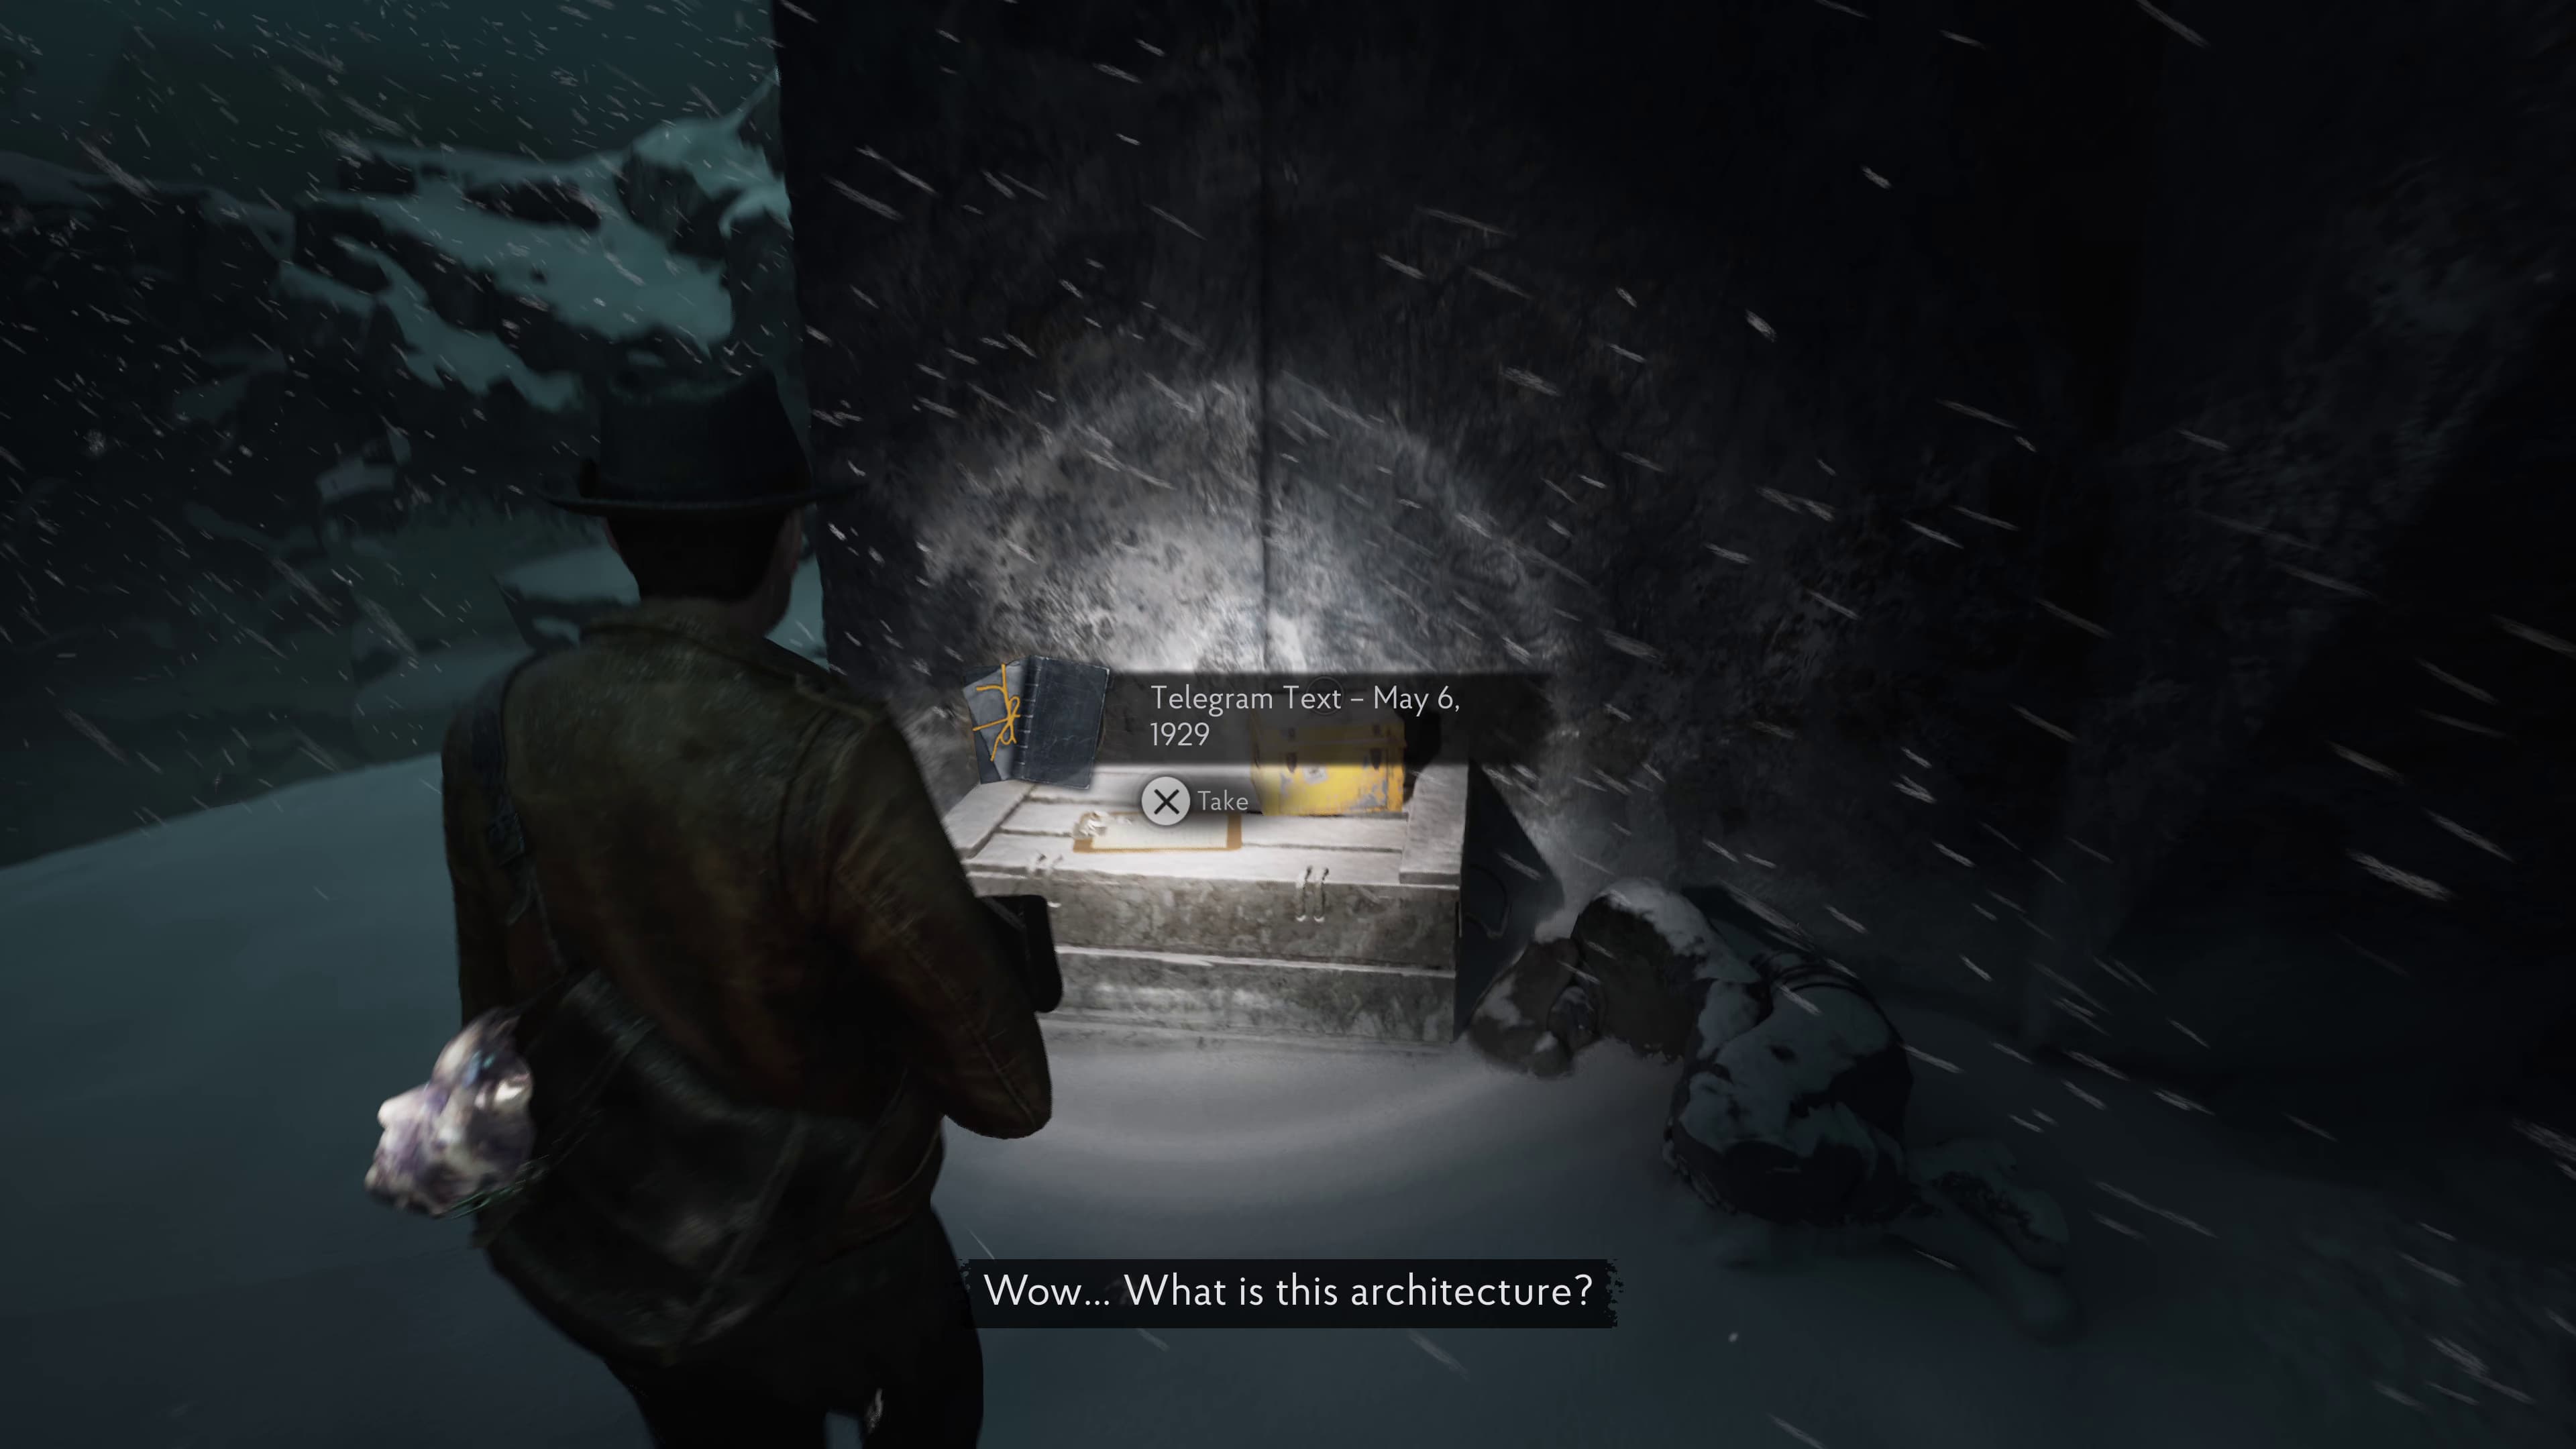
Keep progressing through the area until you come across the first large door. To the left of this door will be the first Lore Document (Telegram Text - May 6, 1929) of this section.
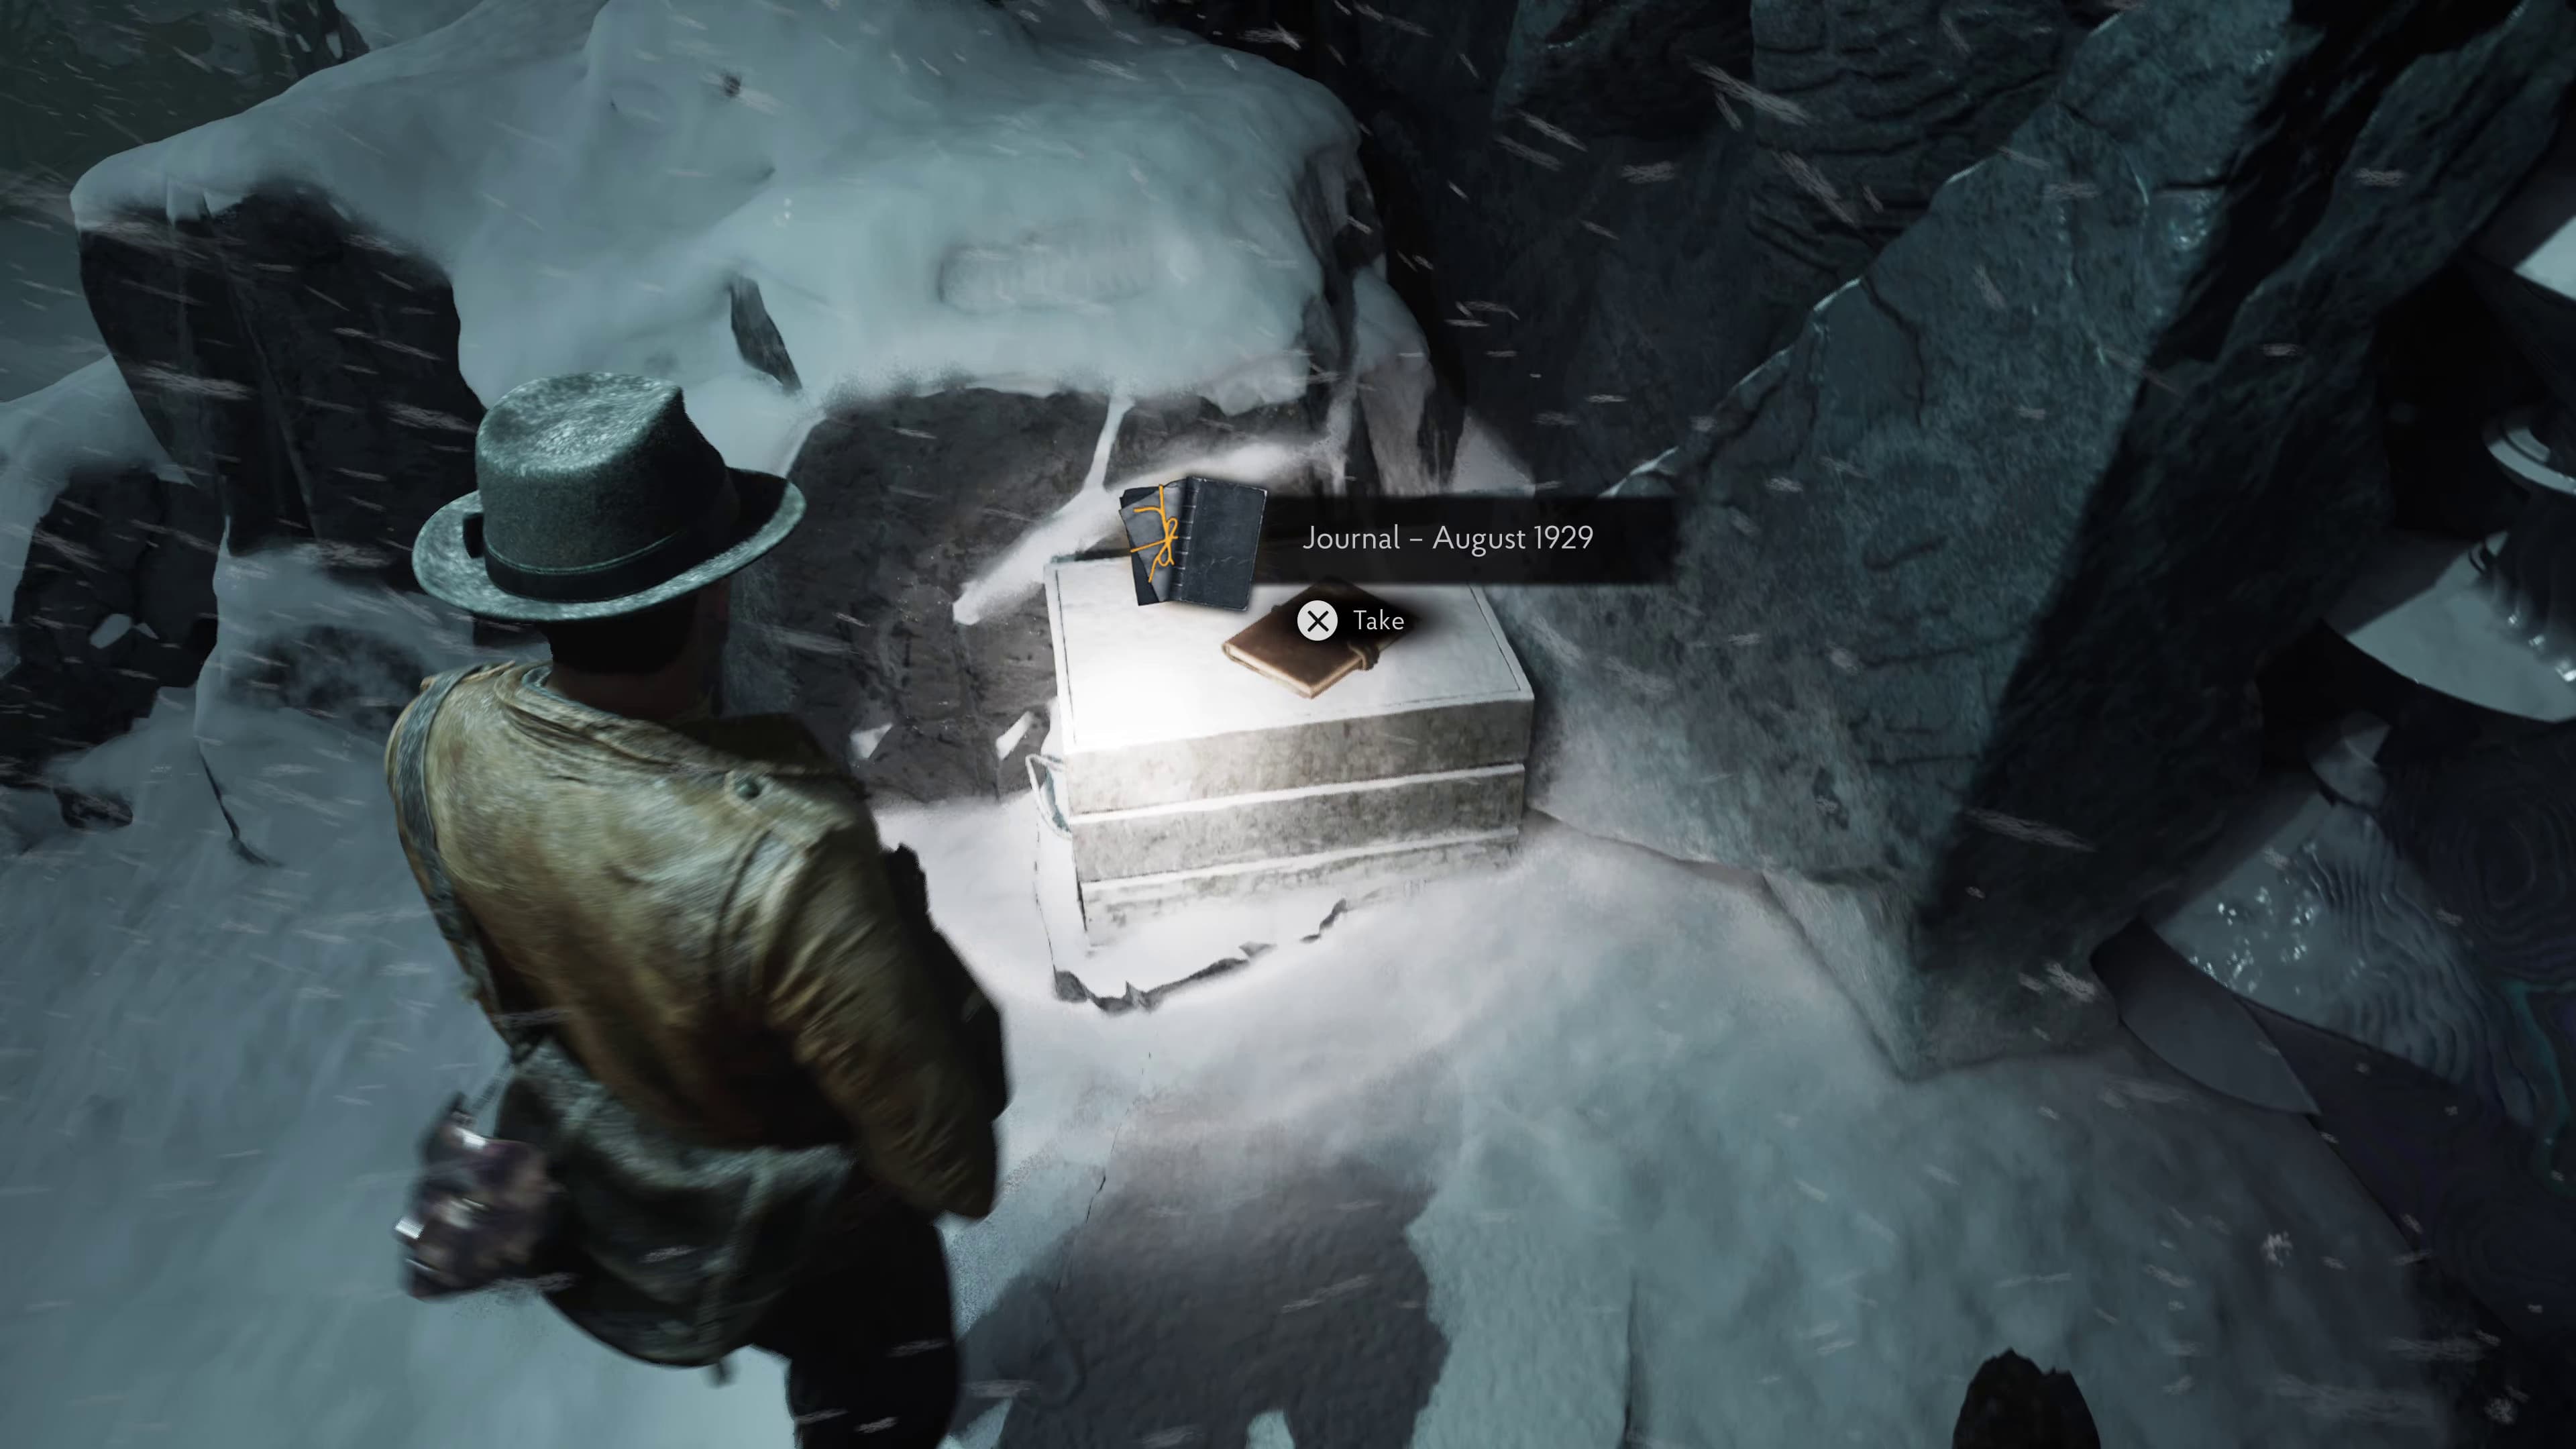
Keep progressing to the left under the snowy rock, after emerging, keep the rocks to your right, hugging the side, coming to the next large door, beside the door is the next Lore Document (Journal - August 1929) and a Sturdy Key (Key Item).
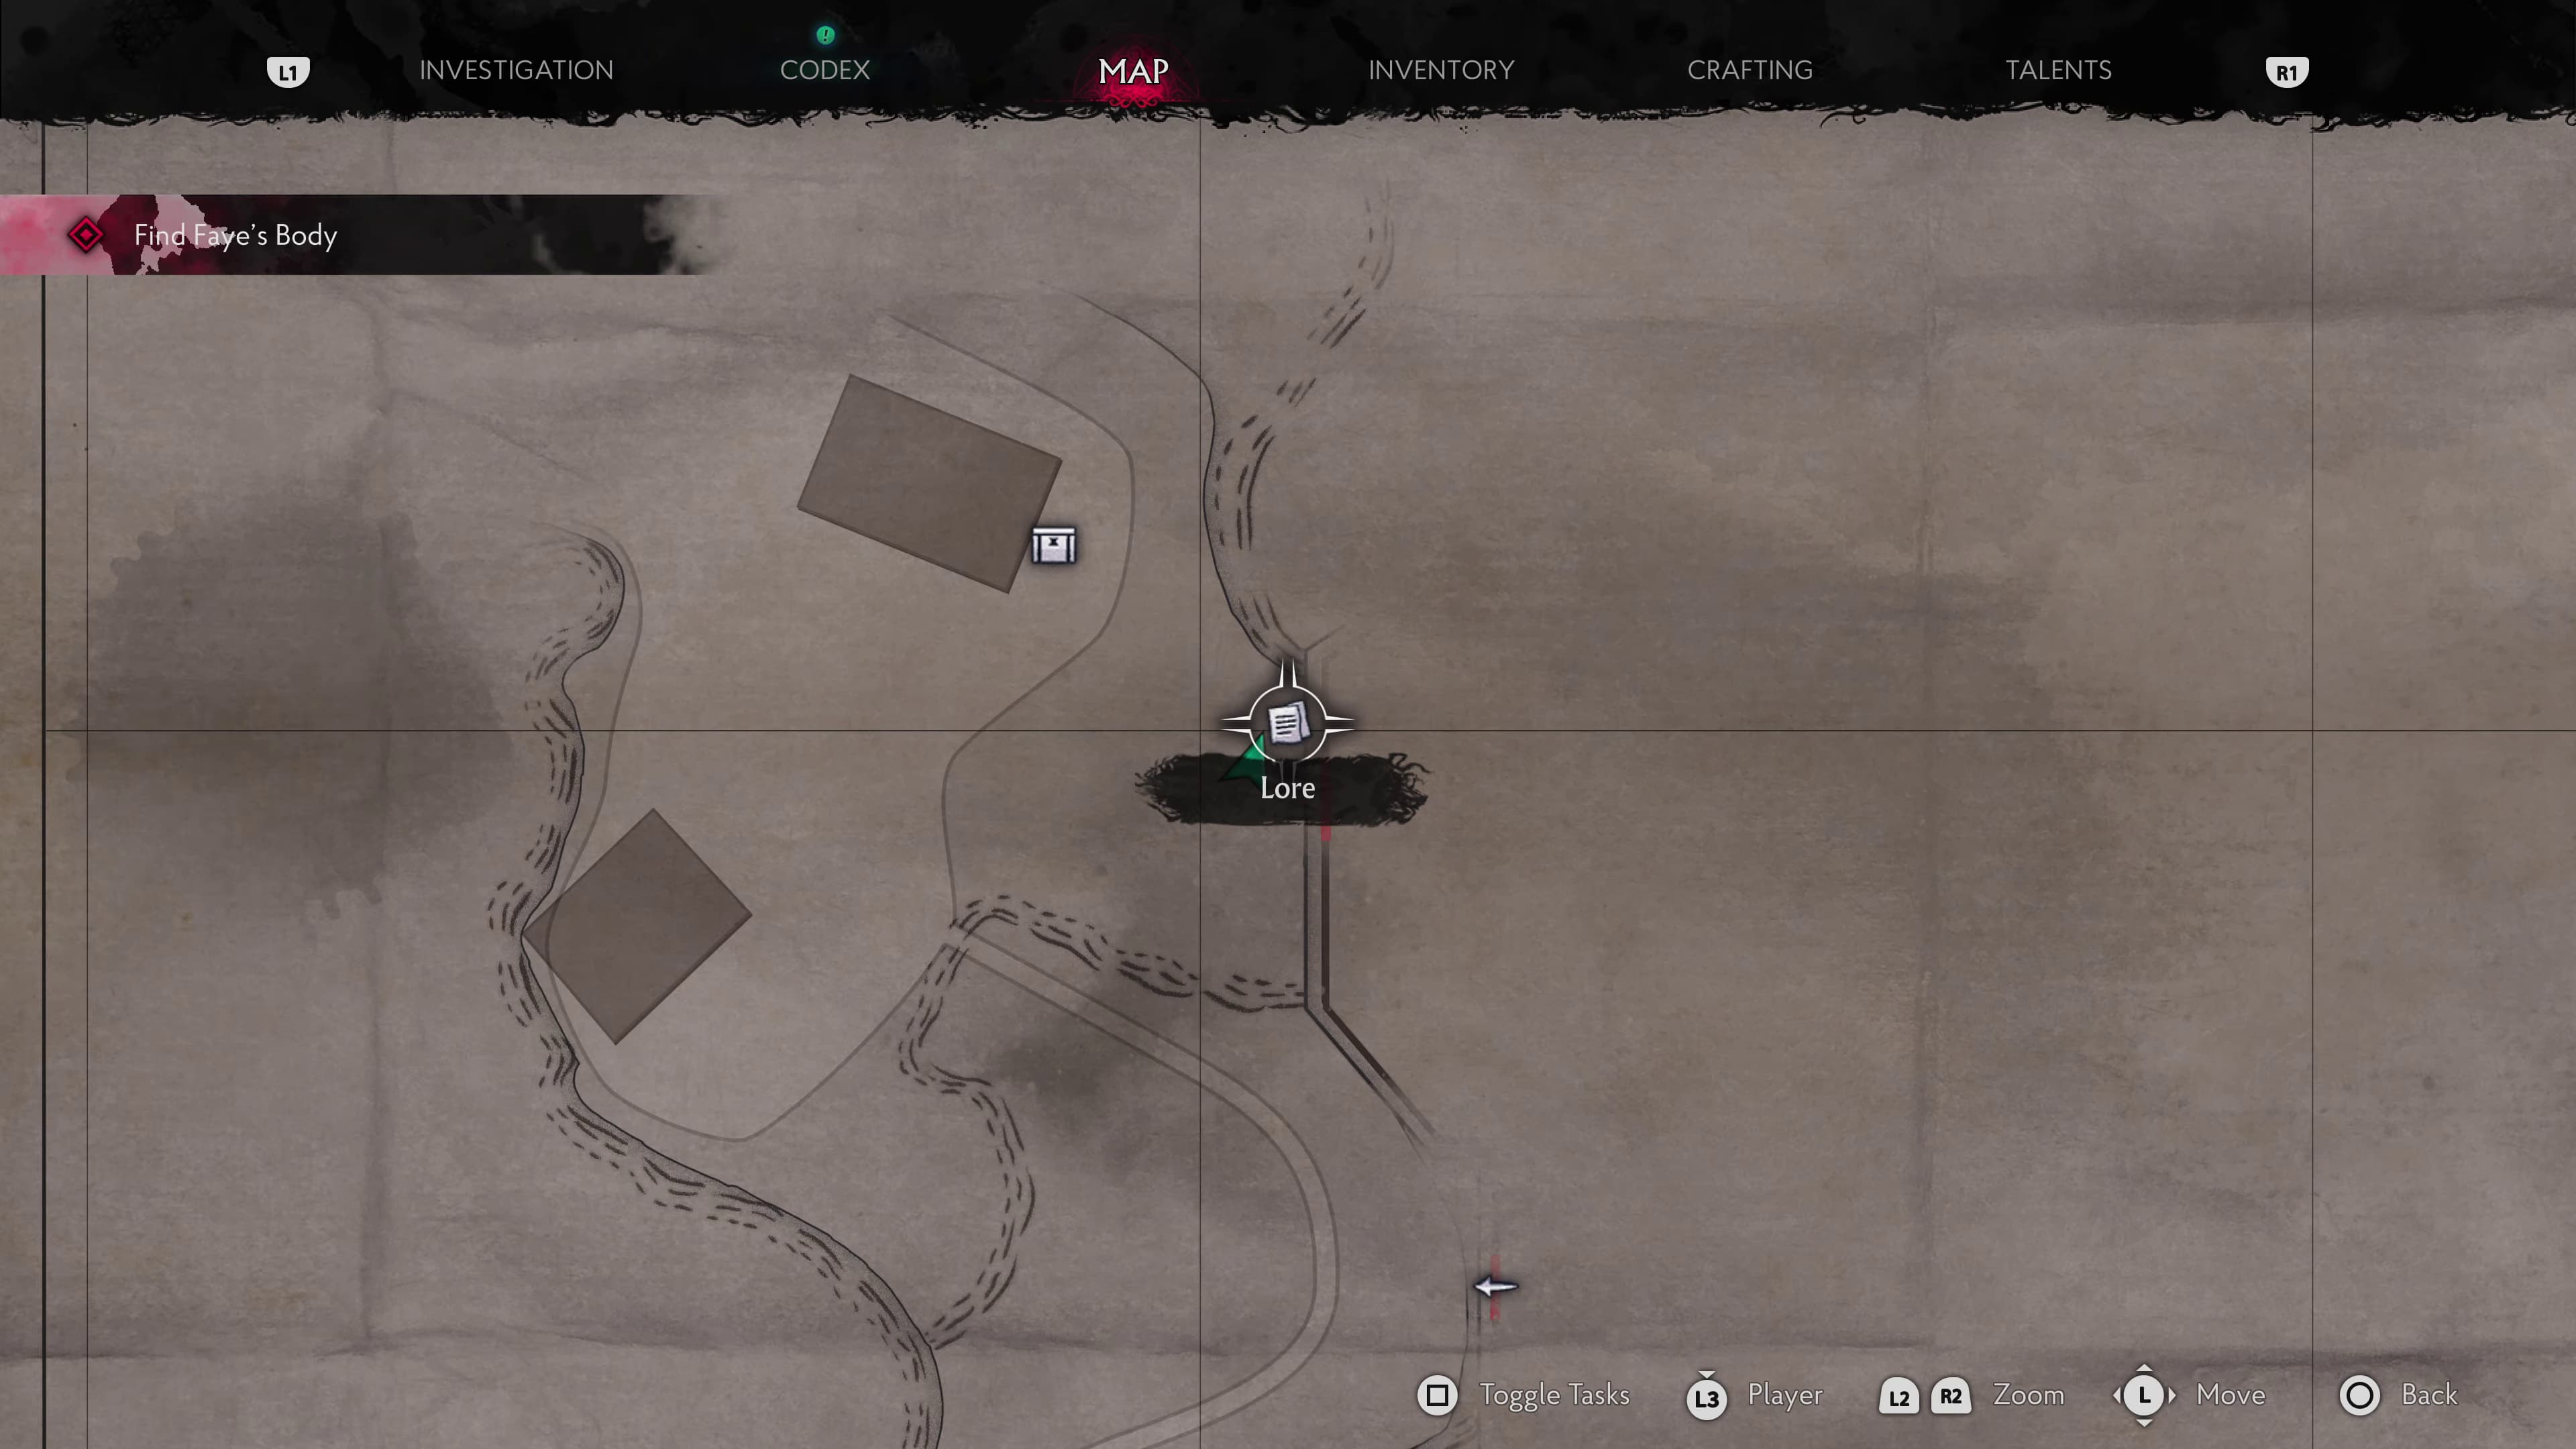
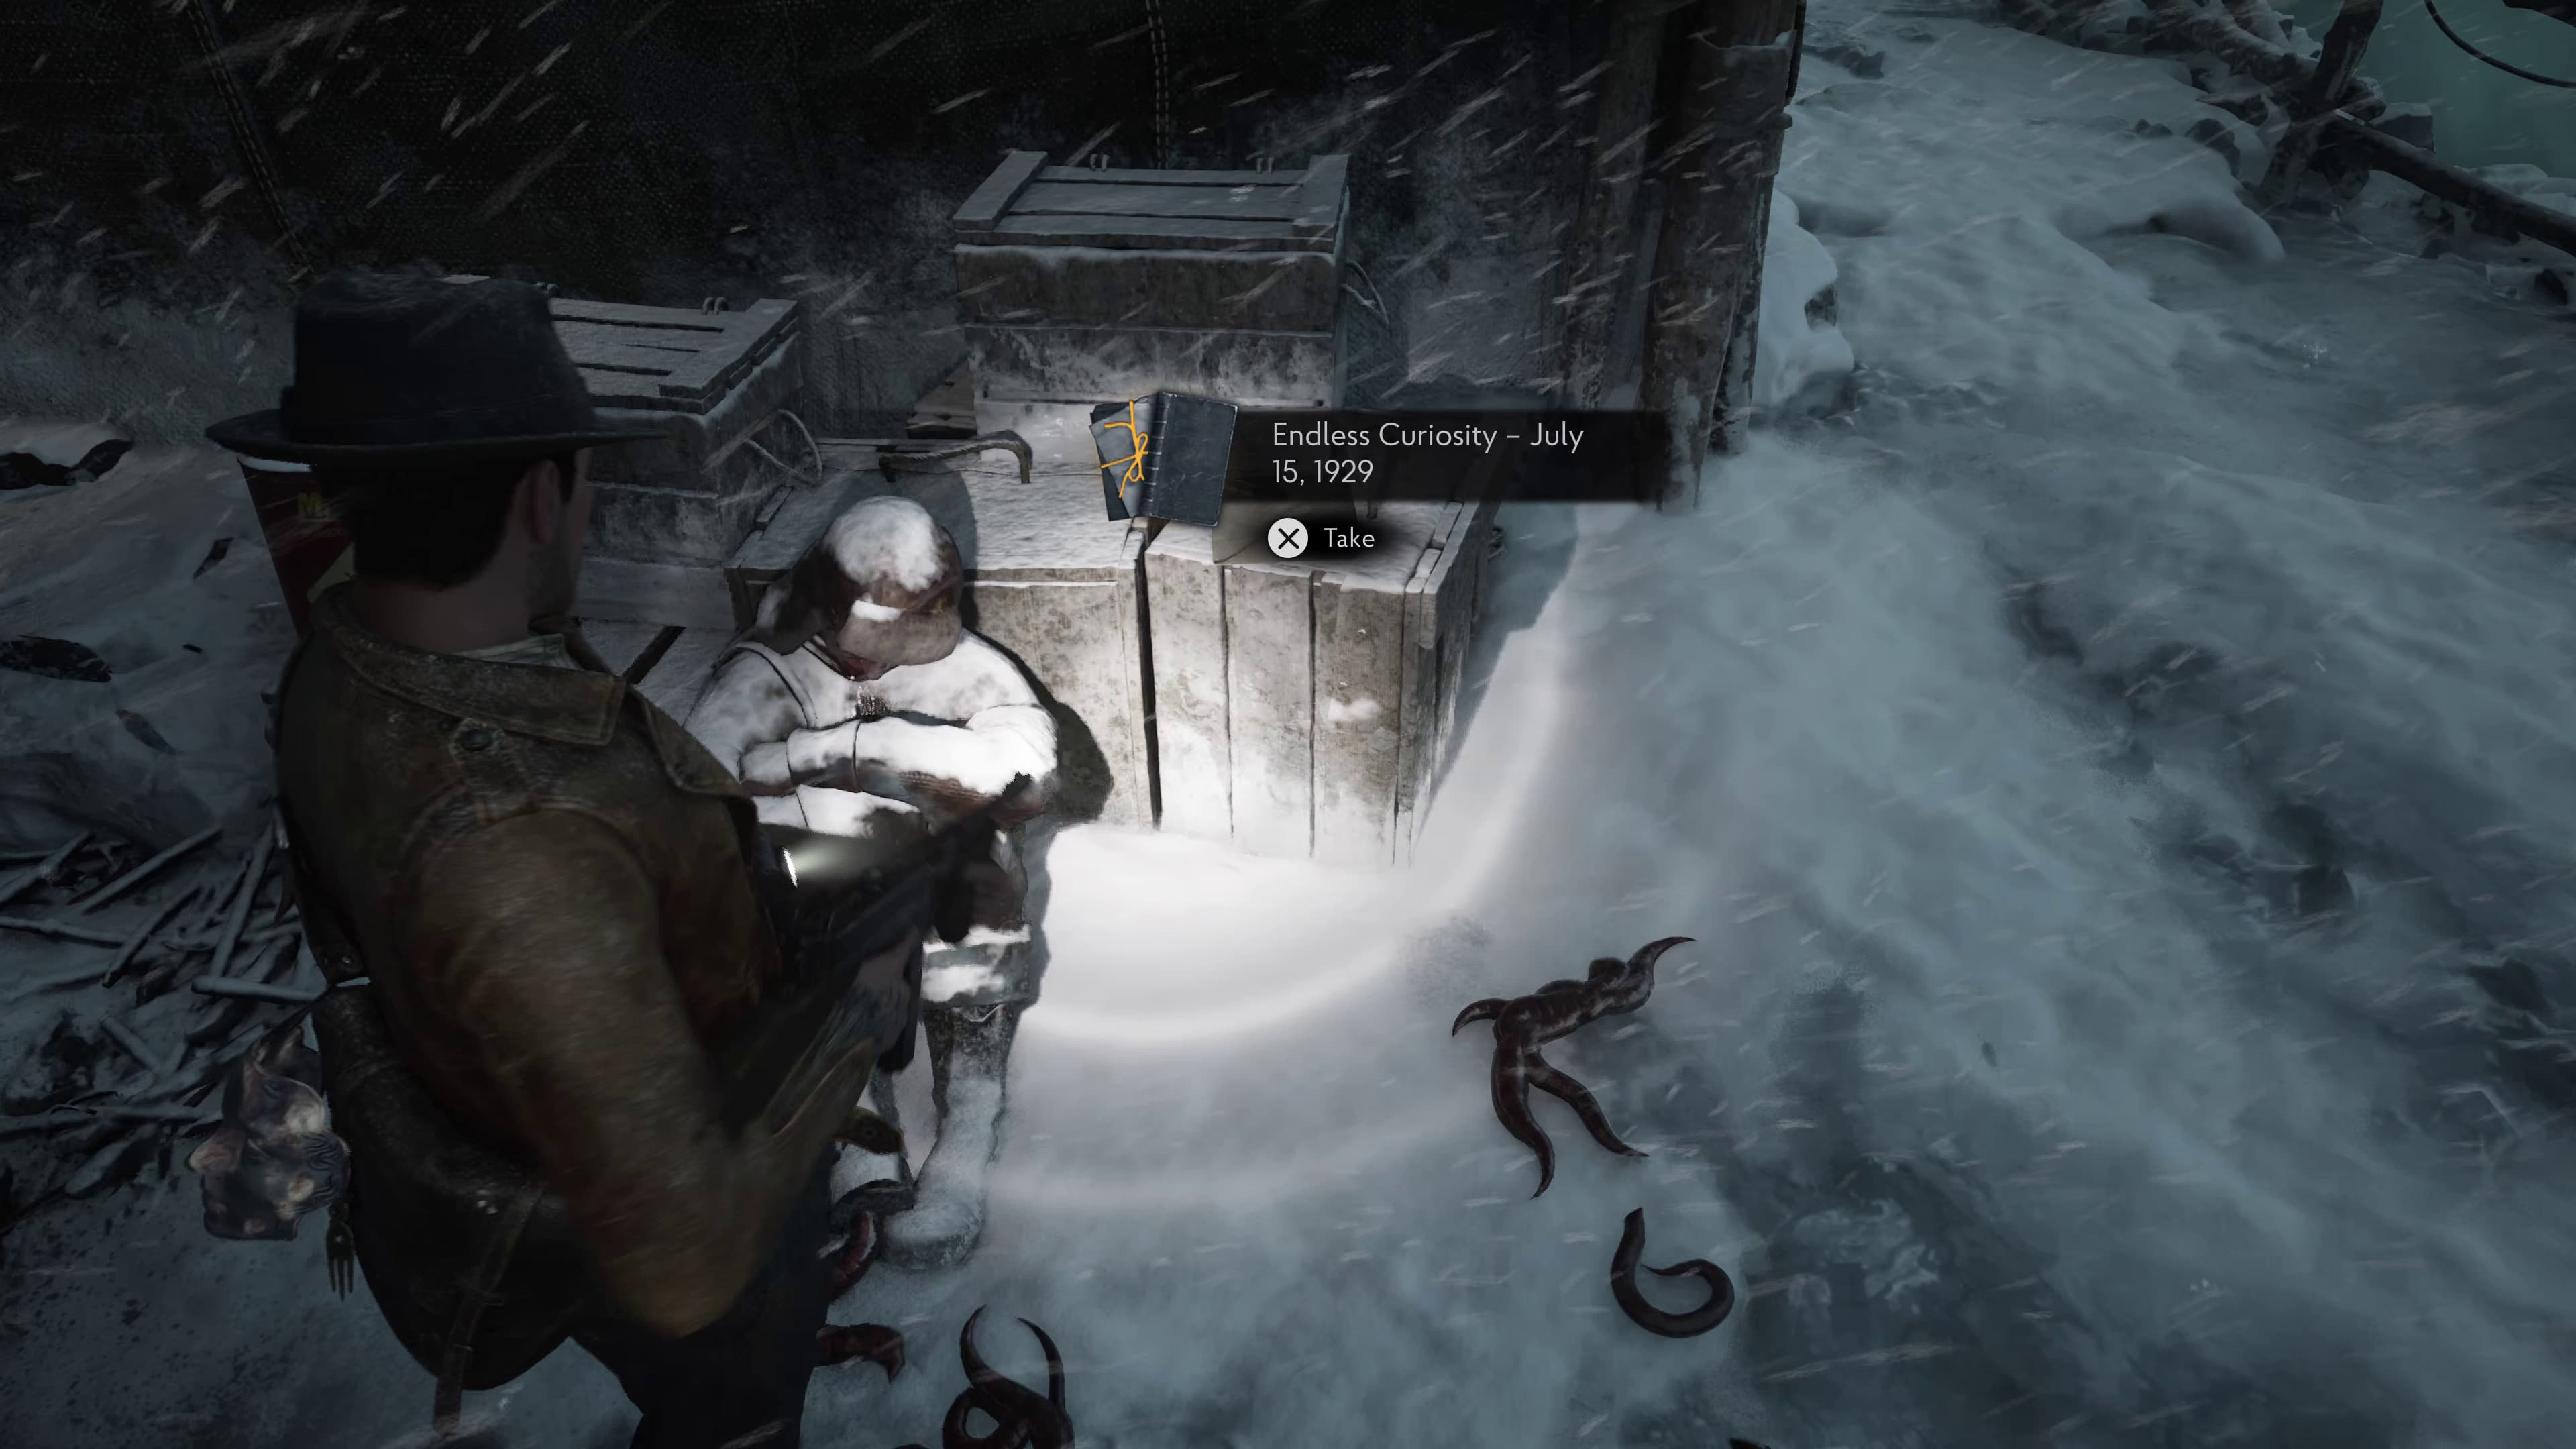
Keeping the rocks to the right, advance on until you make it to the back of the tent, on the crates back here will be the next Lore Document (Endless Curiosity - July 15, 1929).
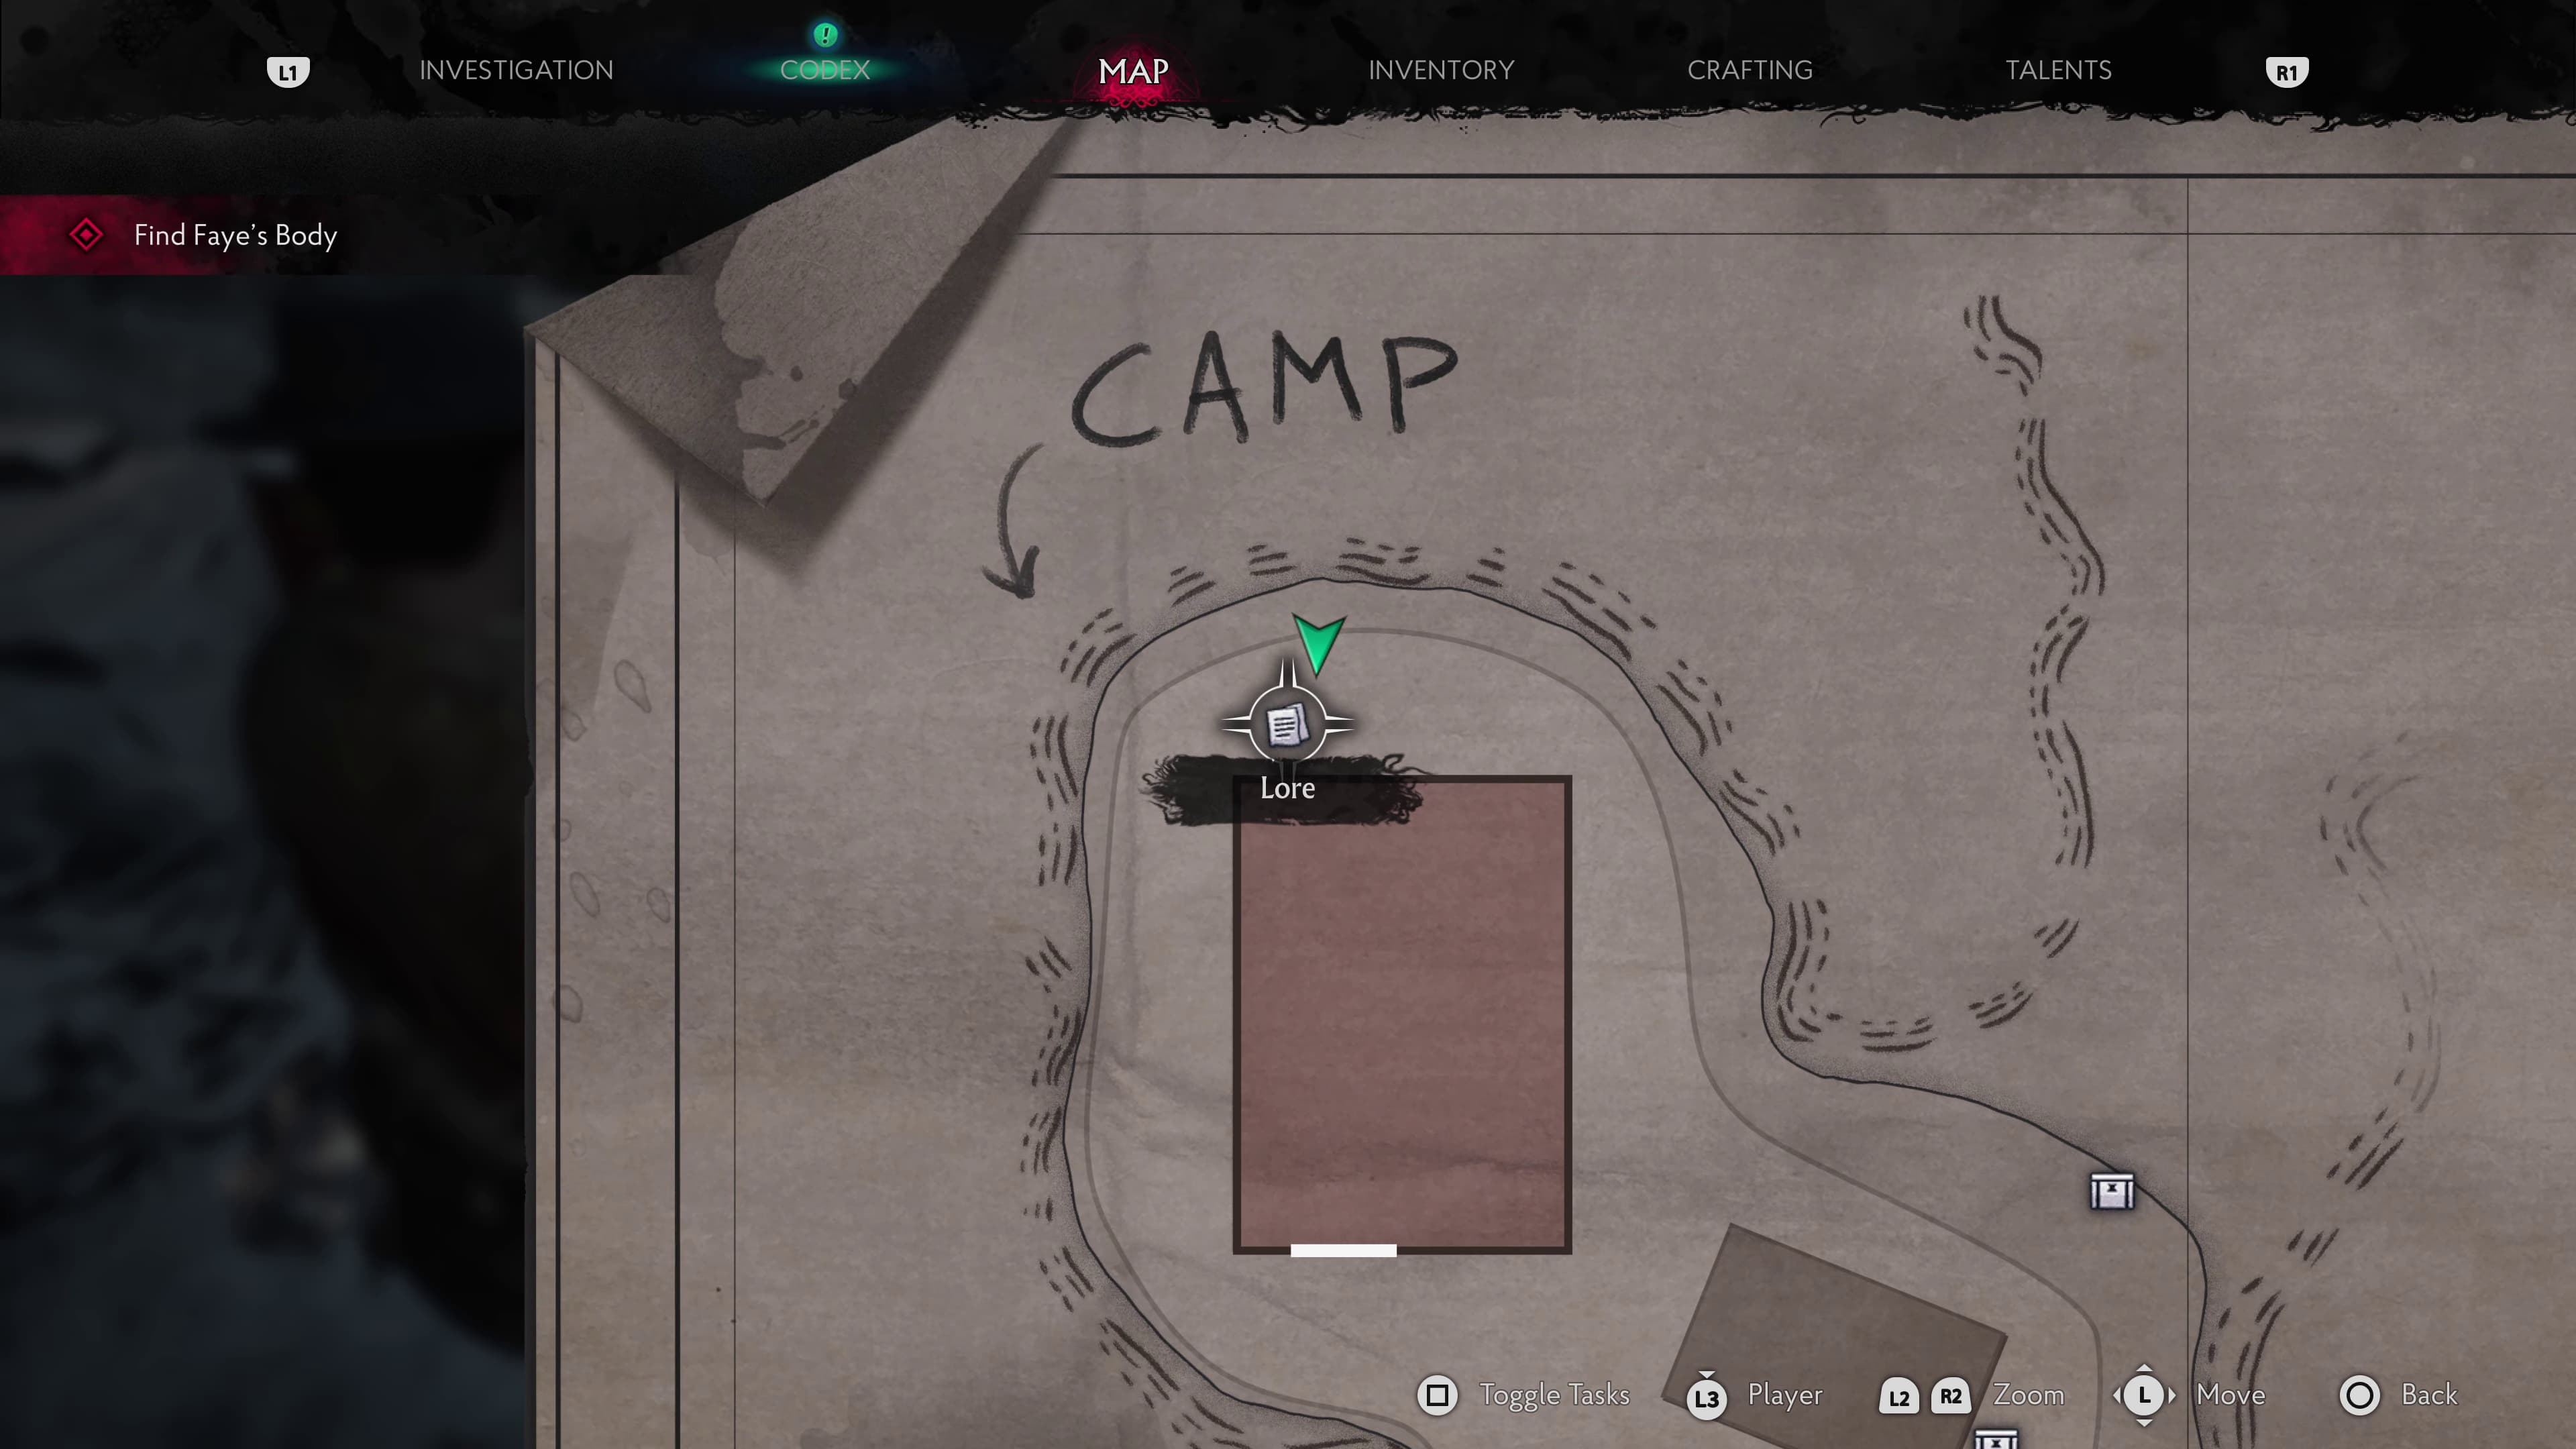
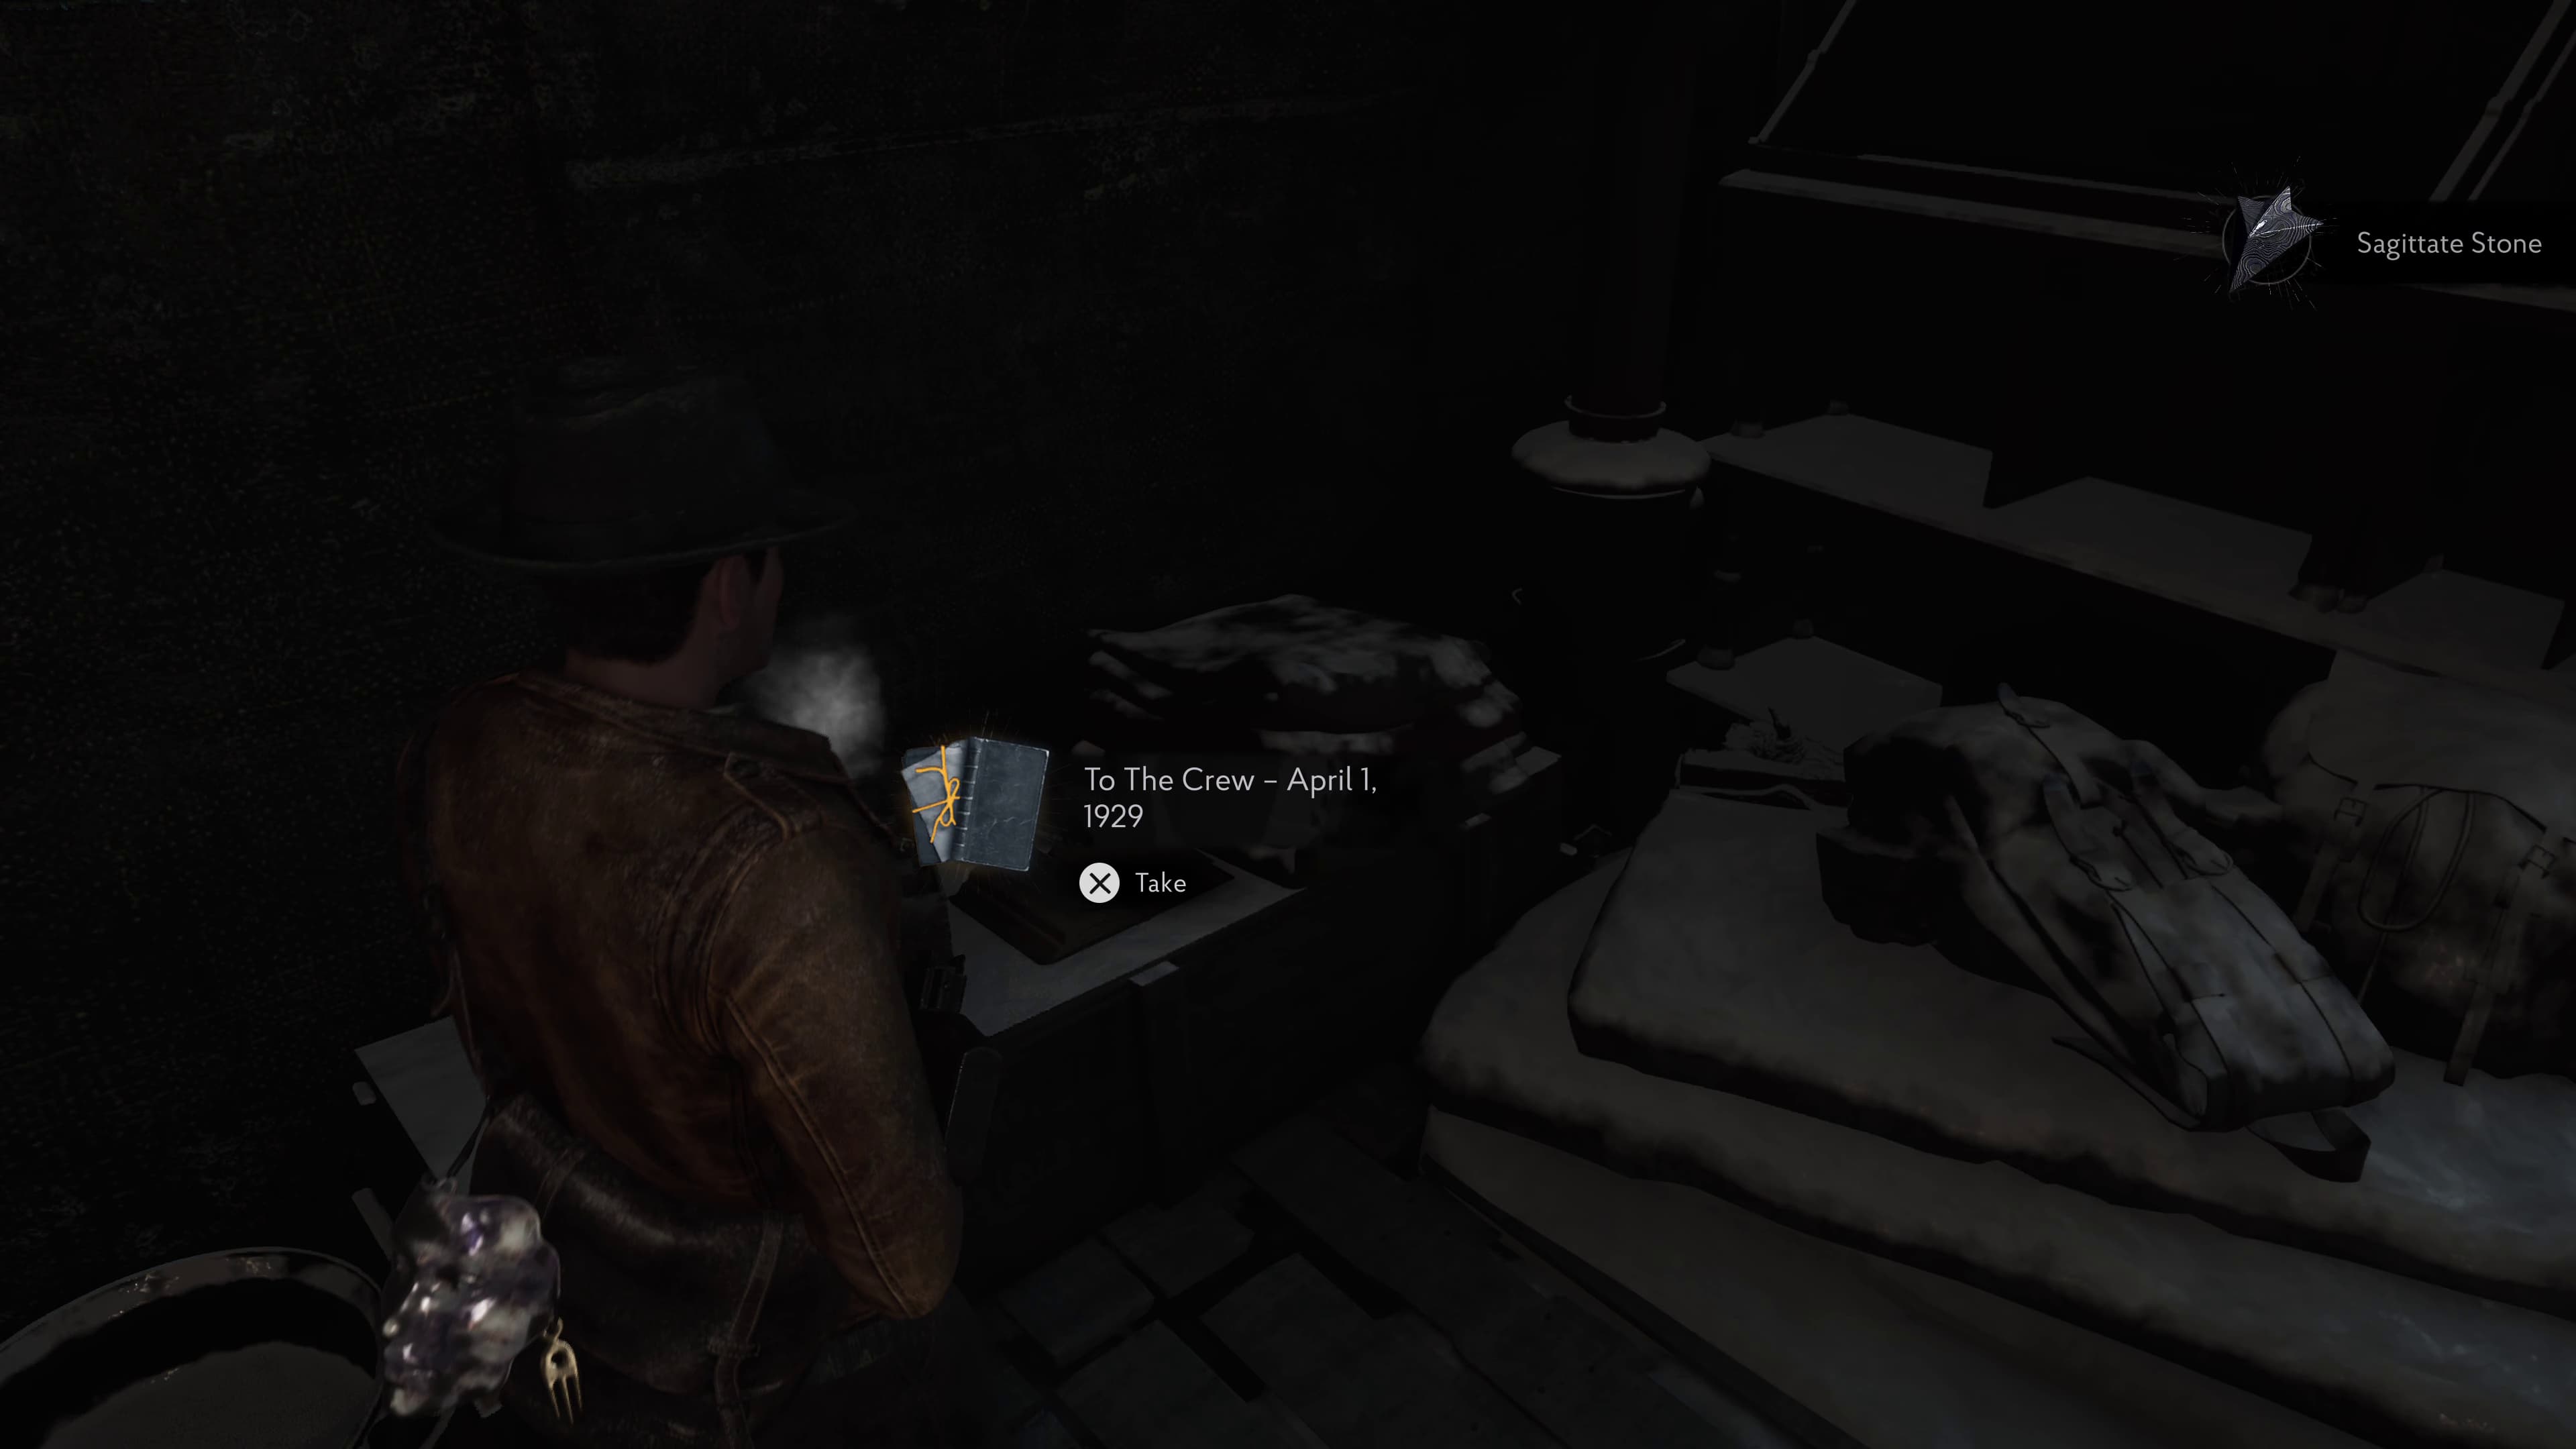
Make your way around the side of the tent and inside, just to the right will be the next Lore Document (To The Crew - April 1, 1929) to collect.
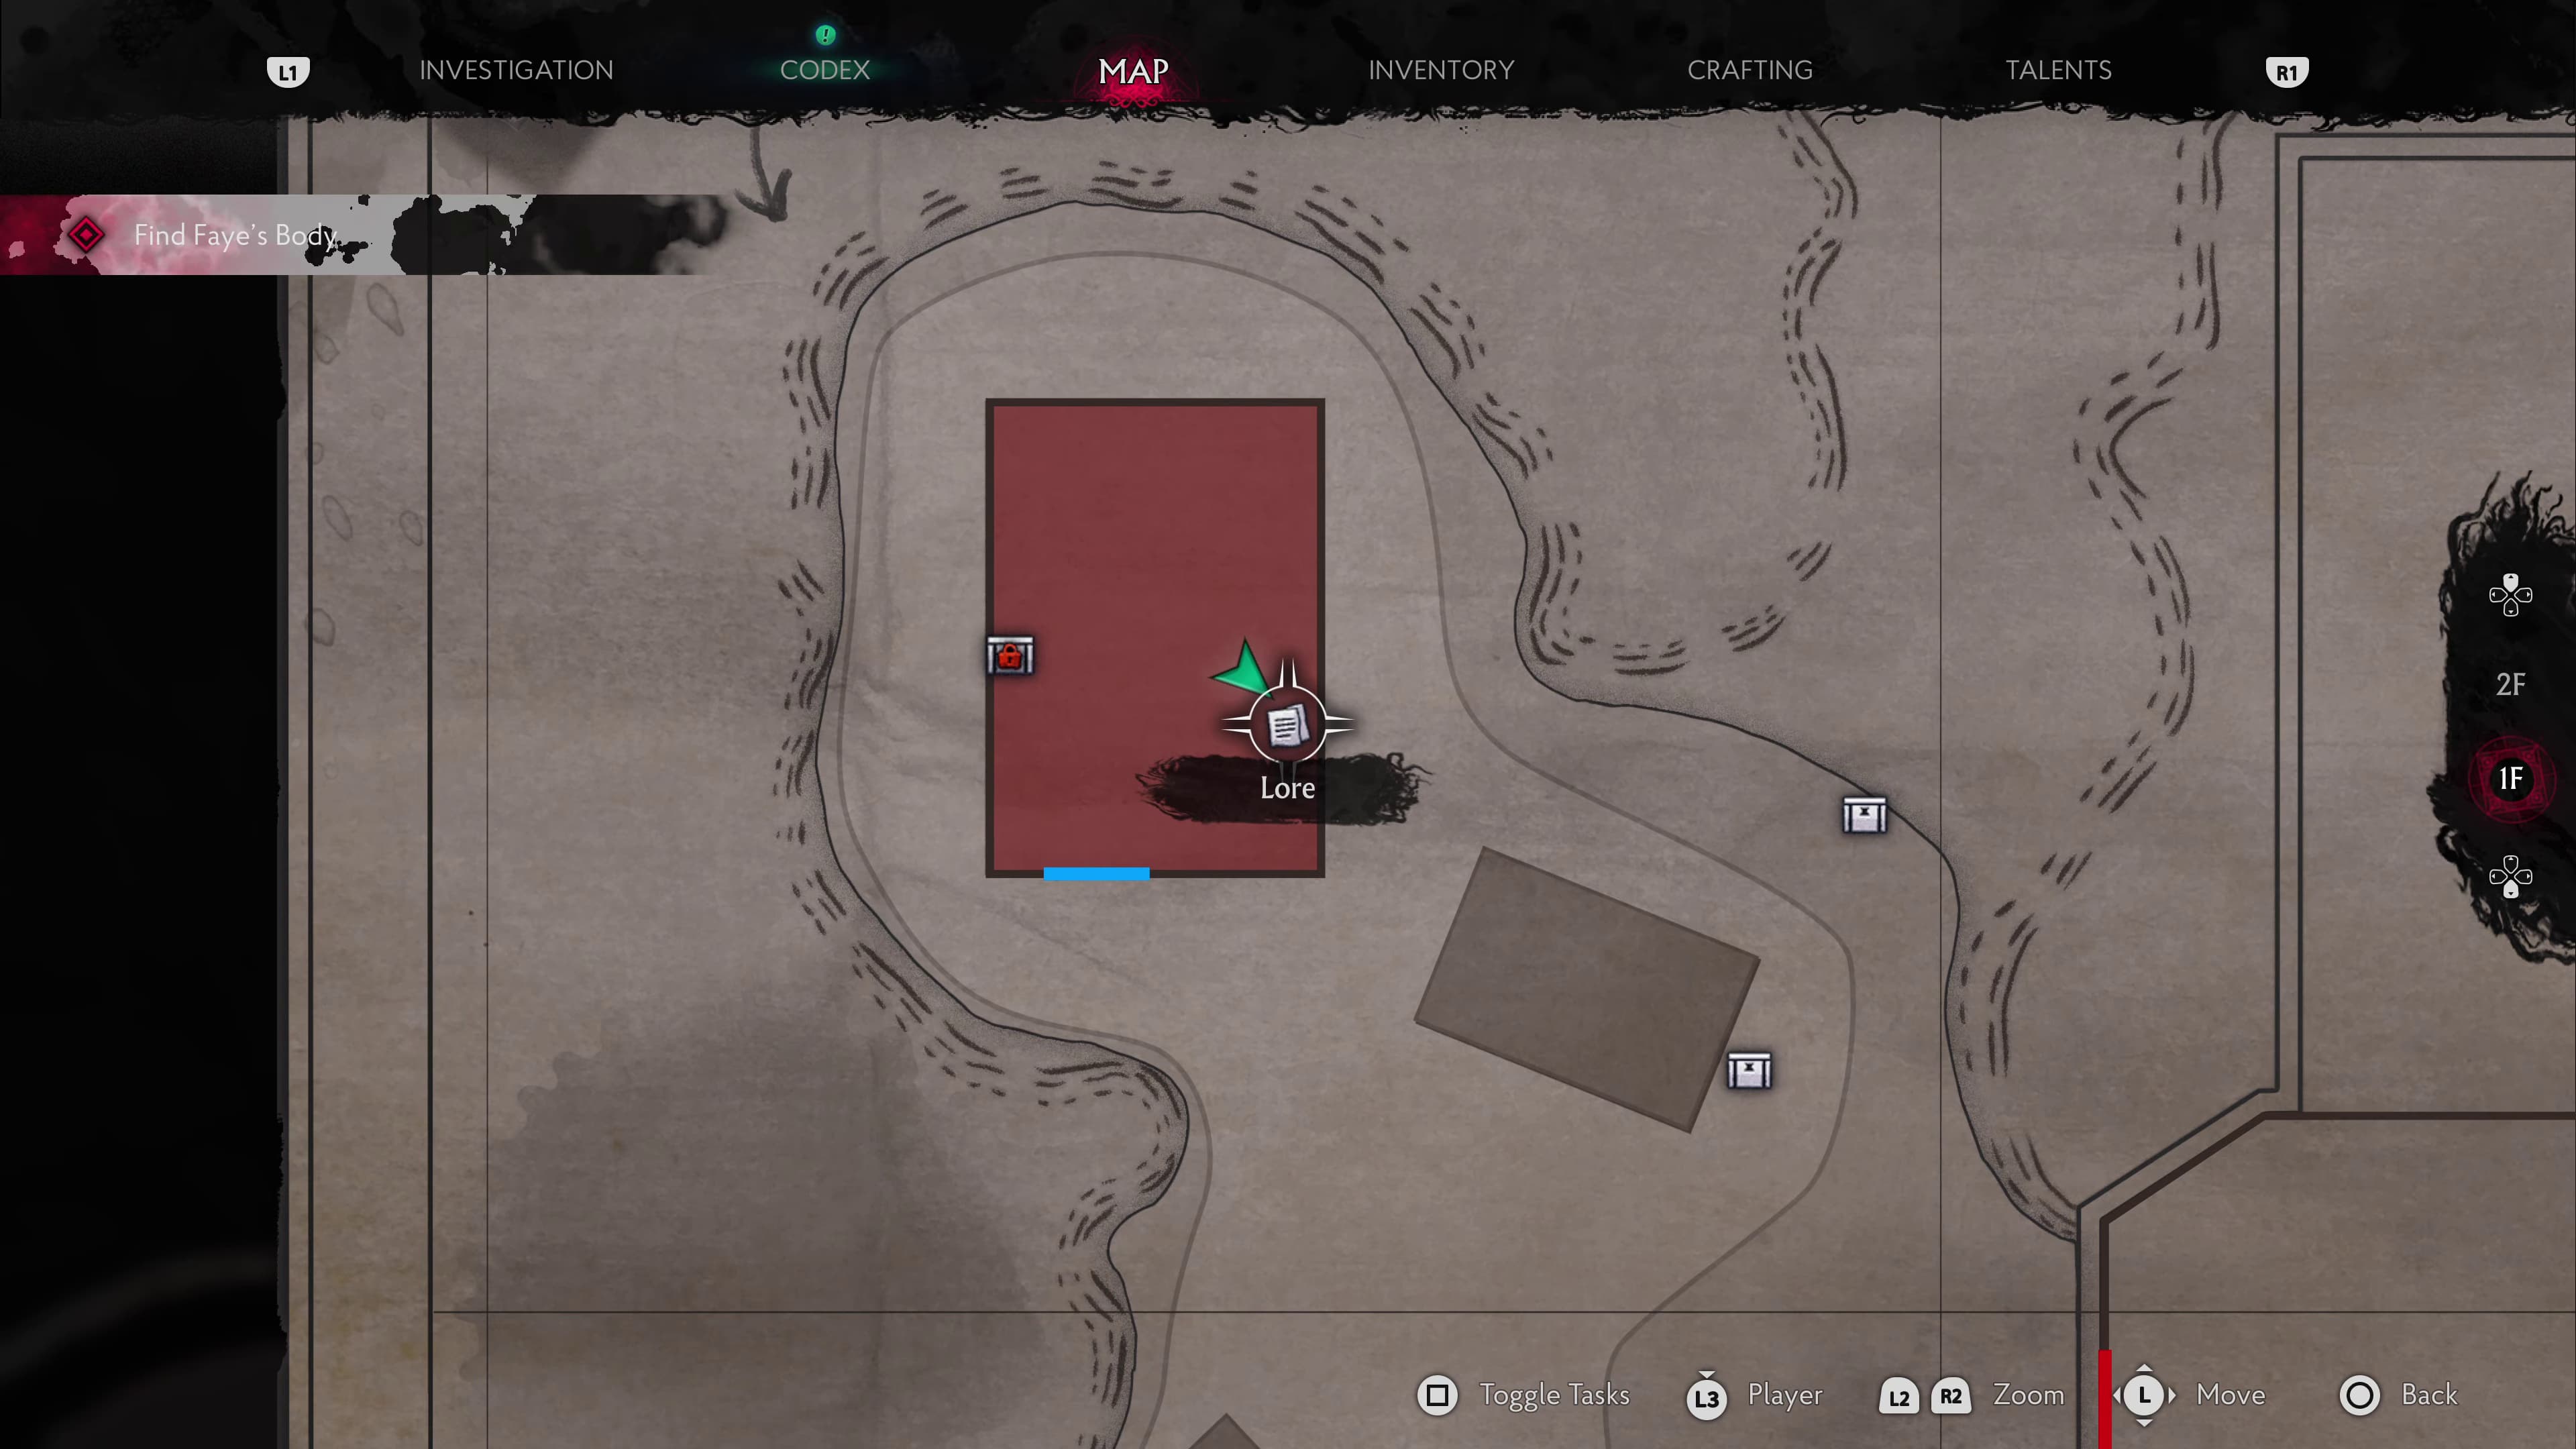
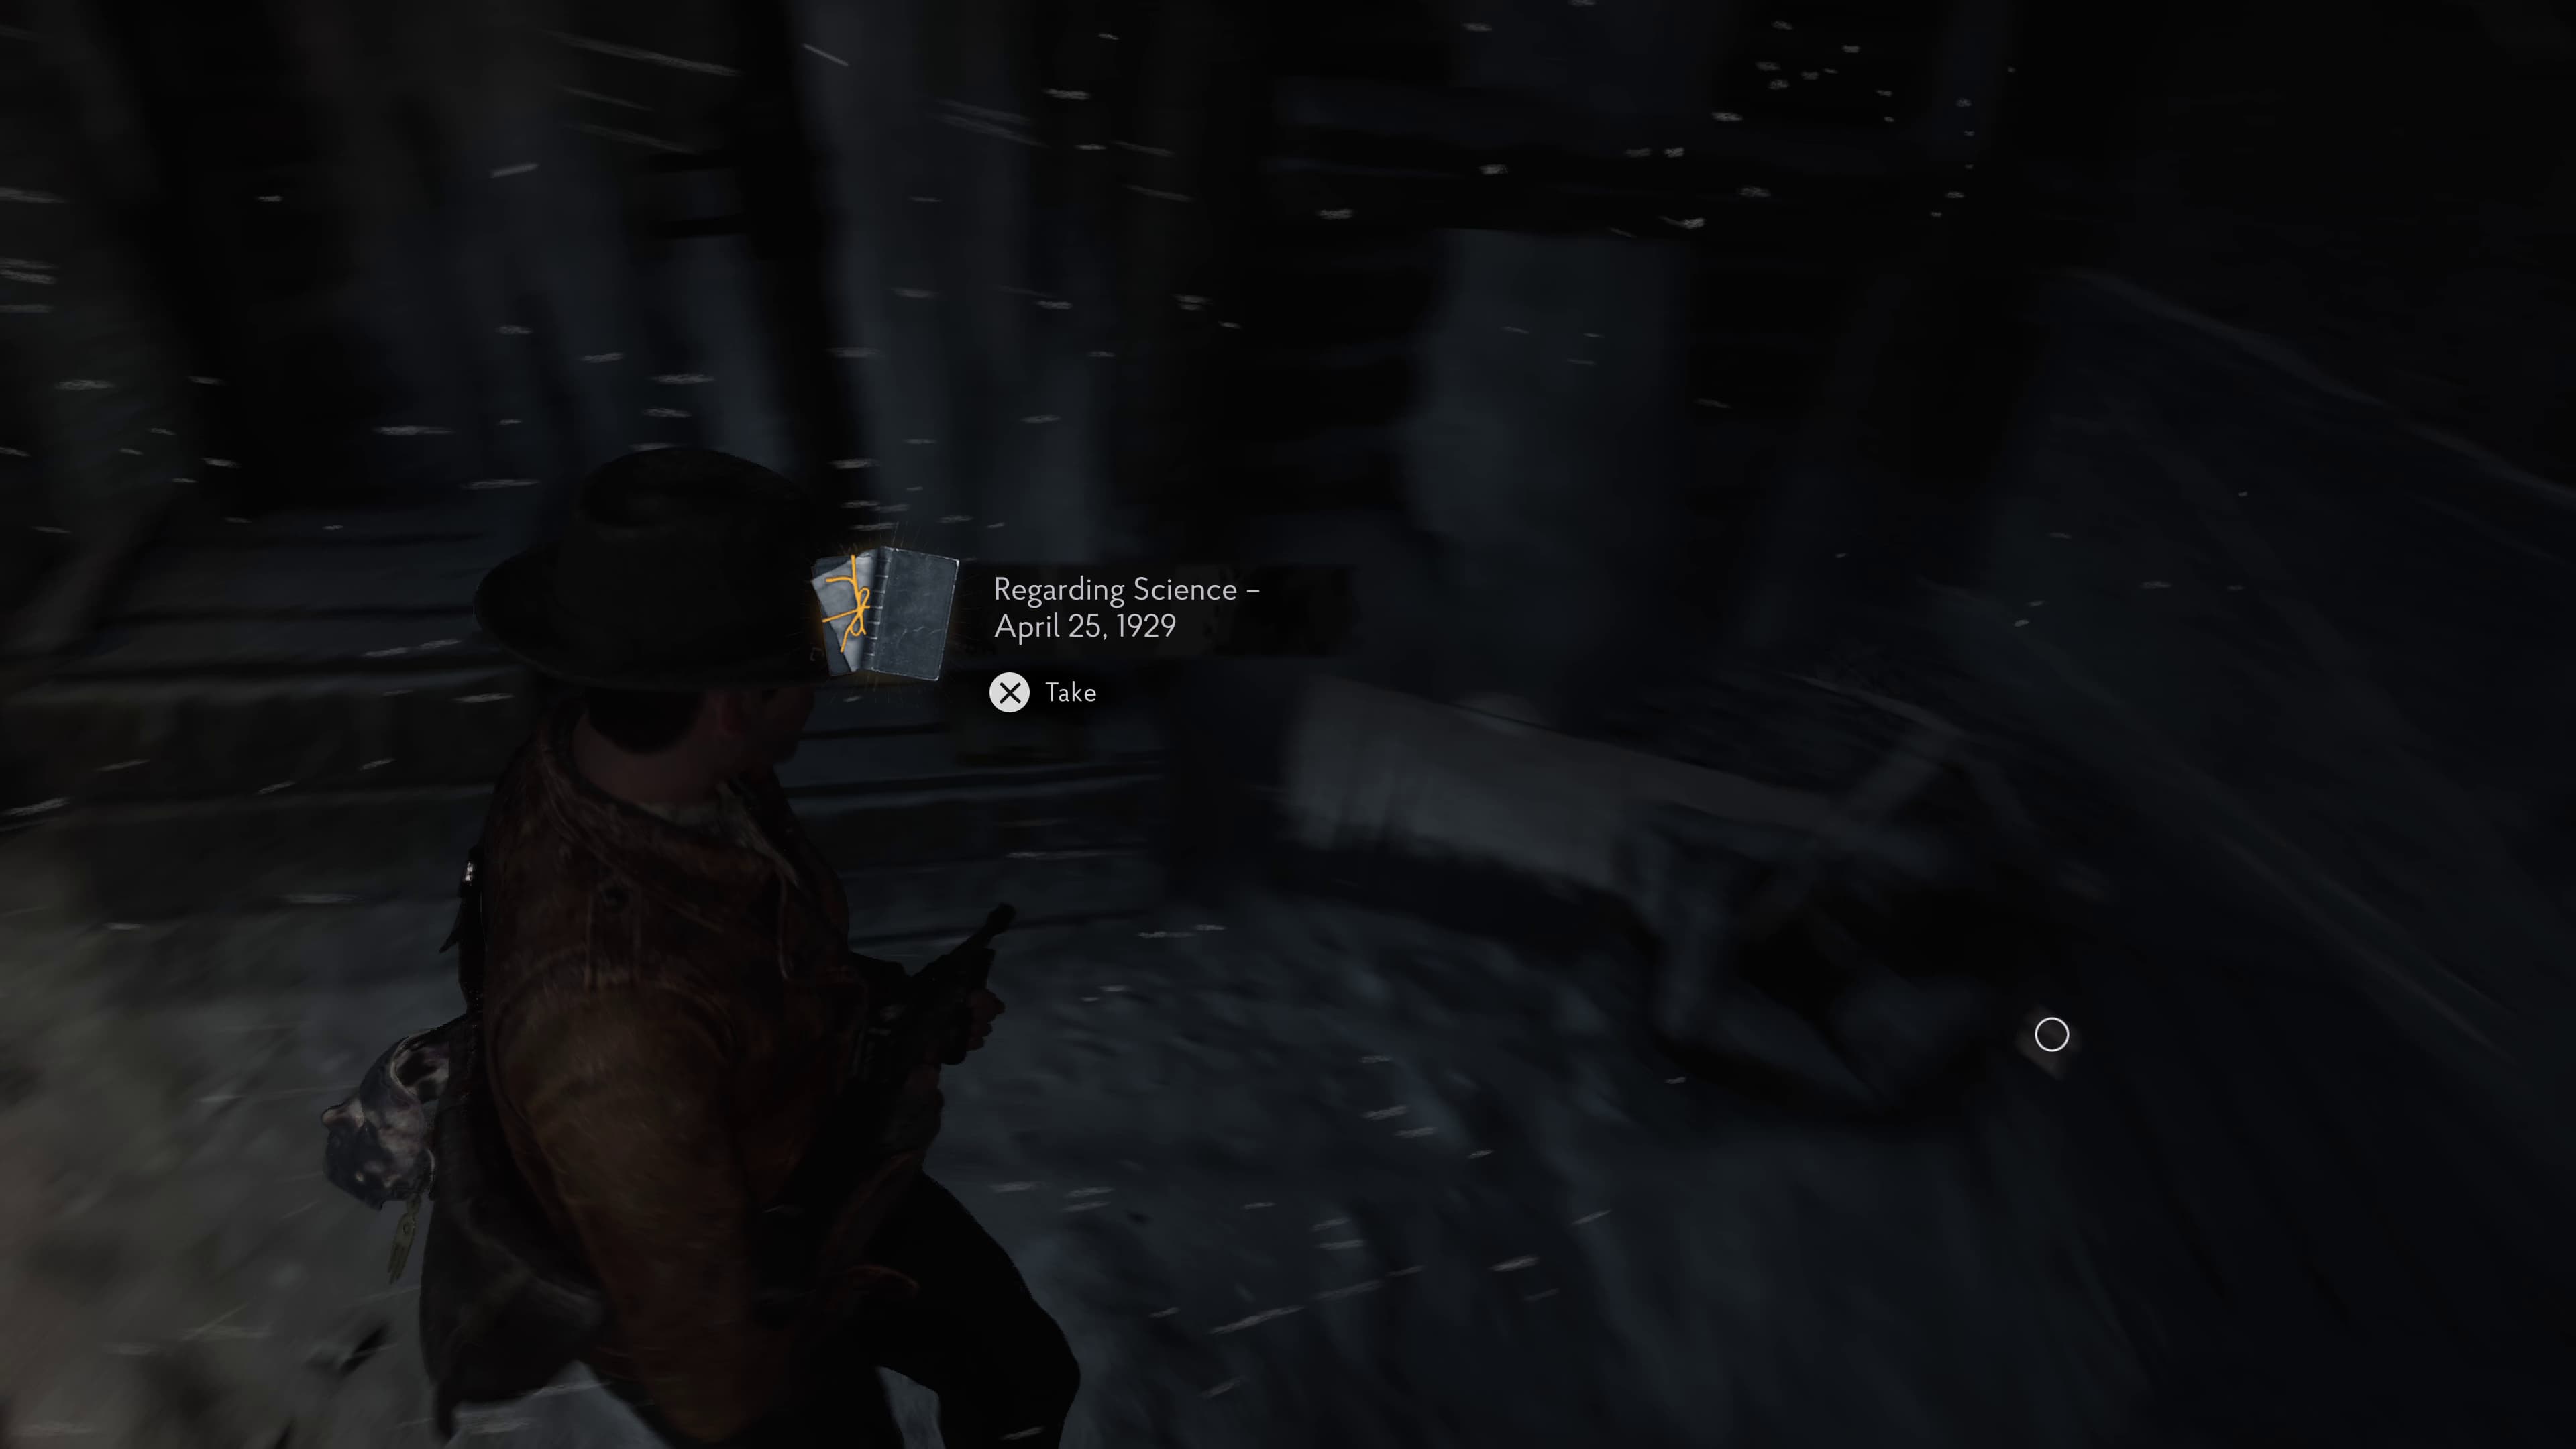
Heading back outside, make your way straight ahead to the back left area where there will be a small cave, inside will be the next Lore Document (Regarding Science - April 25, 1929).
Now, make your way over to the right again in this area, to open the door with the Stone, next to where we found the Sturdy Key a few moments ago.
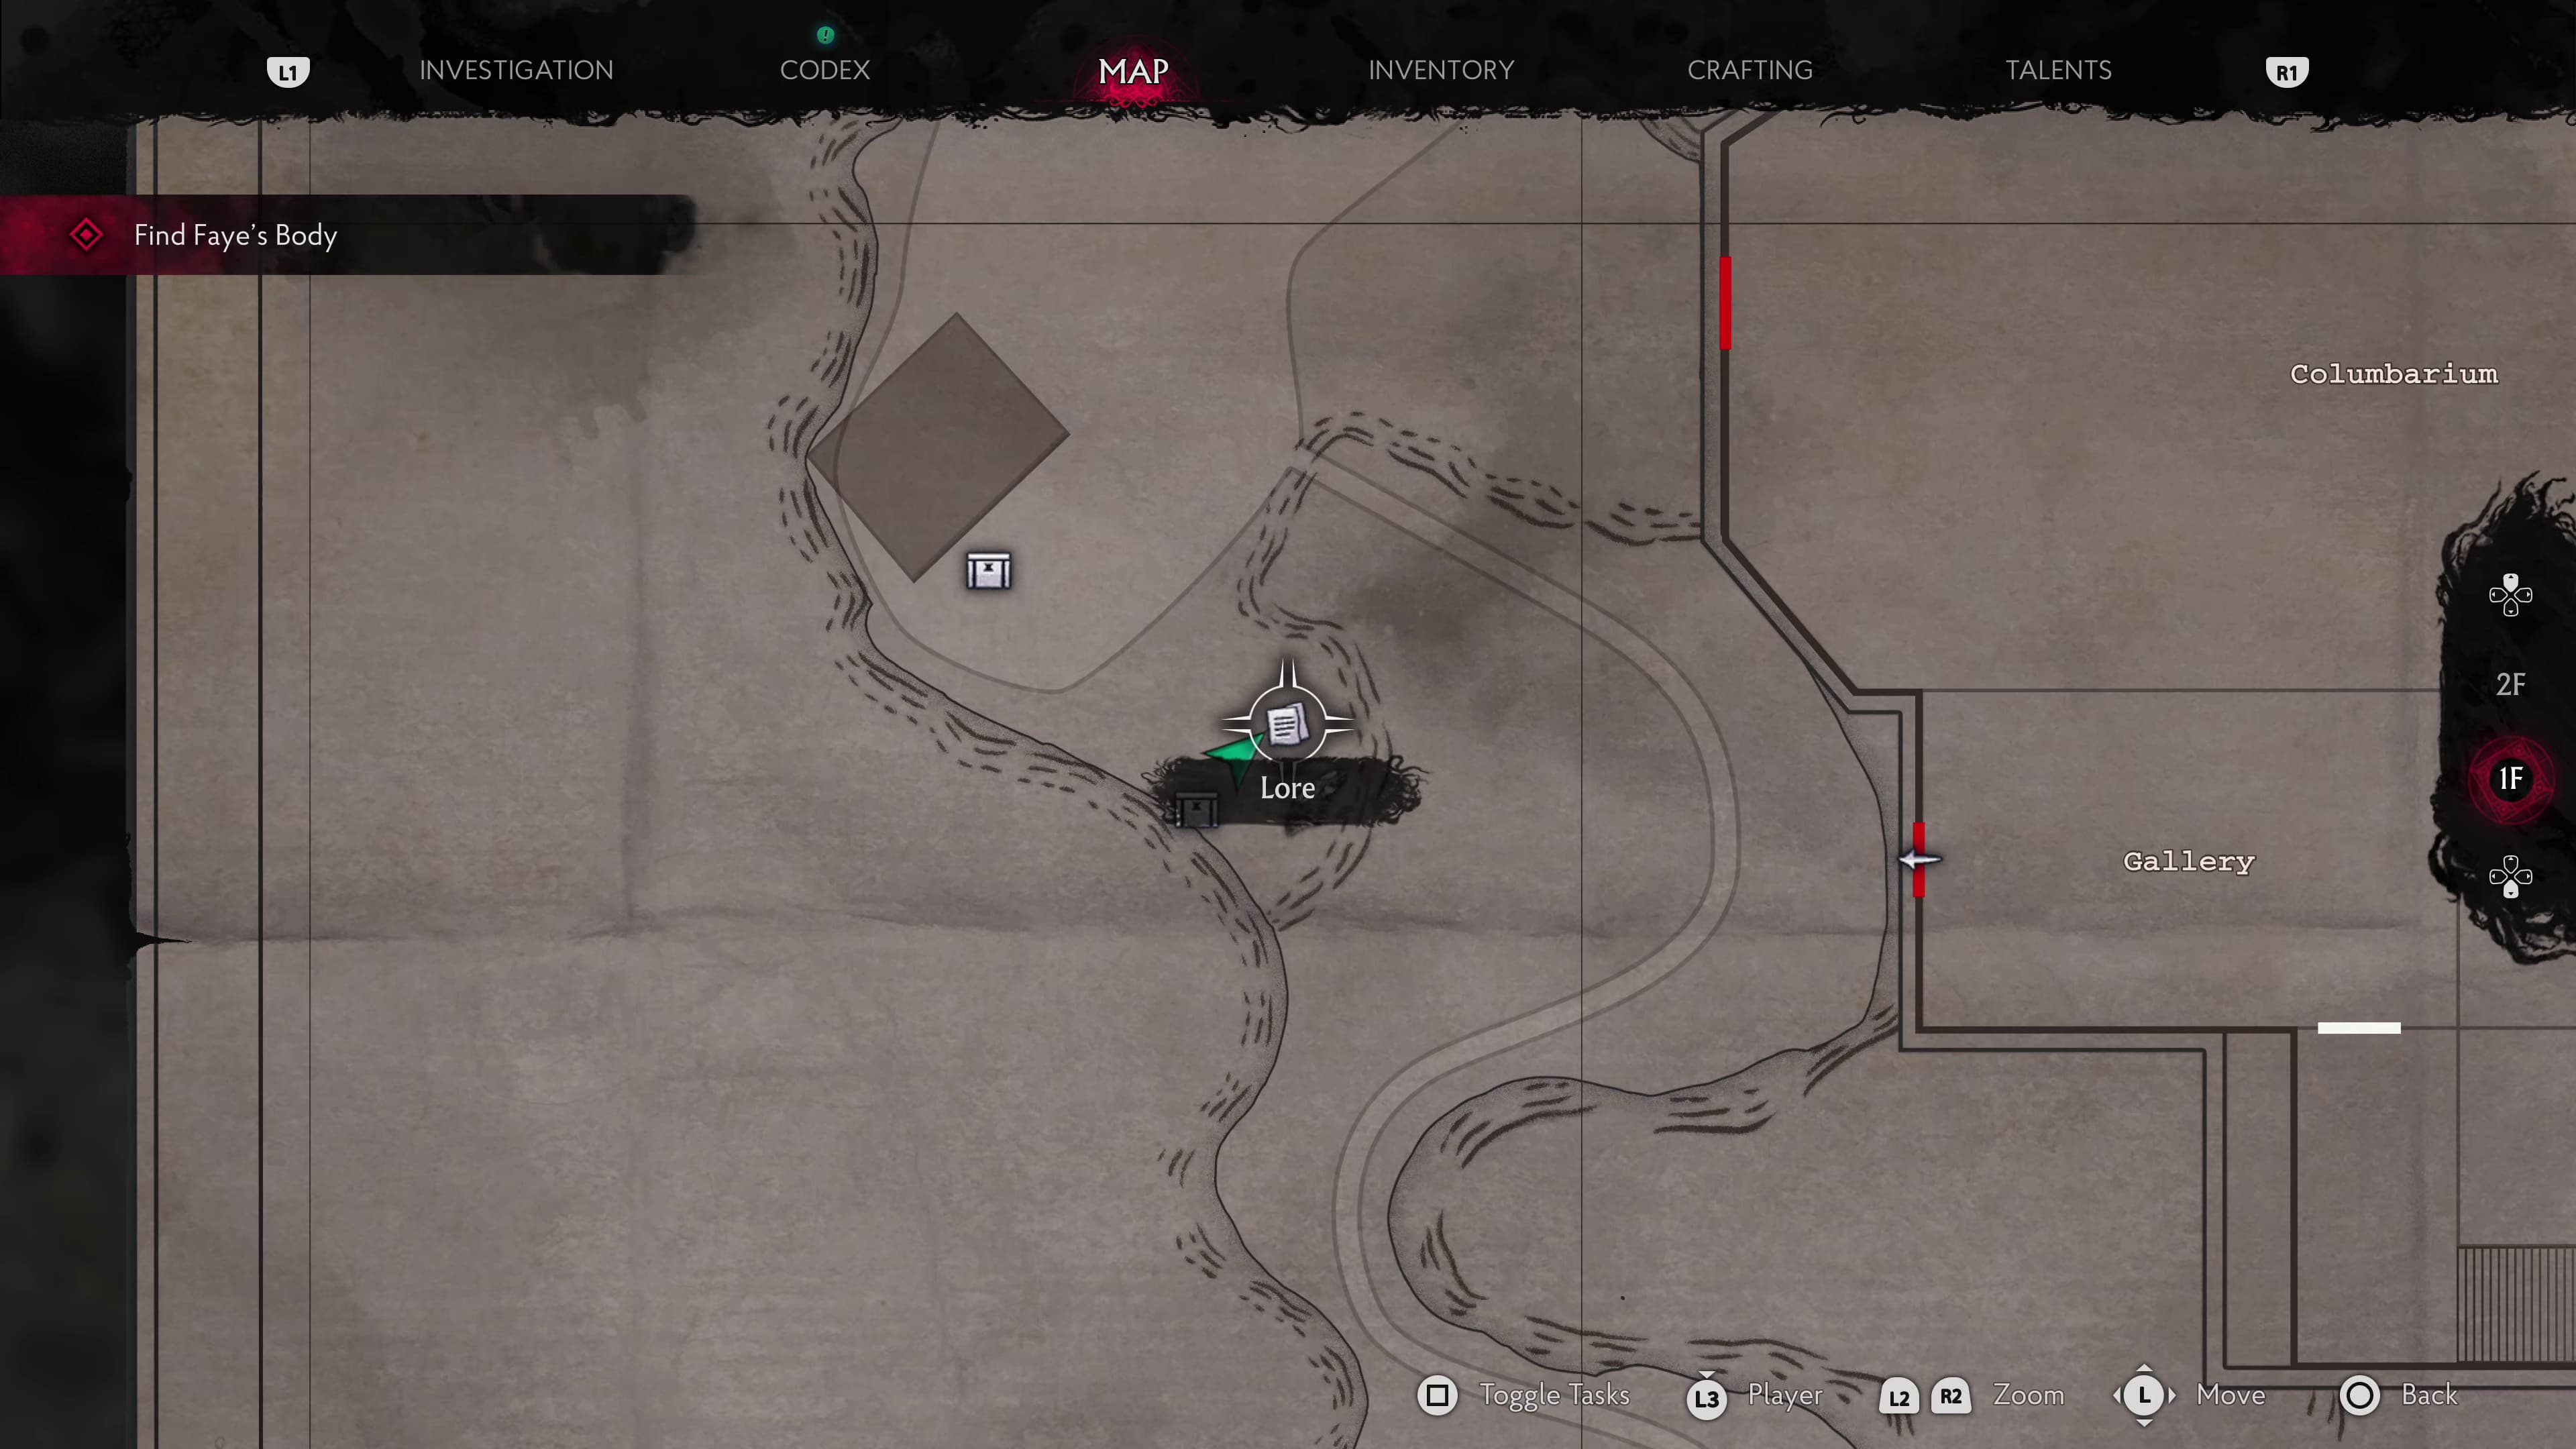
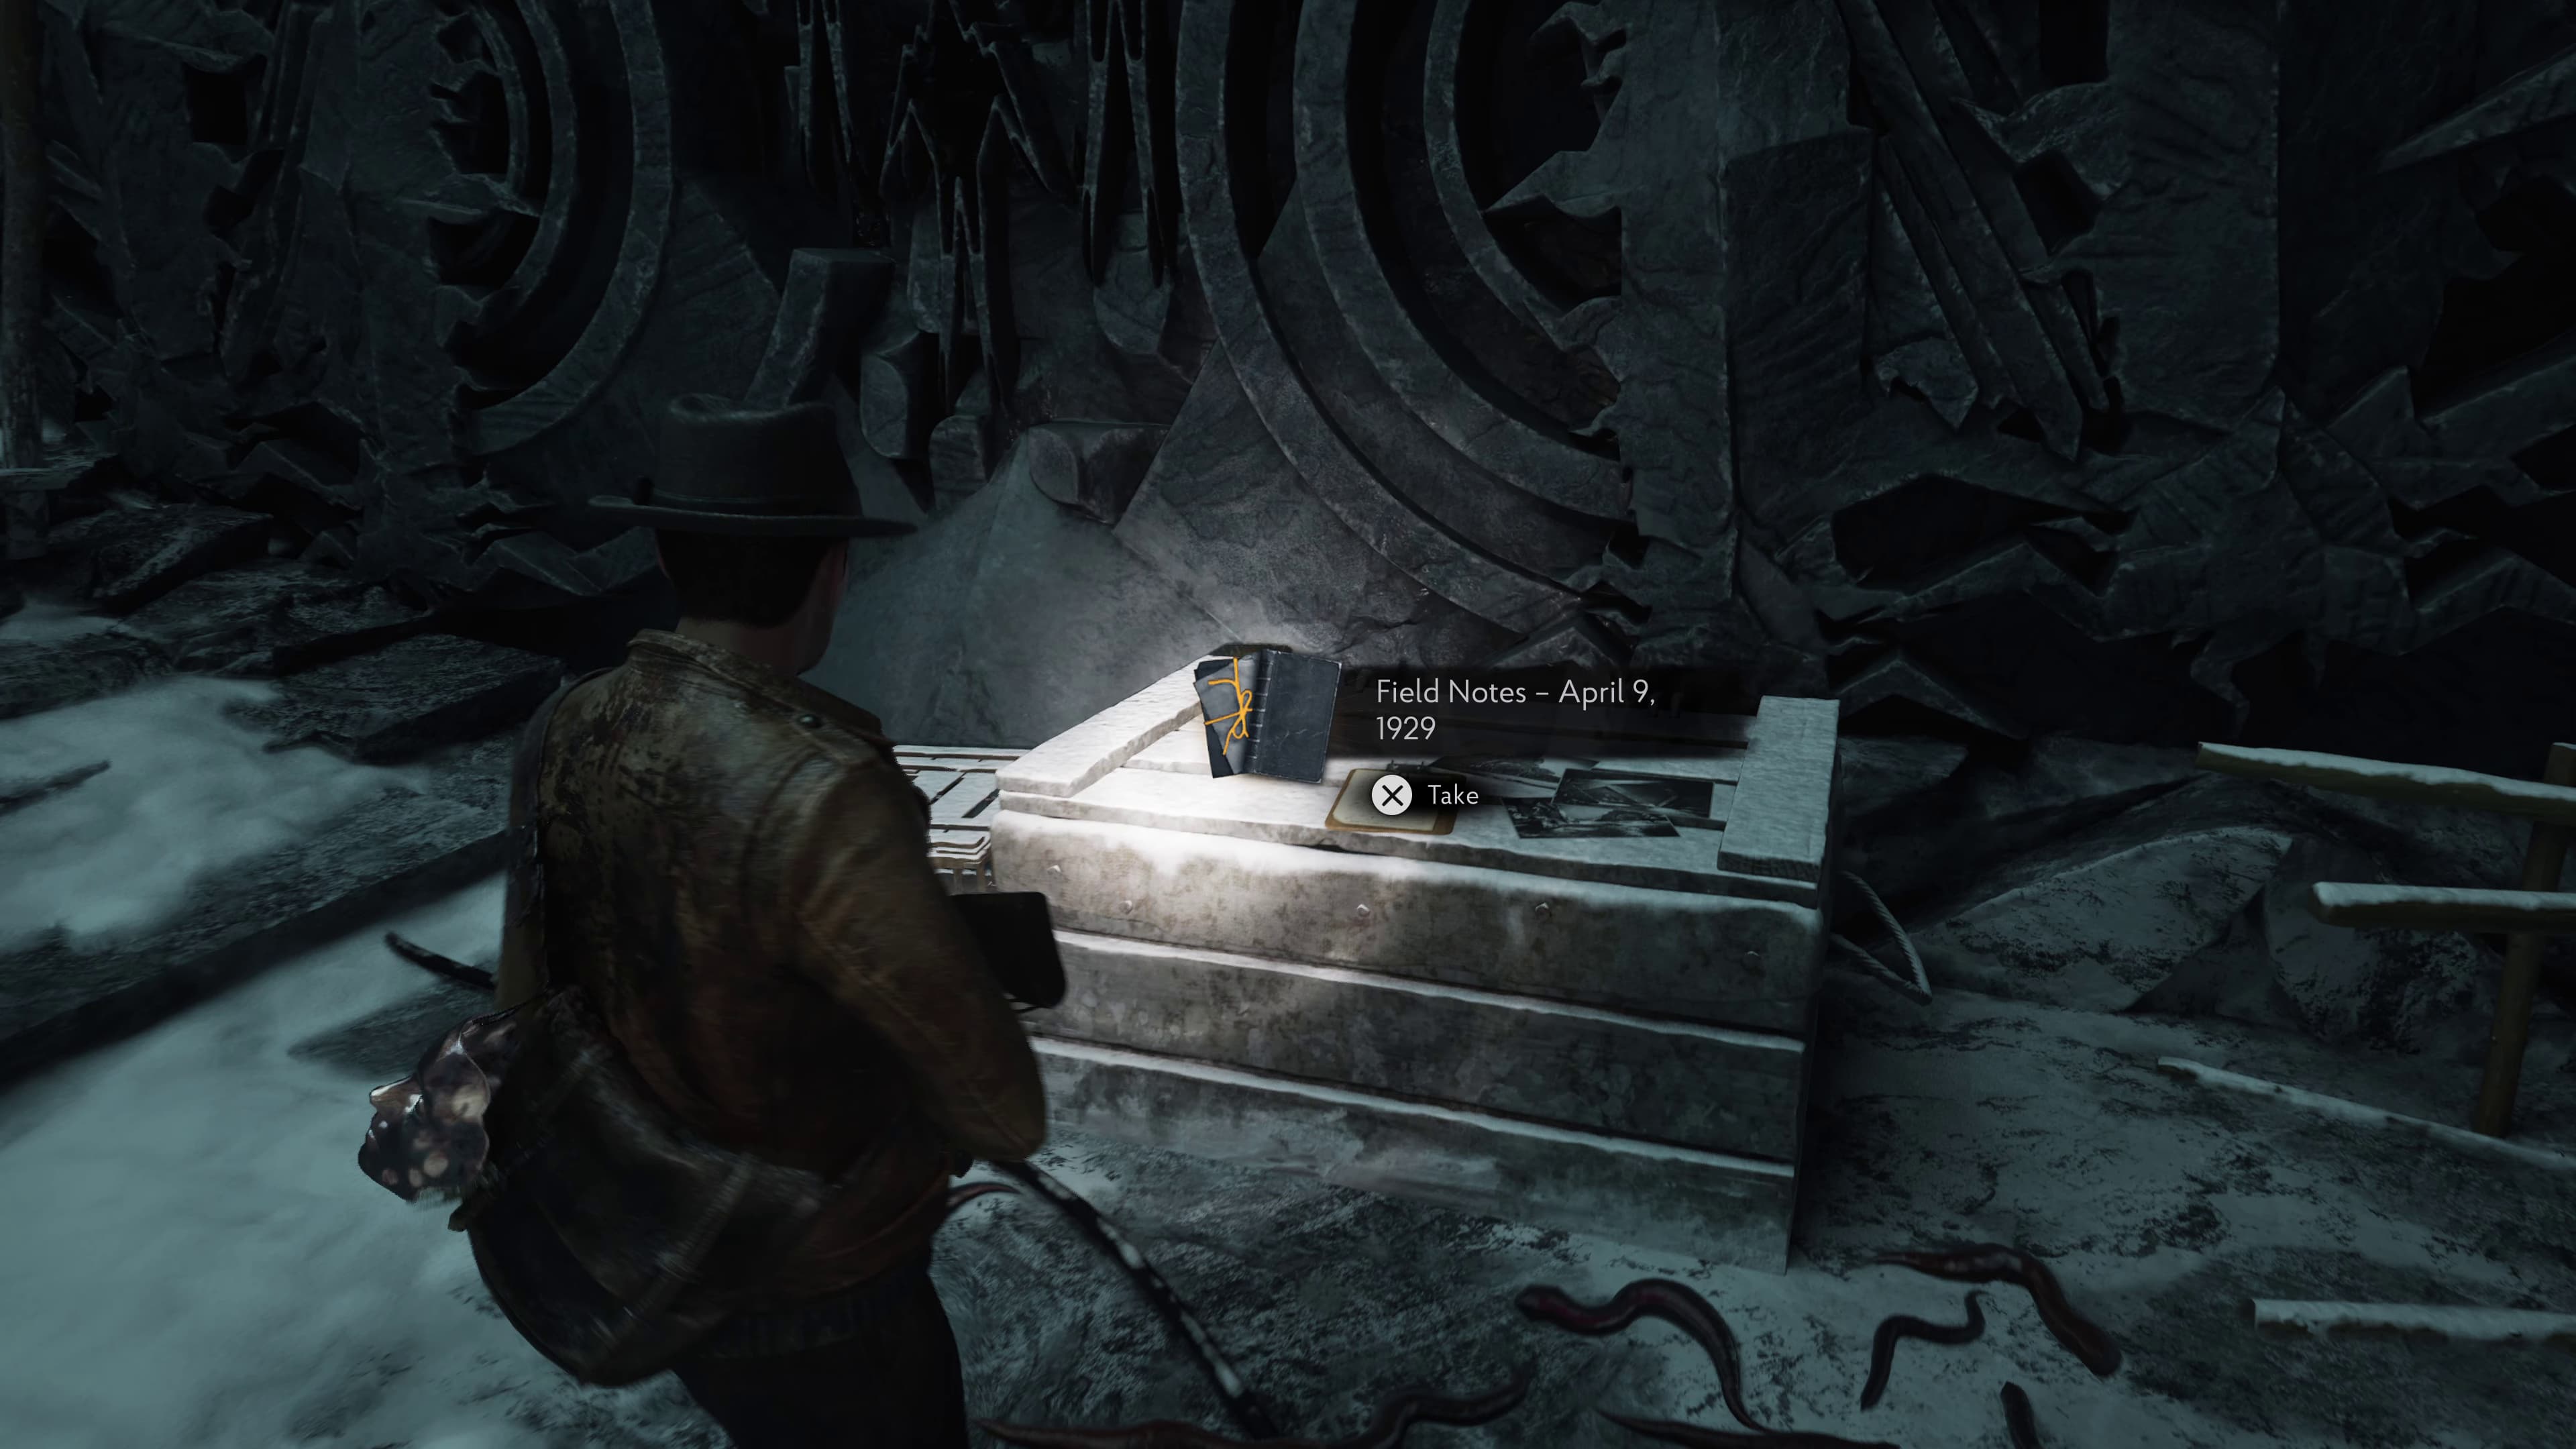
Make your way inside, and in the back right of the room on a crate will be the next Lore Document (Field Notes - April 9, 1929).
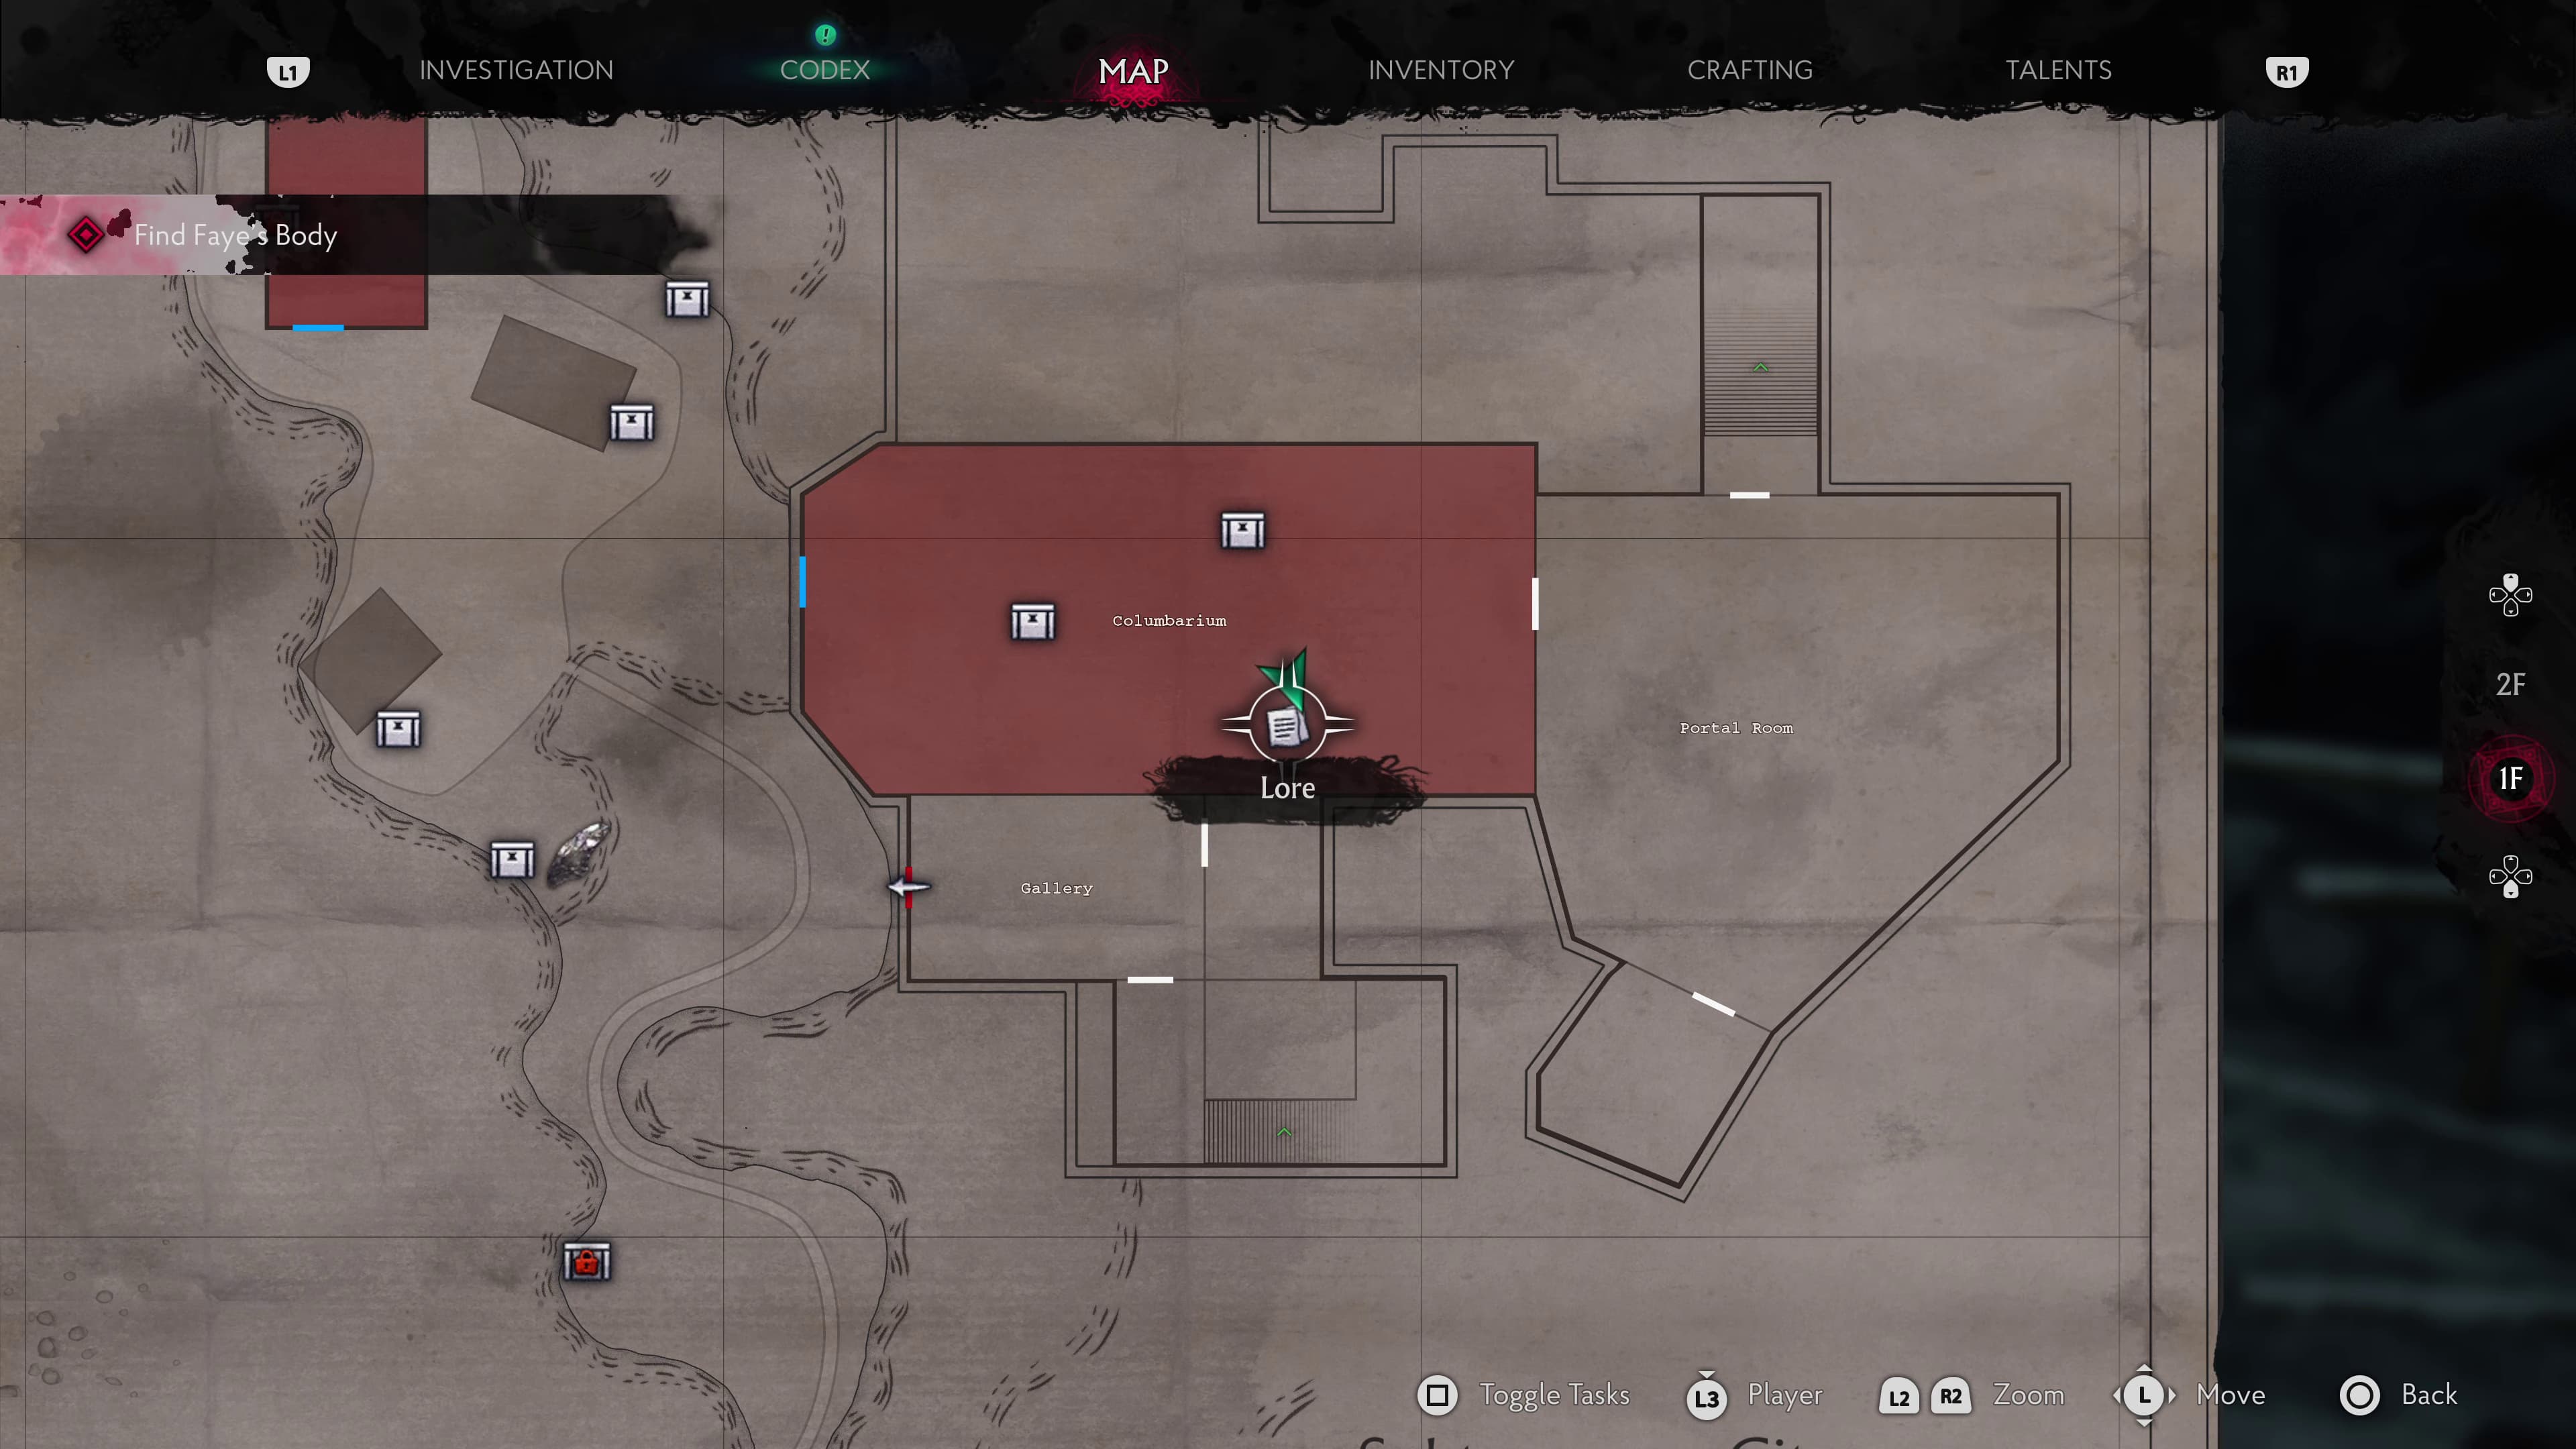
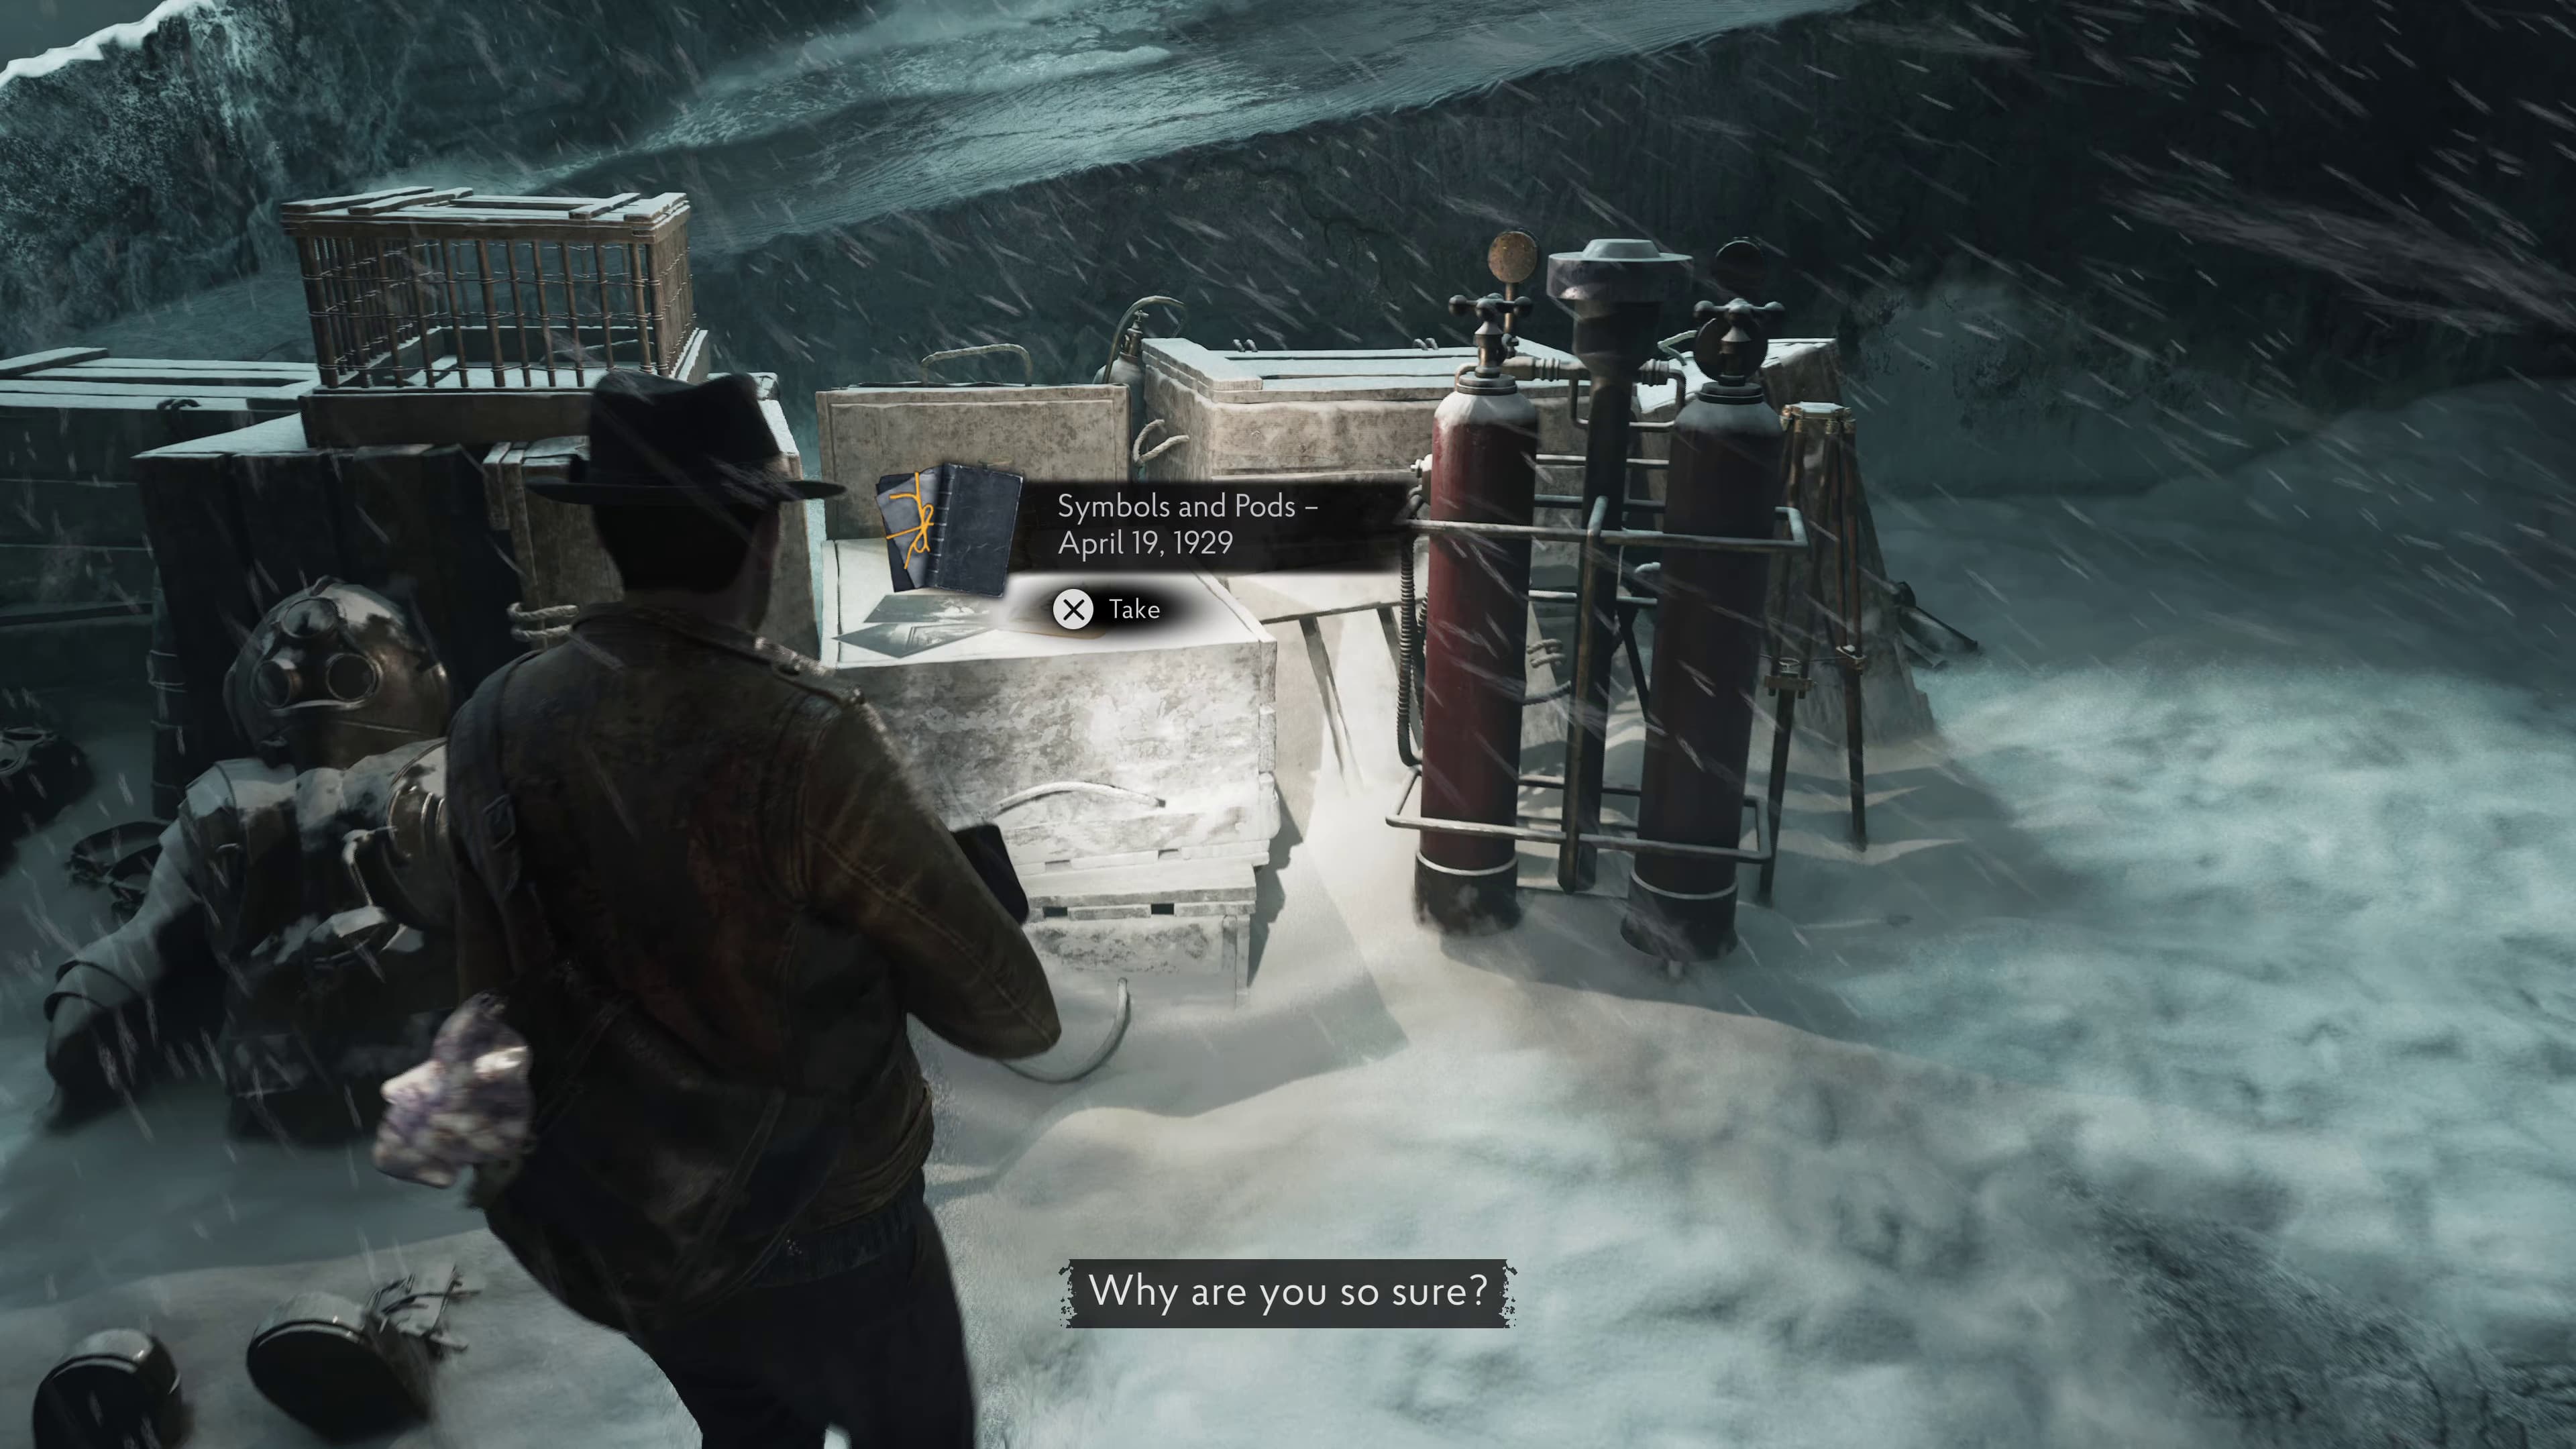
Heading into the Portal Room, ahead on the right, will be the next Lore Document (Symbols and Pods - April 19, 1929).
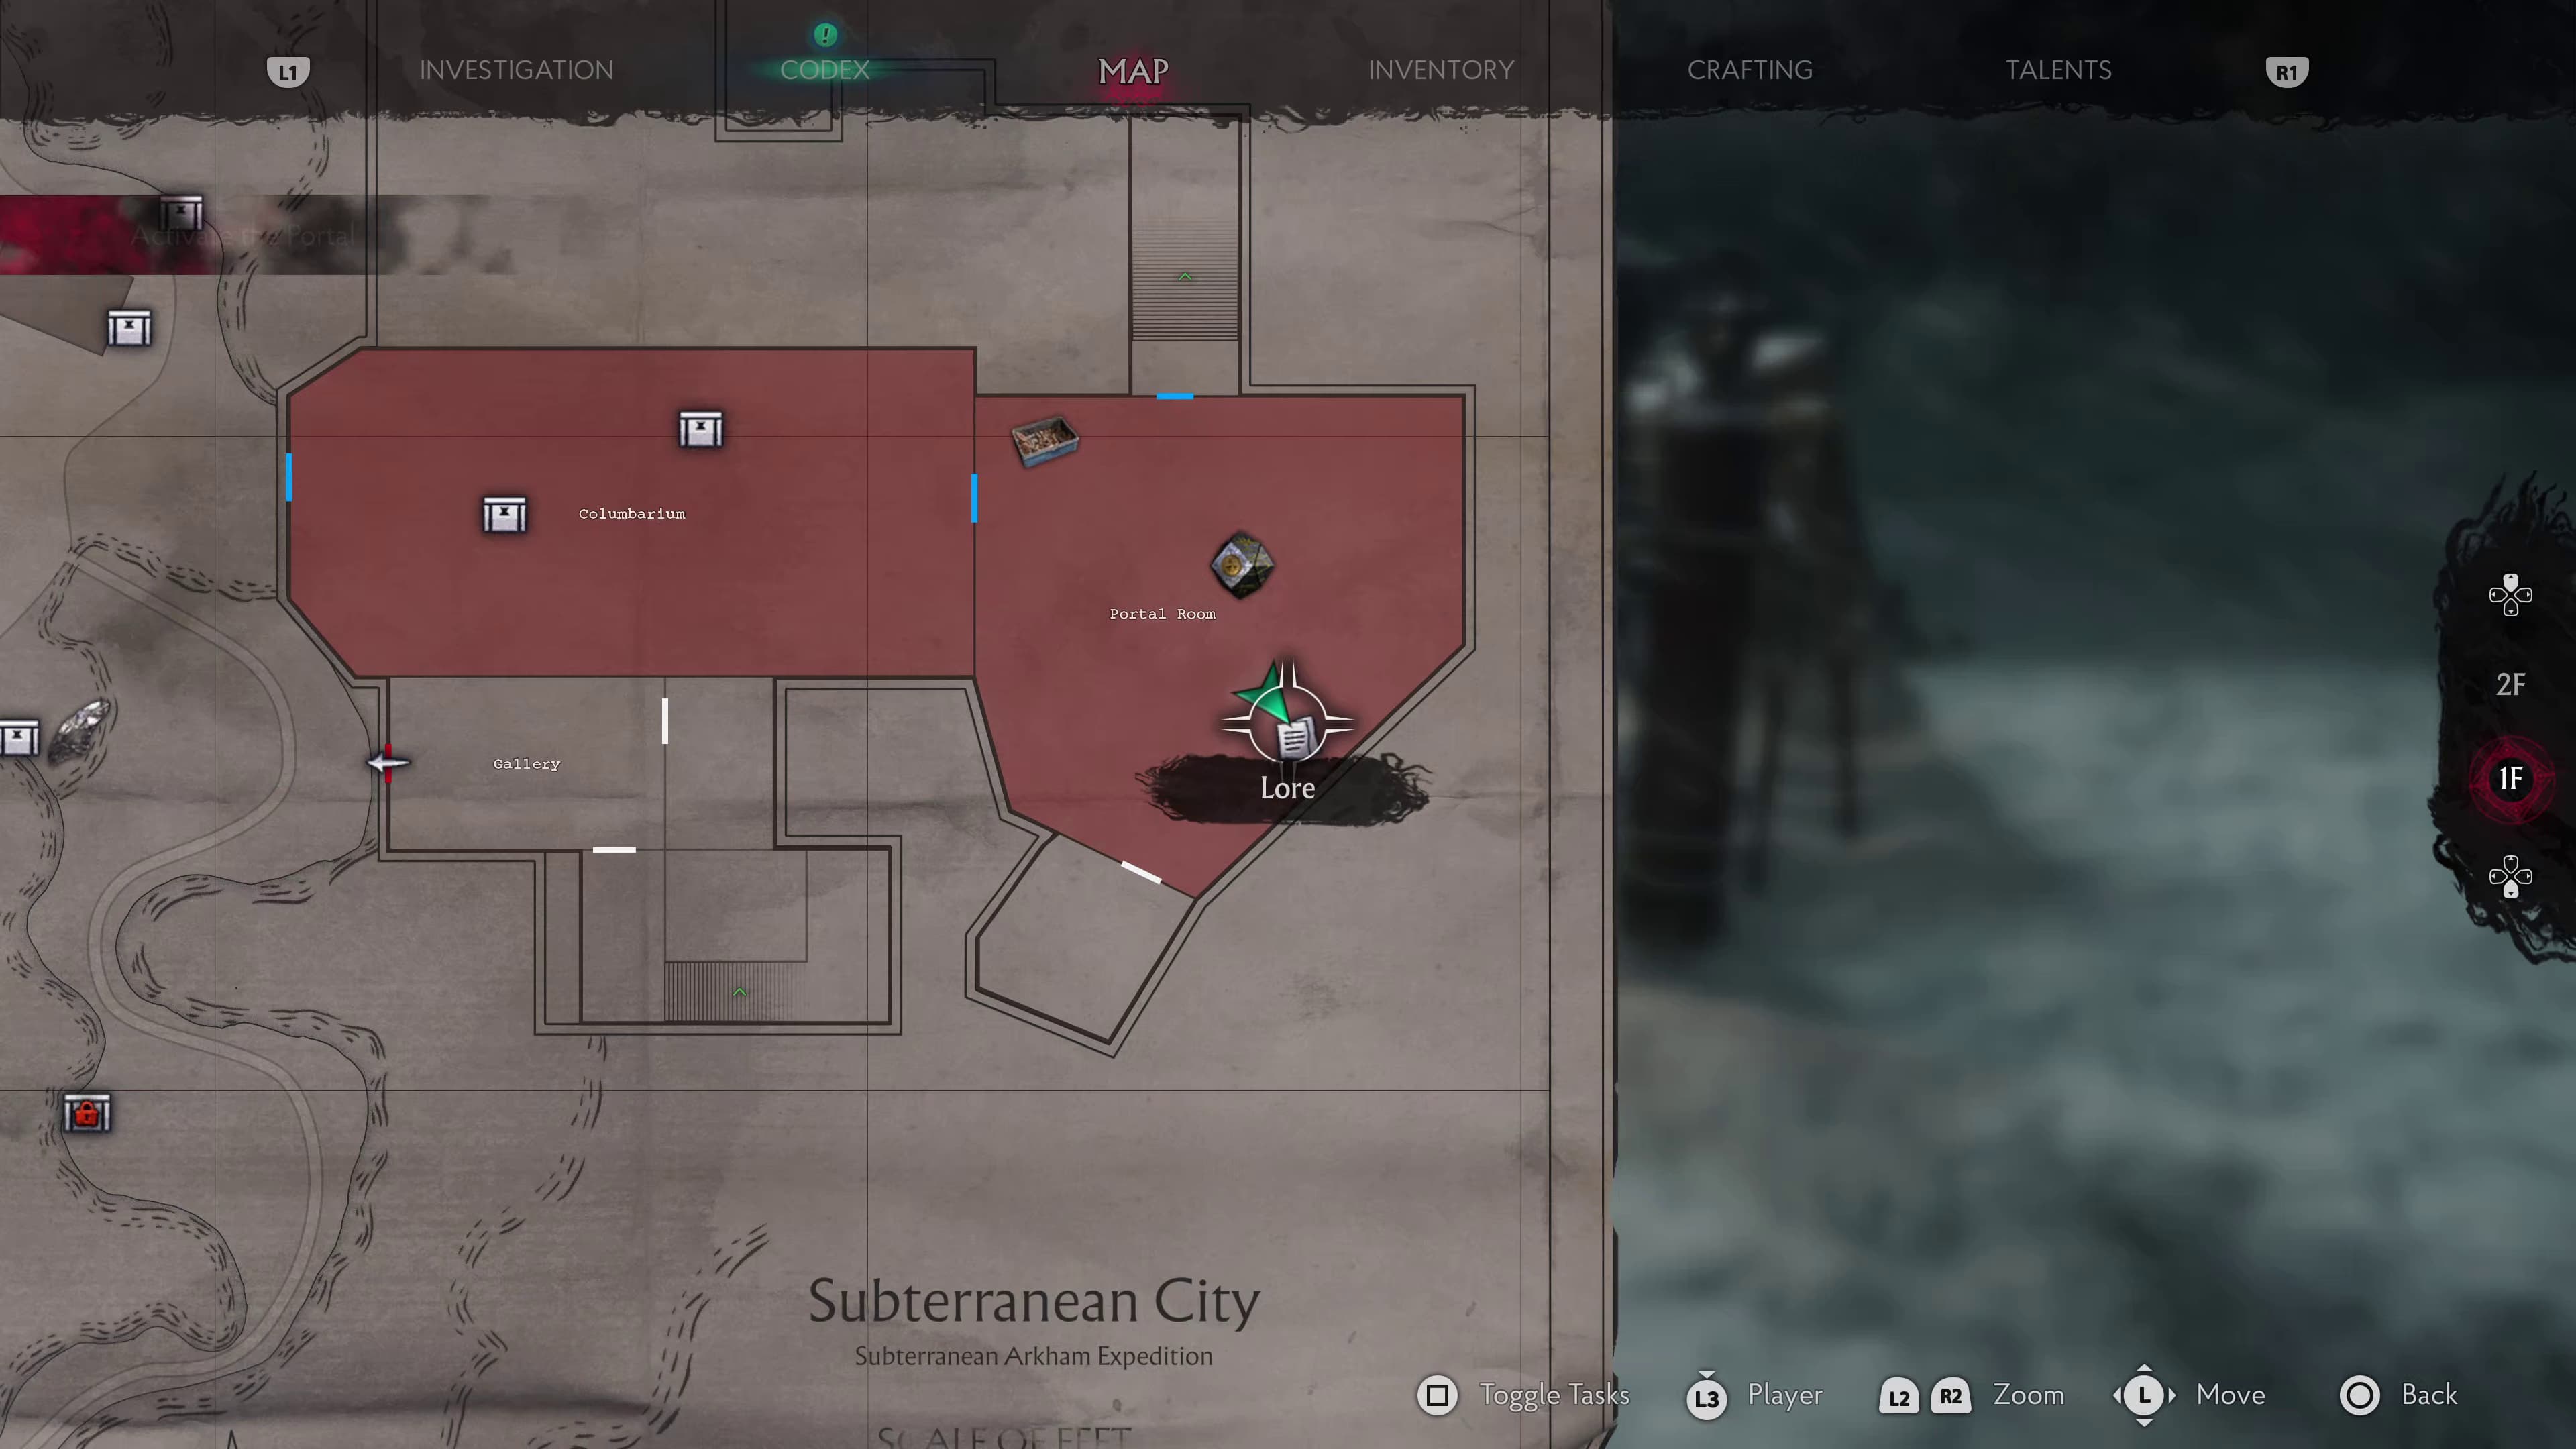
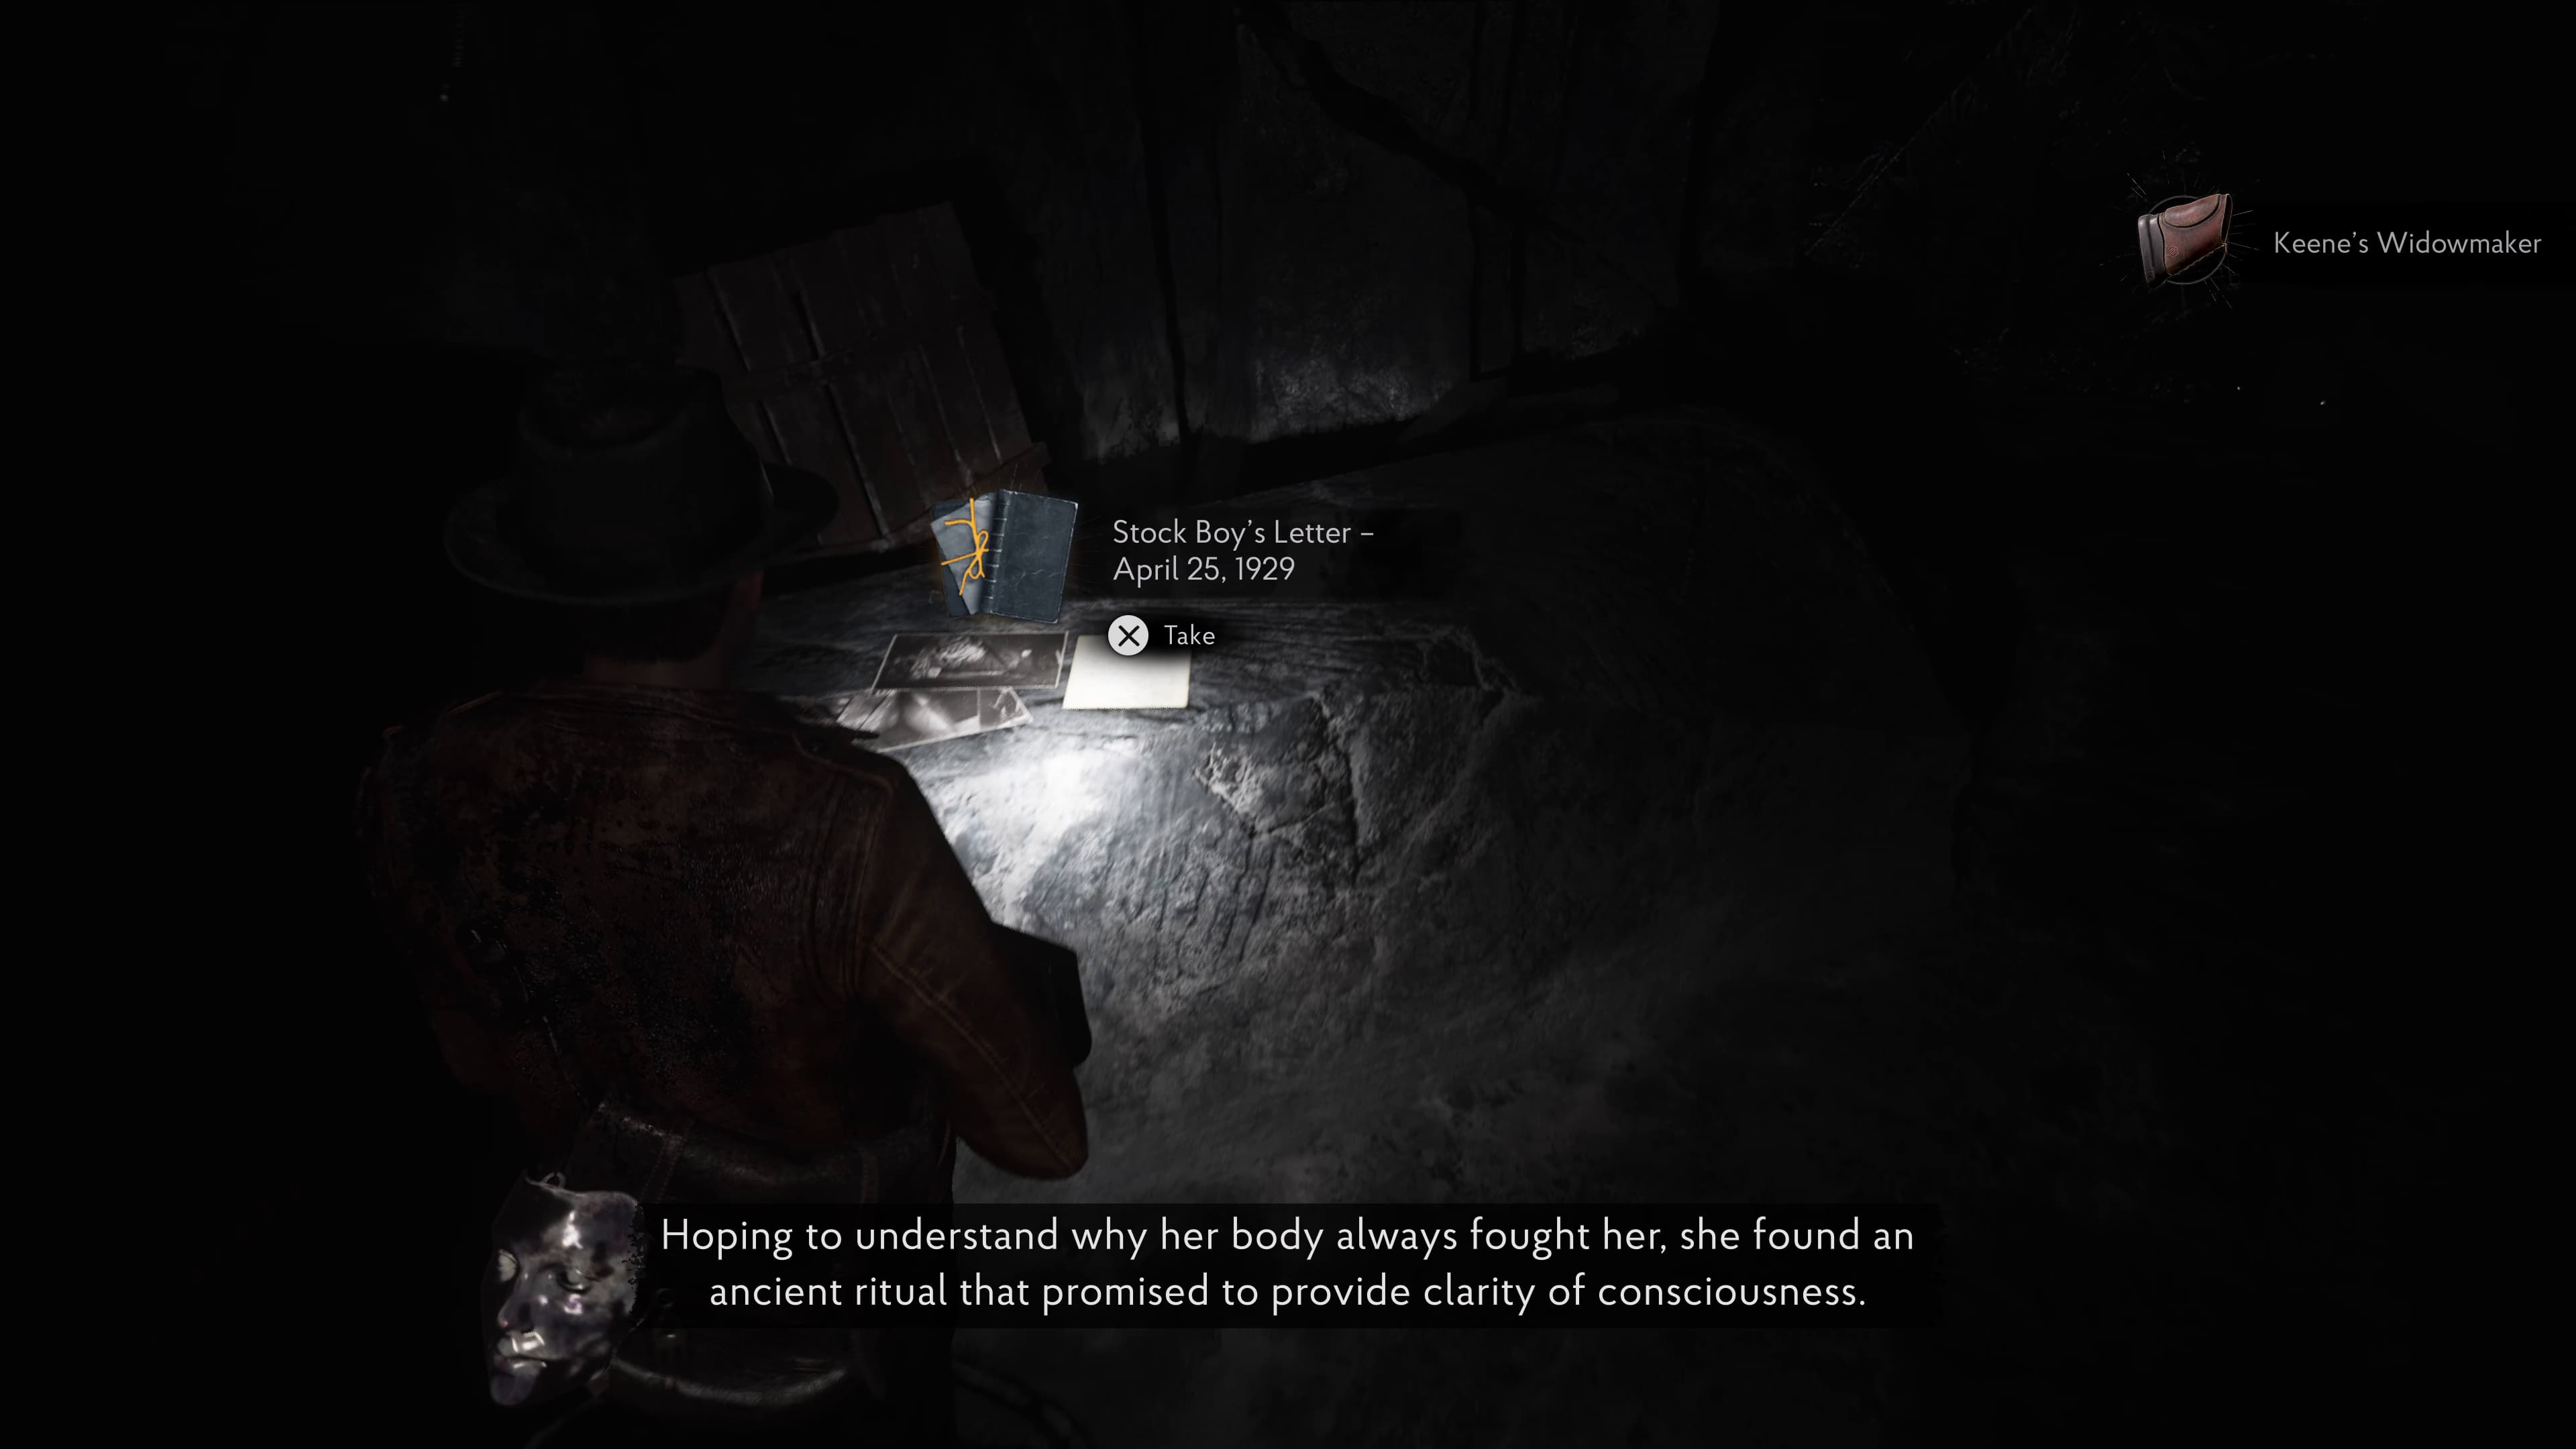
Keep progressing through the area and to the right of the ERC will be the next Lore Document (Stock Boy's Letter - April 25, 1929) to collect.
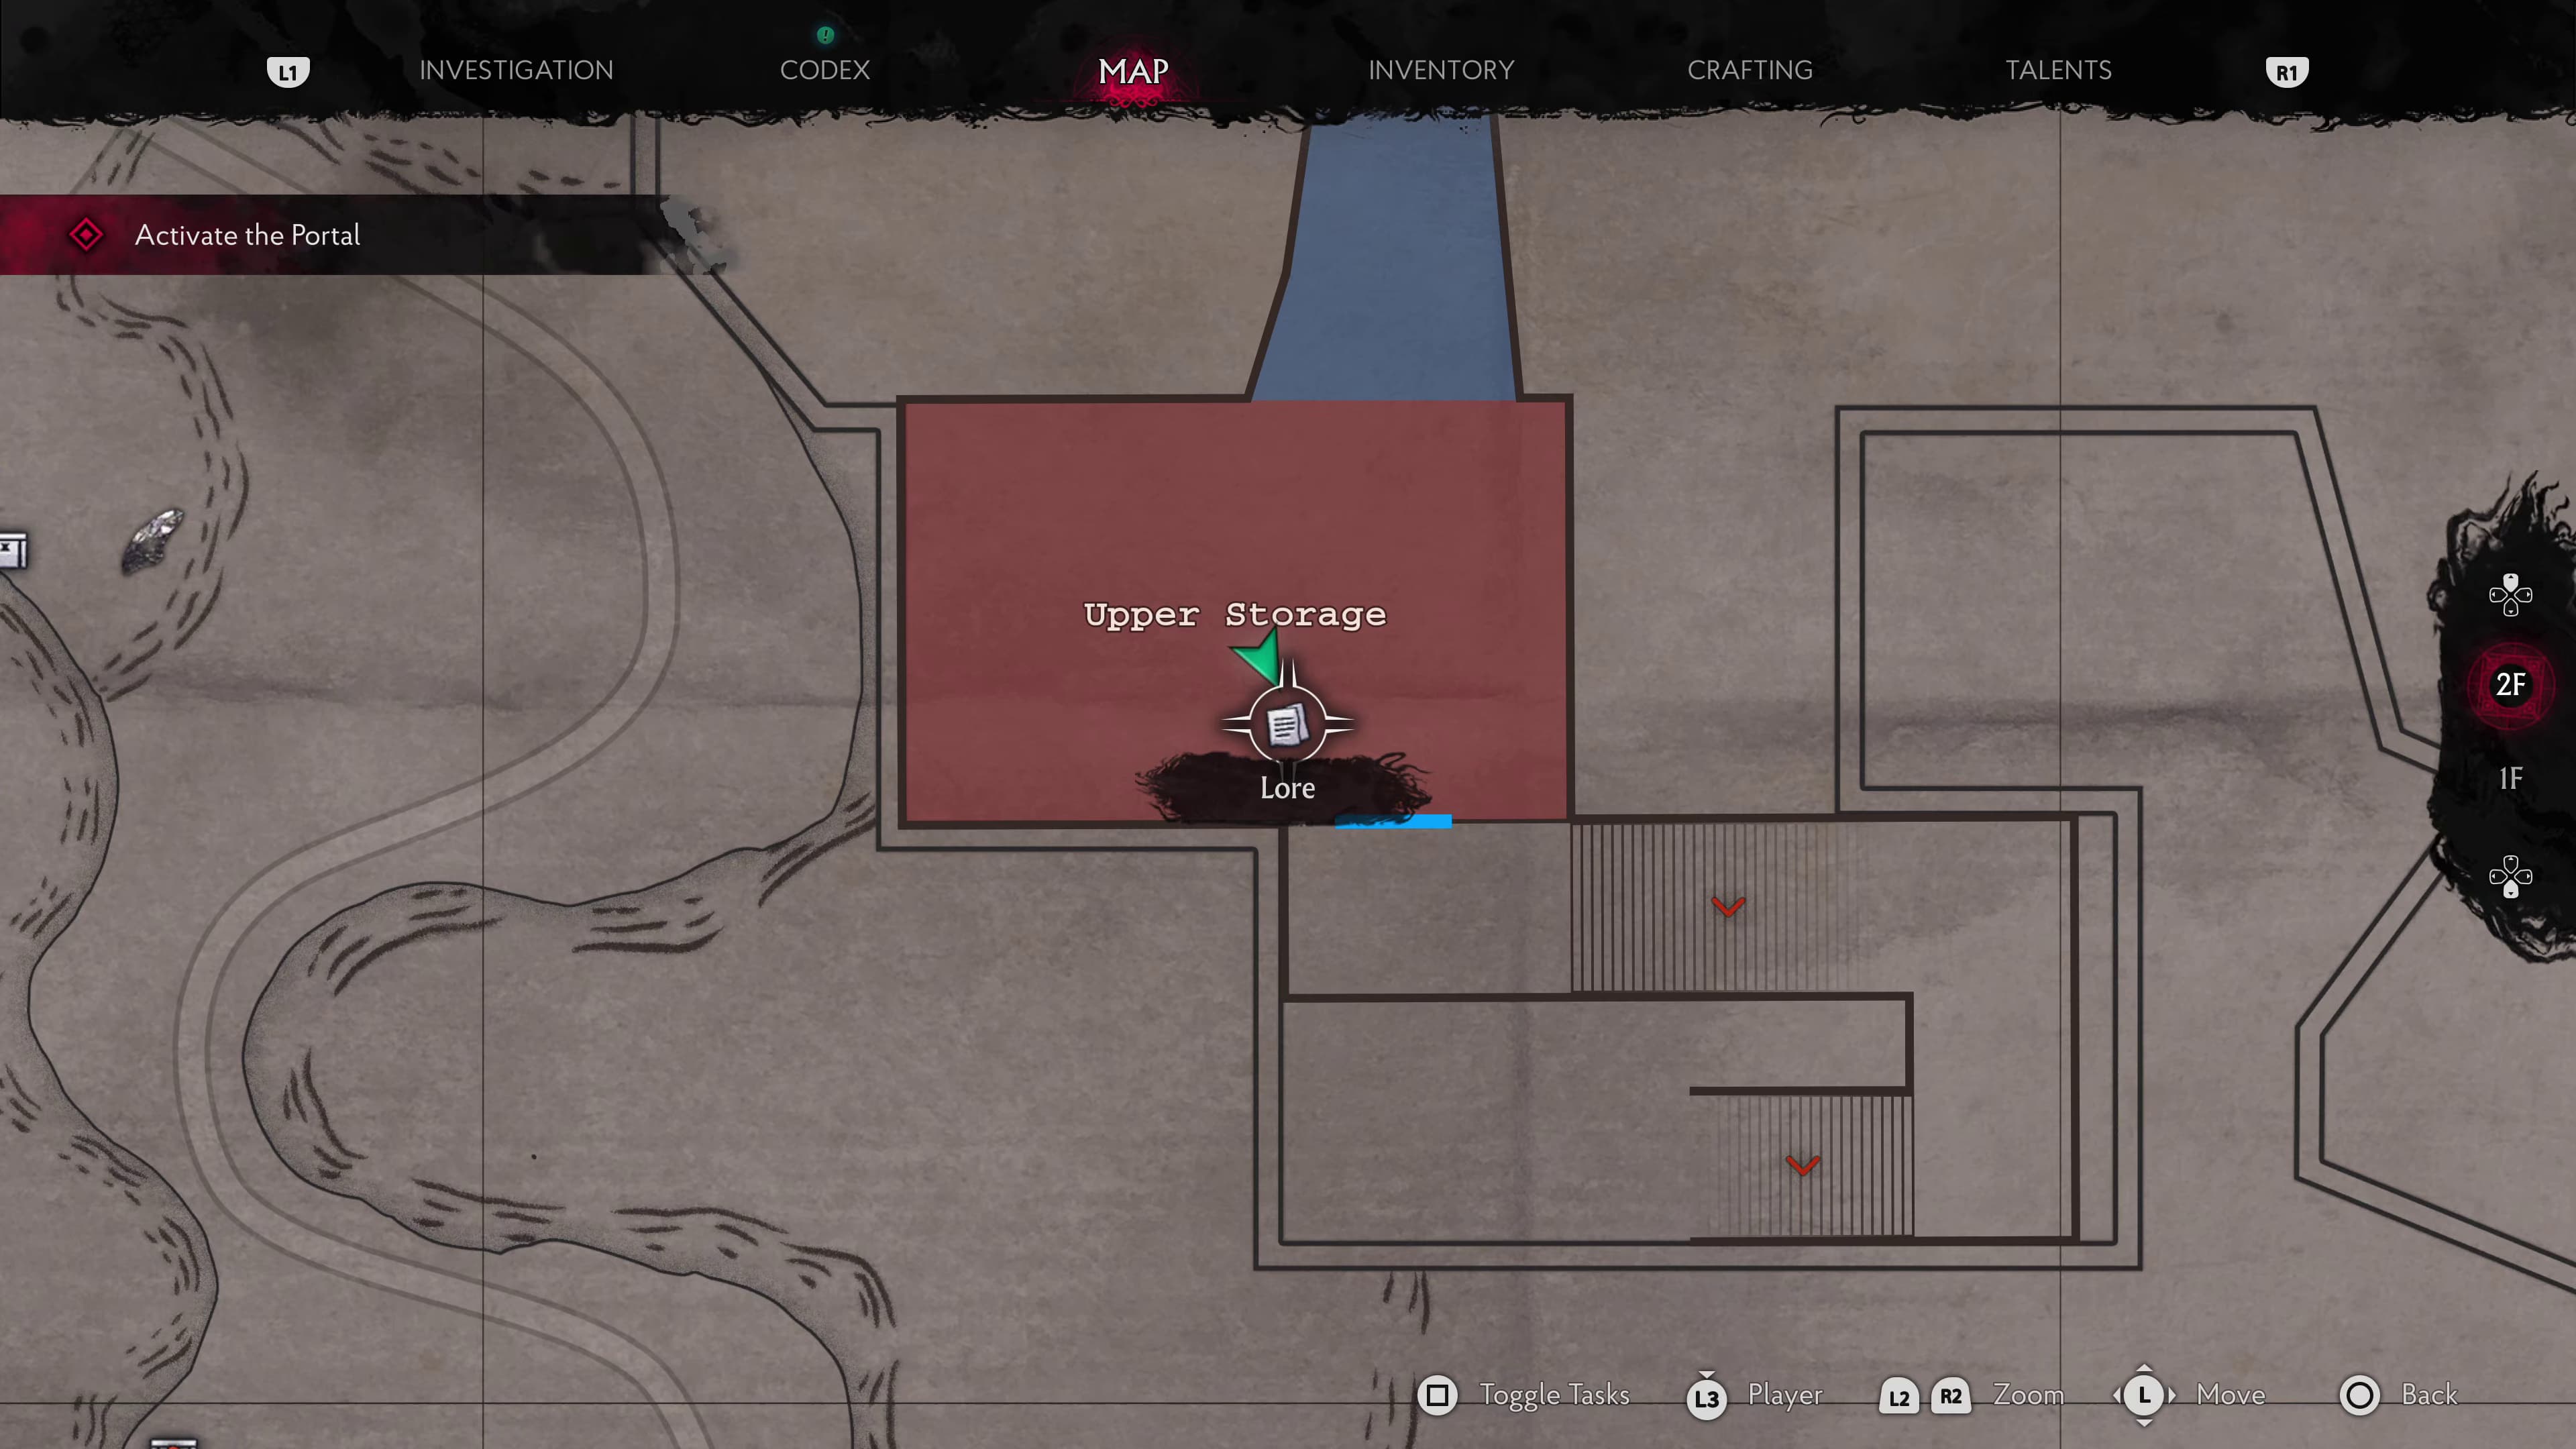
Keep advancing into the Crypt, after taking out the waves of enemies, make it into the next area, over the bridge and into Upper Storage.
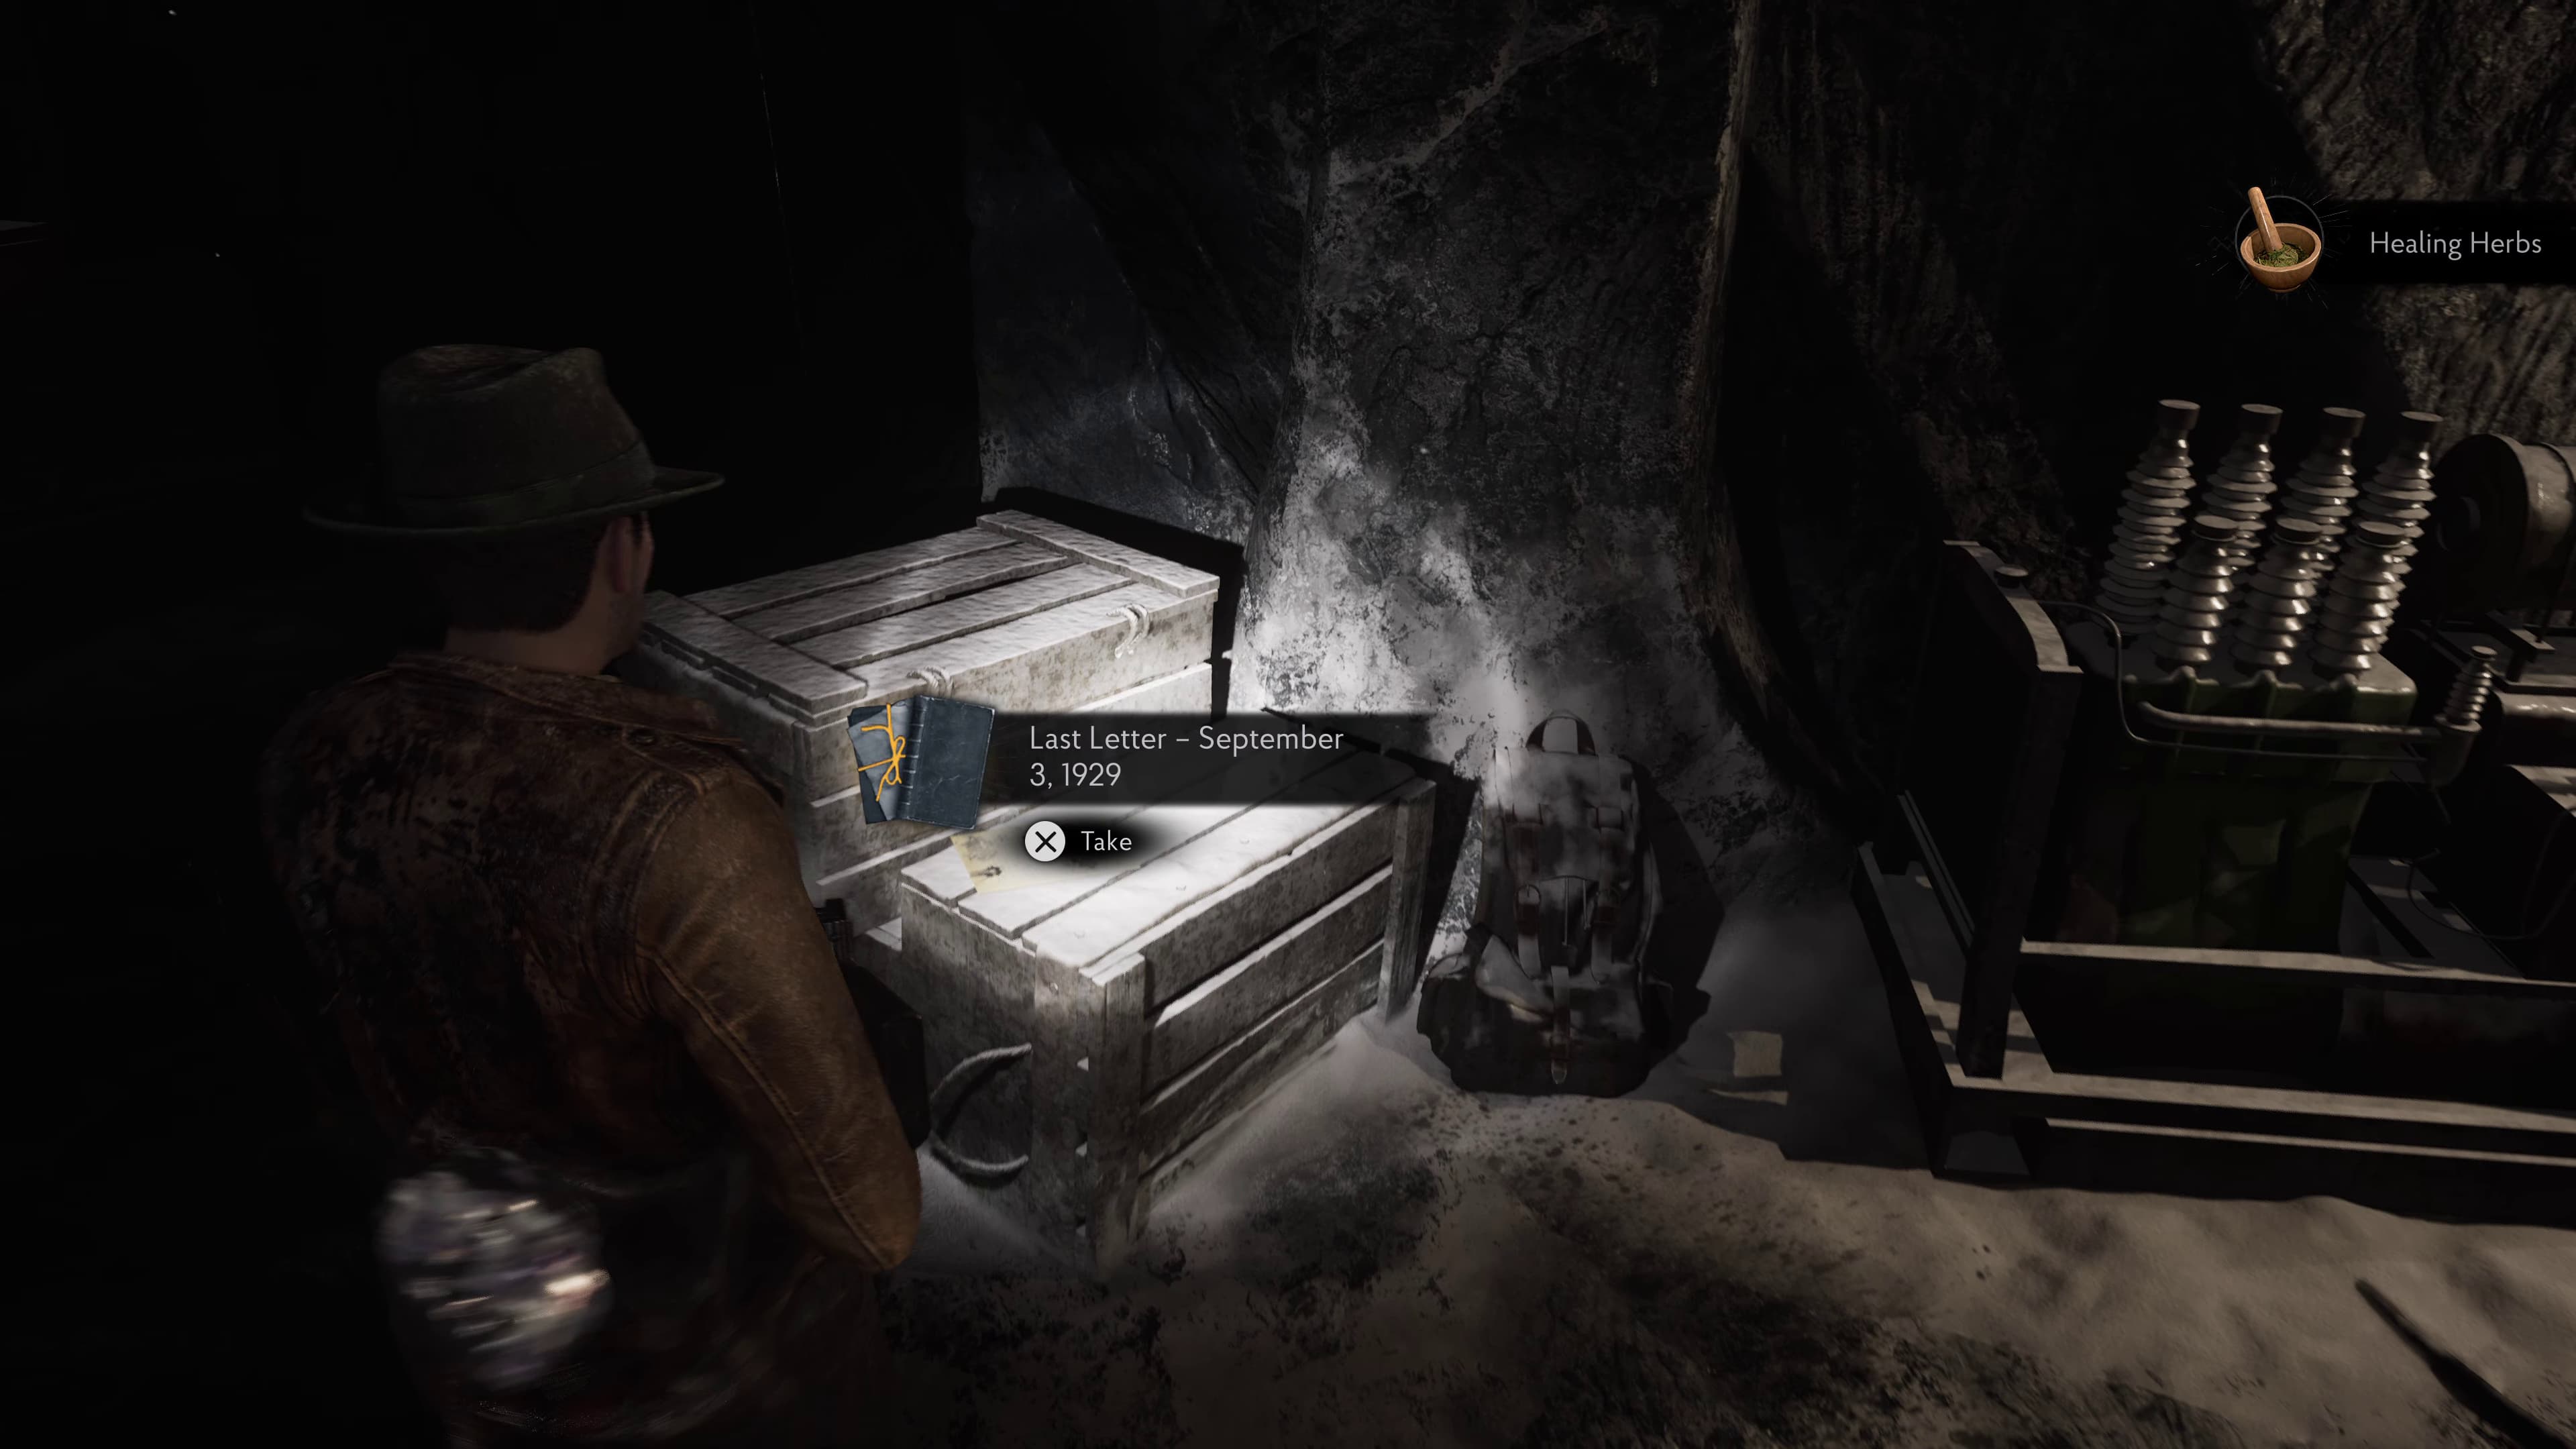
Ahead on the crates will be the next Lore Document (Last Letter - September 3, 1929).
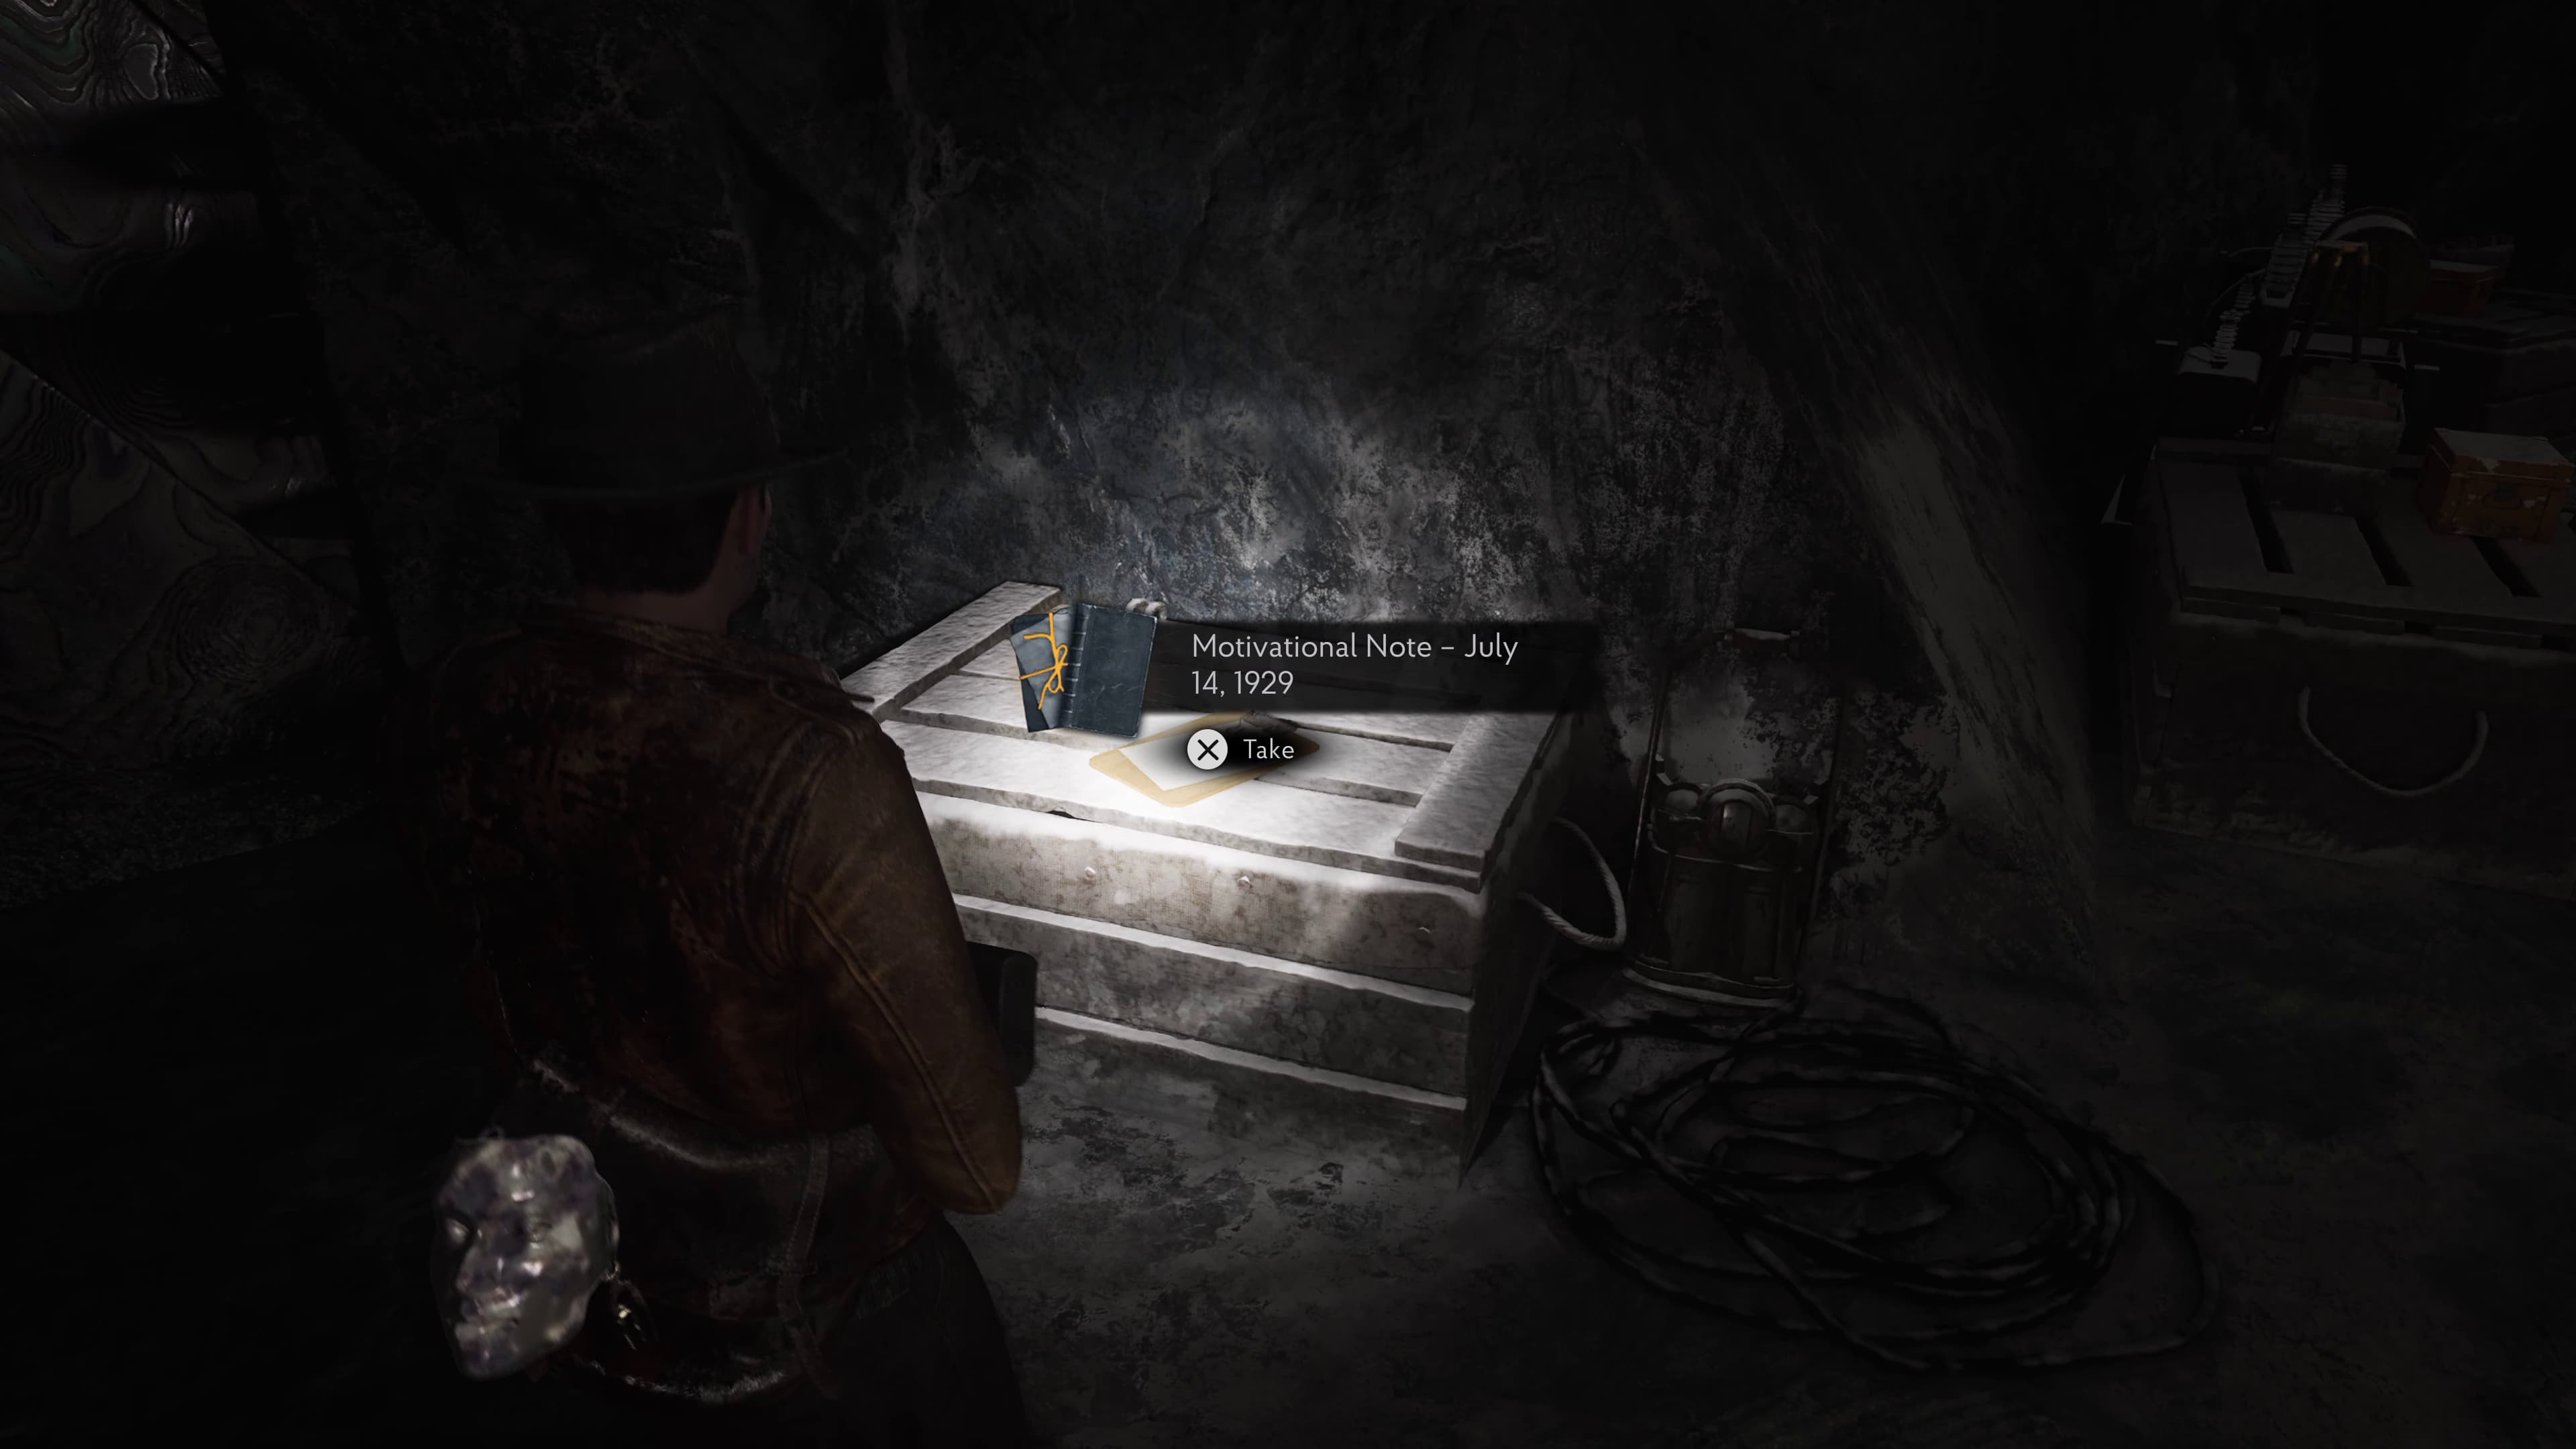
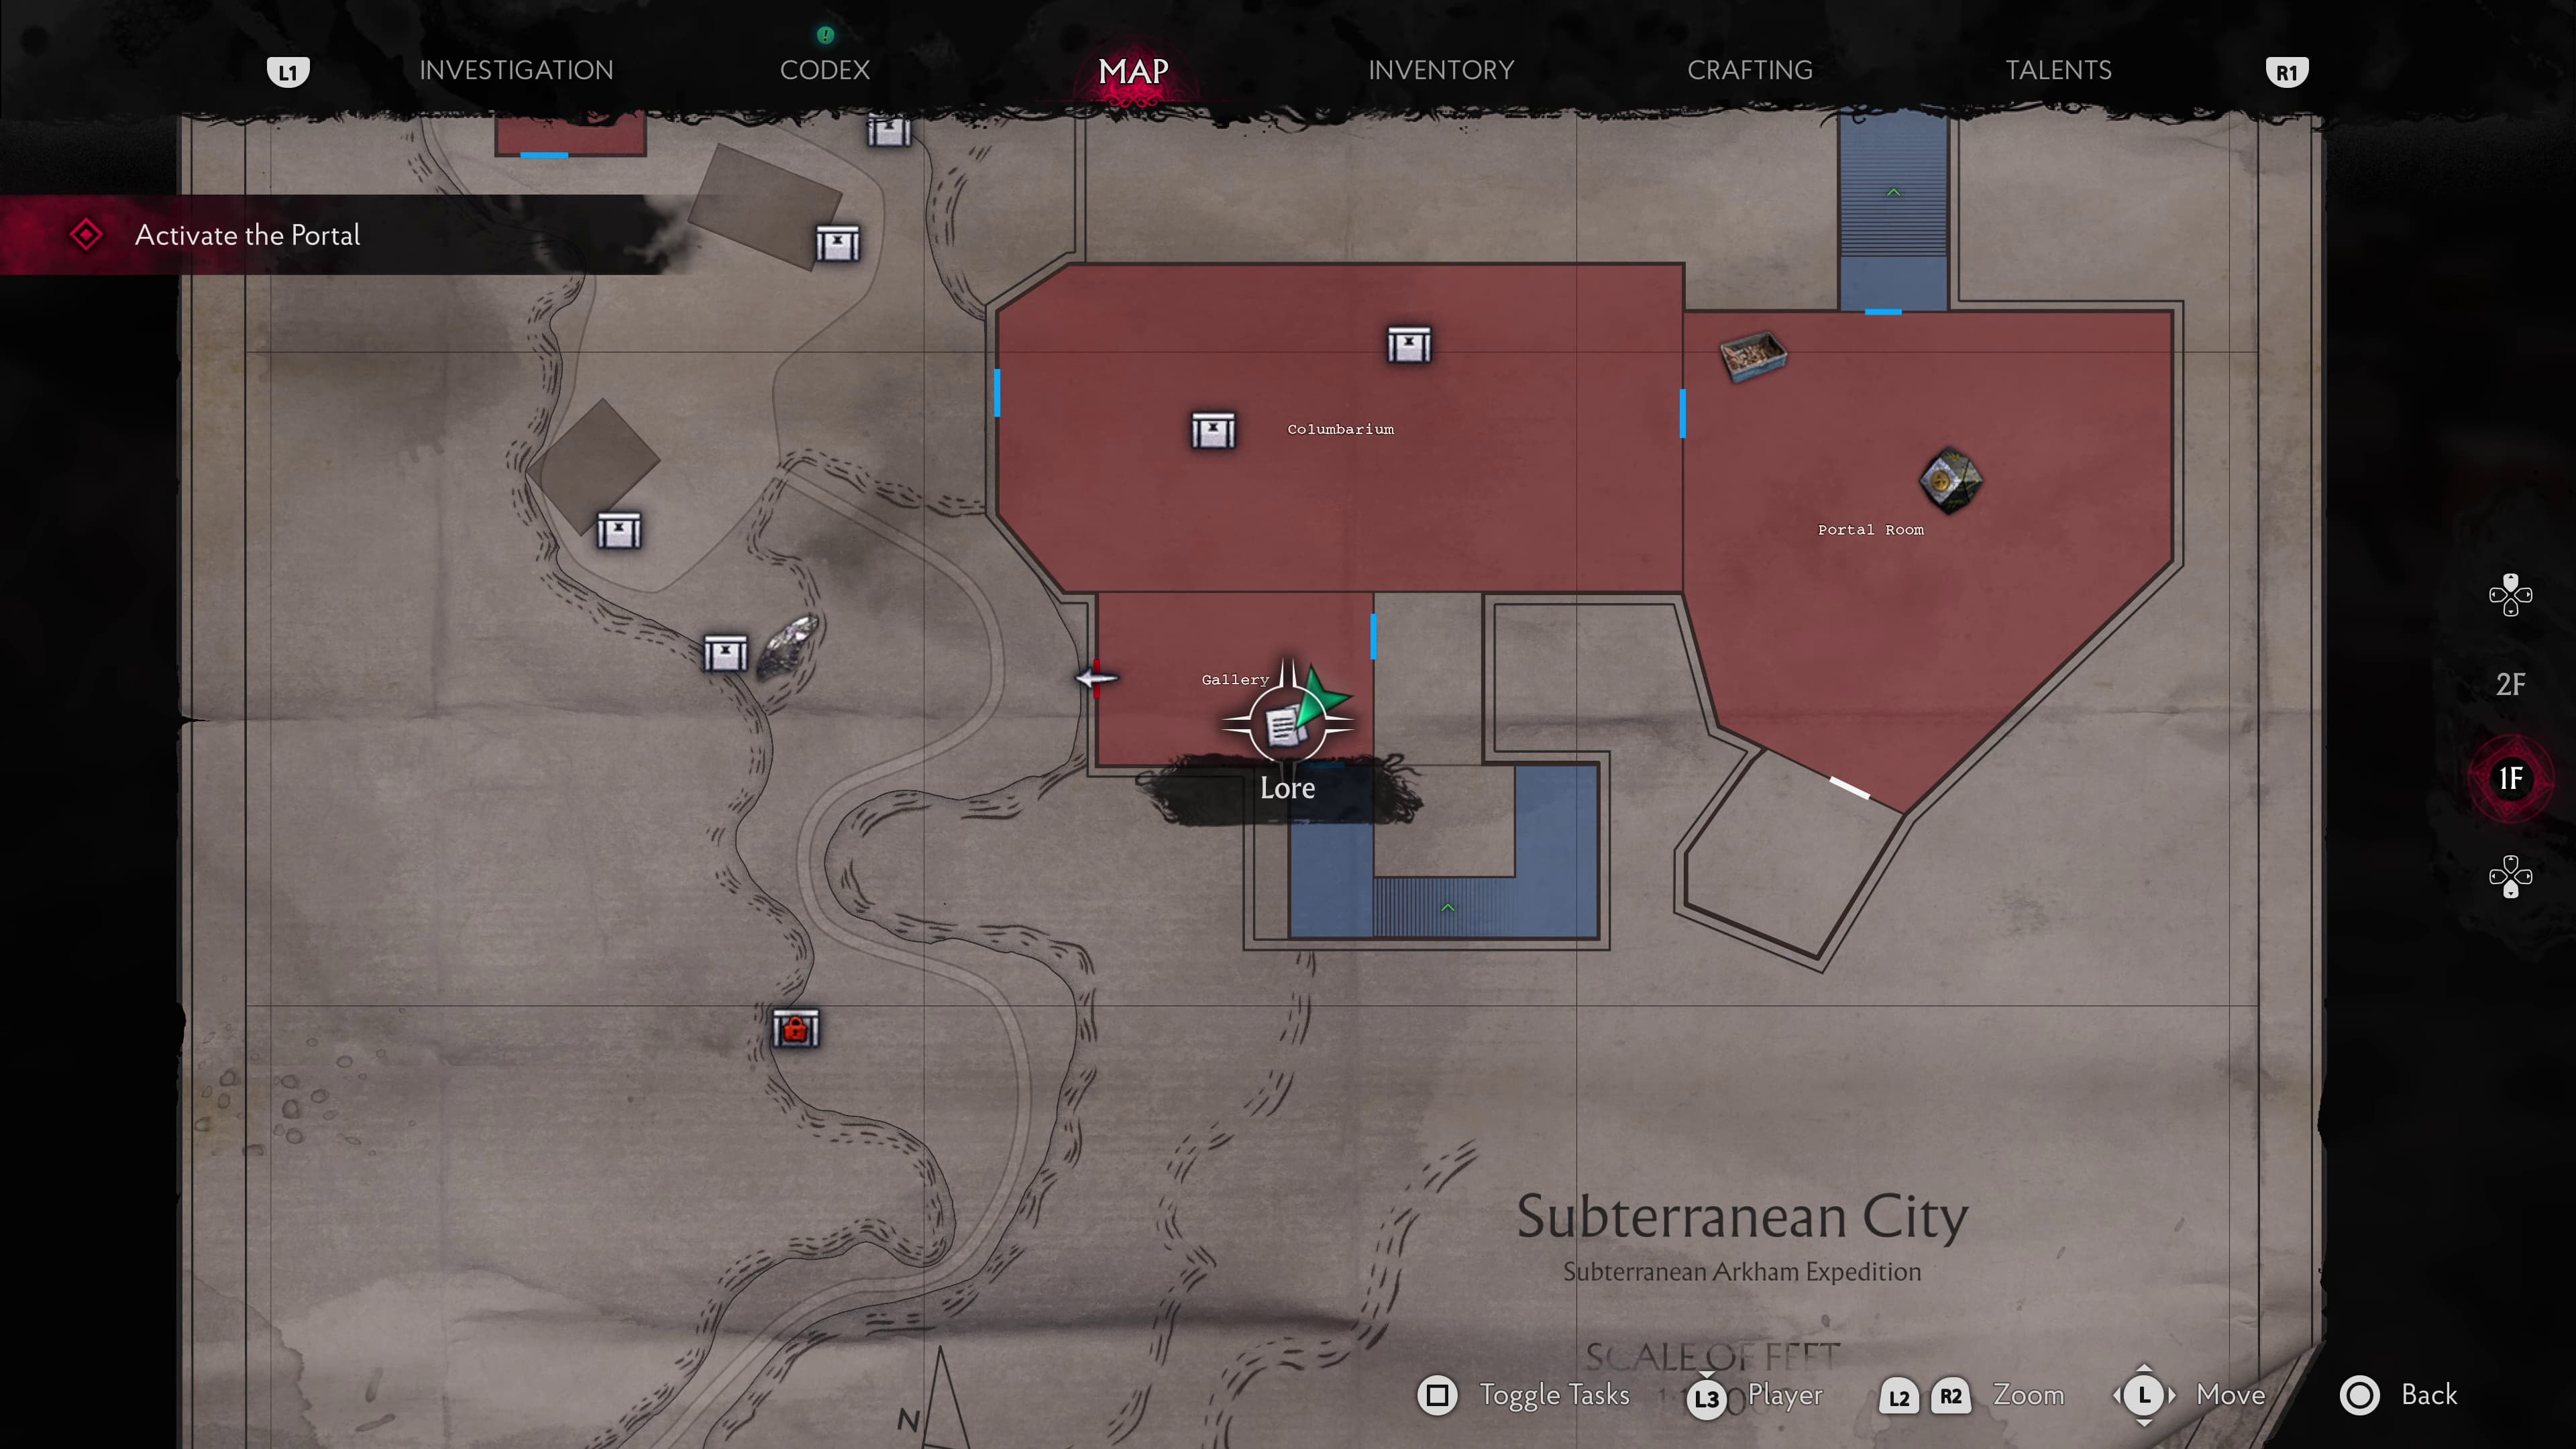
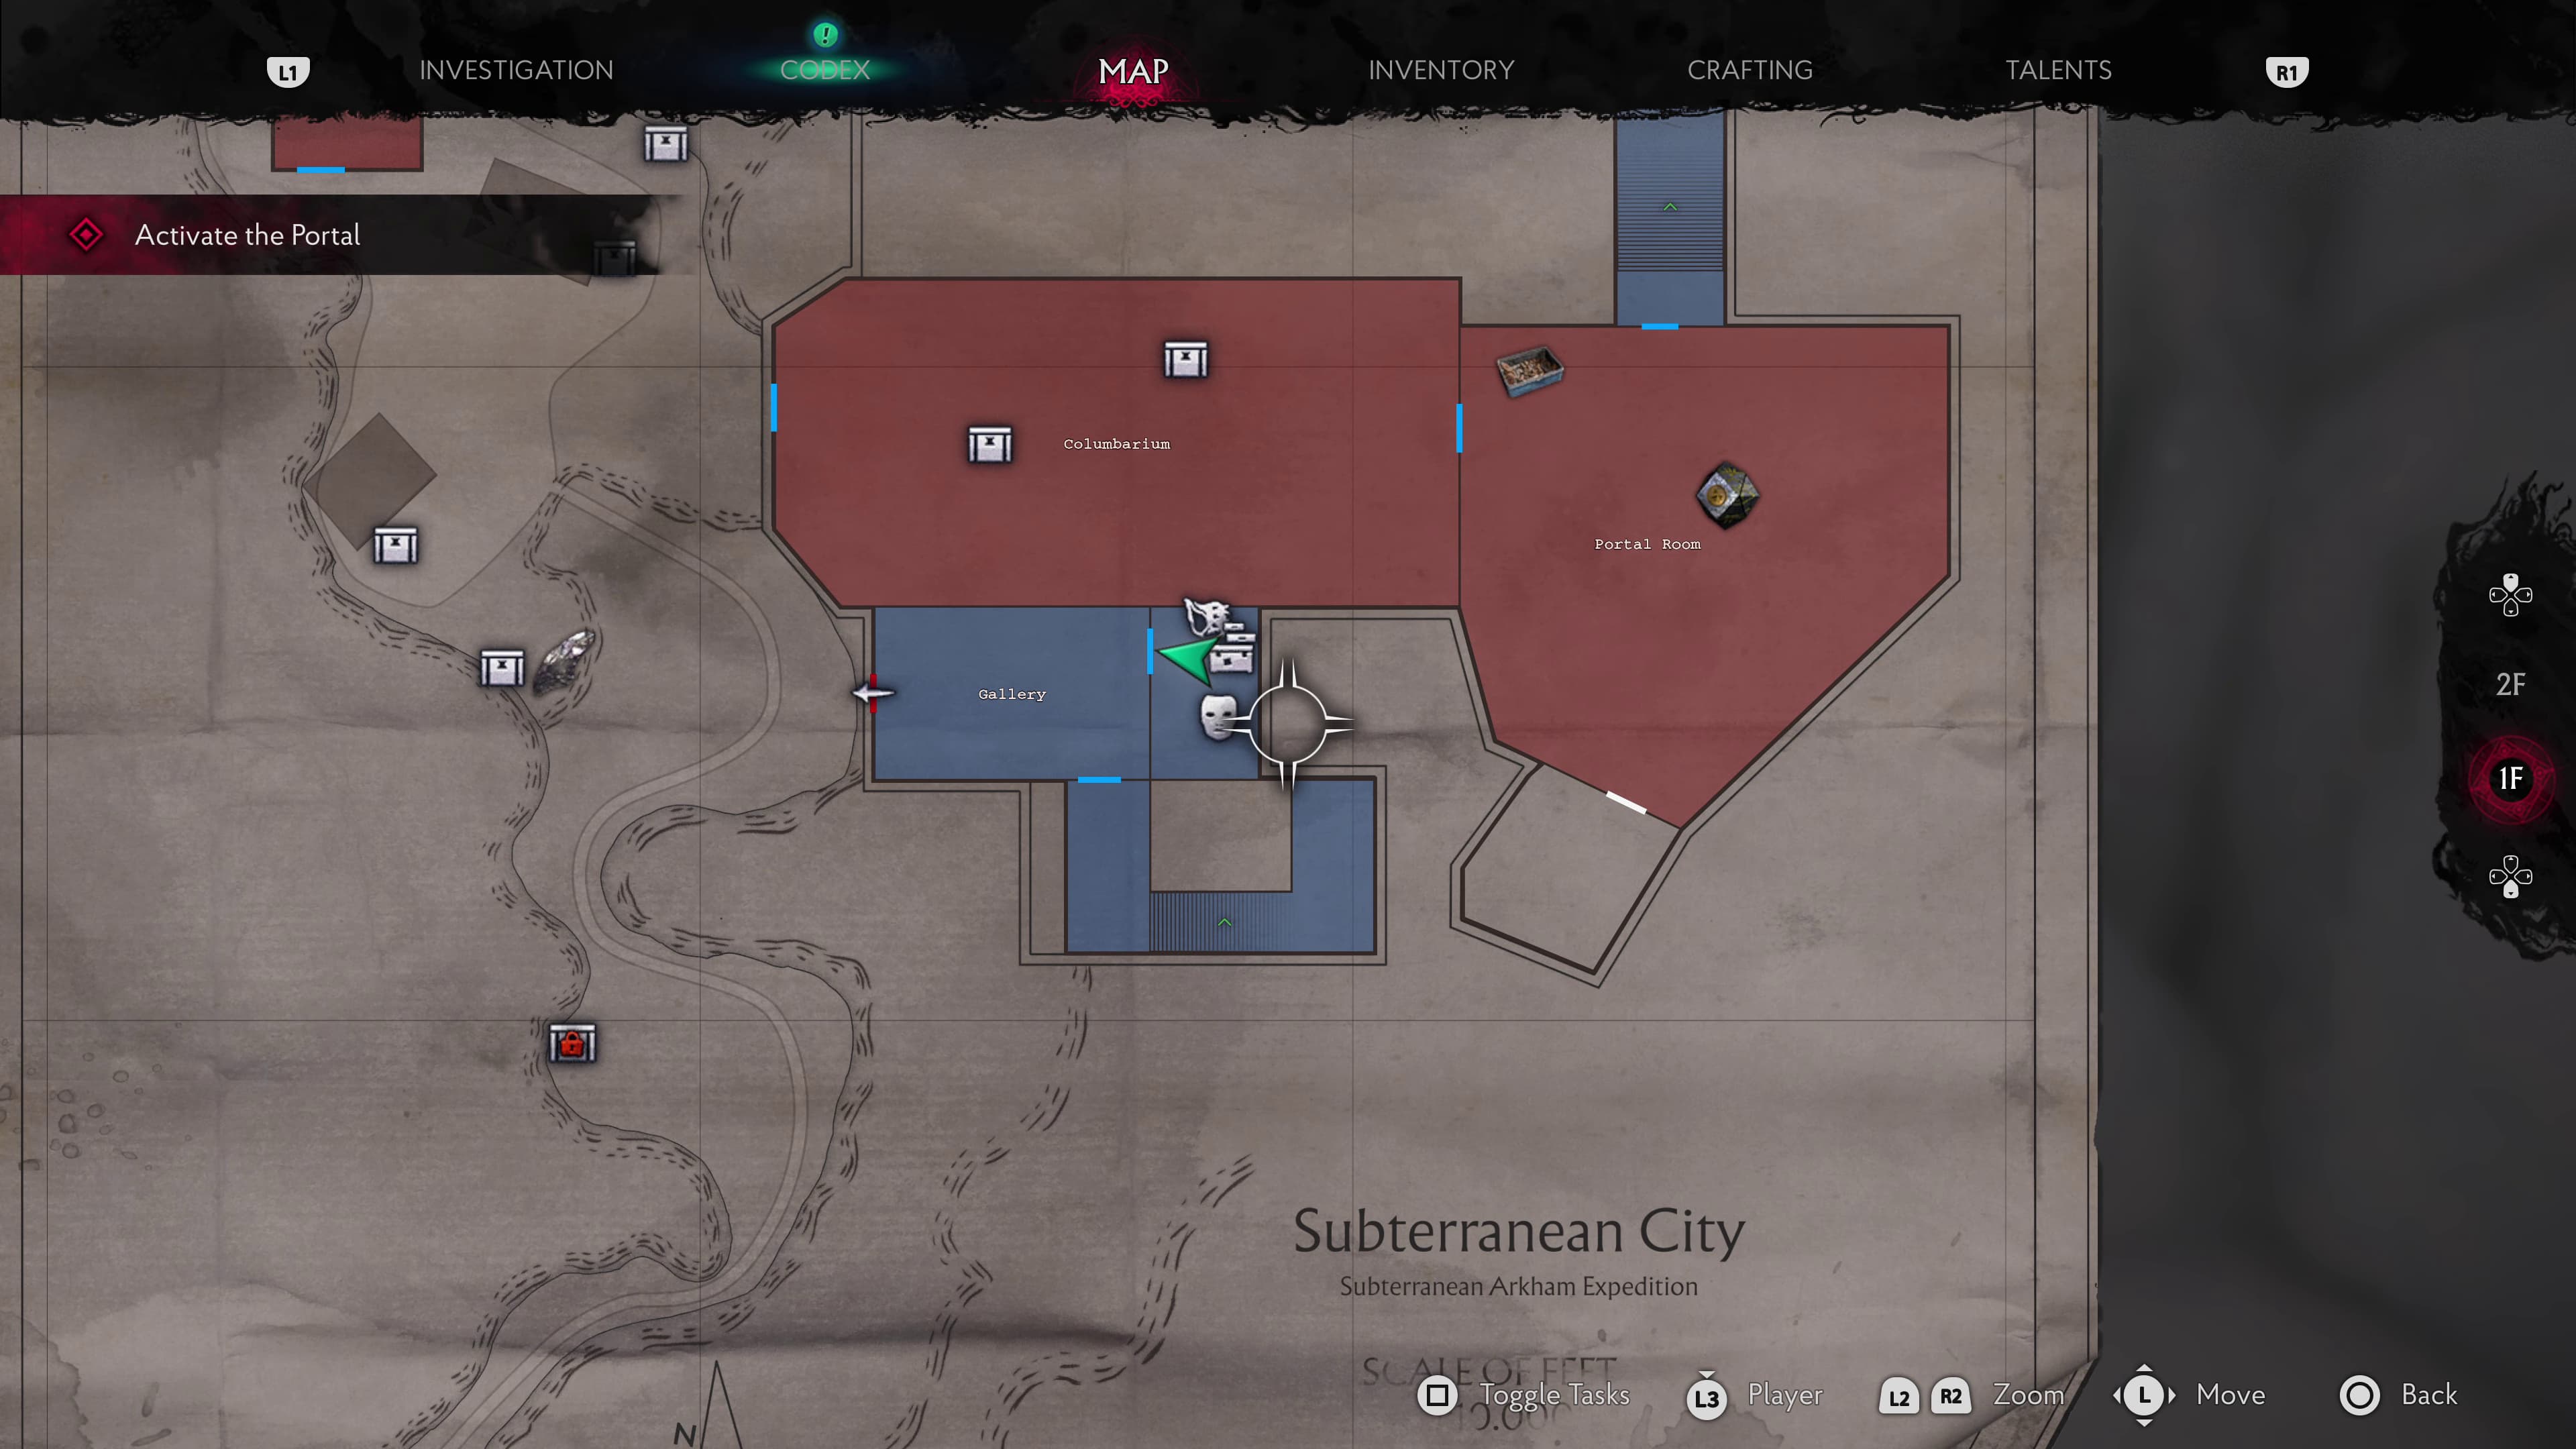
Advance down through to the Gallery. As soon as you enter the Gallery, on the left on the crates will be the next Lore Document (Motivational Note - July 14, 1929).
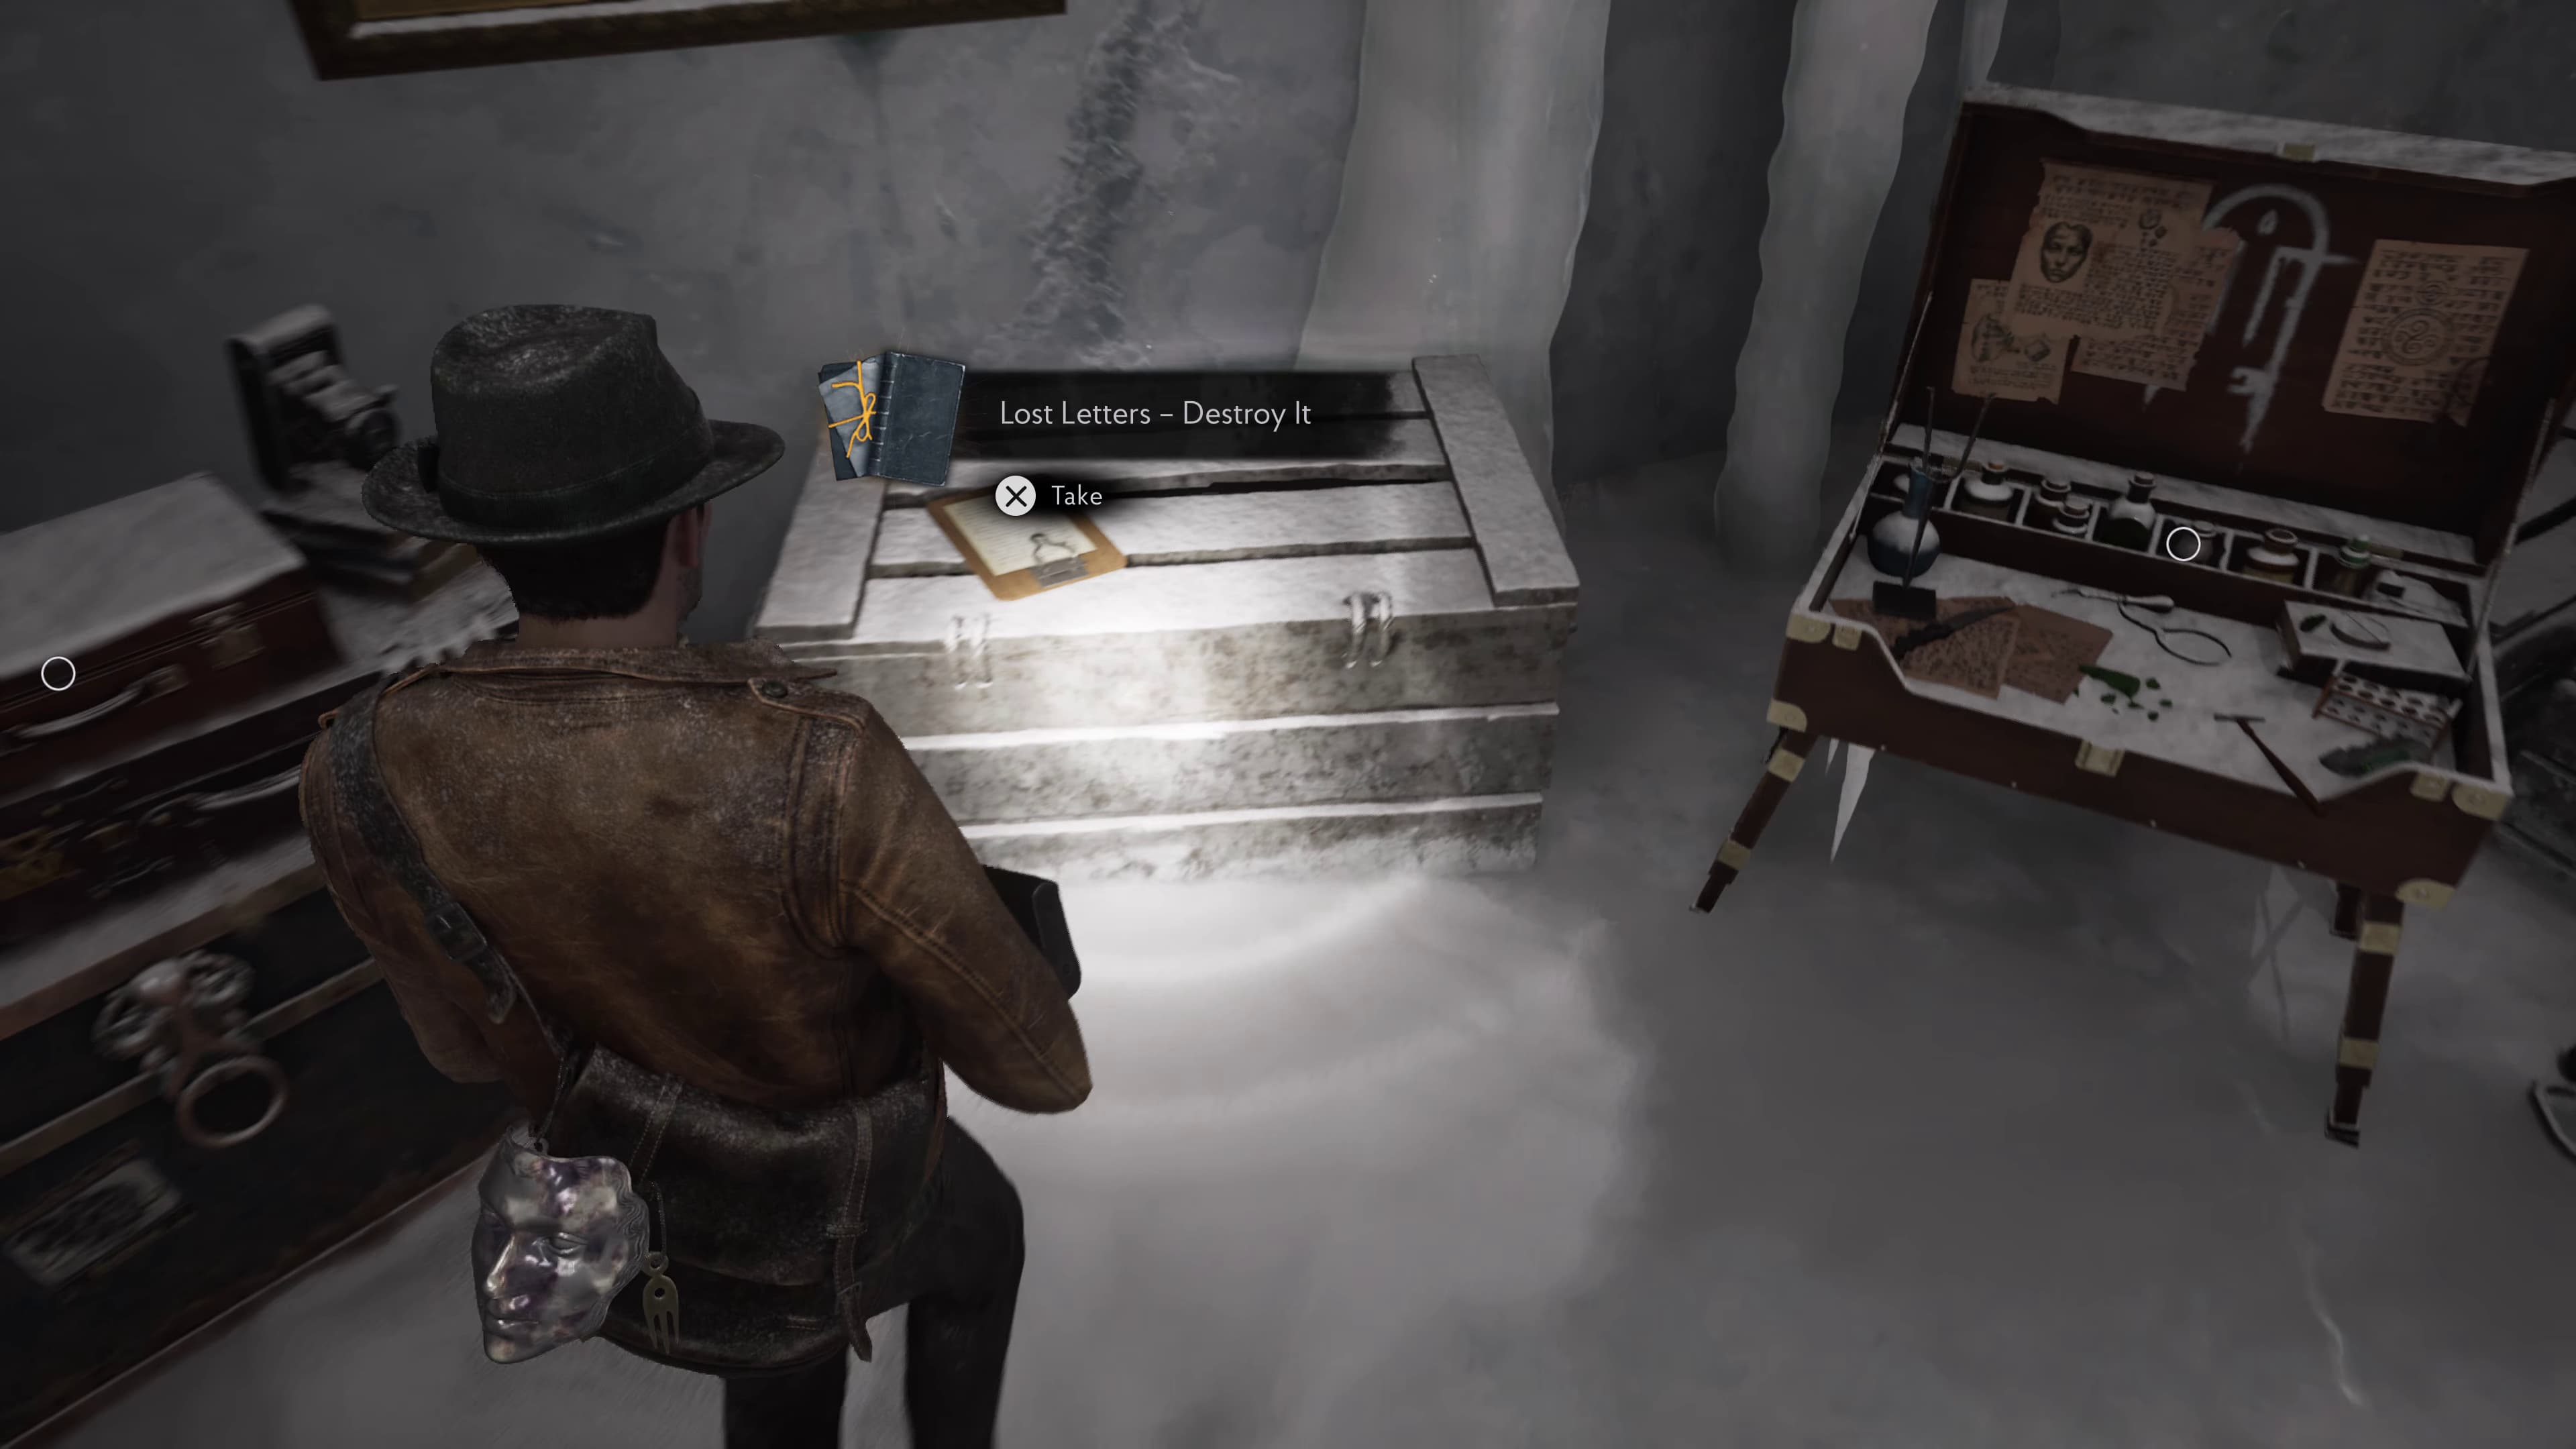
From this same room, head into the save room behind, inside will be the final Lore Document (Lost Letters - Destroy It) to collect.
Thankyou for making it to the end of my guide, I hope this helped! Definitely be sure to check out the full guide for all the collectibles if there is anything else you are missing.