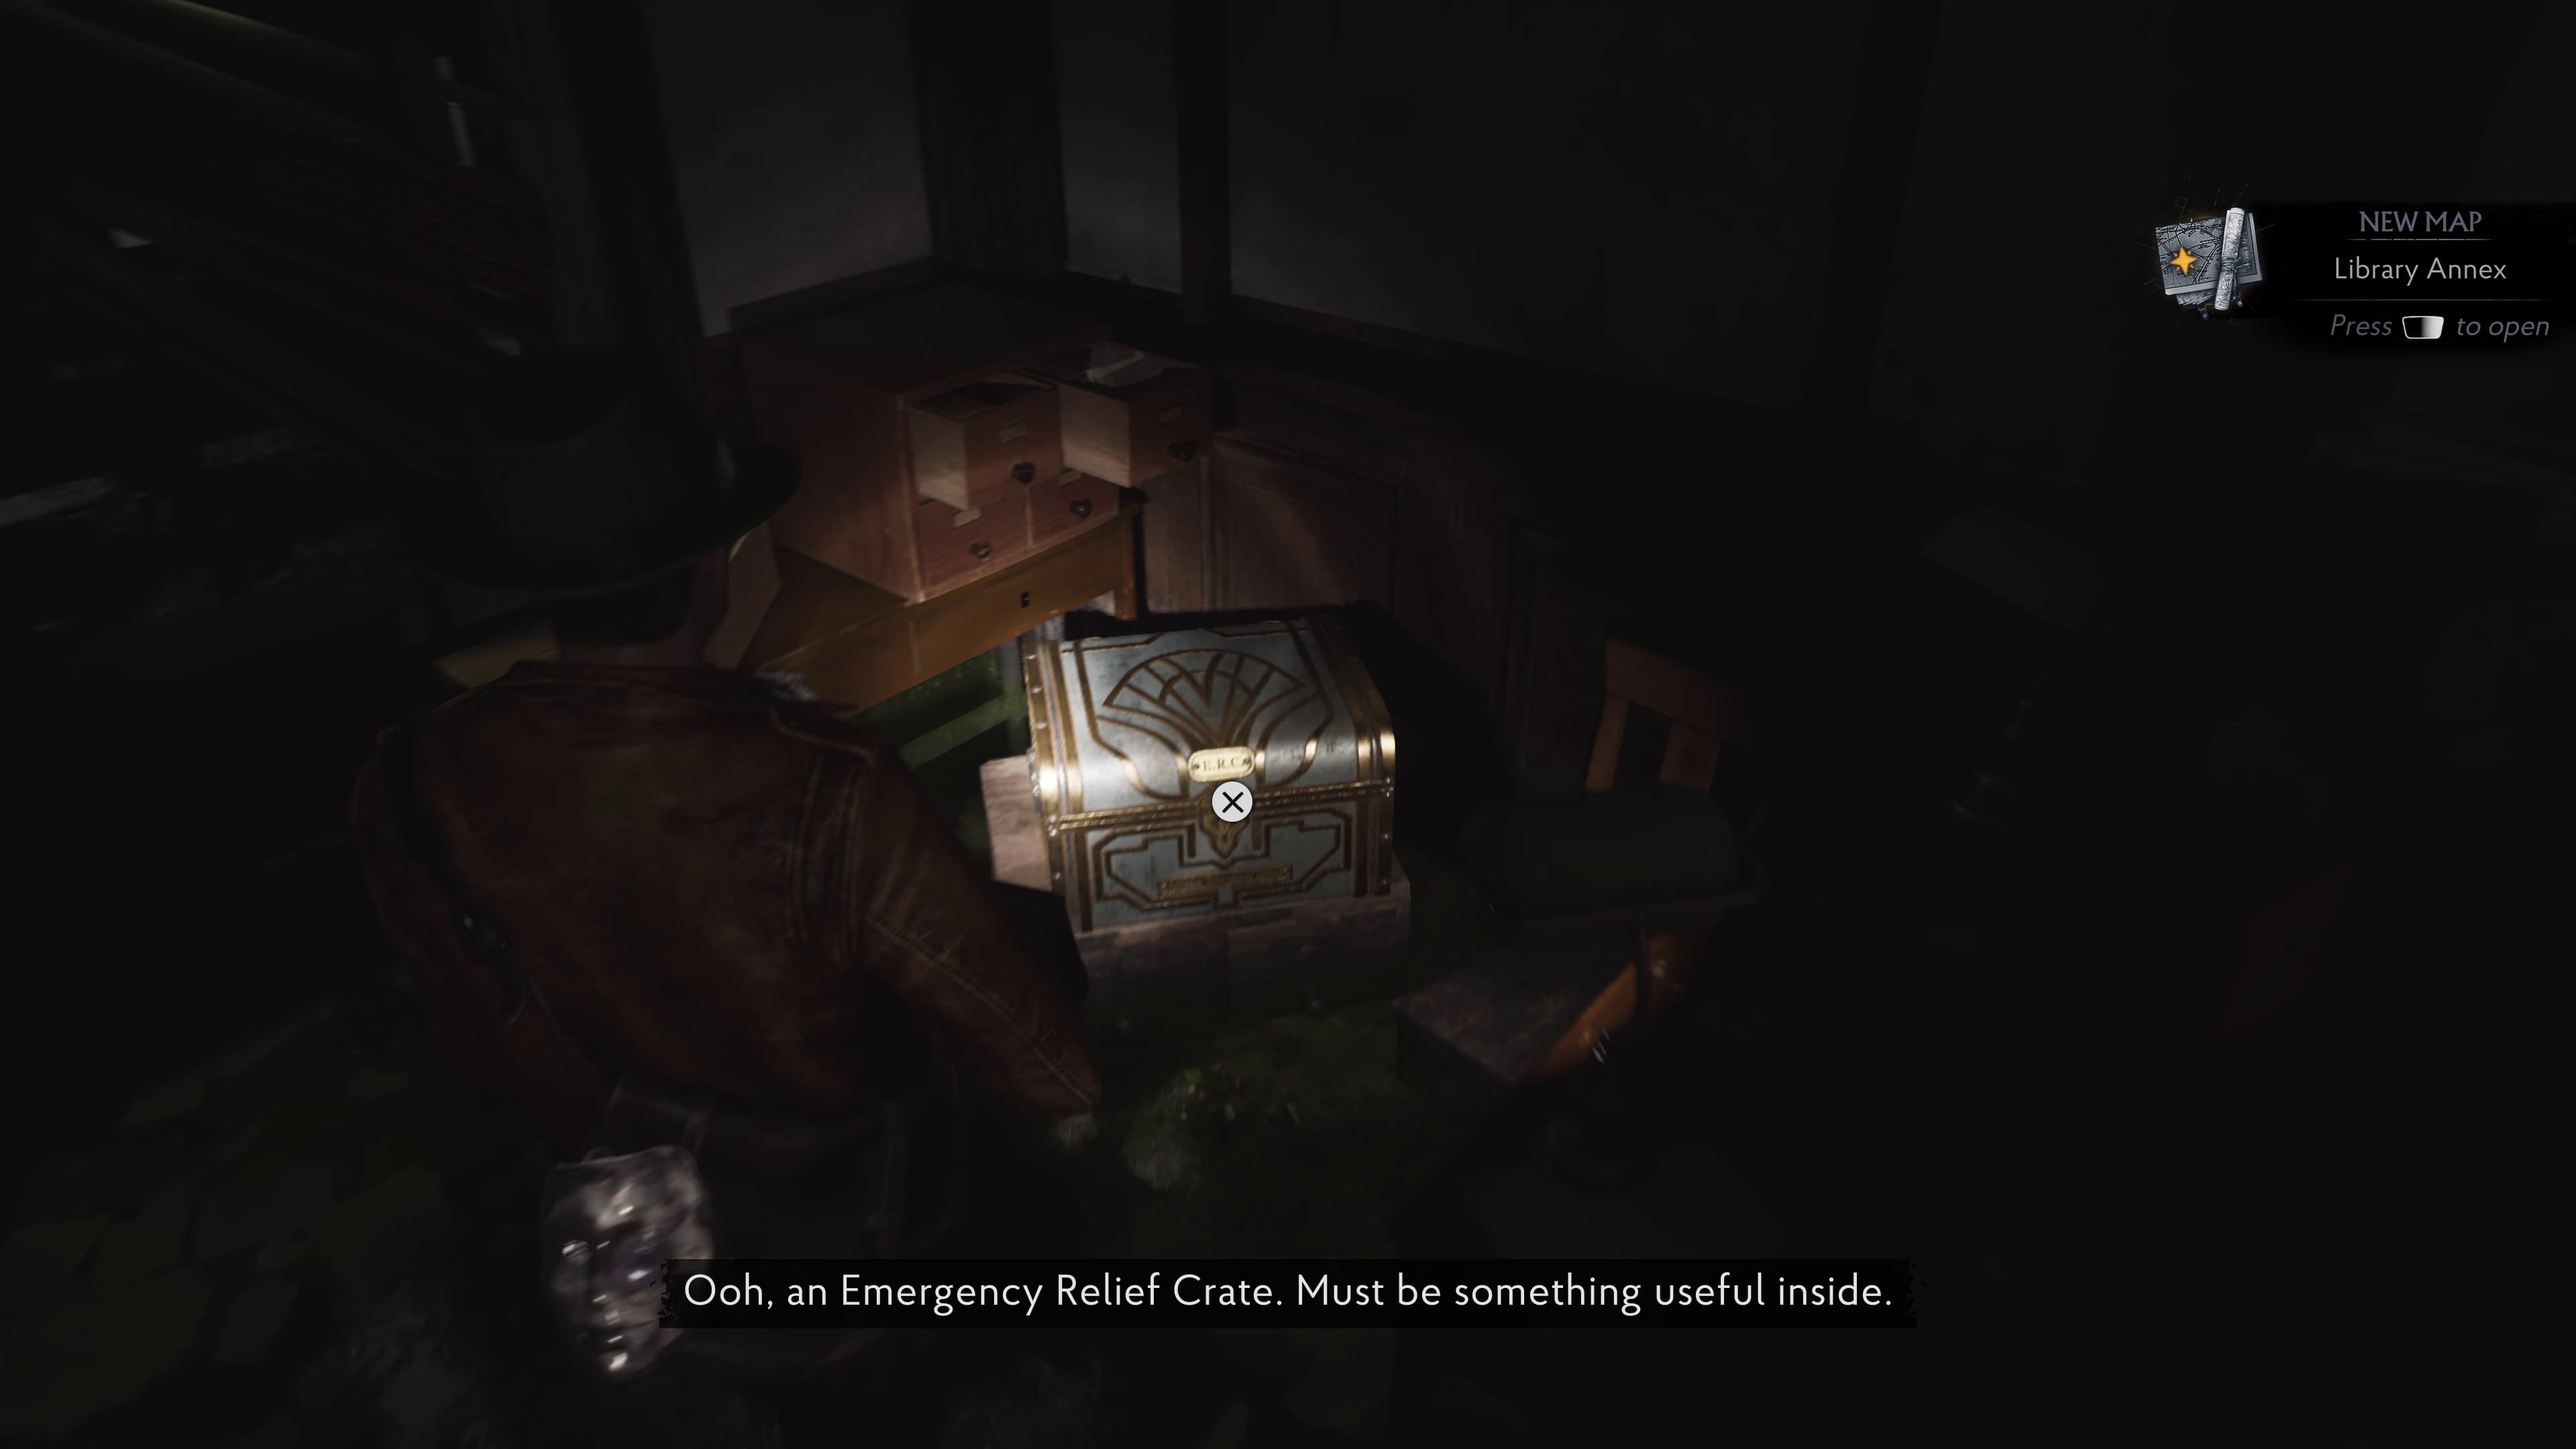
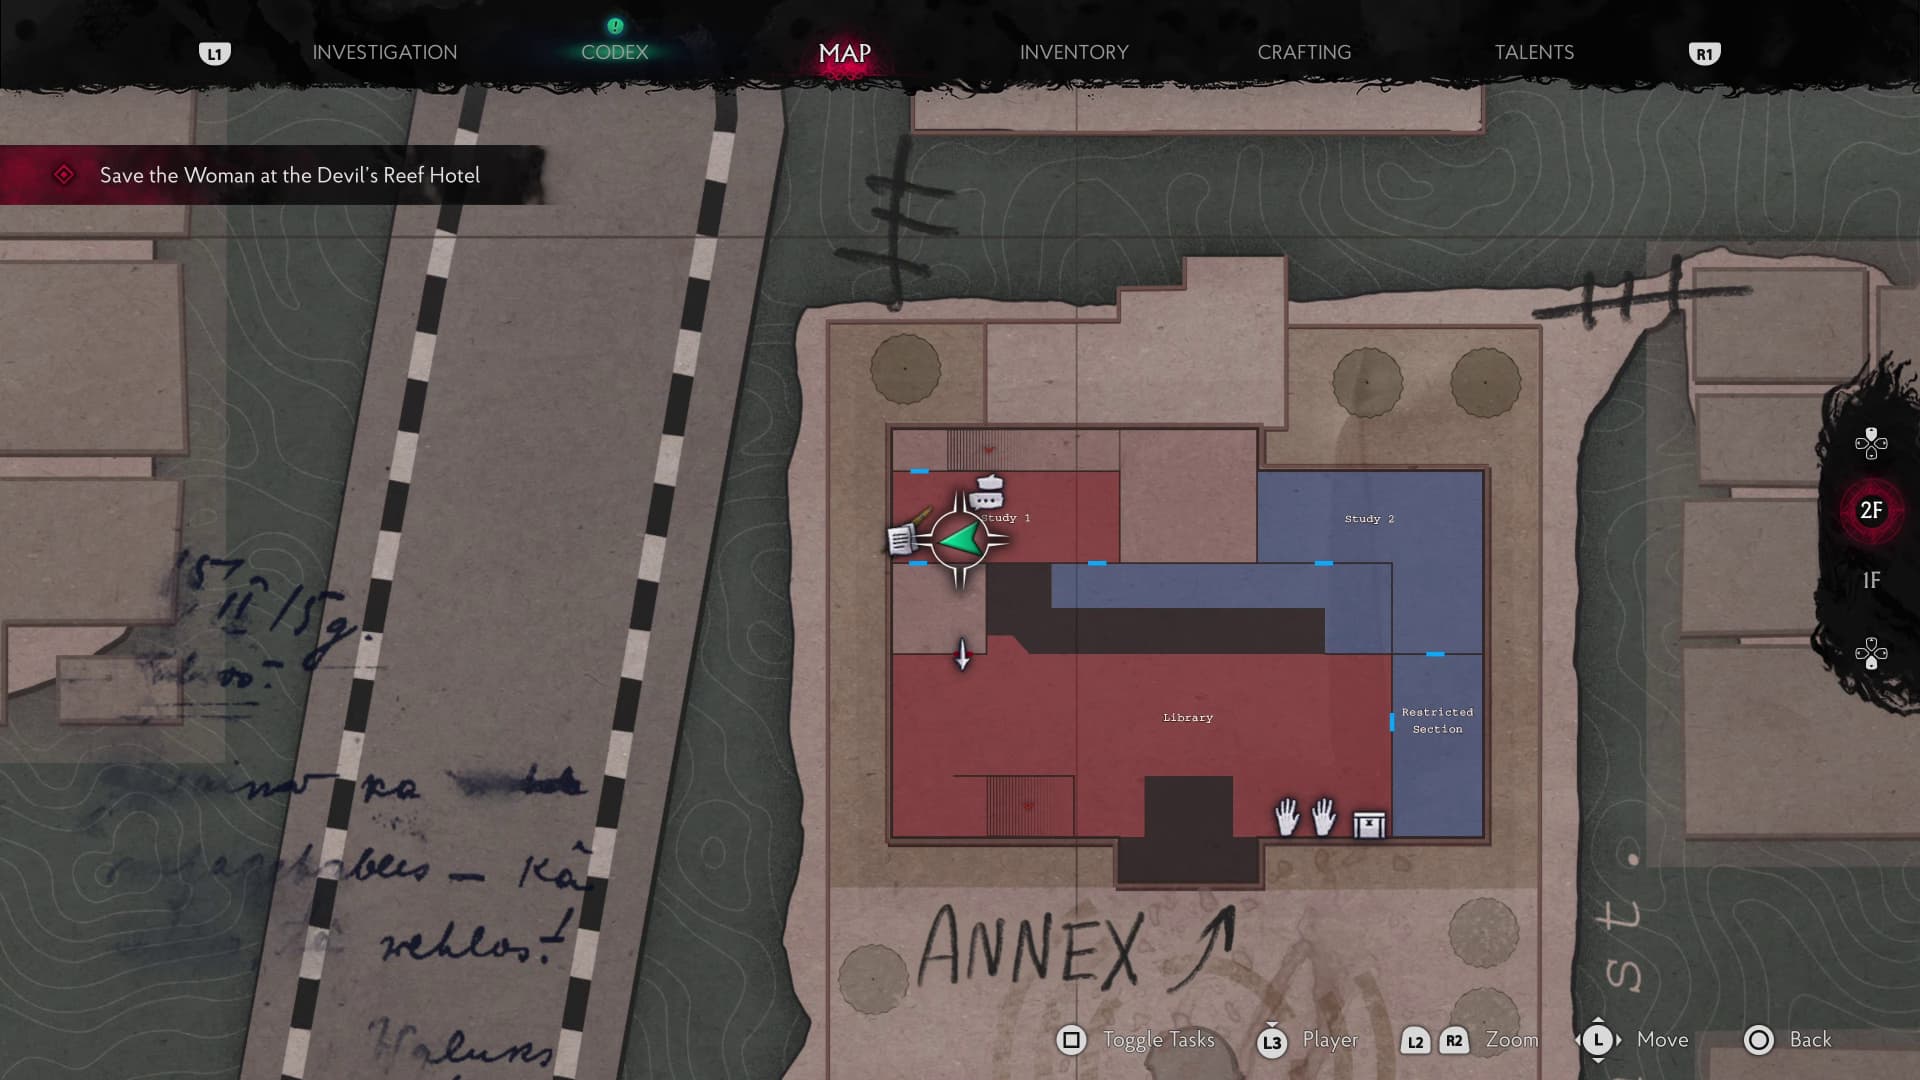
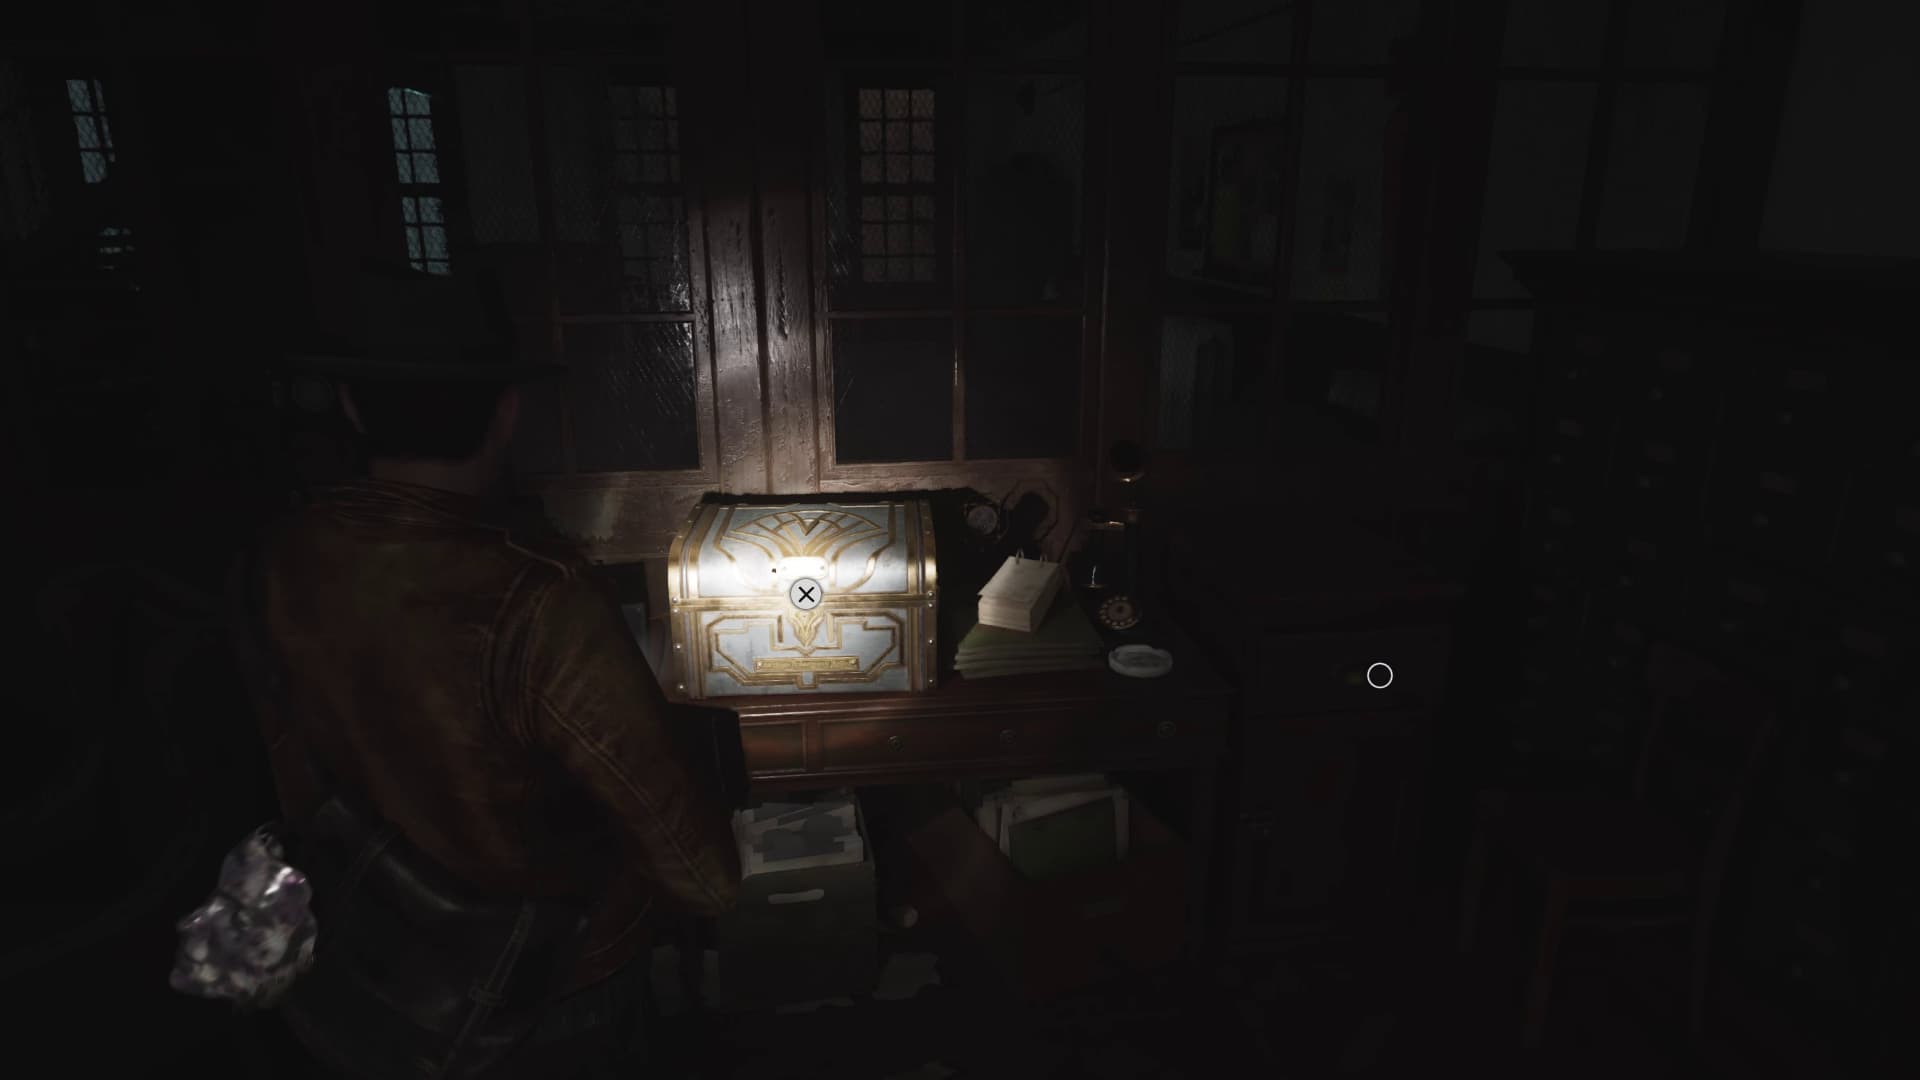
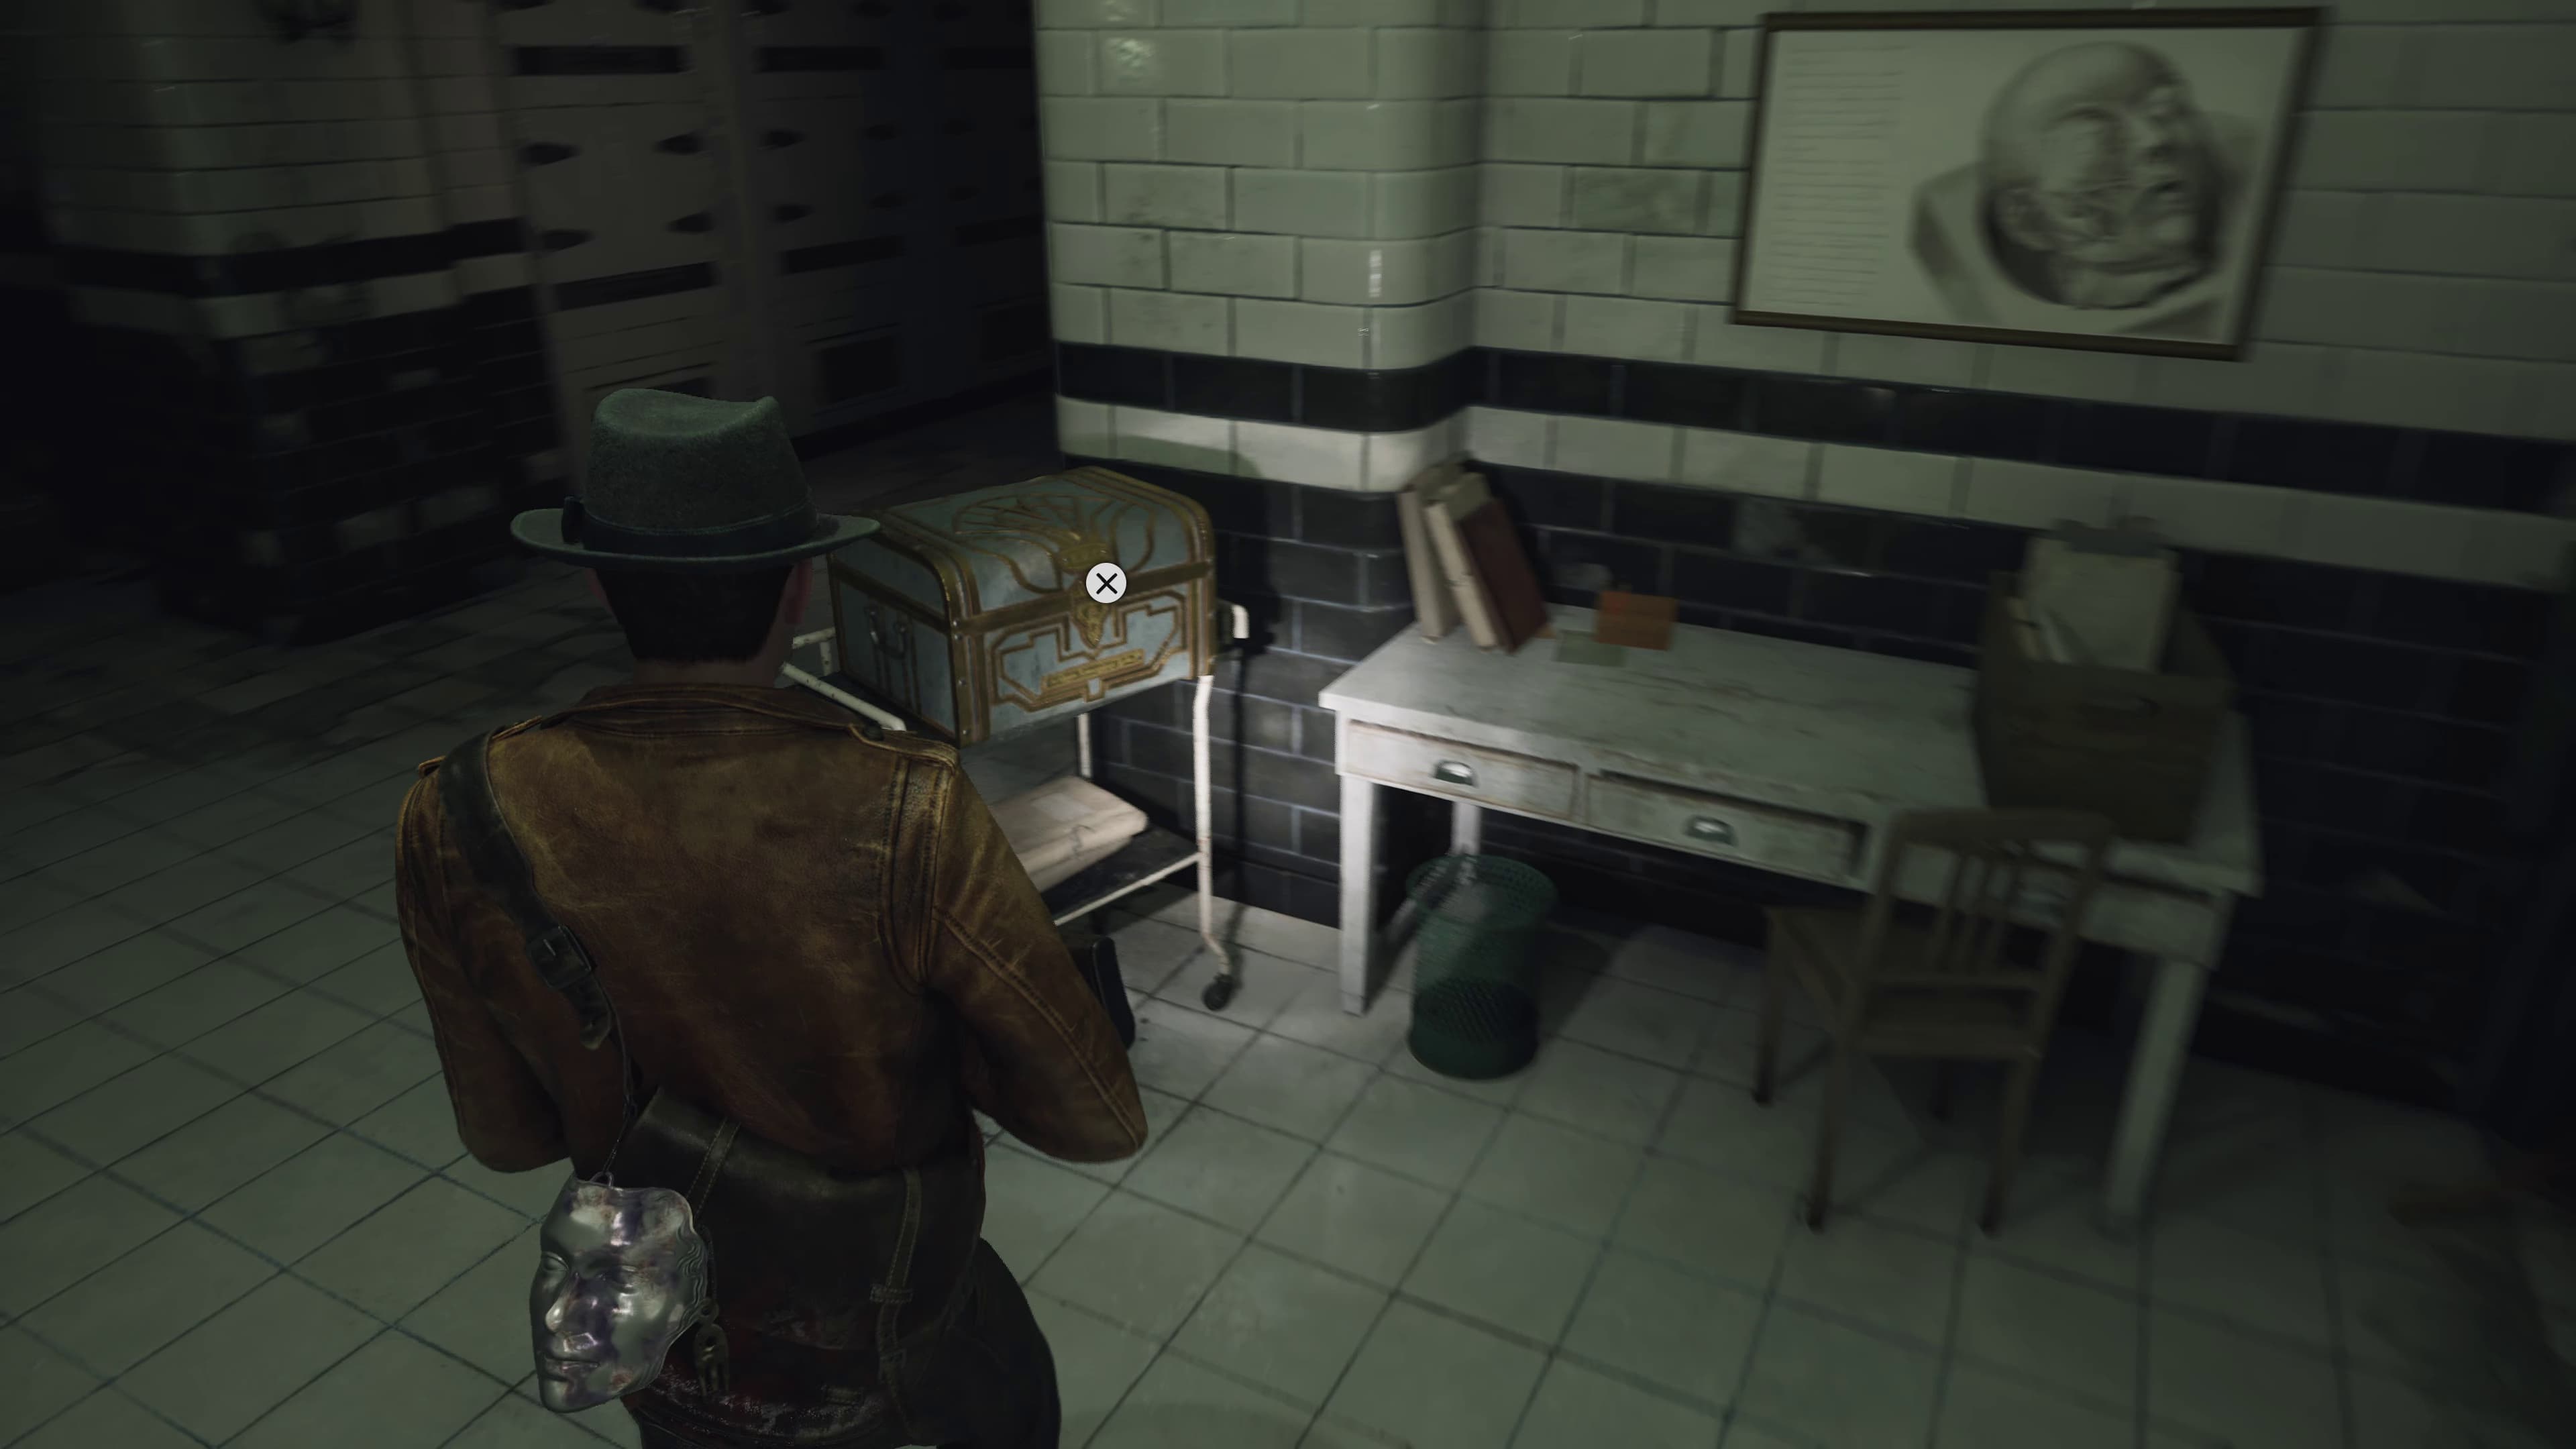
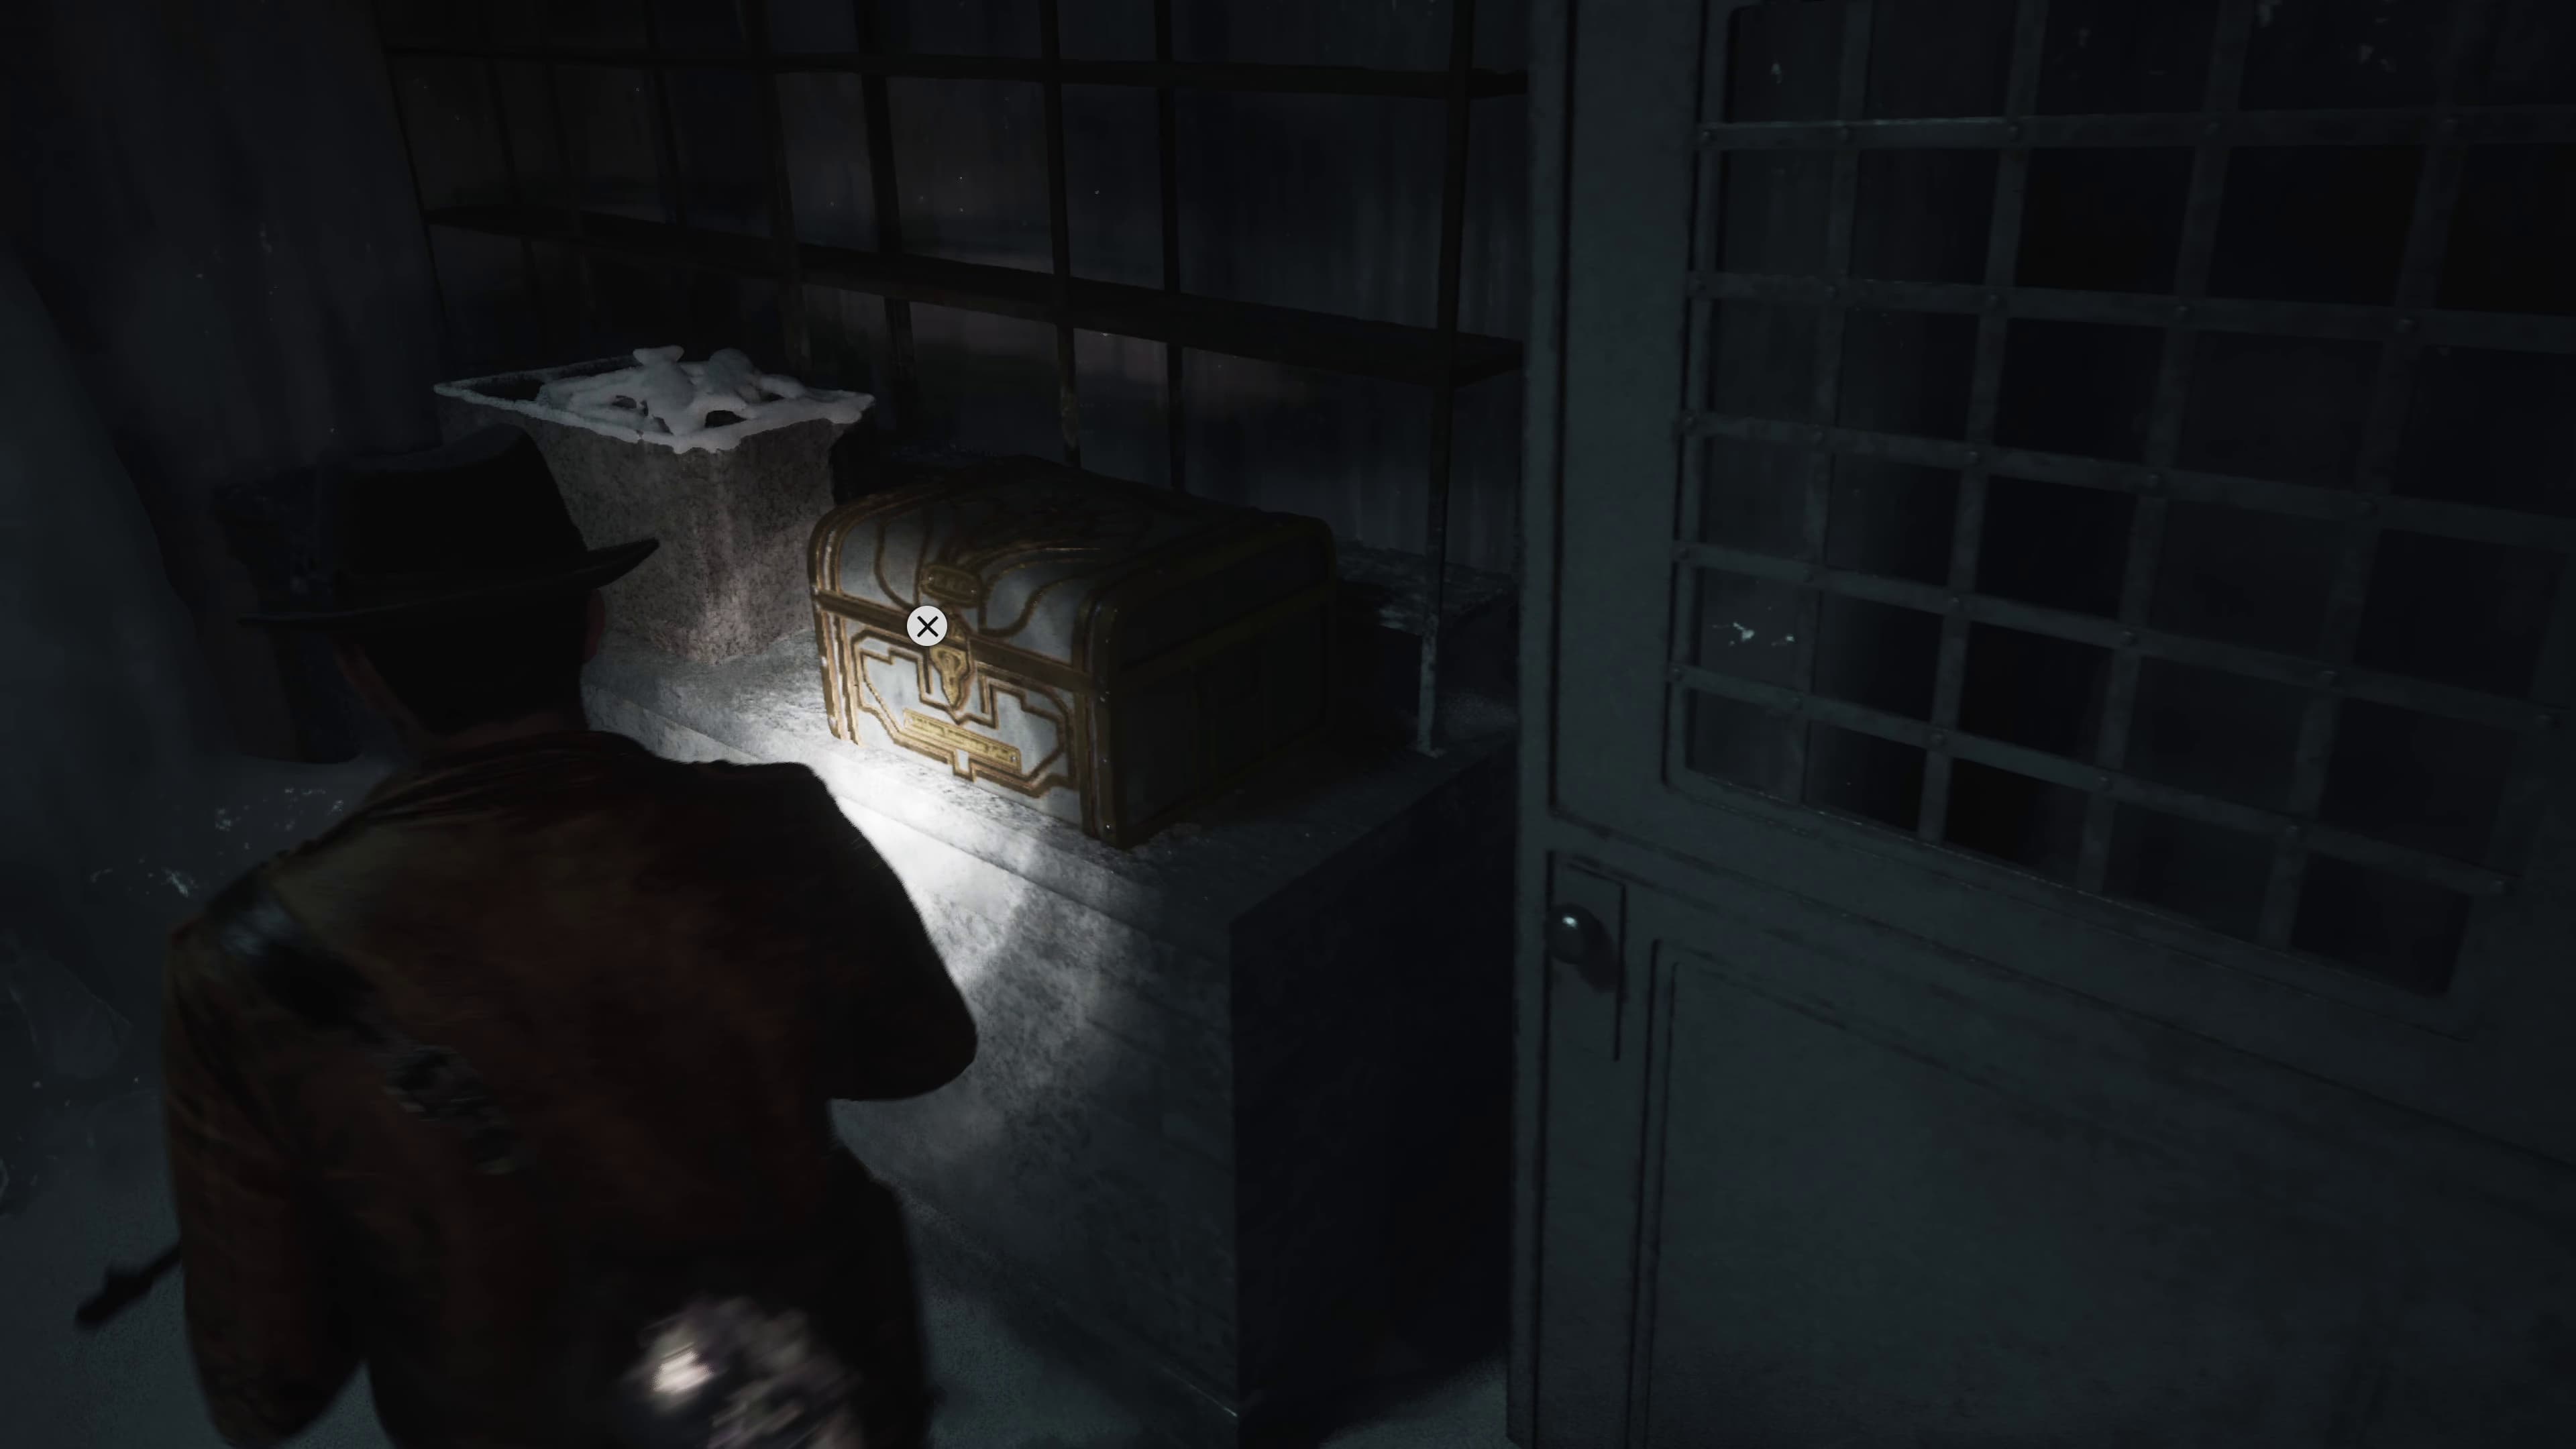
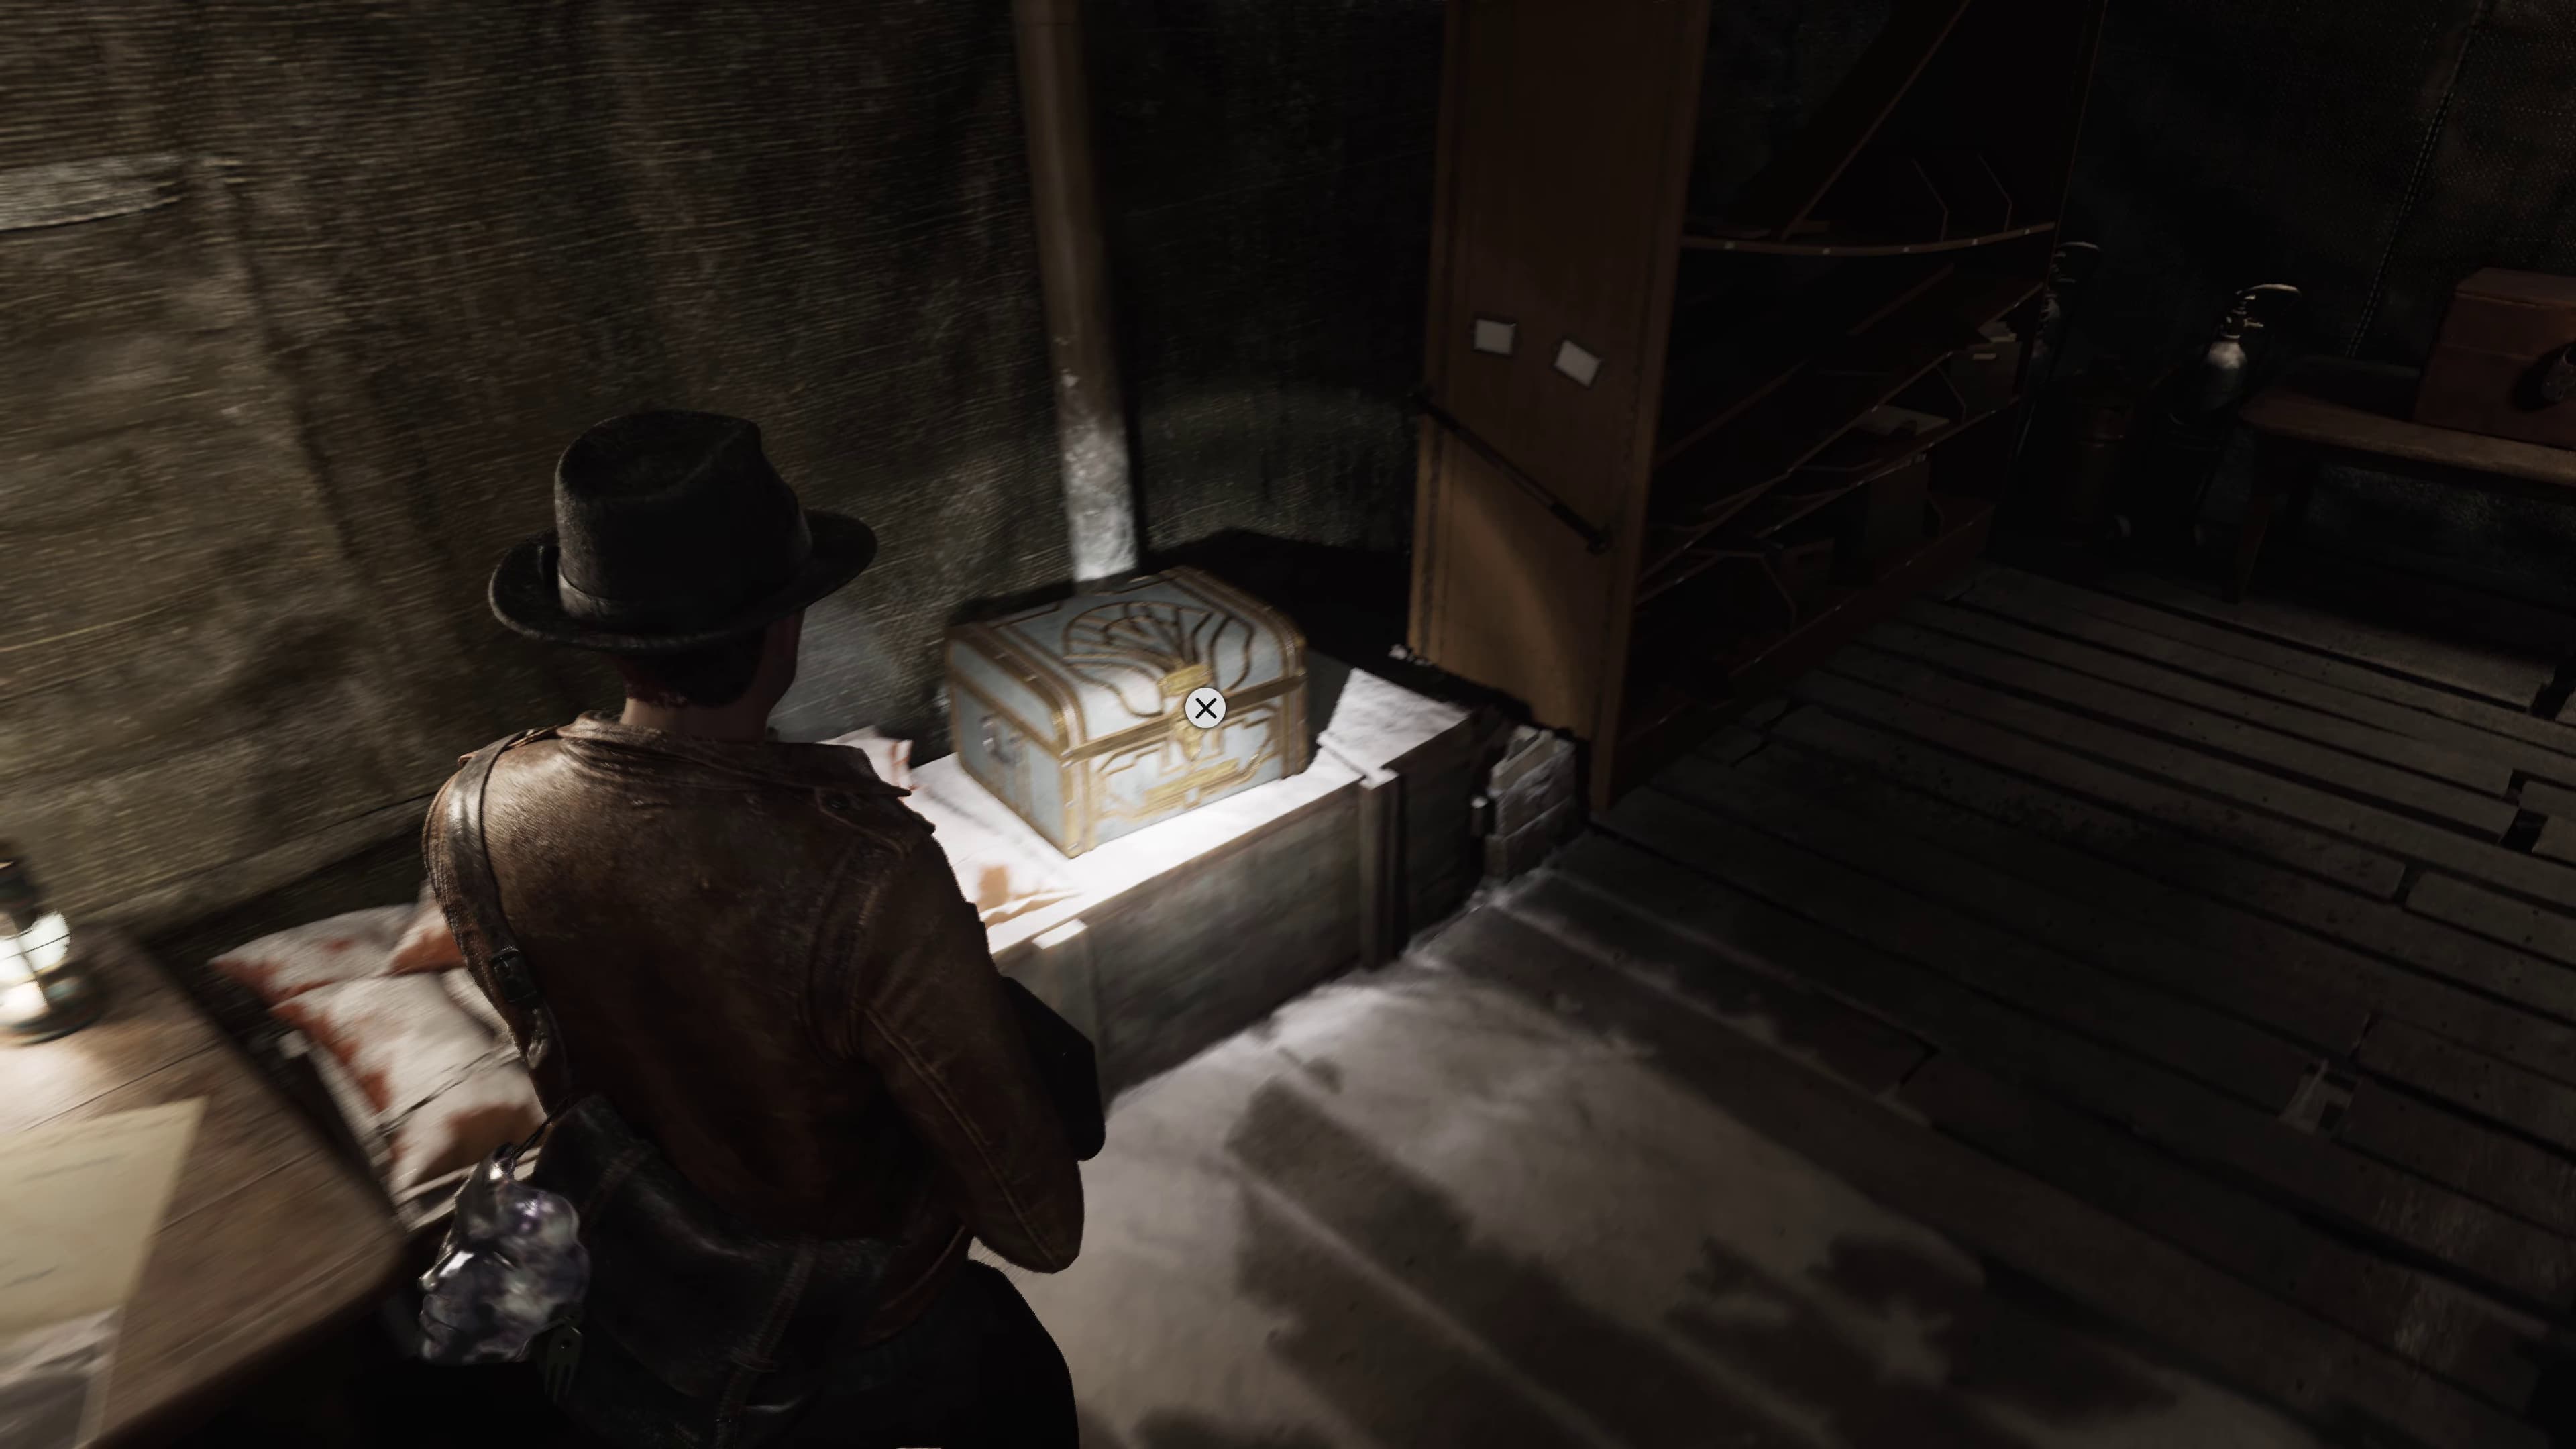
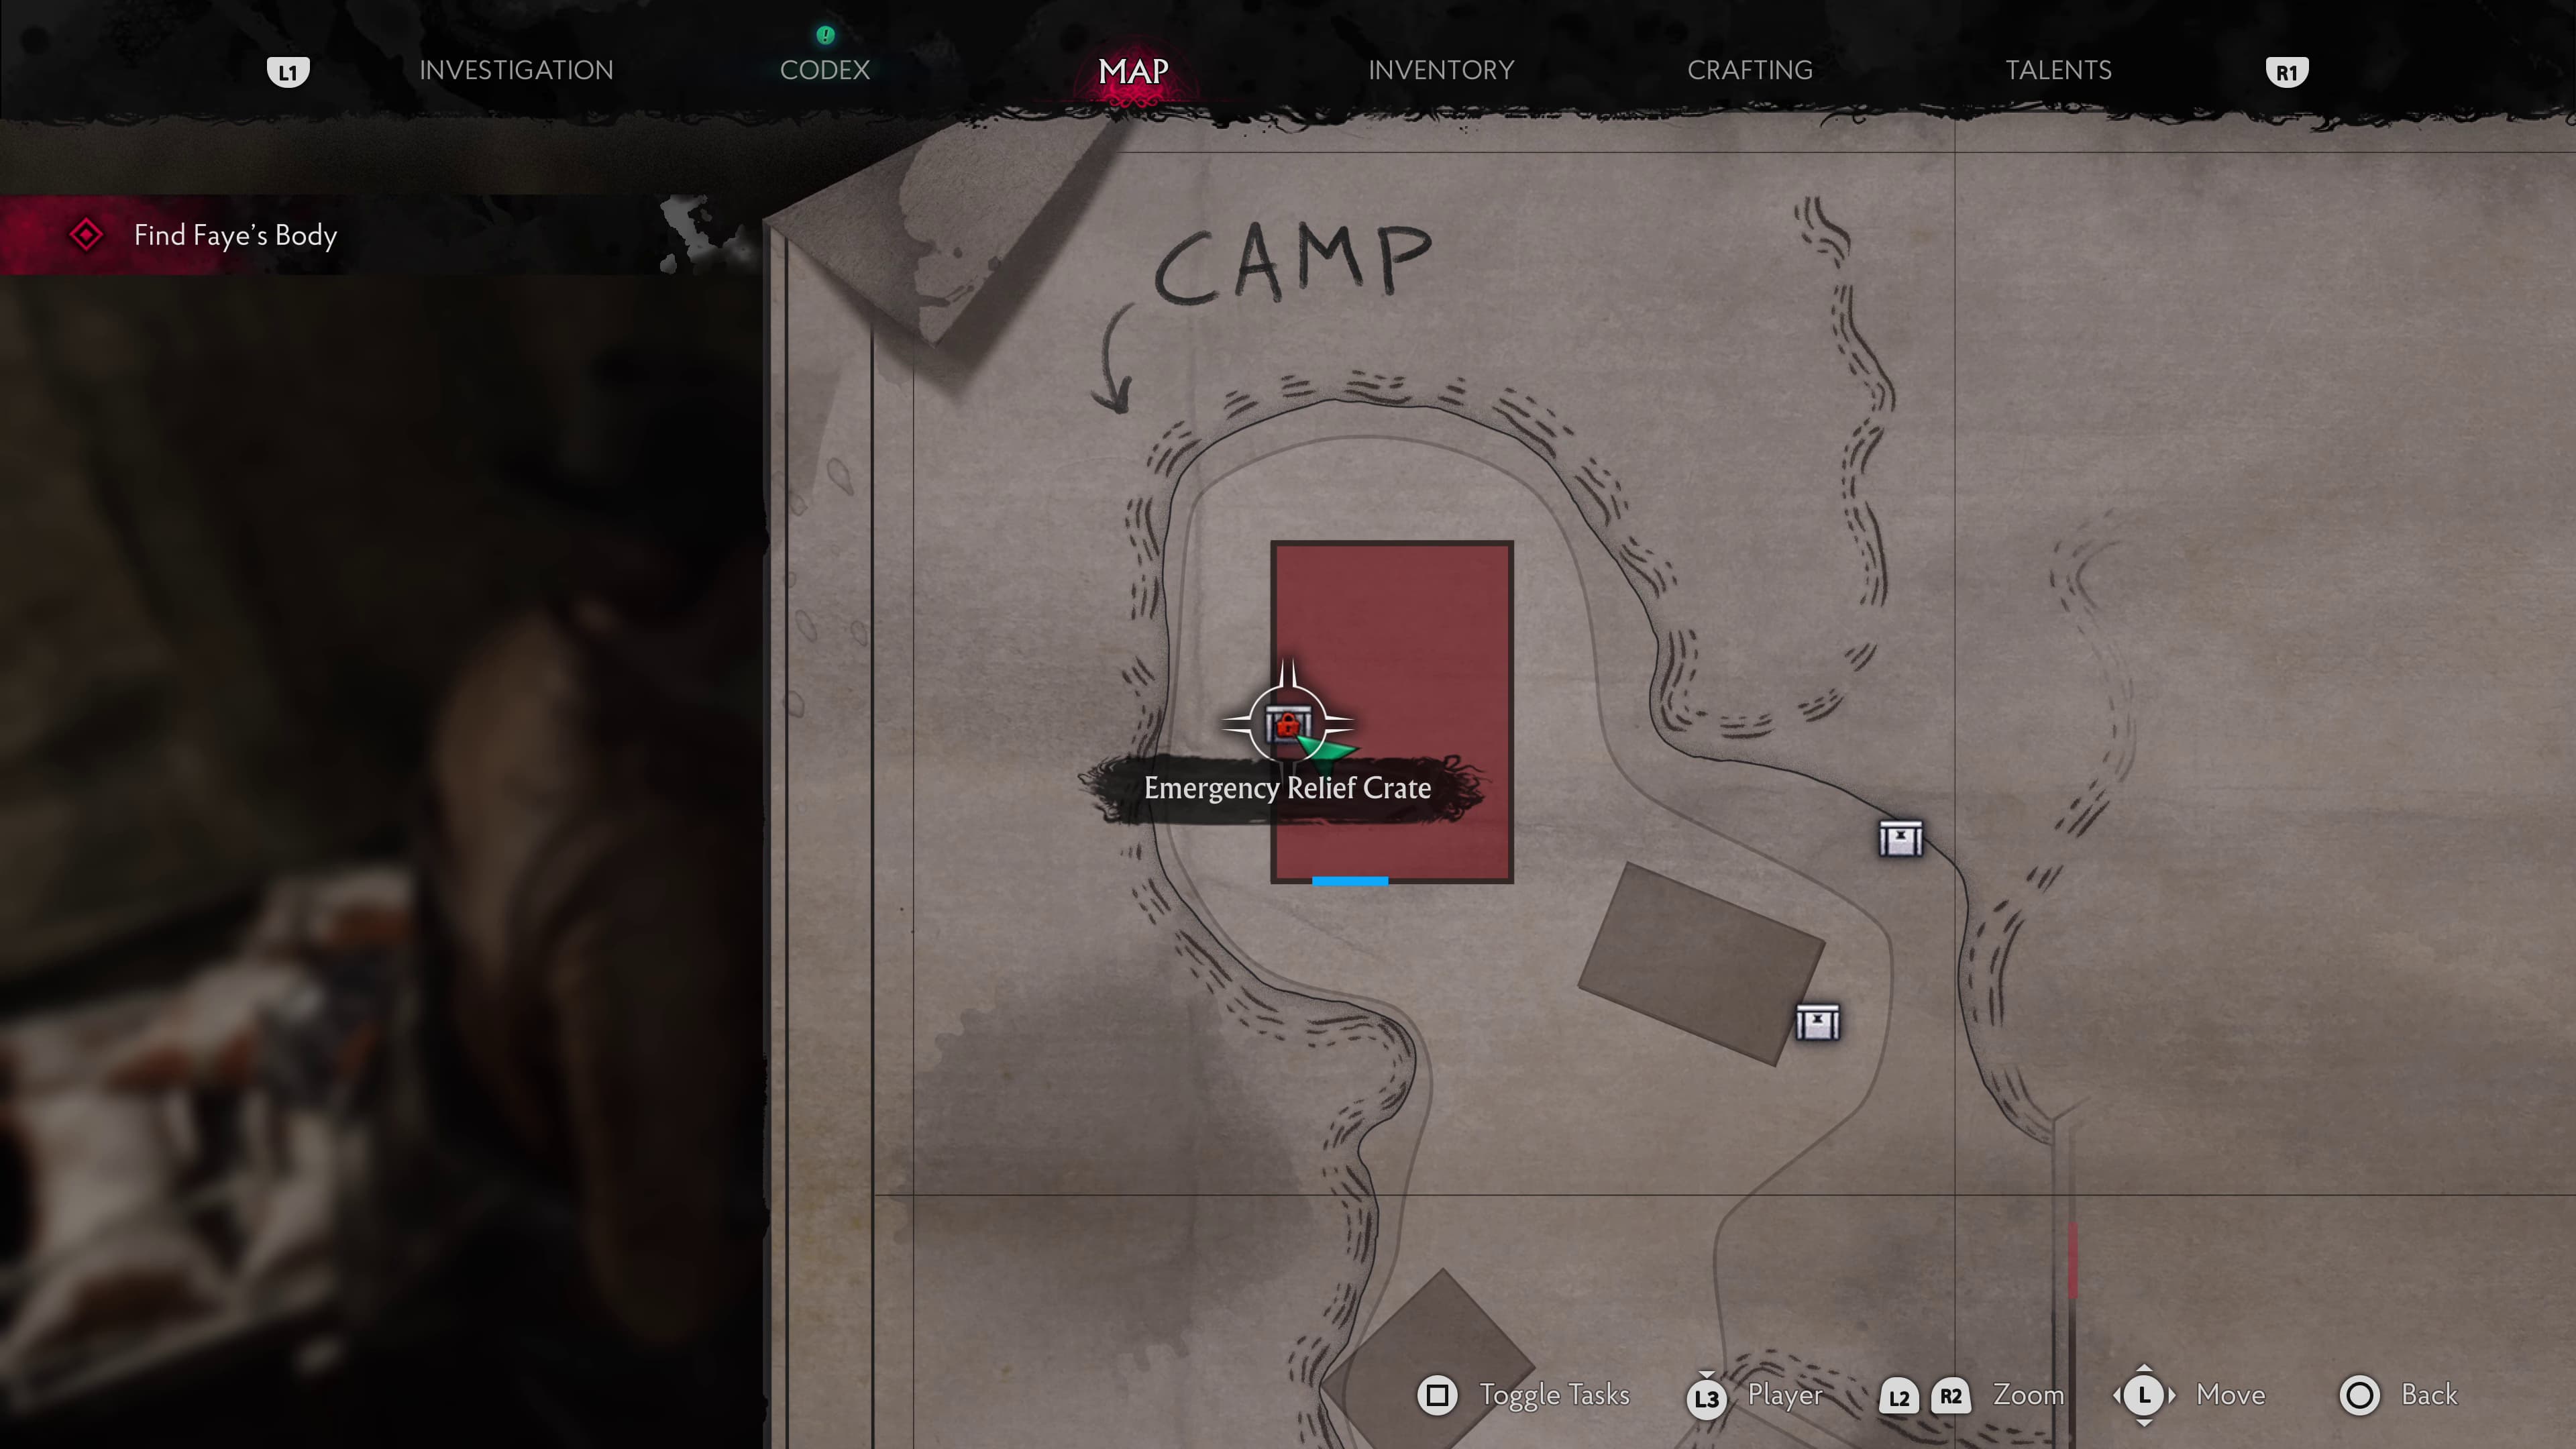
After having the cutscene entering into the University, make it straight ahead into the Registry, to find the map on the wall, and the first ERC Crate.
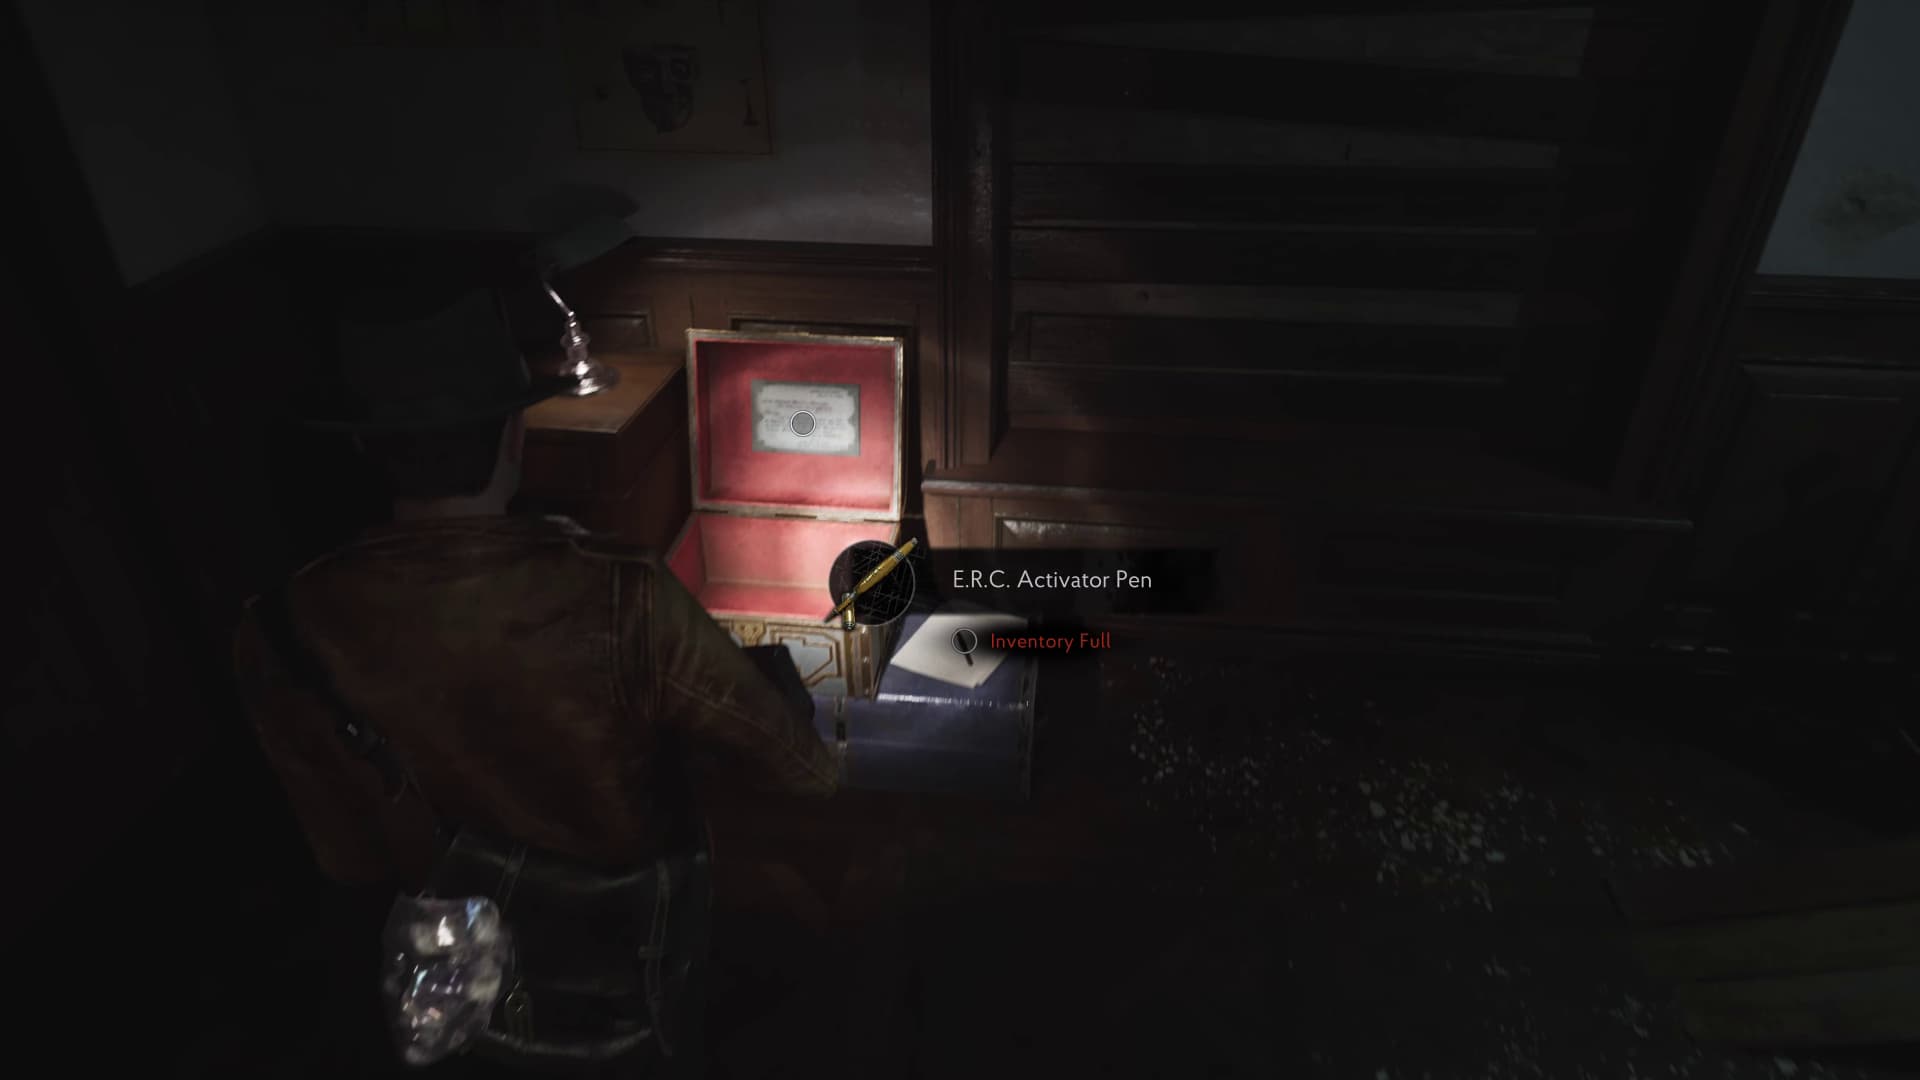
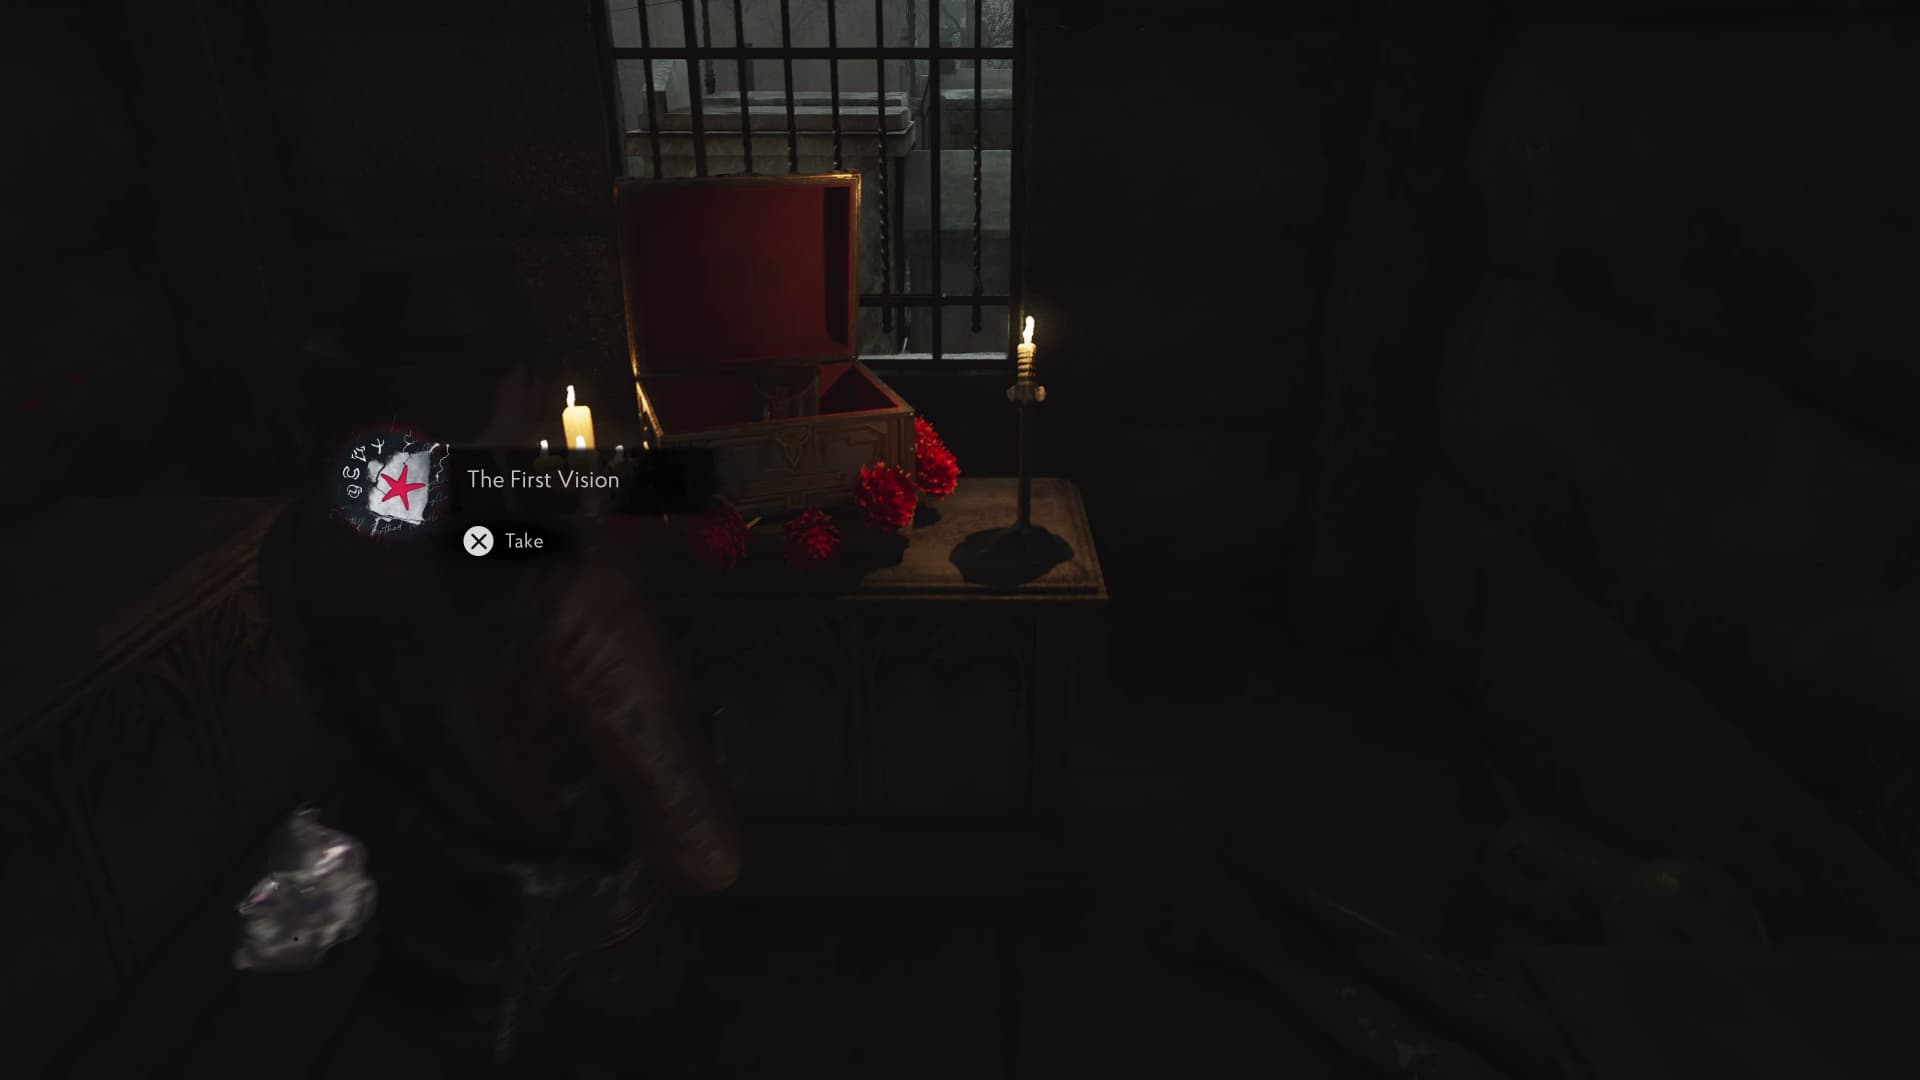
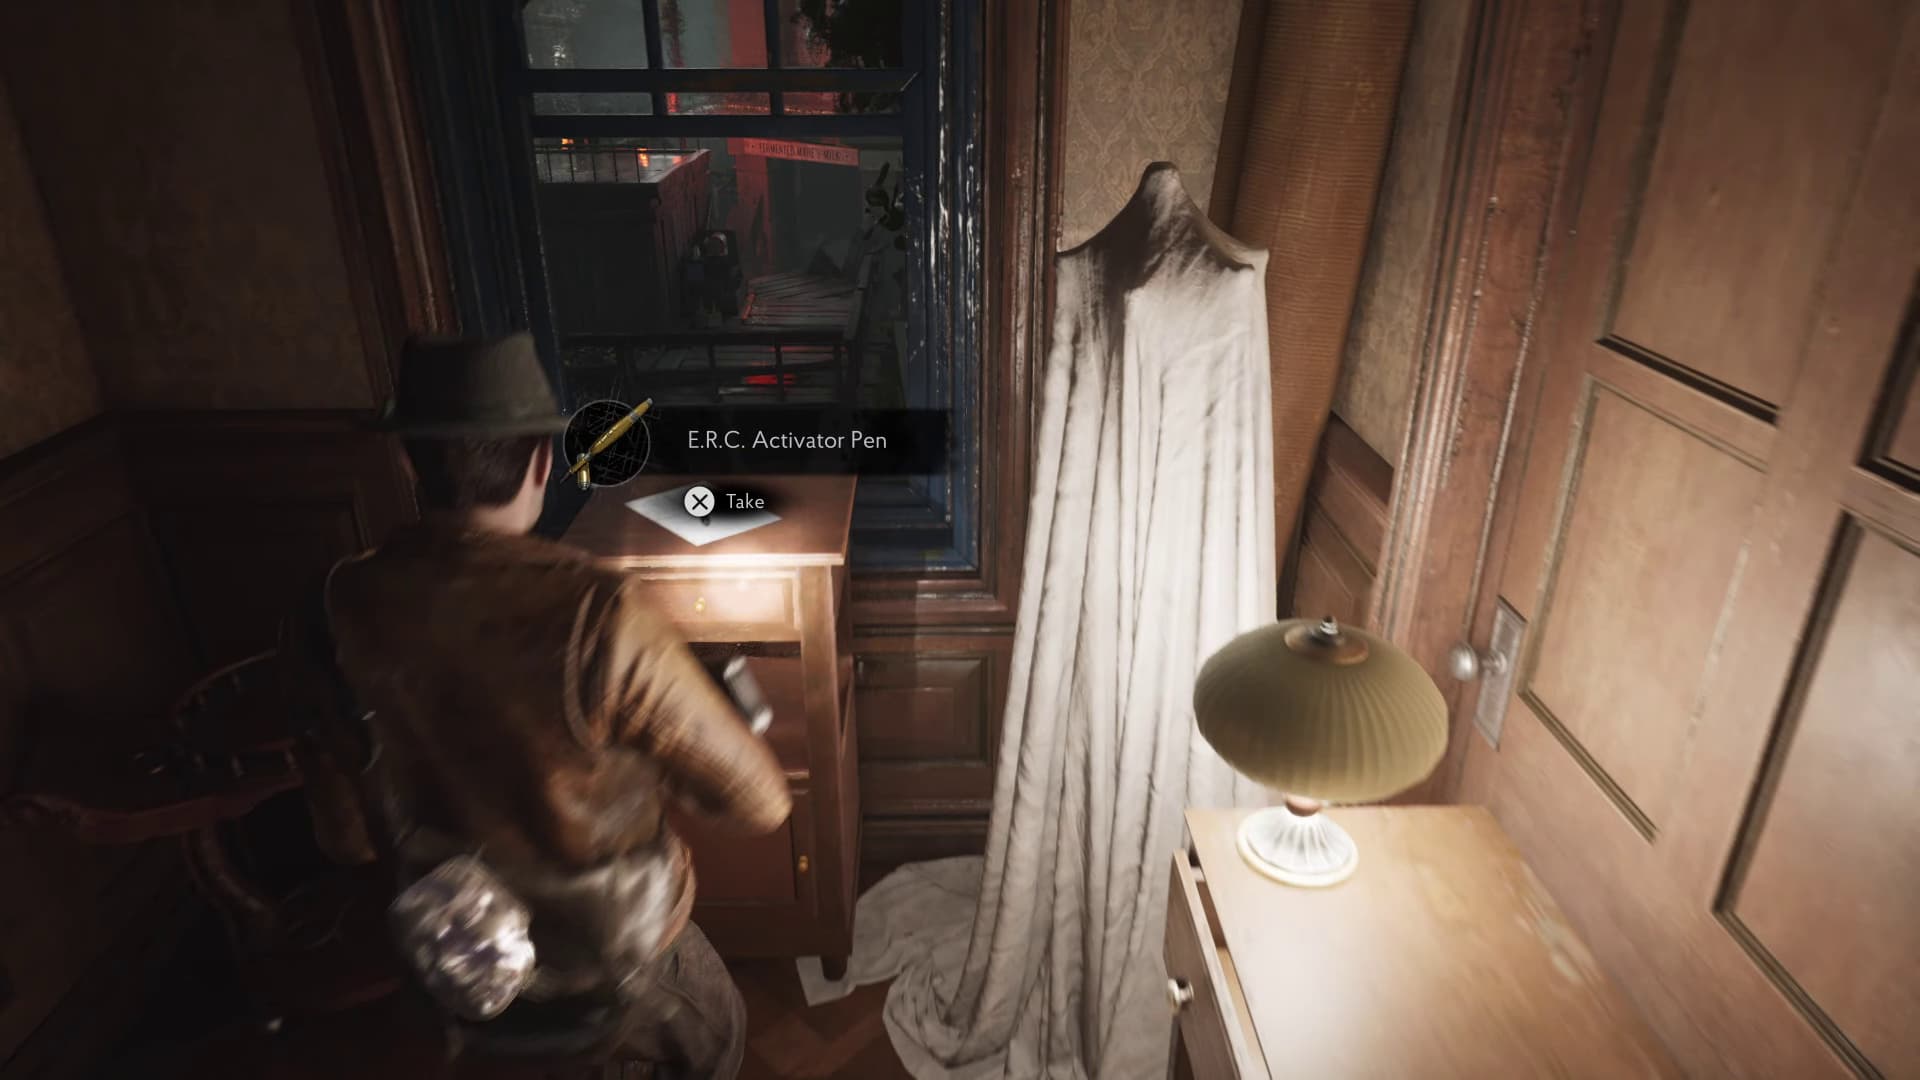
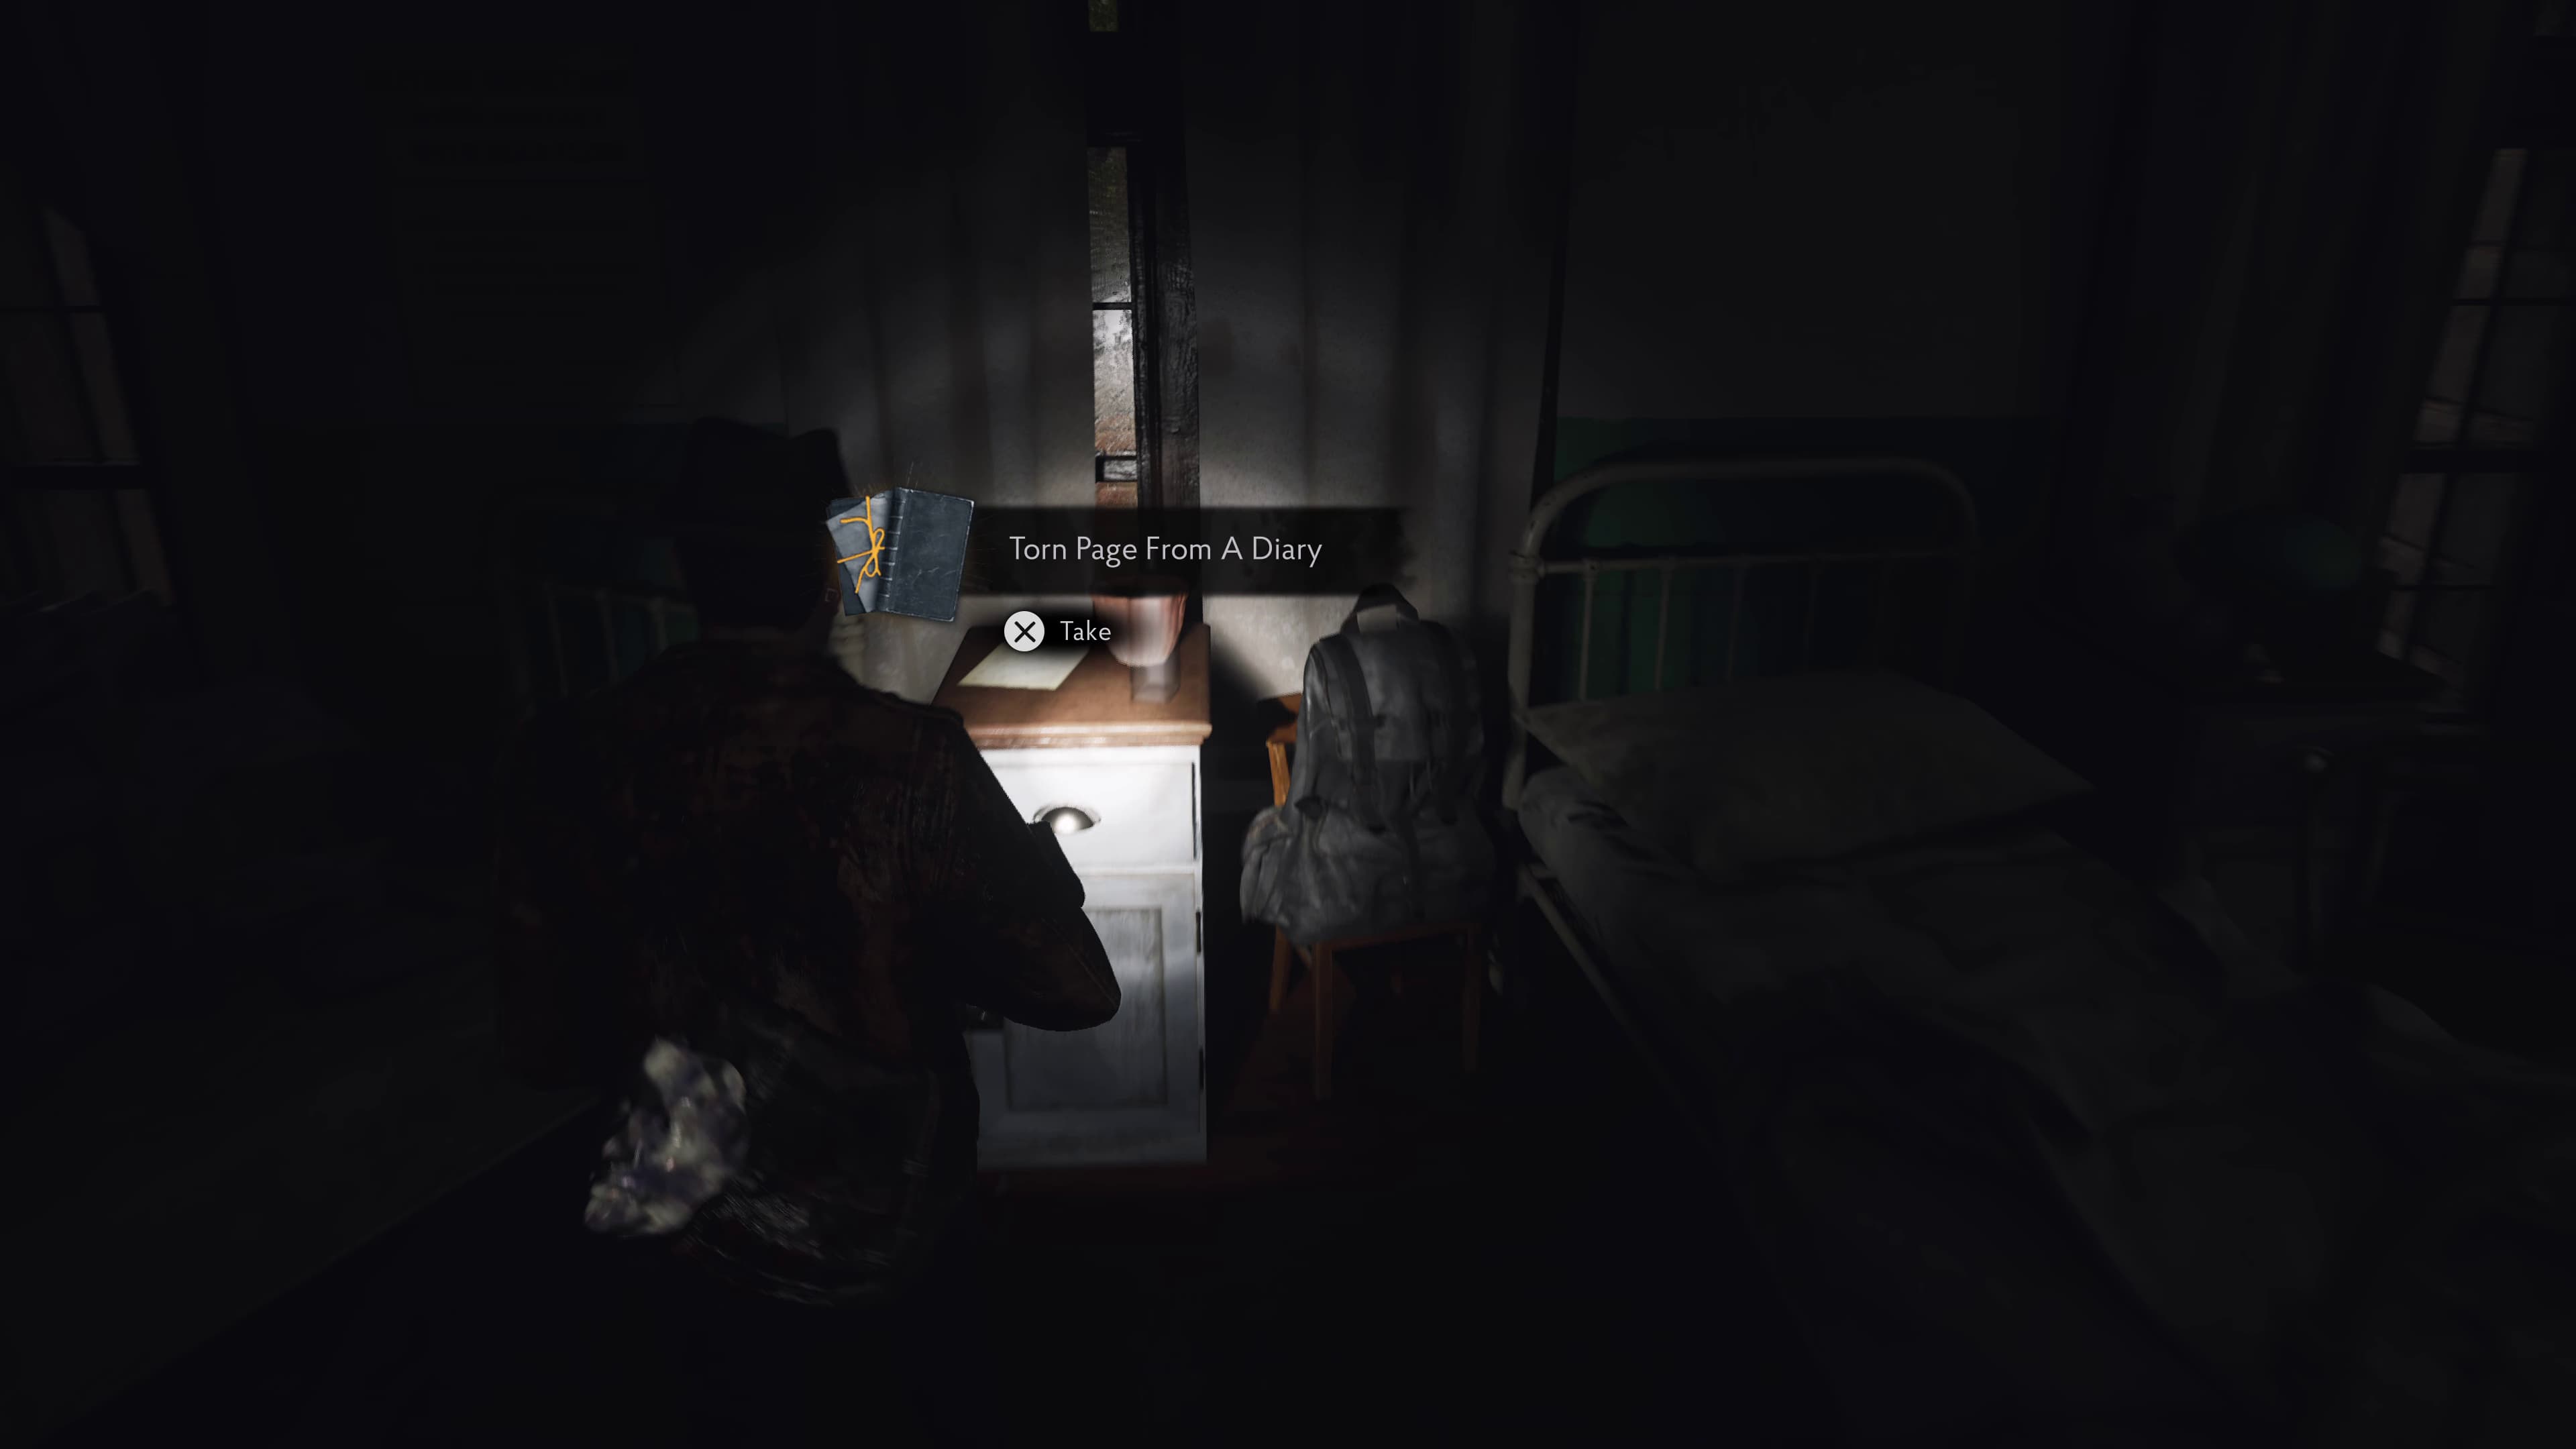
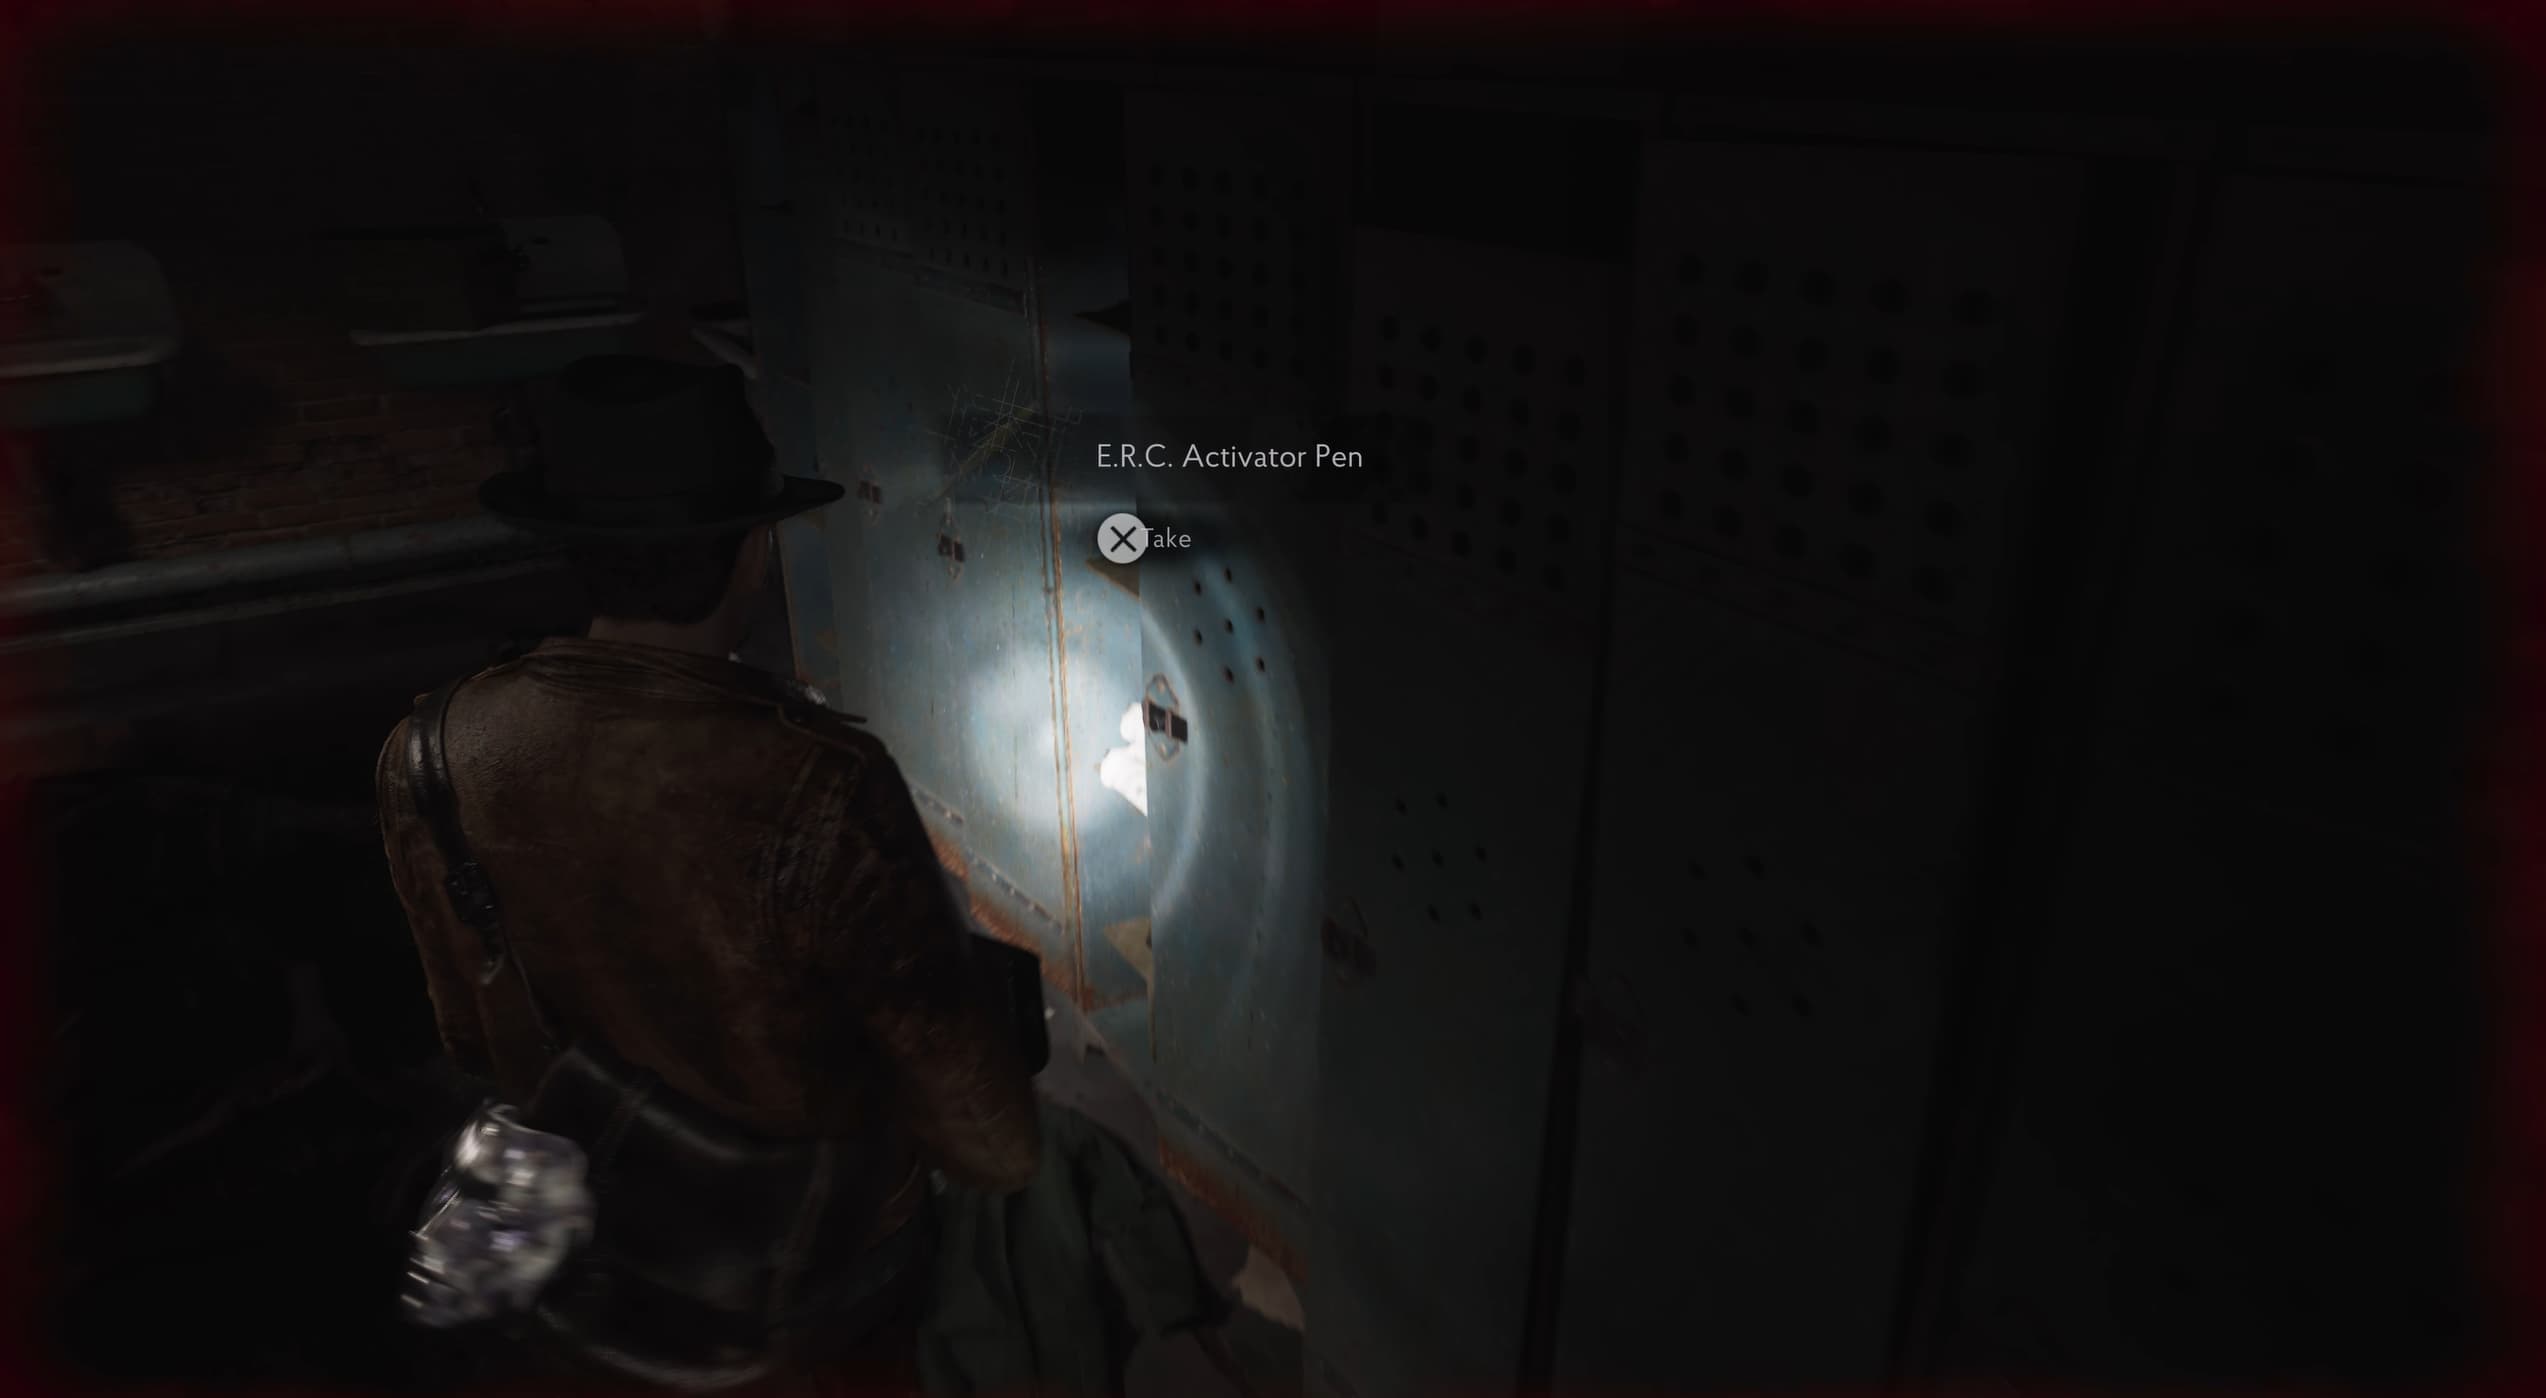
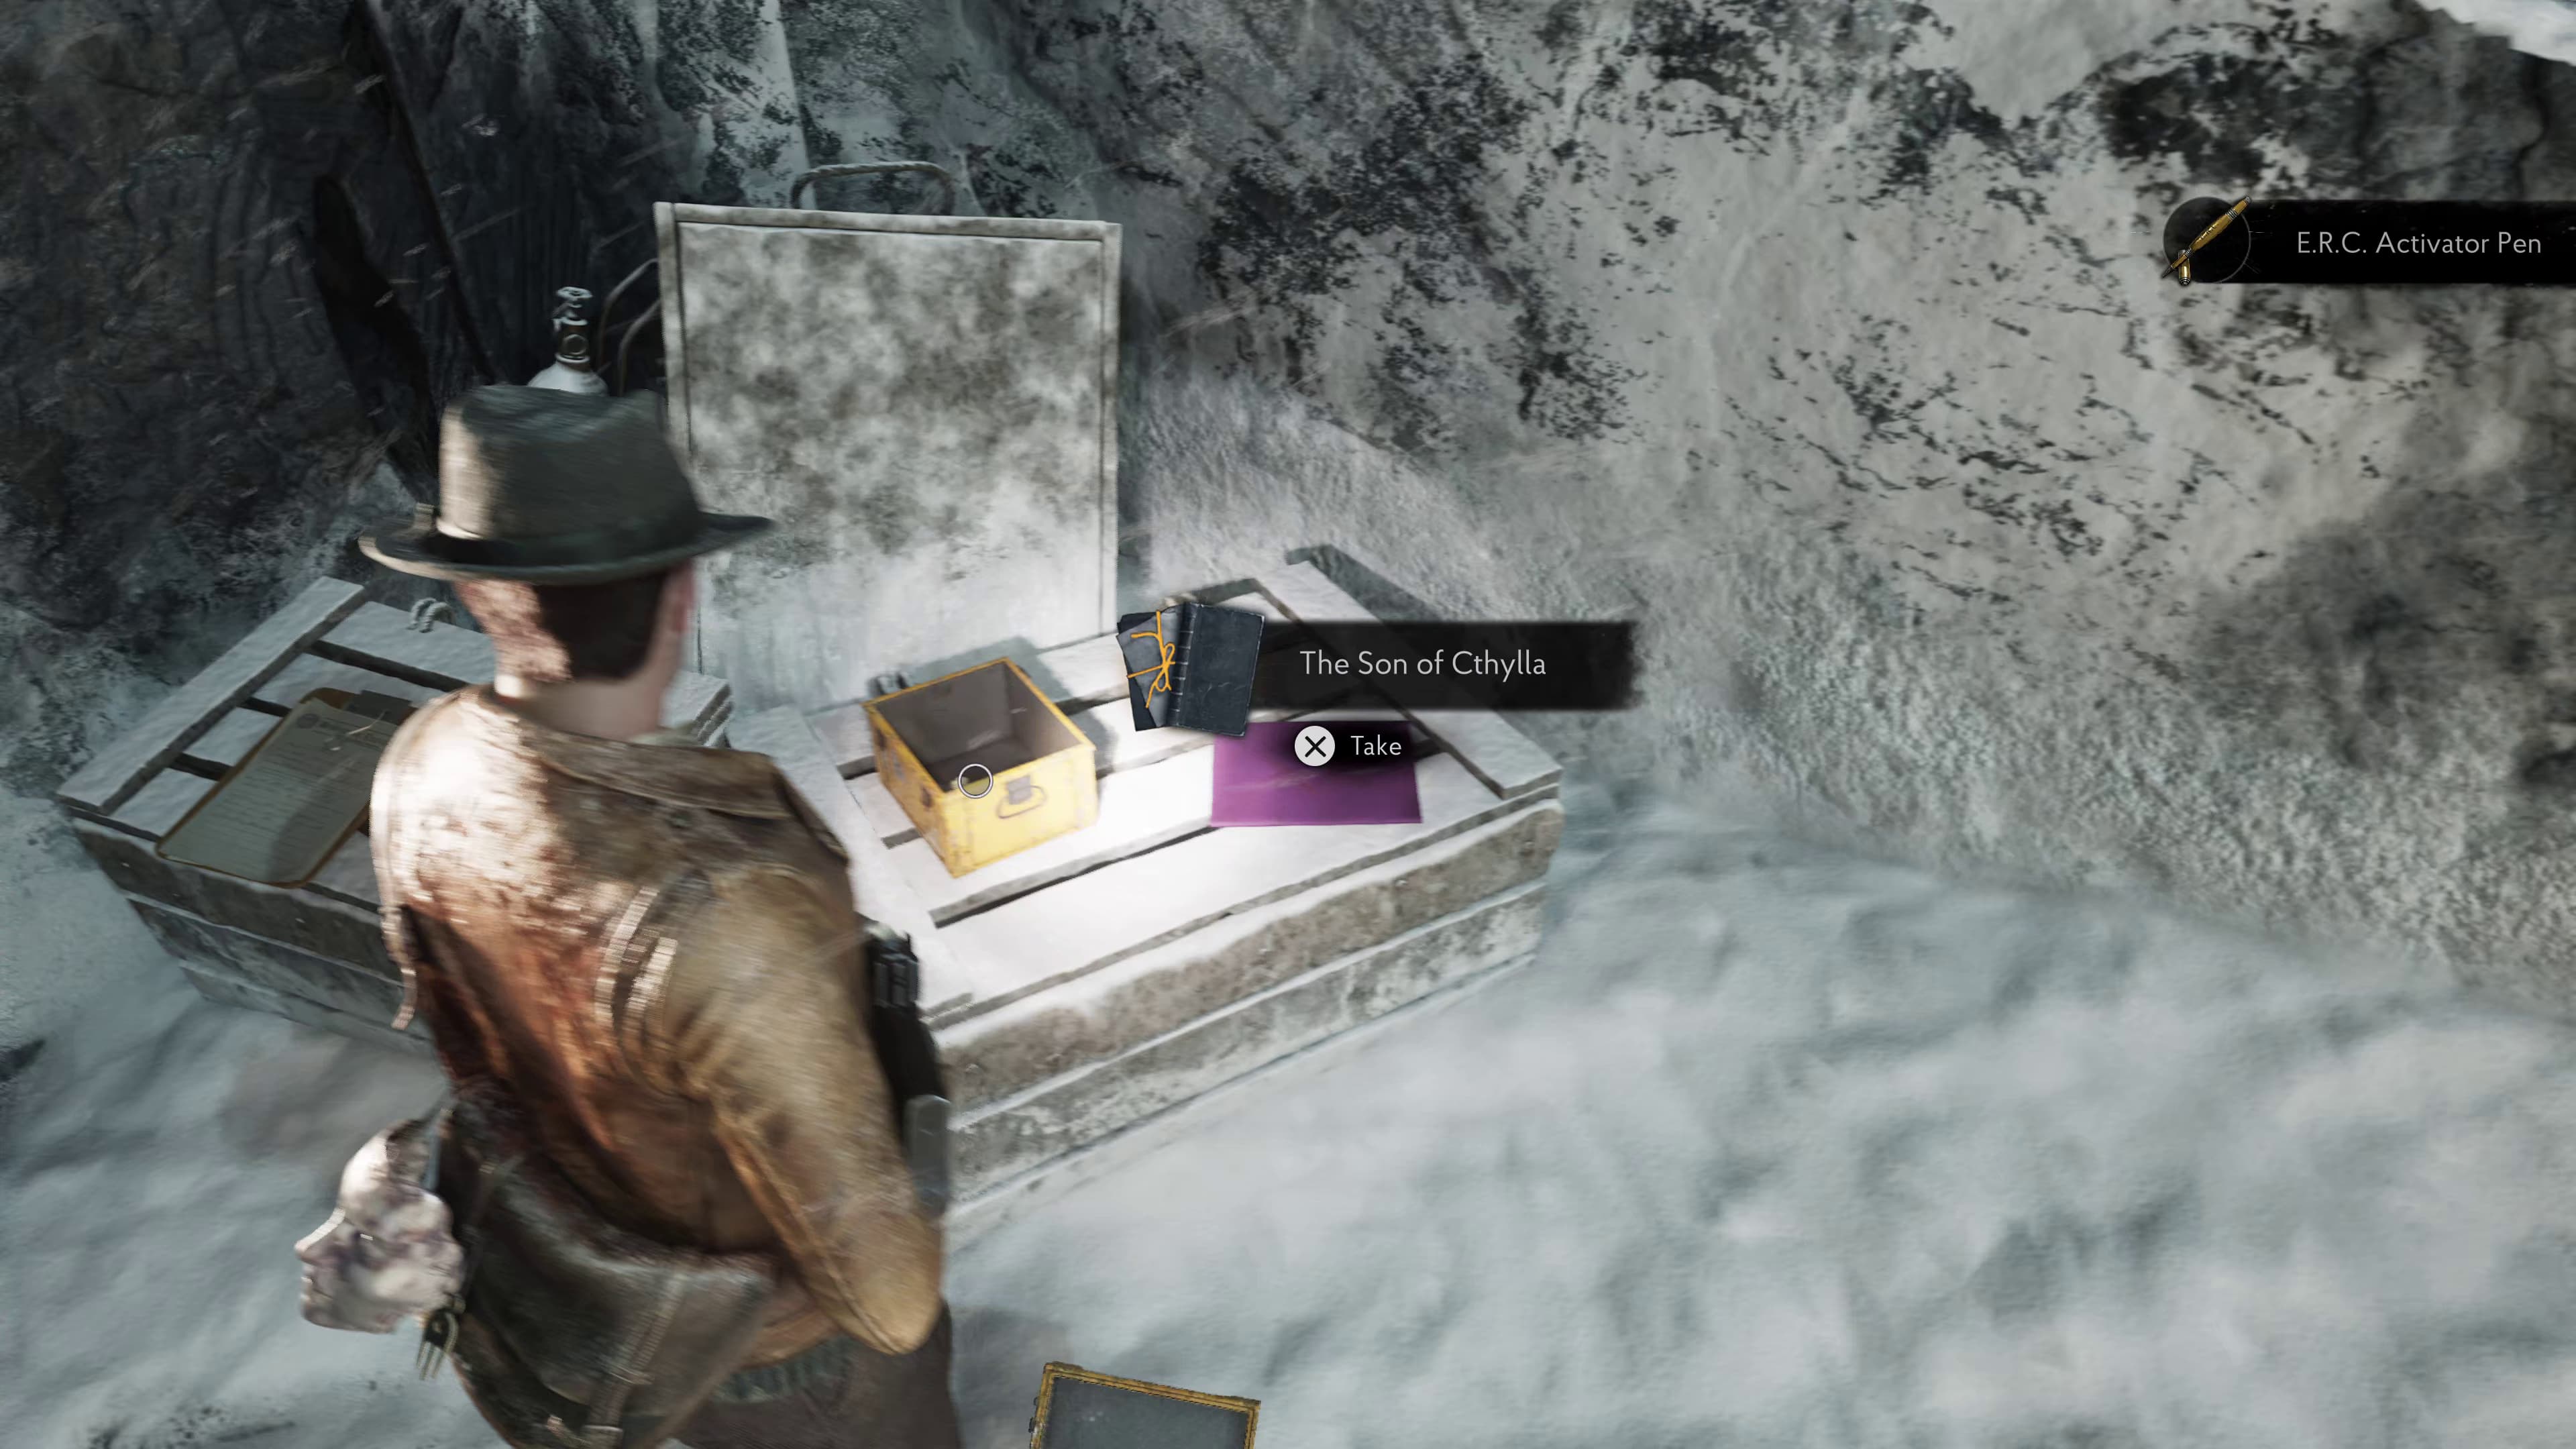
Keep advancing with the story until you make it into Study 1, after talking with the French man with worm eyes. In this room with him you will find a Lore Document and also an ERC Pen to collect.
Now heading left through the save room and out of the door on the other side. After descending down into the Reading Hall take an immediate left and through the door ahead, to make it back towards the Registry to open the ERC chest we found earlier. Inside is a weapon attachment so worth collecting if you are going for this trophy as well.
The next ERC crate will be at the Church area, so keep on progressing until you make it here.
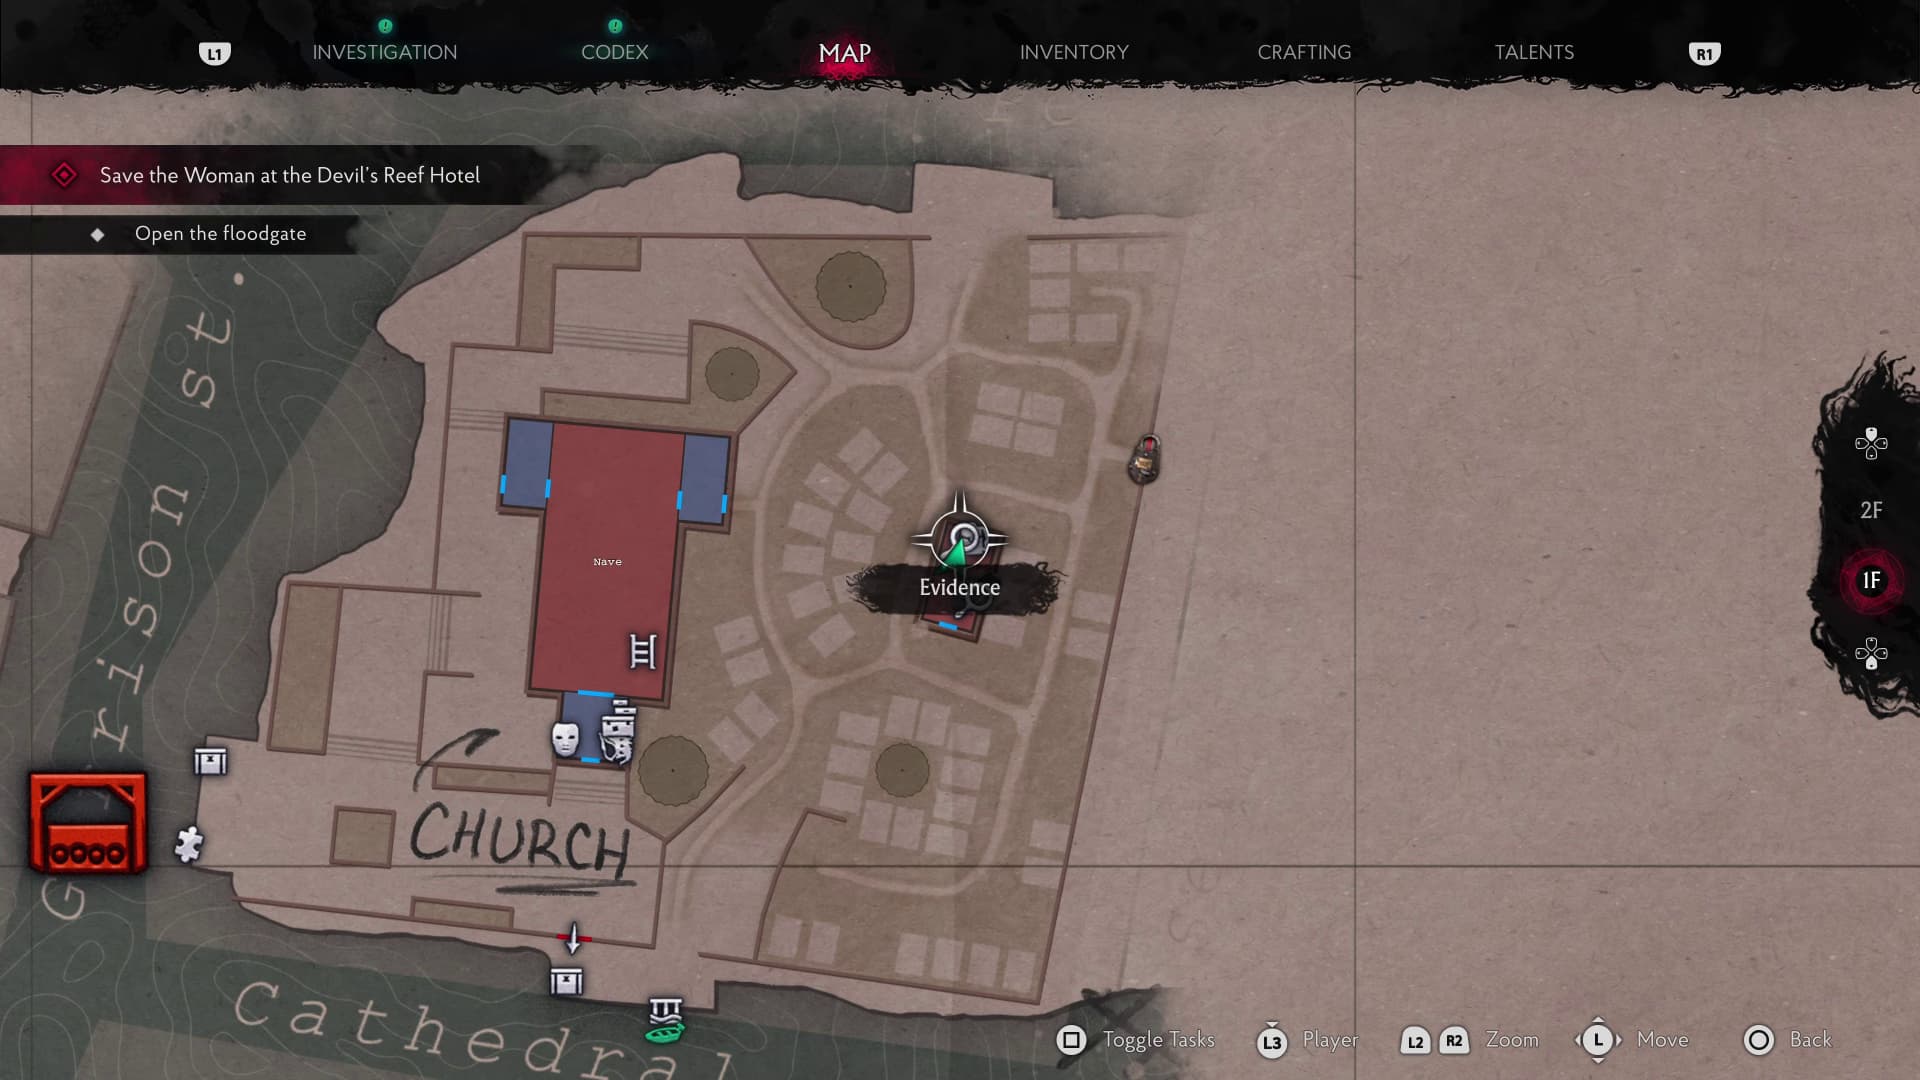
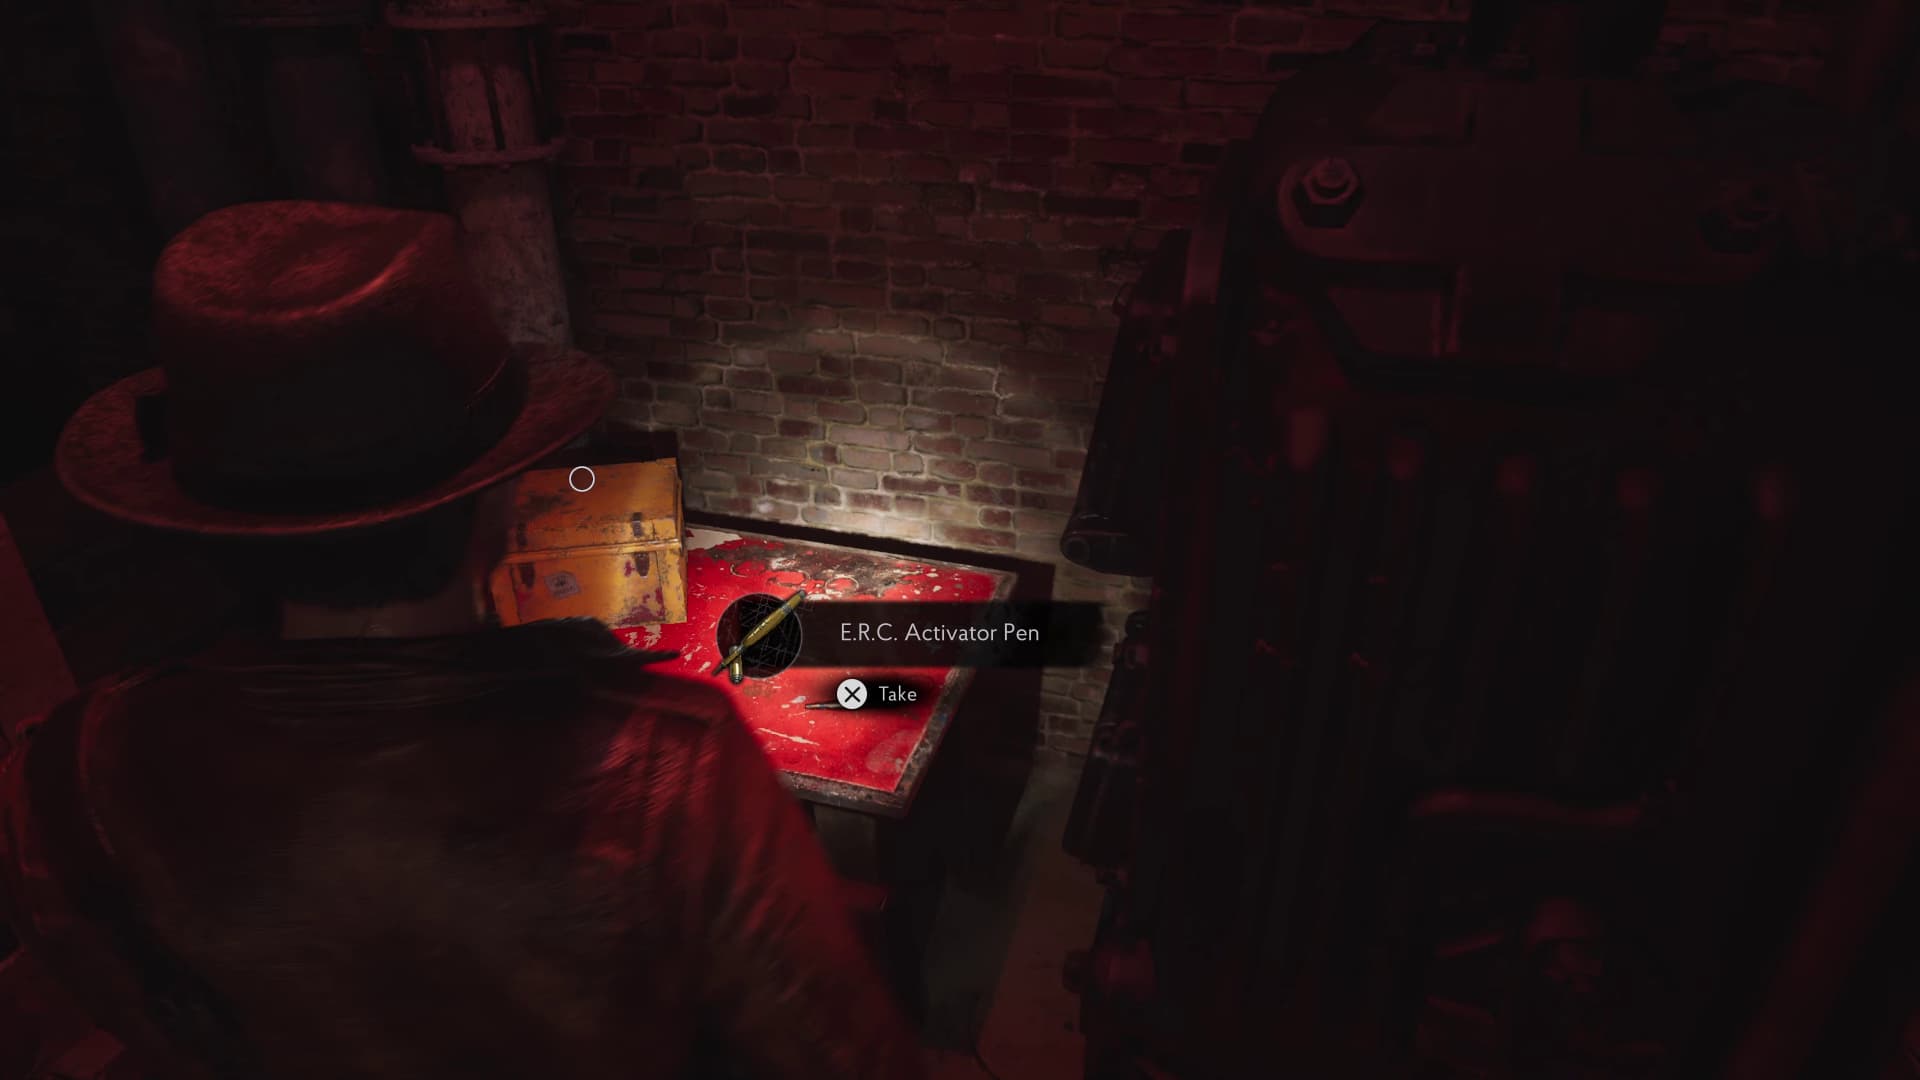
Advance through this area until you have collected the Star Key from the body outside, make your way back in the Church, through the open window on the side of the building, immediately as you enter the window on your left will be a round table with an Evidence and an ERC Pen to collect.
Head out through the opposite door to make it back out into the churchyard area. Make your way around to the small building in the and open it with the Star Key, inside at the back of this small outhouse, will be the ERC Crate to unlock with the pen you recently collected.
Keep advancing the story until you make it to the Fire Department, where inside on the top floor will be an ERC Crate. This will be the last one we collect so remember this location.
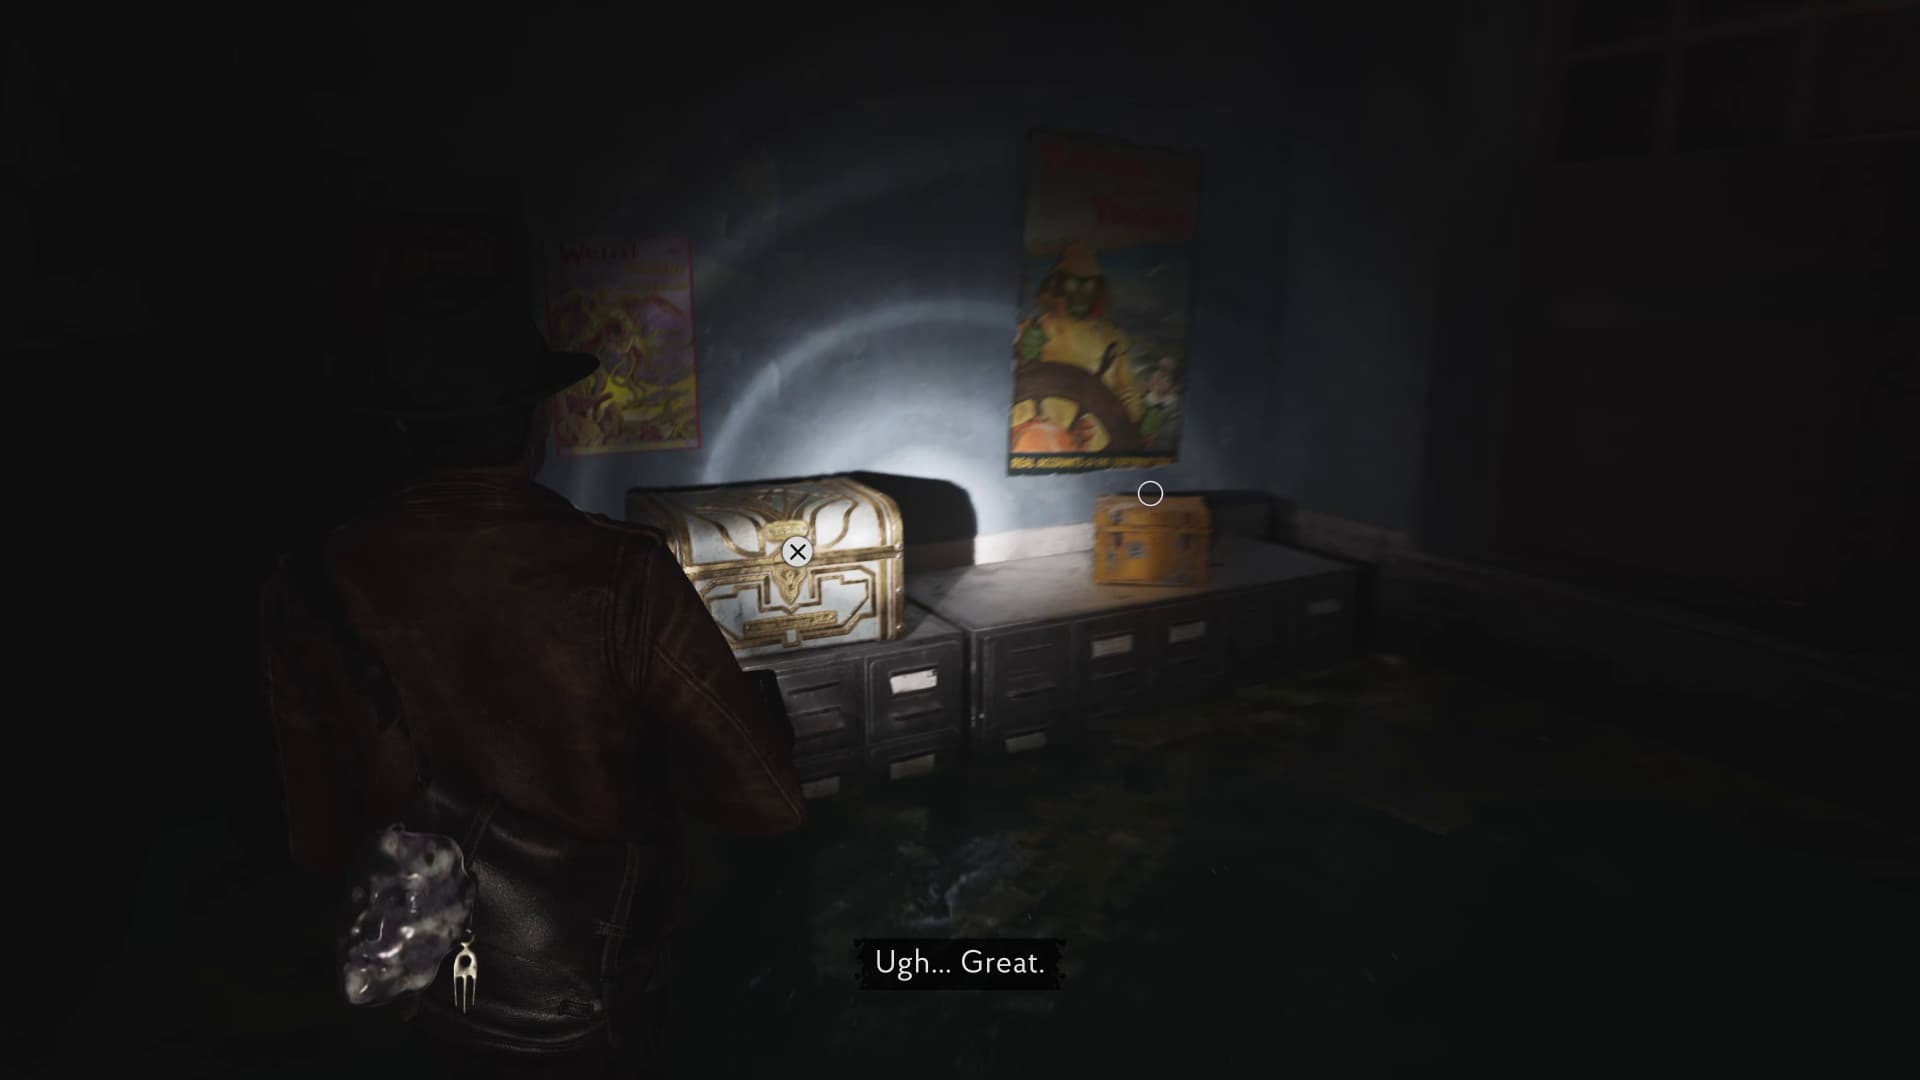
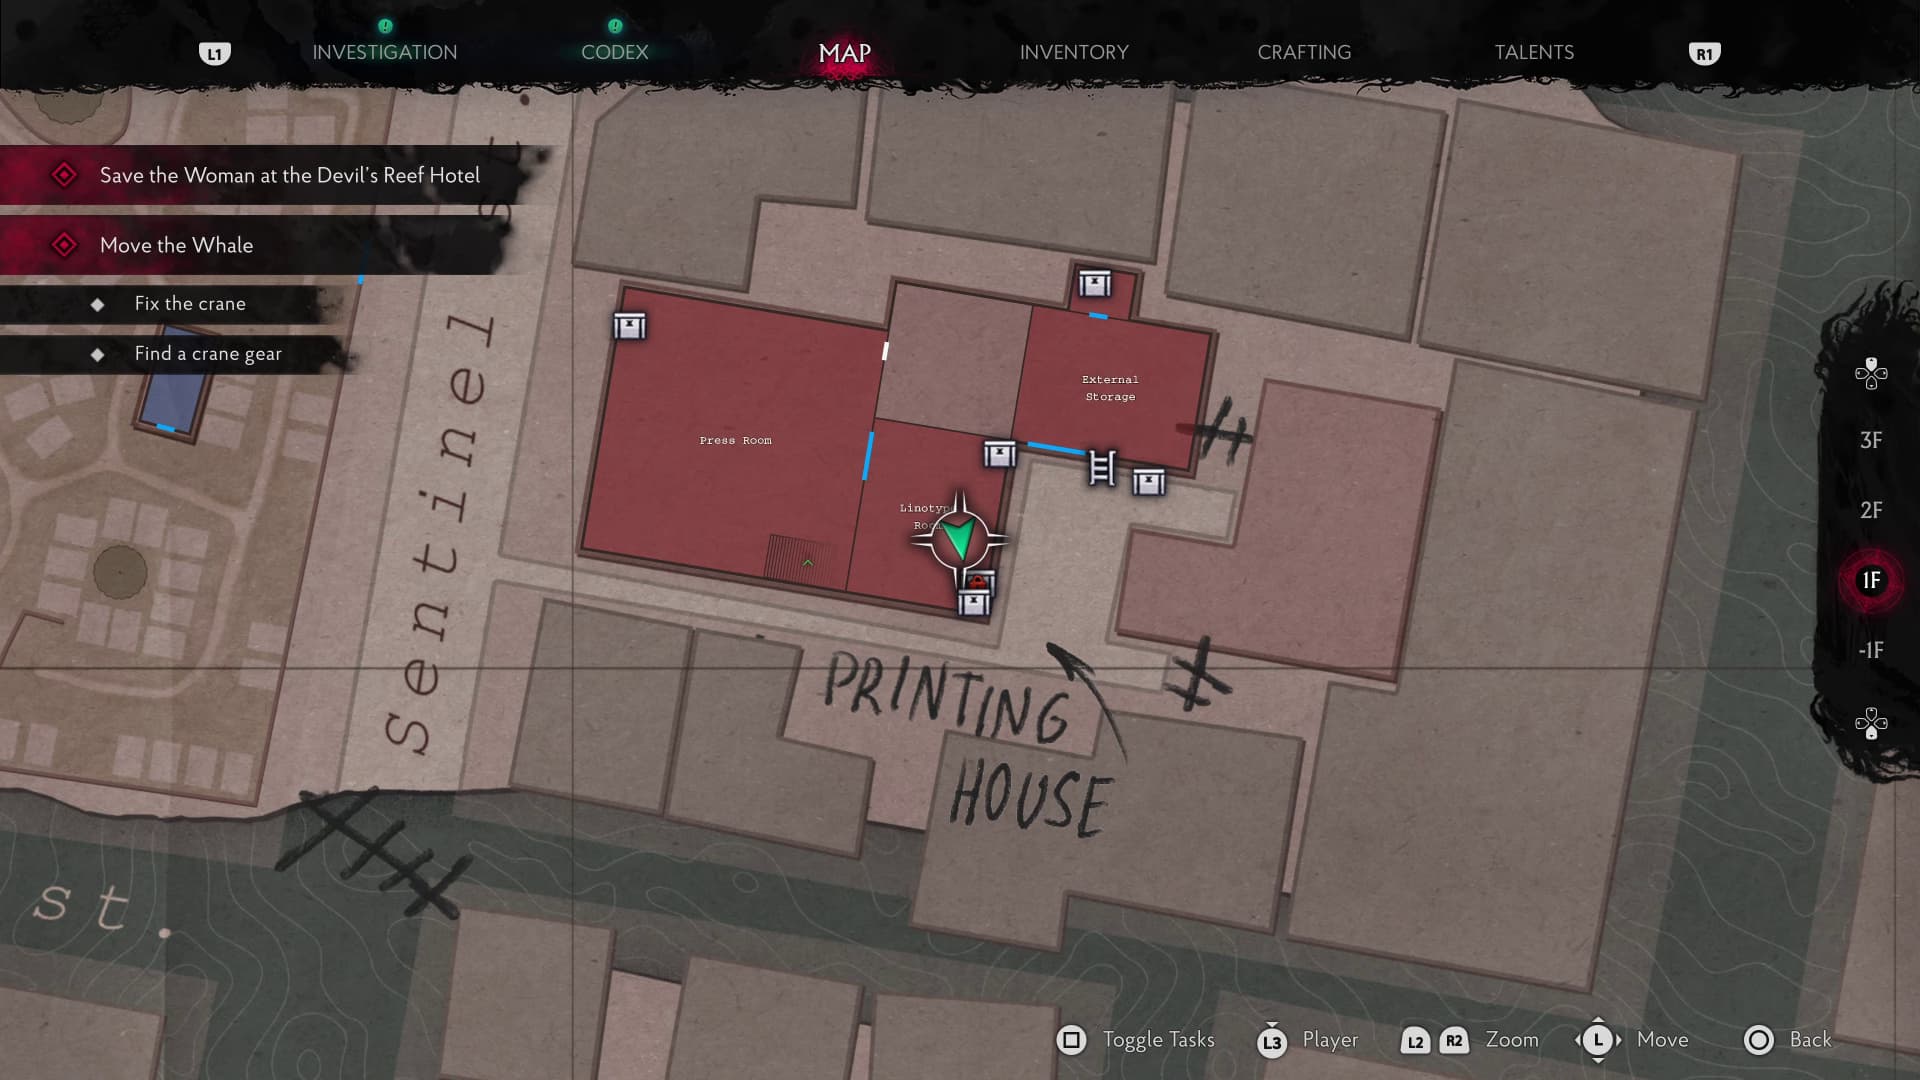
Keep progressing with the story until you make it to the Press Area and Printing House. Once you make it into the Printing house and specifically the Linotype Room, you will find the next ERC Crate in the corner of this room.
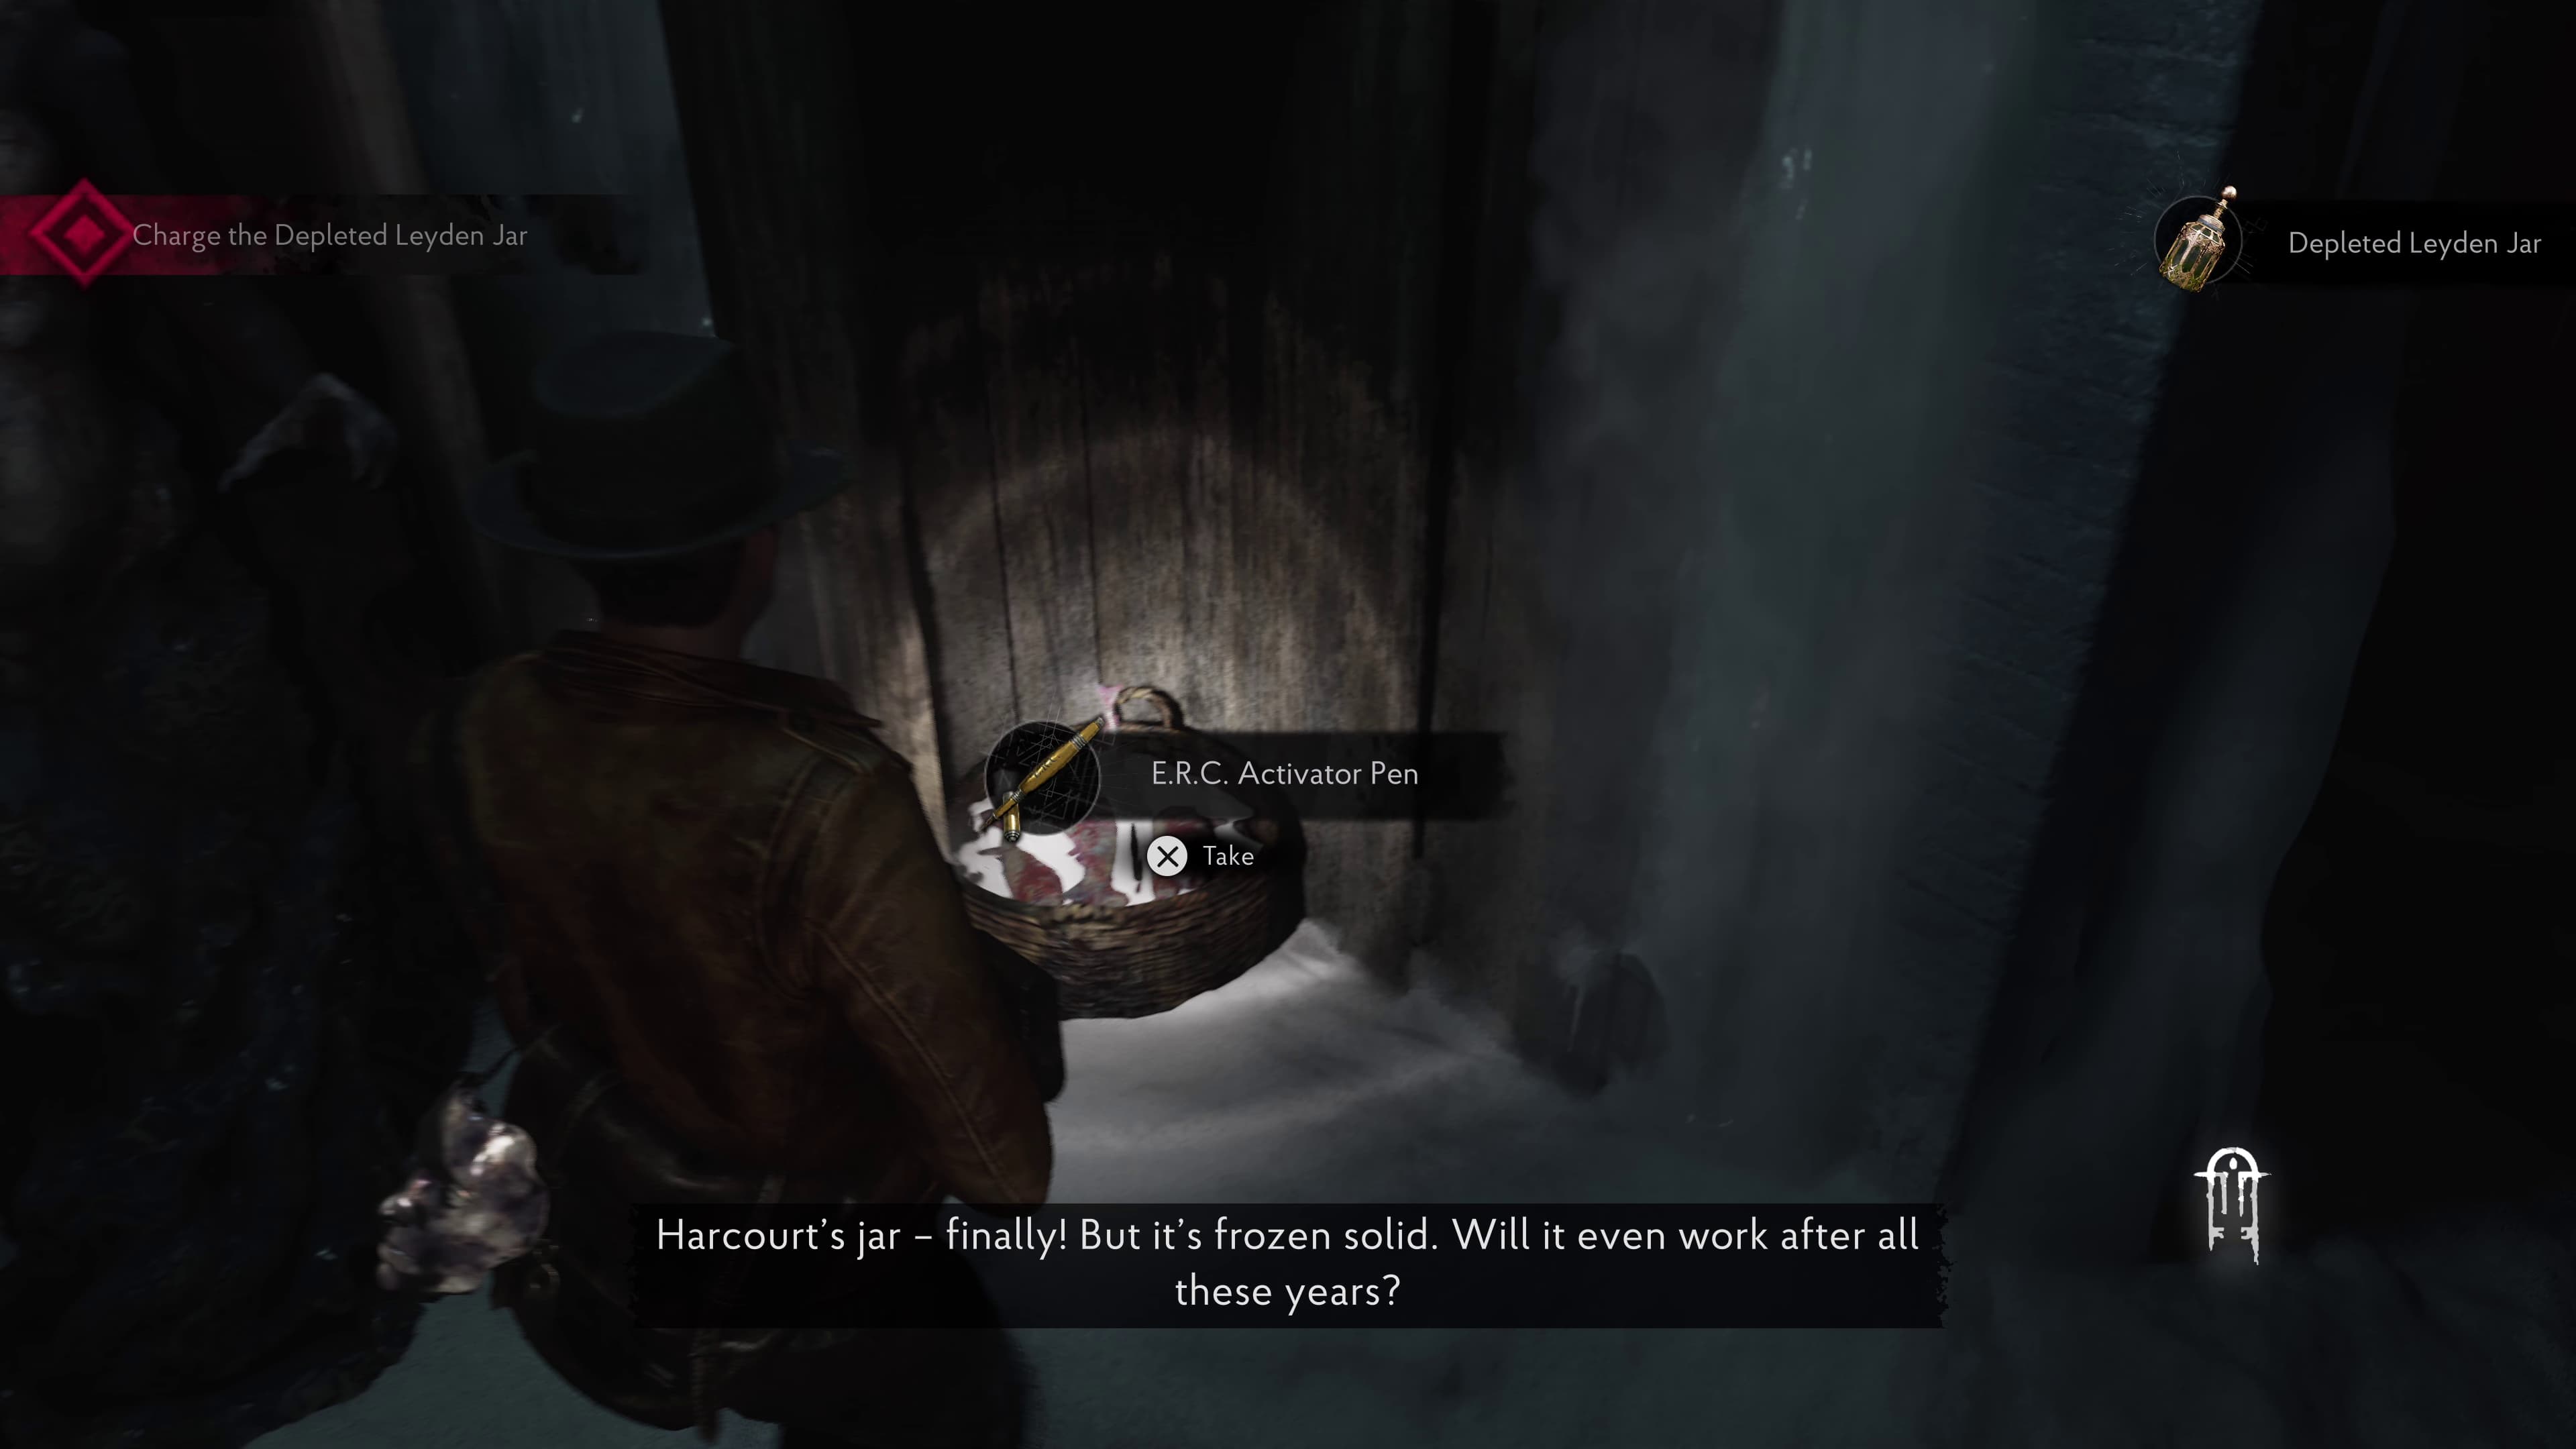
You will need to collect the APH Key to access the ERC Pen for this Crate. Once you have it, make your way to the External Storage room and open the cell door in the back. Inside will be the ERC Pen to collect for the ERC Crate in the Linotype Room.
Make your way back to the dock with the whale in the water, use the cog and crane to lift the whale out of the way. Before advancing by boat, you will need to backtrack through the Saloon and to the outside area where the Fire Department is.
Head over to the far right of the area to now access the building on the right of the Fire Department, using the ladder to make it up and inside the building, the ERC Pen will be in the corridor at the end on a small cabinet. Now you will be able to unlock the ERC Crate in the Fire Department.
These are all the ERC Crates for The Wake Up Call section, keep advancing the story until you make it to the Asylum, A Sight For Sore Eyes.
A Sight For Sore Eyes
In this area, there will be:
3 ERC Crates
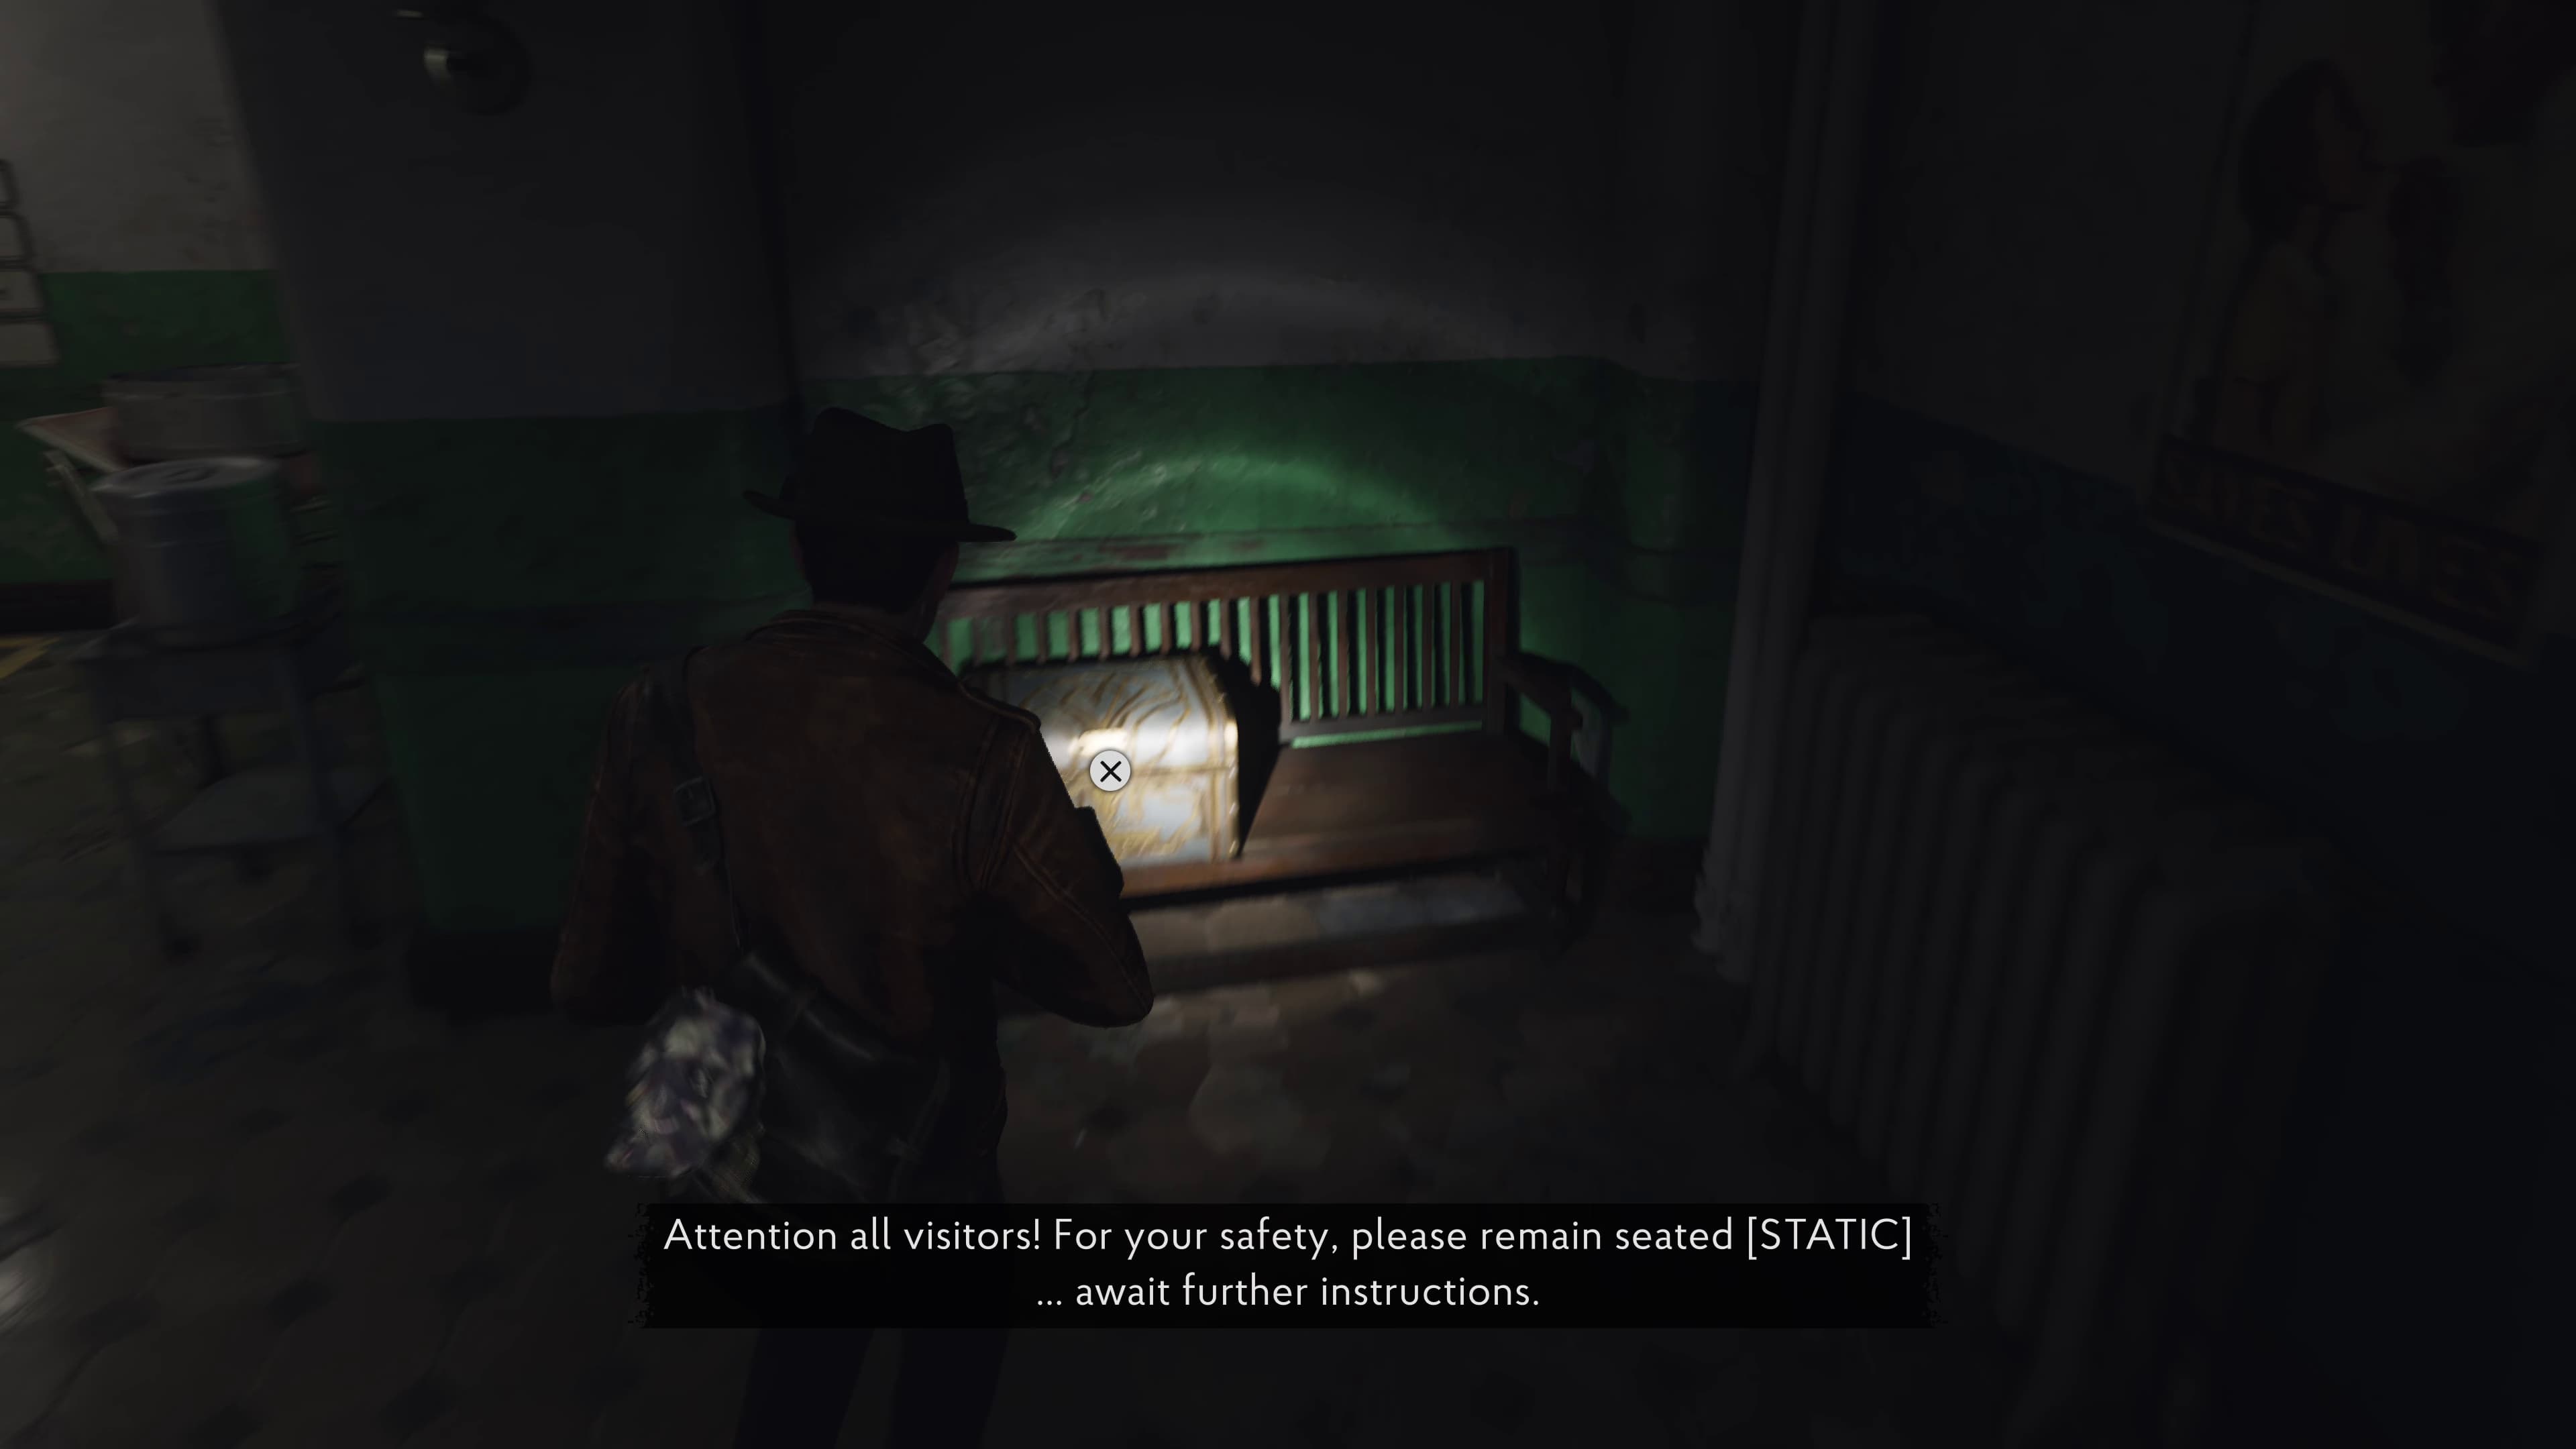
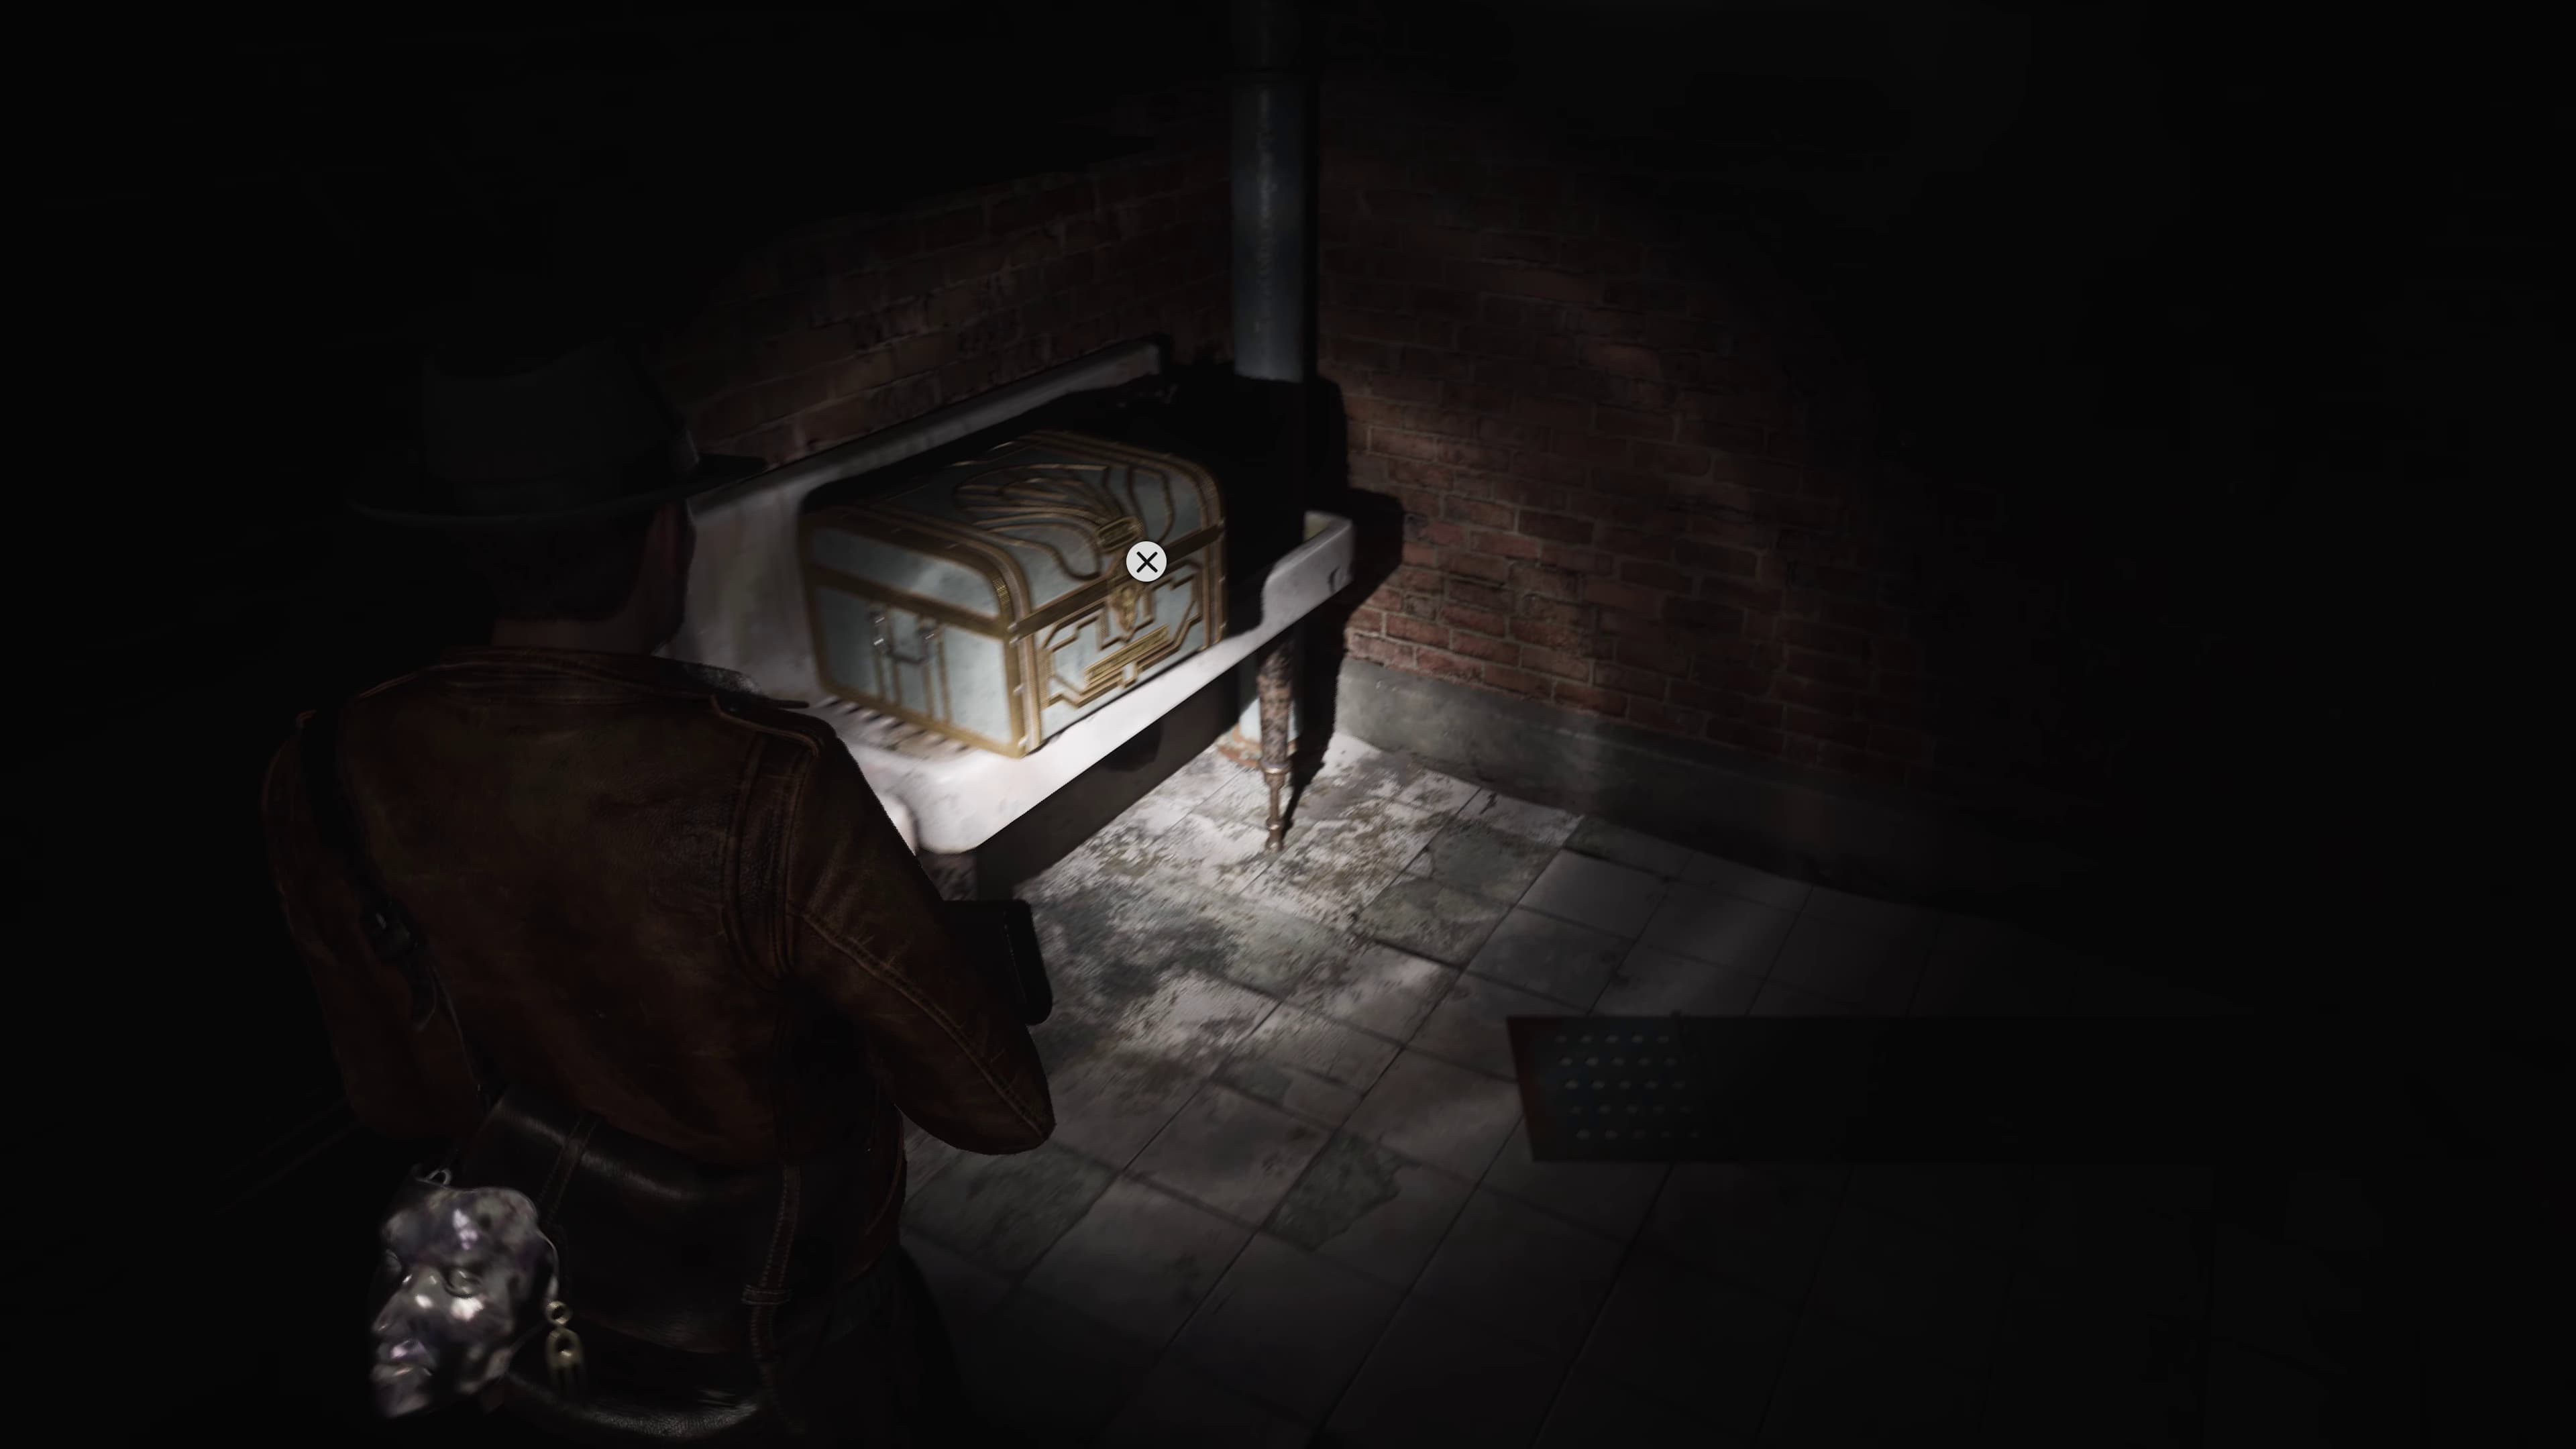
As soon as you enter the Asylum in the Reception area, in the back left of the room on a bench will be the next ERC Crate, remember this one for later to collect.
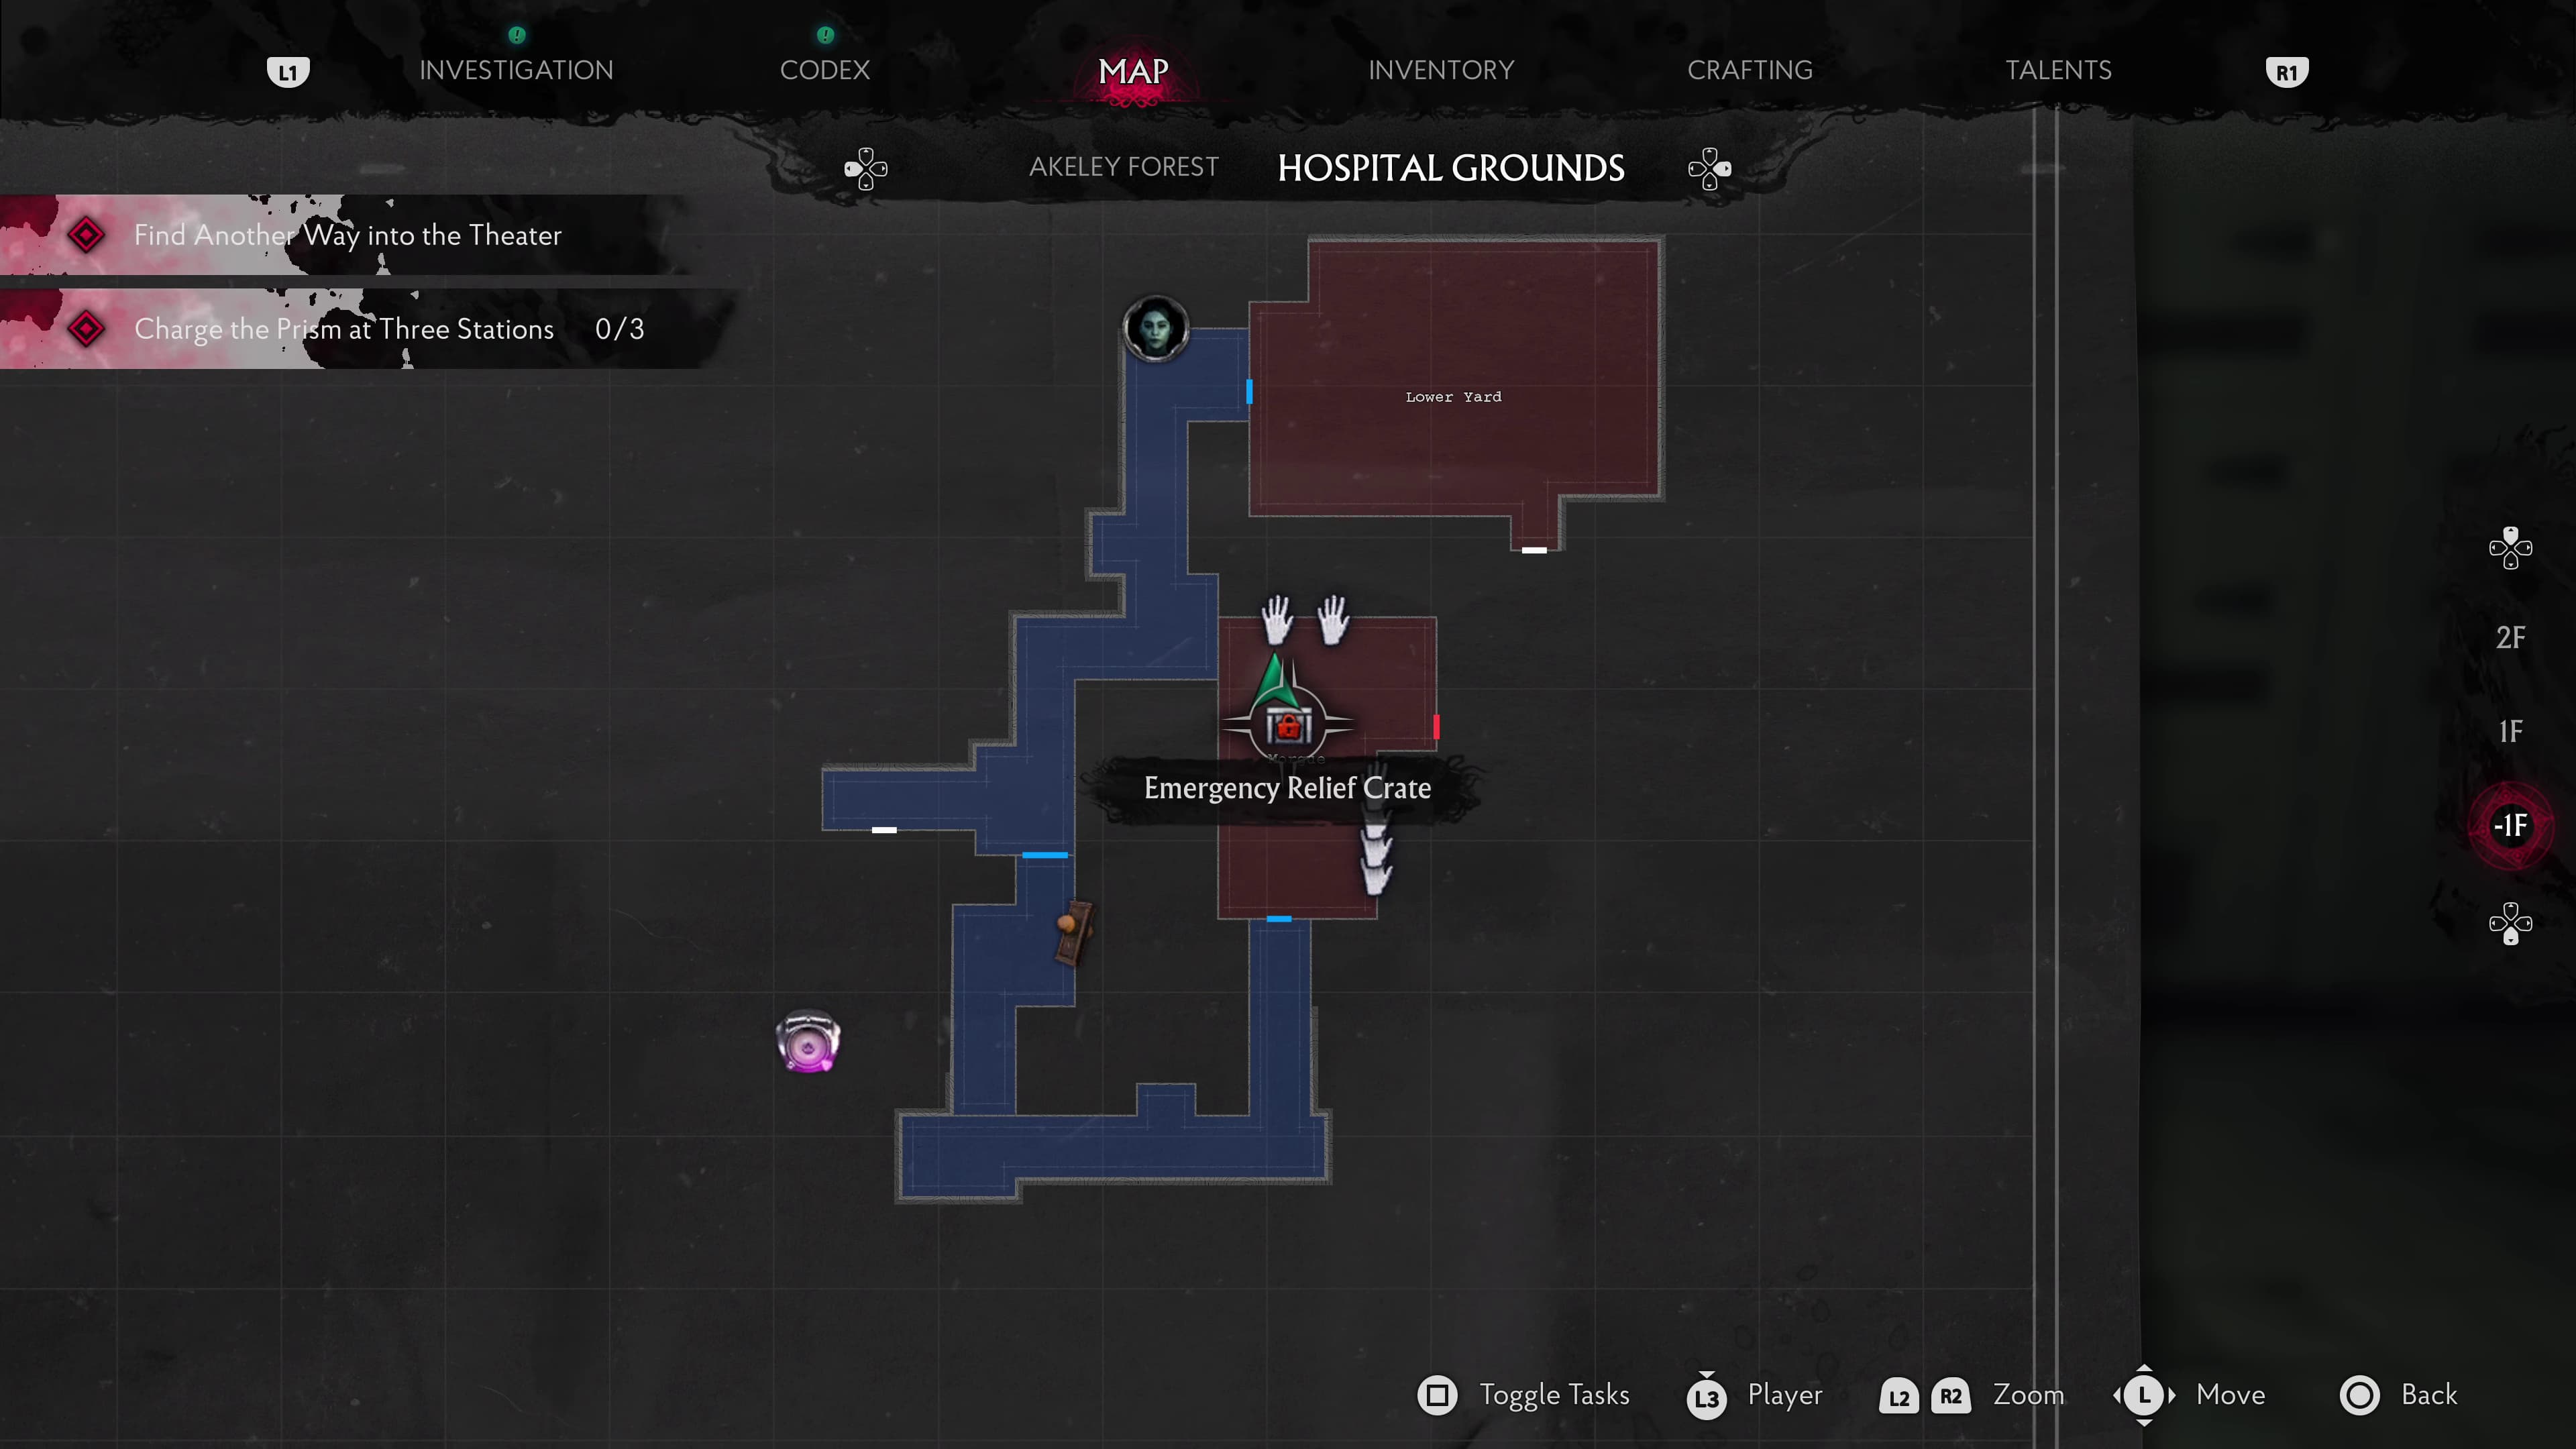
Make your way into the Morgue, where in the room near Nurse Kitty's Face will be the next ERC Chest, we will be unlocking this one first.
From here, make your way back out into the Lower Yard , now we can use the face door on the right to progress.
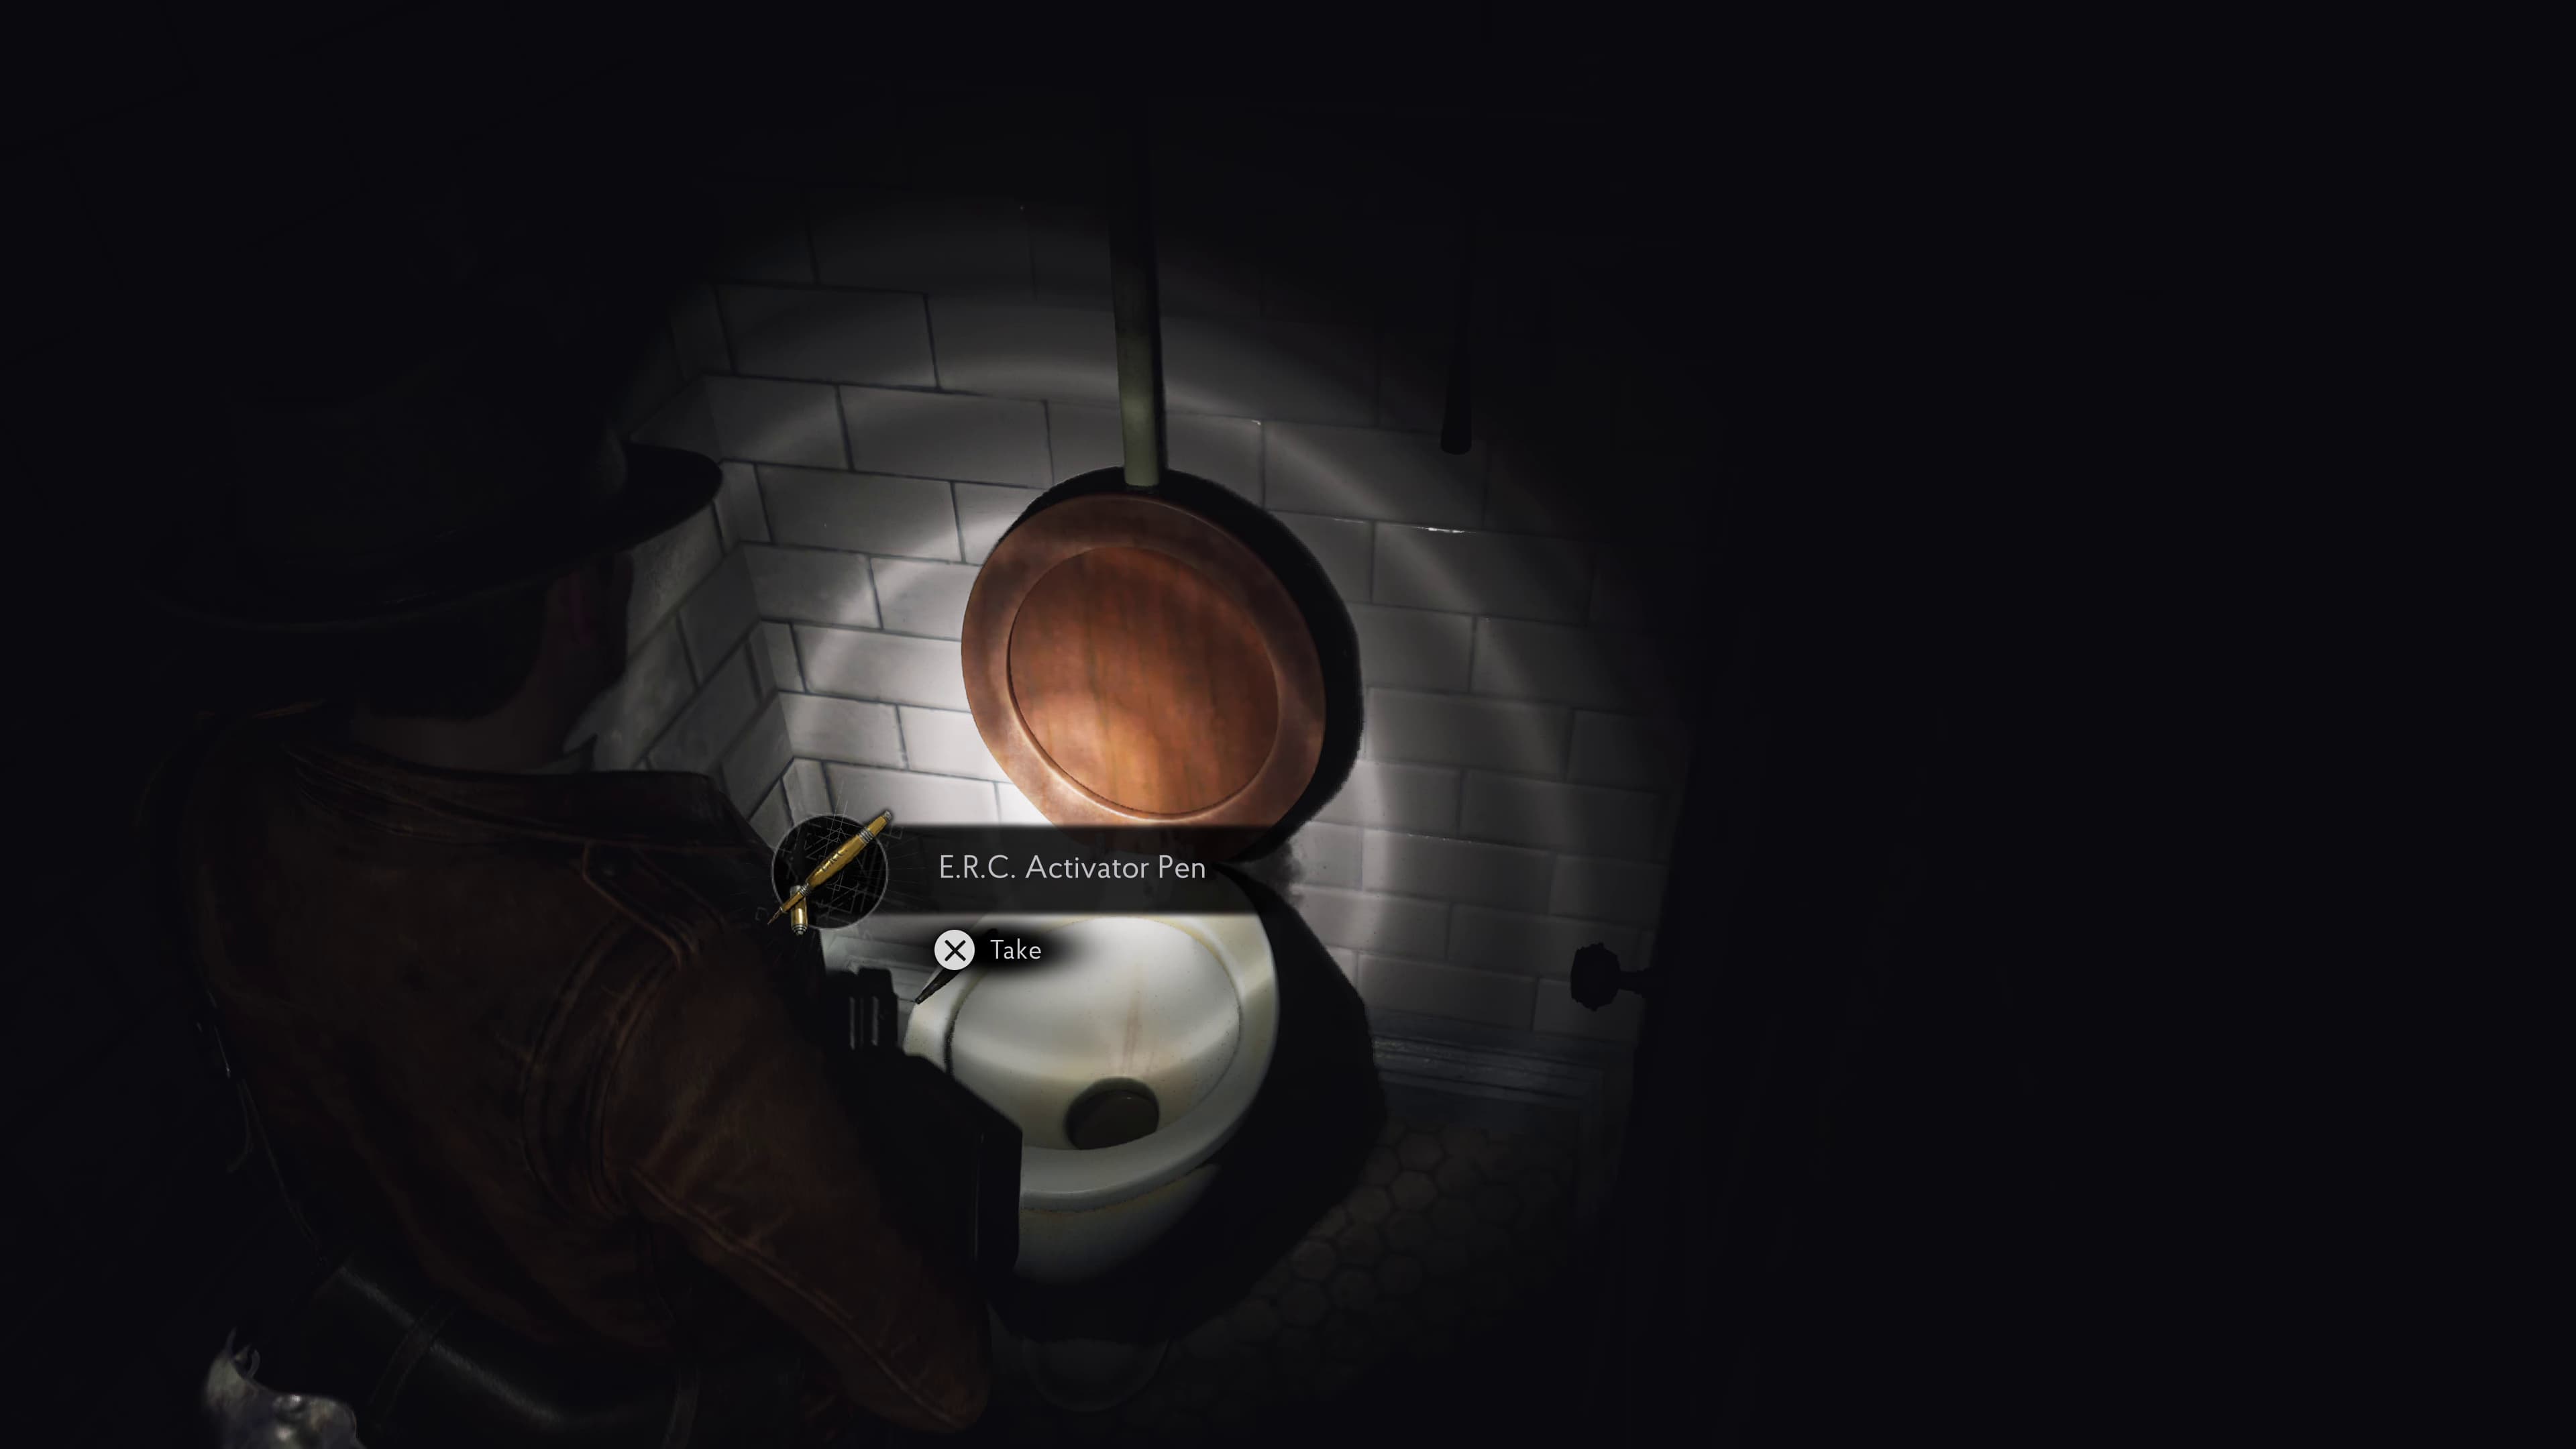
Head up the stairs to find at the top glistening in the hanging picture, the next Evidence, and from here, turn around and enter the W.C, the first cubicle on the left will have an ERC Pen.
Make your way back downstairs and into the Morgue to open the ERC Chest in here.
Keep advancing the story until you have obtained the Caduceus Key and can advance through the door on the same floor as the Observation Ward.
Now keep advancing to the end of the corridor where you will drop down into the General Ward below, you will notice an ERC Chest immediately on your right, we will be unlocking this ERC last.
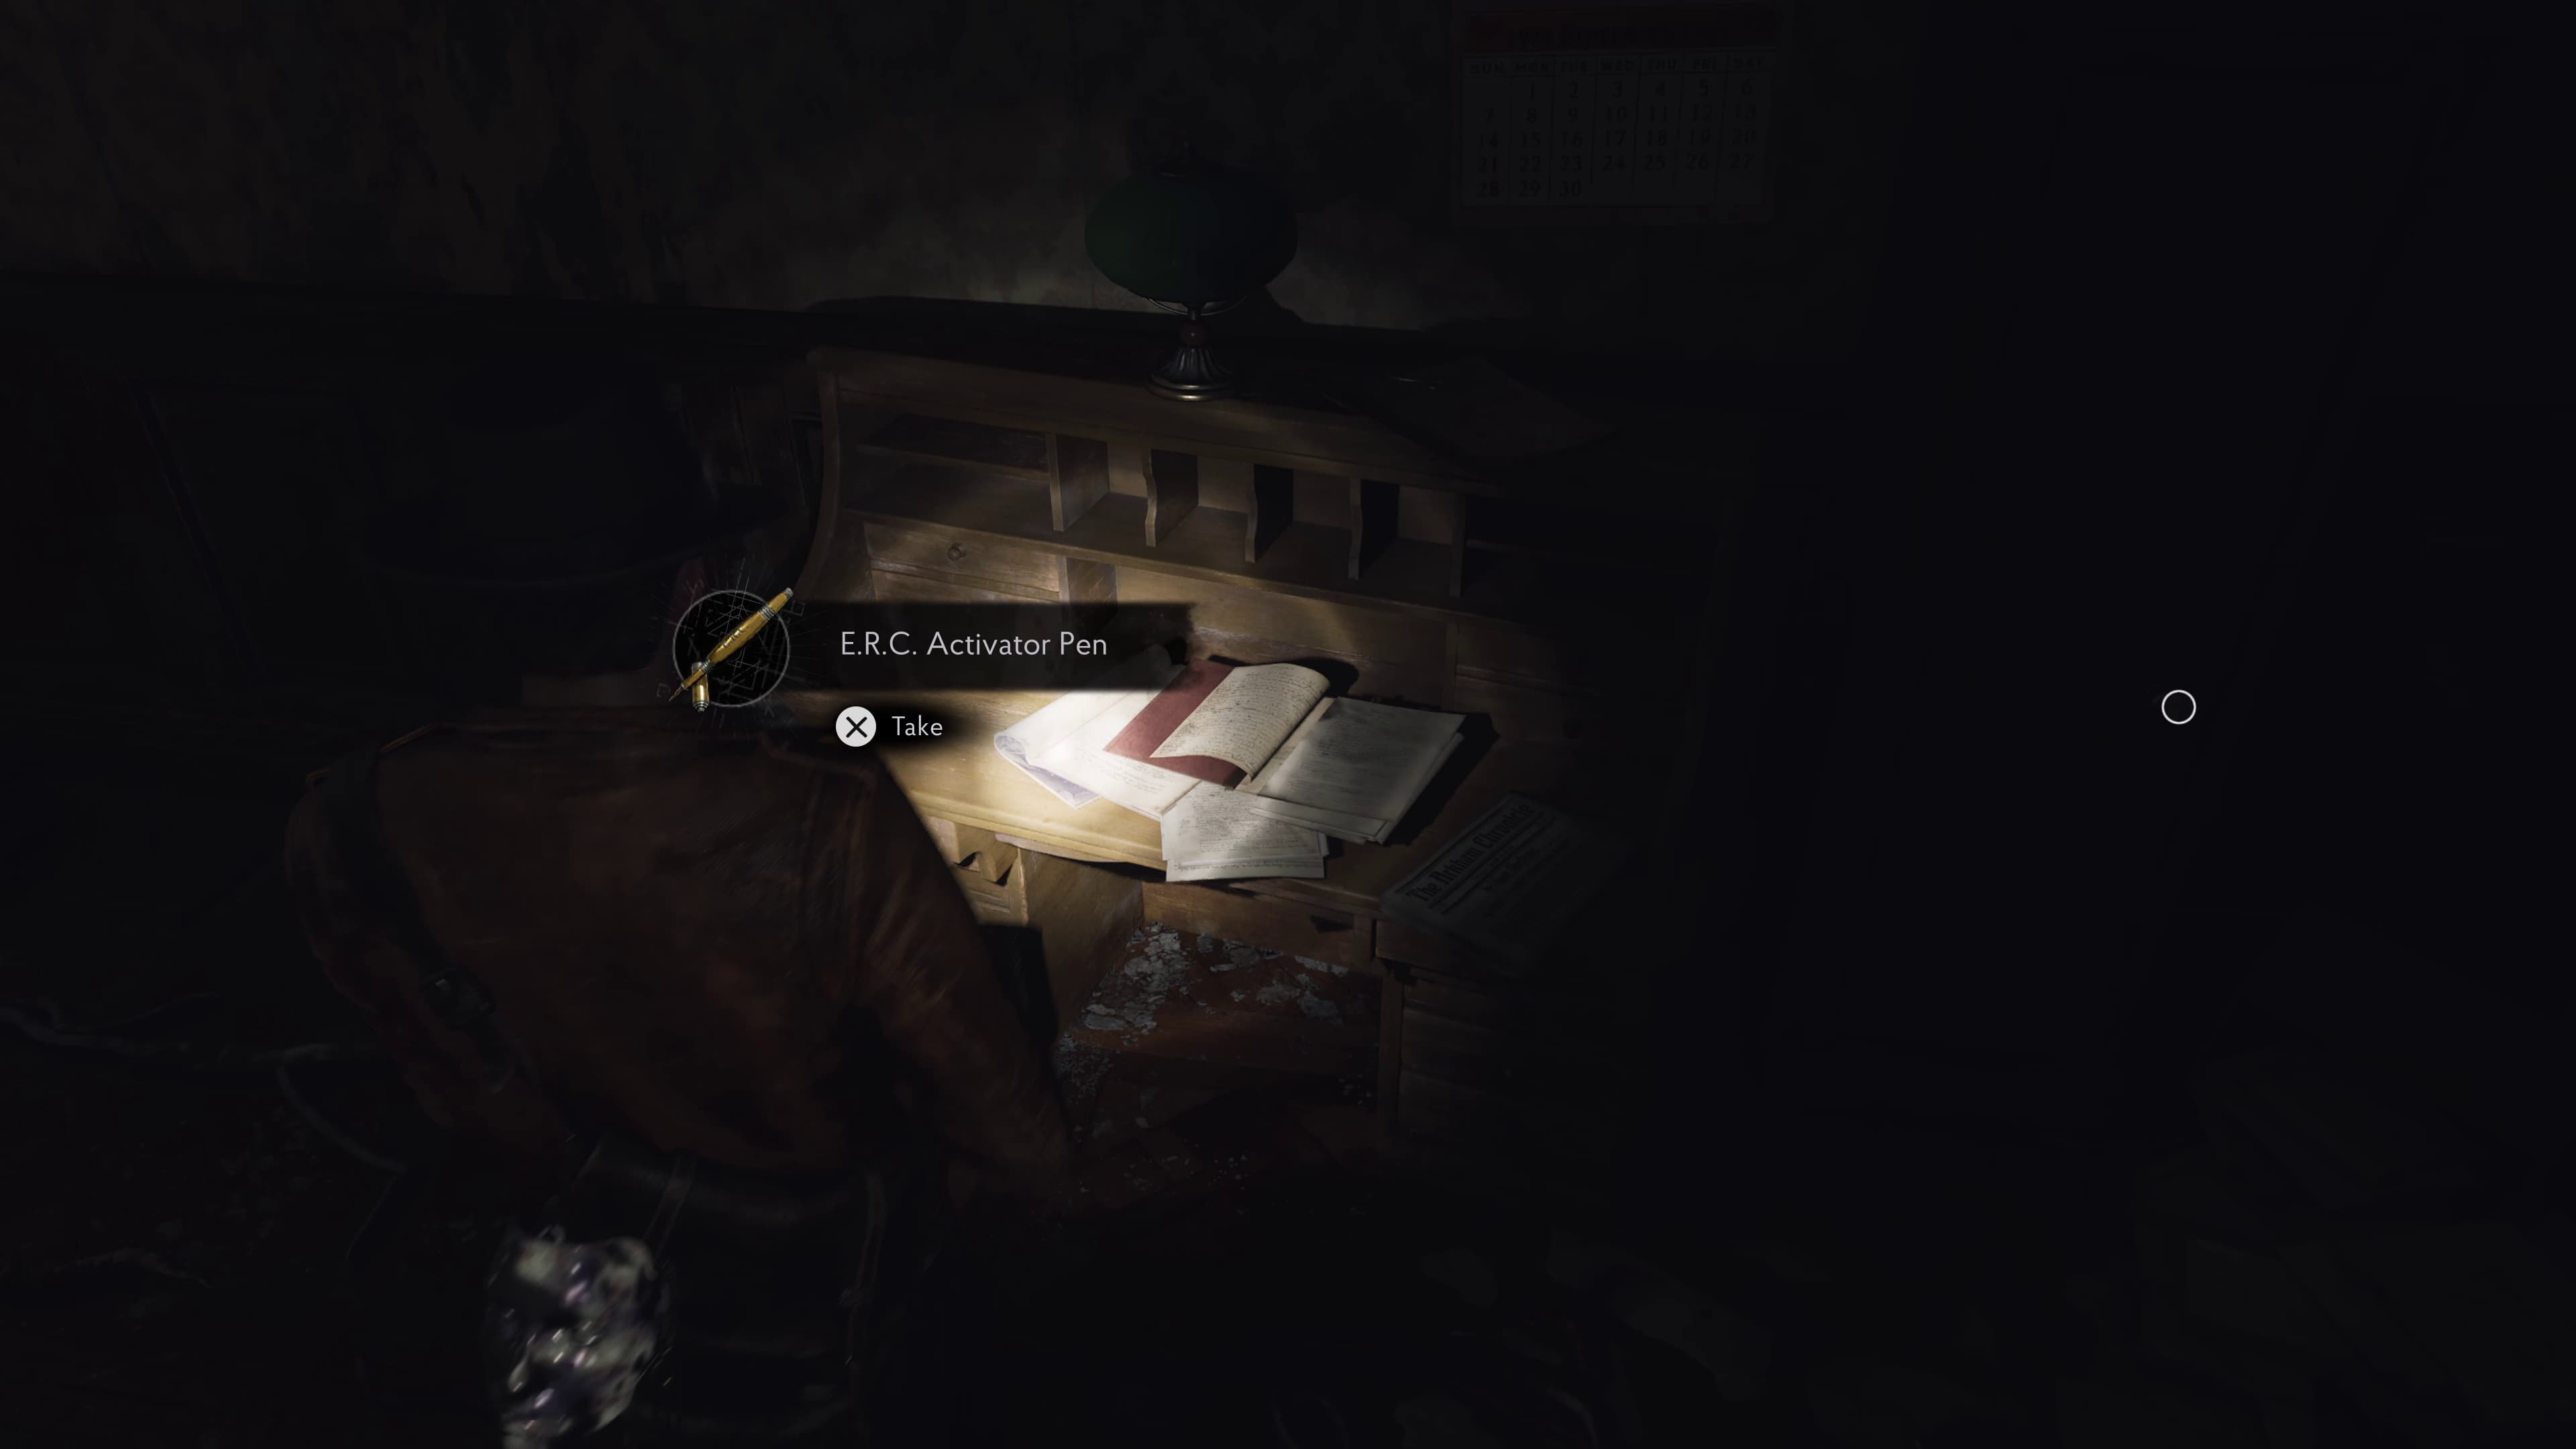
Keep progressing the story until you gain access to the Wireless Room, in here on the desk to the left will be an ERC Pen to collect.
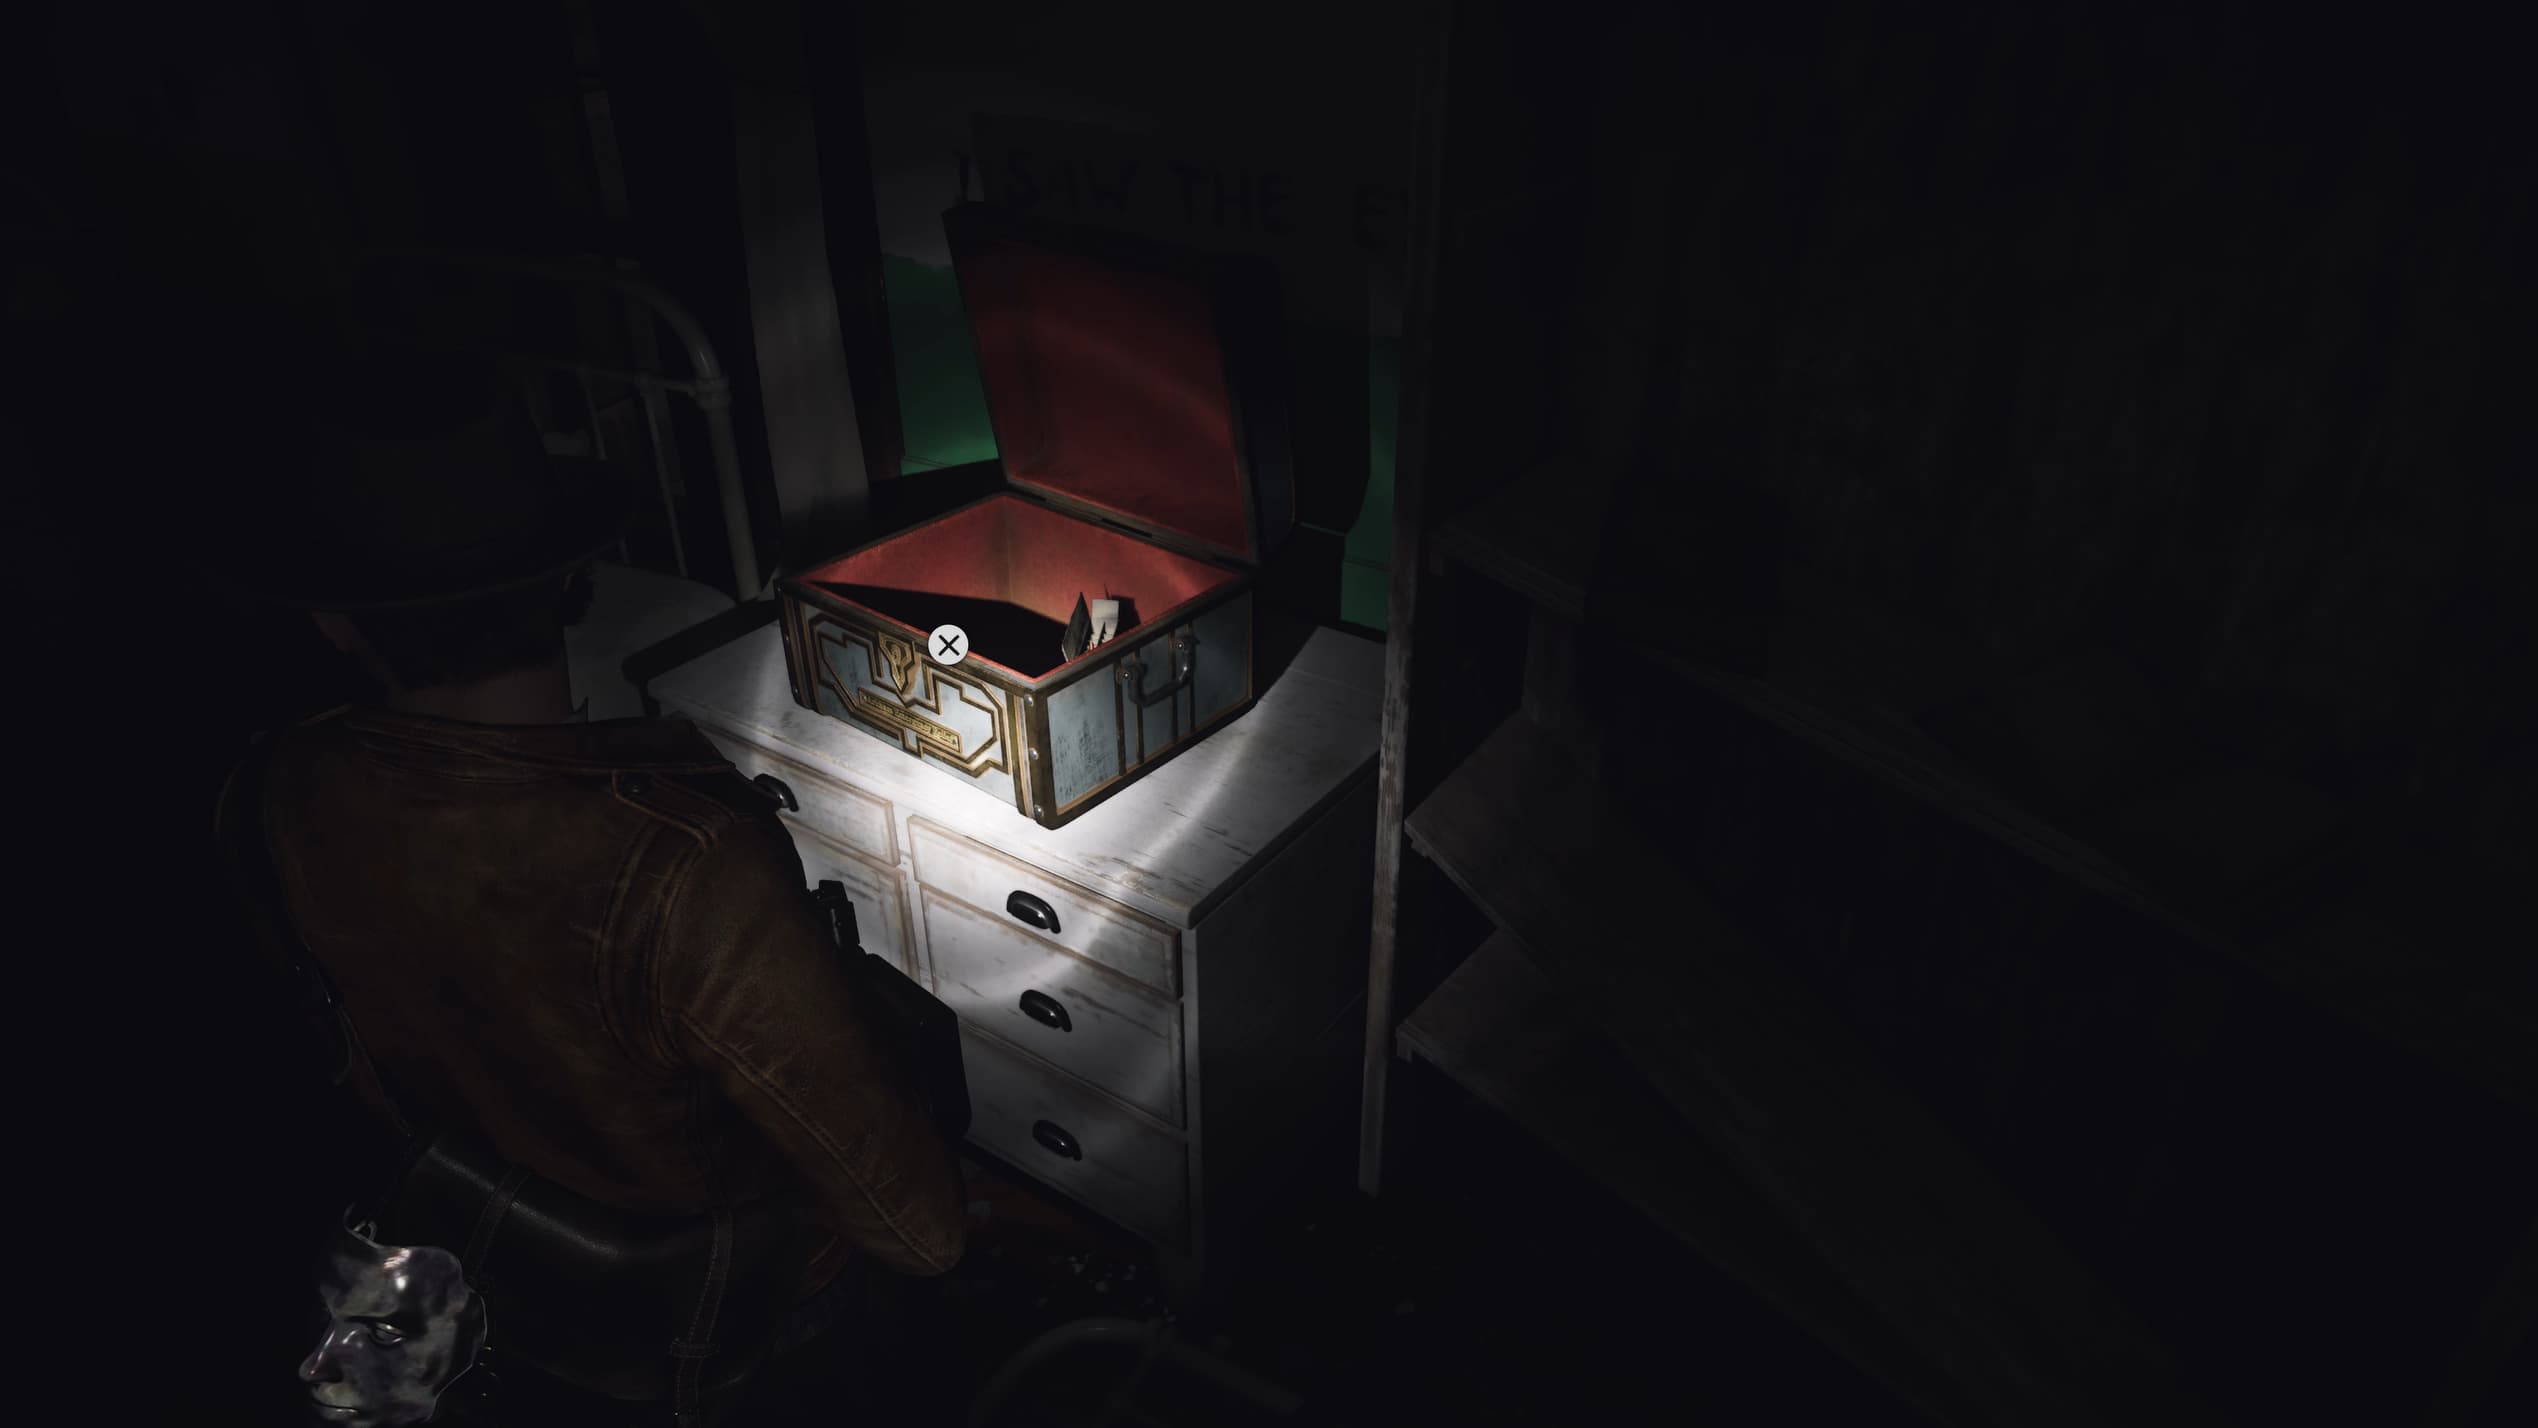
Advance back to the Upper Hall and down the stairs, heading back into Reception to unlock the ERC Chest on the bench in here, inside is a weapon attachment.
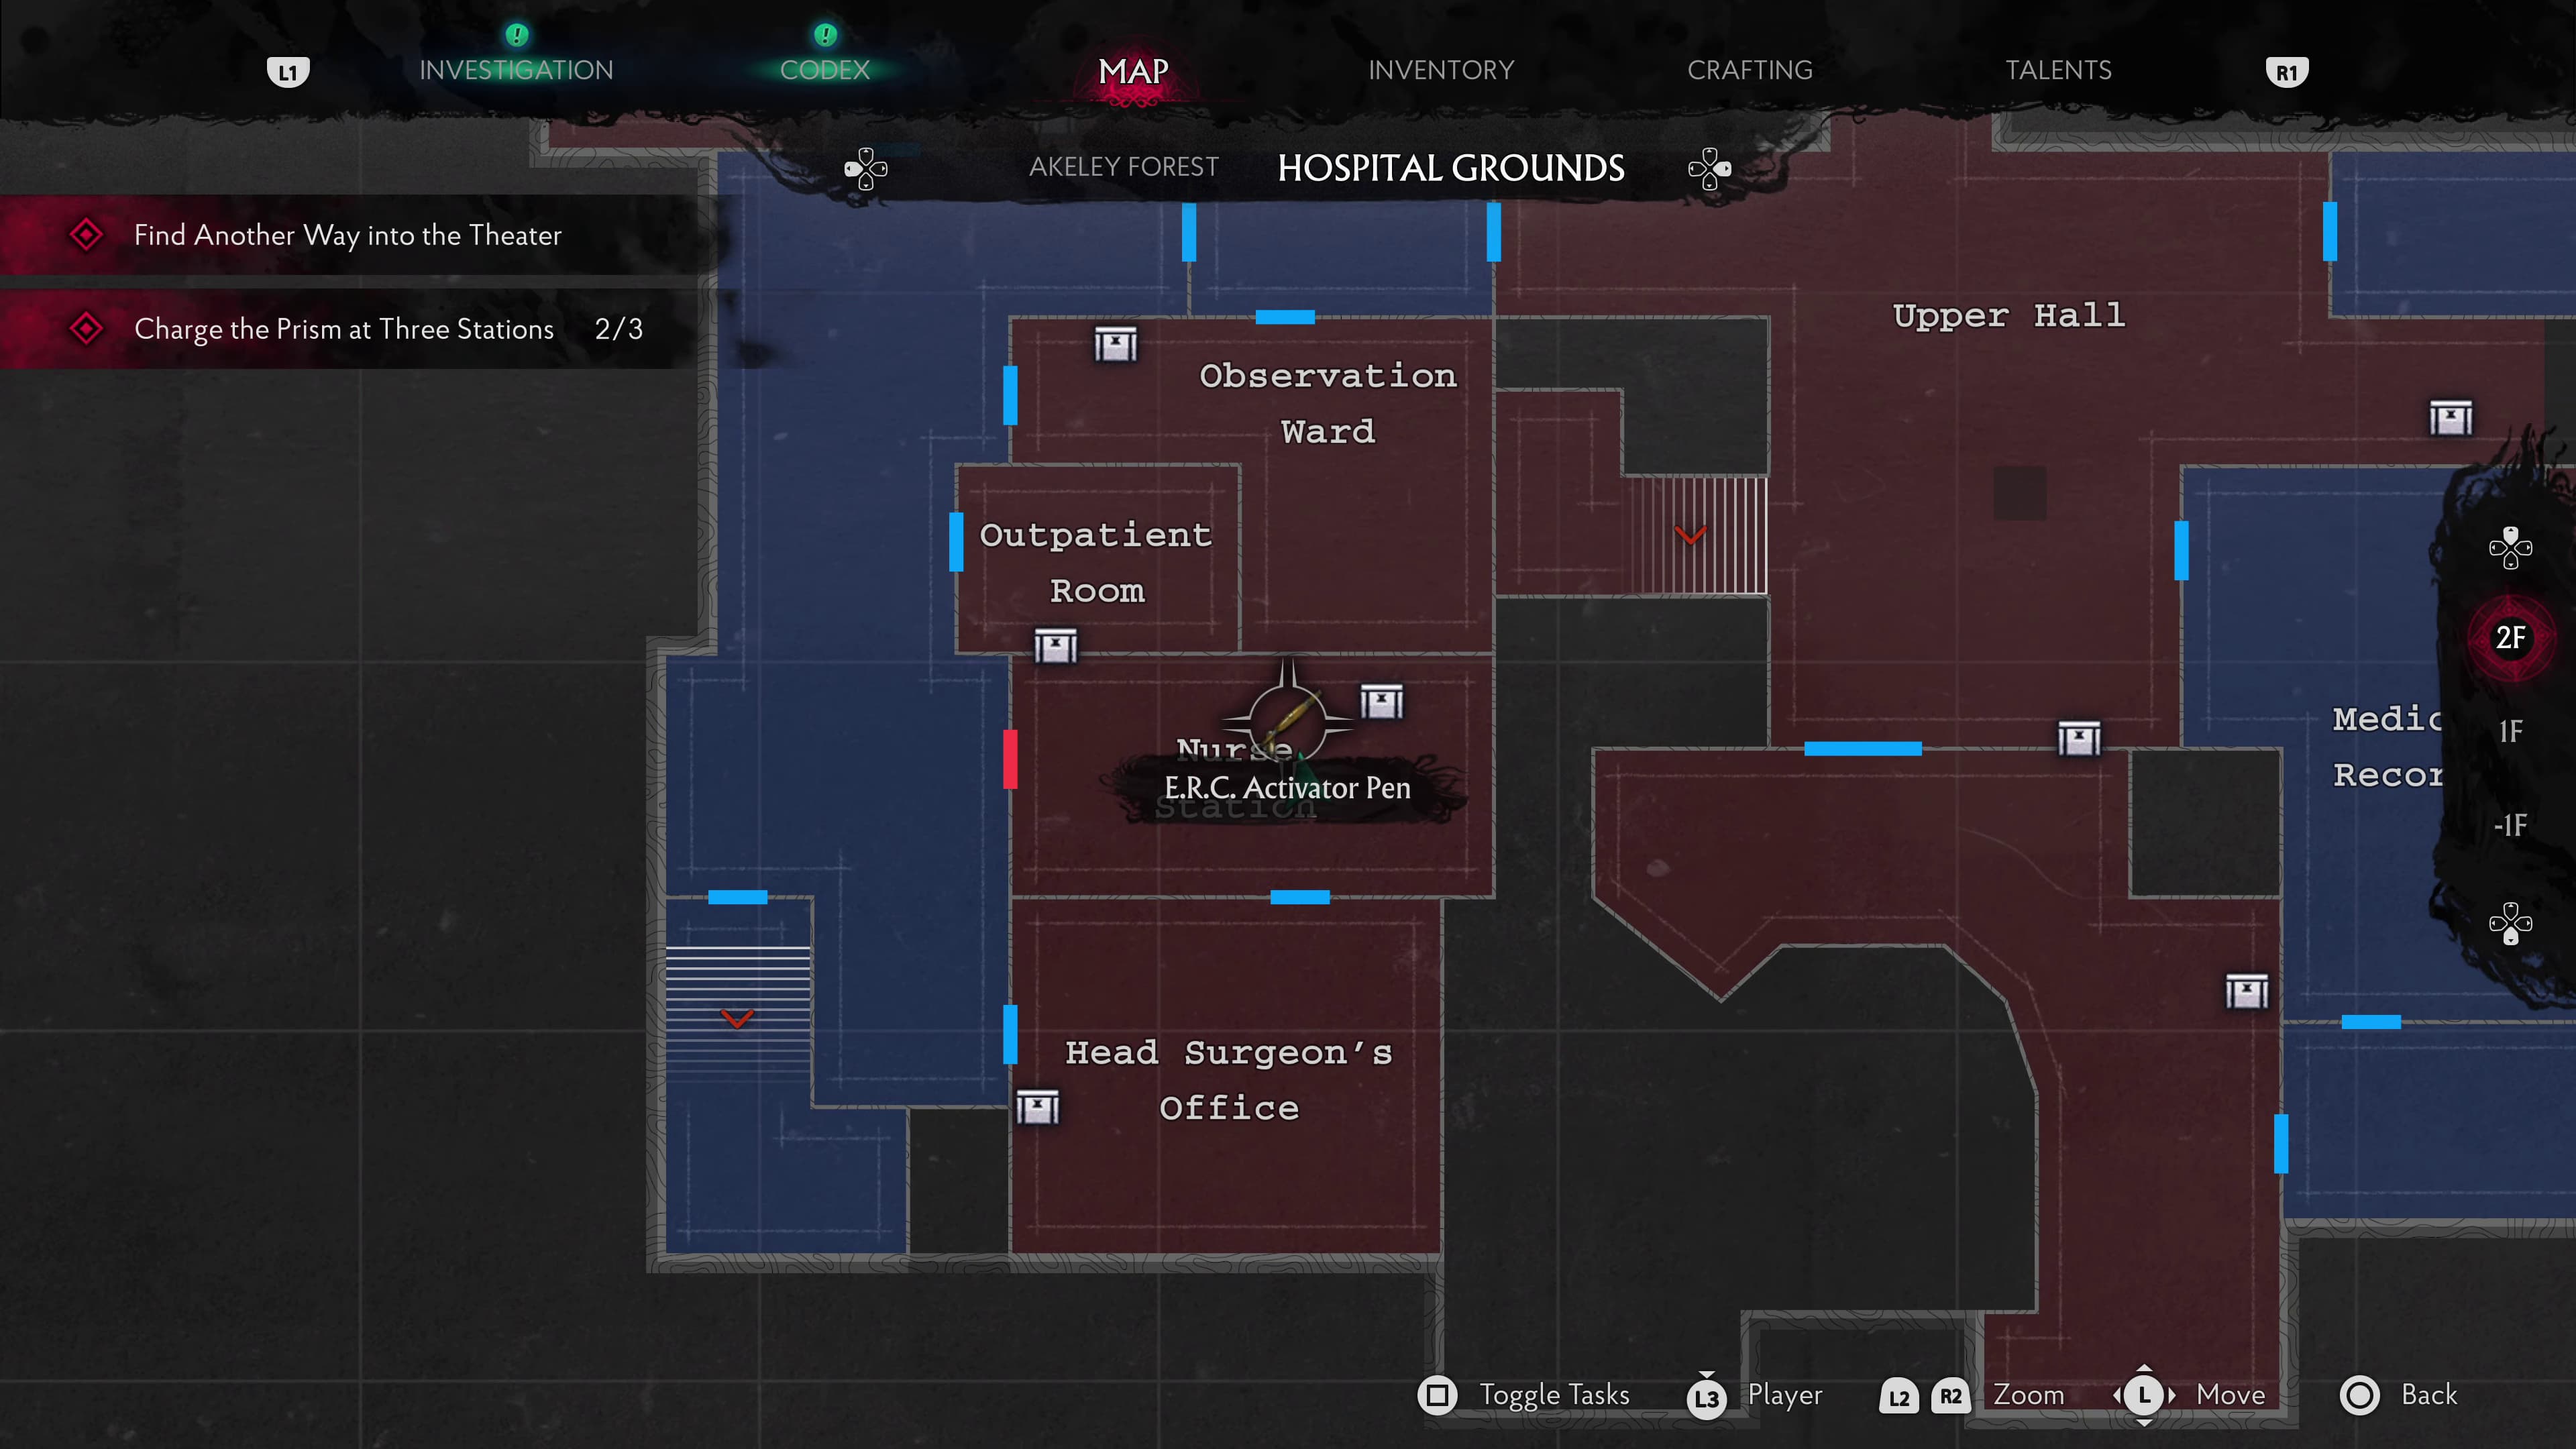
Keep progressing the story until you have Thaddeus's face to unlock doors. Head up to the Head Surgeons office and on the left is a large cabinet to push out of the way, revealing a gap into the Nurse's Station. After squeezing through the wall, directly ahead will be an ERC Pen.
From here, you can progress back through the door that initially required the Caduceus Key and drop down into the Ward below to open the ERC Crate in front of you.
These are all of the ERC Crates in A Sight For Sore Eyes, keep progressing the story until you make it to Time And Tide.
Time And Tide
In this area, there will be:
3 ERC Crates
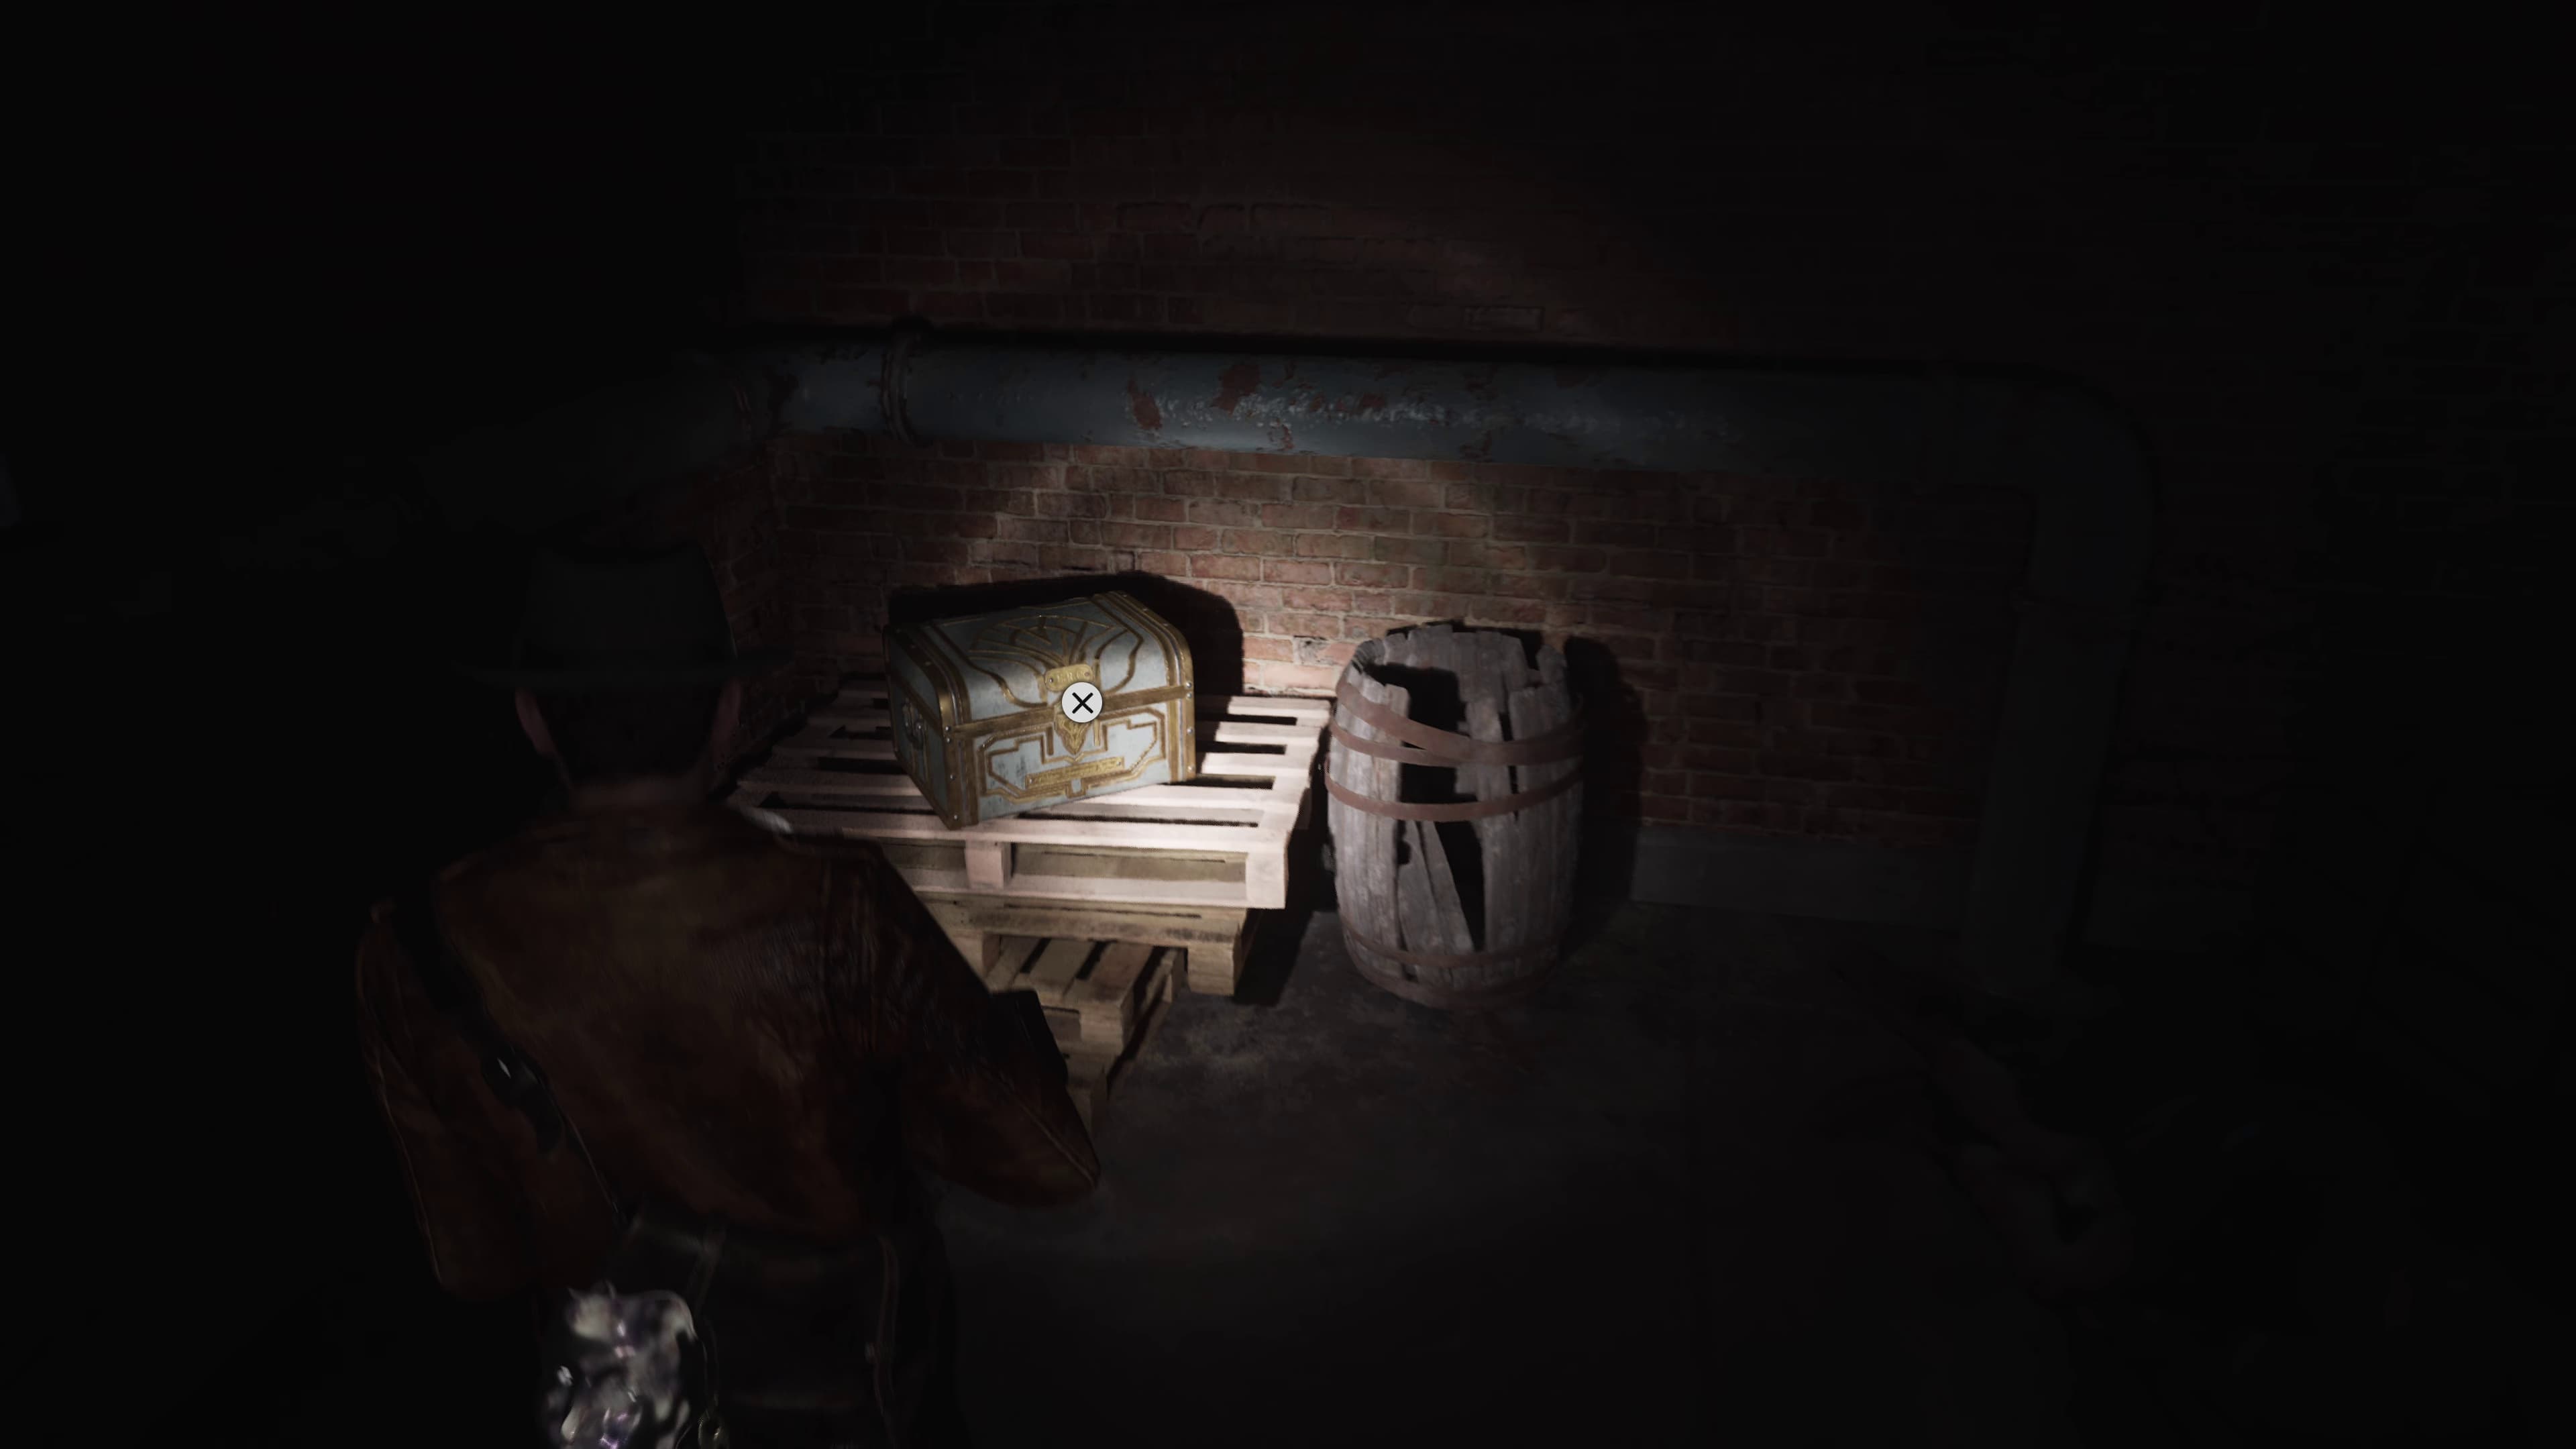
Progress quite far with this section until you have the boltcutters to gain access to the Packing Area. In the very back corner of this room will be and ERC Crate
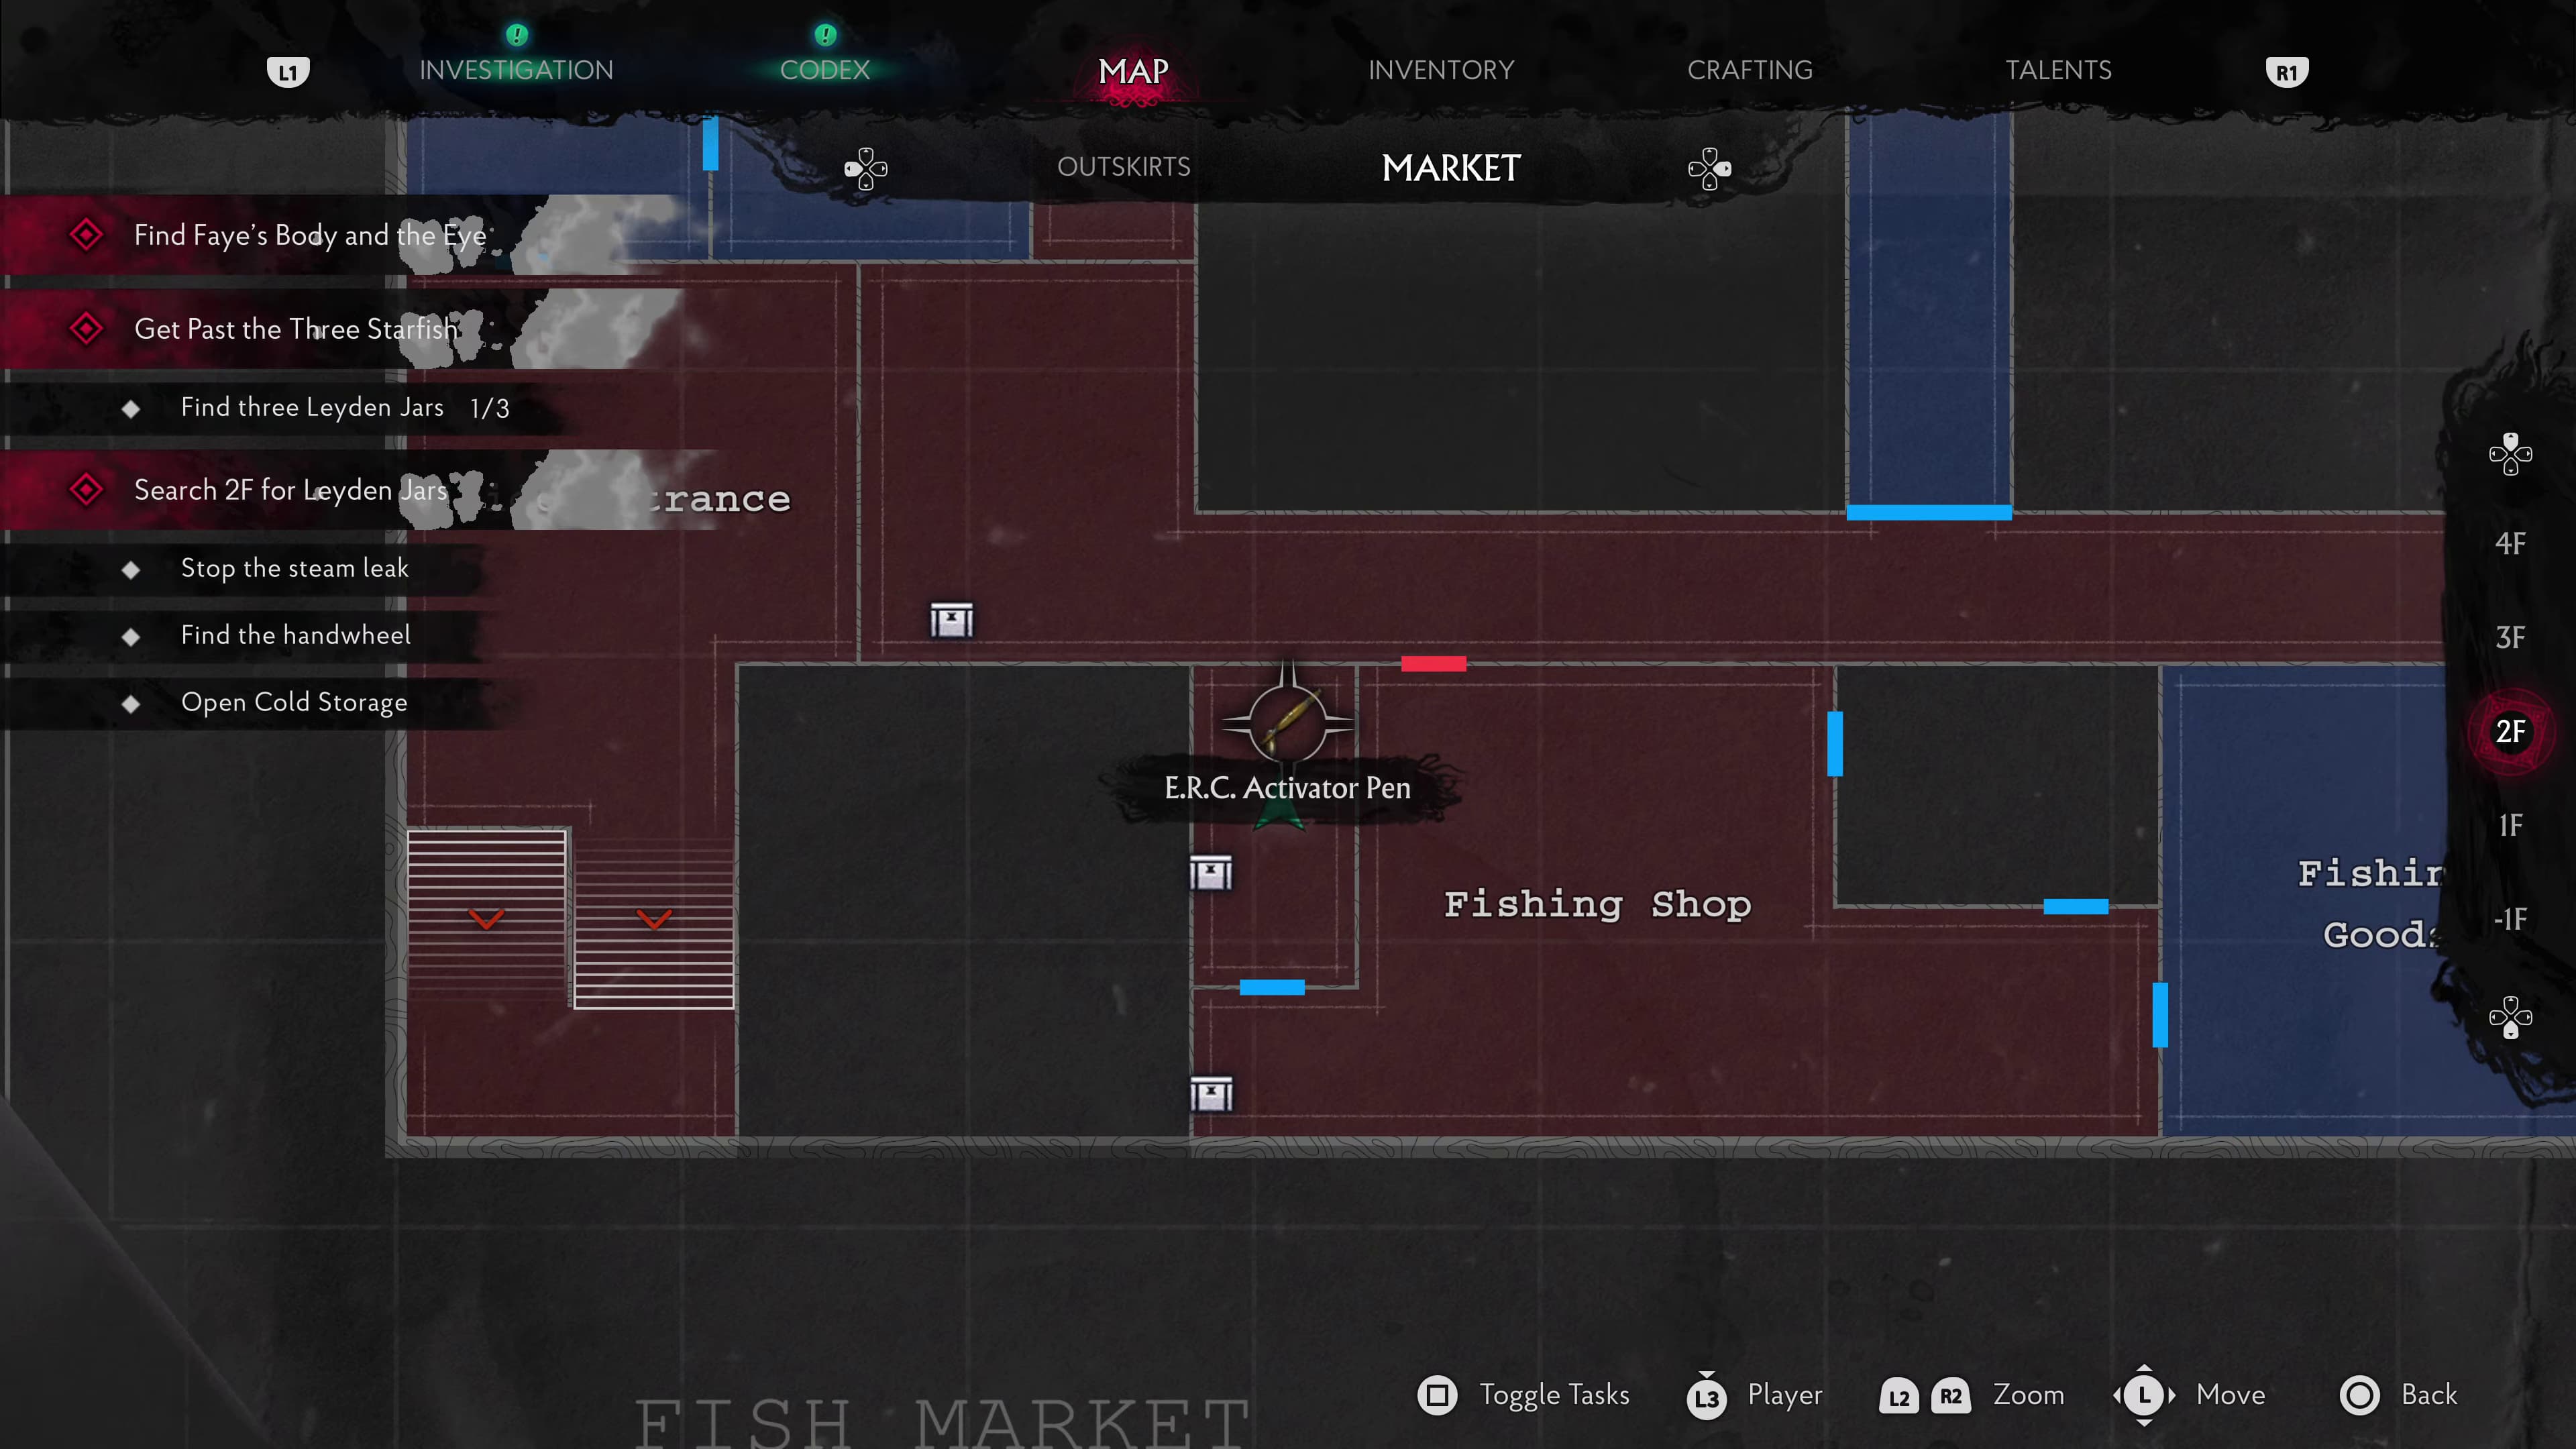
Make your way back to the Fishing Shop and going all the way to the end of the shop, to enter into Ezekiels room to find an ERC Pen.
Make your way back out of the Fishing Shop towards the save room again, there will be a Fish Man on the way to take down, head through the save room, back through the pub, down the ladder, back through the Cutting Area, into the Packing Area to open the ERC Crate we recently found.
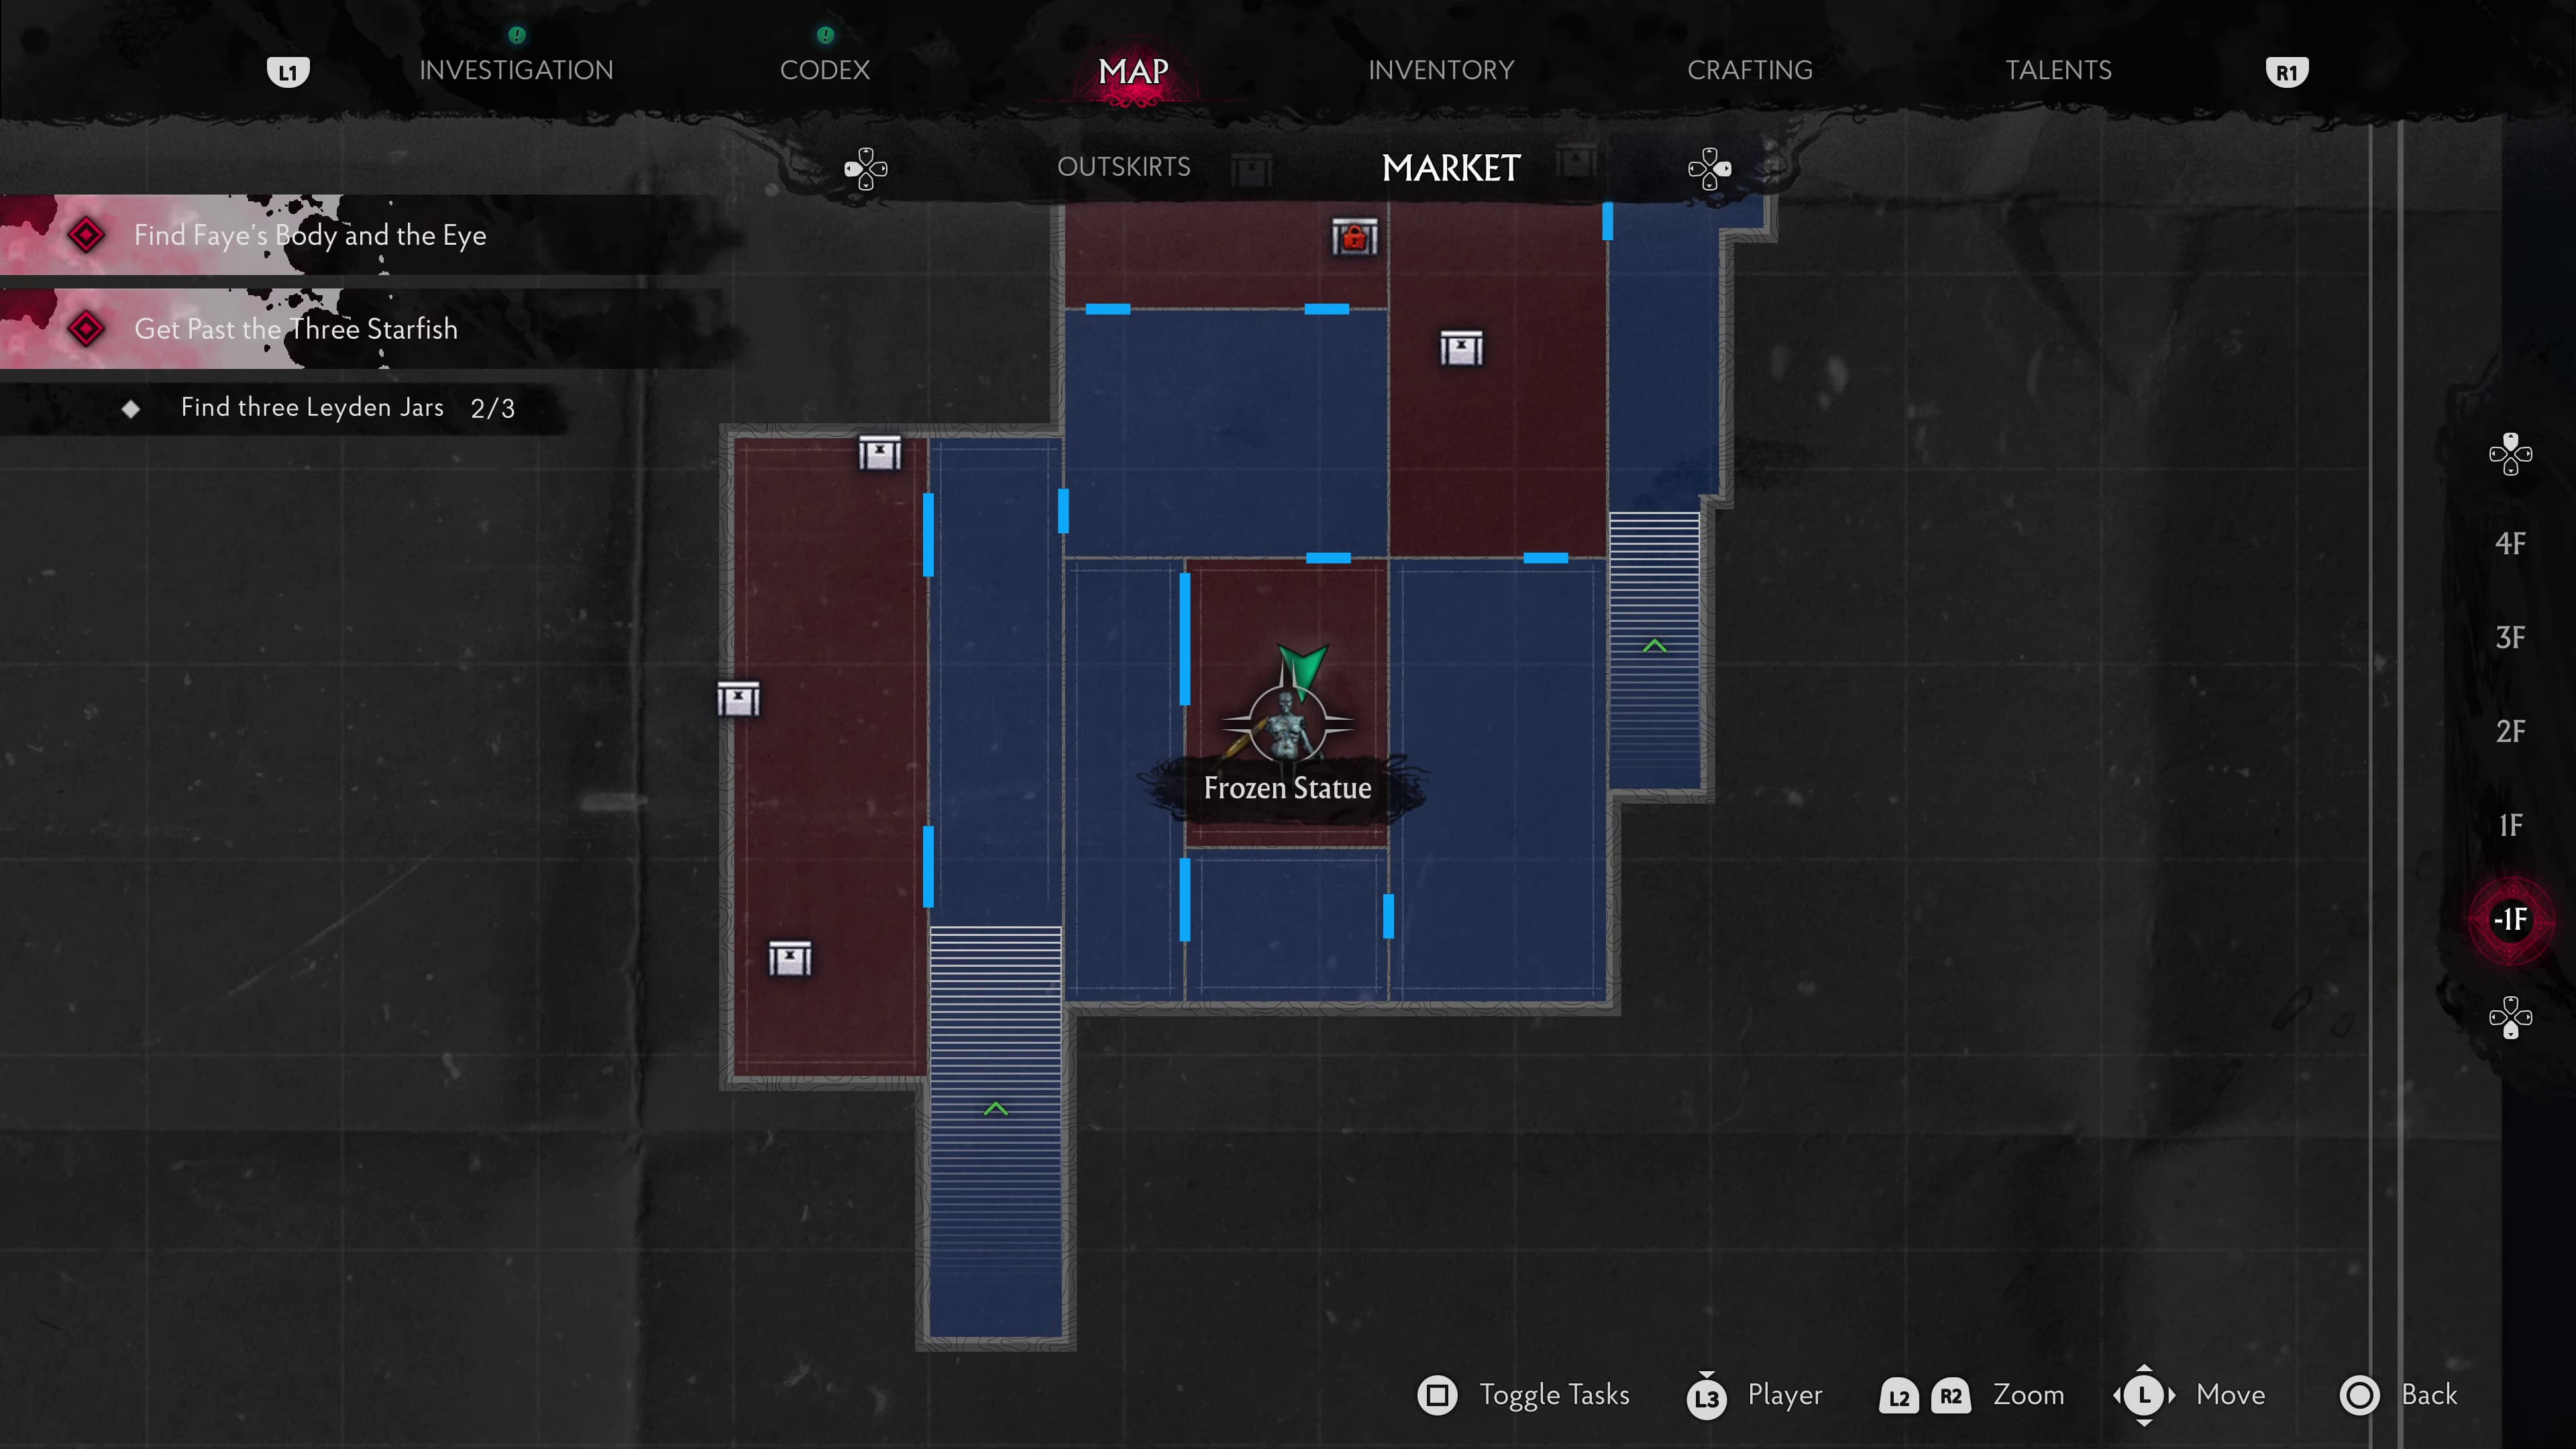
Keep advancing the story again until you gain access to Cold Storage. Down here in a room right near the Frozen Statue will be the next ERC Crate, we will be unlocking this one last.
Keep advancing the story until you gain access to the Locker Room by the East Staircase, inside will be an ERC Pen in the right most lockers in the room.
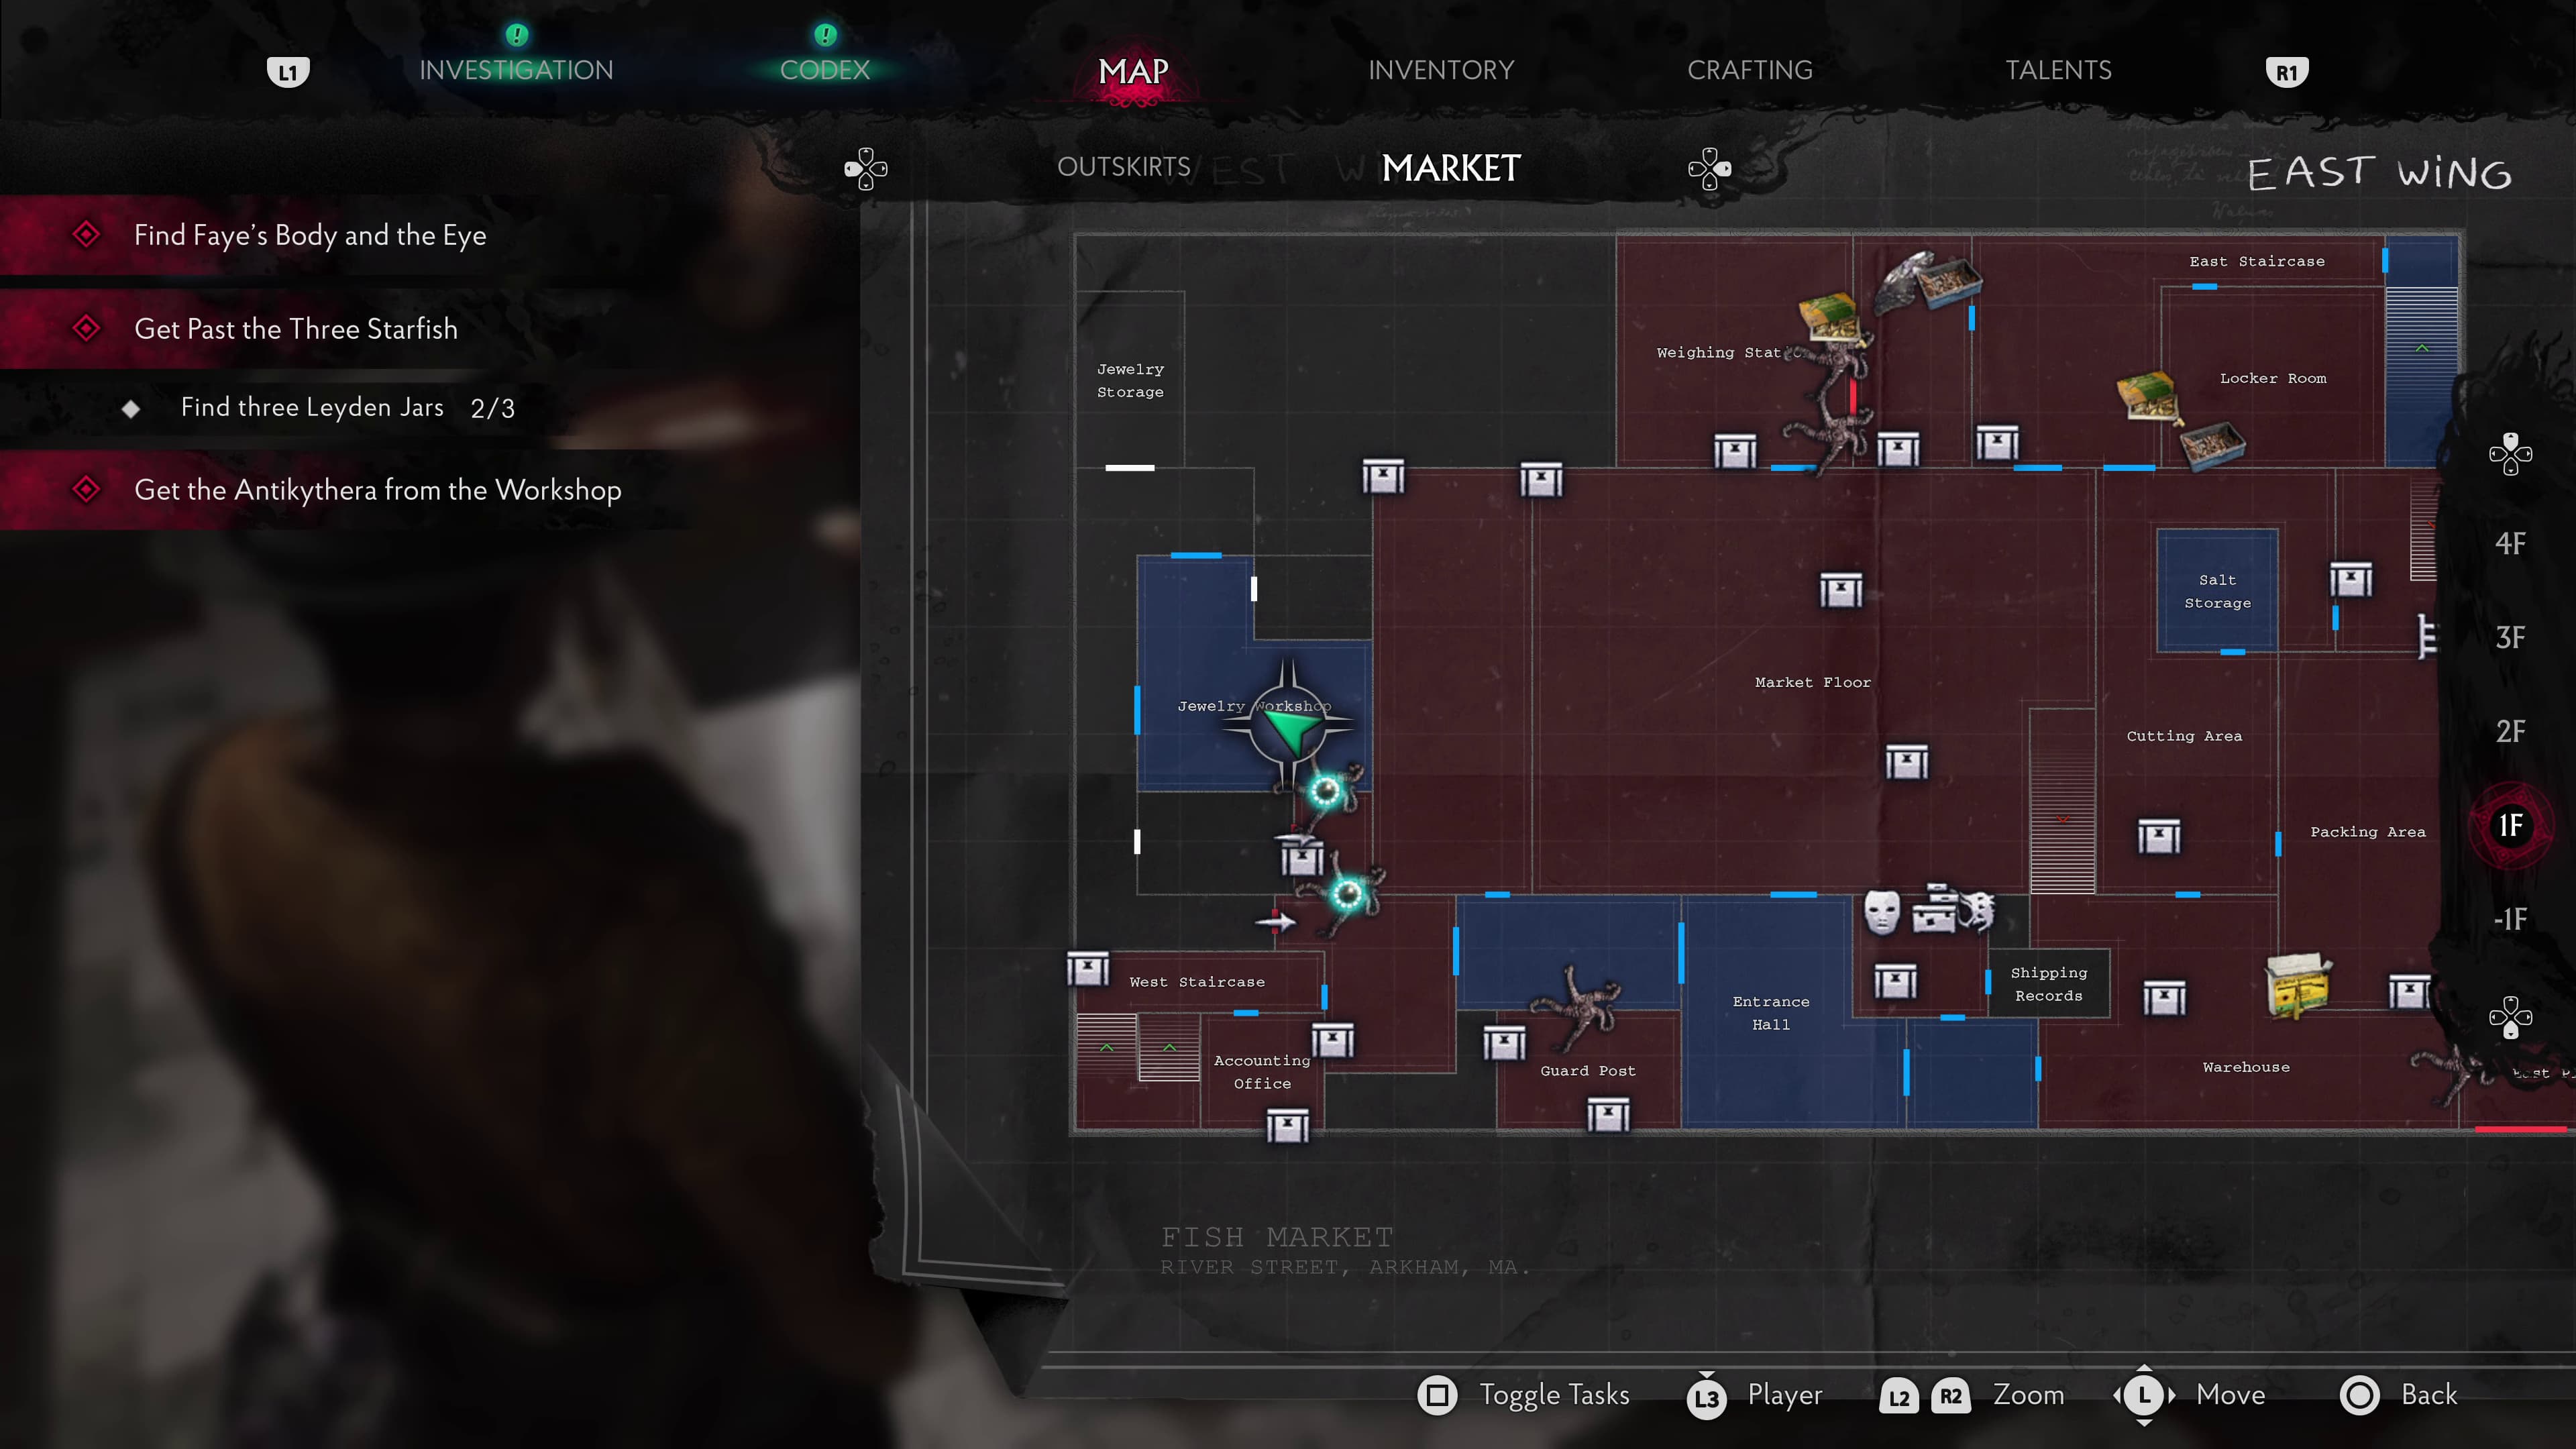
Keep advancing the story again, until you make it into the Jewelry Workshop. In this room will be a smaller room where inside will be the next ERC Crate, you can open this one right away since we have the Pen to do so.
After advancing enough to have completed the Red Idol Statue puzzle, progress back down to Cold Storage to use the Heart Of Ice on the Frozen Statue.
To the right of this Statue will now be an ERC Pen, take this and head back into the previous room to open the ERC Chest I mentioned earlier.
This is all of the ERC Crates for A Sight For Sore Eyes, keep advancing the game now until you make it to Cold Comfort.
Cold Comfort
In this area, you will find:
3 ERC Crates
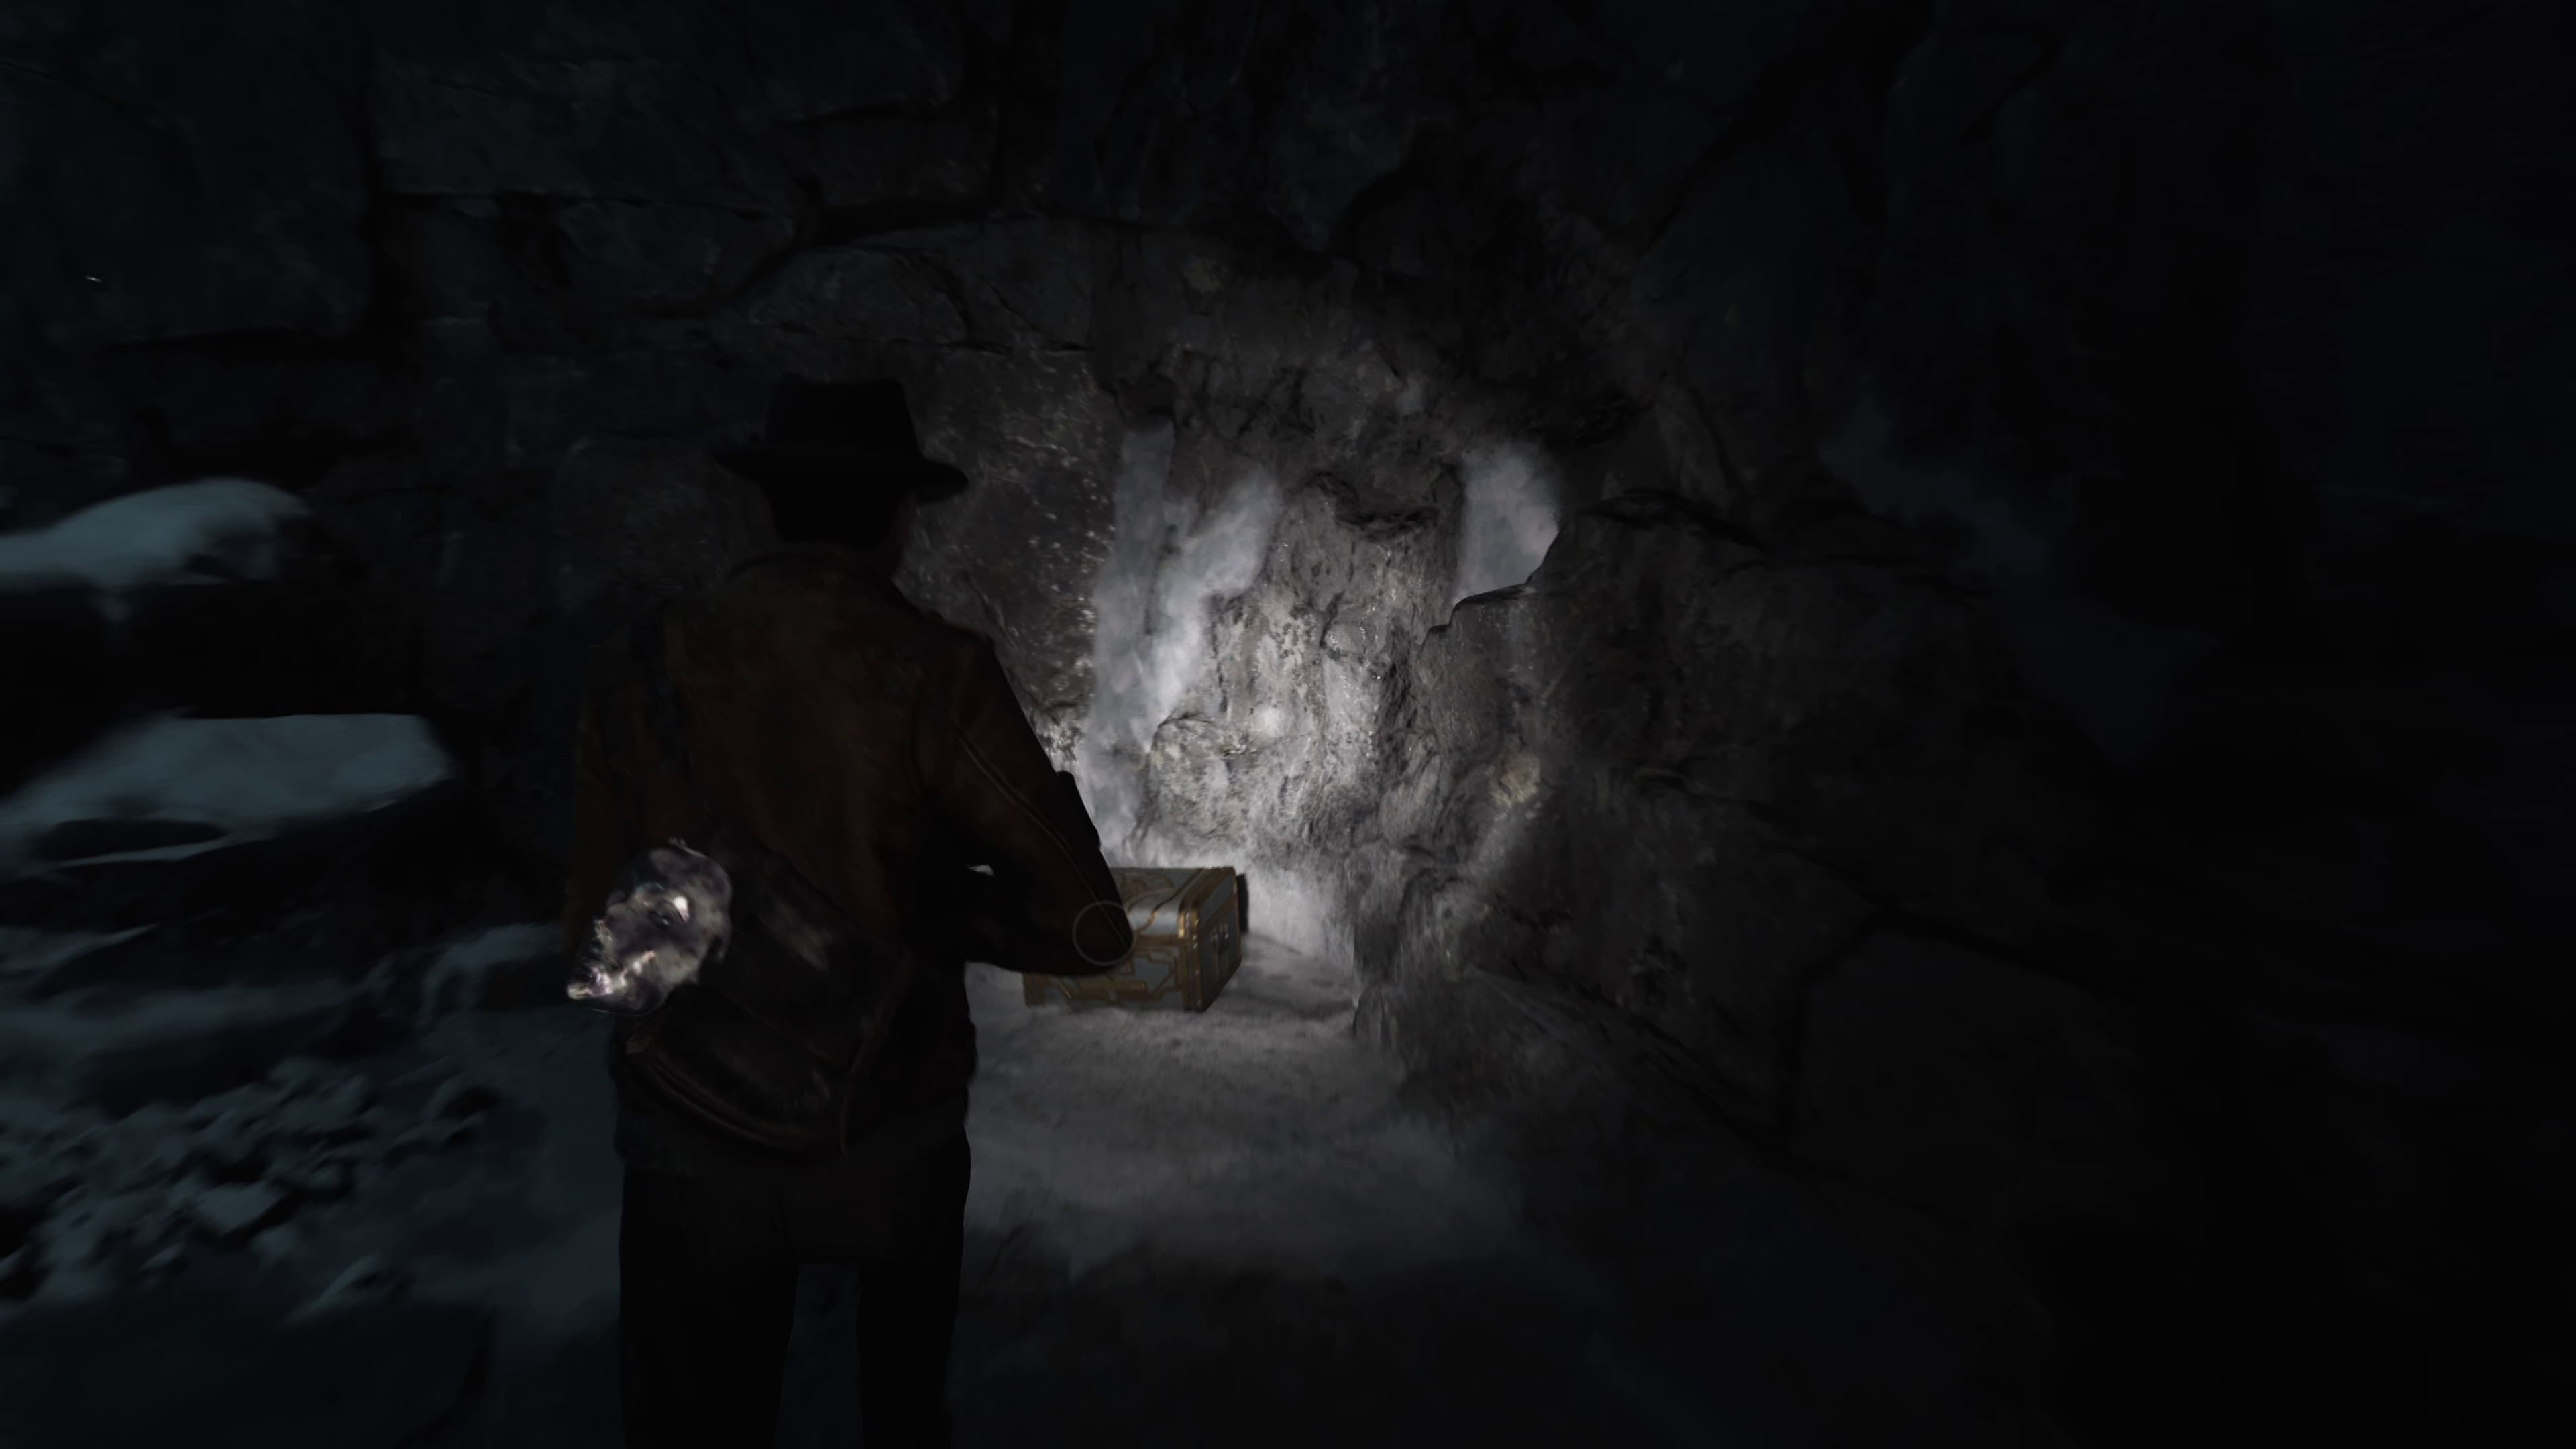
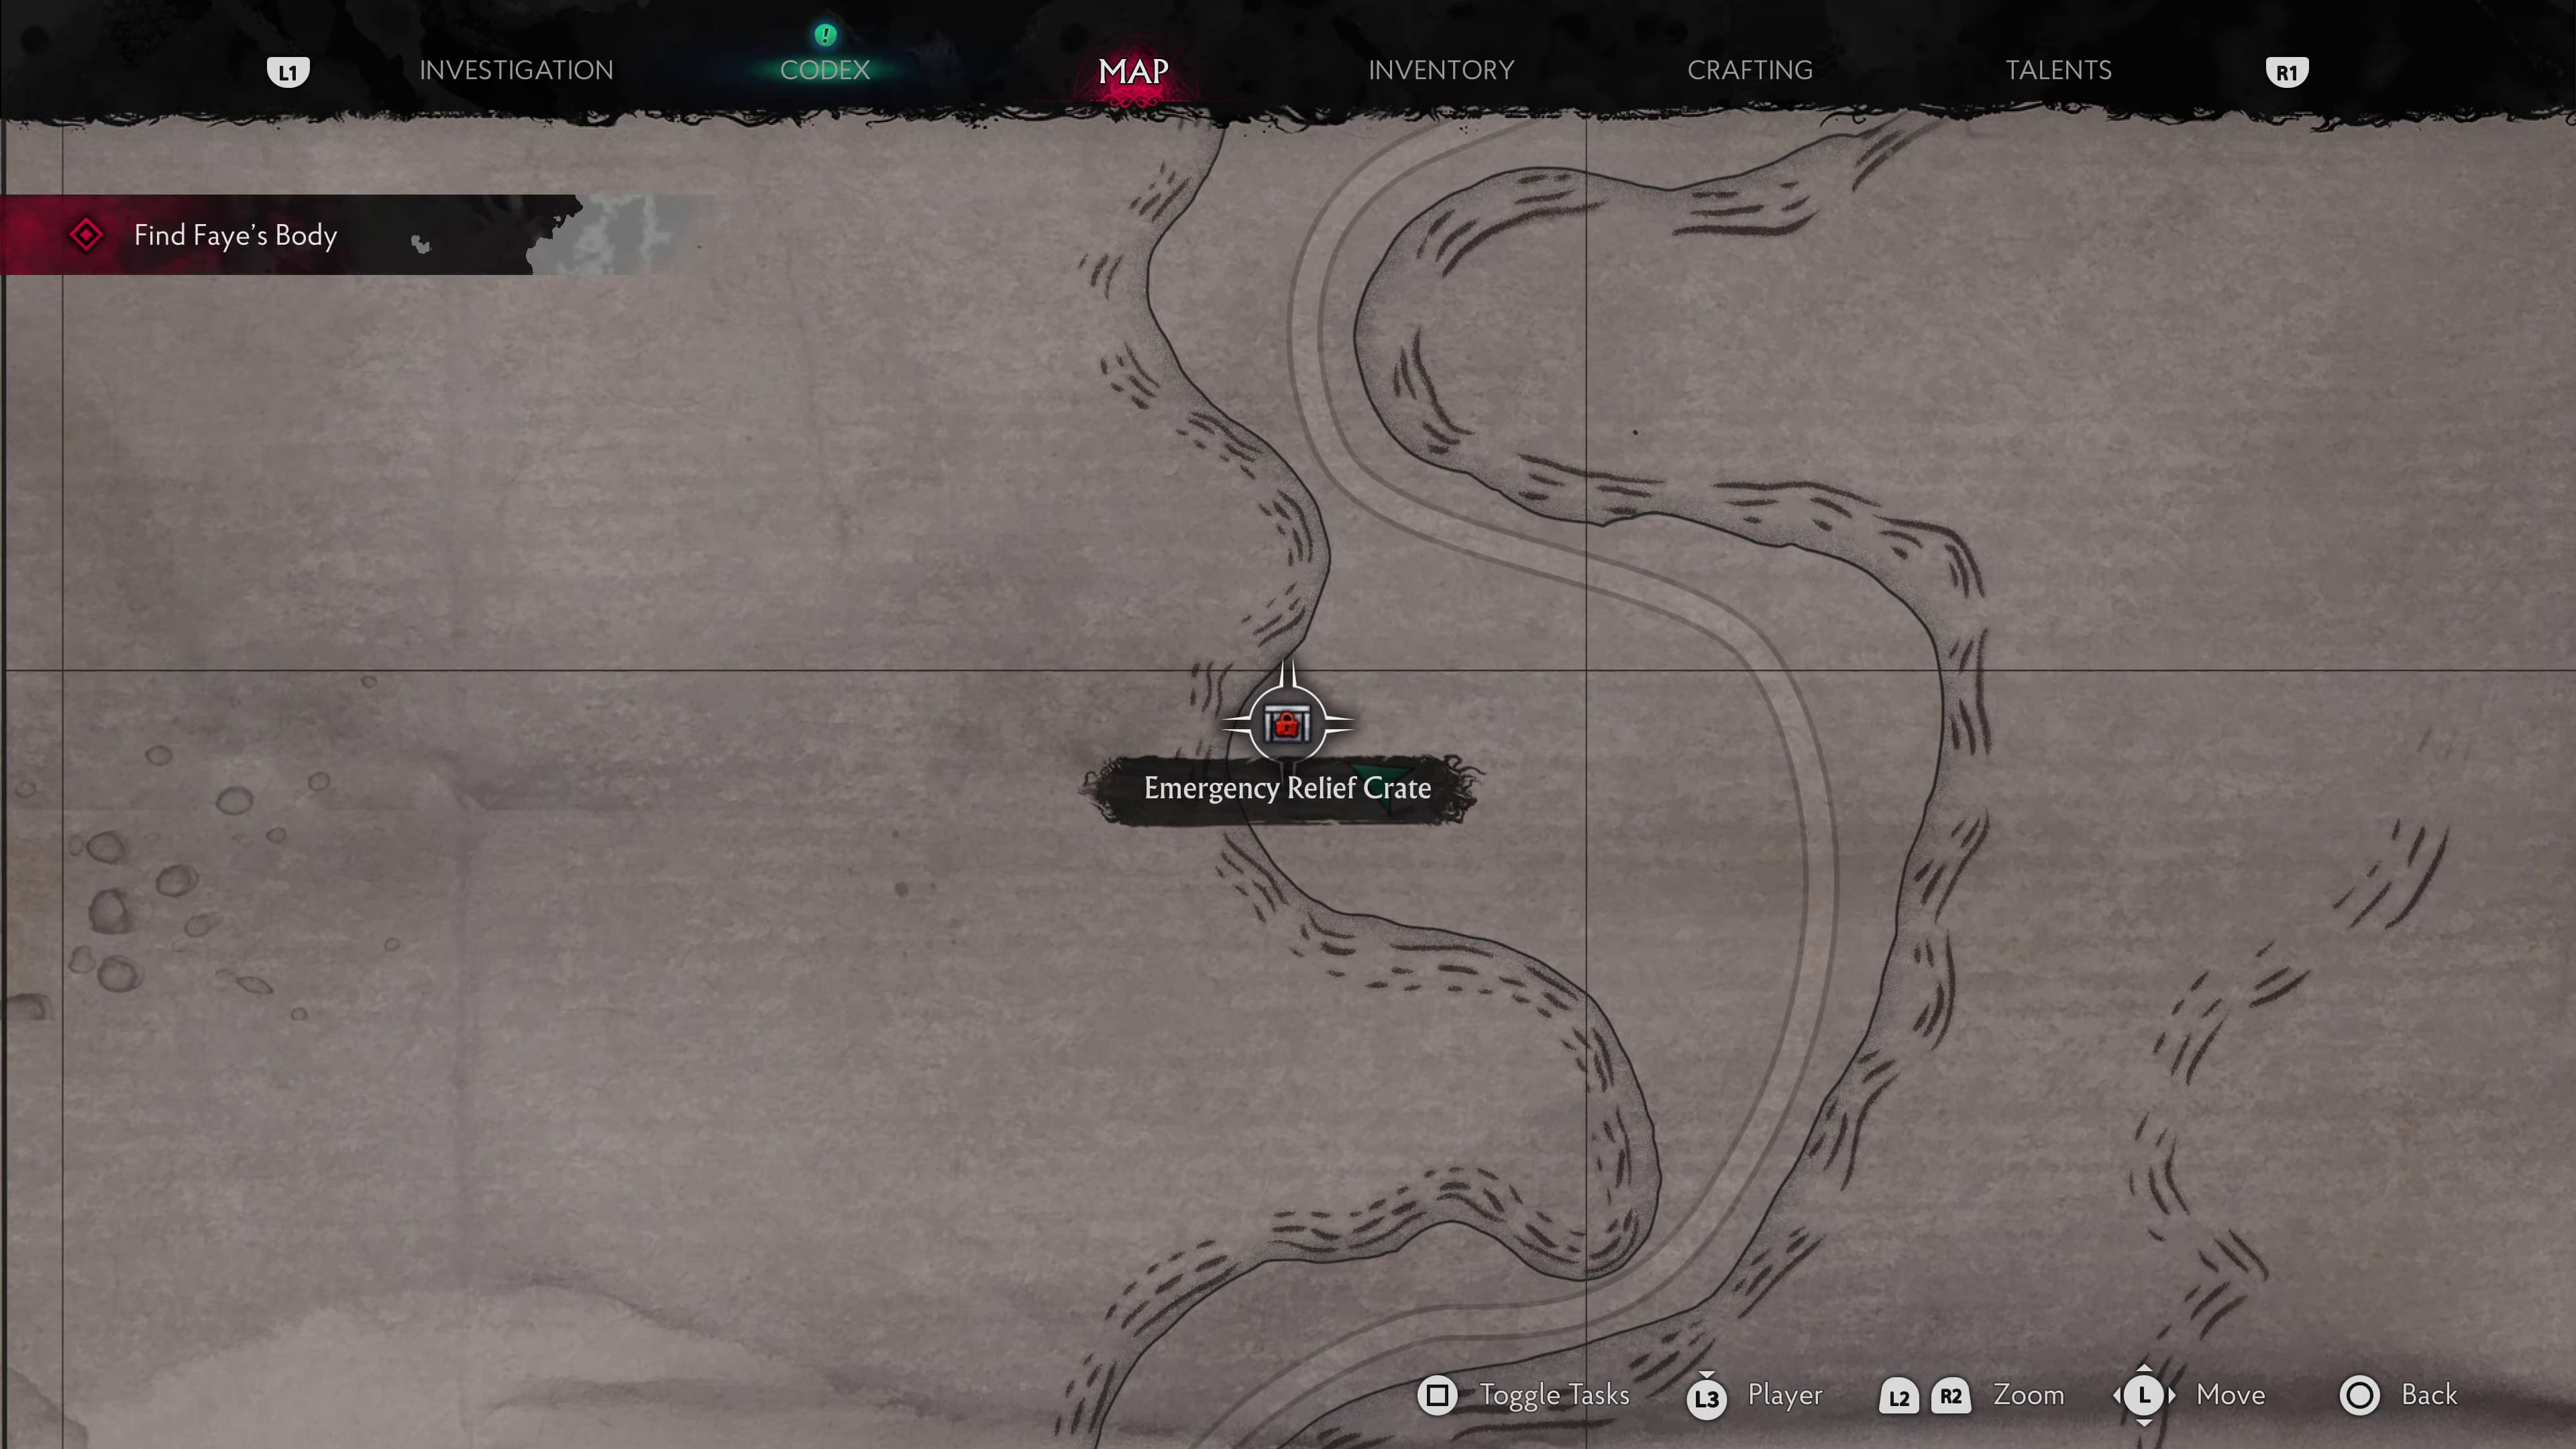
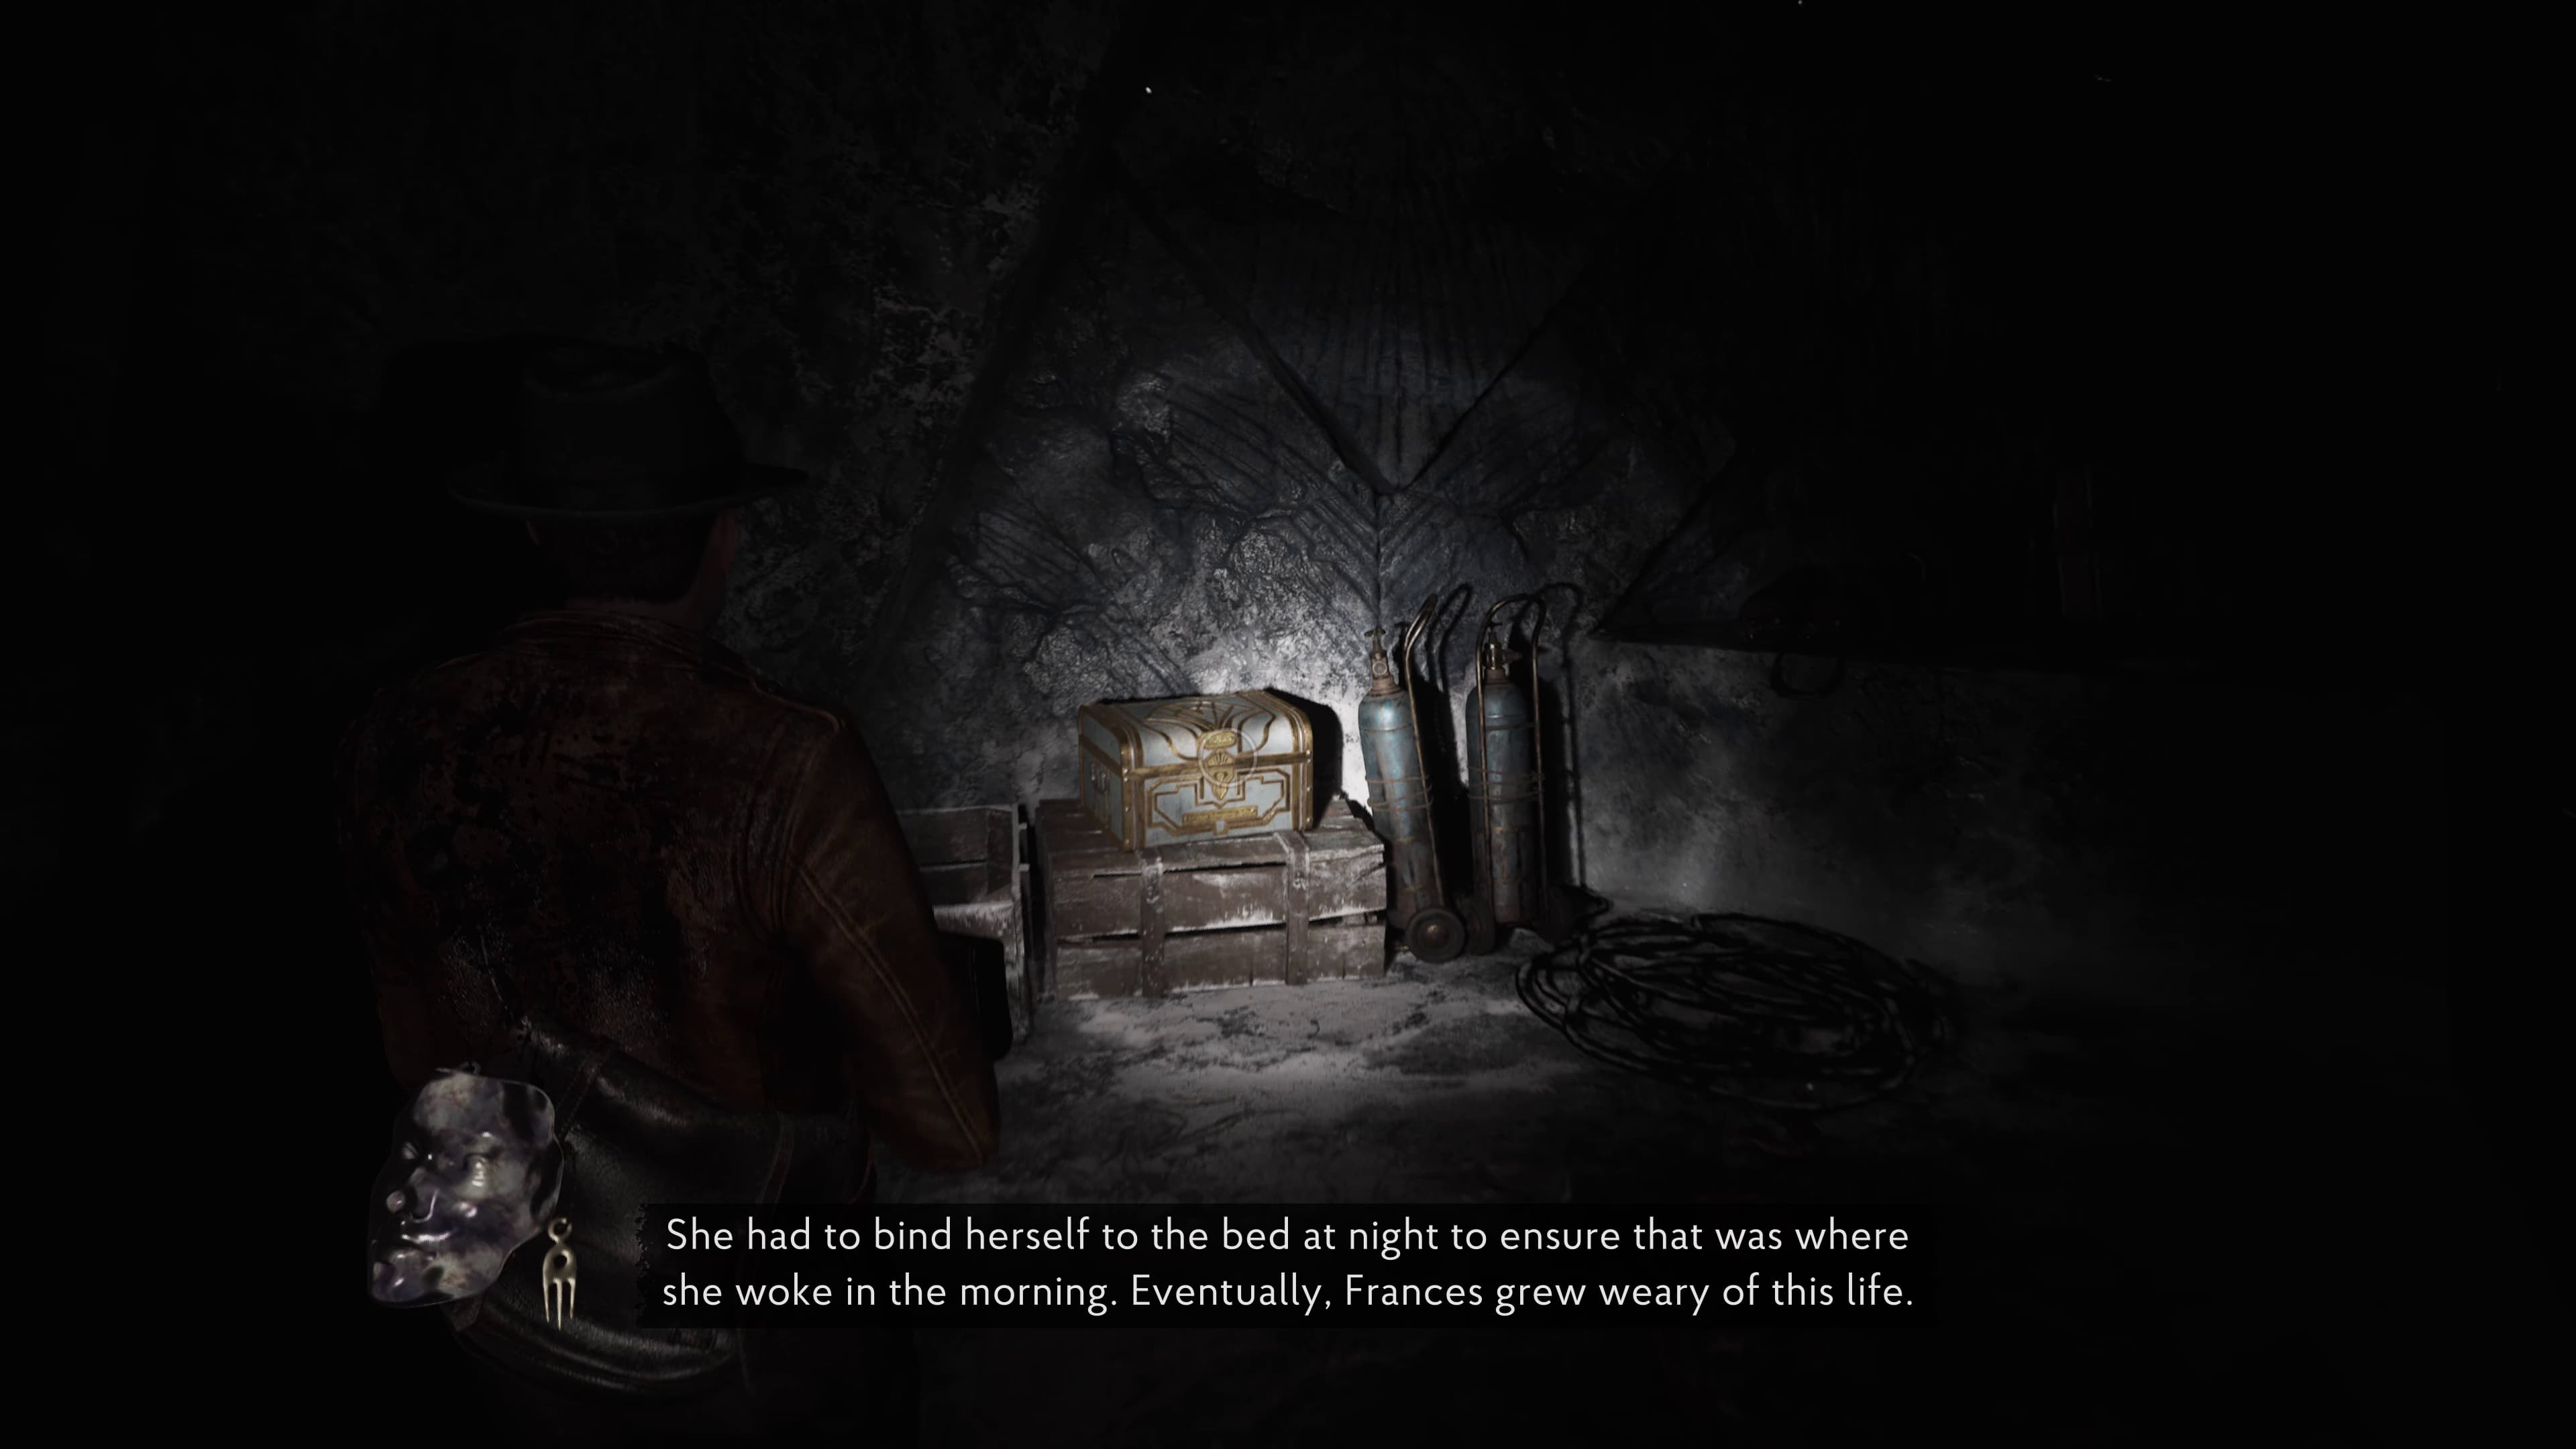
Once you make it out into the snowy glaciers of the final section of the game, to the left in the rocky area will be an ERC Chest, I will bring us back here later once we have the ERC Pen for it.
Keep advancing until you are in the larger outside area with the tent on the right side. Immediately on the left inside the tent will be an ERC Chest, we will be unlocking this chest last.
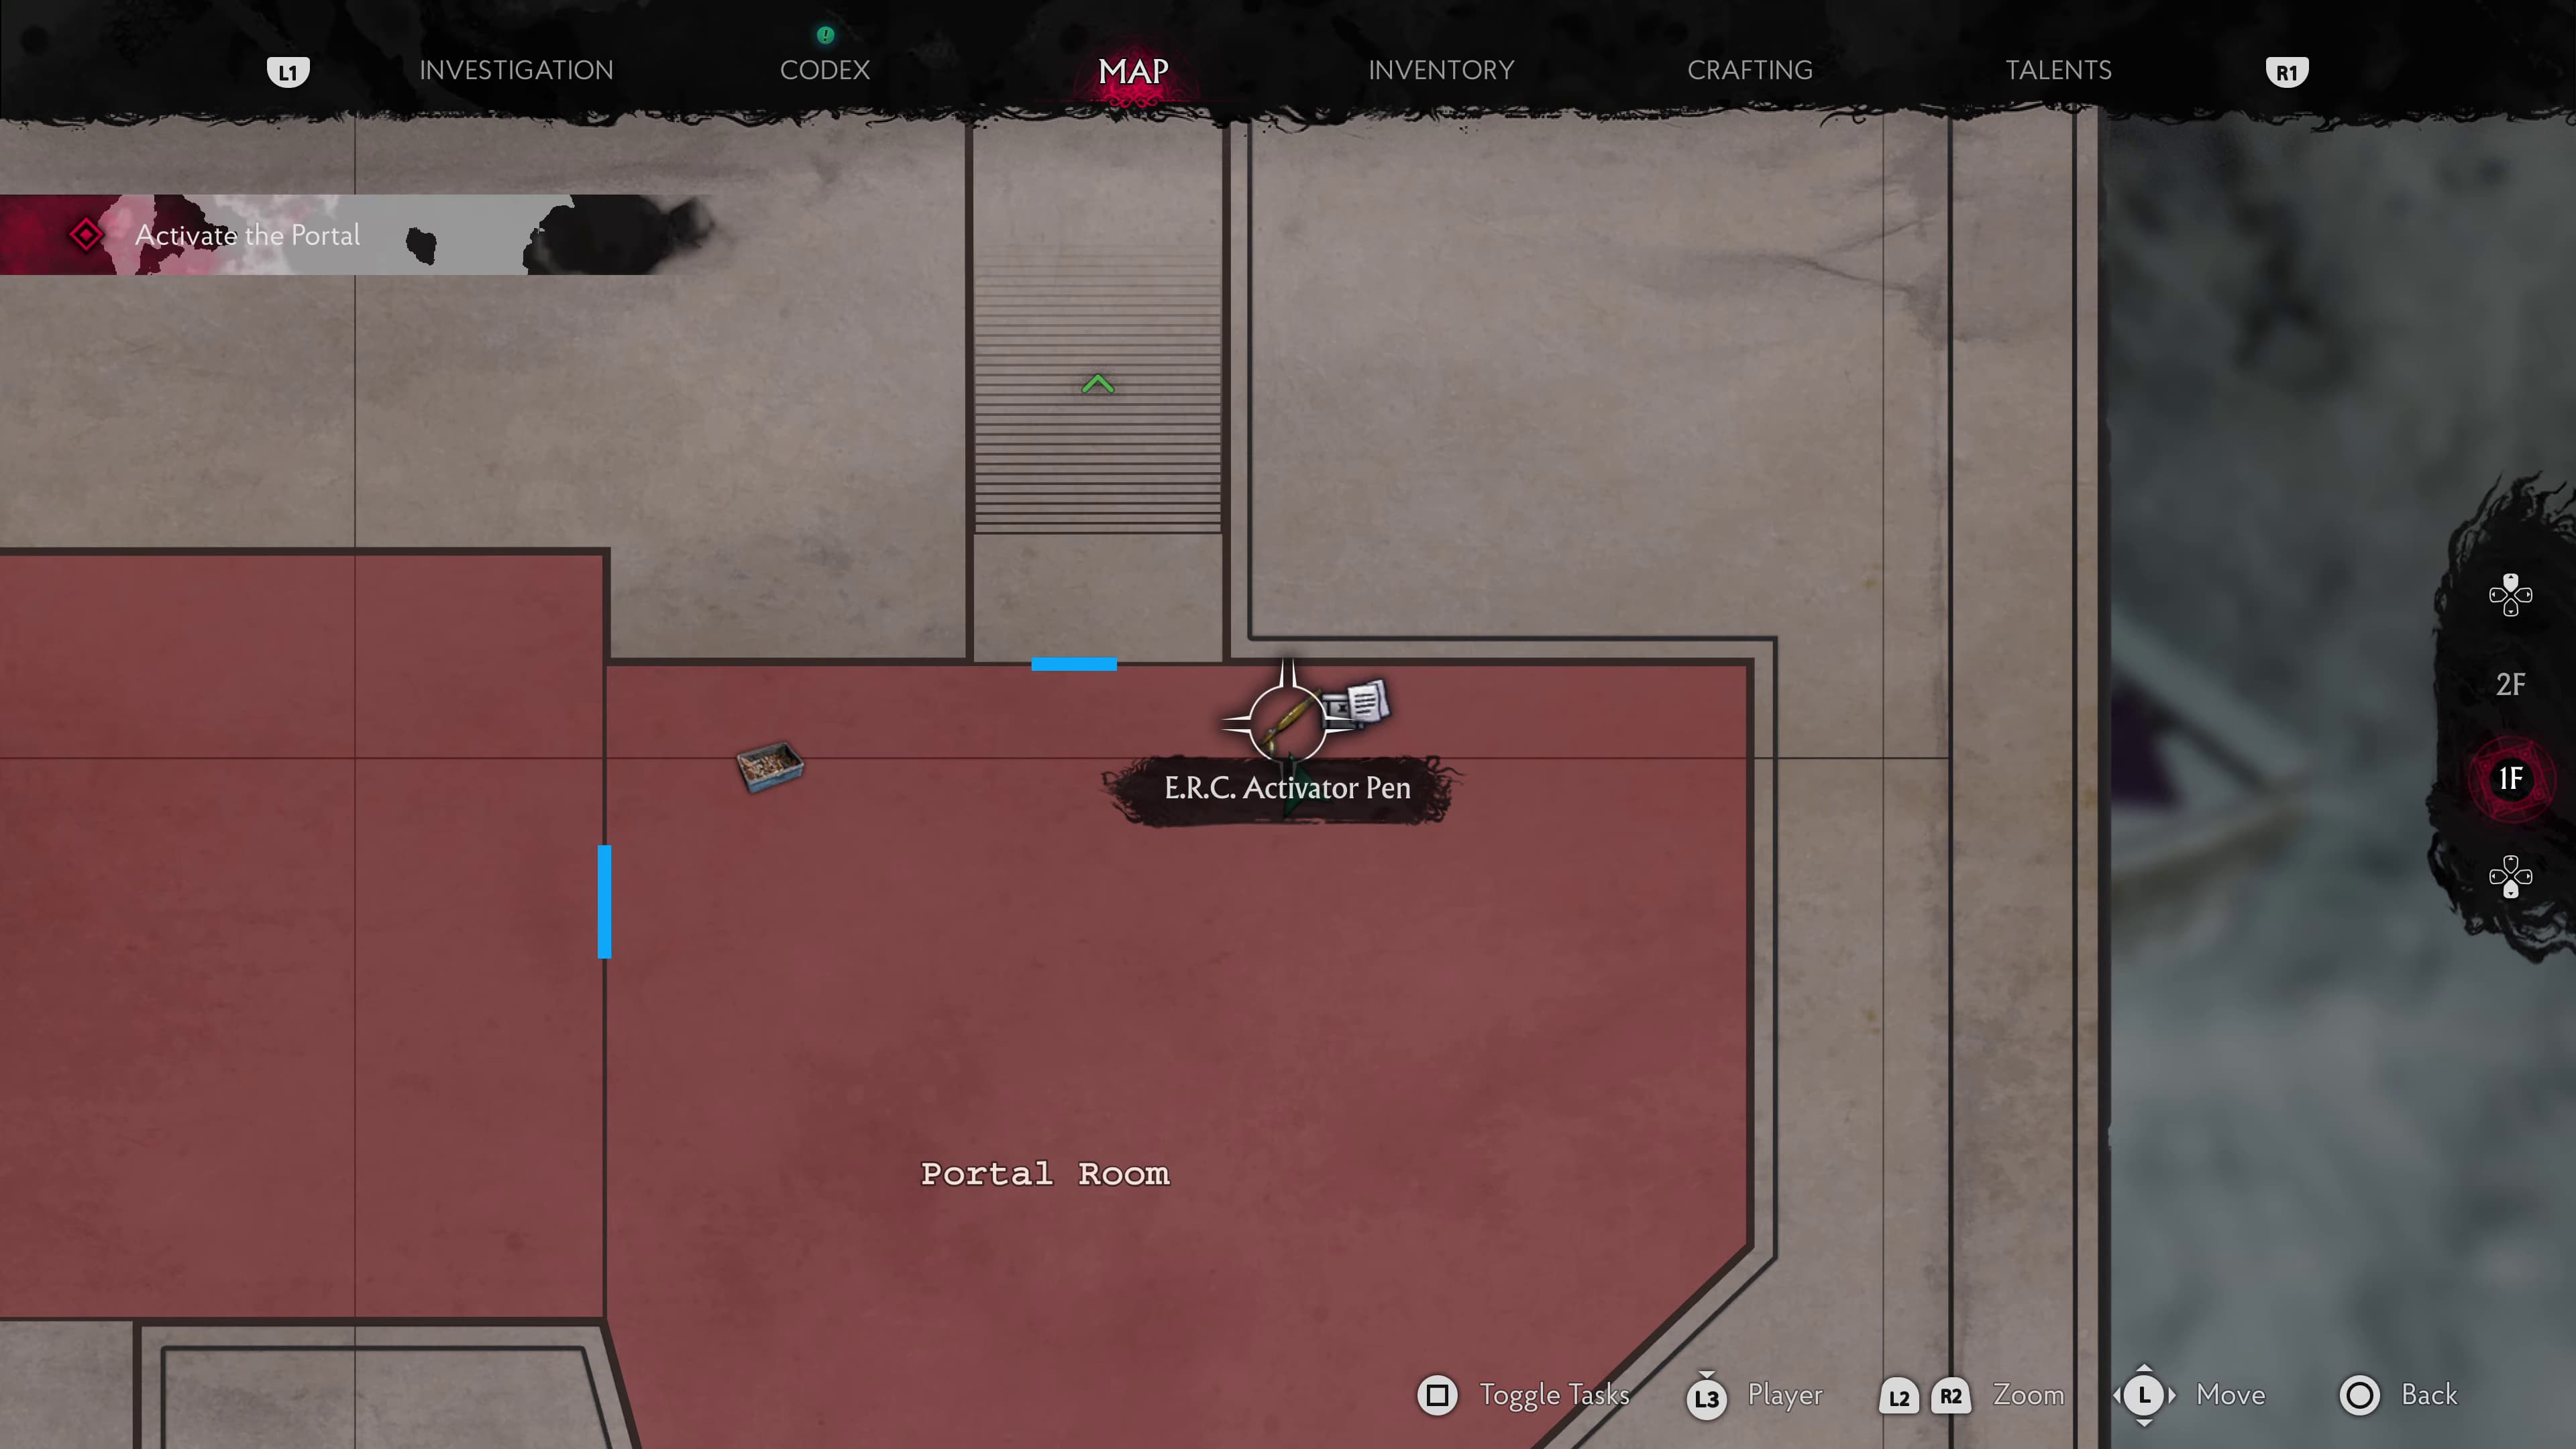
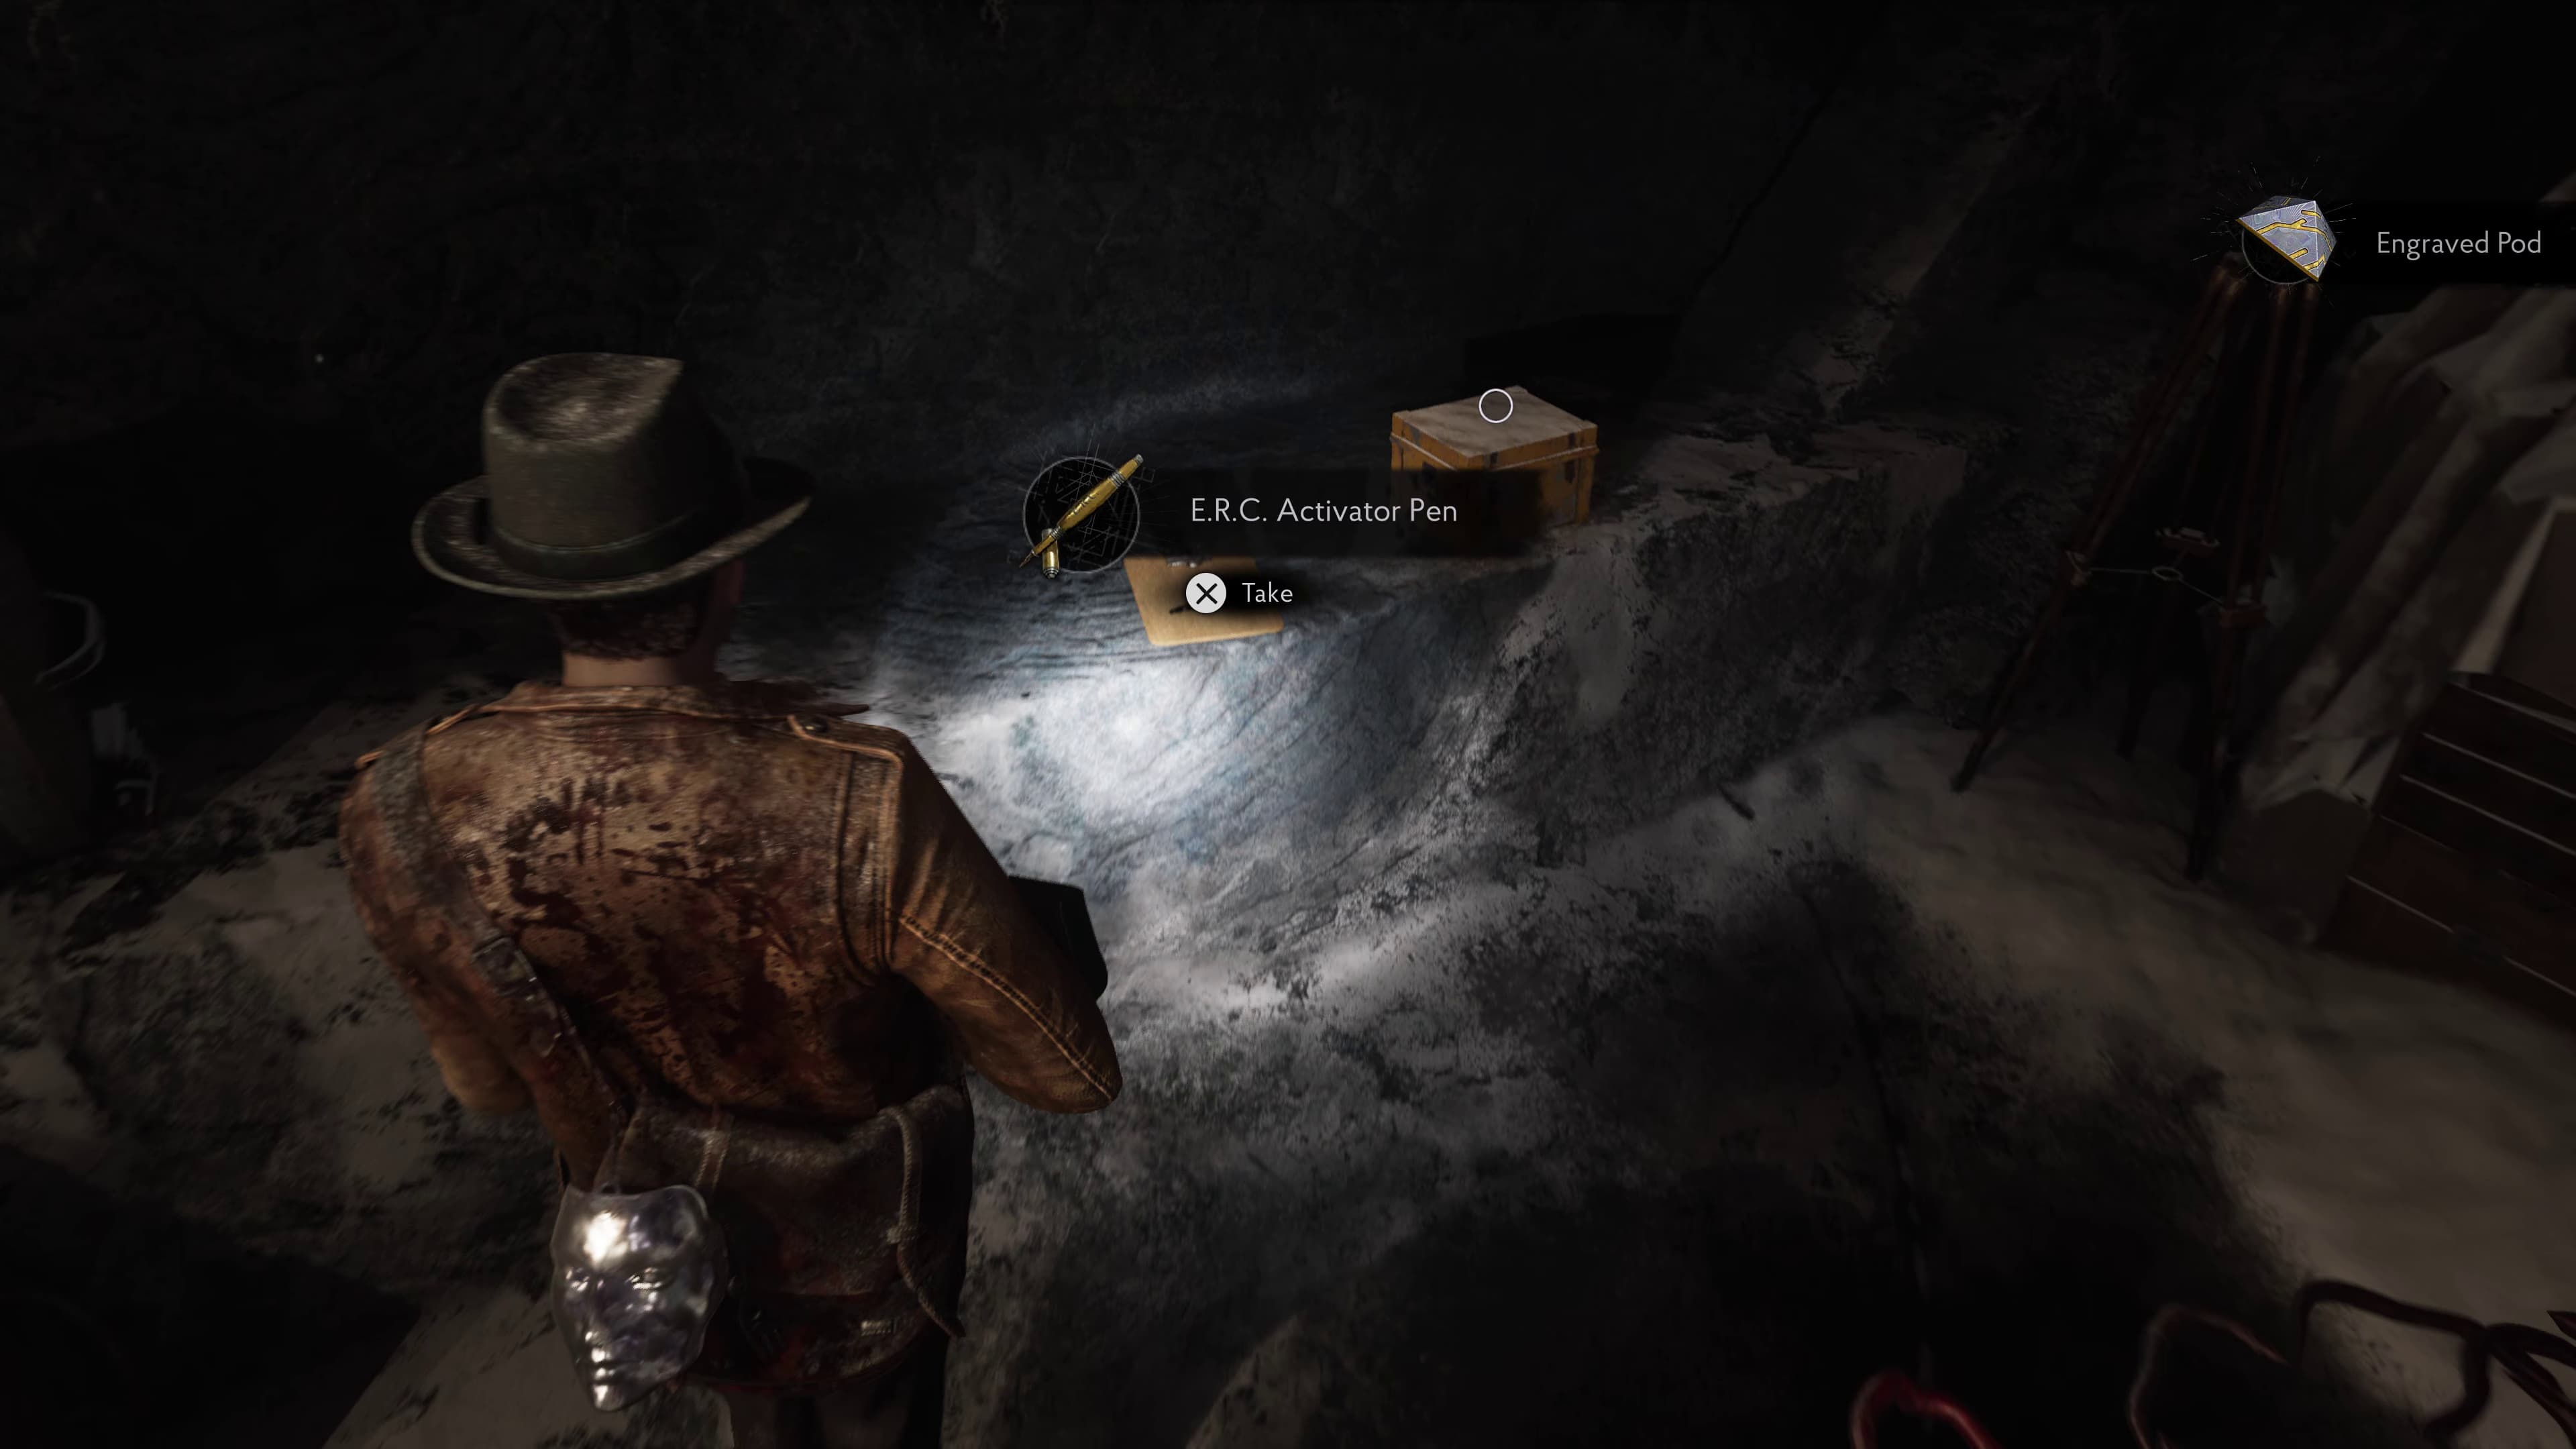
Keep progressing now into the Portal Room. In the back left of this area along with a few other collectibles, will be an ERC Pen.
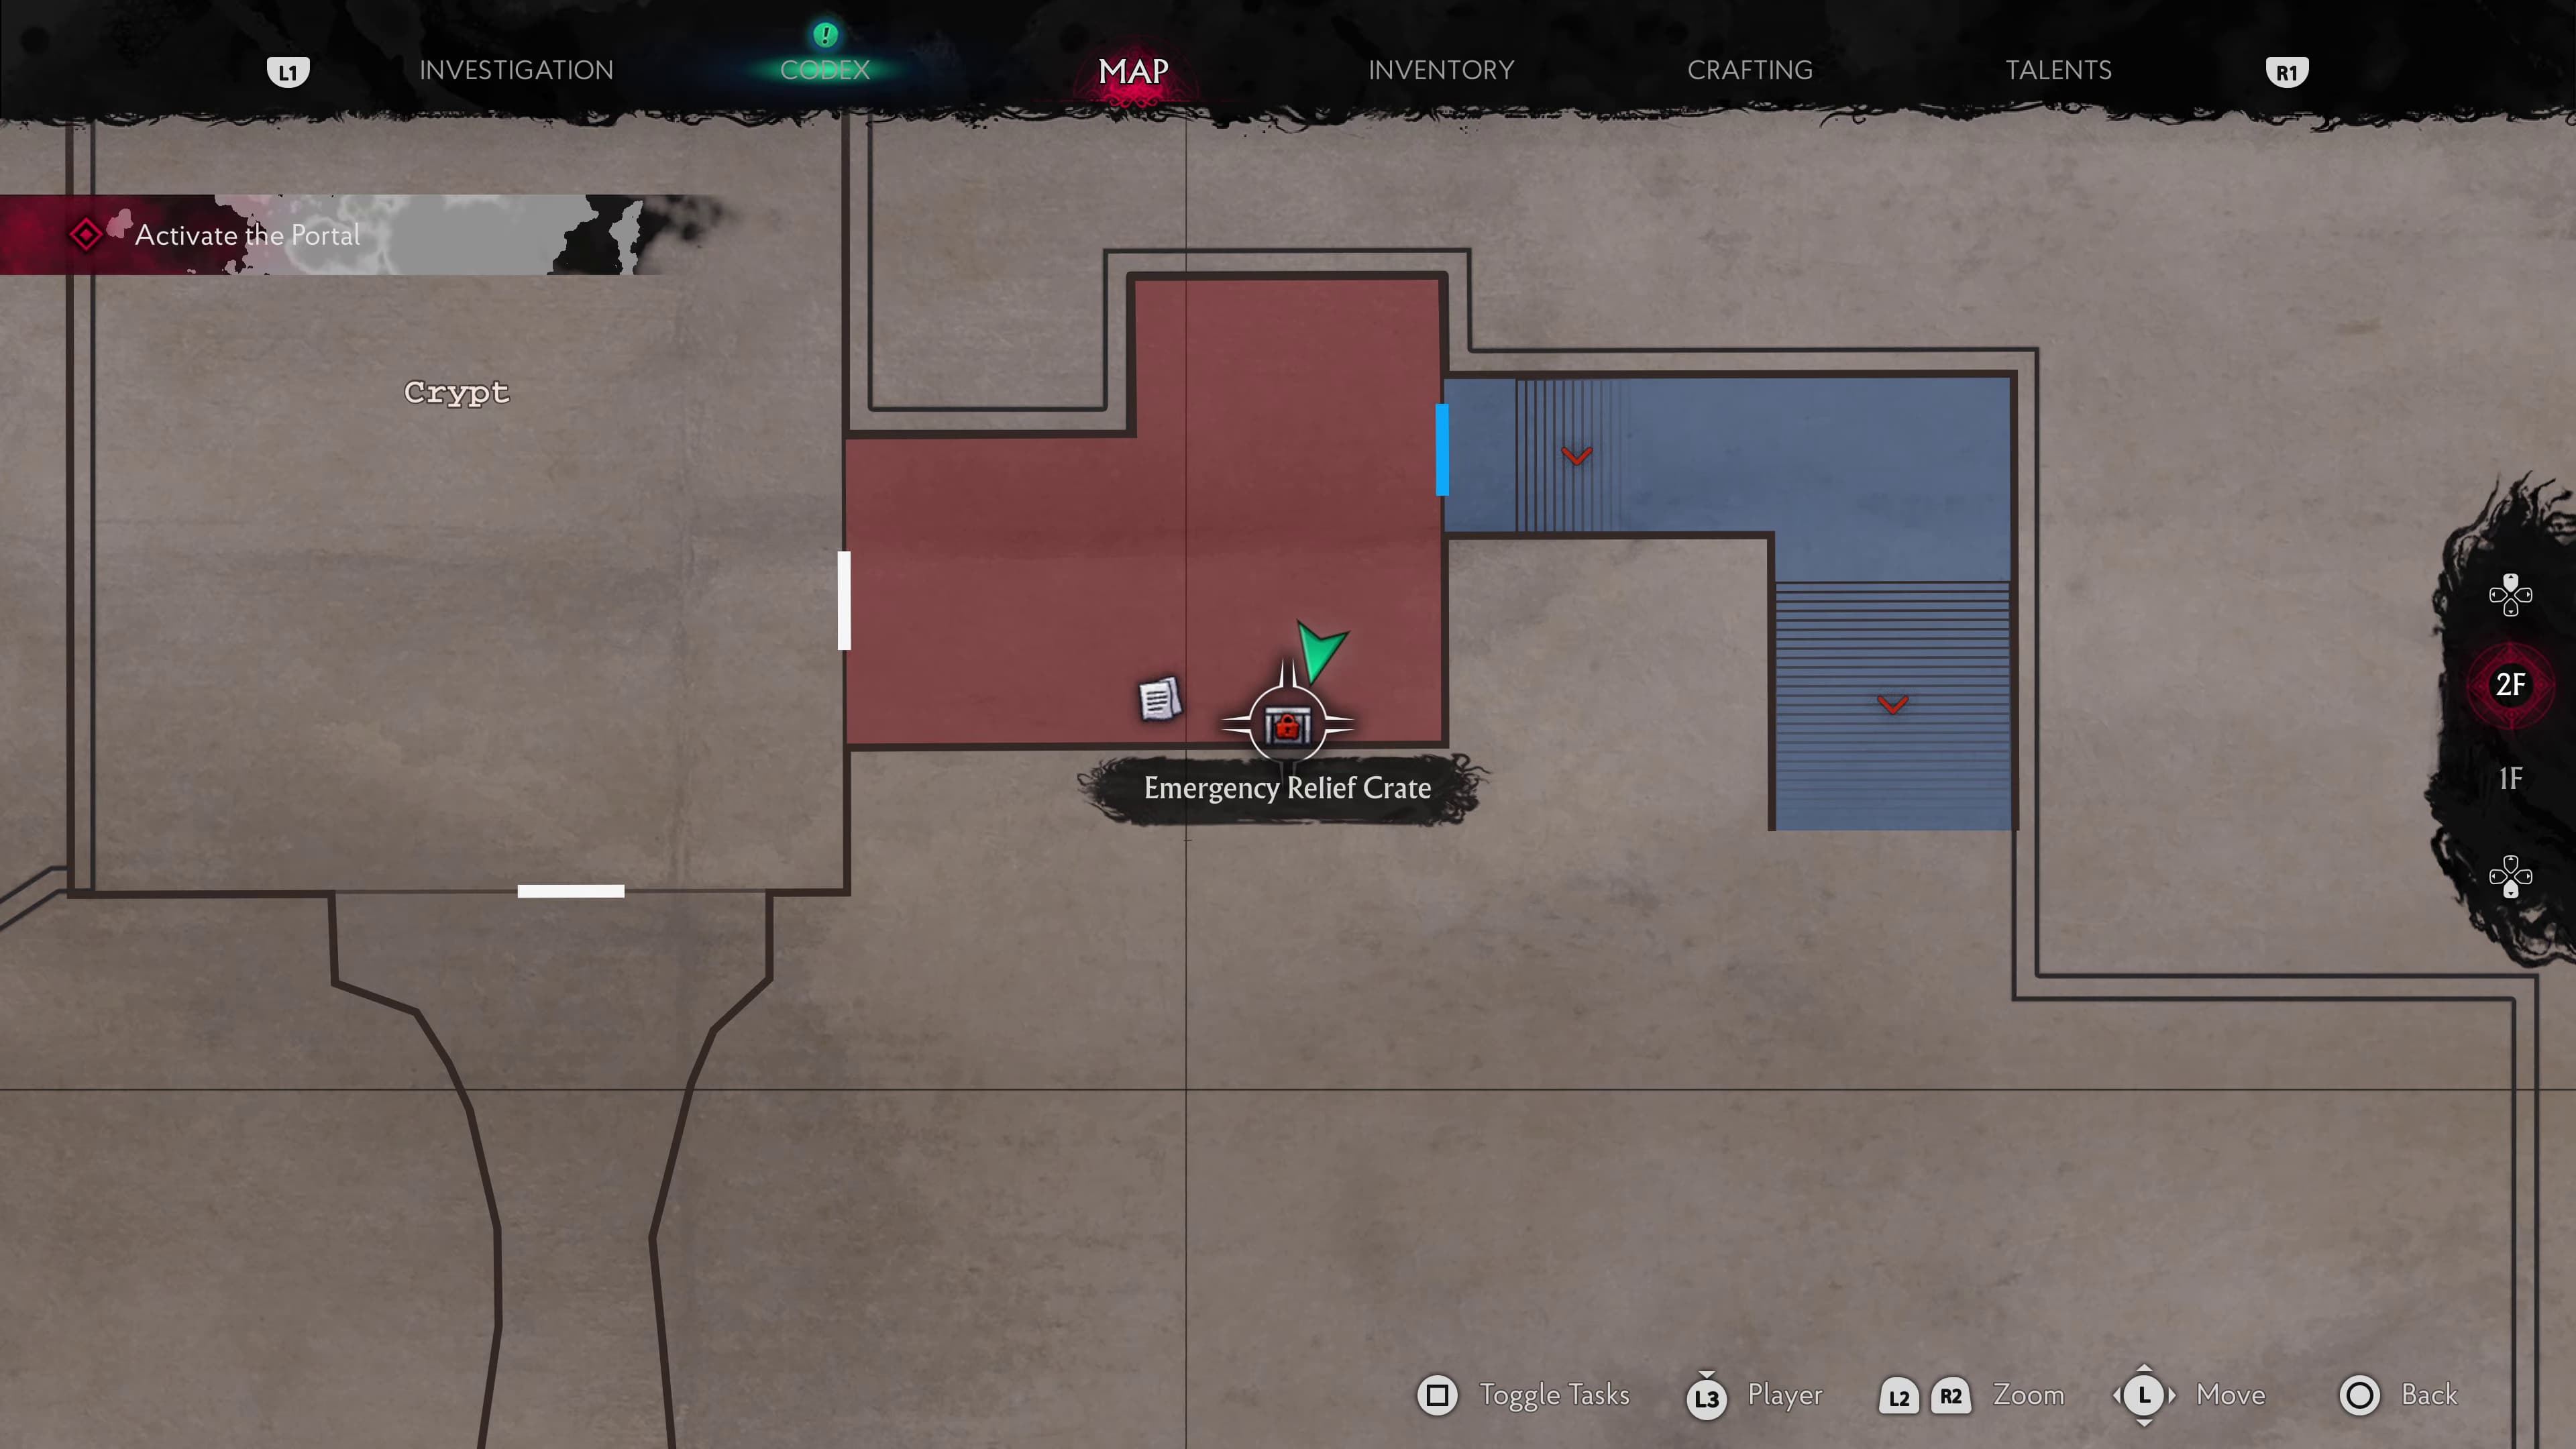
Now make your way through the door to the right of the generator, up the stairs and through another door. On the left on some crates will be an ERC Chest that can be opened right away with the Pen we got a moment ago, inside will be a weapon attachment.
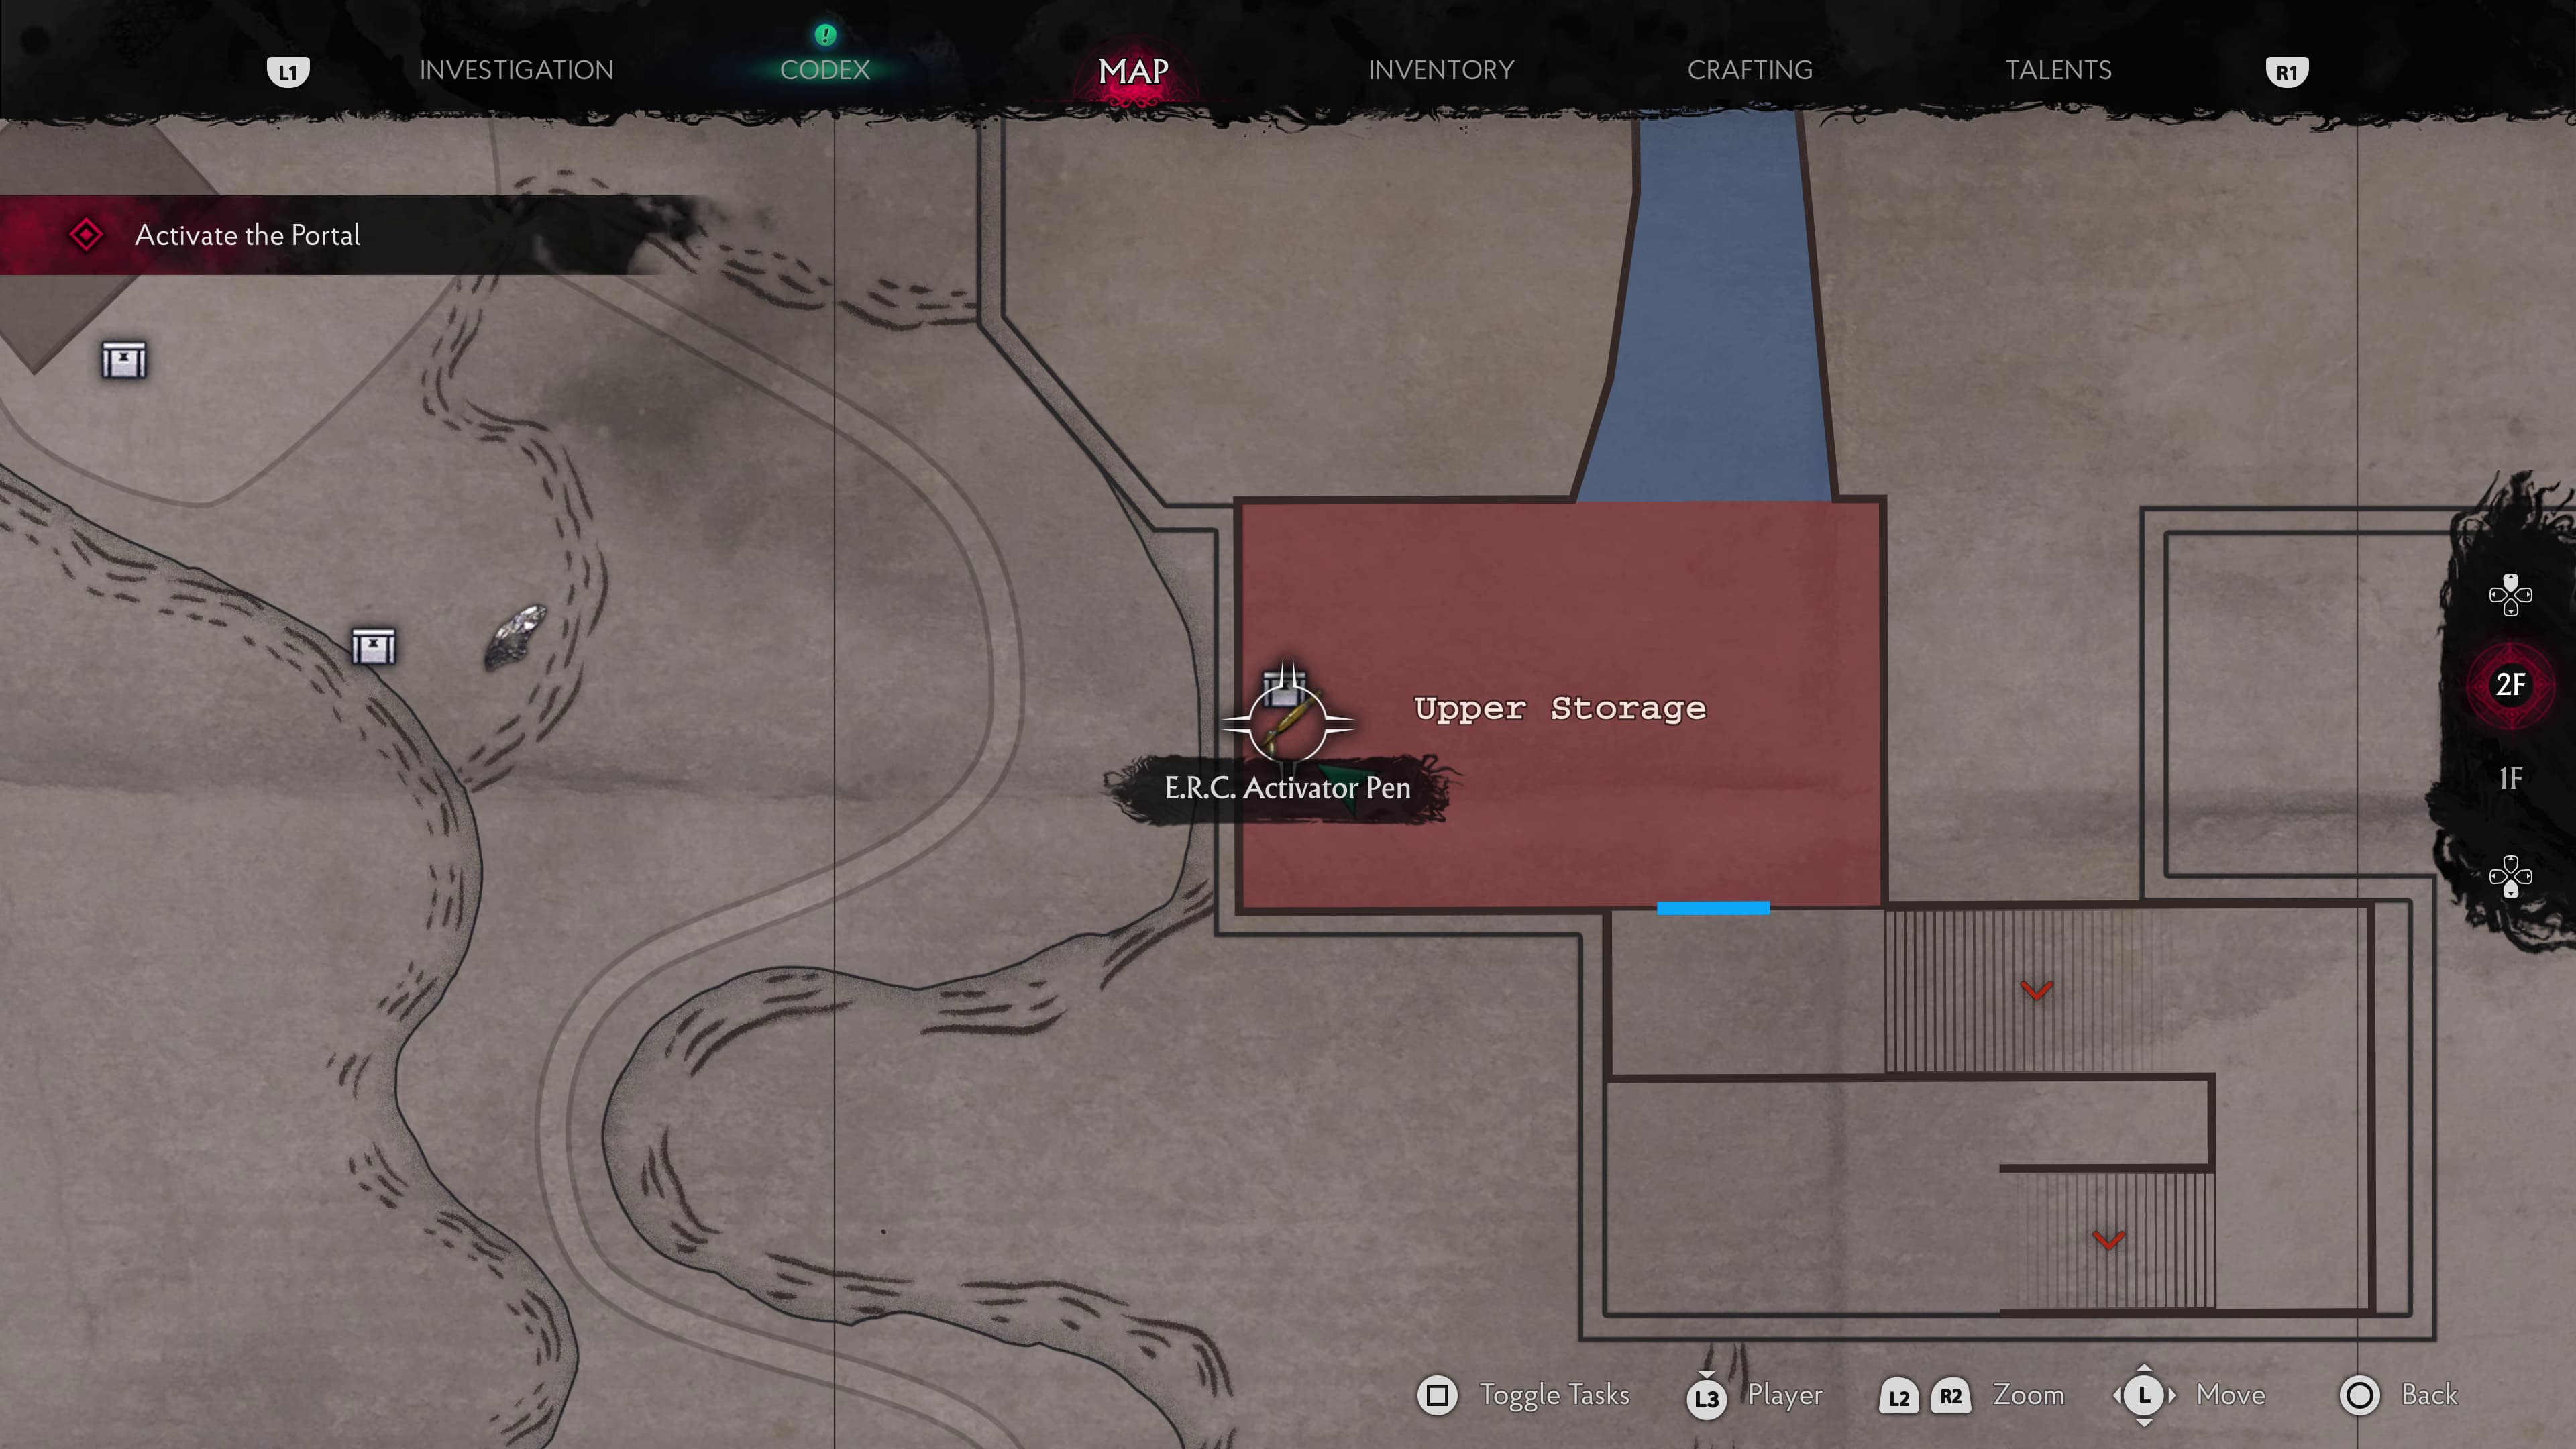
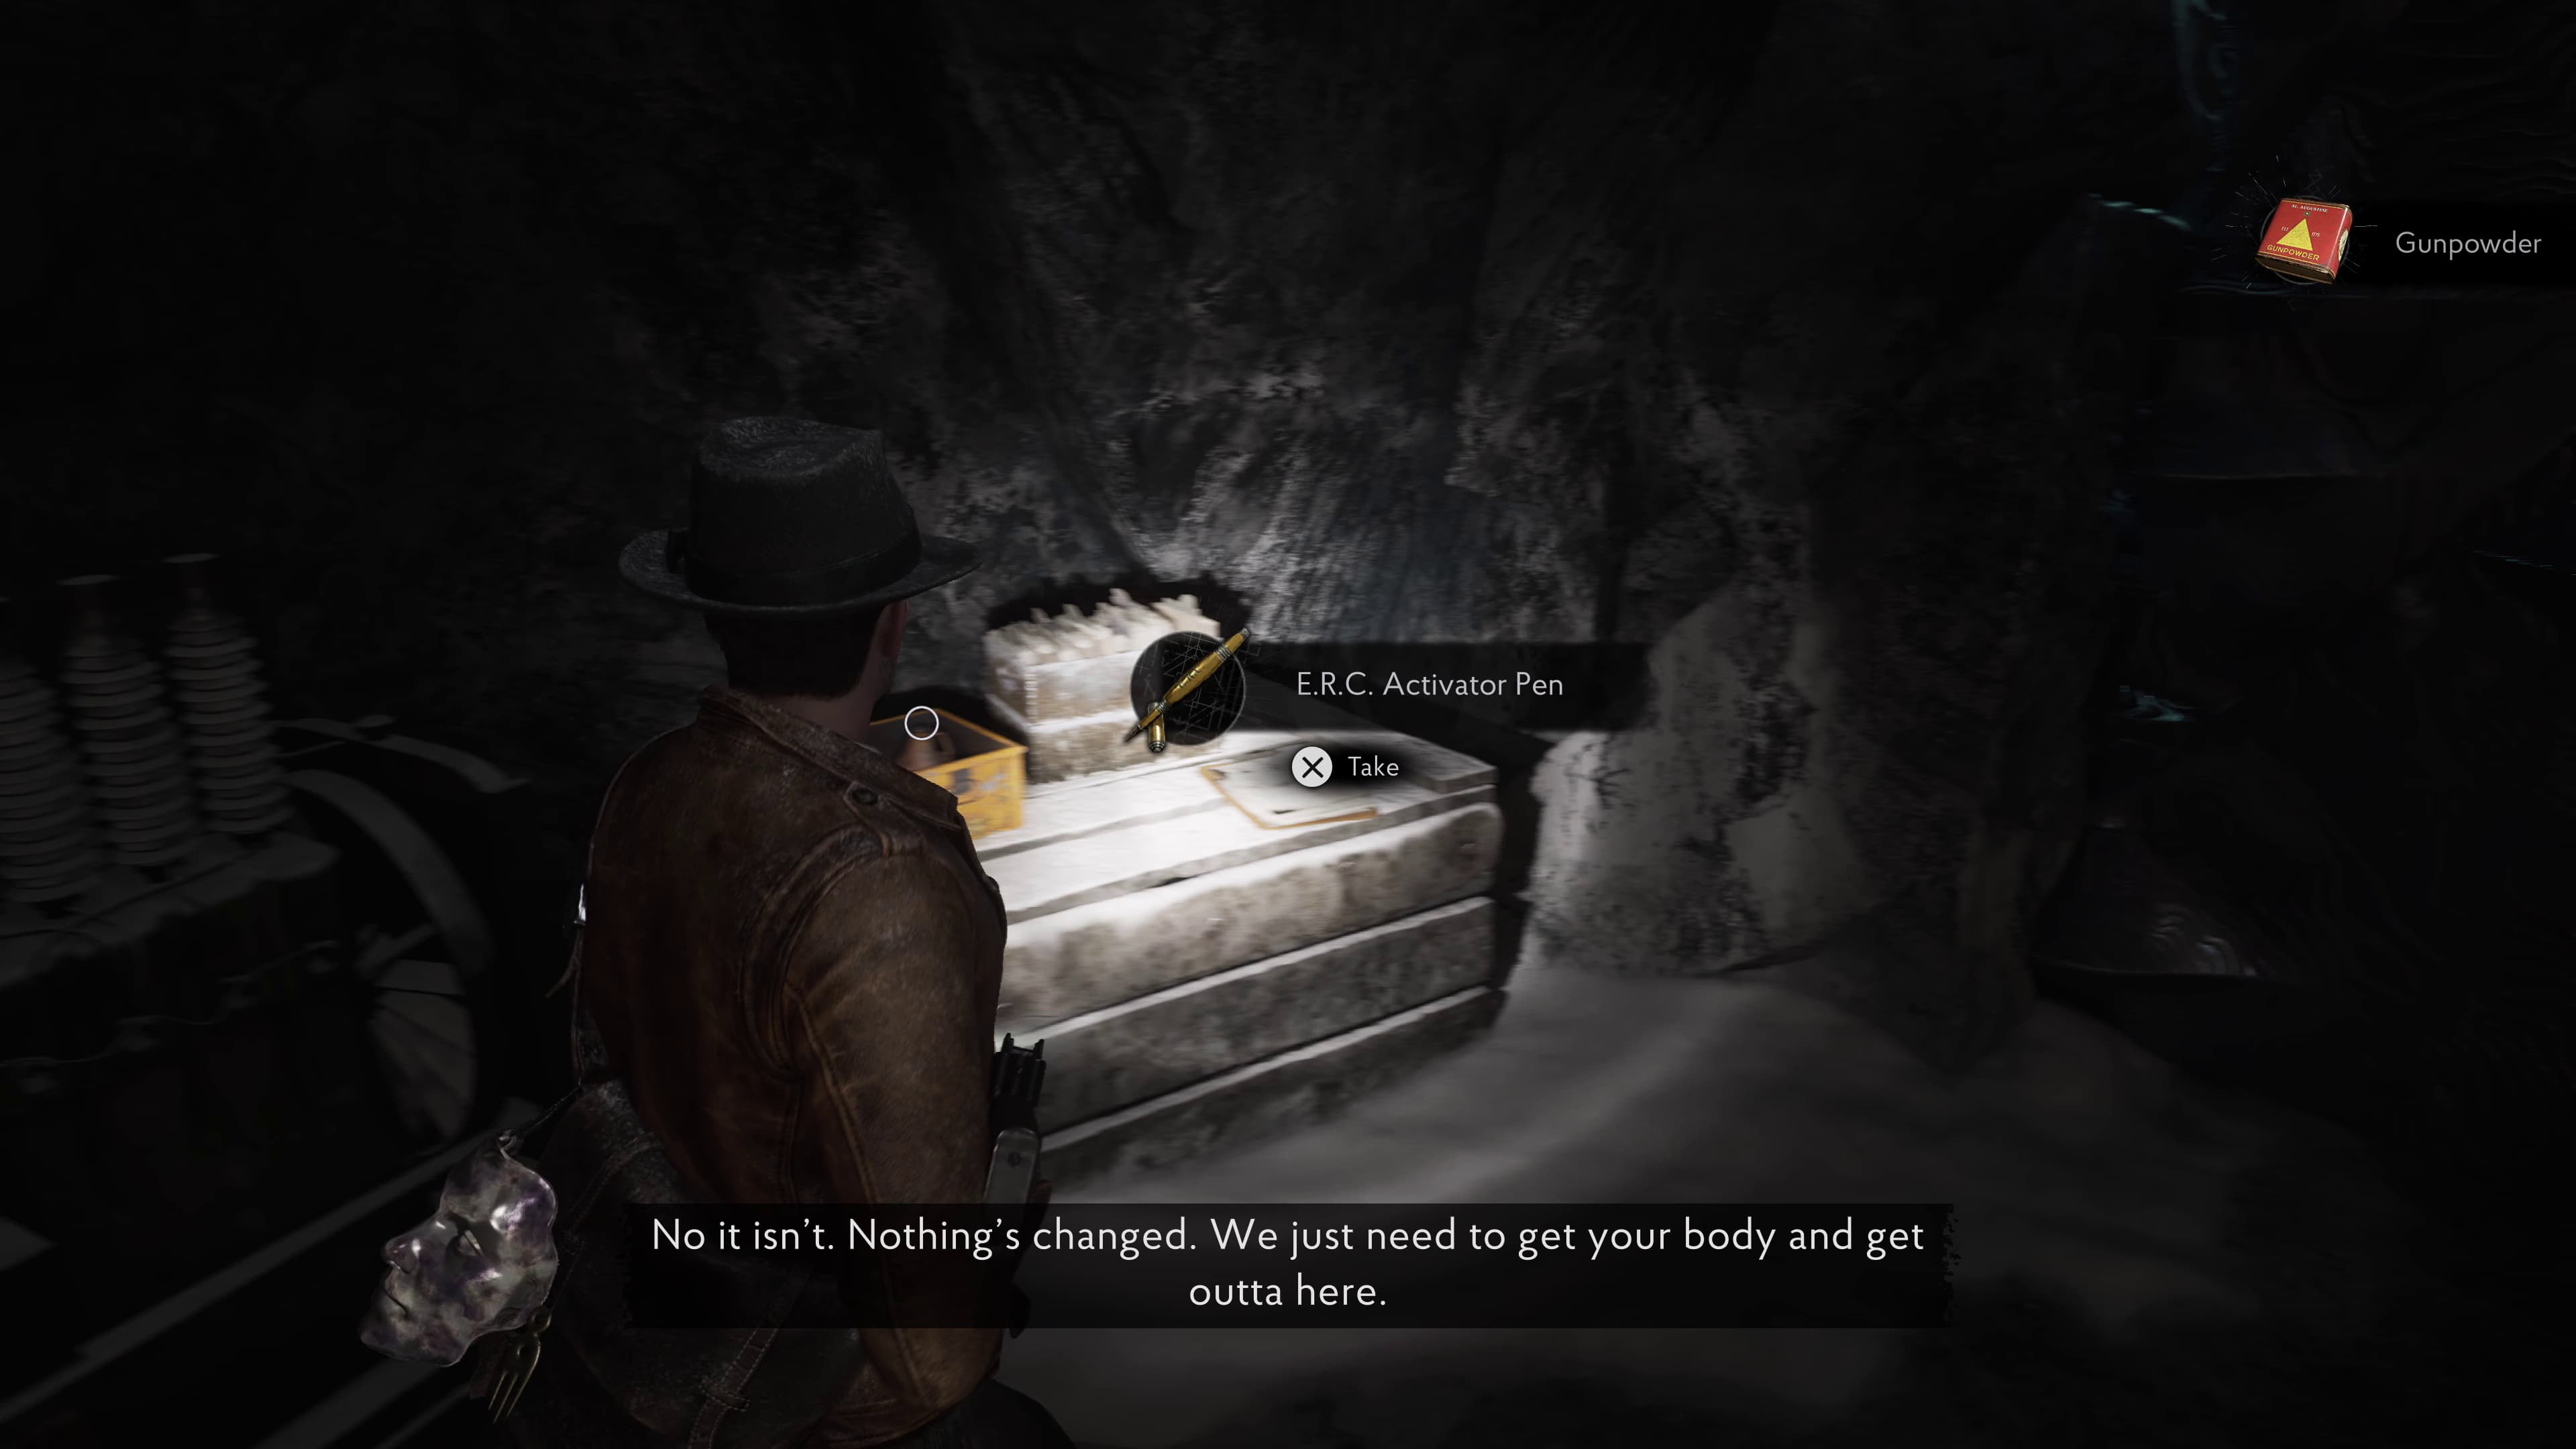
Keep advancing through this area and after collecting the Engraved Pod, to the right of this on the wall is the next ERC Pen to collect.
And in the final Gallery room right by the door to head back out, it the final ERC Pen to collect.
Now you can make your way out of the main door from the Gallery, head left into the rocks and left again, scoop back around to the right to find the ERC Chest on the ground to unlock.
Head back through the rocks, past the Gallery door and under the snowy rock again to the open outside area. Head to the right towards the tent to unlock the ERC Chest, this is the final ERC Chest so the trophy for collecting these should also pop now, and there is the final weapon attachment inside.
Thankyou for making it to the end of my guide, I hope this helped! Definitely check out the full guide if you need help in locating anything else.