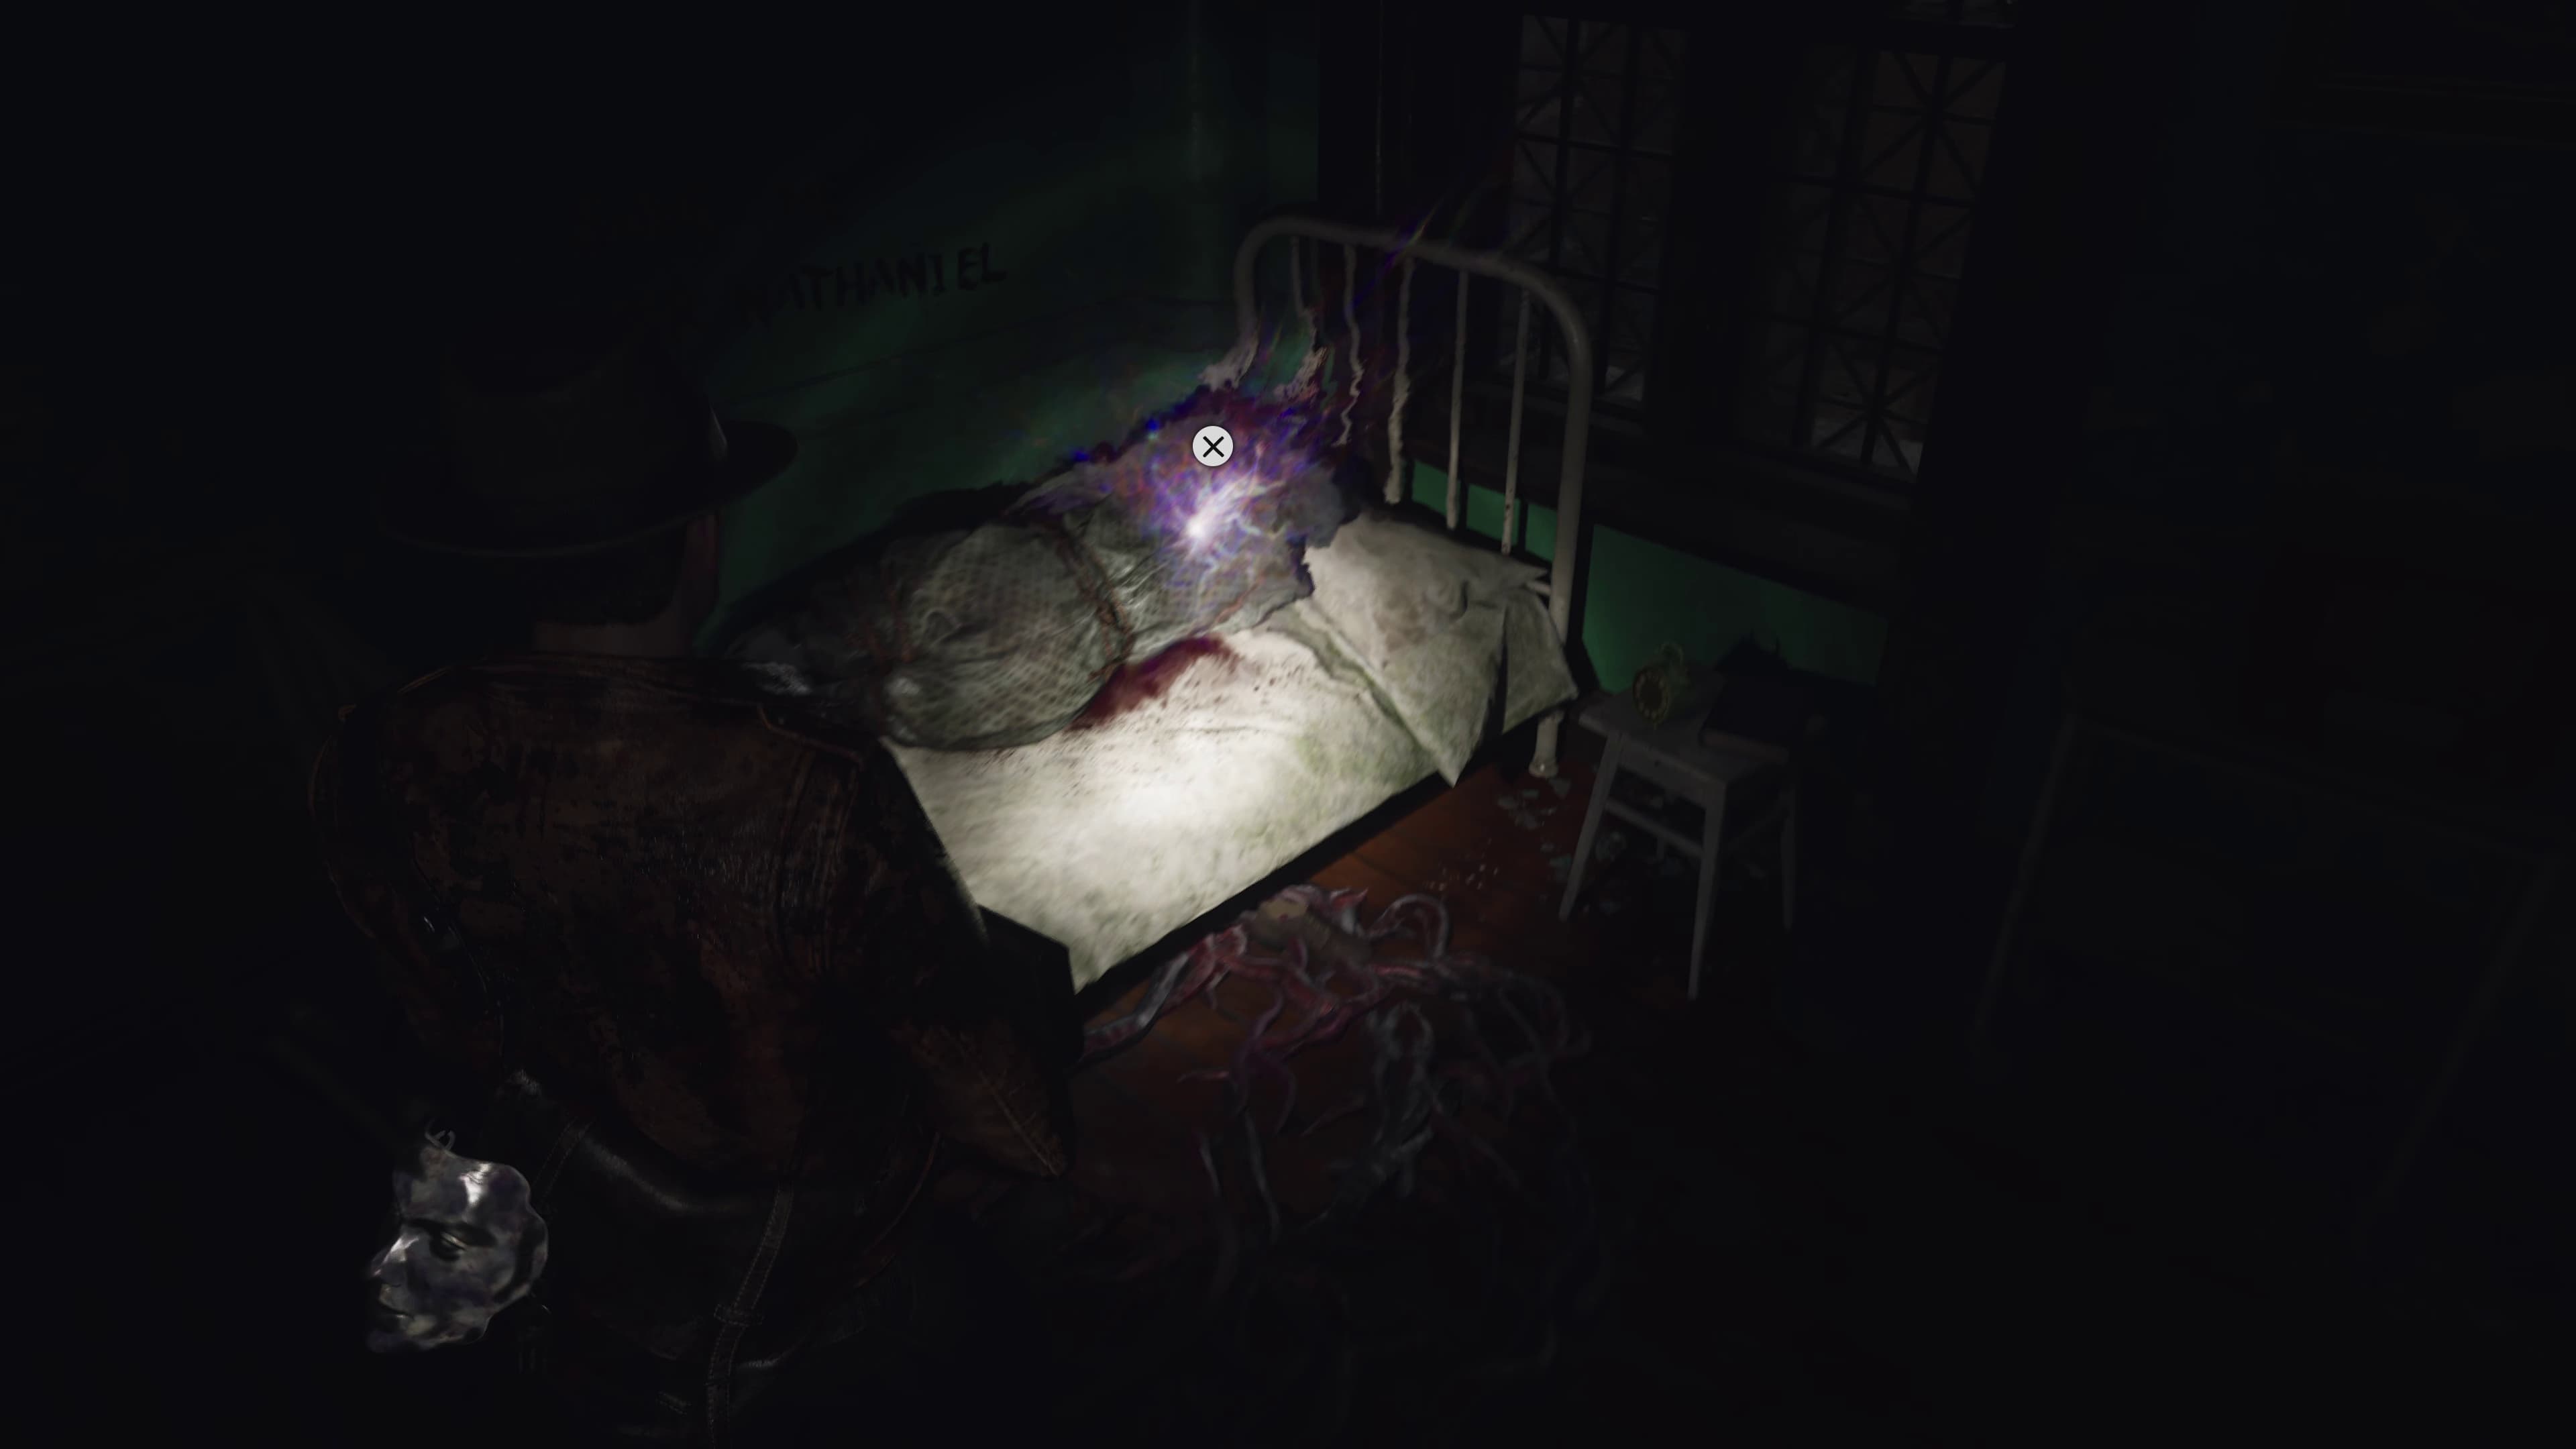
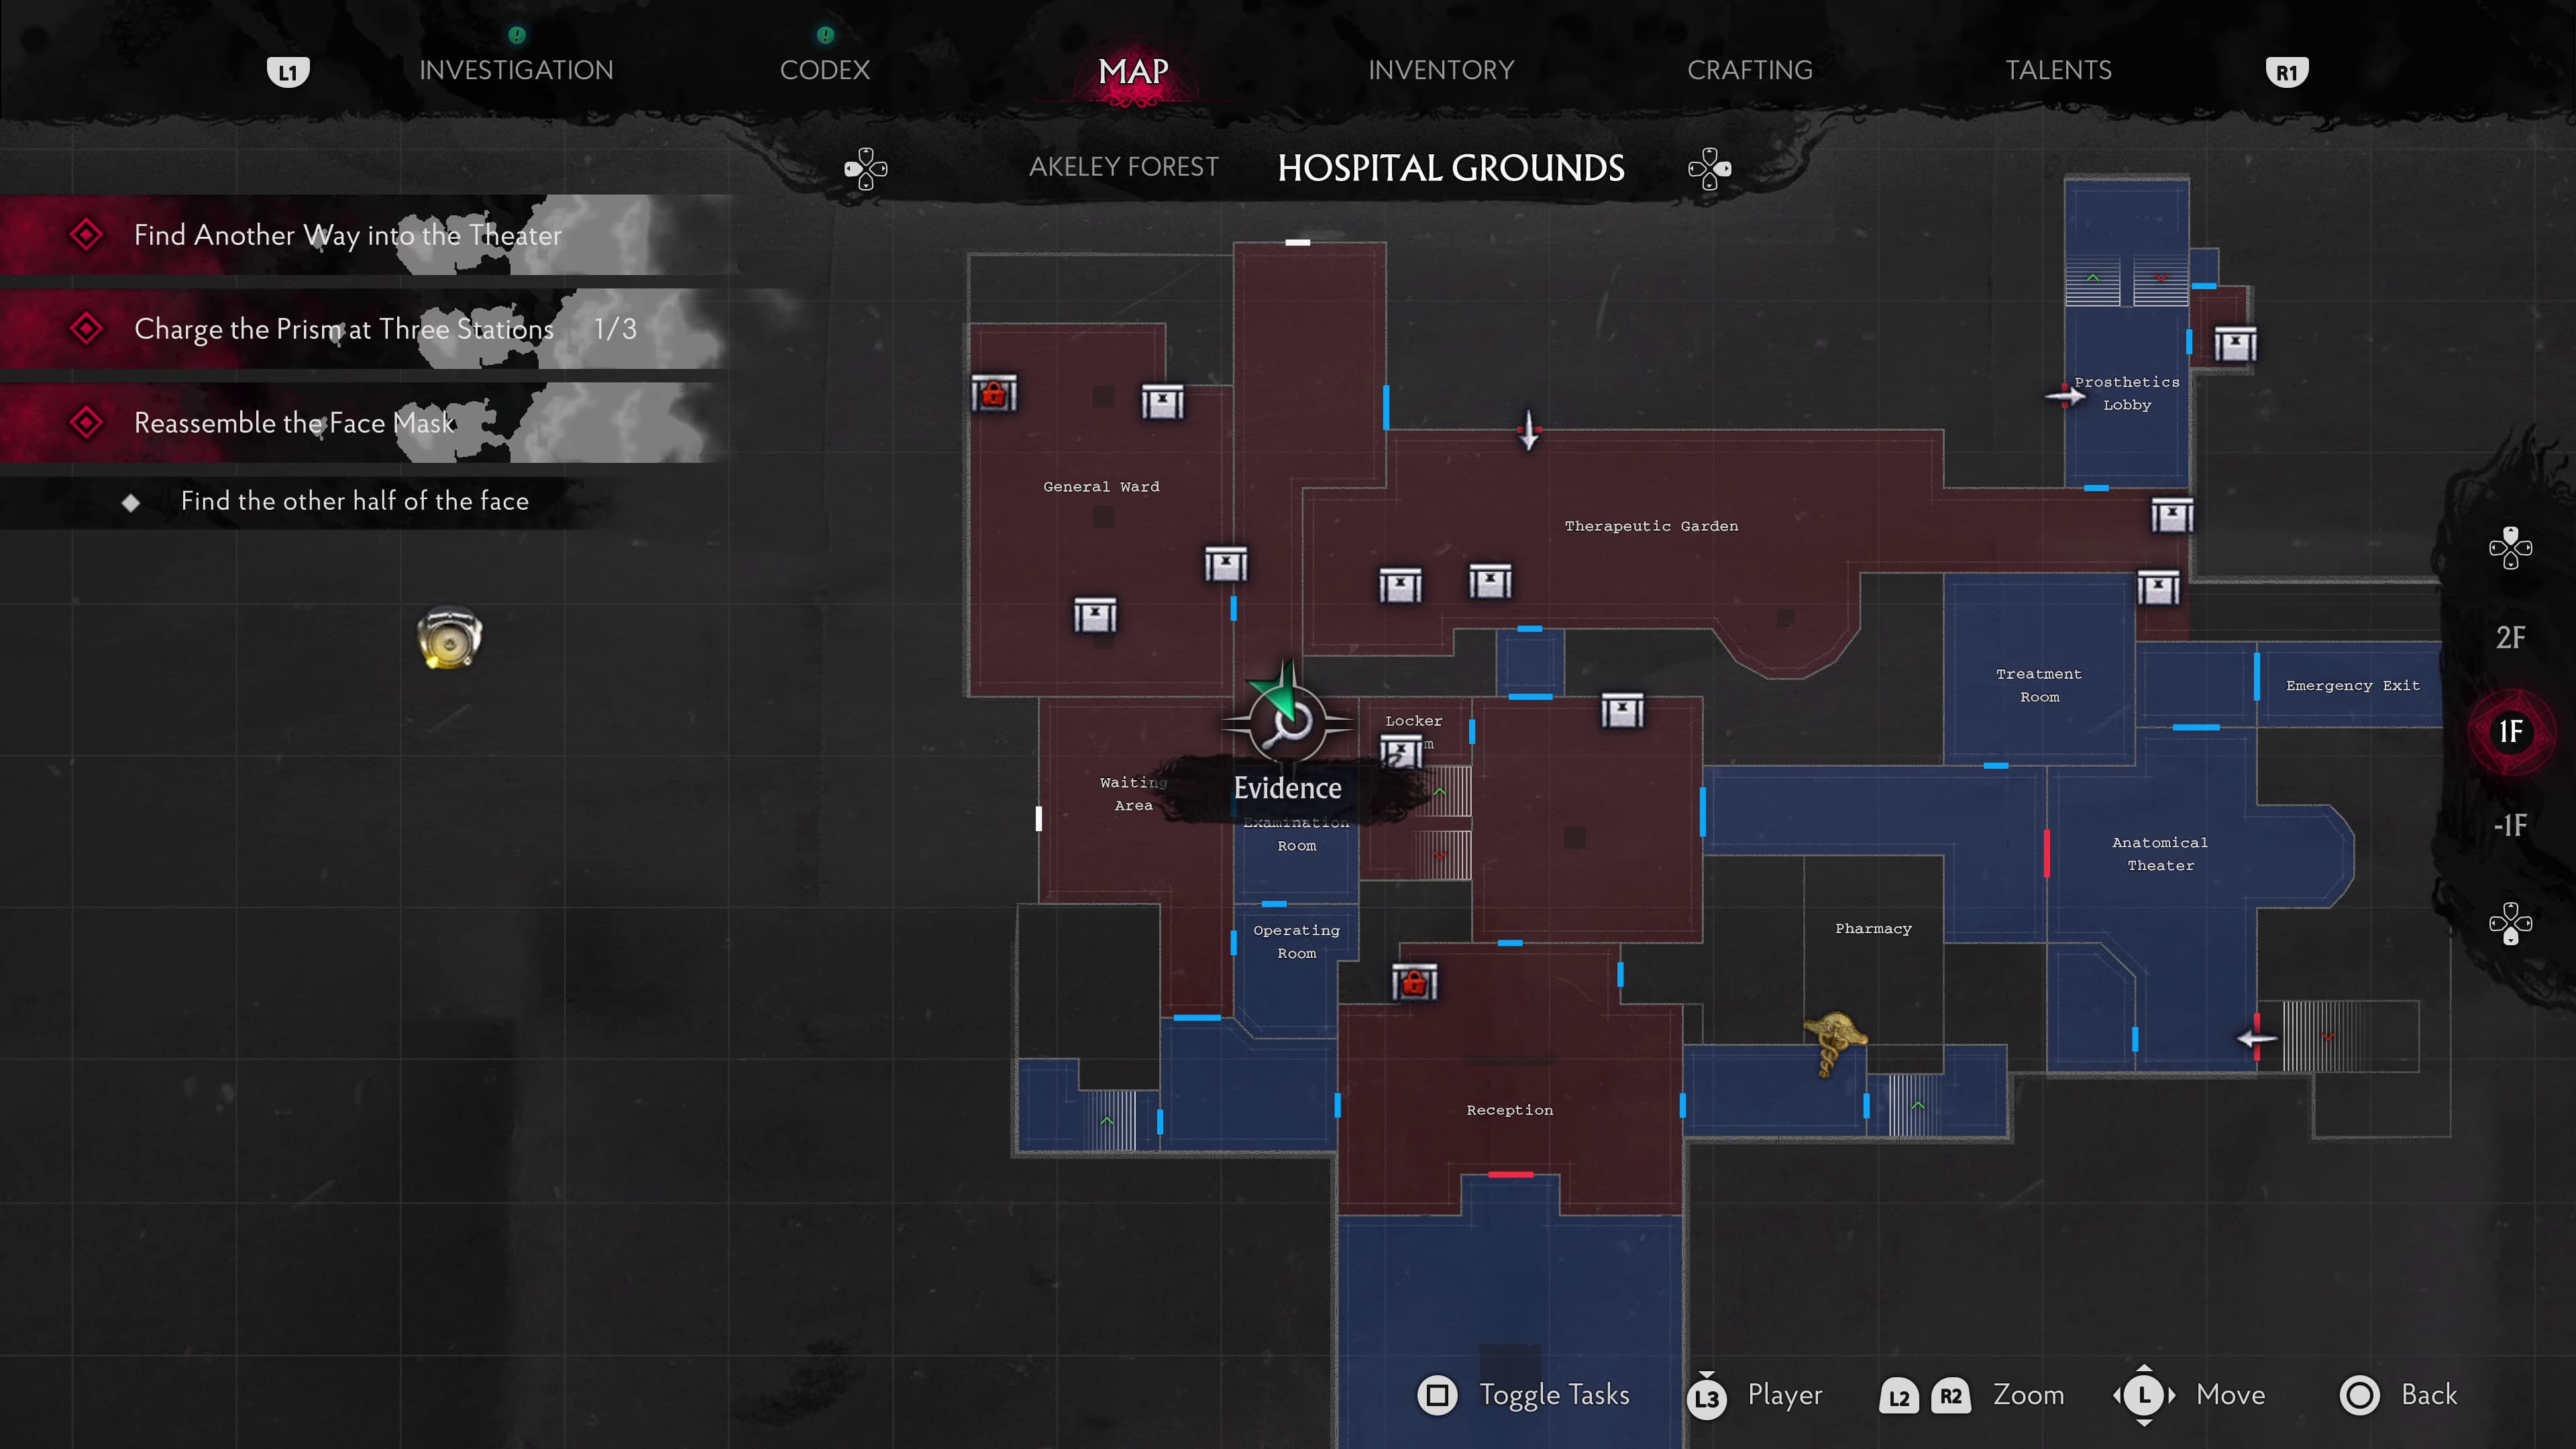
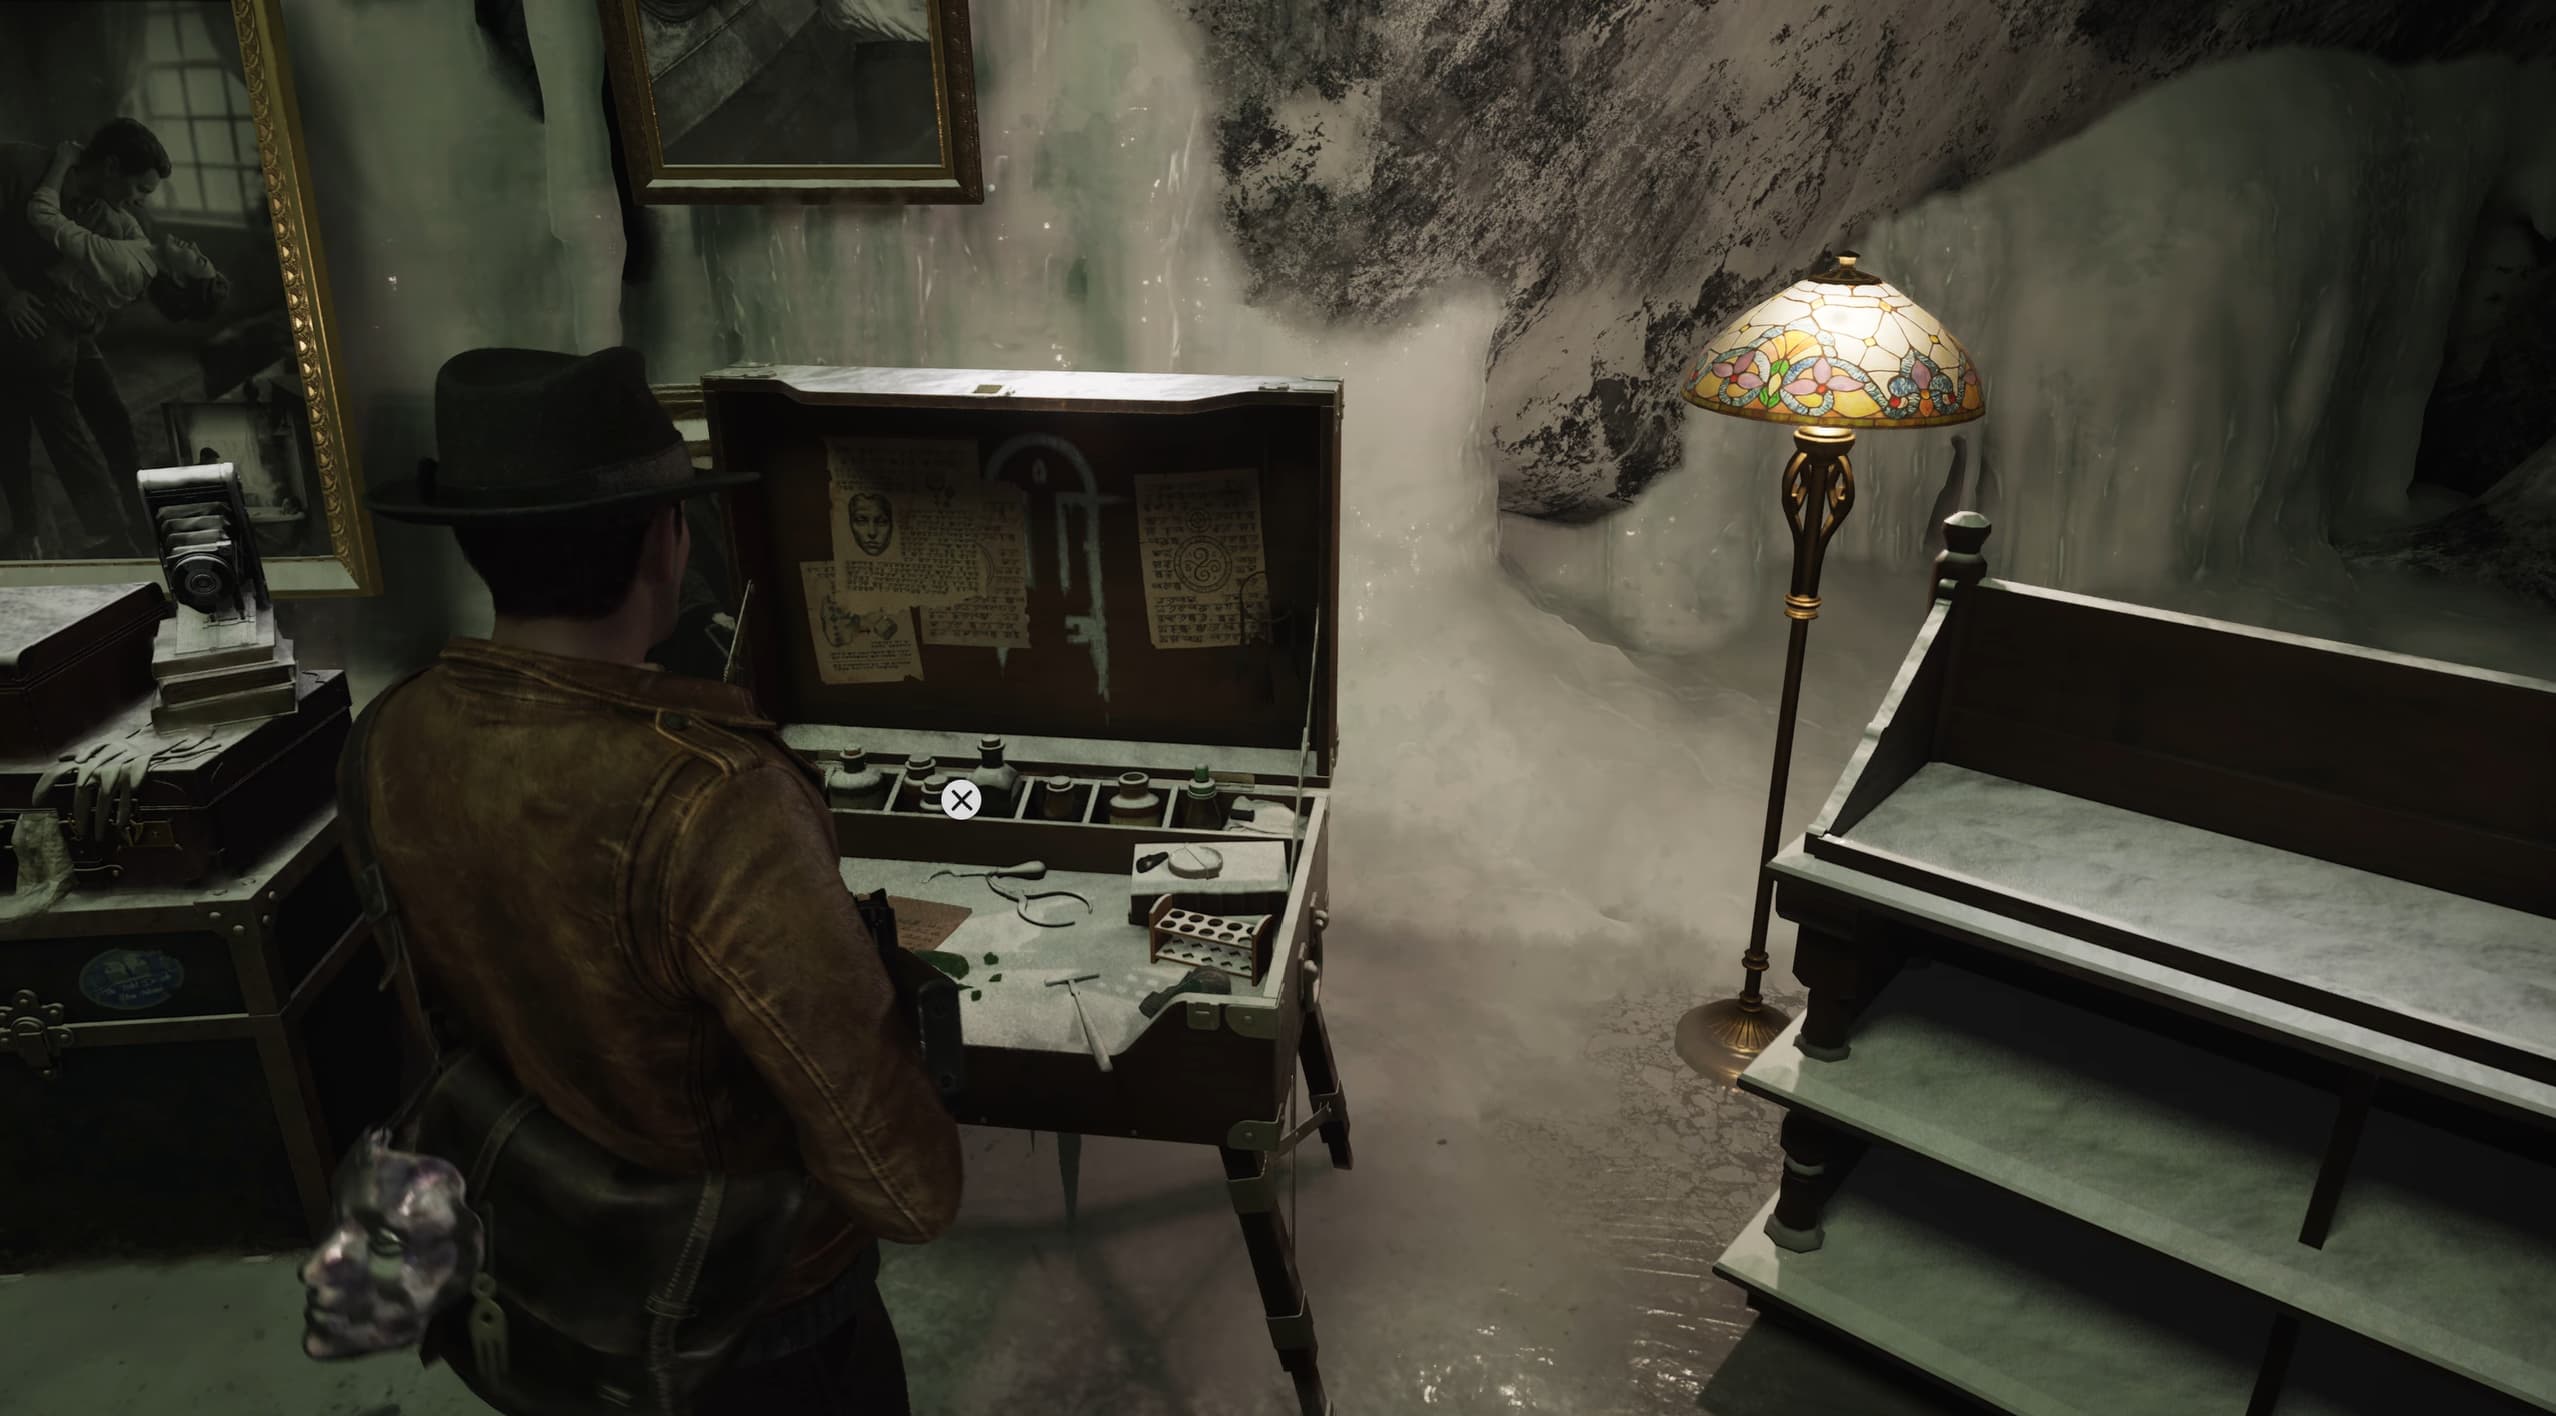
For this Sinking City 2 guide, I'm going to be showing you the locations of all the Evidence / Clue sheets throughout the entire game.
In doing this, you are going to have enough Dream Essence to achieve the What Dreams Are Made Of trophy, after connecting all of the clues together in each level, in your investigation panel.
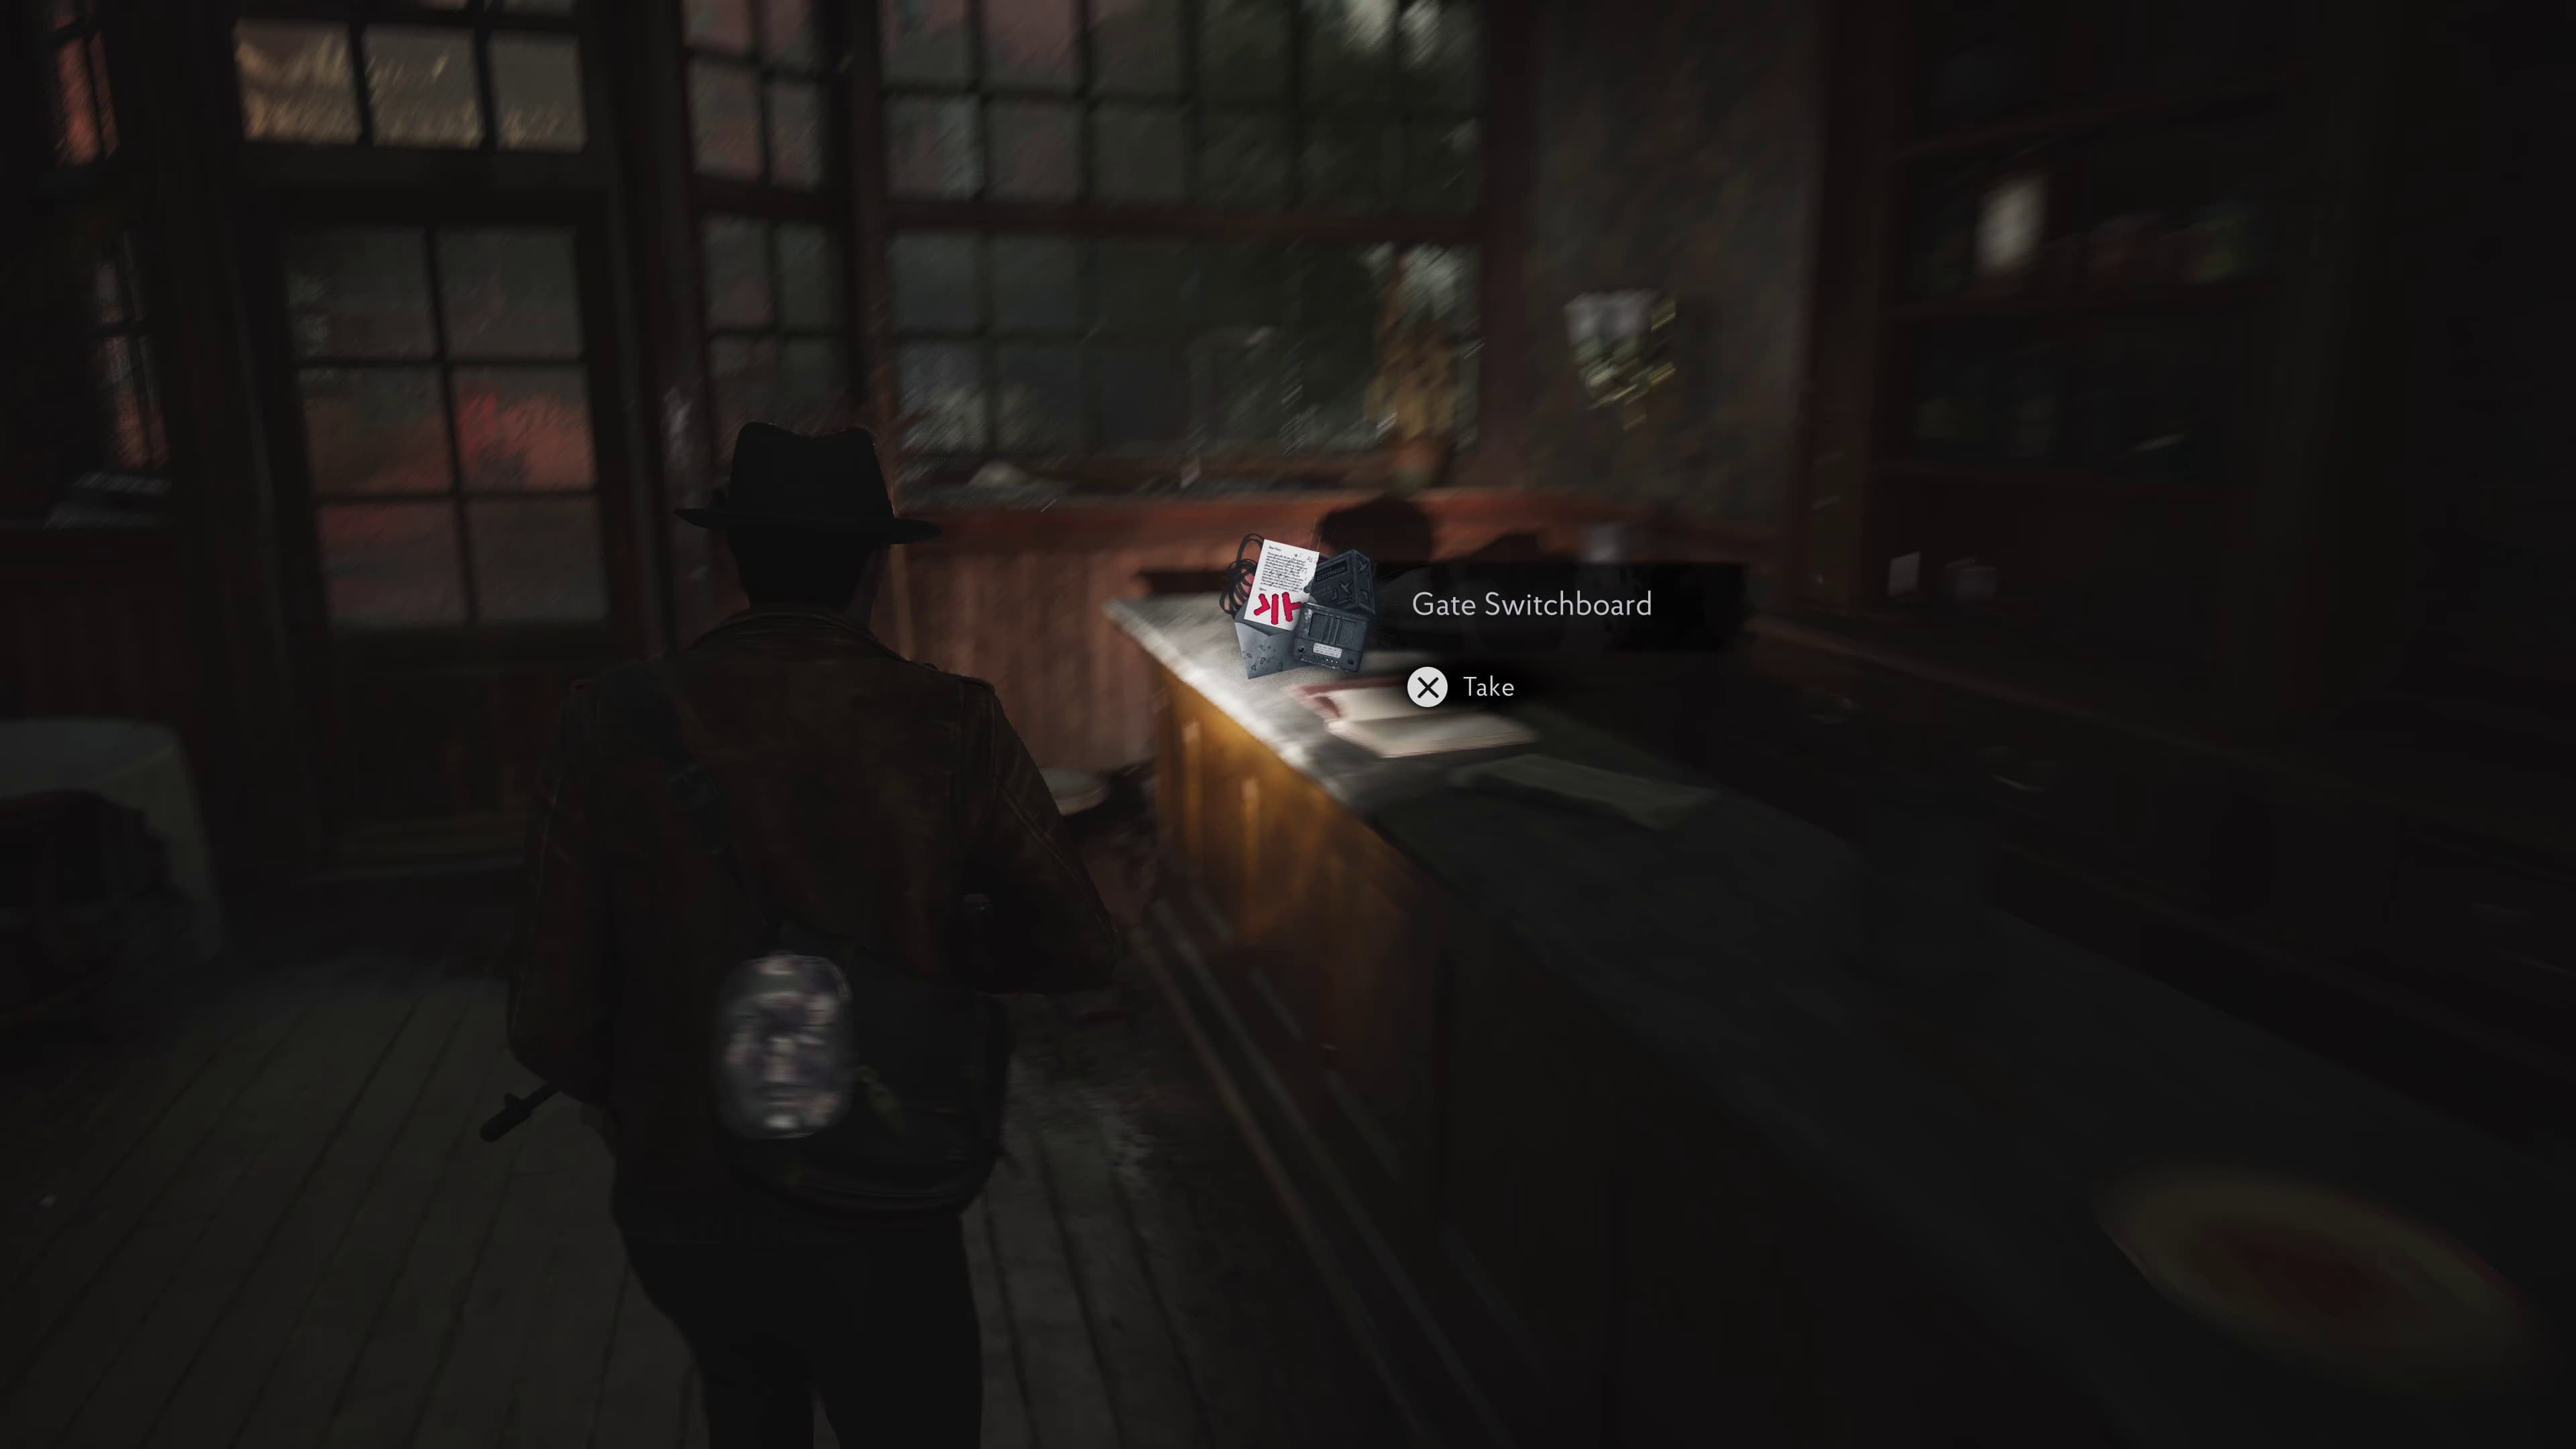
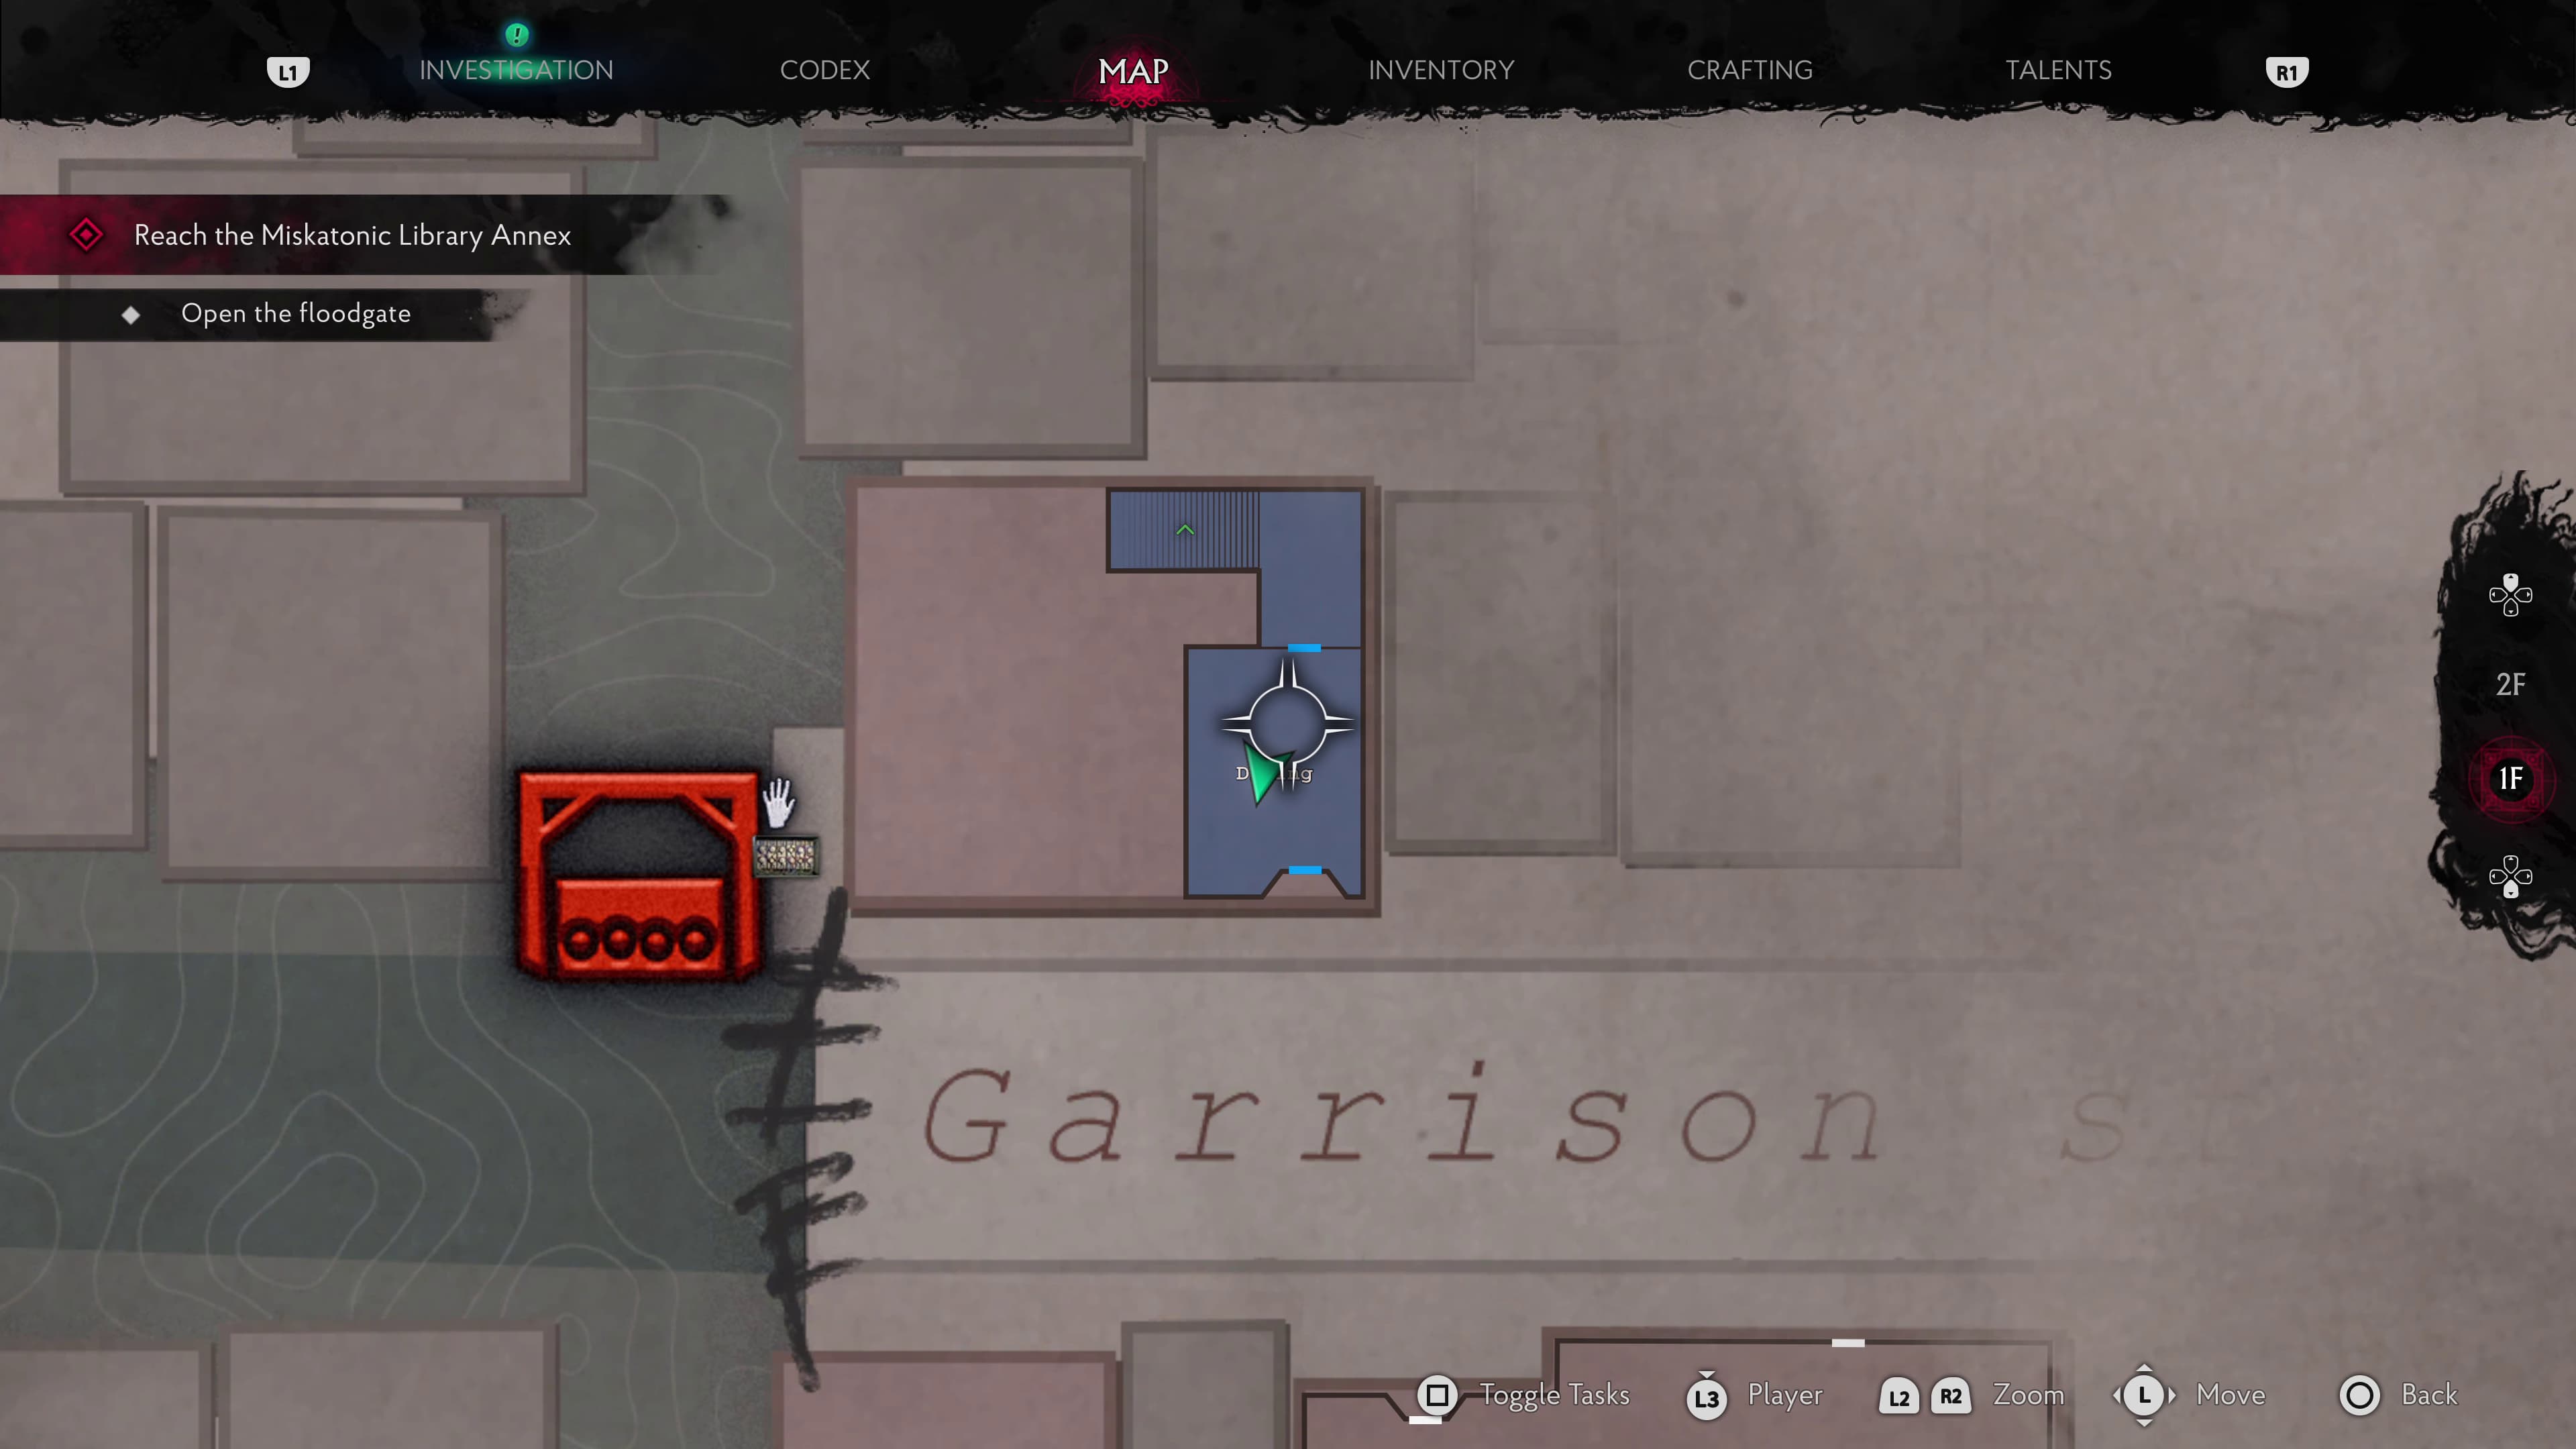
The first Evidence to collect isn't until you make it out of the first save room, where the Fuse Puzzle is so after docking at the first stop and once you make it into the save room in the house, keep advancing down the stairs and into the Dining area. On the bar will be the first Evidence to collect (Gate Switchboard).
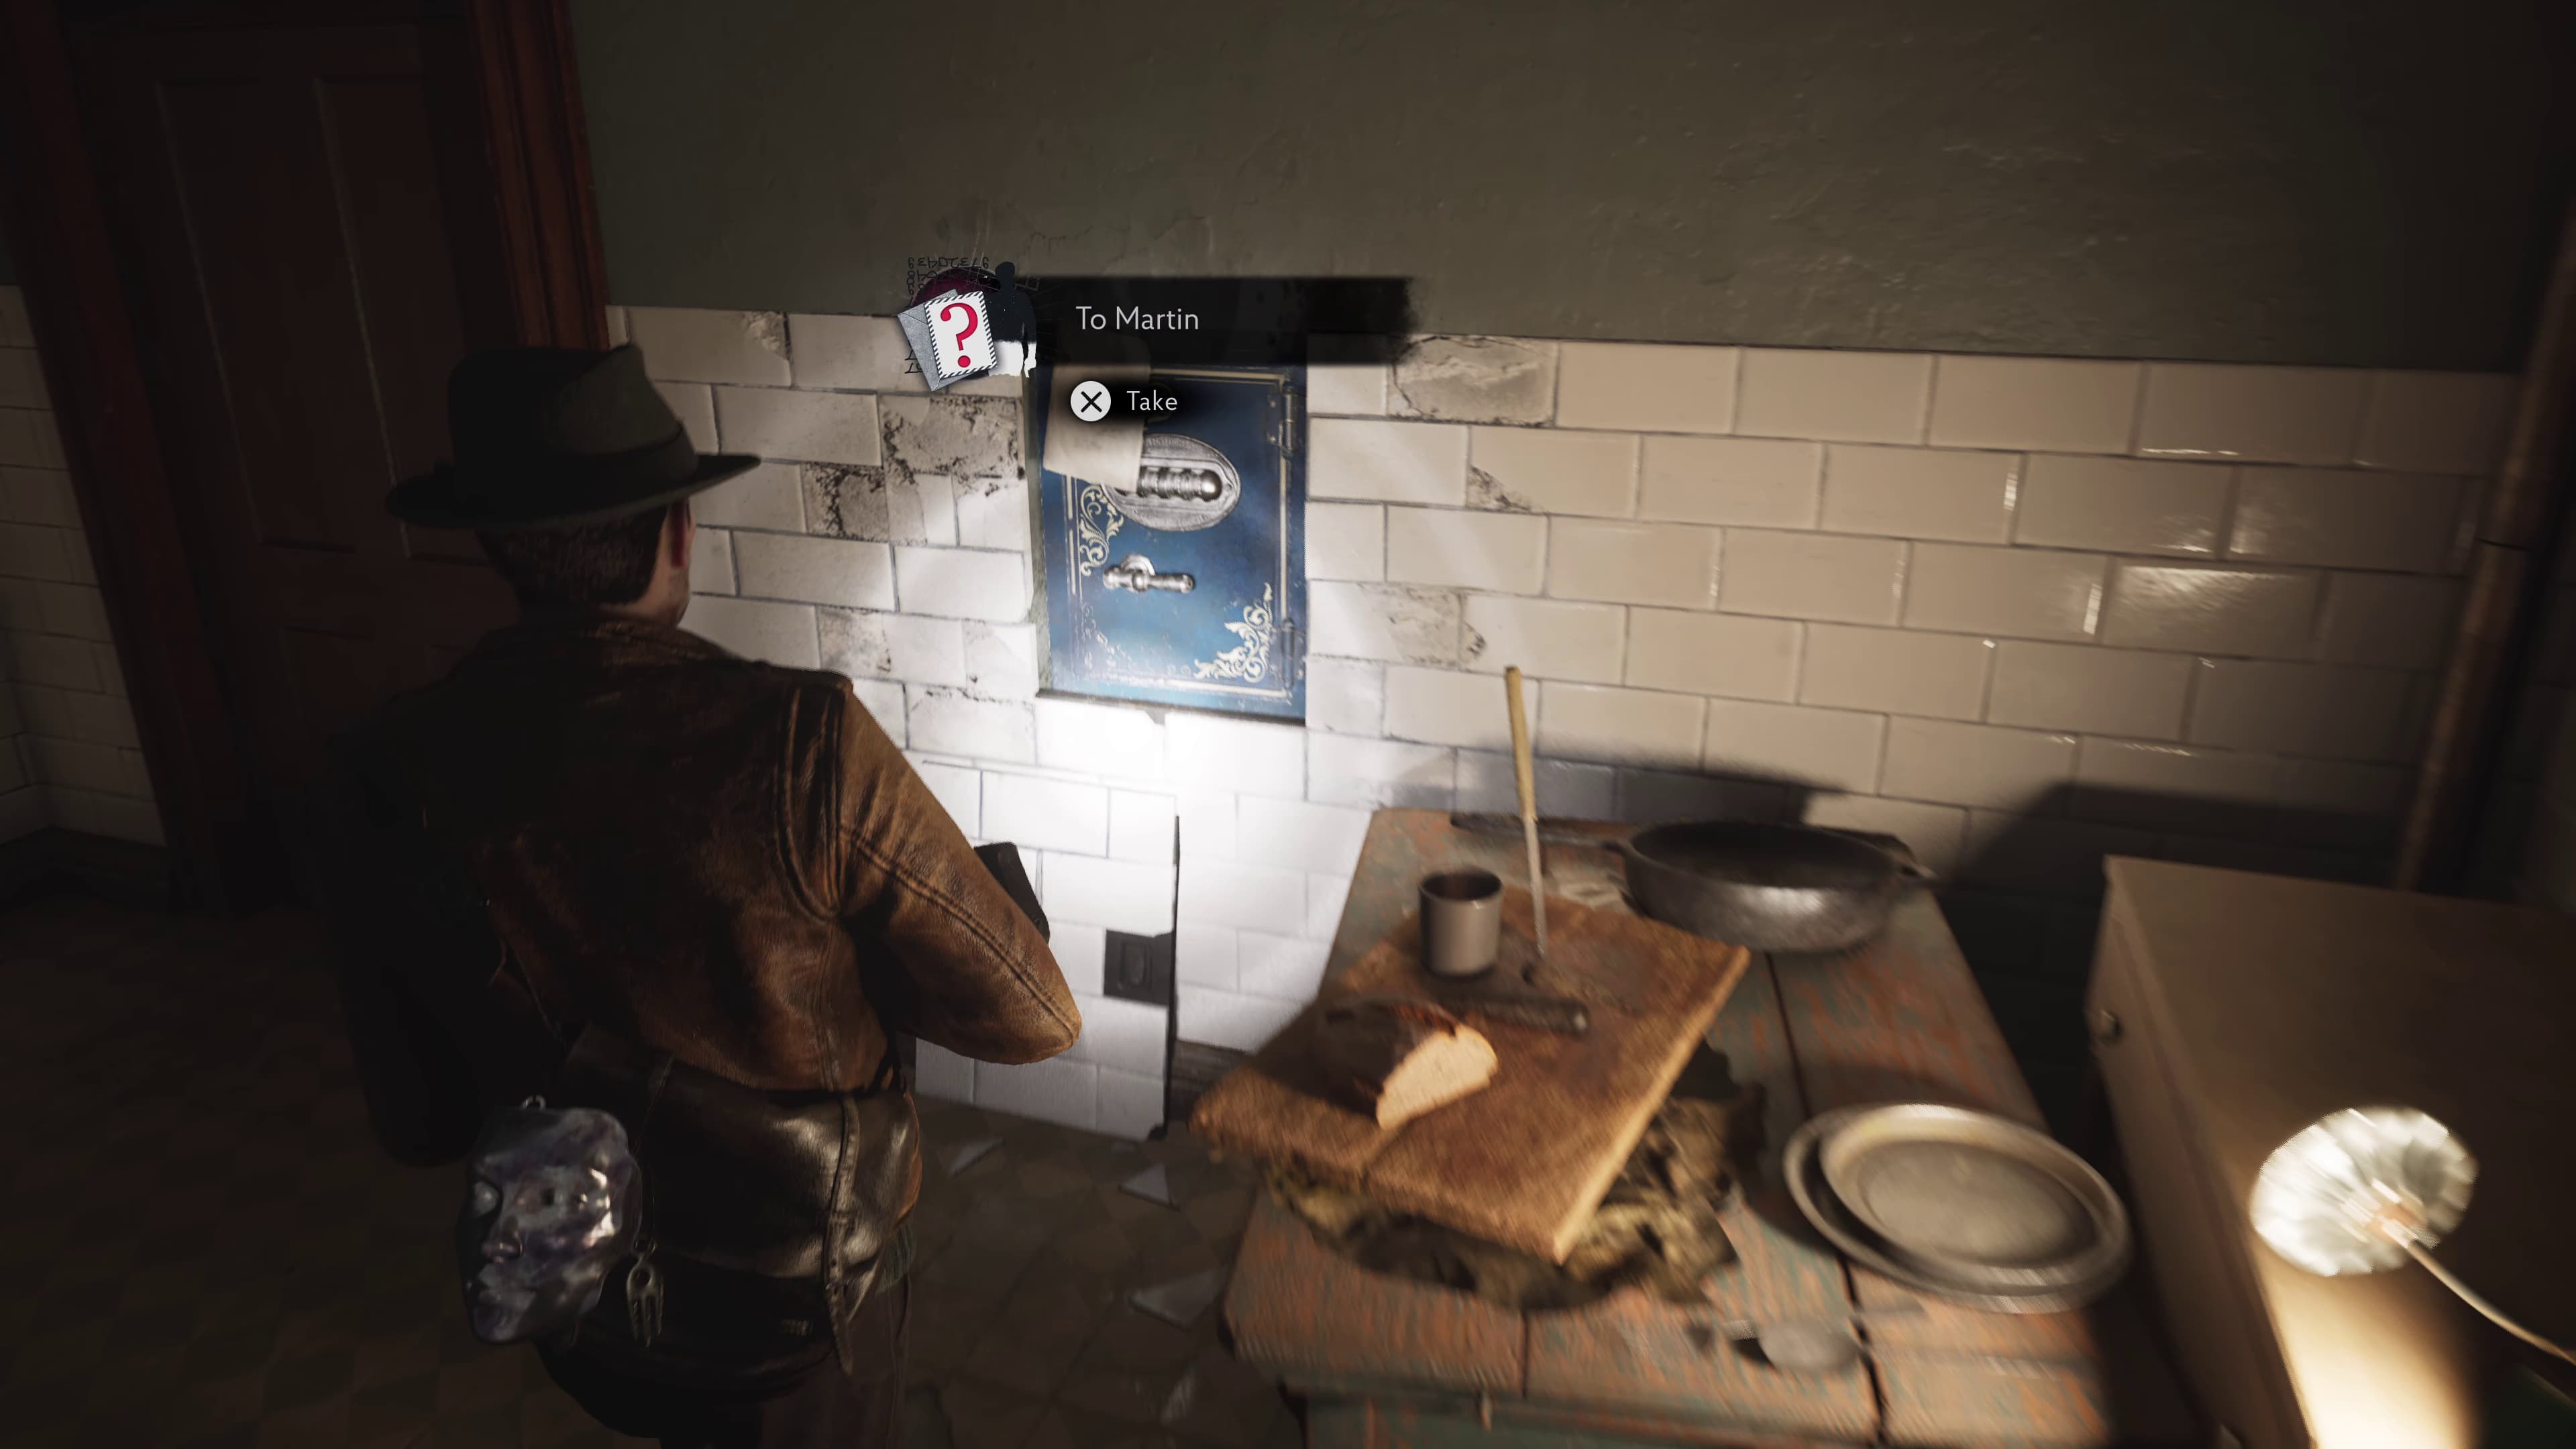
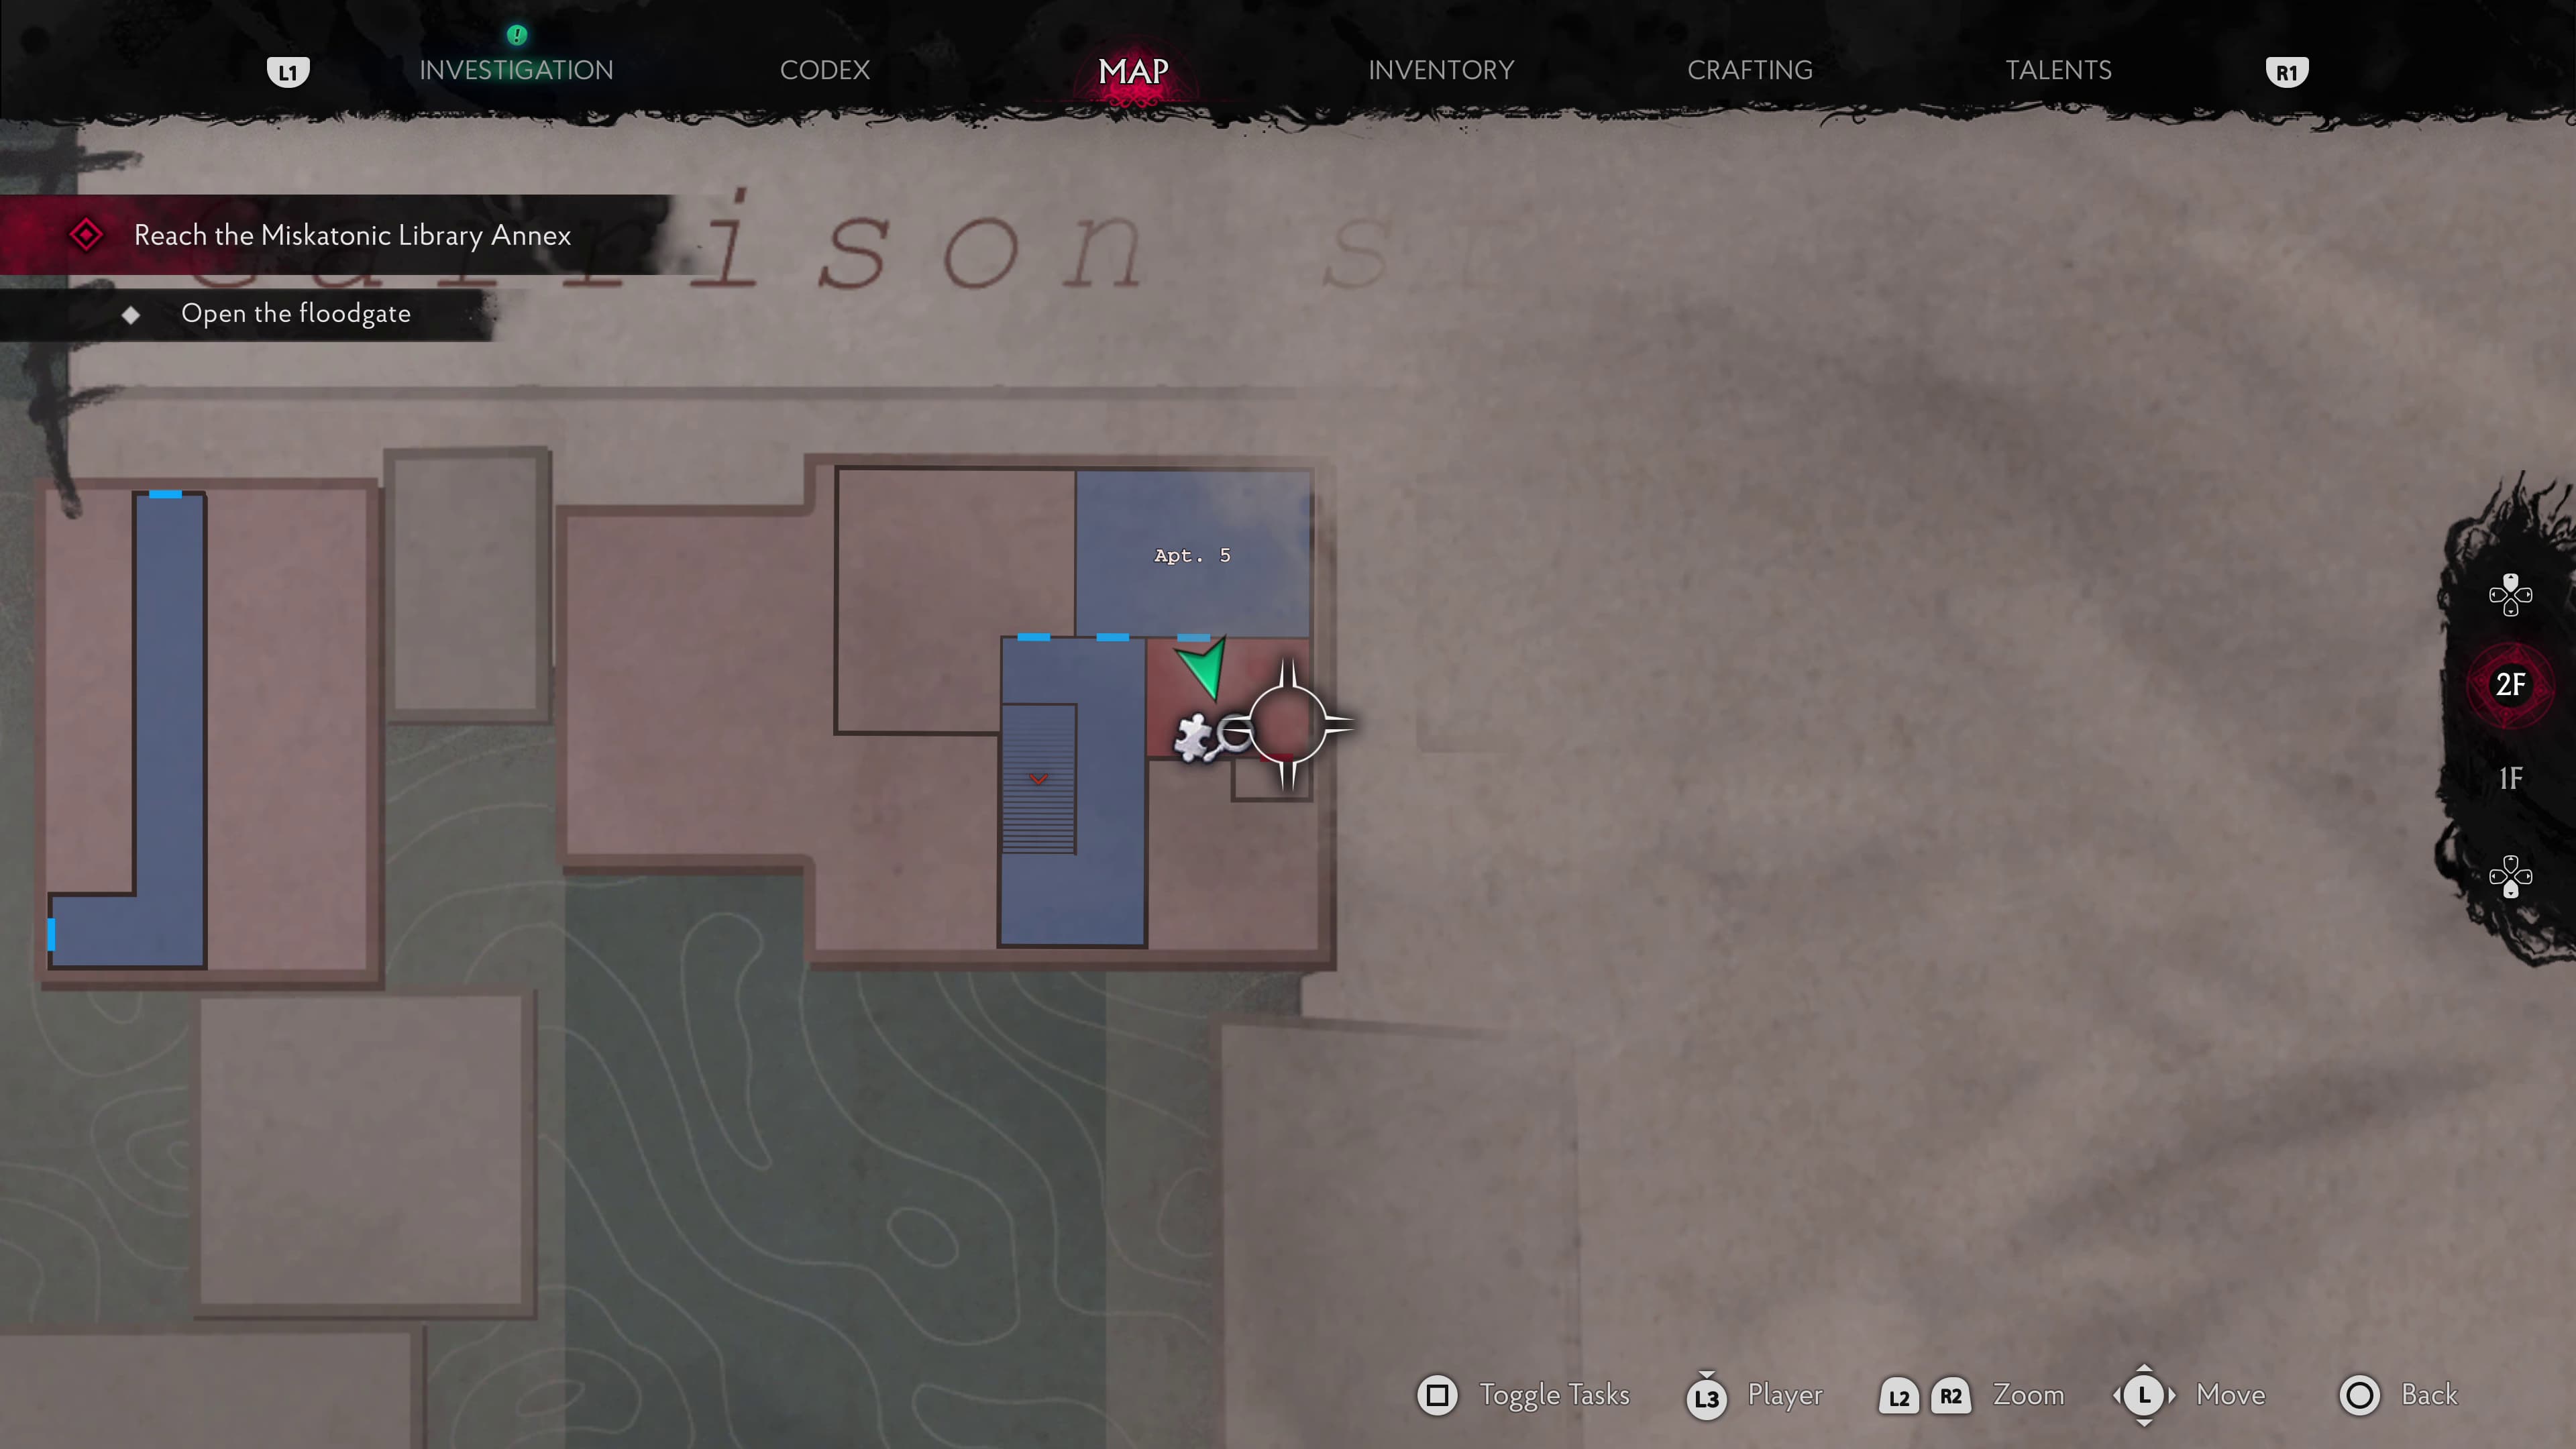
Keep advancing outside and make it over to the left and into the building with the white door. Head upstairs and into Apartment 5, in the kitchen here on the safe in the wall, will be the next Evidence (To Martin). (Safe code 1908)
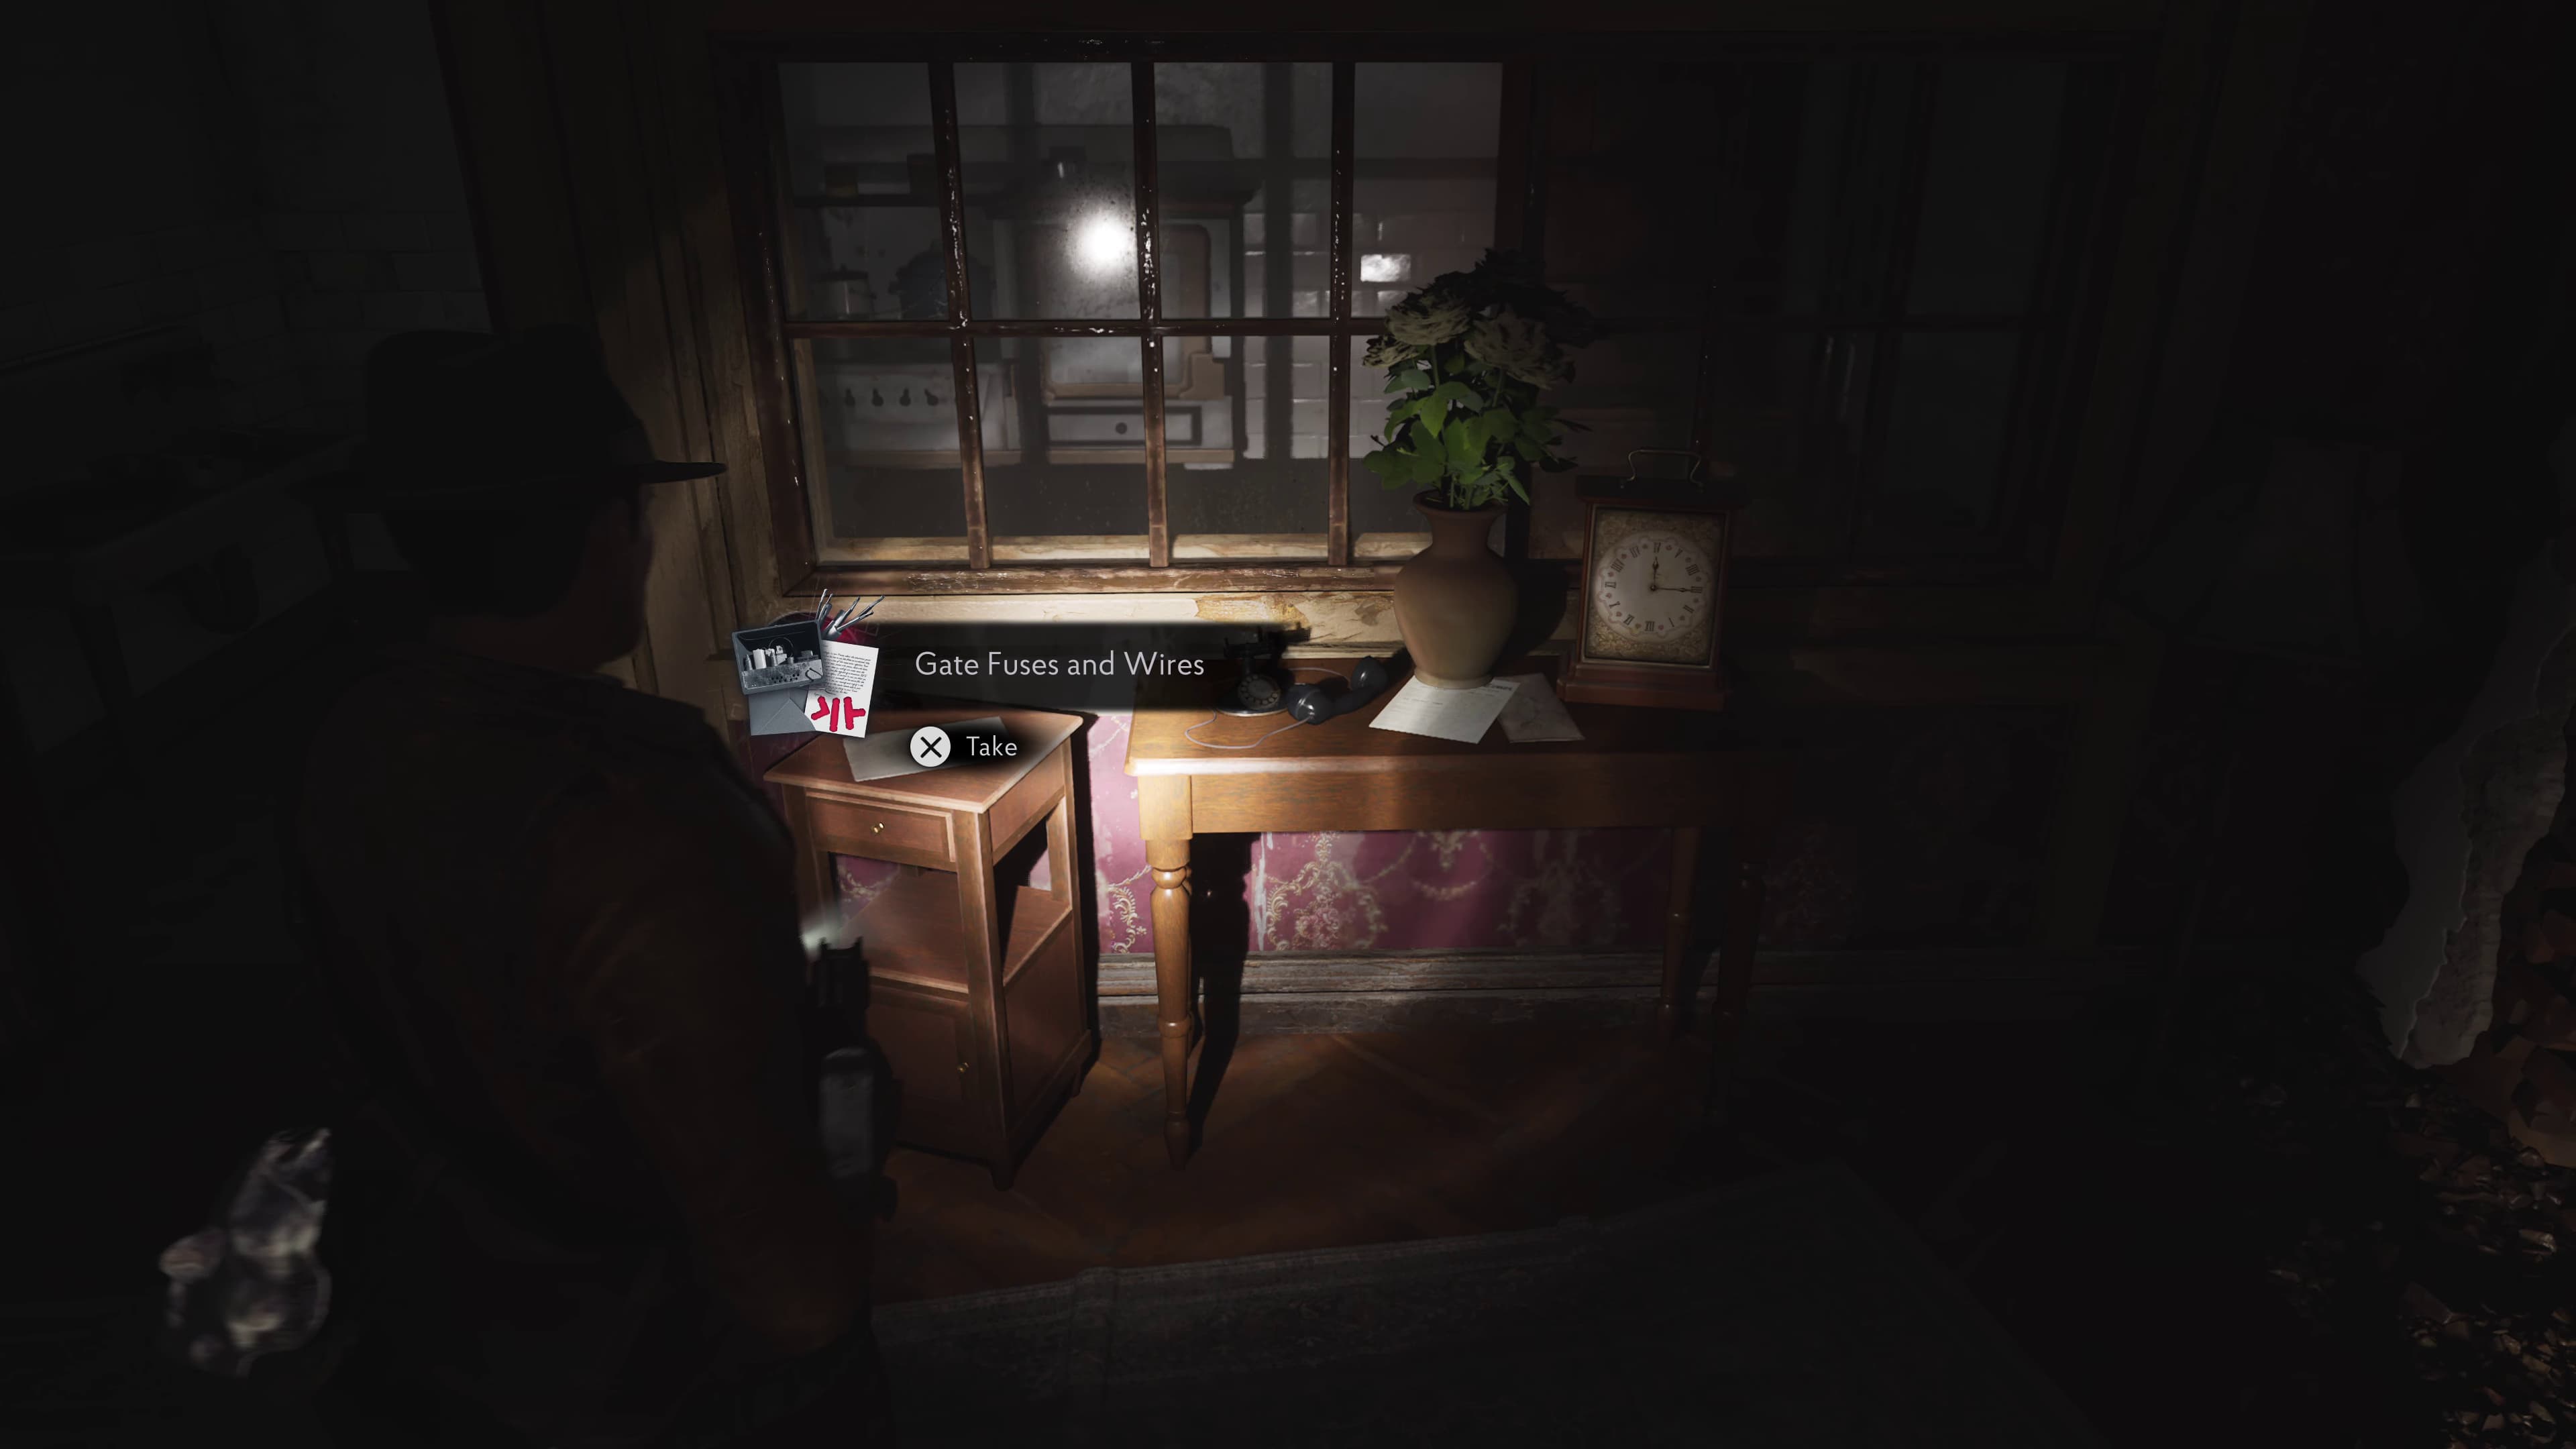
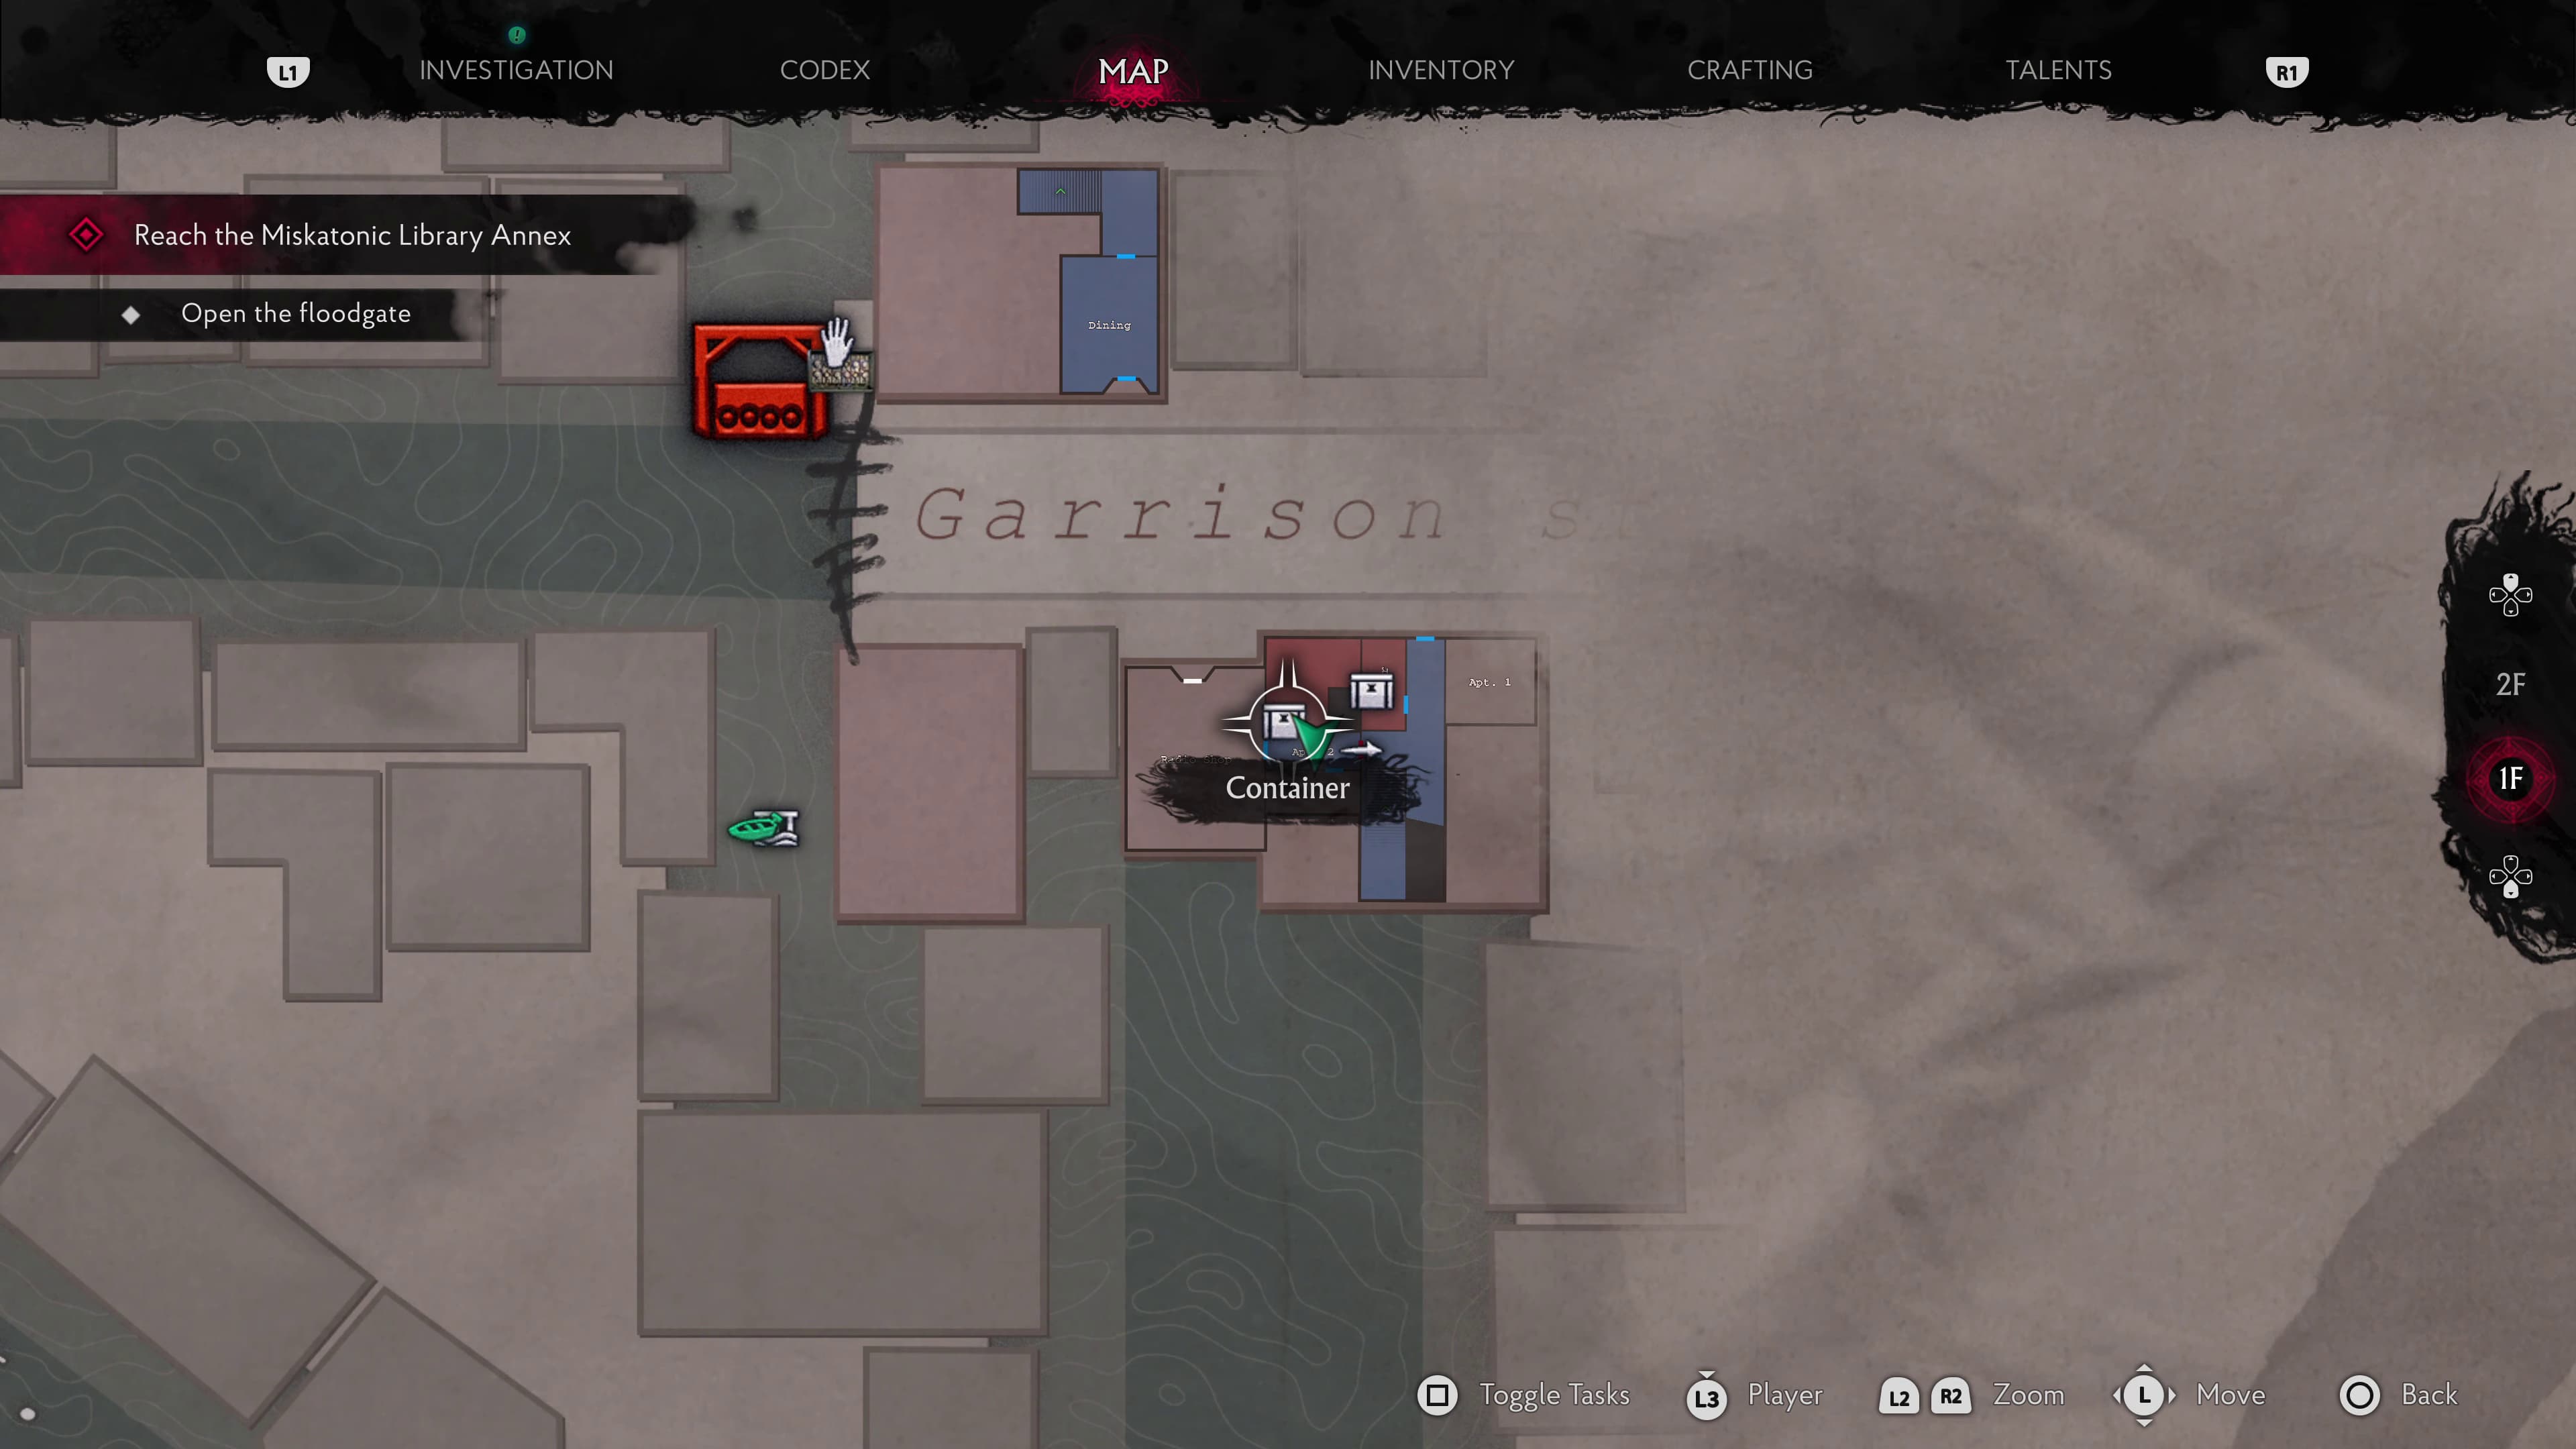
After dropping down to the ground floor through Apartment 6, make your way towards the corridor of Apartment 2, on the small cabinet ahead will be the next Evidence (Gate Fuses and Wires).
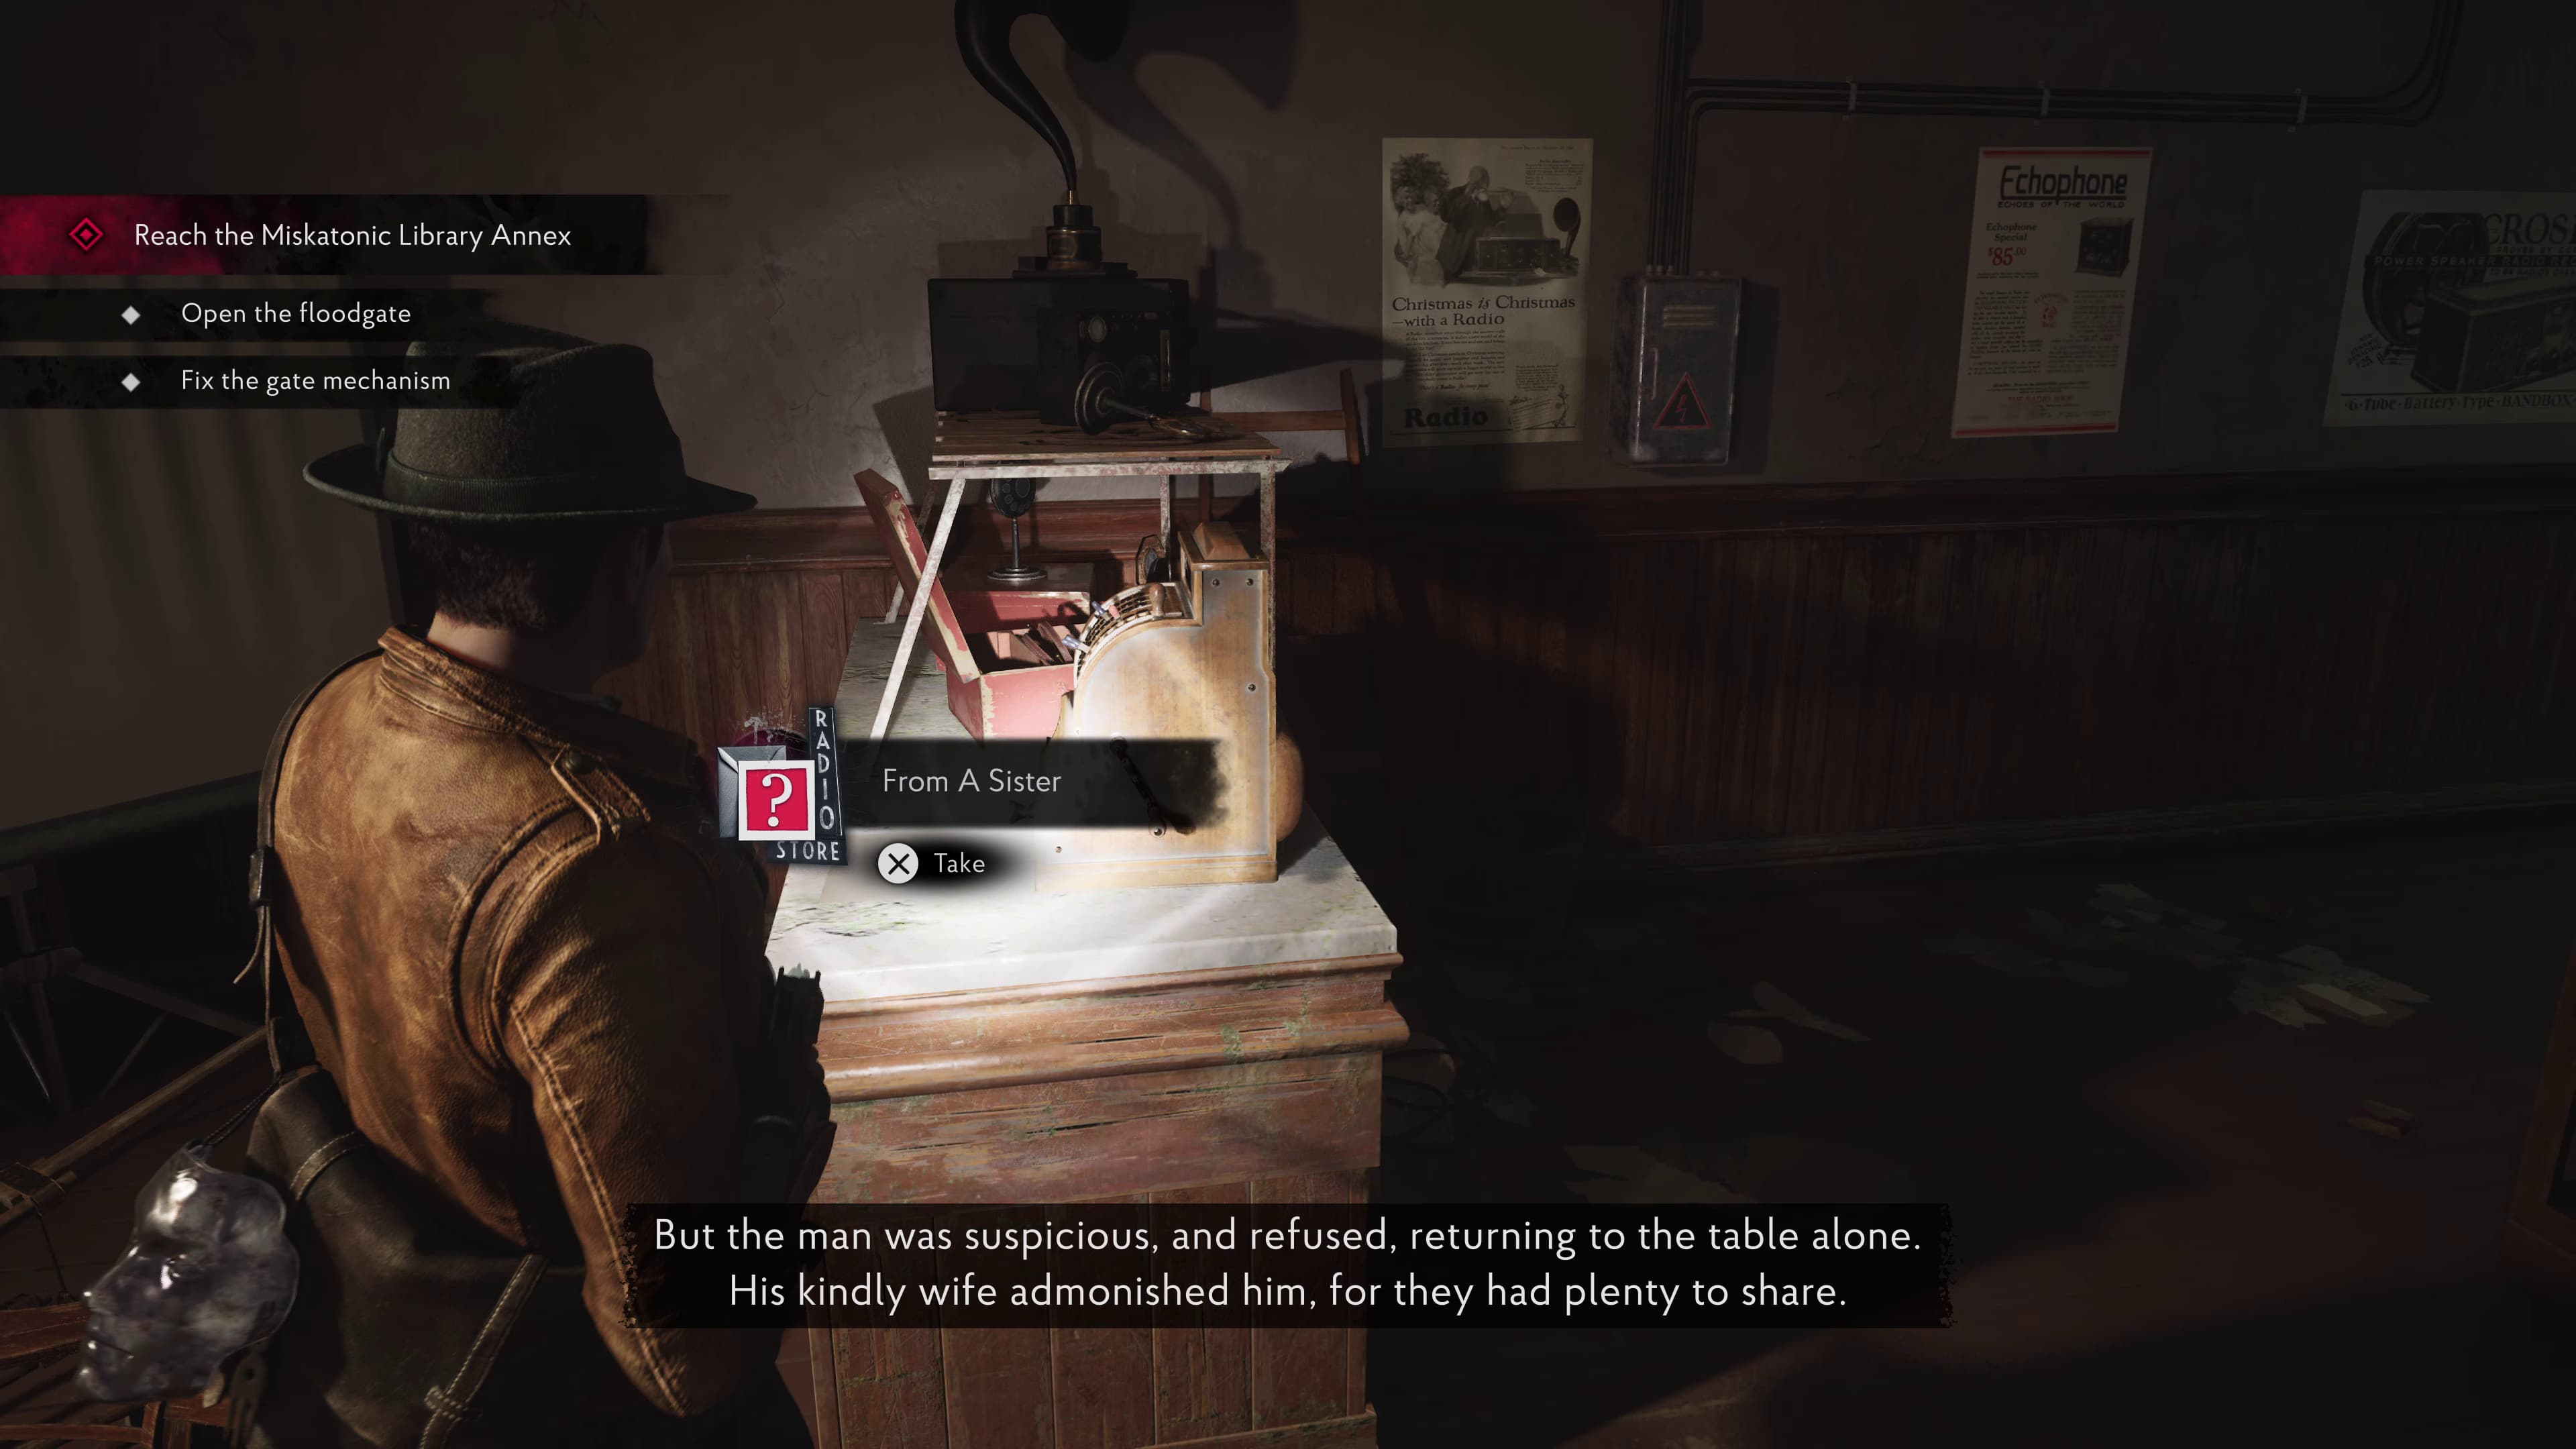
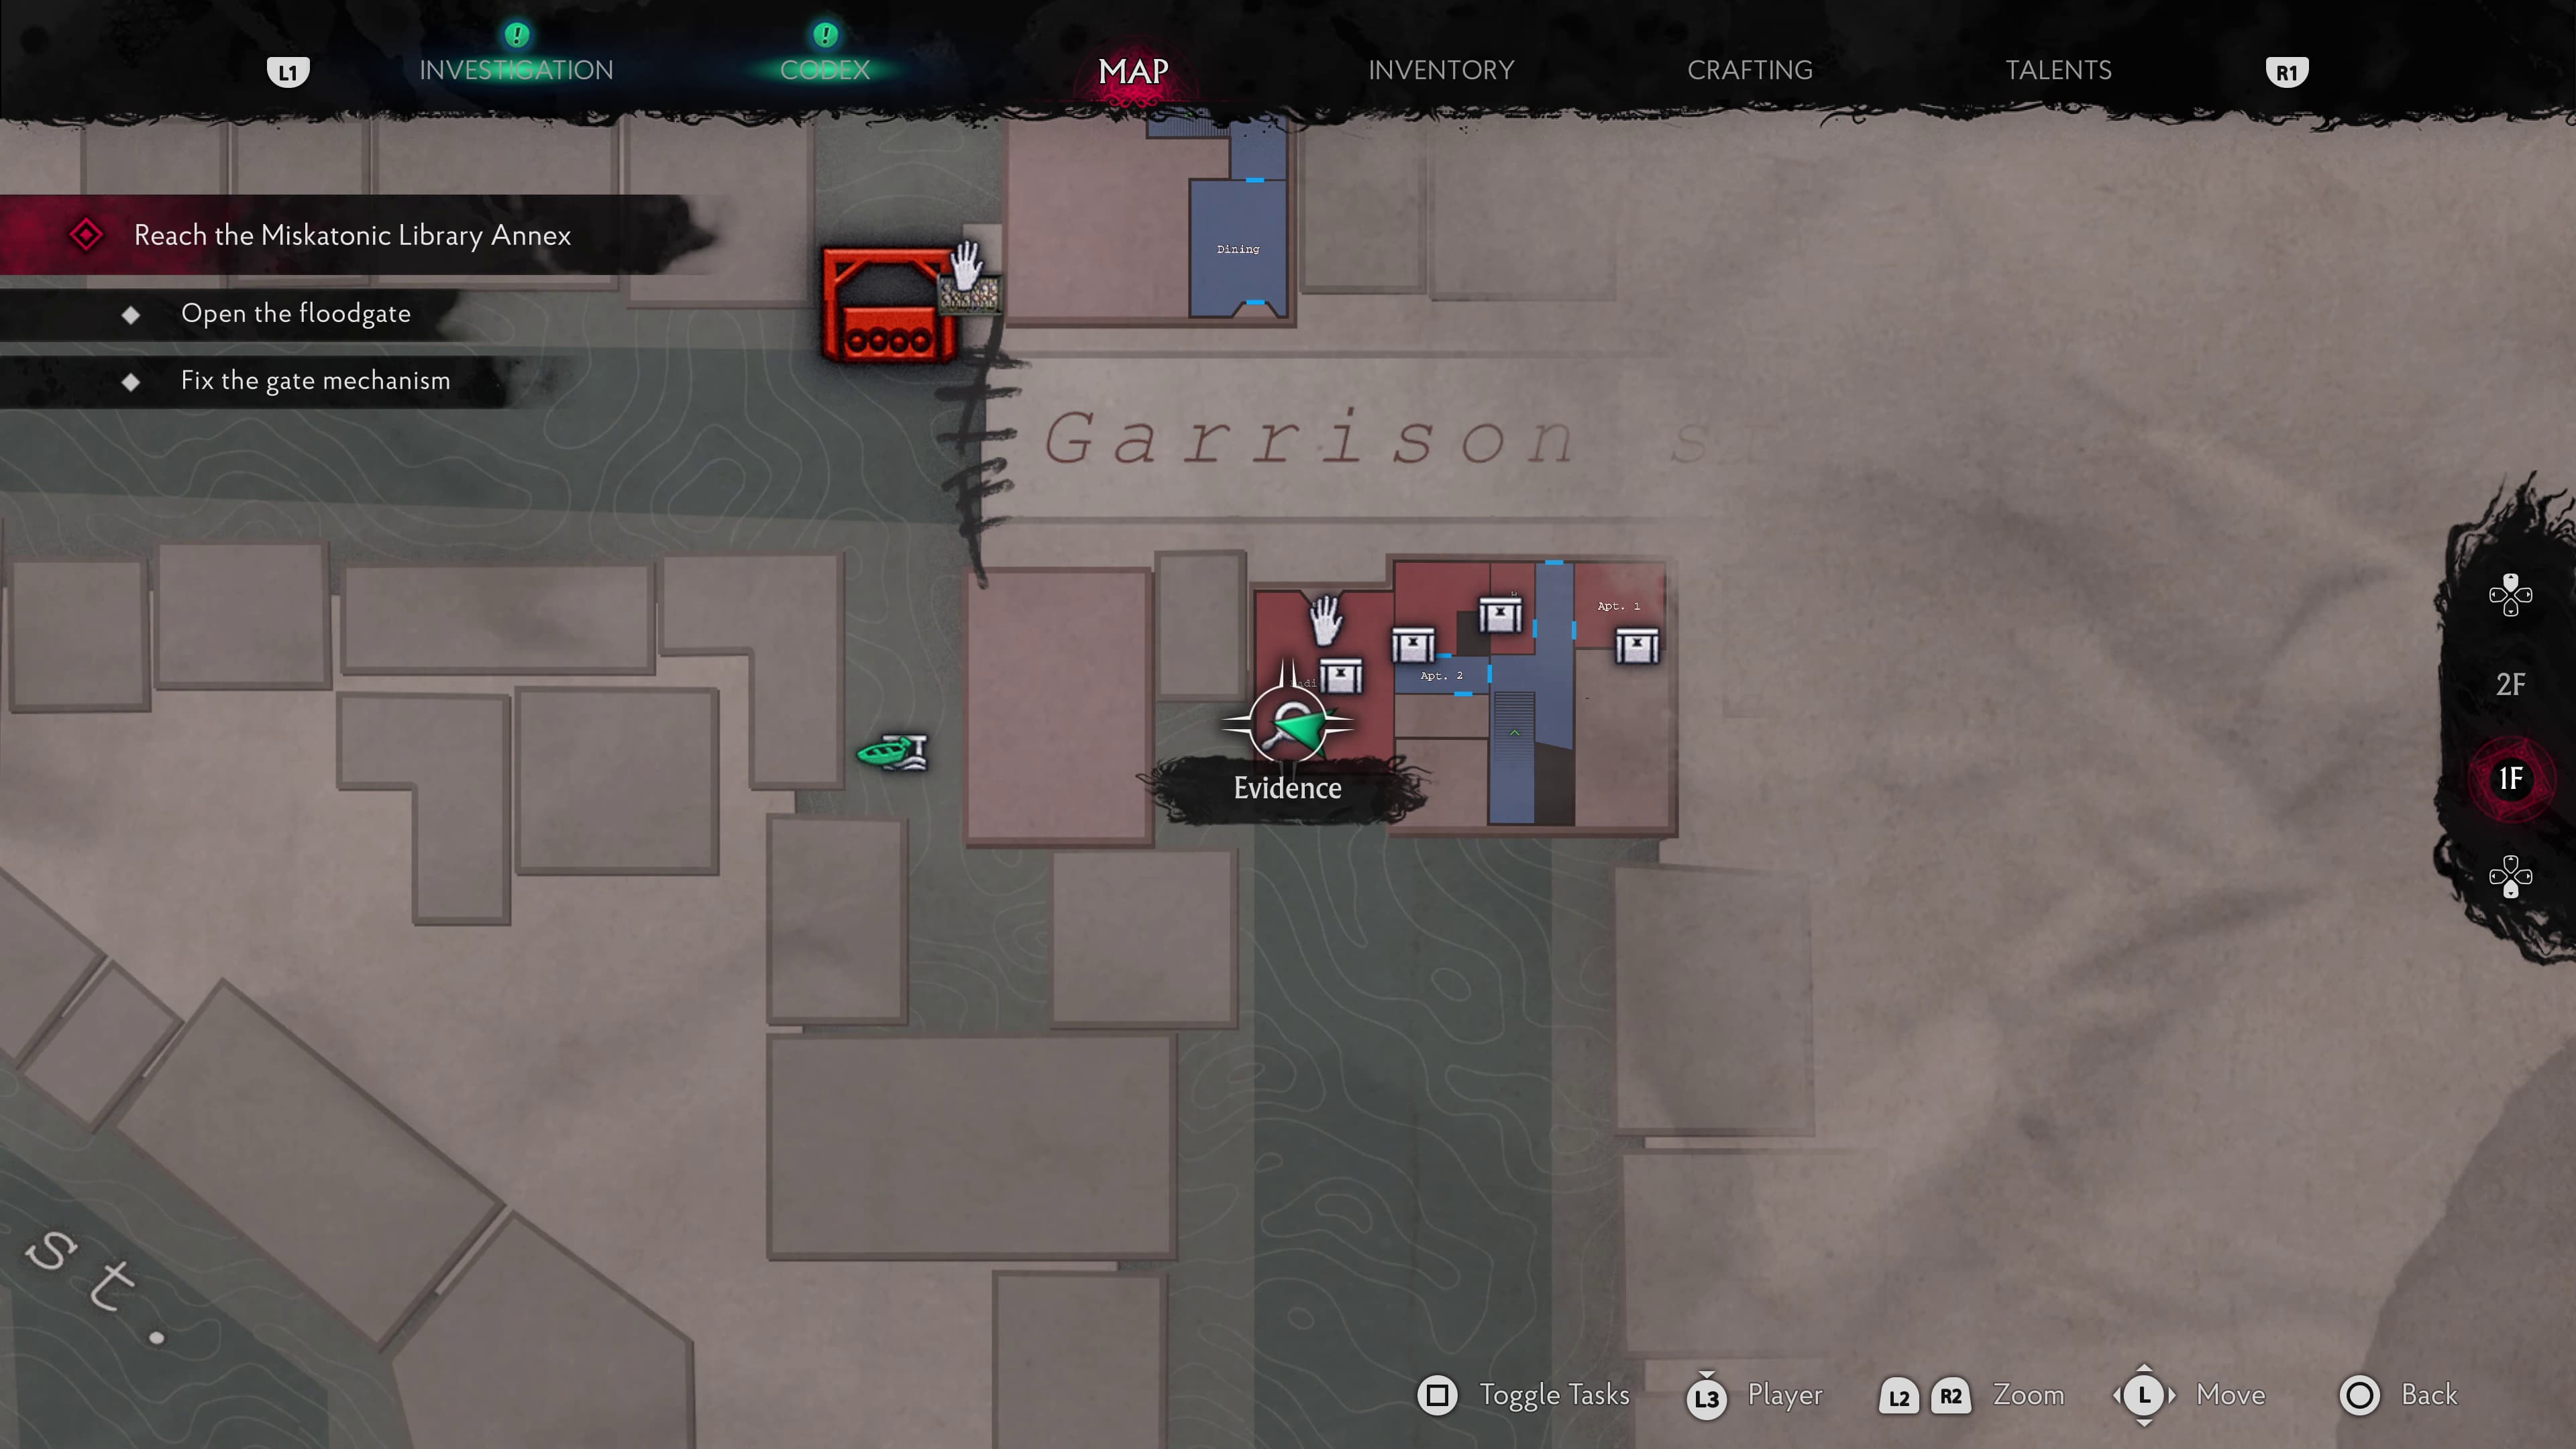
Make your way through the hole in the brick wall and into the Radio Shop. Heading to the left, along the back you will find the Fuses (Key Item), after the cutscene and taking out the enemy, on the counter to the right of the Fuses, will be the next Evidence (From A Sister).
This is all of the Evidence for the A New Day segment, so make sure you are connecting everything together and keep progressing until we enter the University where we will begin The Wake Up Call.
The Wake Up Call
In this area there will be:
16 Evidence / Clues
The first Evidence isn't until the Church area in this section, so keep progressing until you make it here, after advancing for a while, make sure you have collected the Church Key from the statue in the shallow water area and backtrack and unlock the white door to get into the Church.
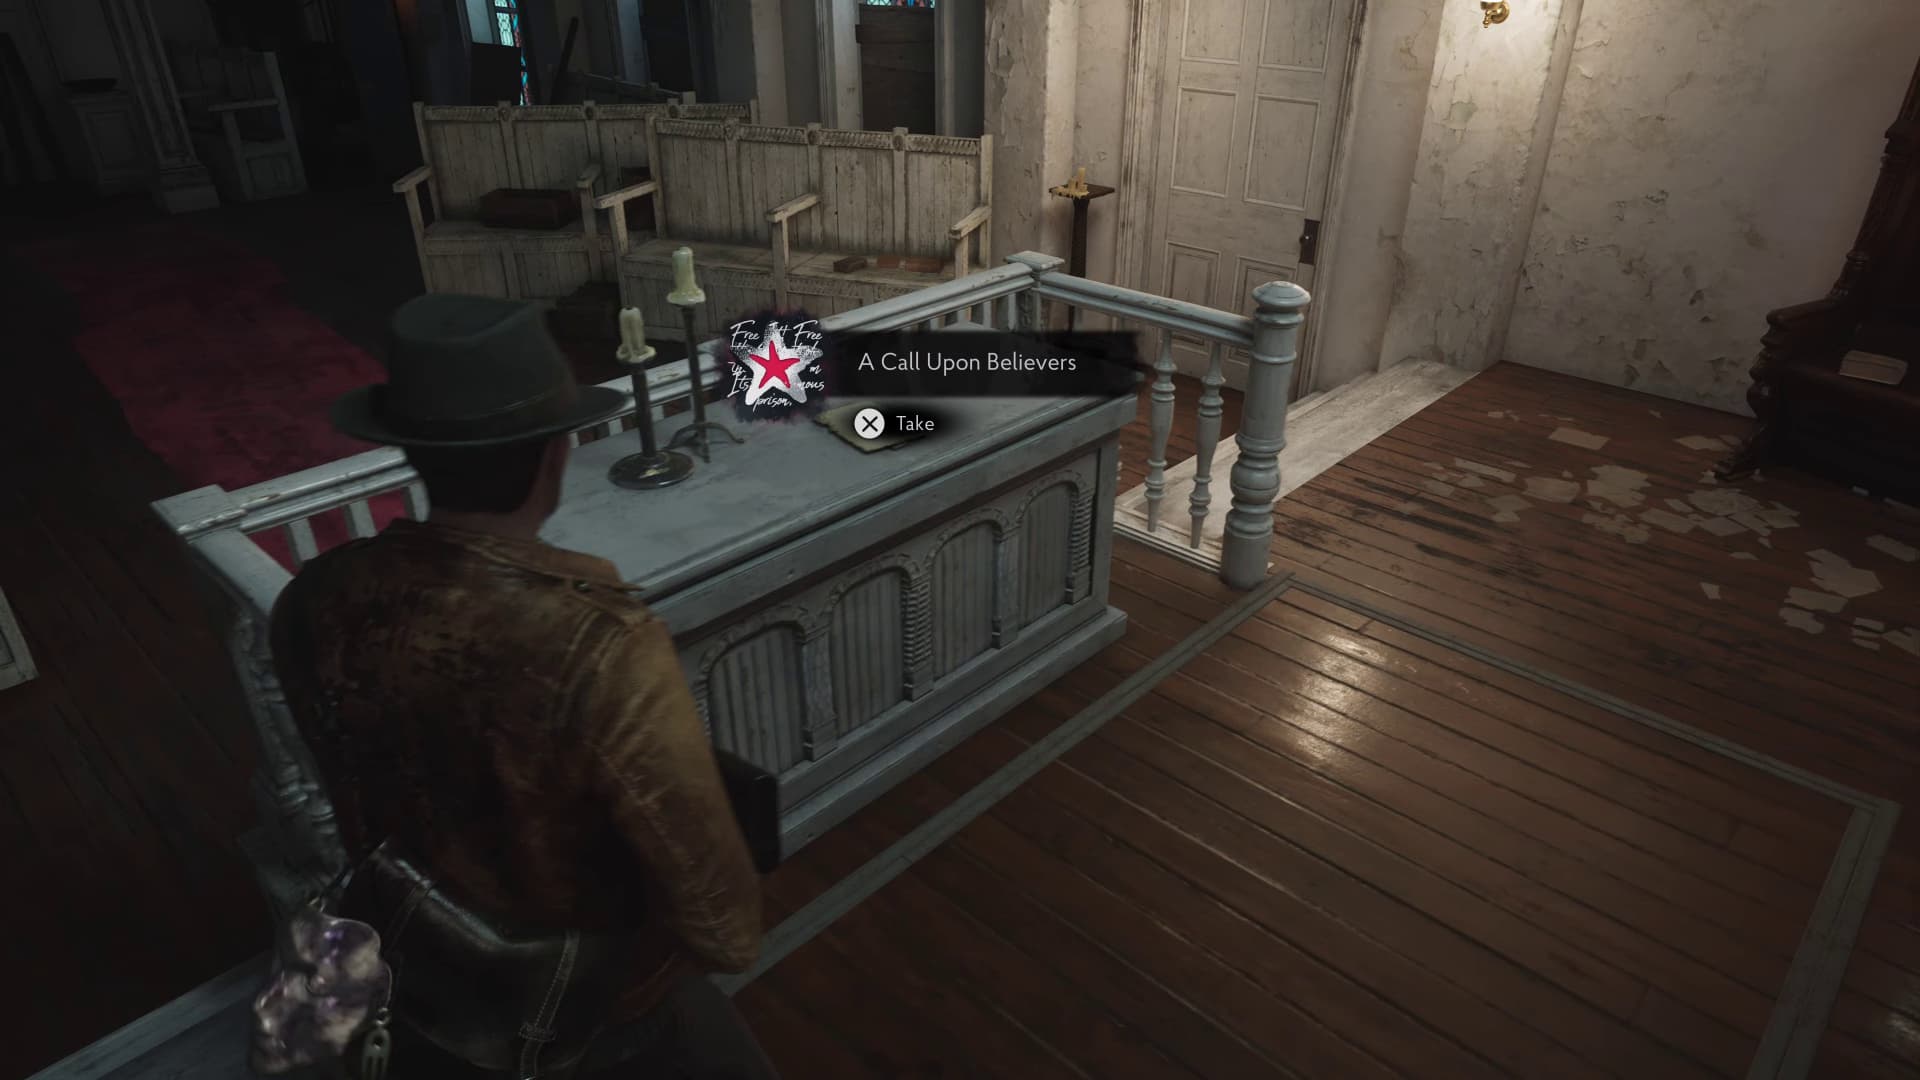
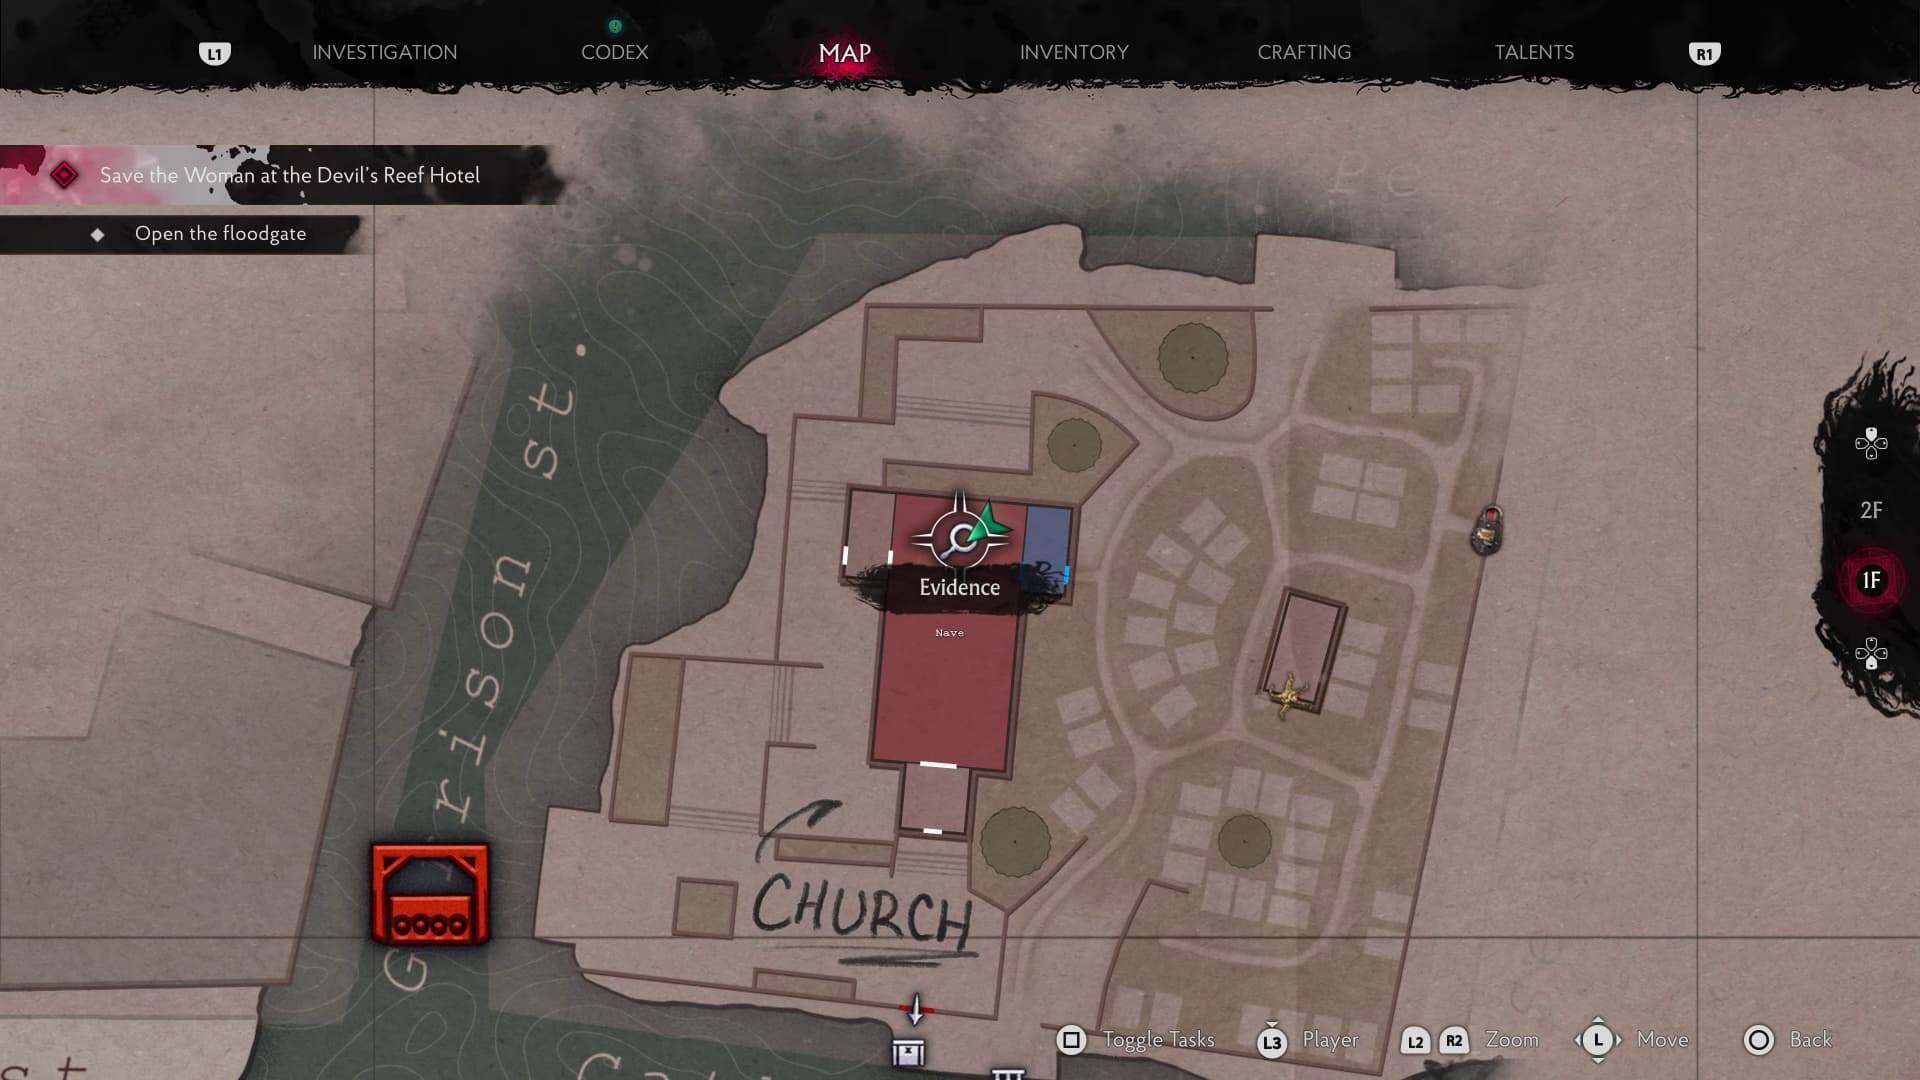
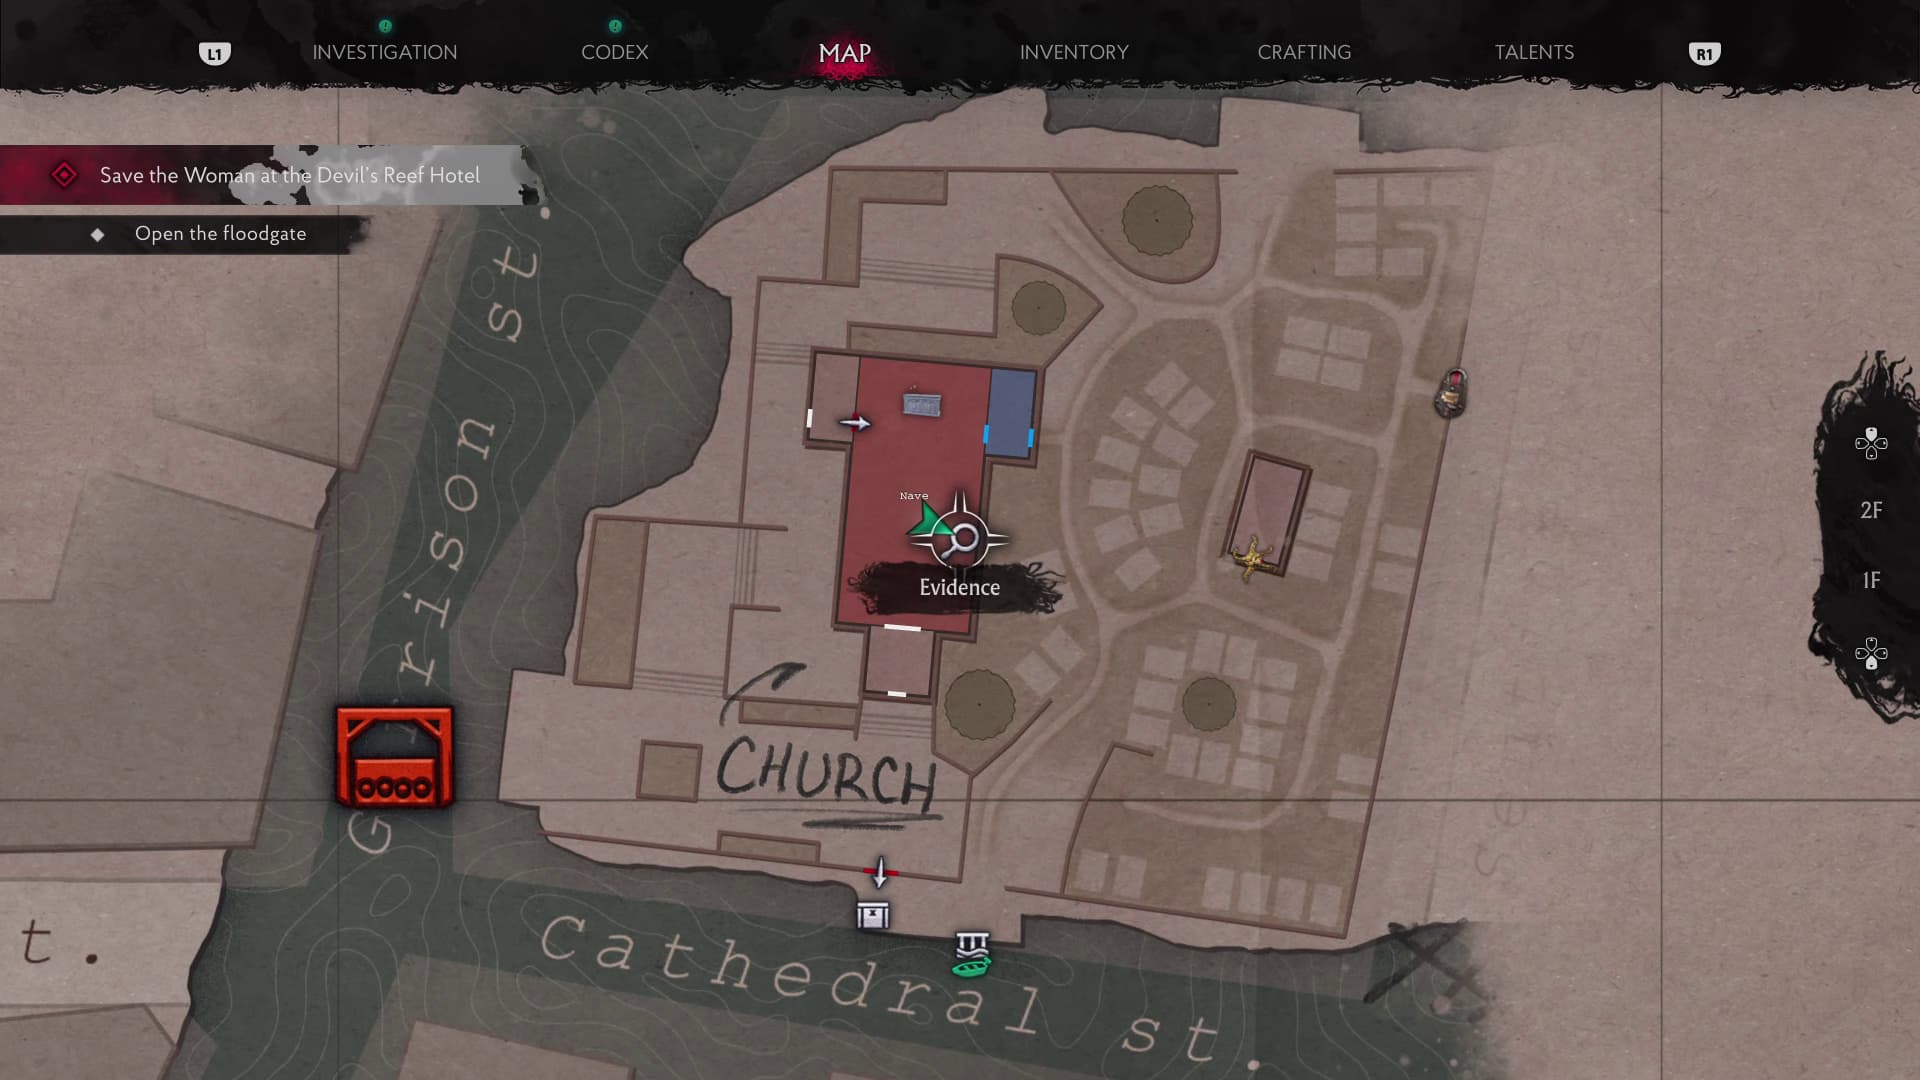
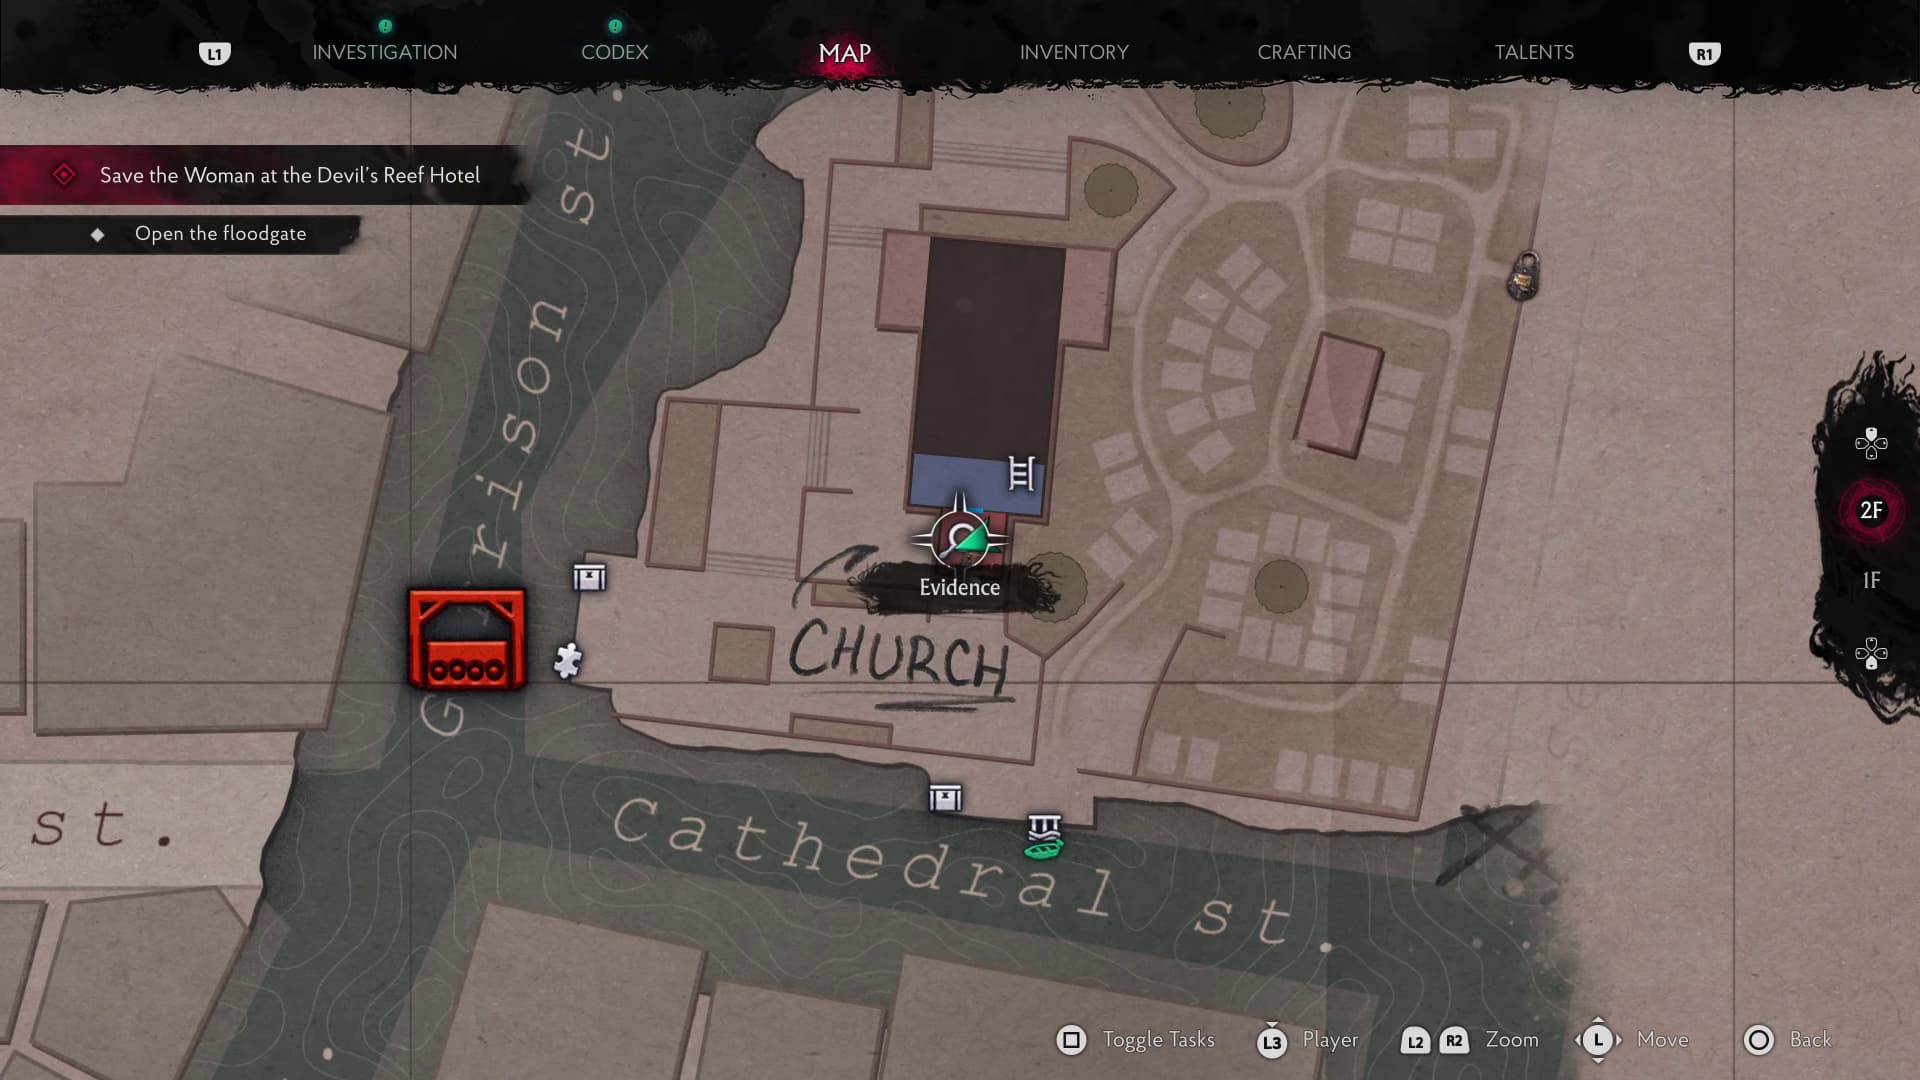
As soon as you enter into the Church, head into the main room and to the right, up towards the alter, here you will find the next Evidence (A Call Upon Believers).
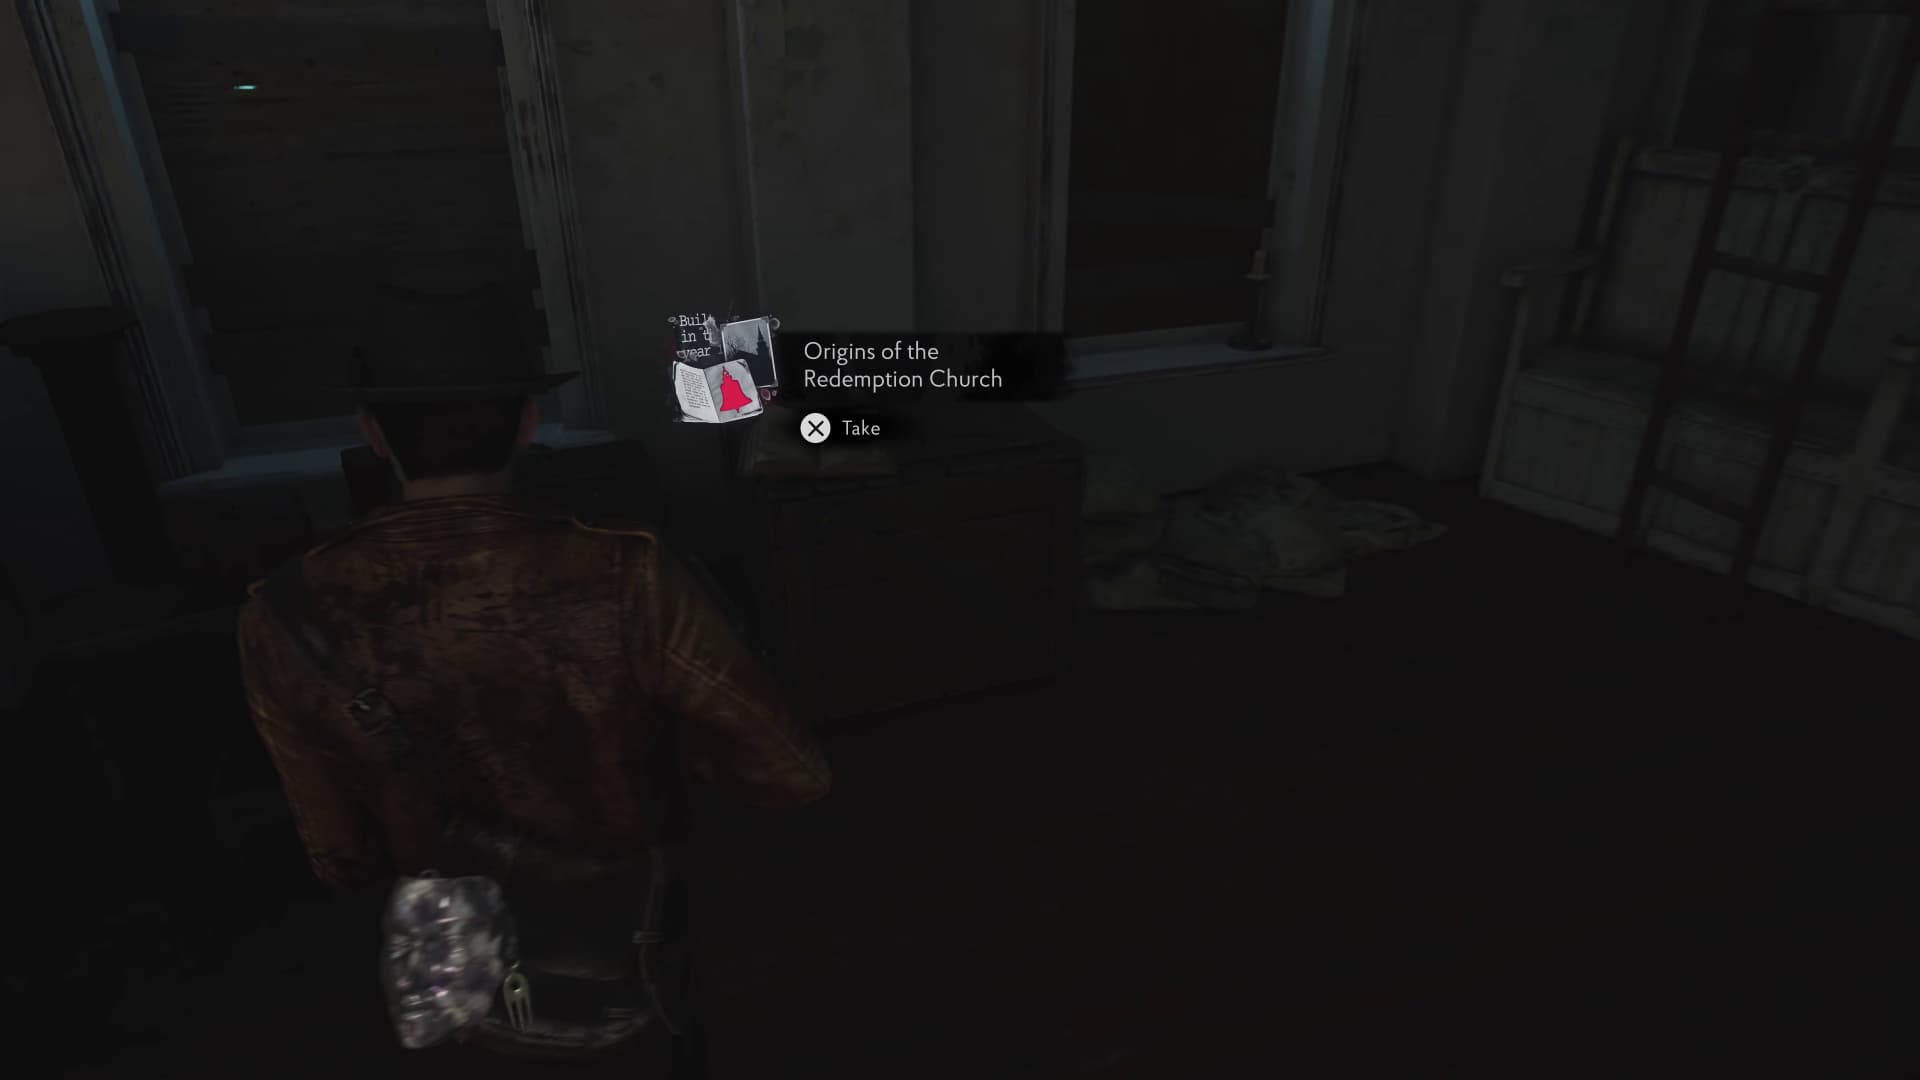
Making it down from the alter towards the back of the room, just to the left before the ladder is the next Evidence (Origins of the Redemption Church).
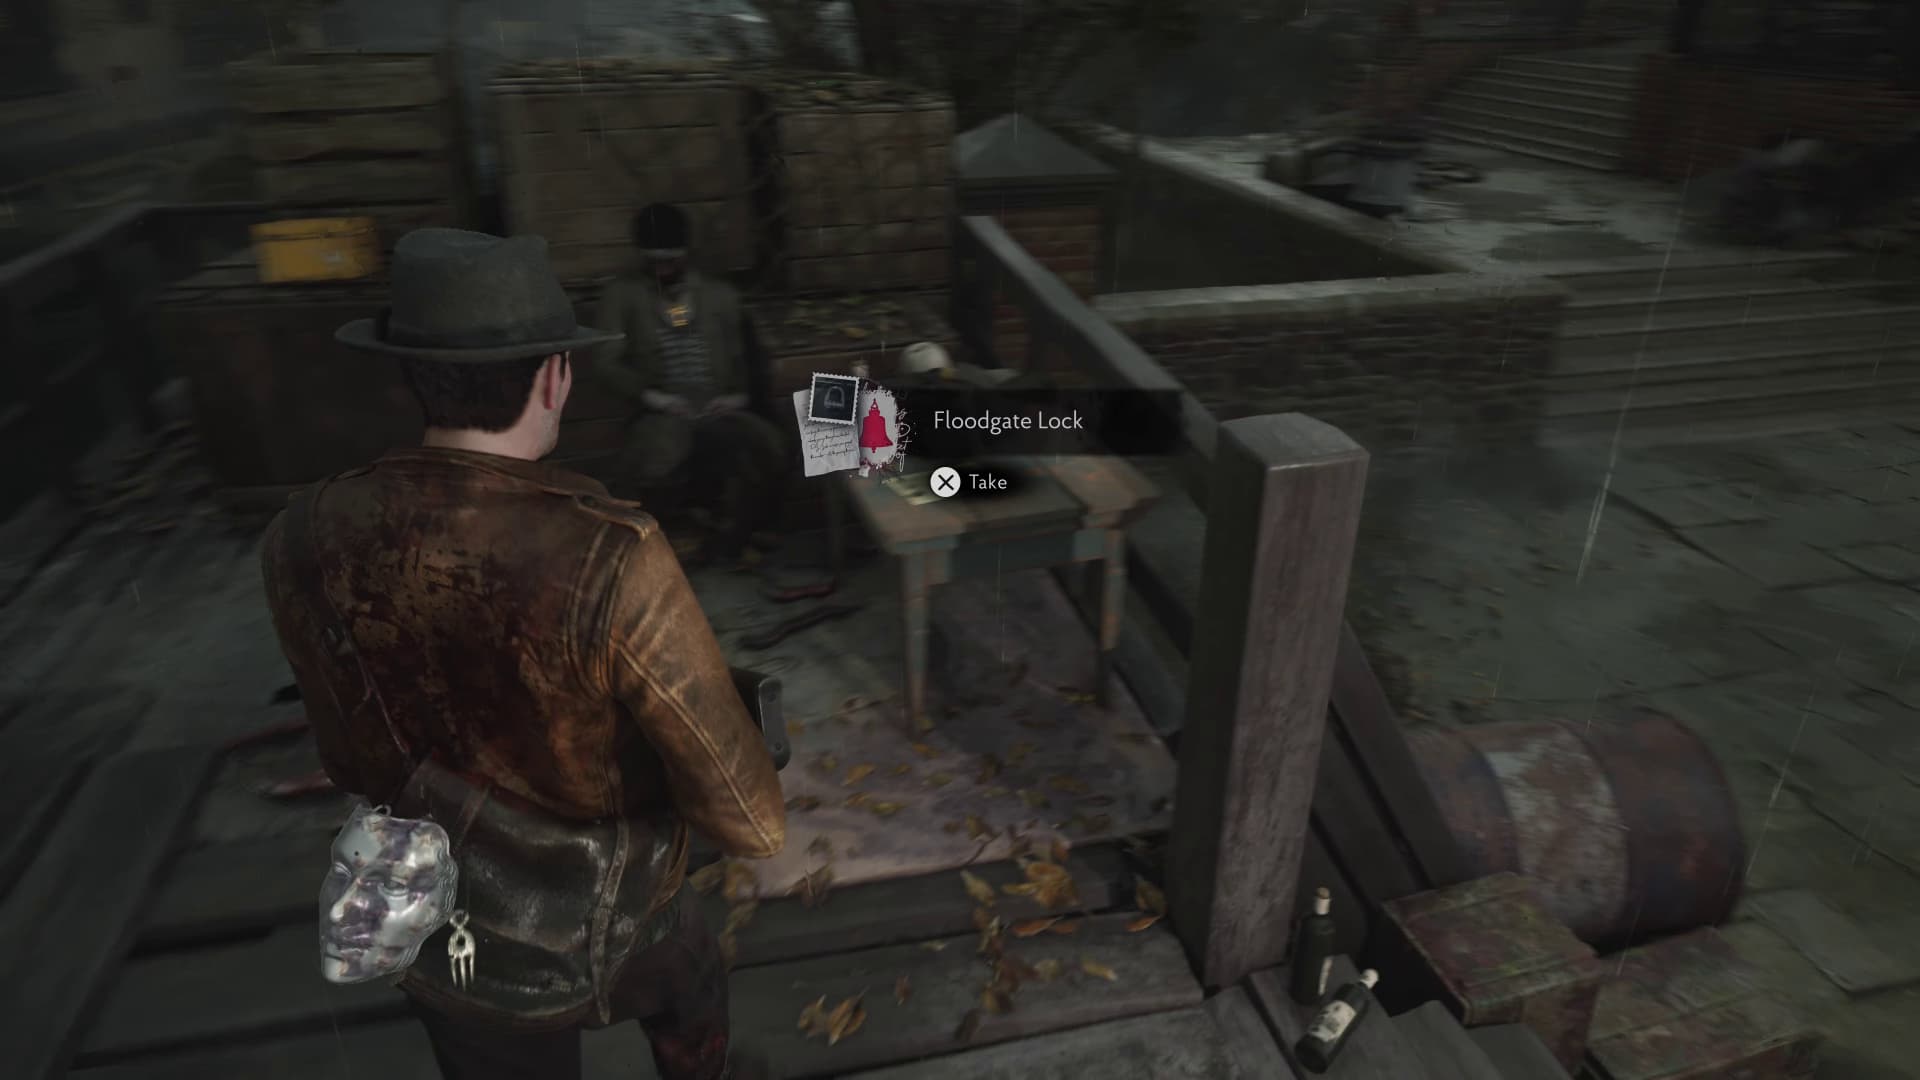
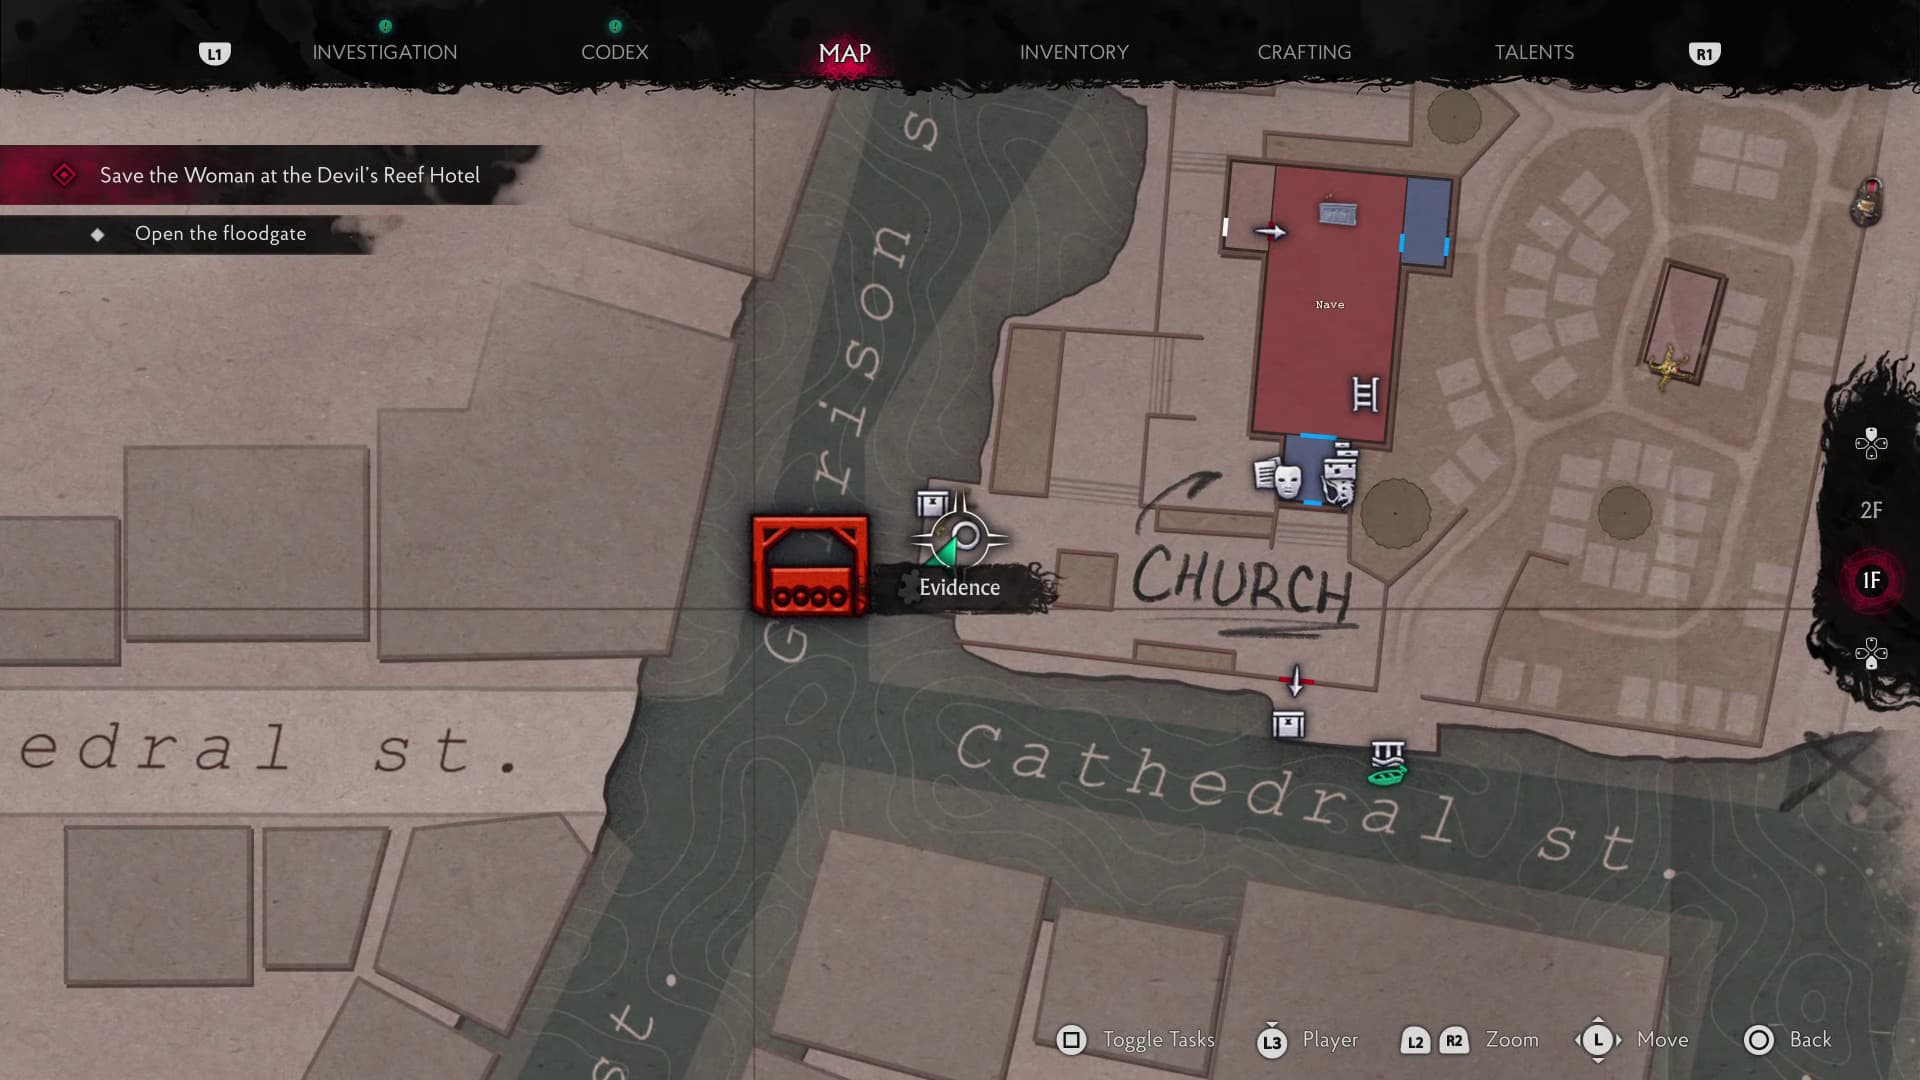
Making it out of the back of the save room, back outside, head over to the far right where we will be opening the gate later on, on the table here will be the next Evidence (Floodgate Lock).
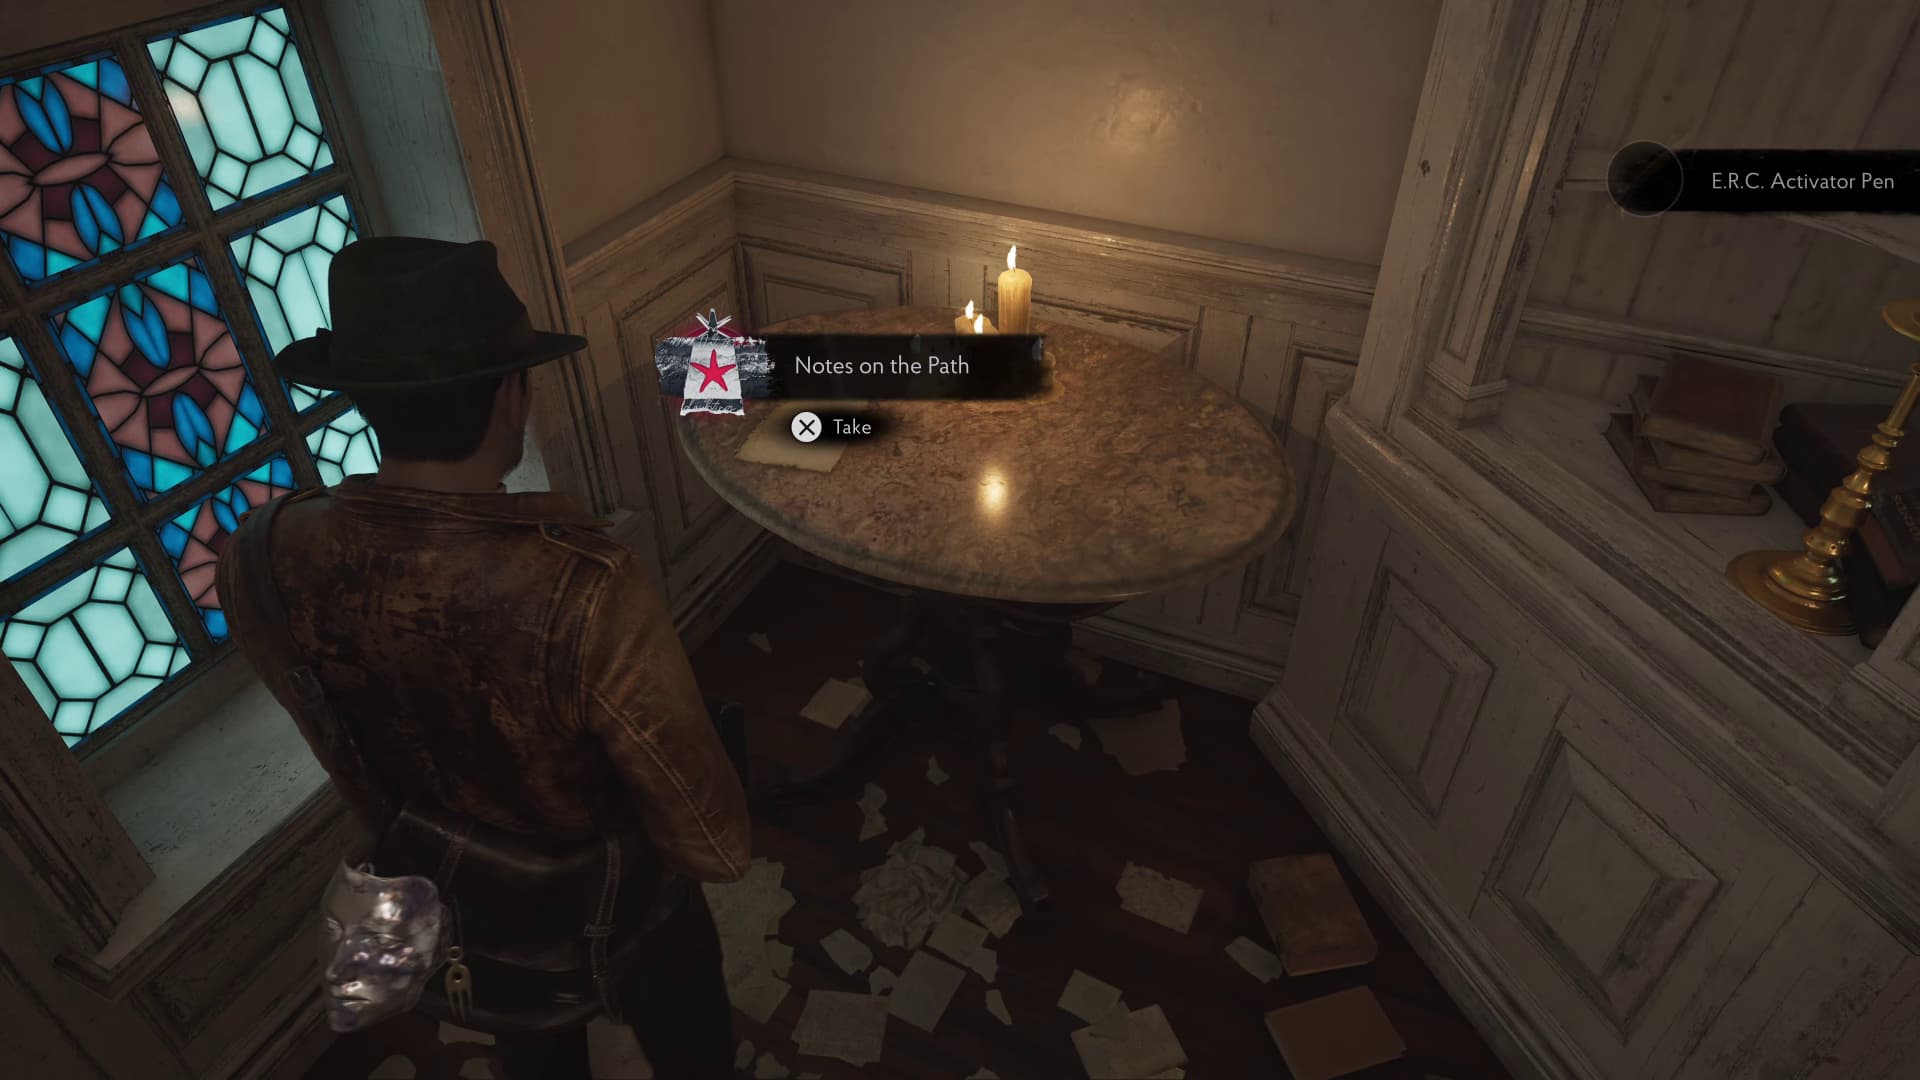
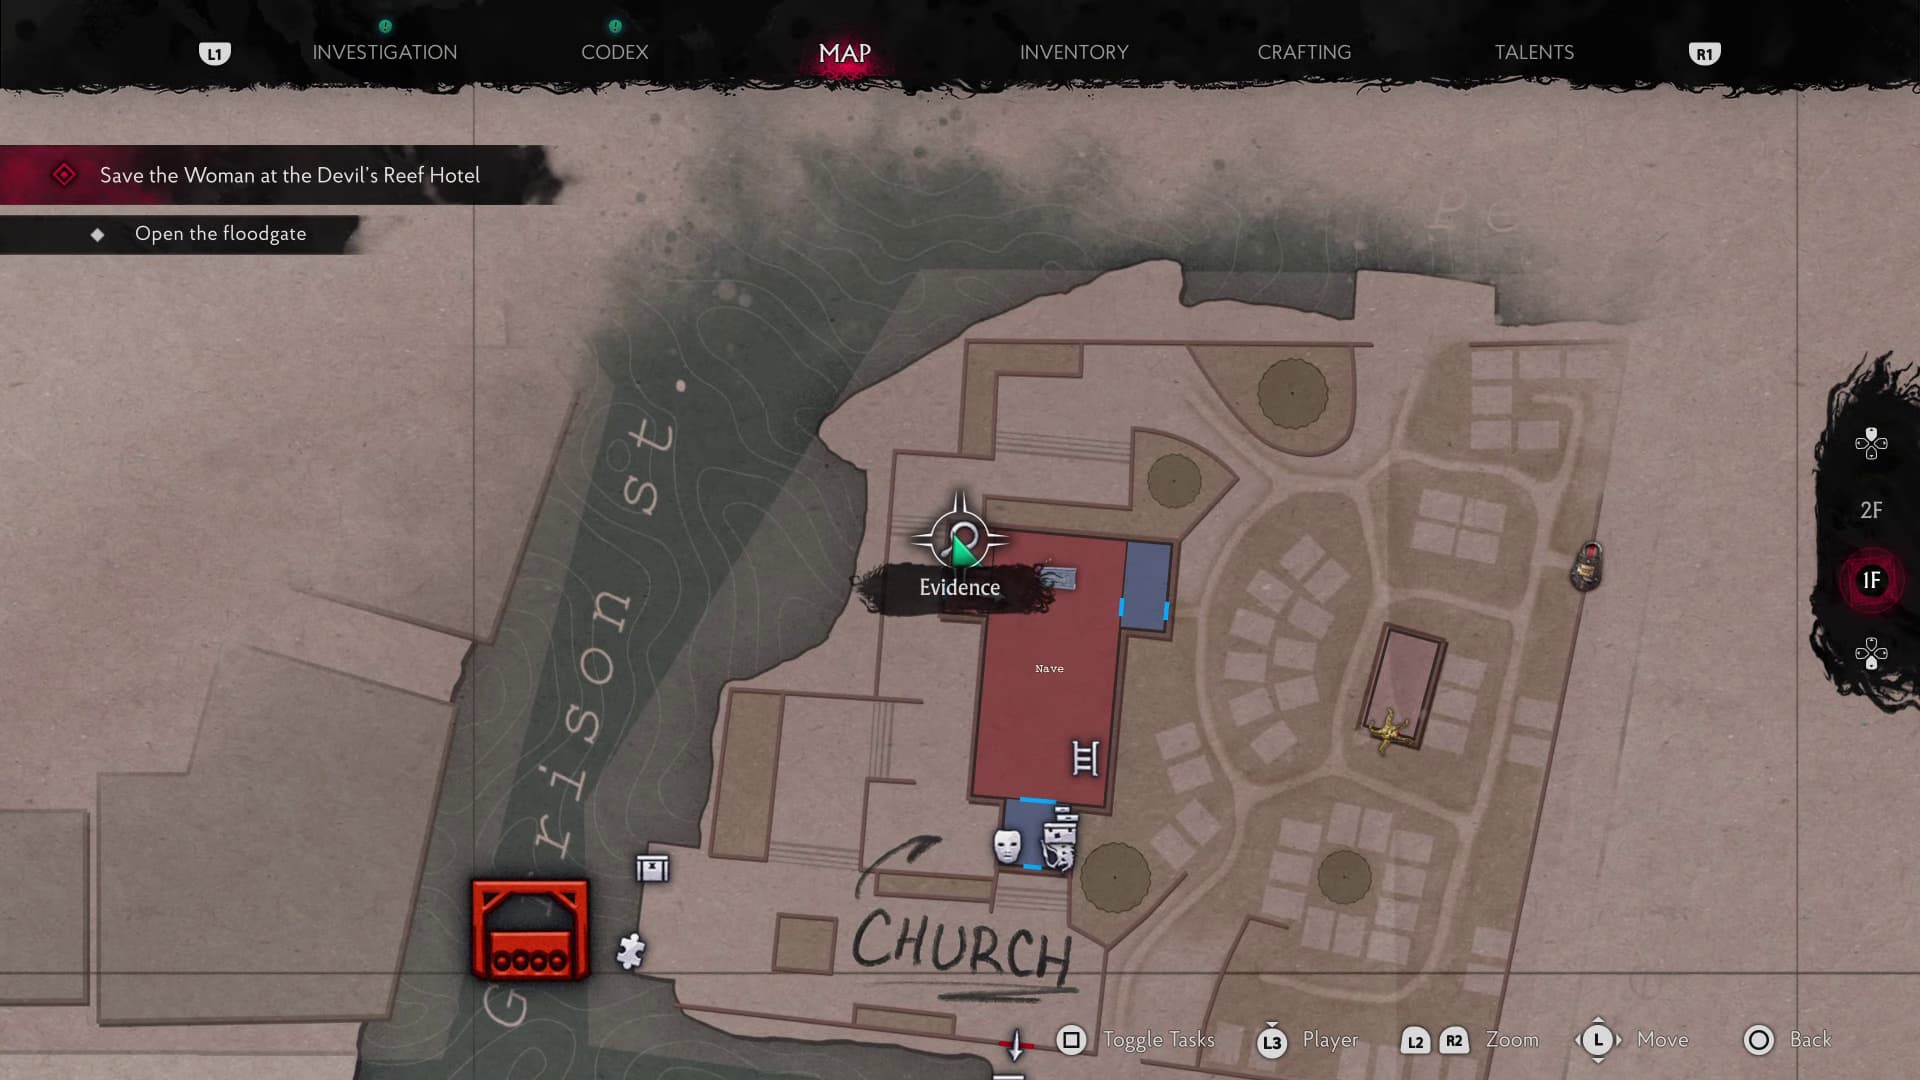
Keeping the Church building on your right now, keep advancing until you come to the open window to climb back into the Church. Once inside, go left immediately and on the round table will be another Evidence (Notes on the Path) to collect.
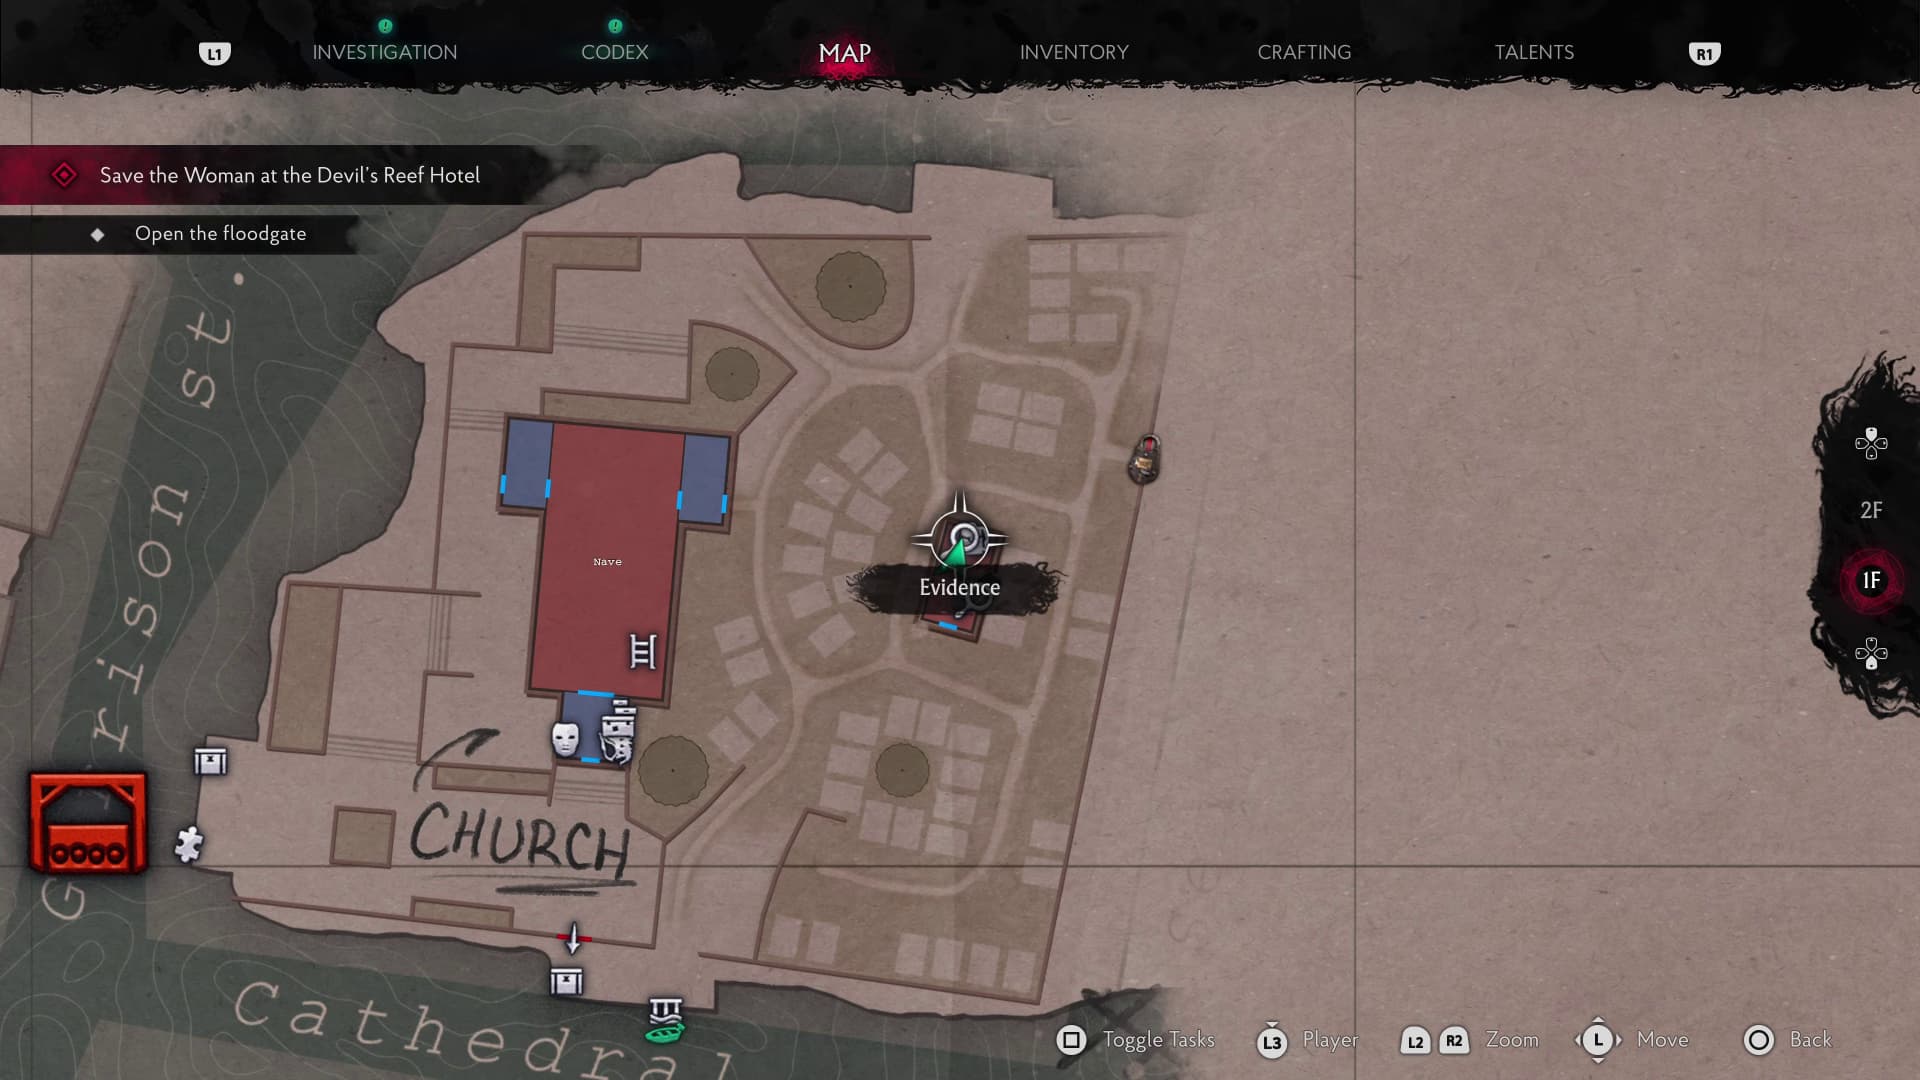
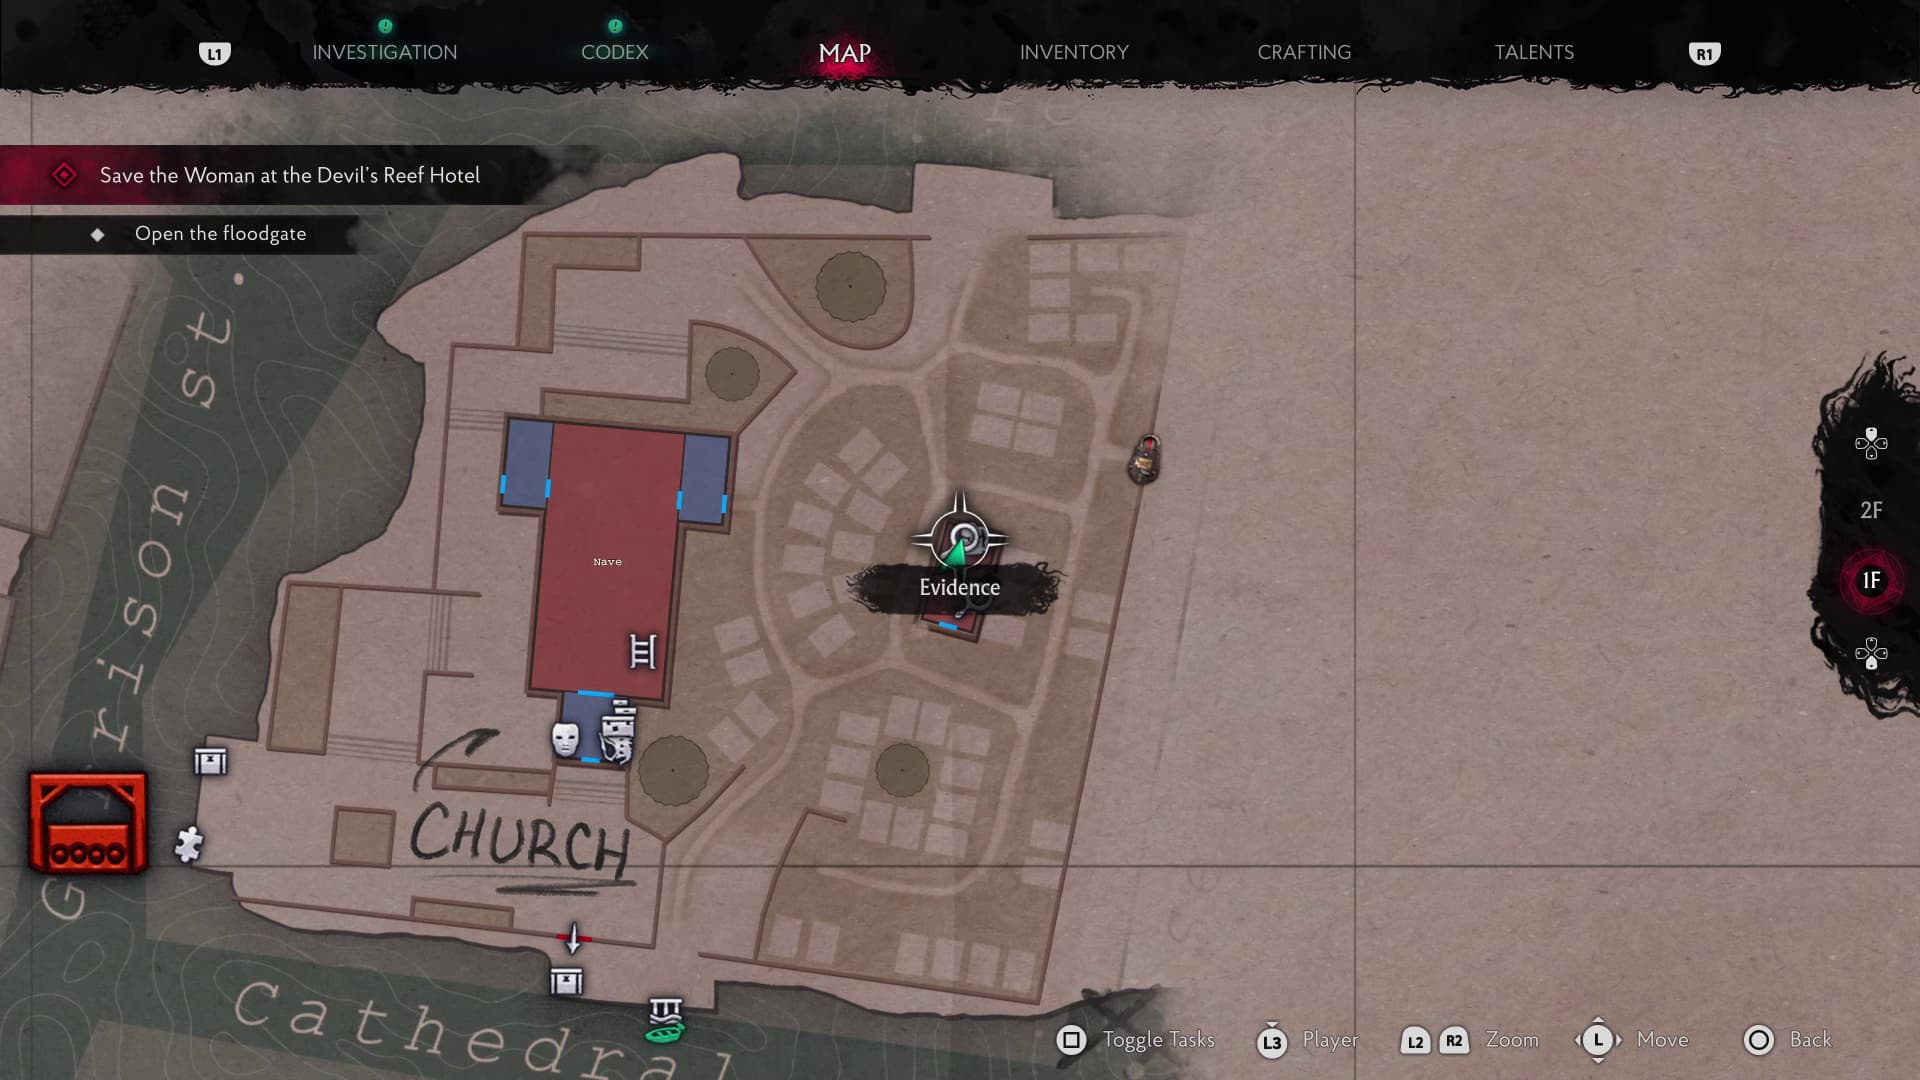
Now you can keep advancing through the door opposite the open window, and make it back into the main Church room. Head opposite and back out of the main door into the Church yard. Make your way around to the small building in the Church yard and open it with the Star Key, inside will be a number of collectibles.
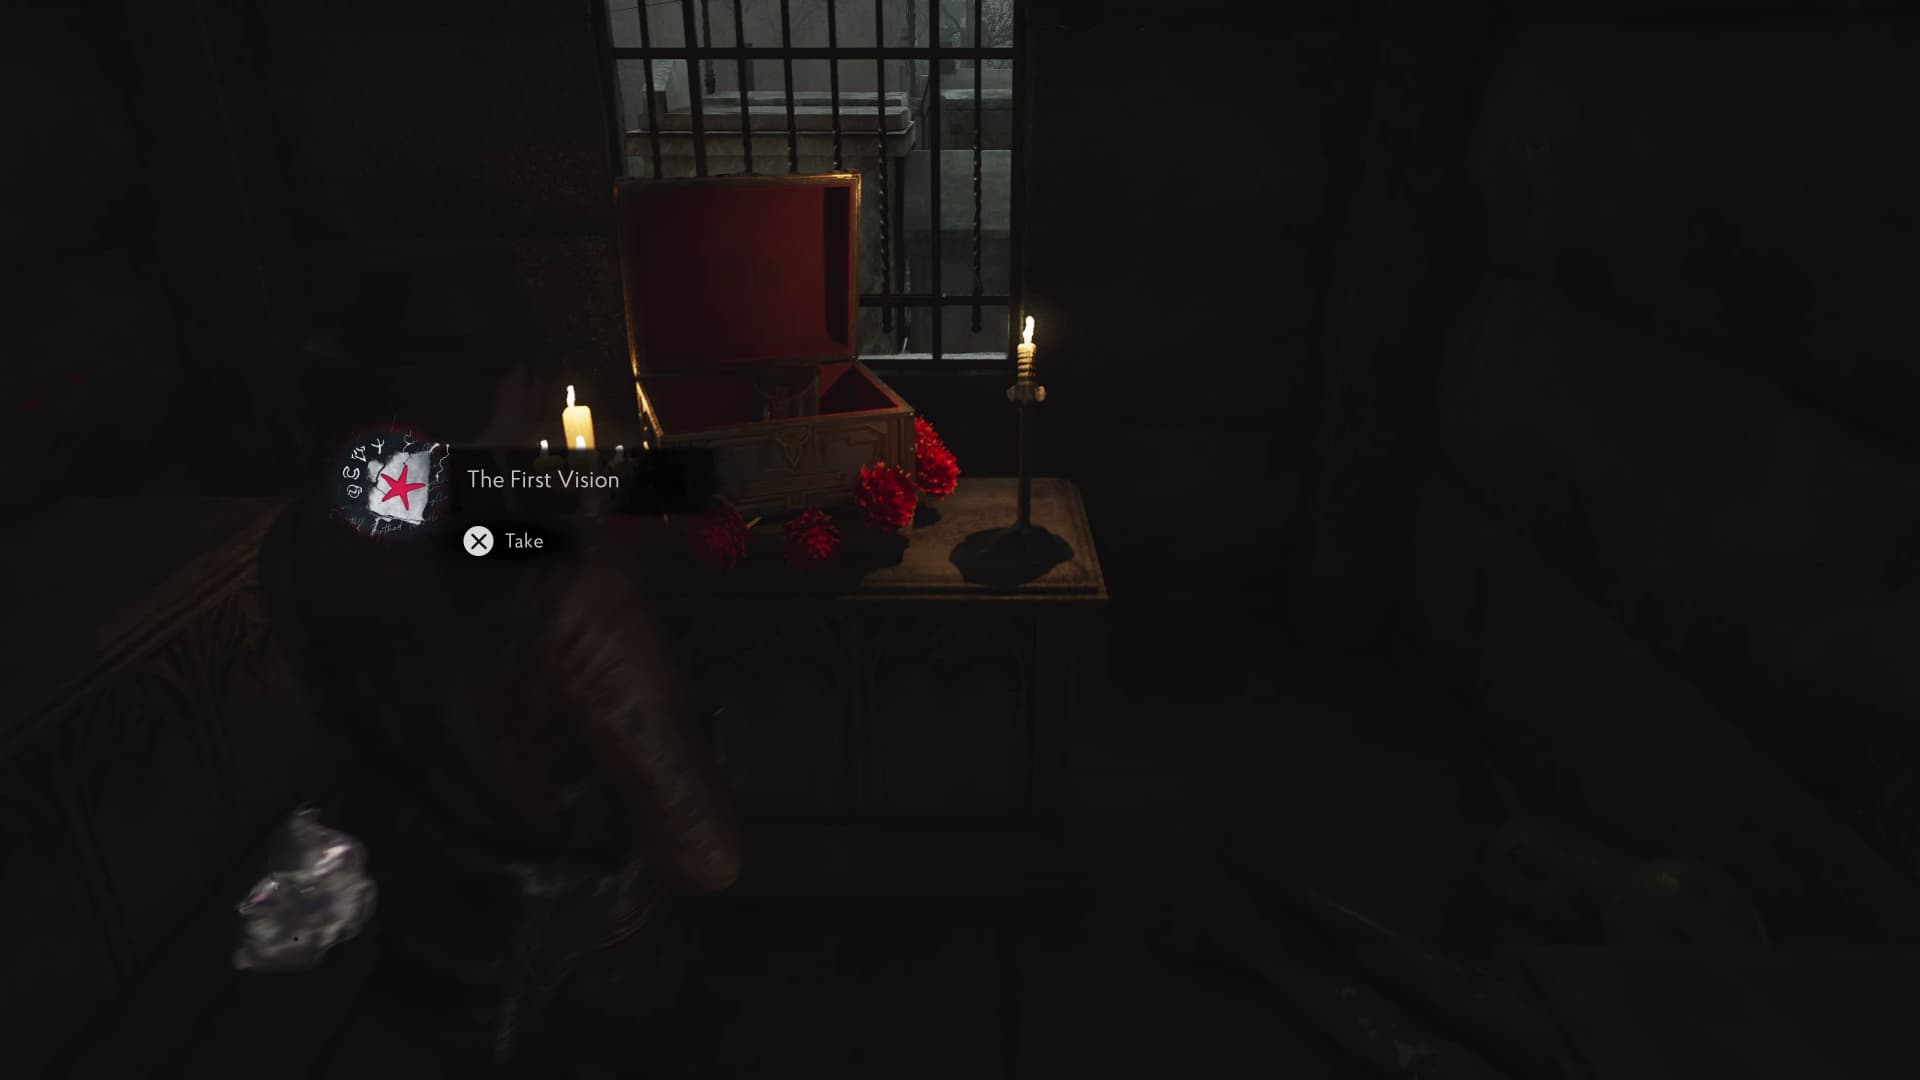
Just next to the ERC chest is going to be one of two Evidence (The First Vision) to collect in here.
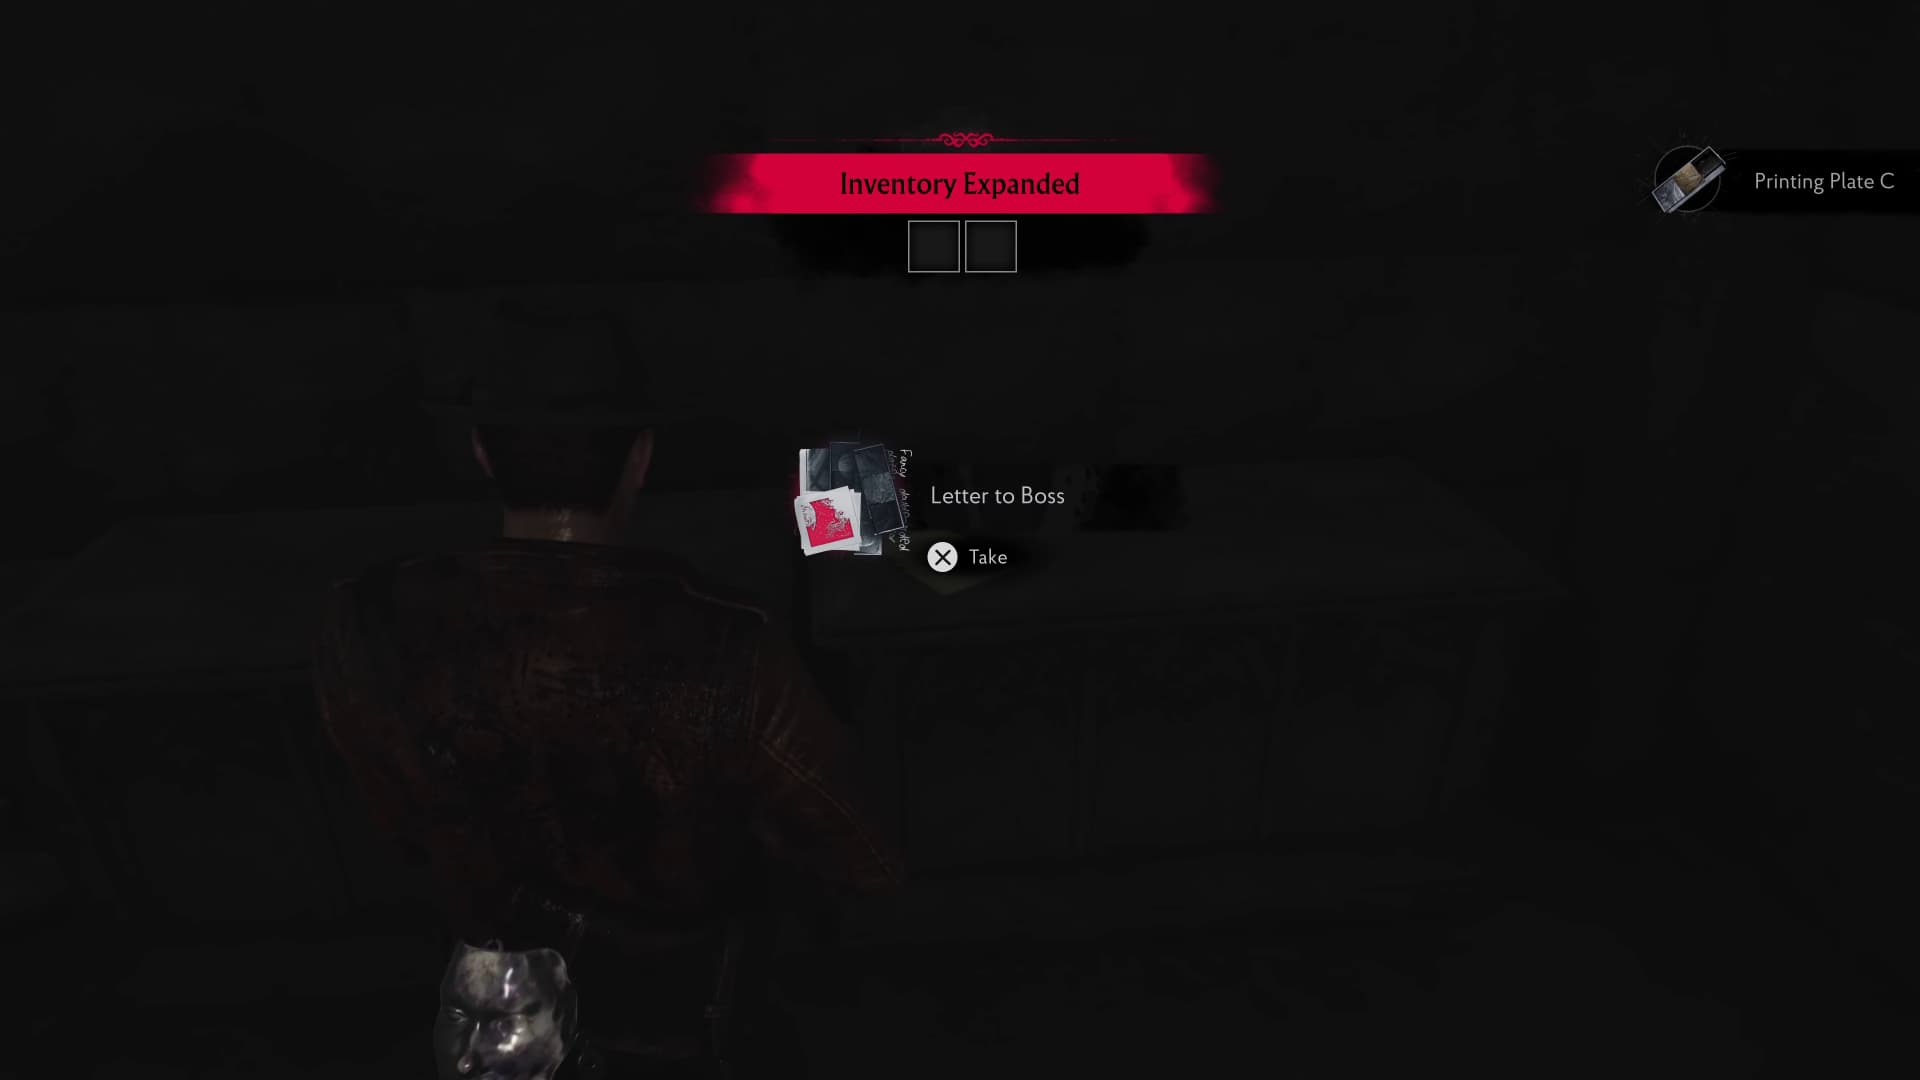
In the same room, just on the right of the ERC Crate is a Printing Plate to pick up, also another Evidence (Letter to Boss).
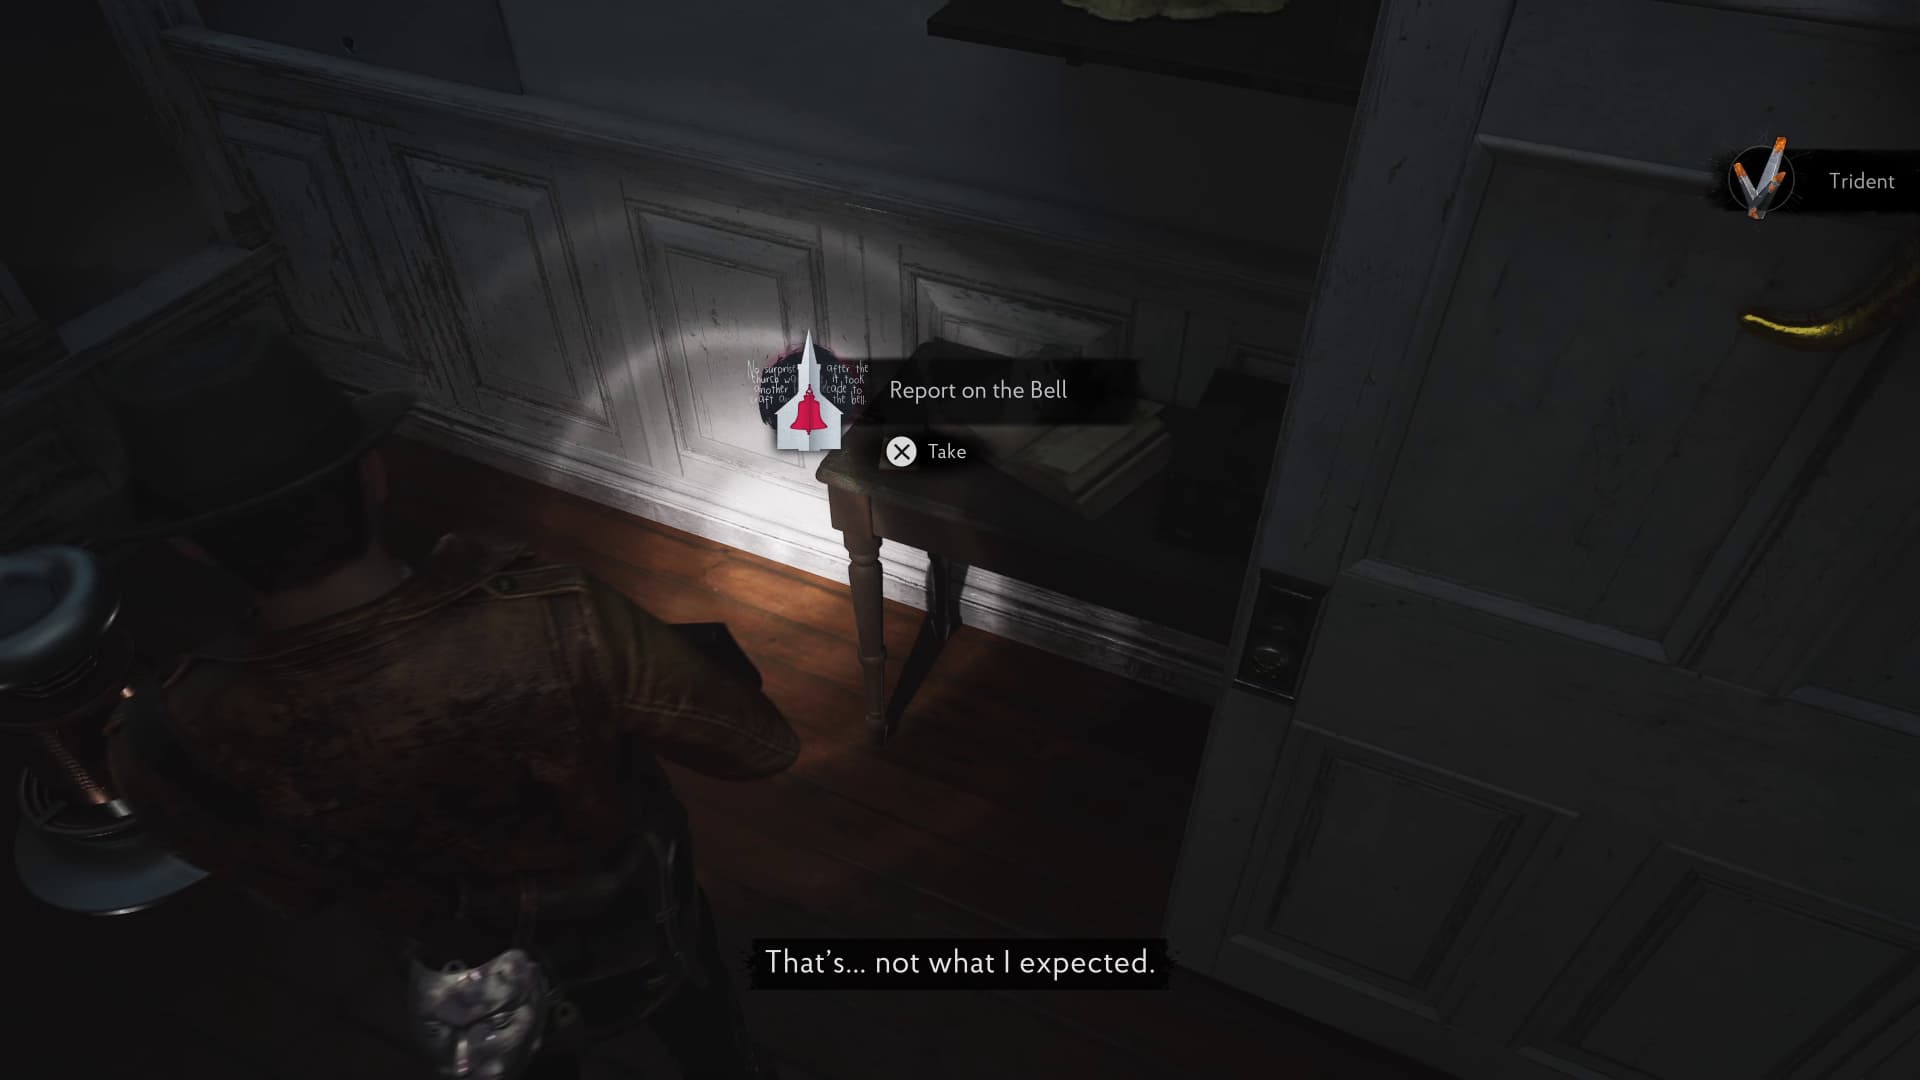
Now make it back into the Church, up the ladder and through the door, and to the right of the Trident on the counter top will be another Evidence (Report on the Bell).
Keep advancing the story now until you get on the boat again and make it to the next dock, where the whale is in the water.
After interacting with the Generator on the dock, you will automatically get an Evidence (A Broken Crane).
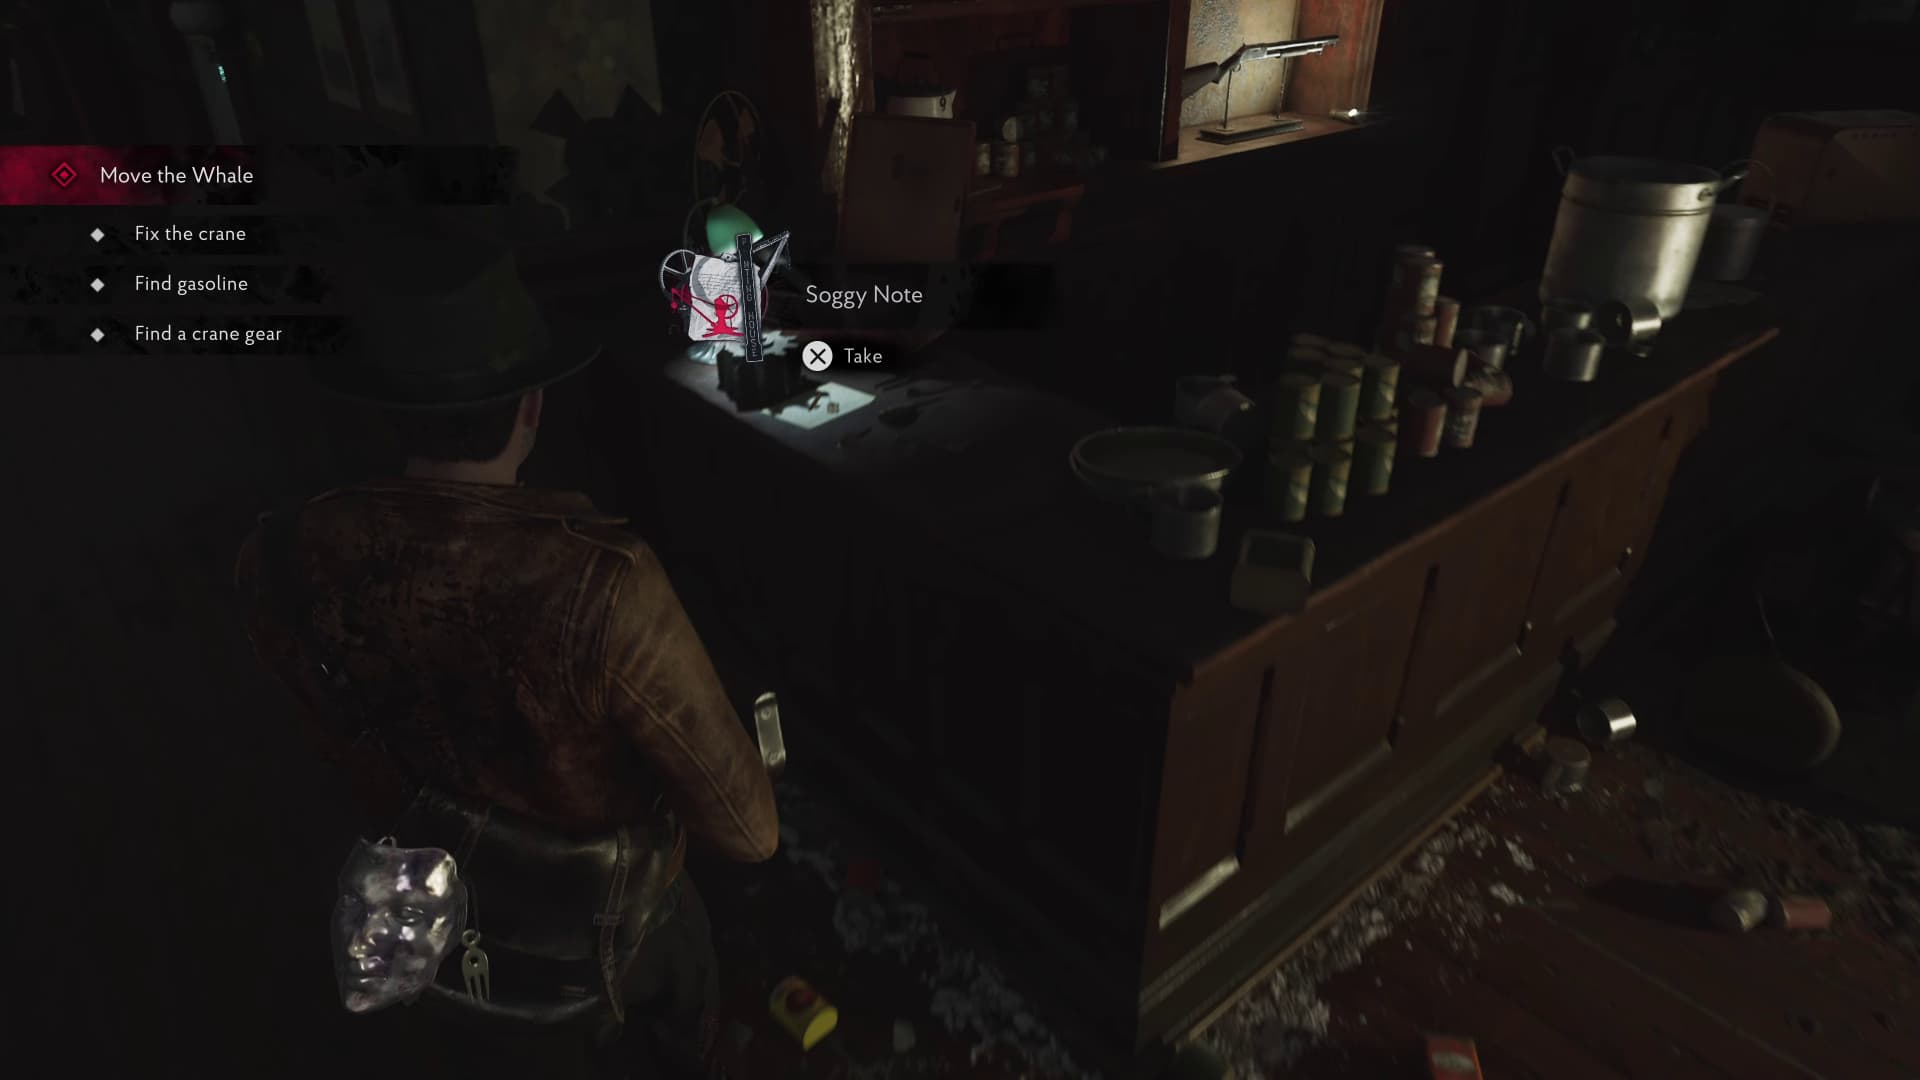
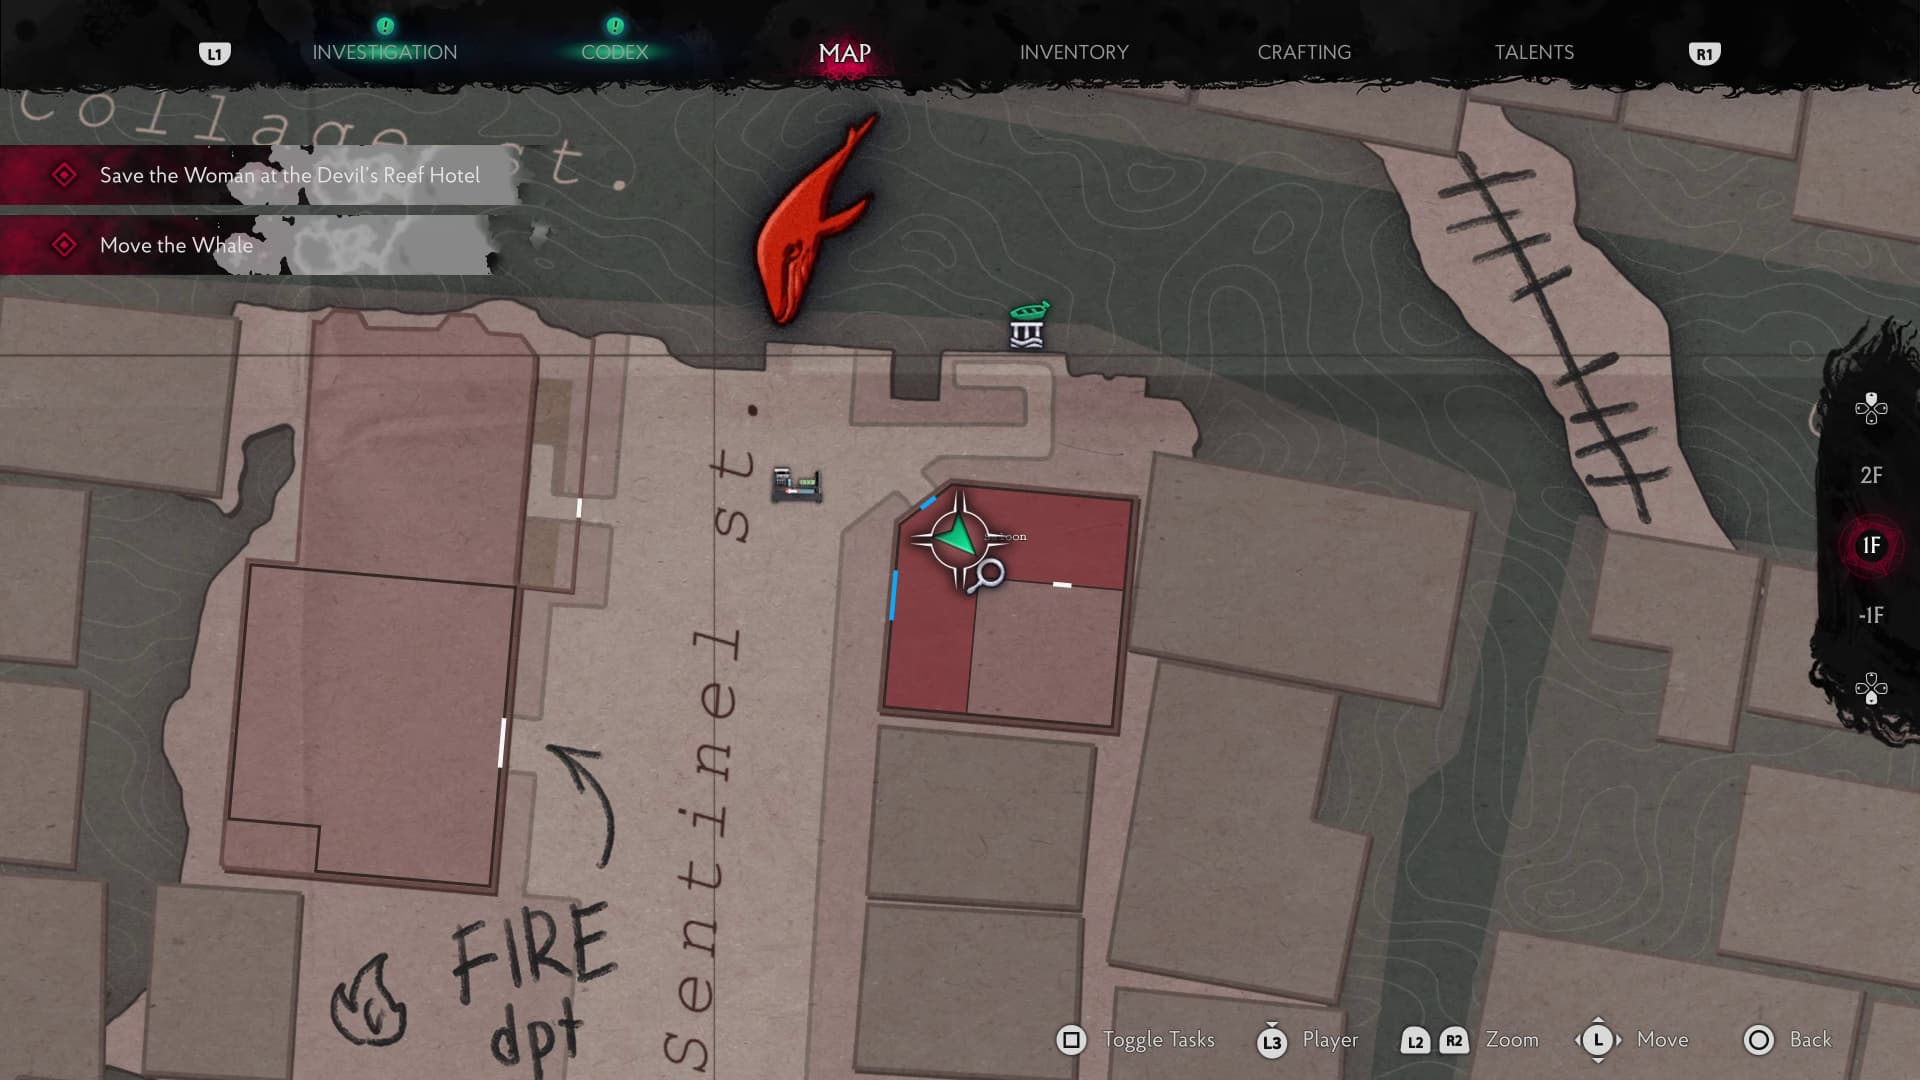
Follow the spider enemy into the saloon, and on the bar directly ahead will be the next Evidence (Soggy Note) also the Graveyard Key, be sure to pick this up as well.
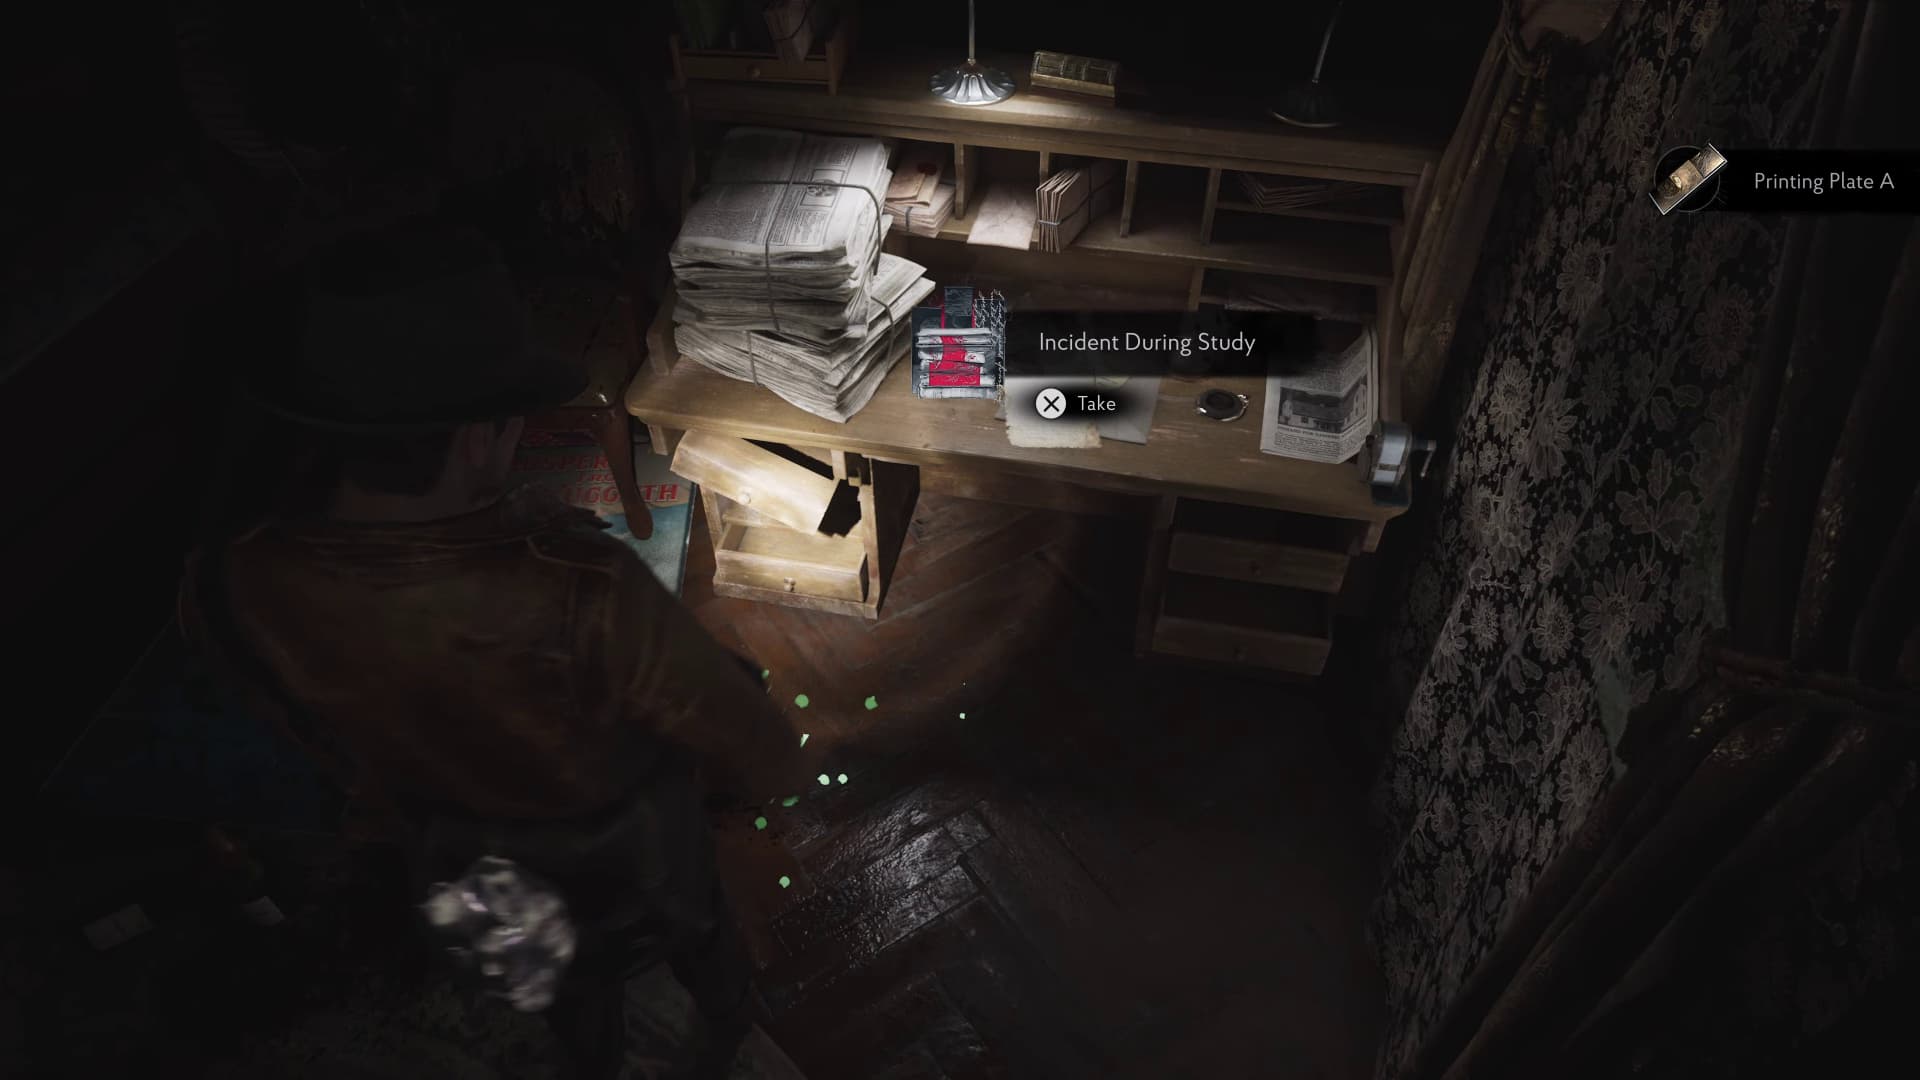
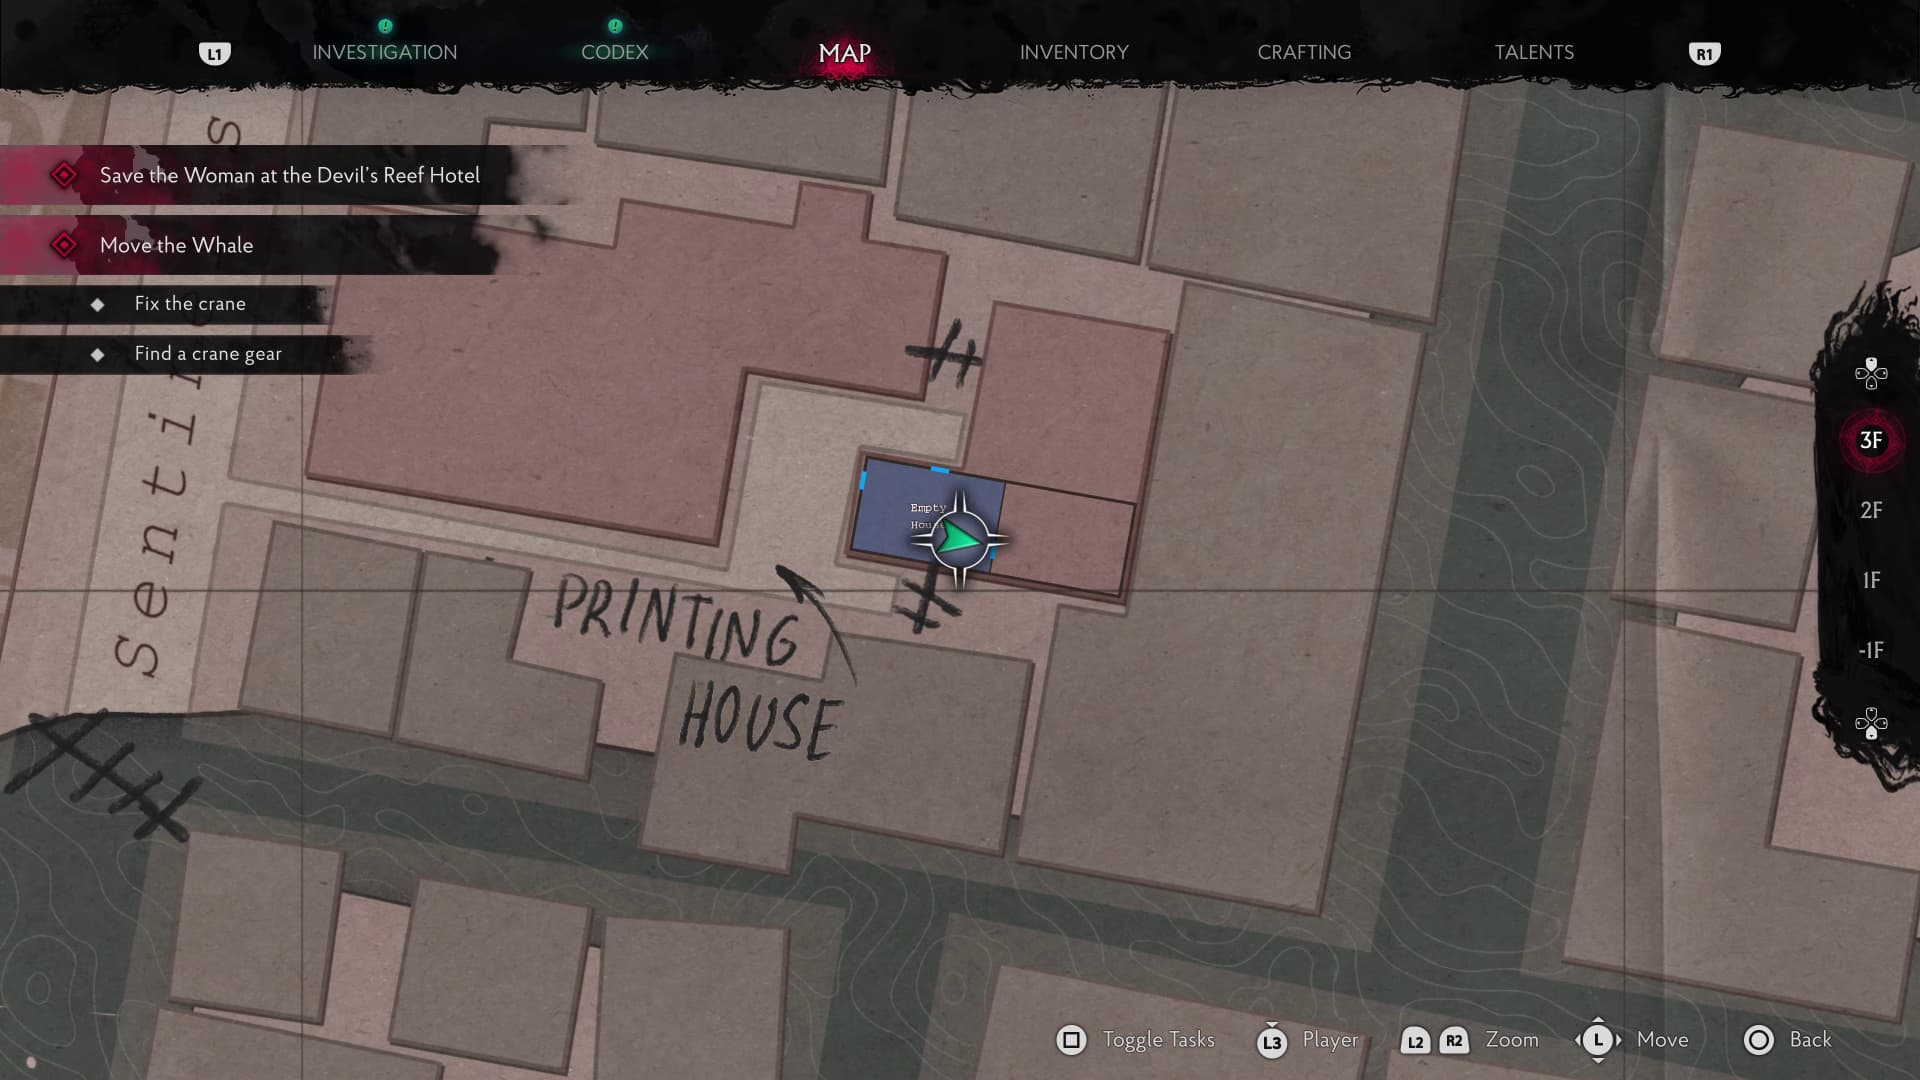
Make your way back to the church area and through the Graveyard gate. Advance through this area for a little bit until you make it up the metal stairs and into the first house though the open window. In the back room of the Empty House will be an enemy to take out, straight ahead will be another Printing Plate and another Evidence to collect (Incident During Study).
Keep advancing to unlock the main APH door to find the cog, make your way back out of this area by boat, and back to the generator by the whale, to use the crane to lift the whale out of the way.
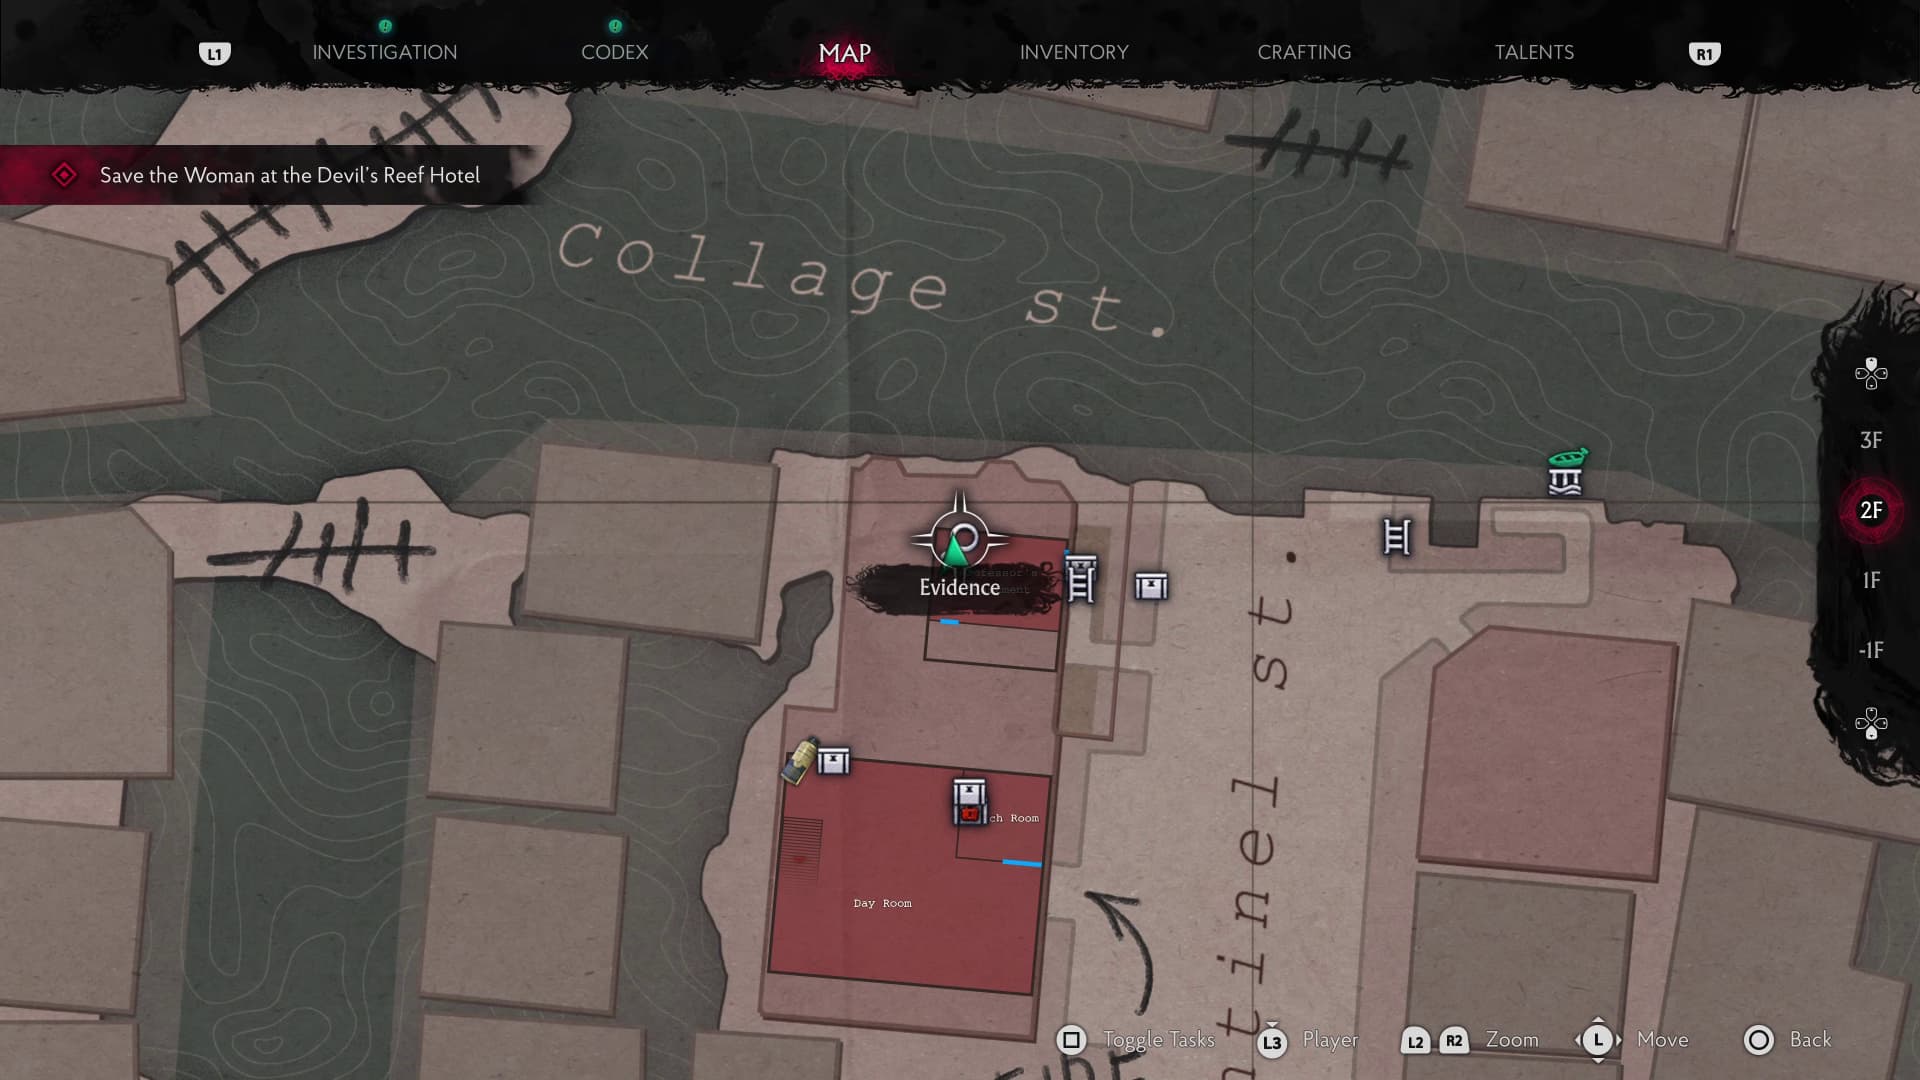
After moving the whale, don't advance in the boat just yet, make your way back into the saloon and back outside towards the Fire Department, head over to the very right of the area, where the crane was before you attached it to the hook, and make your way up the ladder by the building.
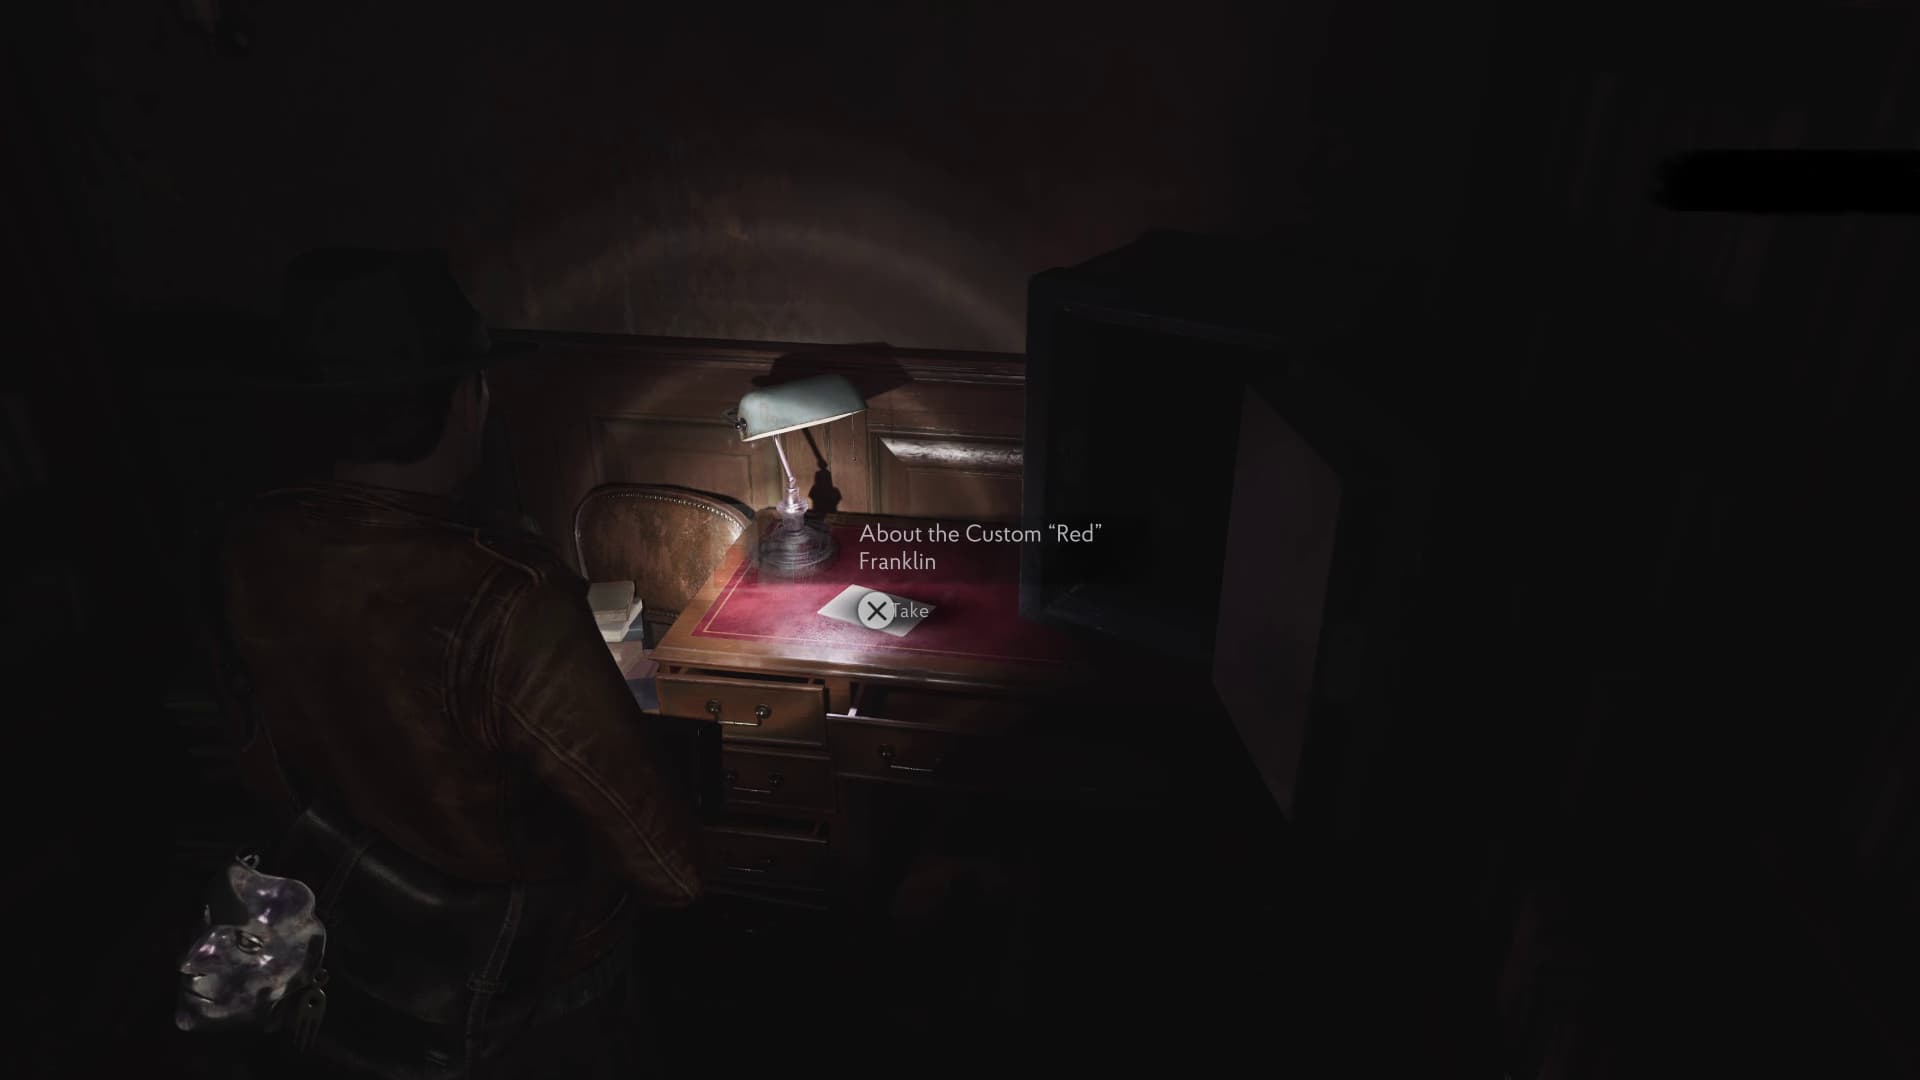
Inside the first room around the bookshelf will be the final Printing Plate and another Evidence to collect (About the Custom "Red" Franklin).
The next Evidence will be in the Devil's Reef Hotel so keep progressing with the story until there.
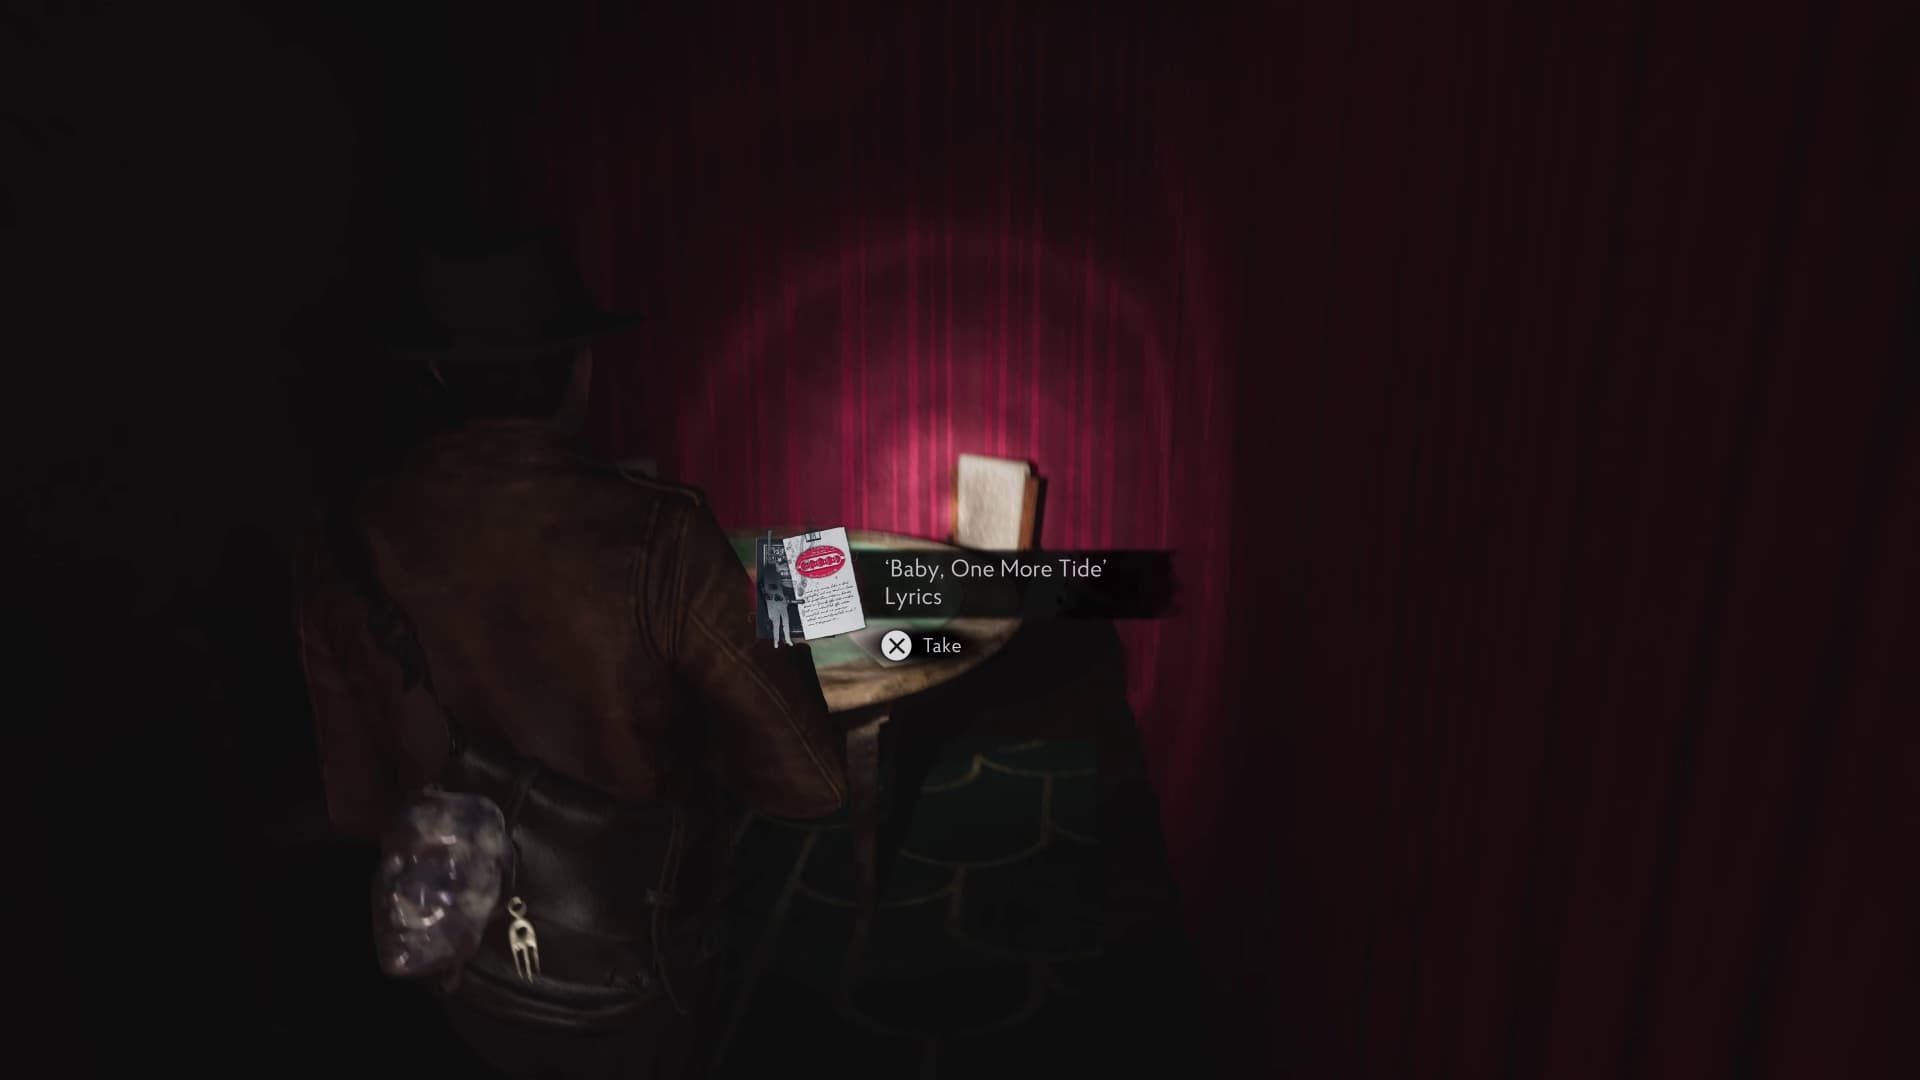
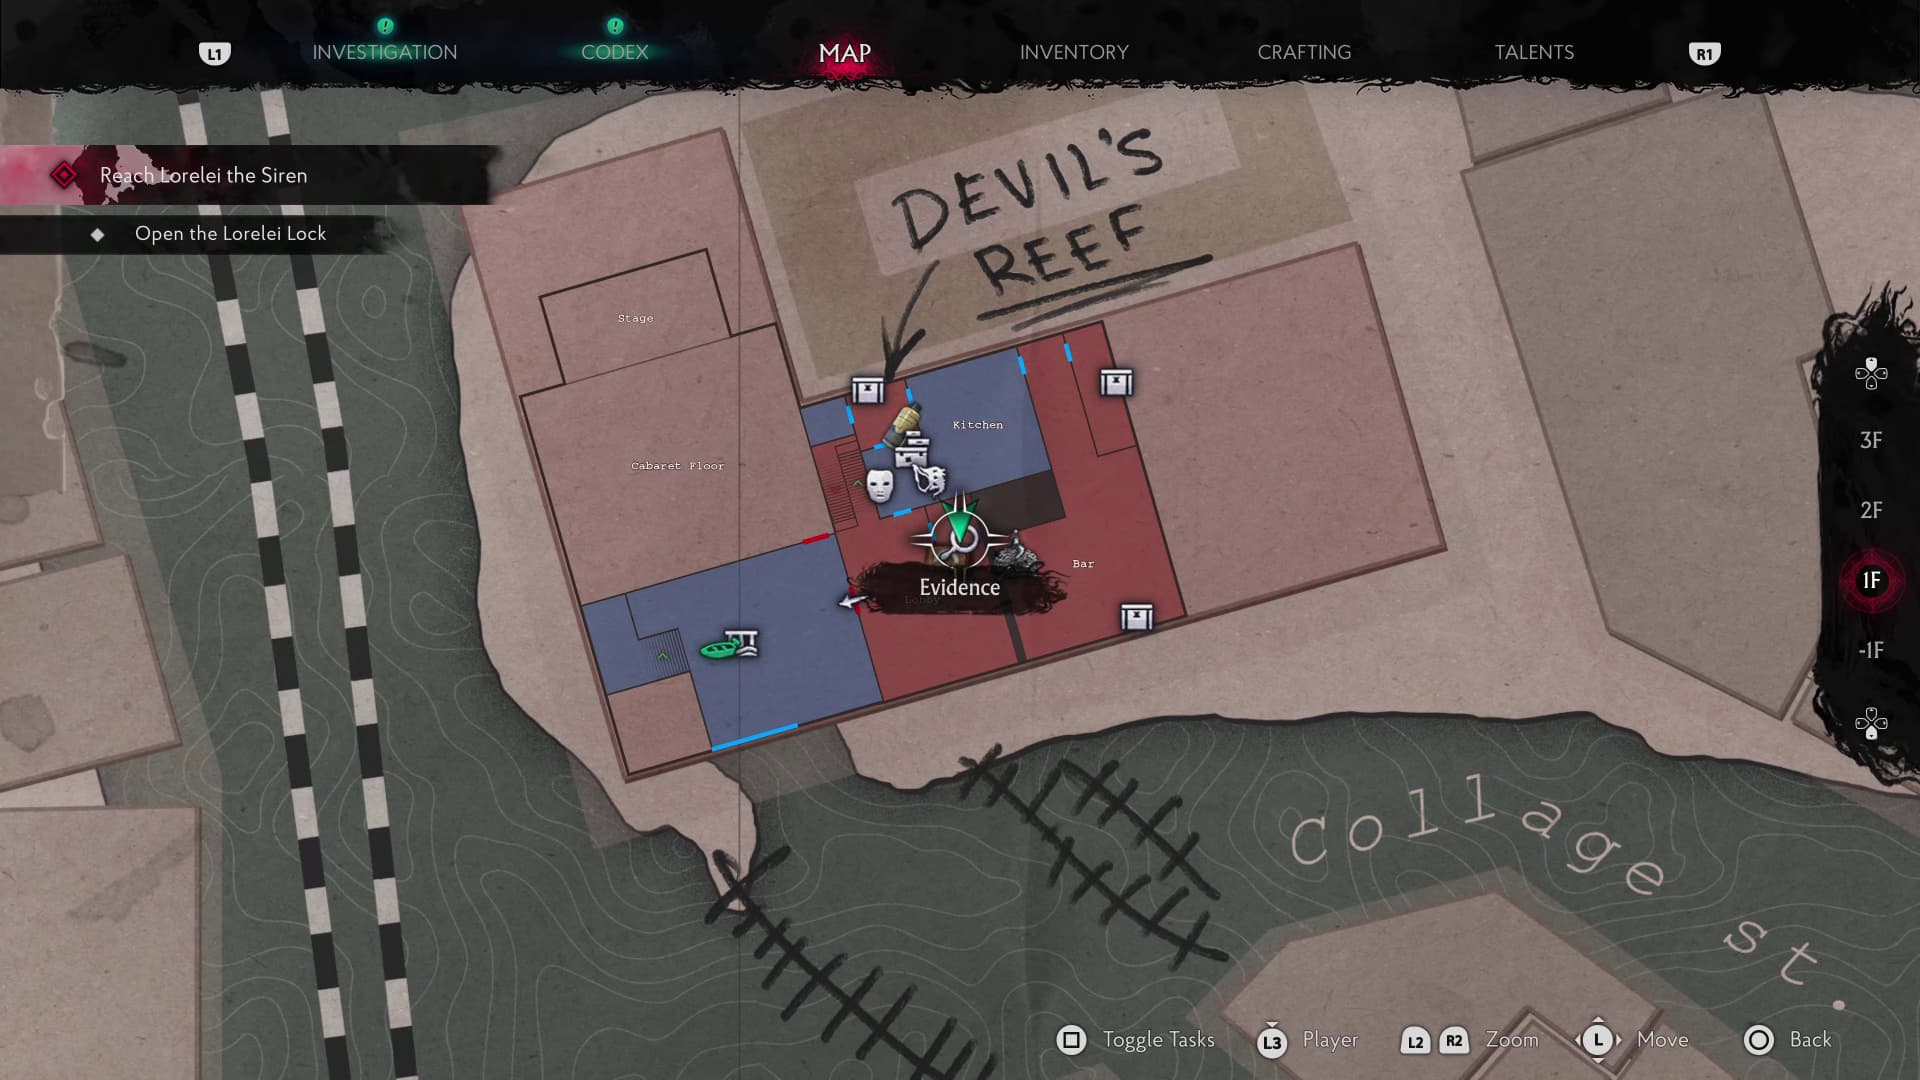
As soon as you make it to the section where you drop down into the Bar area, head to the back right of the room and into a smaller room with red curtains in the windows, on the round gambling table at the back will be the next Evidence ('Baby, One More Tide' Lyrics).
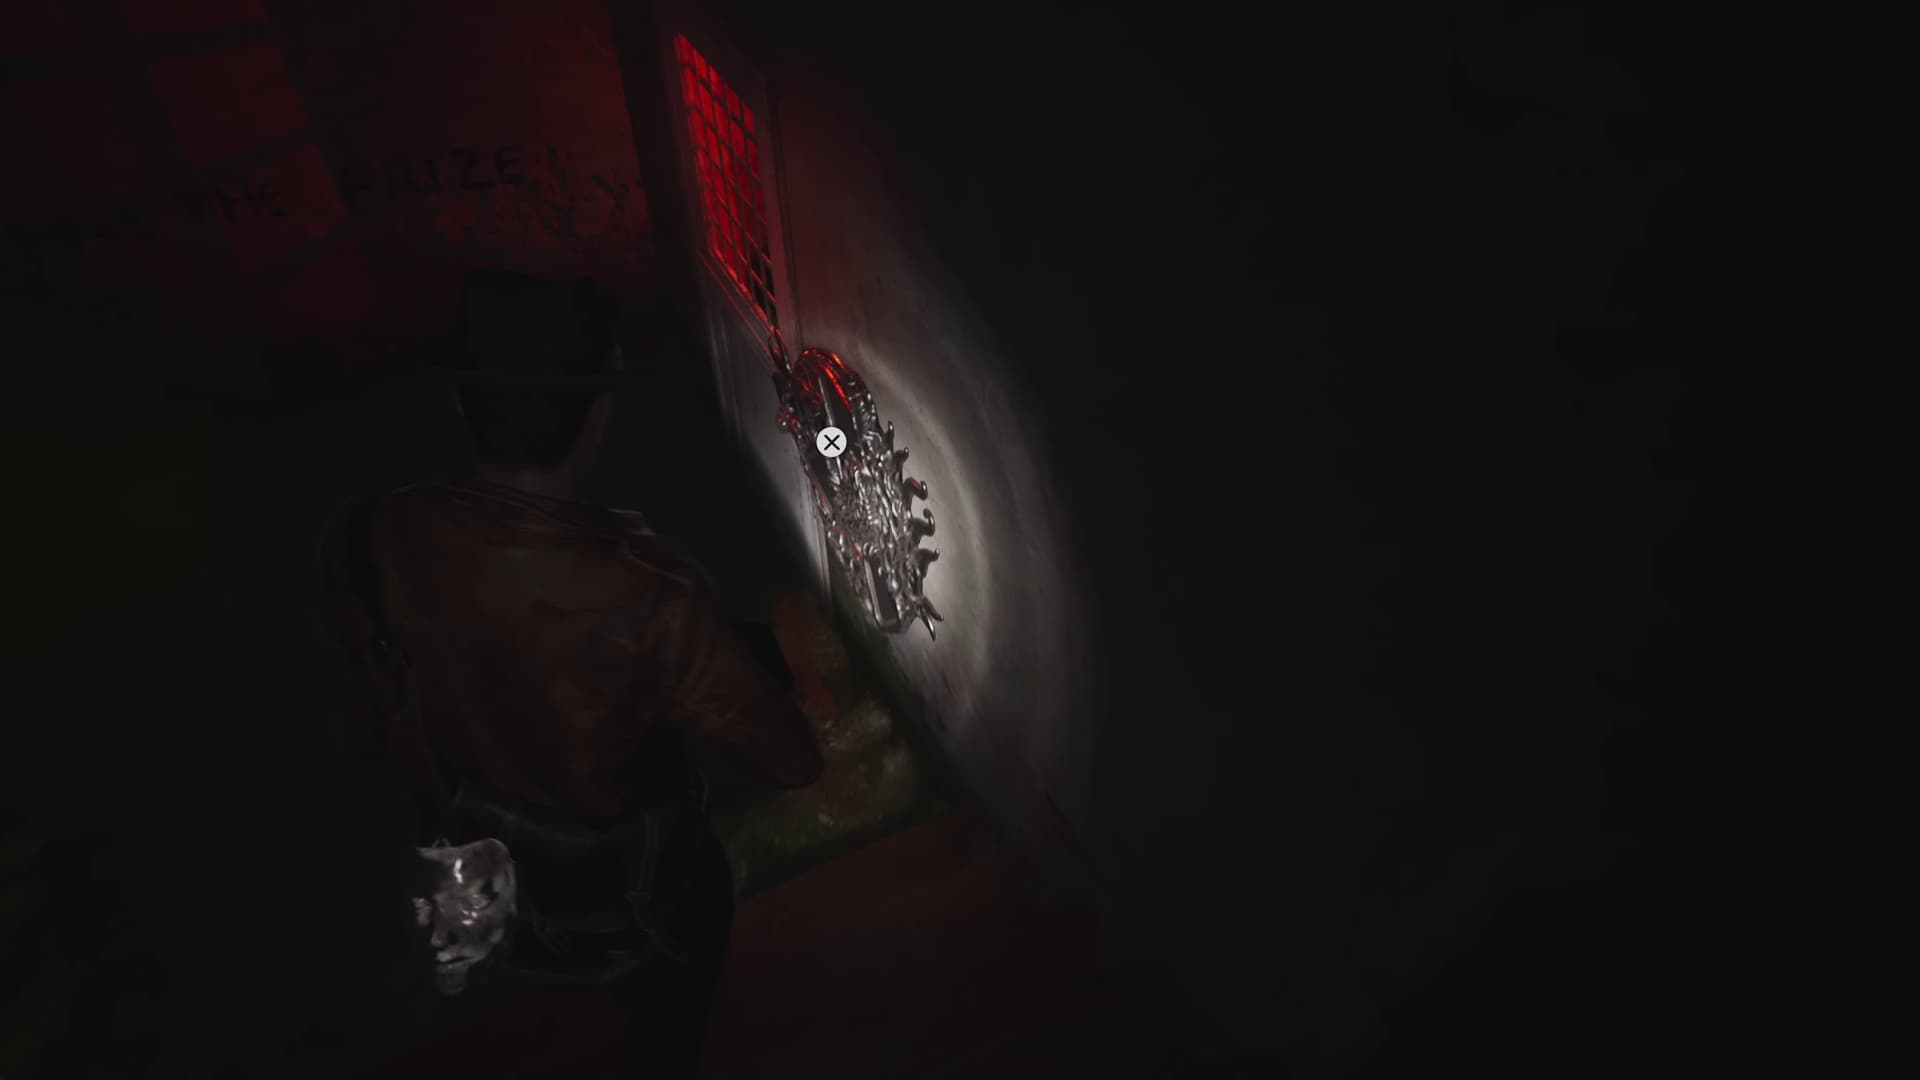
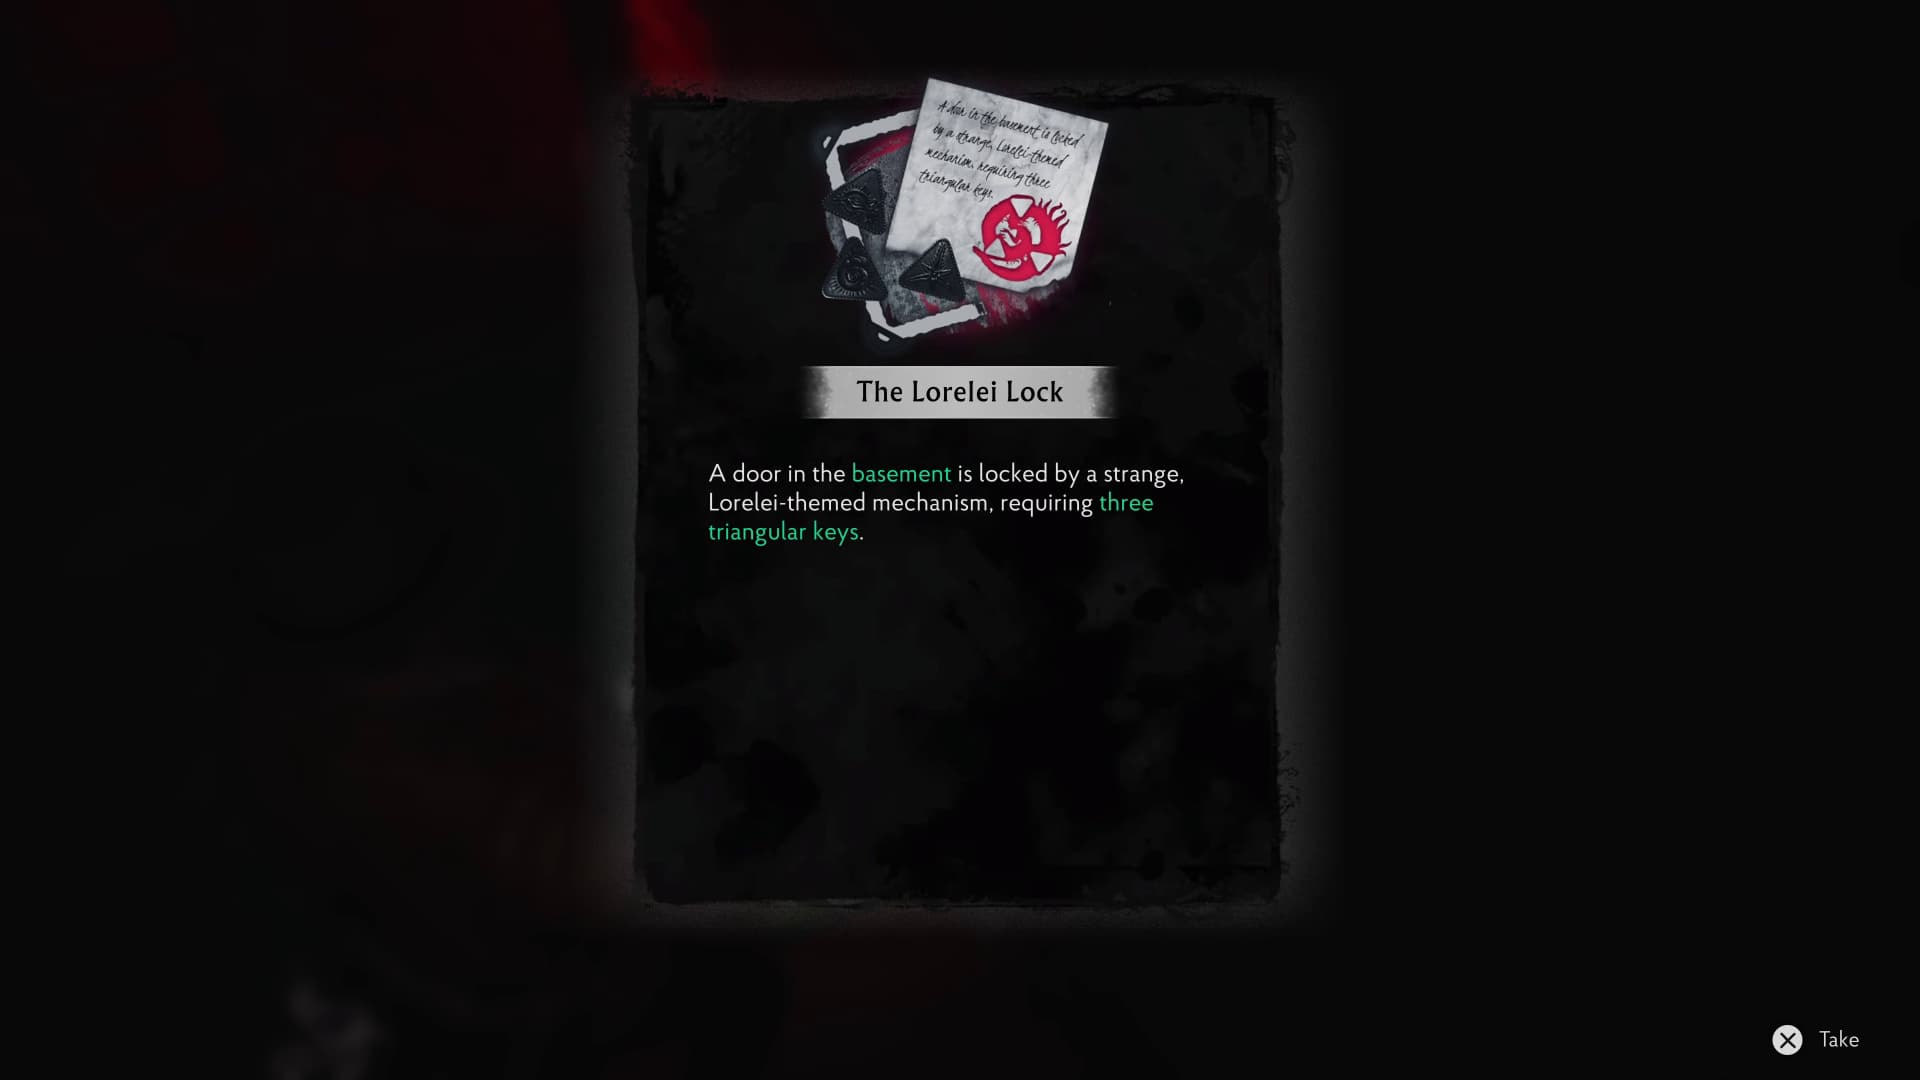
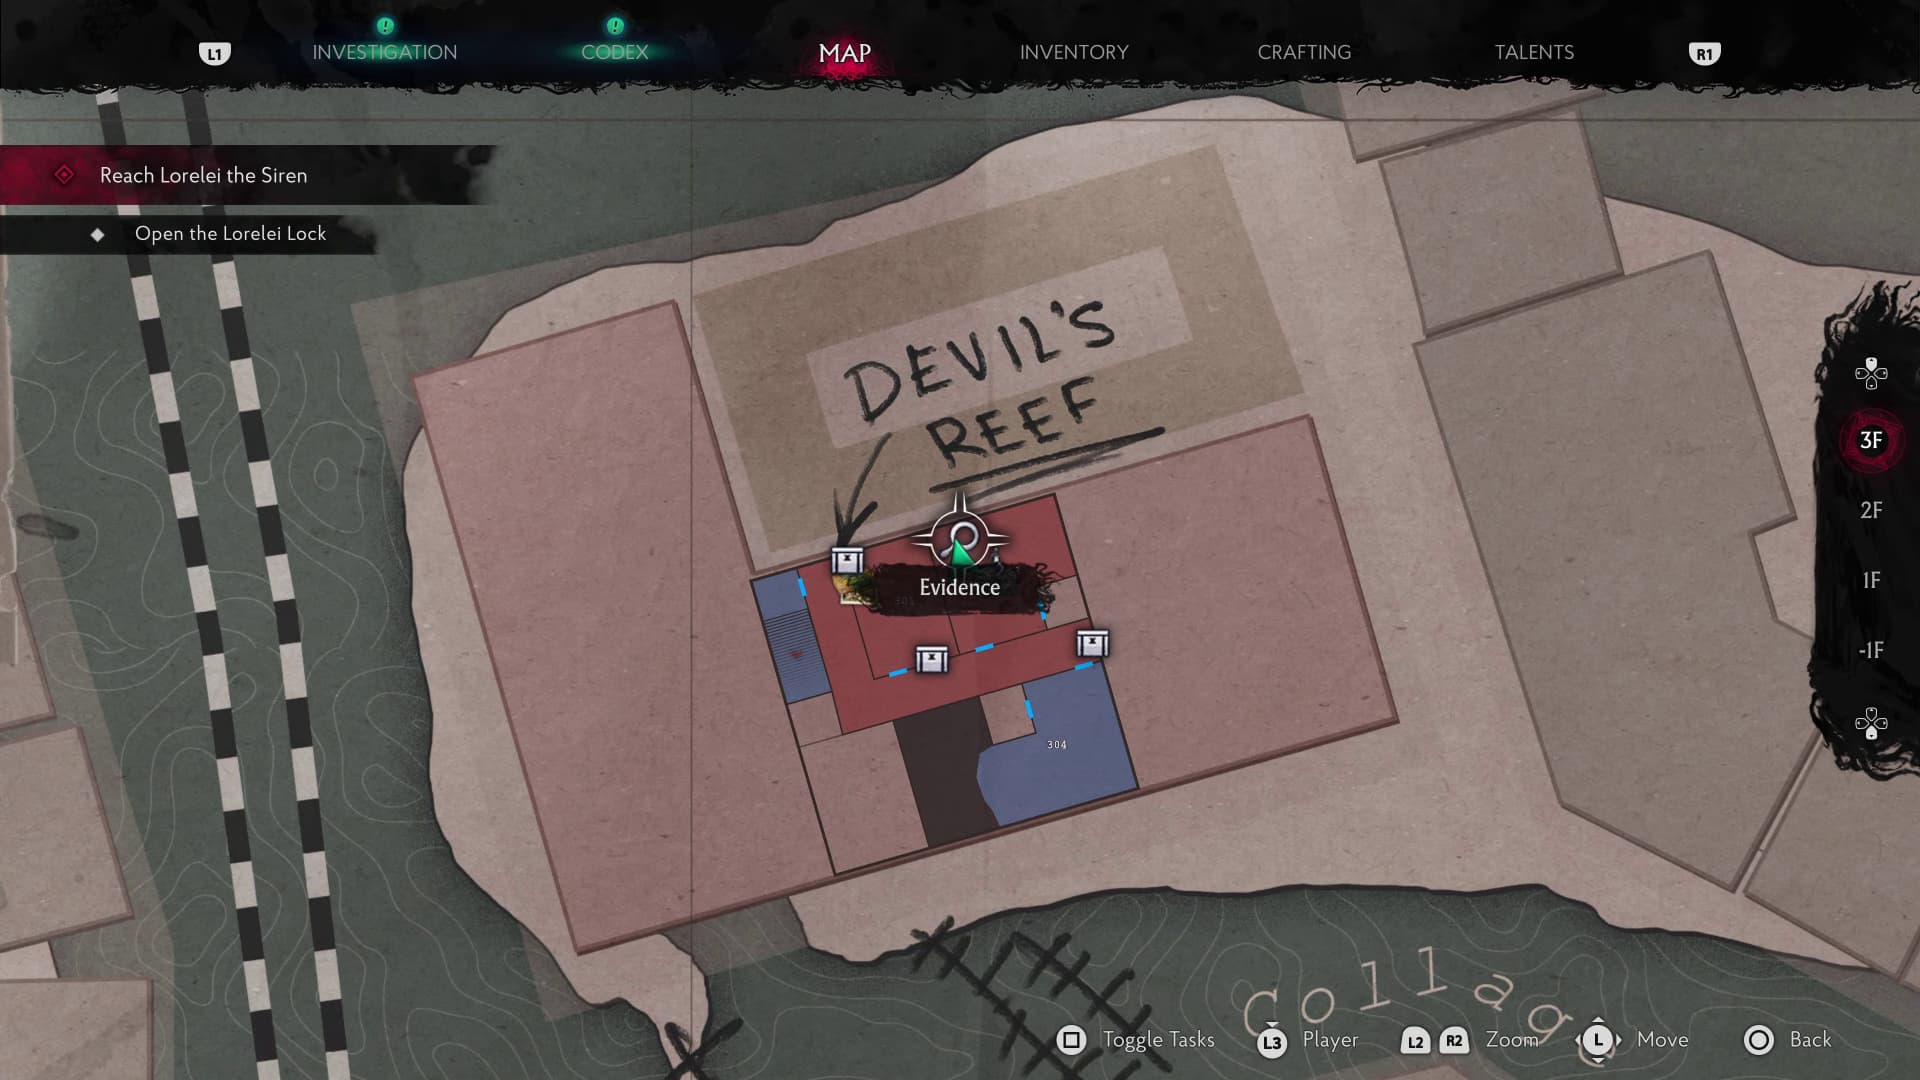
Back out of this small room, head through the door opposite into the kitchen and straight out of here. Head through the door ahead again, so past the save room on your left, and then head down the stone steps towards the cellar. On the wall on the right will be a puzzle, after interacting with this for the first time, you will automatically collect the next Evidence (The Lorelei Lock).
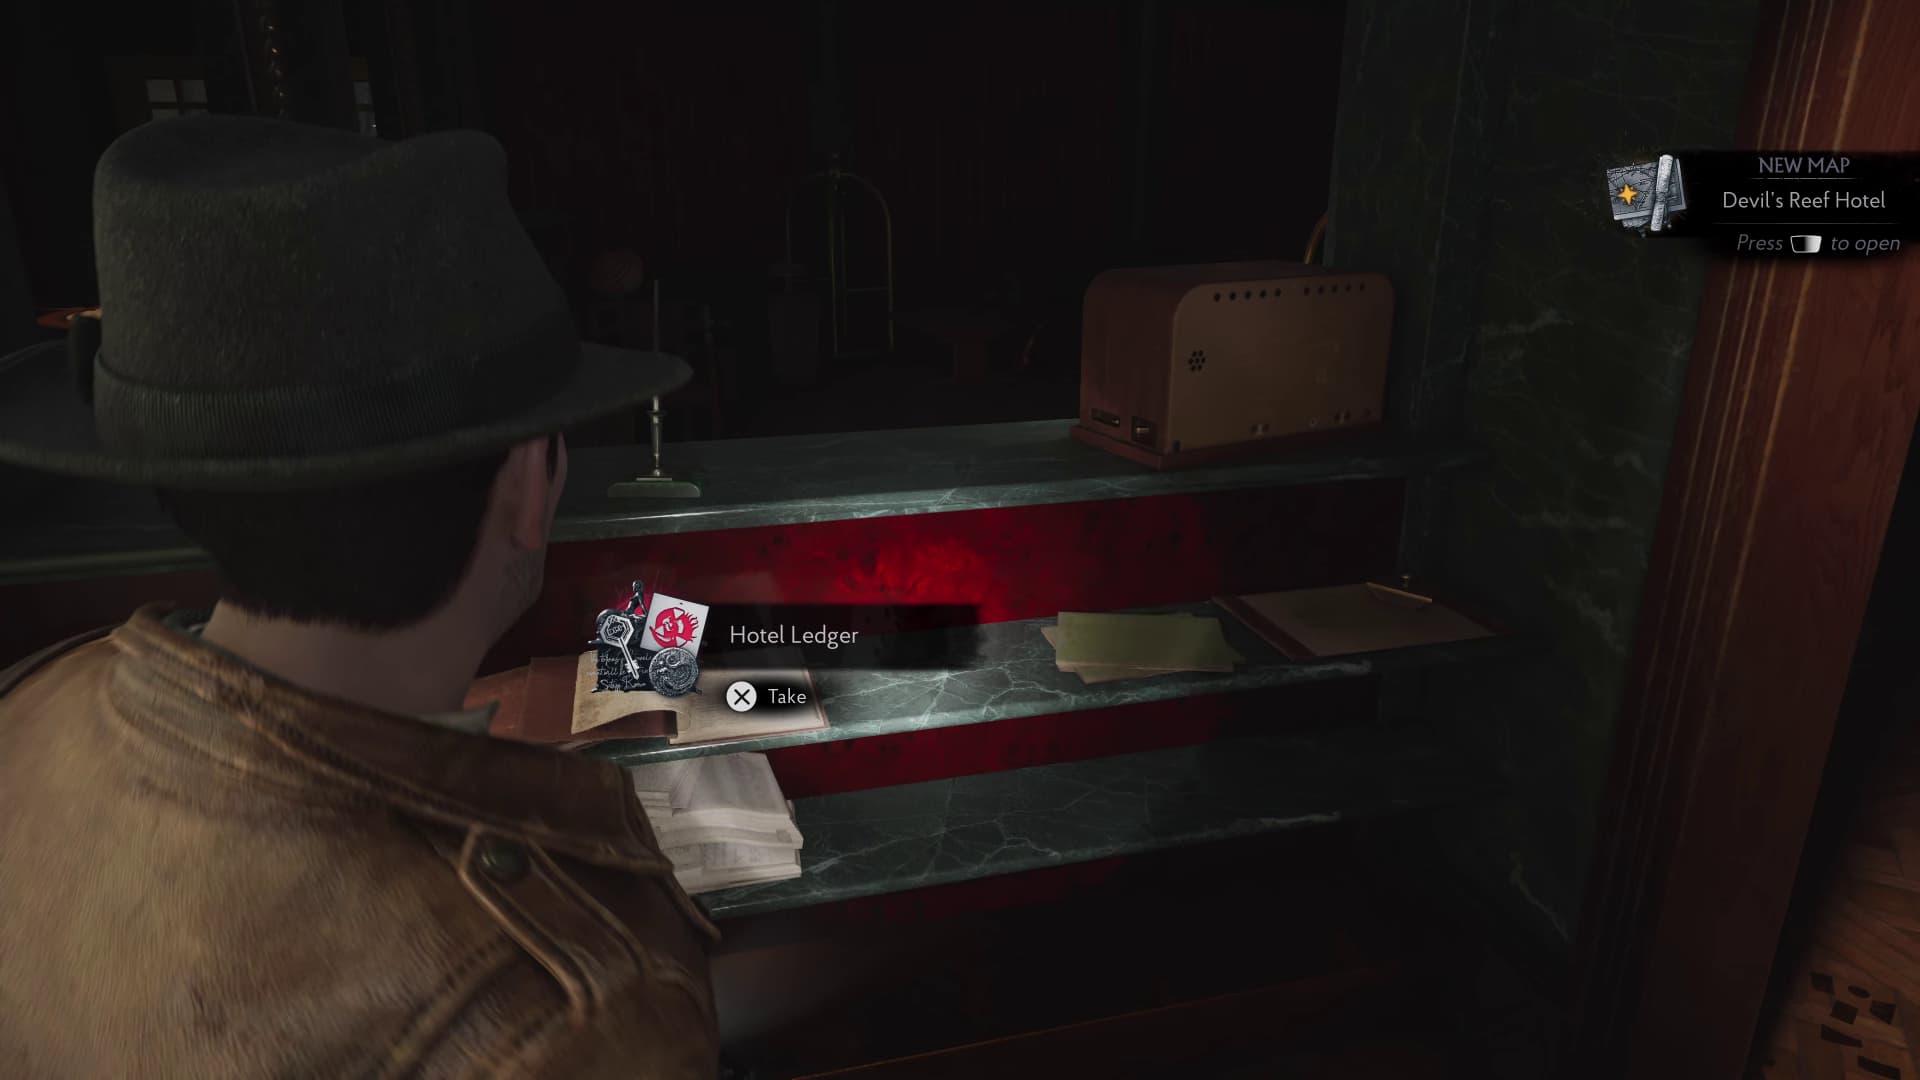
Head back upstairs and into the save room. Make your way out of the other door and immediately left into the reception area, on the wall will be a map, and on the right on the counter will be the next Evidence (Hotel Ledger) to collect also.
Keep progressing again until you make it through the top floor of the hotel.
Head out of room 301 over the corridor and into room 304, in here will be a hanging man to interact with, after this cutscene, you will need to make it back down into the bar area to collect the key from his body.
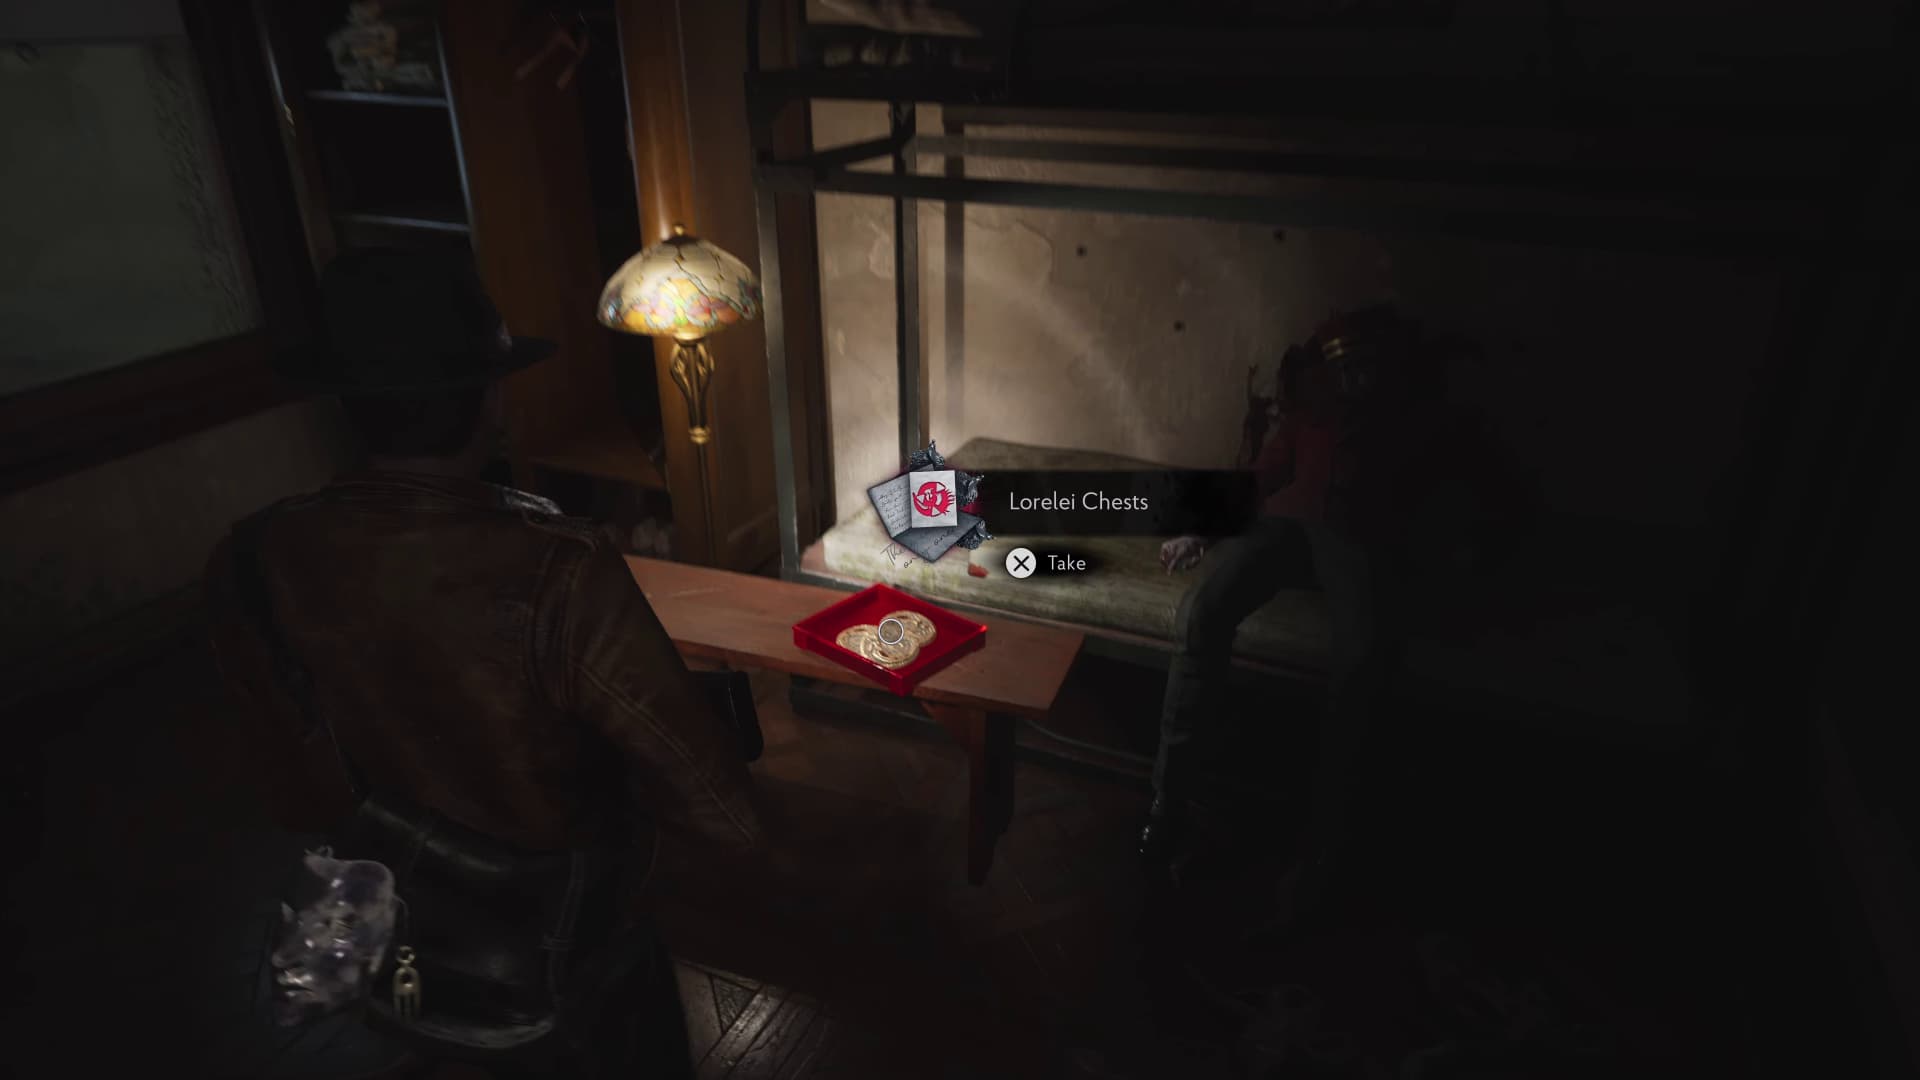
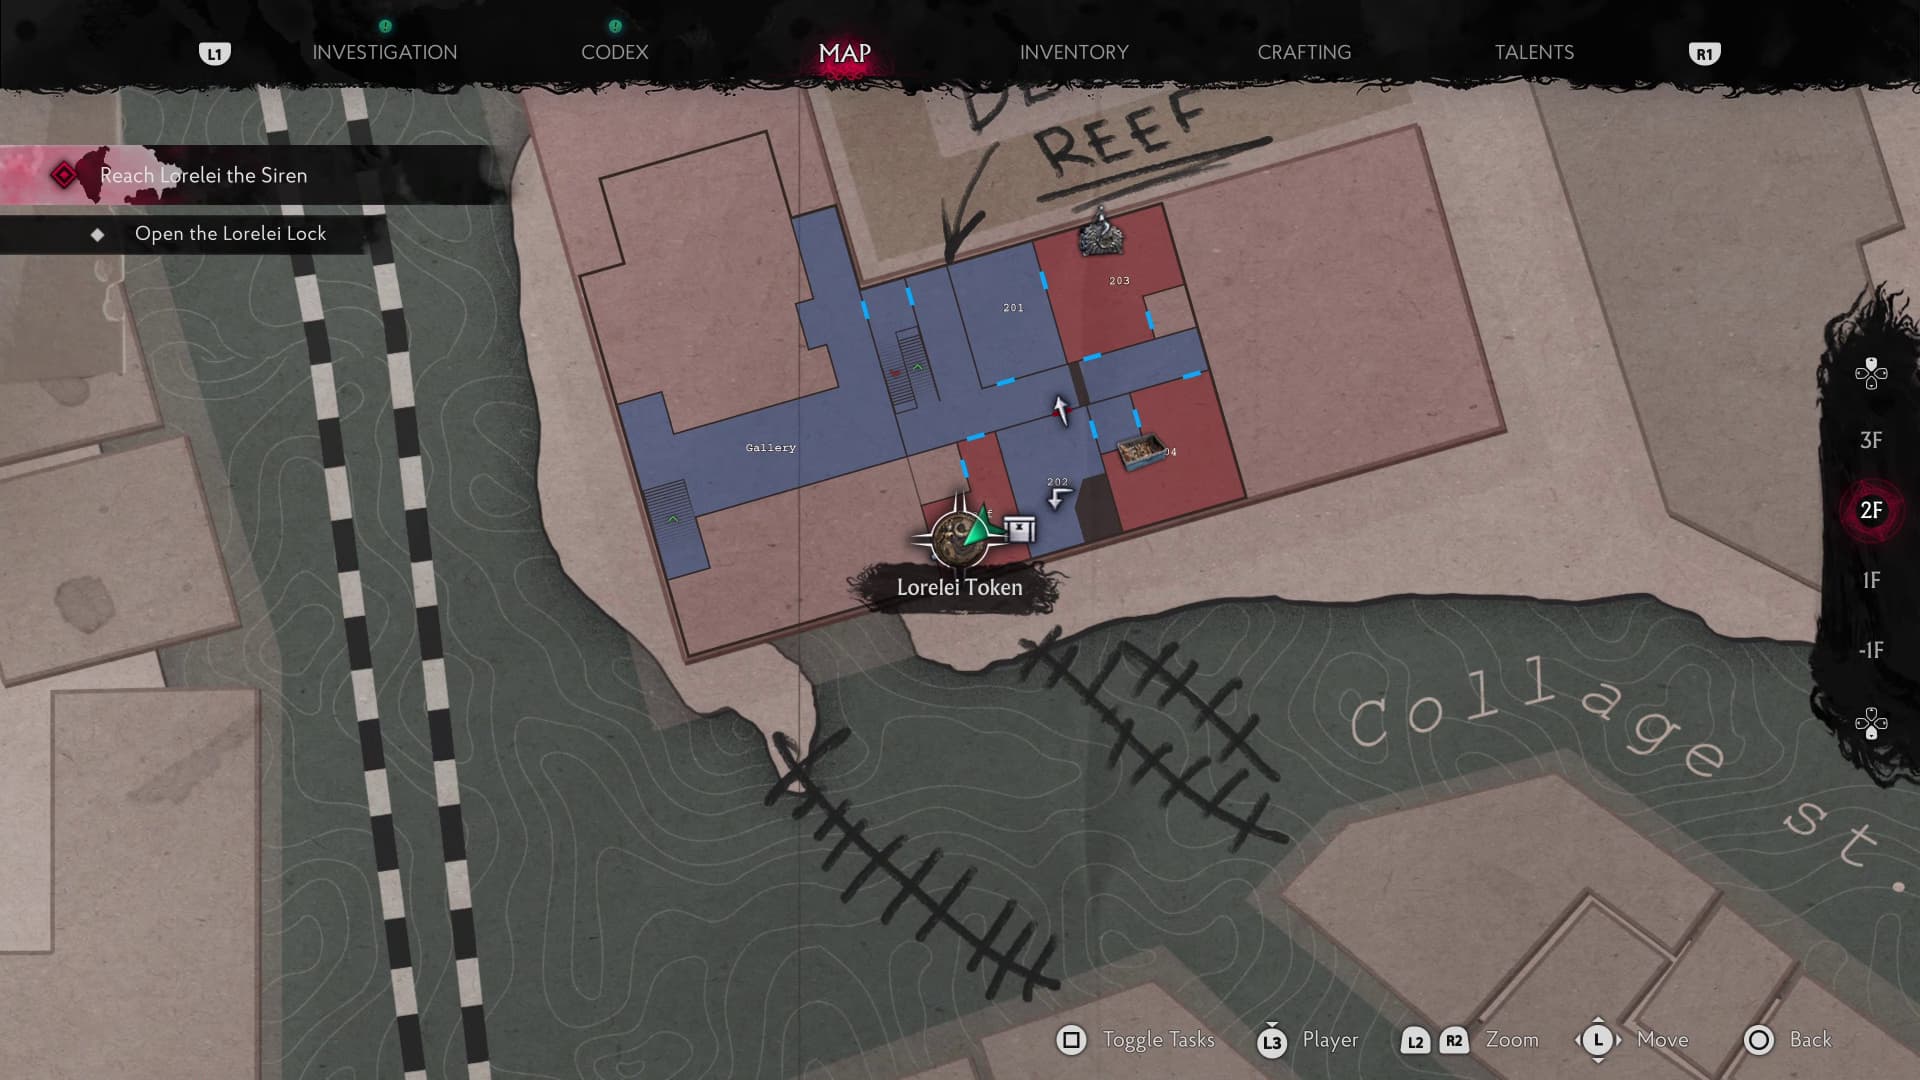
After collecting the key, make your way back up the stairs to the floor with rooms 201, 202, 203 and 204. Head into the Staff Room next to room 202 now you have the key, and inside will be the Lorelei Tokens to collect (Key Item) and just behind on the bed will be the next Evidence (Lorelei Chests).
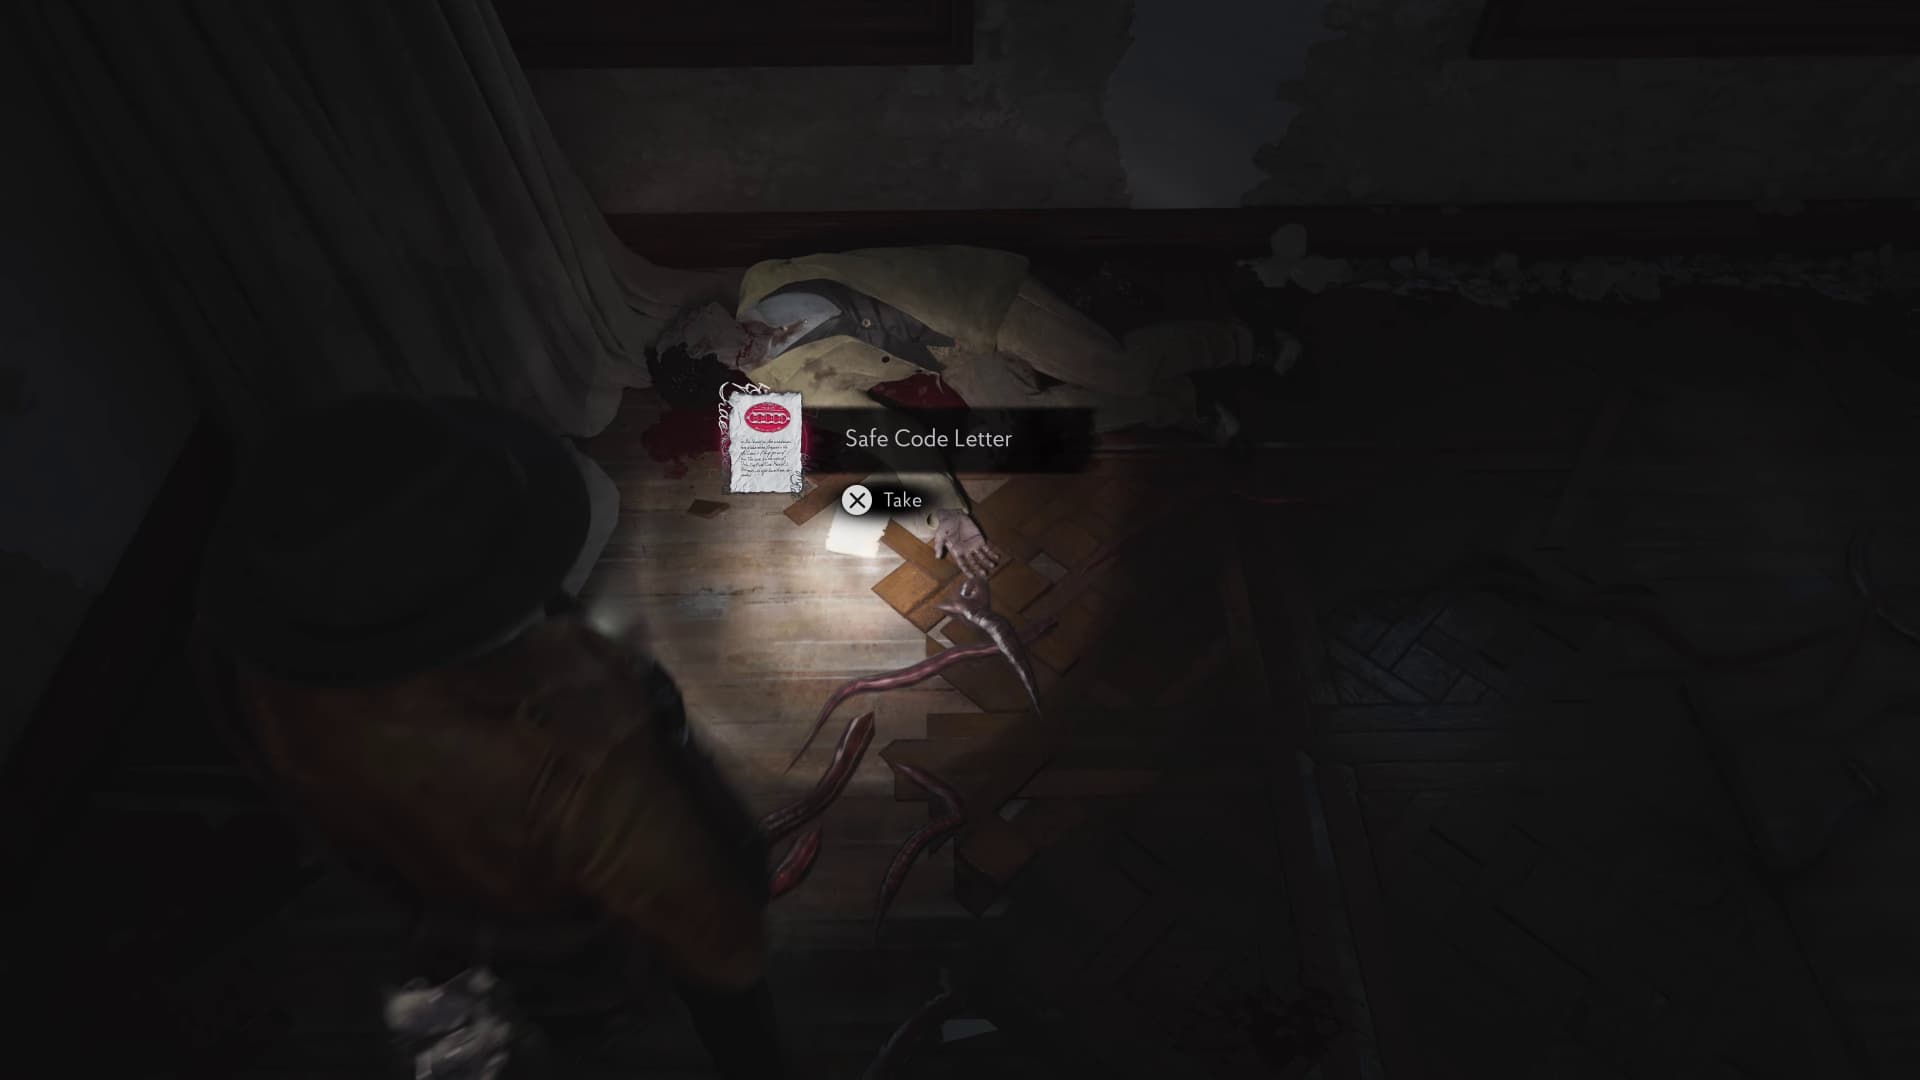
Make your way back into room 203 and collect the Lorelei chest in here, then head up to the top floor with rooms 301, 303 and 304. Unlock room 303 with the Staff Key, and inside in the back left will be the next Evidence (Safe Code Letter). There will be the next Lorelei Chest to unlock in here too, then make it back down to the bar to unlock the final Chest.
This is all of the Evidence for The Wake Up Call section, make sure you are piecing together all of your evidence and connecting the relevant clues together, doing this will reward you with Dream Essence, you will need this later to unlock all Dream Essence upgradables. Keep progressing through the game to make it to the next area, A Sight For Sore Eyes, at the Asylum.
A Sight For Sore Eyes
In this area, there will be:
19 Evidence / Clues
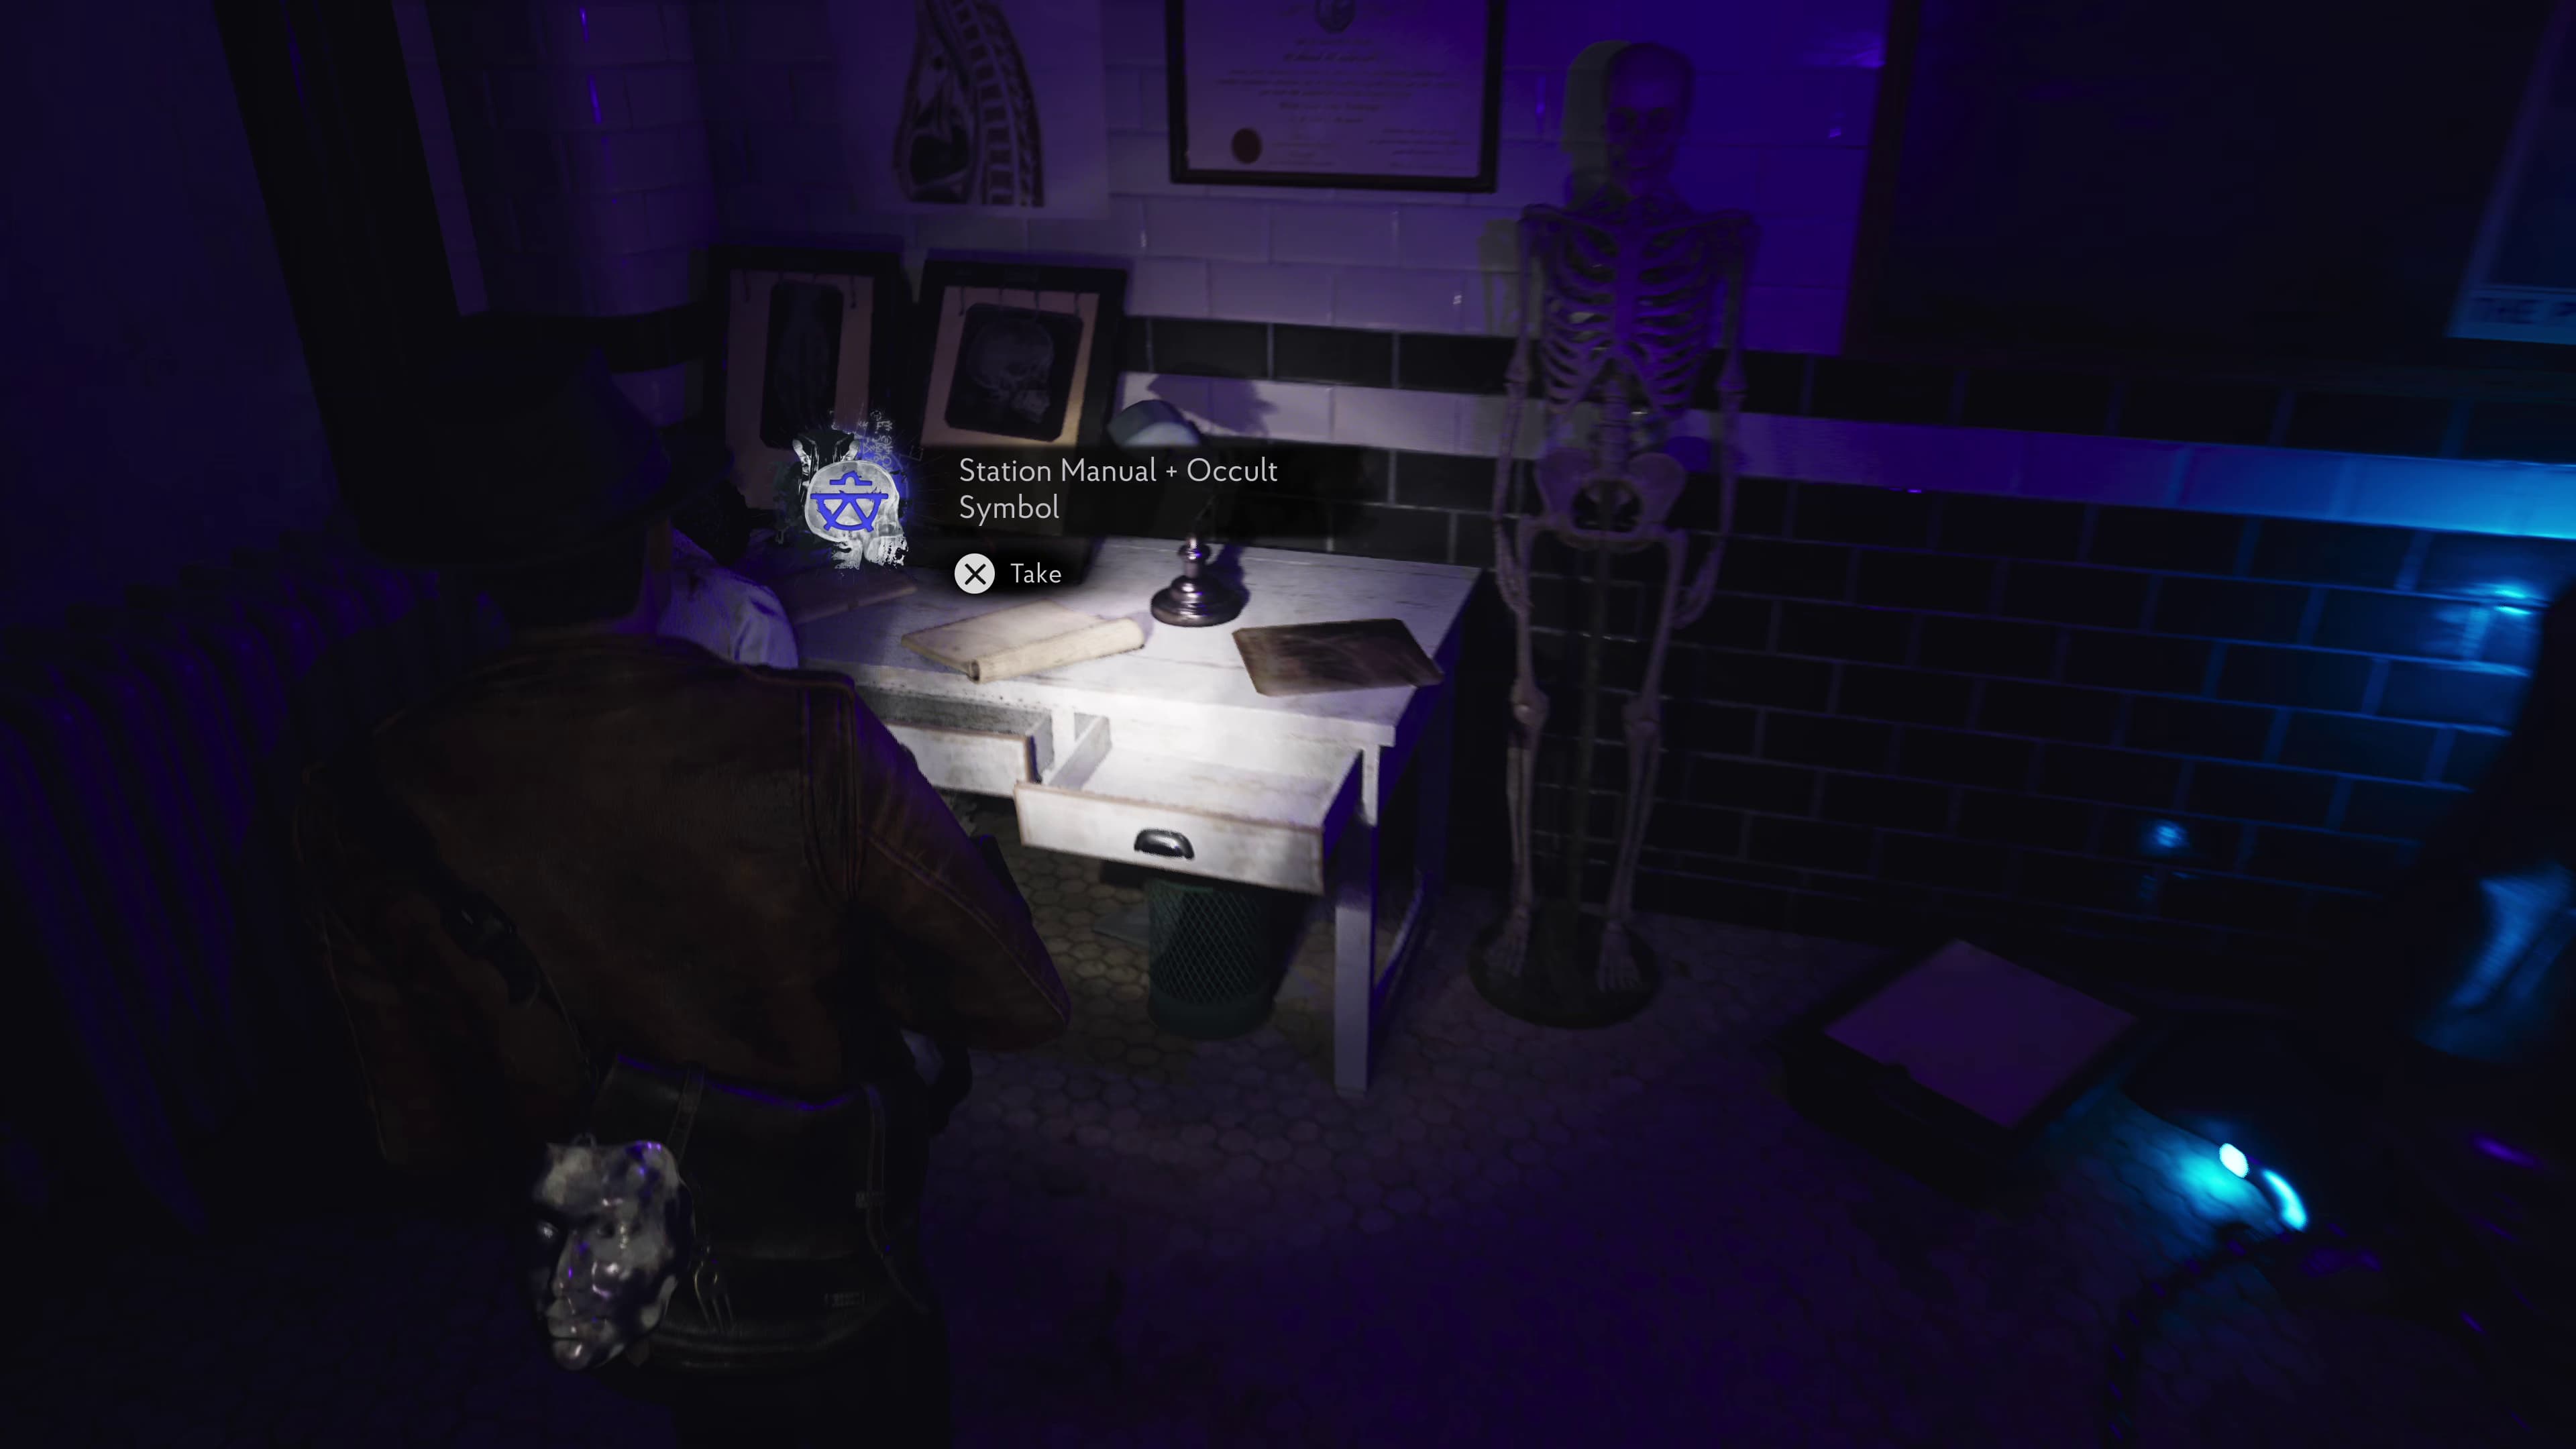
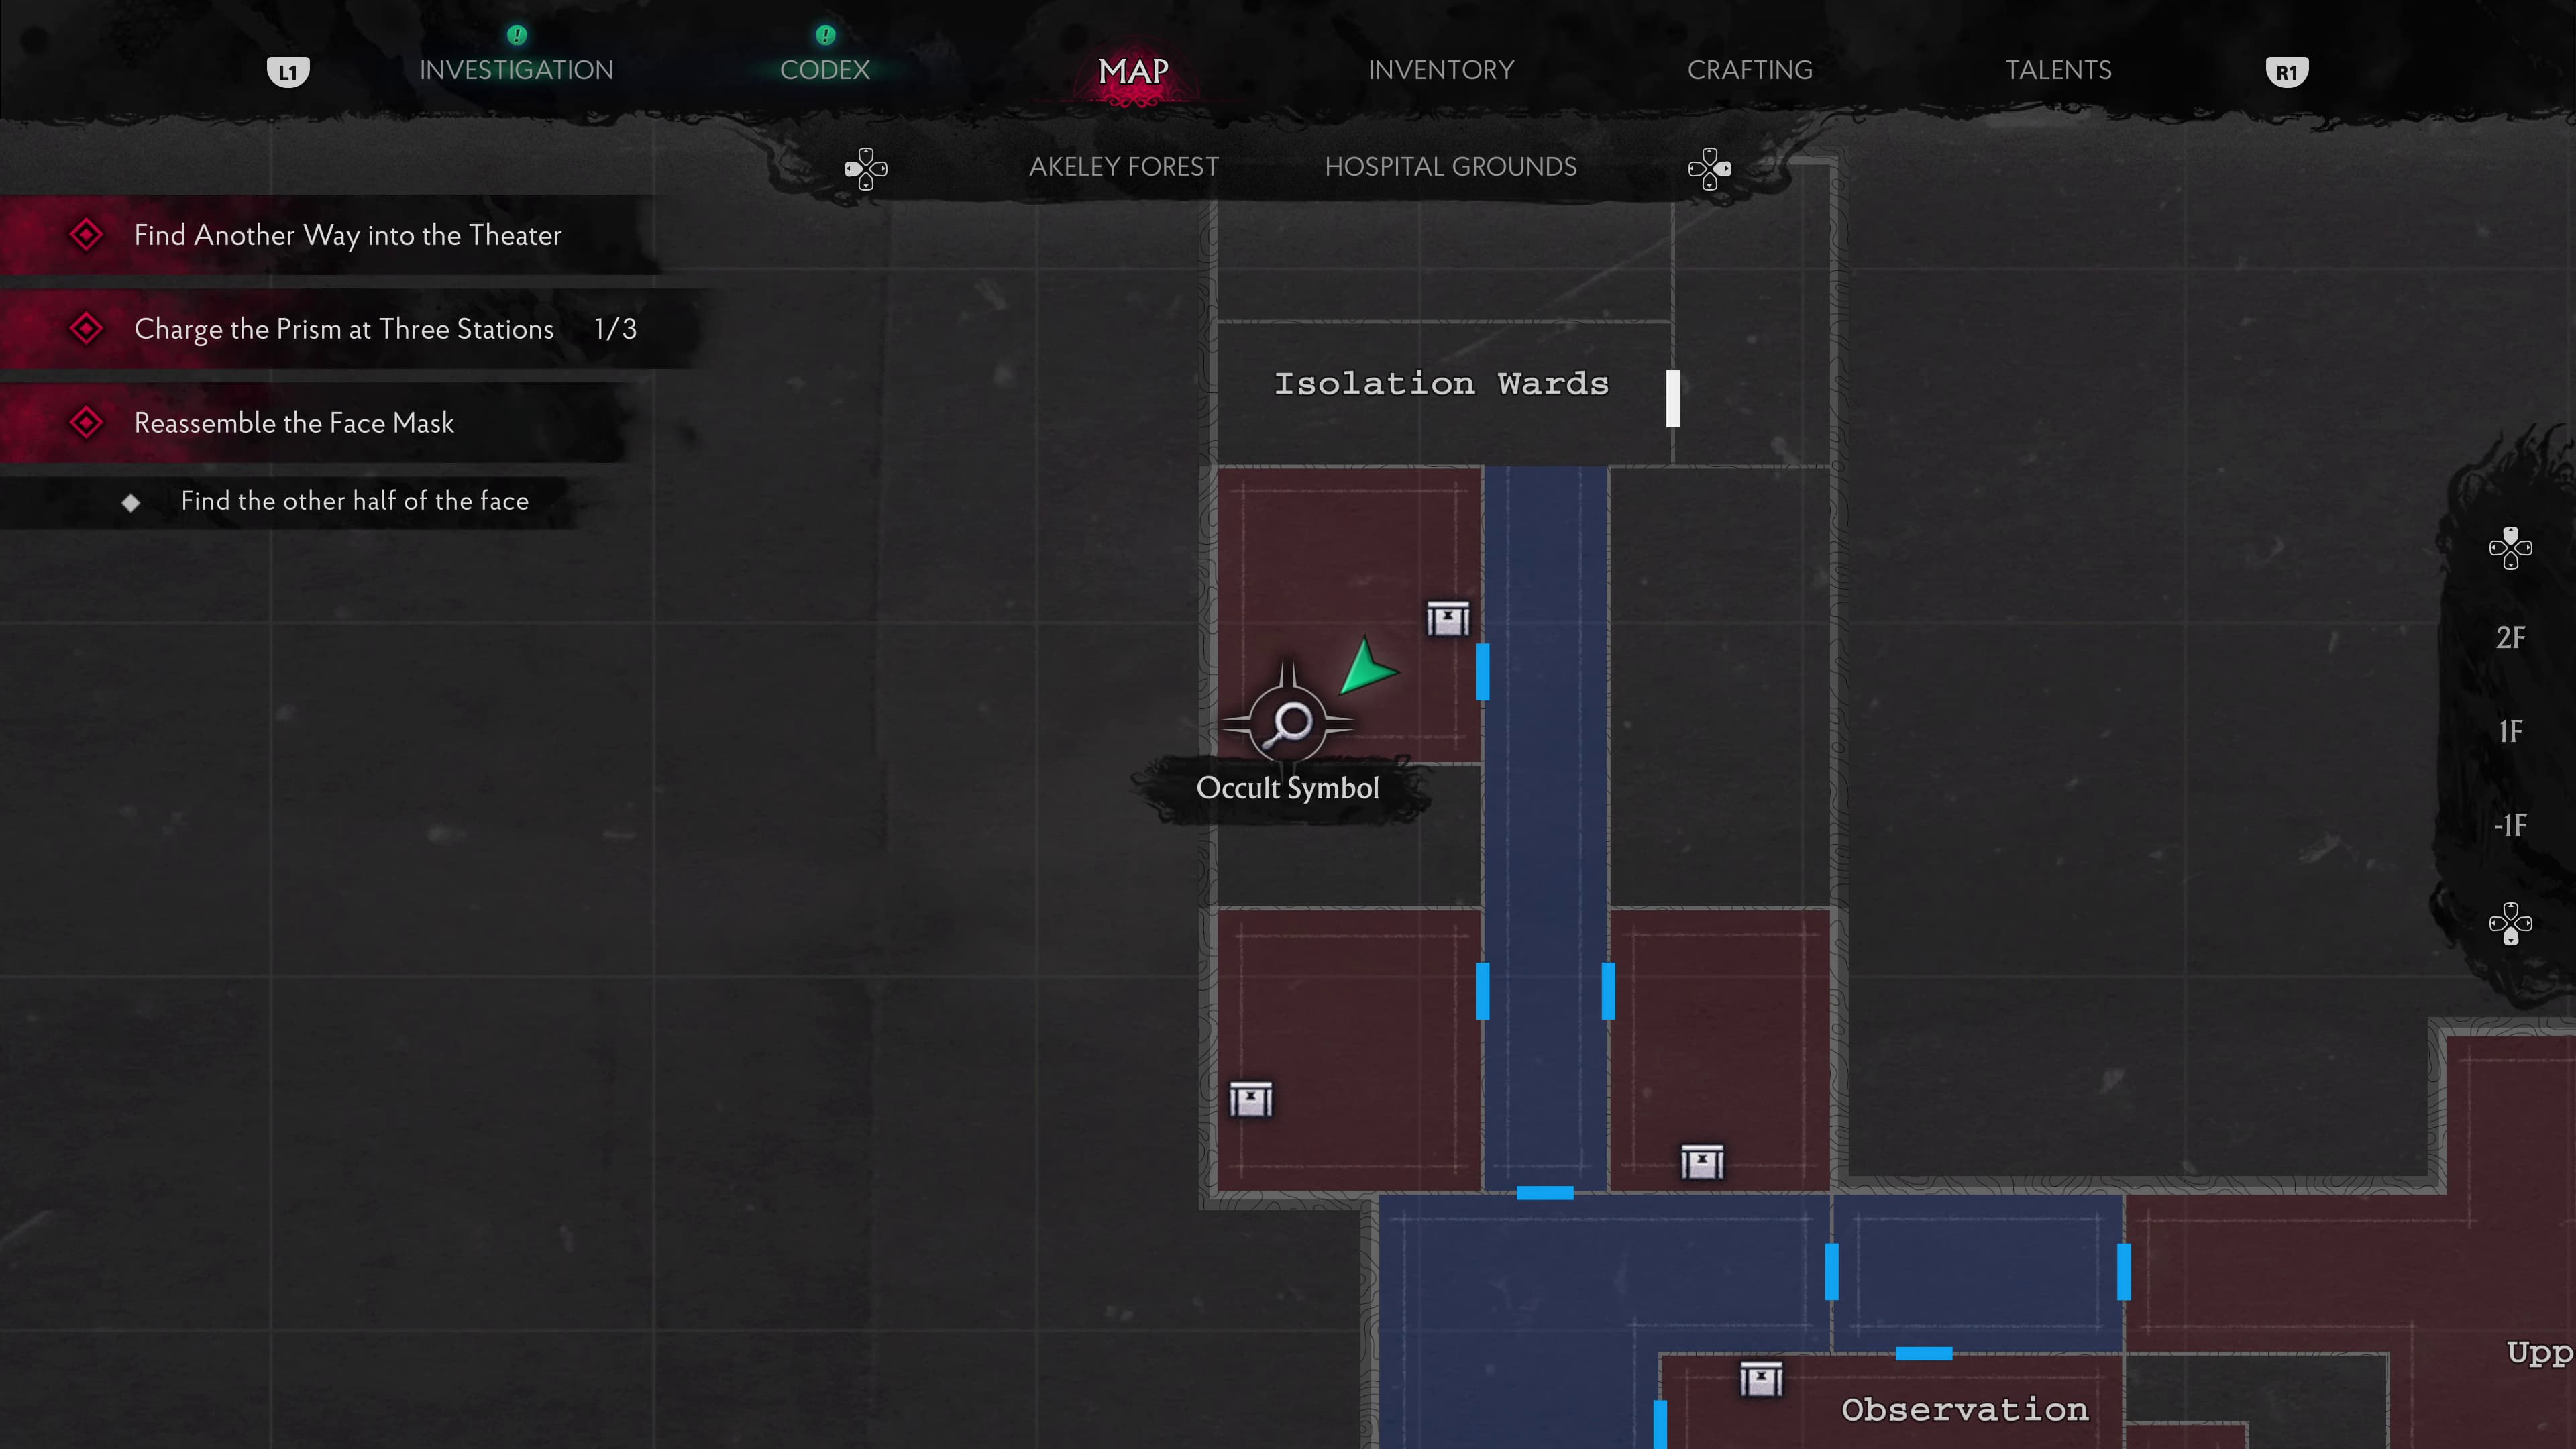
Progress your way through the area until you make it into the first room with a prism puzzle, the Treatment Room, in here will be the Evidence (Station Manual + Occult Symbol) to collect on the desk straight ahead.
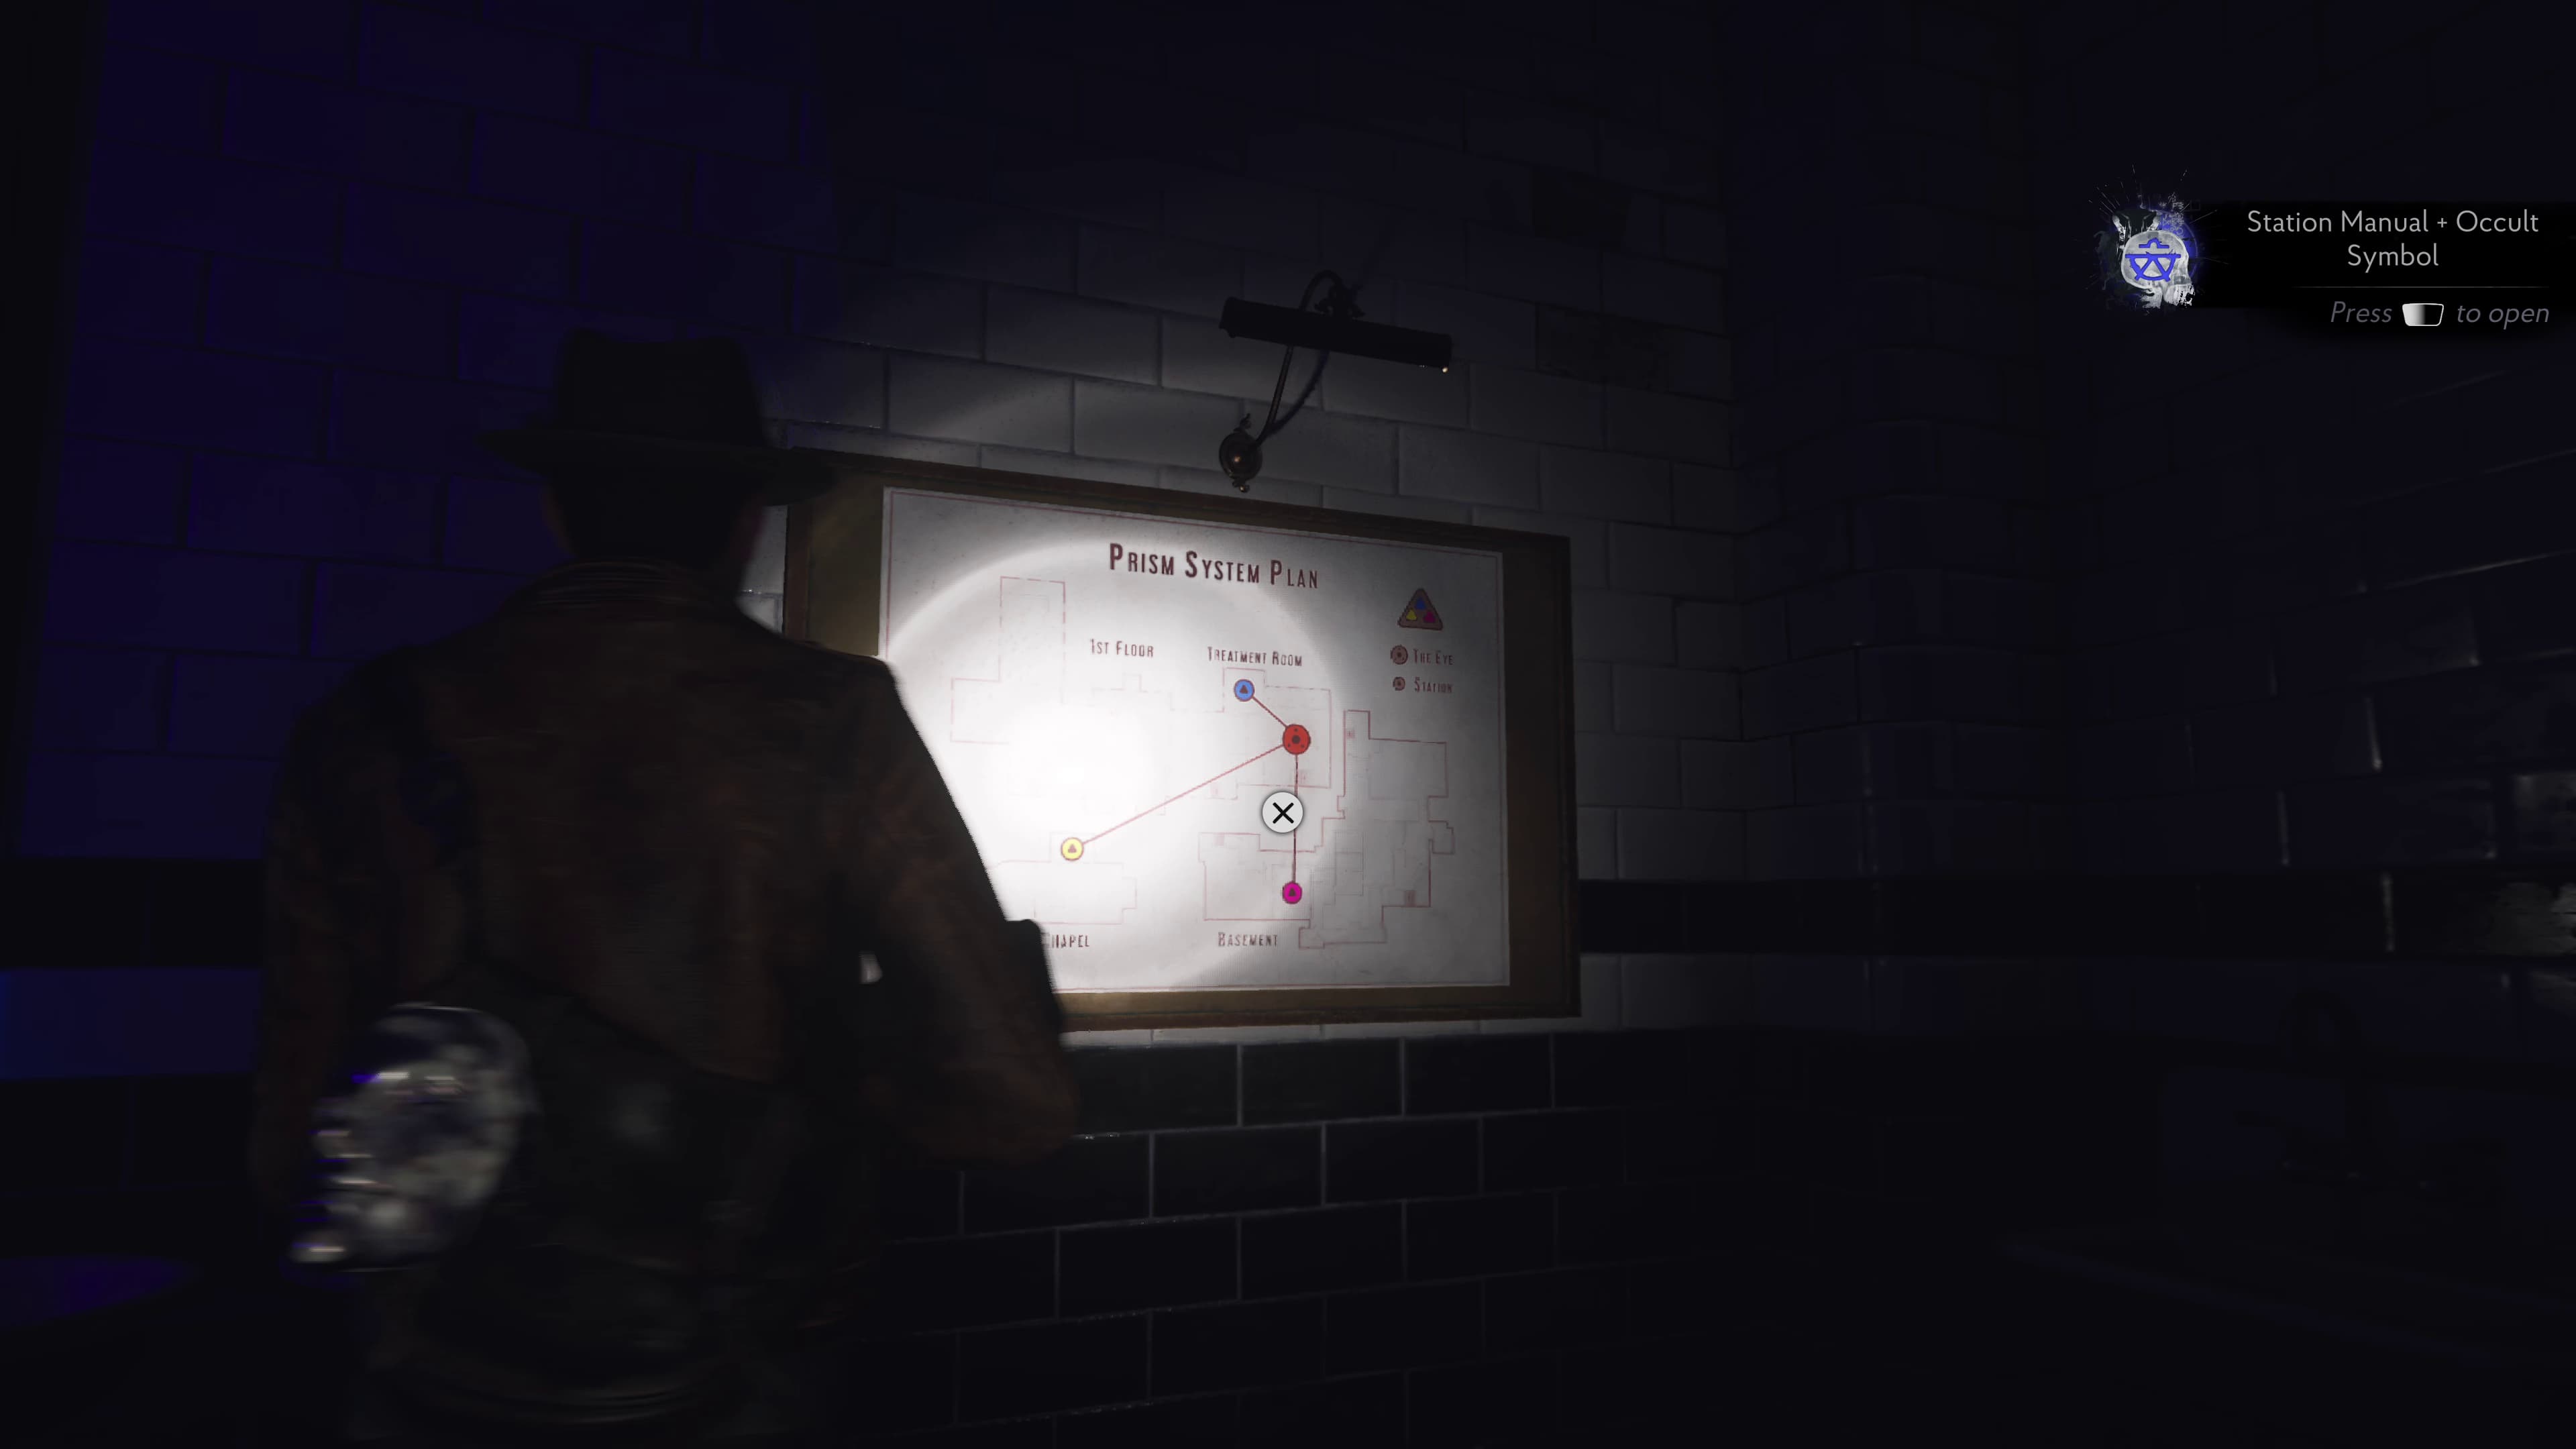
In the same room to the right of the Blue Prism Station, on the wall will be a Schematic to interact with and this will also be the next Evidence (Prism System Schematic).
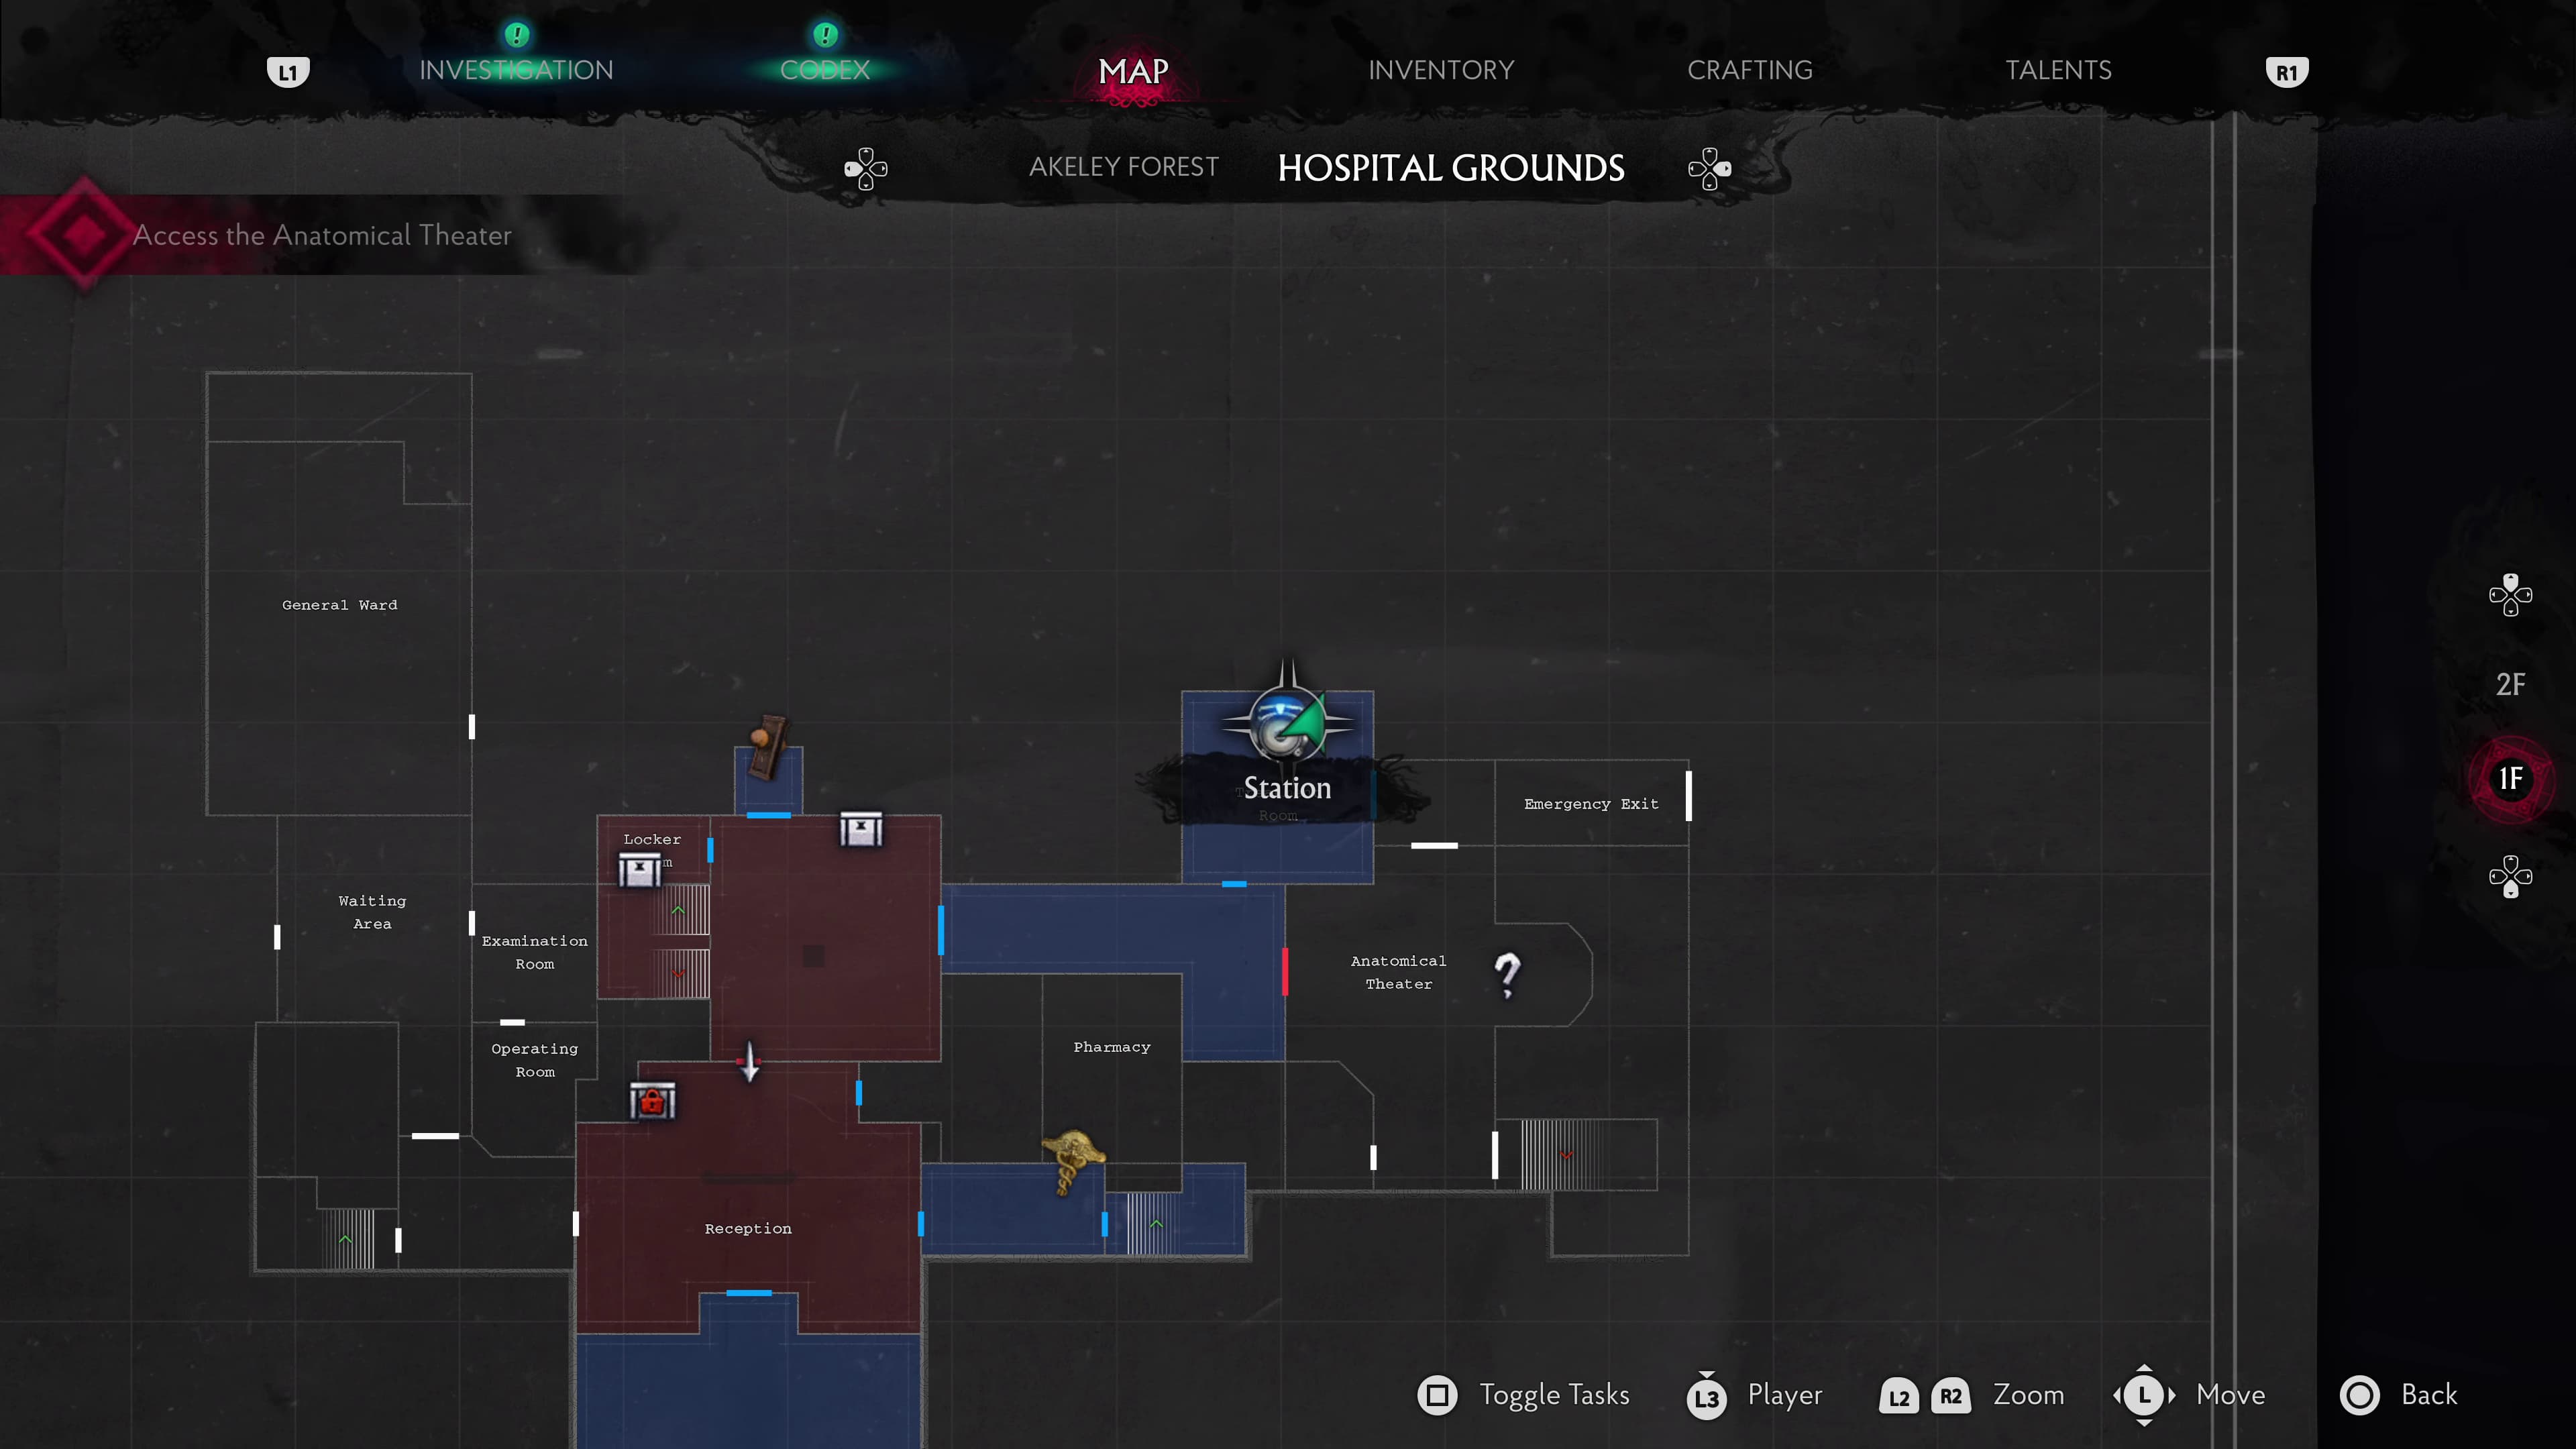
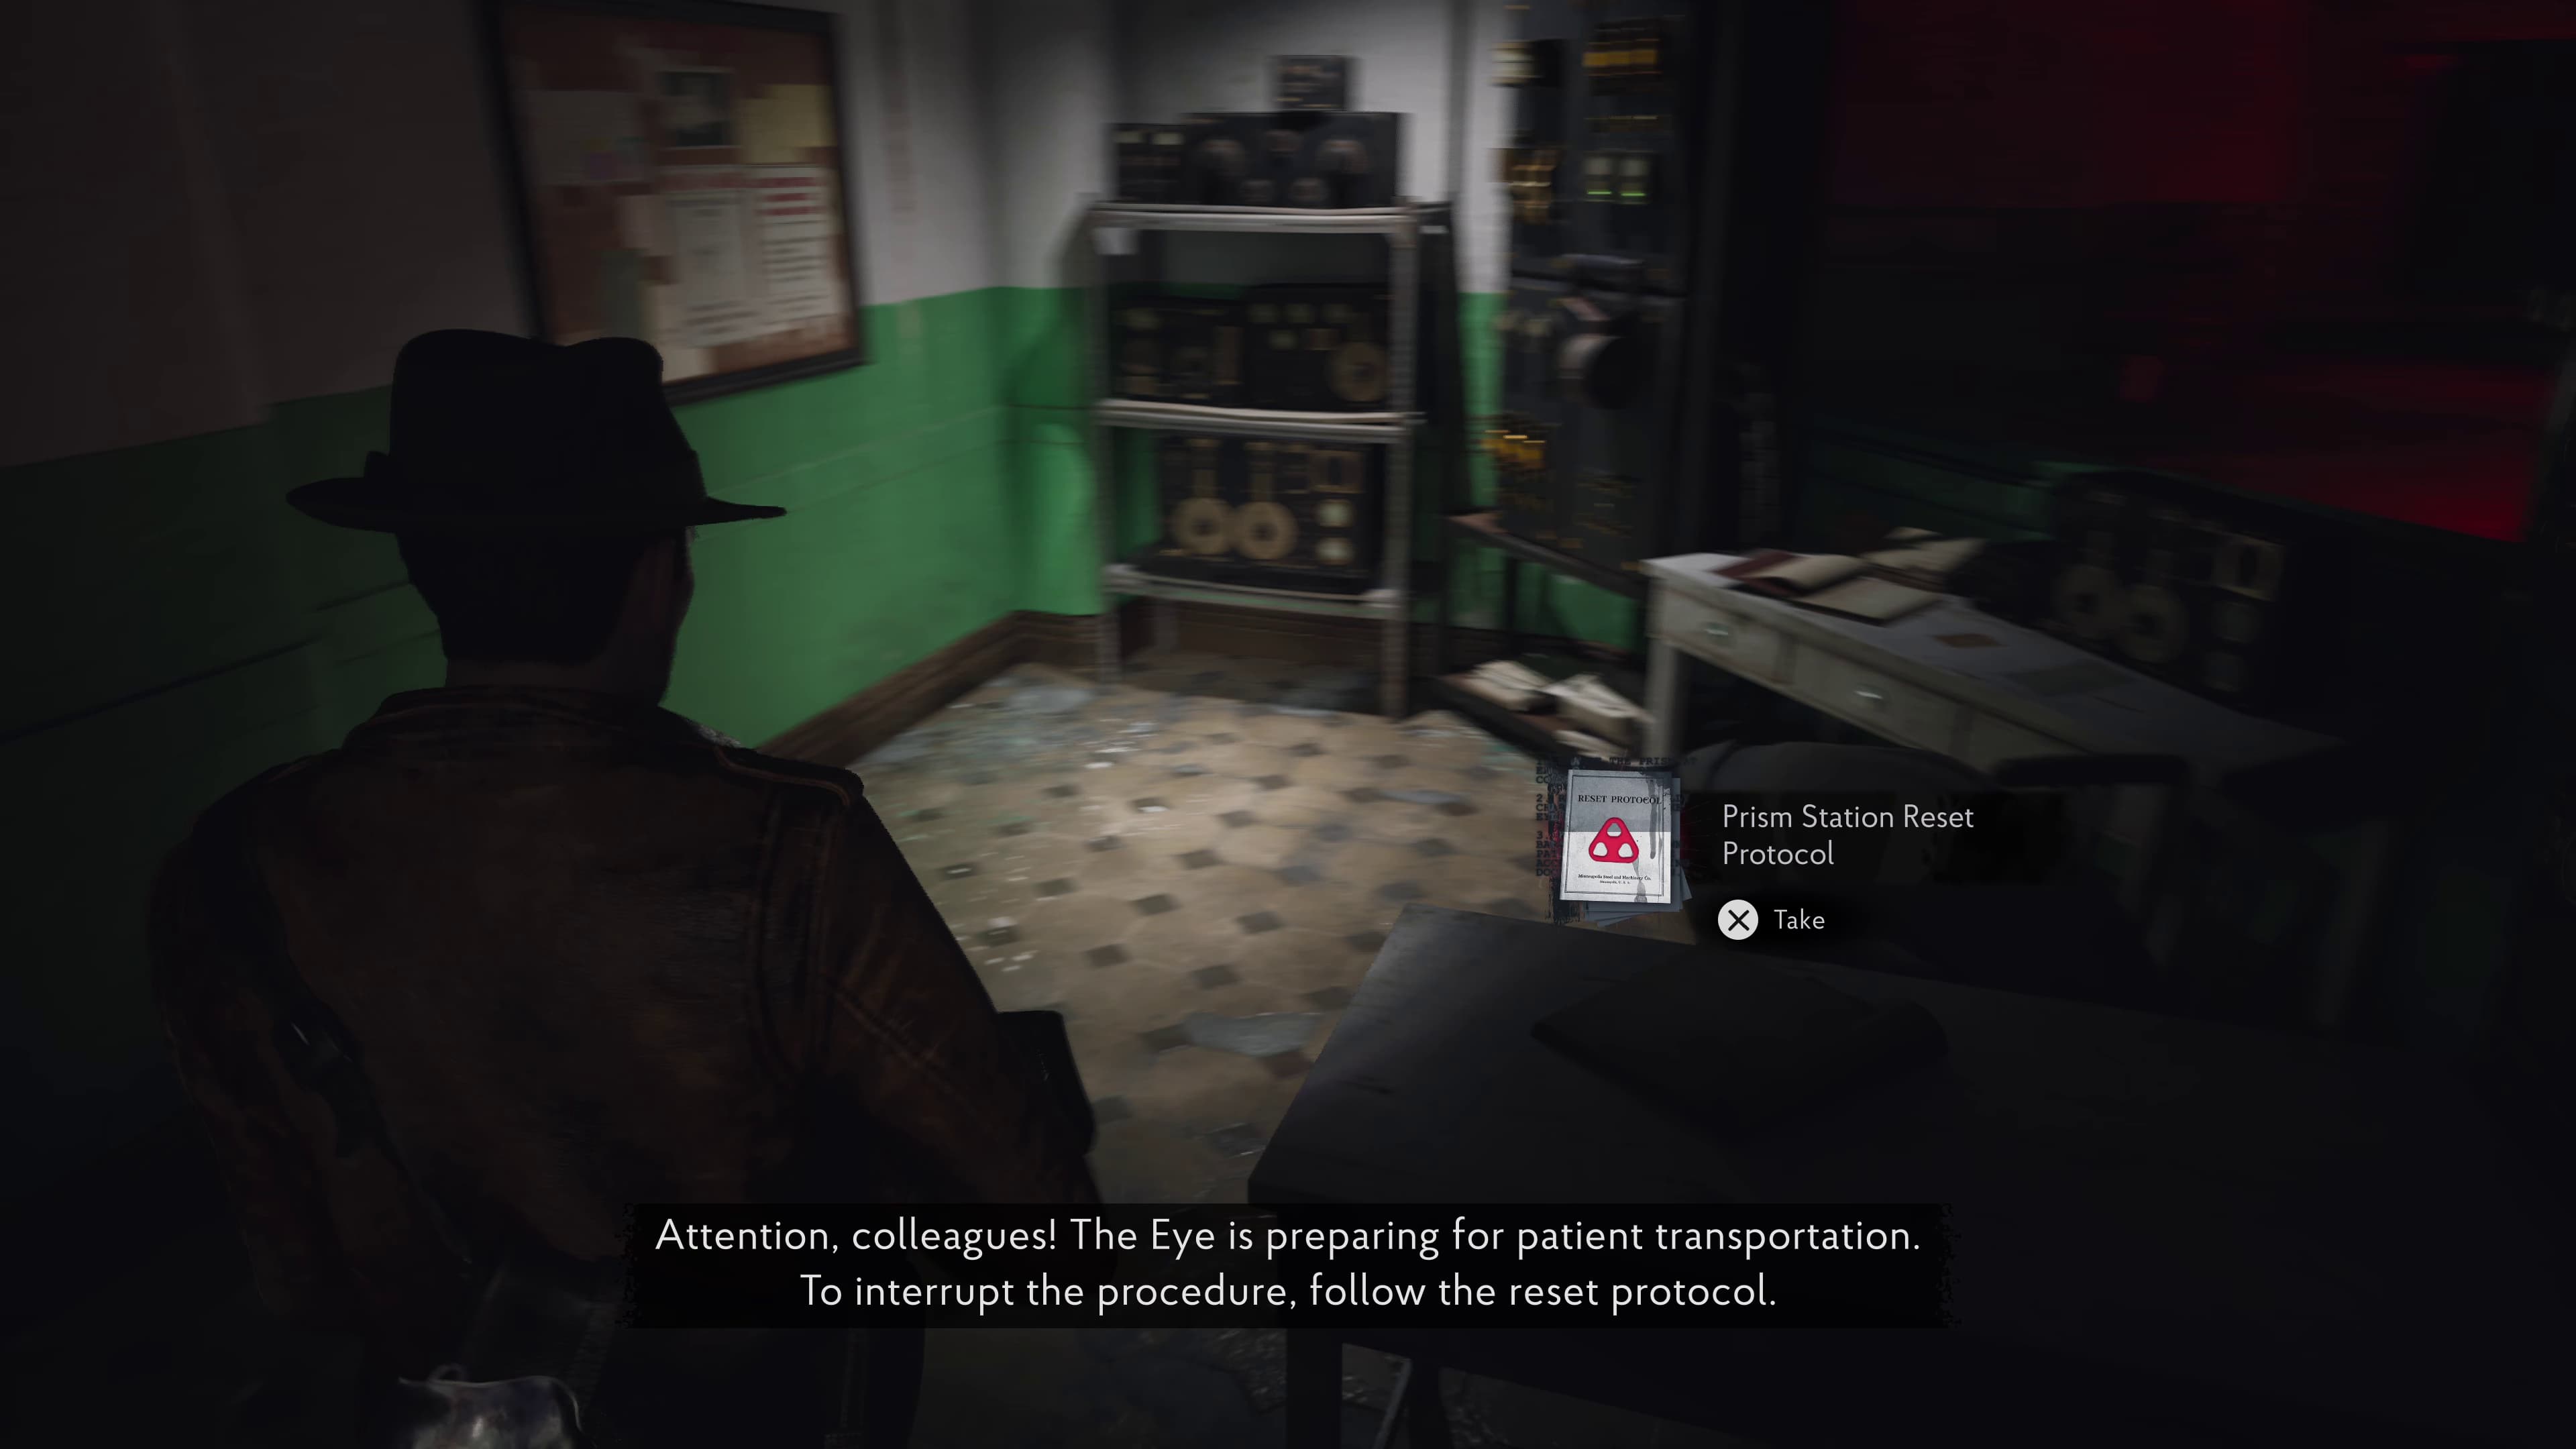
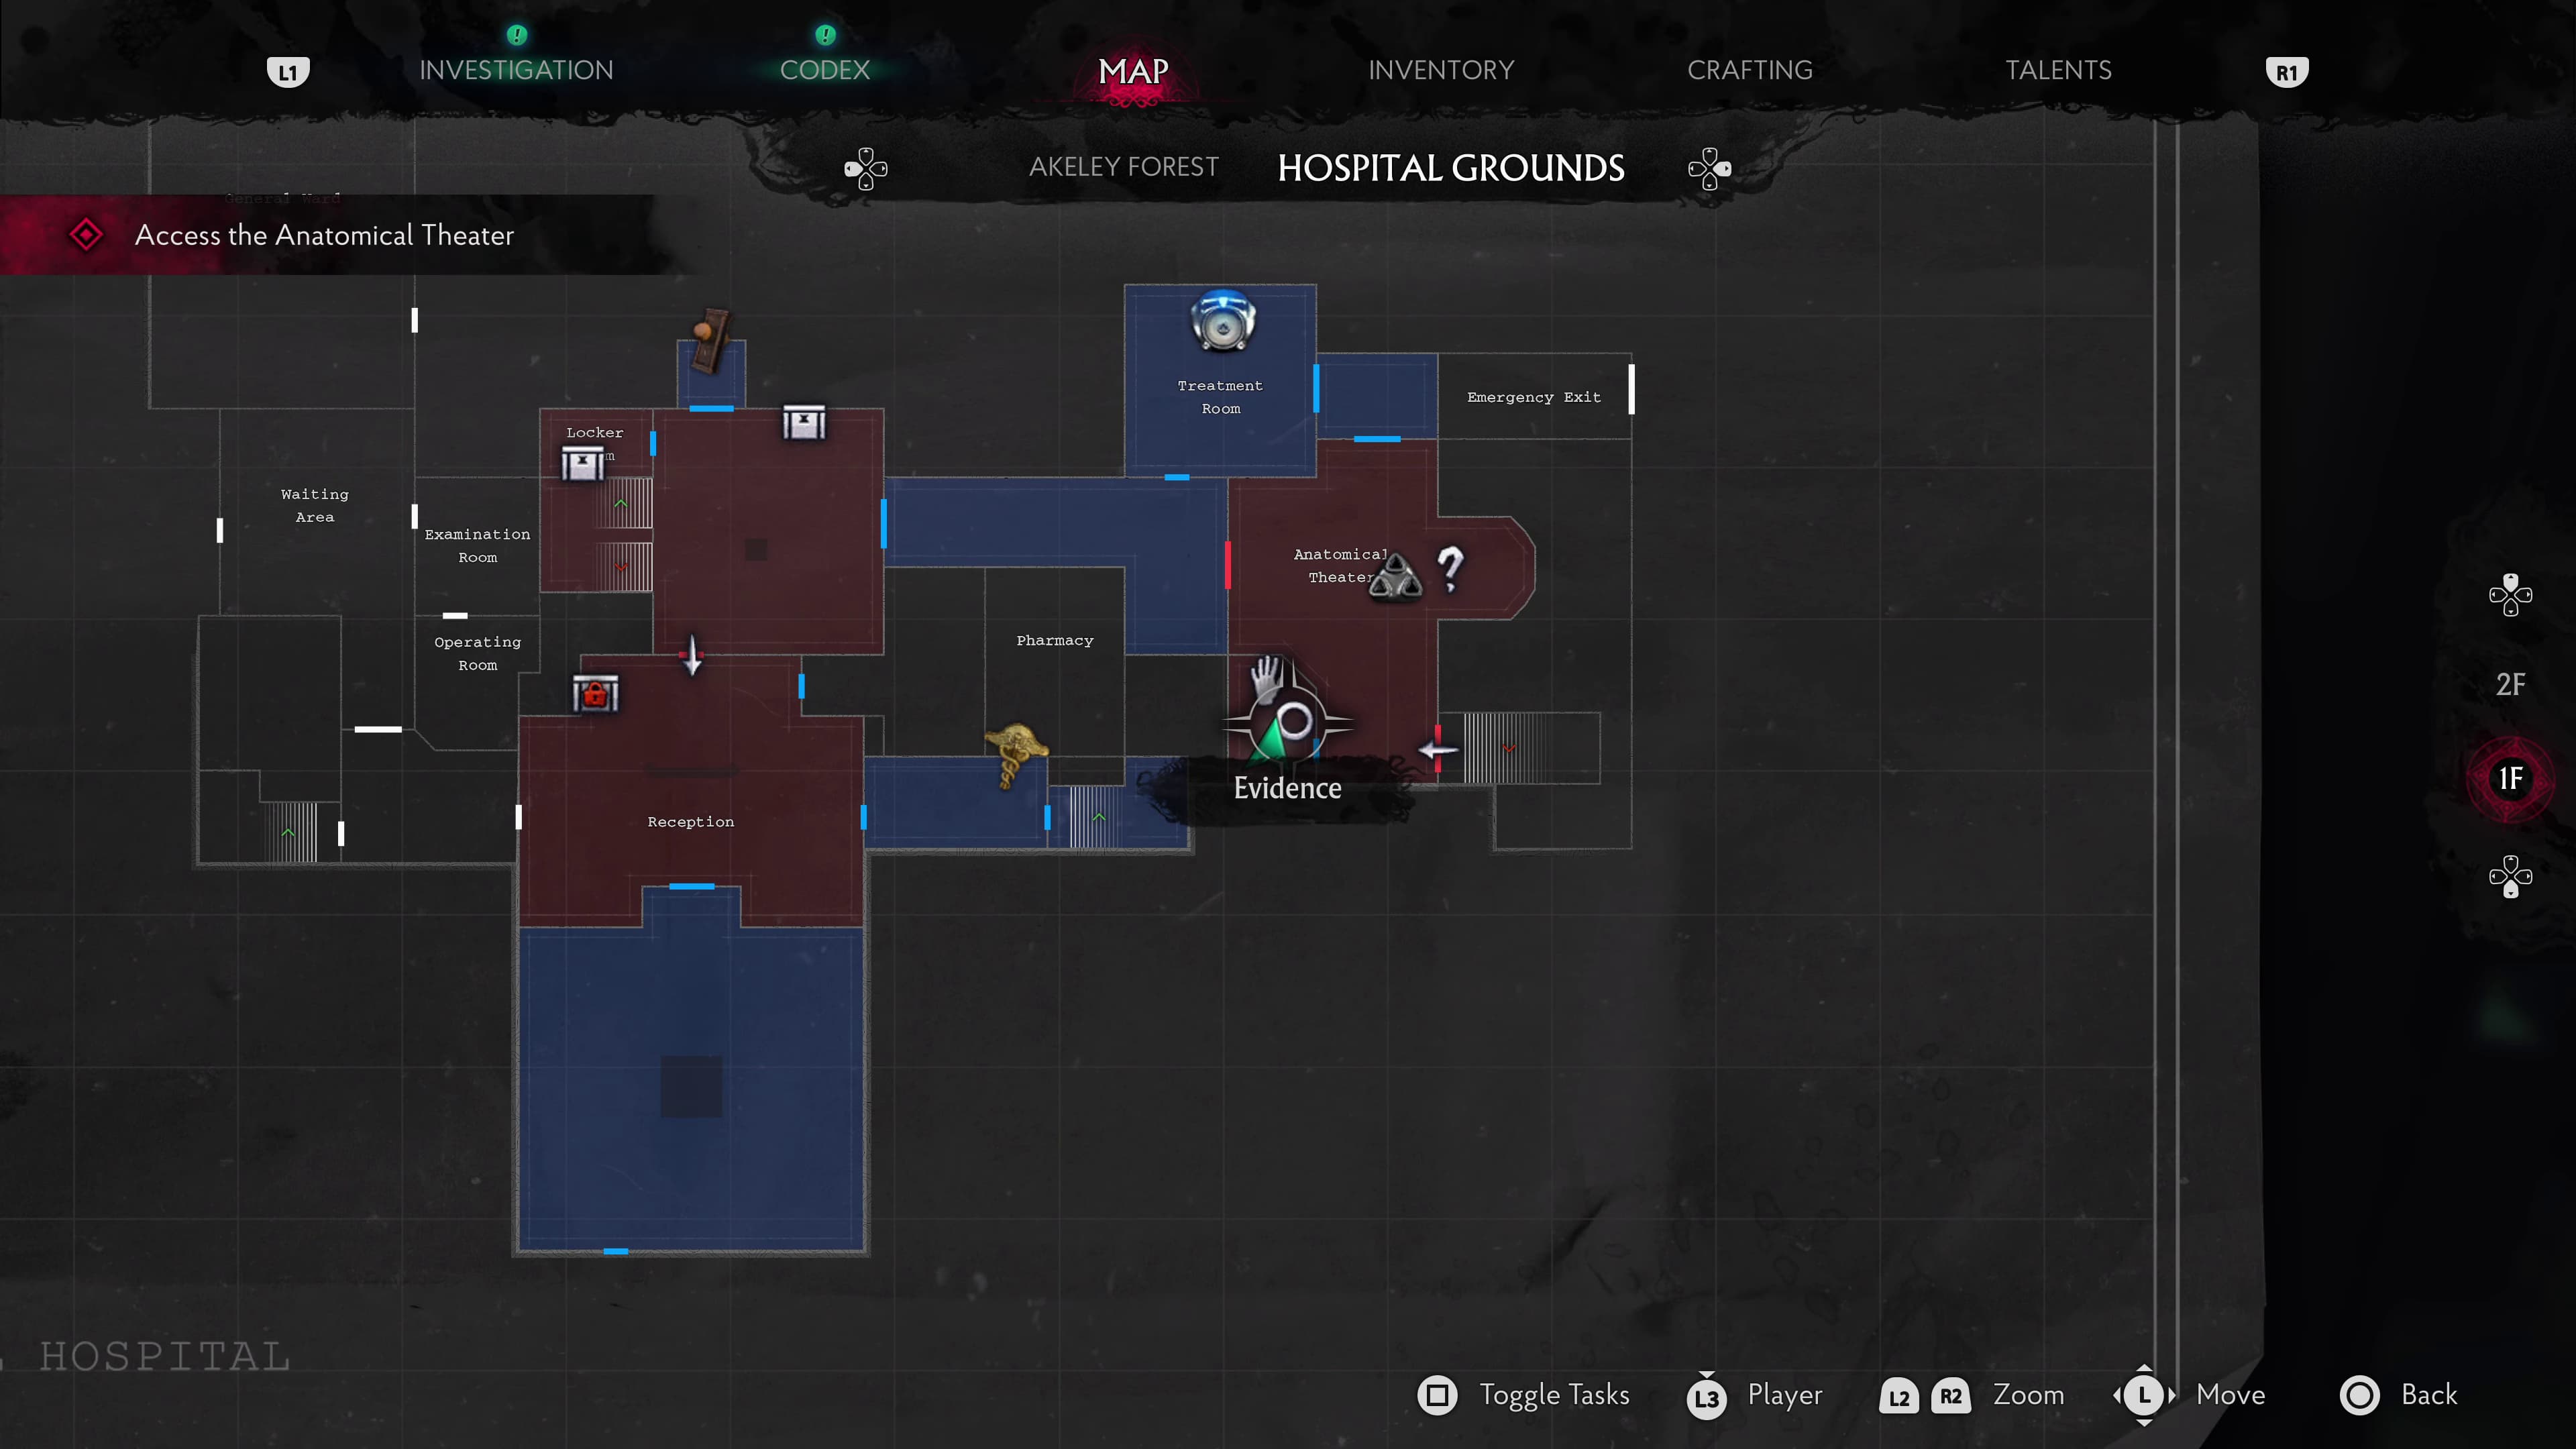
Keep progressing into the Anatomical Theatre and in the small room in the back right, will be the next Evidence (Prism Station Reset Protocol) to collect.
Keep progressing through the level and make your way back out into the Lower Yard, you should be able to use Nurse Kitty's face on the door inside to progress.
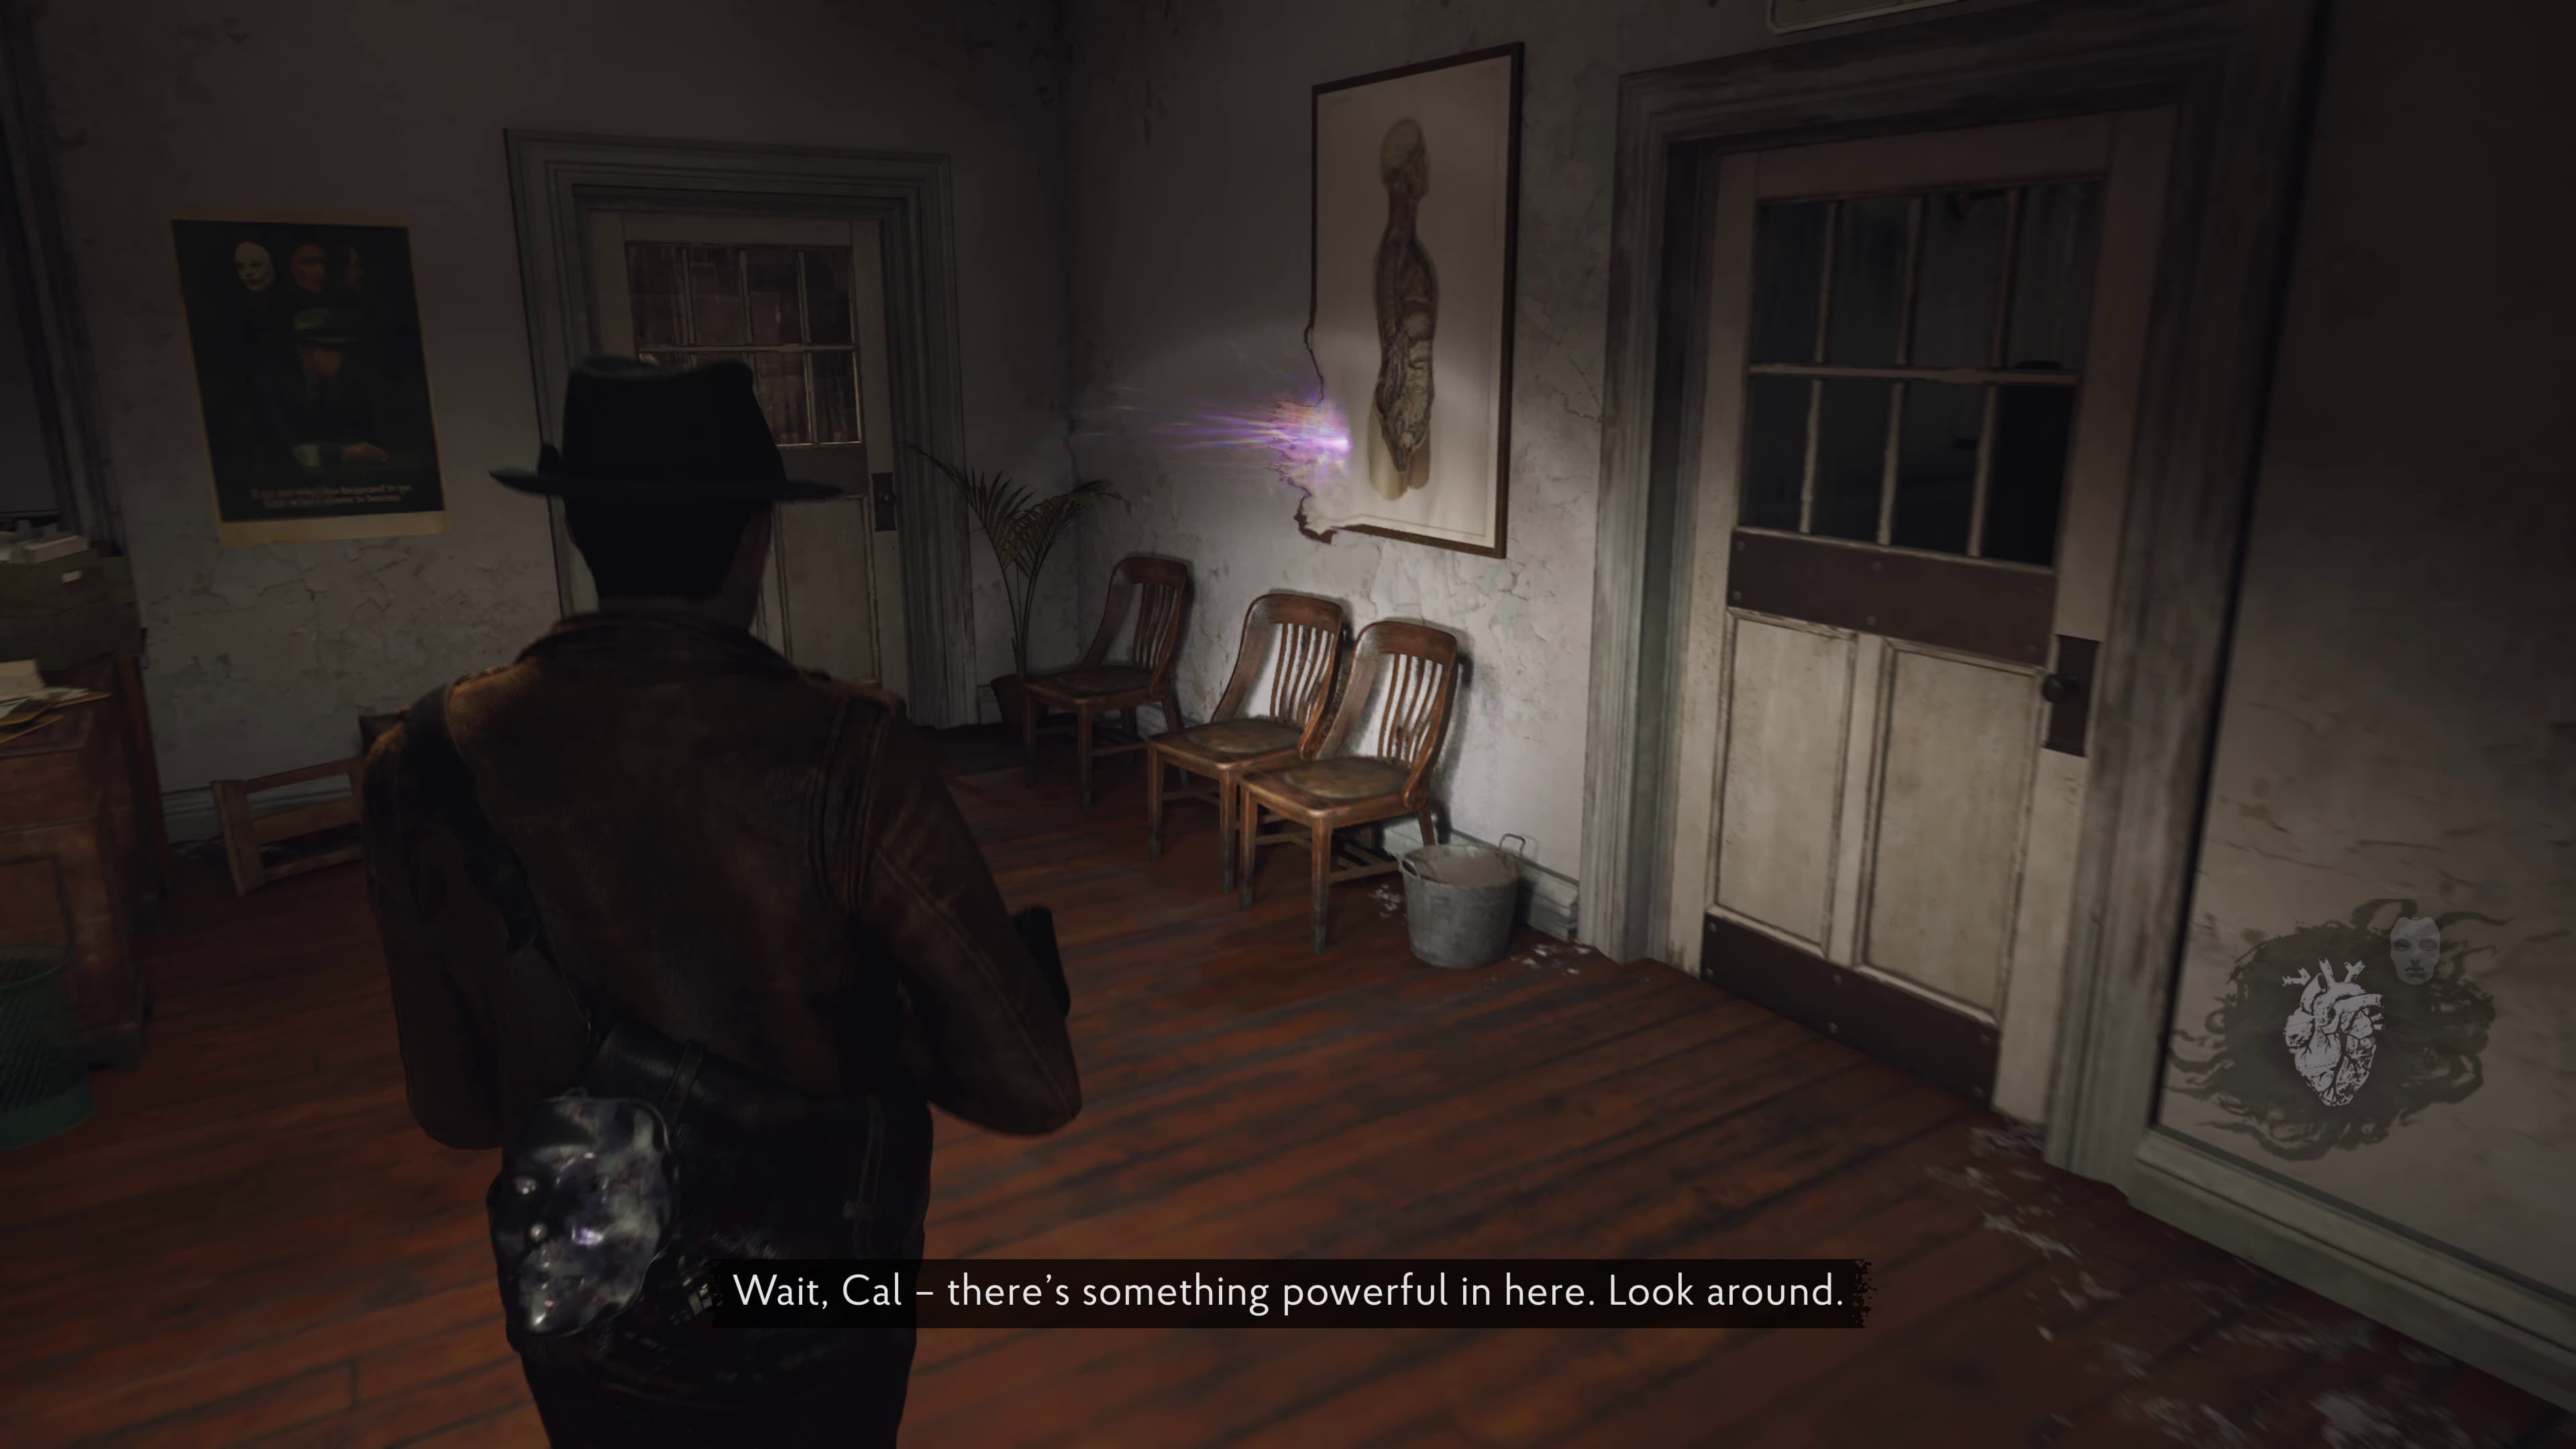
Head up the stairs to find at the top glistening in the hanging picture, the next Evidence (Blue Symbol).
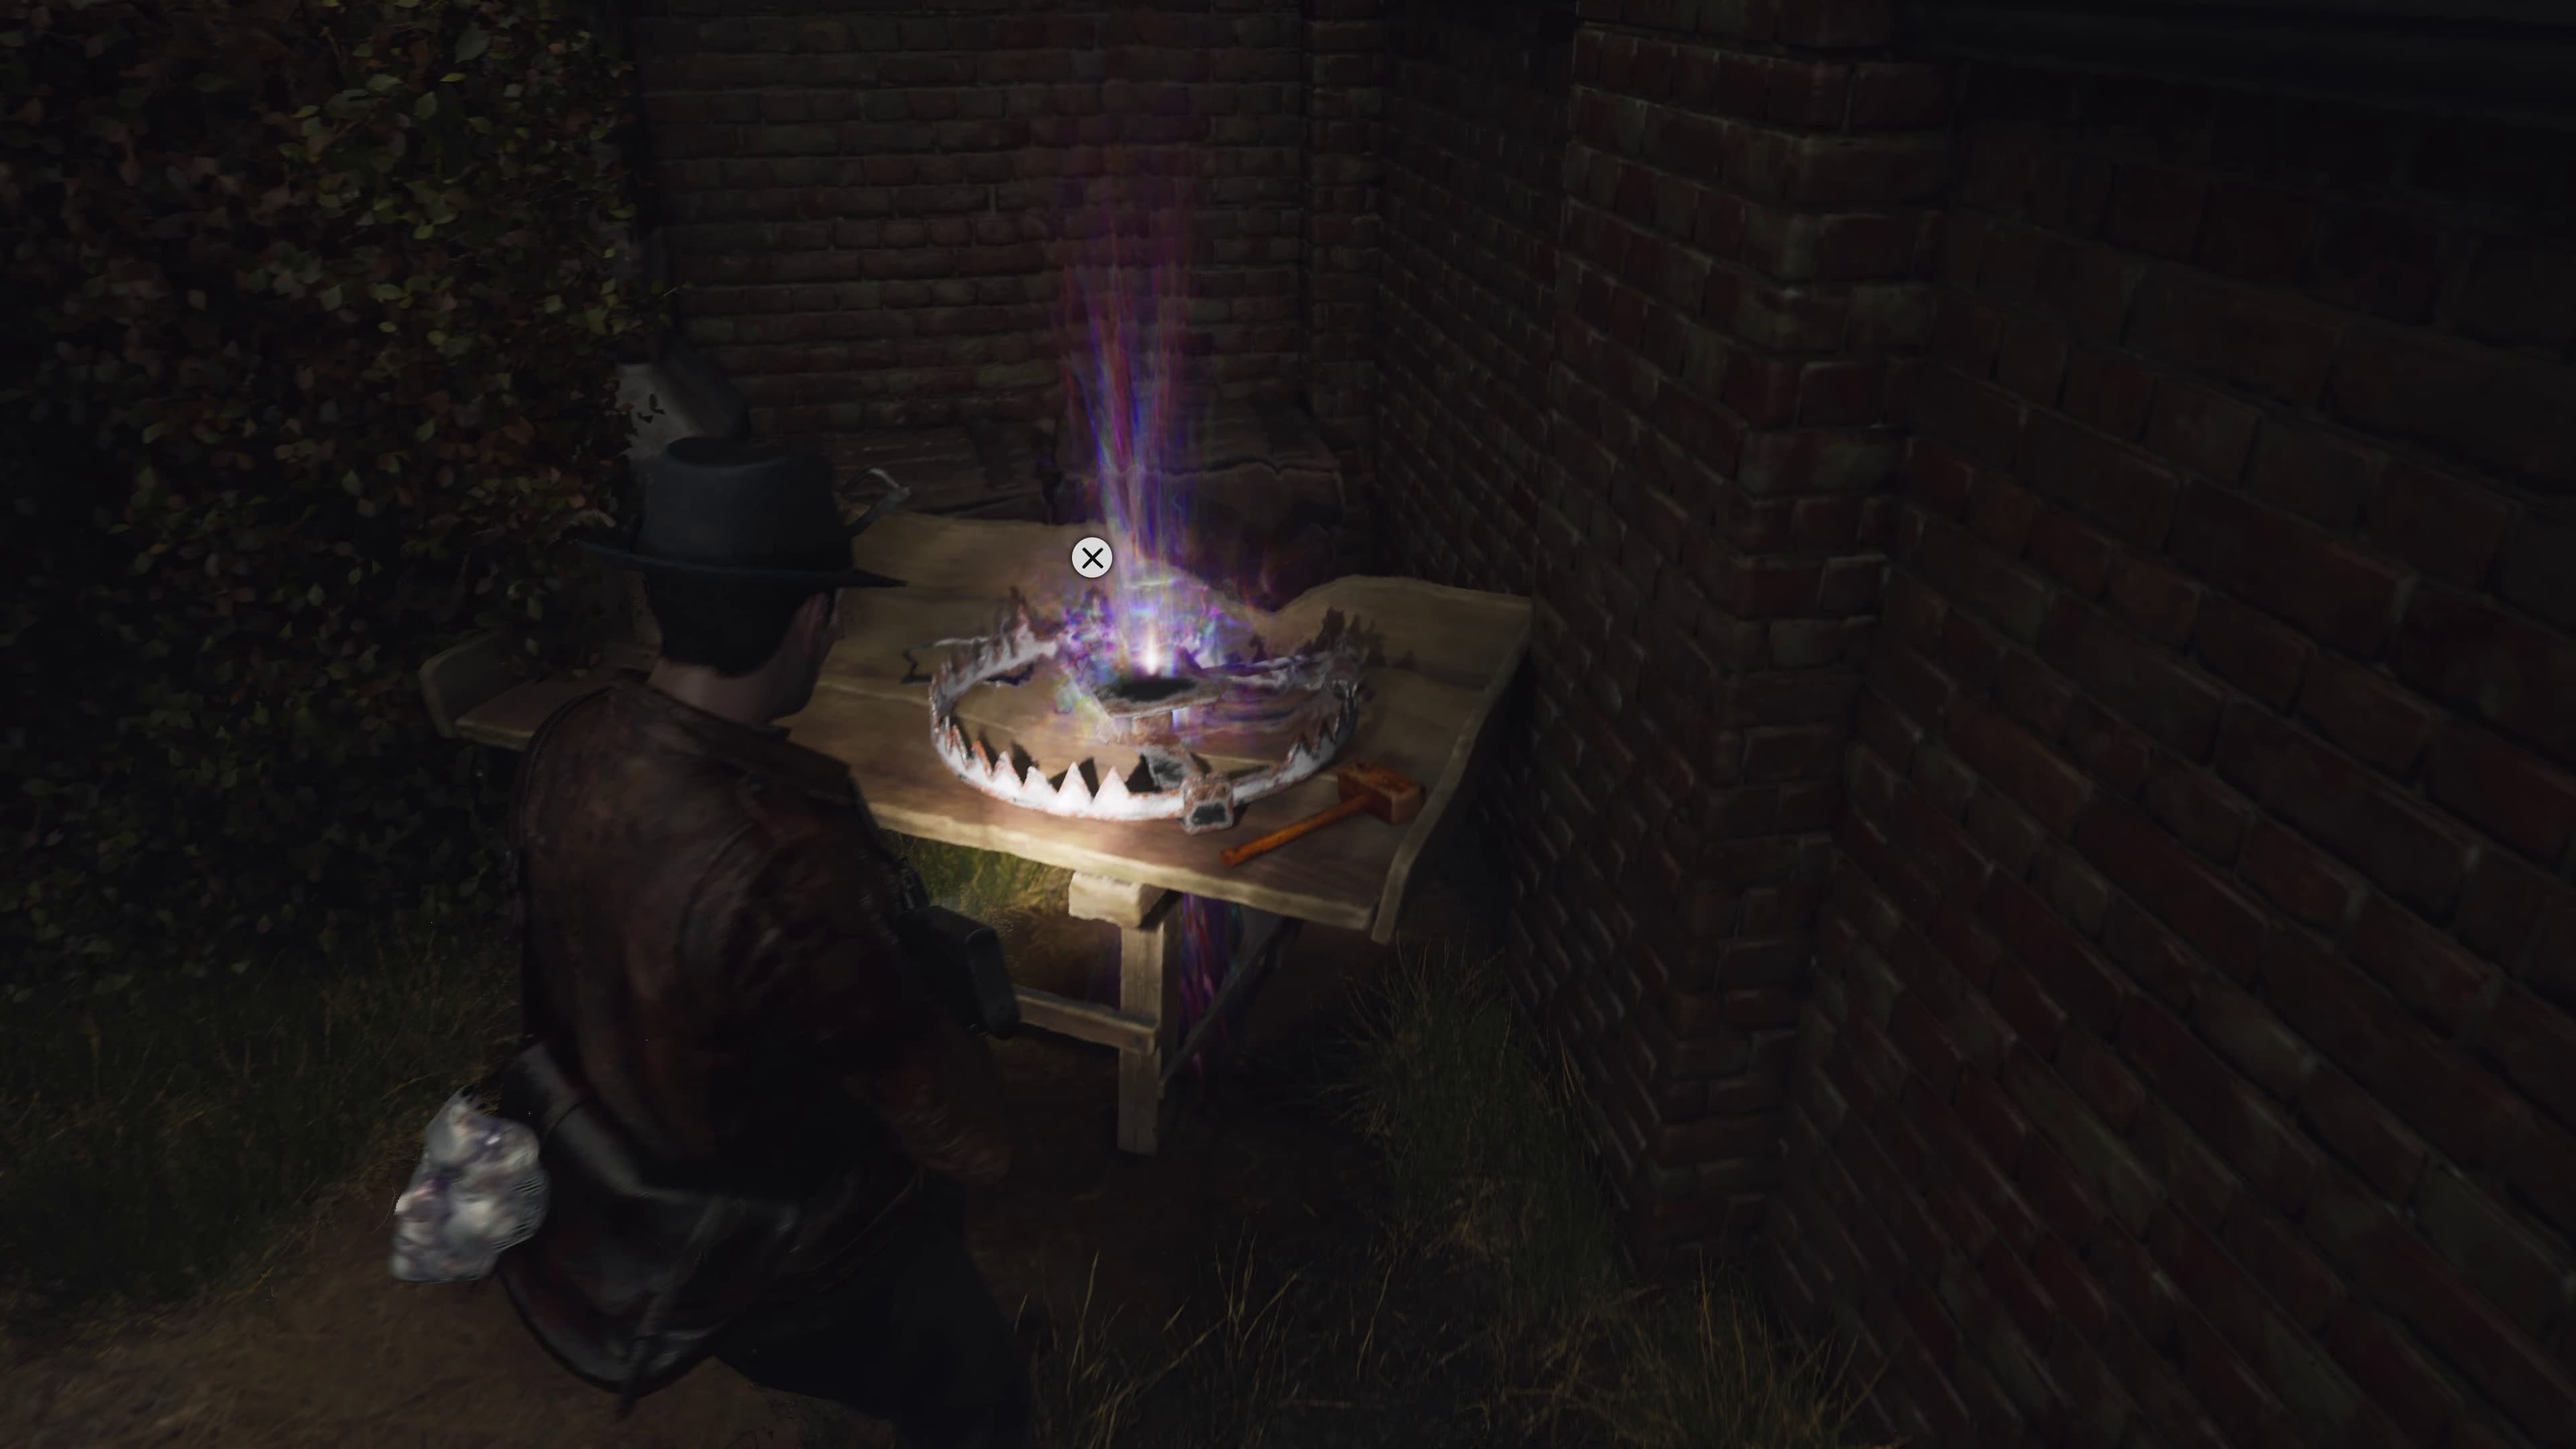
Head straight outside to the Therapeutic Garden. Keep advancing down avoiding the bear traps, and by the wall in the back left of this area will be the next Evidence (Blue Symbol) on a table inside a bear trap.
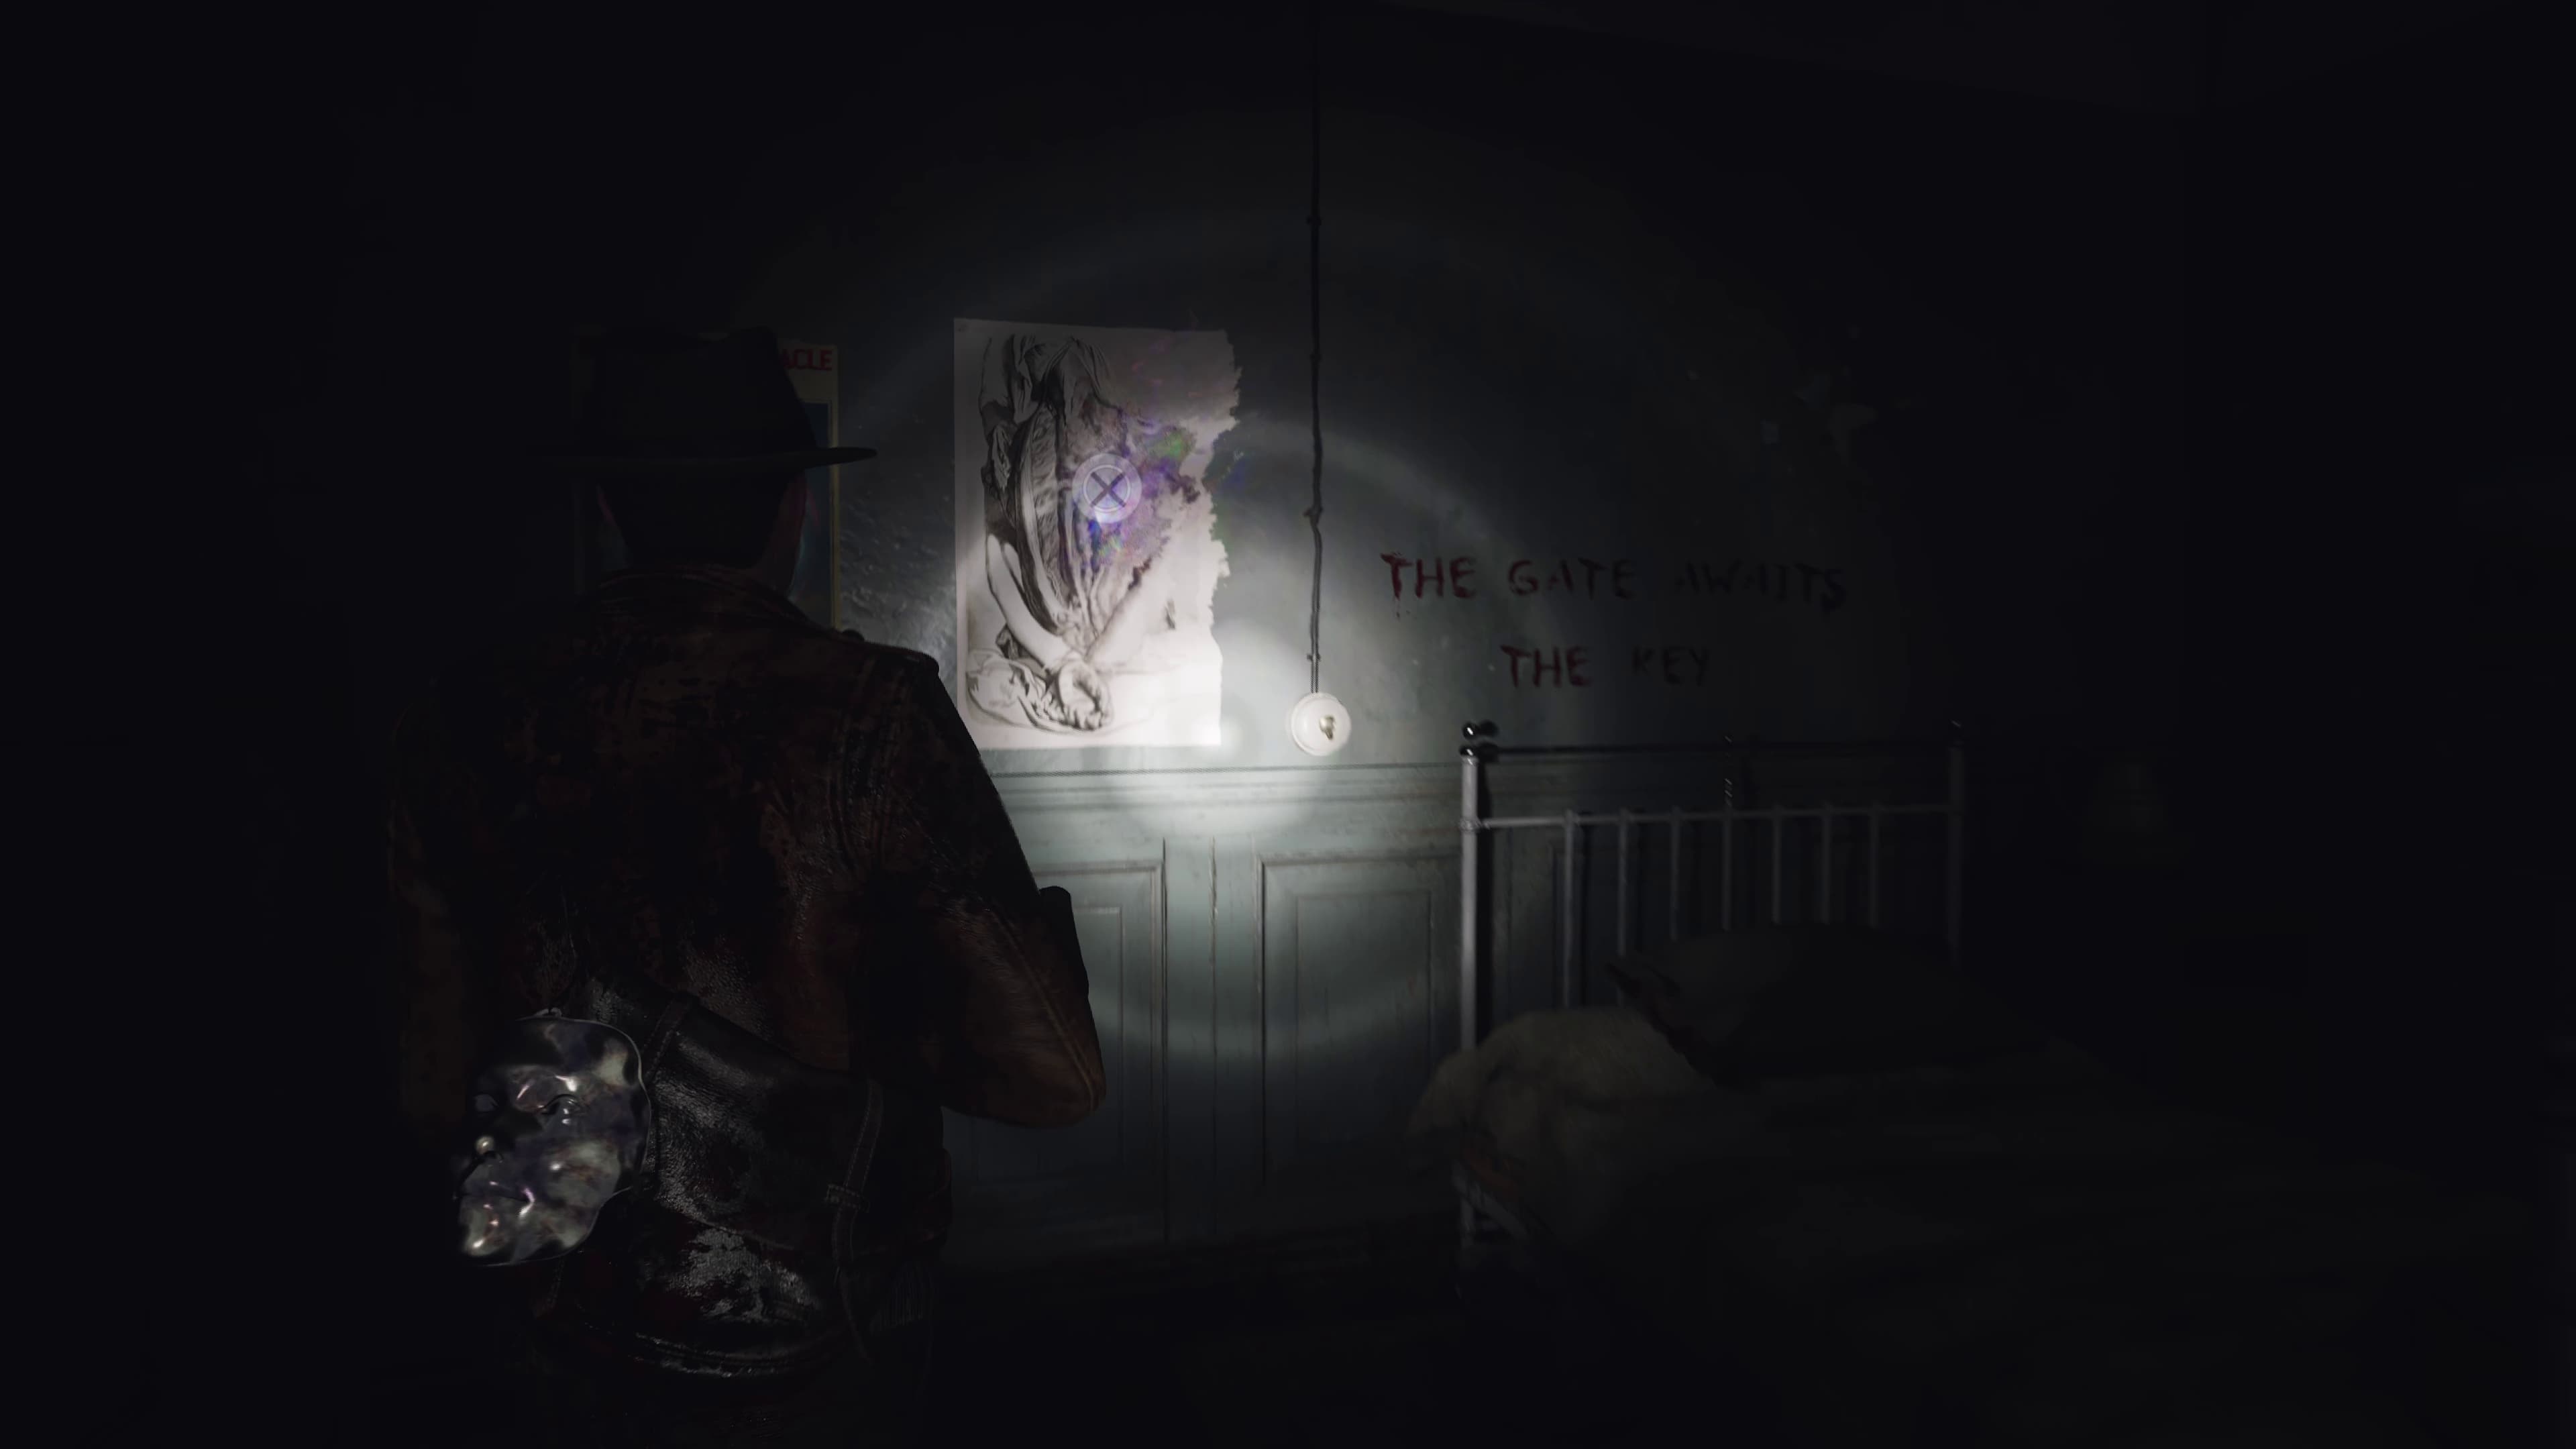
Keep progressing the level again until you make it to the floor with the Observation Ward. Make your way through the window, to find on the wall inside the next Evidence (Pink Symbol).
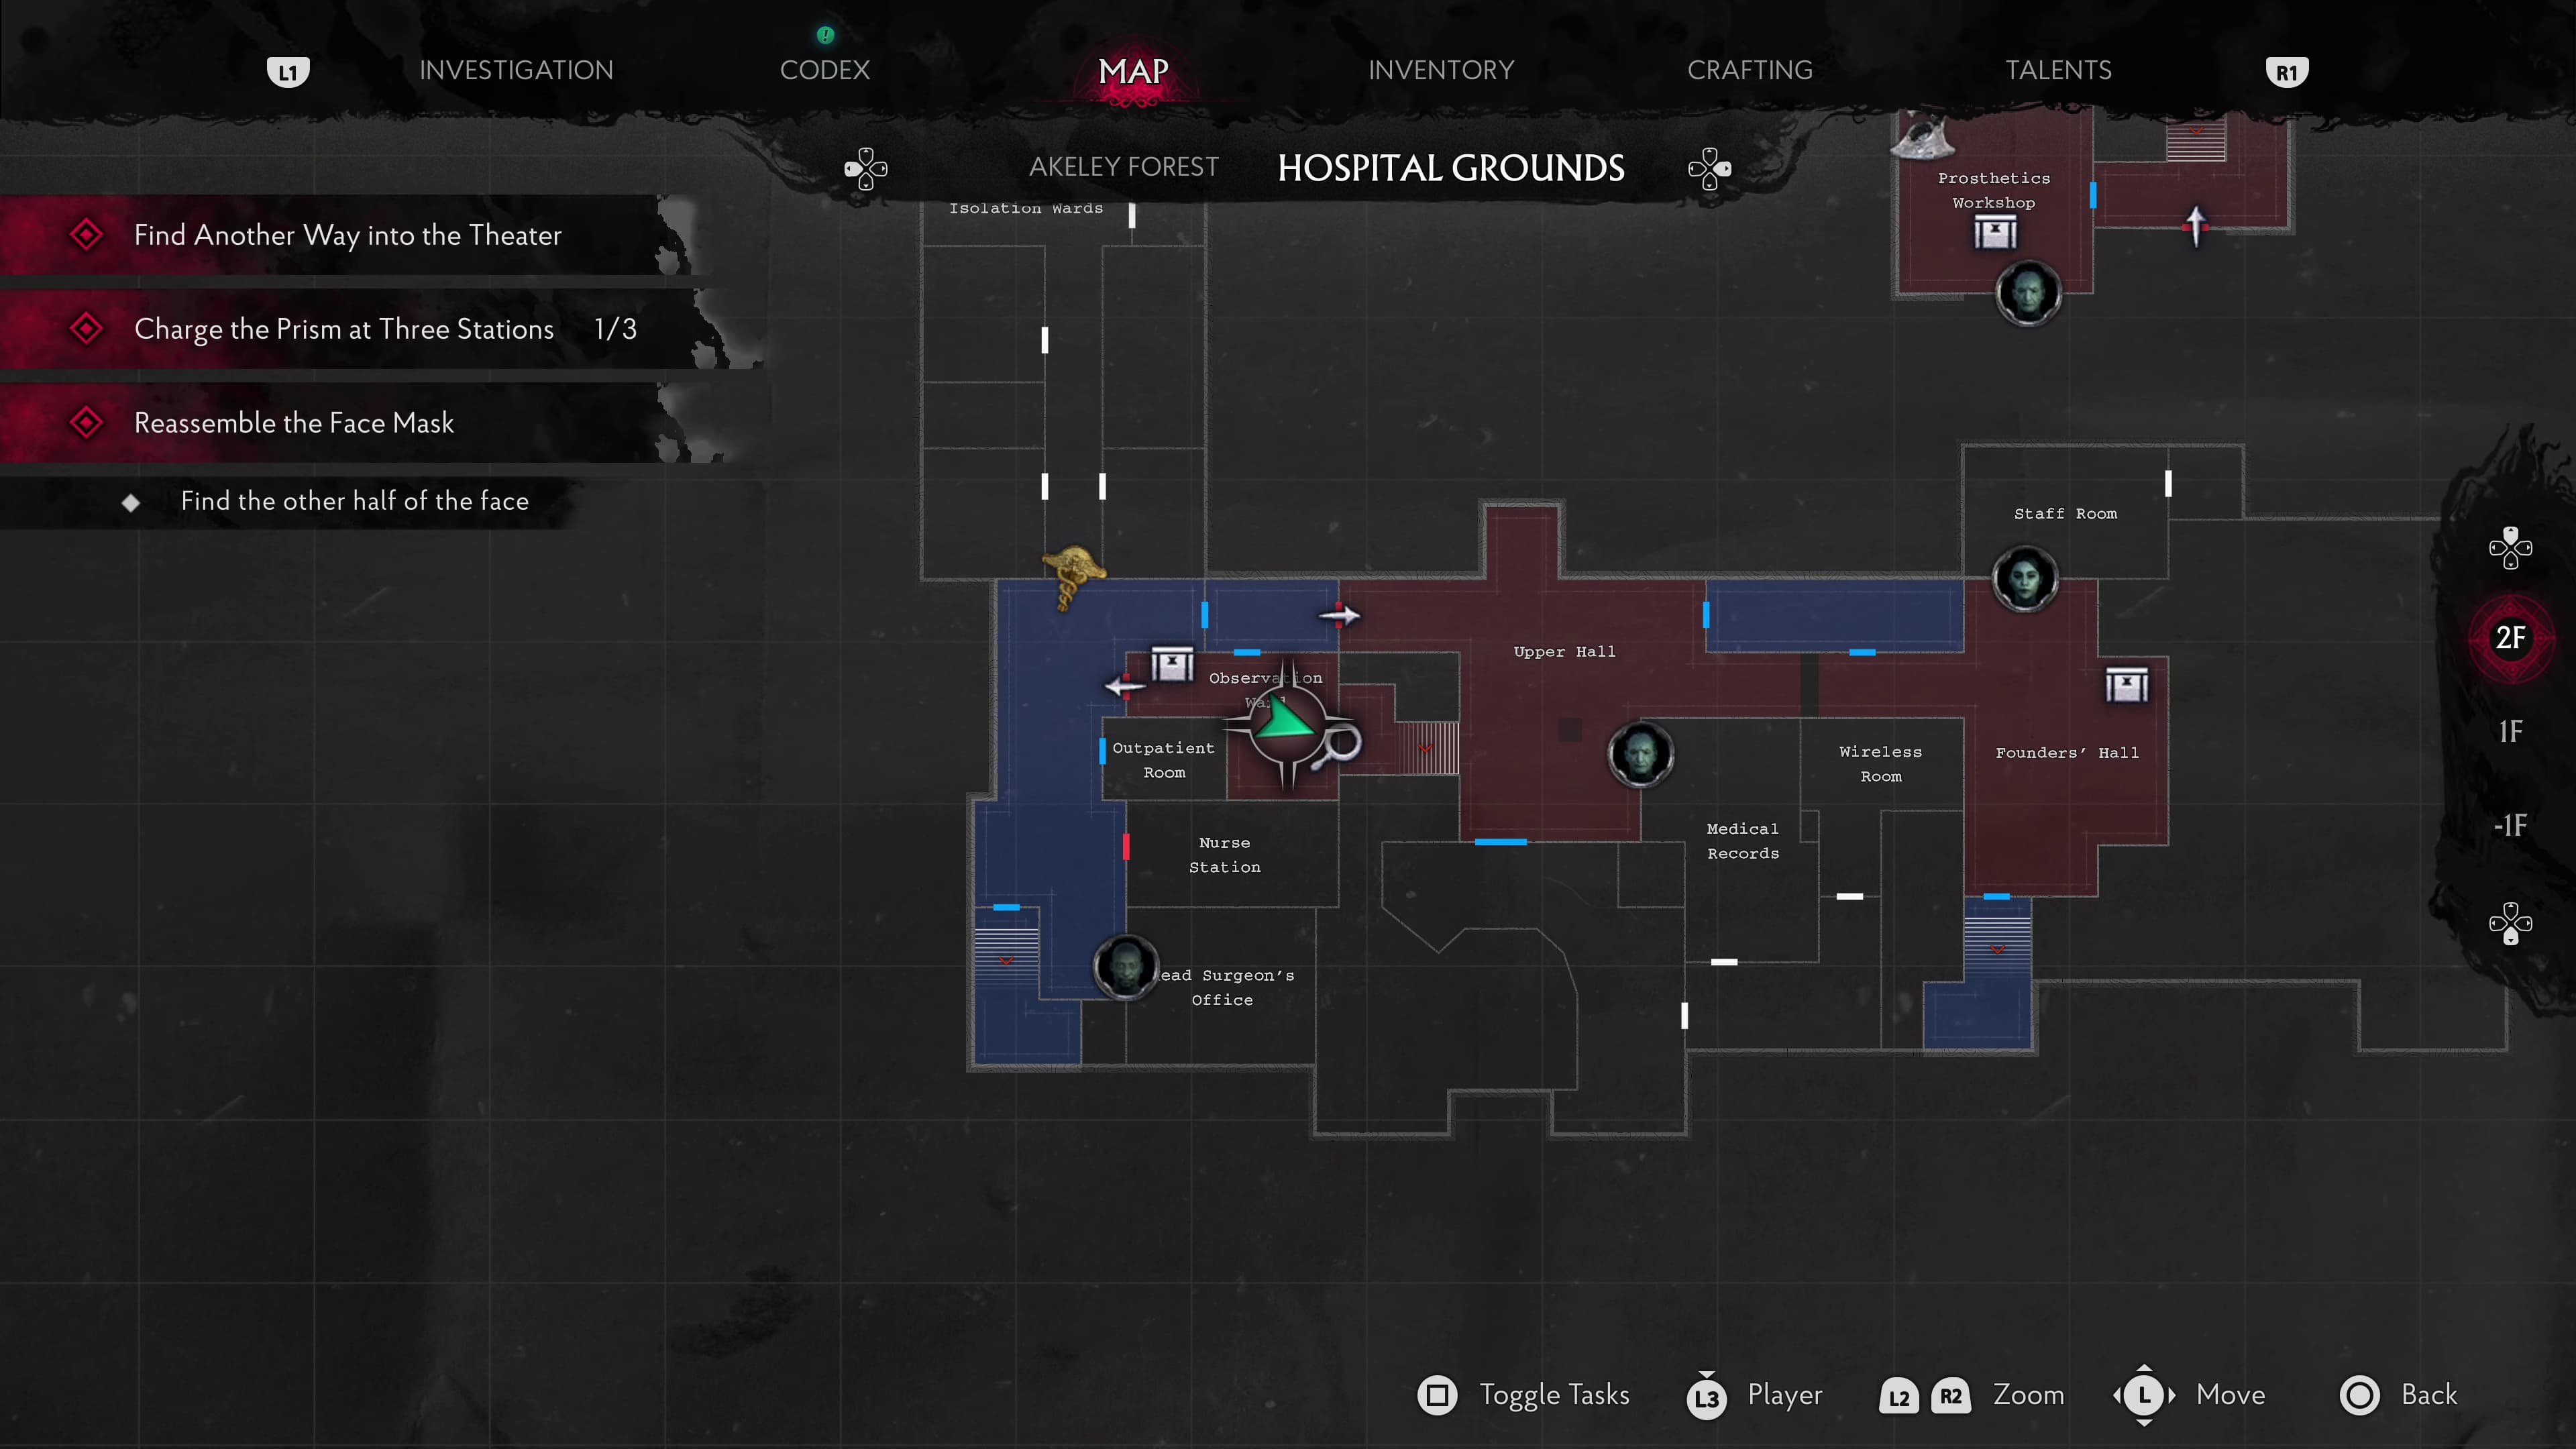
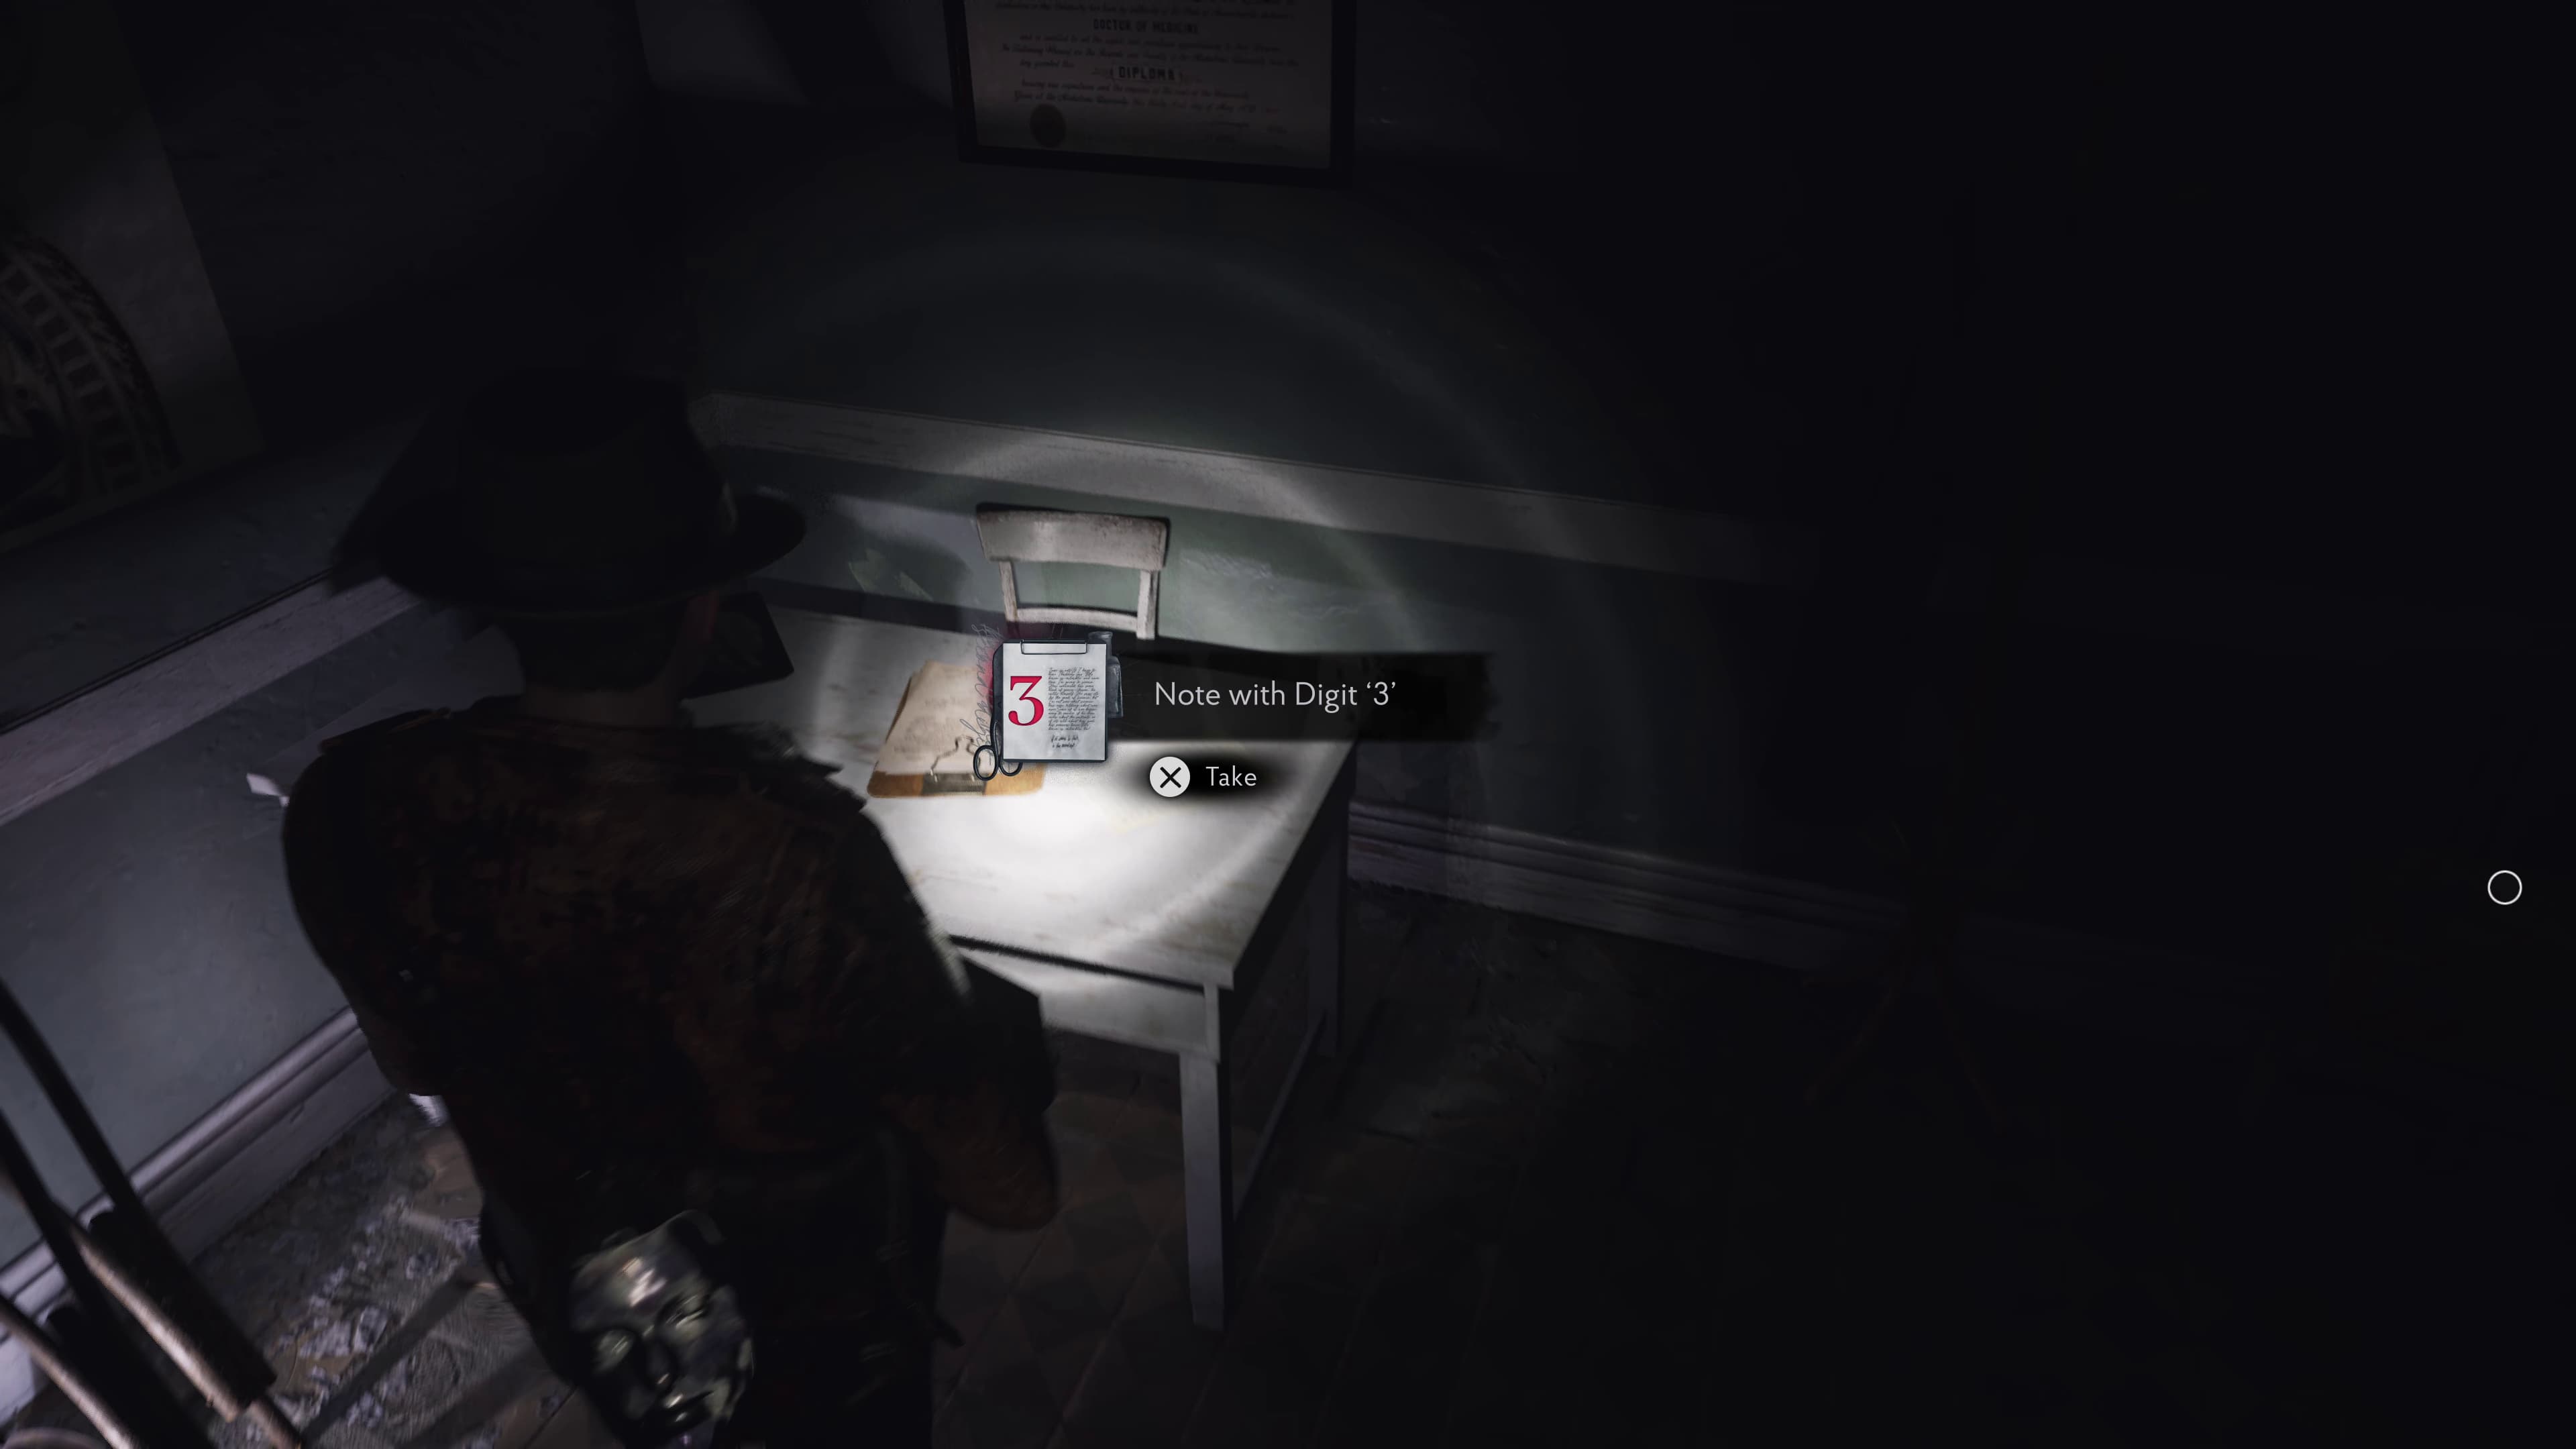
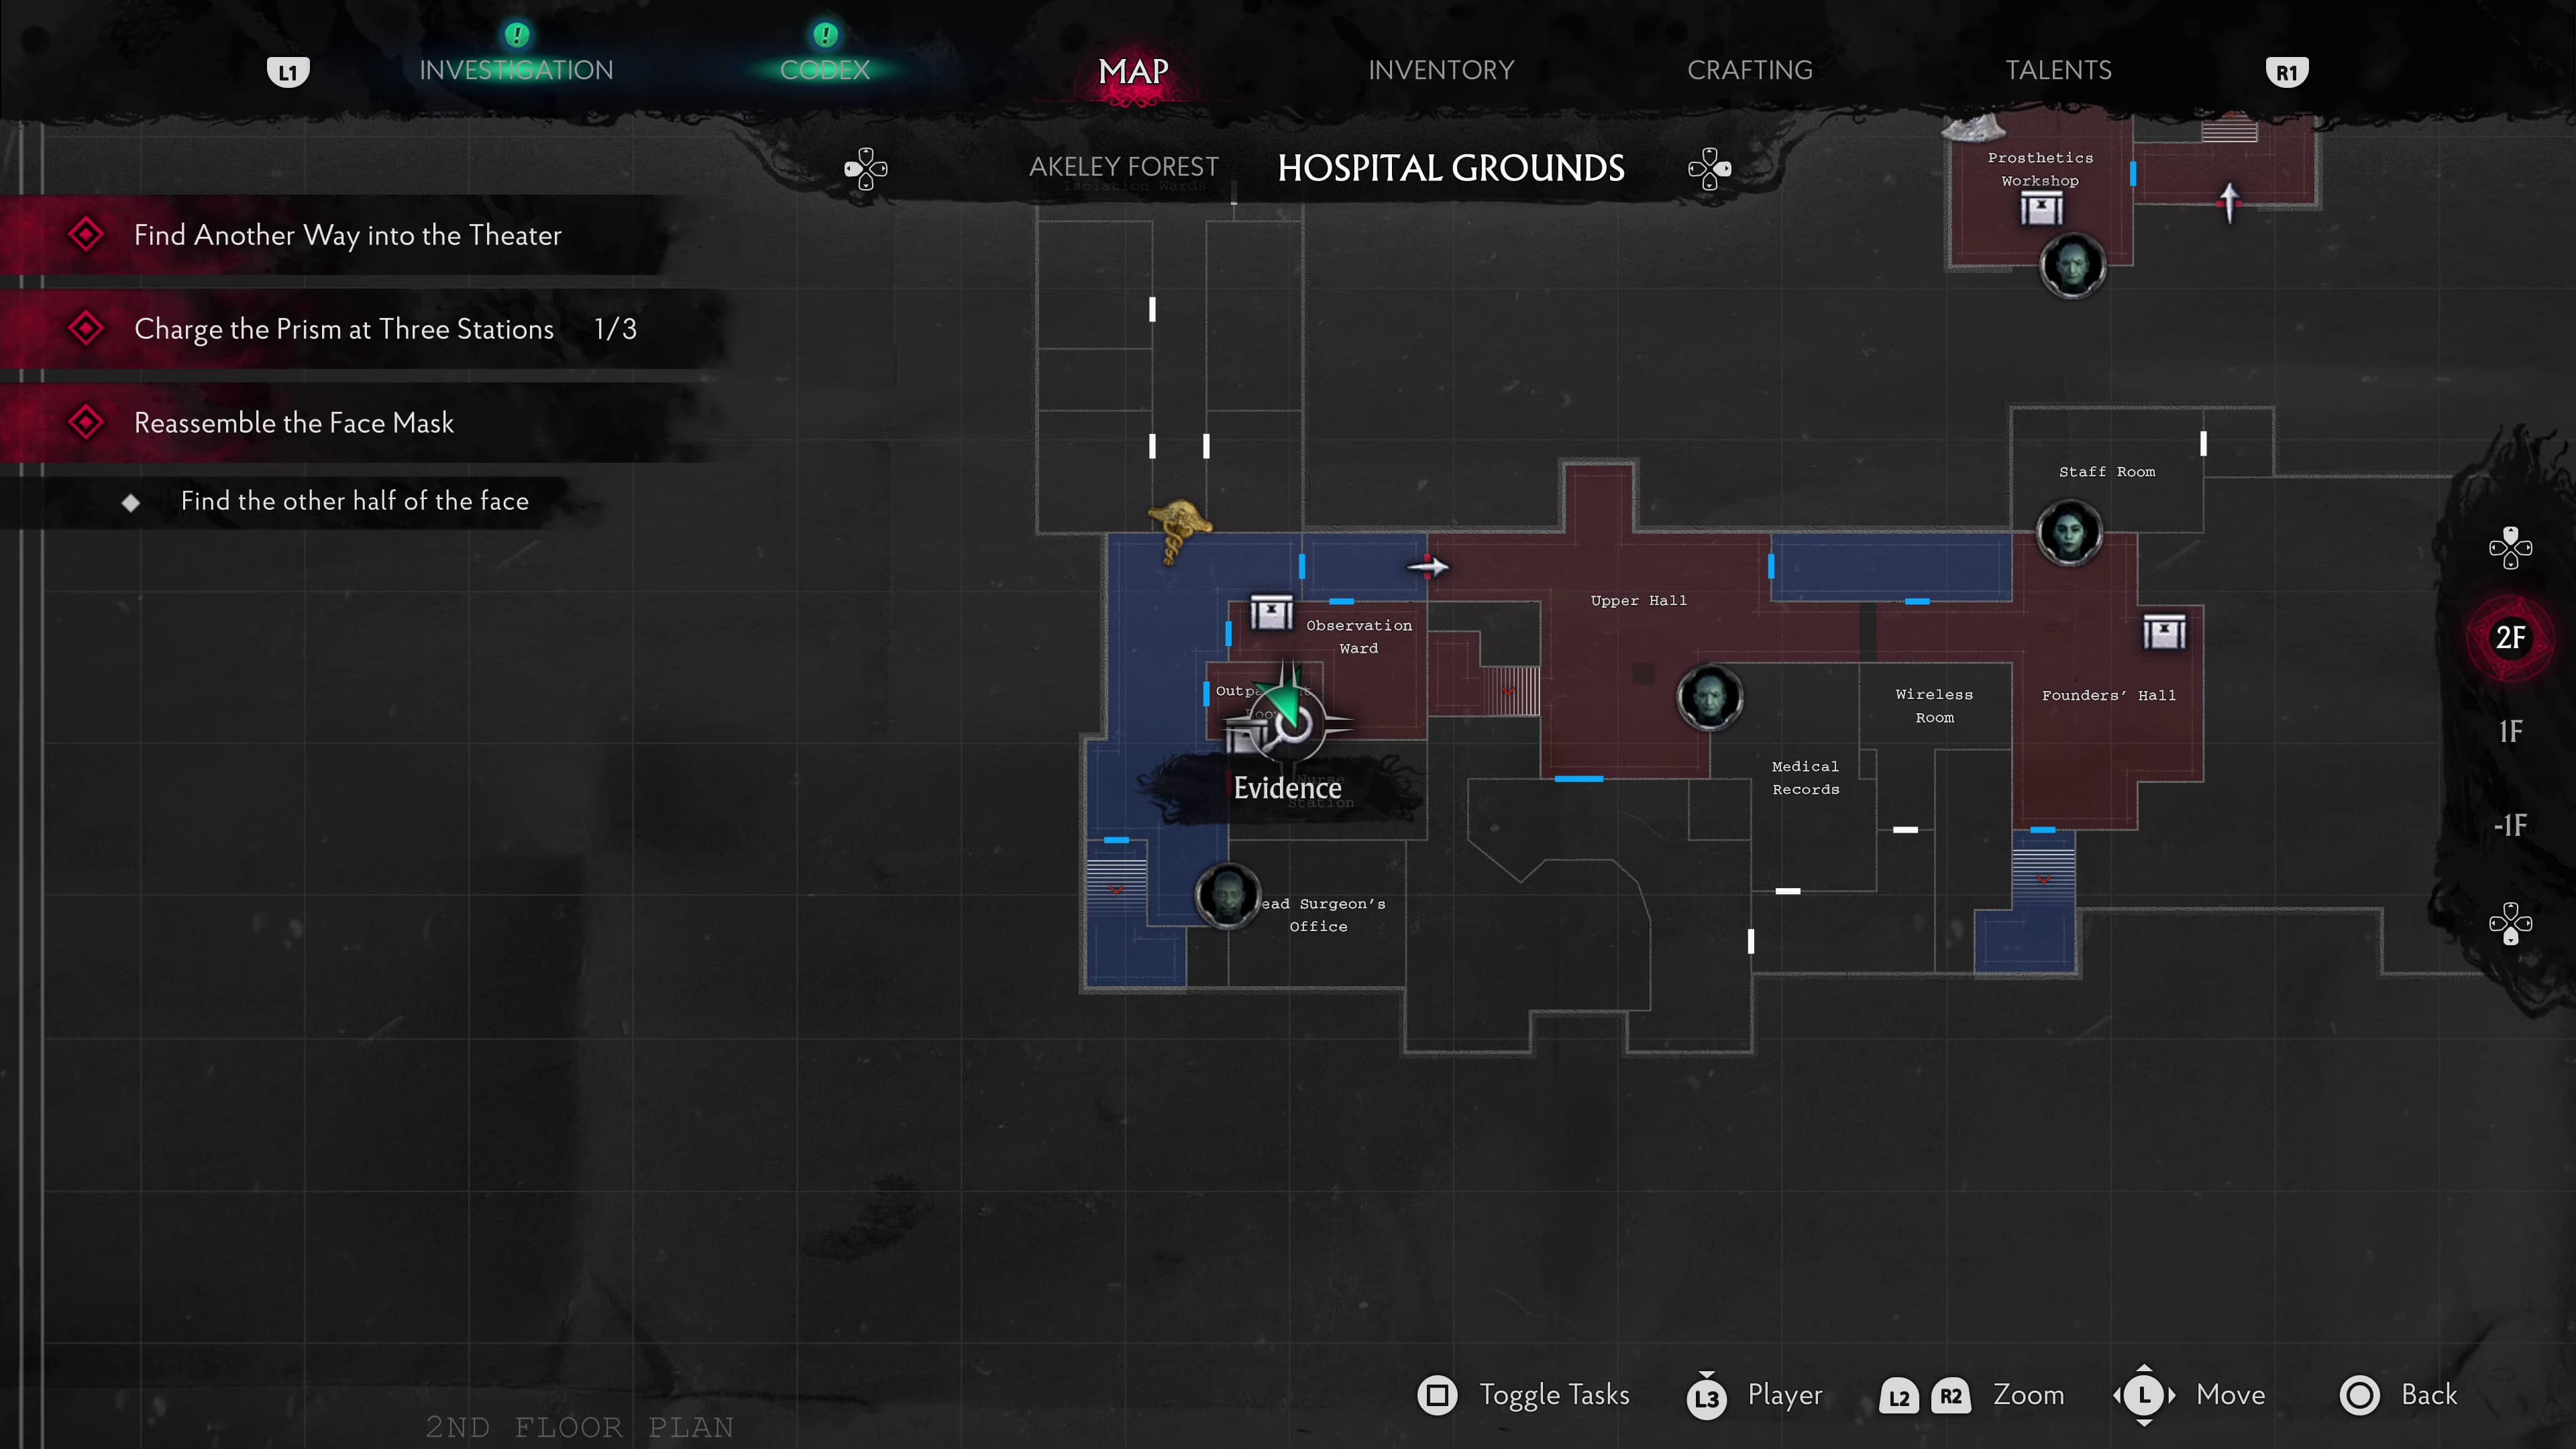
Unlock the door from the inside of the Observation Ward and go out and directly left into the Outpatient Room, in here will be the next Evidence (Note With Digit '3').
Keep progressing again until you have obtained the Caduceus Key, head through the locked door on the same level as the Observation ward and make your way up the corridor and into the second on the left, inside will be the next Evidence (Yellow Symbol).
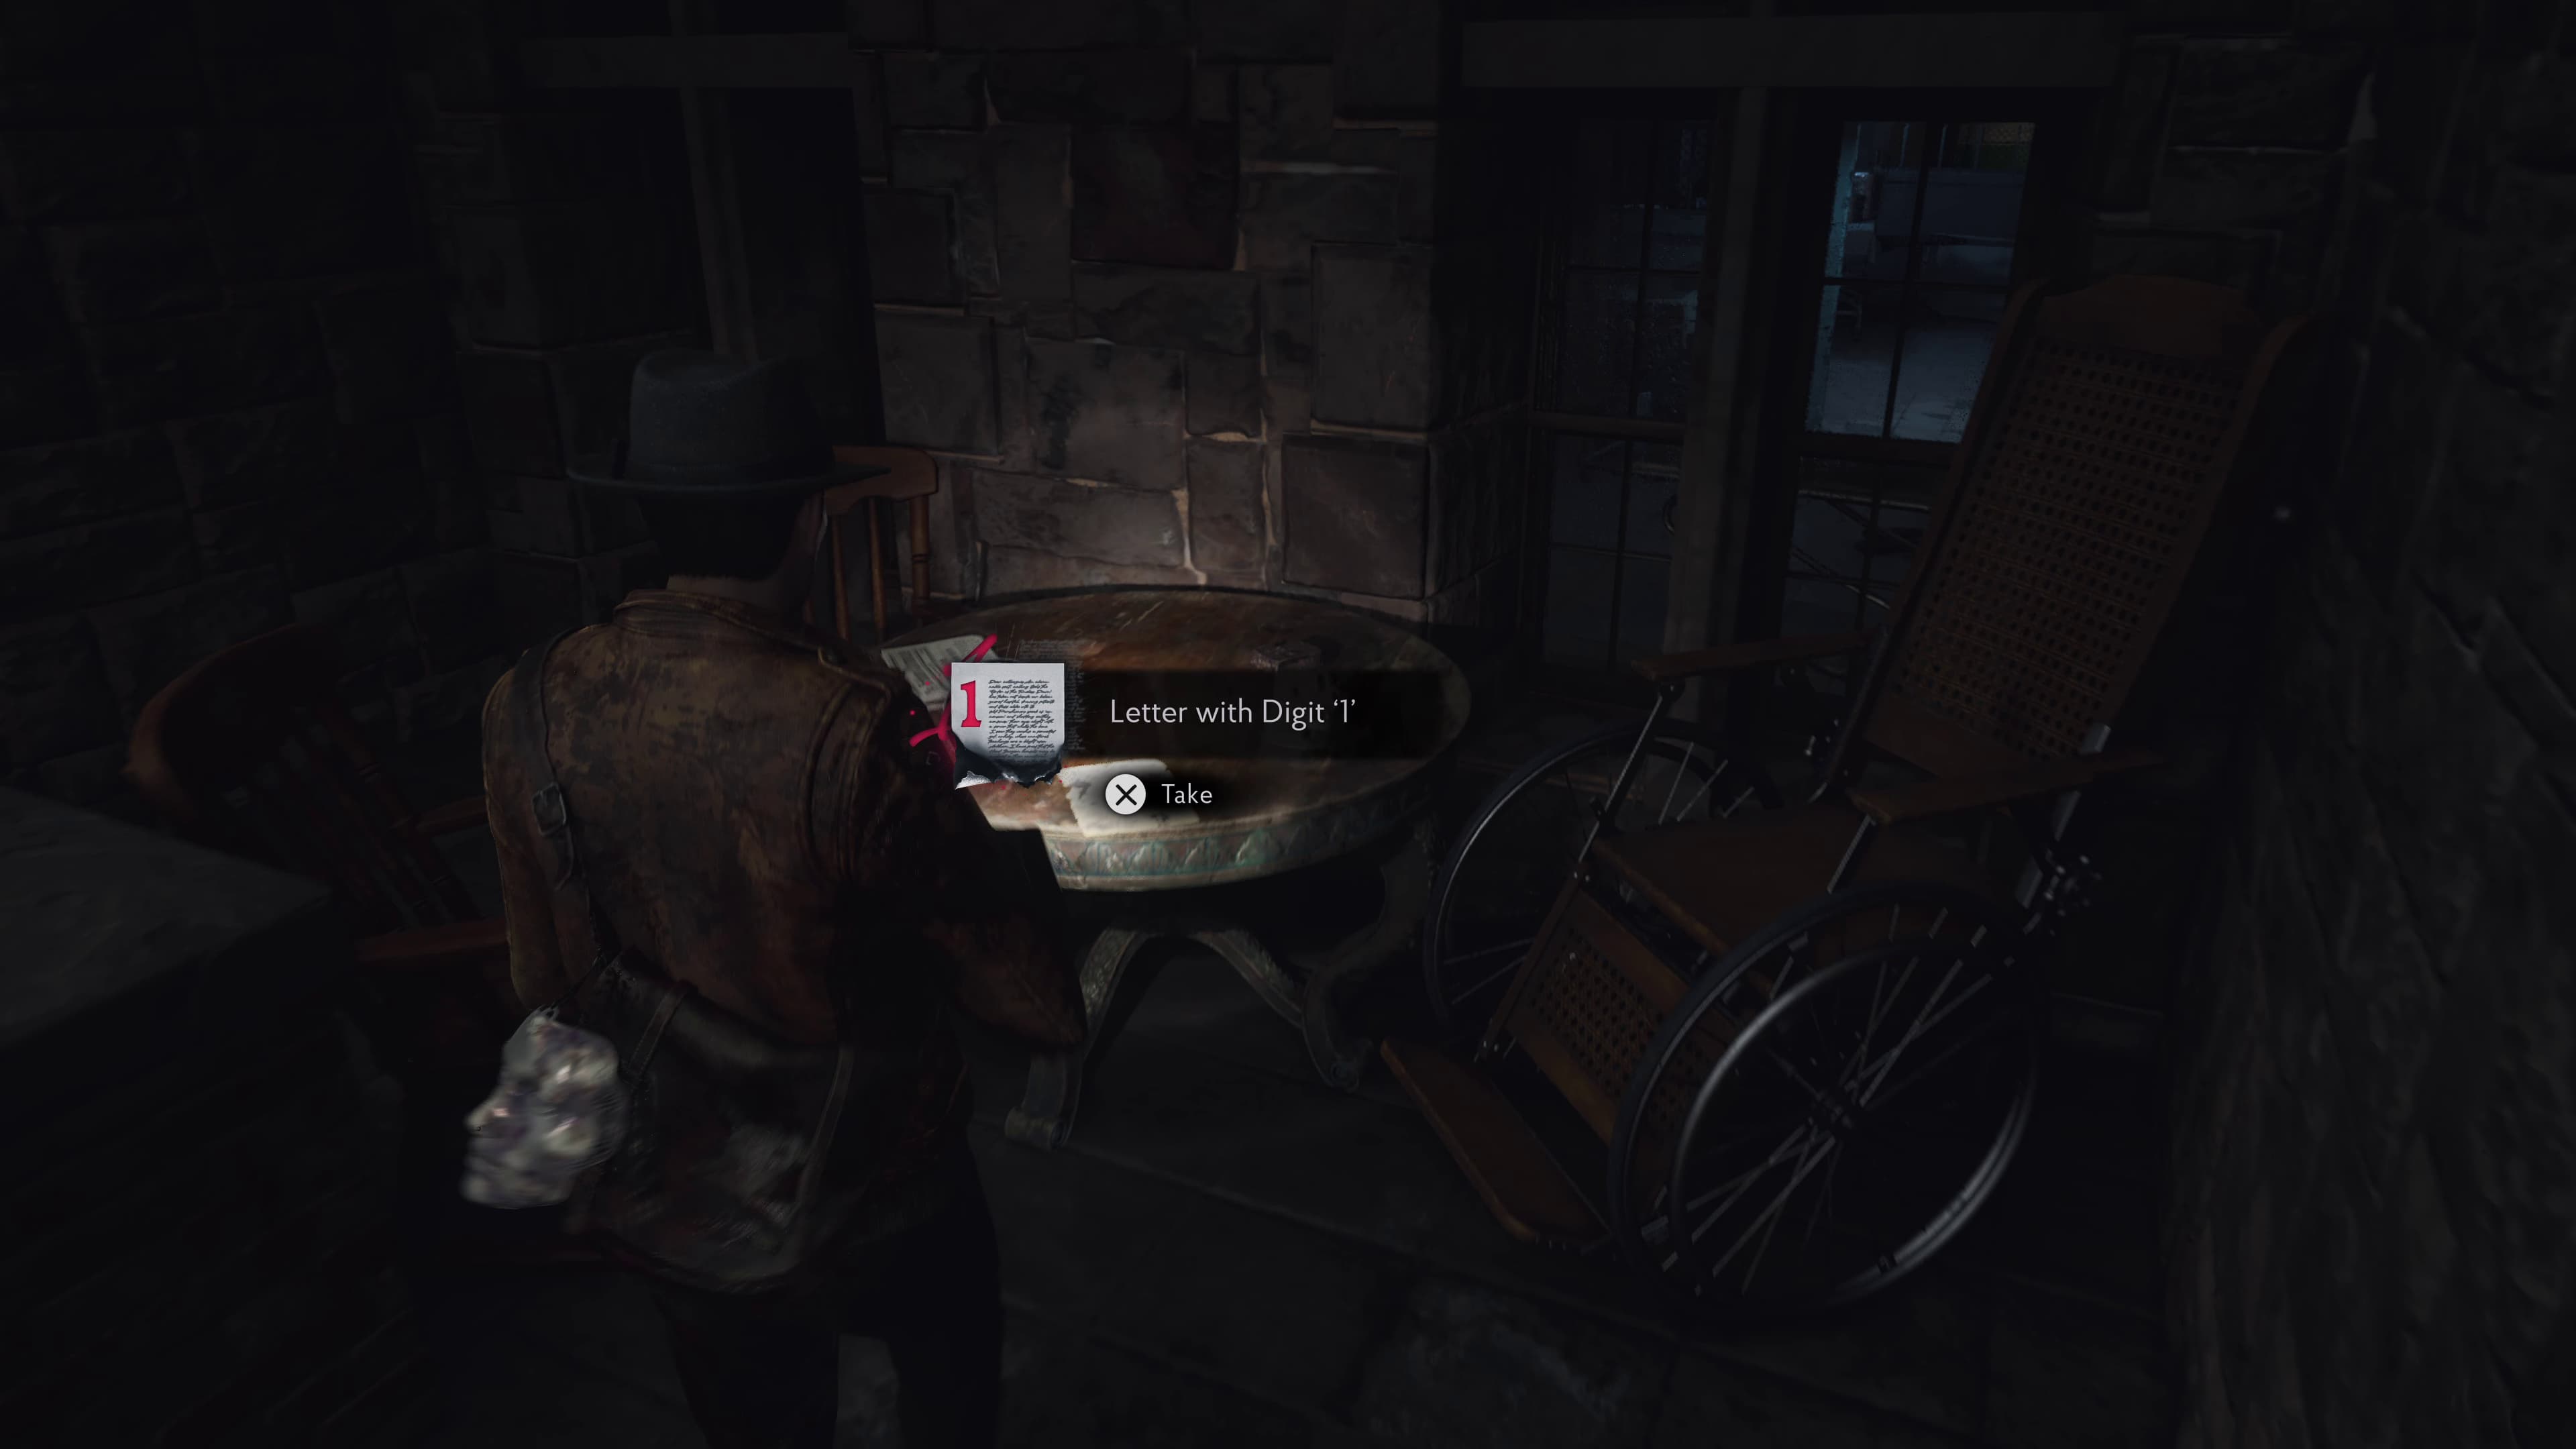
Keep advancing after dropping down, head to the right a little and through the door that leads you outside. Once outside, turn right and on the table in front of you will be the next Evidence (Letter with Digit '1') to collect.
Keep advancing on from here, take out the bigger enemy in the next outside area and make it back inside to Orthotic Consulting, to find the other half of Father Nathaniels face to collect. Make it back up to the Prosthetics Workshop to put his face back together.
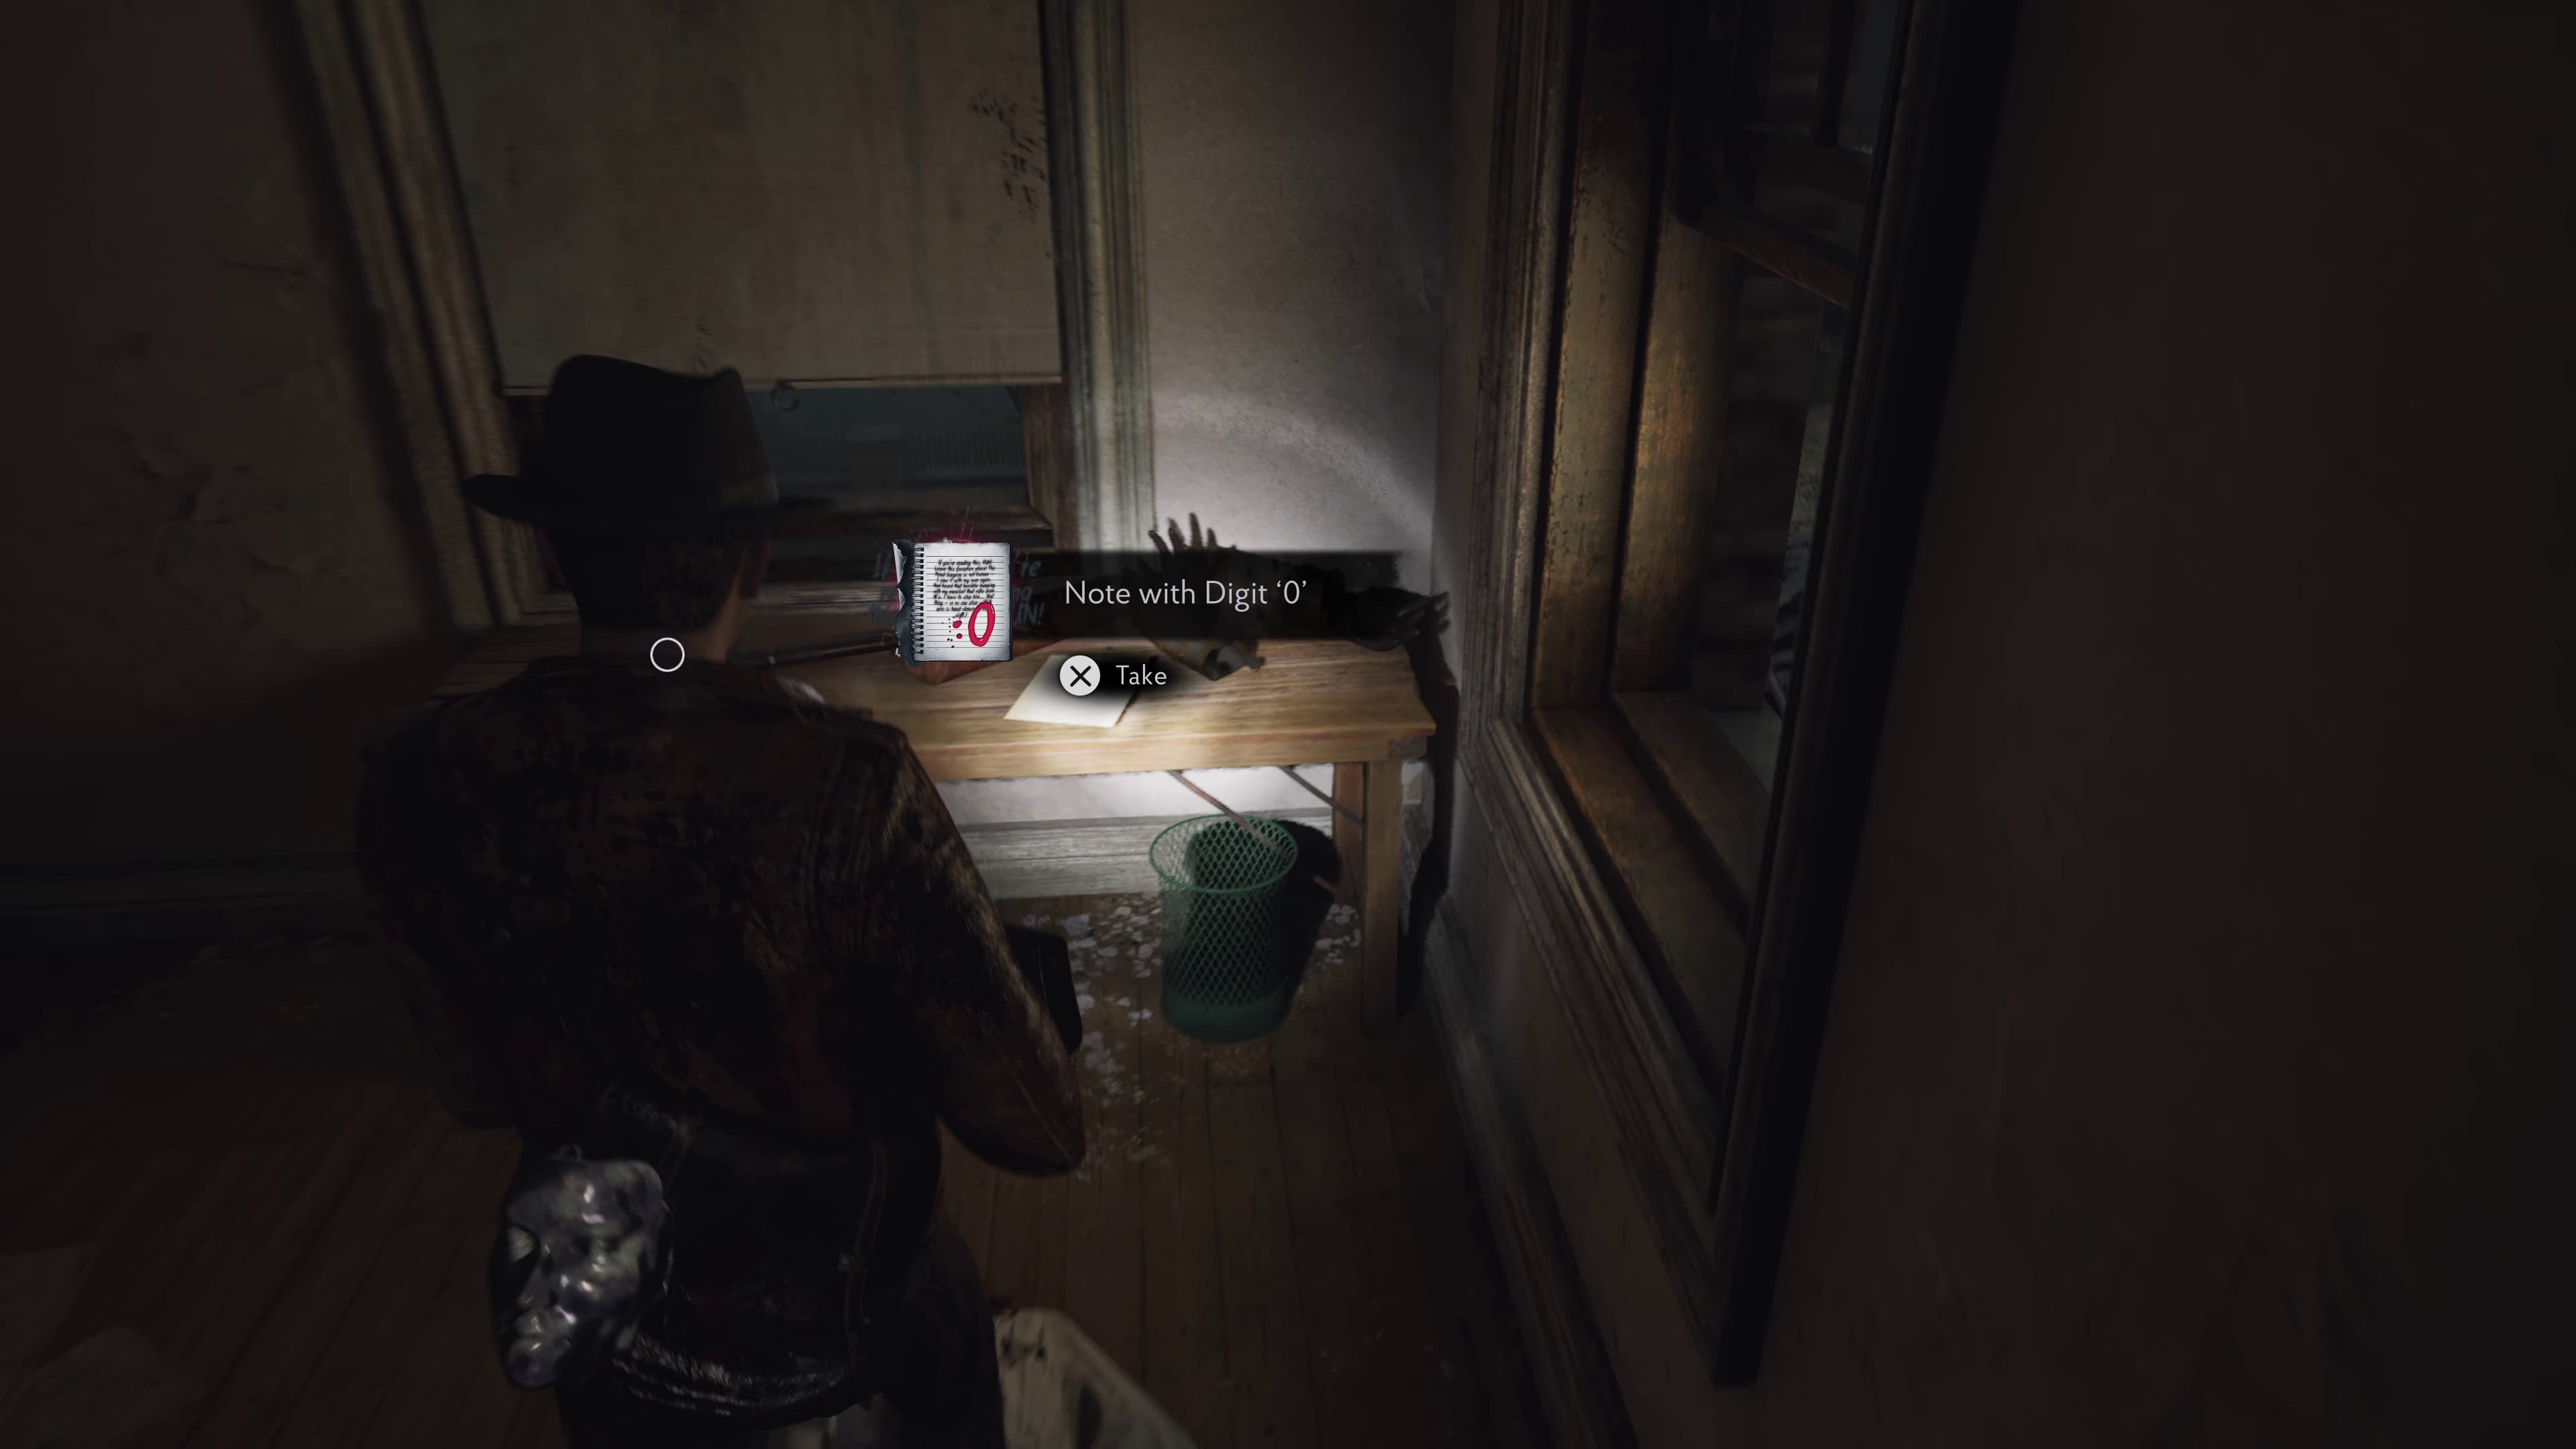
In the same room, you can now use Father Nathaniels Face to enter the locked door. In the second room will be the next Evidence (Note with Digit '0').
Head back downstairs and through the door straight ahead to lead you back outside, here will be a voice on the intercom talking about The Wireless Room, Faye will also talk about it and this will automatically add an Evidence to your collection.
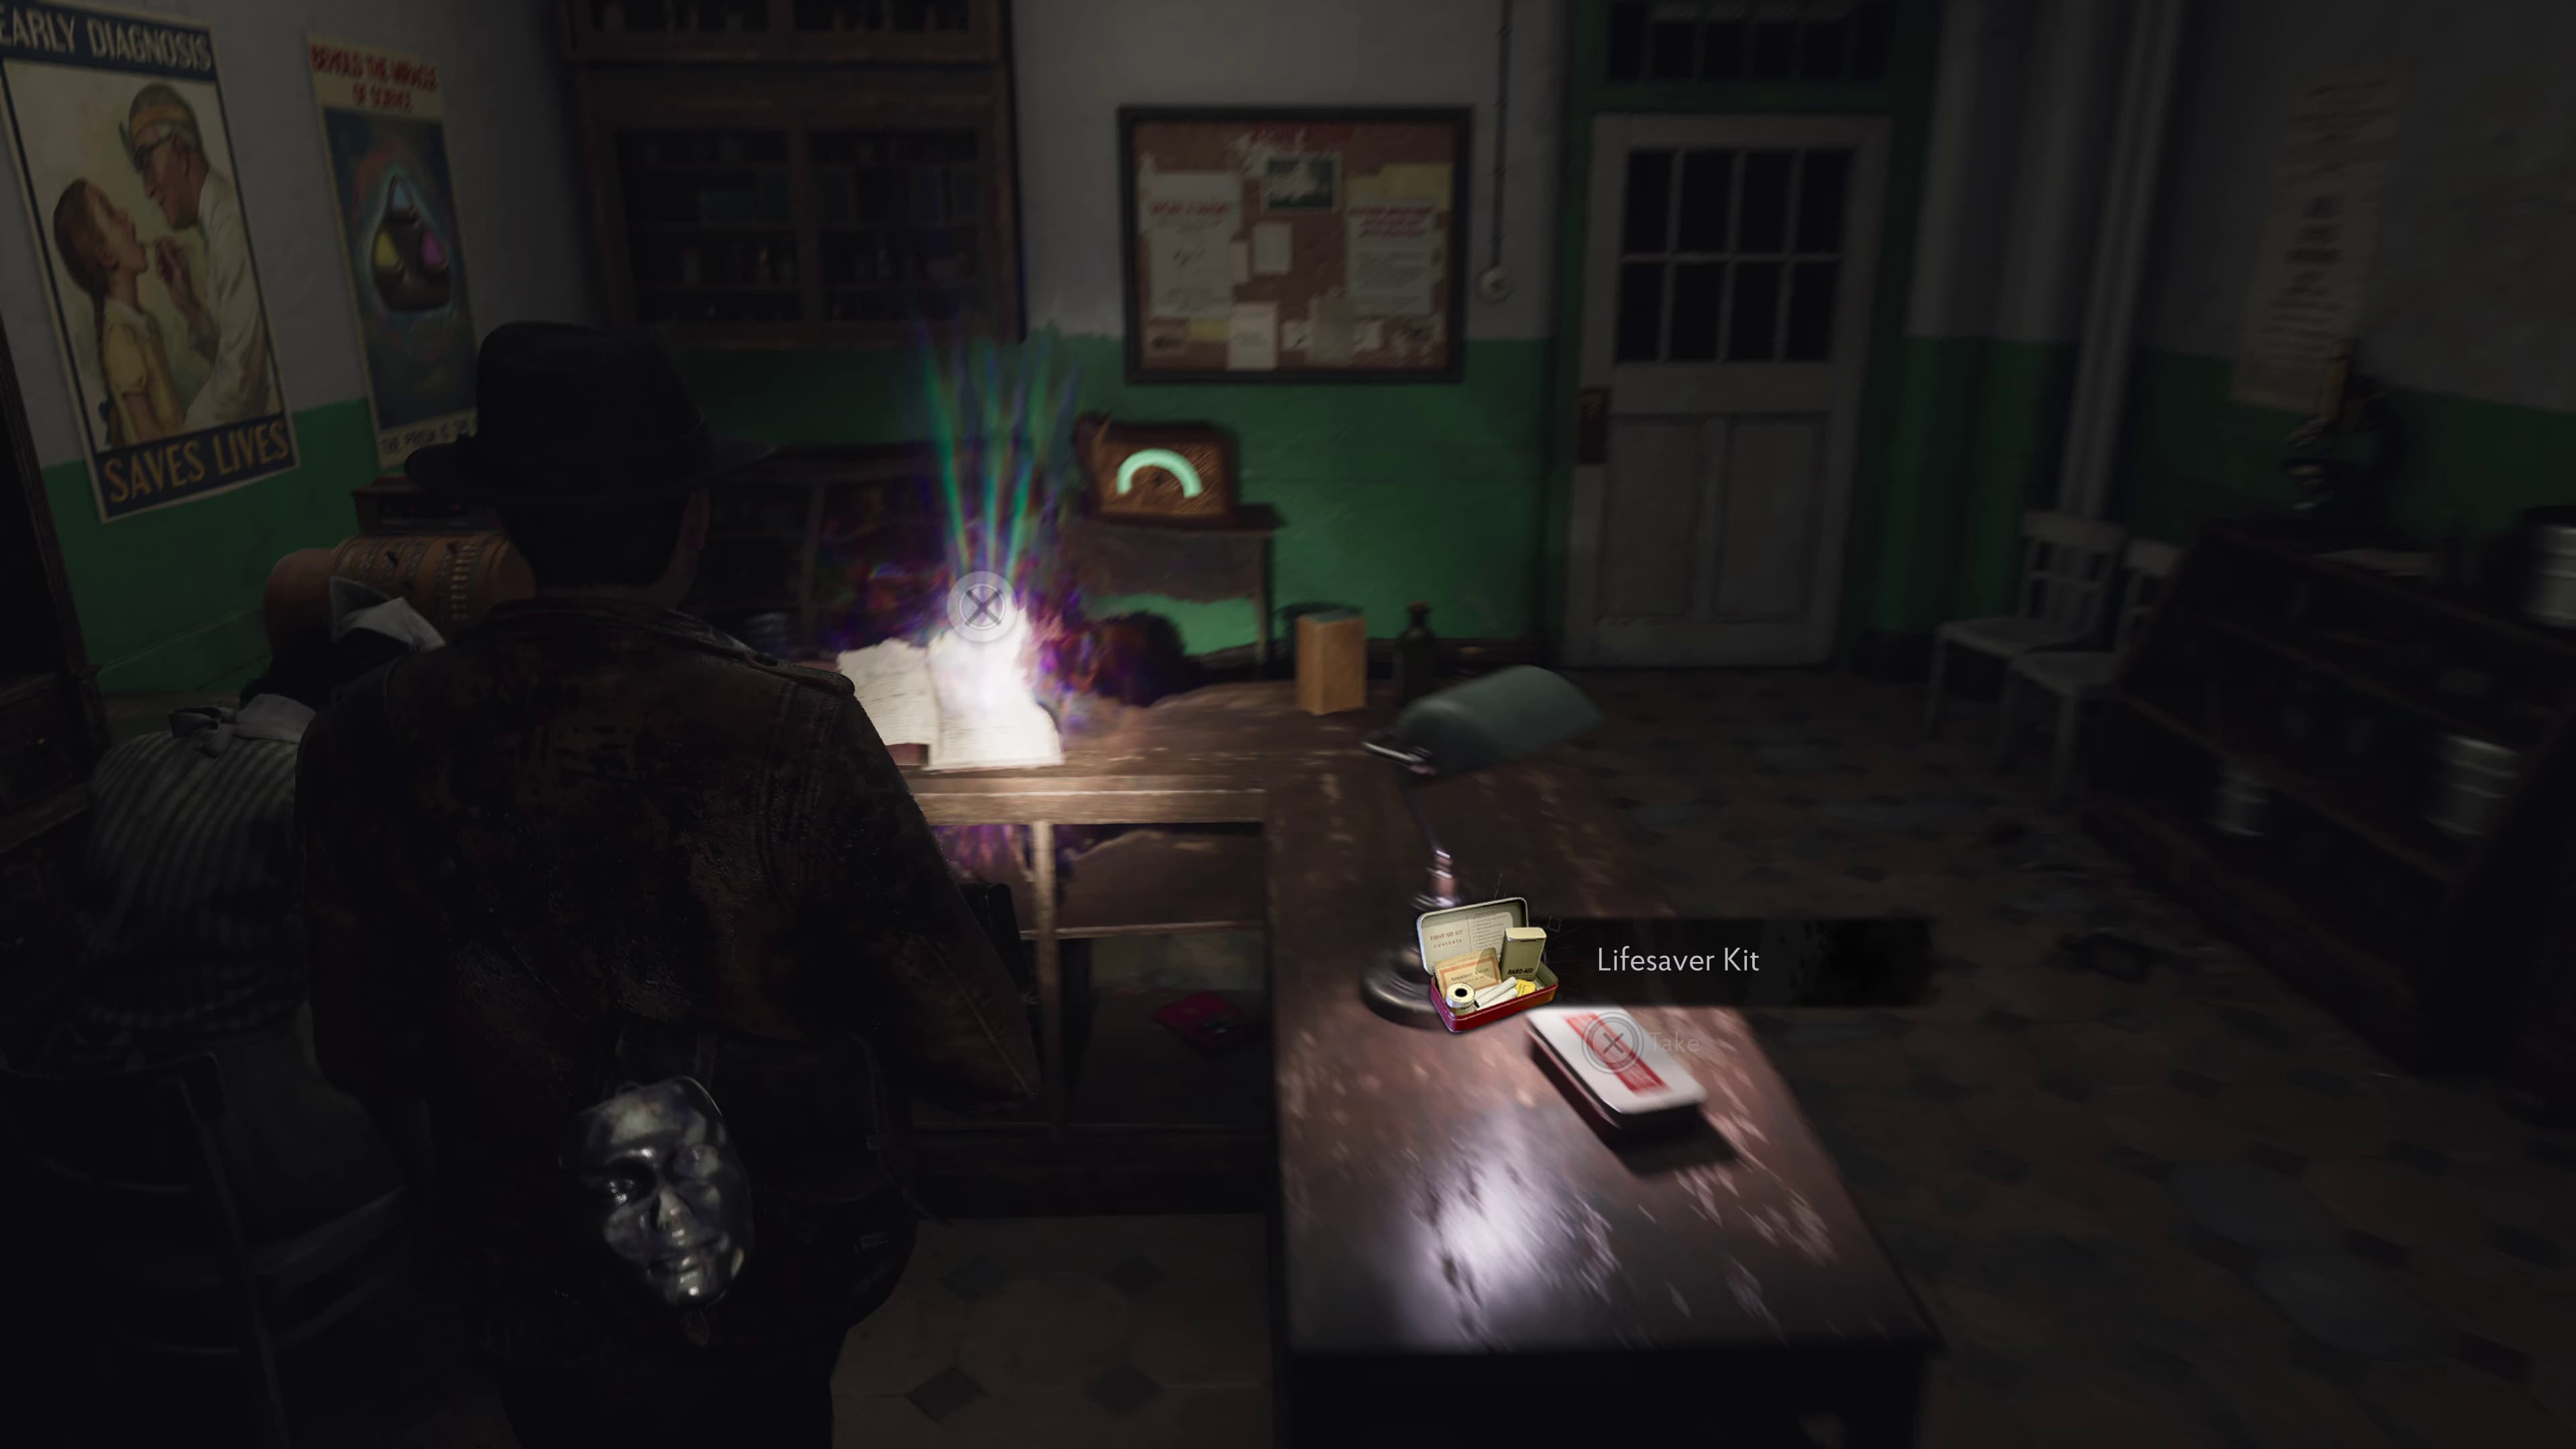
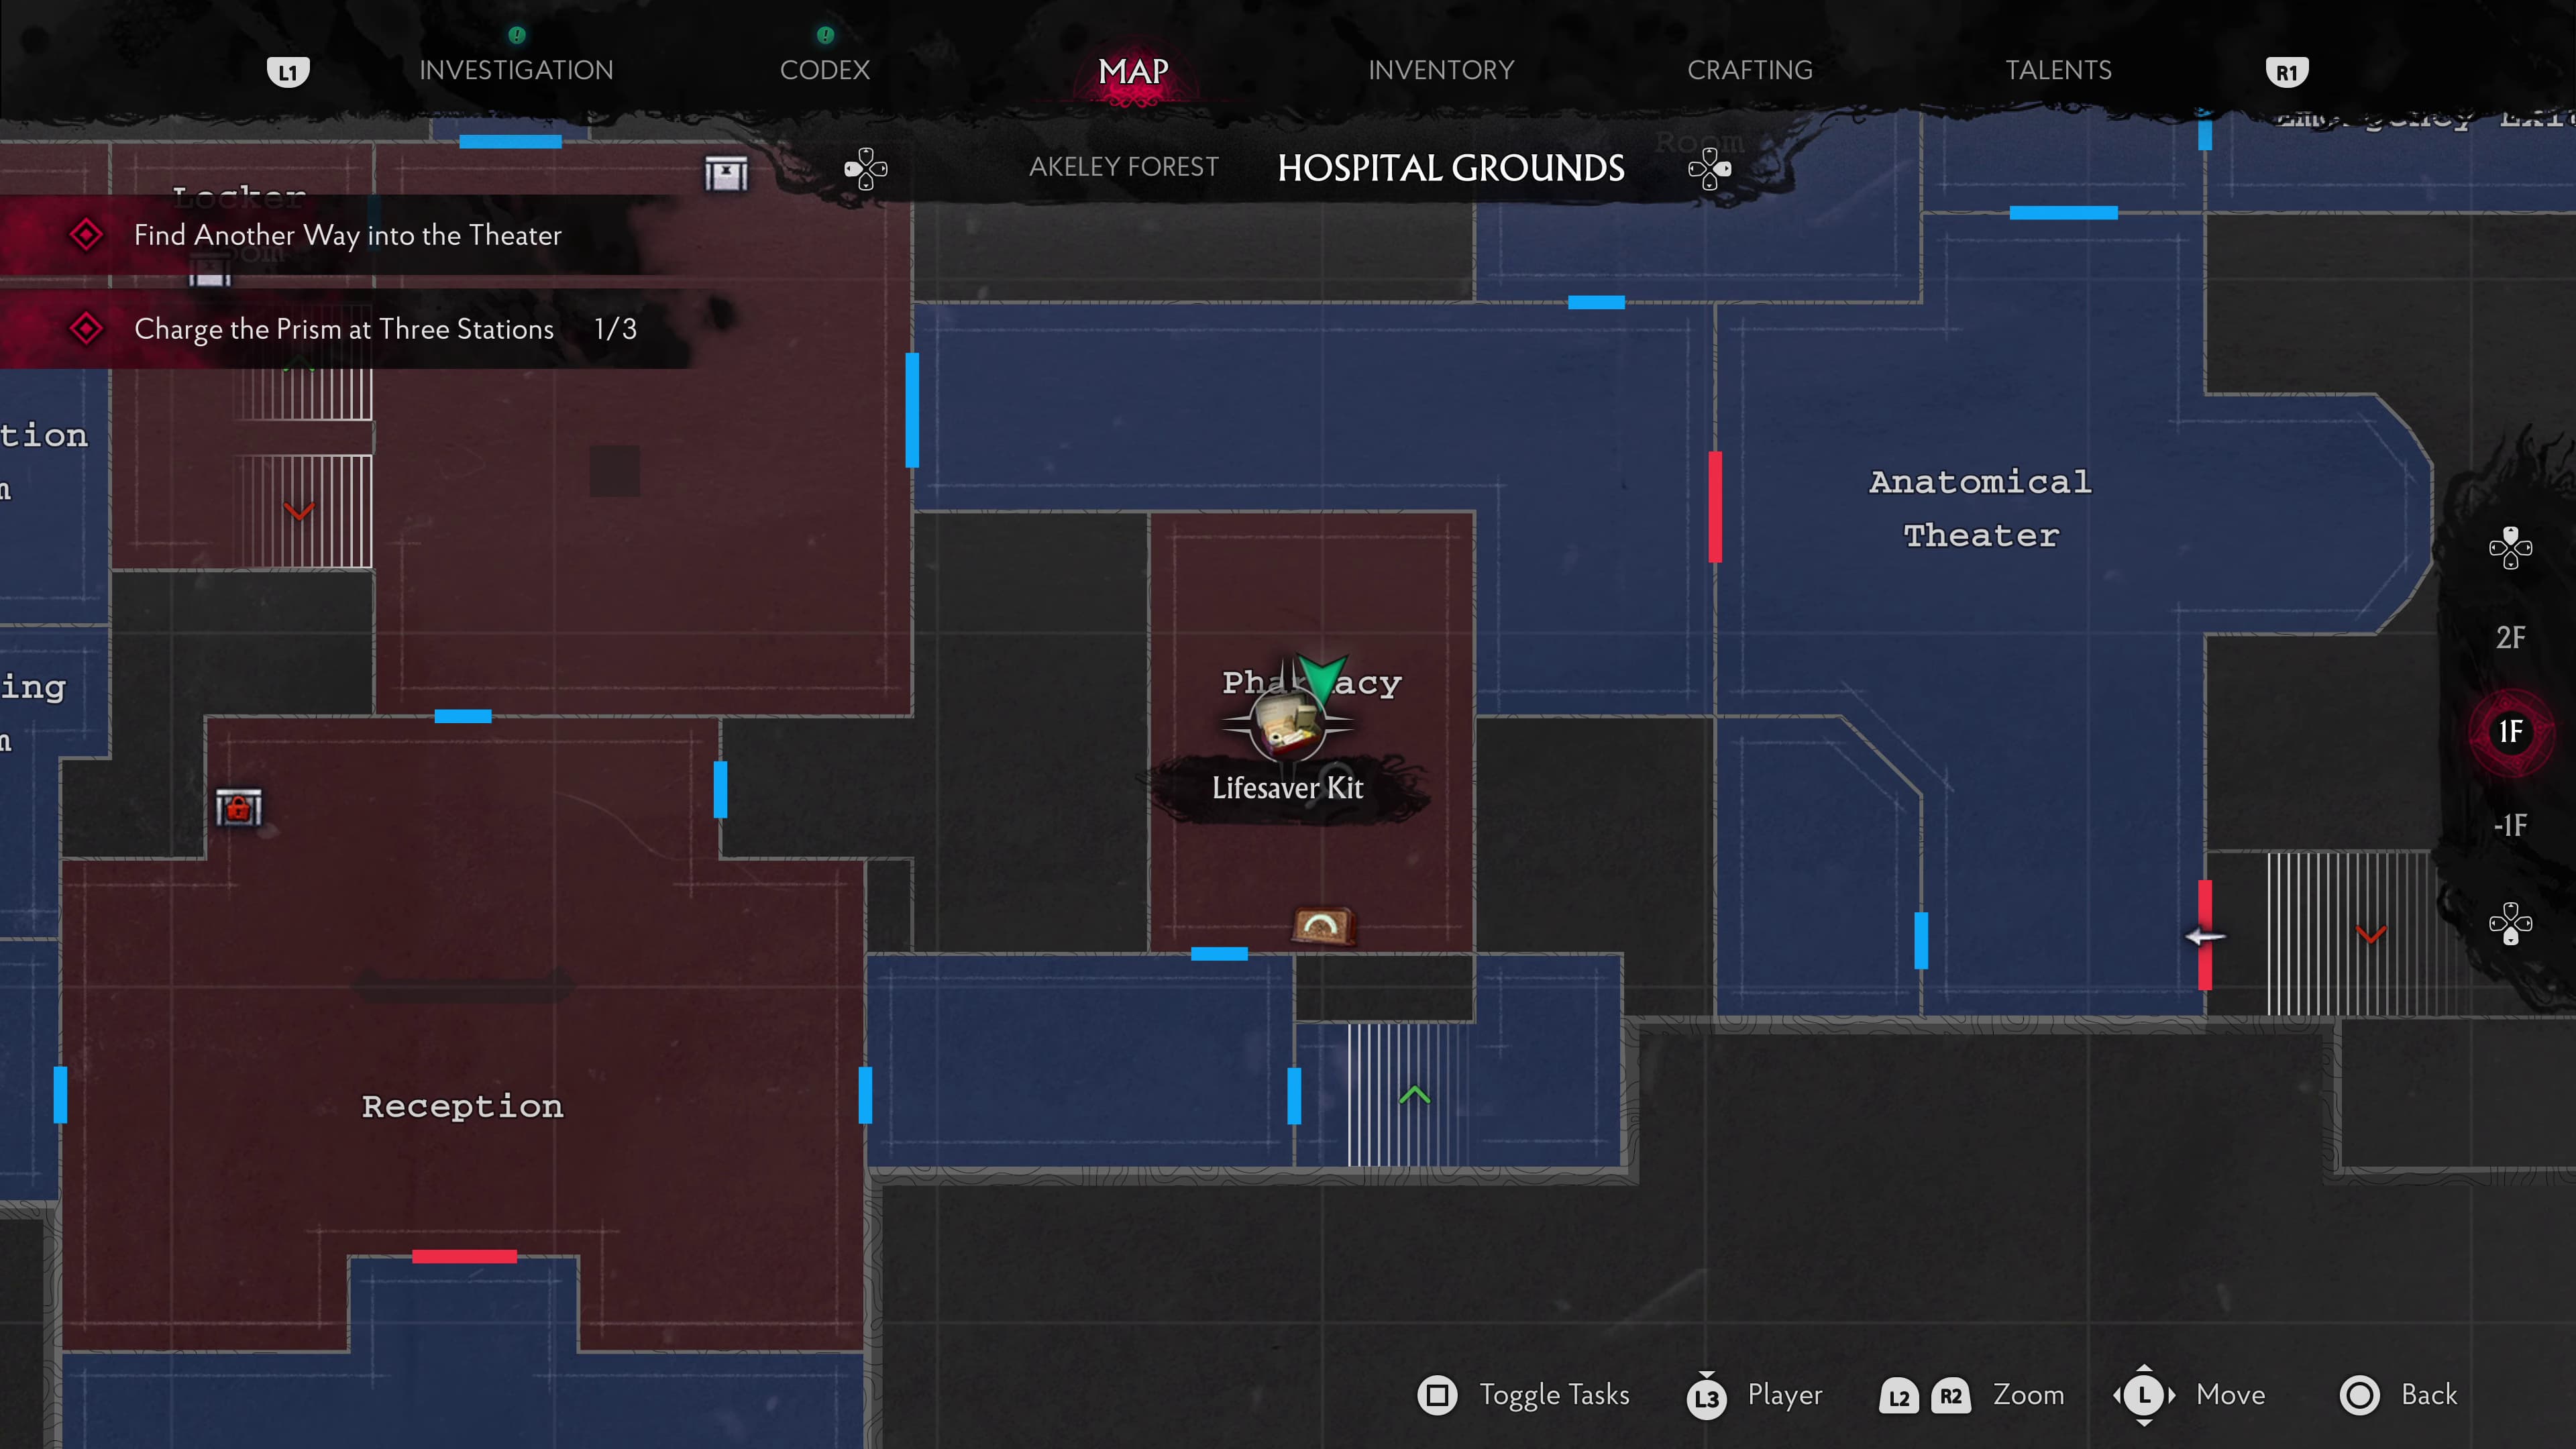
Head back into Reception and towards the Pharmacy, the Caduceus Key will unlock the Pharmacy, inside will be another Evidence (Pink Symbol) on the desk ahead.
Keep advancing to use the next Father Nathaniel door, into Medical records. Crawl under the drawers to the right in the next section of this room to find the next Evidence (Yellow Symbol) on the ground to the right.
Keep advancing out of here and round into the Wireless Room. You will have automatically gained an Evidence after running around, when the intercom talks about the Wireless Room and Faye comments on this.
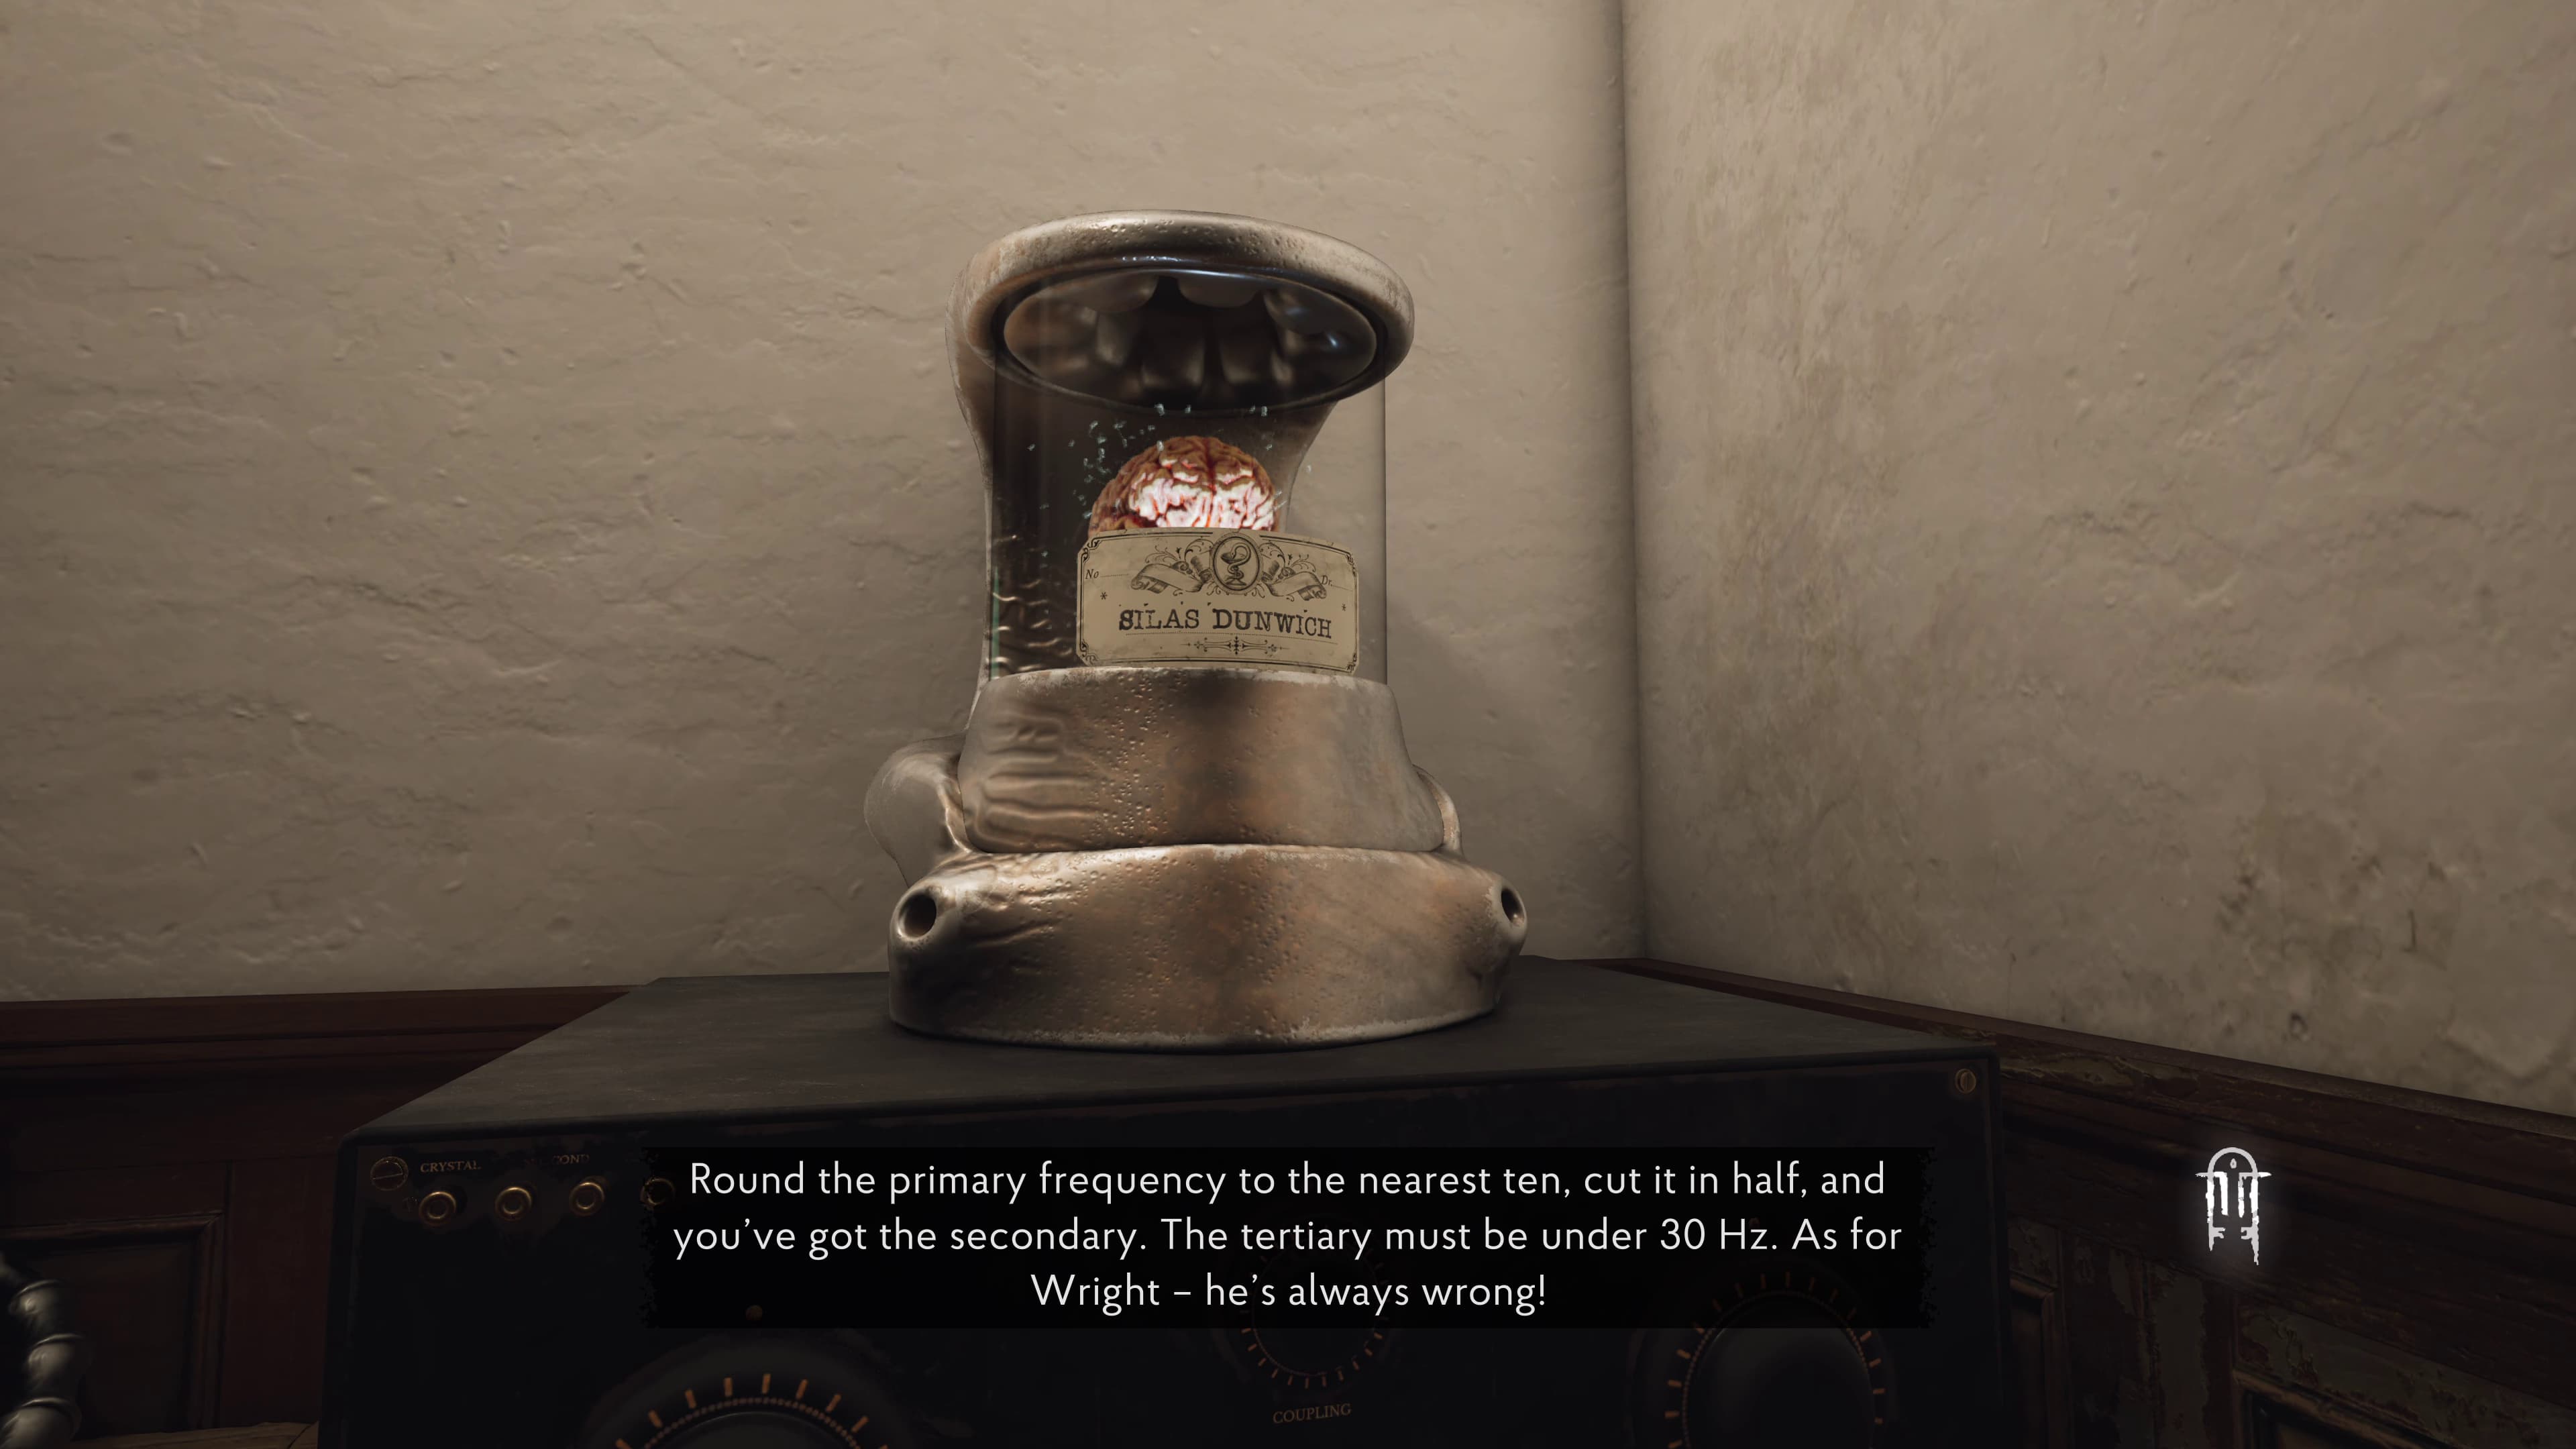
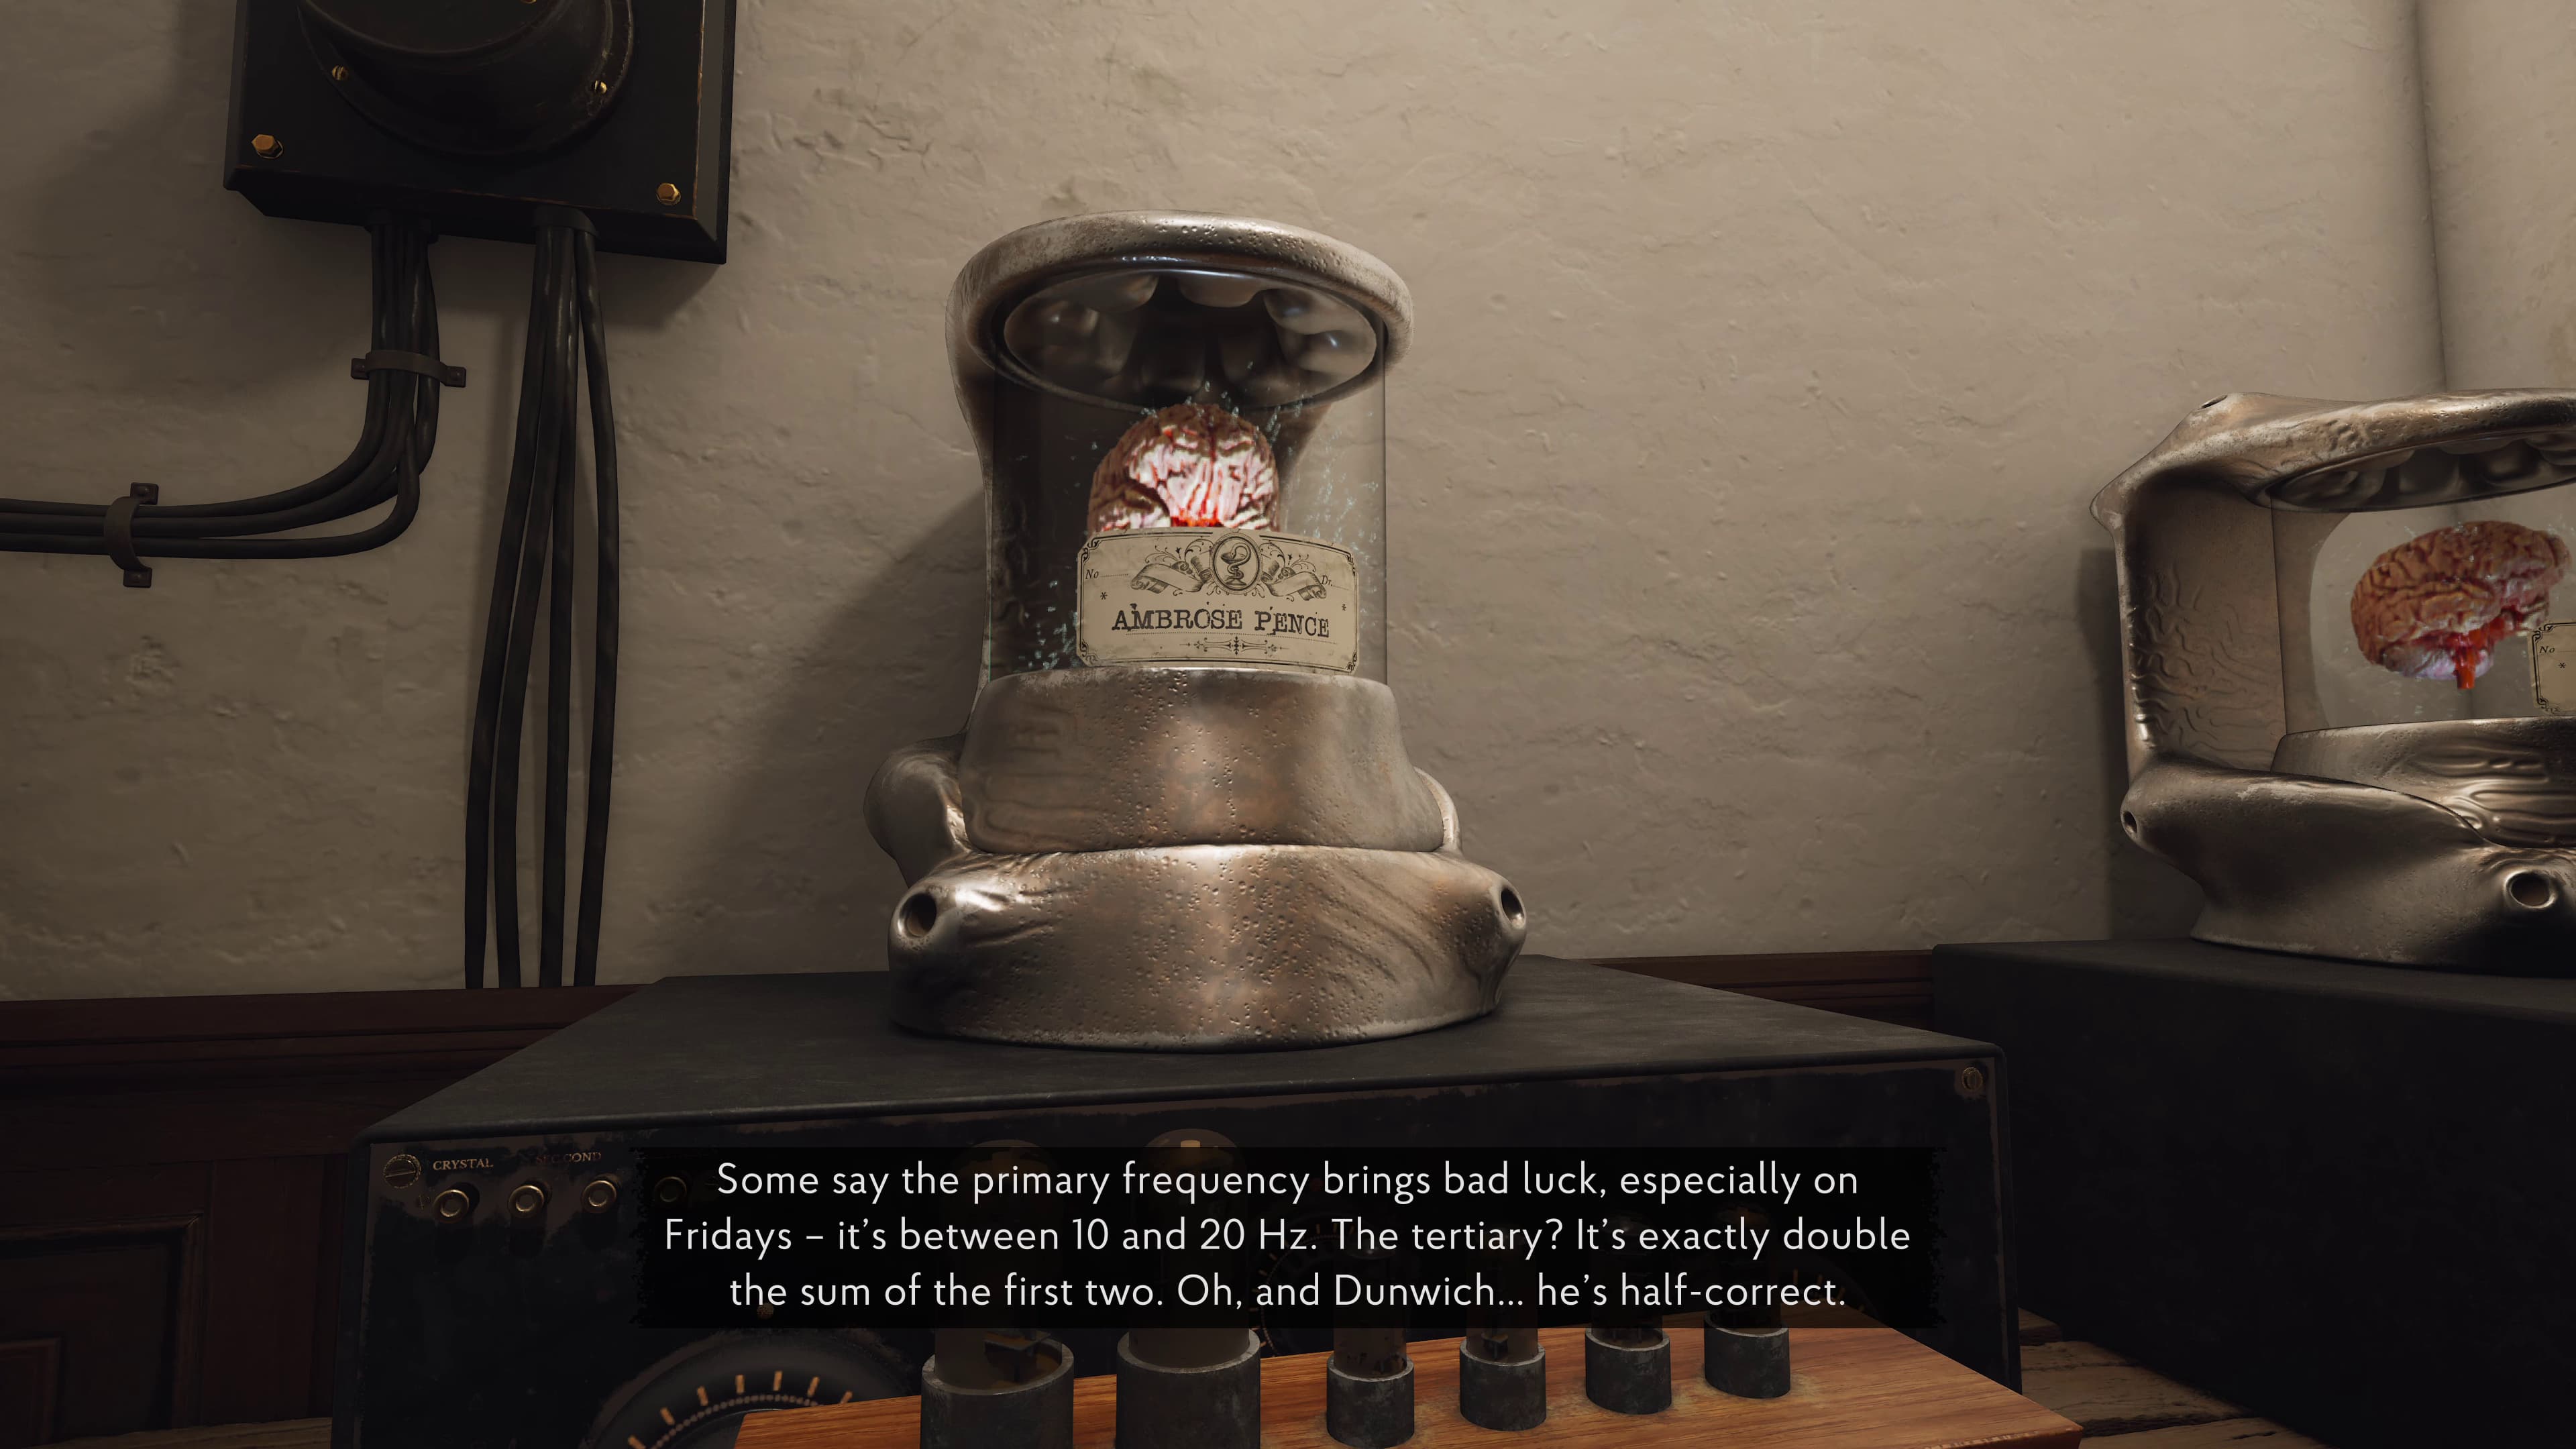
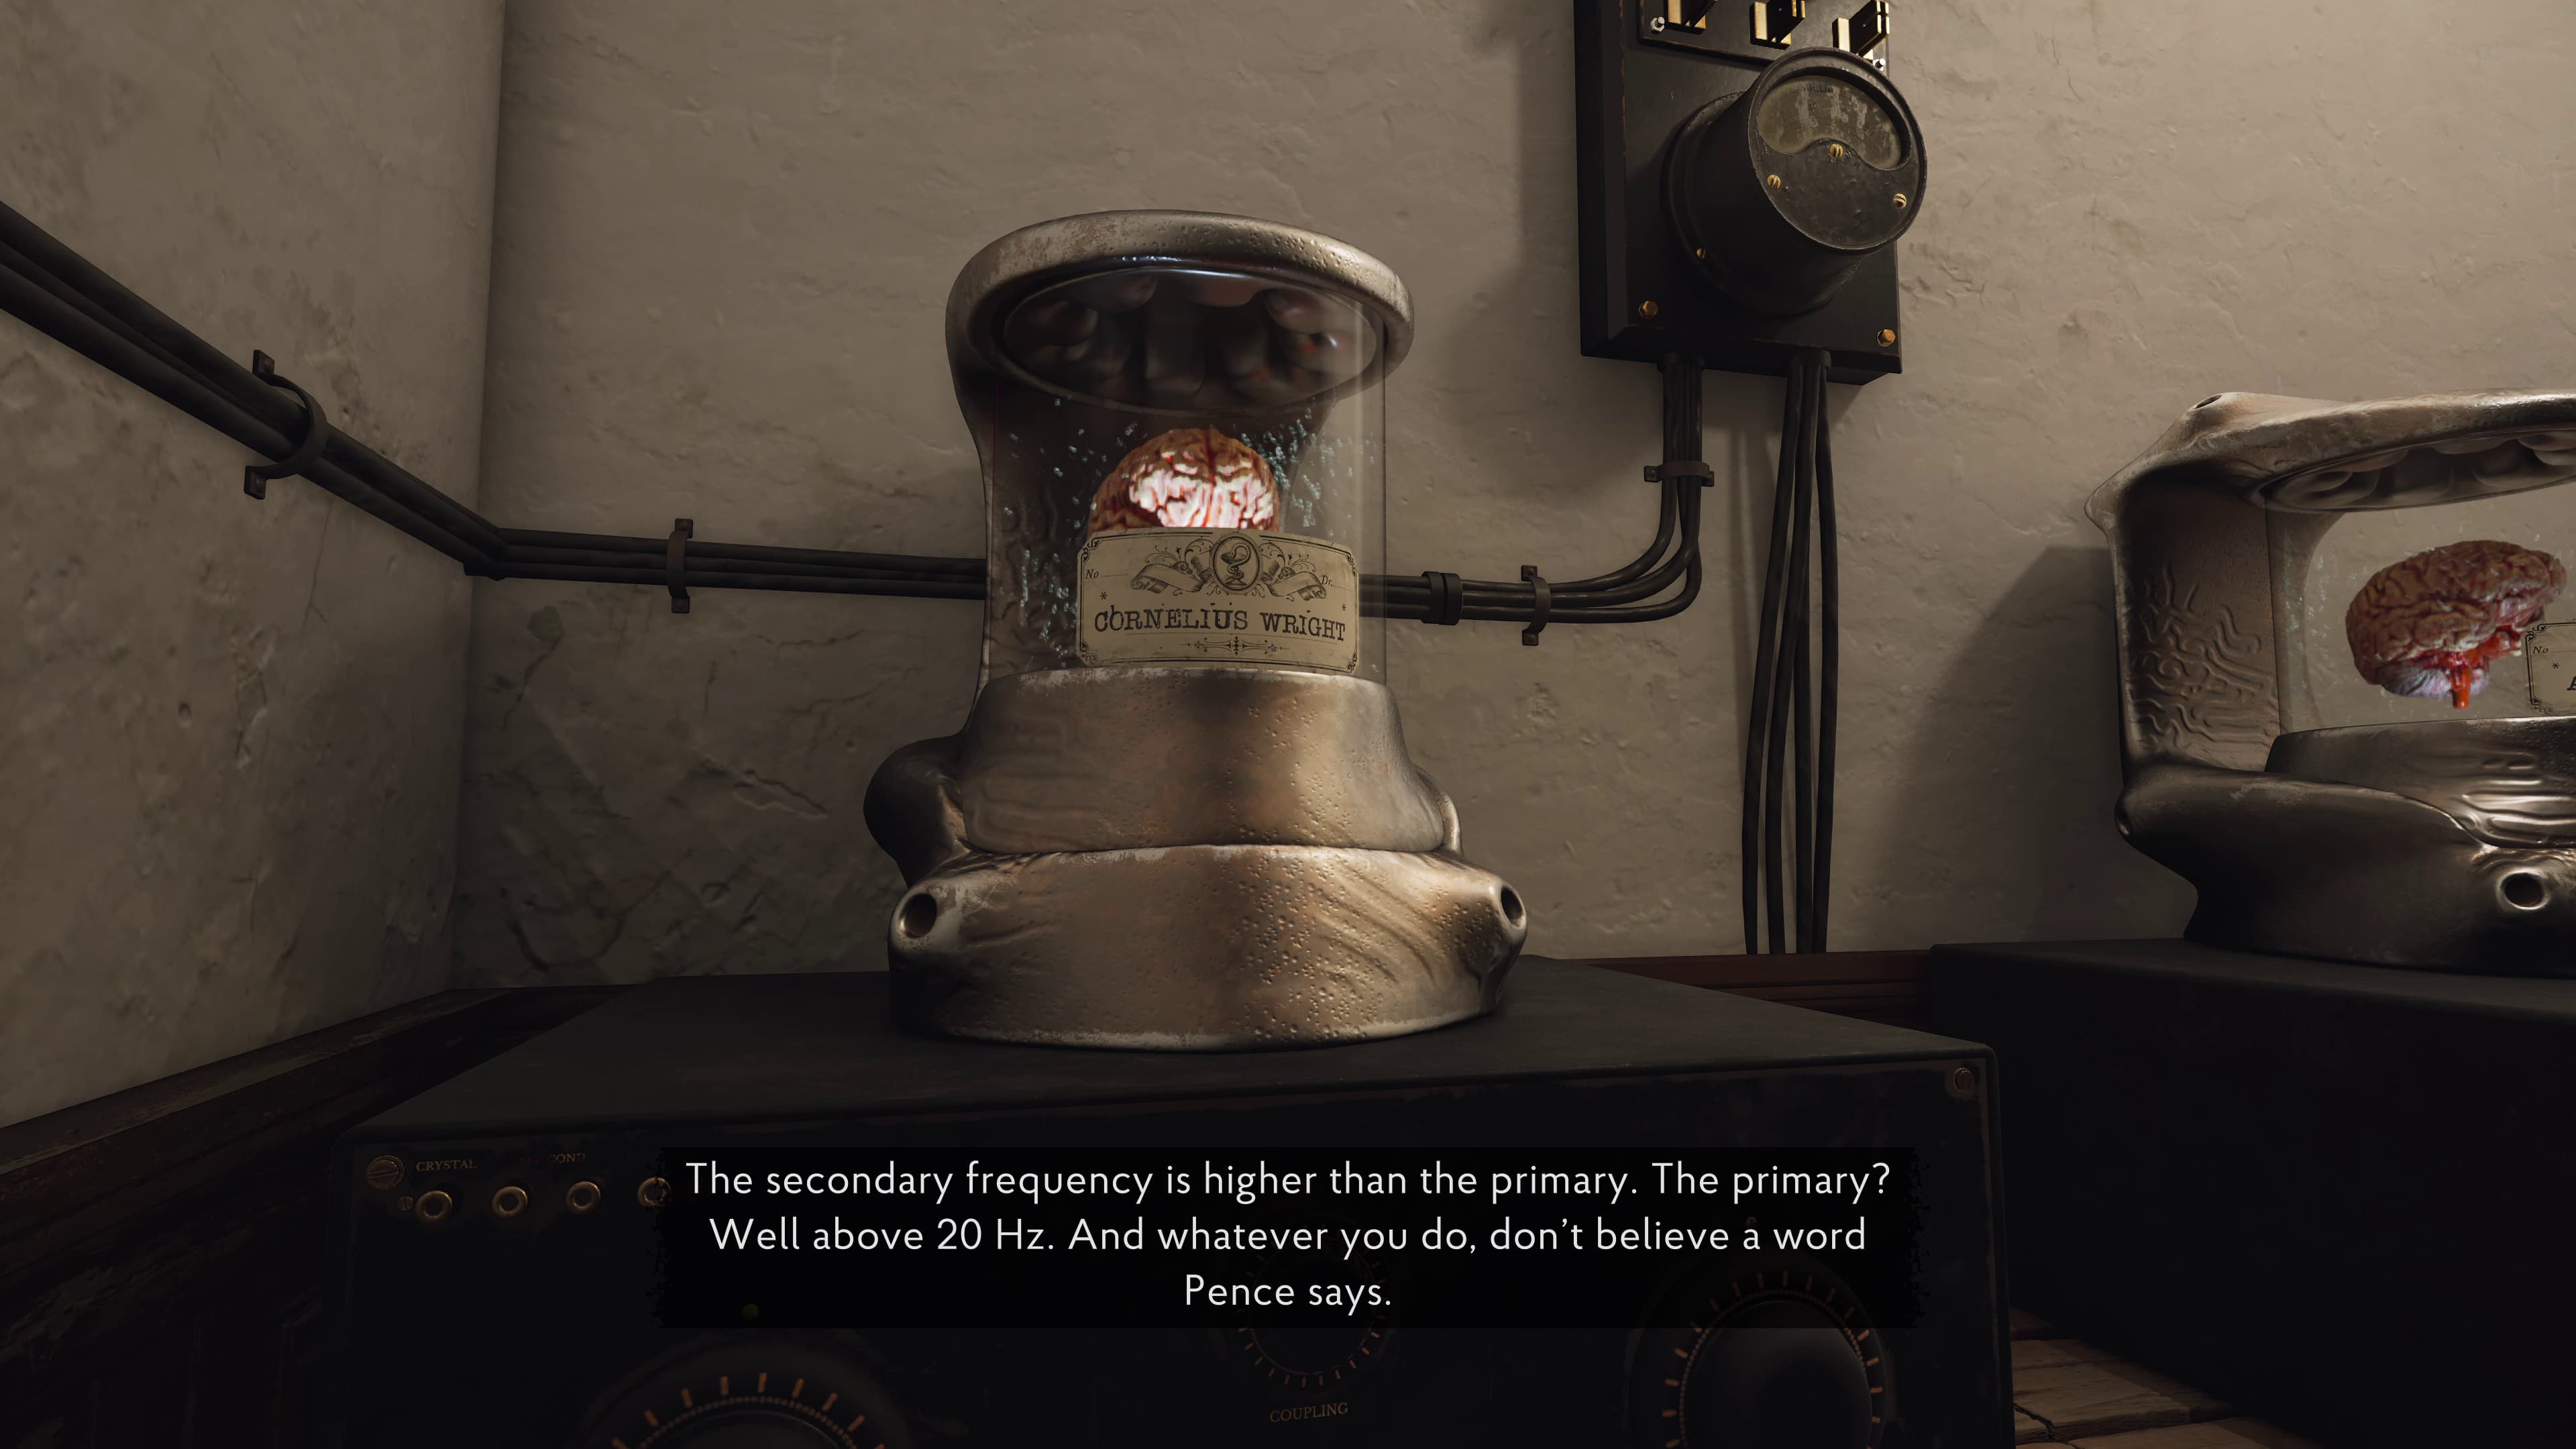
For the Wireless Room Puzzle, you will need to listen to all three brains for a piece of Evidence from each, so there will be three Evidence collected here after listening to all of the brains.
(Testimony of 'Silas Dunwich', Testimony of 'Ambrose Pence' and Testimony of 'Cornelius Wright')
Make your way through into the Waiting Area to use Father Nathaniels face for the last time, to open the door to the Chapel. Head up to the main Alter at the front of the Chapel, here will be the next Evidence (Yellow Symbol).
Exit the Chapel after the cutscene, and advance up to the floor where the Observation Ward and Outpatient rooms are located, on this floor will be a door to unlock using Thaddeus's face.
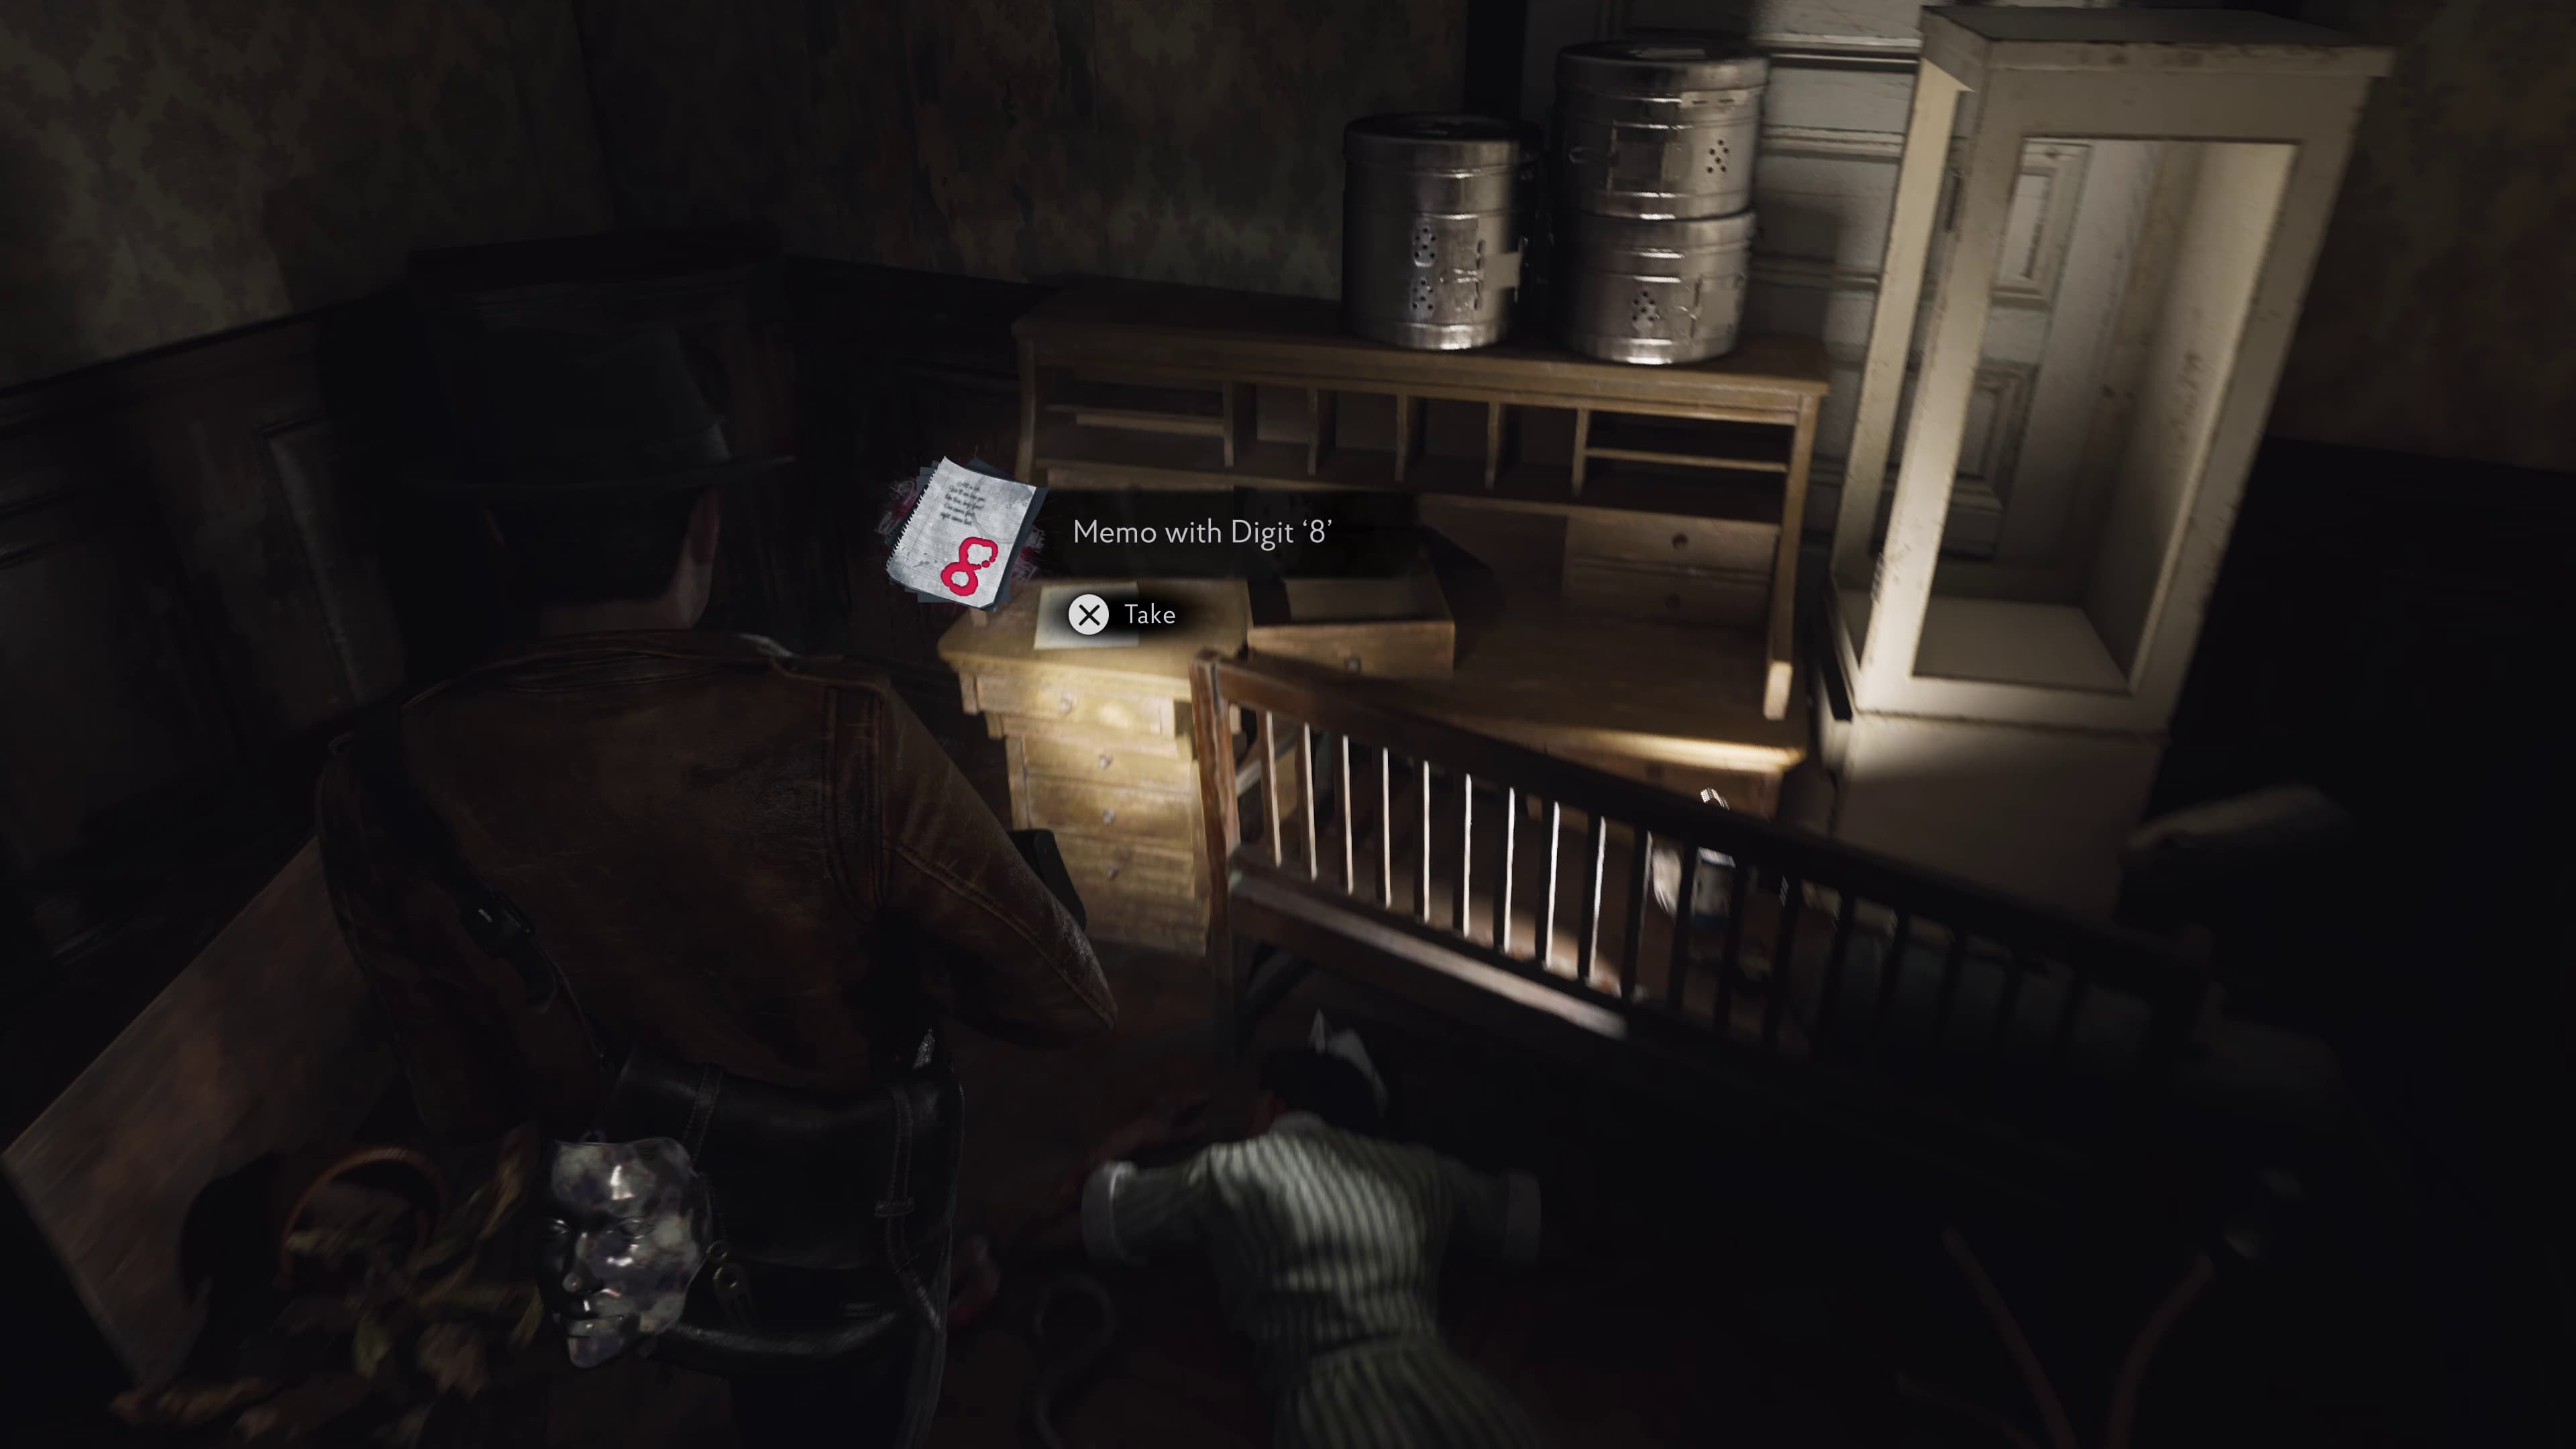
After entering the Head Surgeon's Office, move the cabinet out of the way on the left of the room and enter into the Nurse Station, to the left on the next desk will be the next Evidence (Memo with Digit '8').
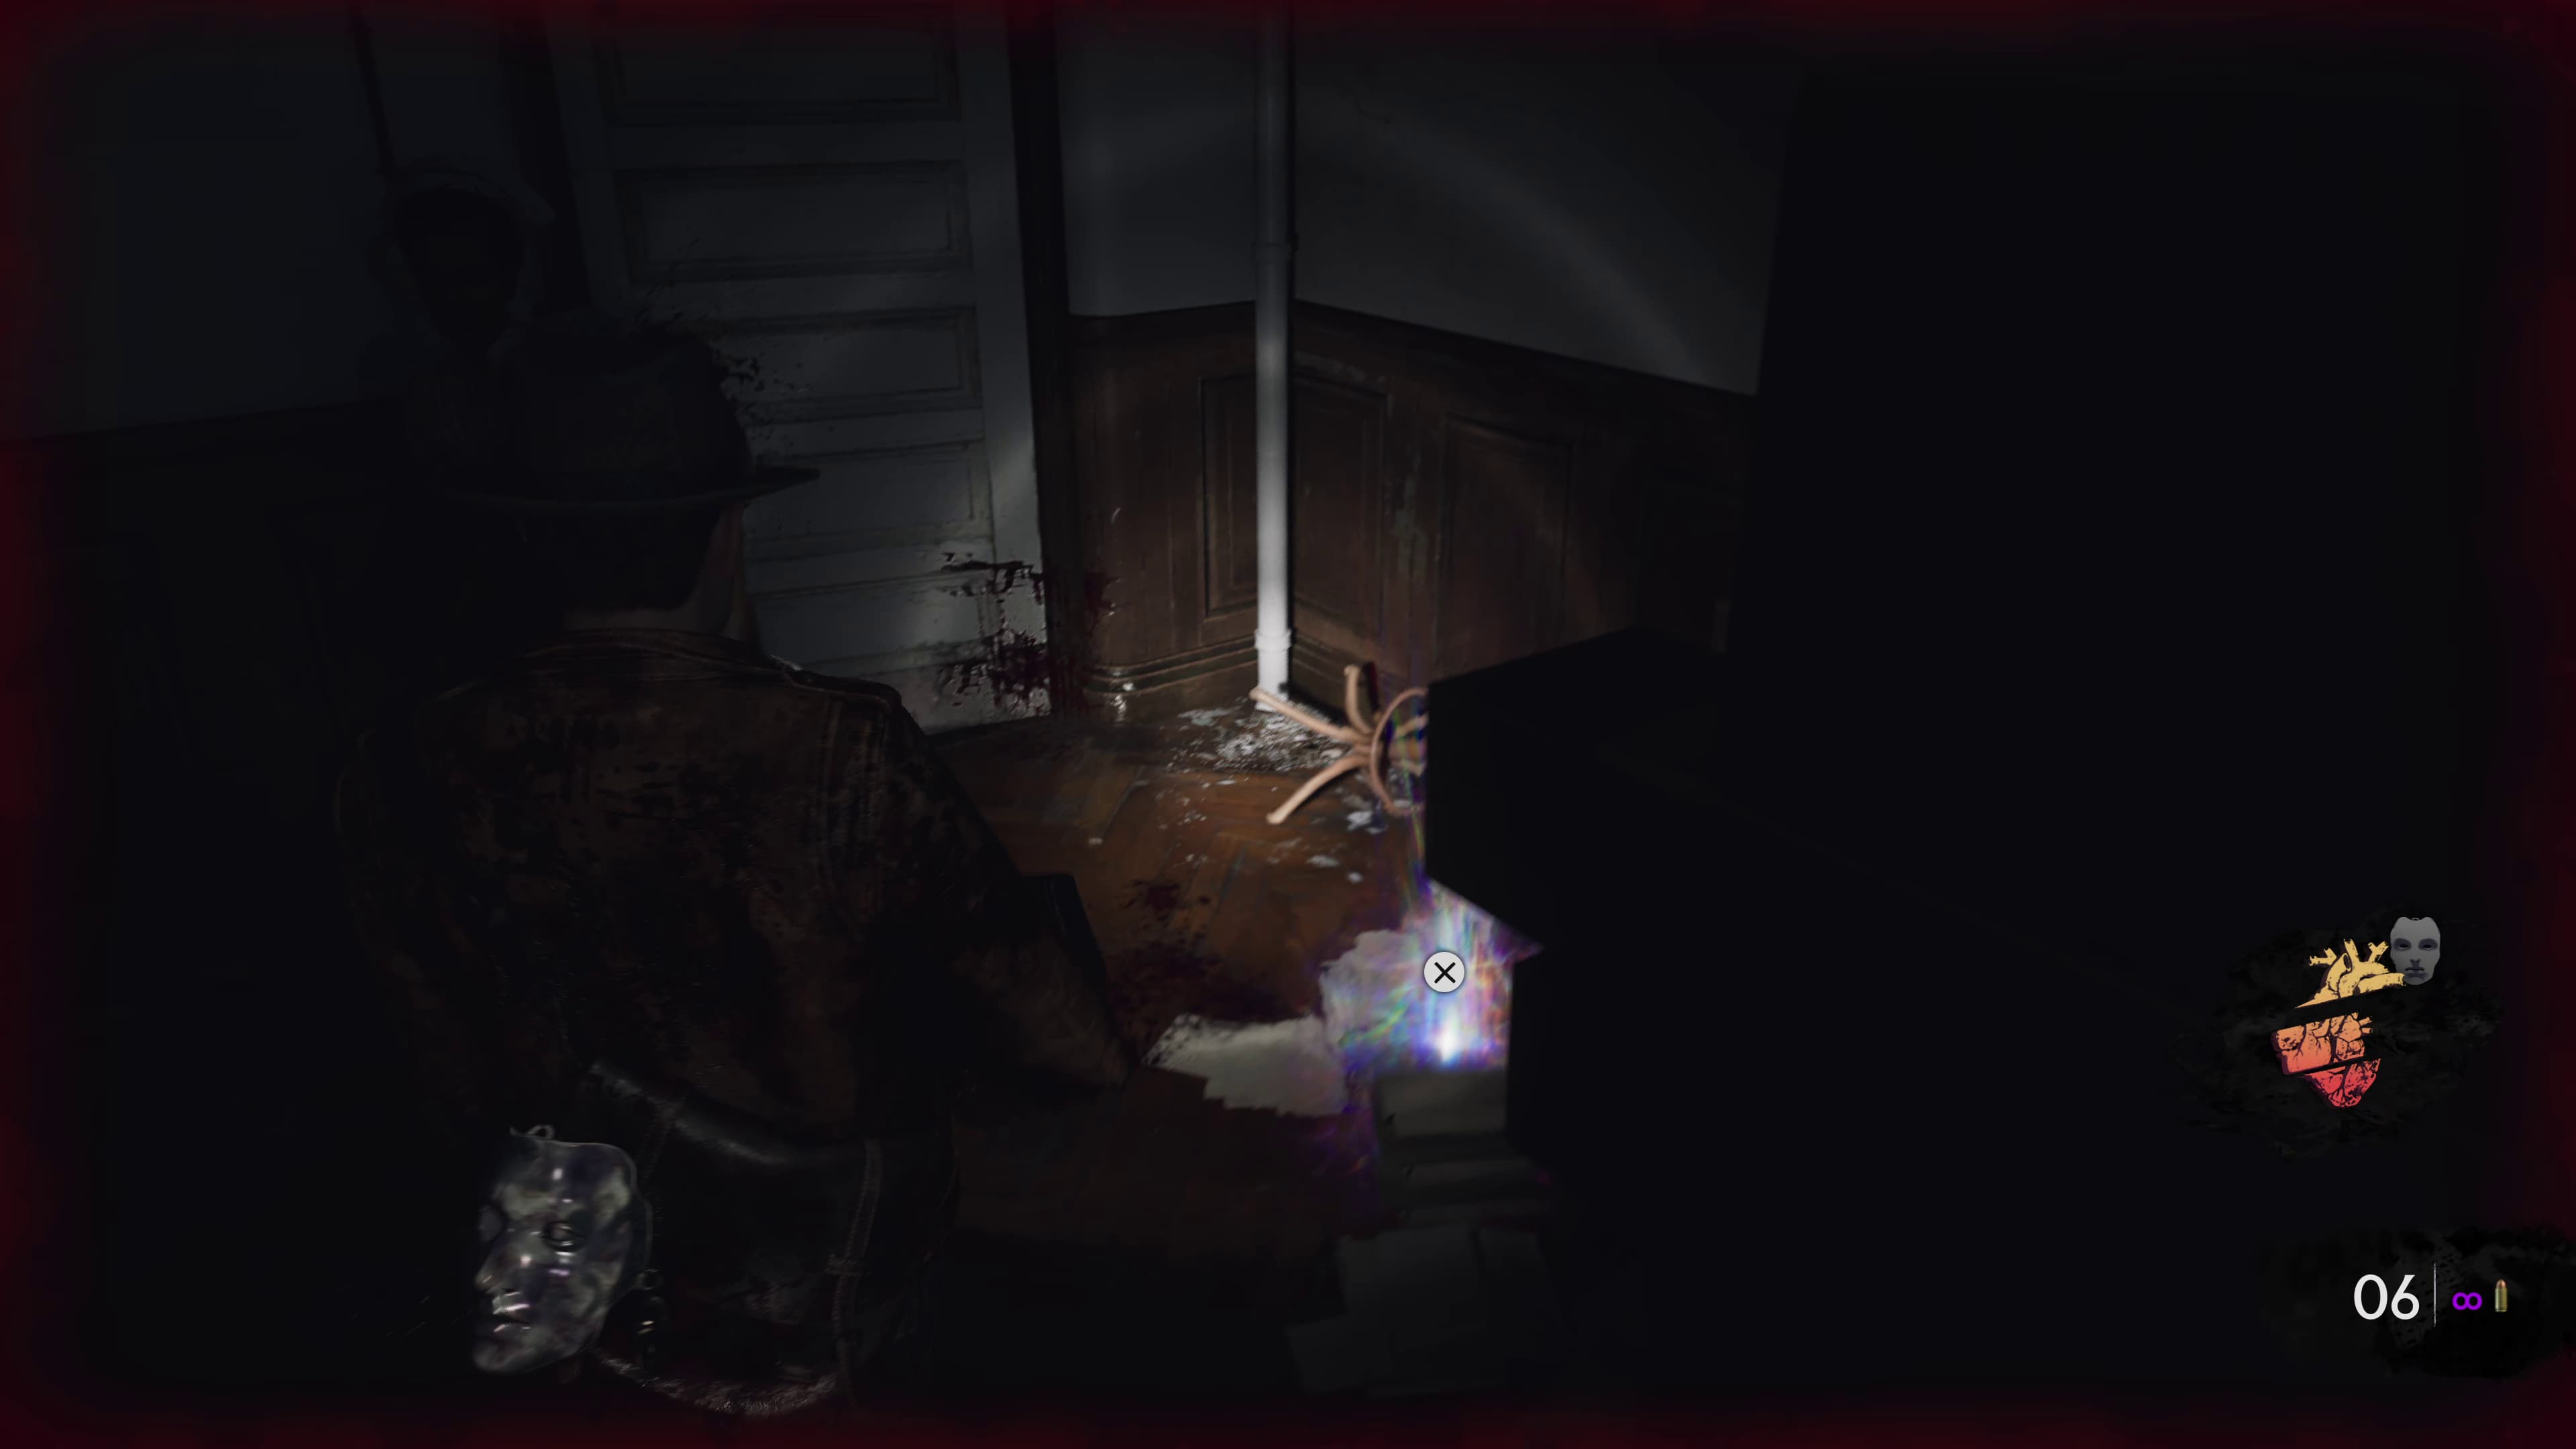
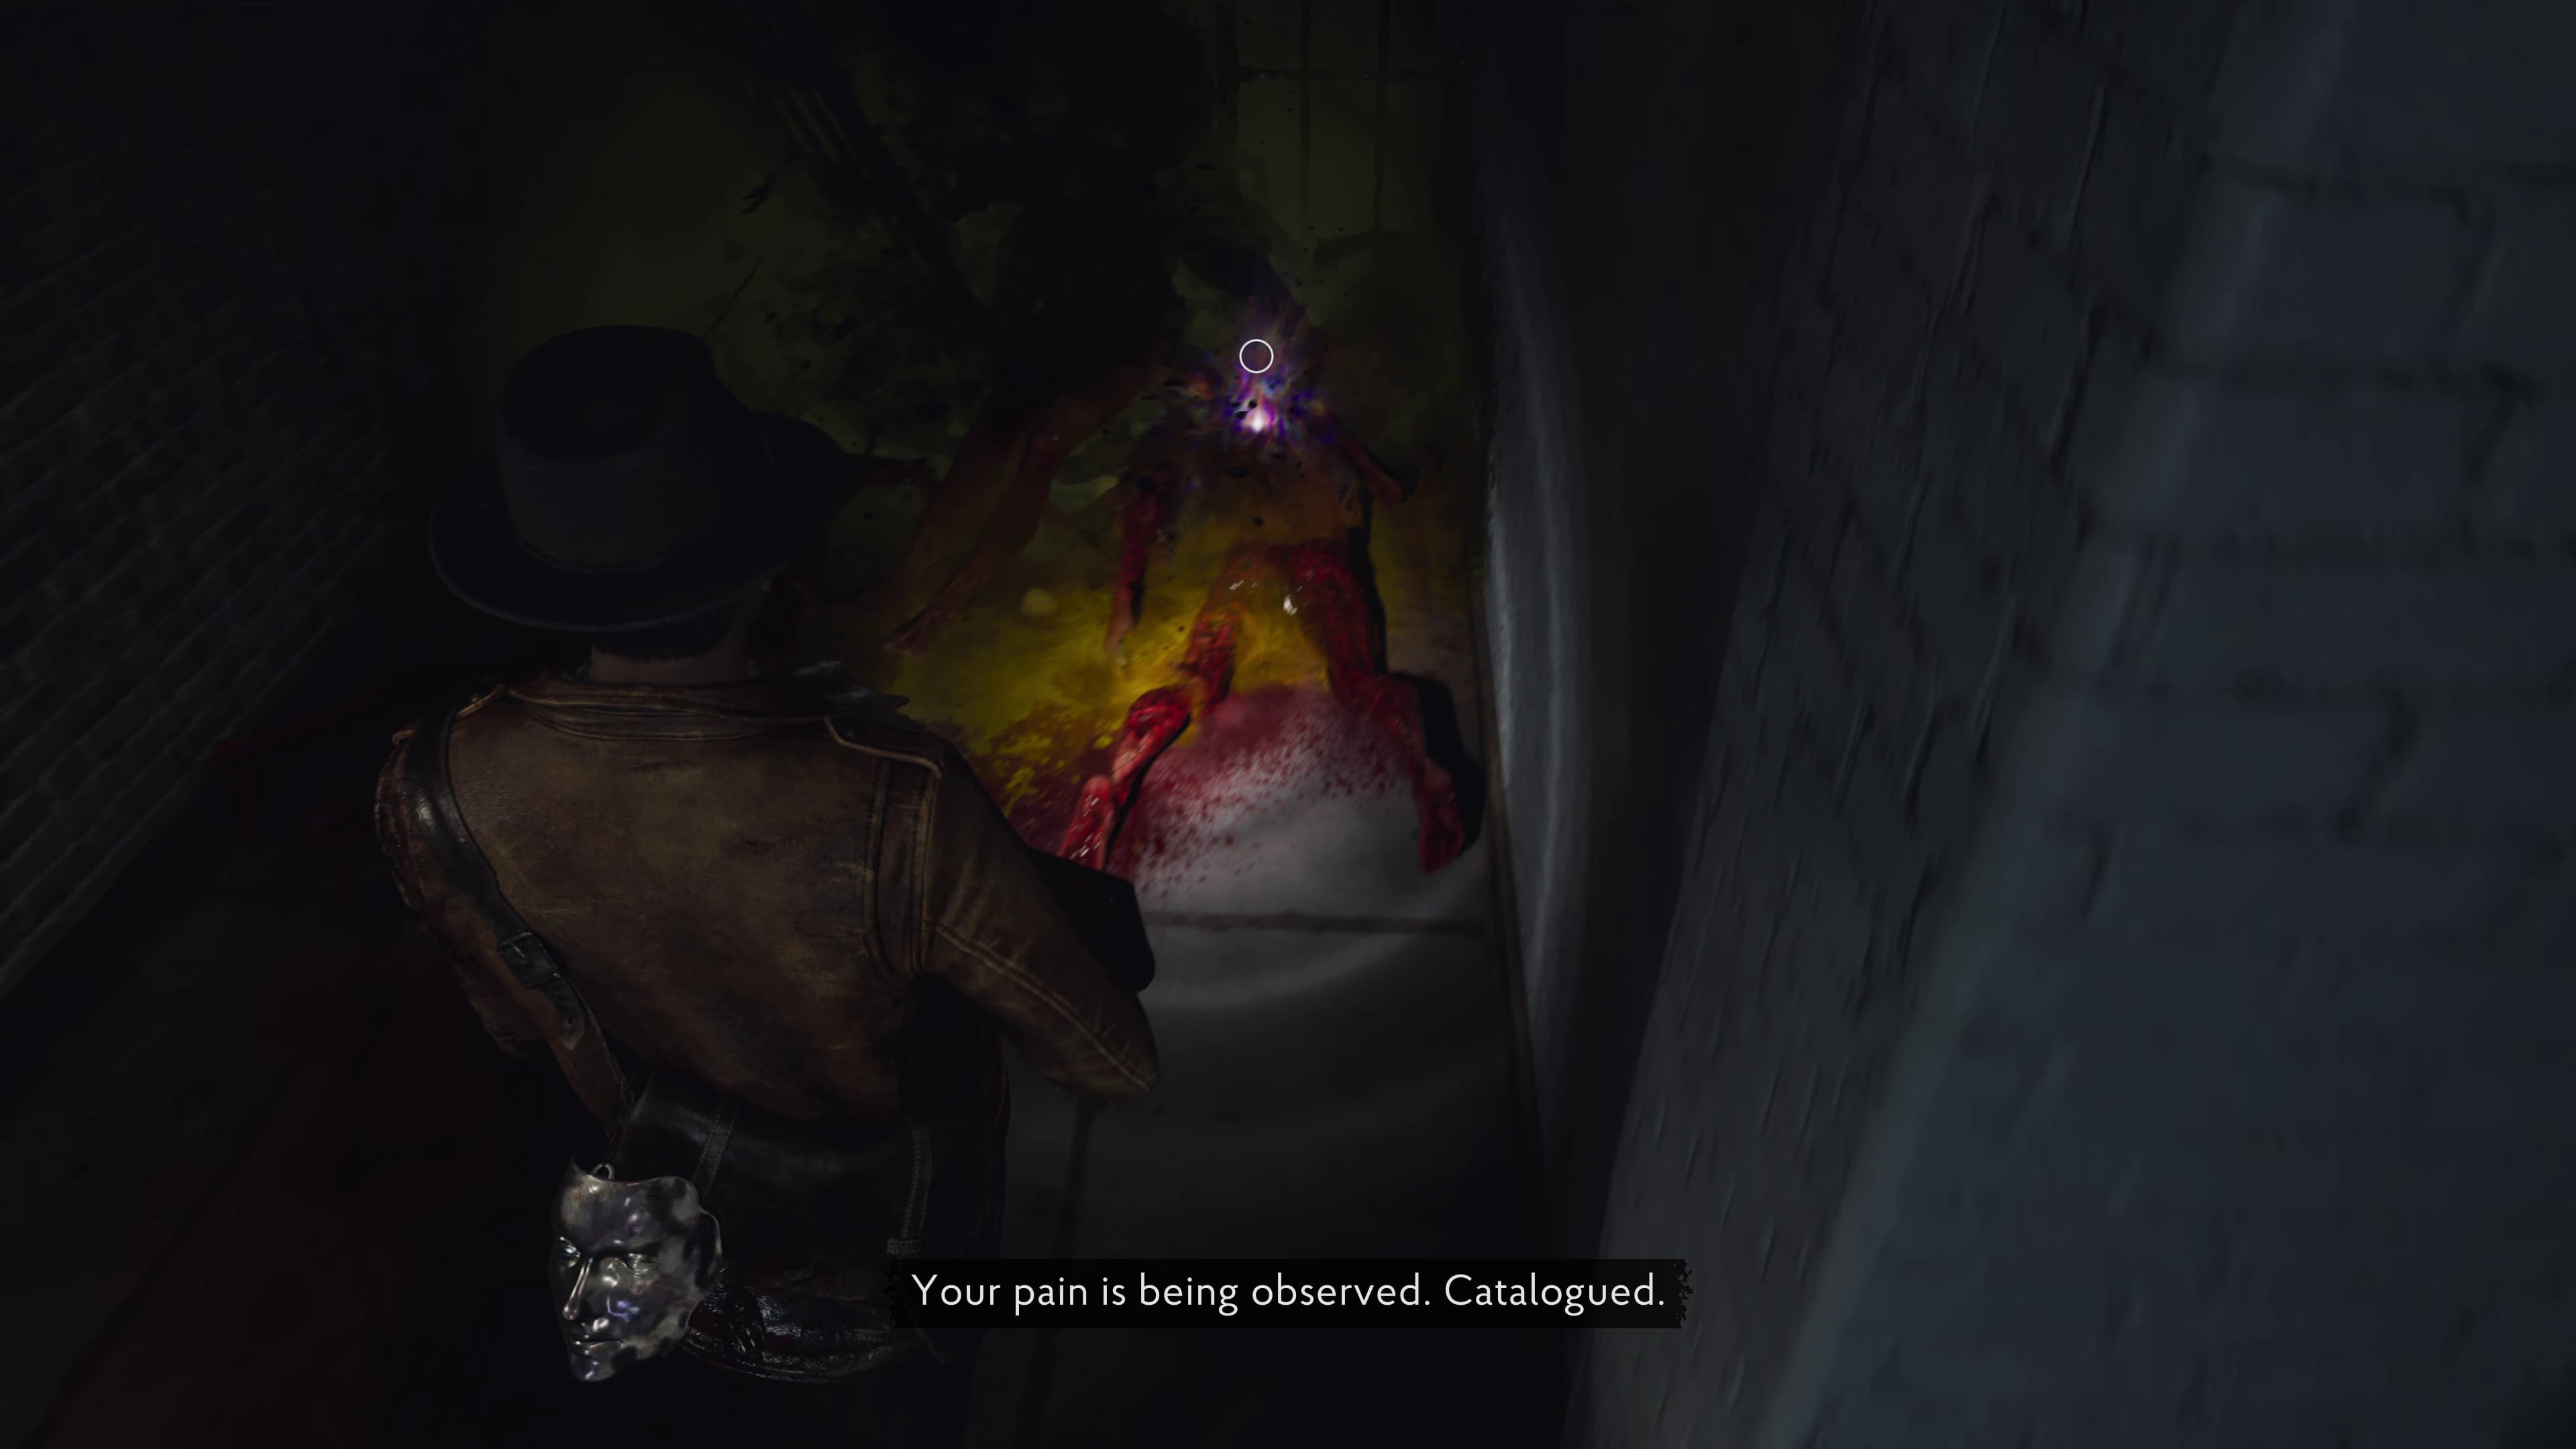
Keep advancing down into the cellar area of the Asylum and as soon as you see the vision of the monster and this disappears, look to the ground to find the final Evidence (Pink Symbol).
Be sure to link up all of your Evidence on your Investigation panel again, to build up those Dream Essence.
This is all of the Evidence for A Sight For Sore Eyes, keep progressing through the level until you make it to the next section Time And Tide.
Time And Tide
In this area, there will be:
17 Evidence / Clues
Advance through this section until you make it inside where Calvin complains about his knees hurting, after dropping down into the room.
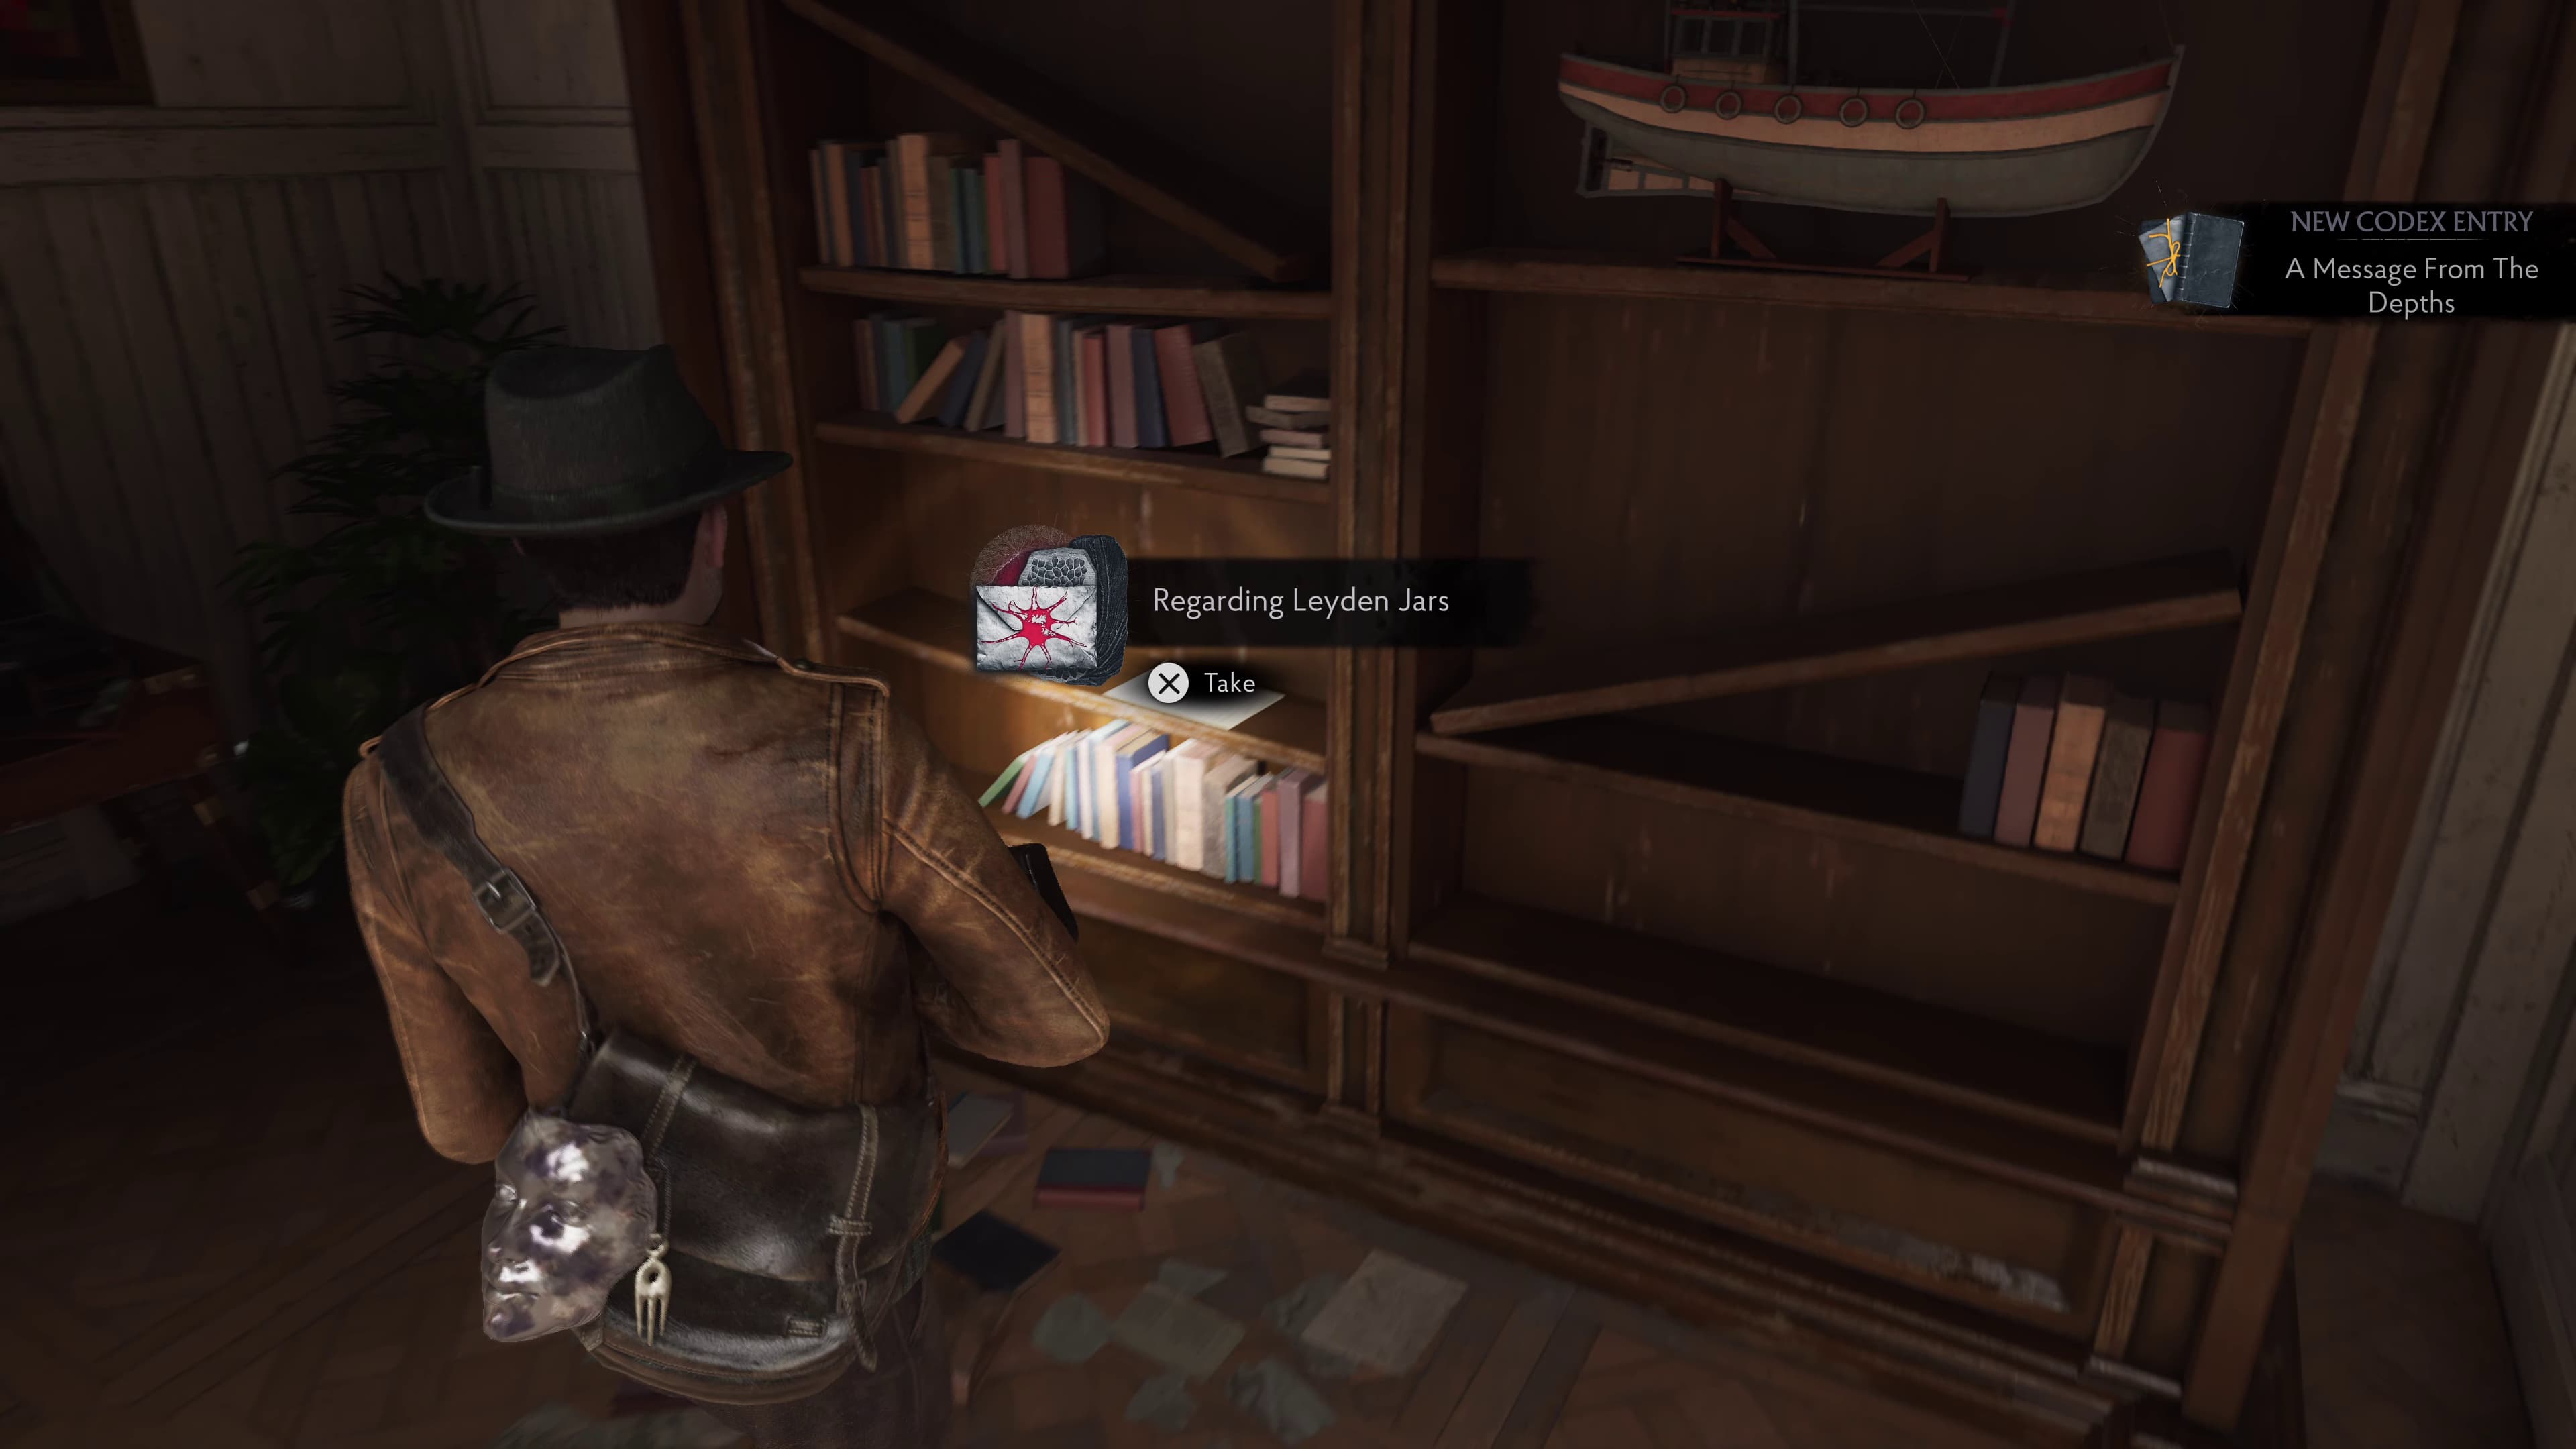
Looking at the bookshelves in here, you will see the Evidence (Regarding Leyden Jars) to collect.
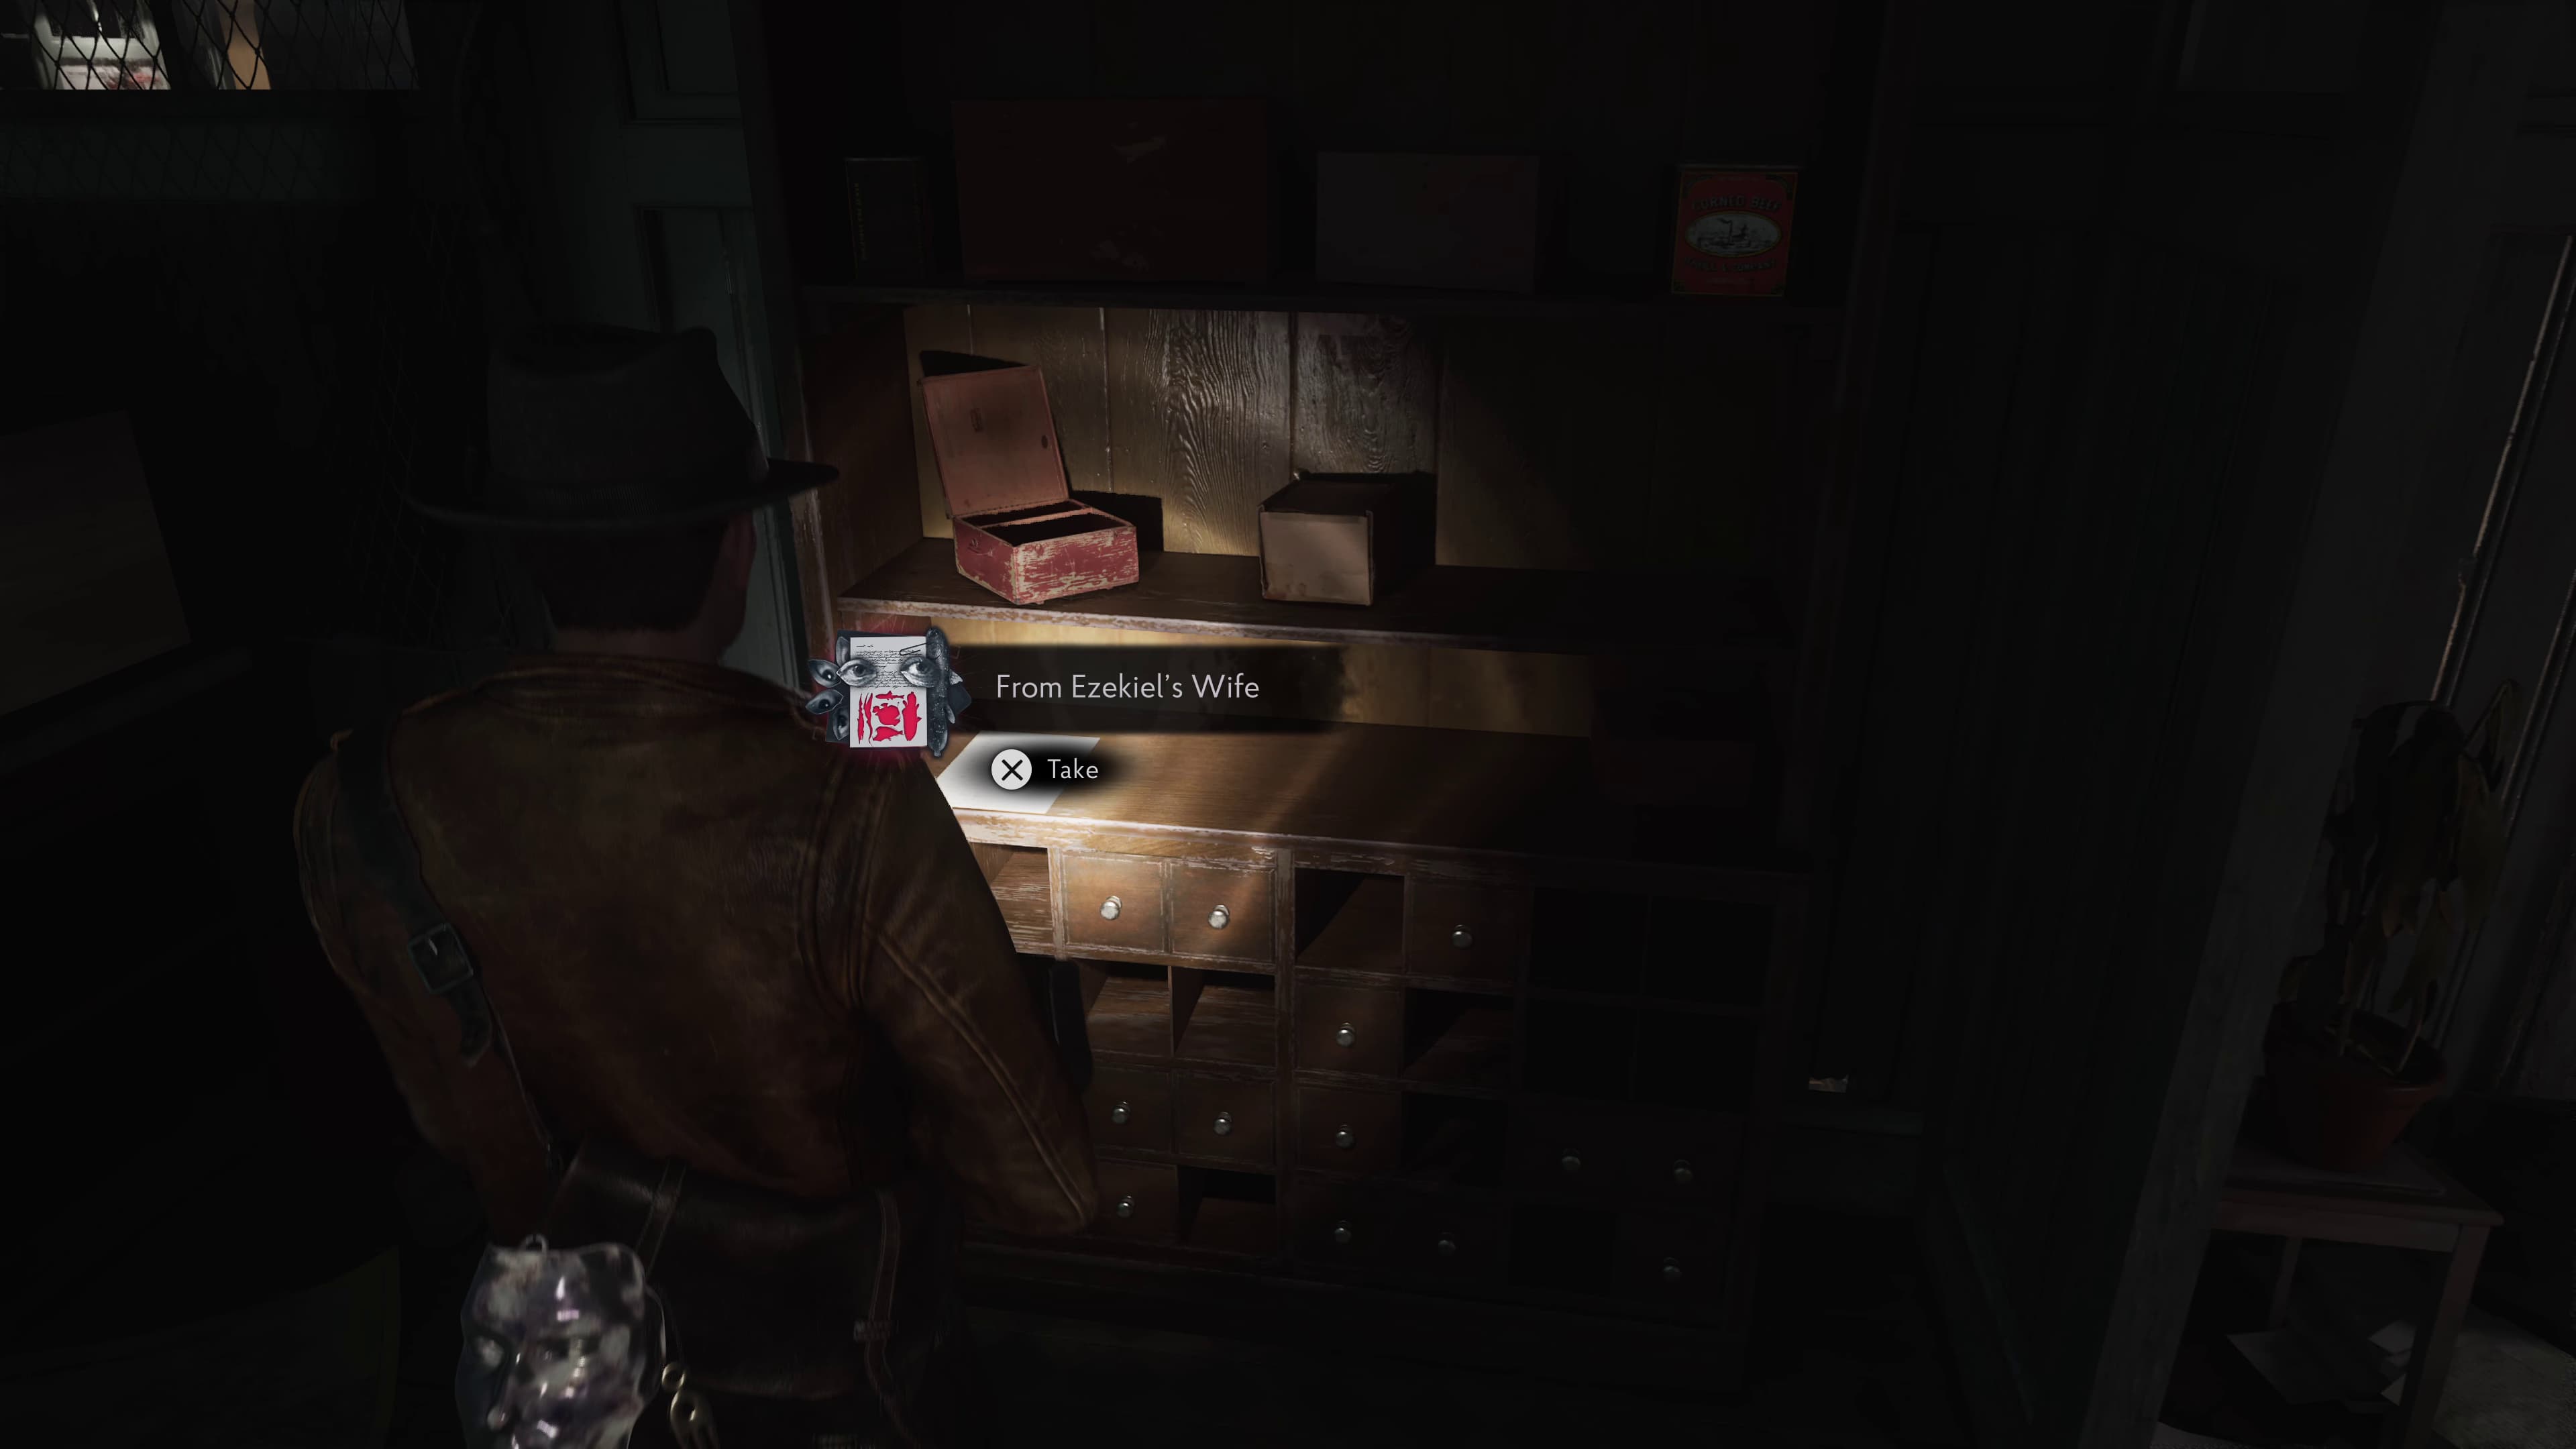
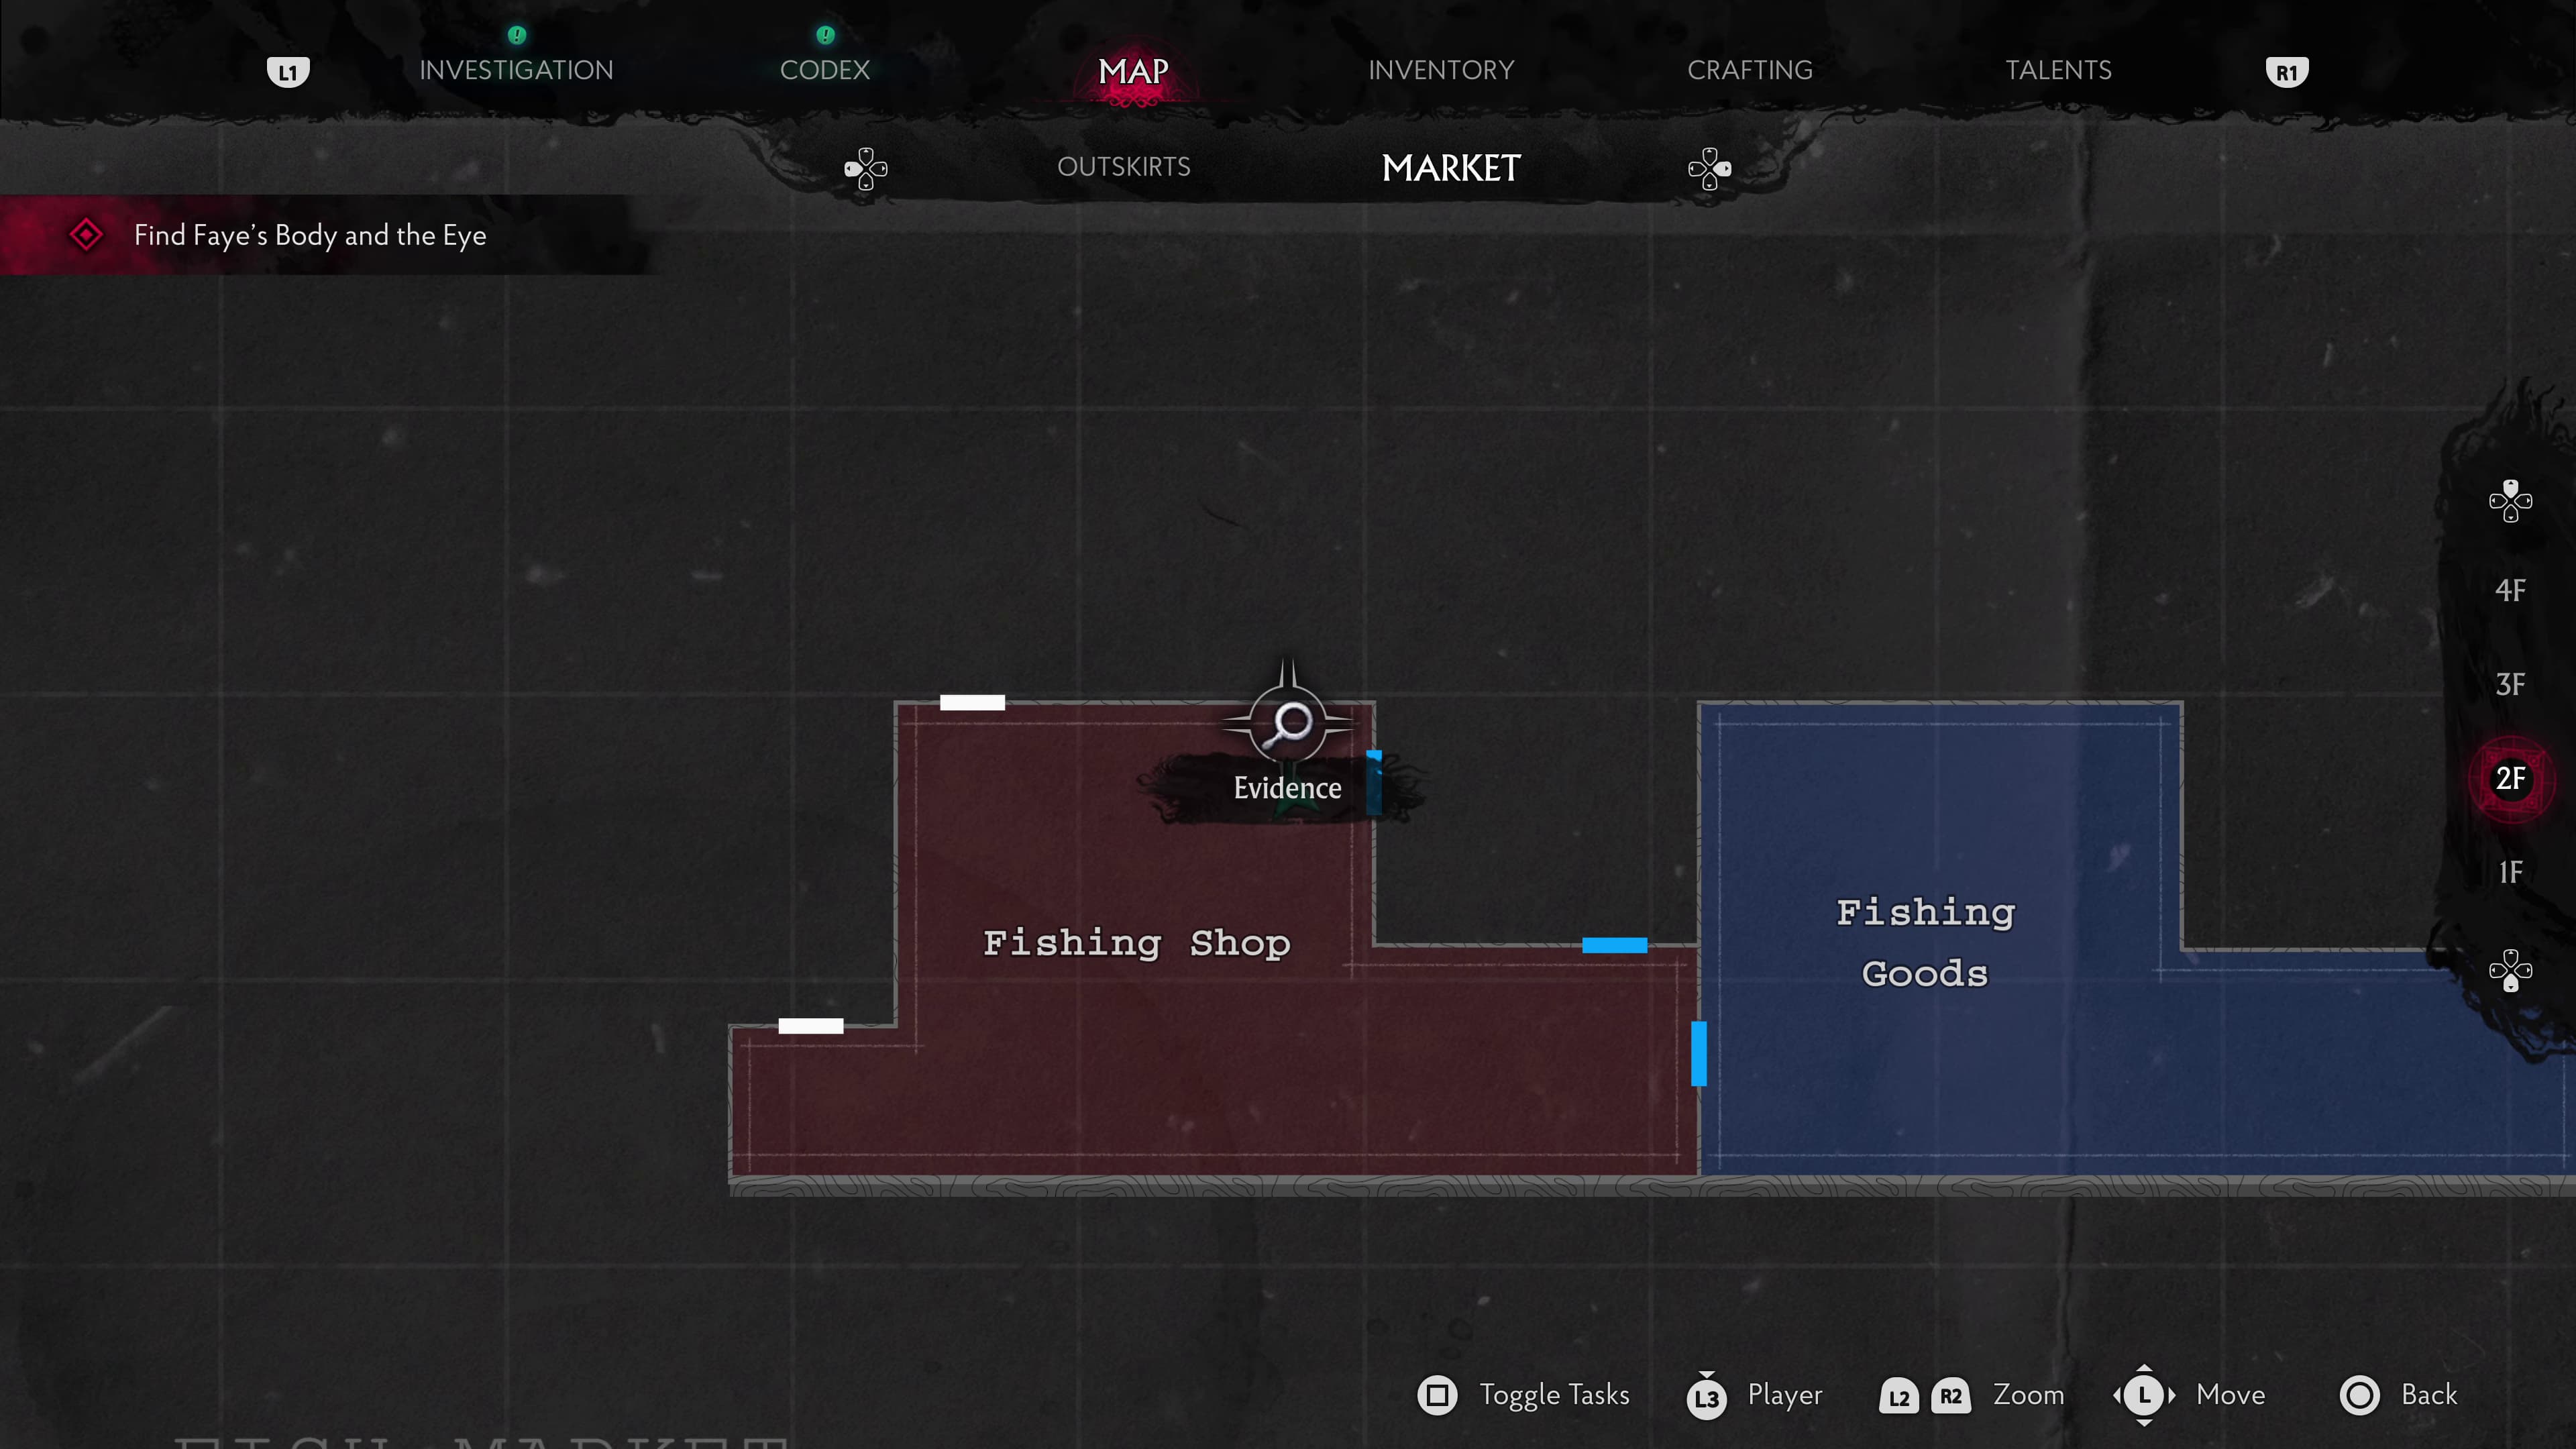
Heading out of this room to the Fishing Shop, behind the counter to the right will be the next Evidence (From Ezekiel's Wife).
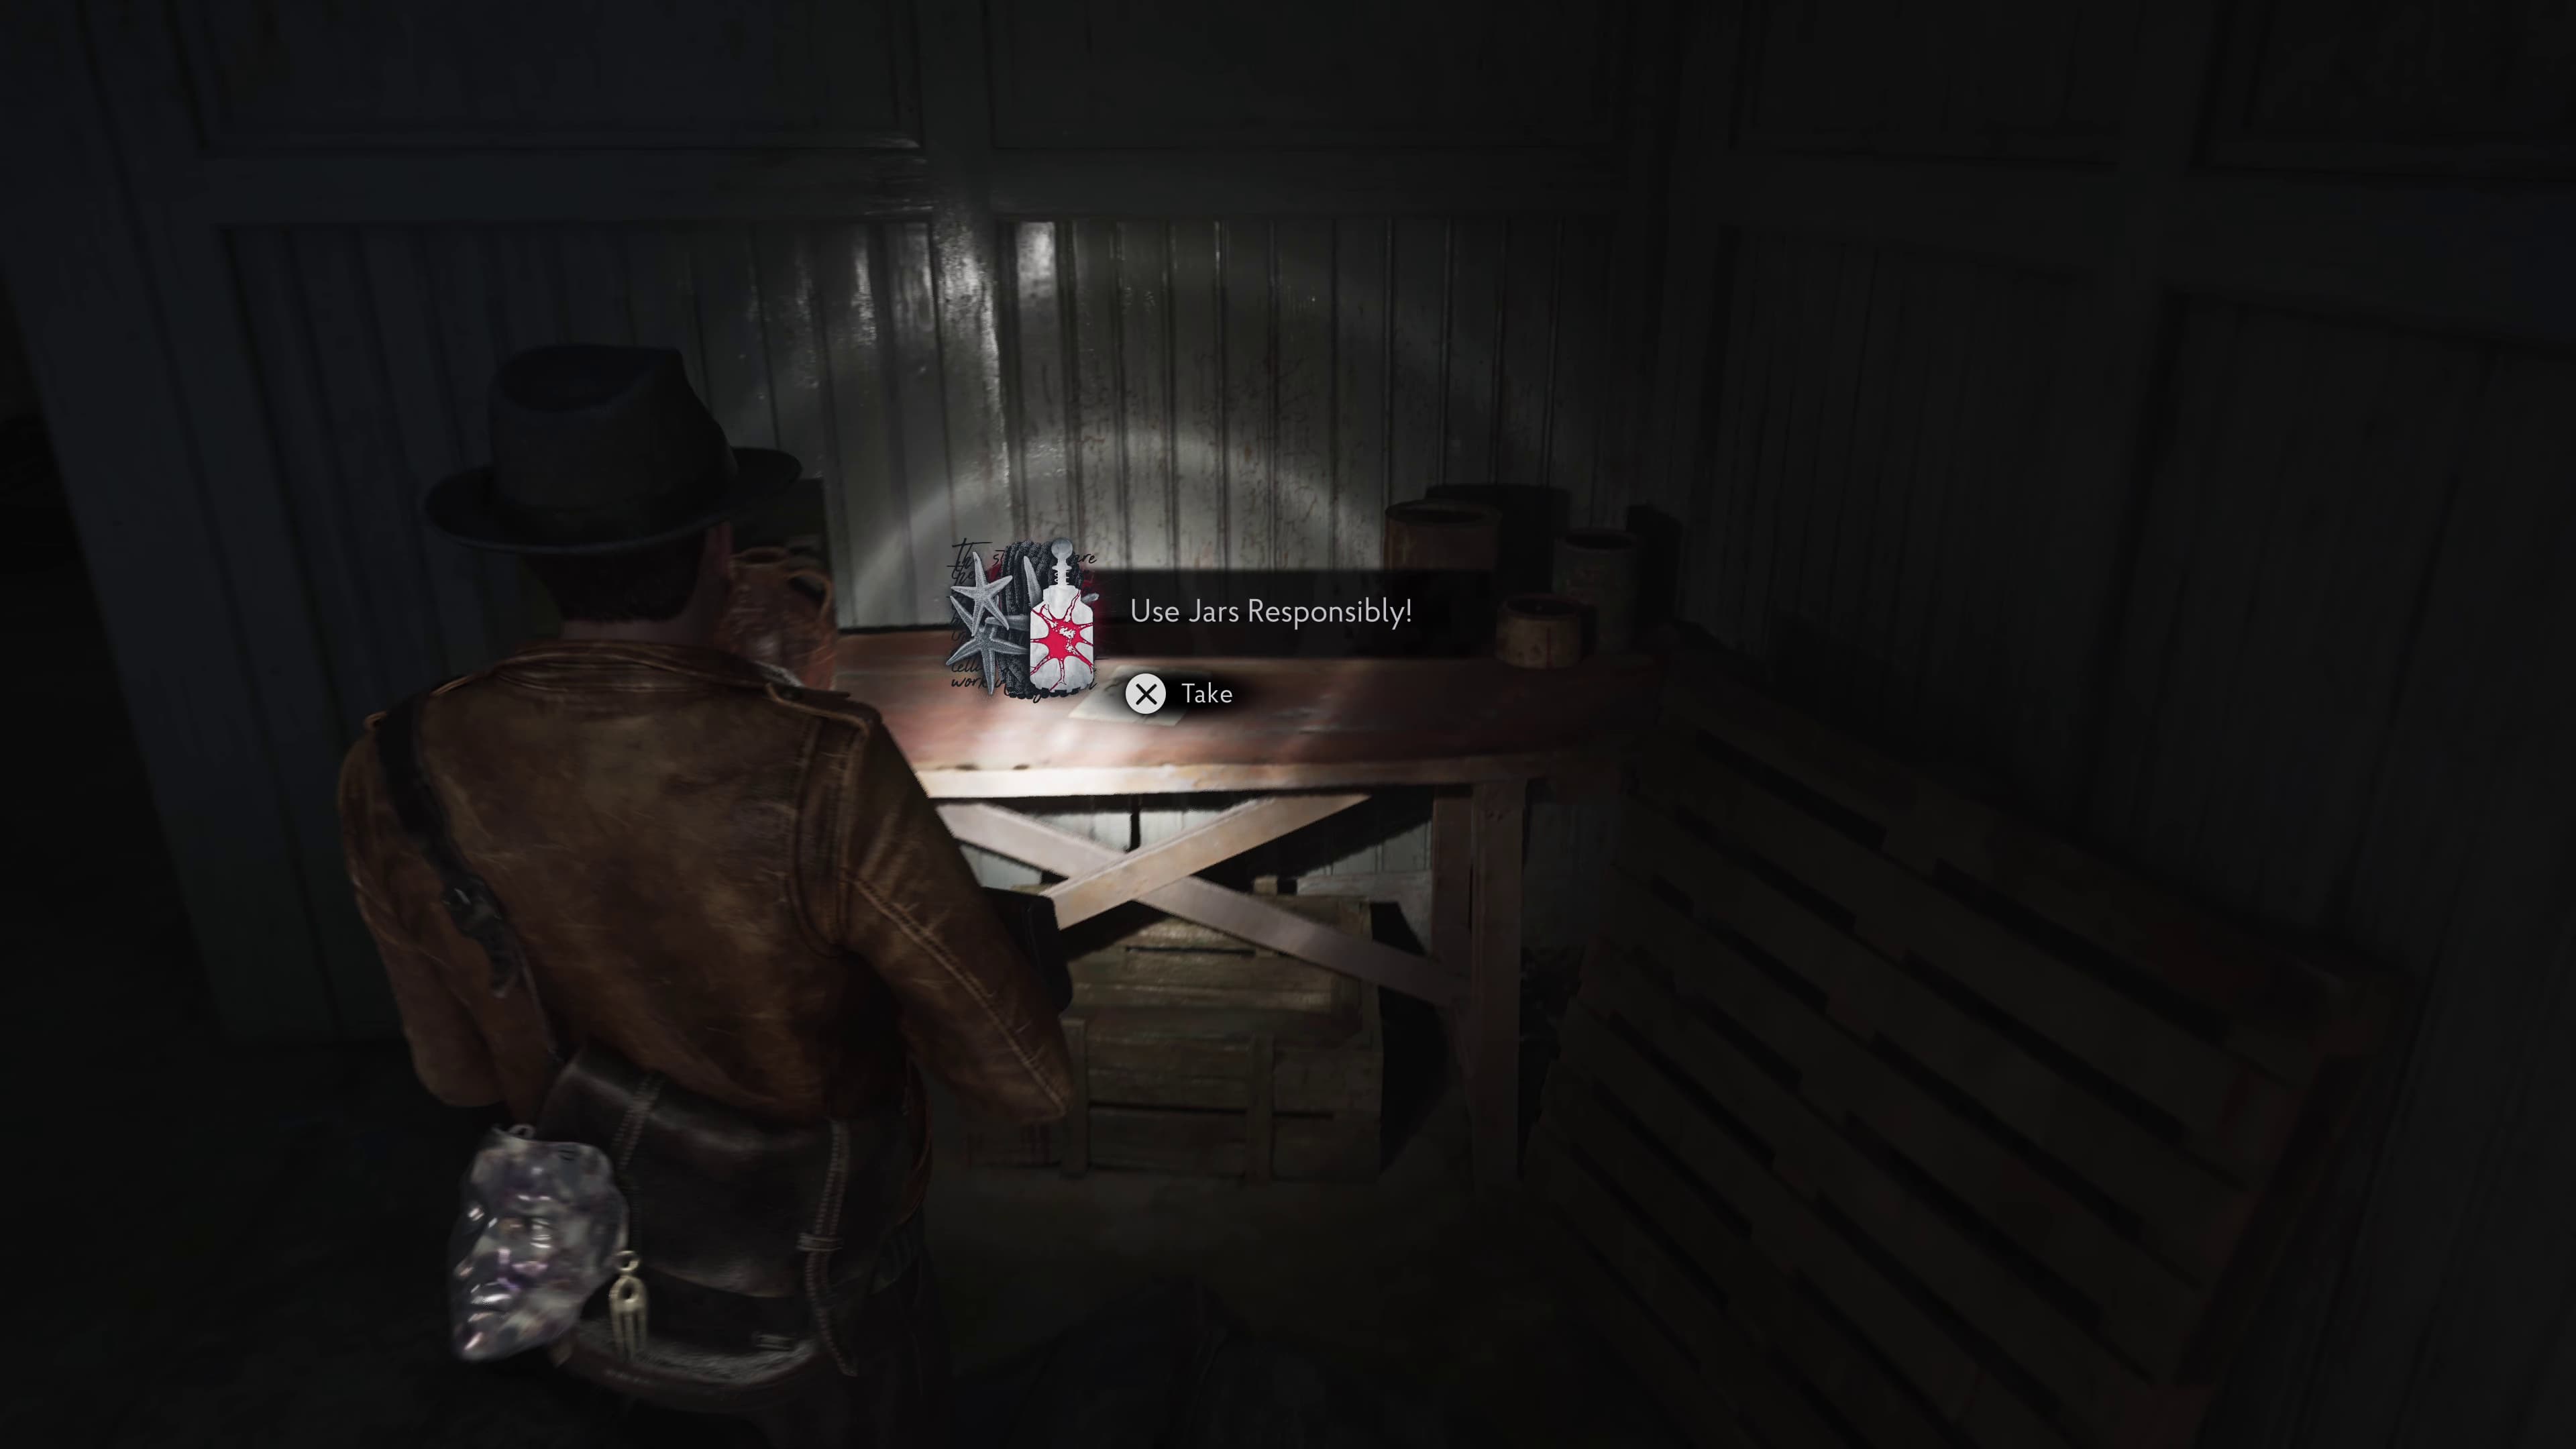
Progress all the way over the bridge and into the main area. Keep going, and after seeing the cage fall across the doorway, enter into the room straight ahead, there will be a Starfish on the left, but looking at the table on the right will be the next Evidence (Use Jars Responsibly!).
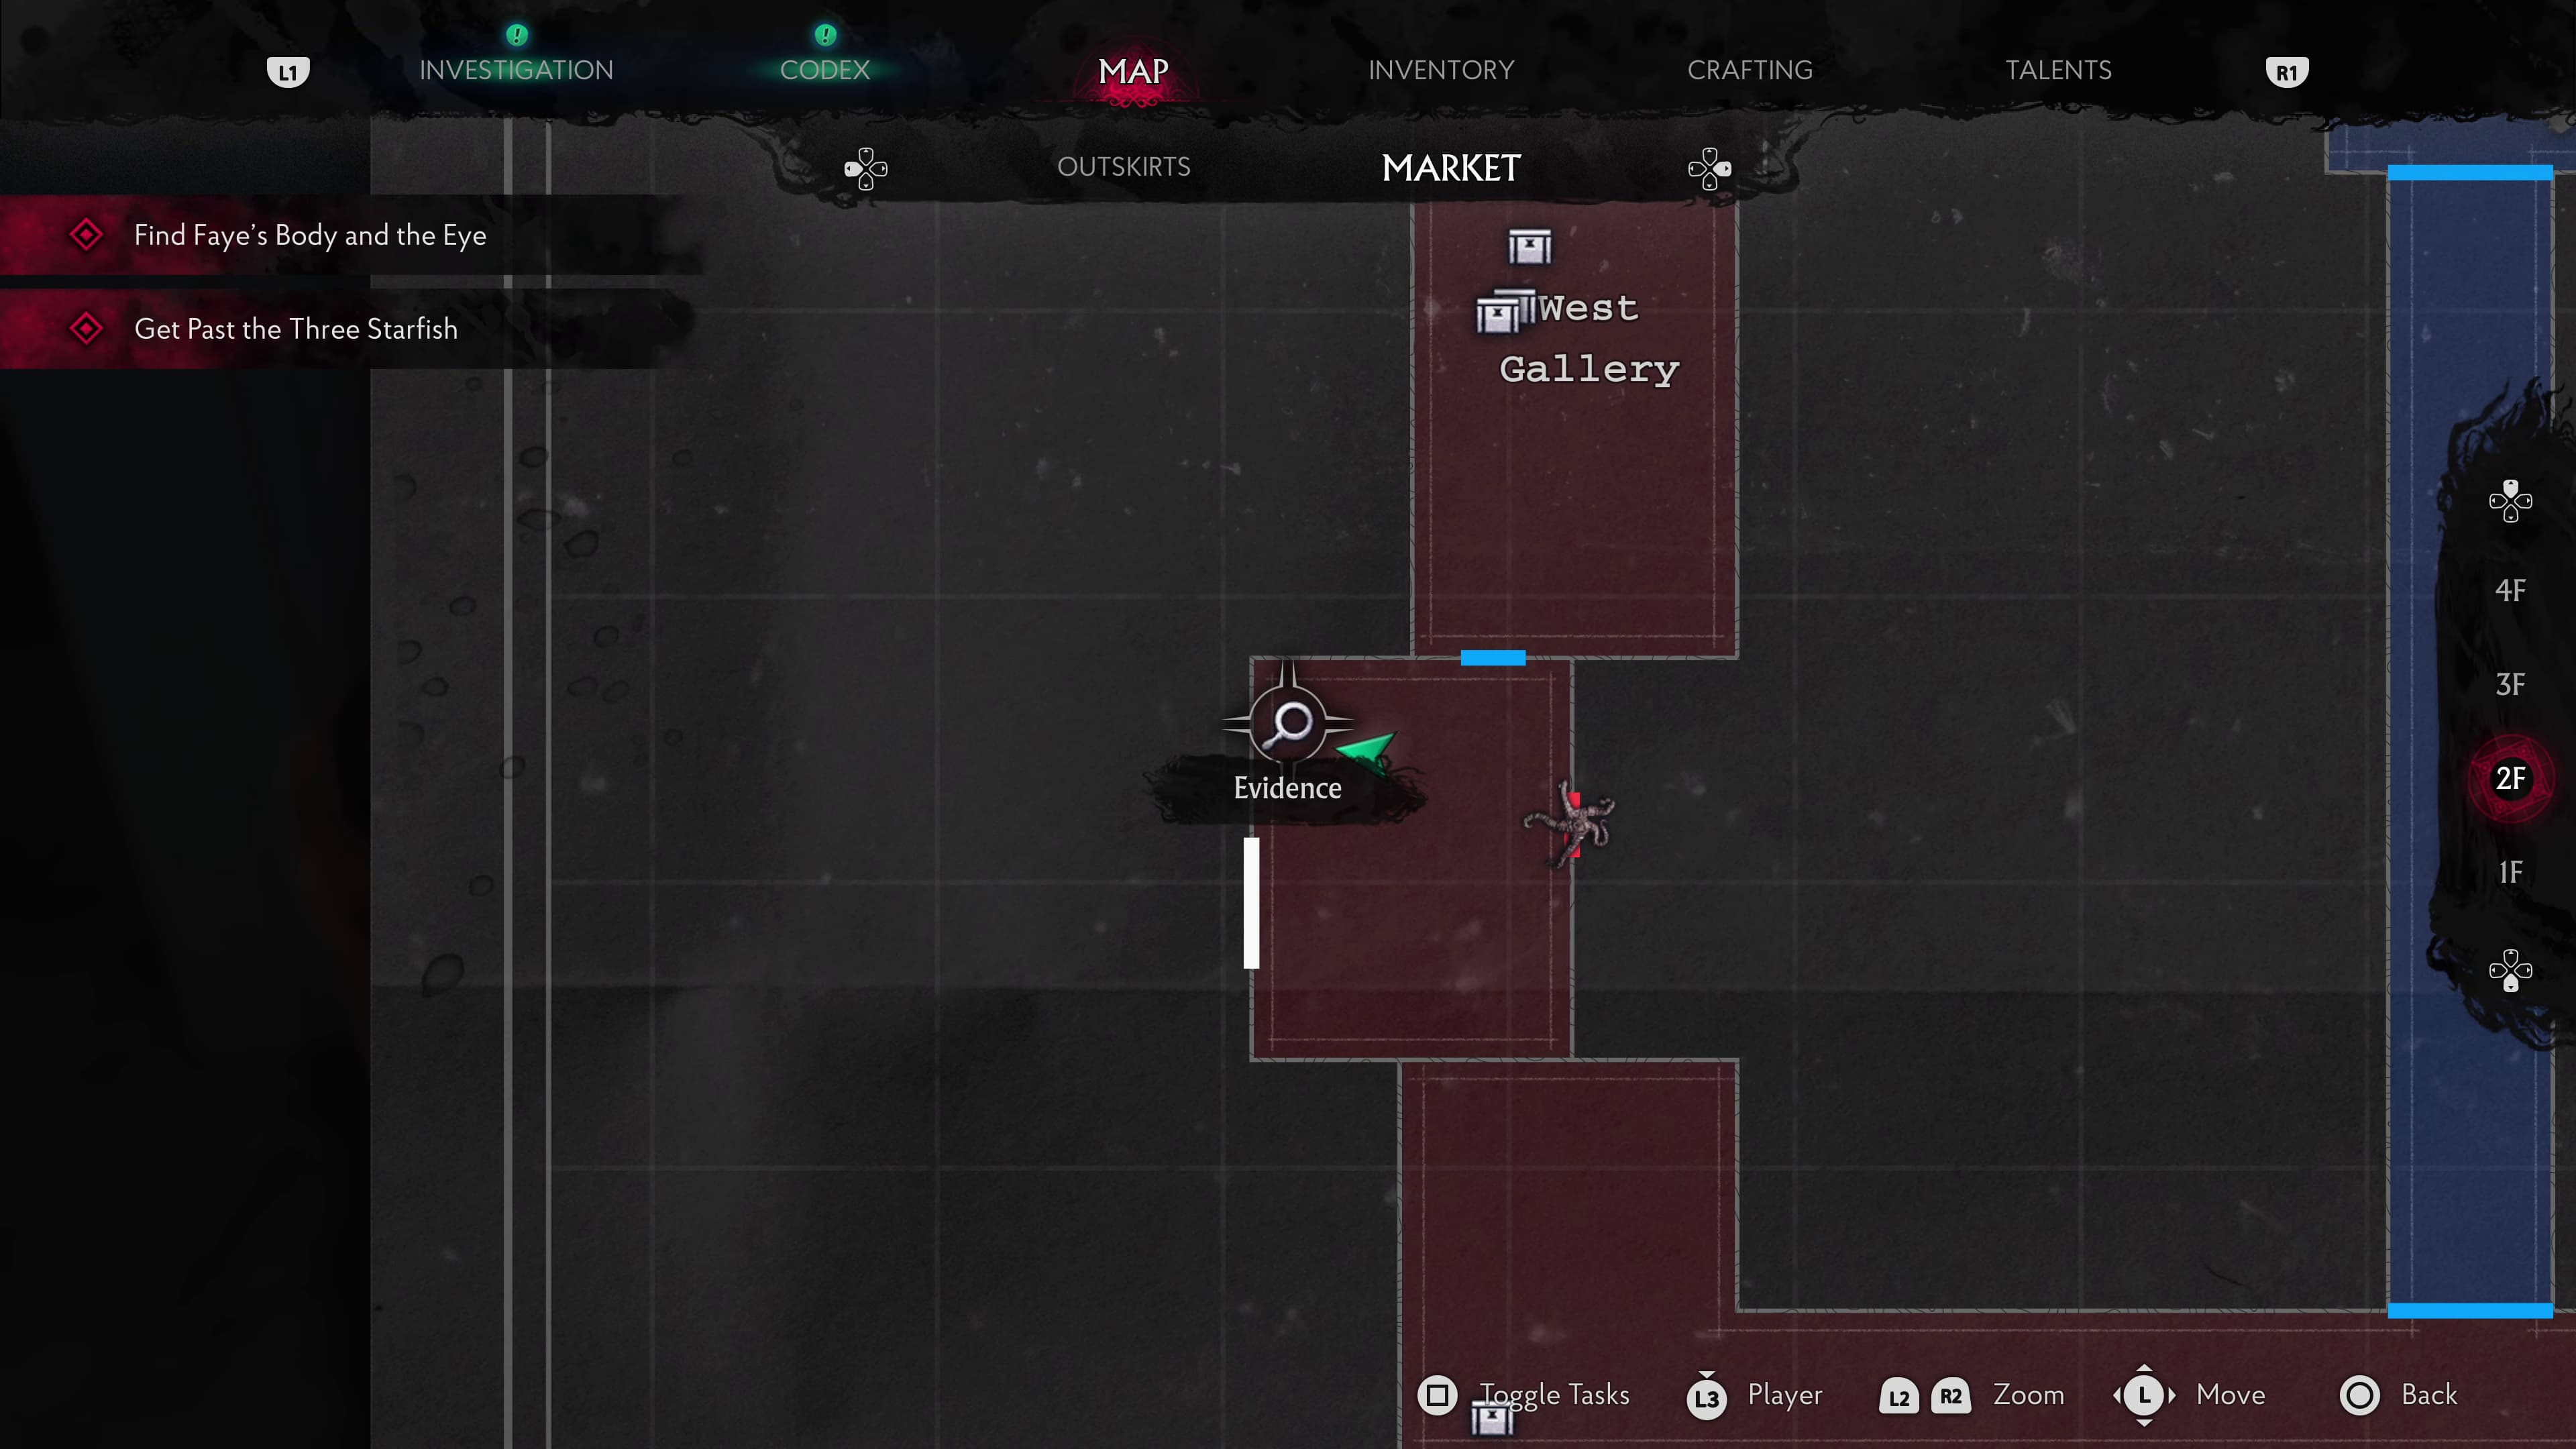
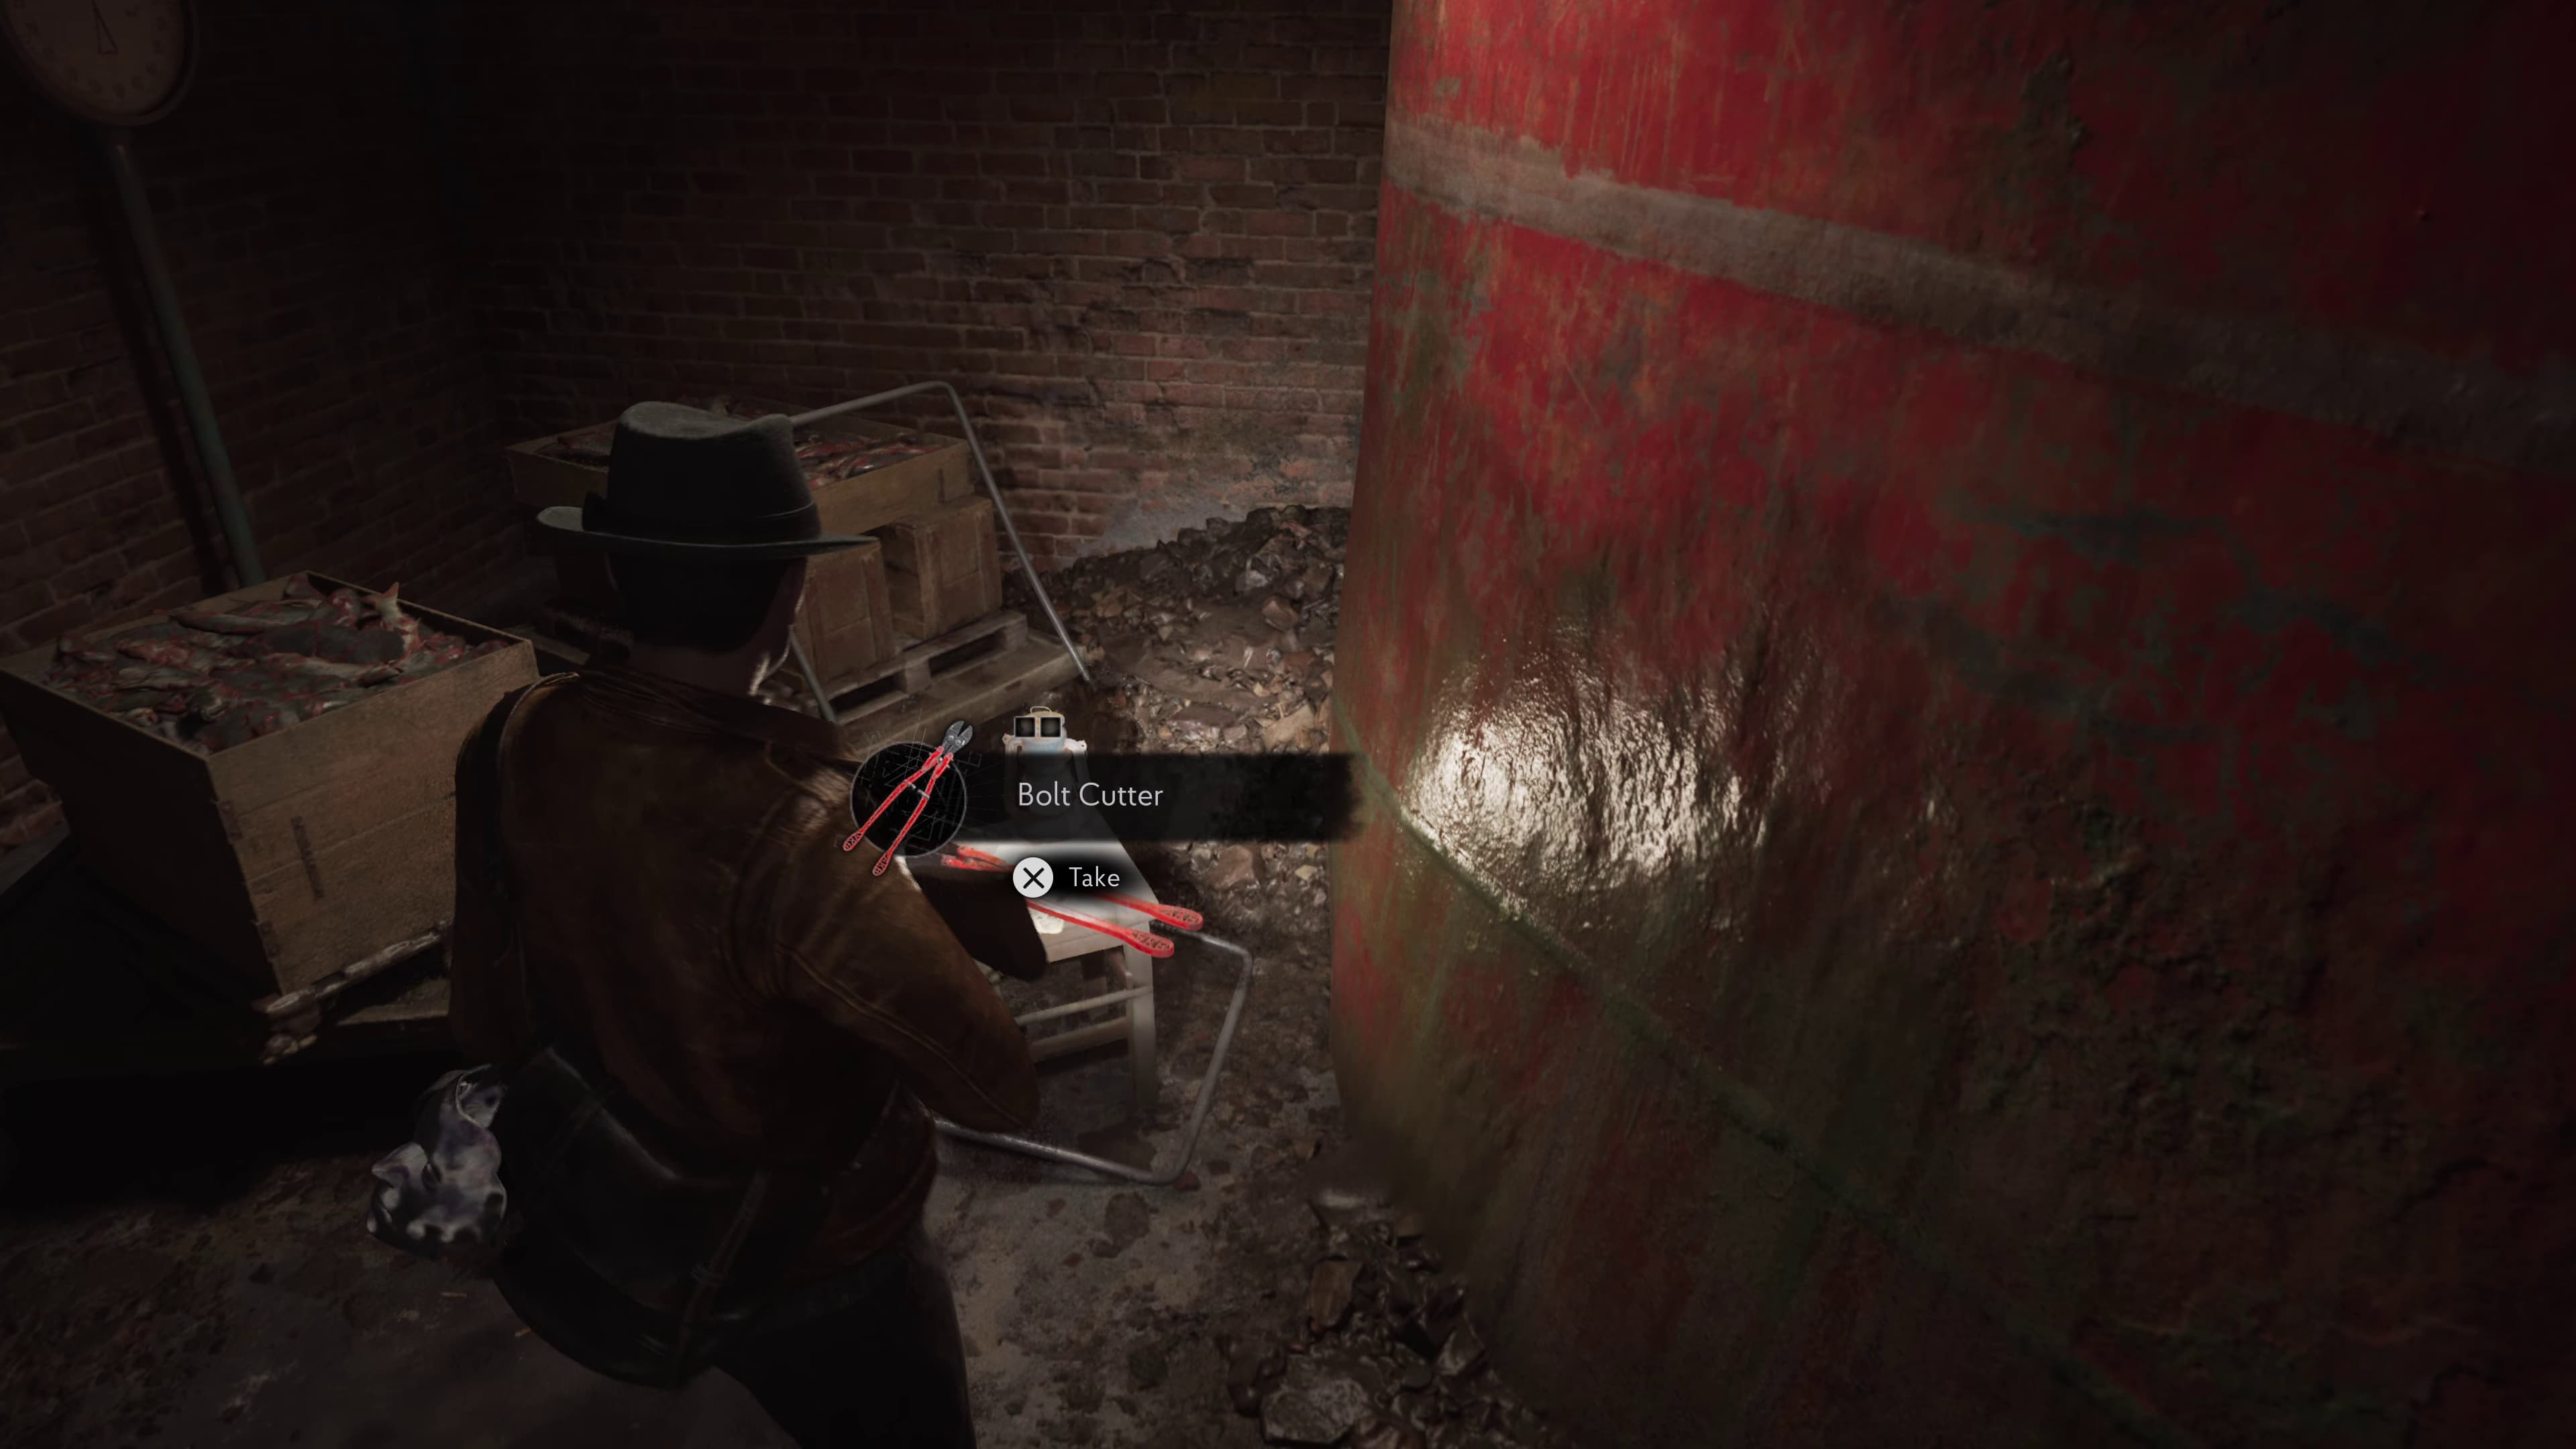
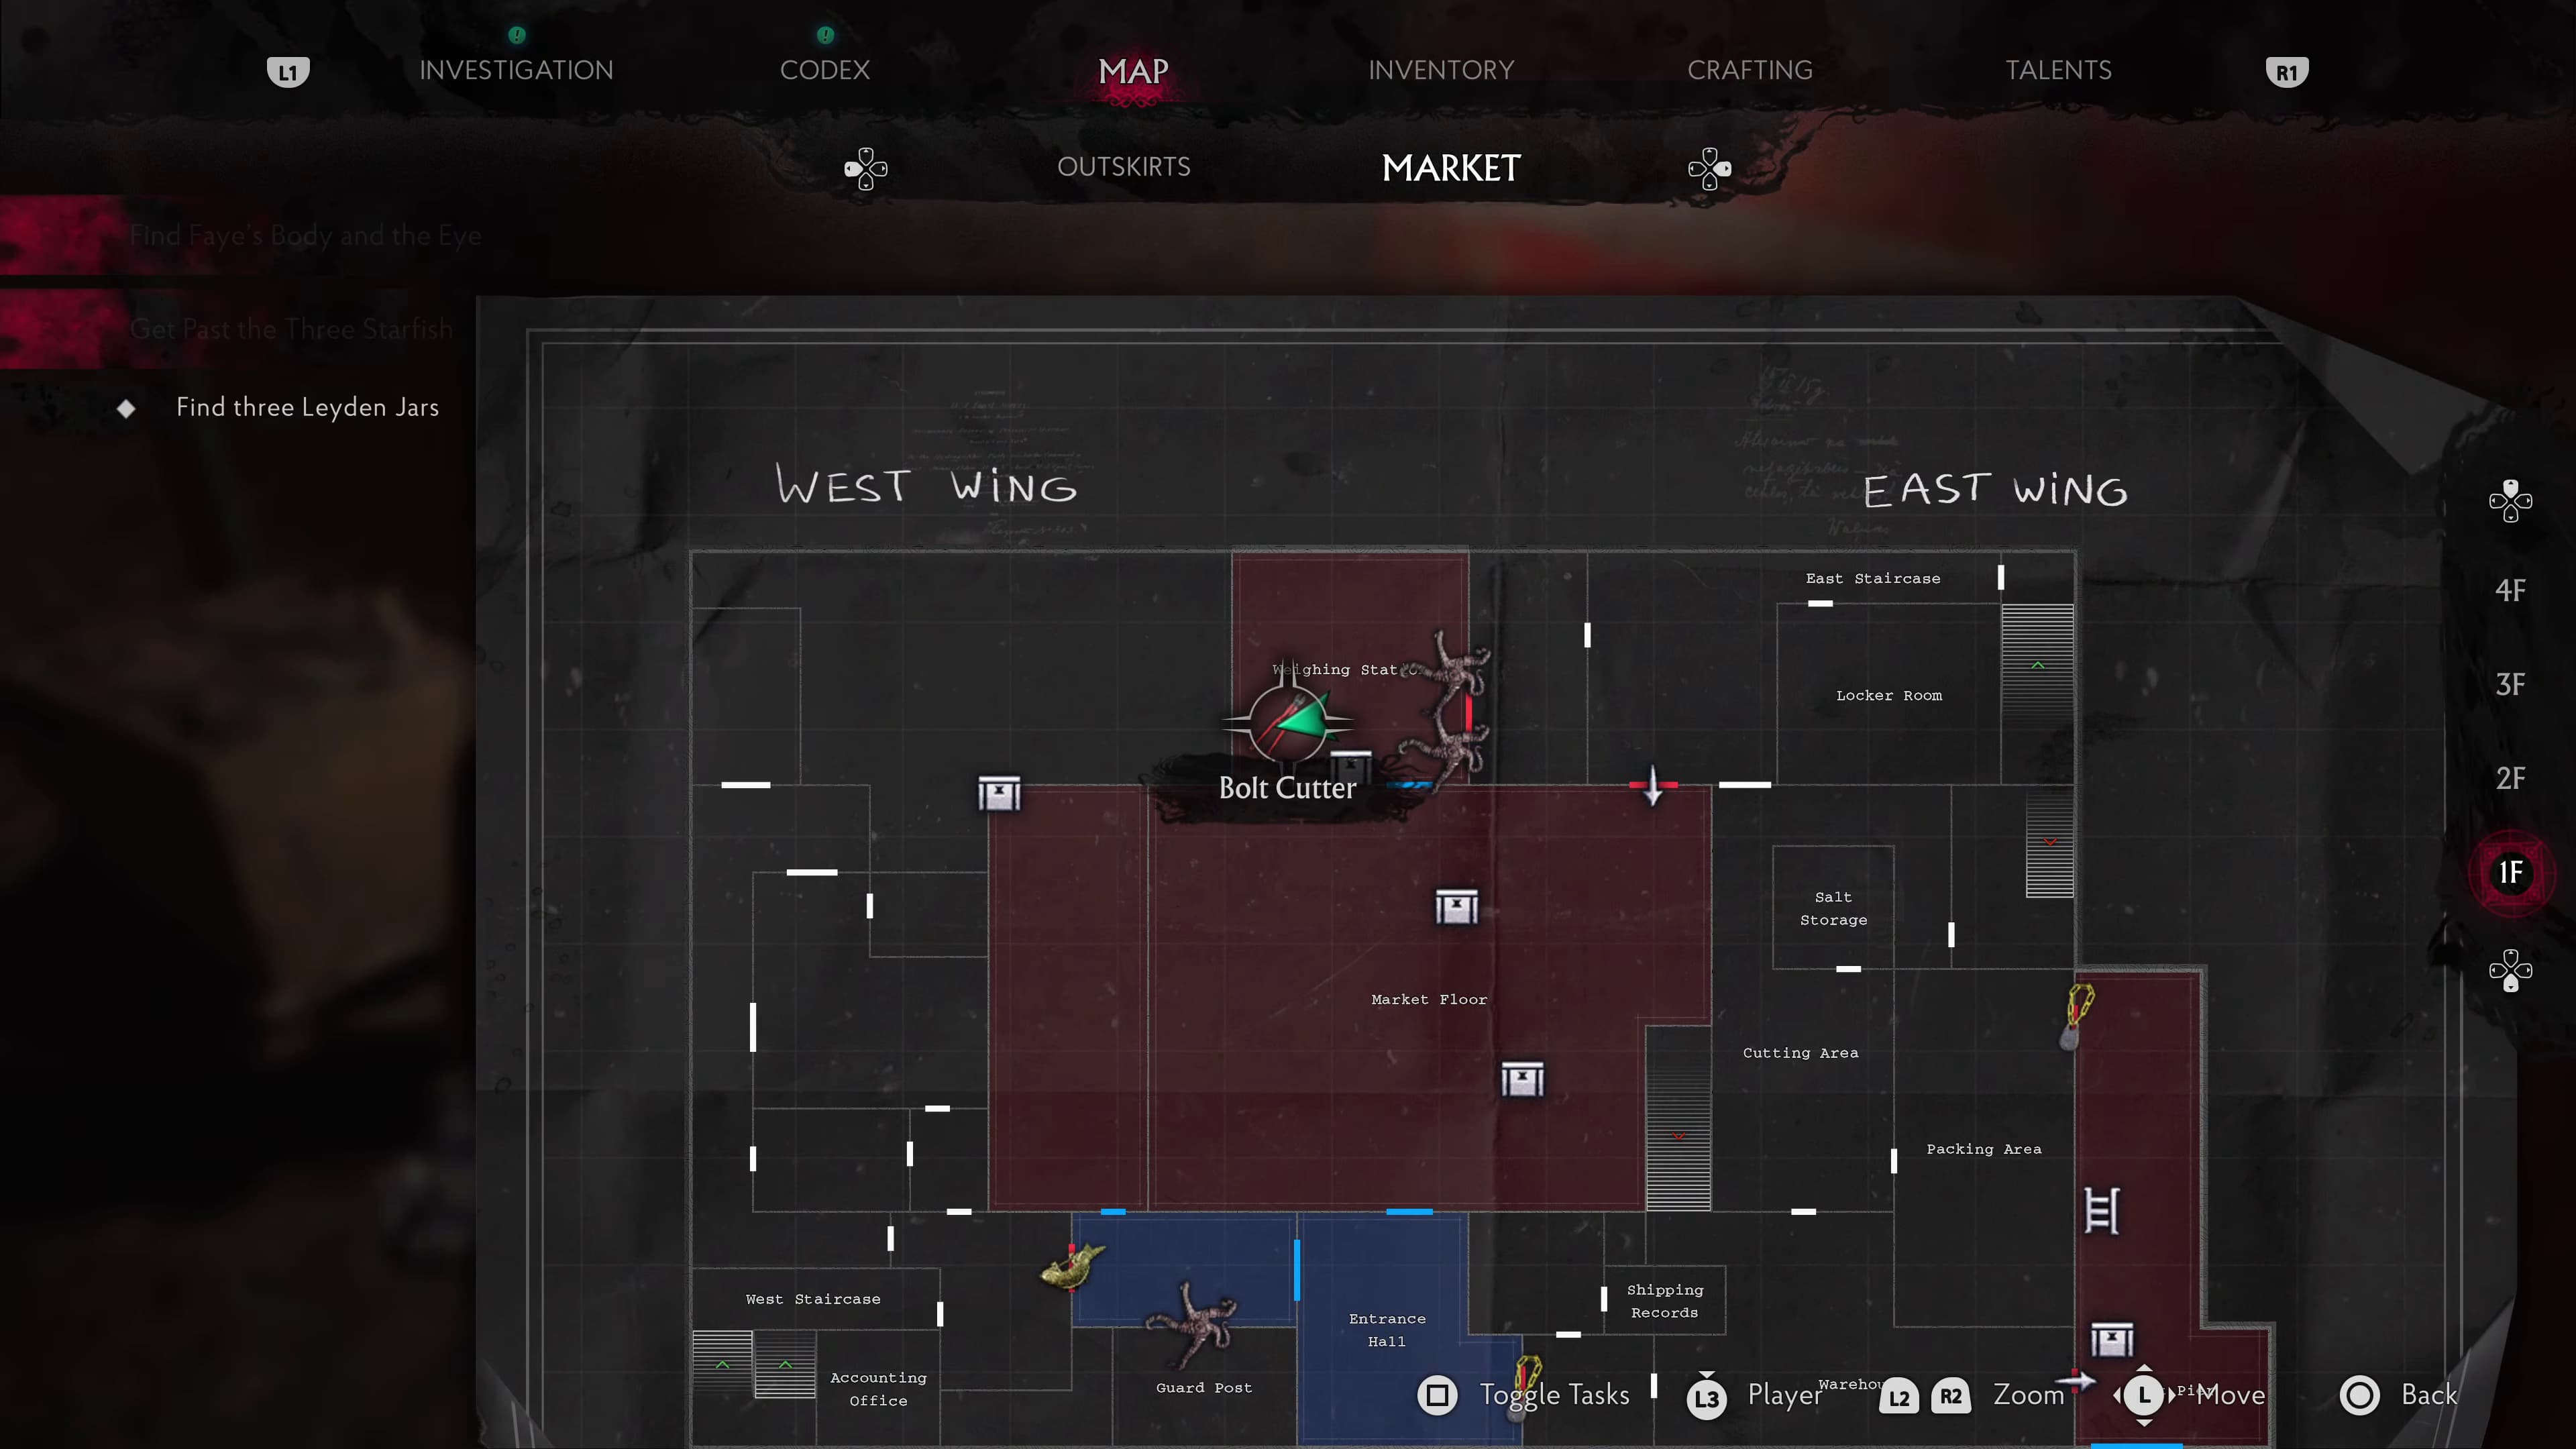
Keep progressing until you make it into the Market Floor, head through the opposite doors of the Market Floor to find two Starfish covering a door on the right. On the left will be the Boltcutters, after collecting these, you will automatically get the next Evidence (Find More Jars!).
Now we can make it back out of here to the Entrance Hall, to unlock the East Wing door. Progress a little through the East Wing section and take a left to head down to Cold Storage.
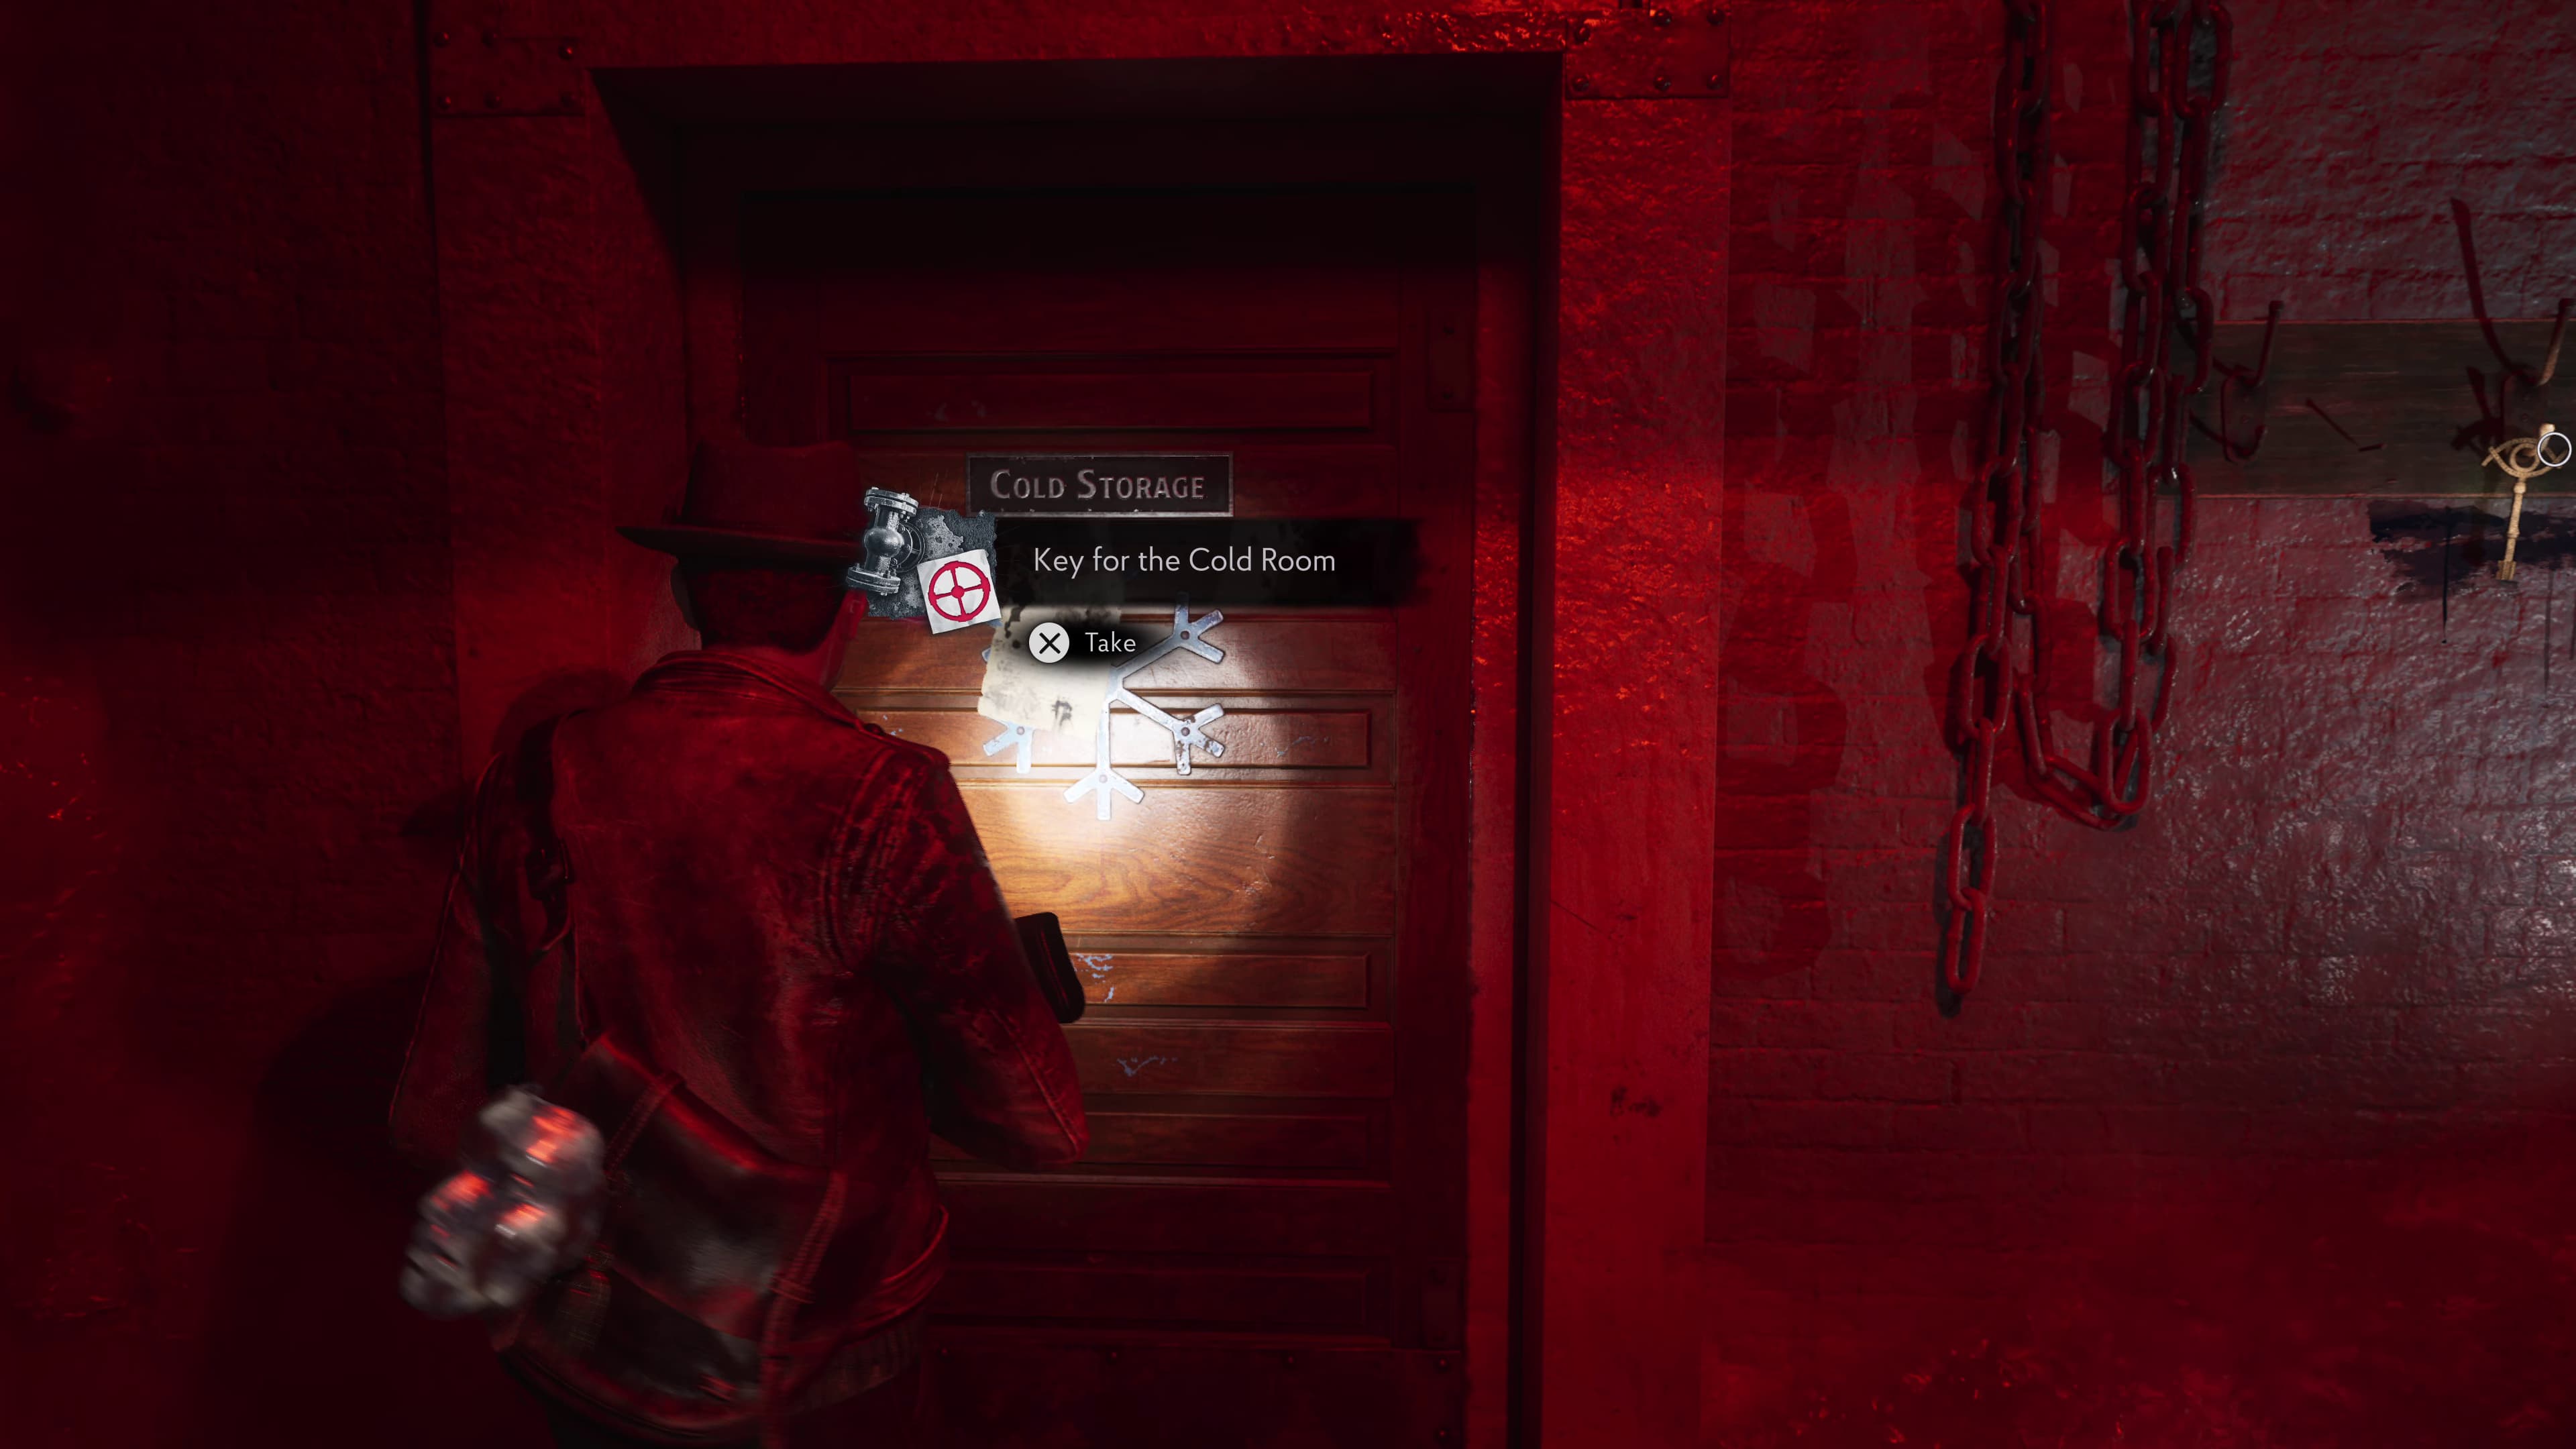
Down here on the door, you will find the next Evidence (Key For The Cold Room) and to the right of the door will be the Fish Eye Key (Key Item) to collect.
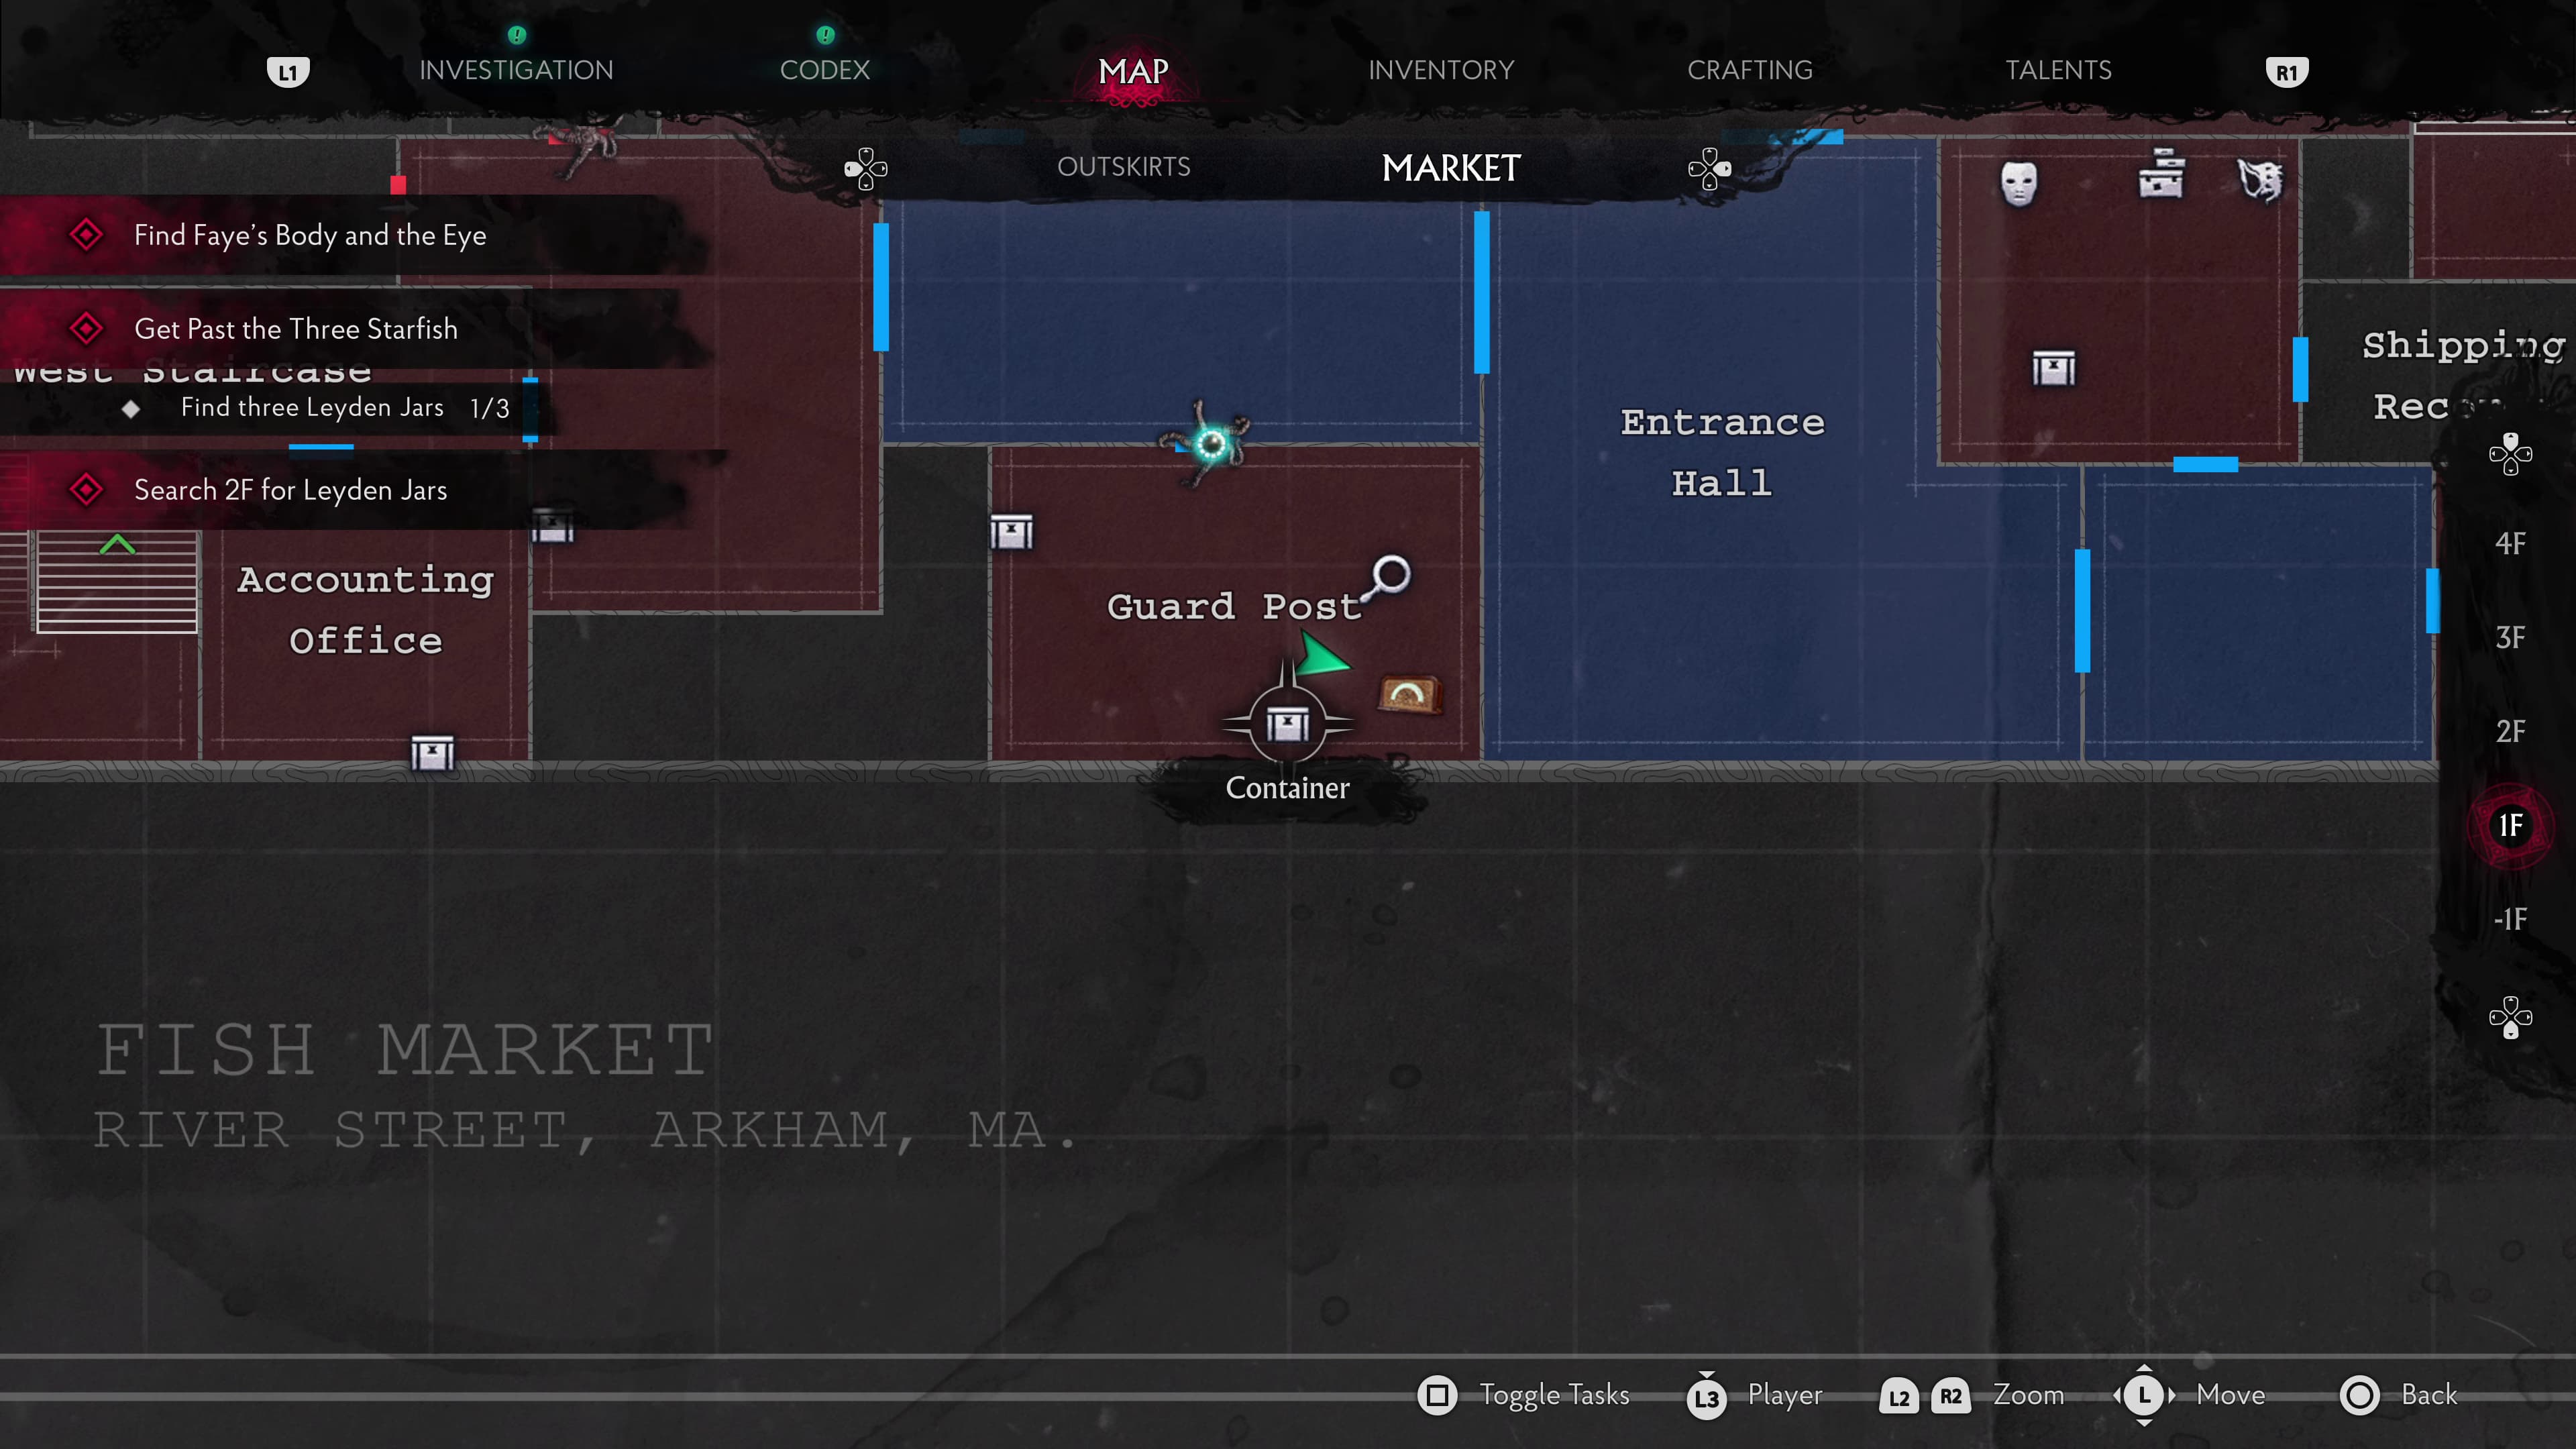
Keep progressing for a while until you make it out through the main West Wing door. Ahead will be a Starfish to insert the Leyden Jar into, to access the Guard Post.
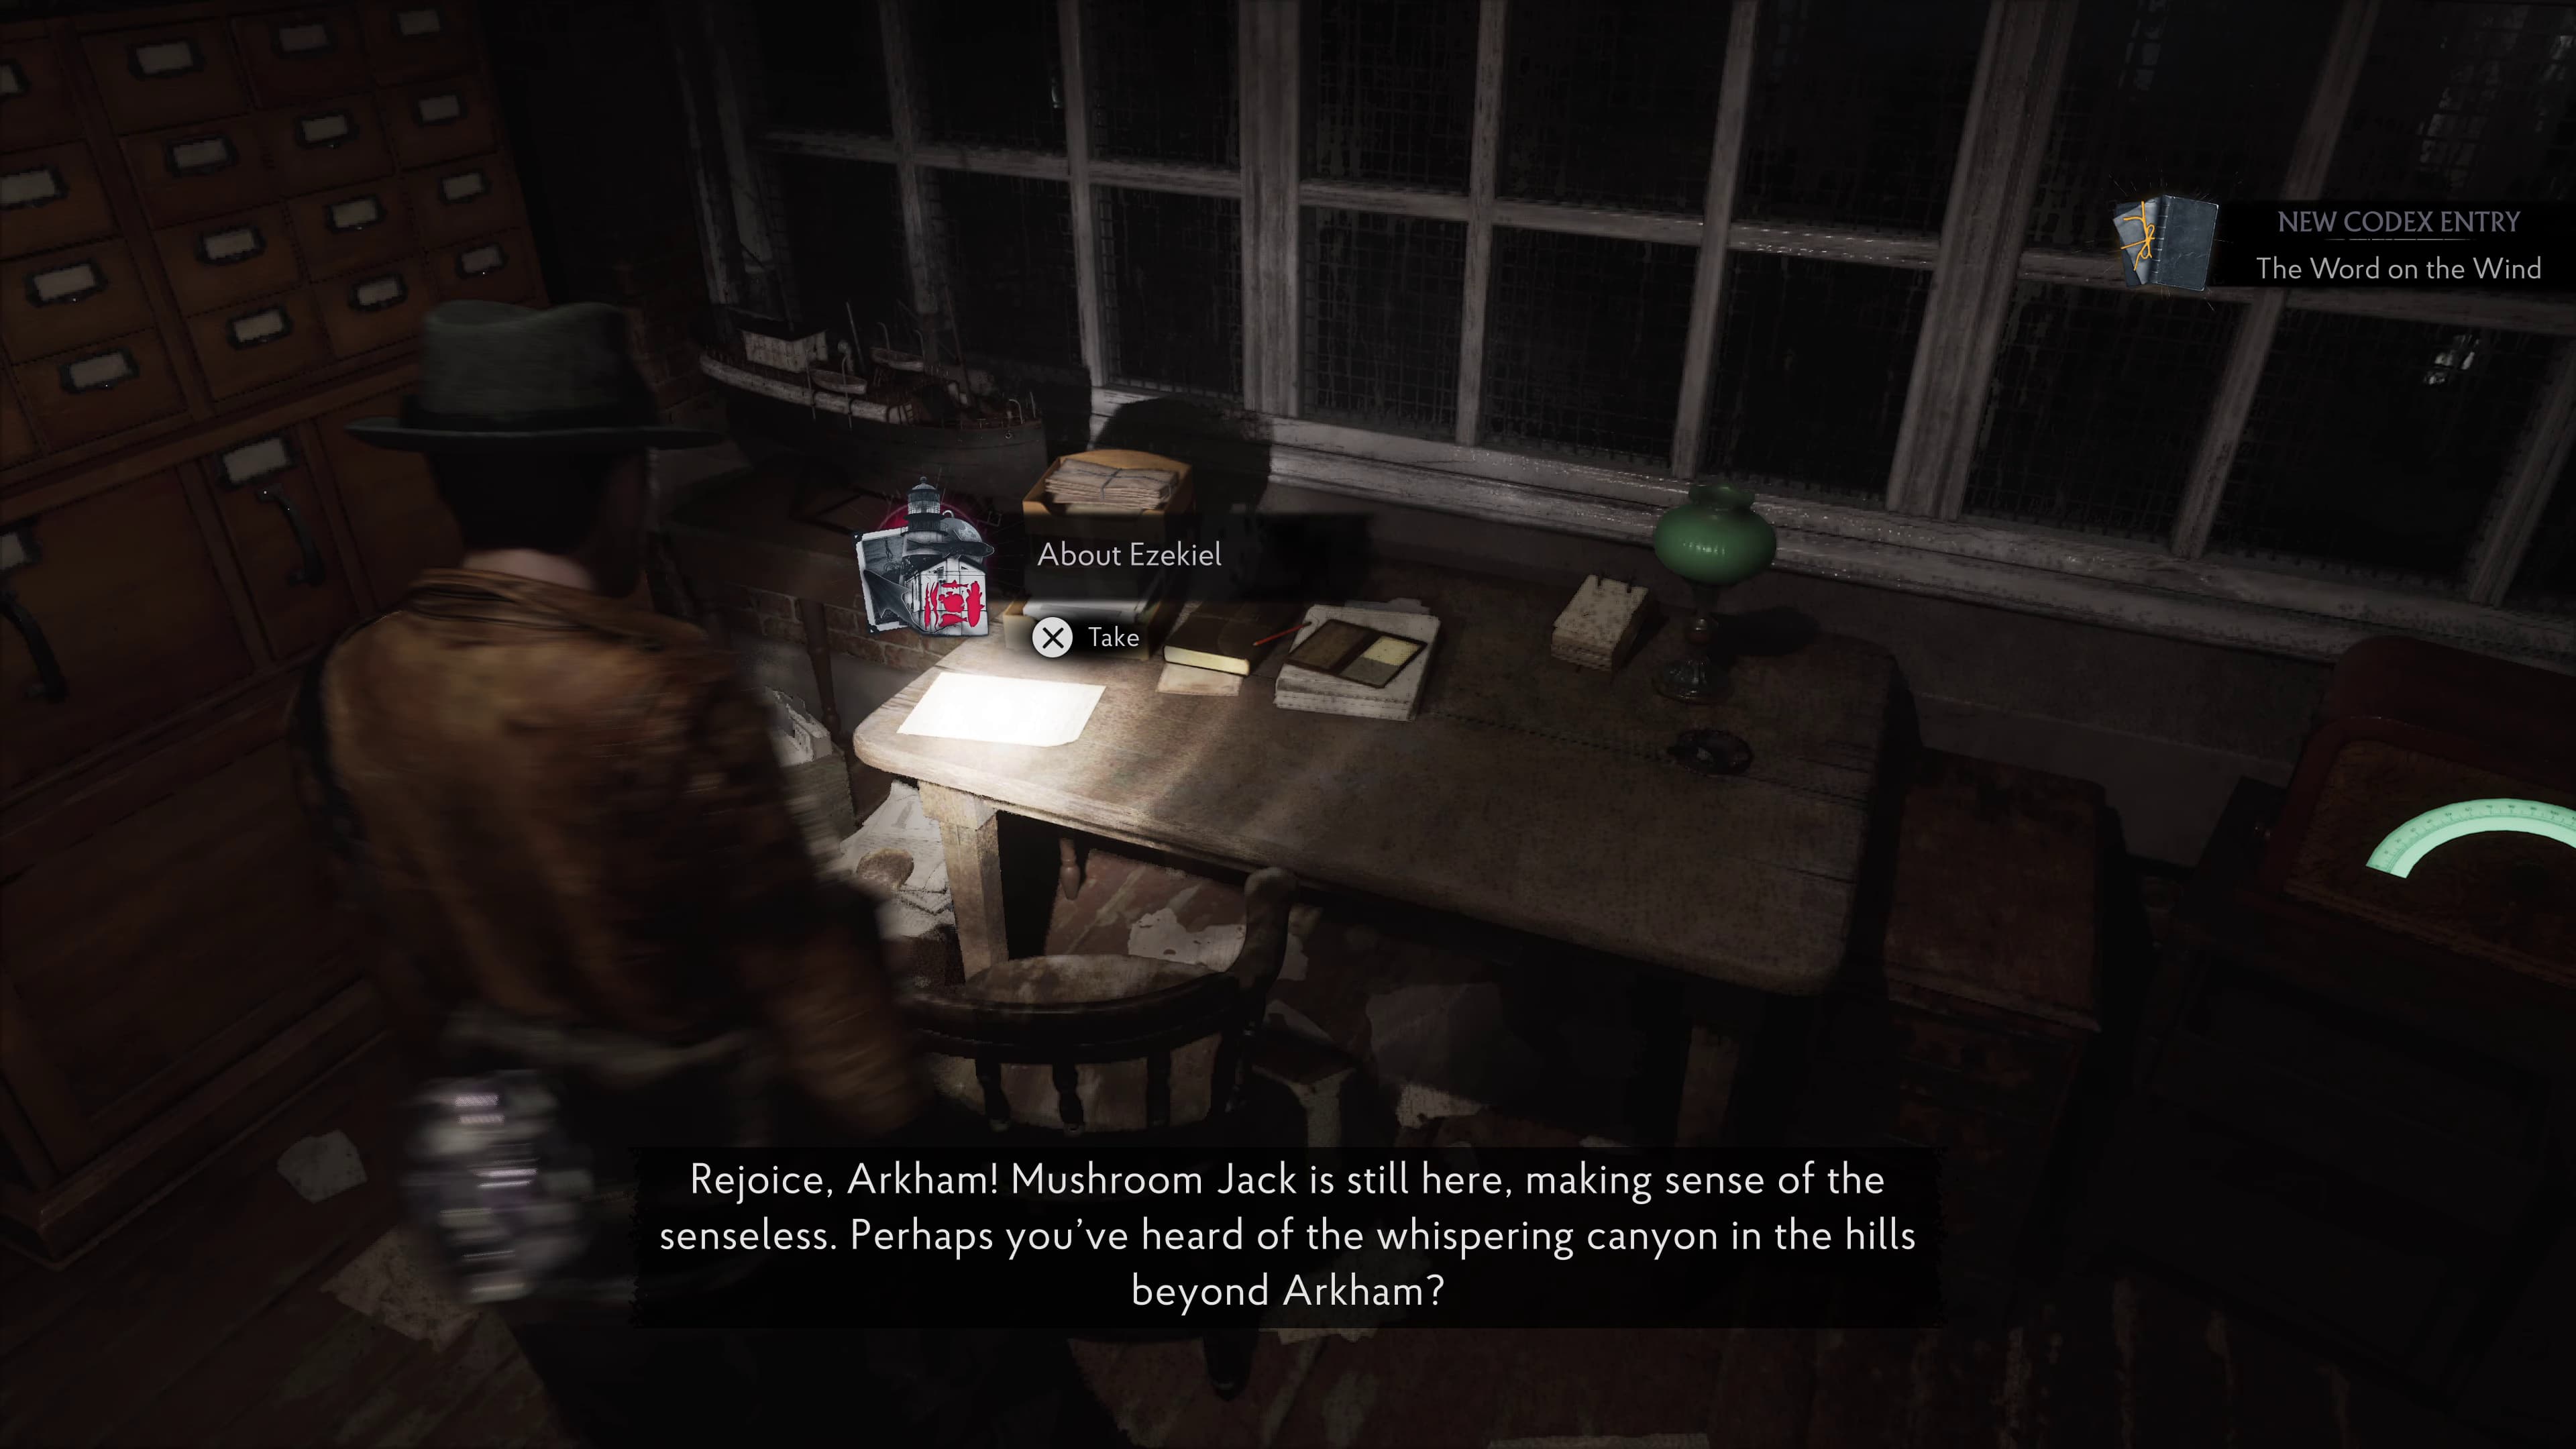
To the left of the Radio, will be the next Evidence (About Ezekiel) to collect.
Heading out of here, don't forget your Leyden Jar, make it back towards the Market Floor and take out the Fish Man. Progress through to the East Wing again and to the Starfish straight ahead to insert the Leyden Jar, to access the East Pier.
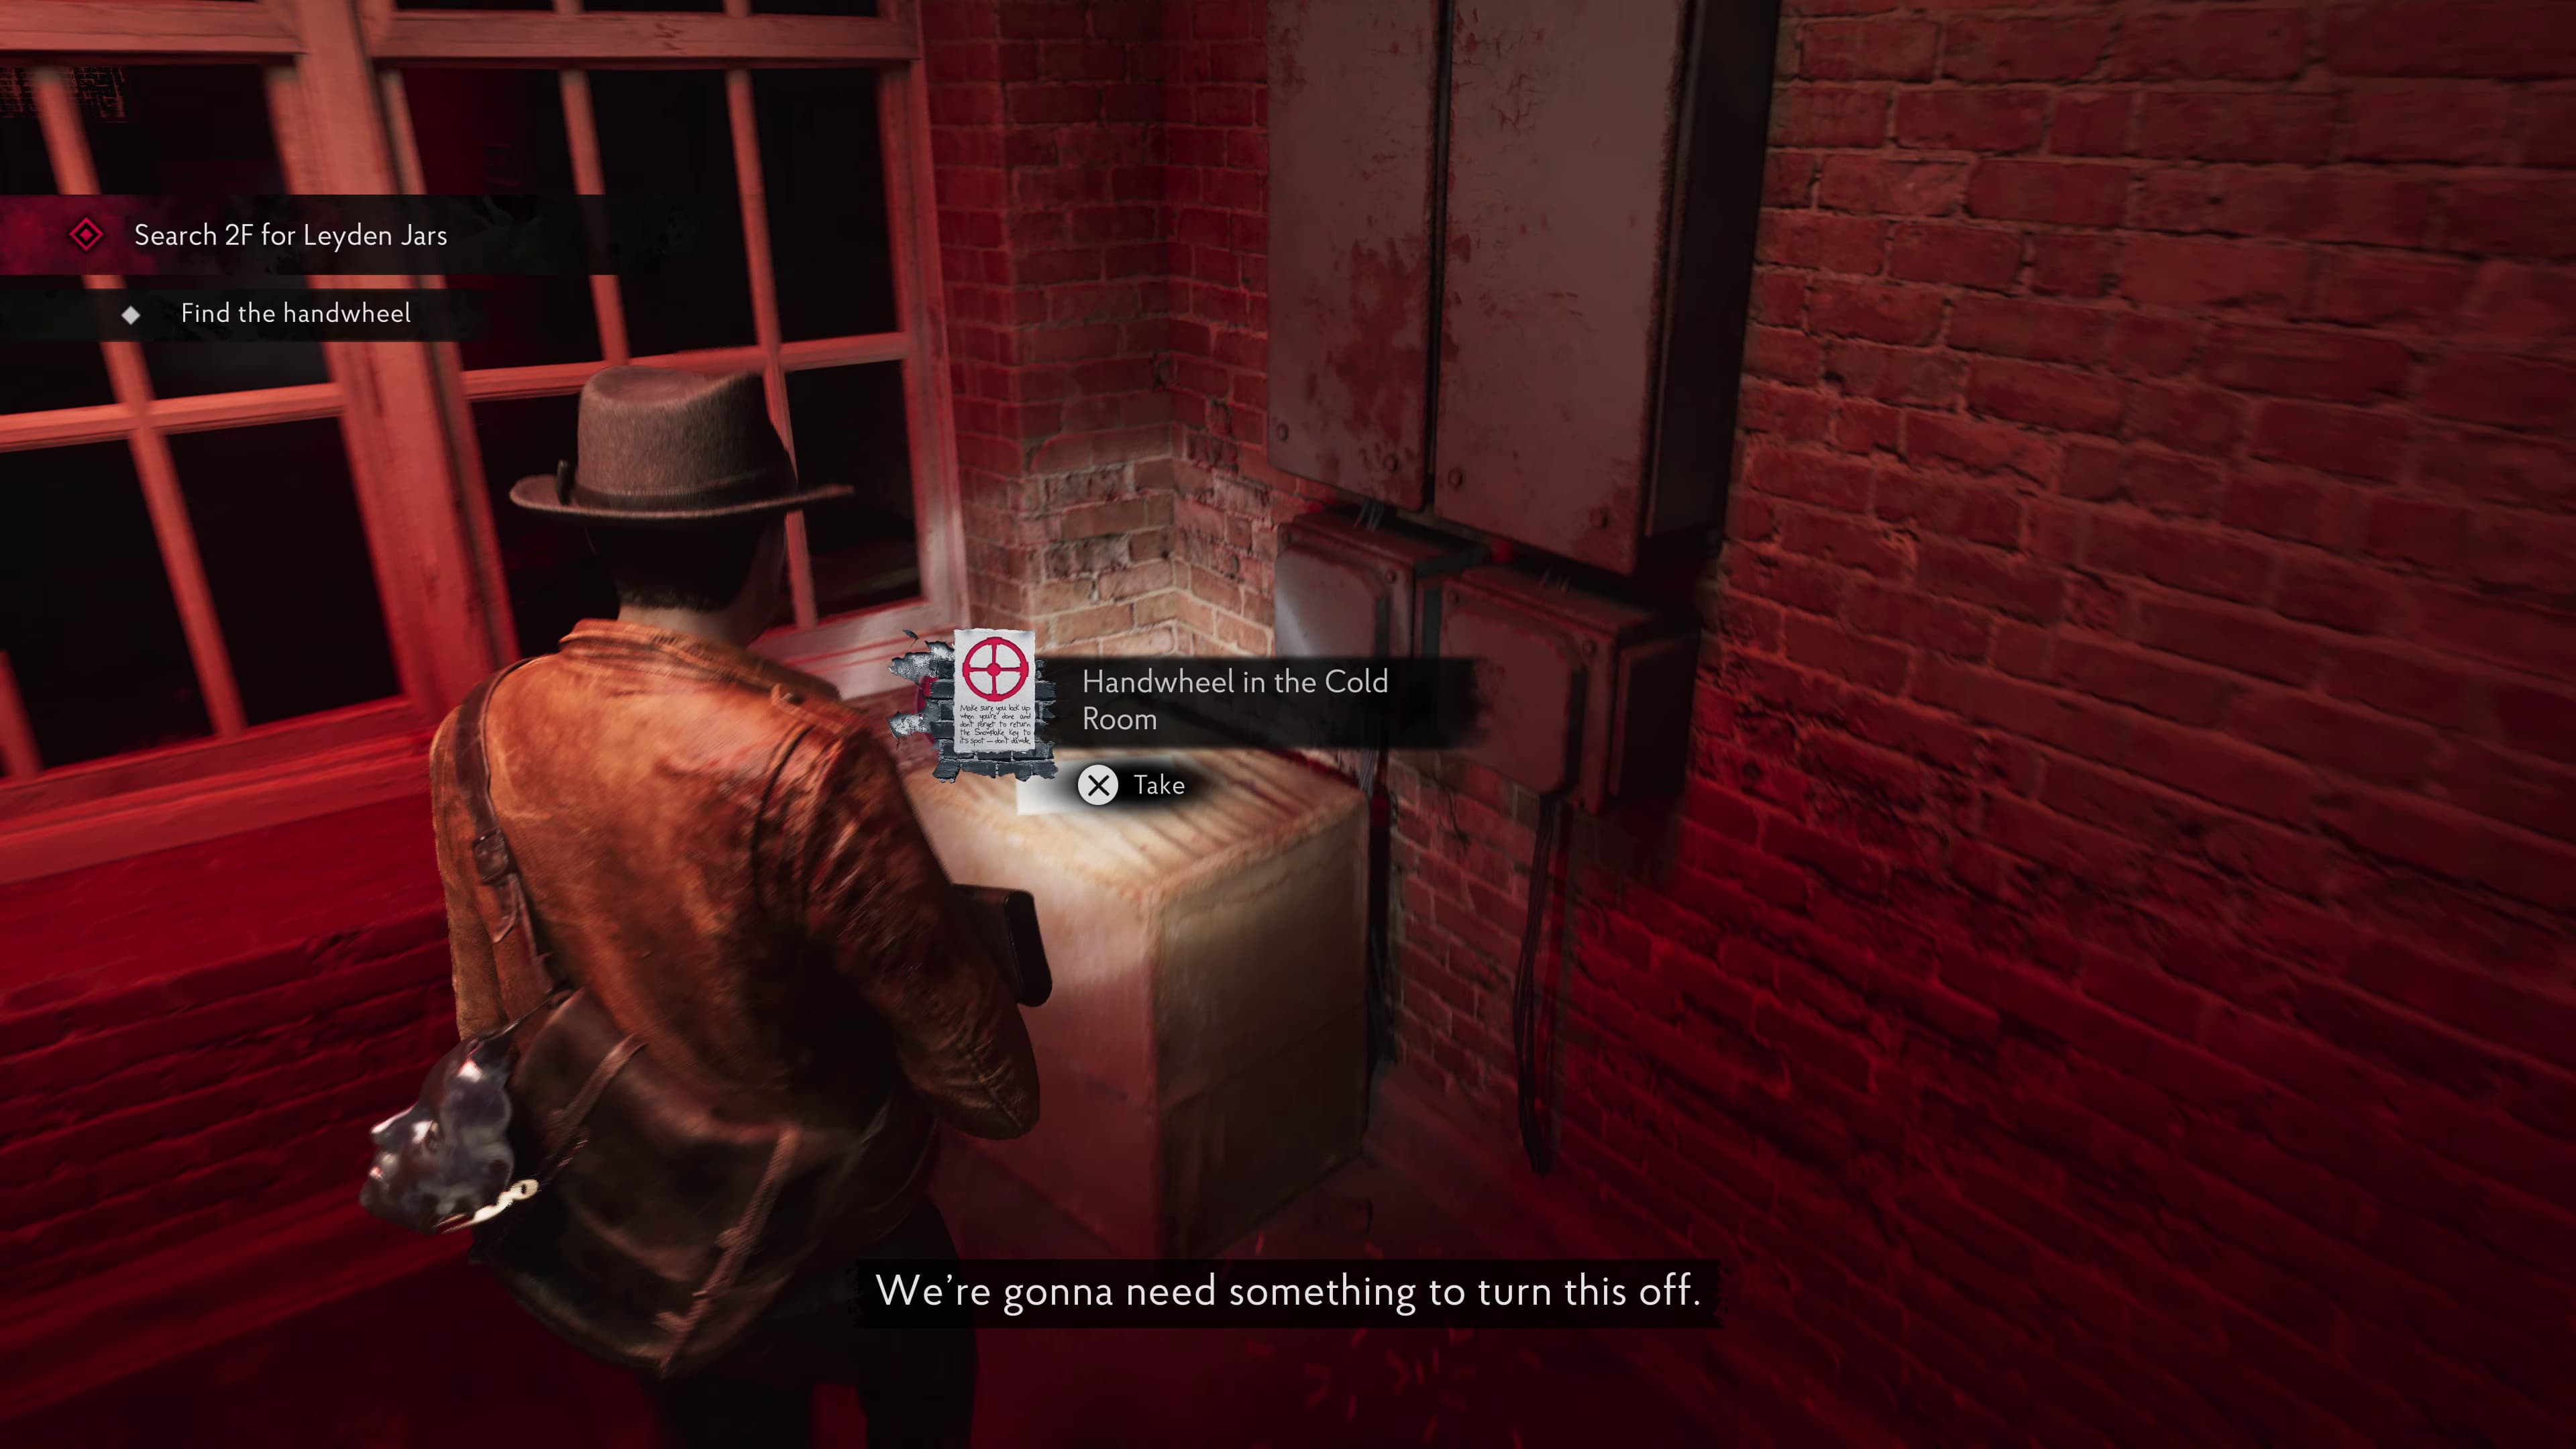
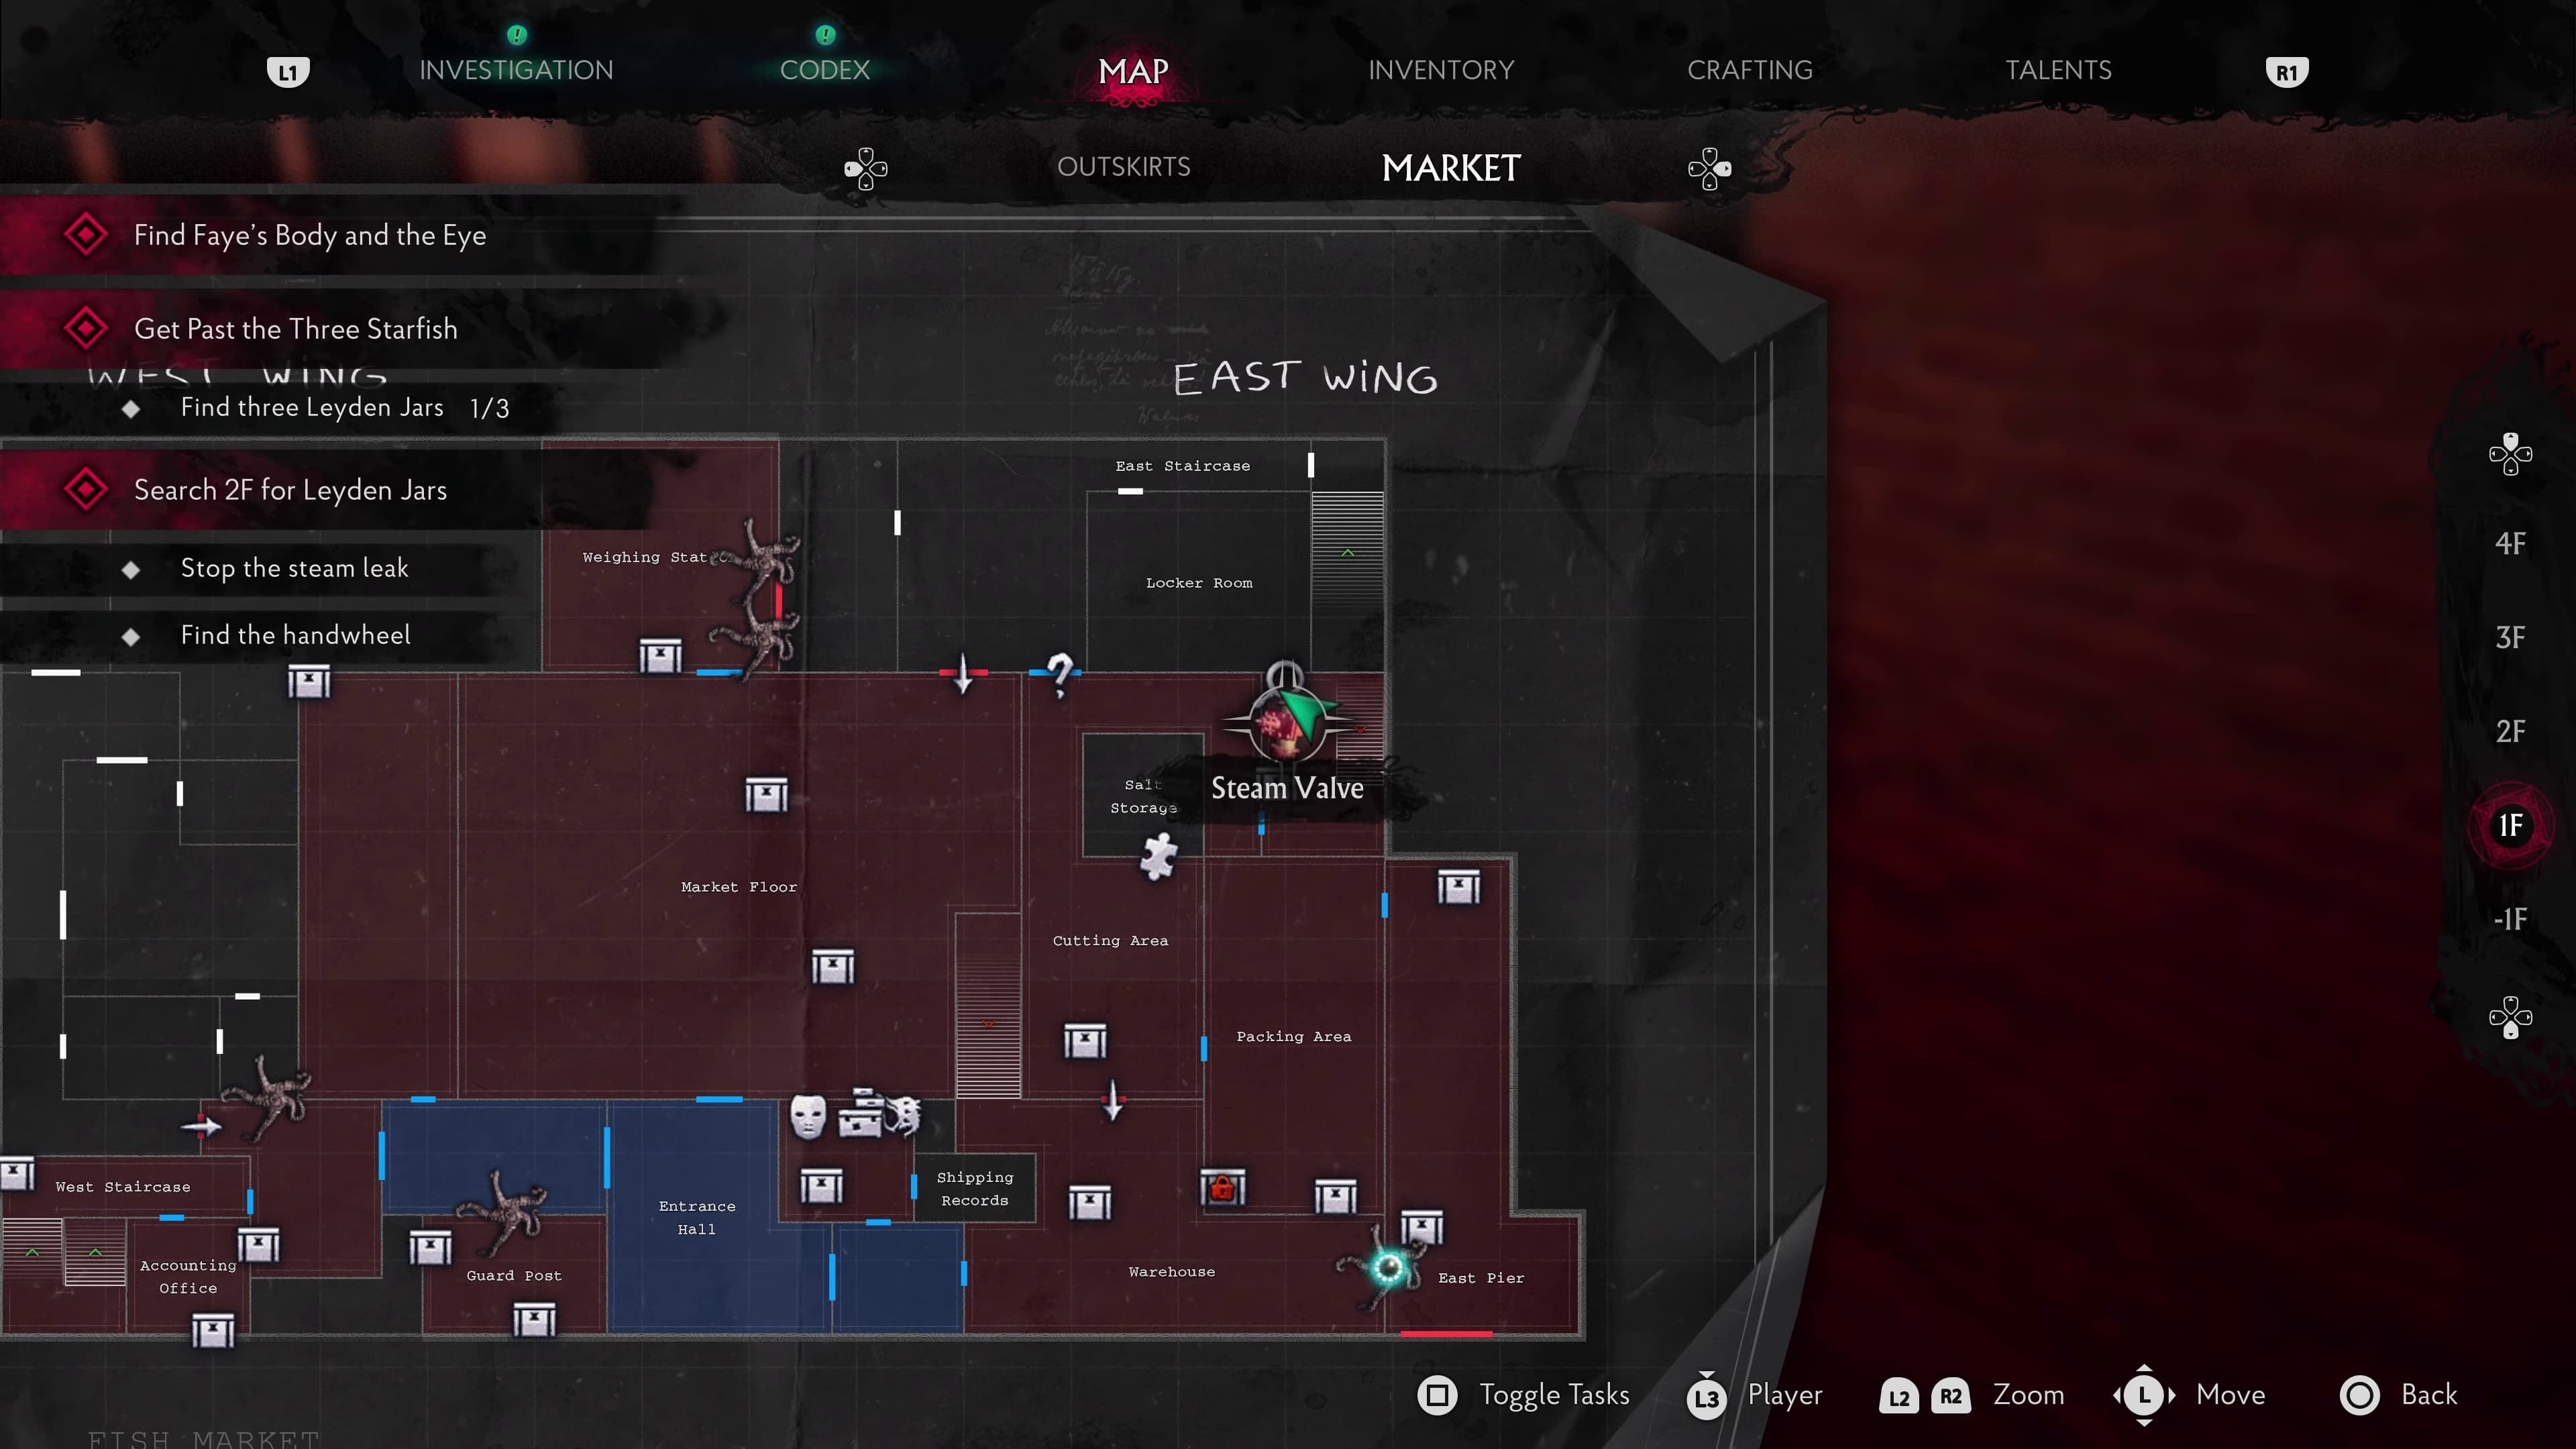
Advancing all the way around the Cutting Area, through the next door at the top of the stairs to the back access to Cold Storage, in this stairs area next to the Valve, will be the next Evidence (Handwheel in the Cold Room).
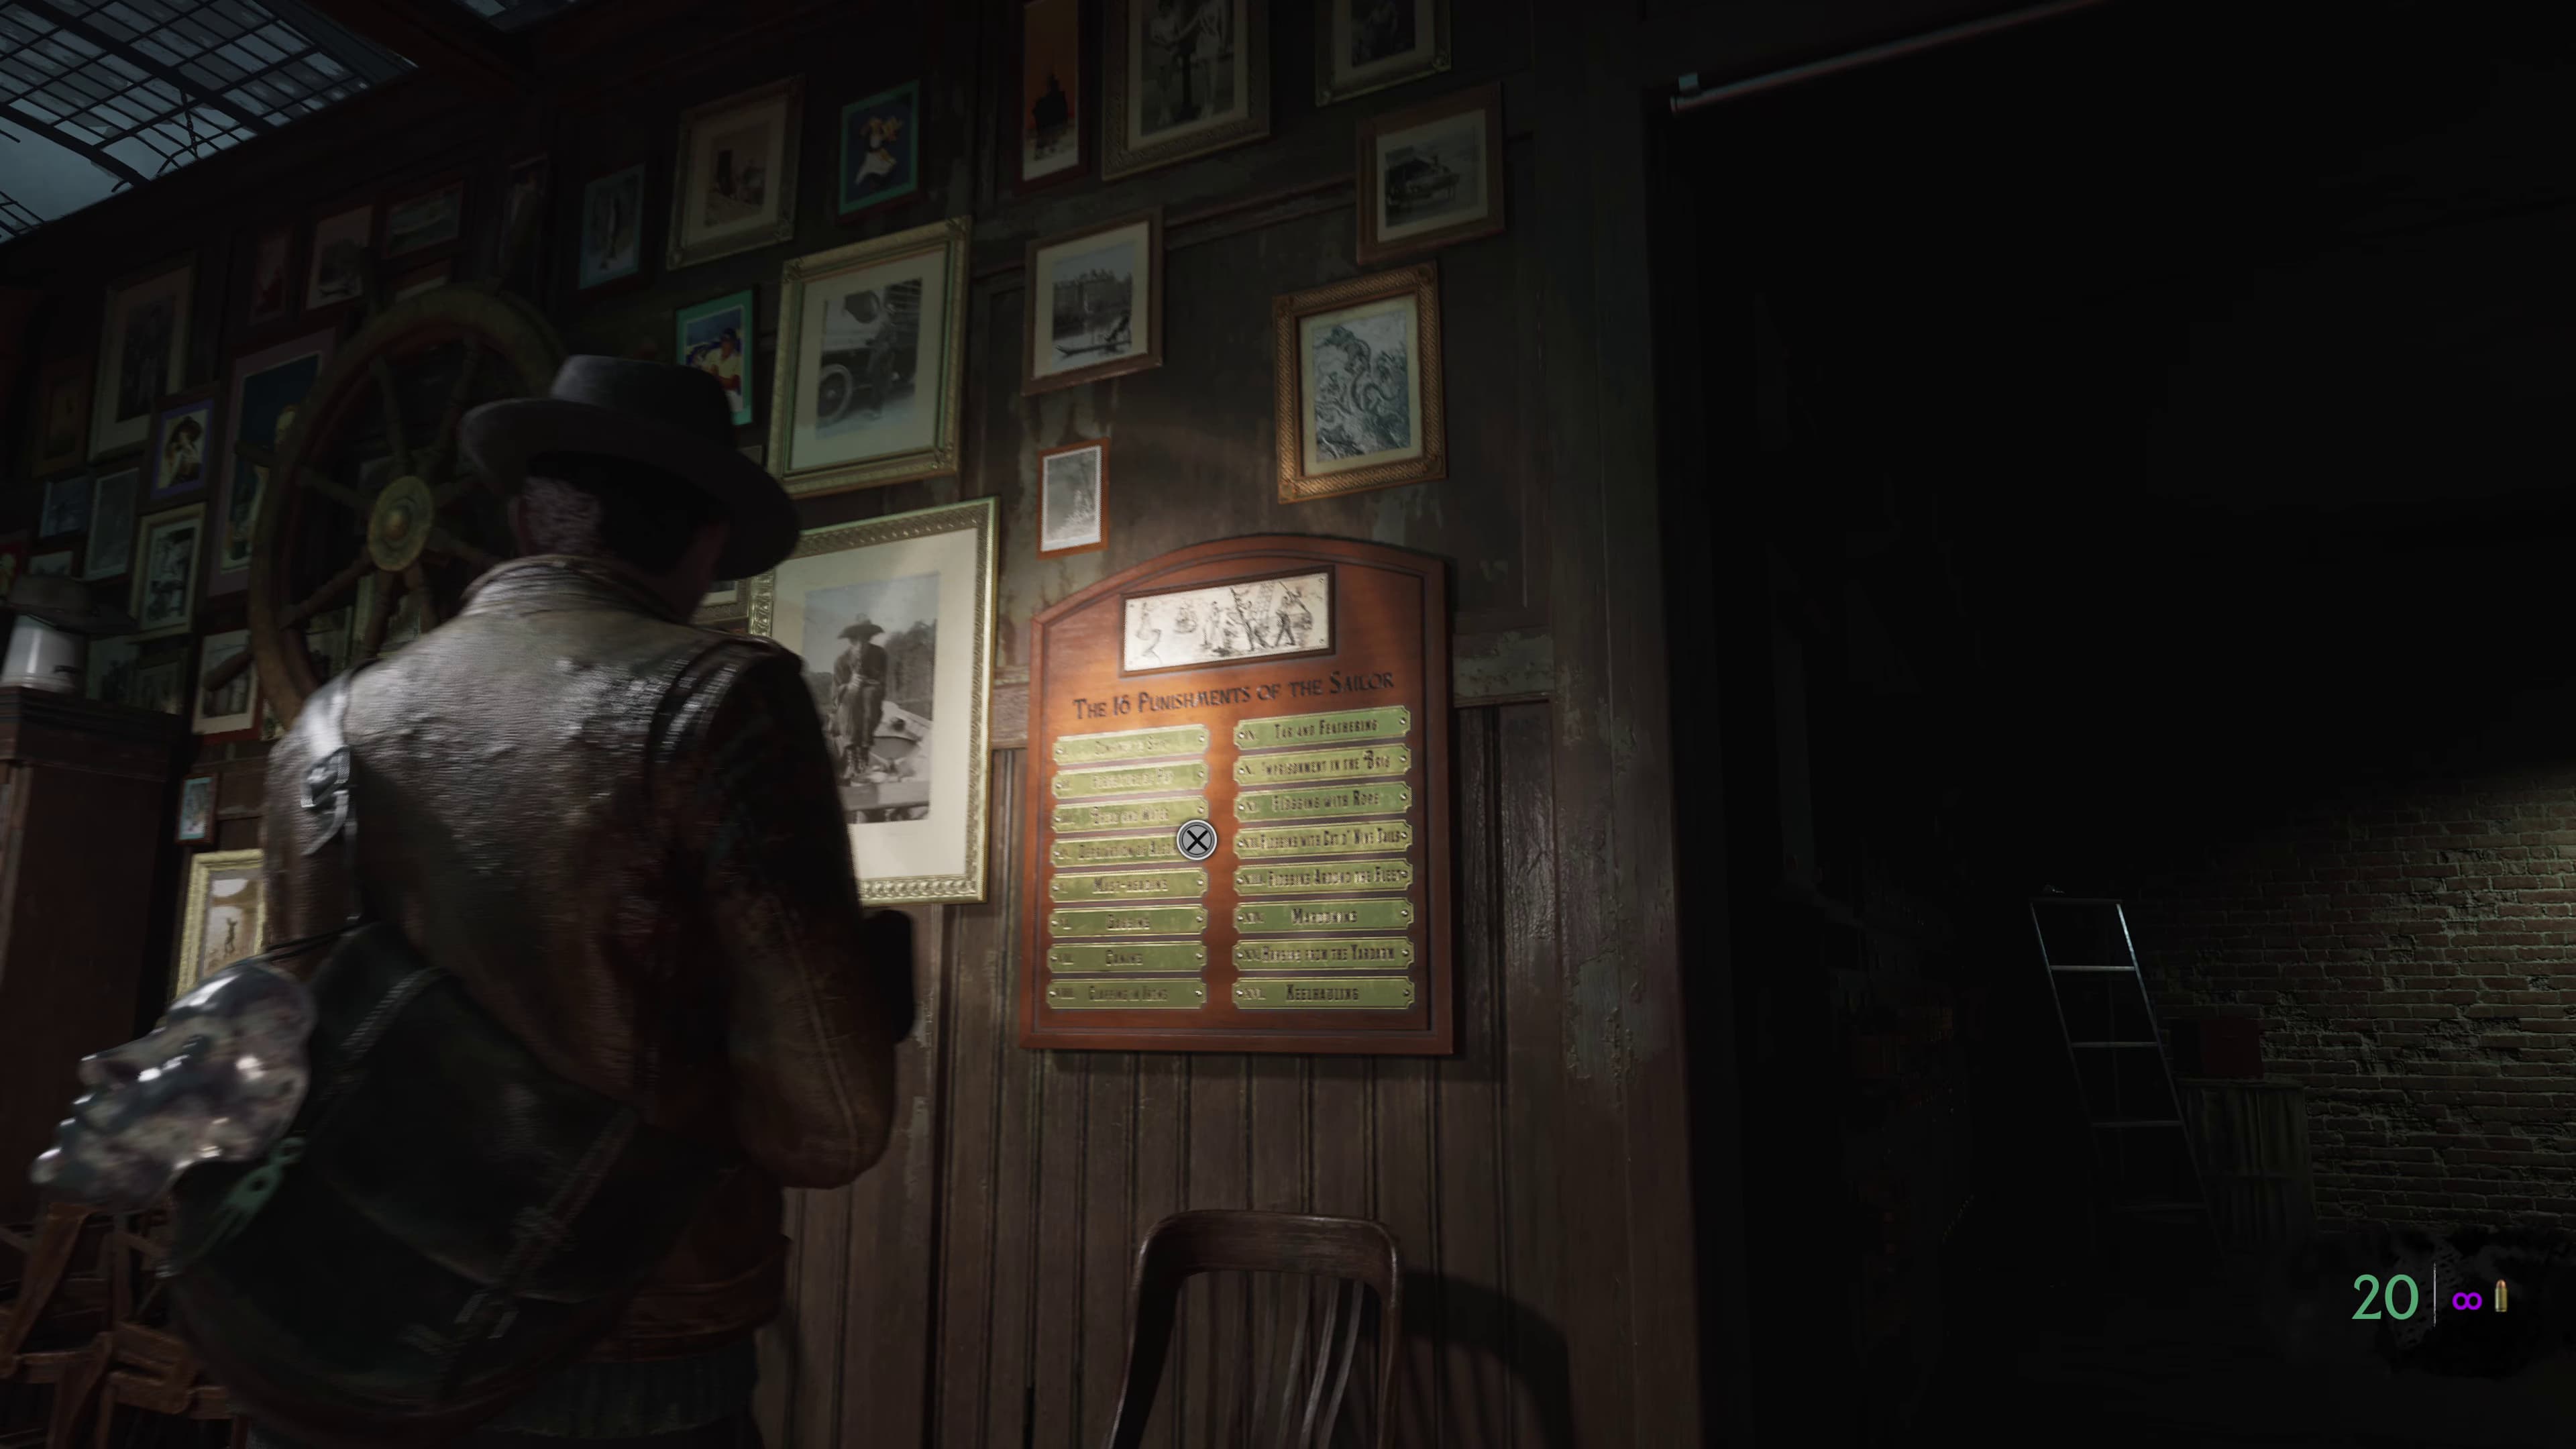
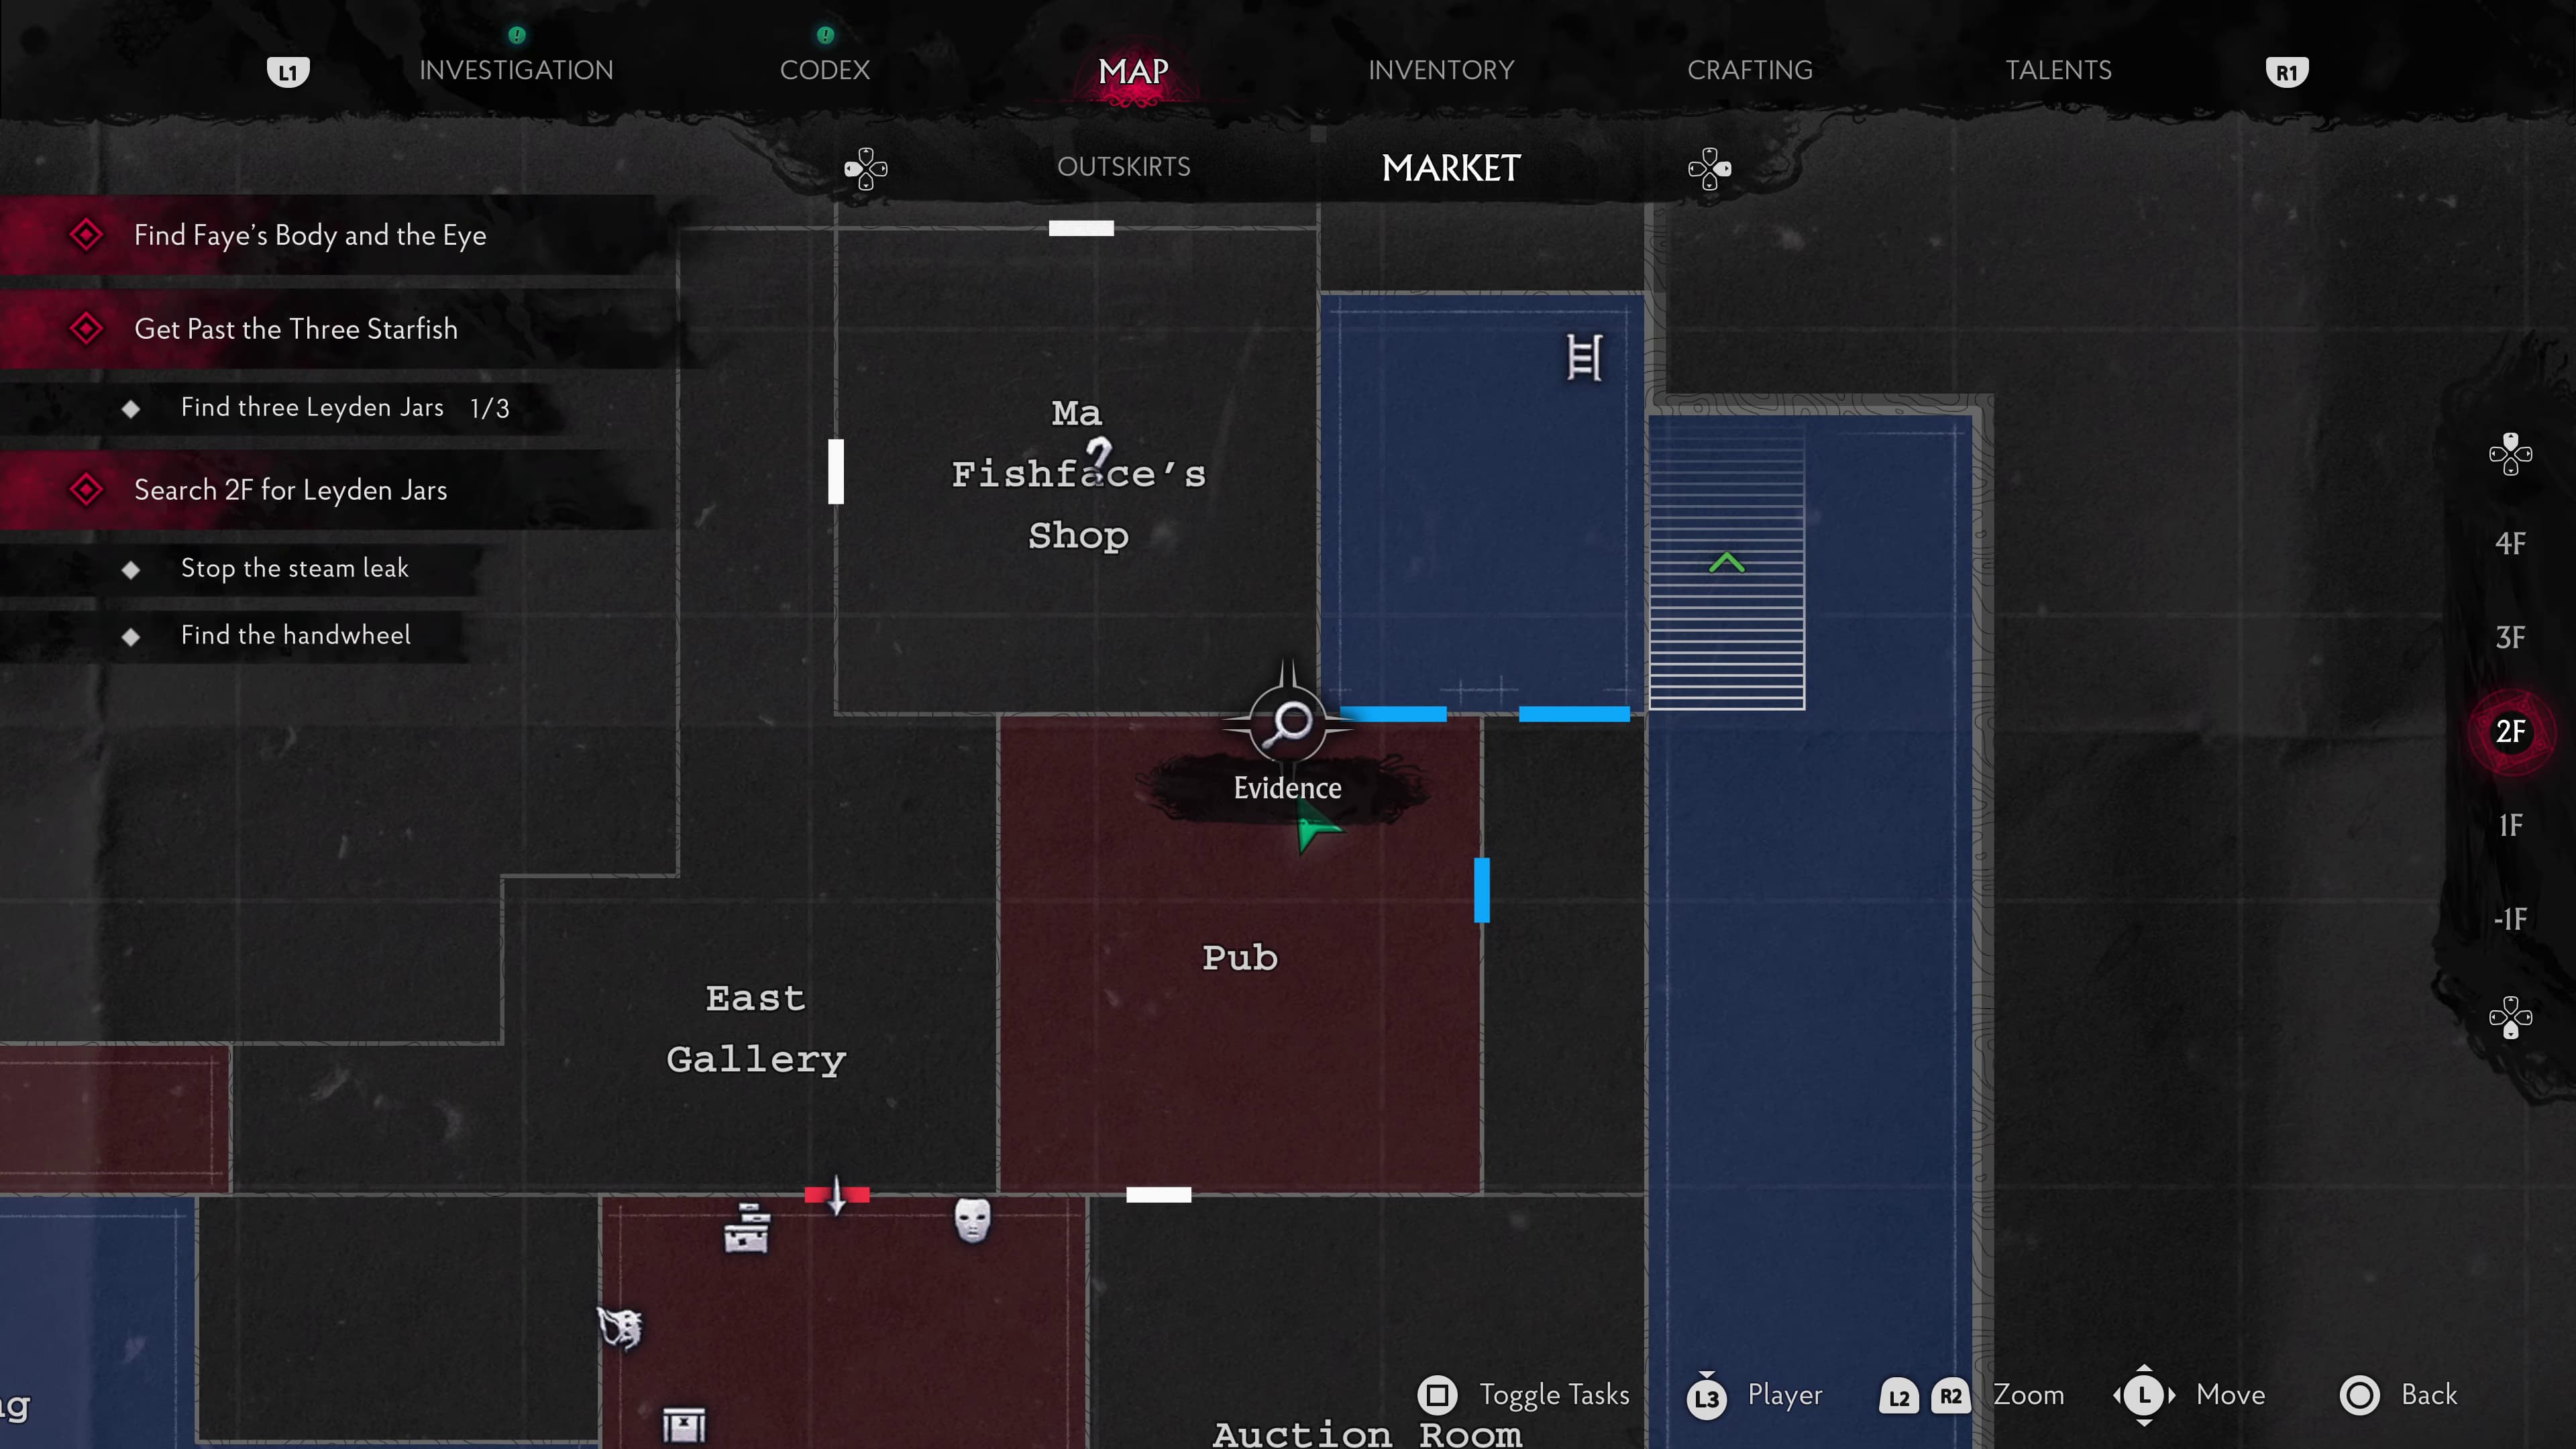
From here, head up the ladder on the back wall and make it into the Pub. As soon as you enter into the Pub, look to the right on the wall for the next Evidence, interacting with the gold name board will automatically give you the Evidence (The 16 Punishments of the Sailor).
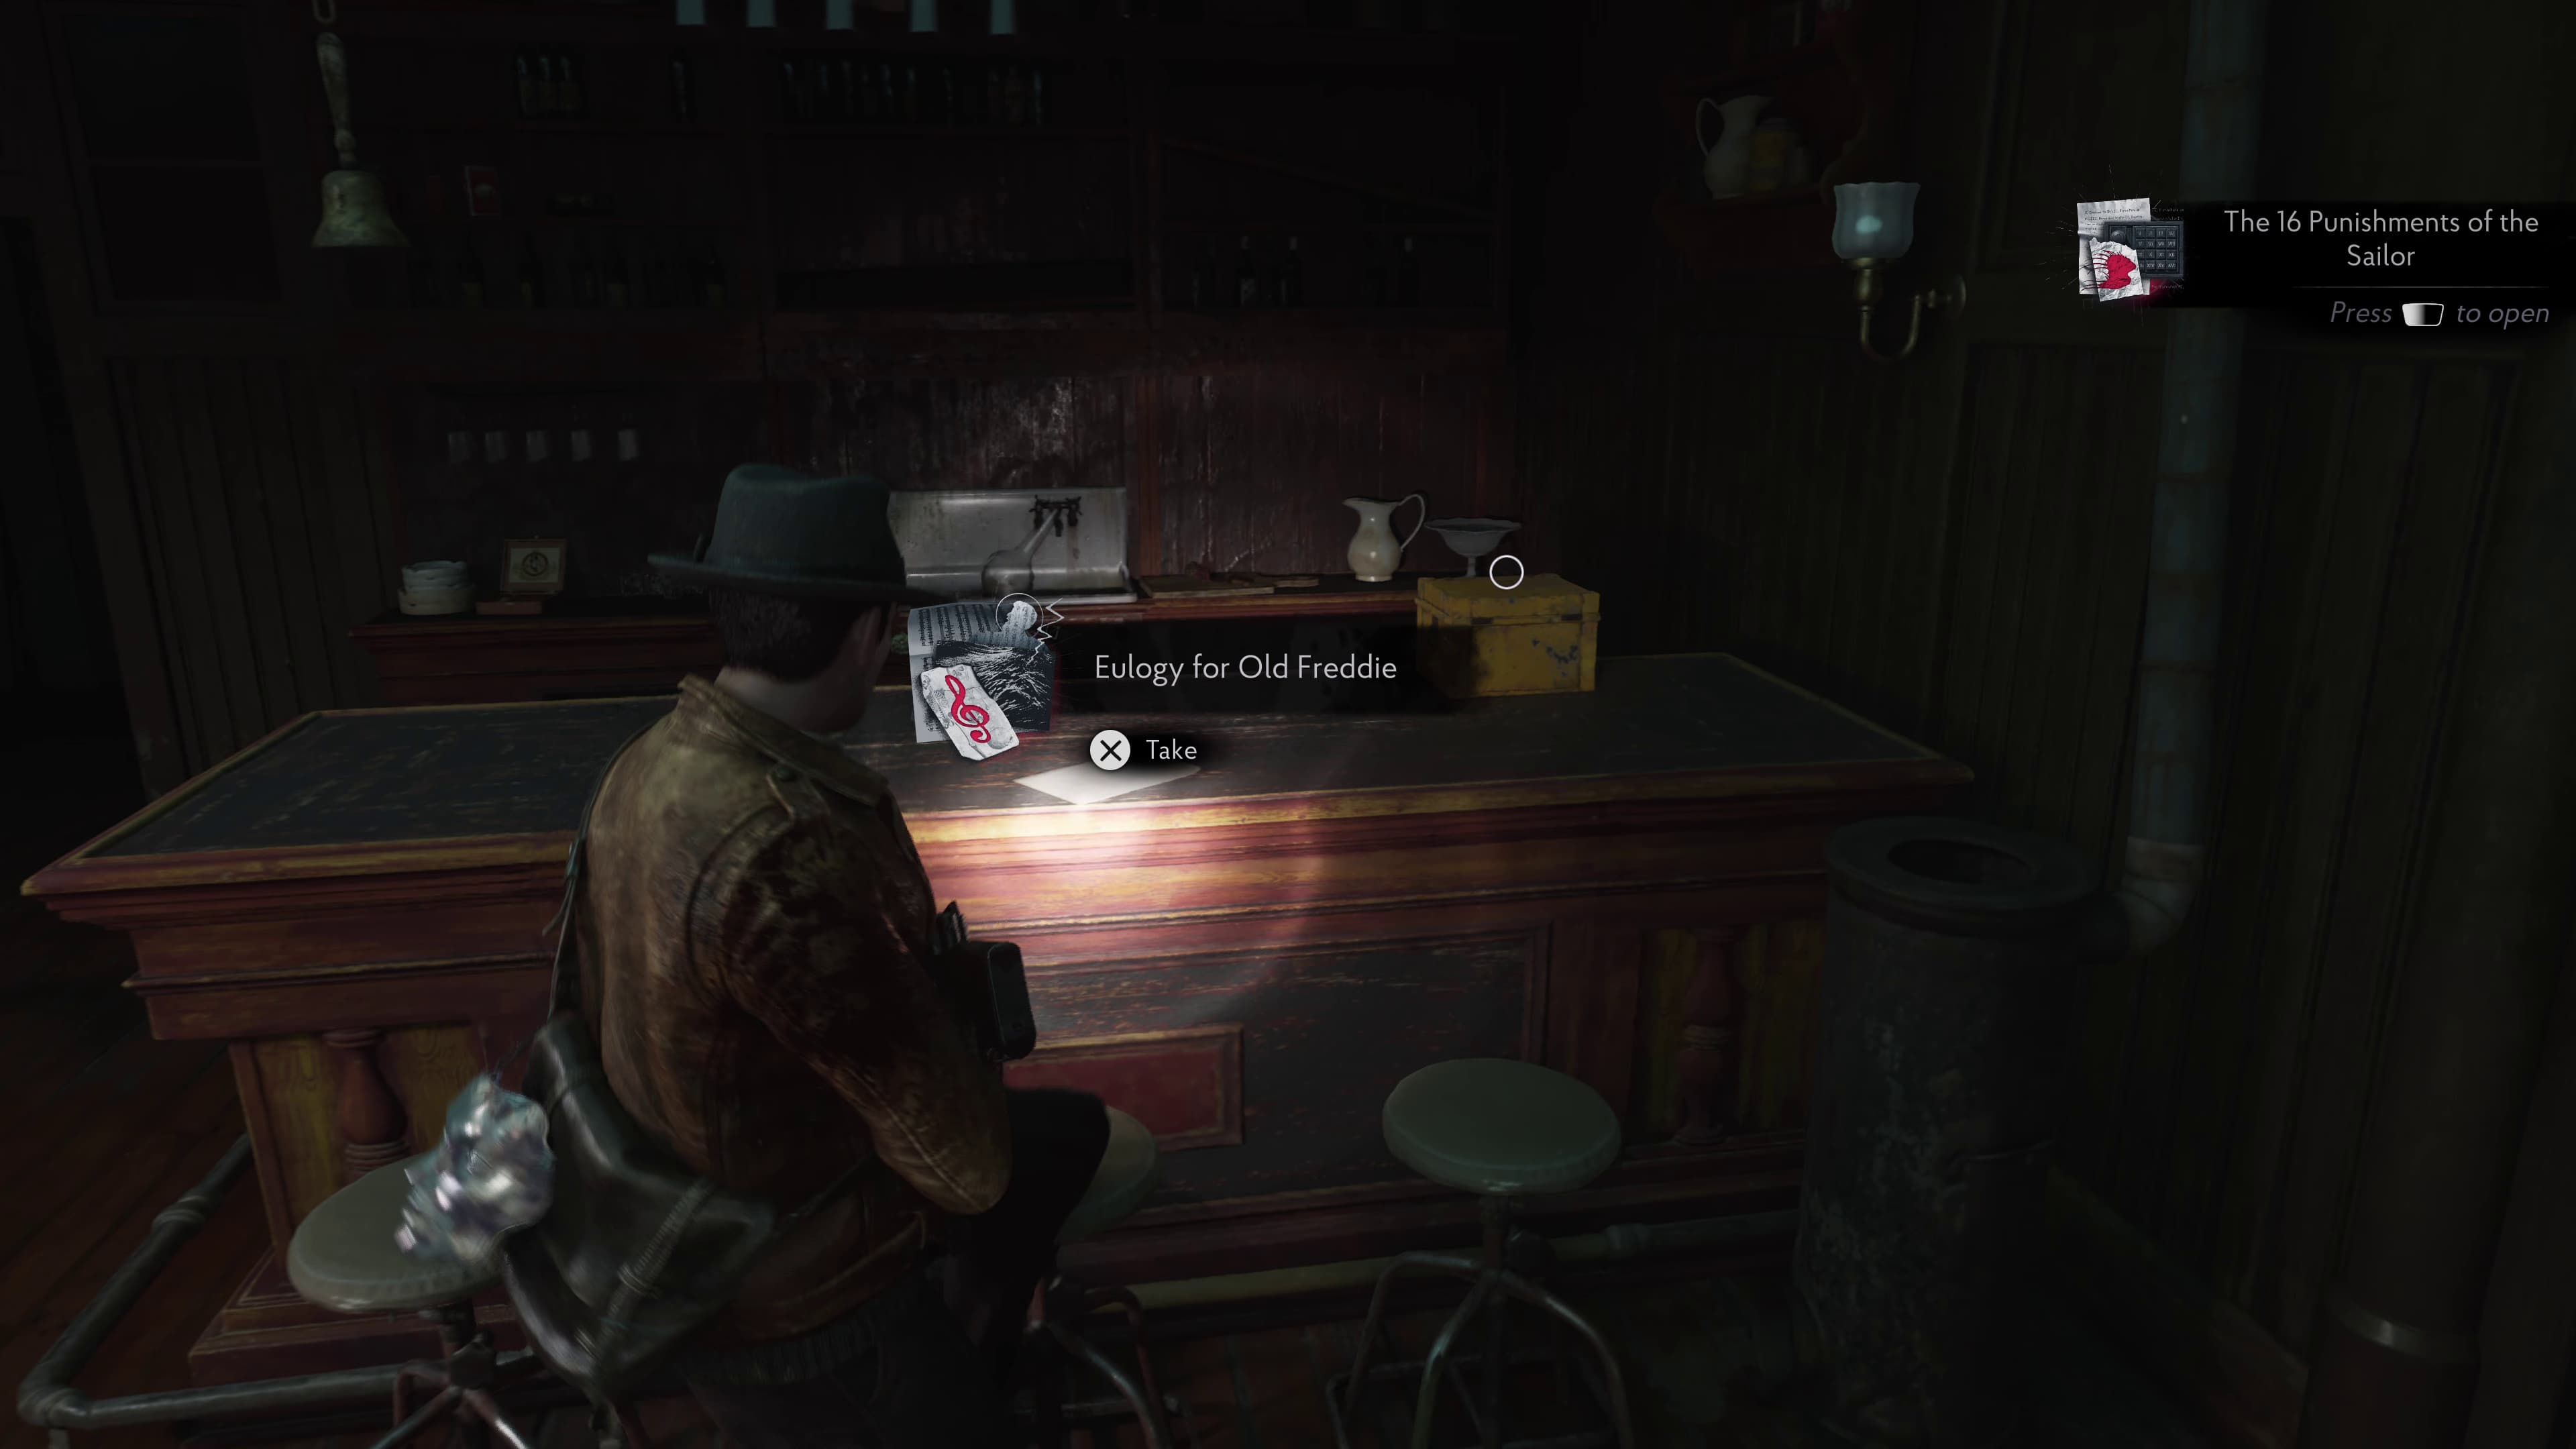
On the bar in the Pub will be the next Evidence (Eulogy for Old Freddie) to collect.
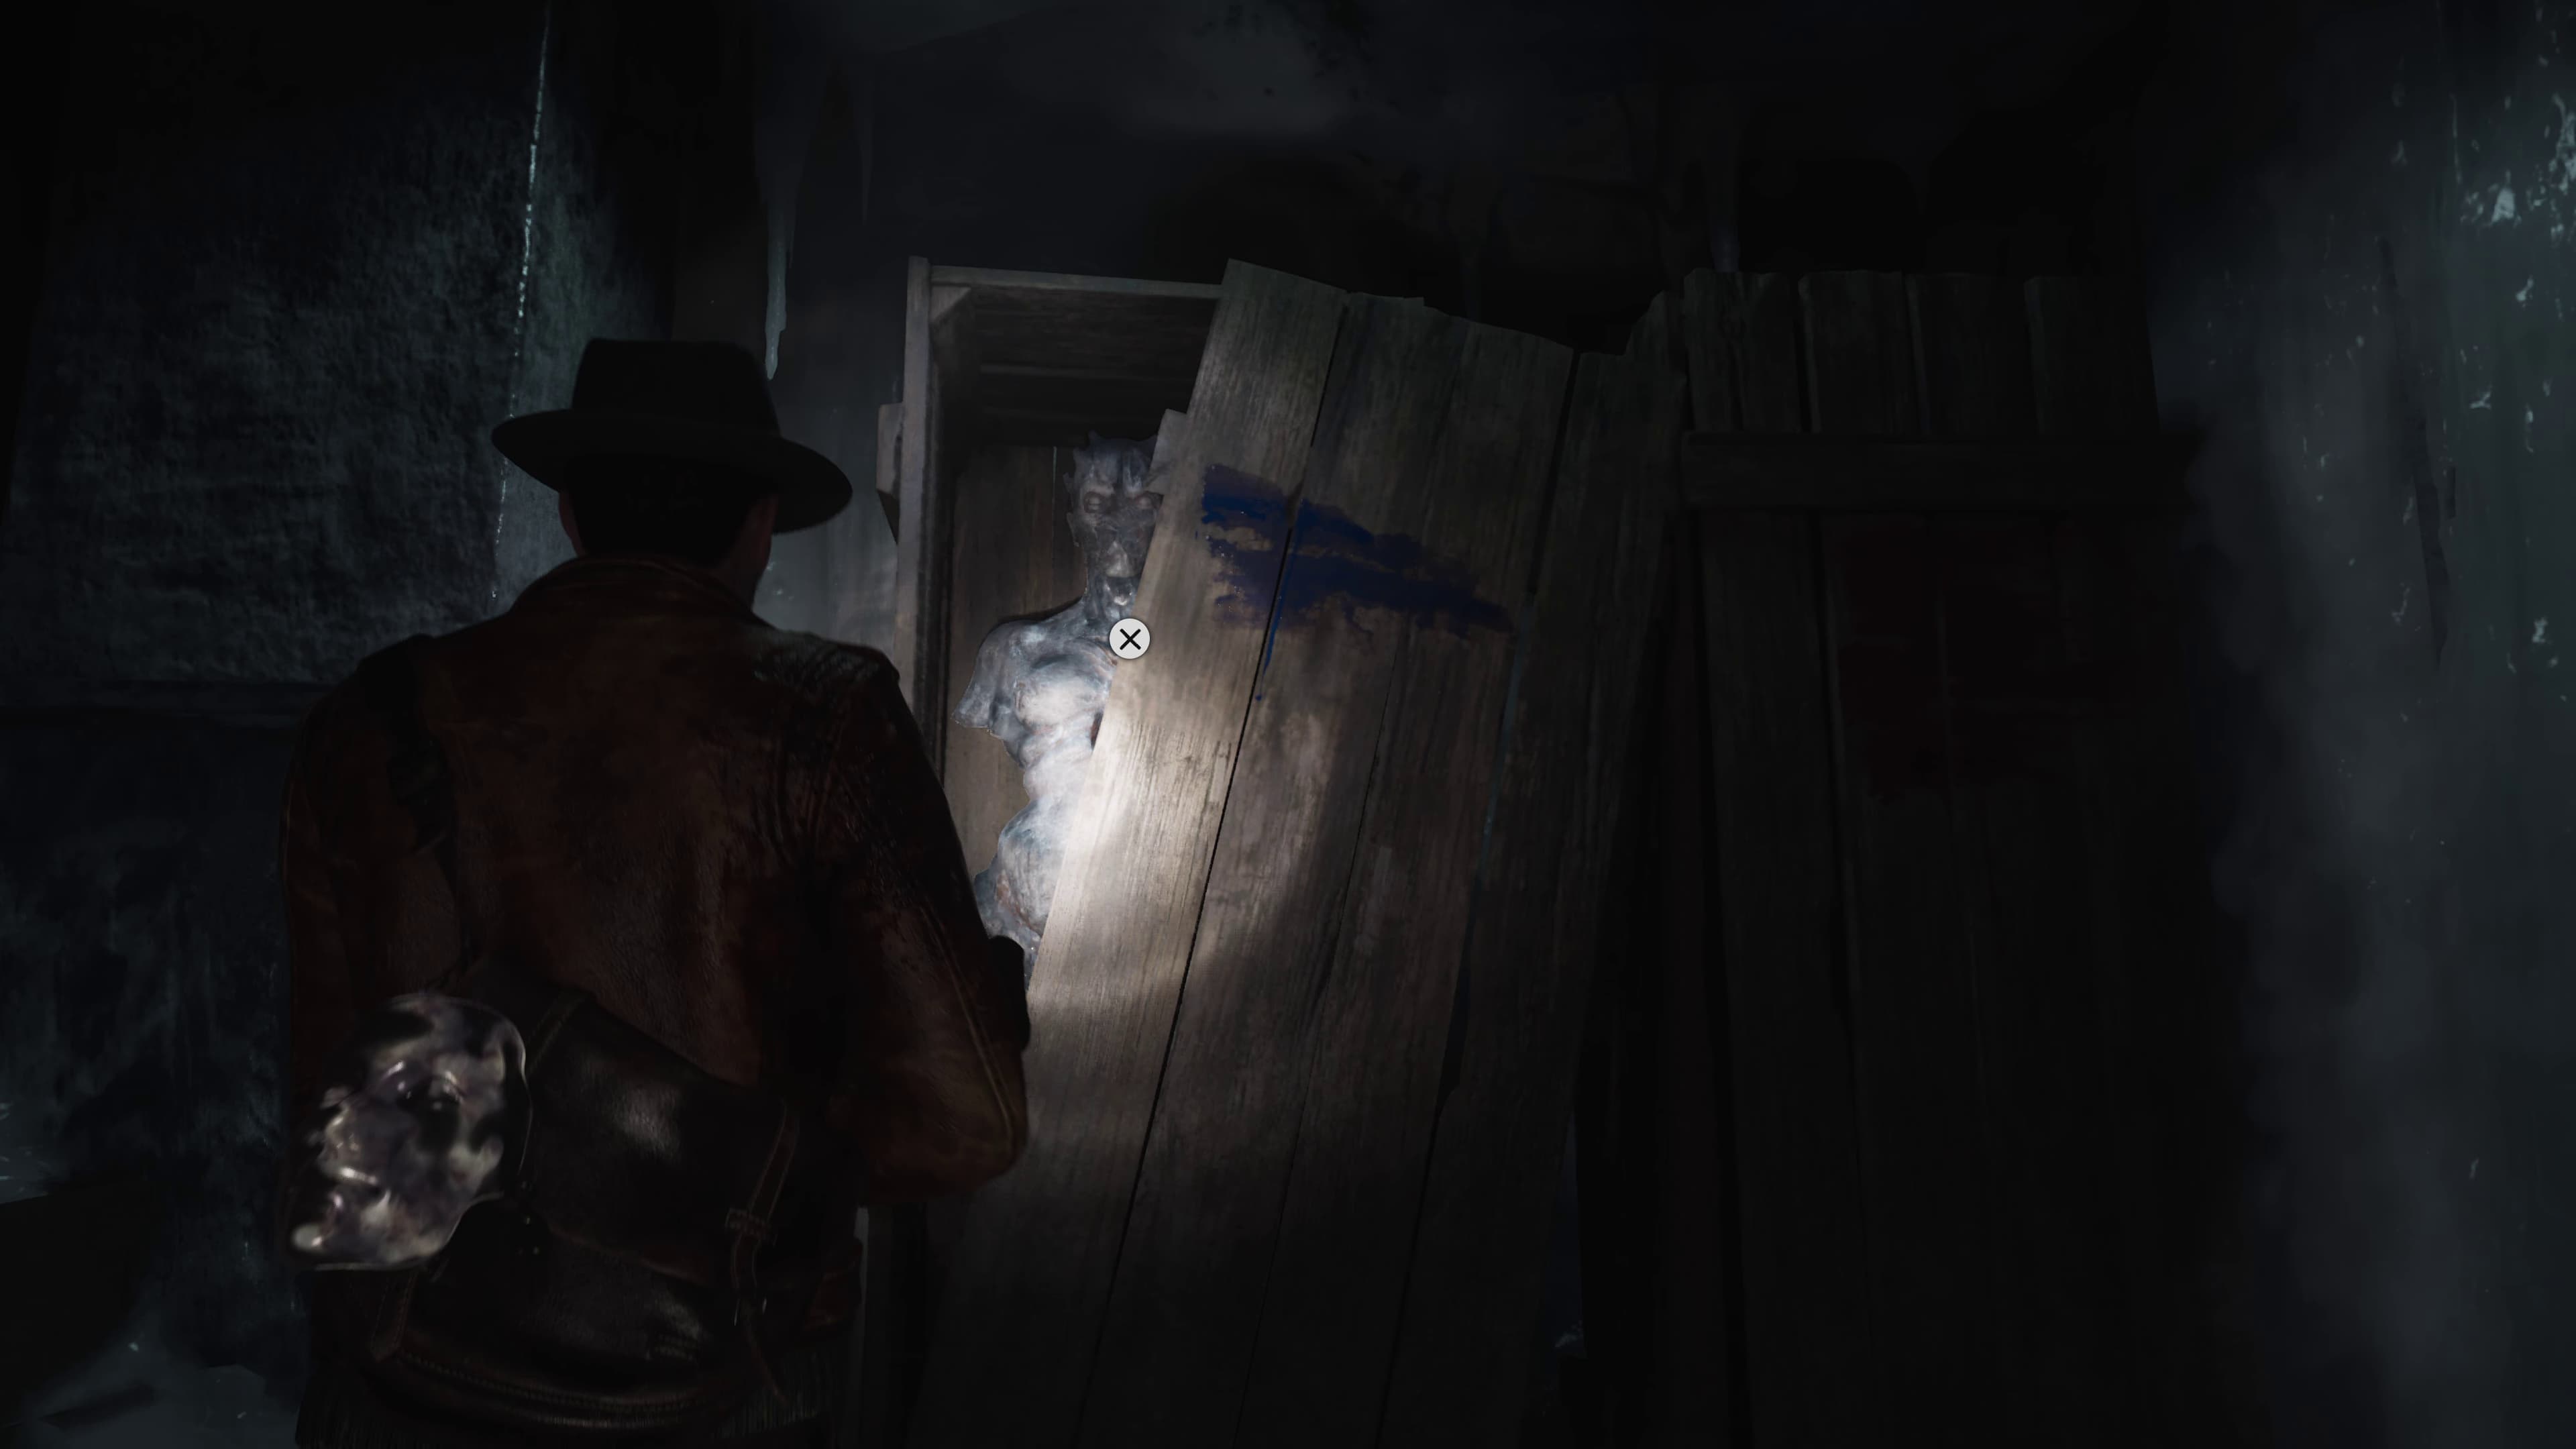
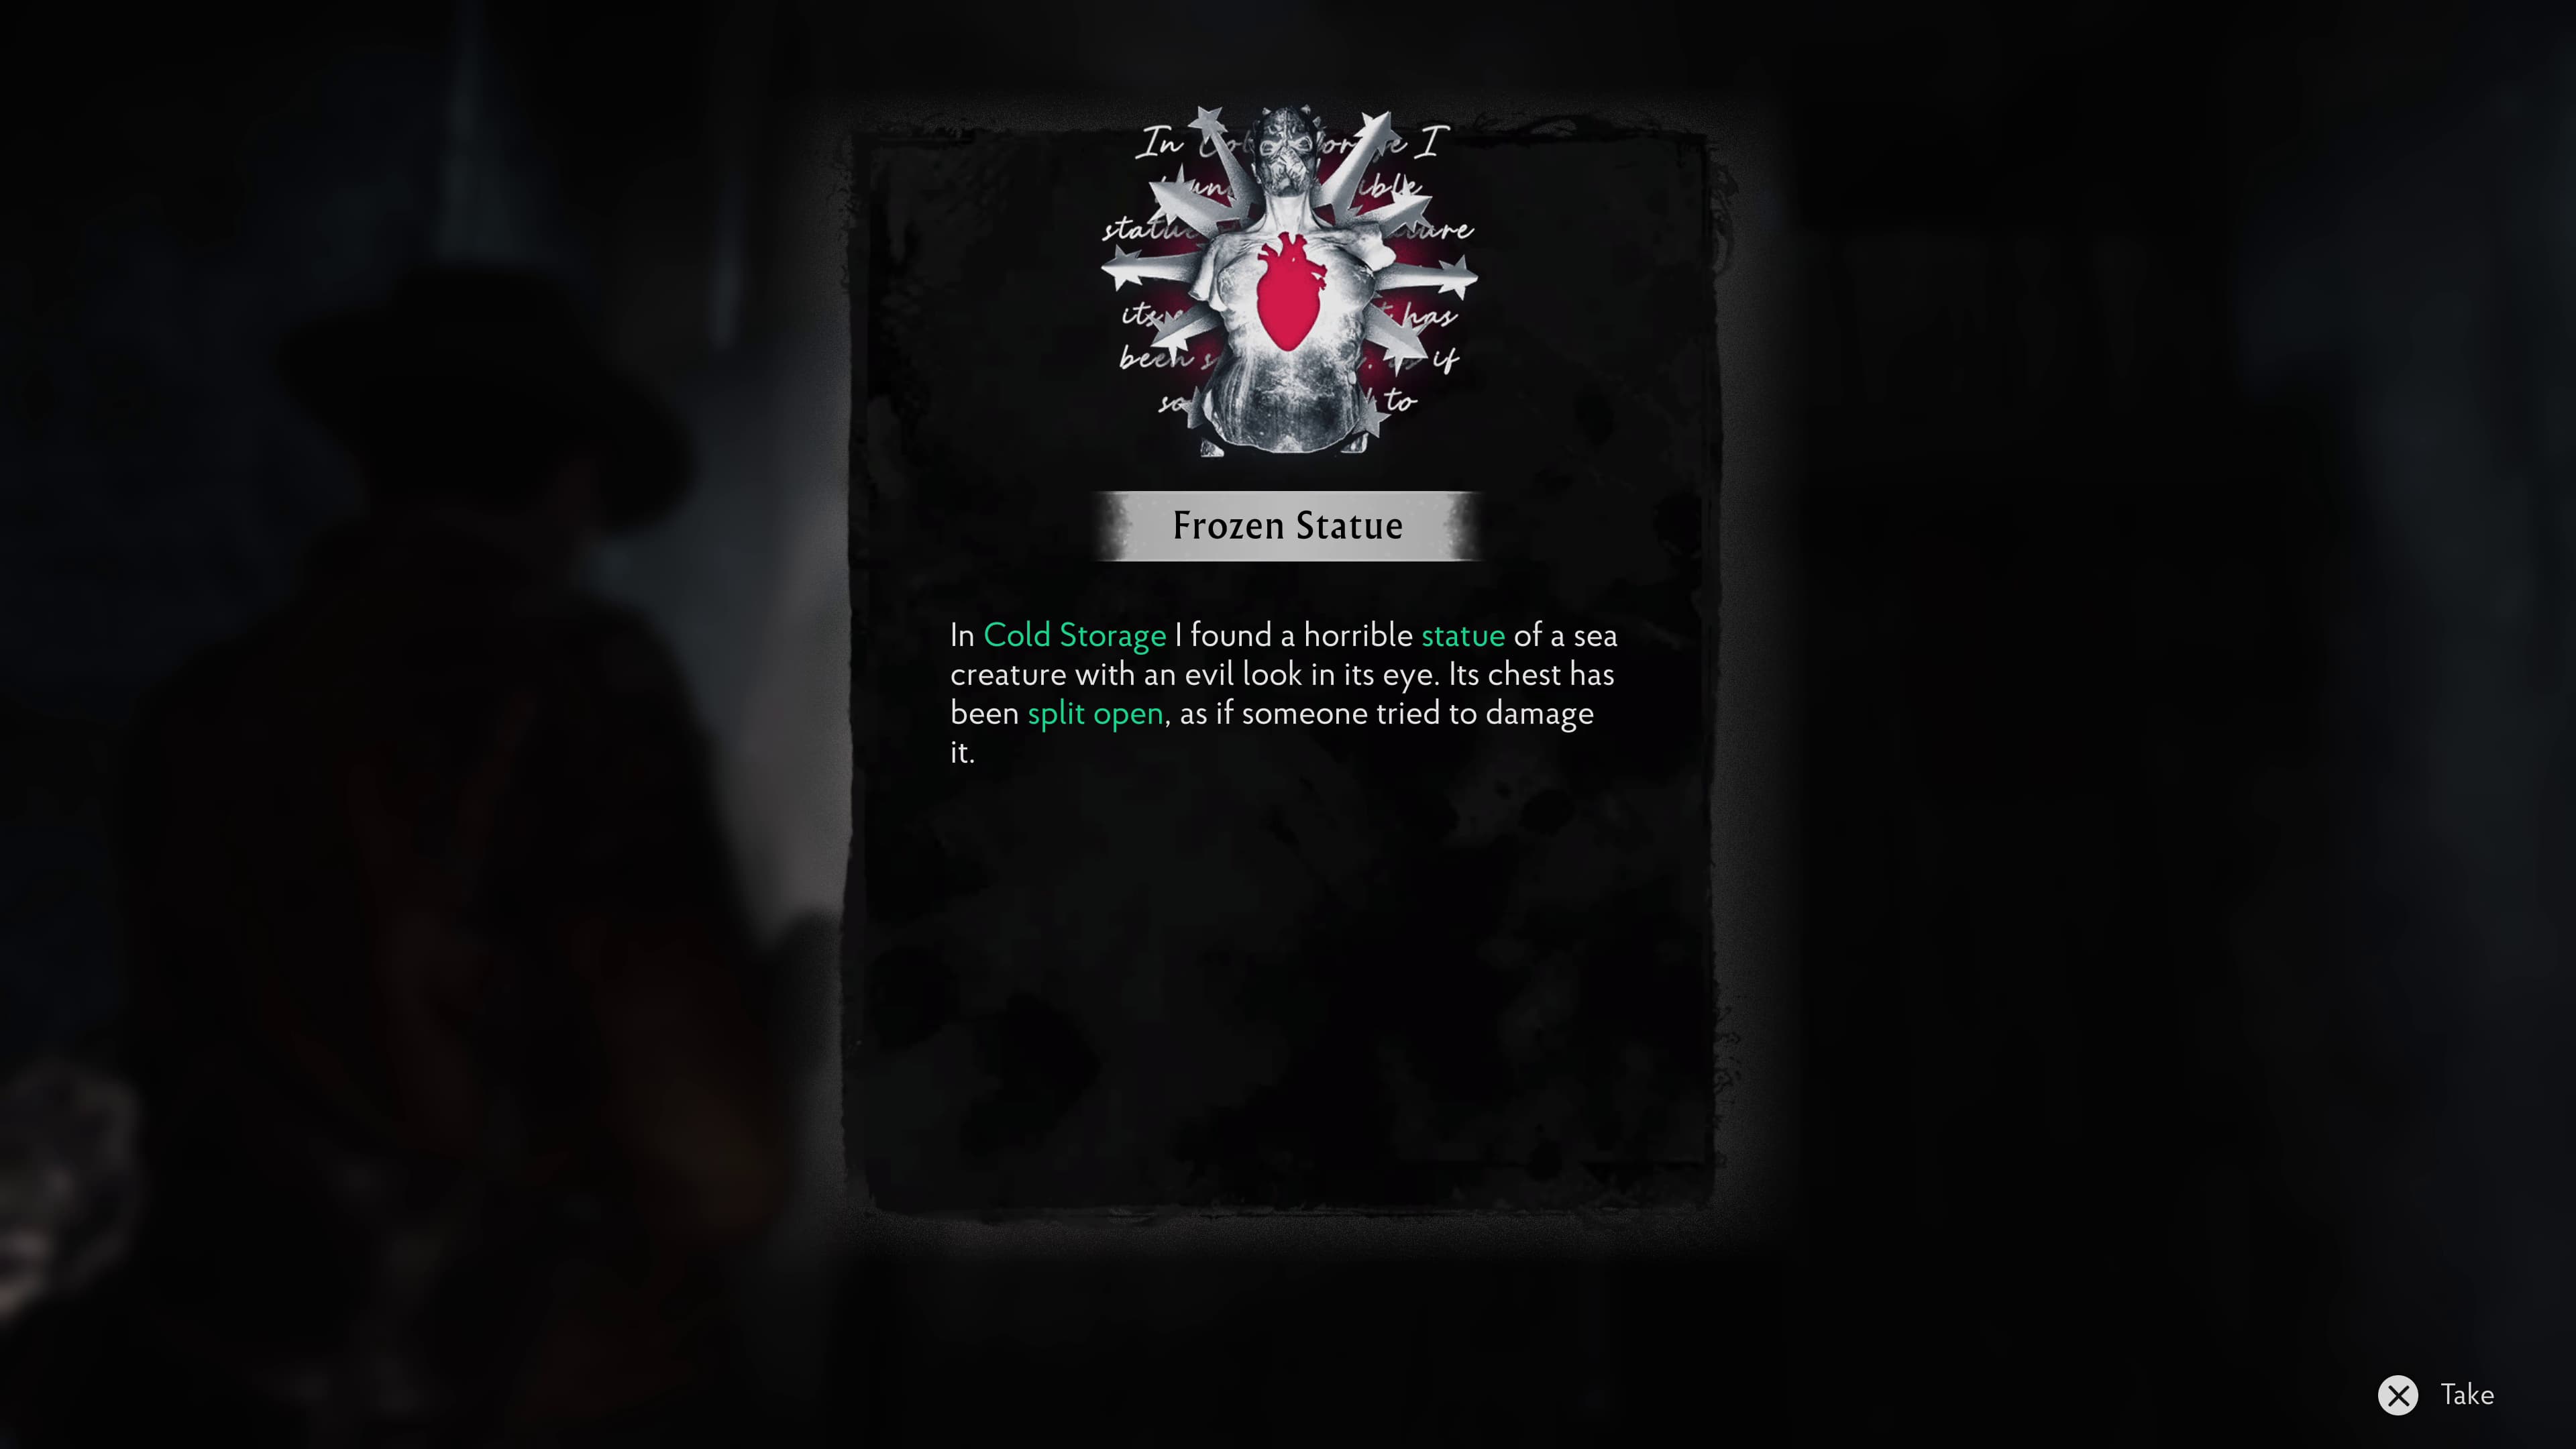
Keep advancing until you have unlocked Cold Storage, make your way through to find the Frozen Statue in a cabinet, interact with her to automatically collect the next Evidence (Frozen Statue).
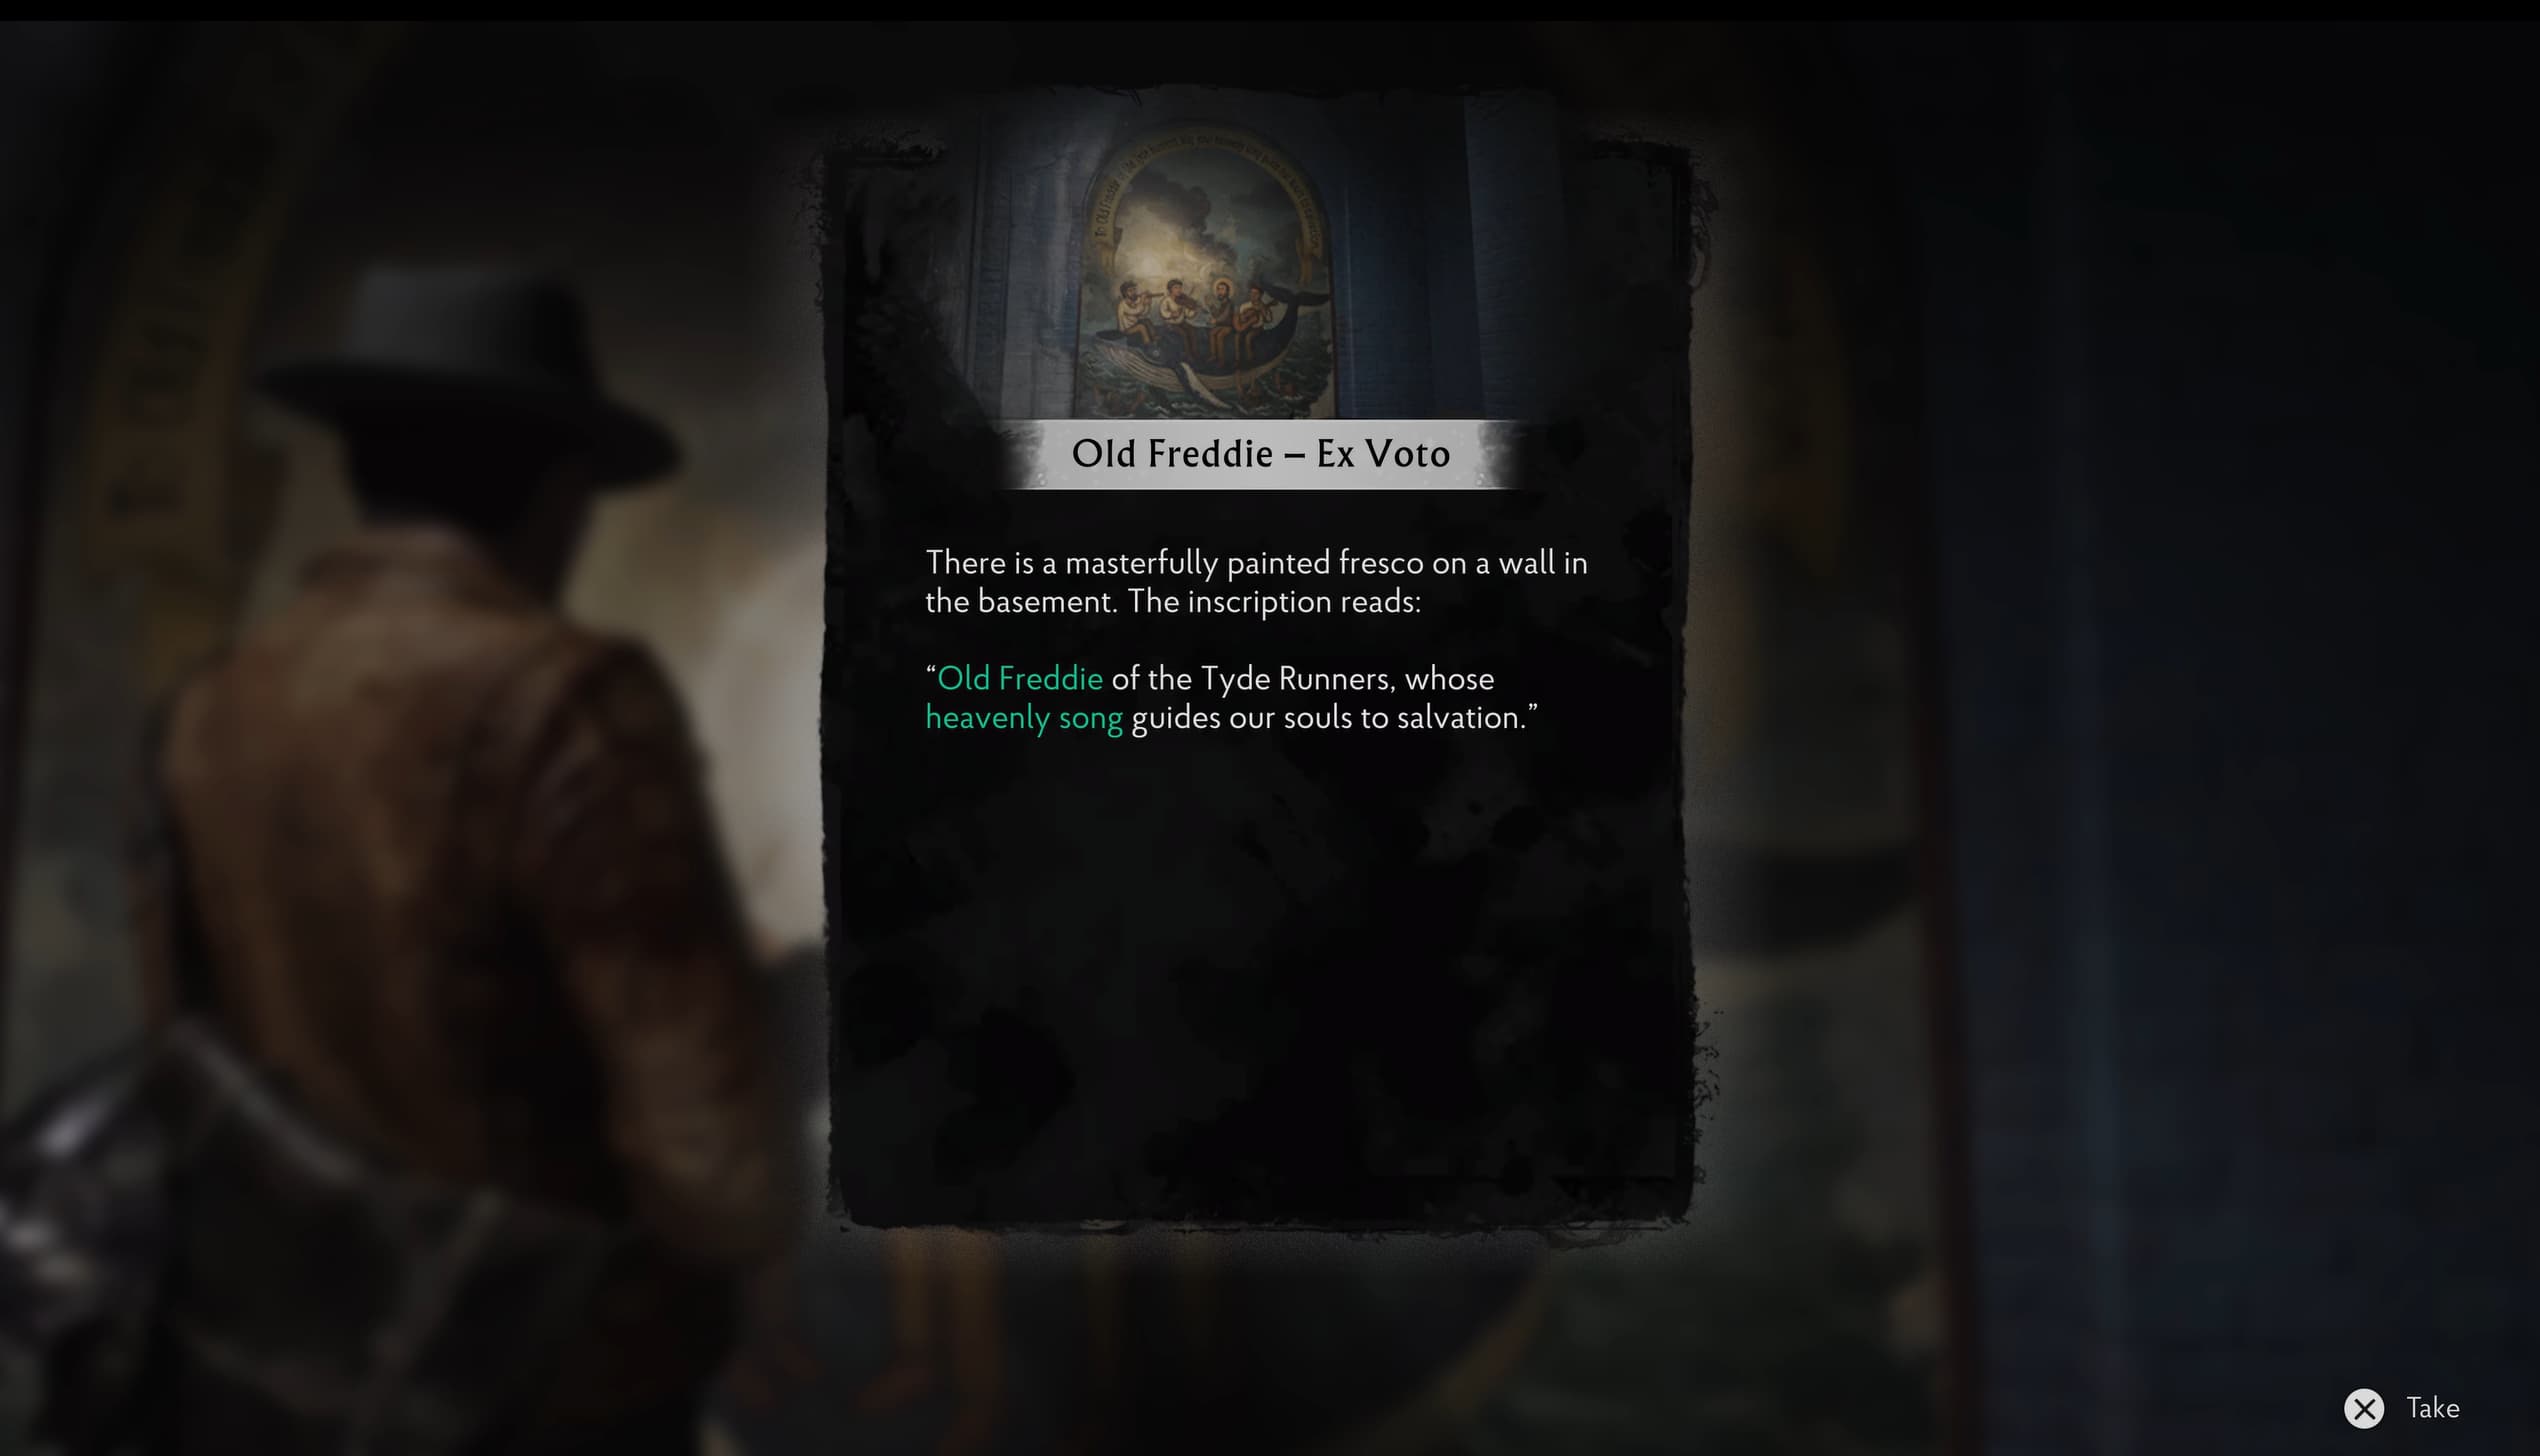
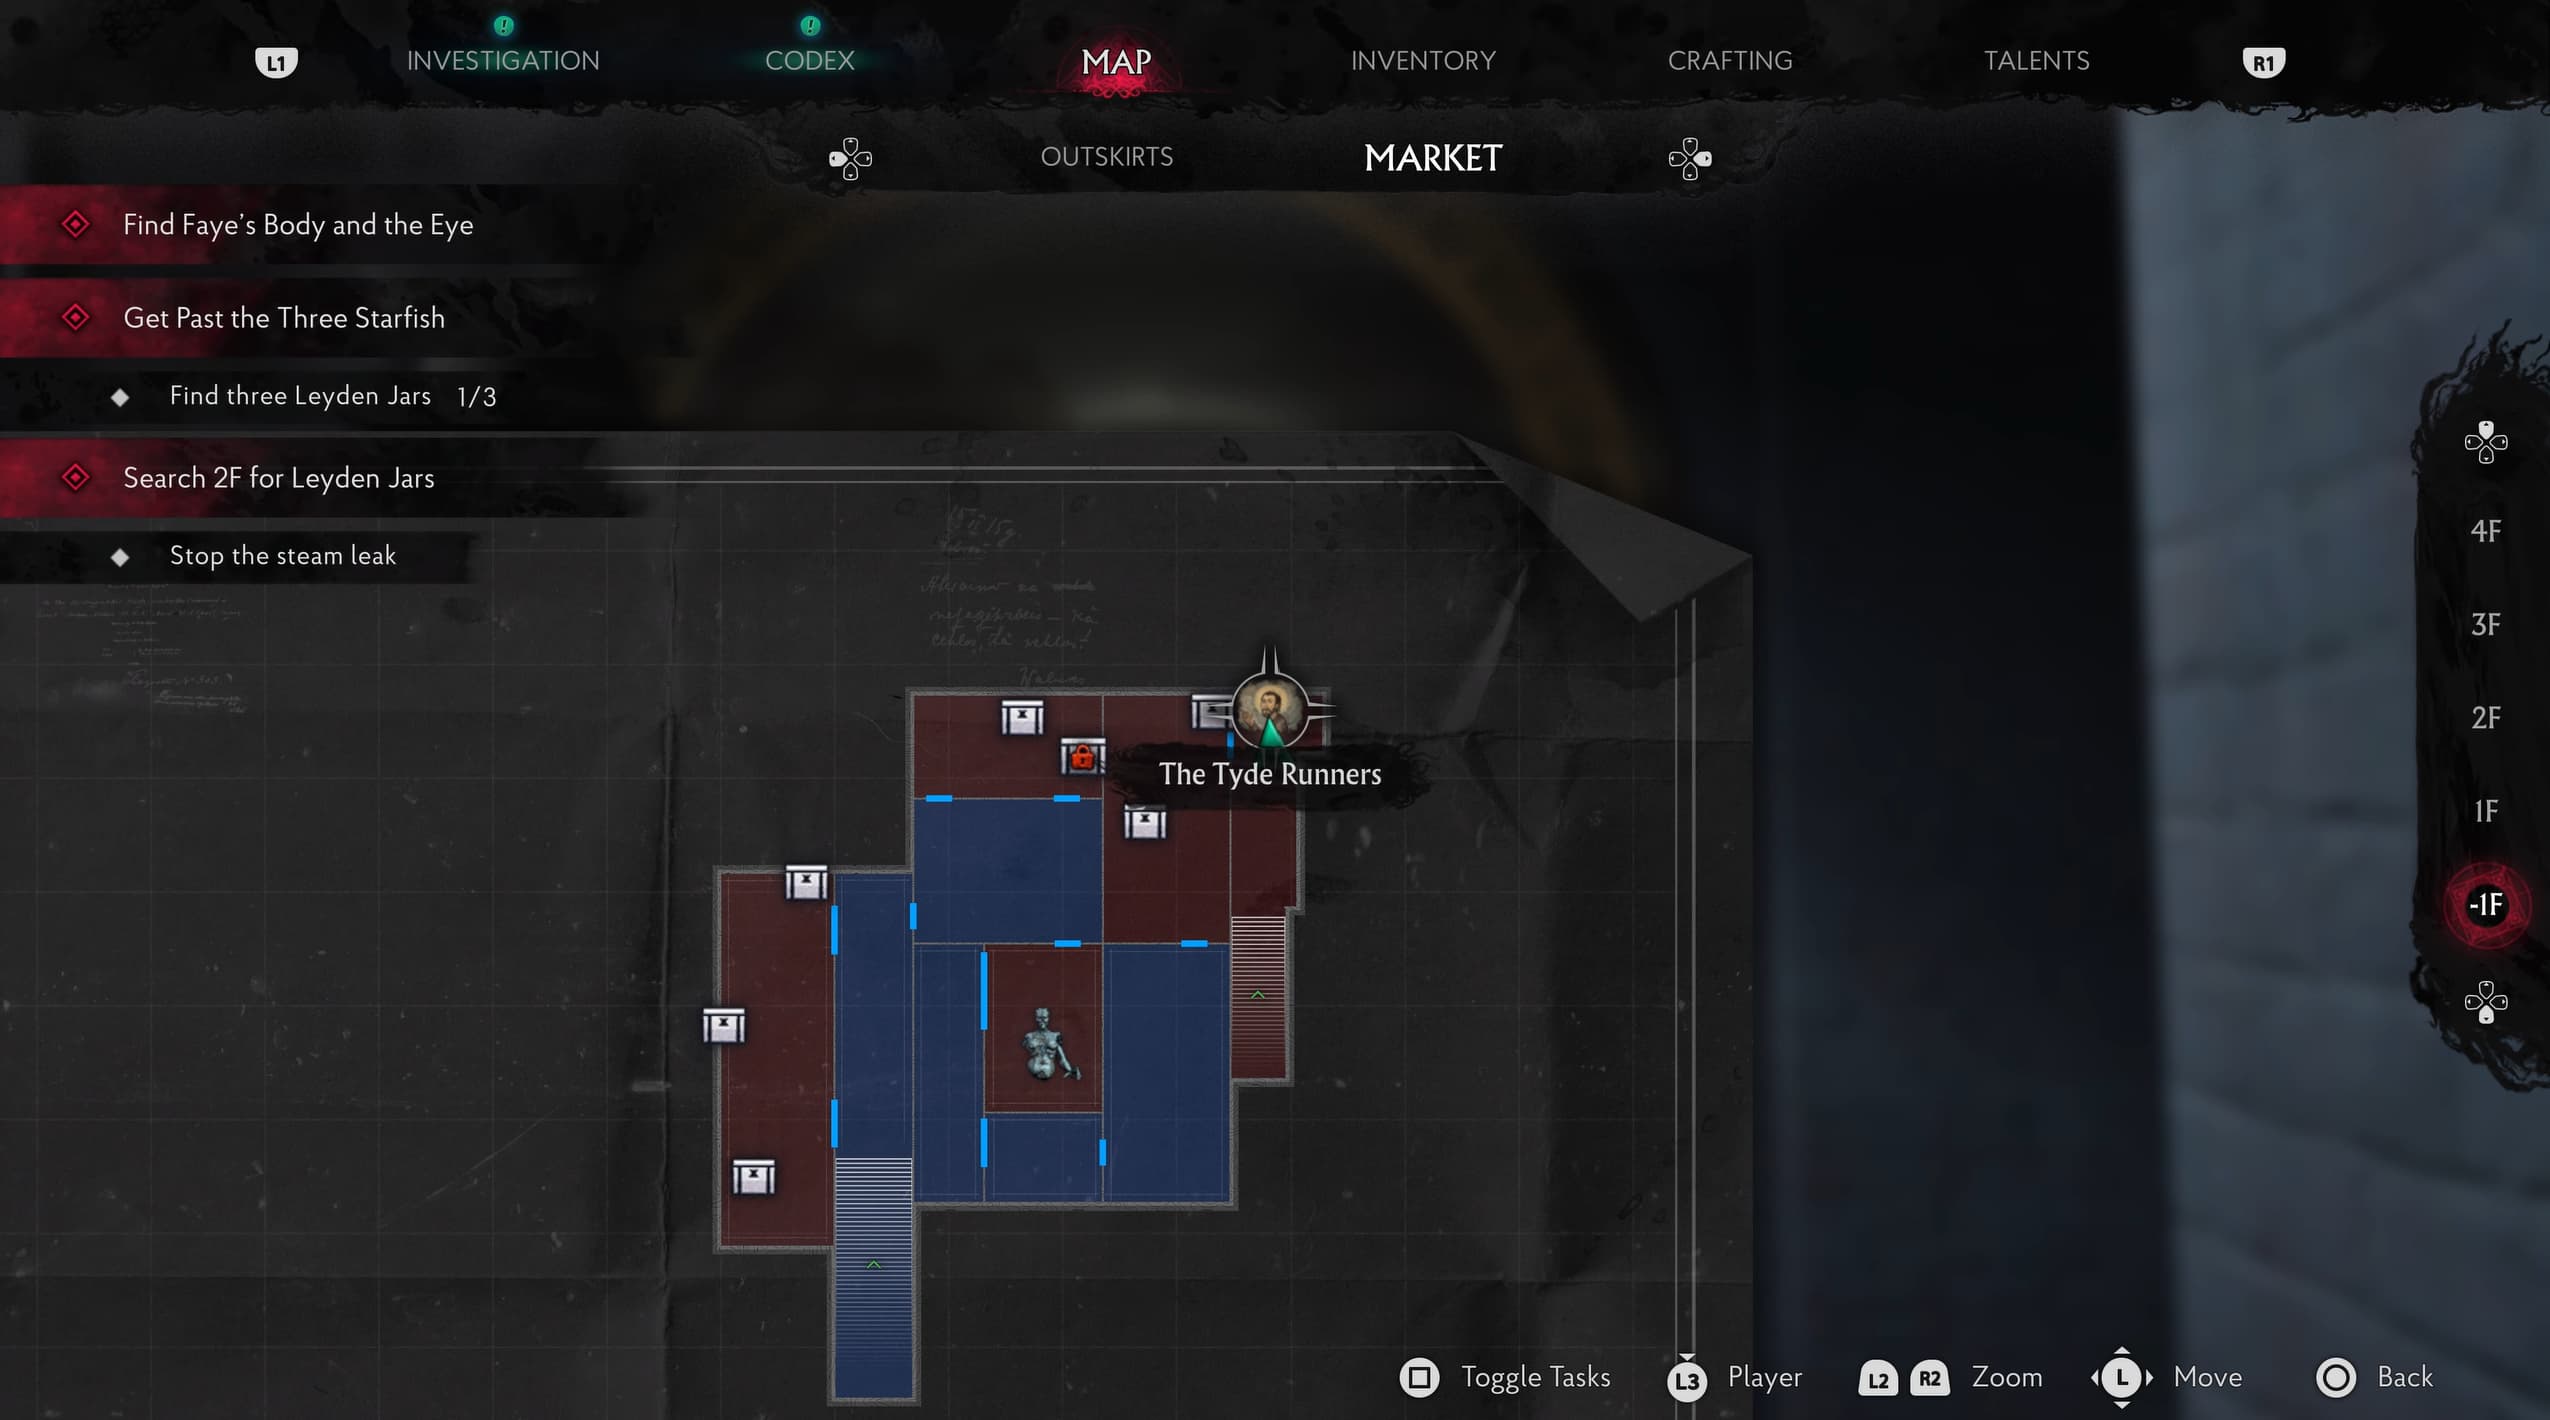
Keep advancing through the Cold Storage area to collect the Handwheel and make it out of the other side. After exiting the Cold Storage on the other side, to the left will be a mural on the wall, looking at the mural will automatically give you an Evidence (Old Freddie - Ex Voto) and this mural in itself is a puzzle to complete.
After doing so and collecting Freddie's Urn (Key Item) from the puzzle, make it up the ramp to use the Handwheel on the Valve where we were stood earlier.
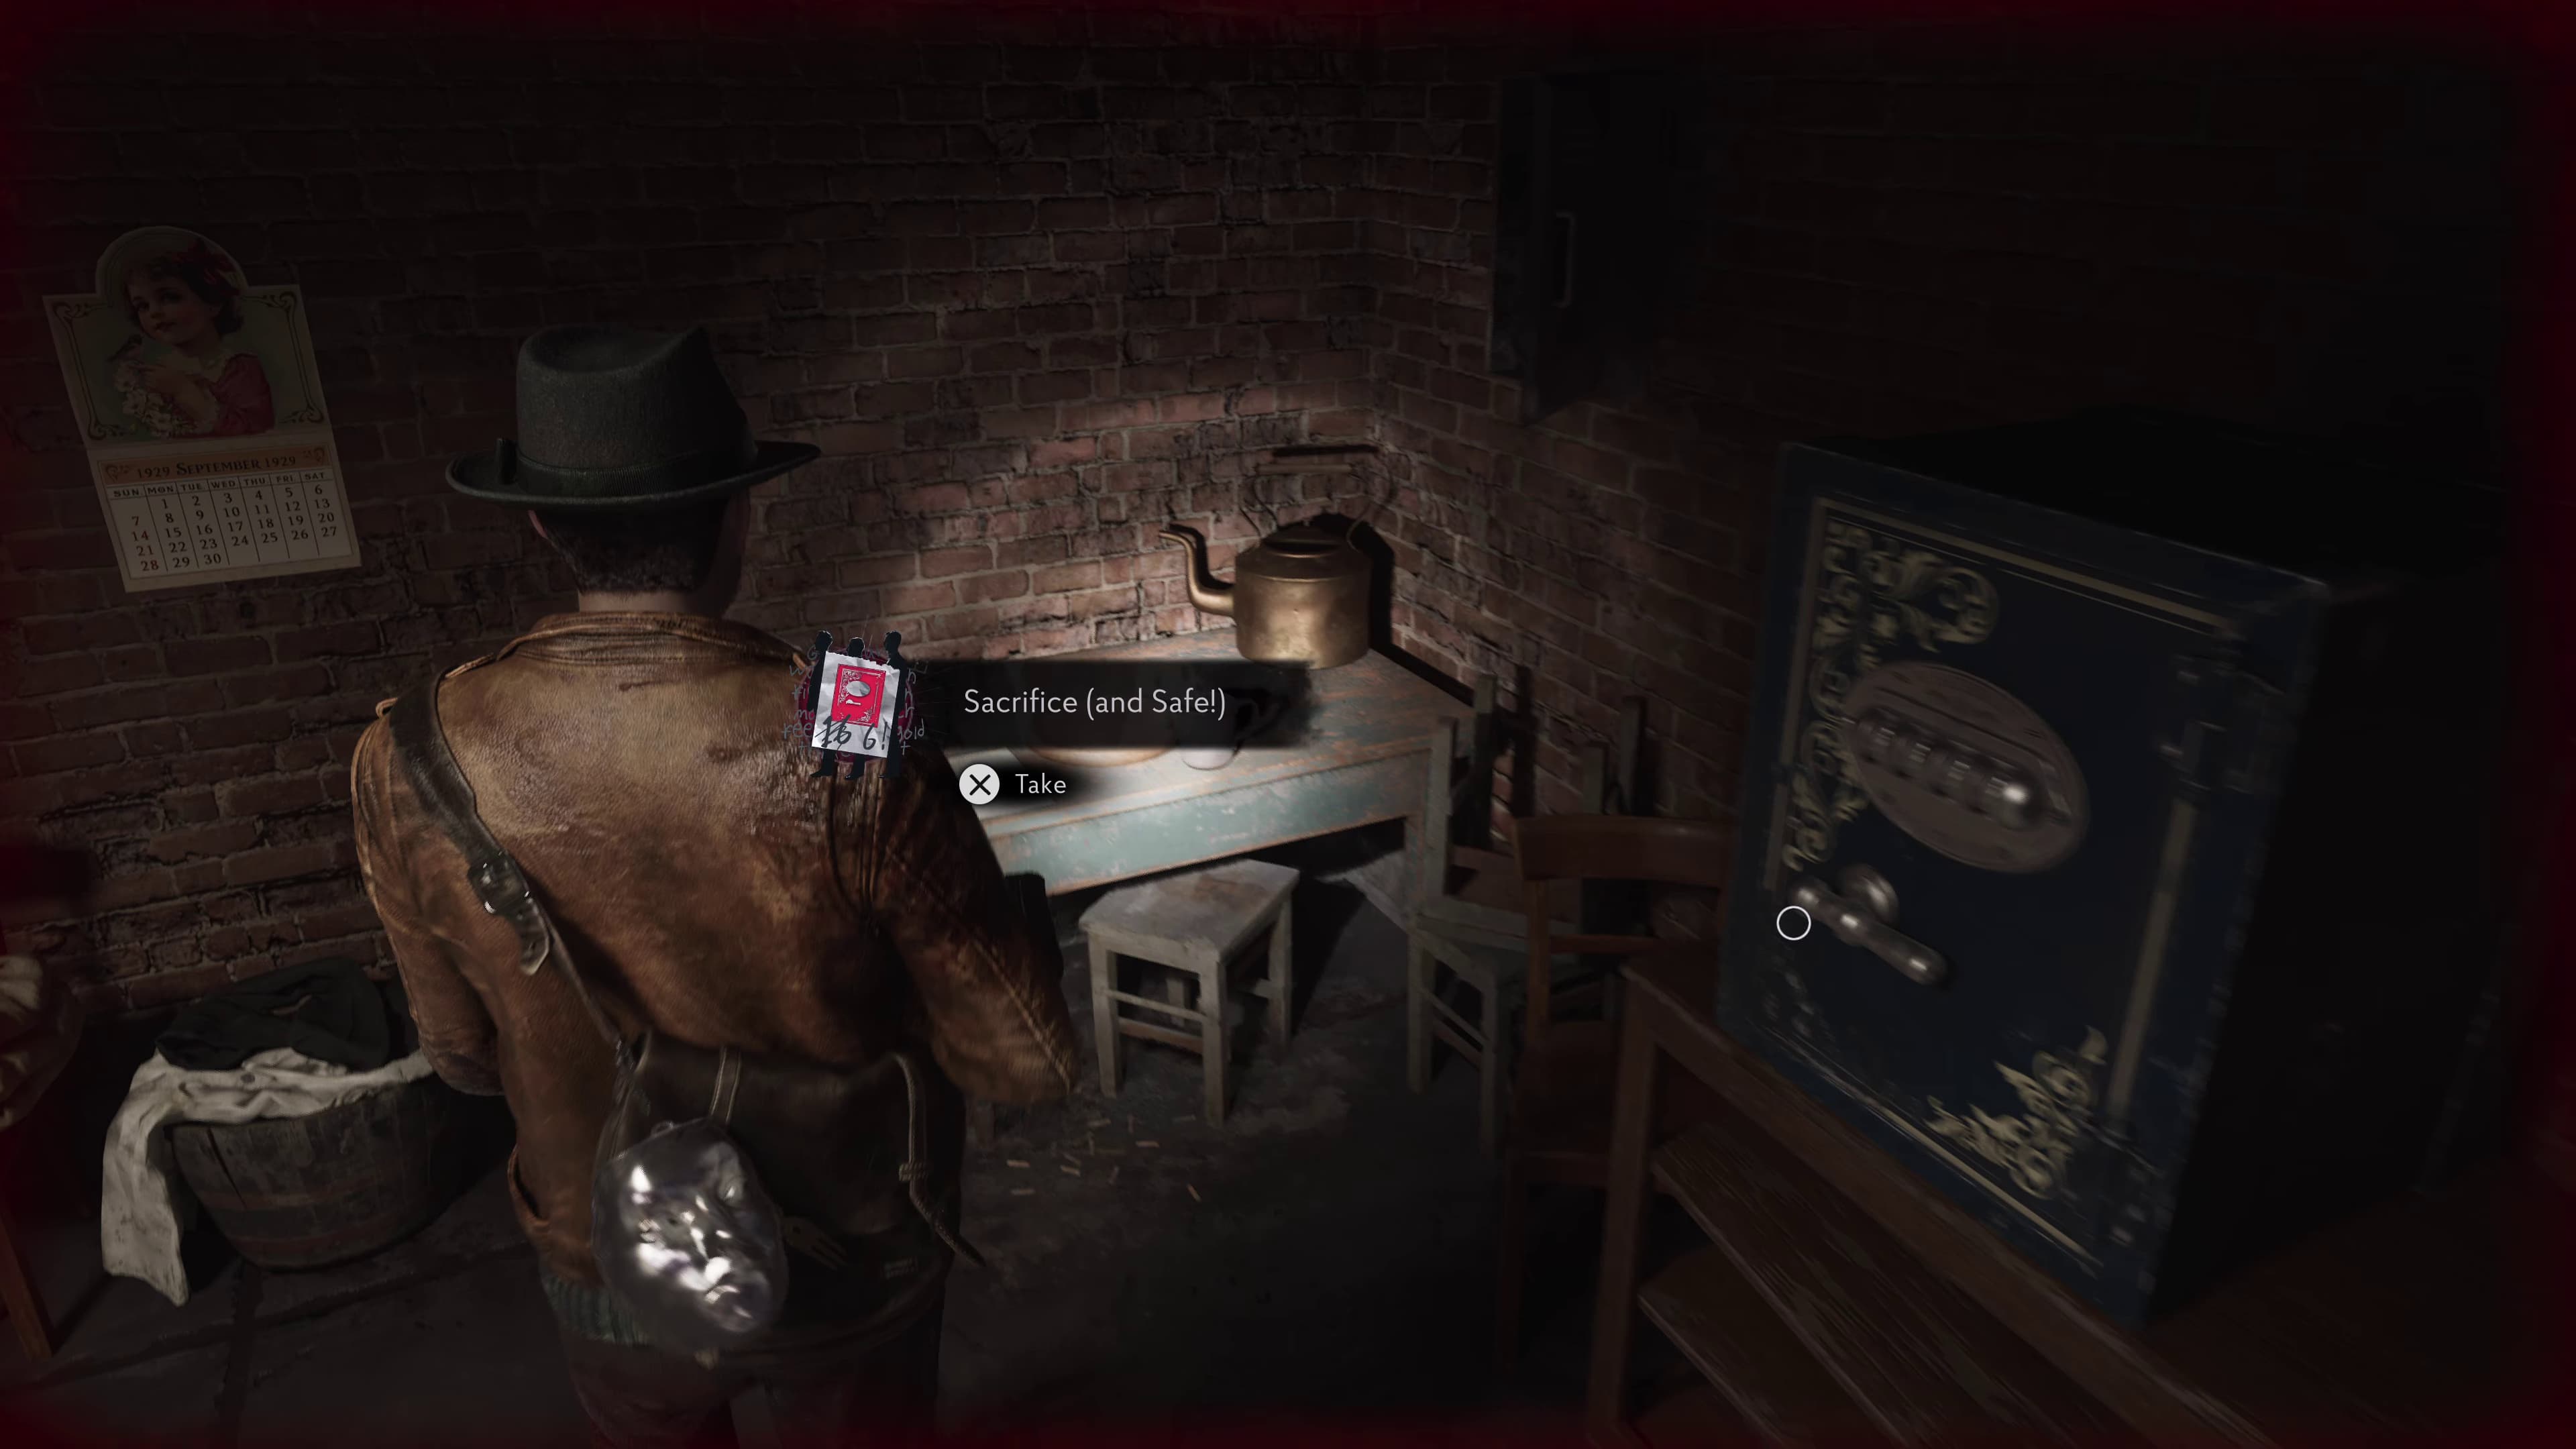
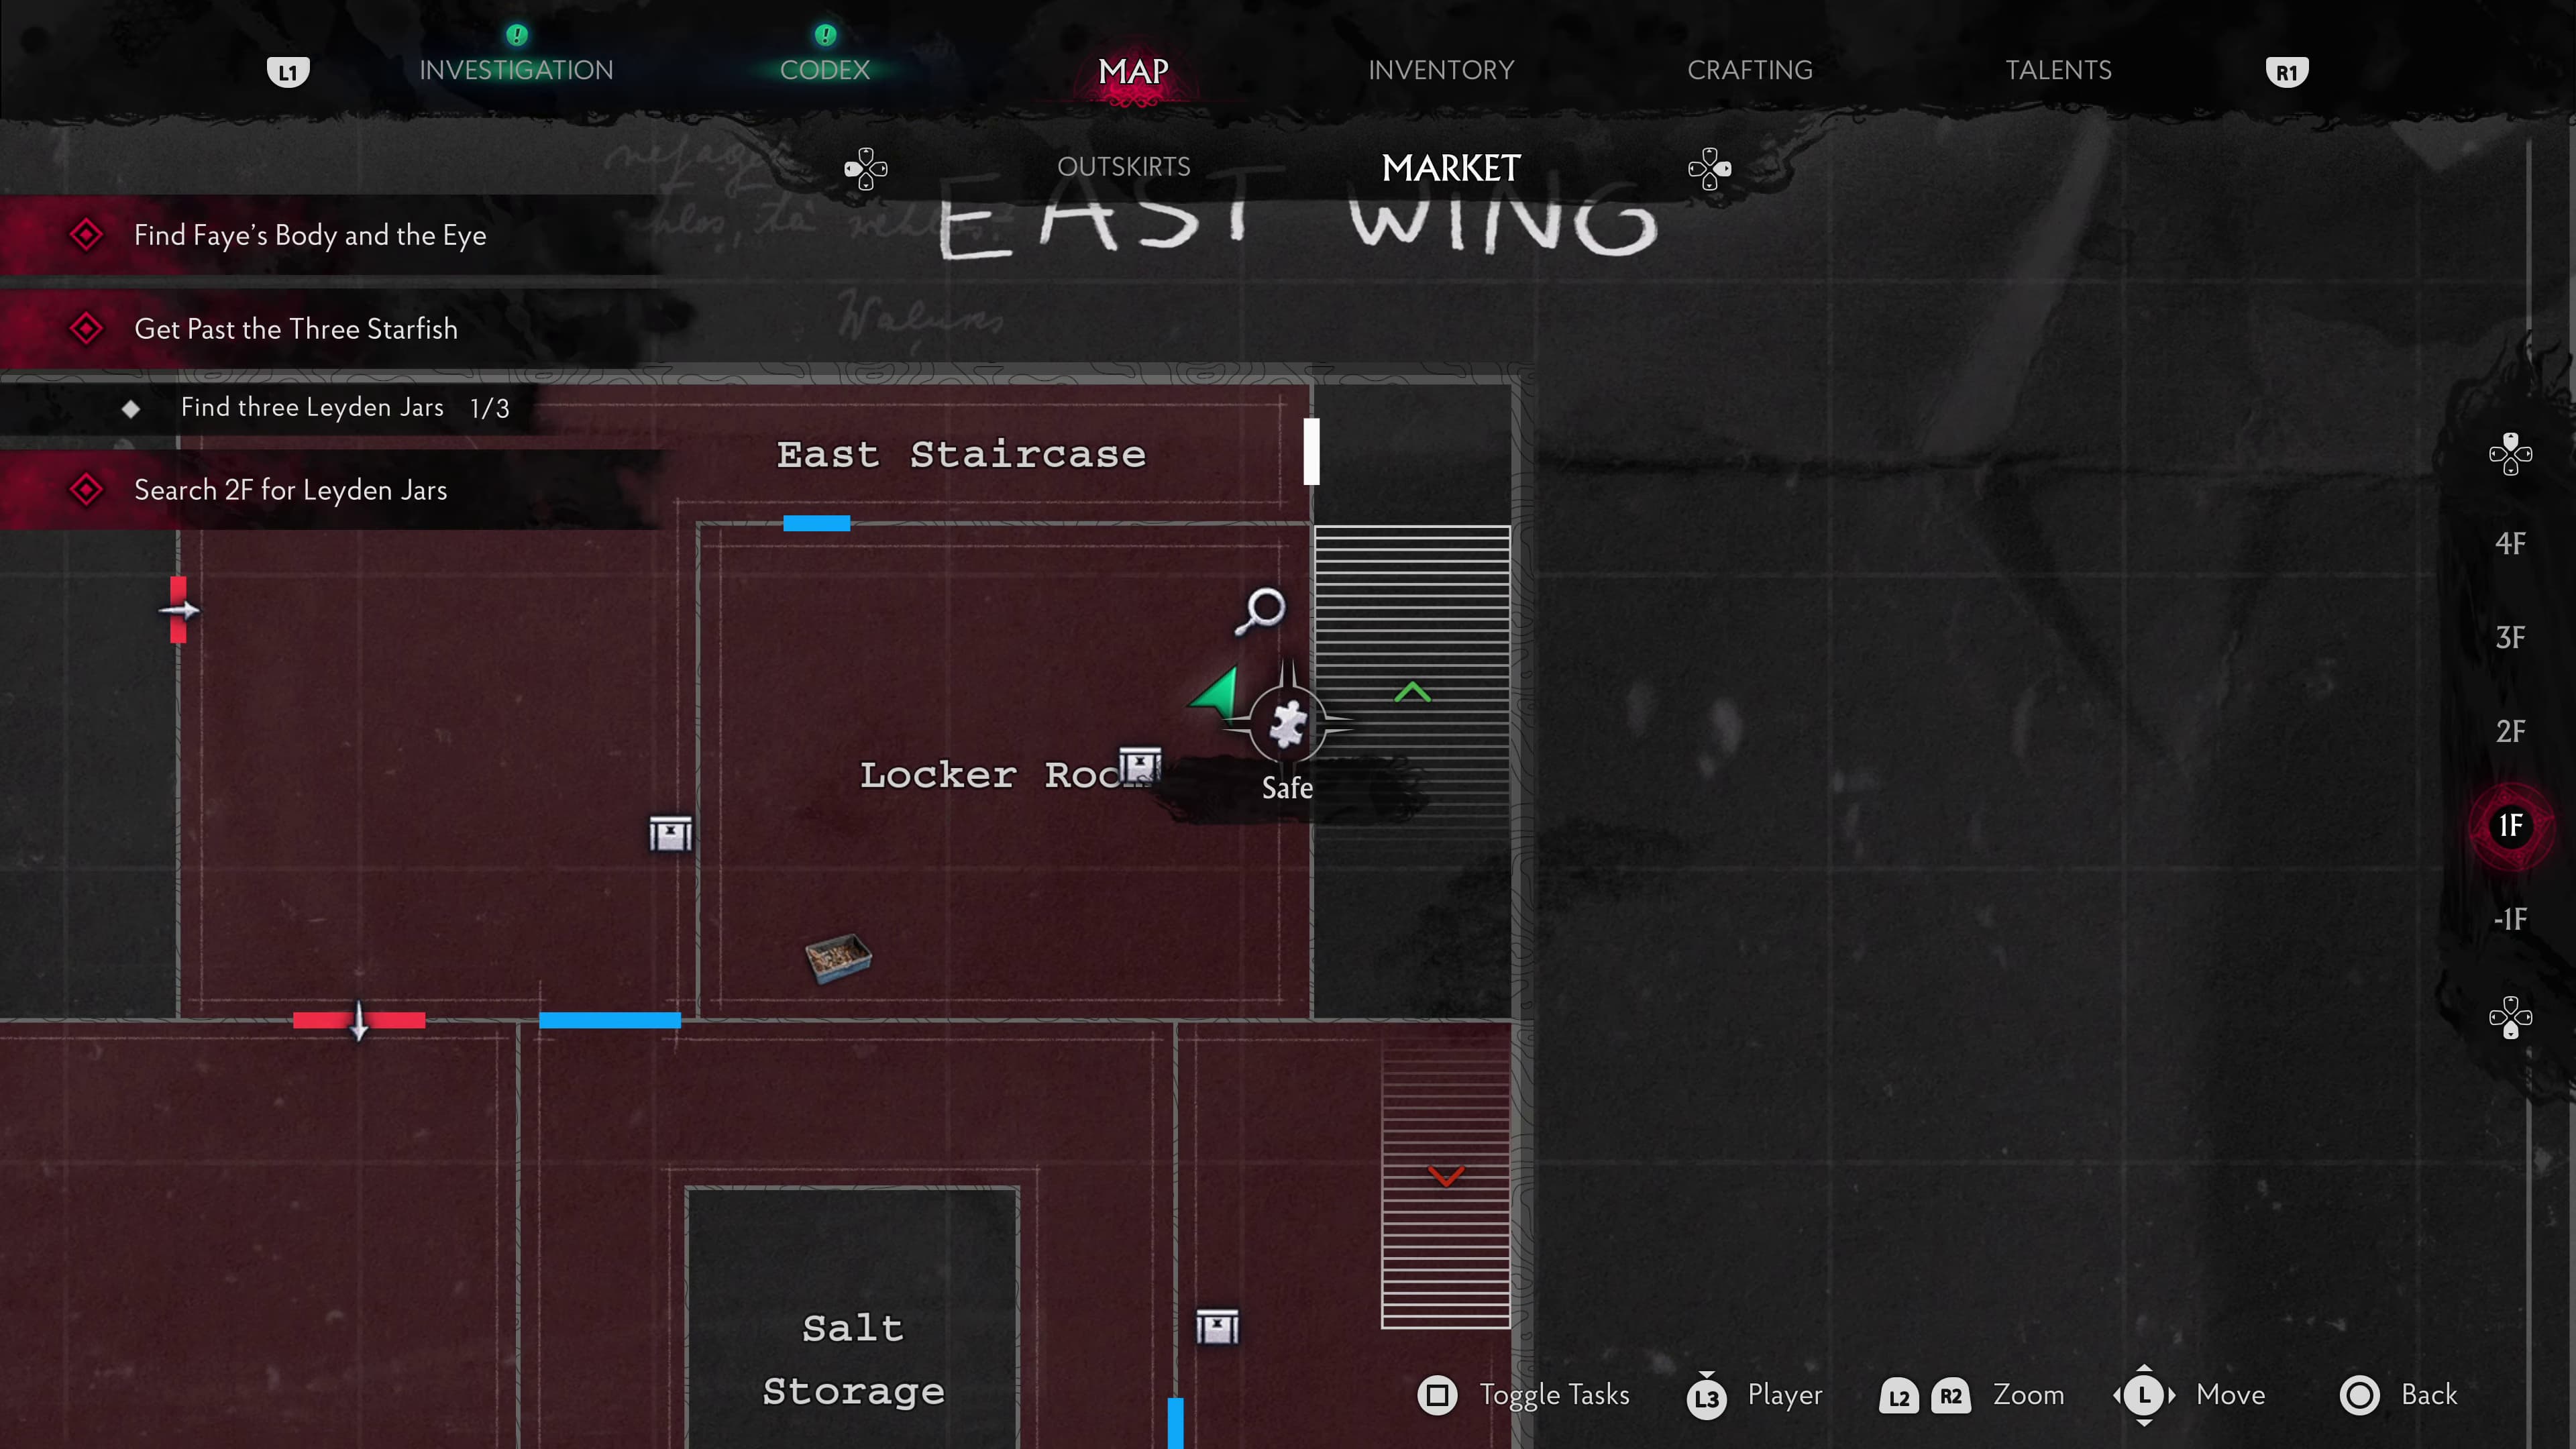
Keep progressing to make it into the Locker Room, and on the table by the safe will be the next Evidence (Sacrifice (and Safe!)).
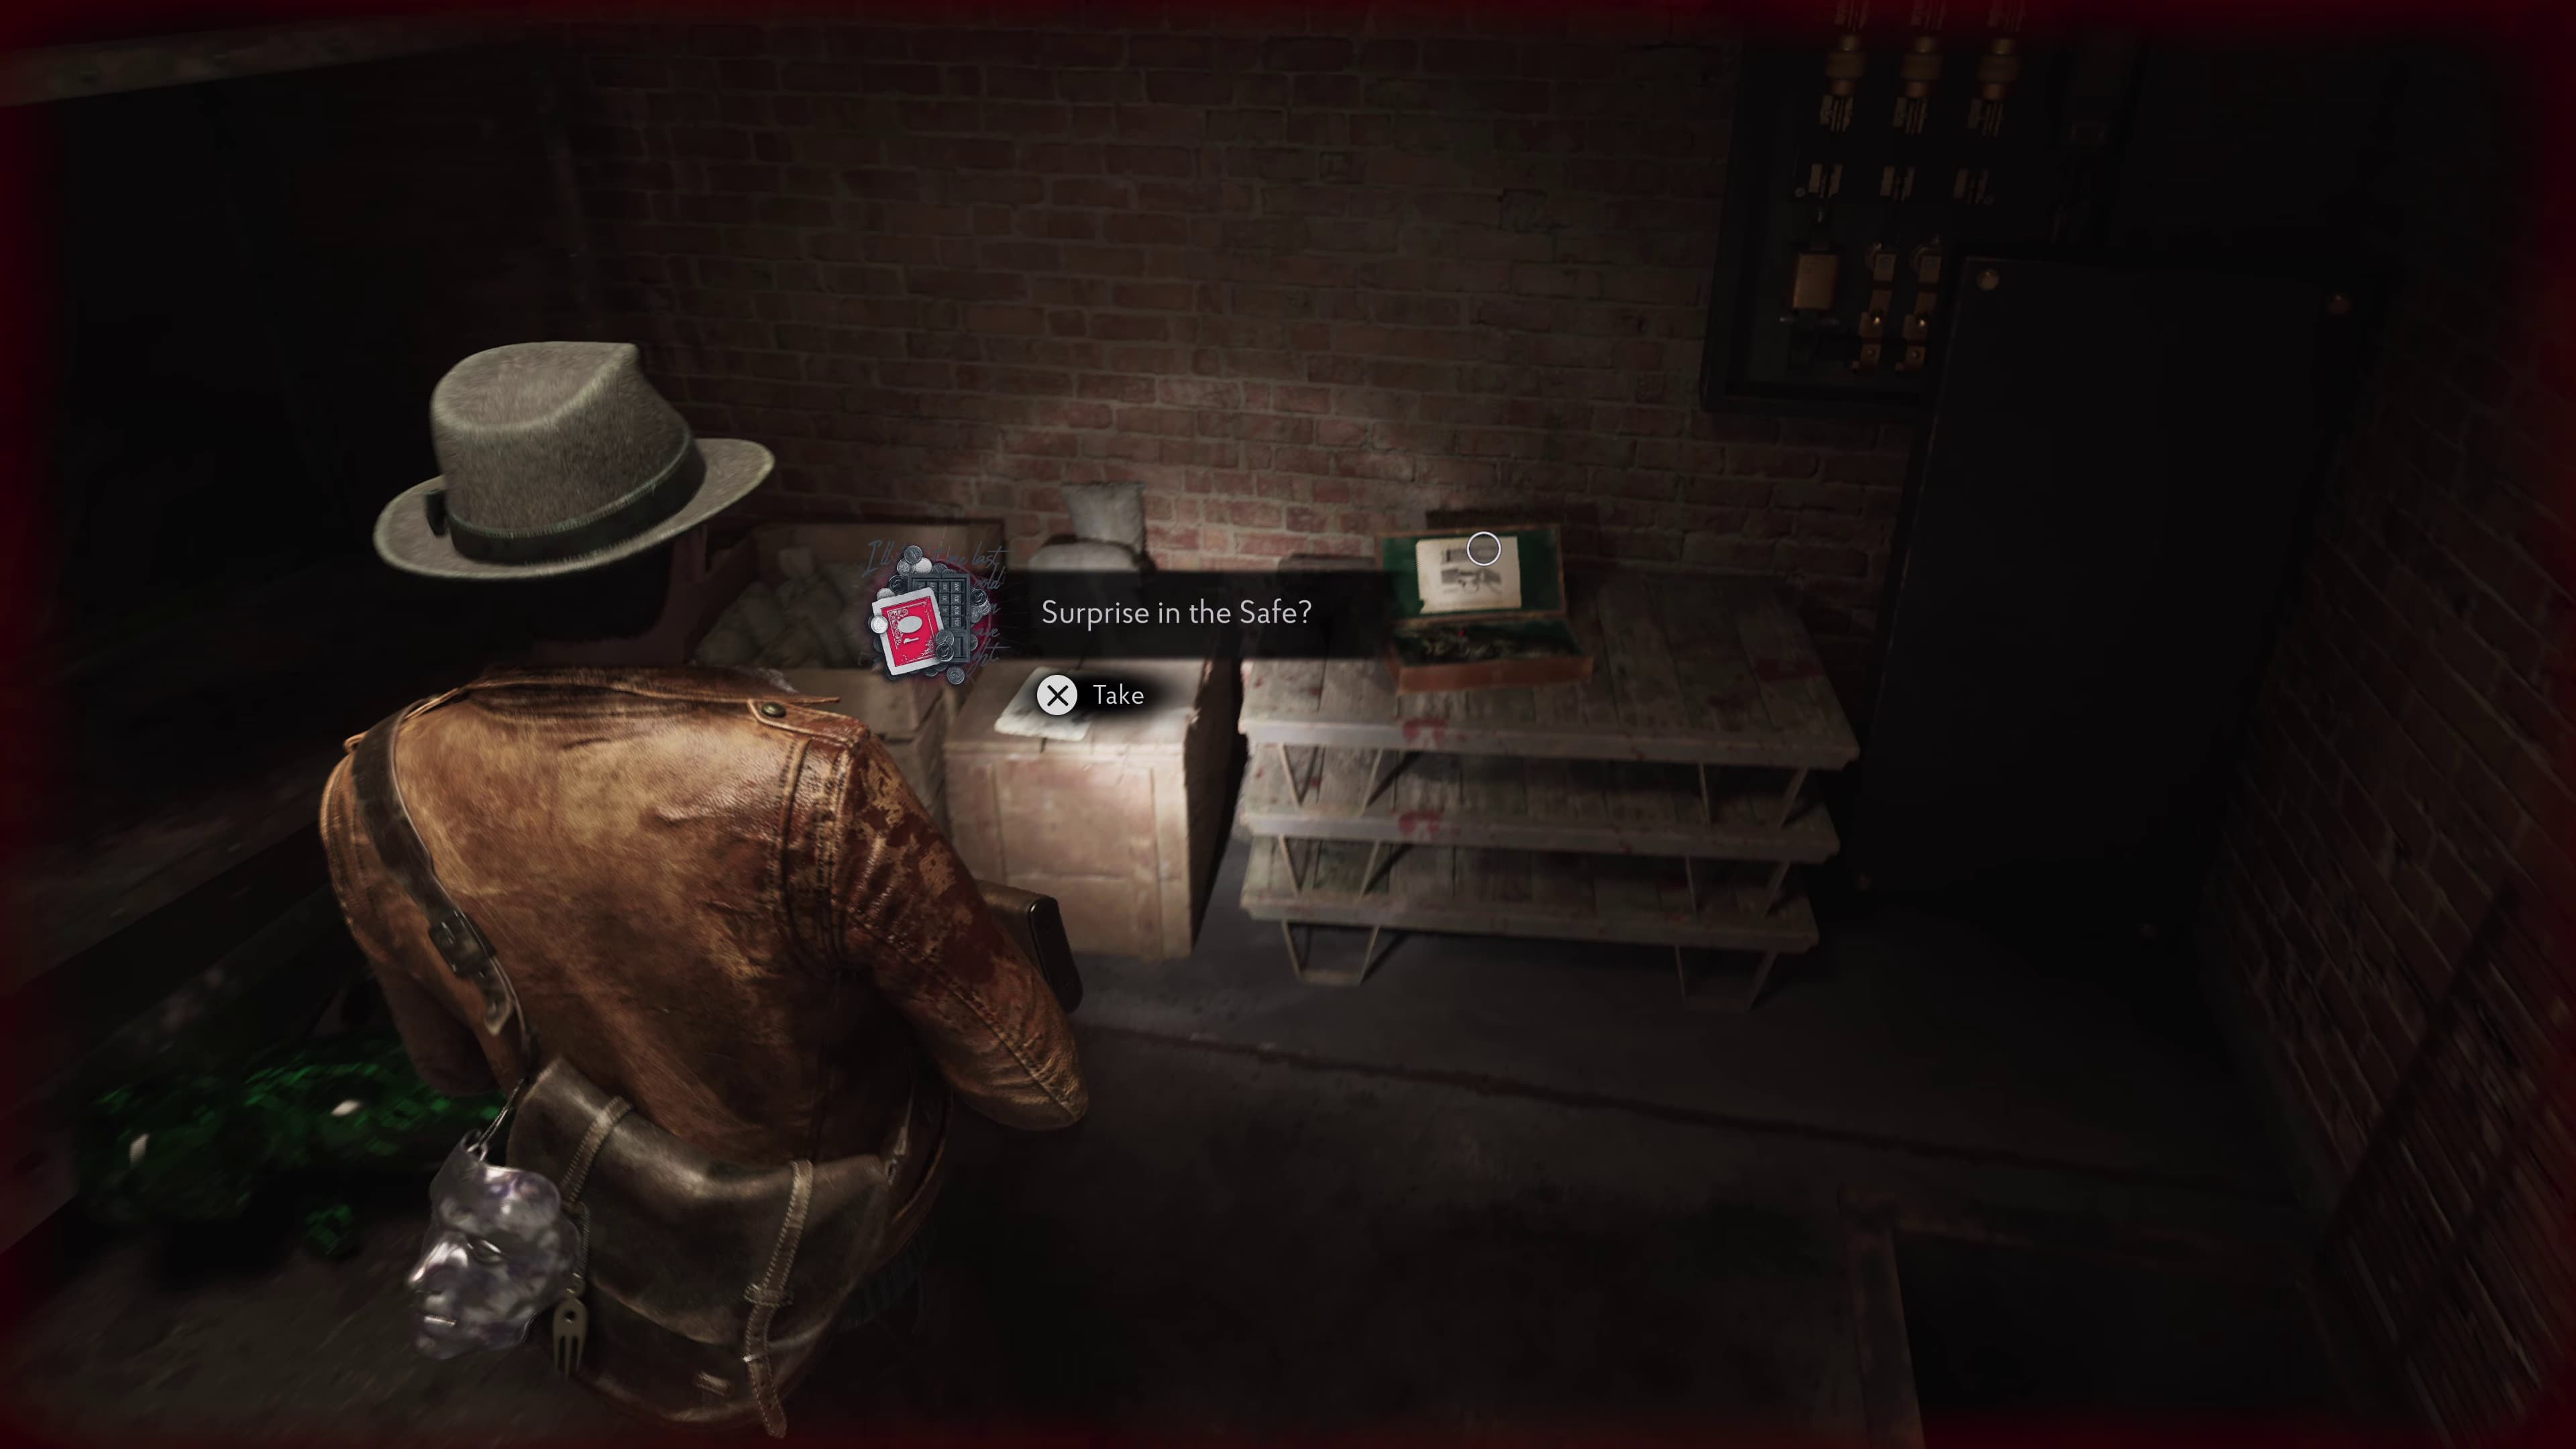
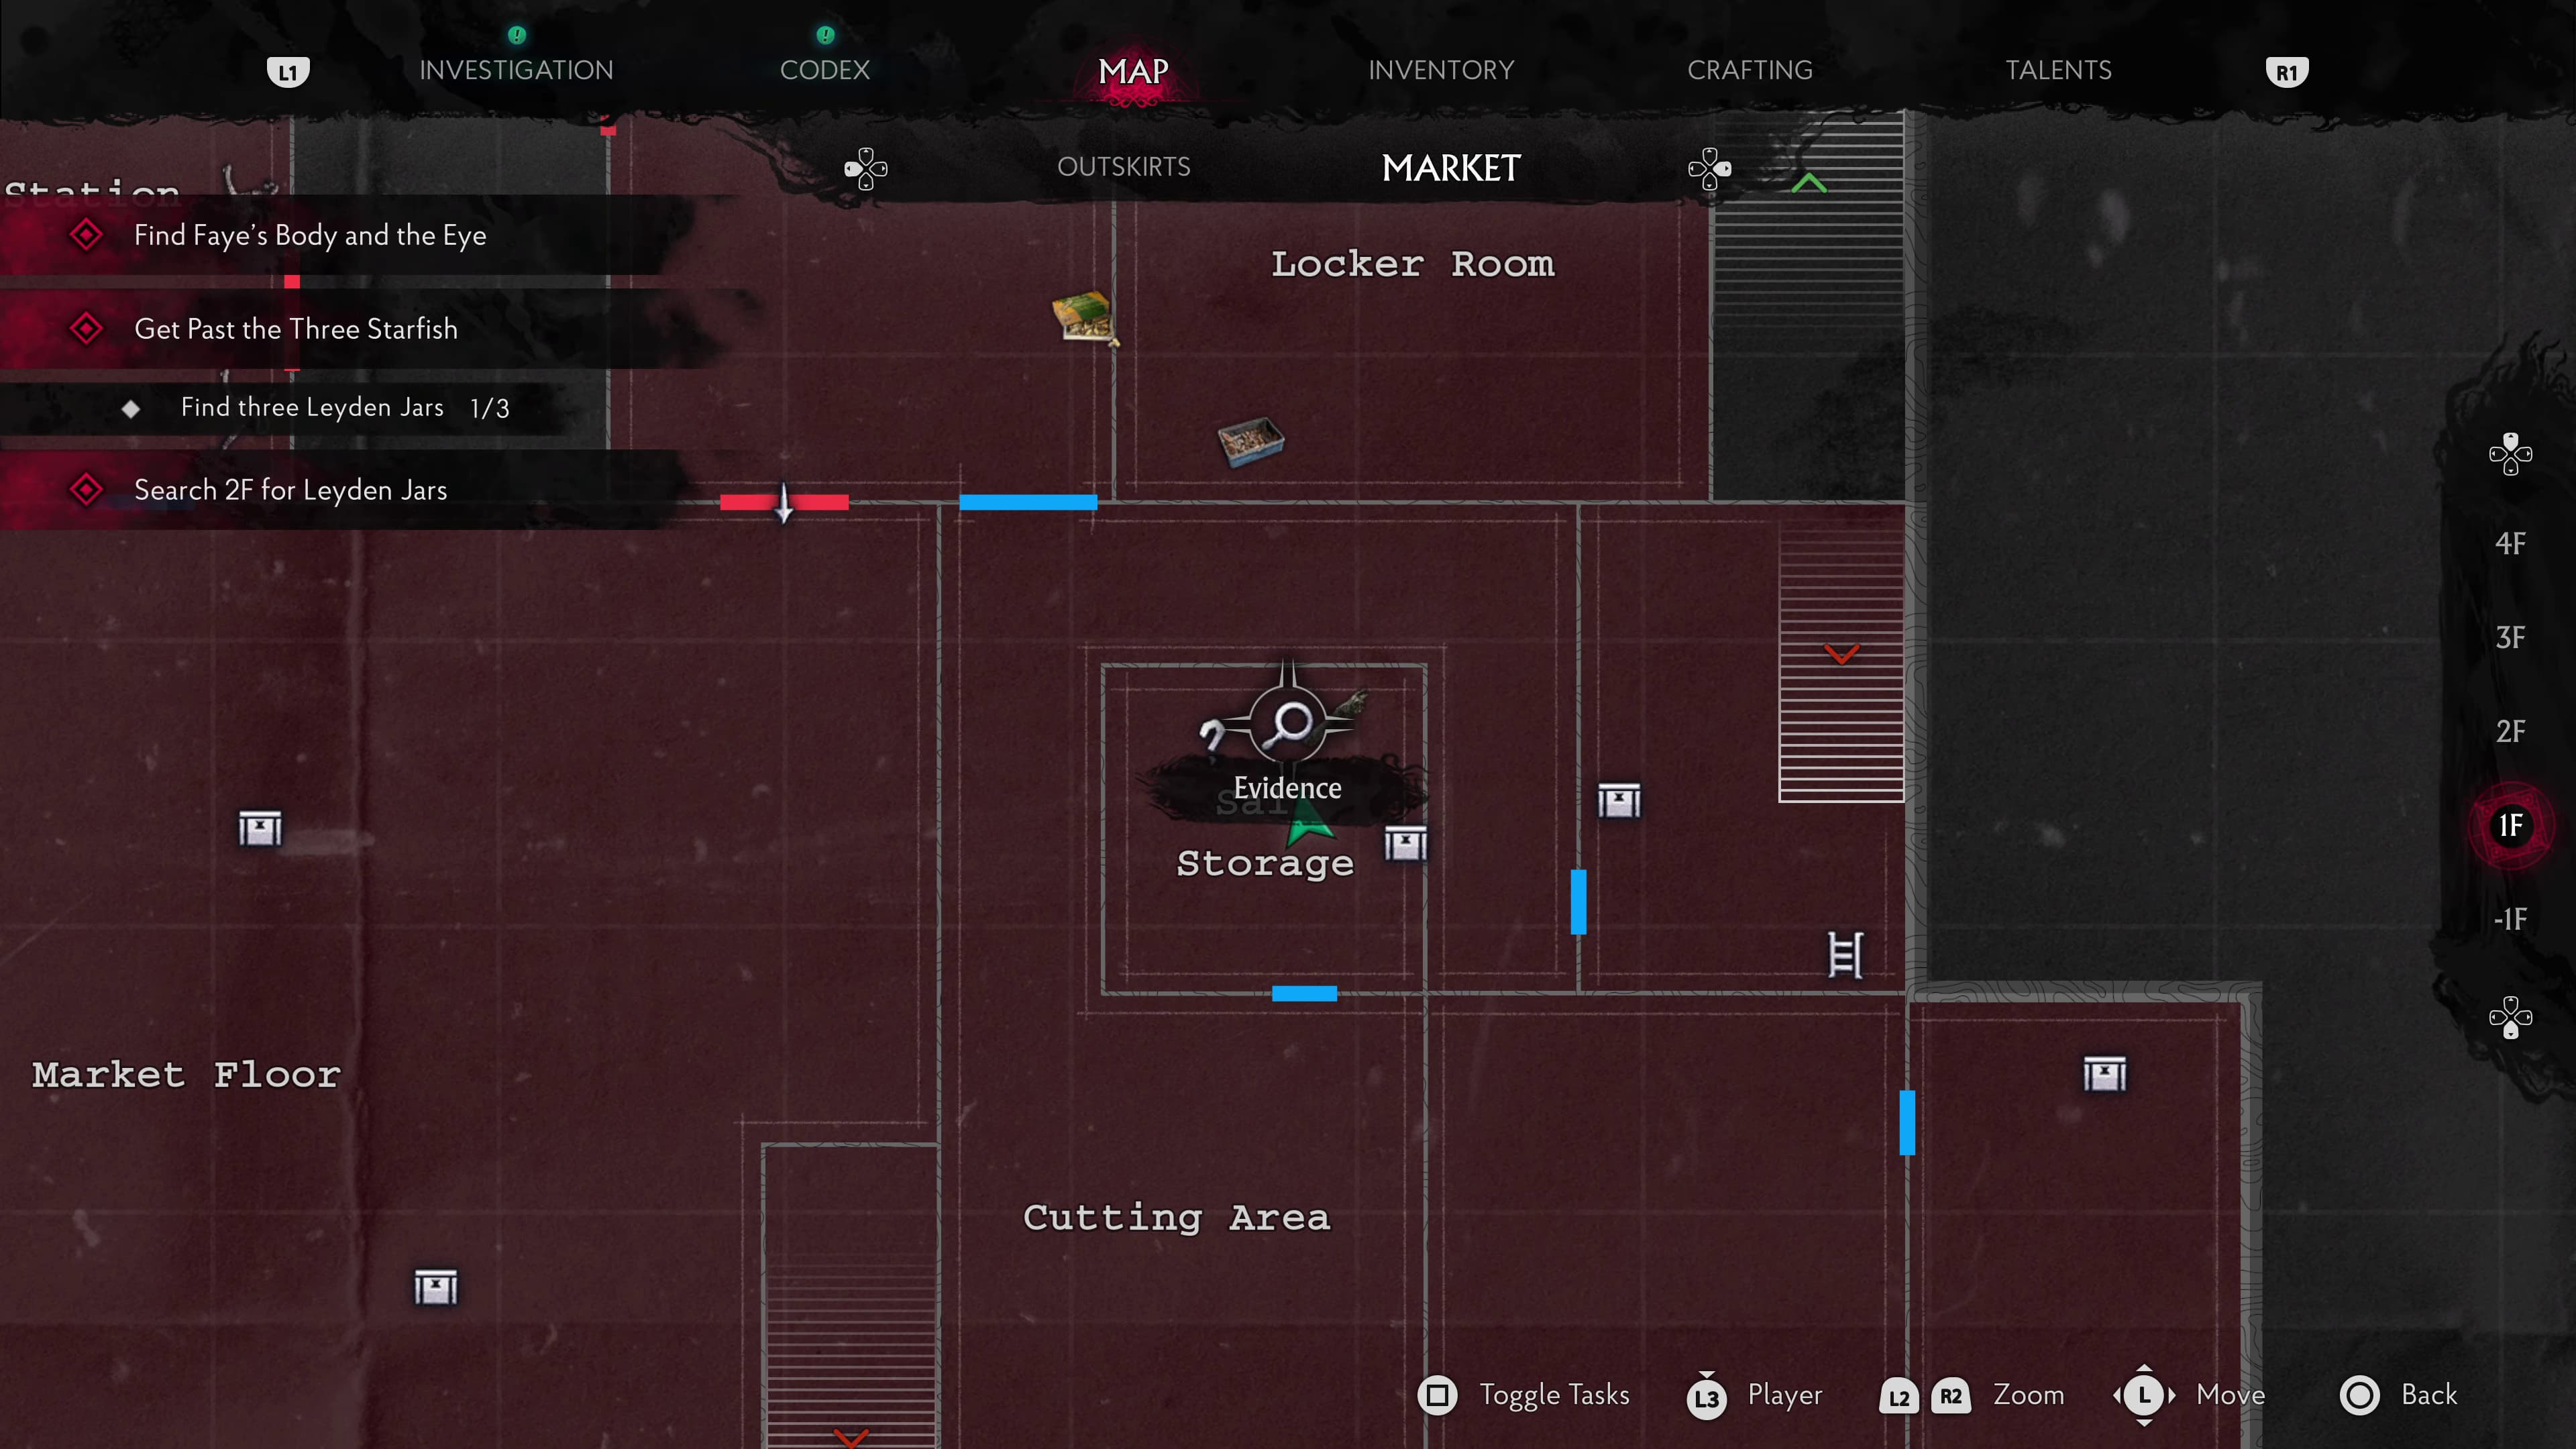
Backtracking a little, head down to the Salt Storage door, unlocking this one (Code I, IV, IX, XVI) and inside will be the next Evidence (Surprise in the Safe?).
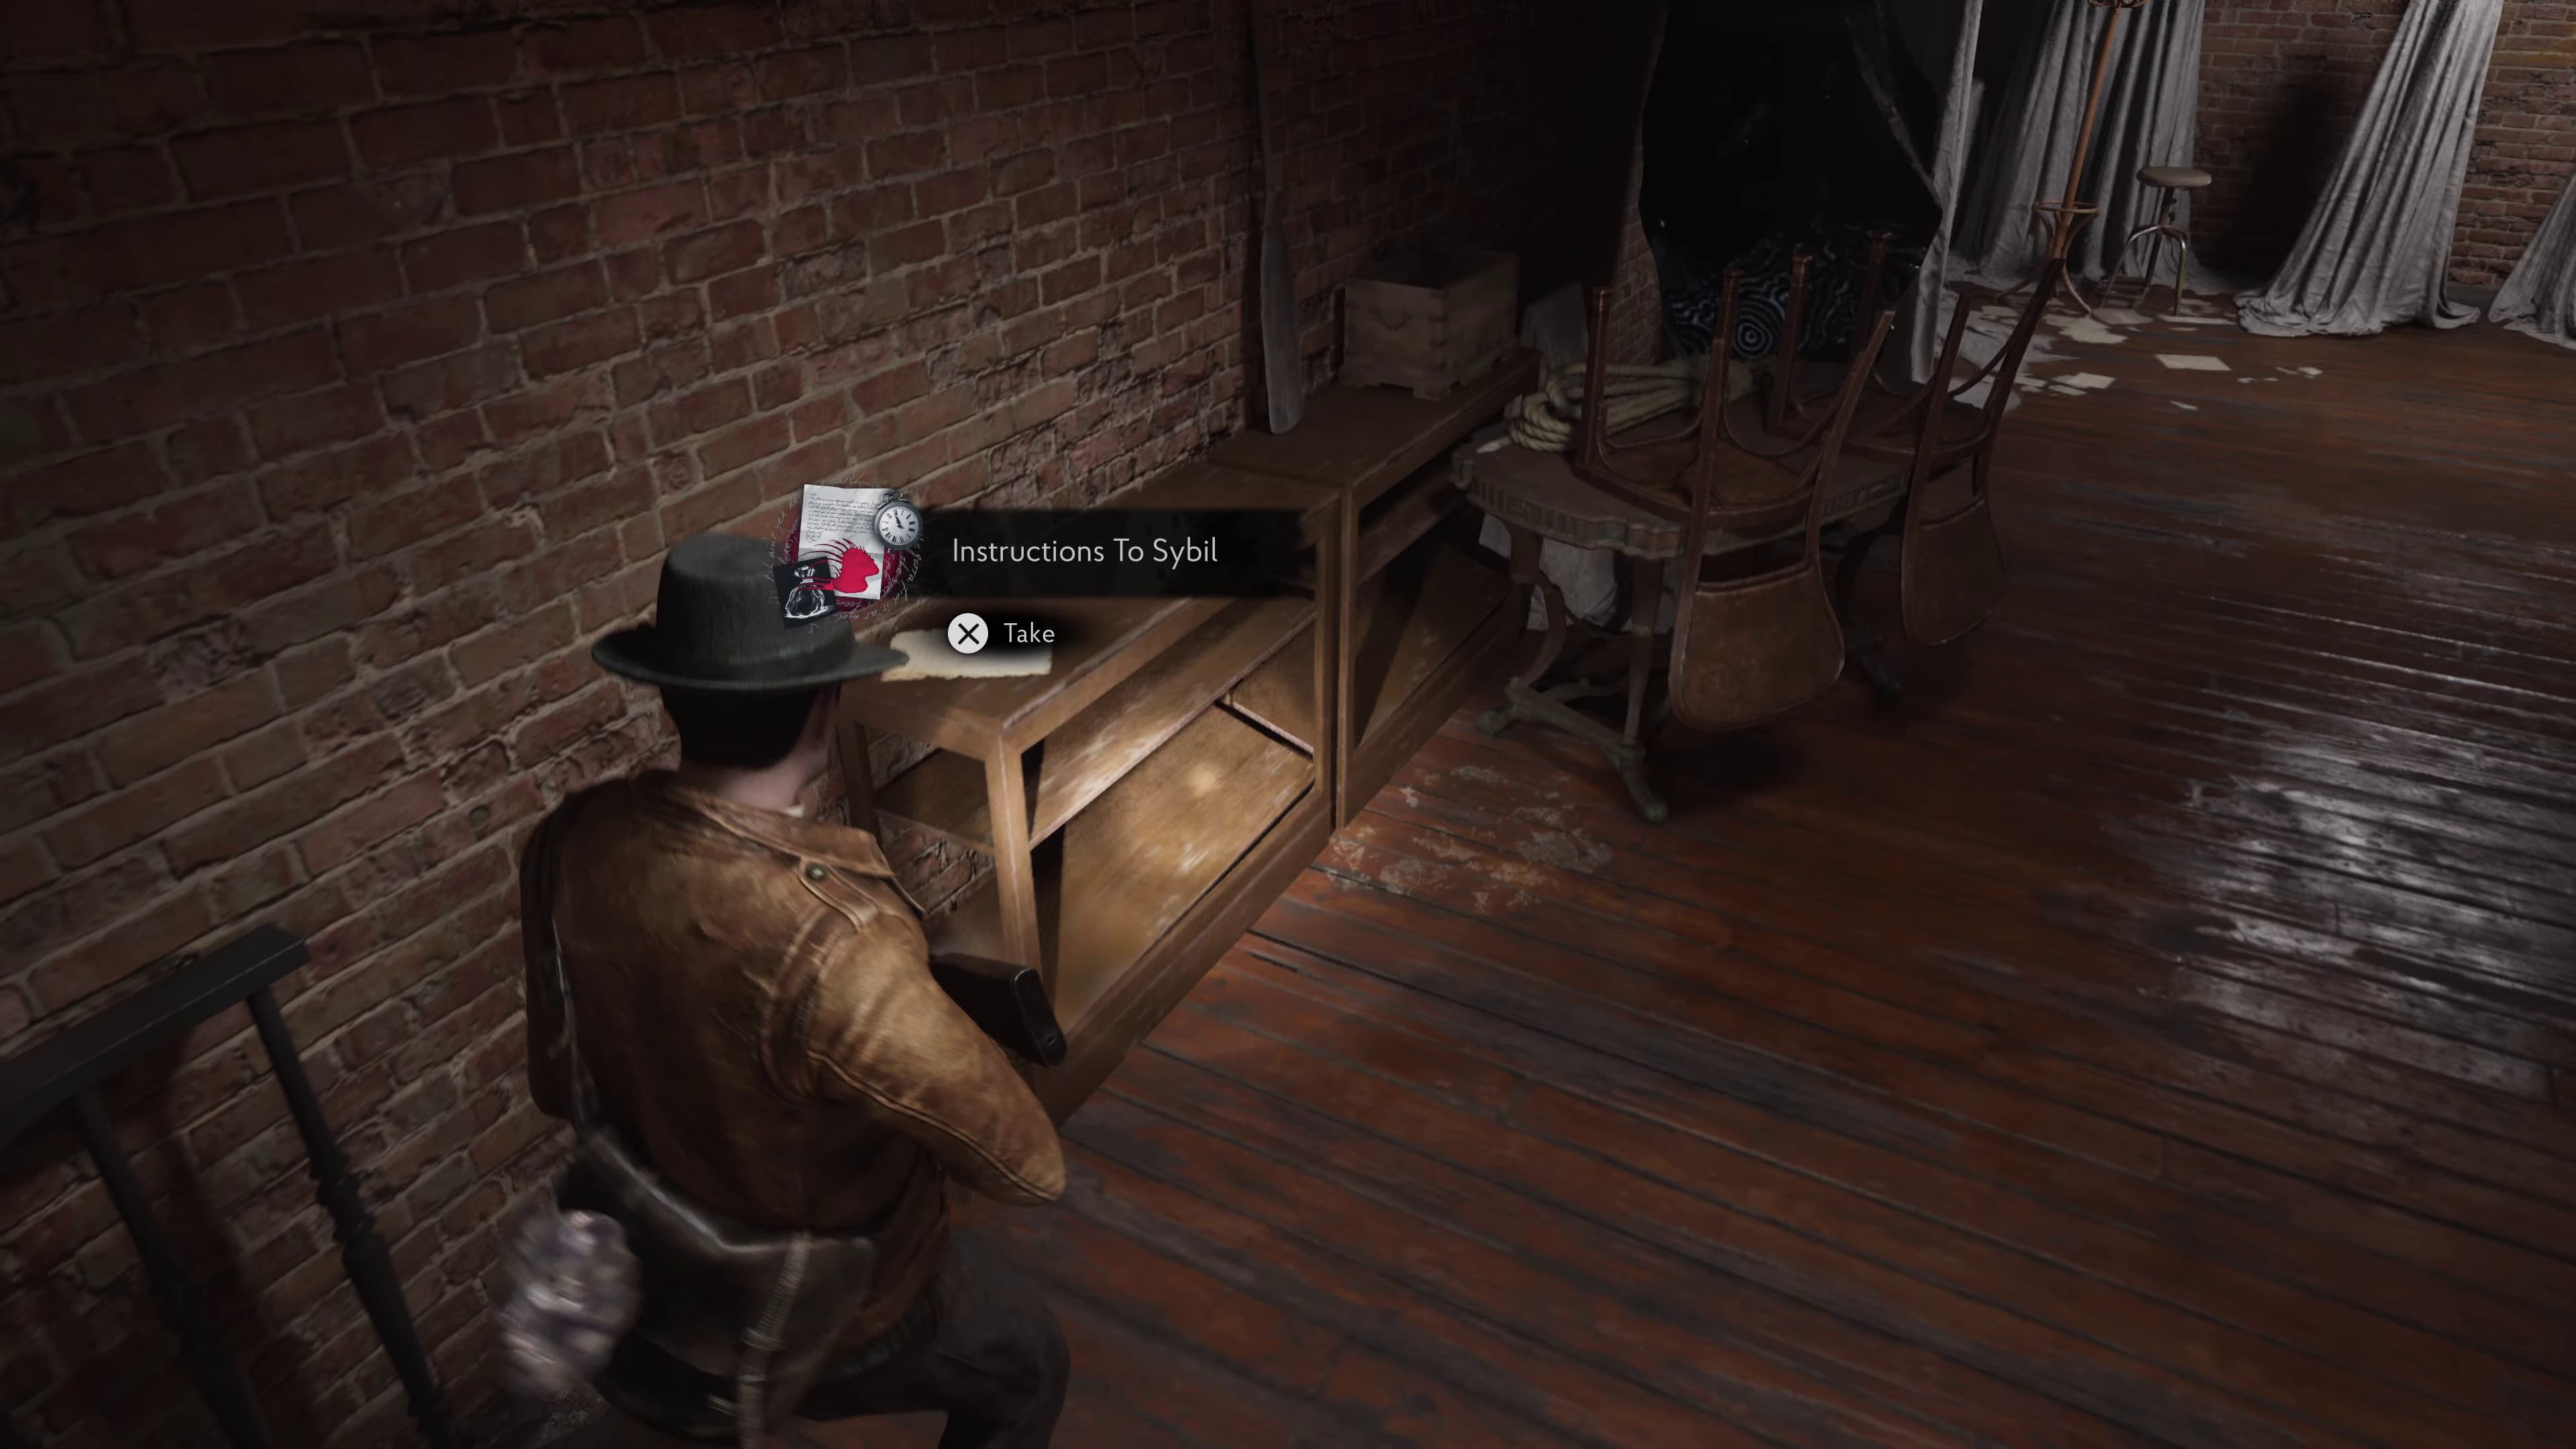
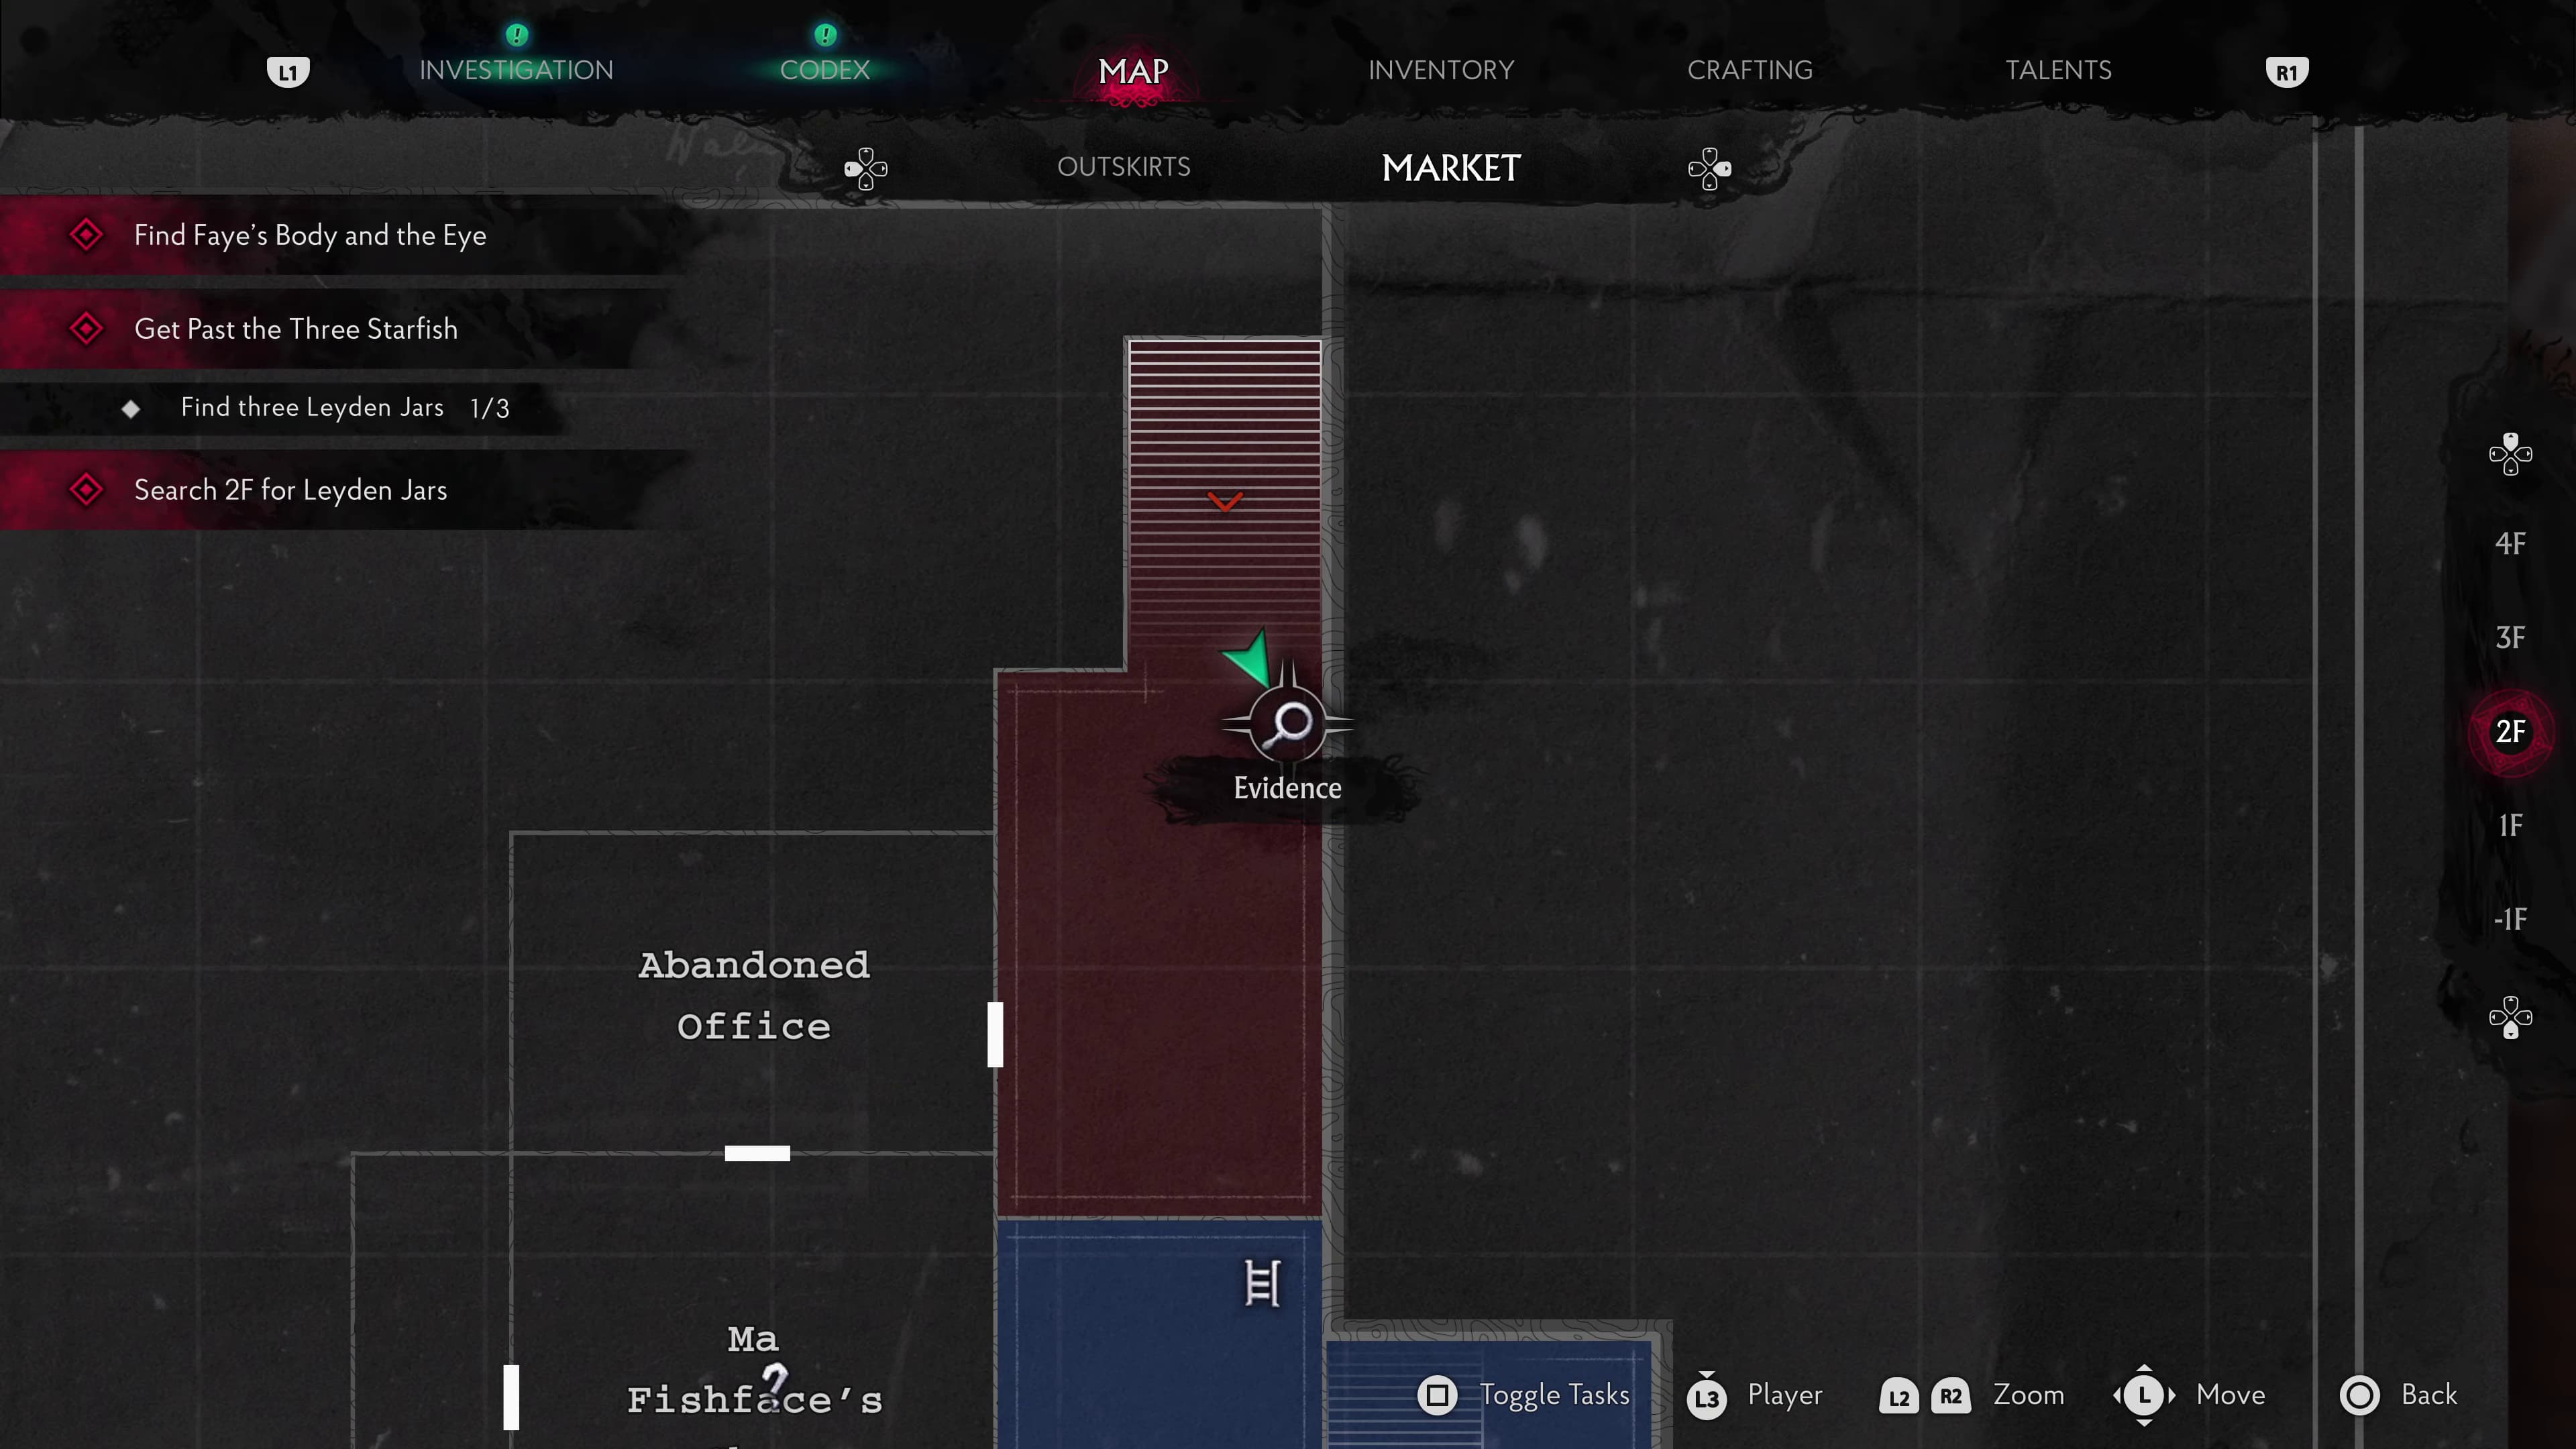
Advancing on again to the East Staircase, make your way up these stairs past the Locker Room, at the top of the stairs on the left cabinet will be the next Evidence (Instructions To Sybil).
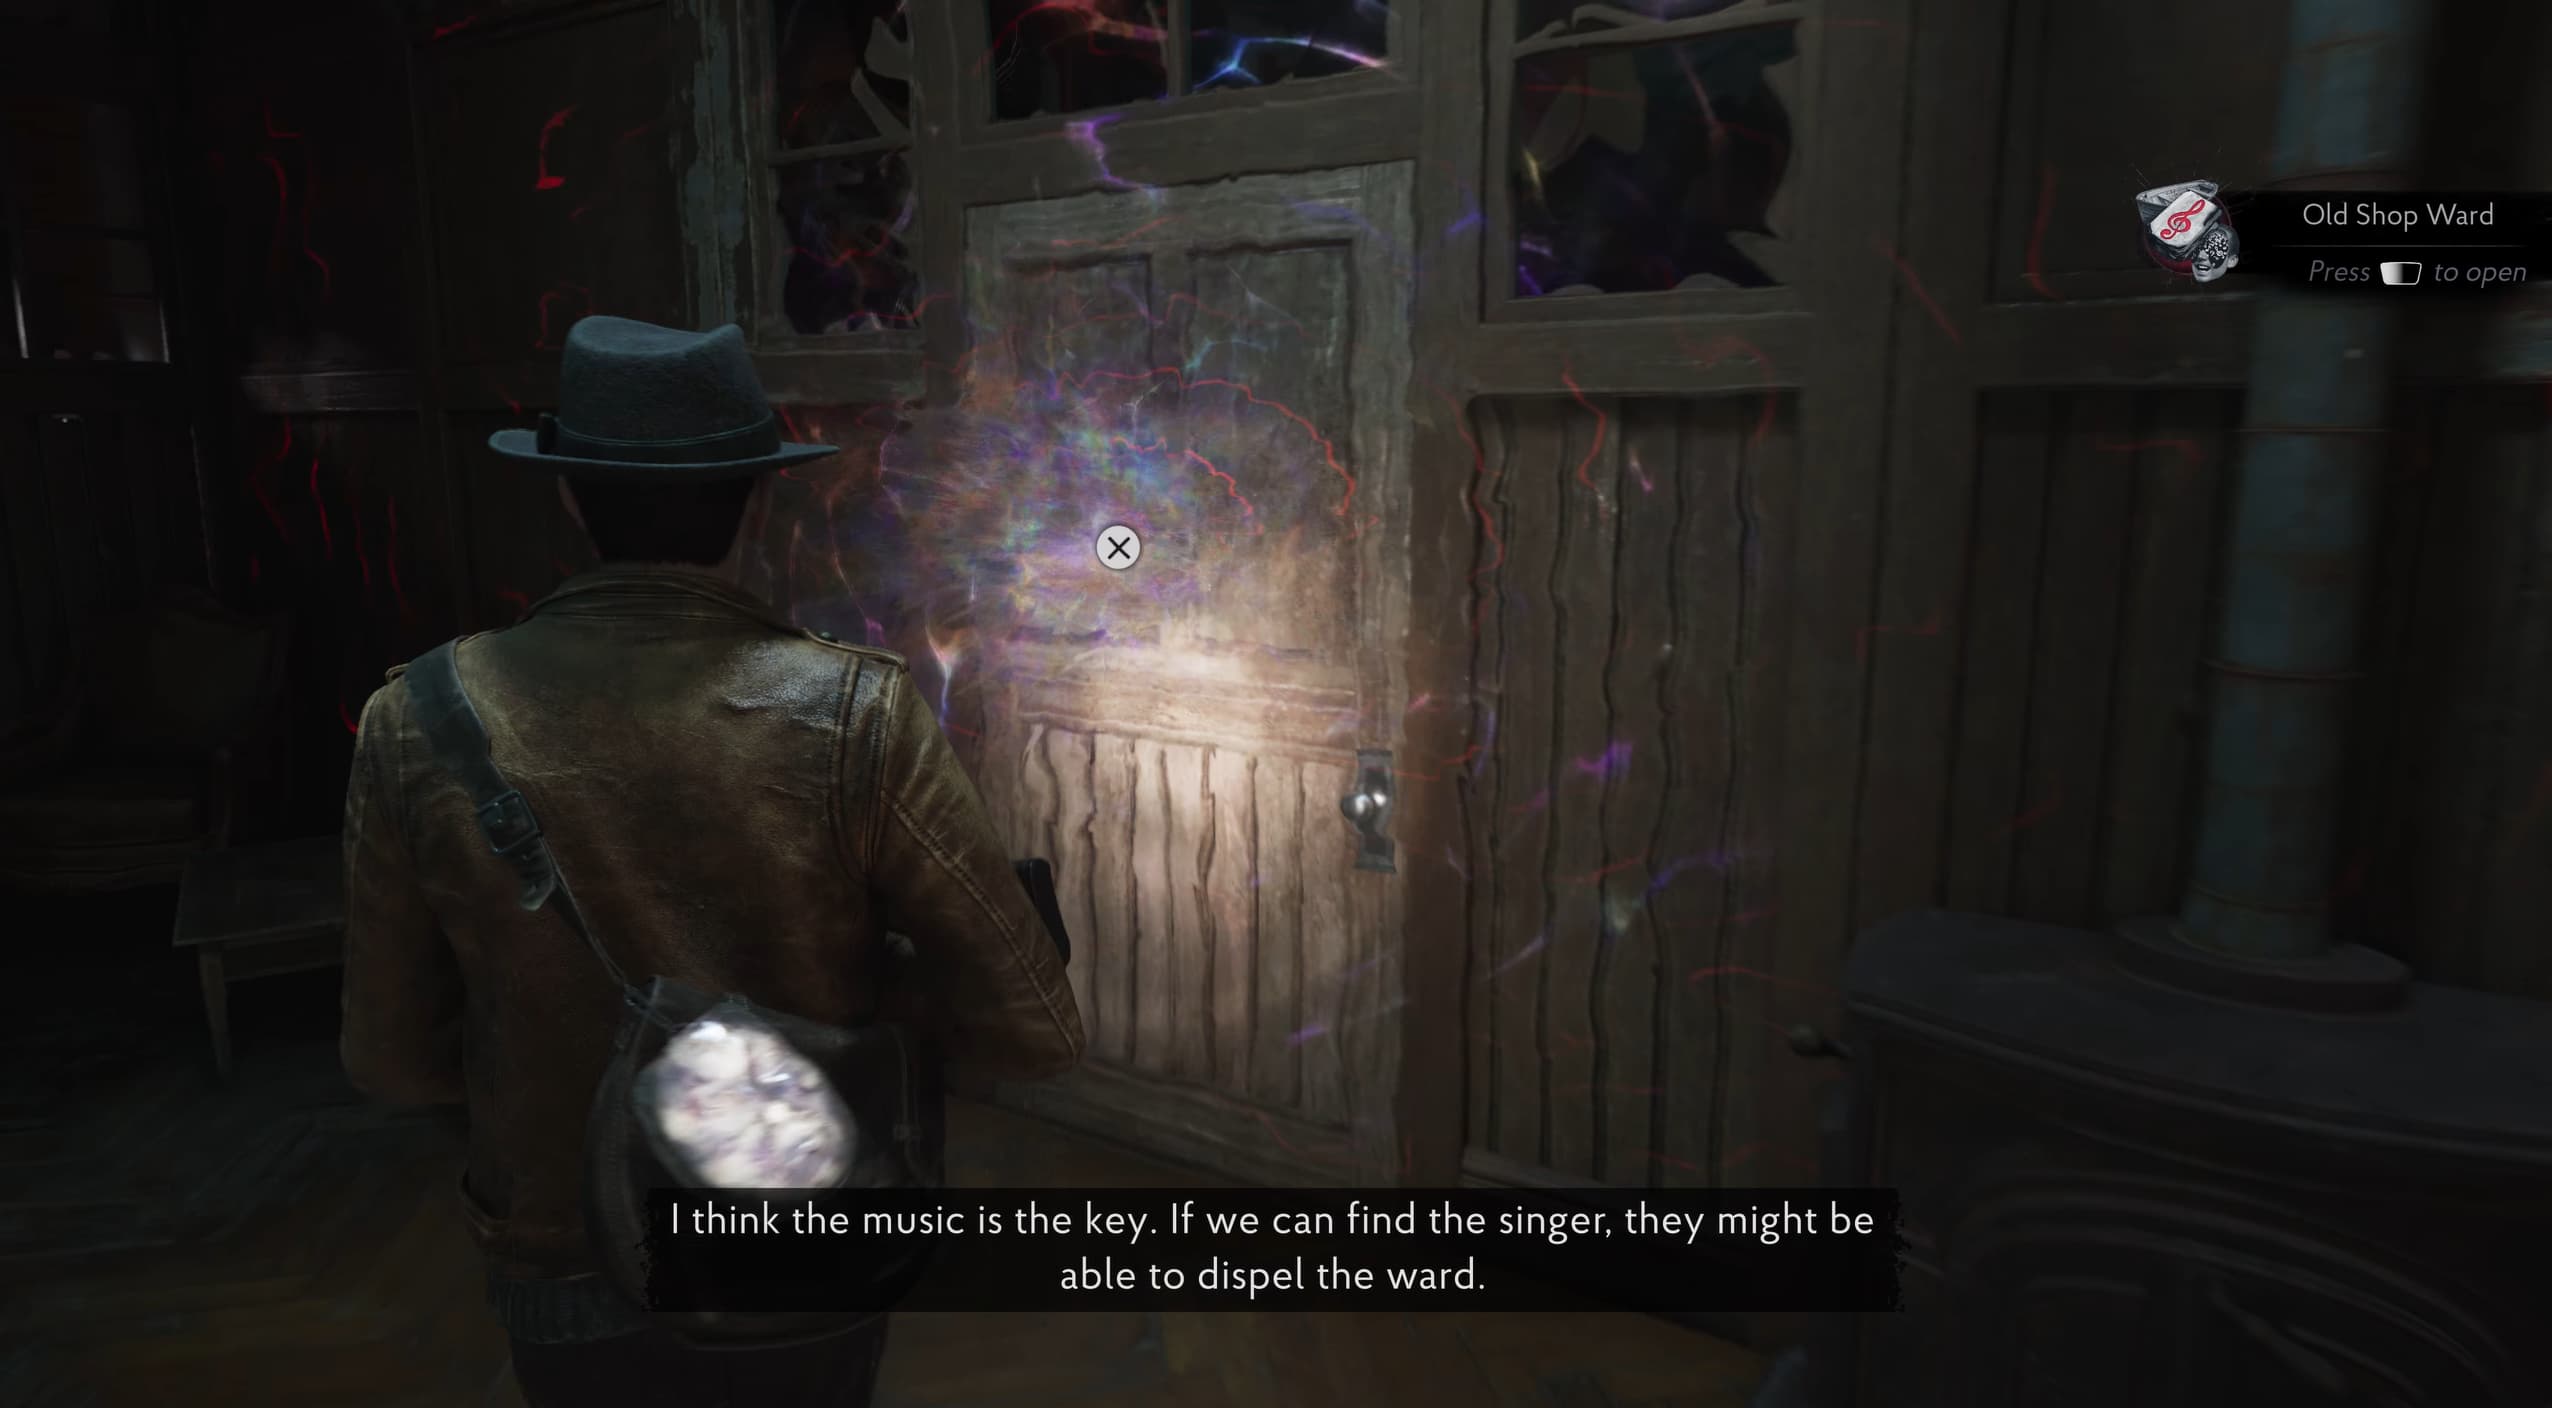
Advancing on into the Abandoned Office, interacting with the glisten on the door will automatically give you the next Evidence (Old Shop Ward).
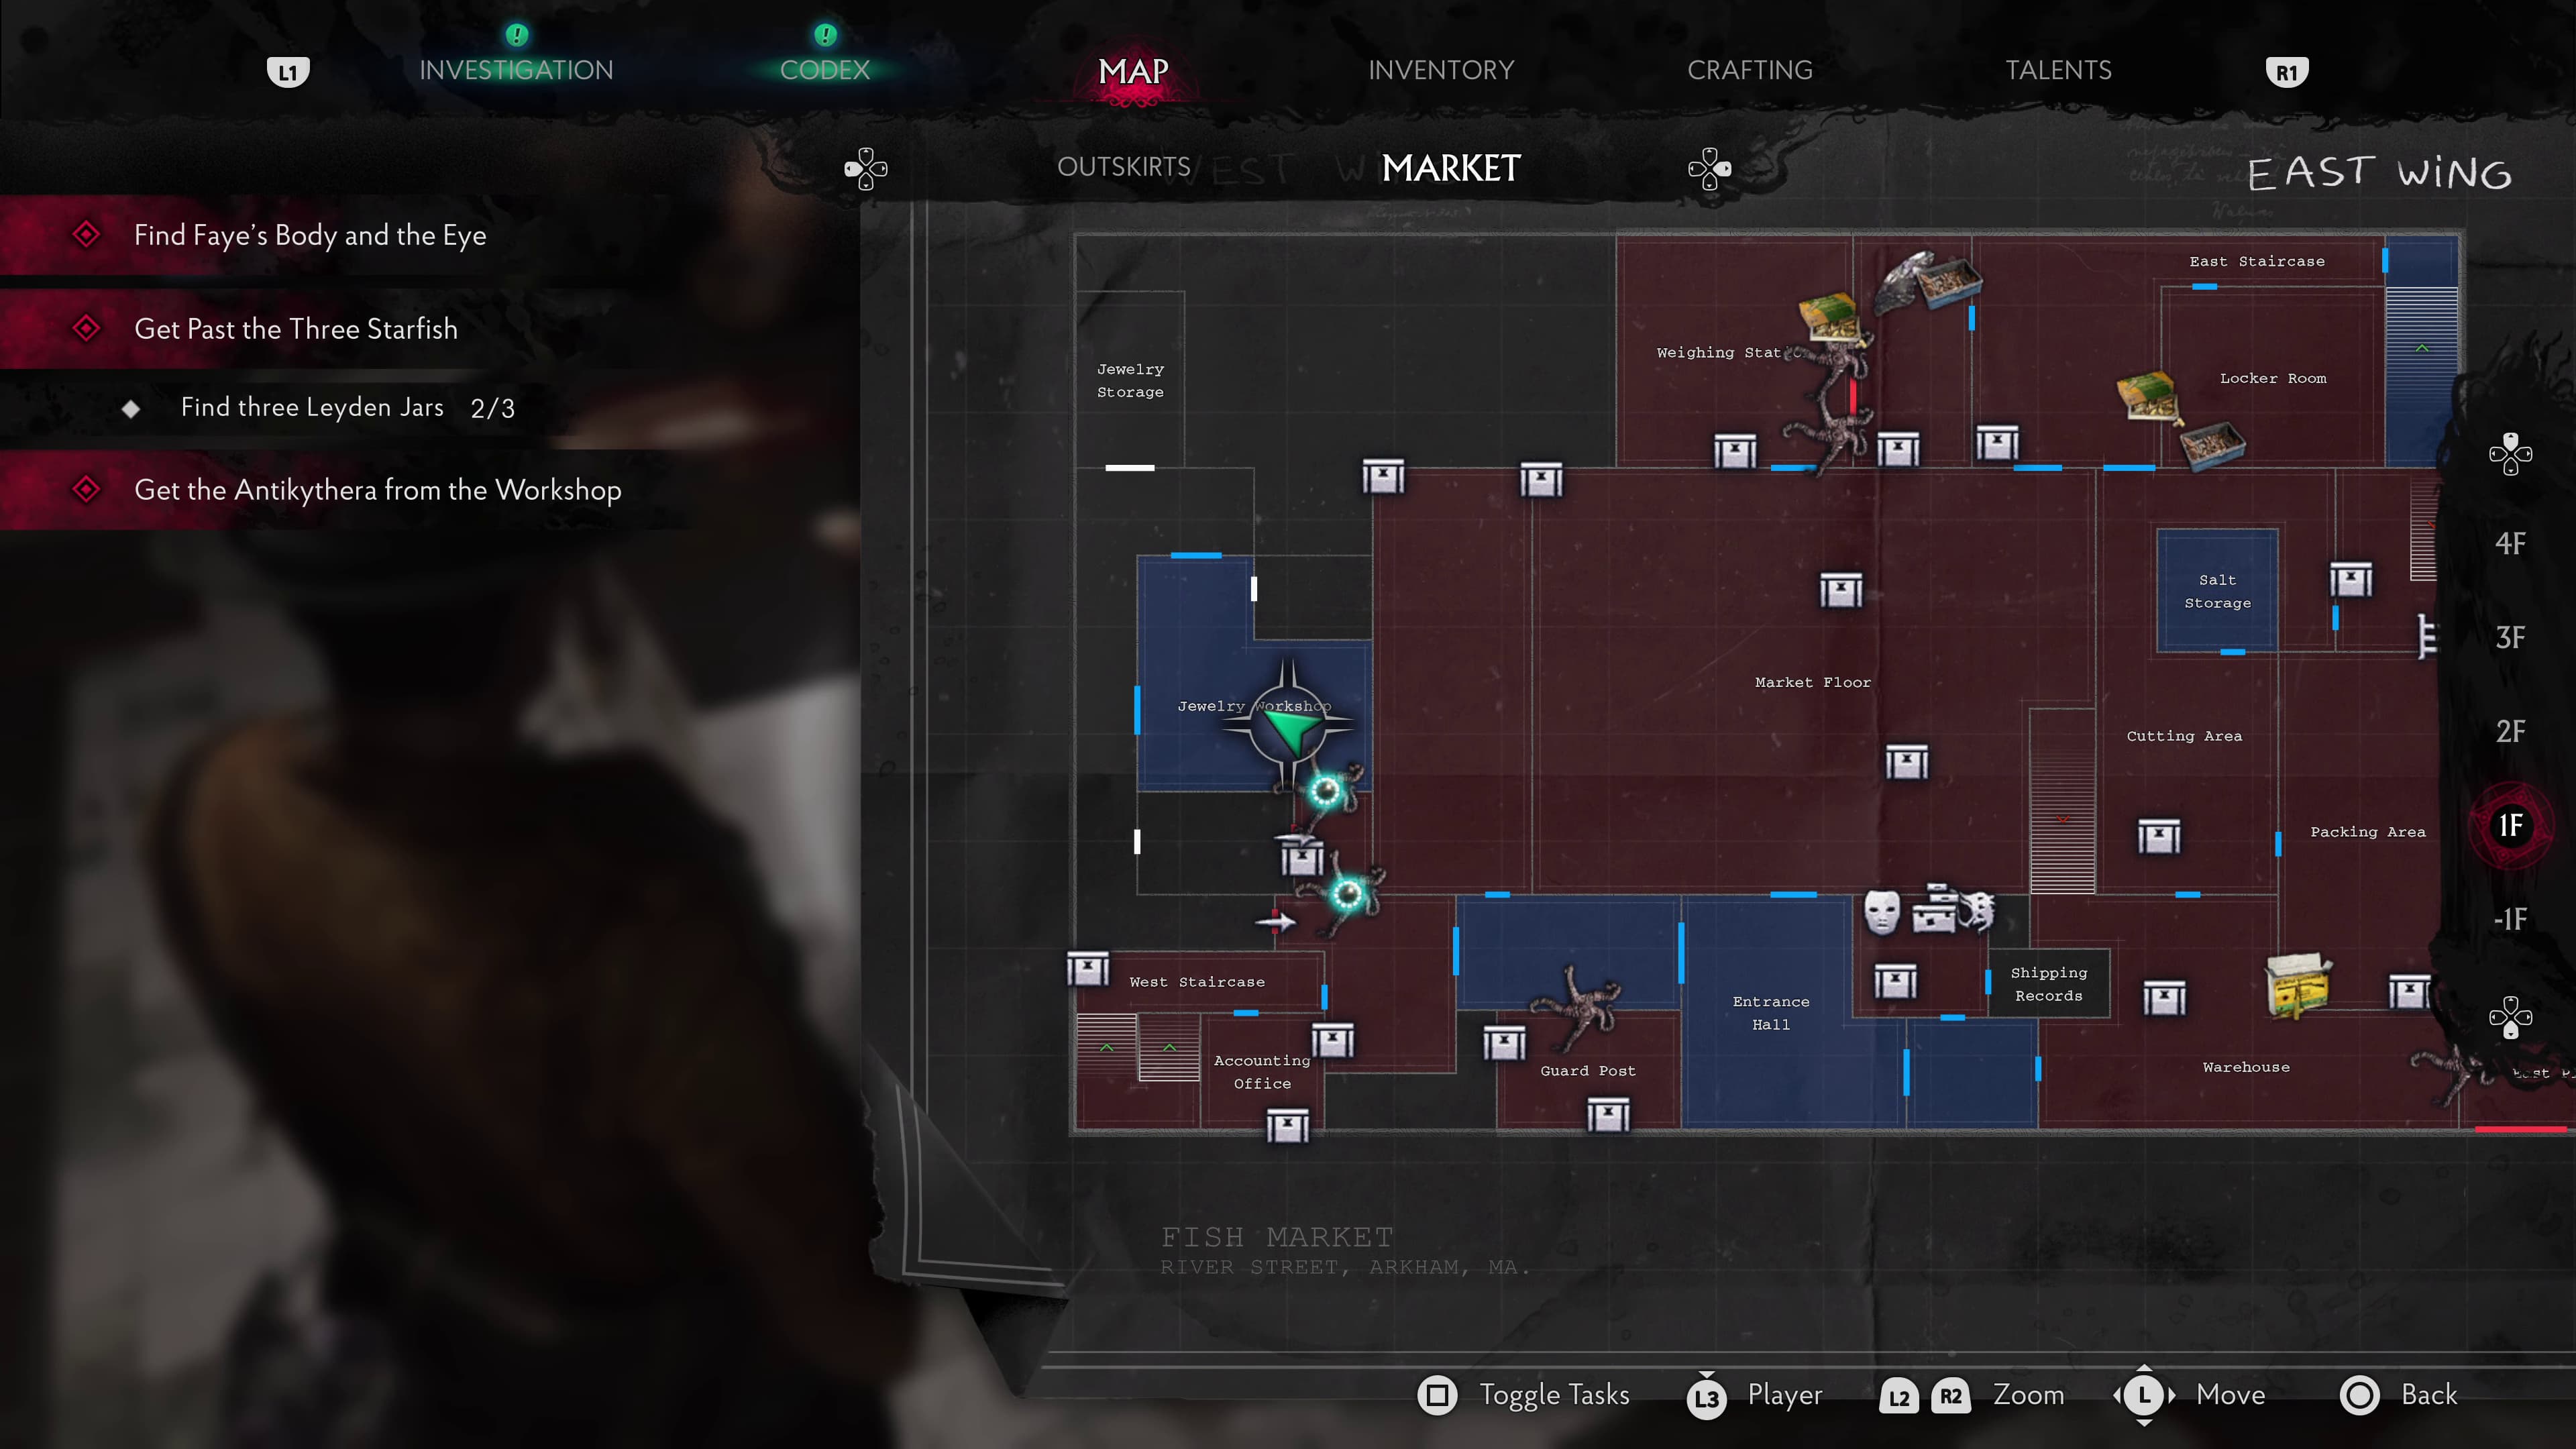
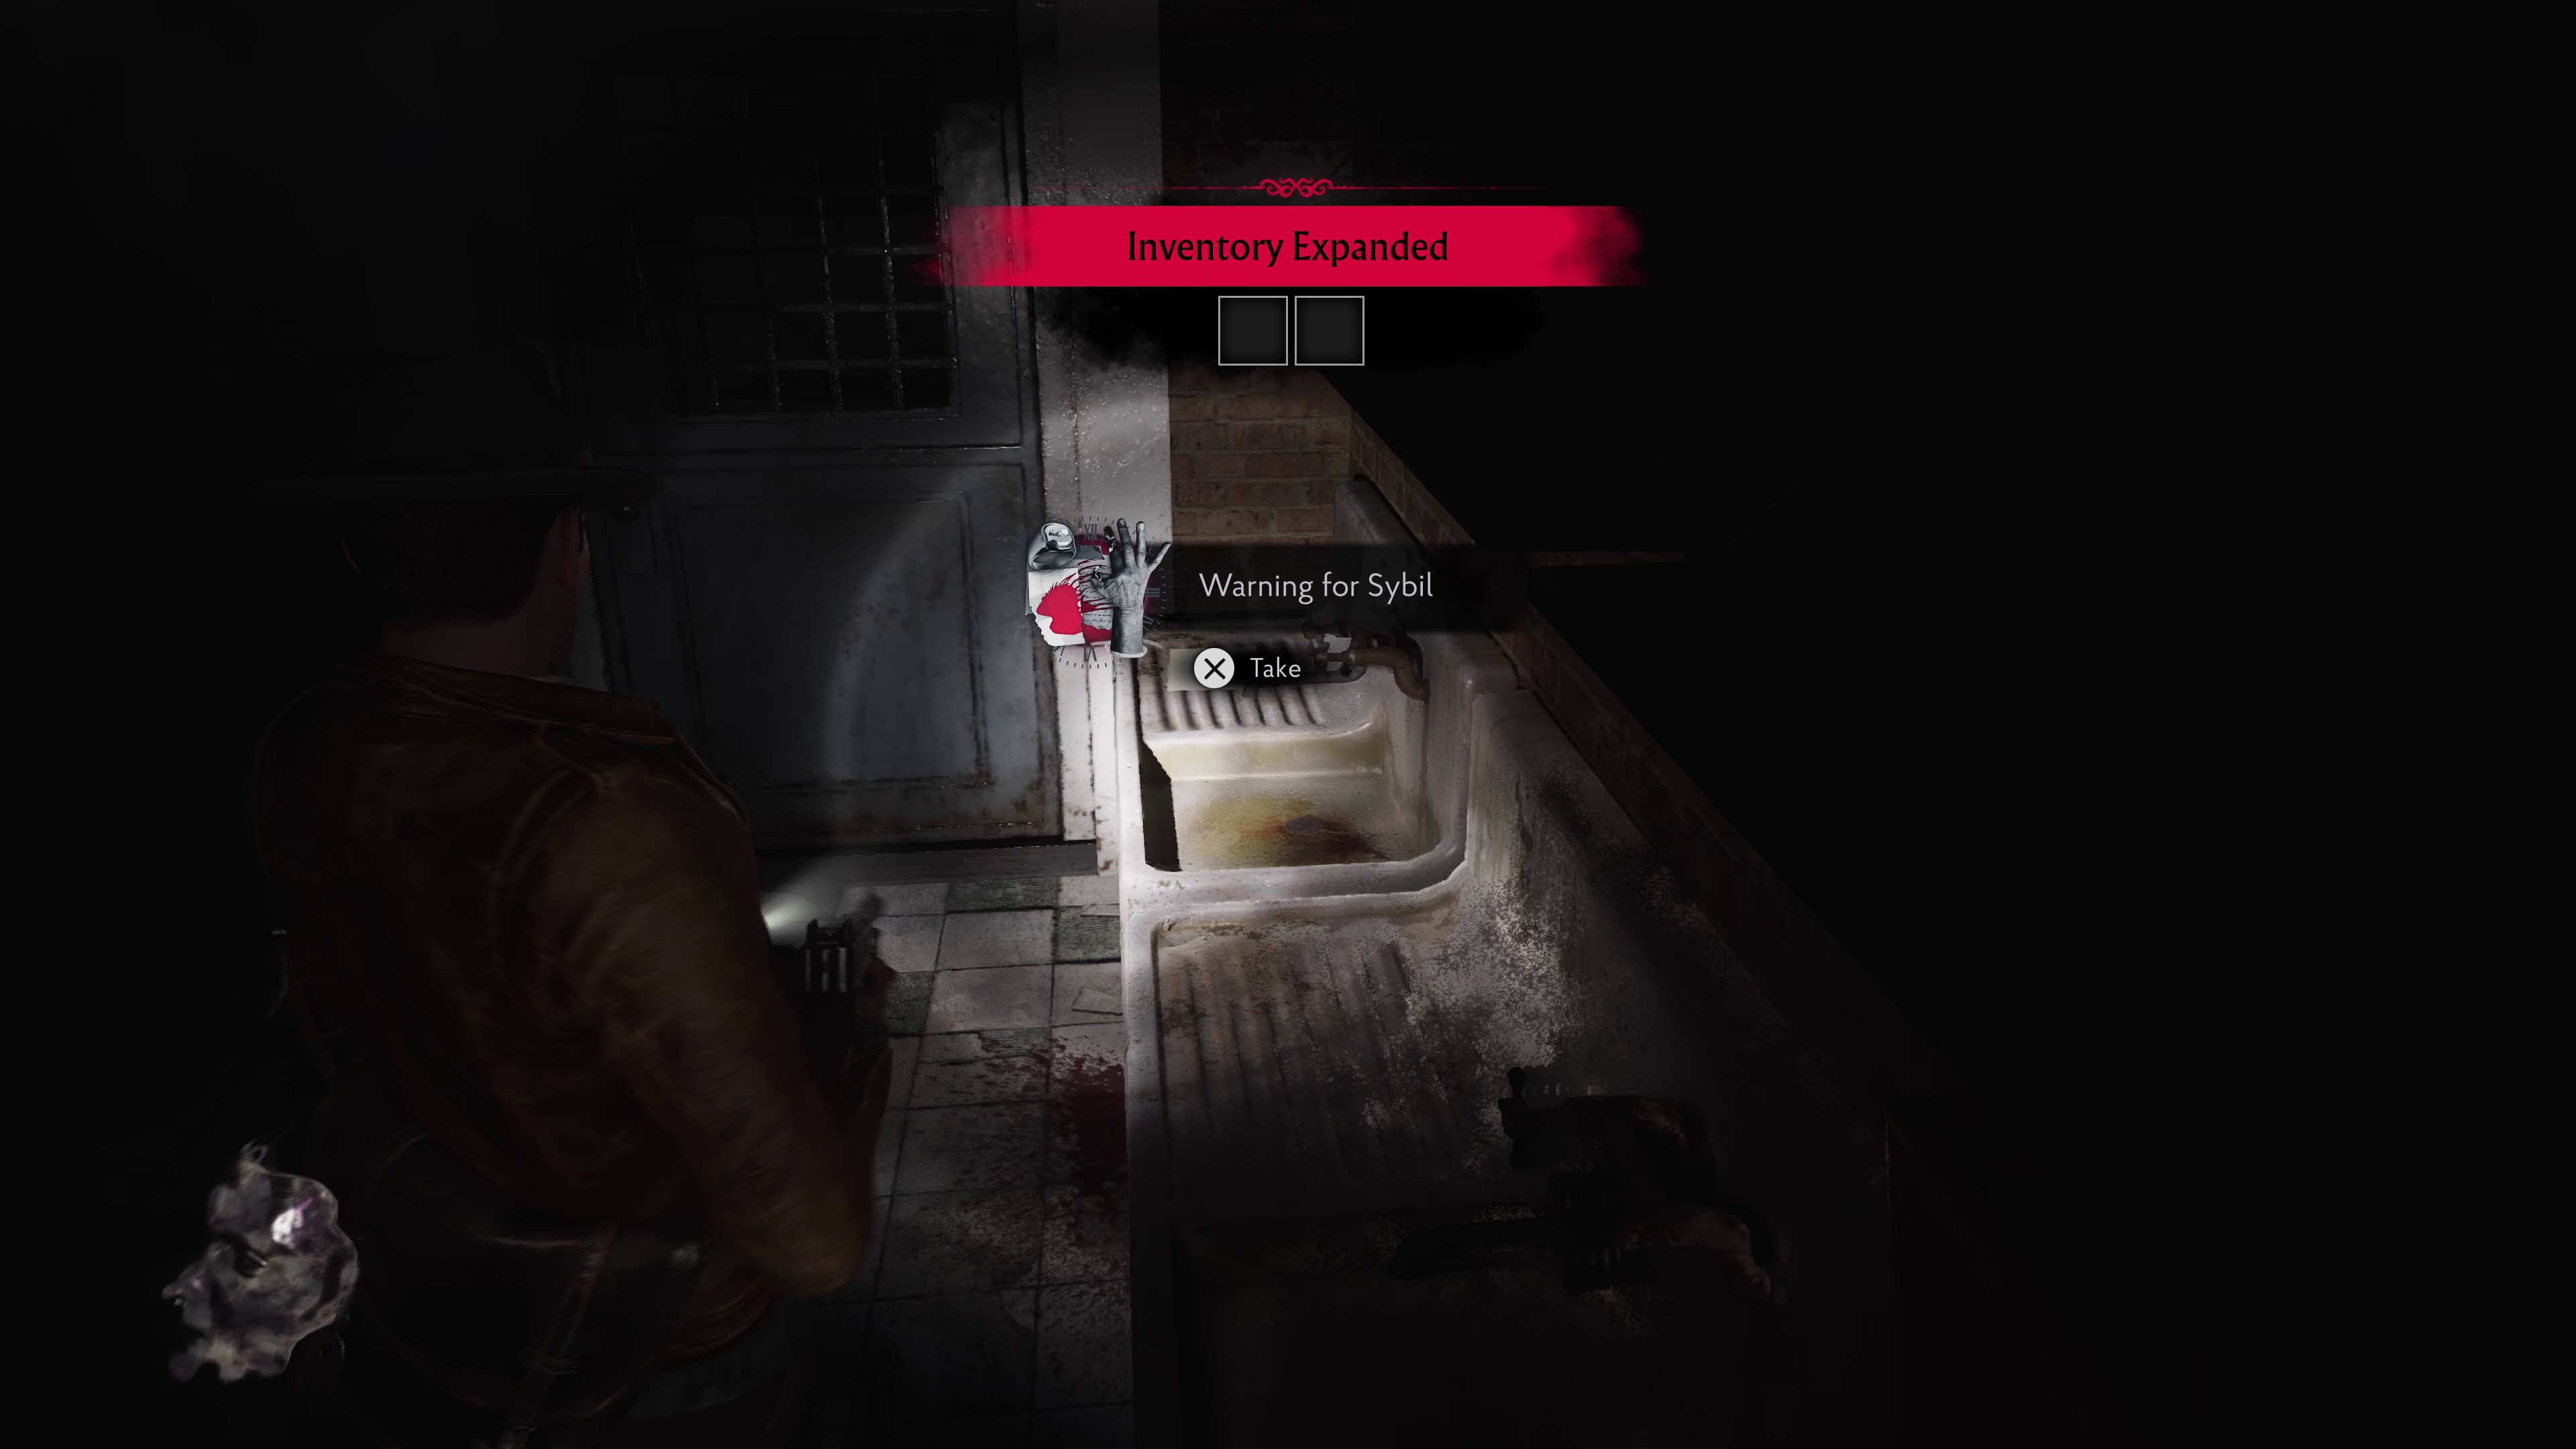
Keep progressing until you make it into the Jewelry Workshop and head into the small room inside this room and on the sink is the next Evidence (Warning For Sybil).
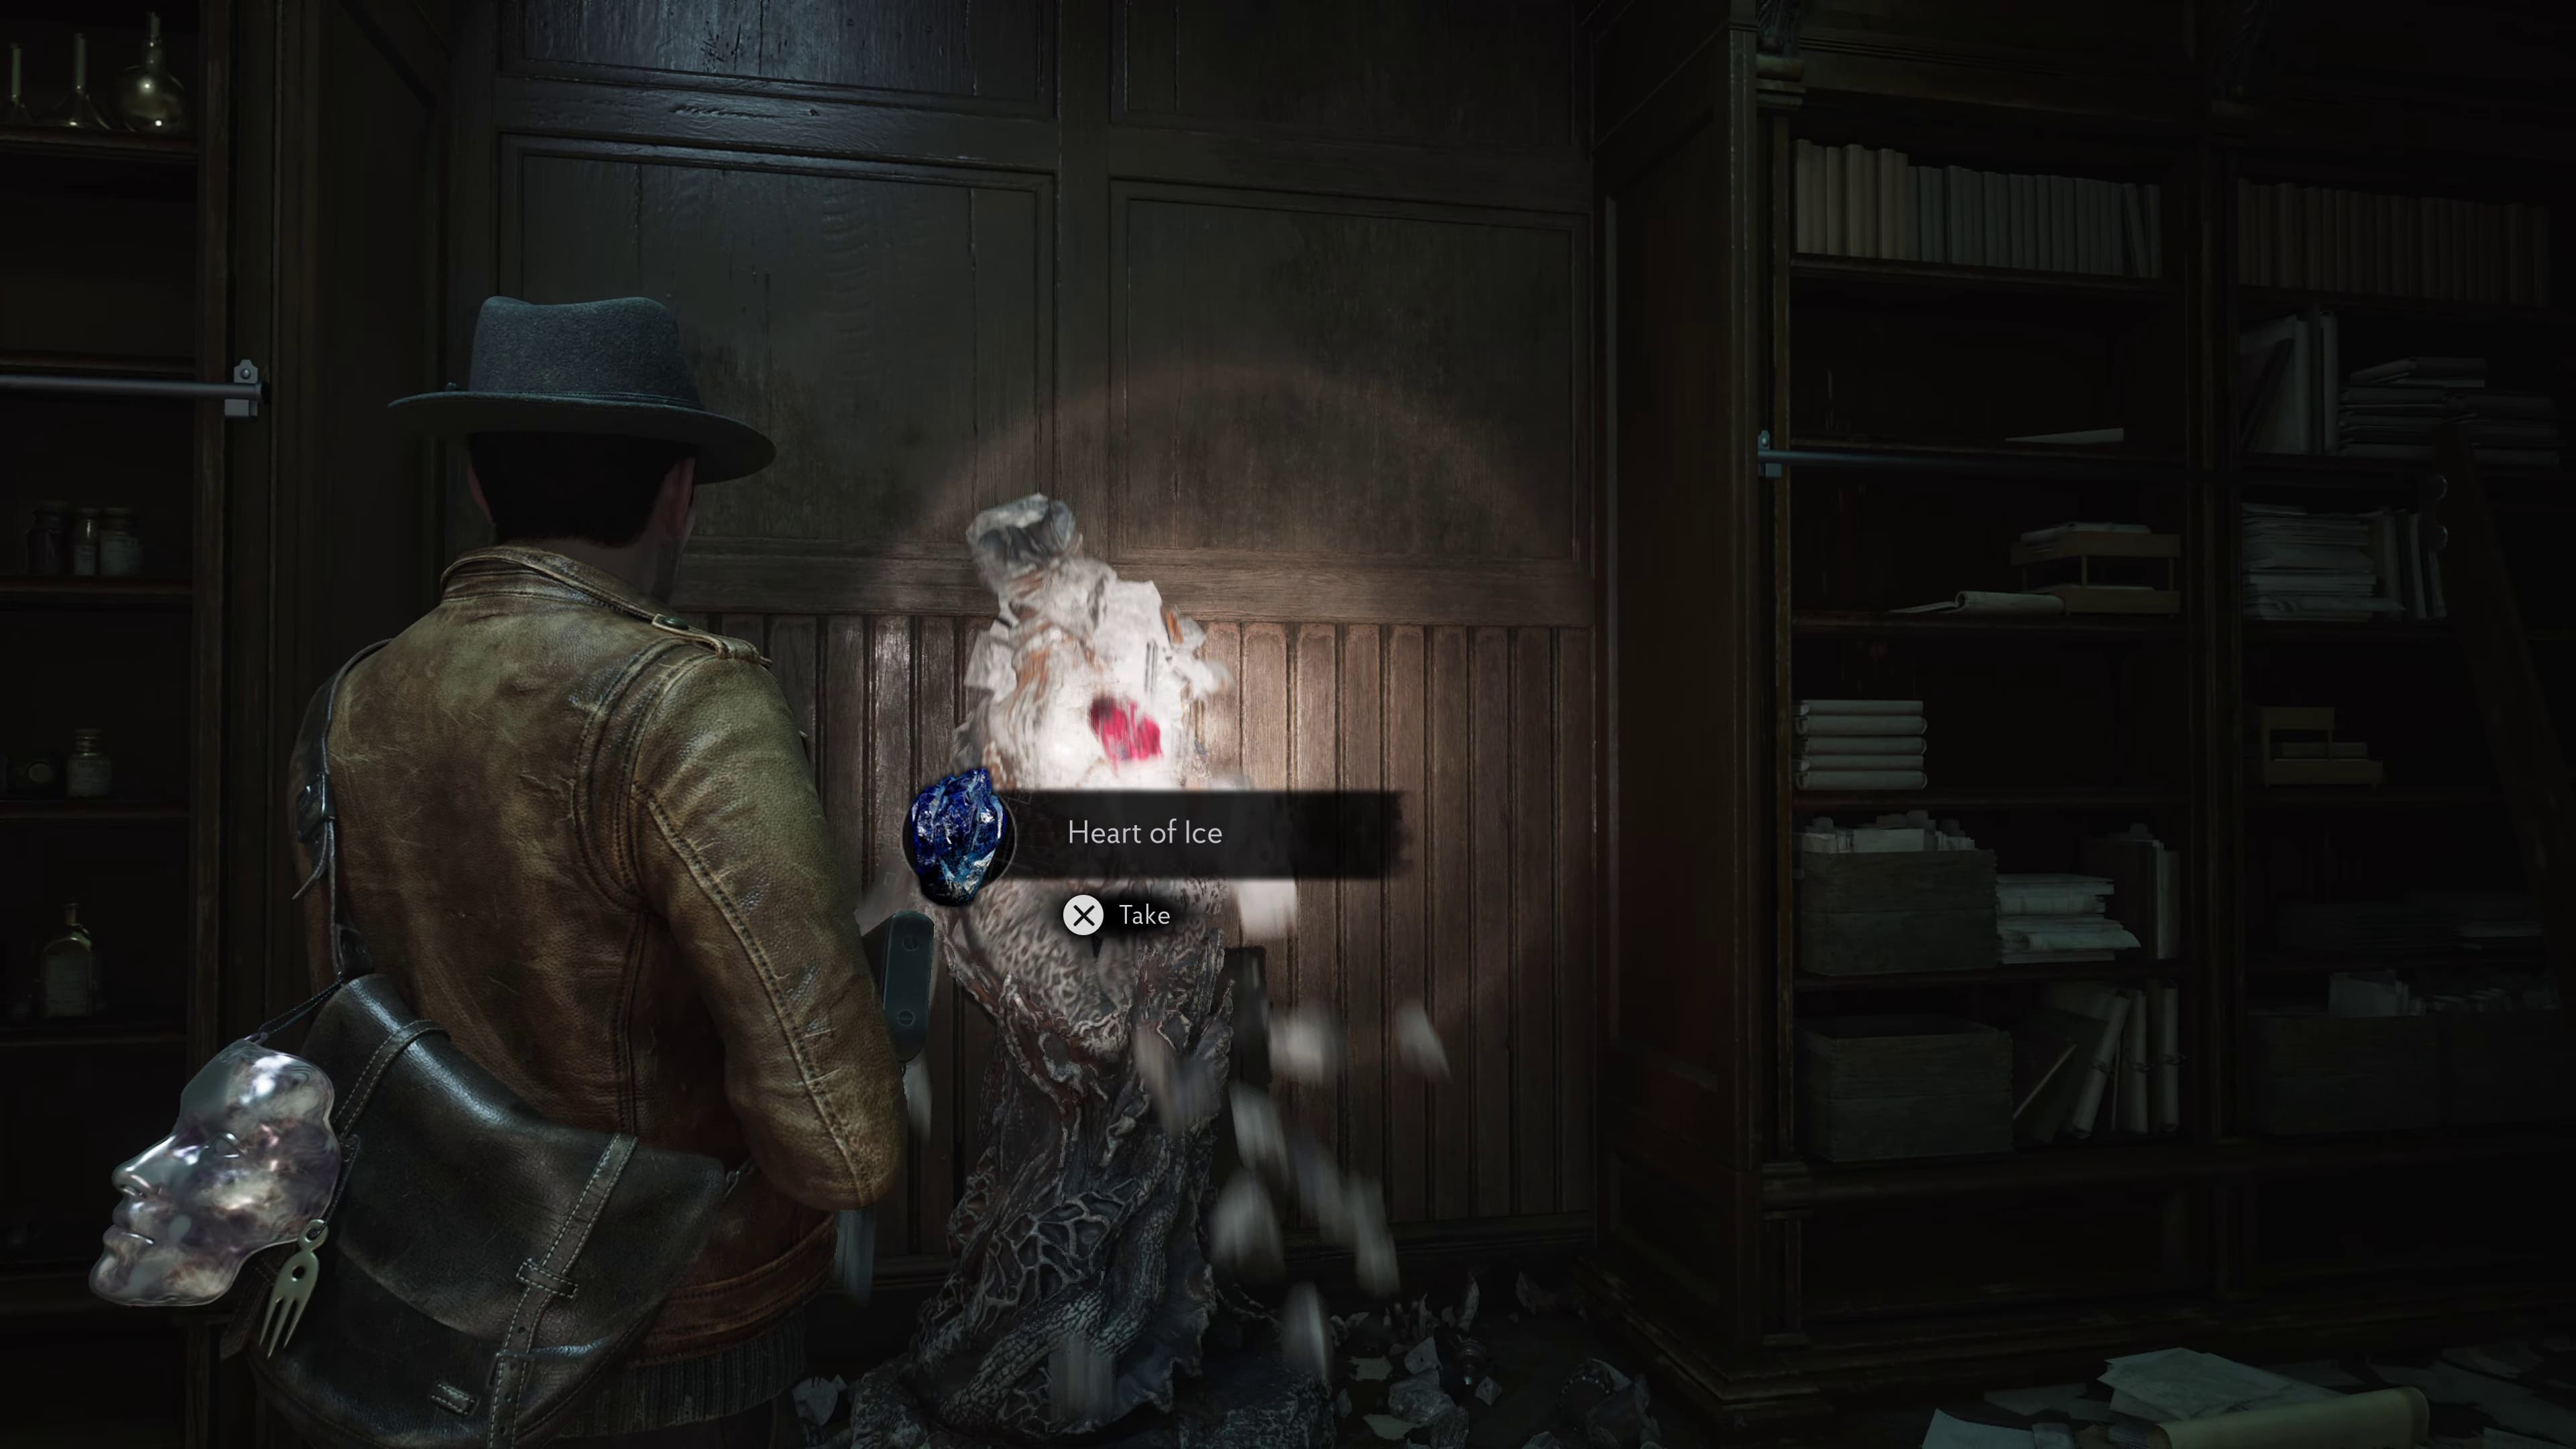
Keep progressing again until you have made it to the room with the Red Idol Statue. Inside the safe will be the next Evidence (Cryptic Riddle) and of course the heart for the Statue Puzzle.
This is all of the Evidence found for the game, be sure to connect everything together to build up that Dream Essence to gain the trophy towards the end of Cold Comfort, keep progressing until near the end of the level before getting the trophy.
For the final bonus trophy if you haven't unlocked the platinum yet, you will need to head to an upgrading table and purchase every Dream Essence to achieve the What Dreams Are Made Of Trophy.
Thankyou for making it to the end of my guide, I hope this helped! Be sure to check out the full guide if you are needing help with any other collectibles.