menu
MobalyticsUse your favourite features in-game with our Desktop App
Gamebase Guide

RuneScape Dragonwilds 1.0: Crafting Stations Guide

Guides
By Oli
Updated on Sep 12, 2026
Sep 12, 2026

Overview

Crafting stations turn the resources you collect in RuneScape Dragonwilds into better equipment, building materials and supplies. Your first Crafting Table gets you started, but producing thread, leather, metal bars and more advanced equipment requires a growing workshop.

This RuneScape Dragonwilds 1.0 crafting stations guide explains what to build first, how to unlock more recipes and which stations you need for your next upgrade.

If you’re still finding your feet in Ashenfall, our RuneScape Dragonwilds Beginner’s Guide covers your opening priorities and early survival.
How to Unlock New Crafting Recipes

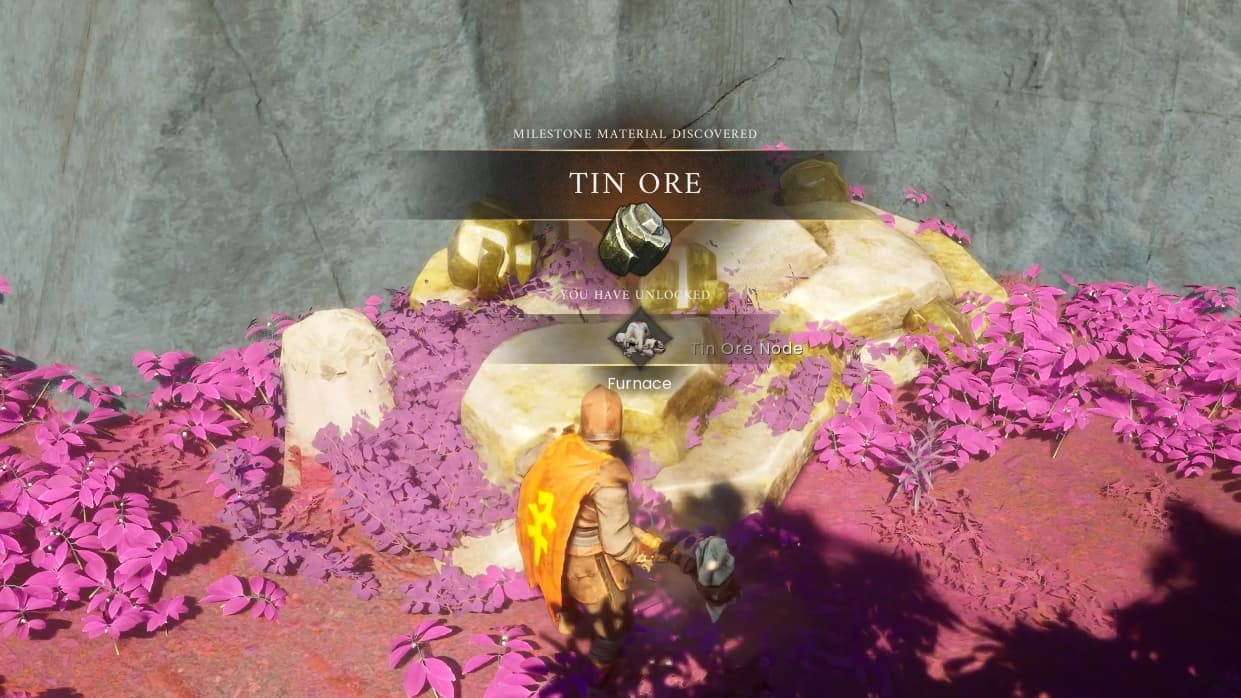
Collecting unfamiliar resources and making new processed materials can reveal additional recipes. Pick up a small amount of each new material you find, even if you don’t immediately know what it is used for.

Processing those resources is part of progression. Animal Hide and Leather, for example, are different ingredients, so gathering hides alone won’t give you everything needed for recipes that require Leather.

Some recipes also depend on skill unlocks or progression. If an item is unavailable, check its requirements and make sure you’re looking at the correct crafting station.

Your Journal lets you review discovered recipes while exploring. Use it to check what you need before returning home, especially when an upgrade requires several different processed materials.

Build Your First Crafting Stations

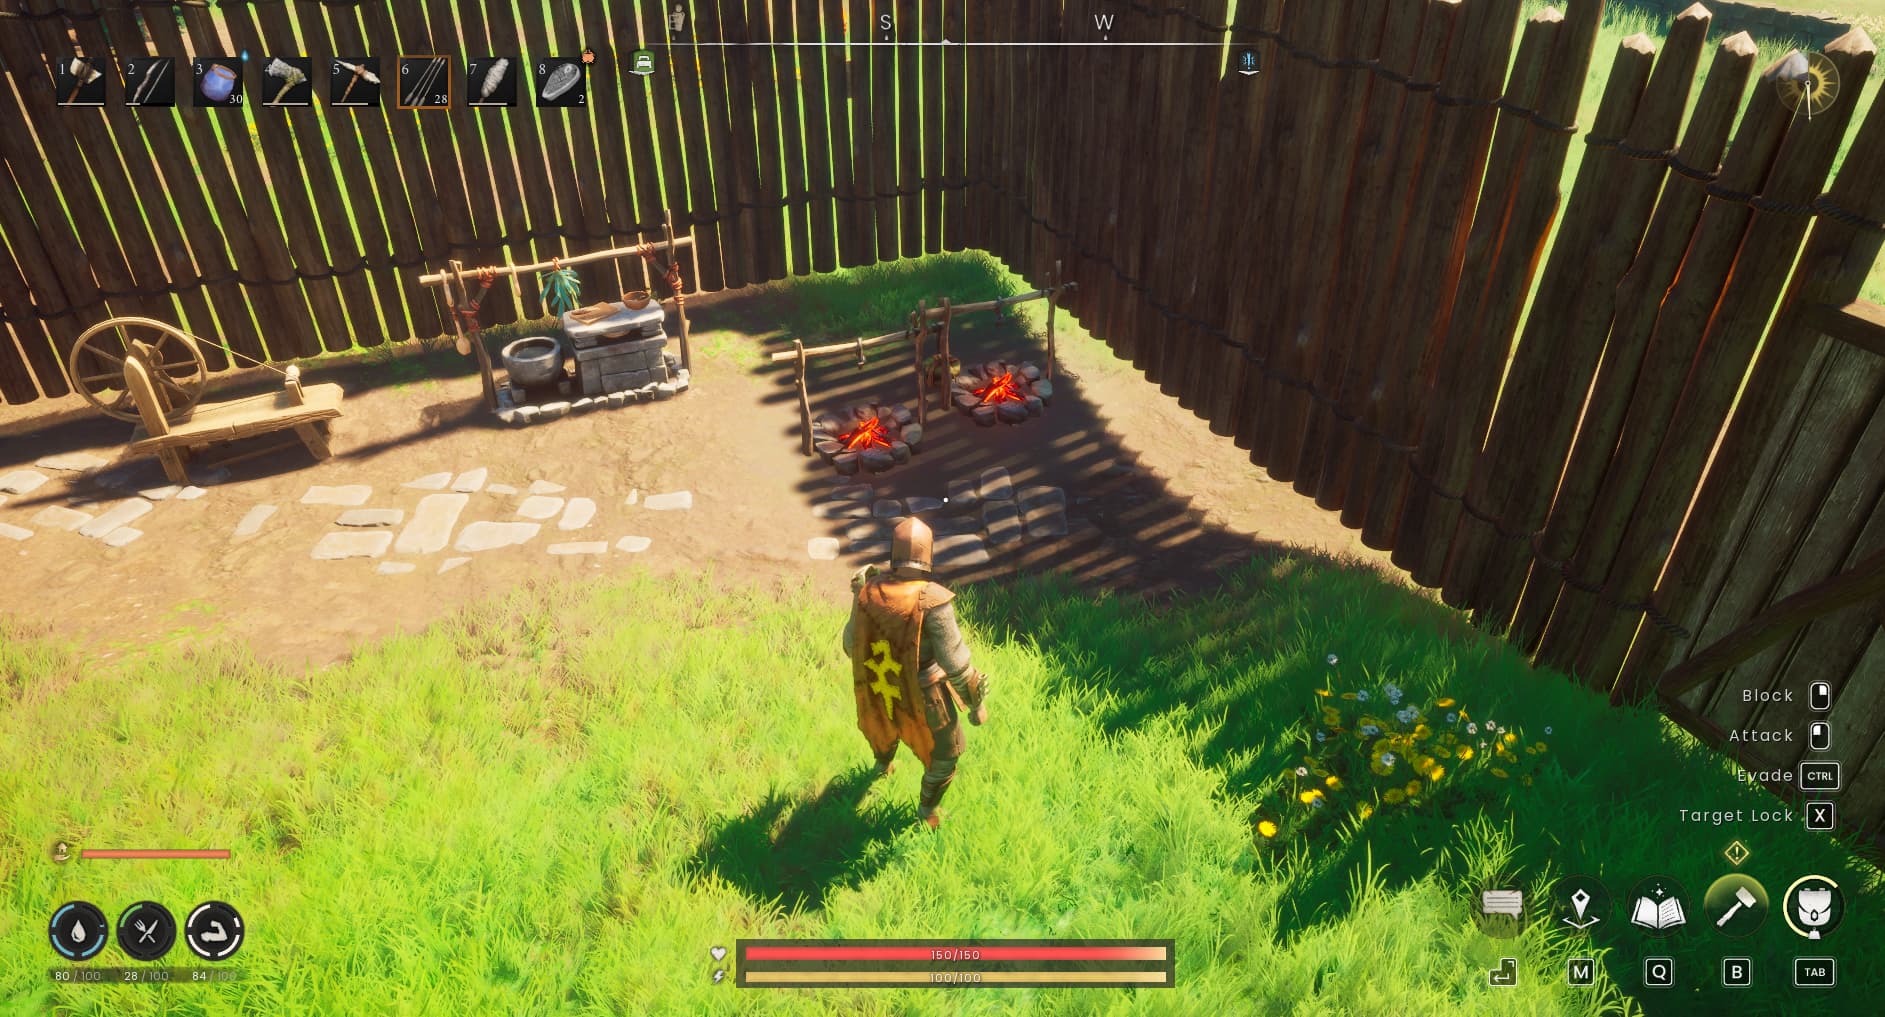
The Crafting Table, Campfire and Rune Altar provide the foundations of your early setup. You construct these through Build Mode, then interact with them to access their crafting or processing options.

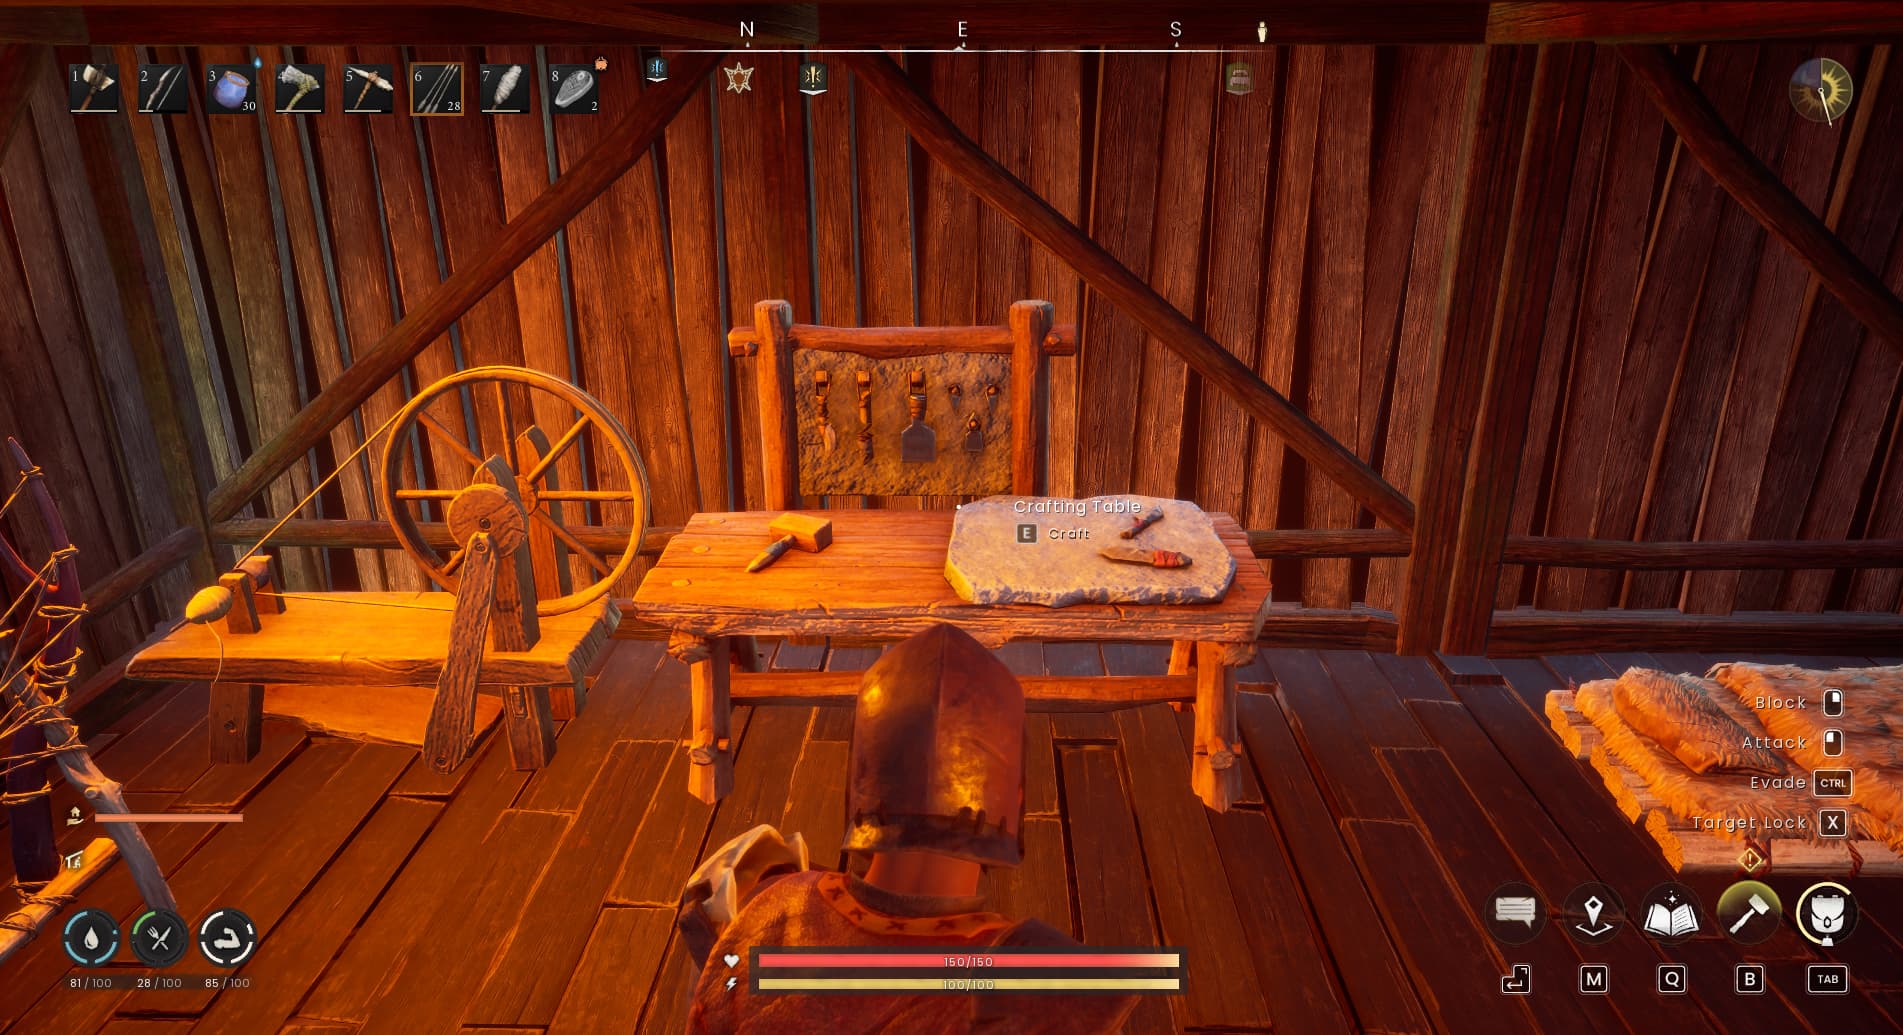
Crafting Table

The Crafting Table requires 4 Ash Logs and lets you make basic tools and equipment.

Select a recipe to inspect its ingredients and equipment details before crafting. It also has a Repair mode for restoring worn equipment, making it useful beyond your first few upgrades.

Campfire

The Campfire requires 4 Ash Logs and 4 Stone.

Use it to cook basic food and boil Dirty Water into Clean Water. Keep fuel and ingredients available so you can prepare supplies before heading out again.

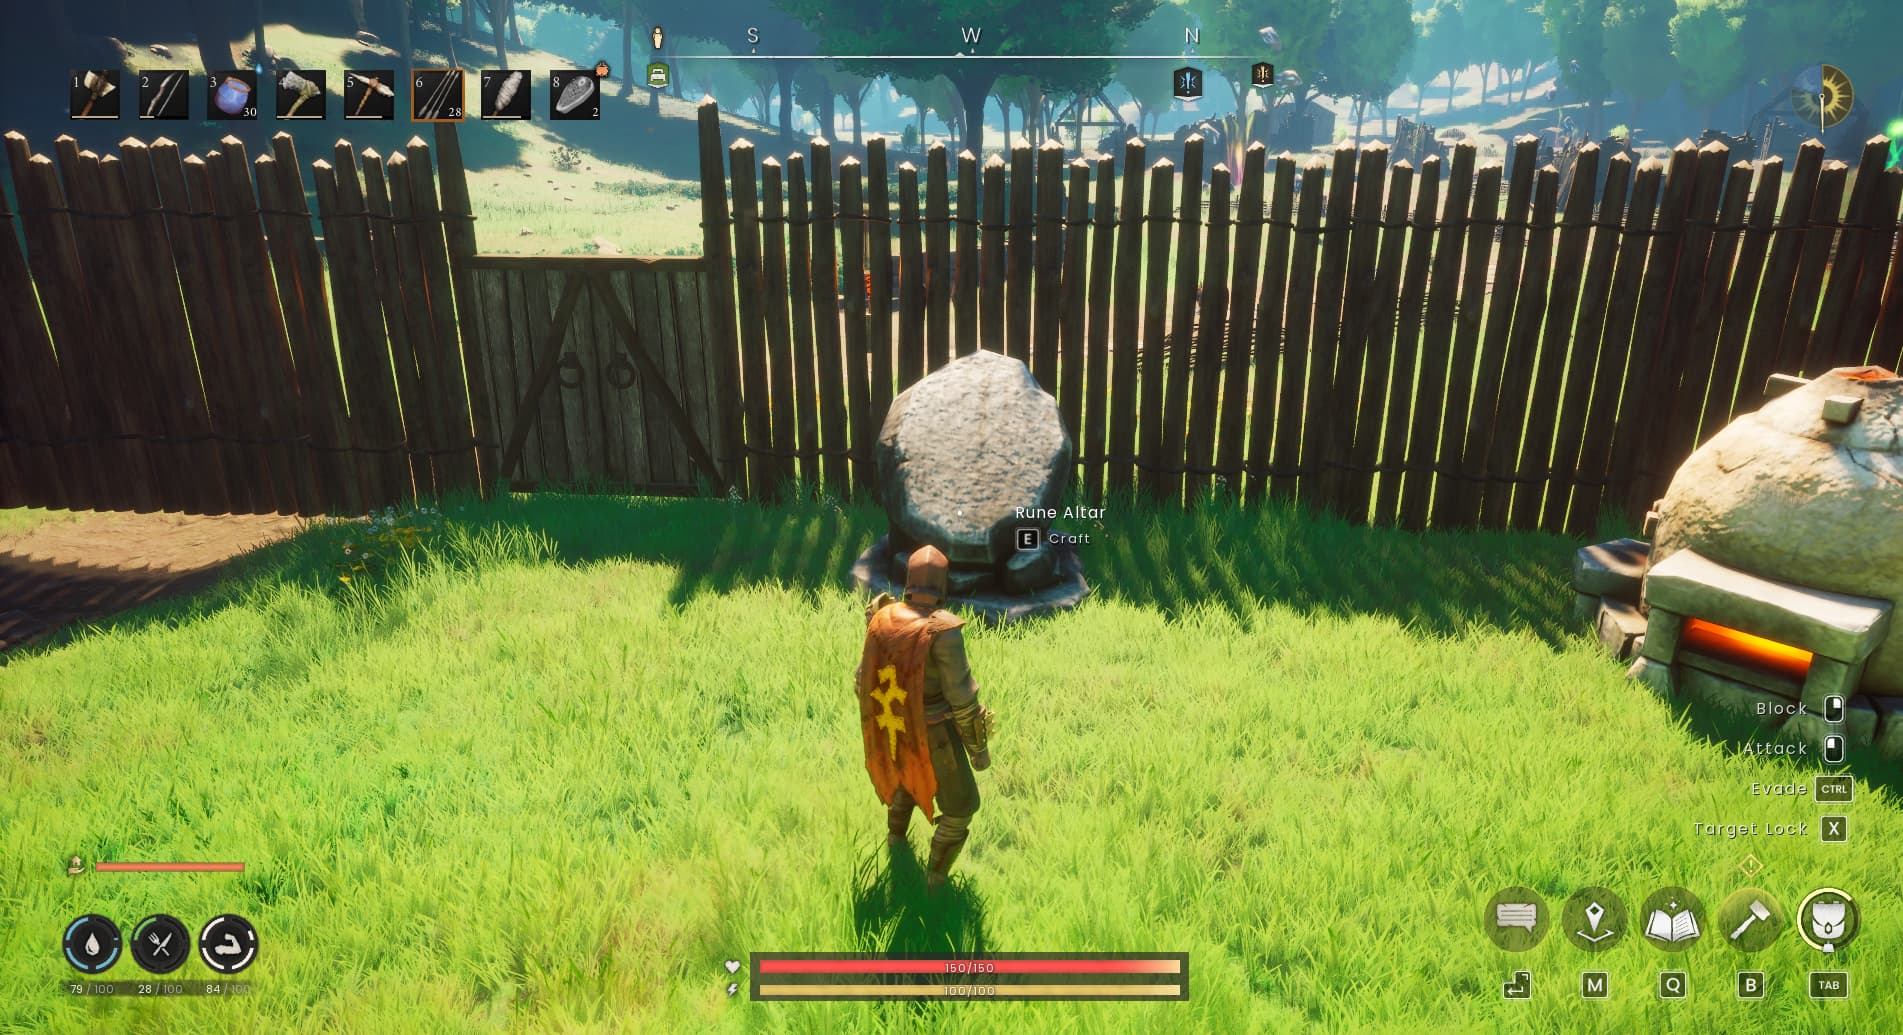
Rune Altar

The Rune Altar requires 12 Stone and 4 Rune Essence.

It turns Rune Essence into runes used for magic and certain construction recipes. Your available rune types depend on your Runecrafting unlocks, so building the altar does not immediately give you access to every rune.

Make Thread and Leather

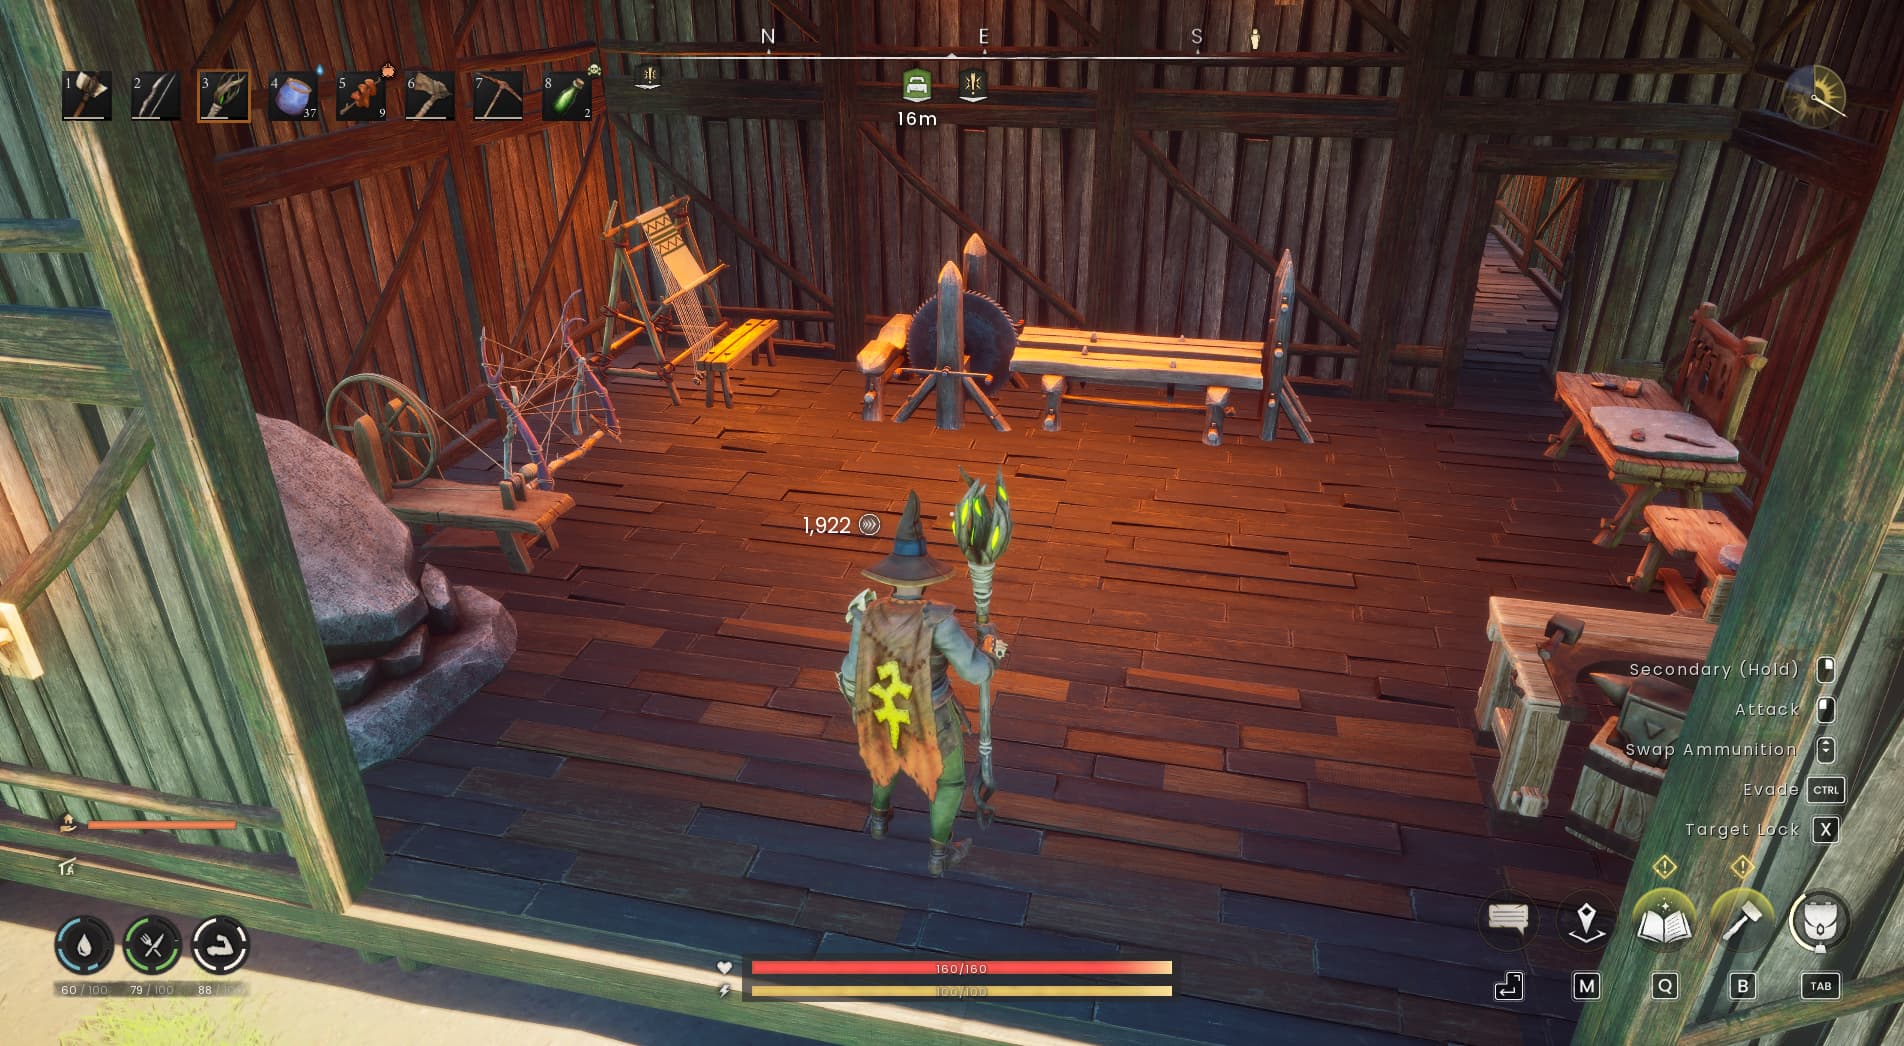
The Spinning Wheel and Tannery are useful early additions because they produce materials needed for equipment and further crafting stations.

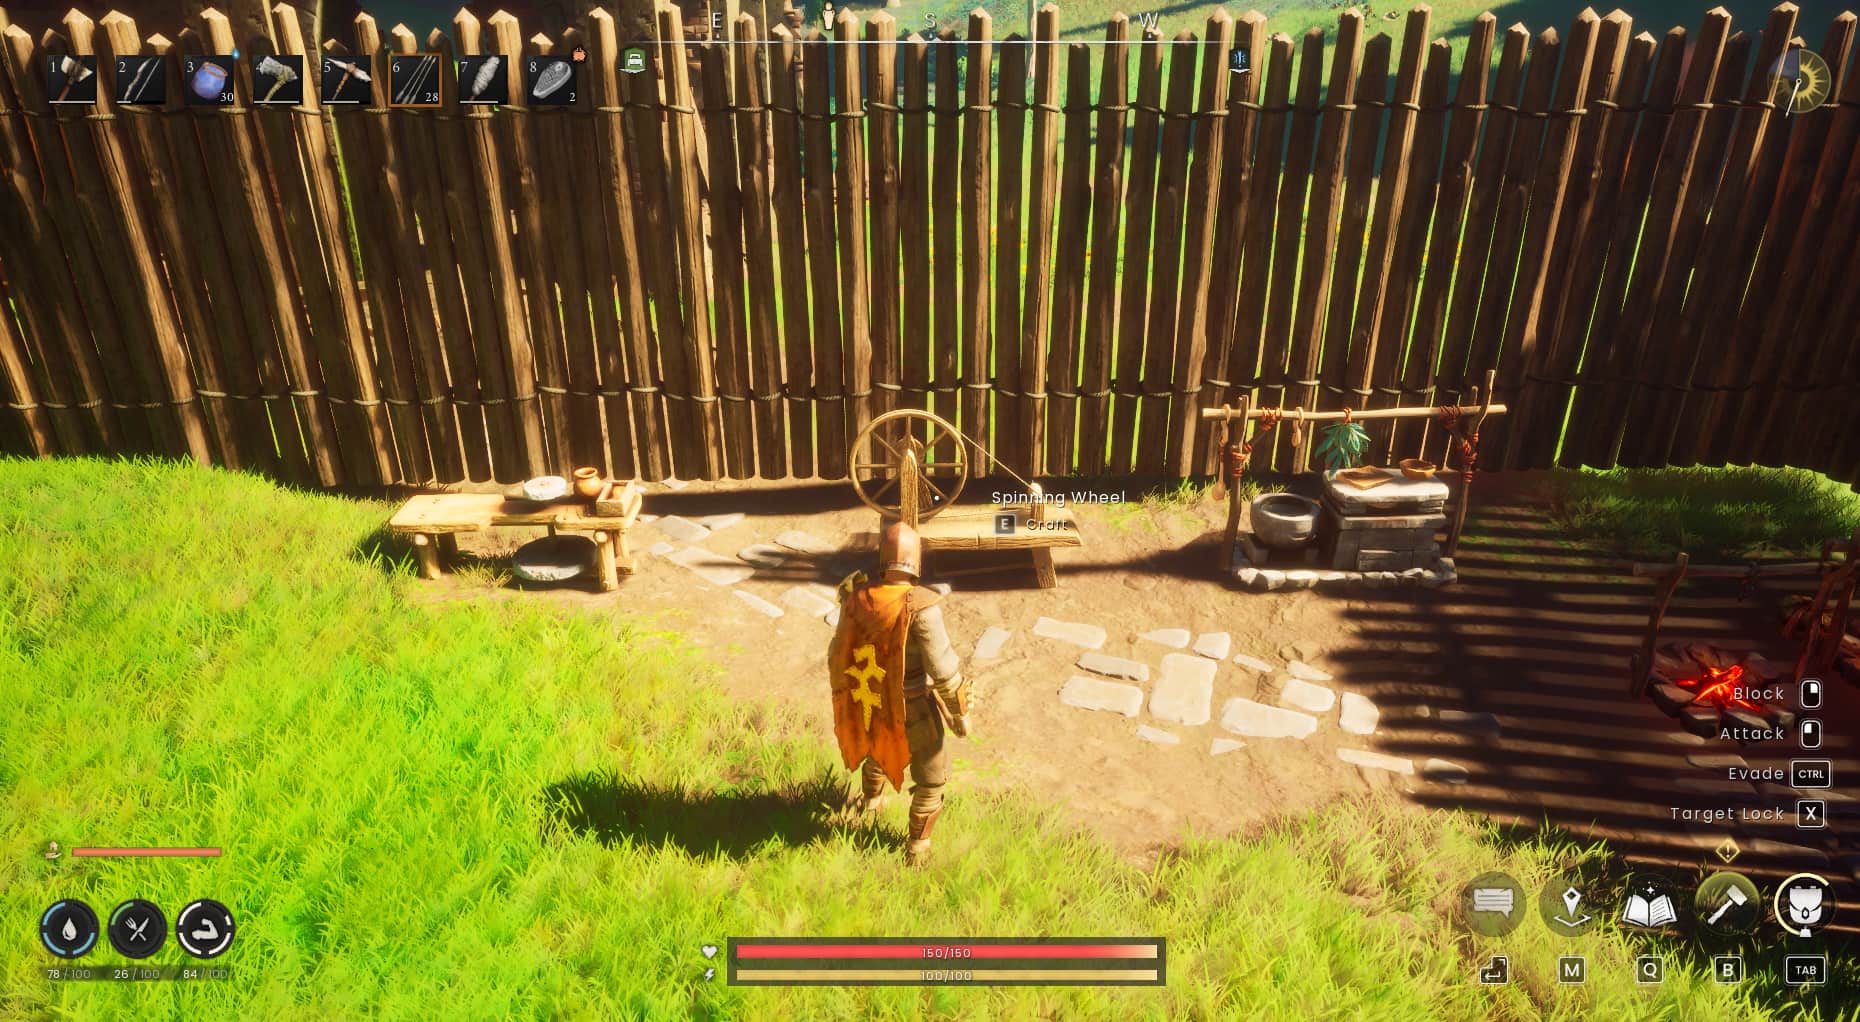
Spinning Wheel

The Spinning Wheel requires 12 Ash Logs, 4 Flax and 2 Stone.

Use it to turn Flax into Coarse Thread. Keep some extra Flax after constructing the station so you have material ready to process.

The Spinning Wheel remains useful as you progress, including turning Fleece into Wool Thread for later crafting requirements.

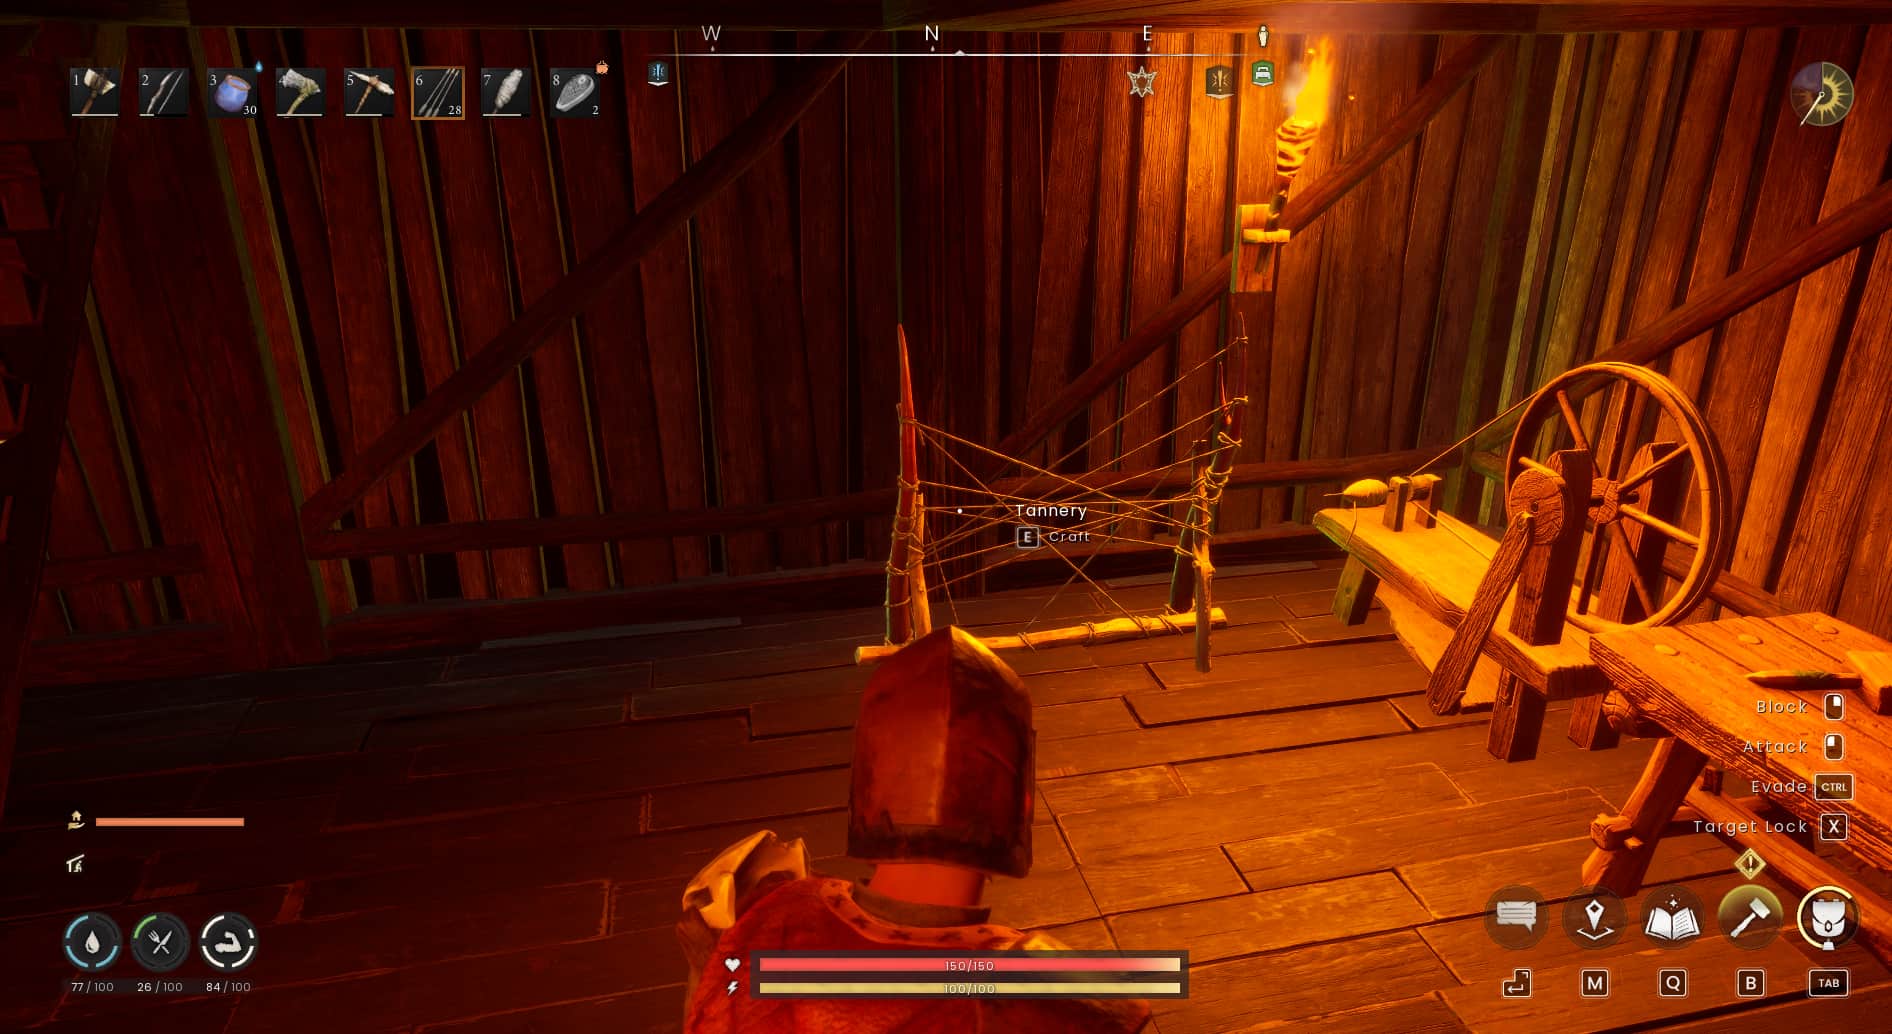
Tannery

The Tannery requires 12 Ash Logs, 4 Animal Bone and 2 Coarse Thread.

Because its construction requires Coarse Thread, setting up the Spinning Wheel first gives you a straightforward route towards building it.

Once the Tannery is ready, use it to turn Animal Hide into Leather. Store some spare Leather and Coarse Thread alongside your other crafting materials, as both appear in useful early recipes.

Set Up a Kiln and Furnace

Metalworking adds another processing chain to your base. You’ll need to produce fuel, gather suitable ore and smelt it into bars before making metal equipment.

Kiln

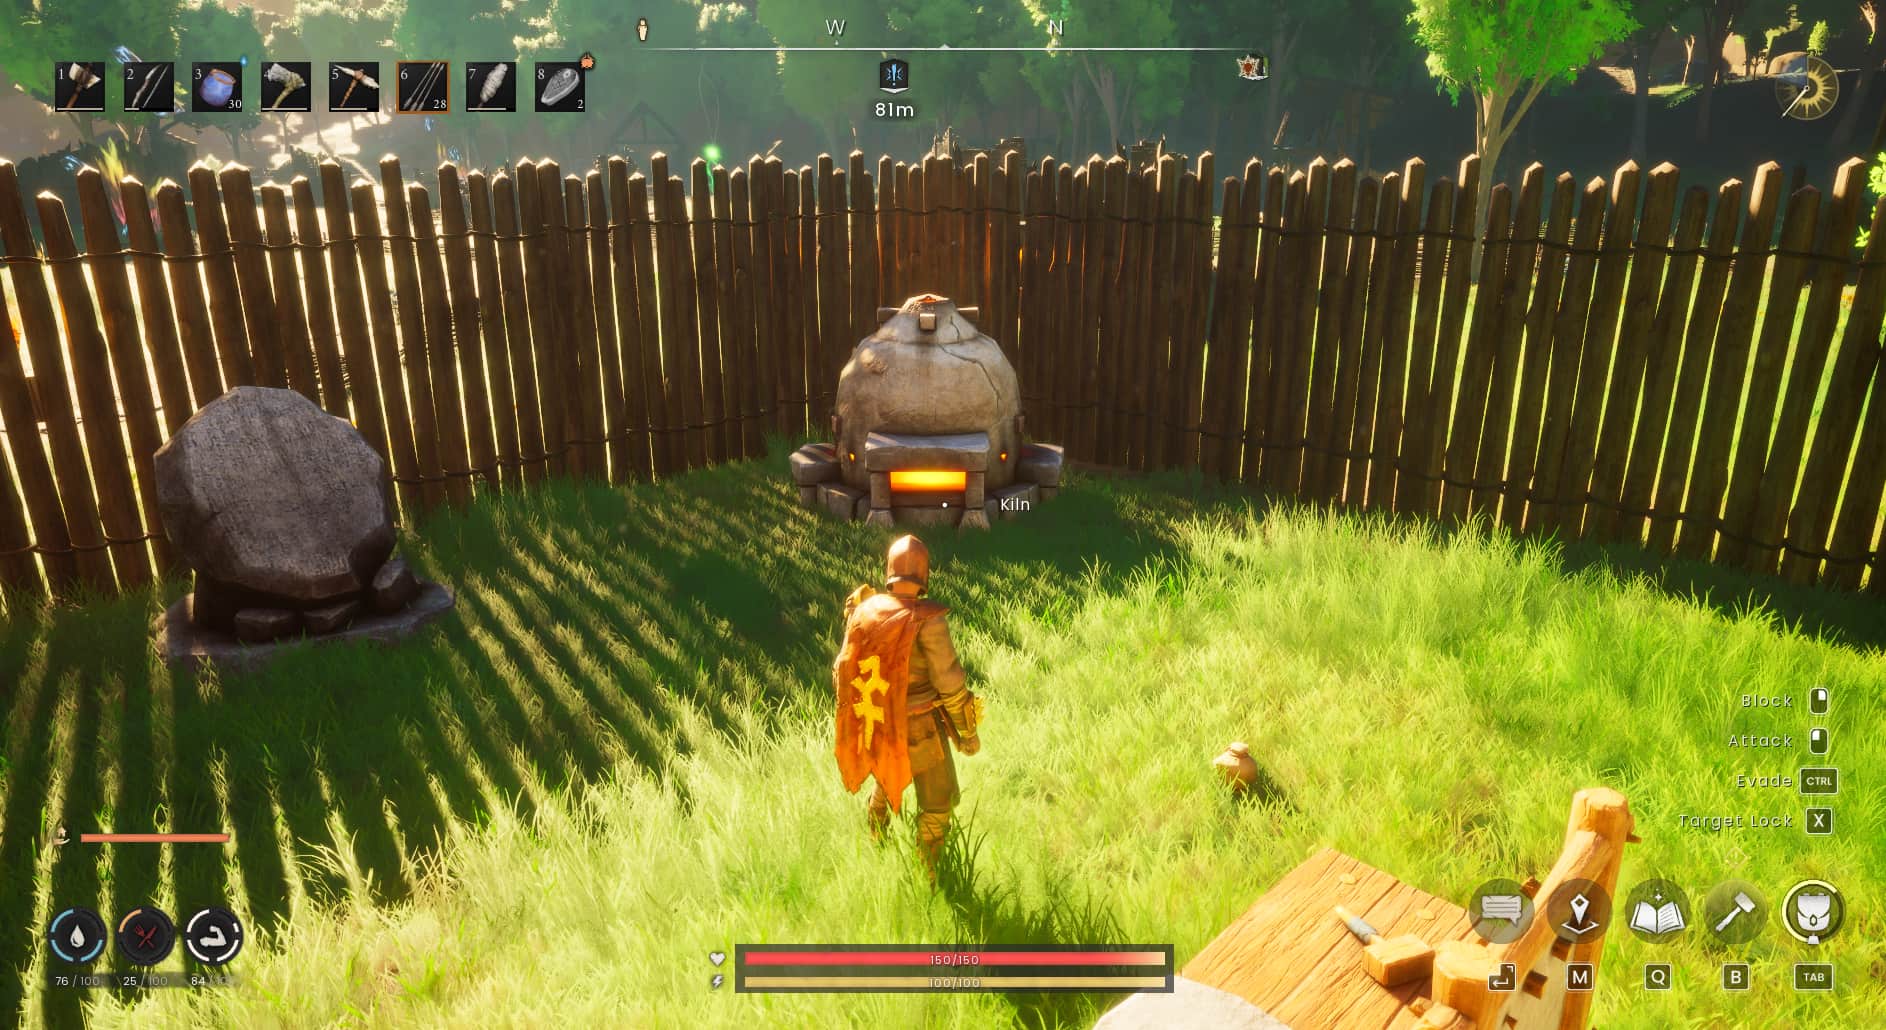
The Kiln requires 8 Ash Logs, 20 Stone, 6 Clay and 10 Fire Runes.

One of its most useful early functions is turning wood into Charcoal. You need Charcoal both to construct your Furnace and to fuel its smelting, so produce more than the construction recipe alone requires.

Furnace

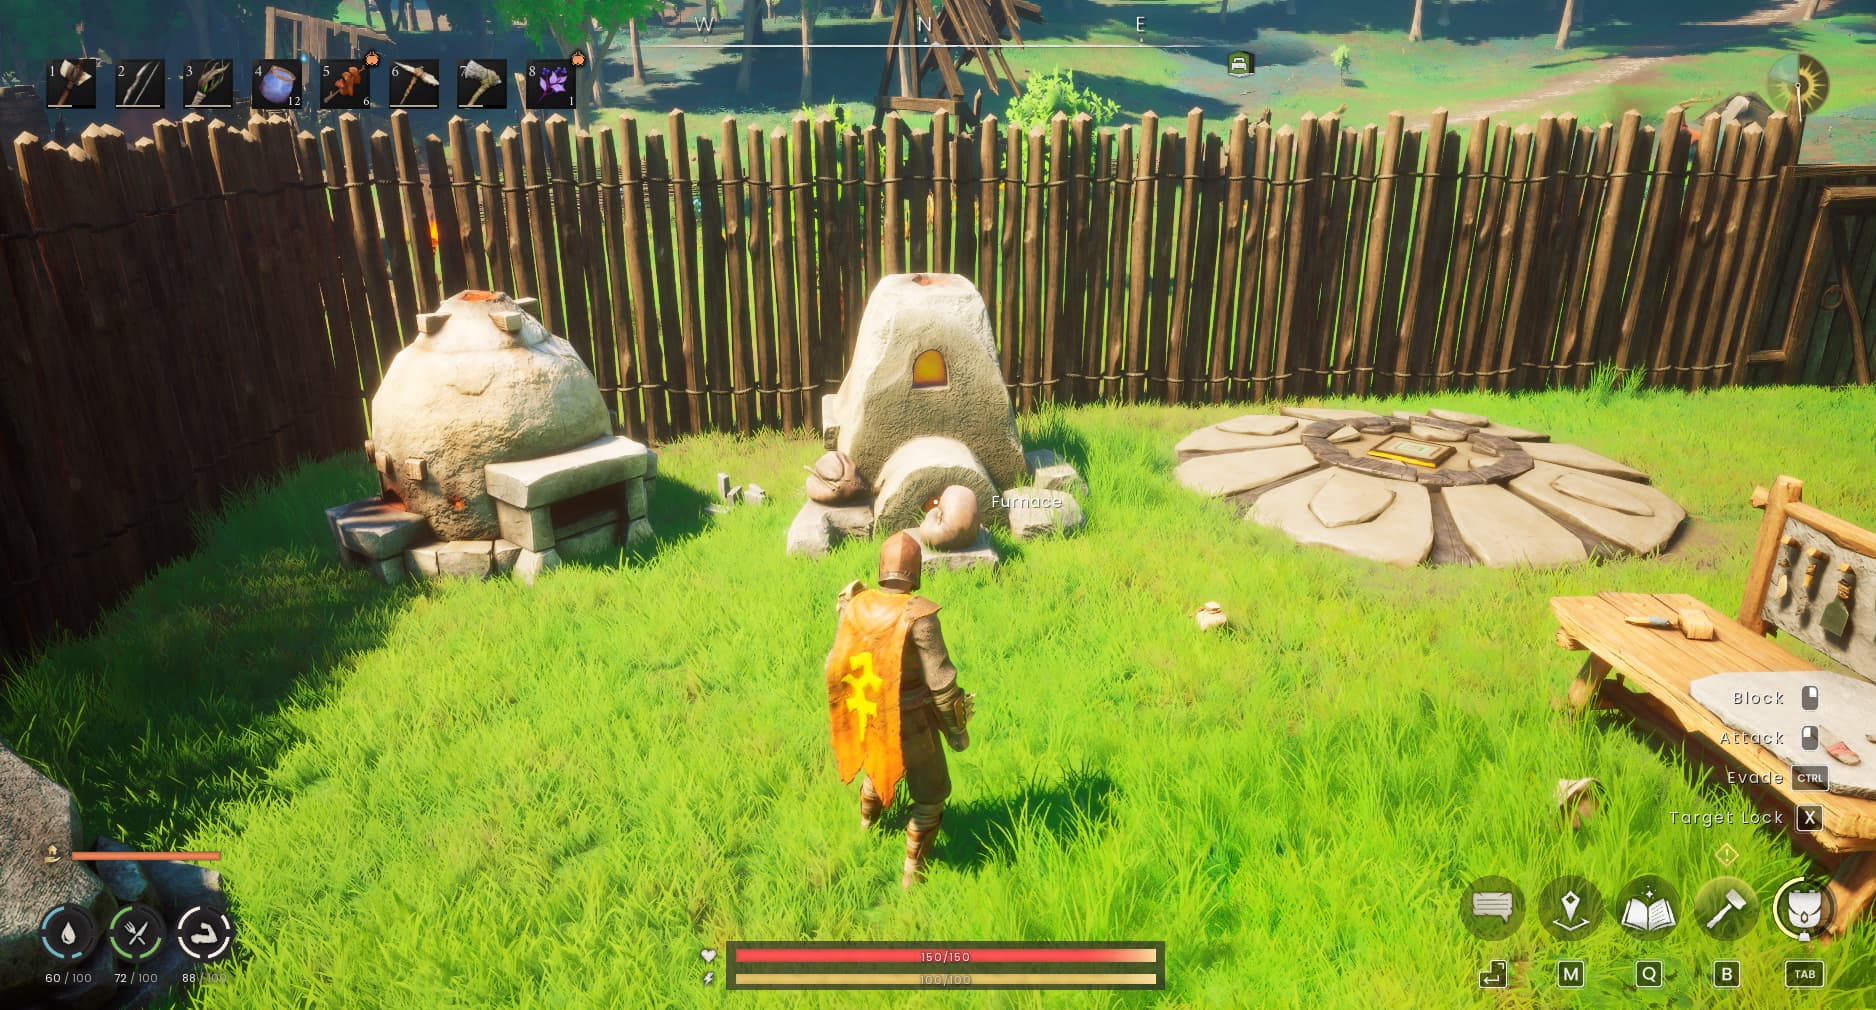
The Furnace requires 24 Stone, 8 Clay, 4 Charcoal, 10 Fire Runes and 8 Vault Shards.

Your early metalworking goal is Bronze Bars, which you produce by processing Copper Ore and Tin Ore together in the Furnace. A Bone Pickaxe allows you to mine these early metal deposits.

Build your Kiln first, make Charcoal, then construct the Furnace once you have the remaining materials. Load the ore and fuel to begin producing bars.

Bronze Bars are used in specialist equipment benches and other stations, including the Sawmill. Before spending your first batch, check which station or equipment upgrade you want to work towards.

Choose the Right Equipment Bench

As you move beyond basic equipment, crafting is divided between four specialist stations. Each handles different equipment types, so check where your next upgrade is made before building a bench.

Crafting station

What it makes

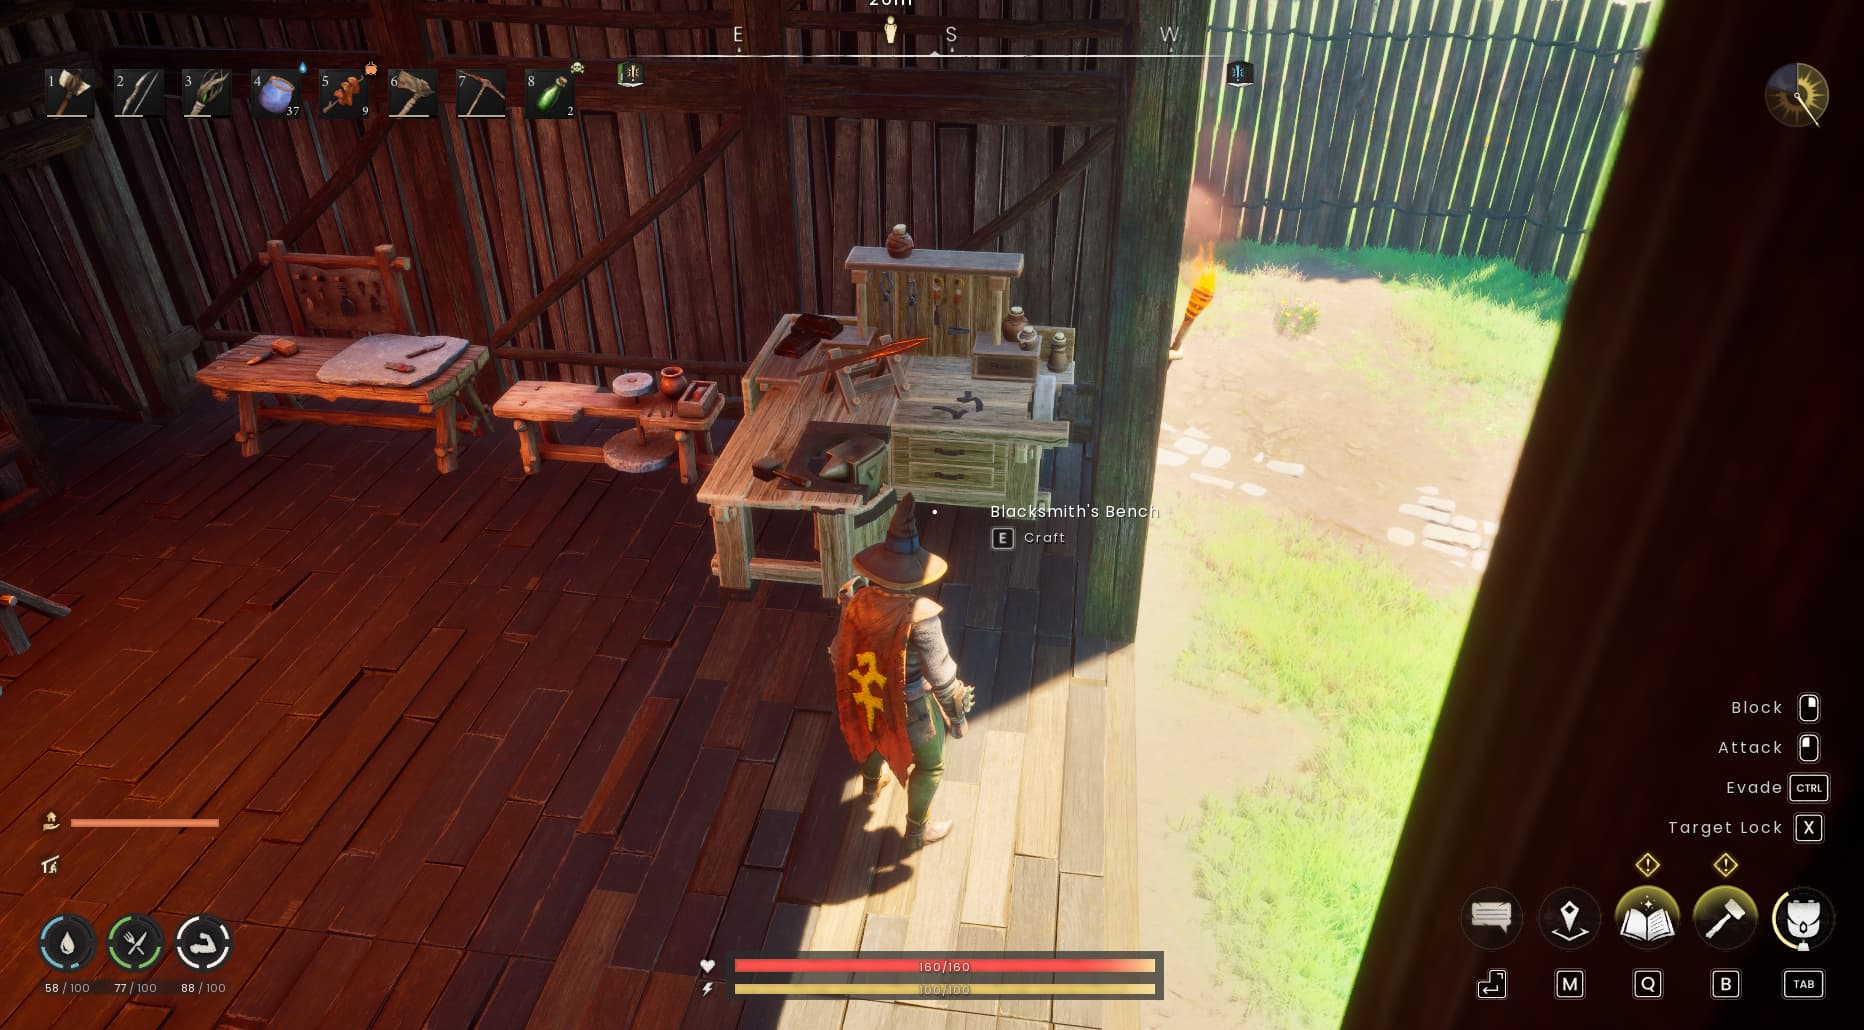
Blacksmith’s Bench

Tools, melee weapons, shields and components such as crossbow limbs

Fletching Bench

Bows, crossbows, arrows and bolts

Armour Bench

Armour for different combat styles, plus capes and other cape-slot equipment

Mystic Forge

Magic weapons, certain advanced capes and Ascension Cores for later weapon progression

Each of these four stations requires:

  • 6 Bronze Bars
  • 20 Ash Logs
  • 8 Coarse Thread
  • 1 Vault Core

That is the cost for each individual station. Prioritise the bench that helps you make a useful upgrade, then expand as you collect more materials.

Check gathering tool upgrades alongside your preferred combat style. The Blacksmith’s Bench produces tools as well as melee equipment, giving ranged and magic characters a reason to build one too.

Pay attention to Vault Cores and Vault Shards when gathering supplies. These benches require a Core, while the Furnace requires Shards. They are separate materials.

Further into the game, the Mystic Forge also supports weapon ascension, allowing eligible Masterwork and Vestige weapons to advance to higher tiers.

Produce Planks and Cloth

Once you can make Bronze Bars, the Sawmill and Loom become useful additions to your workshop.

Sawmill

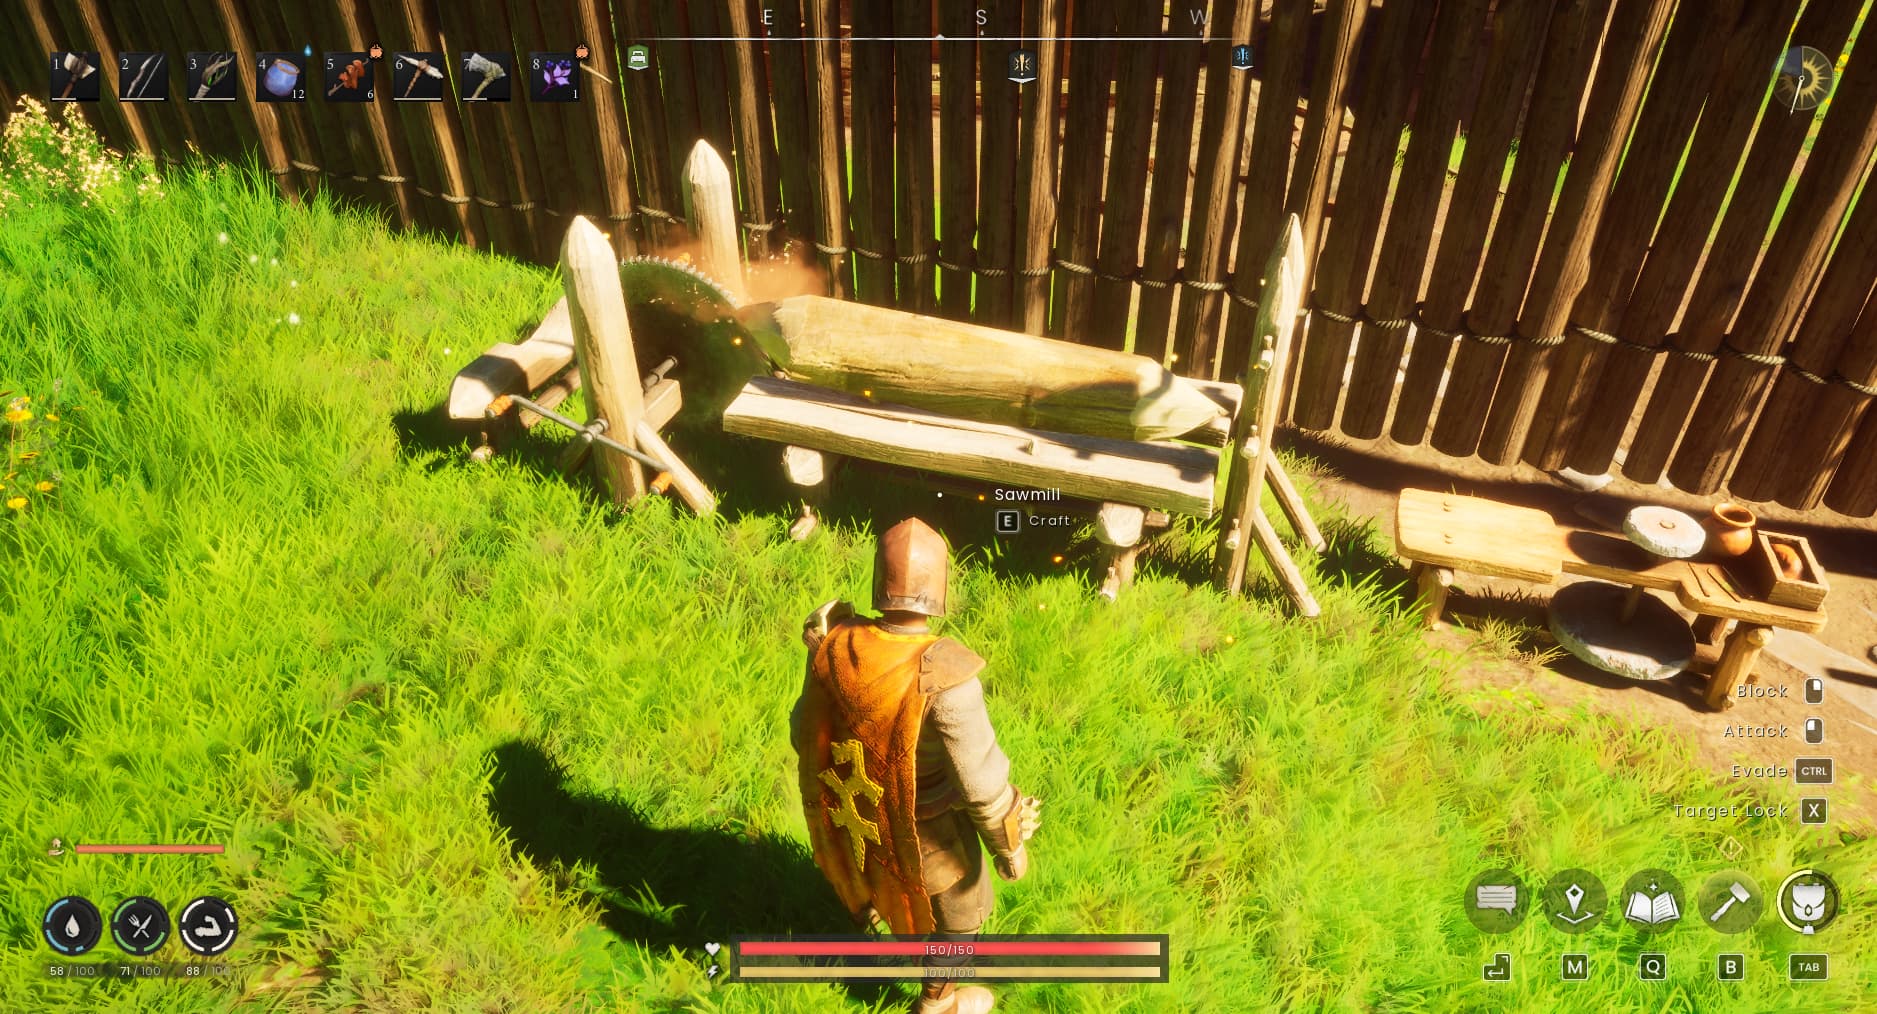
The Sawmill requires 18 Ash Logs, 4 Bronze Bars and 8 Stone.

It turns Ash Logs into Ash Planks and can also process Oak Logs into Oak Planks. Planks are used in further construction recipes, including the Loom itself.

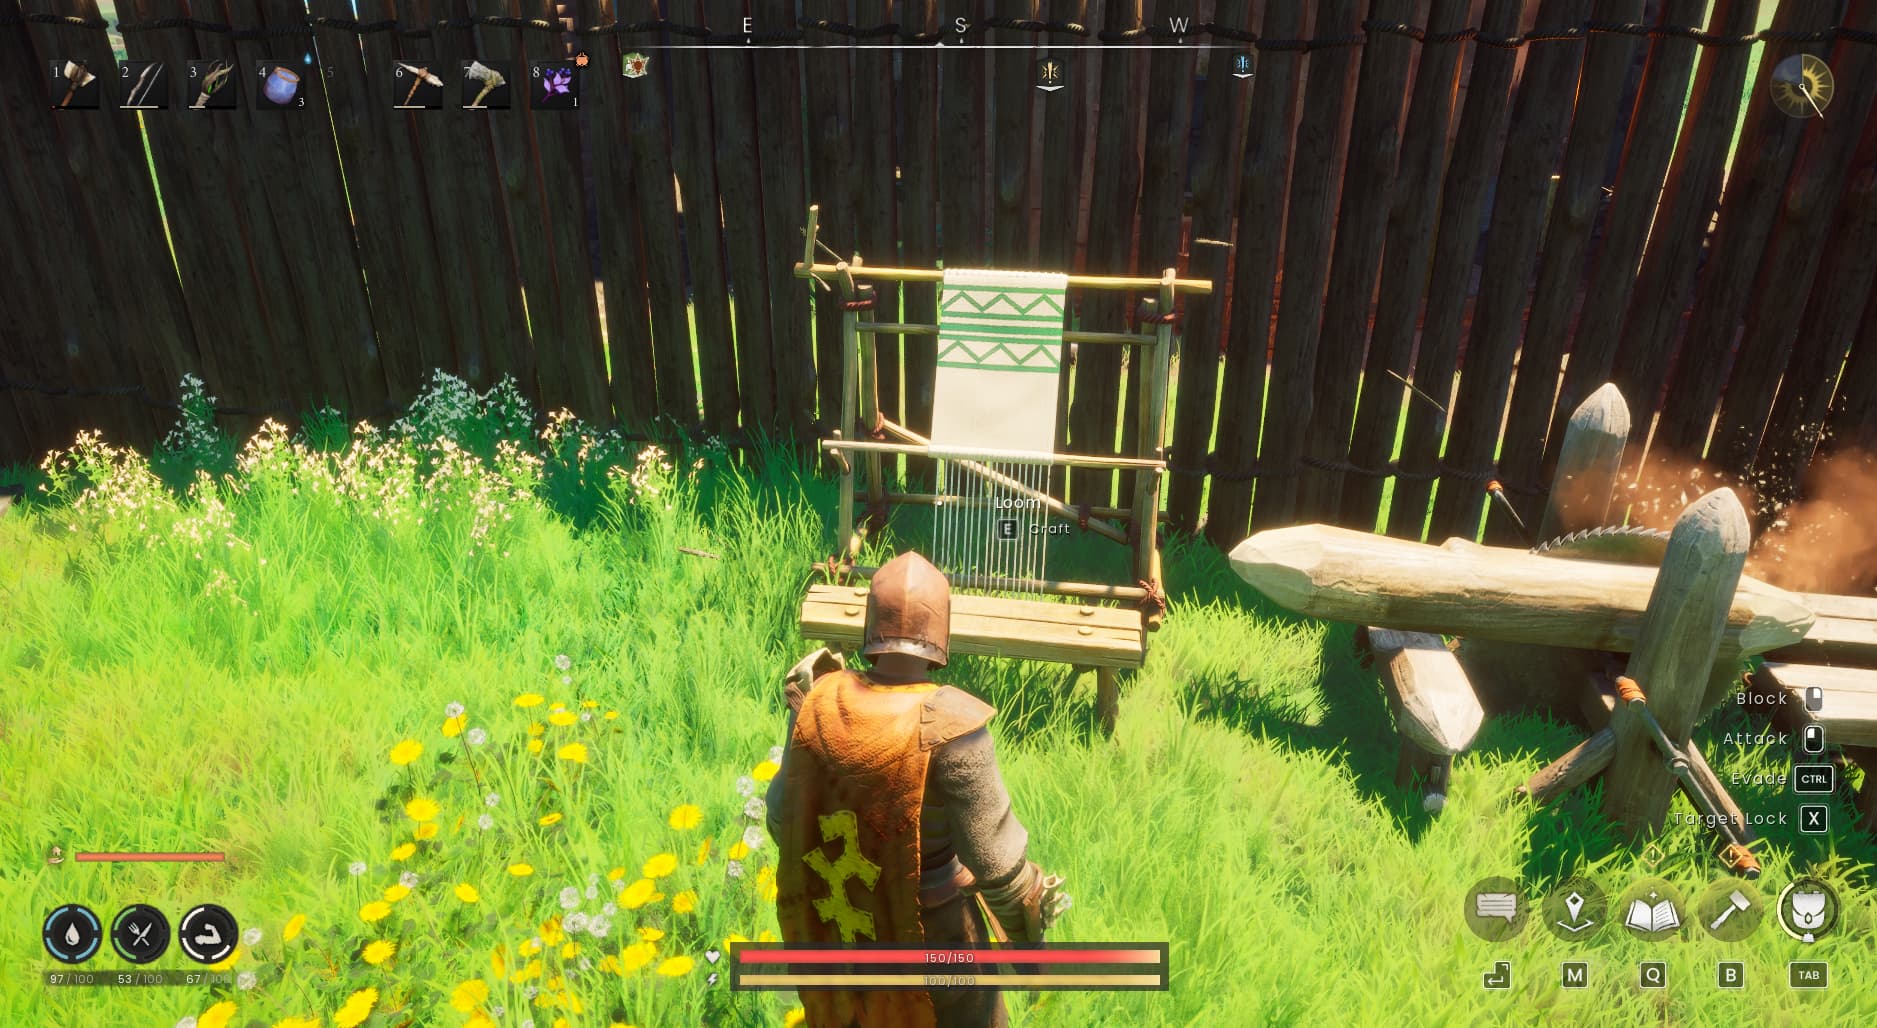
Loom

The Loom requires 22 Ash Planks, 4 Bronze Bars and 6 Wool Thread.

Prepare the Ash Planks at your Sawmill and make Wool Thread by processing Fleece at the Spinning Wheel.

Once built, the Loom turns thread into cloth. This includes Coarse Thread into Rough Cloth and Wool Thread into Wool Cloth.

A cloth requirement can therefore involve several stages: collect the raw material, spin it into thread, then process that thread at the Loom. Check the full chain before setting out to gather supplies.

Add Cooking and Brewing Stations

Your Campfire handles basic food preparation, but a growing base benefits from dedicated cooking facilities.

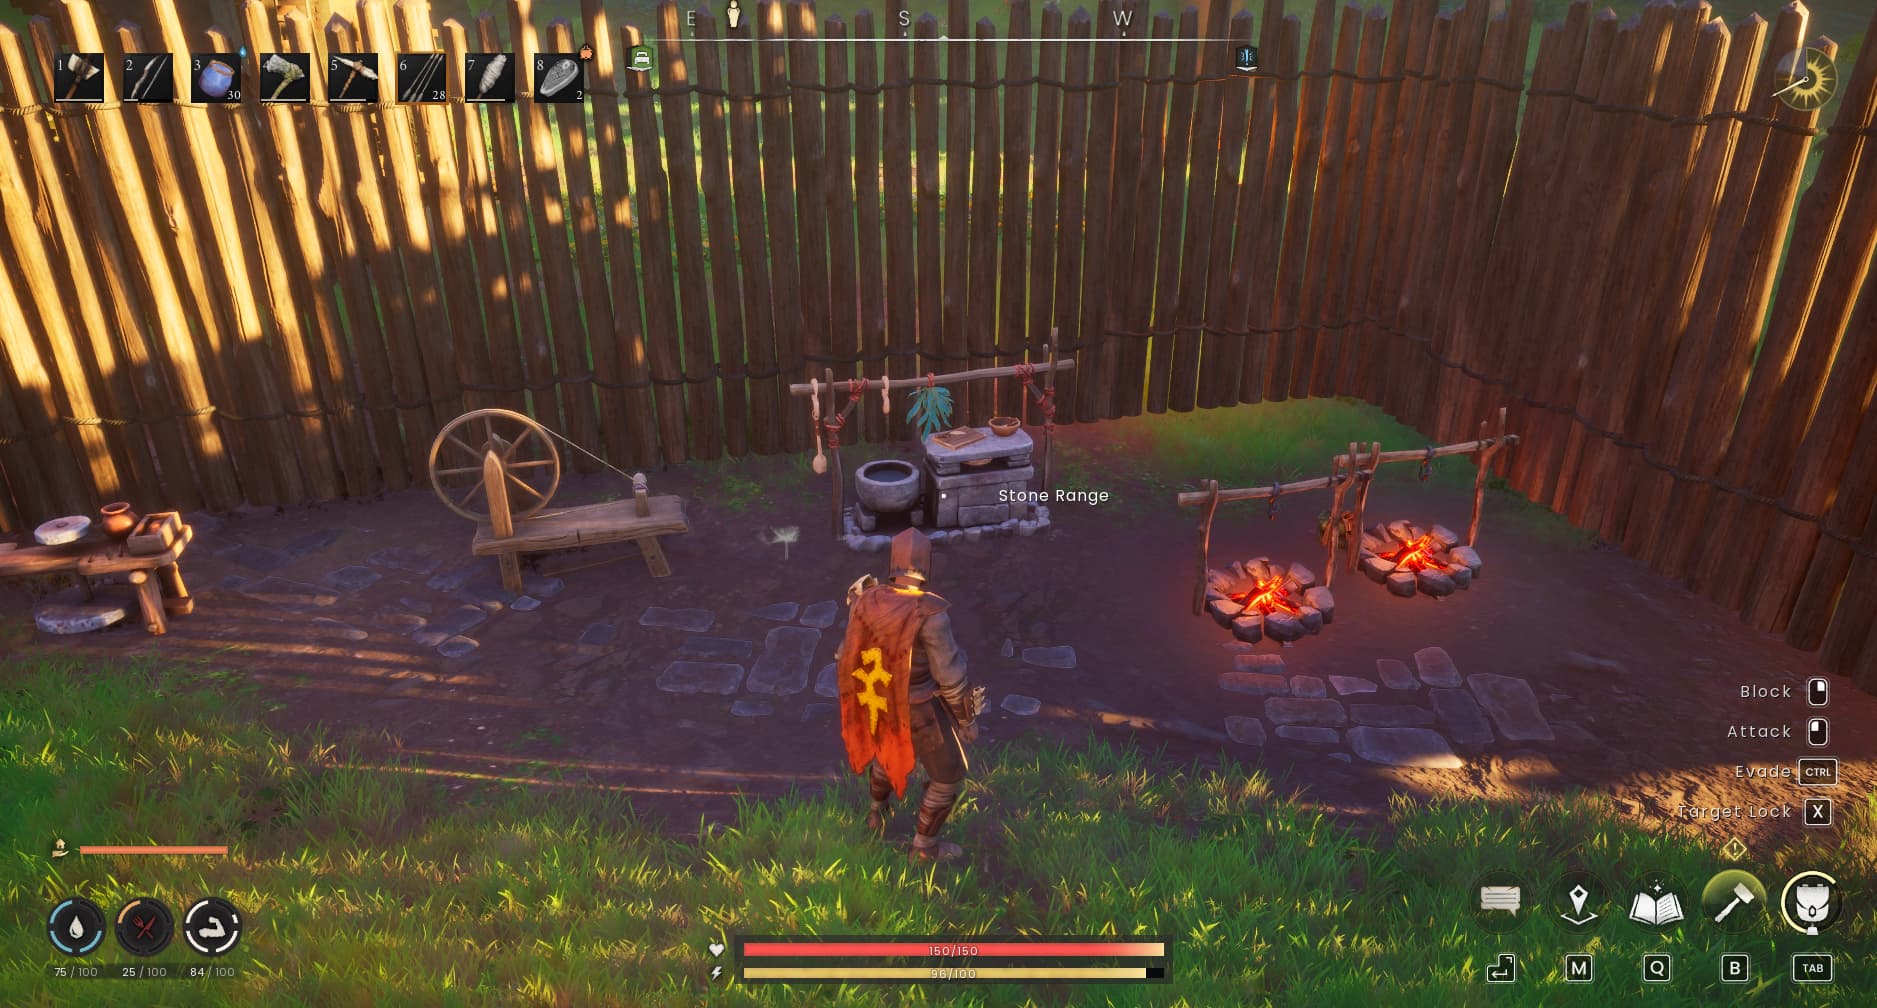
The Stone Range and Cooking Range use recipe menus for meals and drinks. Check the available recipes and their requirements as your Cooking skill develops, then gather ingredients for supplies you’ll use regularly.

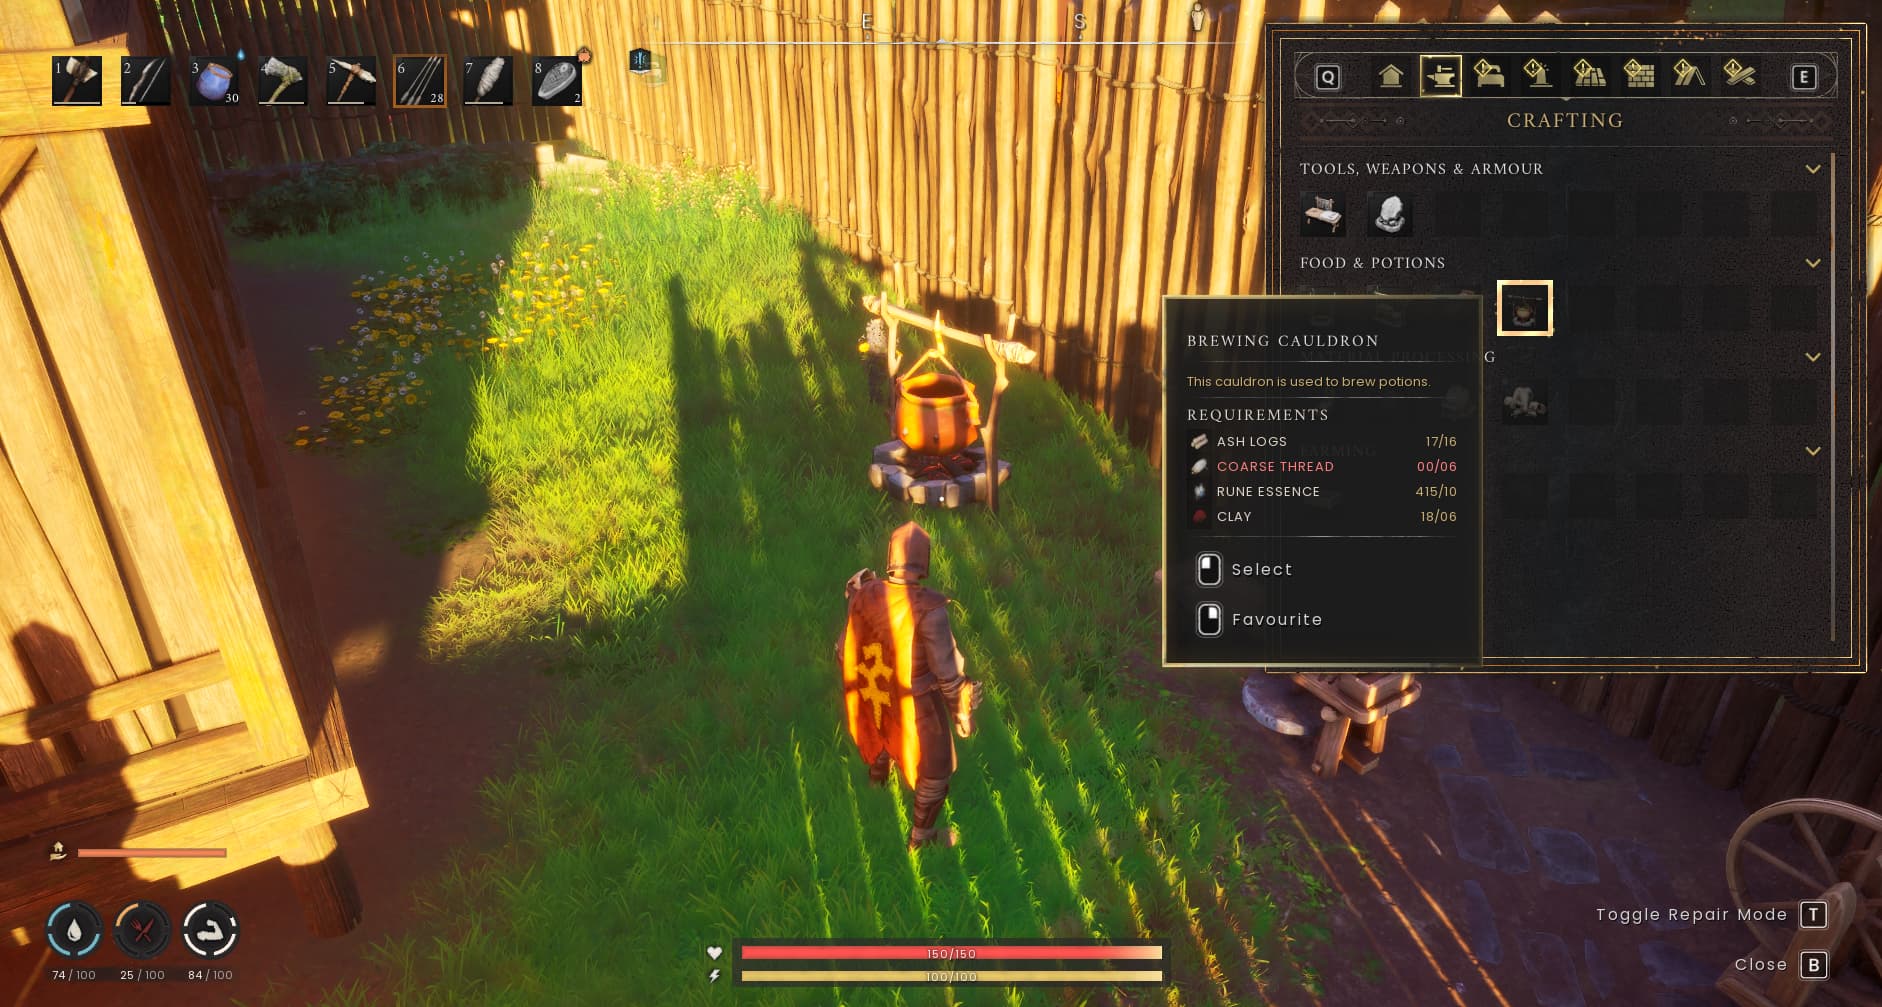
The Brewing Cauldron produces potions that provide useful bonuses, including combat and skilling effects. Check the potion you want before gathering ingredients or filling its input slots.

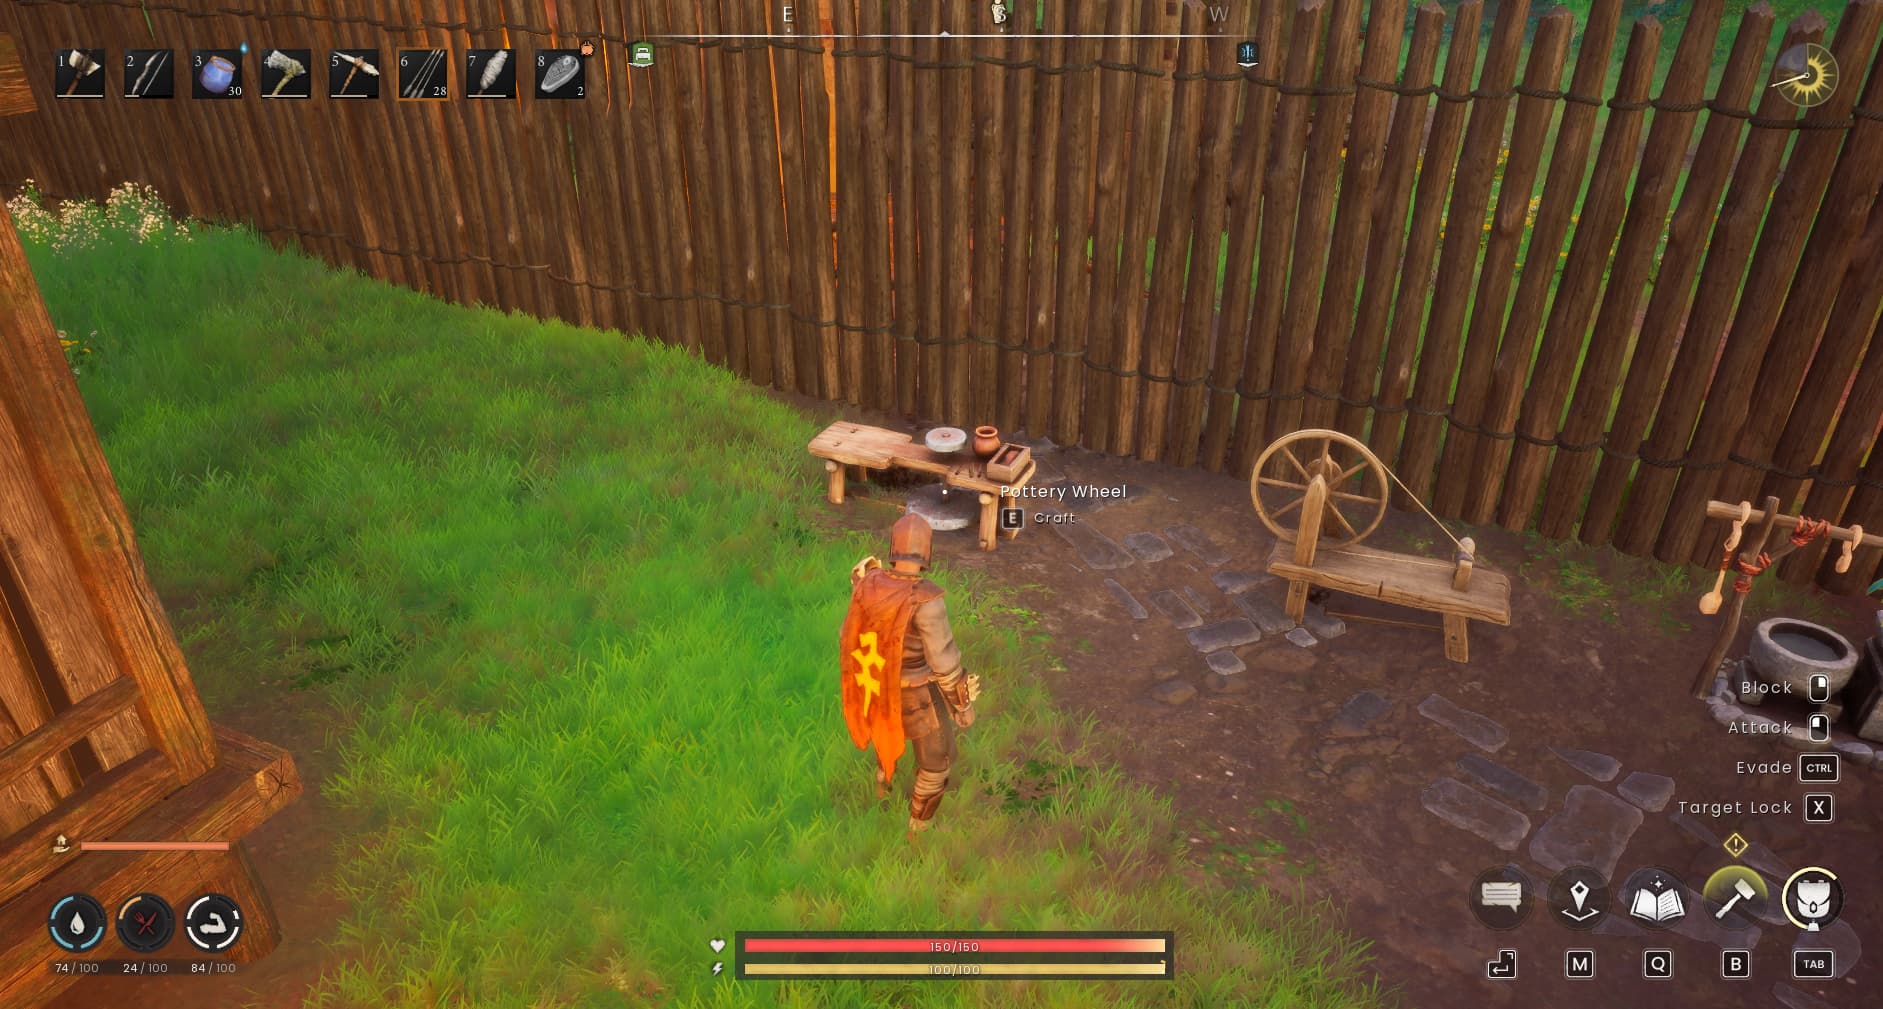
Some brewing recipes also need Clay Vessels. To make these, create an unfired vessel at the Pottery Wheel, then fire it in the Kiln.

Build up your cooking and brewing setup around the supplies you need for exploration. Having useful meals and potions ready makes preparing for your next trip much easier.

Keep Your Workshop Working

Place storage close to your crafting area and enable the Linked option on nearby chests. This allows crafting and building to use stored materials within range, reducing how much you need to carry around your base.

For processing stations with input and fuel slots, load the required materials into those slots. Check the output before leaving the station to work.

Stations also need suitable placement. For example, the Fletching Bench requires a roof to function. If a station will not operate, check its placement requirements alongside its ingredients and fuel.

Before leaving your base, collect finished materials, restock supplies and use the Crafting Table’s Repair mode to restore worn equipment.

For help planning your shelter, storage and workspace, see our RuneScape Dragonwilds Building Guide.

Expand Around Your Next Upgrade

Your workshop can develop gradually as new recipes give you a reason to add more stations.

Later requirements introduce facilities such as the Grindstone, which processes materials into ground forms. Its construction requires Iron Bars and Granite, placing it further along your progression than the basic Spinning Wheel or Tannery.

Station improvements also expand your options. Additions such as the Tanner’s Kit and Loom Harness allow their associated stations to handle more advanced processing recipes.

Leave room for these additions when arranging your base. A little space between your first stations makes it easier to add new facilities and keep storage accessible as your collection of materials grows.

Your first Crafting Table can eventually become part of a much larger workshop, with organised storage, materials processing and equipment benches ready for your next adventure. Build it up as you explore Ashenfall, giving each new station a purpose in your progression.

Table of Contents

See More

RuneScape Dragonwilds 1.0: Building Guide
Updated on Sep 12, 2026
RuneScape Dragonwilds 1.0: Beginner’s Guide
Updated on Sep 12, 2026
RuneScape Dragonwilds 1.0: Crafting Stations Guide
Updated on Sep 12, 2026
What Is WoW Classic+? Project Camelot Explained
Updated on Sep 12, 2026
How to Beat the Spider Matriarch in Emberville
Updated on Sep 11, 2026

Like our guides?

Add Mobalytics as a preferred source on Google!