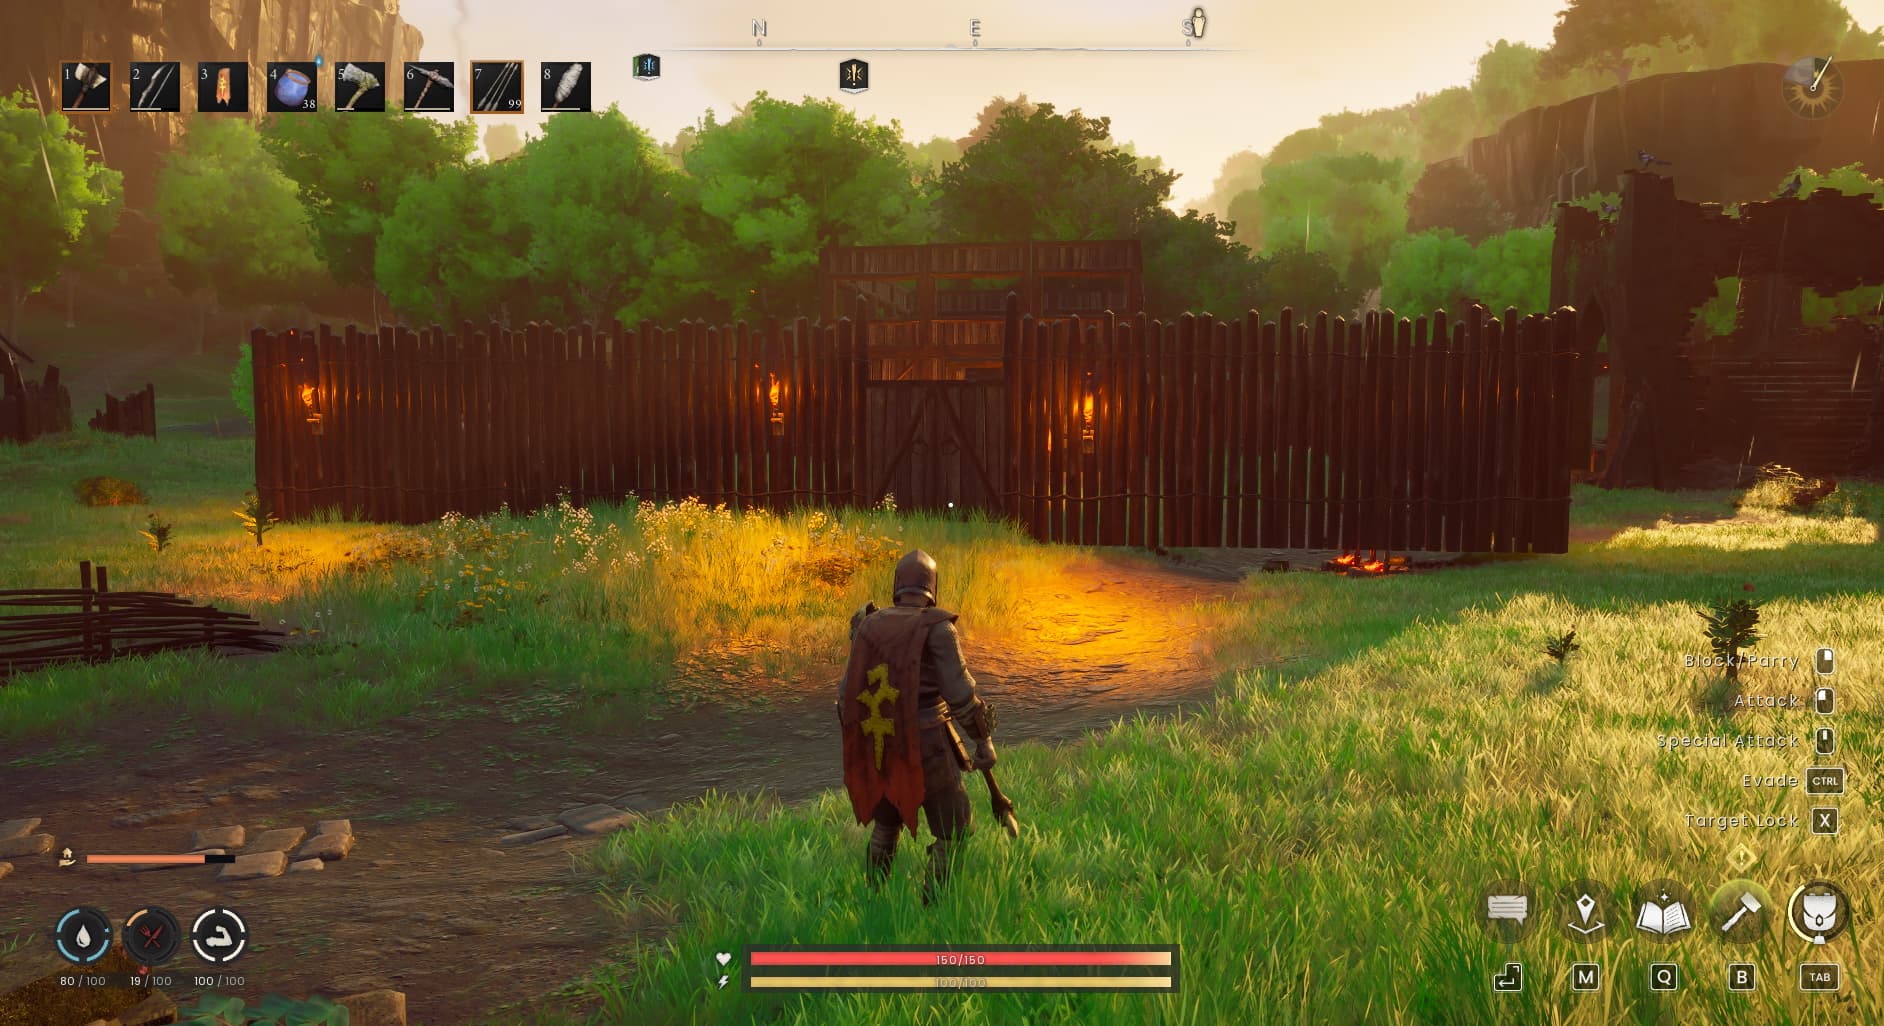
A useful base gives you somewhere to prepare food, organise supplies and make your next equipment upgrades. Start with a modest home that is easy to move around, then add space as your crafting needs grow.
This article takes you through choosing a site, planning your layout, finishing the roof and arranging a practical work area.
Bramblemead Village is a practical place to begin. The opening adventure brings you there to speak to the Wise Old Man and start setting up a shelter.
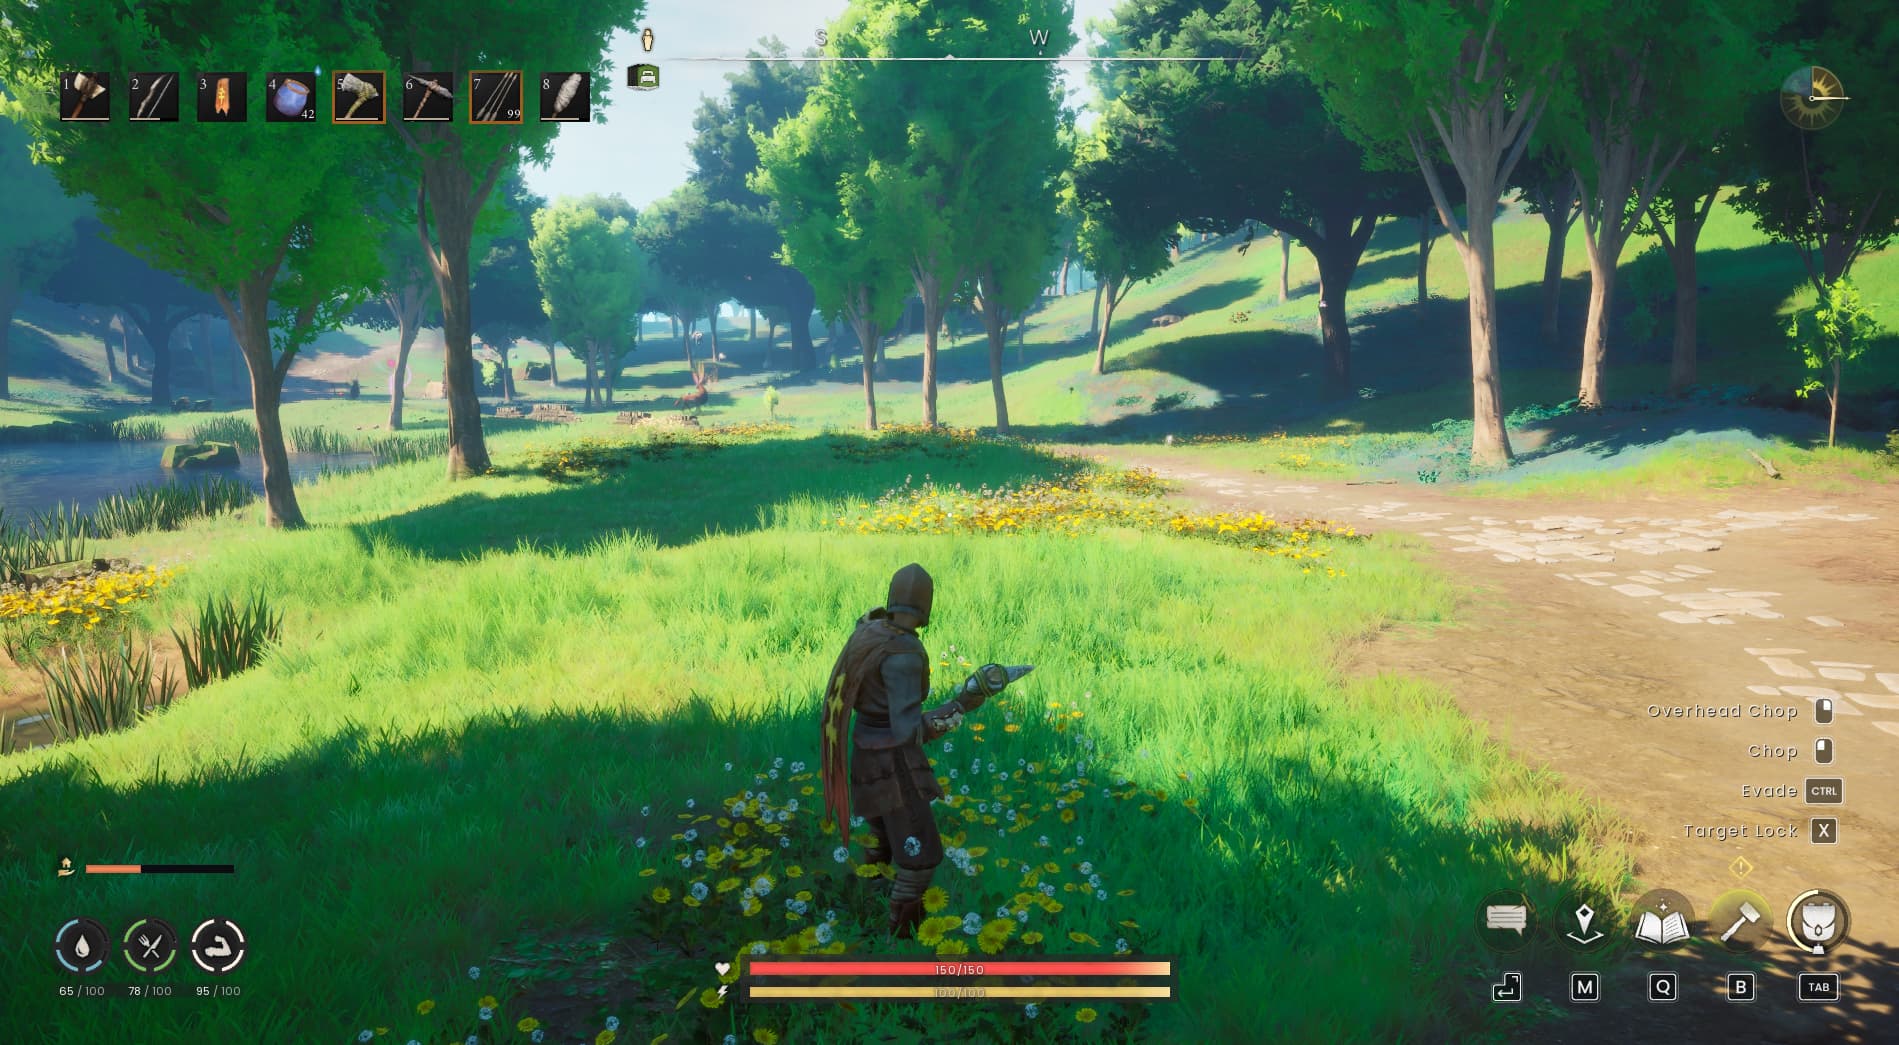
Look for a reasonably flat patch with enough clear space for a small house and a work area. Walk around the spot before committing: check how you will reach the entrance, where you could add another room and whether nearby enemies will interrupt you.
If nearby enemies are making it difficult to build or gather materials, our RuneScape Dragonwilds combat guide explains how to manage Stamina, time your parries and use Weapon Special Attacks.
Keep your first build close to the places you are already visiting. Convenient trips for wood, water and quest objectives will make it easier to gather supplies and return home between adventures.
You should also leave some room around the outside of the building. Filling every available space immediately can make it awkward to fit another workstation or extend the house later.
Gather Materials Before You Start
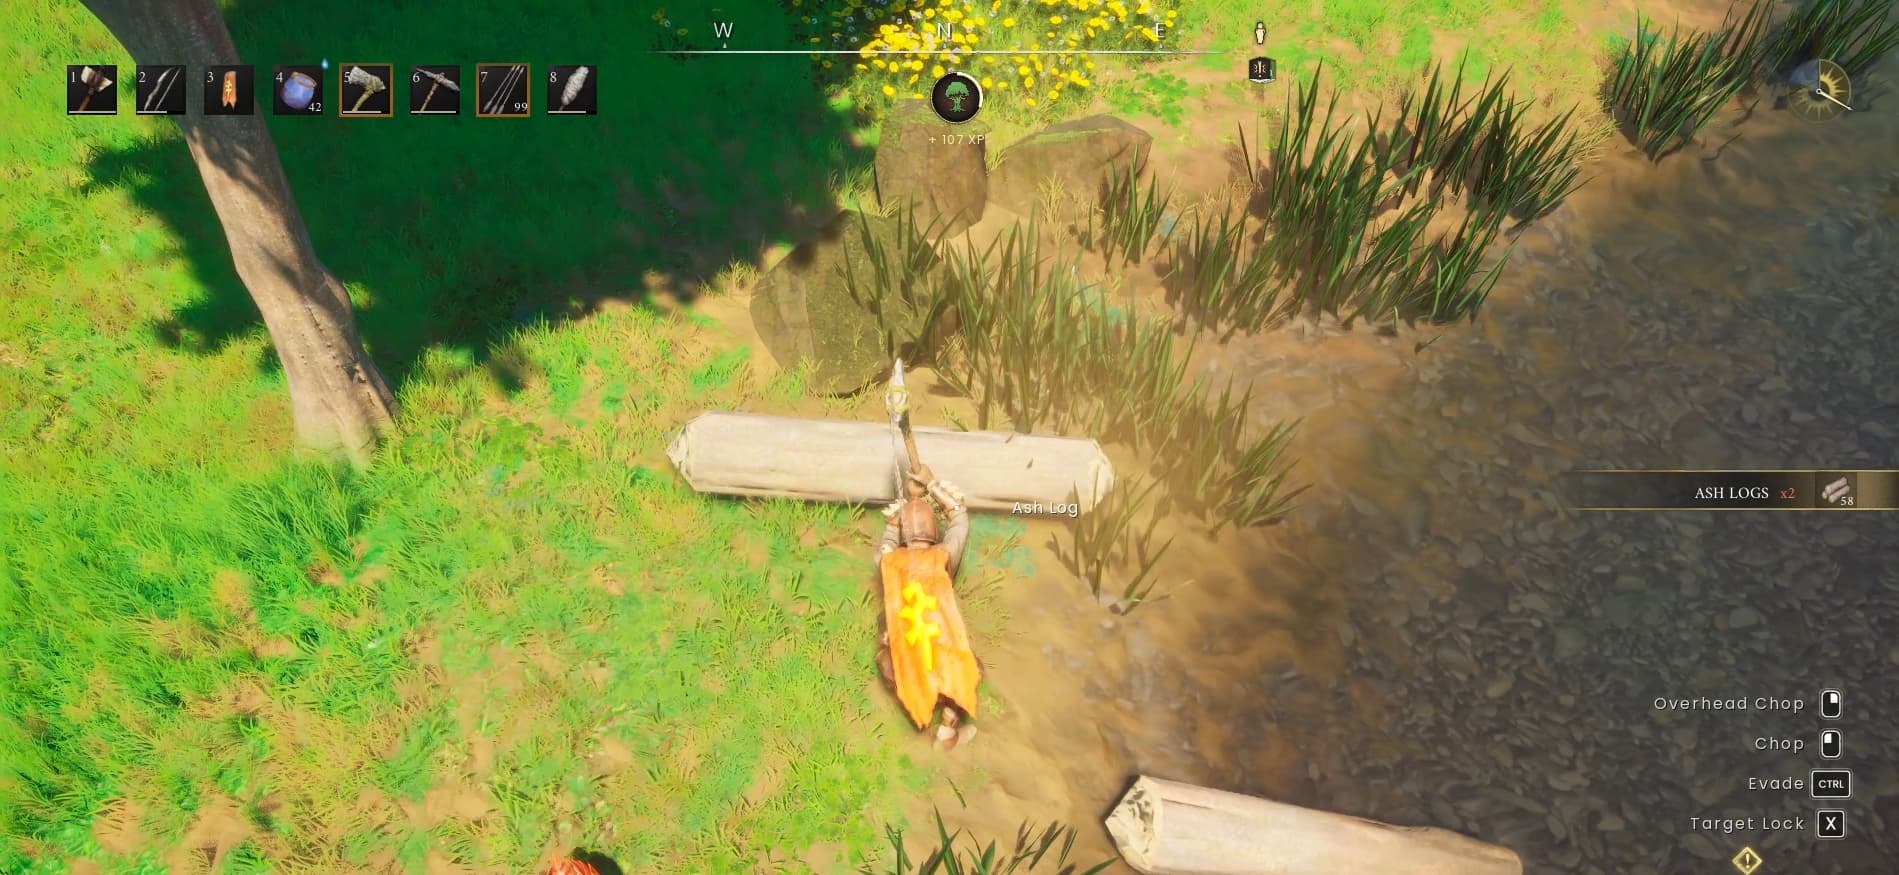
Gather Ash Logs and Stone, then check the requirements for the building pieces you want to use. Foundations, walls, roofing, furniture and workstations can require different materials, so look through your planned pieces before making a large collection trip.
You can gather in stages as the house takes shape. Keep a small reserve of building materials nearby so you can finish a missing section or adjust the layout without immediately heading out for more supplies.
Plan a Small Base Before Spending Materials
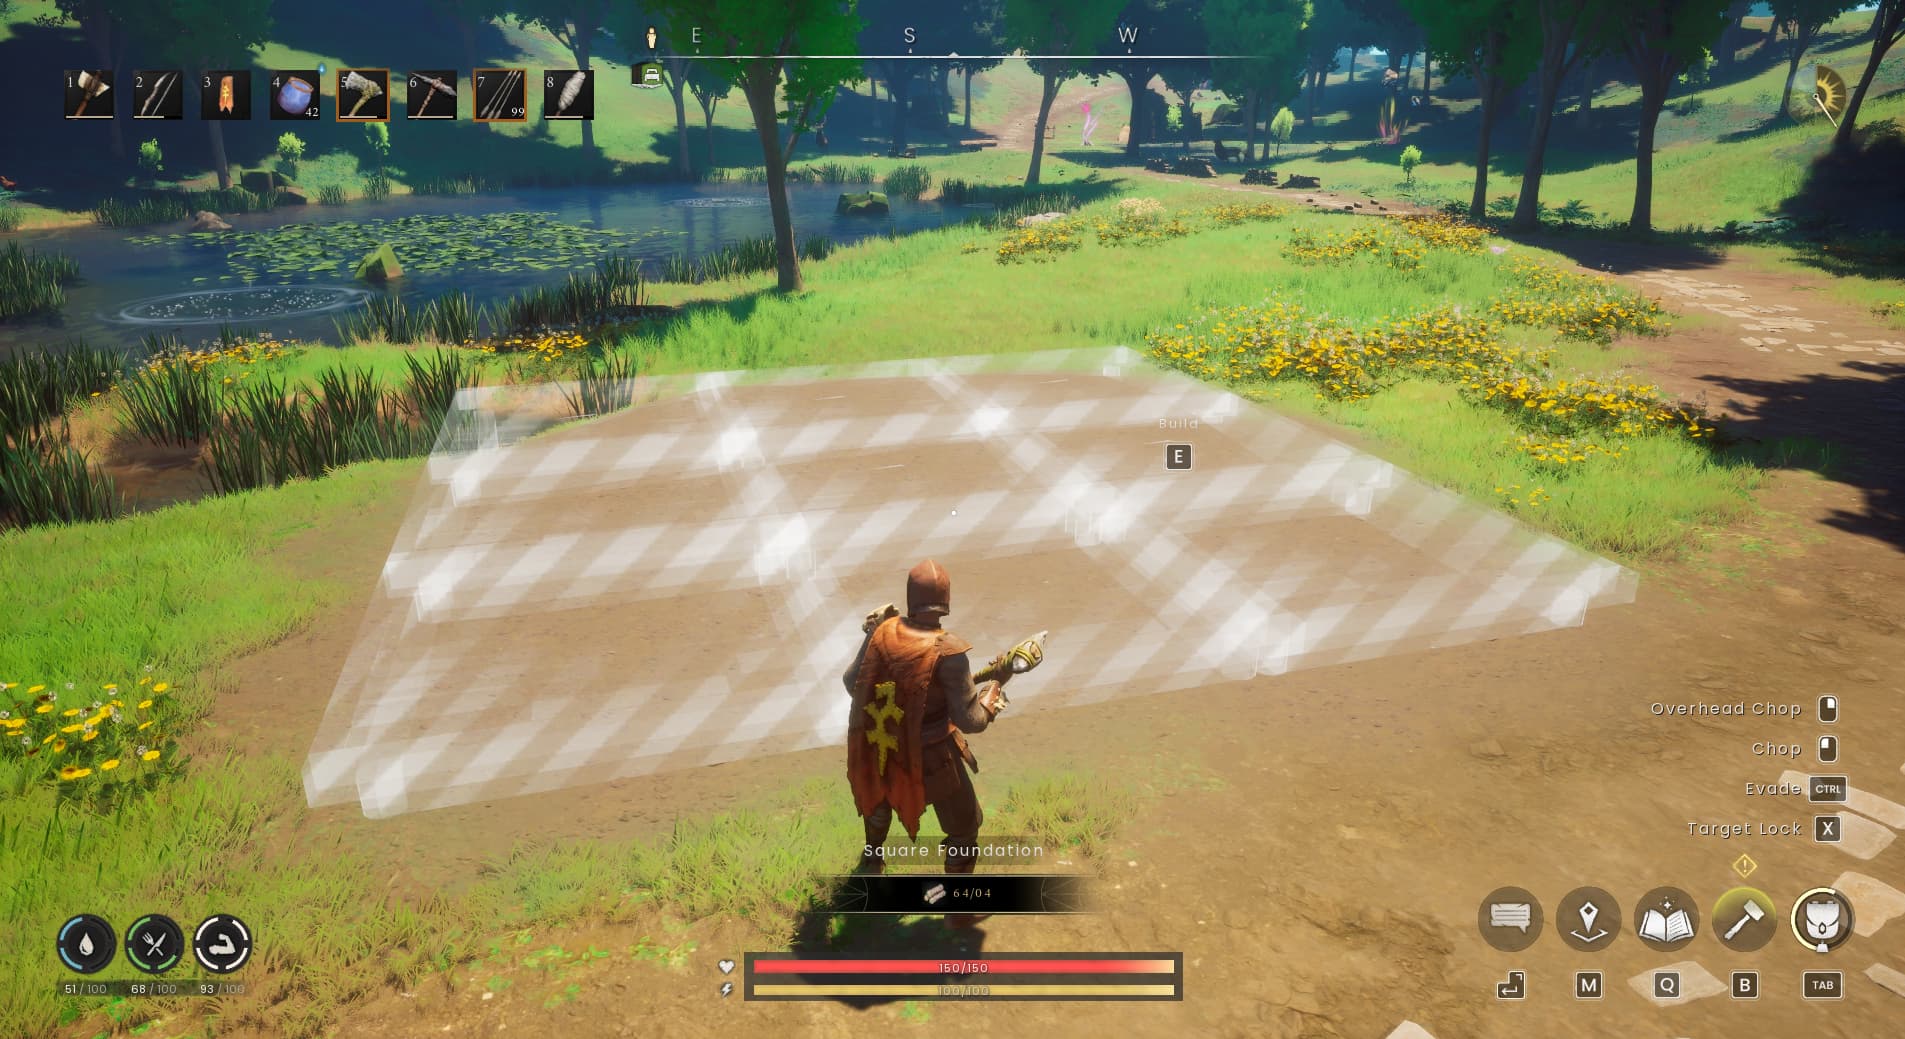
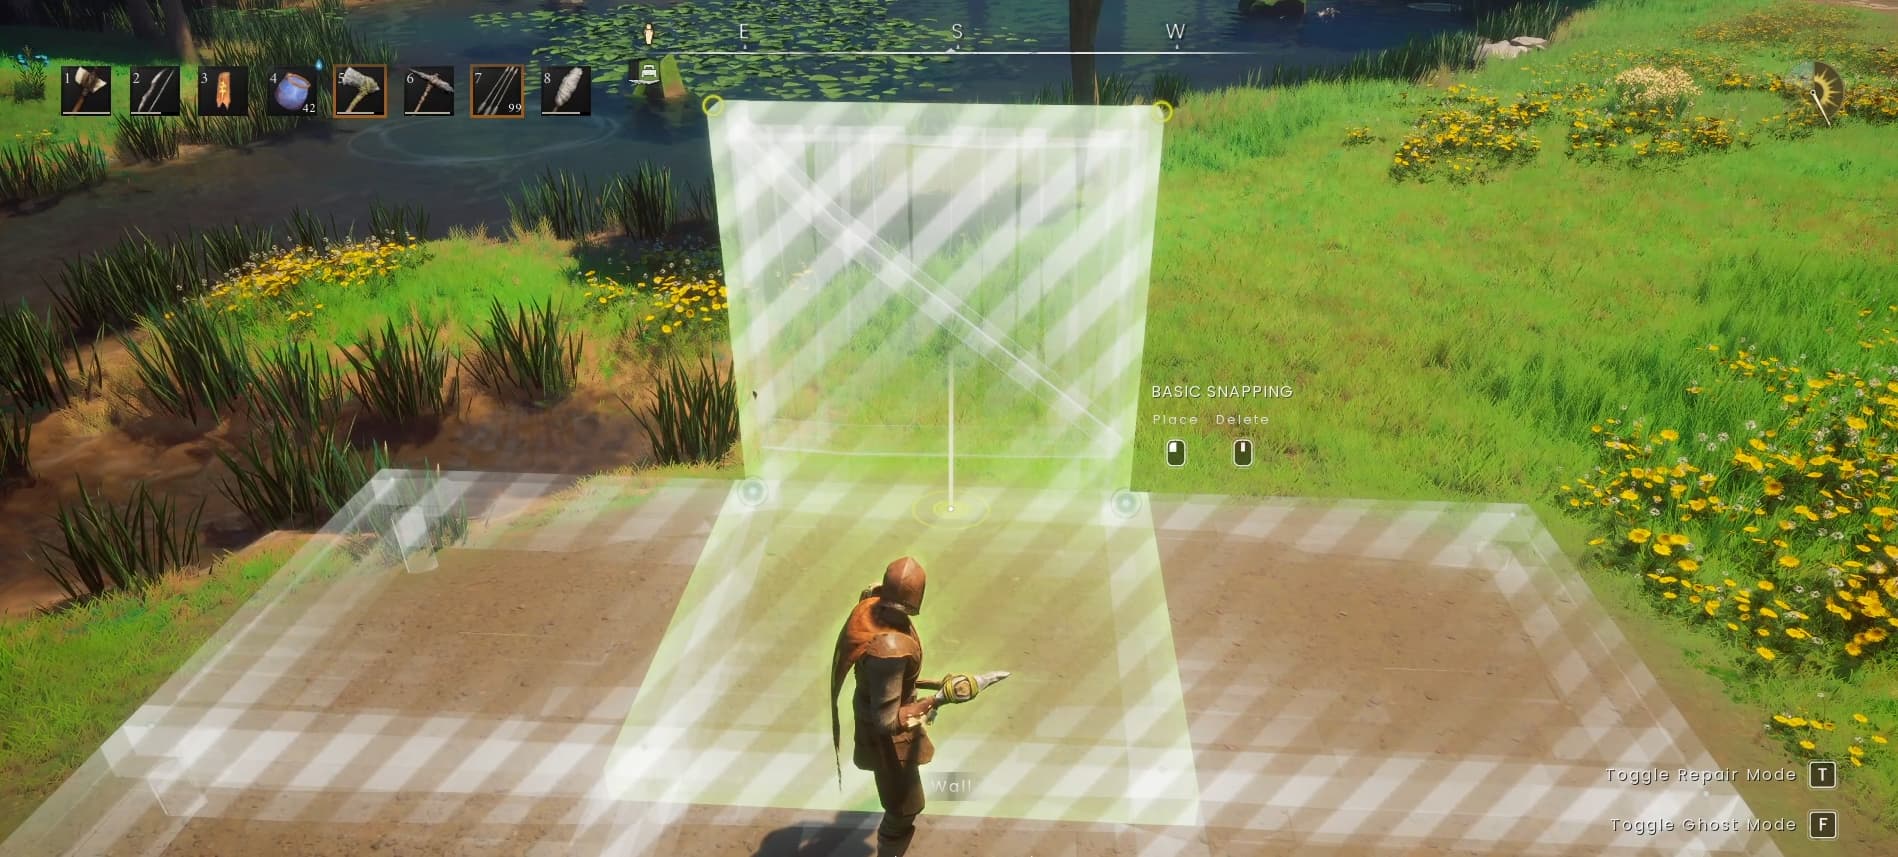
Use Ghost Mode to lay out unfinished blueprints before committing your supplies. You can add the materials afterwards through Repair Mode.
For a straightforward starter layout, try a square three foundations wide and three long. Keep one end for the entrance and plan space for a bed, a Crafting Table and storage around the edges. You can adjust this suggested layout to suit your location.
Walk around the planned footprint before adding walls. Think about where you will enter, how you will reach your bed and whether there is enough room to approach your crafting area.
Make changes to the outline while the layout is still simple. Complete the foundations before relying on them to hold finished walls and furniture.
Finish the Walls and Roof Before Furnishing
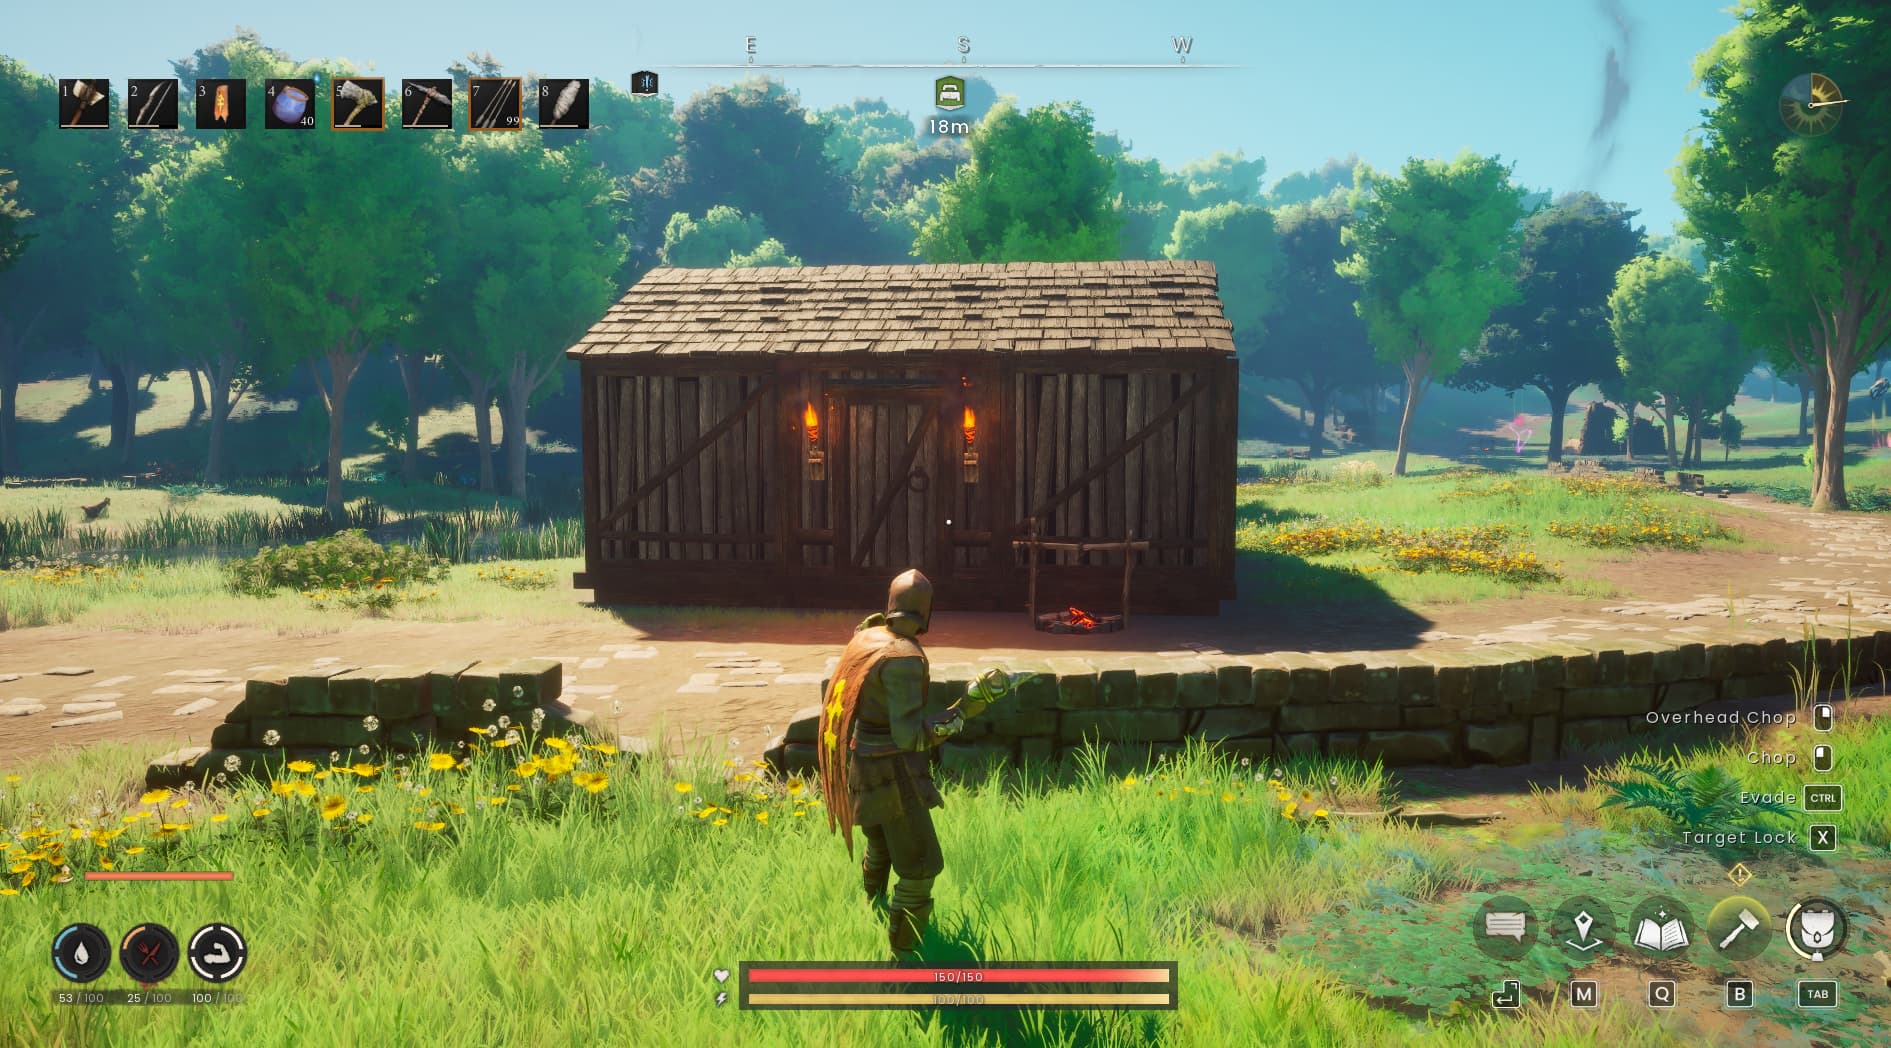
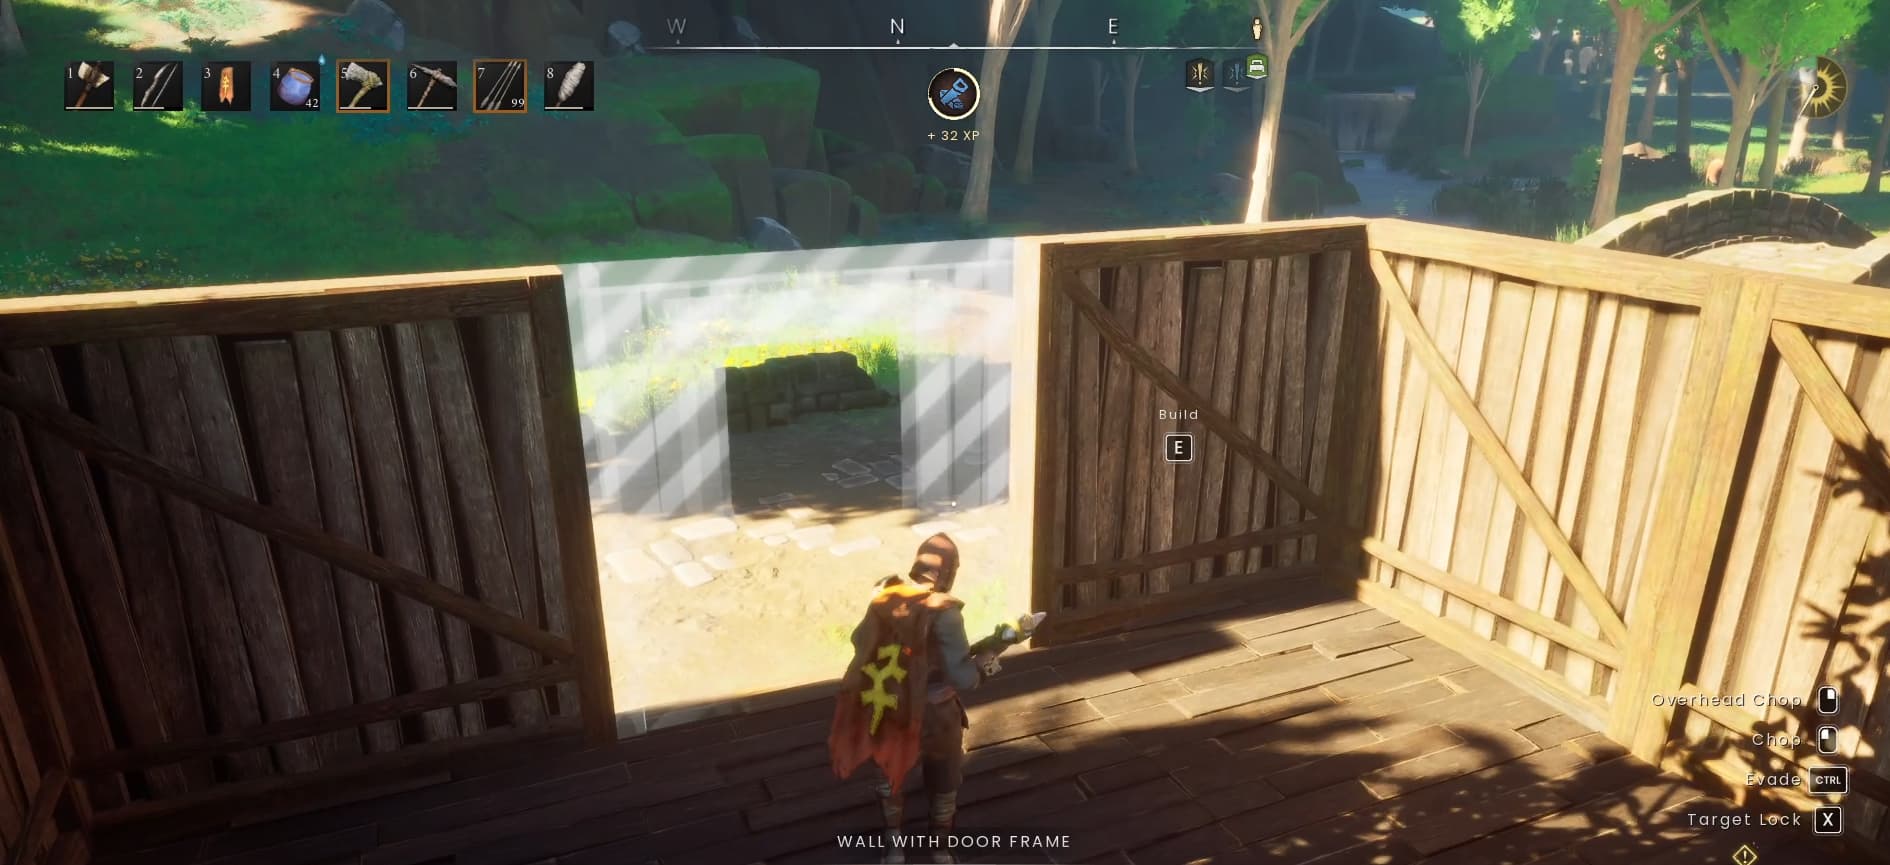
Build around the outside of the foundations and leave an opening for a doorway. Fit a door once the opening is in place. Work around the perimeter before closing in the roof so you can spot alignment problems early.
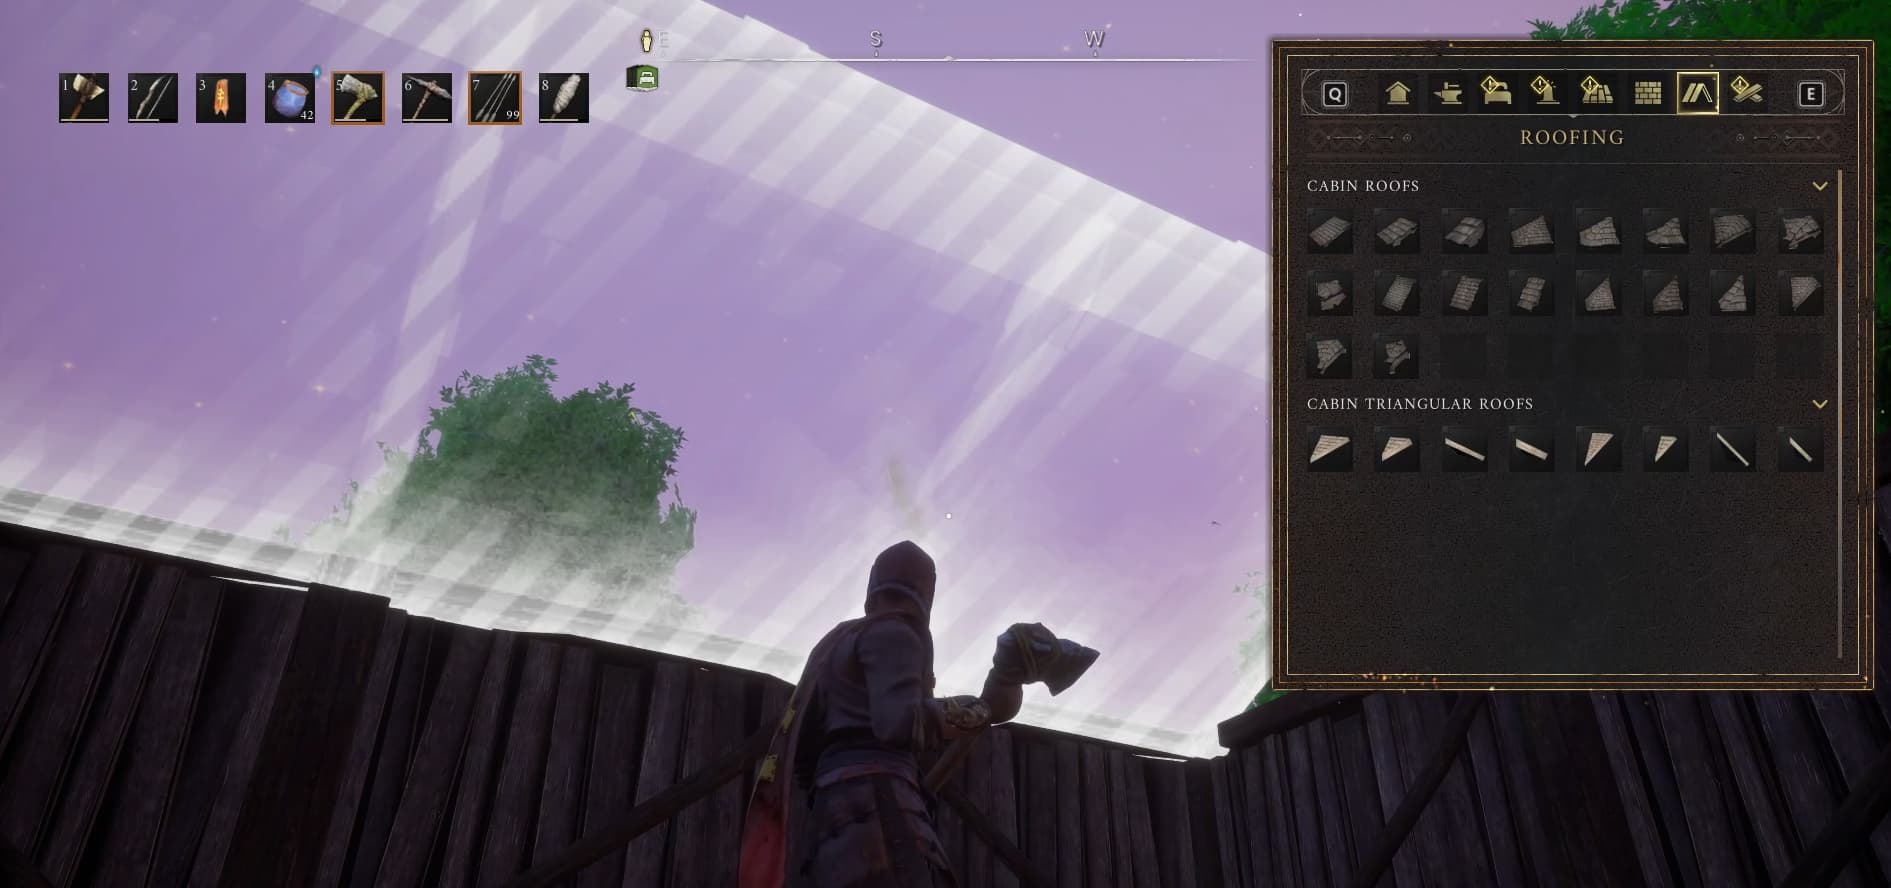
Use matching roof pieces along the same slope. A basic pitched roof is easier to follow than joining several roof shapes on your first attempt. Check both ends of the house and use the available wall pieces to close gaps beneath the roof.
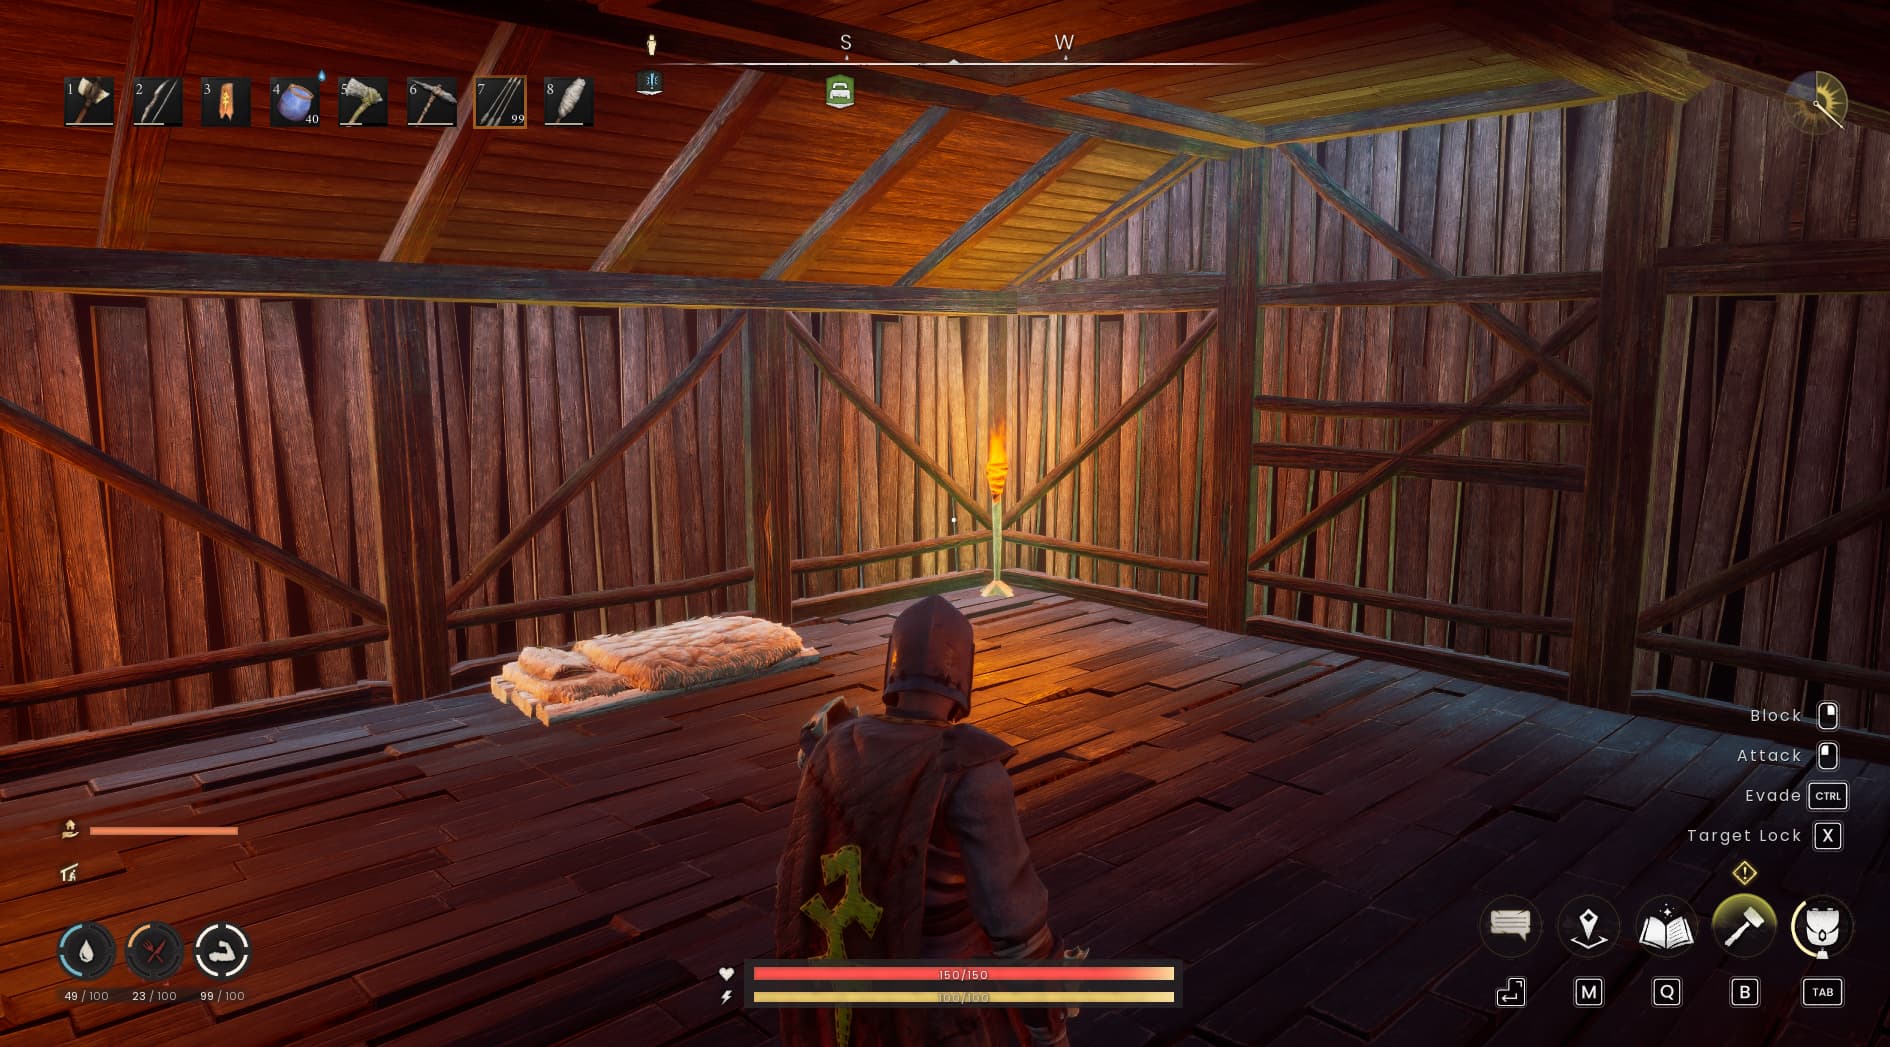
Then place your bed inside and interact with it to claim your respawn point. Leave a clear route from the entrance to the bed, and check that the roof covers the sleeping area.
If a placement or interaction fails, read the message on screen before changing the whole house. Inspect the nearby roof, walls, space around the object and its support.
Support Roofs and Raised Floors
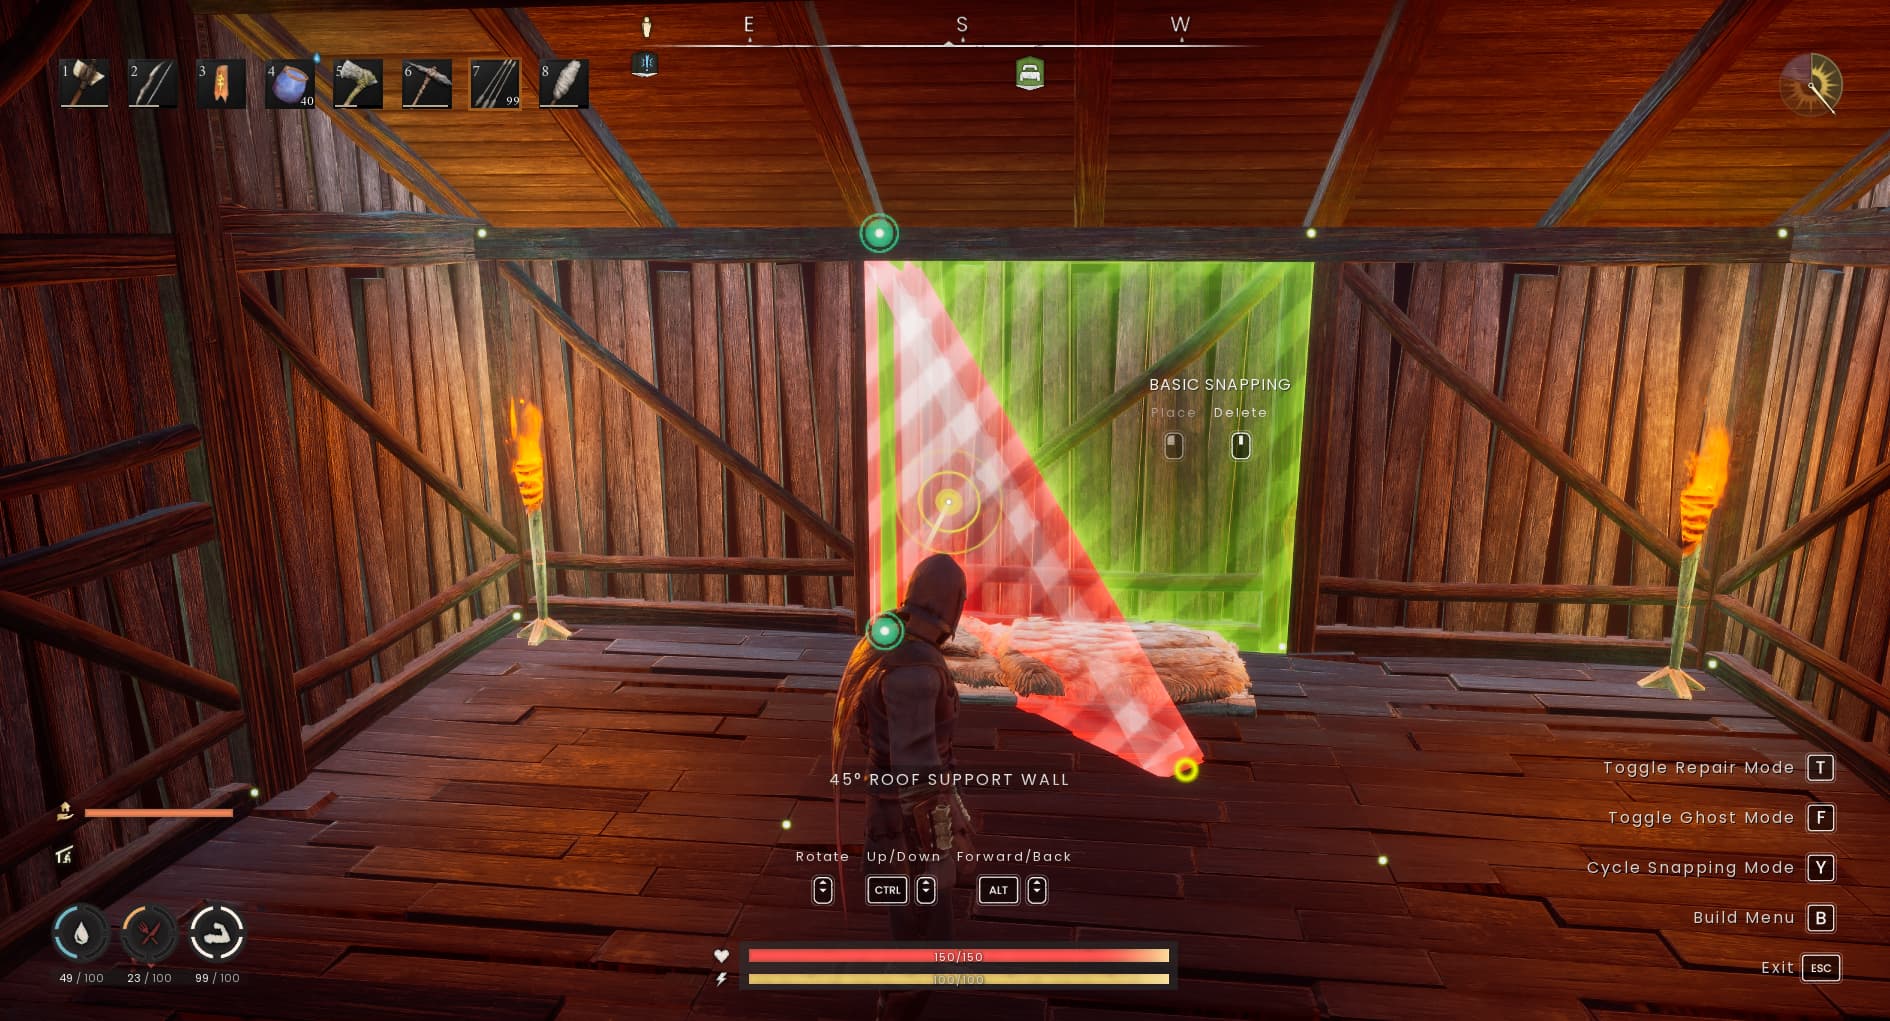
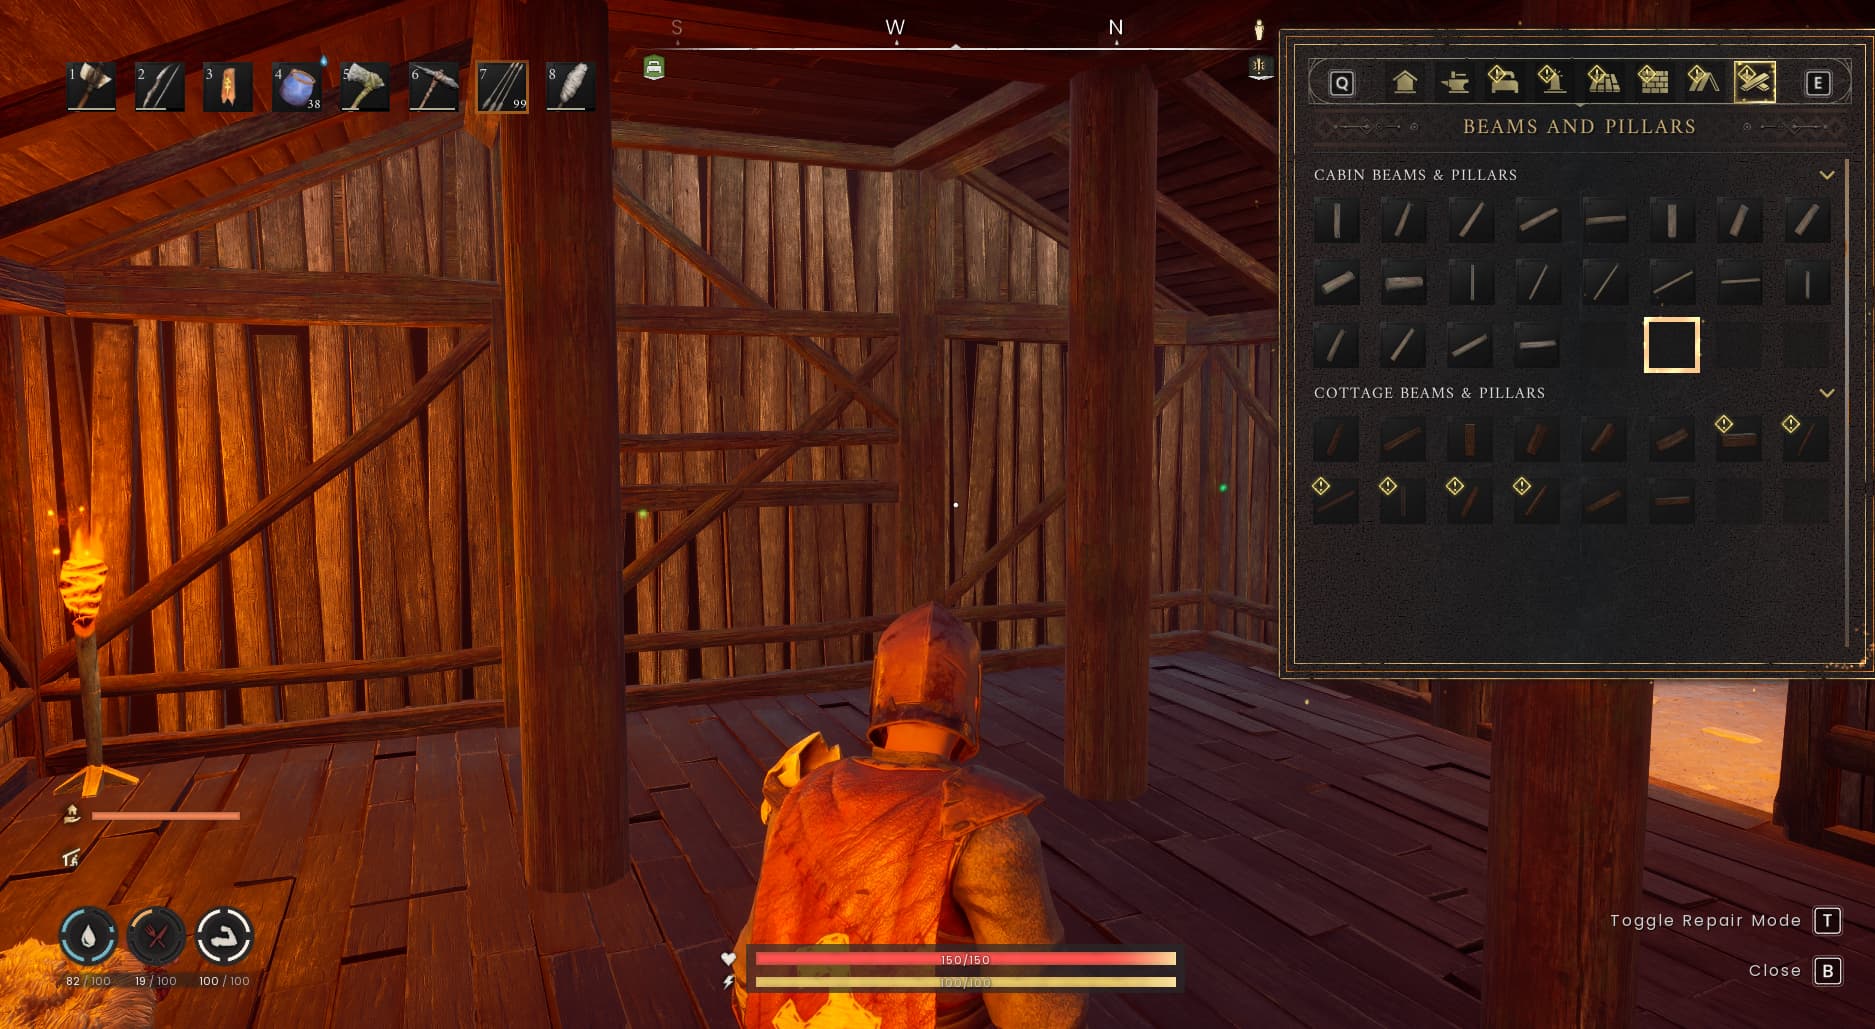
Building stability matters as you extend upwards or outwards. Use pillars and beams to support larger structures, and keep the connections back to the ground clear.
For your first house, keep the design low and straightforward. If a roof section or raised floor needs more support, work back towards the foundations and add support underneath the affected area.
A red placement preview can mean an obstruction, a missing connection or insufficient materials. Check those possibilities before assuming you need to redesign the roof.
When altering a finished house, put replacement supports in place before removing the old supporting pieces. Check what sits above anything you plan to remove so an adjustment does not create another problem elsewhere.
Arrange Your Crafting and Storage Area
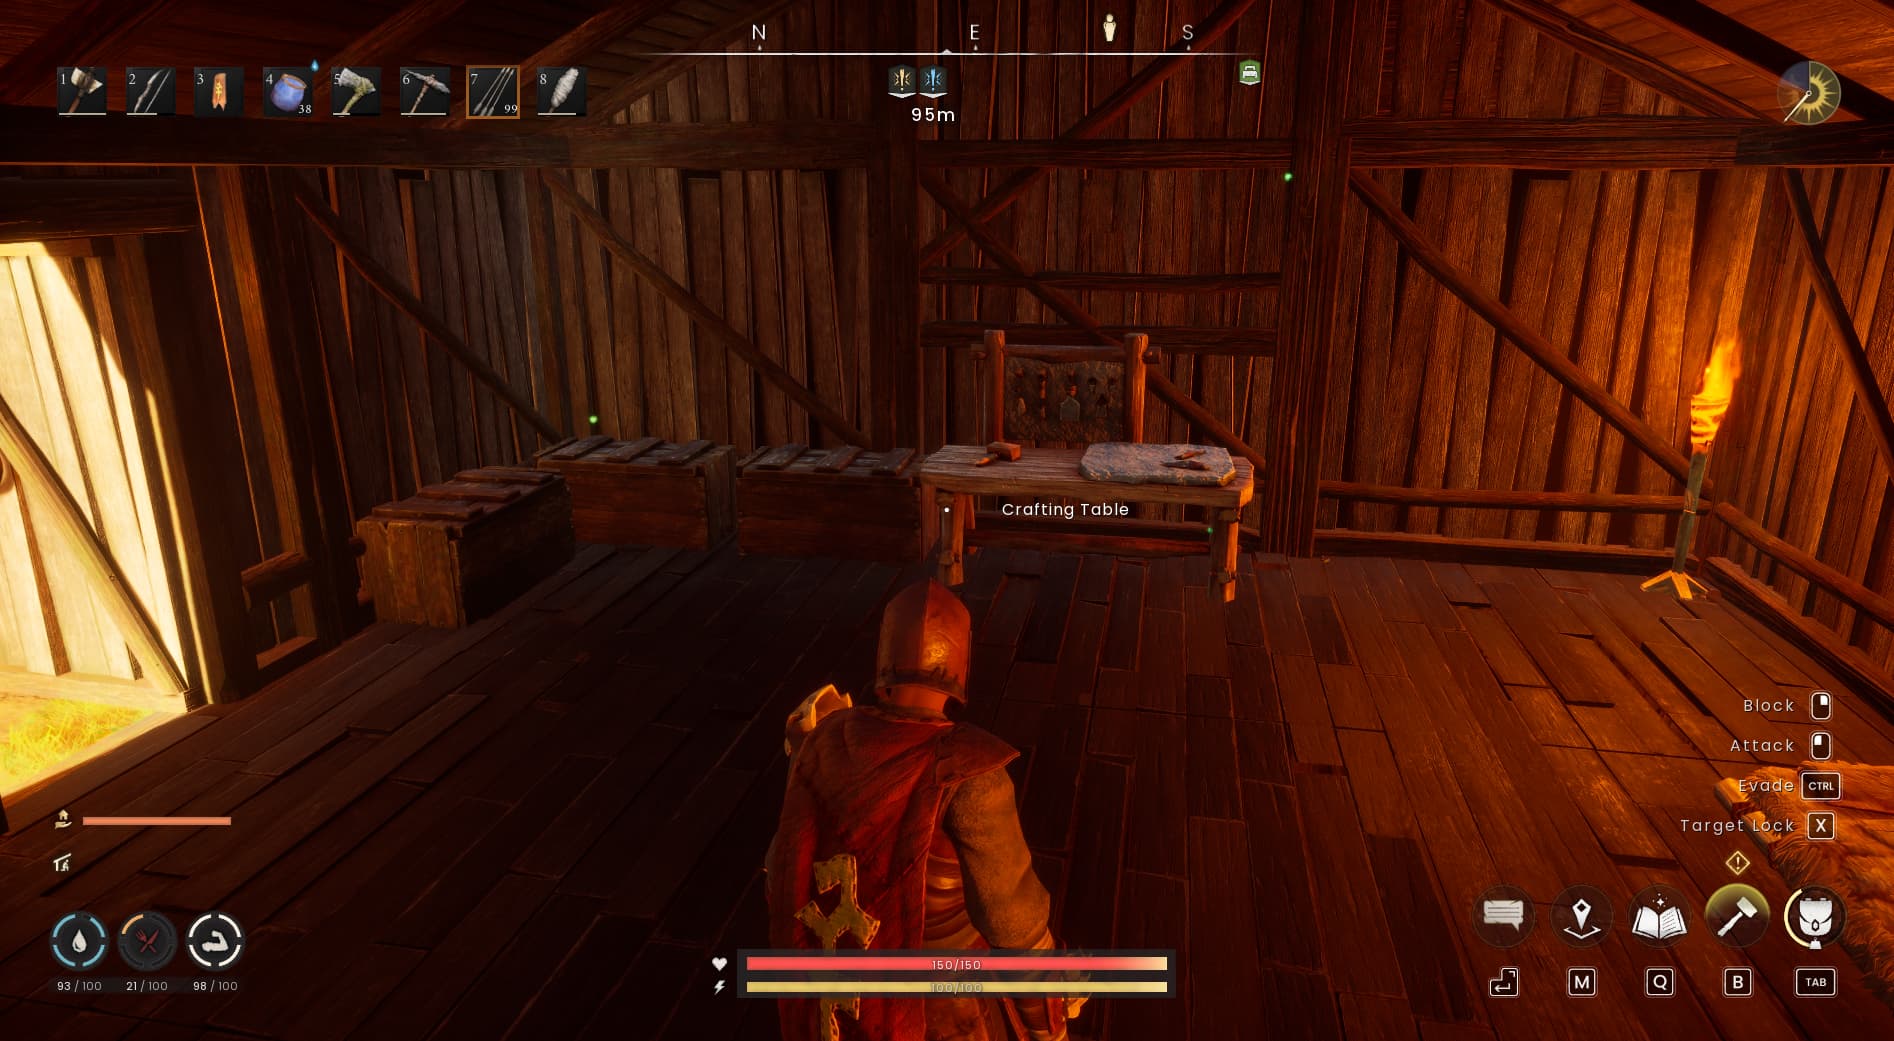
Place the Crafting Table where you can approach it easily. Interacting with it lets you review recipes, make equipment and repair worn items. Keep the ingredients you regularly use nearby so each crafting trip is quick to organise.
As you progress, leave room for specialist stations such as the Blacksmith’s Bench, Armour Bench, Fletching Bench and Mystic Forge. An extension or separate workshop can give these stations their own space as your crafting needs grow.
For a simple layout, put the bed at one end and your table and storage along the side walls. Keep the middle open so you can walk between them without moving furniture.
Set up a Campfire close to the entrance for preparing food and boiling water. Leave enough space around it to interact comfortably.
Group your stored supplies by use: building materials, crafting ingredients, and food and travel supplies. Keep some spare food and basic equipment easy to find for recovery trips.
Leave an accessible spot near your storage for a Lodestone so you can unload supplies after teleporting home. Our Lodestone and fast travel guide explains how to build one and use it.
Repair and Adjust Your Base as You Go
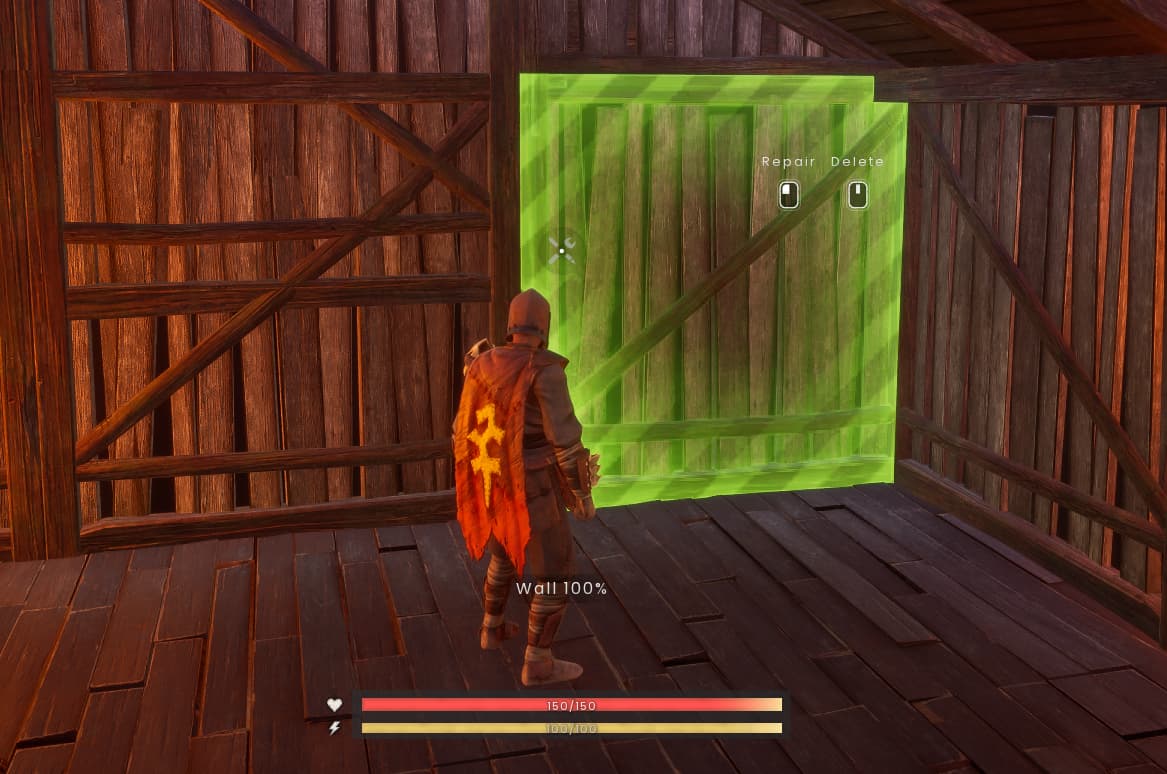
Use Repair Mode to maintain damaged building pieces, finish blueprints and remove pieces when you want to change the layout. Removing a piece through this mode lets you reclaim its building resources.
Before removing a support, check what sits above it. Move the contents out of storage before replacing the container, and keep spare building materials available while you remodel.
Building repairs and equipment repairs use different interfaces. Repair the house through Build Mode; take worn tools and equipment to the Crafting Table and use its repair option.
After making changes, walk through the base again. Check that the entrance, bed, storage and crafting area are all easy to reach before heading out.
Develop Construction and Expand When You Need To
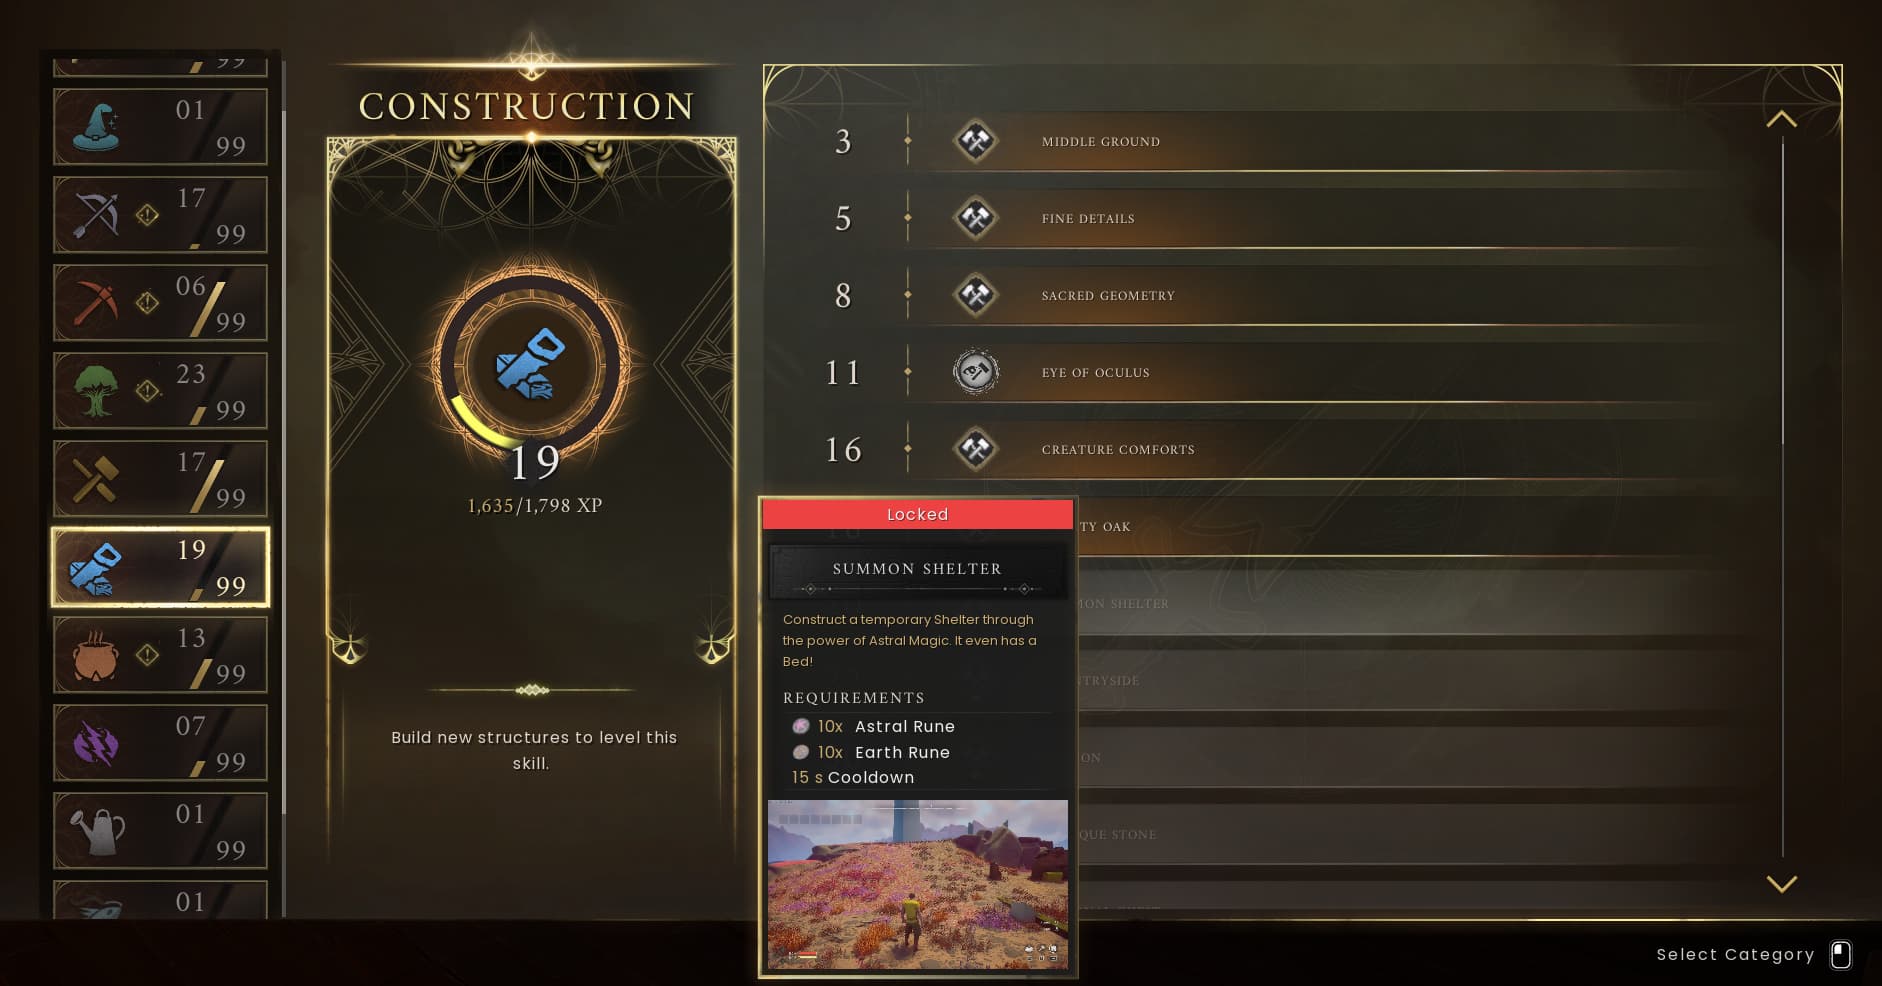
Building structures and furnishings earns Construction experience. Open the Skills menu and select Construction to see your progress and inspect upcoming abilities and bonuses.
Use the descriptions in your current skill tree to decide what to work towards. You can finish this first house with the basic building tools, then experiment with additional building abilities as you unlock them.
Your first base doesn’t have to be your last. As you gather more materials and unlock new building options, you can expand into a larger home, create dedicated crafting areas and surround it with taller walls. Keep improving the same spot, or take what you’ve learned and start fresh somewhere new.
For now, focus on getting the essentials in place and learning how the pieces fit together. Once you have a working base, you can take your time turning that simple shelter into something bigger, better and more suited to the way you play.