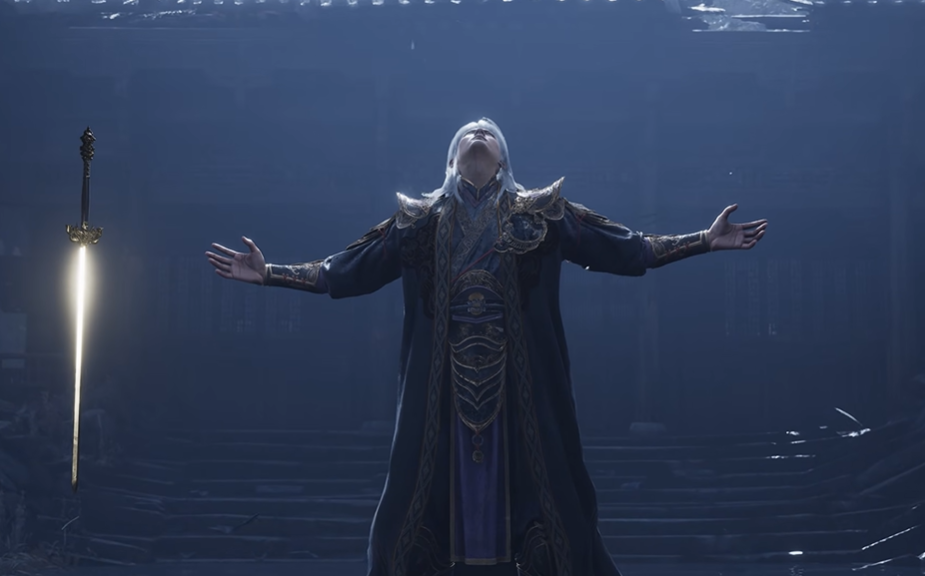
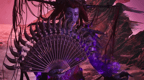
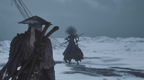
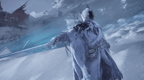
Zuo Shang, The True Lóng is the final boss of Phantom Blade Zero's Final Battle ending, fought in The Fallen Dream after defeating Meng Hua and completing the required true-ending progression. The encounter takes place in a flooded lakeside arena and consists of two full phases.
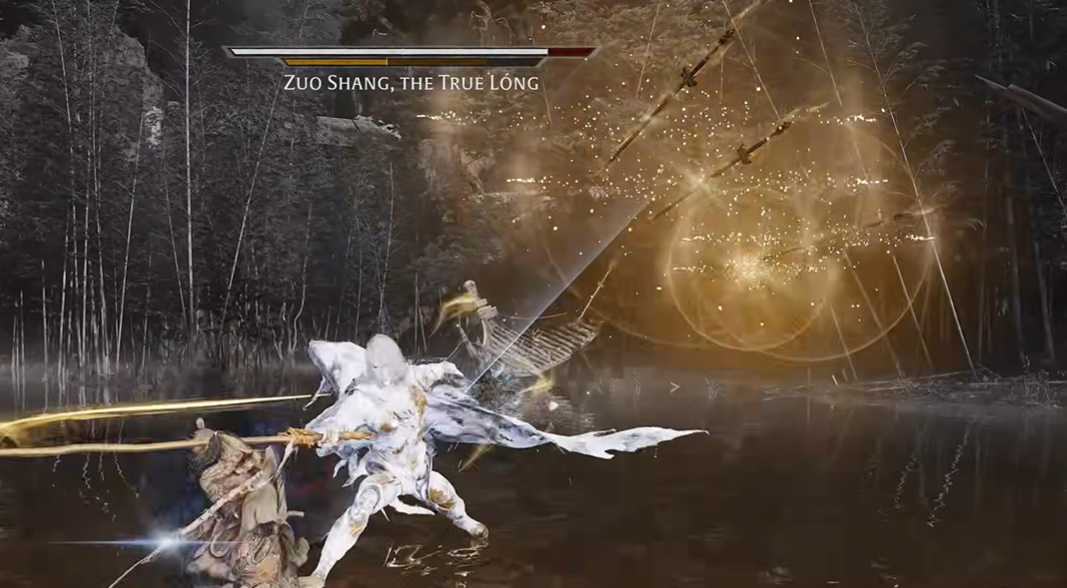
The first phase pits you against Zuo Shang, the Order's Shadow Sovereign, where he uses a golden longsword alongside flying blades, large sword-energy attacks and long-range pressure. Phase 2 transforms both Zuo Shang and the arena, turning the fight into a much more spectacular duel against The True Lóng, with enormous golden attacks, dragon-based pressure and several mechanics that can cover most of the battlefield.
This is not a fight you want to rush. Both forms punish early reactions and overcommitting, and Zuo Shang has enough range that creating distance does not automatically make you safe.
This guide was written and tested on Hellwalker difficulty.
Boss Mechanics Phase 1
Phase one revolves around Zuo Shang's golden sword energy and summoned weapons. His normal sword strings are already dangerous, but the real threat comes from how often he can extend those attacks far beyond normal melee range.
The phase becomes much easier once you stop treating every projectile as something you need to block. Several of his golden sword attacks can shred Sha-Chi very quickly if you simply hold guard, so movement, parries and clean dodges are much more reliable.
Golden Sword Pressure
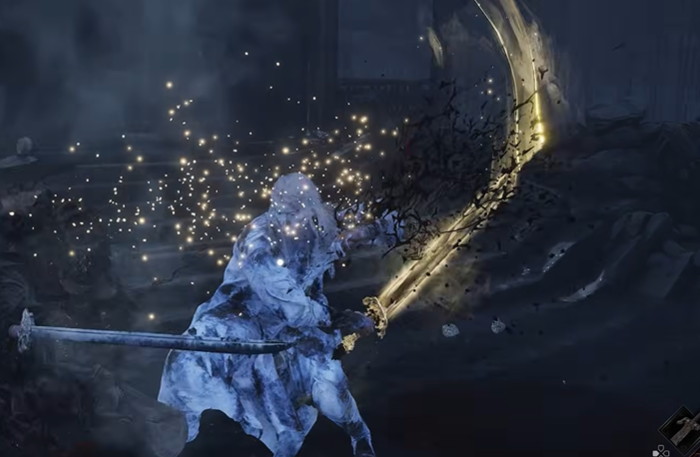
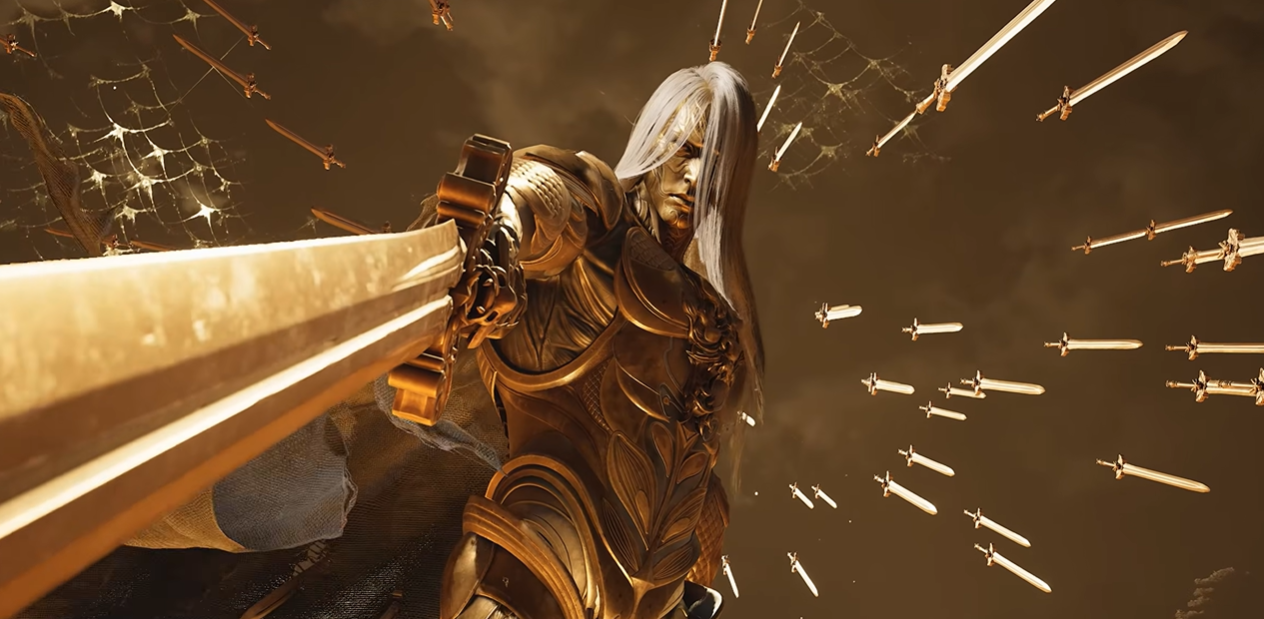
Zuo Shang can lengthen his sword into an enormous golden blade, turn it into a whip-like weapon, launch broad ring-shaped sweeps and send flying swords across the arena. Some of these attacks cover enough distance that backing away in a straight line does very little.
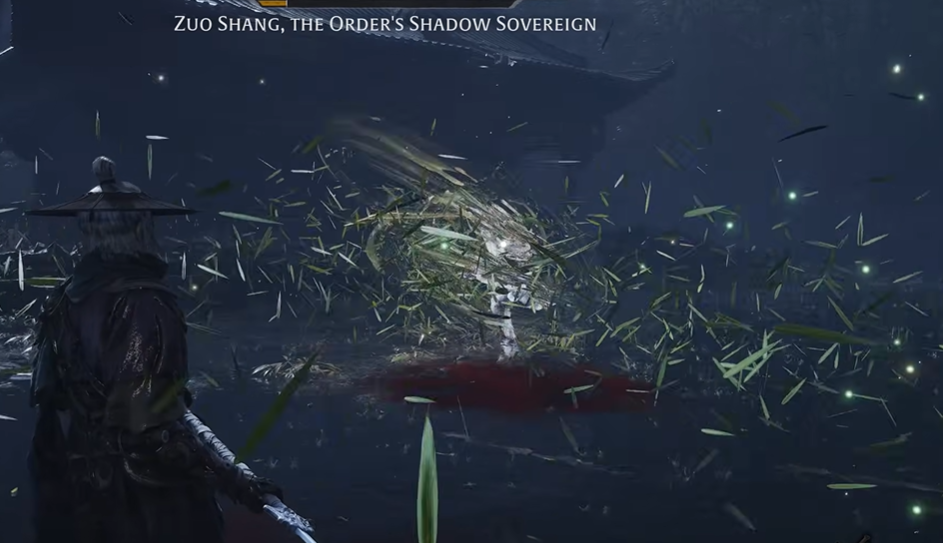
His flying sword sequences are among the most important to learn. When he sends blades into the air or summons them around you, stay focused on the actual impact timing rather than the initial visual effect. Several sequences transition directly into a lunge or another heavy follow-up, so do not retaliate immediately after dealing with the first projectile.
One particularly useful rule is to avoid panic-blocking the full sword barrage. If multiple projectiles are incoming, dodge through the sequence or parry the cleaner shots instead of allowing your entire Sha-Chi bar to disappear.
Aerial Attacks and Long-Range Lunges
Zuo Shang frequently uses leaping slashes and aerial strings to close distance. One documented sequence has him attack from the air several times before finishing with a heavier strike, while another sends a flying sword ahead of him before he lunges after it.
These attacks are easier if you resist the urge to chase him every time he creates distance. Let him commit to the lunge first, then react.
The strongest punish opportunities usually come after the actual finisher, not during the approach. If you attack too early, you risk getting clipped by the last hit of the sequence.
Golden Burst and Ring Attacks
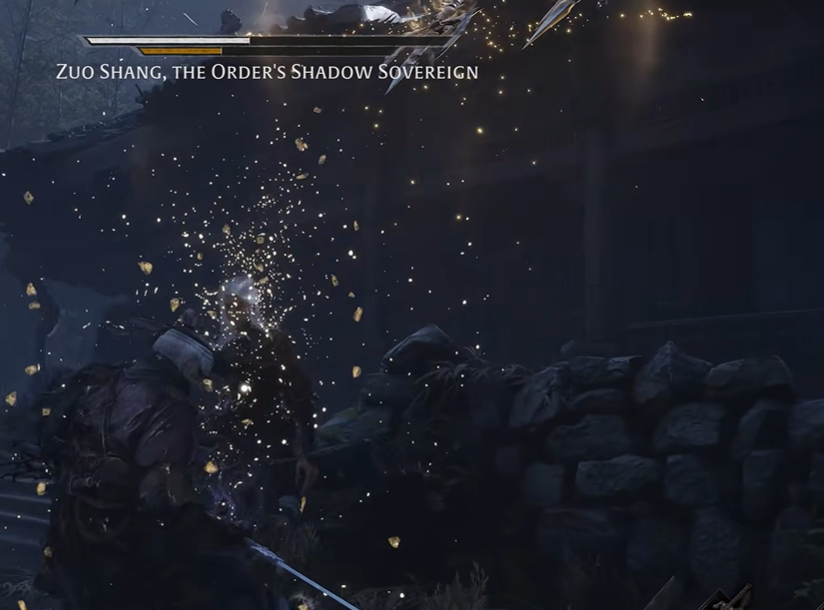
Zuo Shang can rise above the water and release a large golden light burst, while other sequences create expanding rings or sweeping waves of light around him.
These are attacks where positioning matters more than aggression. If he begins charging a larger golden effect, move out first and only think about damage once the attack has completely resolved.
Do not stay underneath him during the aerial burst. Likewise, if a golden ring begins spreading across the water, focus on clearing the attack rather than trying to squeeze in another hit.
Phase 1 Strategy
Phase One is about clean defense and avoiding unnecessary Sha-Chi loss.
Stay patient through the flying swords and long-range energy attacks, then close the gap once Zuo Shang has fully committed. His larger animations give you good punish windows, but most of his smaller gaps are not safe enough for long combos.
A good rhythm is:
Avoid or parry the projectile sequence.
Wait for the actual melee or aerial finisher.
Take a short punish.
Reset before the next golden attack begins.
You do not need to dominate the phase aggressively. Once you understand how his sword-energy strings flow together, the fight becomes much more predictable.
Boss Mechanics Phase 2
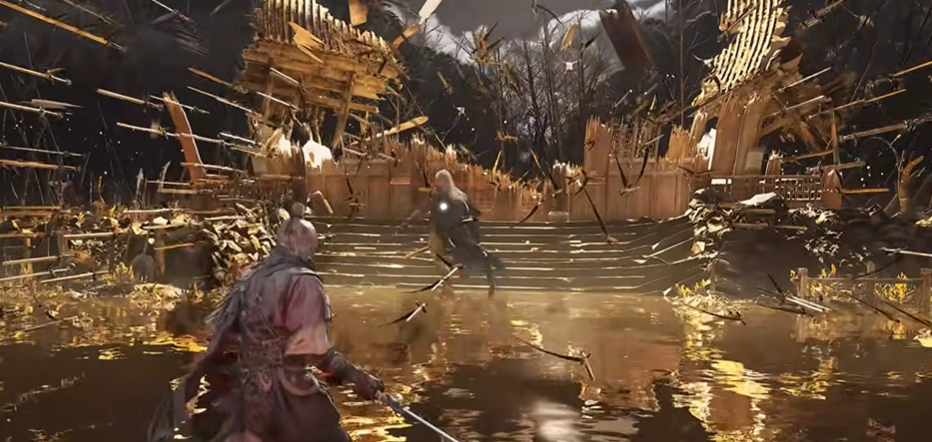
Once Phase One ends, Zuo Shang transforms into The True Lóng and the entire arena changes. The pavilion is destroyed, debris remains suspended around the battlefield and much of the color drains away until the fight is dominated by gold.
This phase is much more dangerous because Zuo Shang gains larger area attacks, stronger ranged pressure and several attacks that require very specific responses. The spectacle becomes much more intense, but the core principle remains the same: do not react to the visual noise, react to the actual attack.
Golden Sweeps, Beams and Falling Blades
The True Lóng gains several massive golden attacks, including wide light sweeps, beams across the water, expanding rings and falling sword barrages.
Lateral movement is extremely important here. Against sweeping beams or long horizontal attacks, moving sideways is generally safer than backing directly away because the attacks can travel across most of the arena.
Falling blades should be treated as movement pressure rather than a damage opportunity. Keep repositioning until the pattern ends, then return to Zuo Shang once the arena is clear.
The biggest mistake in this phase is trying to maintain melee uptime during attacks that are clearly designed to force you away.
Dragon Spirit and Lóng Breath
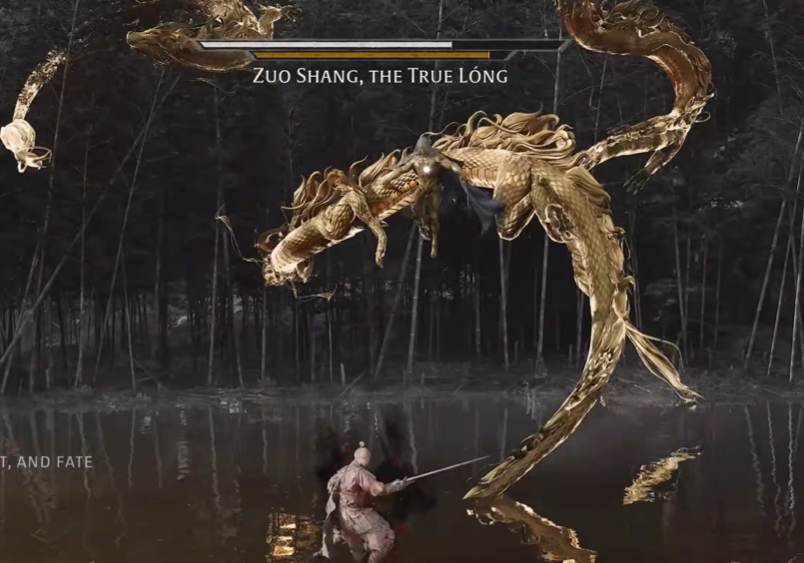
One of the most distinctive Phase Two mechanics involves the golden dragon spirit. A large dragon-shaped mass can sweep across the battlefield, while another major sequence is announced by the dragon head rising and Zuo Shang preparing the Lóng's breath.
Do not retreat directly away from the breath. Current fight data recommends moving sideways and closer toward Zuo Shang, which both avoids the wide arc and leaves you in position for the recovery afterward.
This attack looks overwhelming at first, but once you recognize the dragon head and voice cue, it becomes one of the more readable major mechanics in the fight.
Dive Attacks and Blade Lock
Zuo Shang can launch himself high into the air before diving down sword-first. Some of these dives can transition into a blade lock, where Soul and Zuo Shang clash weapons and a white interaction prompt appears between them.
Do not ignore this prompt.
If the lock happens, respond immediately. Missing it can end the attempt very quickly, while succeeding keeps the fight under control and gives you another opportunity to push Zuo Shang toward the finale.
This is one of the few mechanics in the fight where the game very explicitly asks for a direct interaction, so prioritize it over everything else on-screen.
Red and Blue Flash Attacks
The True Lóng still uses the game's normal Red and Blue system, although the surrounding golden effects can make the cues harder to notice. Current combat data lists both Blue Flash parries and Red Flash dodges, including a Red sword-formation attack and a Blue leaping grab.
Keep the same rules you have used throughout the game:
Blue Flash: Perfect Parry.
Red Flash: Perfect Dodge.
Avoid trying to block Red attacks simply because the arena is visually busy.
The important part is not to retaliate too quickly after a successful Blue counter. Zuo Shang can transition rapidly into another attack, so take the safe punish and reset.
Sha-Chi and Damage Windows
Zuo Shang does not have an obvious elemental weakness in the current combat data, so raw Damage and Guard Break are more valuable than trying to build around a specific status.
The safest damage opportunities come after his large golden commitments. When he gathers blades, charges a major light attack or finishes one of the longer aerial sequences, he is often locked into a noticeable recovery.
Those are the moments where you should commit to heavier damage.
Trying to force offense between normal strings usually accomplishes much less and exposes you to the next sequence.
On Hellwalker, the fight becomes substantially easier if you treat every clean defensive exchange as progress instead of trying to force a quick kill.
General Strategy
Zuo Shang is the final test of the combat system because he combines almost everything the game has asked you to learn.
In Phase One, focus on preserving Sha-Chi and correctly navigating the golden sword pressure. Avoid blocking entire projectile barrages, respect the long reach of his extended blade and wait for the full end of his aerial strings before attacking.
In Phase Two, arena awareness becomes much more important. Move sideways against beams and sweeping golden attacks, respect the dragon sequences and always respond to a blade lock immediately.
The fight looks increasingly chaotic as it progresses, but the best response is actually to simplify your play:
Defend the sequence. Read the Flash. Take the punish. Reset.
Do not let the fact that this is the final boss convince you that you need to play more aggressively than normal. Zuo Shang is extremely good at punishing exactly that.
Recommended Approach on Hellwalker
On Hellwalker, I would prioritize consistency over burst damage in both phases.
Keep your Sha-Chi healthy, weapon-swap if you need to recover it and avoid using long attack strings unless Zuo Shang is clearly locked into recovery.
Phase One is mostly about surviving the projectile and sword-energy pressure without wasting resources. Once you reach The True Lóng, the major mechanics become more dangerous but also more recognizable.
If the arena suddenly fills with gold, blades or the dragon spirit, stop thinking about damage and solve the mechanic first.
Because Phase Two has its own checkpoint, you can learn the True Lóng separately once you have cleared the first form.
The Final Clash
Once Zuo Shang reaches the end of the fight, the encounter transitions into a scripted close-range sword clash.
Watch for the interaction prompt and complete it to finish the duel. The Final Battle ending then plays.
Afterward, you receive the major true-ending rewards, including Aureate, Broken Lóng Body and the Radiant Heart.