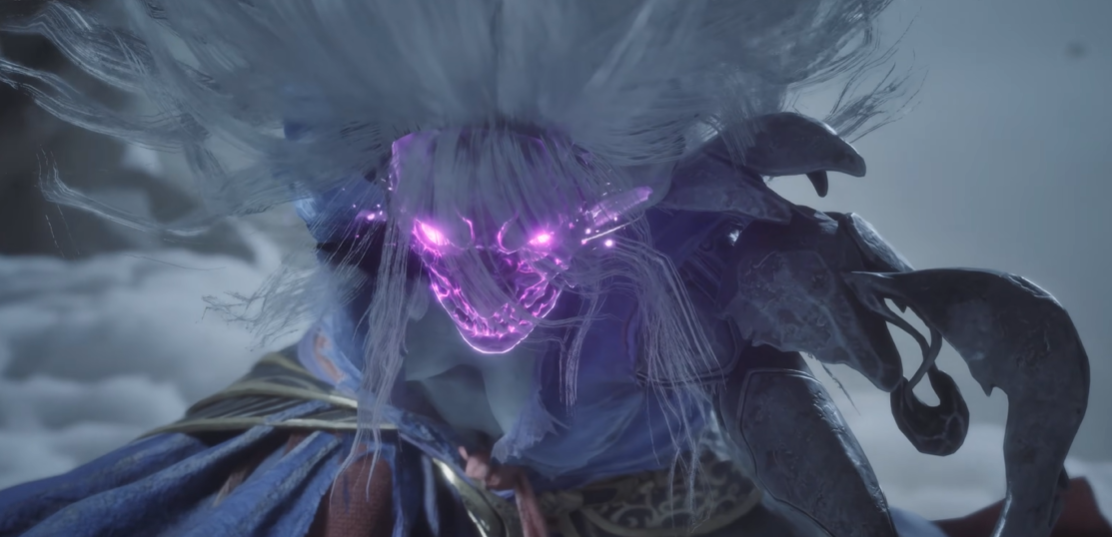
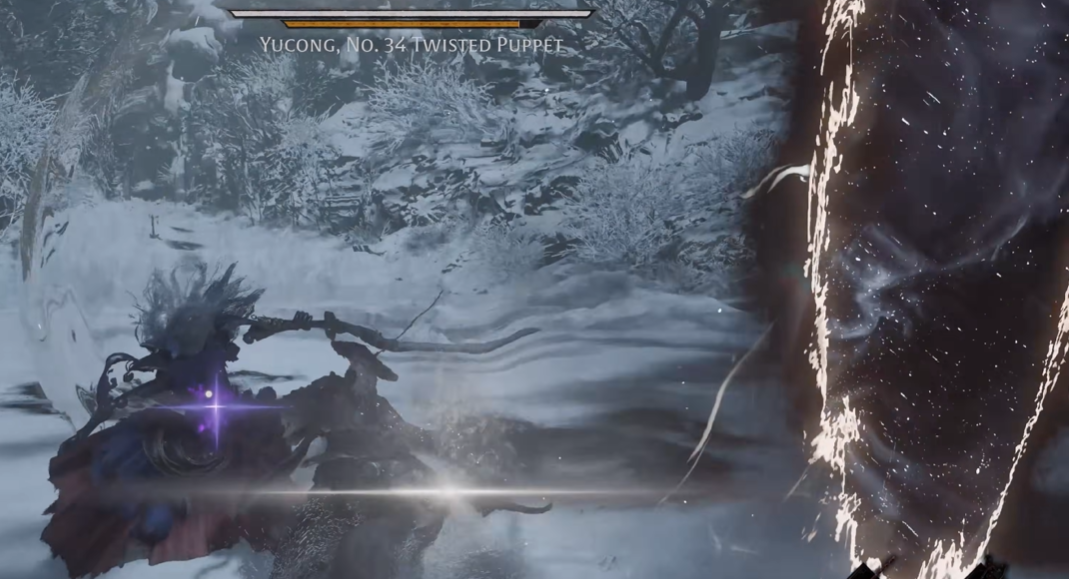
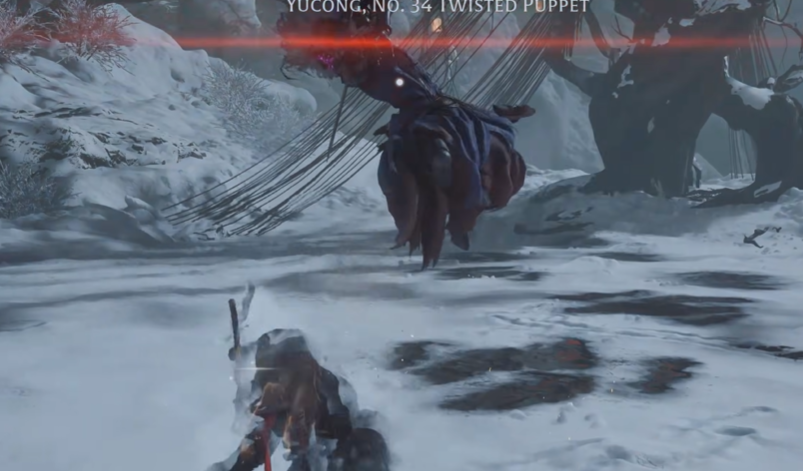
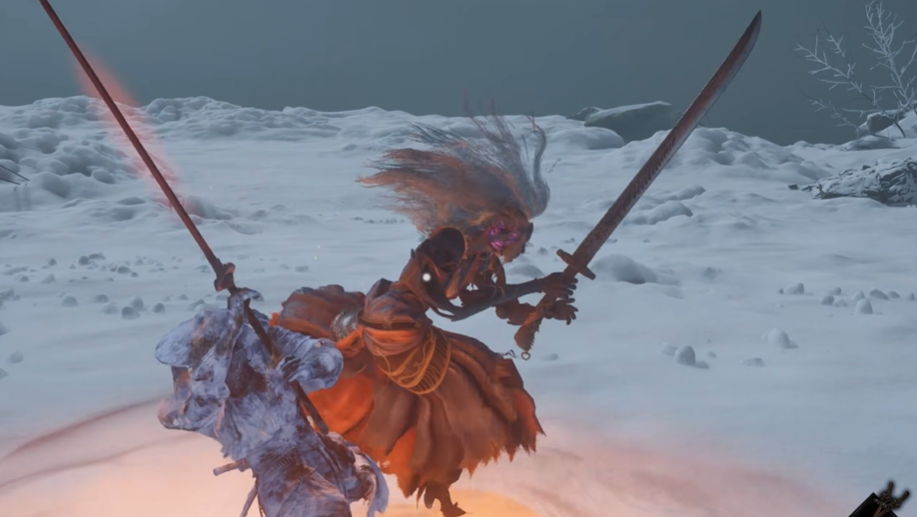
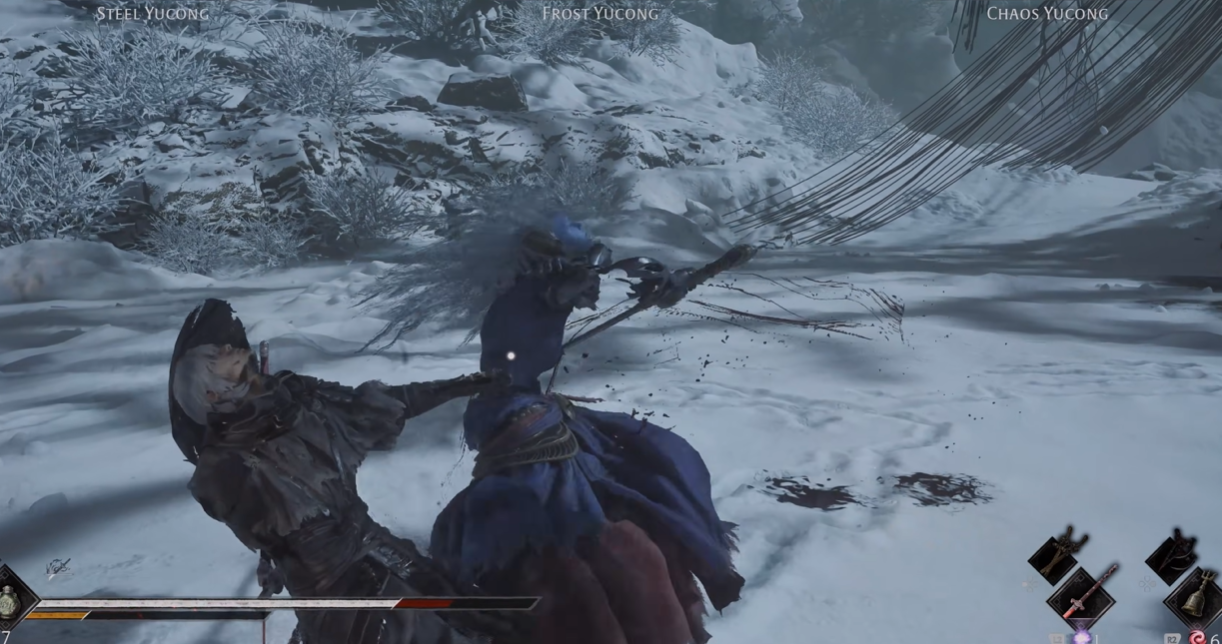
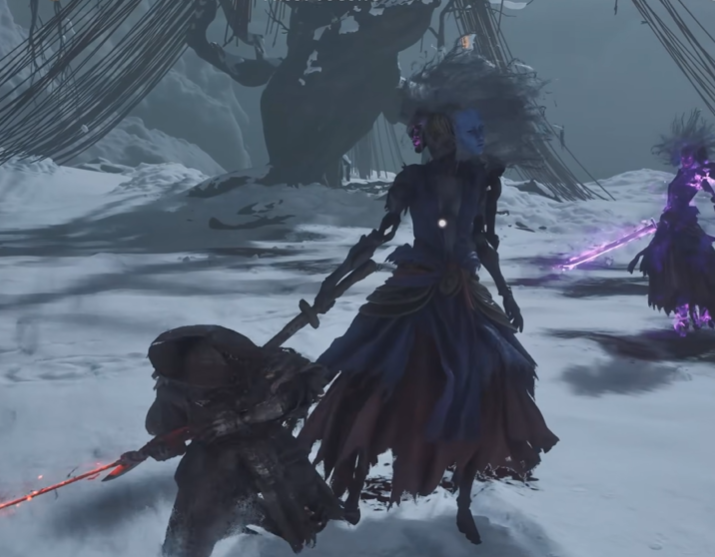
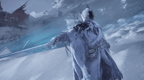
Yucong, No. 34 Twisted Puppet is the late-game version of the Three-Faced Puppet encounter, found in the frozen Mirrorwood of the Crimson Forest after progressing far enough into the story for the region to change. This is the full version of the fight and consists of three phases, but only if you enter with the Blazing Edge equipped.
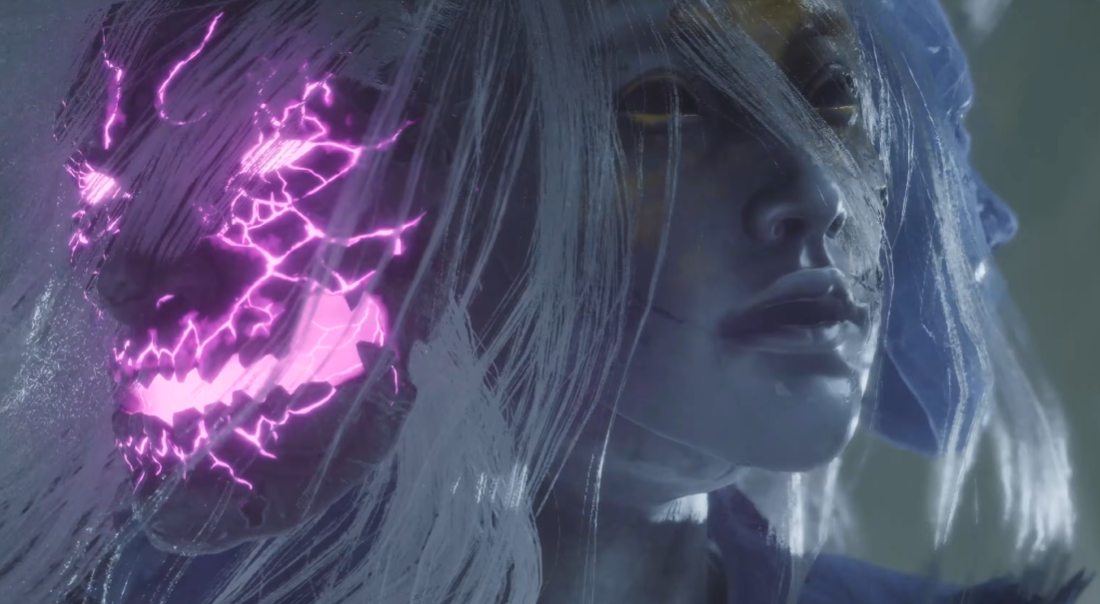
Yucong is one of the more complicated bosses in the game because each of her three personalities represents a different combat style. Steel focuses on direct physical pressure, Frost builds Freeze, and Chaos uses fire and ranged pressure that can drain both HP and Sha-Chi. Phase 2 forces you to deal with all three styles one after another, while Phase 3 splits them into three separate enemies at the same time.
This guide was written and tested on Hellwalker difficulty.
Important: Equip Blazing Edge before starting the fight. If you do not, the encounter ends after Phase 2 and you will miss Phase 3 and Chaos Iron Fragment II.
Boss Mechanics Phase 1
Phase One is the simplest part of the encounter and is mostly an upgraded version of the earlier Three-Faced Puppet fight.
Yucong primarily stays in her Steel form, using direct blade attacks, spinning strings, teleports, and heavy pressure. Compared to what comes later, this phase is relatively straightforward and is mostly there to reintroduce her core timings.
Steel Form Pressure
Most of Yucong's attacks in Phase One are physical and can be dealt with through standard parries or dodges. Her strings can be long enough to heavily drain Sha-Chi if you try to block everything, so relying entirely on guard is not a great idea.
Her teleport attacks are the main thing to respect. Yucong can disappear and reappear from another angle before immediately continuing her string, which makes attacking after every disappearance risky. Wait until the follow-up has actually finished before committing to damage.
Several heavier attacks are better dodged than blocked, especially if your Sha-Chi is already low. The fight becomes much more consistent if you treat dodging as your default defensive option and only parry the attacks you know well.
Red Counter Window
One of the most reliable counter opportunities comes after one of her aerial sequences, where she finishes with a Red Flash attack.
This is one of the cleaner Perfect Parry windows in the first two phases and is worth learning because it deals meaningful Sha-Chi damage and gives you a much safer opening than trying to interrupt her normal strings.
Phase 1 Strategy
Phase One is mostly about clean execution and resource preservation. Do not overcomplicate it. Let Yucong run through her normal Steel strings, dodge the heavier attacks, and punish the clear Blue opportunities rather than forcing damage between every swing.
The goal is not to finish Phase One as quickly as possible. It is to enter Phase Two without having developed bad habits such as panic-blocking or attacking after every teleport.
Boss Mechanics Phase 2
Phase Two is where the fight becomes significantly more complicated.
Yucong begins switching between Steel, Frost, and Chaos, with each mask changing both her damage type and how you should respond.
The most important skill here is recognizing which mask is currently active. Once you can identify that quickly, the fight becomes much less chaotic.
Steel Mask
The Steel Mask is the most direct version of Yucong.
She becomes more aggressive and focuses on heavy physical attacks, fast strings, and direct melee pressure. This is the form most similar to Phase 1, so it should also be the easiest one to read.
Do not let that make you greedy. Her heavier Steel attacks still deal significant Sha-Chi damage, and trying to block through entire strings can leave you broken.
Use the same approach as Phase One: dodge the heavier sequences, parry the attacks you know, then punish during the clear recovery.
Frost Mask
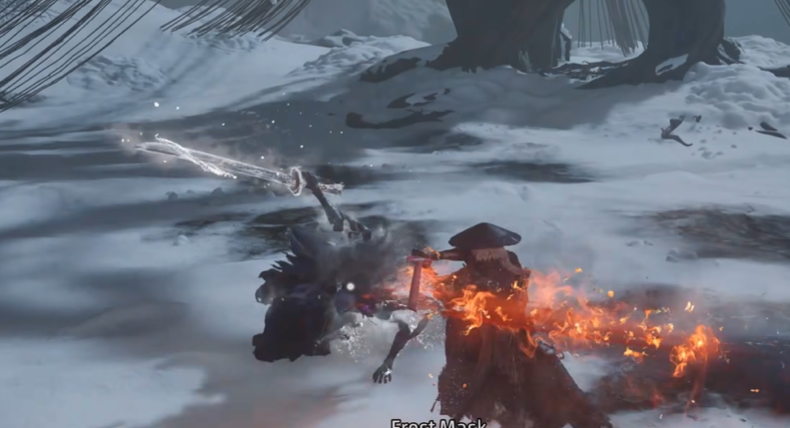
The Frost Mask introduces Freeze buildup.
Her attacks begin applying Chill, and repeated hits can eventually freeze you completely. Once that happens, Yucong gets a free opening to continue attacking.
This means even small hits matter during Frost form. If your Freeze meter becomes dangerously high, stop trying to force damage and focus on avoiding the next few attacks until the buildup drops.
Frost is not necessarily the most aggressive form, but it becomes extremely dangerous if you treat the status buildup as irrelevant.
Chaos Mask
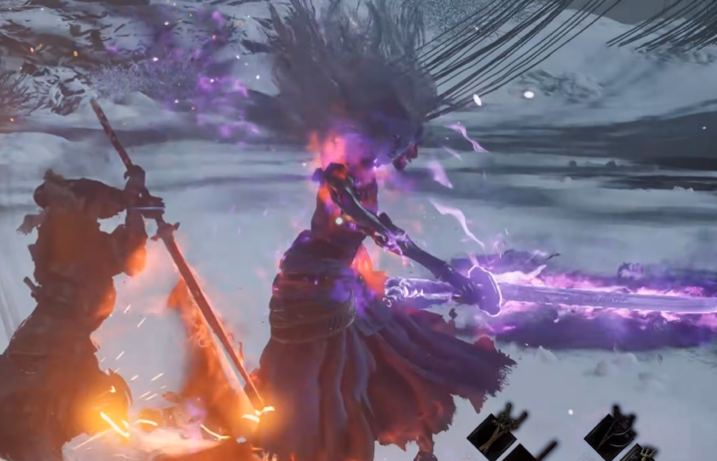
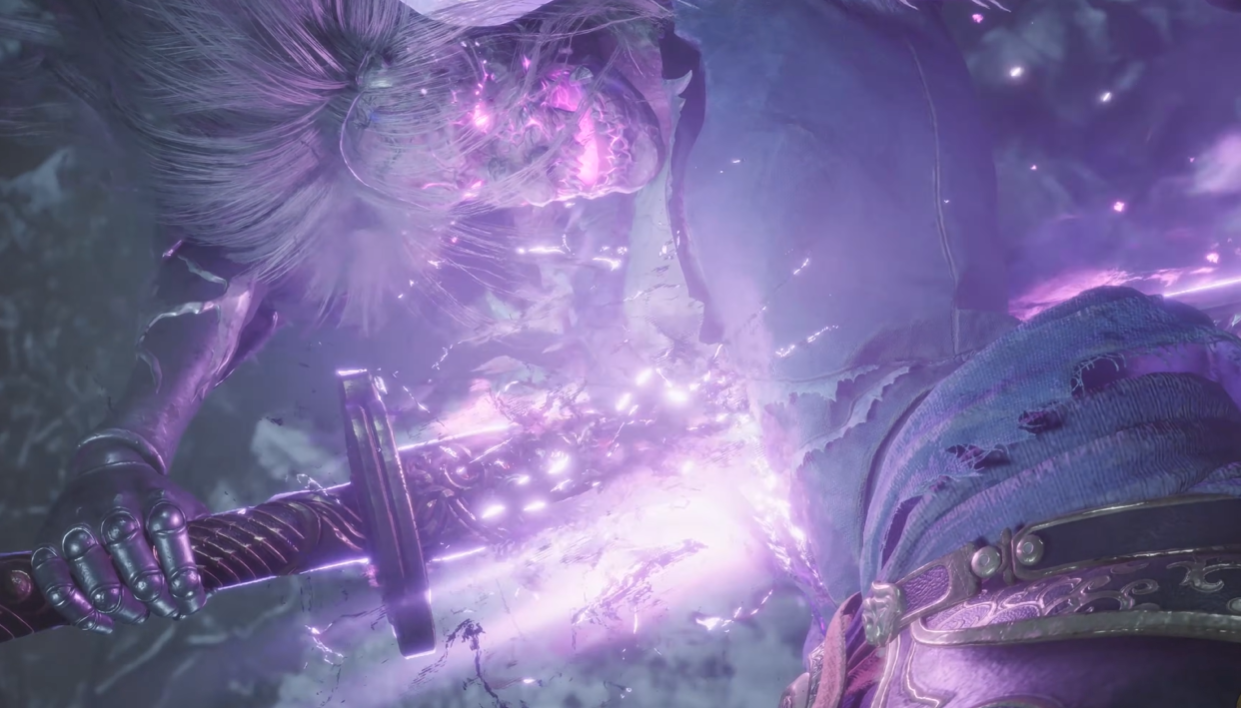
The Chaos Mask is arguably the most disruptive of the three.
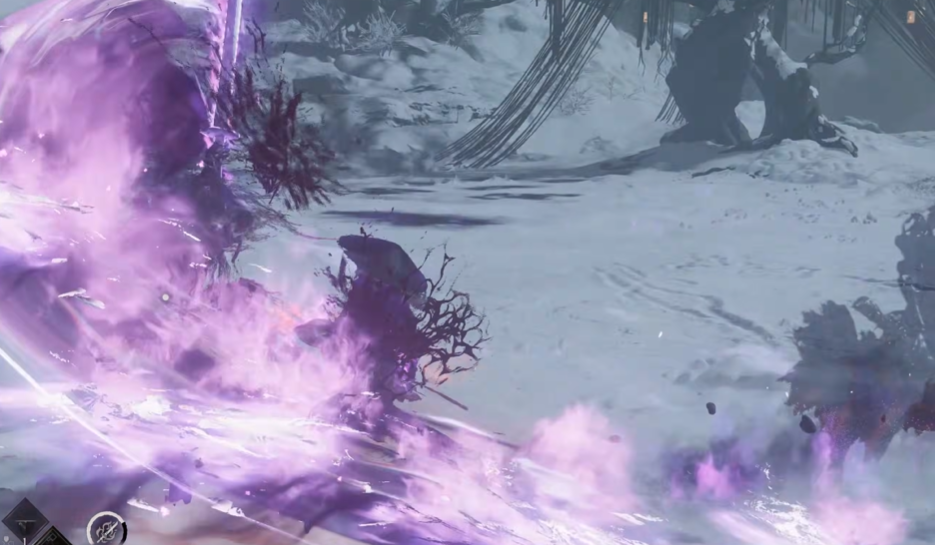
Yucong gains Chaos Flame attacks that can deal sustained damage and pressure both your HP and Sha-Chi. She also uses more ranged attacks, which makes creating distance less useful than it is against Steel.
Do not stand inside lingering fire effects just to squeeze out extra damage. If Chaos creates hazardous ground or begins a larger ranged sequence, reposition first and punish afterward.
This form is also a good reason to bring Flameward if you are struggling, since it helps reduce some of the fire pressure.
Switching Between Masks
The real difficulty of Phase Two comes from how quickly the fight changes every time Yucong switches masks.
Do not keep using the same defensive rhythm across all three.
A simple way to think about it is:
Steel: respect physical pressure and Sha-Chi damage.
Frost: prioritize avoiding status buildup.
Chaos: prioritize positioning and staying out of fire or ranged pressure.
Once you start reading the mask before reacting, Phase 2 becomes much more manageable.
Phase 2 Strategy
Phase Two is a recognition fight more than anything else.
Do not try to memorize every single attack in isolation. Instead, first identify which form Yucong is using, then adjust your priorities accordingly.
Against Steel, stay disciplined in melee. Against Frost, protect your Freeze meter. Against Chaos, keep moving and avoid letting ranged pressure or fire zones trap you.
The biggest mistake is losing track of the active mask and reacting to the wrong type of pressure. Keep the fight controlled and take your damage after clear counters rather than trying to chase her through every transformation.
Boss Mechanics Phase 3
If you entered the fight with Blazing Edge equipped, defeating Phase Two triggers the real finale.
Yucong splits into three separate bodies:
Steel Yucong
Frost Yucong
Chaos Yucong
All three fight simultaneously using the same abilities you just learned individually in Phase 2.
This is easily the most chaotic part of the encounter.
Do Not Fight All Three at Once
The single most important rule in Phase Three is to separate them.
If all three remain stacked together, Steel pressures you in melee while Frost builds Freeze and Chaos throws ranged attacks into the same space. Trying to parry or trade in the middle of all three is extremely unreliable.
Keep circling around the arena and force them to spread out. Once one gets ahead of the others, turn and fight that target briefly before moving again.
You are not trying to hold your ground here. You are trying to create temporary one-on-one situations.
Target Priority
The most consistent kill order is:
Steel
Chaos
Frost
Steel is the most aggressive and constantly tries to stay in melee range, making her the hardest one to ignore. Chaos should usually go second because her ranged orbs and large AoE attacks make it difficult to safely fight anyone else. Frost is generally the least aggressive and easiest to manage by herself.
I would follow that order unless your own run strongly favors a different target.
Steel Yucong
Steel is usually the first target because she naturally stays closest to you.
Use that aggression against her. Keep moving until she separates from the others, then turn and punish her during her normal melee strings.
Do not tunnel-vision her, though. Chaos can still fire projectiles from off-screen and Frost can apply status pressure while you are fighting Steel.
Take short damage windows and reposition frequently.
Chaos Yucong
Once Steel is gone, Phase Three becomes significantly easier.
Chaos should generally be your next target because her ranged attacks interfere with almost every other interaction. She can throw projectiles from outside your immediate camera and use large close-range Chaos effects if you stay near her for too long.
Stay mobile and close the distance only after she commits to a ranged attack.
Once you remove Chaos, the remaining Frost fight becomes much more controlled.
Frost Yucong
Frost is usually the safest one to leave until last.
With no other puppets applying pressure, Freeze buildup becomes much easier to manage. You can simply back away when your Chill meter becomes high and re-engage once it drops.
At this point, the fight effectively becomes a normal one-on-one duel.
Possible Allies in Phase 3
Depending on your earlier quest progression, Jade Dancer and Iron Fiend may join you during Phase Three.
These allies can make the phase much easier and more managable.
Blazing Edge
Blazing Edge is not optional if you want the complete encounter.
The weapon must be equipped when the fight begins for Phase Three to trigger. Without it, the fight ends after Phase Two and you miss the additional reward.
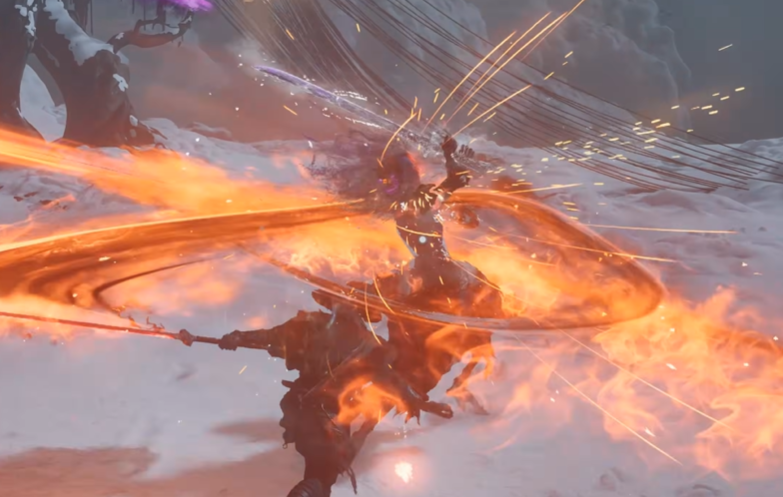
It is also genuinely useful during the encounter because Yucong is vulnerable enough to Fire pressure that Blazing Edge's charged attacks can contribute meaningful damage, particularly during Phase Three when you need to remove individual puppets quickly.
General Strategy
Yucong is really three different tests layered into one encounter.
Phase 1 tests whether you still understand the basic Three-Faced Puppet moveset. Keep it simple and avoid wasting Sha-Chi on unnecessary blocks.
Phase 2 tests recognition. Identify Steel, Frost, or Chaos first, then adjust how you defend instead of treating every form the same.
Phase 3 tests positioning. Do not stand your ground against all three puppets at once. Circle the arena, separate them, and remove them one at a time.
The final phase looks completely ridiculous when all three are attacking together, but it becomes much more manageable once you stop treating it as a three-on-one duel and start treating it as a fight where your main job is to create isolated encounters.