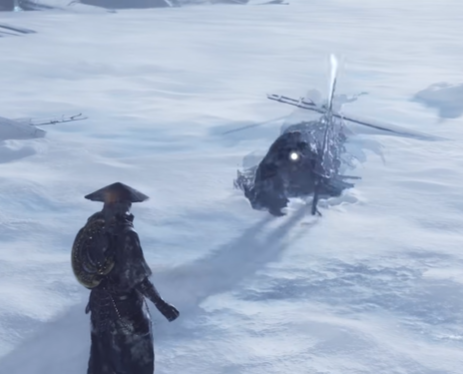
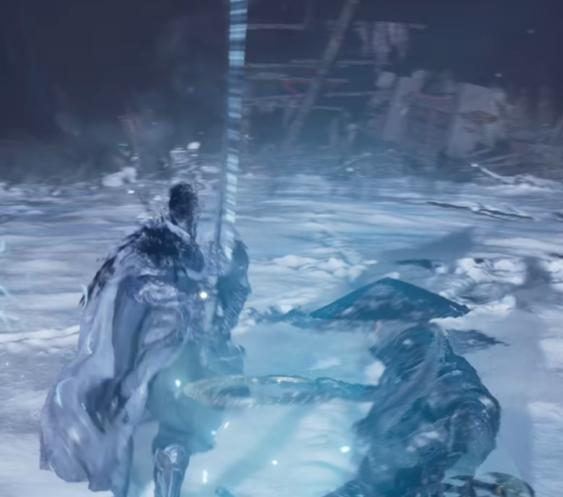
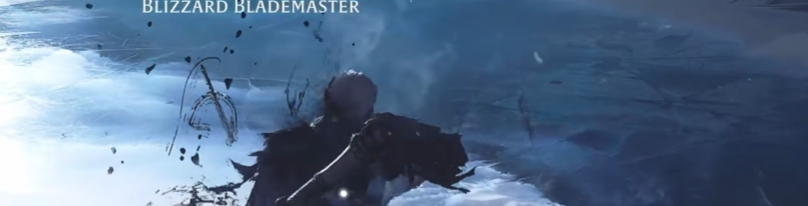
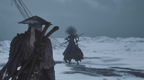
Blizzard Blademaster is an optional boss found at Whiteshadow’s Fall in the Phantom Illusionist Ruins, reached through the frozen section of Meigu Lake. He is one of the harder optional encounters in the game and fights almost entirely around Frost buildup, fast sword strings, sudden dashes, and attacks that can completely freeze you in place.
The fight only has one phase, but that does not make it simple. Blizzard Blademaster has a large HP and Sha-Chi pool, and almost every mistake becomes more dangerous because his attacks steadily build Freeze. If that buildup reaches its limit, you can become completely immobilized and left open to whatever attack comes next.
This guide was written and tested on Hellwalker difficulty.
Boss Mechanics
Freeze Buildup
The main mechanic of the entire fight is Freeze.
Almost every hit from Blizzard Blademaster contributes to your Freeze buildup. Once the meter fills, you are frozen in place and cannot defend yourself properly for a short period. On Hellwalker, this can easily turn into a death if he immediately follows with another combo or one of his stronger attacks.
Because of this, the fight is not only about avoiding direct damage. Even smaller hits matter because they make the next mistake more dangerous. If your Freeze buildup becomes high, back off for a moment and prioritize clean defense instead of forcing another exchange.
Green Serpent Brew is particularly useful here because it removes status effects and improves resistance to further buildup for a period of time. If Freeze is what keeps ending your attempts, this is one of the strongest preparation tools you can bring.
Opening Dash
Blizzard Blademaster frequently opens the fight with a very fast dashing strike that can immediately freeze you if it connects. He can also reuse similar lunging attacks later in the encounter.
Do not try to immediately rush him at the start. Wait for the dash, dodge sideways, and then begin the fight properly once the opening sequence has passed.
This is one of the attacks where dodging is generally safer than trying to force a parry. Missing the defensive timing here can ruin the attempt before you have even started dealing meaningful damage.
Fast Sword Strings
His normal sword pressure consists of fast slashes, delayed follow-ups, rising attacks, and occasional feints. Several of these strings look straightforward at first but deliberately alter their timing enough to punish players who parry purely on rhythm.
Avoid treating every sword sequence as one fixed combo. Some attacks end early, while others transition into another strike or a ranged ice effect. Stay defensive until you are certain the sequence has finished before committing to a longer punish.
This is also why constant aggression works poorly against him. Blizzard Blademaster recovers quickly and has several attacks that can catch you immediately after what looks like a safe opening.
Red Flash Grab
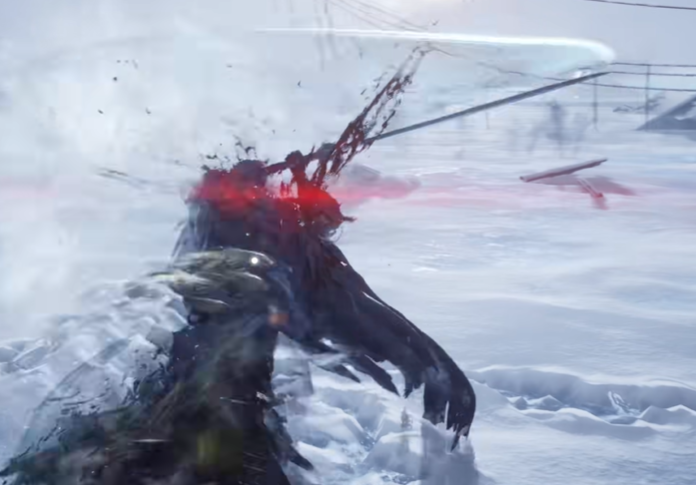
One of his most dangerous attacks is a fast Red Flash grab.
This attack can appear very suddenly, including after you successfully deal with one of his other attacks. It deals heavy damage and can completely ruin a clean attempt if you react too late.
The most important thing is not to become overconfident after a successful parry. Even if you just handled a Blue attack correctly, stay ready for the Red follow-up instead of instantly starting a long combo.
A Perfect Dodge against this grab gives you one of the better punish opportunities in the fight, so learning its timing is extremely valuable.
Ice Crescent
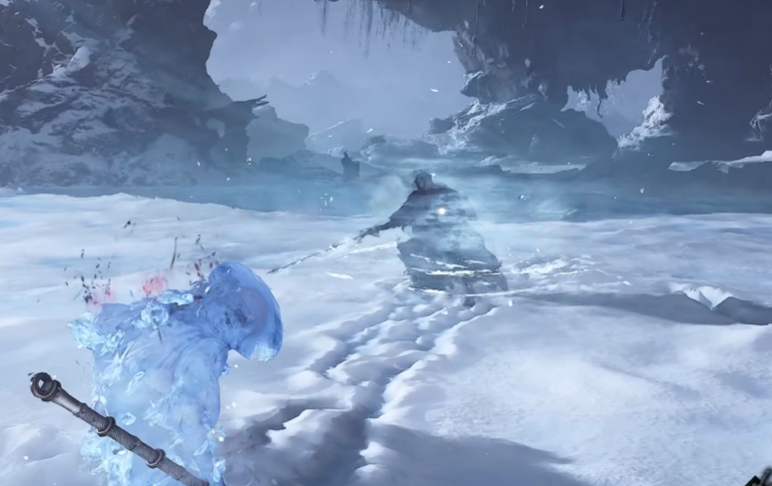
Blizzard Blademaster can release a large crescent of ice from his blade, giving him dangerous ranged pressure even when you create distance.
The attack travels farther than his normal sword reach and can still contribute heavily to Freeze buildup, so do not assume that backing away automatically makes the fight safer.
Move sideways instead of retreating directly backward whenever you see the attack forming. This also keeps you in a better position to close the gap once the projectile passes.
Ground Ice Burst
At close range, he can cause jagged ice to erupt from the floor around him. The attack does not cover the whole arena, but it punishes players who stay directly on top of him for too long.
If he begins the animation, disengage rather than trying to trade through it. The Freeze buildup makes even a single hit more dangerous than the raw damage suggests.
This is another reason to keep your punishes controlled. Take your damage window, then reset before he starts another close-range mechanic.
Expanding Ice Ring
One of his more recognizable attacks begins with a large ring of ice spreading across the ground around him. Current guides associate this attack with the voice line where he warns you that he will strike only once.
Do not remain close to him trying to squeeze in another hit. Give the attack room, get outside the dangerous area, and then move back in afterward.
The attack is much easier to deal with once you recognize the setup, but it can be extremely punishing if you are already locked into an animation.
Sha-Chi Management
Sha-Chi management is one of the biggest reasons this fight becomes difficult on higher settings.
Several of Blizzard Blademaster's attacks deal heavy Sha-Chi damage, and panic-blocking through long strings can leave you broken and immediately vulnerable to Freeze or a follow-up attack.
Use weapon switching to fully replenish Sha-Chi when necessary, and avoid spending your entire bar trying to block attacks you could have dodged instead.
A good rhythm is:
Parry the cleaner sword strings.
Dodge the more dangerous Frost or Red attacks.
Switch weapons when your Sha-Chi gets dangerously low.
Do not re-engage until your defense is stable again.
Do Not Stay Too Far Away
Blizzard Blademaster is dangerous up close, but staying far away can actually make the fight worse.
Creating too much distance encourages him to use more lunging and ranged ice attacks, which can be harder to read and still build Freeze.
The safest range is usually close enough that you can clearly read his sword animations without standing directly on top of him.
This keeps his moveset more predictable and reduces how often he gets to turn the fight into repeated long-range dashes.
Fire Damage
Blizzard Blademaster is vulnerable to Fire, making Burn-focused weapons and Phantom Edges particularly effective. Current guides specifically recommend options such as Blazing Edge and Fire Meteor for keeping Burn active during the fight.
This is especially valuable because of how much HP he has. The fight can last a long time even when you are playing well, so passive Burn damage helps shorten the encounter without requiring you to take additional risks.
General Strategy
Blizzard Blademaster is mostly a fight about discipline and status management.
Stay close enough to clearly read his normal sword strings, but do not remain glued to him when he begins larger ice attacks. Parry the safer sequences, Perfect Dodge the Red grab, and prioritize avoiding anything that significantly increases your Freeze buildup.
Do not let his large HP bar make you impatient. He is tanky enough that the fight can feel slow, but trying to force extra damage is usually what causes the attempt to fall apart.
If your Freeze meter or Sha-Chi becomes dangerous, stop attacking and stabilize first. One missed damage window is far less costly than getting frozen with no defensive resources left.
On Hellwalker, the fight becomes much more consistent once you accept that you are not supposed to win every exchange aggressively. Survive cleanly, use the obvious punish windows, and let Fire damage or repeated Sha-Chi breaks do the rest.