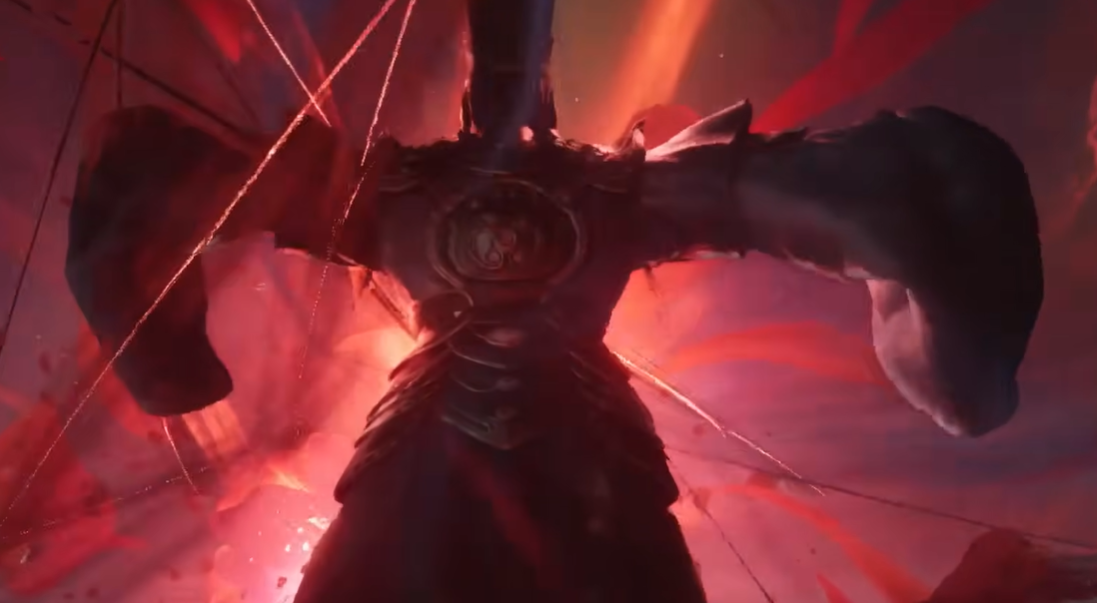
Leng Tu, Herald of the Veil is a mandatory late-game boss fought at Soulrend Cliff on Mount Soulrend, shortly before the confrontation with Meng Hua.
Unlike most bosses in Phantom Blade Zero, Leng Tu does not immediately fight you himself. Instead, the encounter begins as a long summoning gauntlet where he brings back several earlier bosses and forces you to fight them again in succession. Inanis responds by summoning allies of your own, turning large parts of the encounter into chaotic team battles before Leng Tu finally enters the fight himself.
The encounter is best thought of as four major stages:
Puppet Scavenger
Cavalrybane and Heartpiercer
Yuding and Yubi
Leng Tu himself
Because several of these fights happen back to back, consistency matters more than trying to burst every enemy as quickly as possible.
This guide was written and tested on Hellwalker difficulty.
Boss Mechanics Different Stages
Stage 1: Puppet Scavenger
The encounter begins with the Puppet Scavenger, which is easily recognizable from its huge body, long reach, and heavy slam attacks. Its size makes the fight look intimidating, but the main thing to respect is how much area its attacks cover. When it rises high onto its legs, prepare for the incoming body slam and move away rather than trying to stay underneath it.
Peng Meng joins you during this stage and helps draw the Scavenger's attention. Use that to your advantage. There is little reason to stand directly in front of the puppet while an ally is already holding its aggro. Move around the side, take safer damage windows, and let Peng Meng absorb some of the pressure.
This first stage is mostly about settling into the rhythm of the gauntlet. Do not burn through heals just because the Scavenger has a large health bar. The later stages are much more chaotic.
Stage 2: Cavalrybane and Heartpiercer
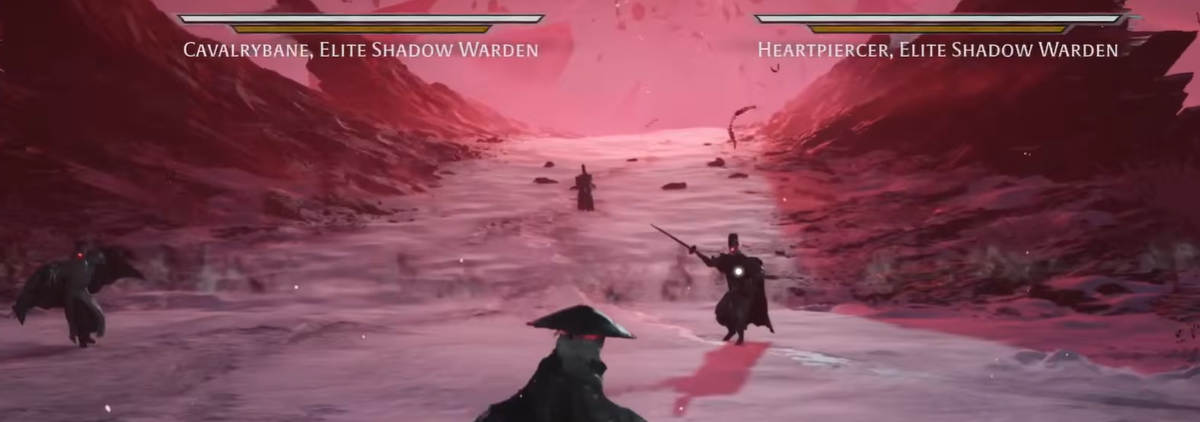
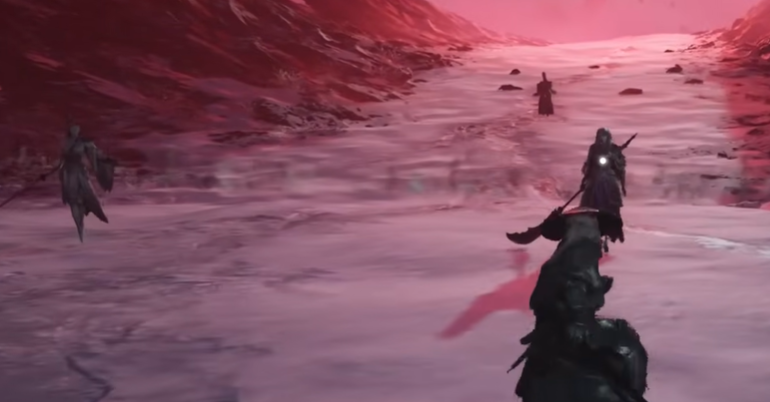
The second stage brings back Cavalrybane and Heartpiercer at the same time, turning the encounter into a proper duo fight. The Chief Disciple of the Seven-Stars Formation and Red are summoned to assist you, which prevents the fight from becoming a pure two-on-one.
The safest approach is to avoid spreading your damage across both bosses. Pick whichever enemy your allies are not currently controlling and focus on removing that target first. Once one boss drops, the rest of the encounter becomes far more manageable.
Do not tunnel-vision your target, though. Both bosses retain the pressure patterns from their original encounters, and getting clipped by the second boss from outside the camera is one of the easiest ways to lose unnecessary health. Keep both enemies visible whenever possible and take shorter punish windows while they are still together.
Stage 3: Yuding and Yubi
The third stage brings back Yuding and Yubi, which is probably the most mechanically demanding part of the gauntlet before Leng Tu himself.
Blizzard Blademaster joins you here, giving you another powerful ally to split their attention.
Yuding brings huge Crescent Blade range and heavy sweeping pressure, while Yubi adds much faster dual-wield strings and elemental attacks. Fighting both in the same space can become extremely messy, so again, your priority should be to turn the duo fight into a one-on-one as quickly as possible.
Let Blizzard Blademaster occupy one of them while you focus the other. If one boss moves toward your ally, do not immediately chase. Use the separation to reposition and wait for a cleaner opening instead of forcing yourself into the middle of both movesets.
Because you have already fought both bosses before, this stage is less about learning new mechanics and more about staying calm while familiar attacks overlap.
Boss Mechanics Leng Tu
Once the summoned bosses are defeated, Leng Tu finally enters the fight himself.
This part is more straightforward than the gauntlet leading up to it, but he still has a large HP and Sha-Chi pool and can punish sloppy aggression. Current retail data lists no elemental weakness, so raw damage, Guard Break, and consistent defensive play matter more than trying to exploit a specific element.
Flame joins you first, followed later by Lei Dang, which means you are rarely fighting Leng Tu completely alone. Use their pressure to create safe angles instead of simply attacking from the front whenever they engage him.
Purple Thread Pressure
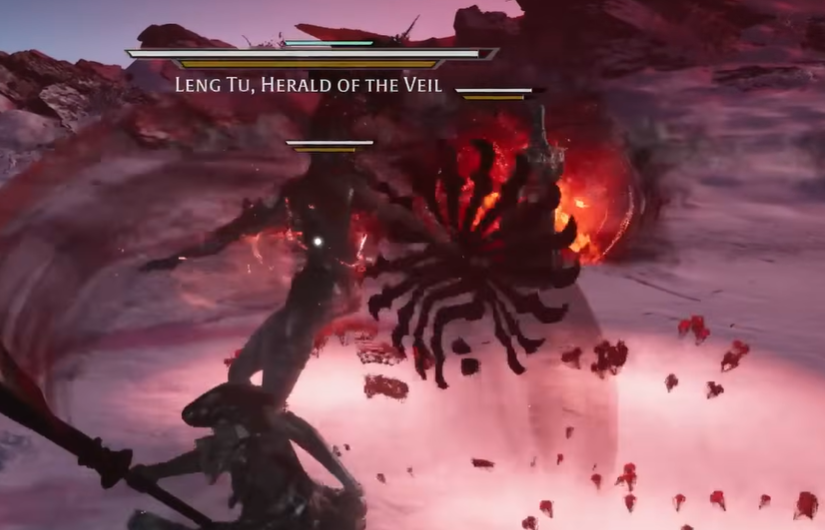
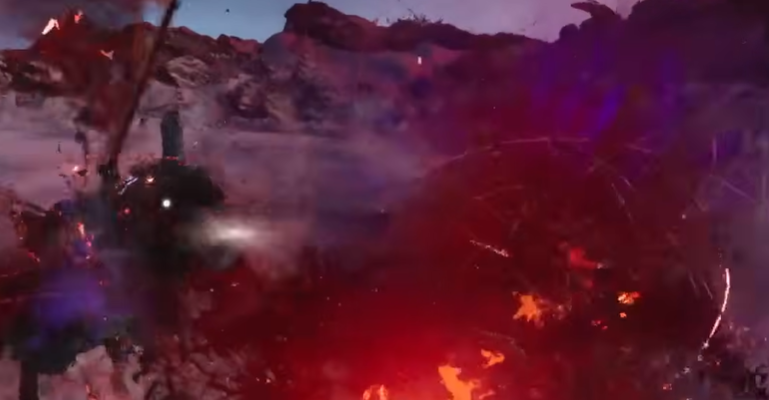
Leng Tu's own fight uses a lot of purple thread and blade effects, including attacks that create large areas of pressure around him. Current guide data describes thread posts and vortex-like effects during his section of the encounter, so avoid standing inside red or purple thread zones just to continue a combo.
Because so many effects are happening at once, the fight can look more complicated than it actually is. Keep your focus on Leng Tu's body and weapon rather than the surrounding visual effects. If Flame or Lei Dang are already attacking him, use that moment to approach from another angle and take a controlled punish.
Red Flash Attack
Current combat data lists one Red Flash attack in Leng Tu's own moveset and no Blue Flash attacks. The tightest listed tell is a spinning sleeve combo with only a short reaction window, so this is one attack where reacting to the Red Flash itself is more reliable than trying to visually read the entire swing.
Do not try to parry it. Dodge cleanly, then punish only after the full animation has ended.
Managing the Gauntlet
The hardest part of the Leng Tu encounter is not any single move. It is the fact that you have to deal with multiple familiar bosses in succession without mentally checking out between stages.
Treat each stage as its own mini-fight. Once a wave ends, reset your positioning, check your health and Sha-Chi, and prepare for the next pairing instead of immediately rushing forward.
The allies are there to reduce pressure, so use them. If an ally is already holding one boss, let them. There is no reward for trying to tank both enemies yourself.
On Hellwalker, the fight becomes much more consistent if you prioritize:
killing one target at a time during duo stages
keeping both enemies visible
letting allies split aggro
conserving heals for the later waves
avoiding unnecessary trades during Leng Tu's own section
General Strategy
Leng Tu's encounter is best approached as an endurance gauntlet rather than a single boss duel.
Against the Puppet Scavenger, use Peng Meng to create safe side attacks. Against Cavalrybane and Heartpiercer, commit to one target and reduce the duo as quickly as possible. Against Yuding and Yubi, let Blizzard Blademaster occupy one while you deal with the other.
When Leng Tu finally enters, slow the fight back down. He is tanky, but you also have Flame and Lei Dang applying pressure, so there is no reason to force unsafe damage. Avoid the thread effects, react cleanly to the Red Flash, and let your allies create the openings.
The encounter looks extremely chaotic because so many returning characters appear, but mechanically the solution stays simple: split pressure, remove one target at a time, and preserve enough resources to finish Leng Tu cleanly.