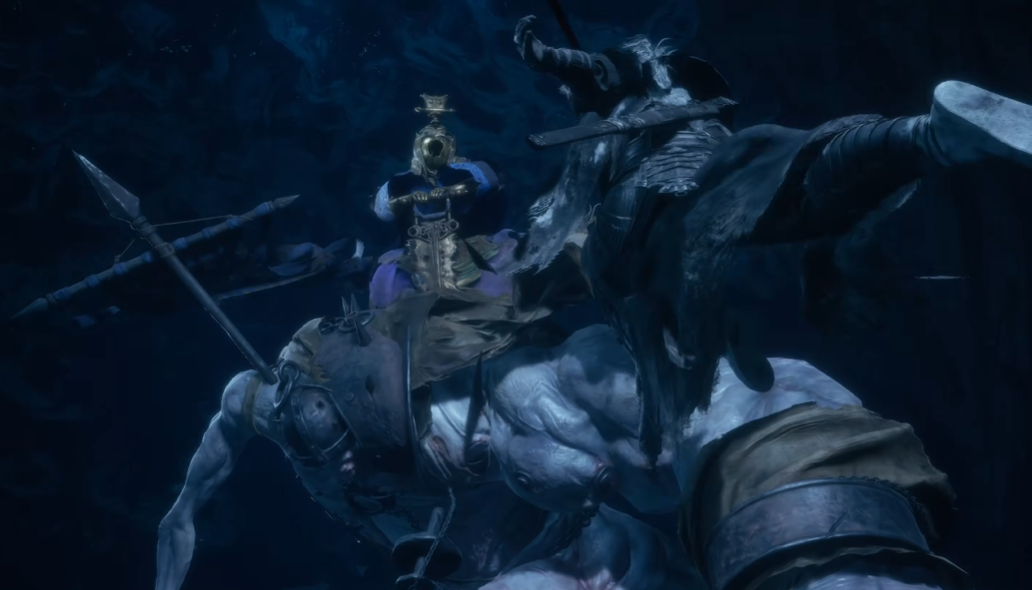
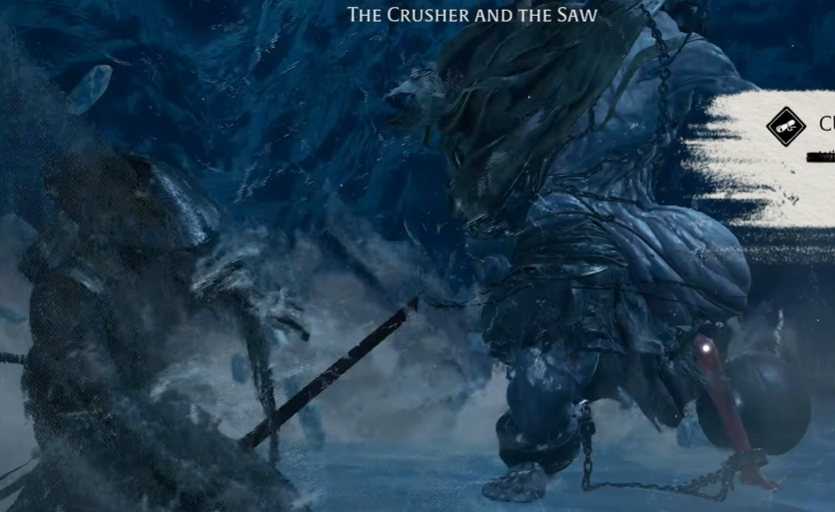
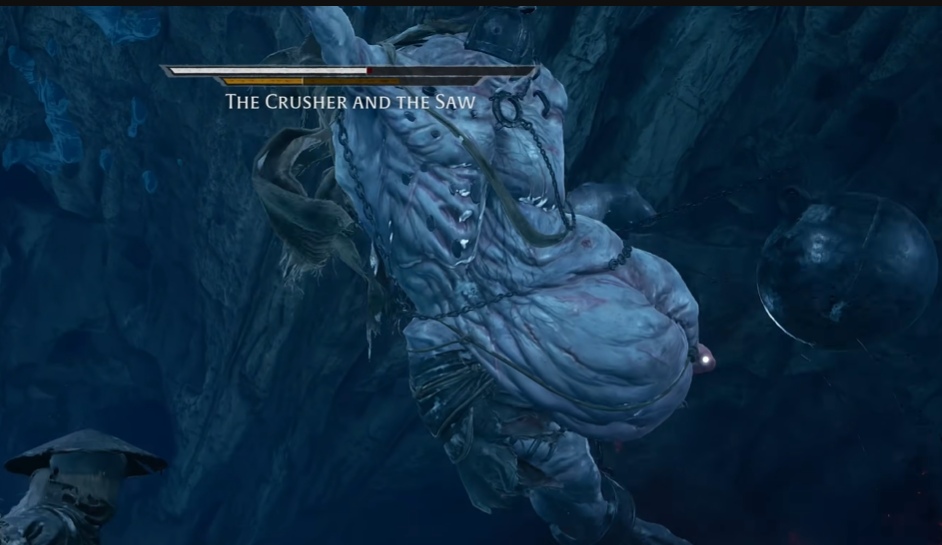
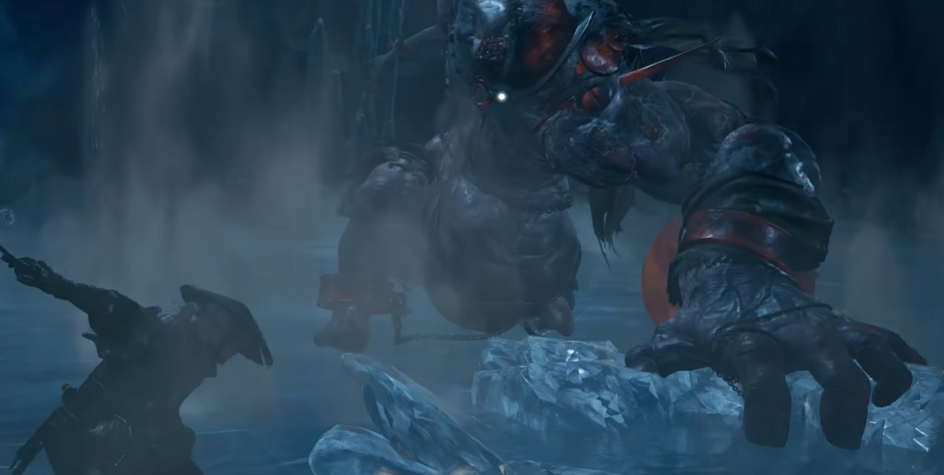
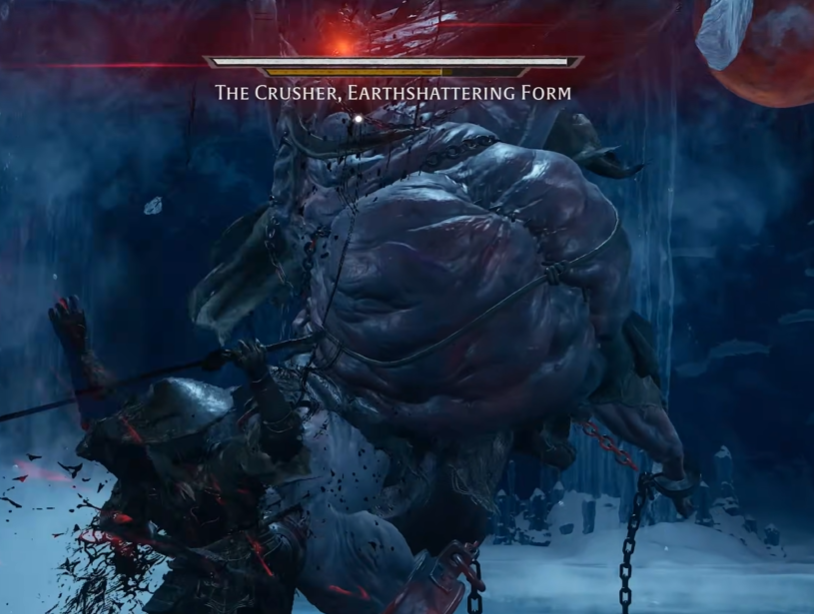
The Crusher and the Saw is a mandatory boss encounter found in The Giant’s Lair on Mount Soulrend. The fight has two distinct forms: first you face the Crusher while the Saw rides on his back, then the fight continues against The Crusher, Earthshattering Form after the Saw is knocked loose.
The encounter is built around heavy impact attacks, huge sweeping range, Red and Blue Flash reactions, and using patience against an enemy who can punish overcommitting very hard. Phase 1 is slower but visually messy because of the Saw and the Crusher’s chained weapon, while Phase 2 becomes much more aggressive and significantly harder to control.
This guide was written and tested on Hellwalker difficulty.
Important: If you want the Baishan Headband, complete the Cui Tale before fighting this boss. Otherwise, the headband will not drop from the encounter.
Boss Mechanics Phase 1
Heavy Ball and Chain Pressure
The Crusher’s main weapon in Phase One is the massive iron ball attached to a chain, giving even his slower attacks enormous range. His basic strings include wide horizontal sweeps, overhead slams, and long swings that can catch you from much farther away than his body position suggests.
Do not hover at medium range expecting to be safe. Either stay close enough to clearly read the animation or create enough distance that the full swing cannot reach you. Most mistakes here come from assuming an attack has ended when the chain is still travelling back through the arena.
His heavier swings also leave him exposed for a noticeable amount of time afterward. Let the full animation finish, then move in for a short punish instead of trying to interrupt him mid-string.
Red and Blue Flash Attacks
The Crusher and the Saw have both Red and Blue Flash attacks, so the fight rewards reading the color correctly instead of relying on one defensive response. Current game data lists two Blue and two Red attacks in this form.
The basic rule remains simple:
Blue Flash: parry it.
Red Flash: dodge it.
His Red attacks are especially dangerous because of how much damage the larger body slams can deal, so do not try to force a parry when the cue is clearly Red.
Leaping Slam and Snow Cloud
One of the most dangerous Phase One attacks has the Crusher leap into the air before crashing down with the iron ball. The impact kicks up a huge snow and ice cloud, which can obscure him for around two to three seconds.
The impact itself is dangerous, but the visual obstruction is the more important part. Do not immediately rush back in after avoiding the slam. Wait until you can clearly see what the Crusher is doing again before committing to an attack.
Treat the snow cloud as a temporary reset in the fight. If you cannot see him, assume another attack may already be starting.
The Saw’s Role
The Saw does not fight you as a separate enemy in Phase One. Instead, it remains mounted on the Crusher’s shoulders and repeatedly cuts into him, driving him into a frenzy and increasing the sense of pressure throughout the fight.
This is important because you should not waste time trying to isolate or target the Saw separately. Phase One is still effectively a one-target fight.
Your goal is simply to break through the Crusher’s HP and Sha-Chi while surviving the oversized weapon pressure.
Phase 1 Strategy
Phase One is mostly about respecting the Crusher’s reach and waiting for complete recovery animations. His attacks are slow enough to read, but the chained ball can still be active long after the main body has stopped moving.
Stay patient, react correctly to Red and Blue attacks, and do not immediately attack through the snow cloud after a slam. Most of your safest damage comes after the heavier swings, where the Crusher is fully committed and cannot immediately retaliate.
Once the first health bar is depleted, the Saw is knocked away and the fight transitions into The Crusher, Earthshattering Form.
Boss Mechanics Phase 2
Earthshattering Form
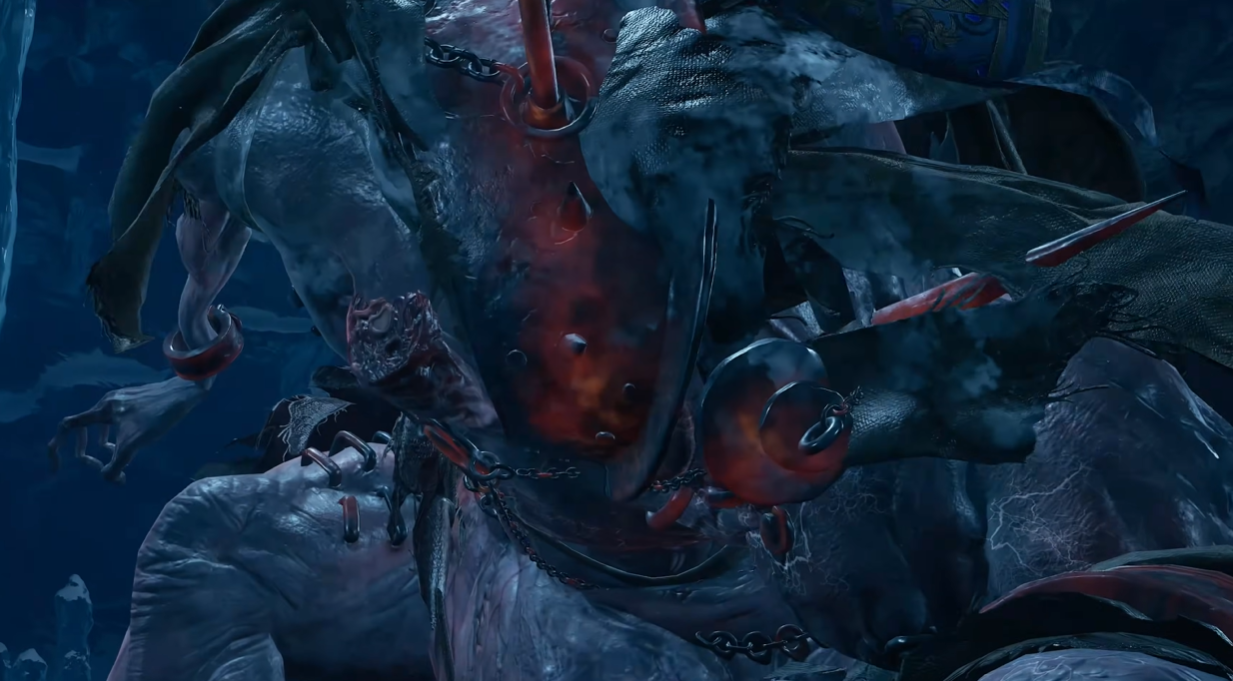
Phase Two removes the Saw entirely and turns the Crusher into a much more aggressive opponent.
Without the Saw restraining or directing him, his Sha-Chi surges, his body begins burning red, and his attack pressure becomes much more savage. The second form also has significantly more Sha-Chi than the first, making full breaks harder to achieve.
The fight still revolves around the iron ball and chain, but the pacing becomes much faster and the Crusher is far less passive between attacks.
More Aggressive Chain Pressure
The biggest adjustment in Phase Two is simply how little breathing room you get.
The Crusher can chain heavy swings together more aggressively, and several of his attacks now feel much less separated than they did during Phase One. Do not assume every large hit is the end of the sequence.
Instead, keep your punish windows short. One or two safe attacks after a clear recovery is better than committing to a long combo and getting caught by the next swing.
Red Attacks Become More Dangerous
The Red Flash attacks remain one of the biggest threats in Earthshattering Form.
Because his overall pressure is higher, these attacks are more likely to appear while you are already trying to recover from another sequence. Dodge them cleanly and resist the urge to immediately retaliate if the Crusher still looks active afterward.
This phase punishes early offense much harder than Phase One.
Use Bleed or Poison if Available
The first form has broad resistance to several status types, but the Earthshattering Form becomes vulnerable to Bleed and Poison, according to current game data.
If your build already uses either status, Phase Two is a good place to lean into it. The added damage helps shorten a phase where the Crusher otherwise has a very large Sha-Chi pool and can take a long time to fully break.
I would not rebuild an entire setup just for this weakness, but it is a useful advantage if your current weapon already supports it.
Phase 2 Strategy
Phase Two is much more about discipline under pressure. The Crusher becomes faster and more aggressive, but his attacks are still readable if you avoid panic-blocking and wait for the actual end of each string.
Keep your punish windows short, prioritize dodging Red attacks correctly, and do not assume a single heavy swing means your turn has started. The phase becomes much easier once you stop trying to race his health bar and instead let him fully commit before retaliating.
General Strategy
The Crusher and the Saw is a fight where both phases punish greed more than complexity.
In Phase One, focus on spacing, the huge reach of the chained ball, and staying calm when snow clouds obscure your vision. The Crusher is slow enough that you can control the fight if you wait for clear recovery animations.
In Phase Two, expect the same basic weapon but much heavier aggression. Stay defensive until the full sequence has ended, then take a short punish and reset.
The biggest mistake in both forms is moving in too early. The Crusher looks slow, but the chain and follow-up swings make many of his attacks last much longer than they appear to.