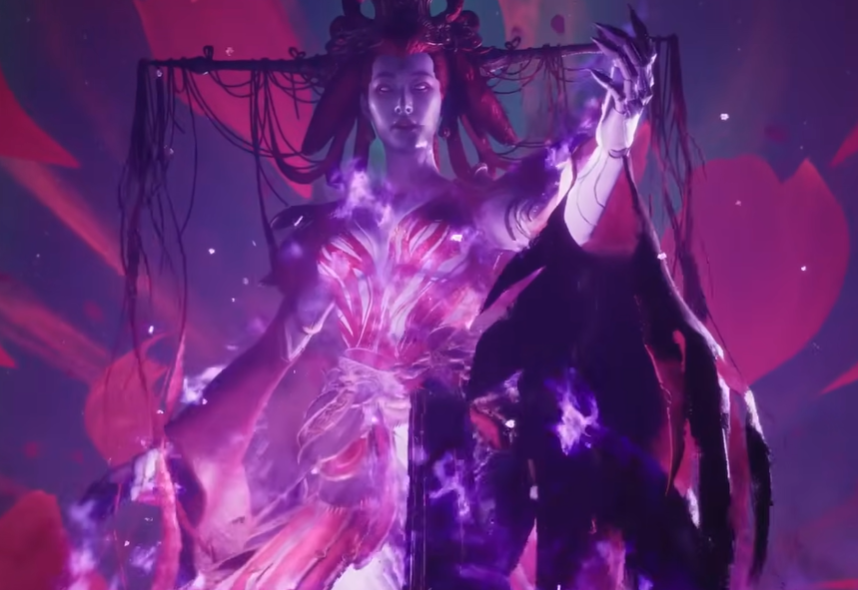
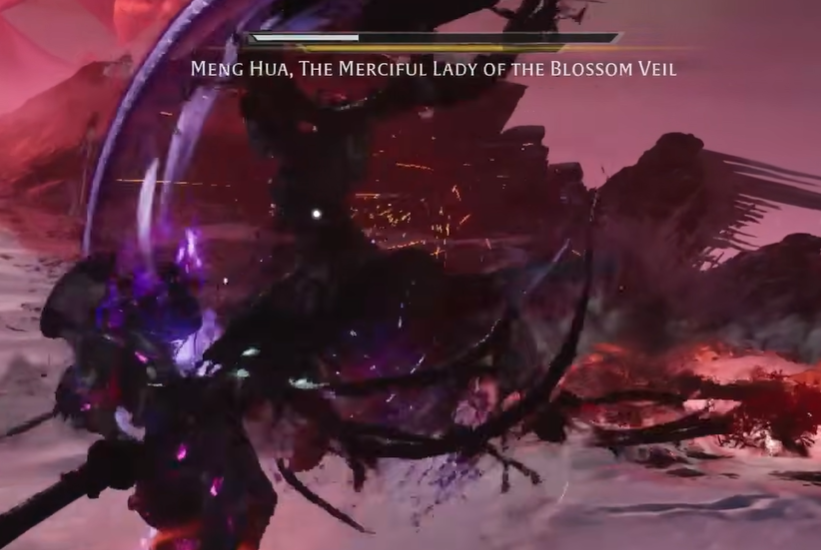
Meng Hua, the Merciful Lady of the Blossom Veil is a mandatory late-game boss fought on Mount Soulrend, immediately after Leng Tu. She is the final boss of the normal route and uses a large bladed fan together with elemental and ranged attacks.
Unlike many other late-game bosses, Meng Hua has only one health bar. The fight does not have a true second phase or checkpoint. Instead, her moveset becomes increasingly chaotic as the fight progresses, with more area pressure, projectiles, lightning, and large blossom-based attacks appearing throughout the same encounter.
She also has no meaningful elemental weakness, so this fight is mainly about raw damage, Guard Break, Sha-Chi pressure, and clean Red and Blue reactions rather than exploiting a specific status.
This guide was written and tested on Hellwalker difficulty.
Boss Mechanics
Fan Combos and Flash Attacks
Meng Hua's close-range offense revolves around her bladed fan, which she uses for wide sweeps, lunging attacks, spinning throws, and delayed strings. She has multiple Blue and Red Flash attacks mixed into these sequences, so correctly reading the color is one of the most important parts of the fight.
Her Blue attacks include several lunges, dives, and ranged transitions, while her Red attacks include a lunging buzzsaw-style fan strike, a spinning fan throw, and a binding grab. The timings are not especially forgiving, so avoid reacting the instant you see movement. Watch the actual Flash and the attack animation before committing.
Meng Hua's fan strings also contain several feints and delayed follow-ups. Do not attack during every small pause. If she has not clearly entered a recovery animation, assume another hit may still be coming.
Ranged and Elemental Pressure
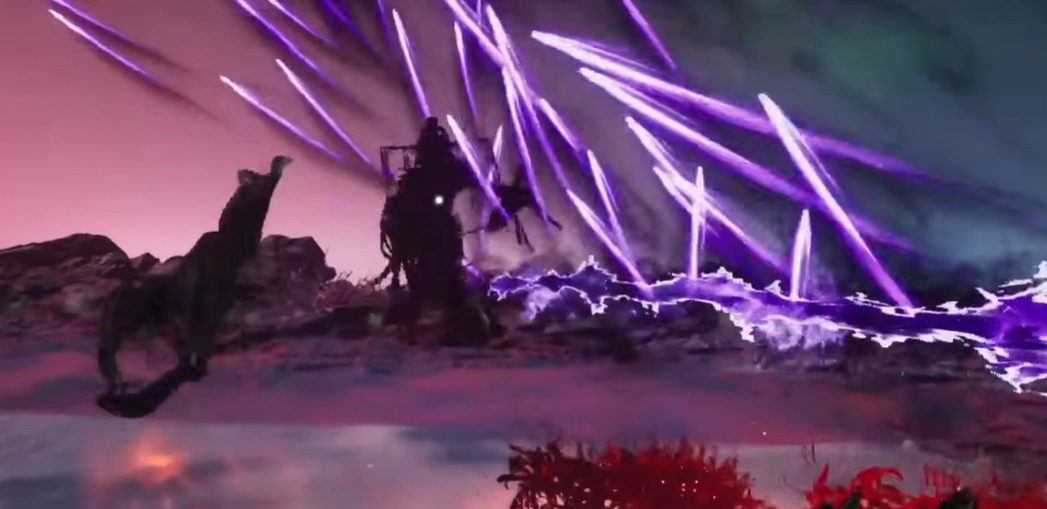
Meng Hua is dangerous at almost every distance. From range she can fire red lances, fan-shaped projectiles, fire volleys, lightning attacks, and frost waves, while also creating large areas of danger on the ground.
The most important thing is to keep moving laterally rather than retreating in a straight line. Several of her ranged attacks are designed to punish players who simply back away, and her lightning or pillar attacks can force you out of otherwise safe positions.
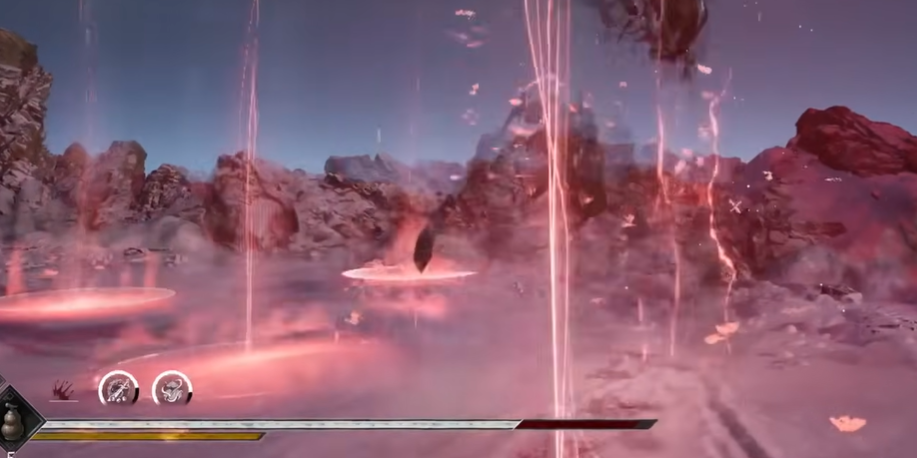
Her light pillars are telegraphed by glowing circles on the ground. Move out of these immediately instead of trying to finish a combo inside them. Likewise, her frost wave and fire volleys are much easier to avoid if you are already moving before they reach you.
Because she can attack from range while also repositioning, do not treat distance as a healing opportunity unless you have just seen her finish a sequence.
Red Lances and Ground Pressure
Meng Hua can send red lances from above and create burning patterns across the ground. These attacks are more about controlling your movement than dealing direct melee pressure.
If multiple ground effects are active at once, stop worrying about damage and move to clear space first. Trying to stay aggressive while the arena is covered in markers is one of the fastest ways to get caught by a second attack.
The fight becomes much easier if you treat these mechanics as temporary movement checks:
Leave the dangerous area.
Re-center the camera.
Wait for Meng Hua to commit.
Return to offense only once the space is safe again.
Teleports, Feints and Repositioning
Meng Hua frequently uses blink-style movement and deceptive attack starts, which can make the fight feel more random than it actually is. Several of her attacks involve retreating, shifting sideways, or disappearing briefly before immediately firing or lunging back toward you.
Do not chase every retreat.
A lot of her strongest pressure comes from punishing players who immediately run after her. Hold your position for a moment, identify the follow-up, then close the gap once you know what she is doing.
This is especially important on Hellwalker, where a single early chase can put you directly into a Red grab, projectile volley, or delayed lunge.
Later in the Fight
Meng Hua does not enter a second phase, but the encounter becomes noticeably more chaotic as her HP drops.
Later in the fight, she can begin using larger blossom effects, heavier lightning pressure, and a color-drain state where the battlefield loses much of its color. This is still the same health bar and the same fight, but visually it becomes much harder to read.
The most important thing here is not to panic because the arena suddenly looks different. Her core rules do not change.
Keep watching the actual attack cues, maintain movement, and continue prioritizing Red and Blue Flash interactions.
Large Blossom and Laser Attacks
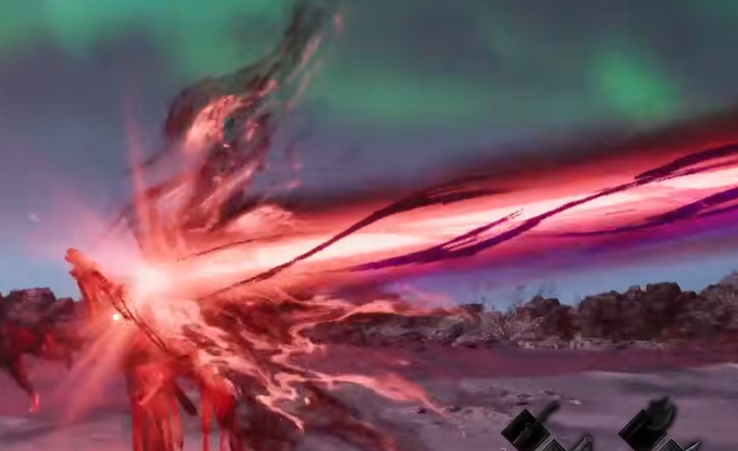
One of her larger late-fight mechanics involves a huge flower-like structure and sweeping beam pressure across the arena. Current walkthroughs describe this appearing around the later part of the fight and forcing you to avoid lasers while Meng Hua continues applying pressure.
Do not try to stay in melee range during this sequence.
Back off, focus entirely on avoiding the beams and any overlapping lightning, then move back in once the blossom attack has finished.
This is one of the clearest examples of a mechanic where survival is more important than maintaining DPS.
Color Drain and Visual Clutter
When the battlefield loses color, the fight becomes harder mainly because the attack cues are less visually obvious.
Do not react to every visual effect.
Instead, focus on:
Meng Hua's actual body position.
Red and Blue Flash cues.
Ground markers for lightning or pillar attacks.
The direction of incoming projectiles.
This section is less about learning a new moveset and more about keeping the same fundamentals while the fight tries to overwhelm your vision.
Sha-Chi and Guard Break
Meng Hua has a substantial Sha-Chi pool, and current combat data indicates that parries drain less of it than they normally would. That makes the fight longer than you might expect even when your parry timings are clean.
Do not let that make you overly aggressive.
The safest way to break her is to repeatedly win the reliable Red and Blue interactions and add short damage windows afterward. Trying to brute-force Guard Break through constant attacks usually puts you inside one of her fan strings or area effects.
Because she has no elemental weakness, weapons with strong raw damage and Guard Break are generally more useful than trying to build around Burn, Frost, Shock, or Poison.
General Strategy
Meng Hua is a fight about reading through visual noise.
At close range, respect her fan strings and delayed follow-ups. At long range, keep moving through lances, frost waves, fire volleys, and lightning. When the arena fills with markers or blossom effects, reposition first and attack second.
As her HP drops, the fight becomes visually more intense, but it does not fundamentally change. There is no second phase to relearn. The same defensive principles continue to work:
Parry Blue. Dodge Red. Avoid the ground effects. Do not chase every retreat.
Recommended Approach on Hellwalker
On Hellwalker, prioritize consistency over burst damage.
If multiple ground effects appear, disengage. If she retreats, wait for the follow-up before chasing. If the screen becomes visually cluttered or loses color, stop trying to force damage and focus on clear attack cues.
Her health bar is large enough that the fight can take a while, but the danger comes from losing discipline, not from a hidden second phase.