menu
MobalyticsUse your favourite features in-game with our Desktop App
Gamebase Guide

How to Get All Skulls - Halo: Campaign Evolved Guide

Guides
Updated on Jul 28, 2026
Jul 28, 2026

Overview

Skulls in Halo: Campaign Evolved redefine the campaign with a massive suite of modifiers that let players tailor every encounter. Across the game’s 13 missions, you’ll hunt down 39 hidden Skulls, each tucked off the beaten path and marked only by their eerie whispering.
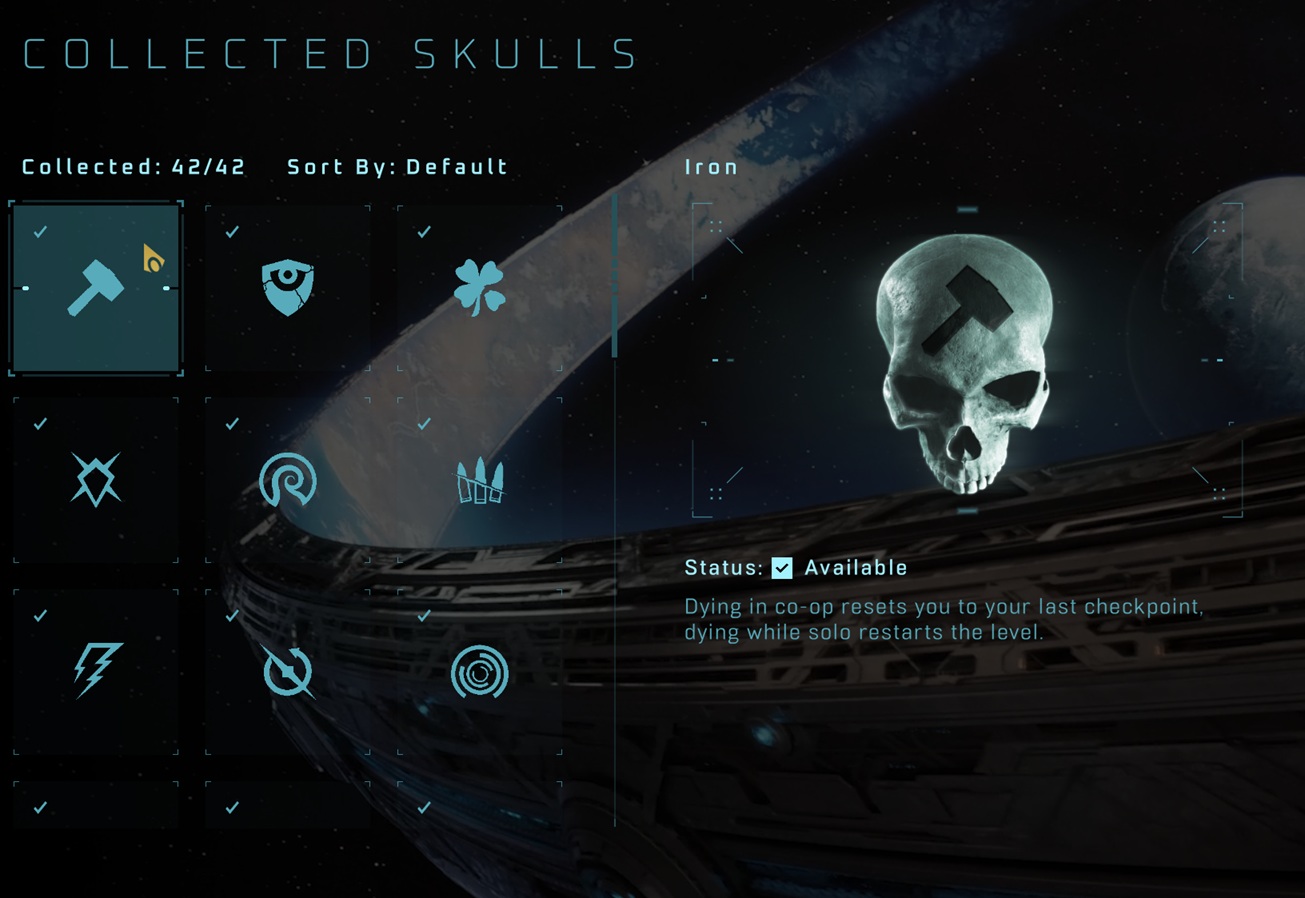
Collecting them adds new gameplay twists to the Campaign Remix menu, from classic difficulty boosts to wild new effects like Floor Is Lava and Give & Take.

Three additional Skulls unlock automatically once you’ve found any two, rounding the total to forty‑two and opening the door to full Remix runs and the series’ iconic LASO challenge.

Whether you’re chasing tougher enemies, chaotic physics, or entirely remixed encounters, the Skull system turns every replay into a fresh experiment, and this guide will show you where to find them and how each one transforms your journey.

WARNING: Both the Photos and Instructions ahead spoil key story moments!

Main Author: Jack Briggs (originally published July 28 2026)
Tips and Tricks Before Getting Started

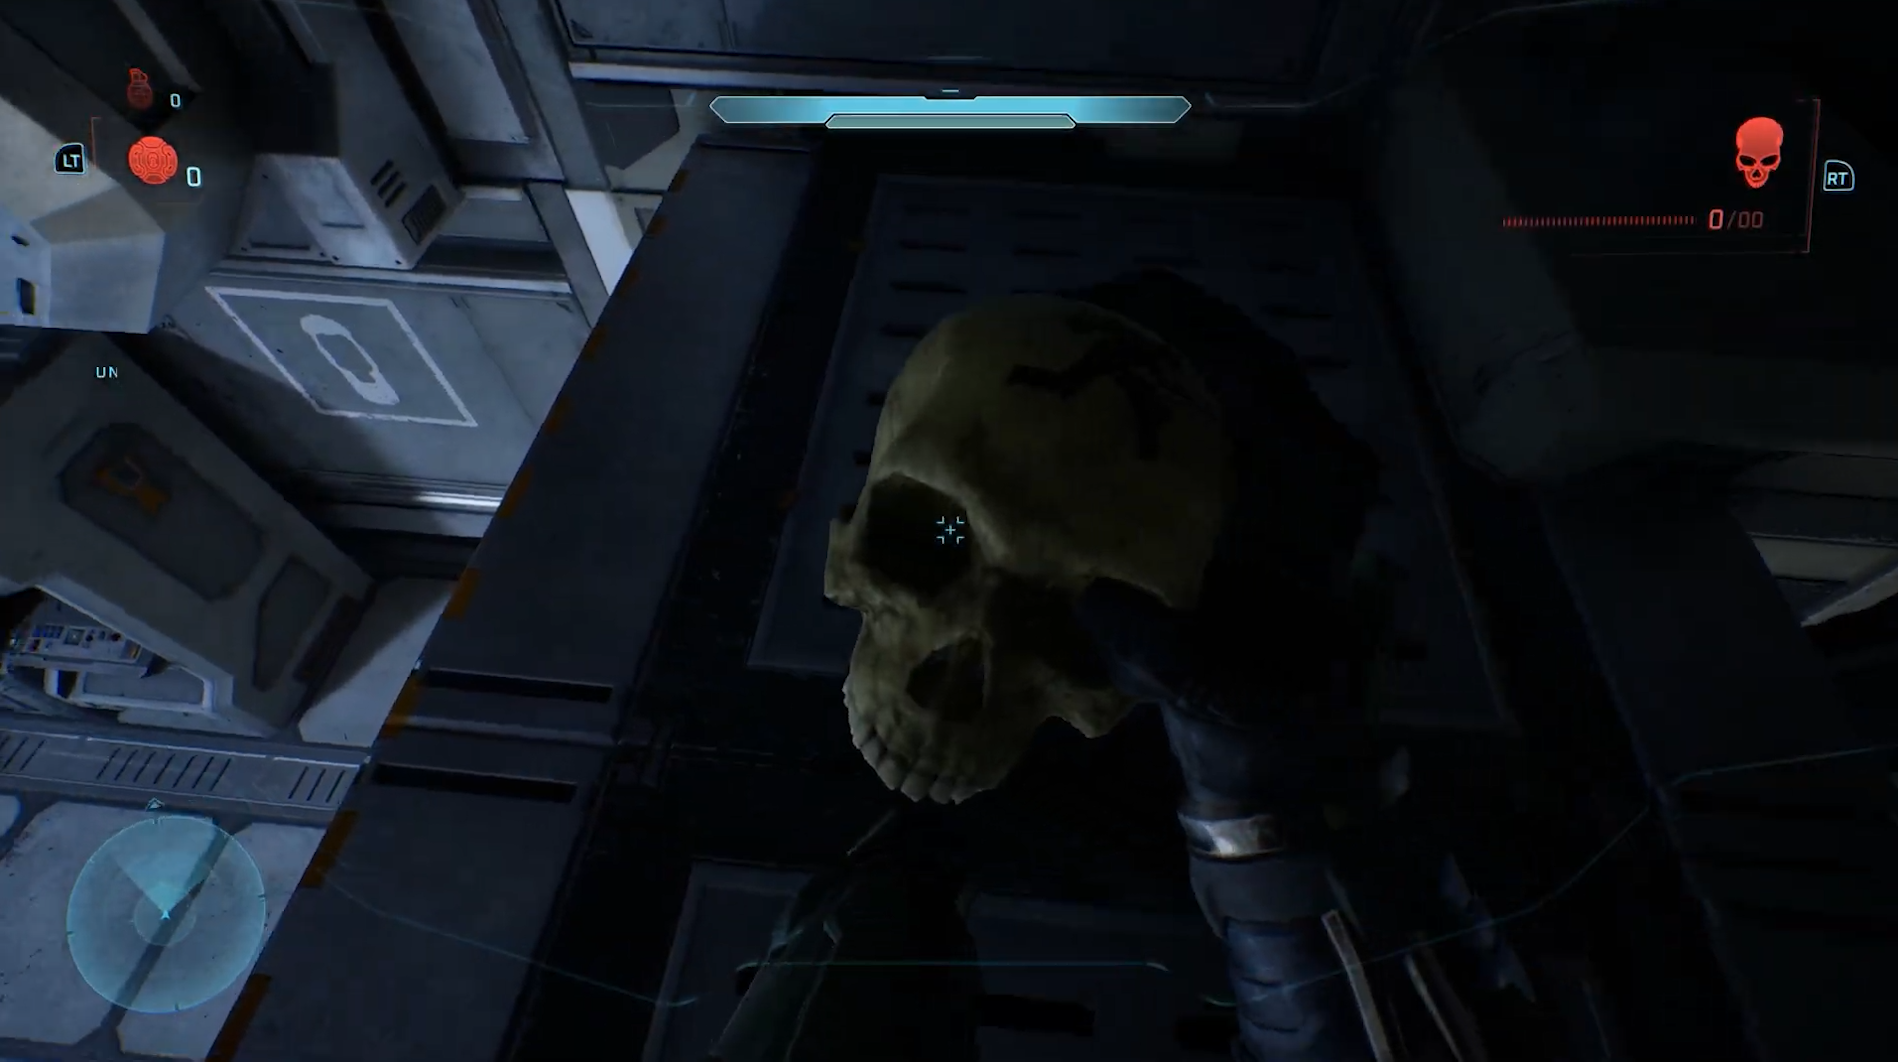
  • Some Skulls require and/or benefit from the Acrophobia Modifier, which allows you to fly. This lets you reach hard-to-obtain areas
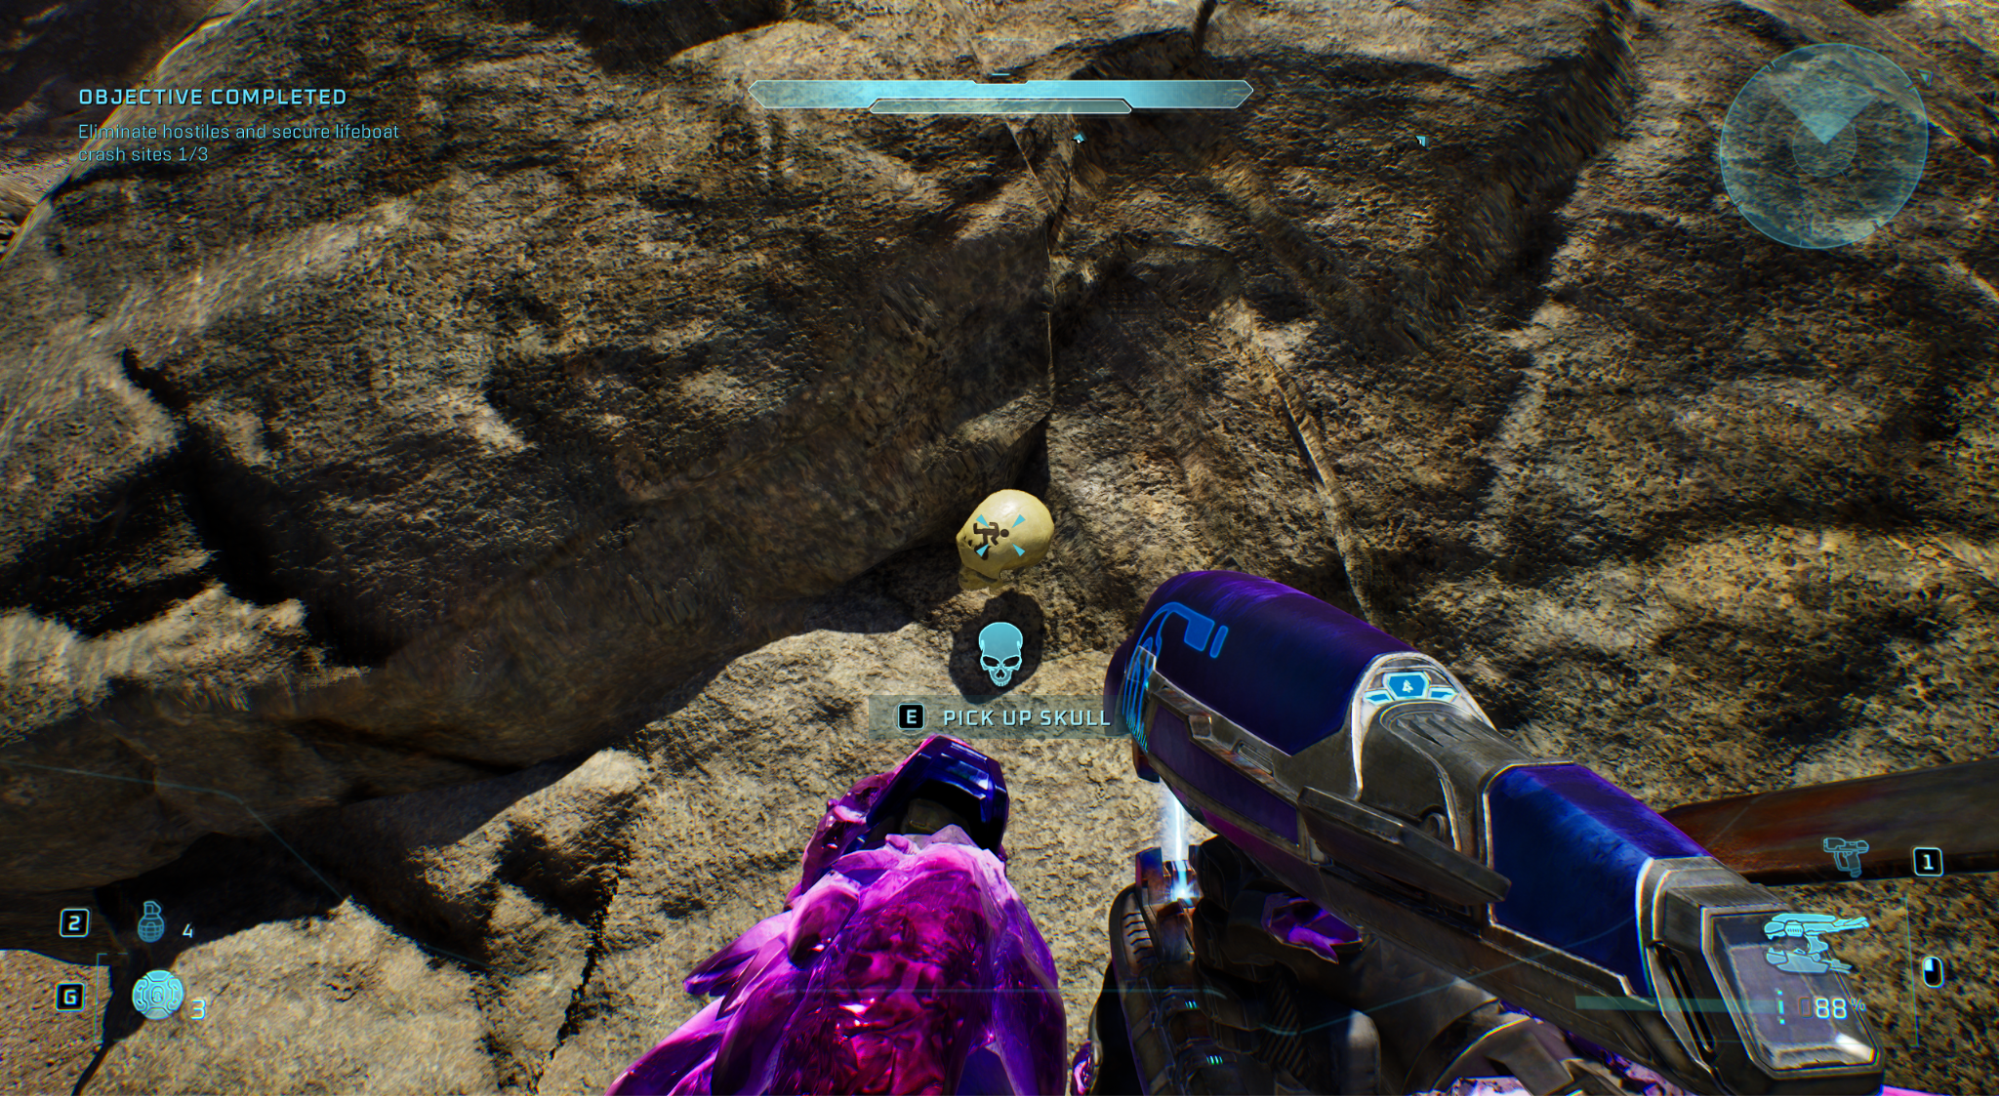
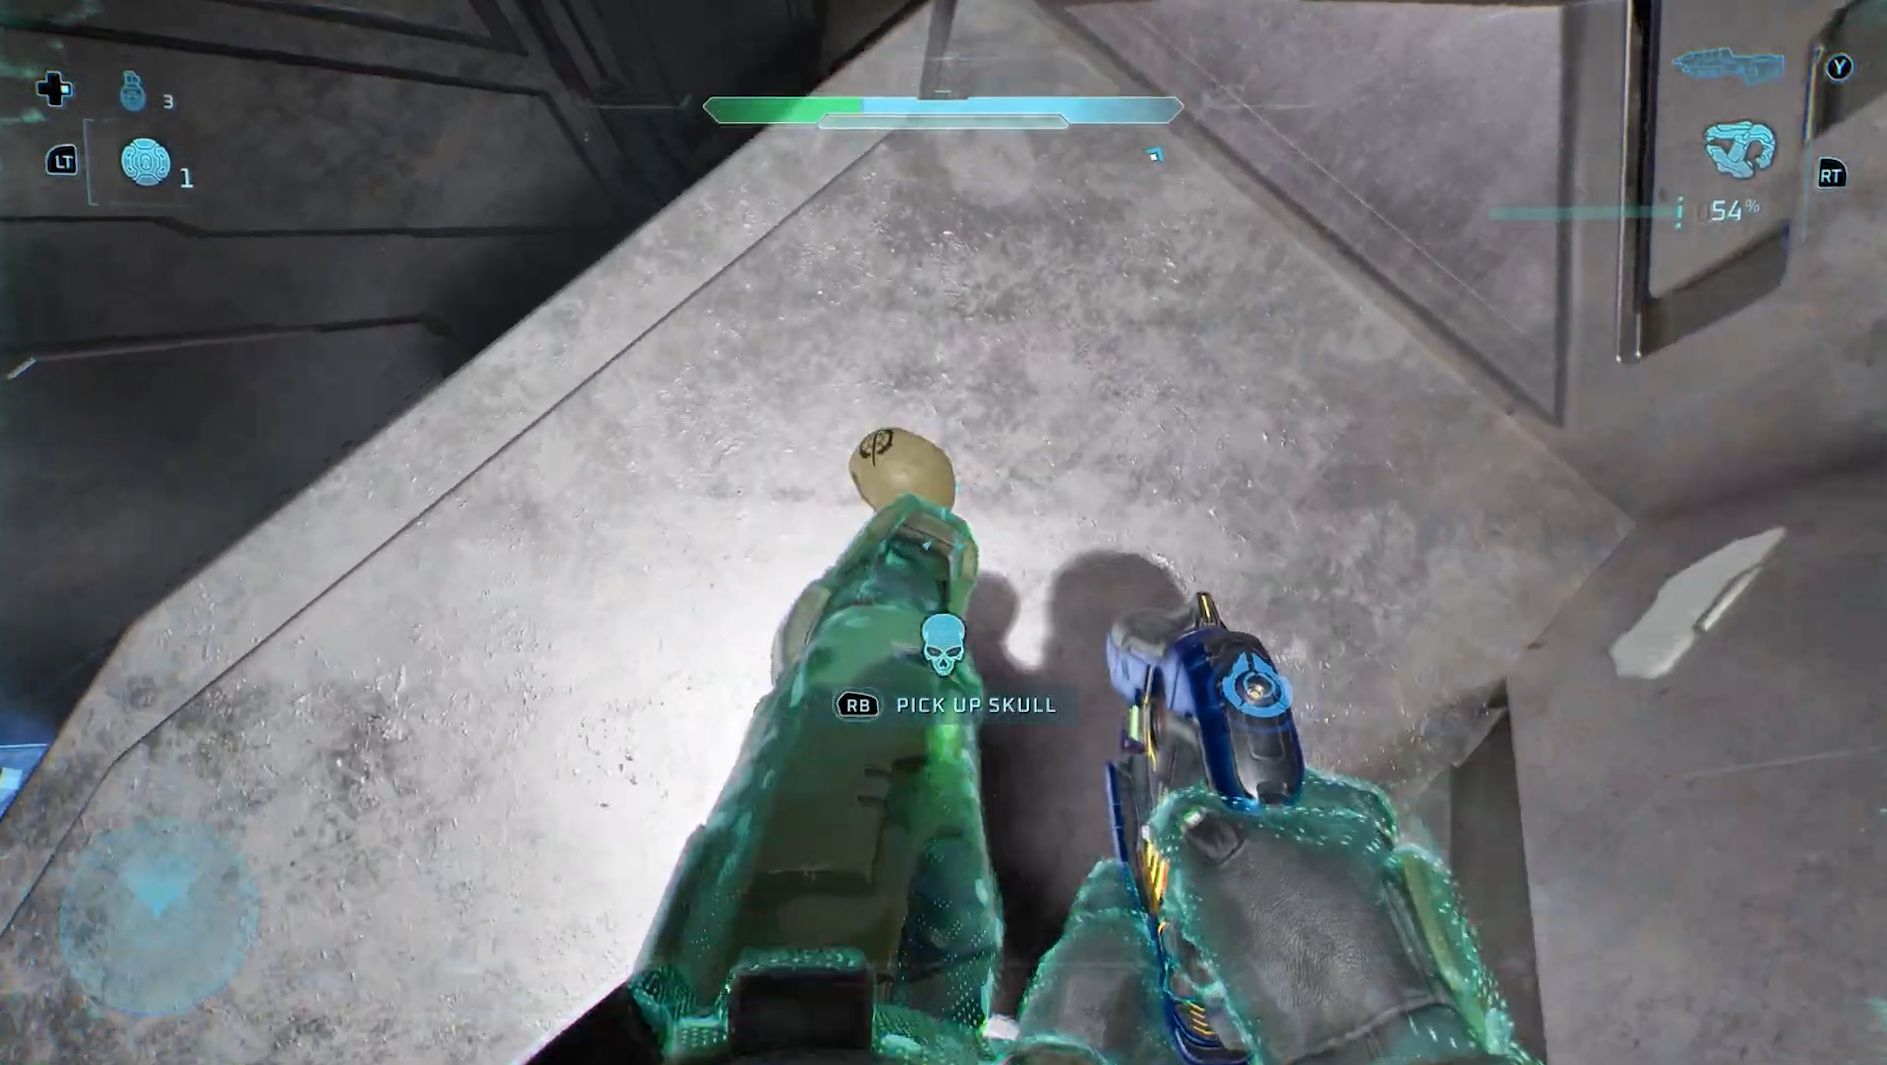
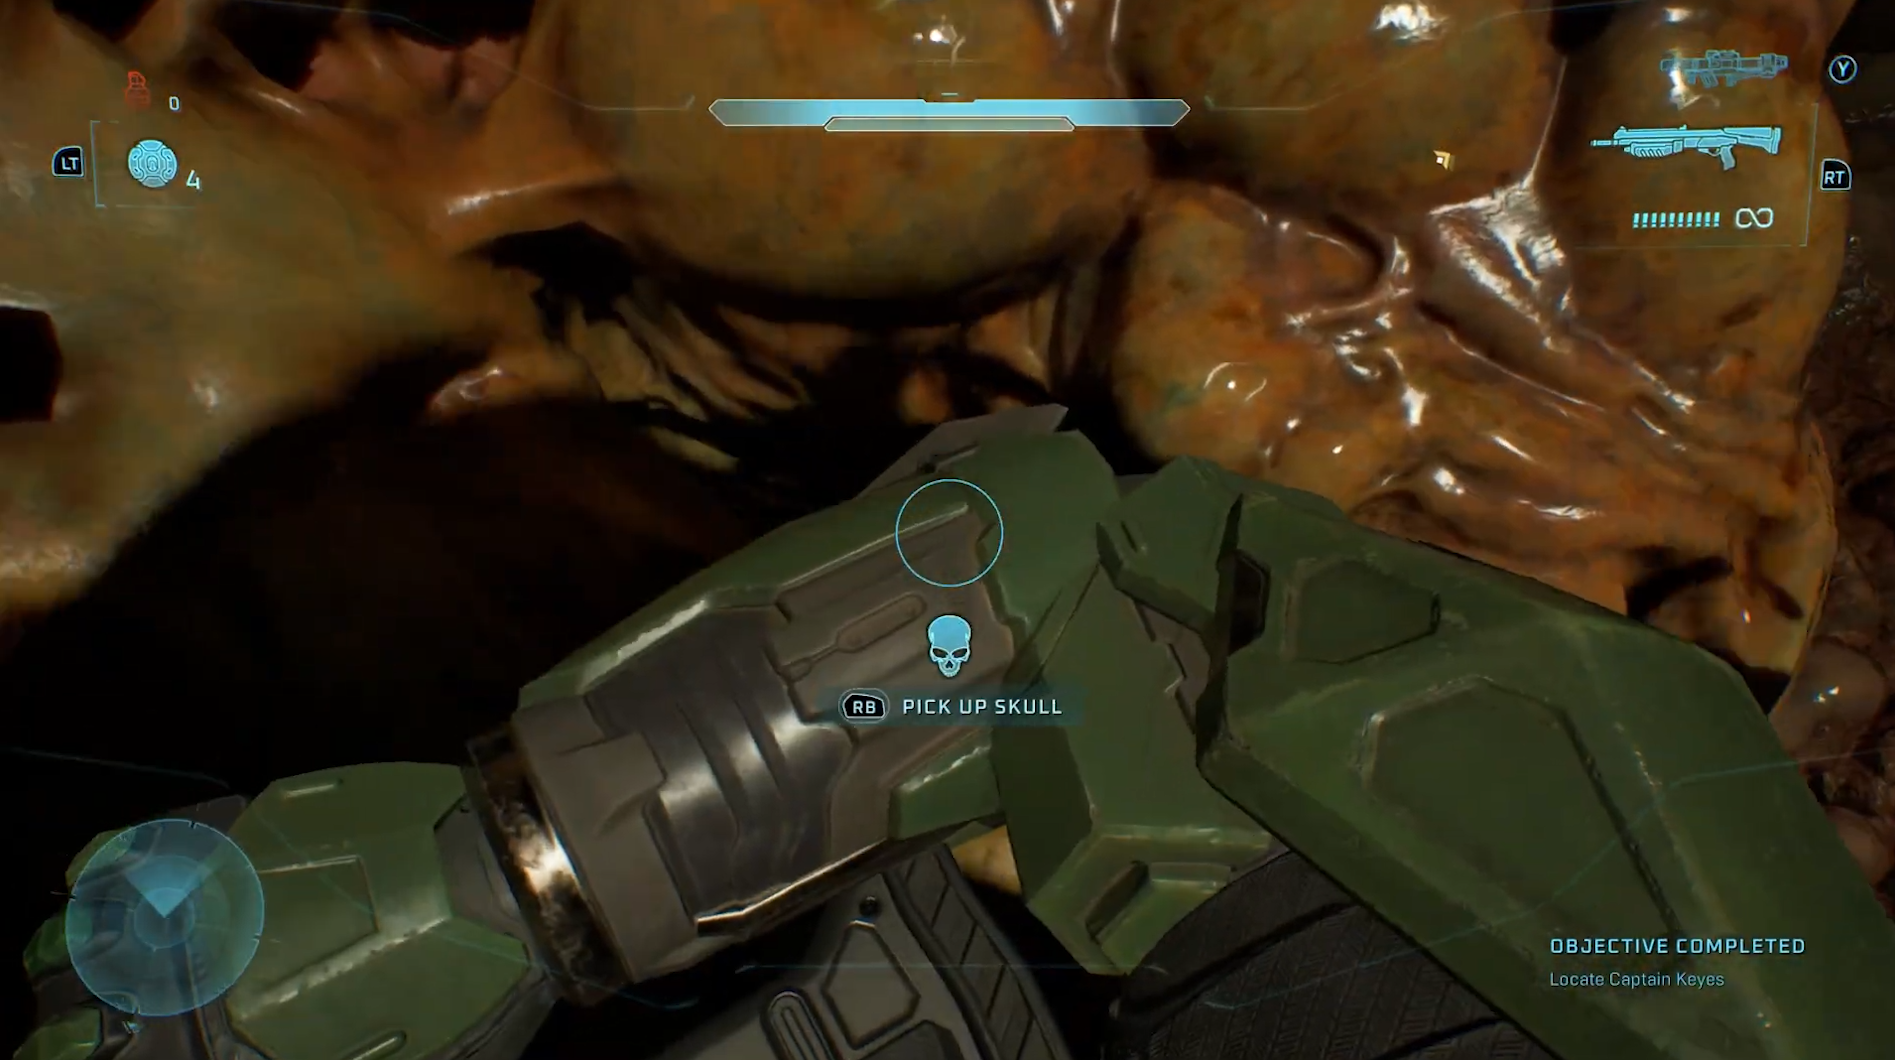
  • Skulls make a quiet but audible humming sound when you're near. Use this to seek out any you can't easily spot
  • On Controller, you can Hold Square / X and press D-Pad Down to lower your weapon, or D-Pad Up to enter a Freecam mode. Can use this to scout out the flying sections
  • On PC, you access this by Holding E and then pressing the Down or Up Arrow Key, respectively
  • You can use the Main Menu to access Checkpoints between Chapters, rather than going through from the start
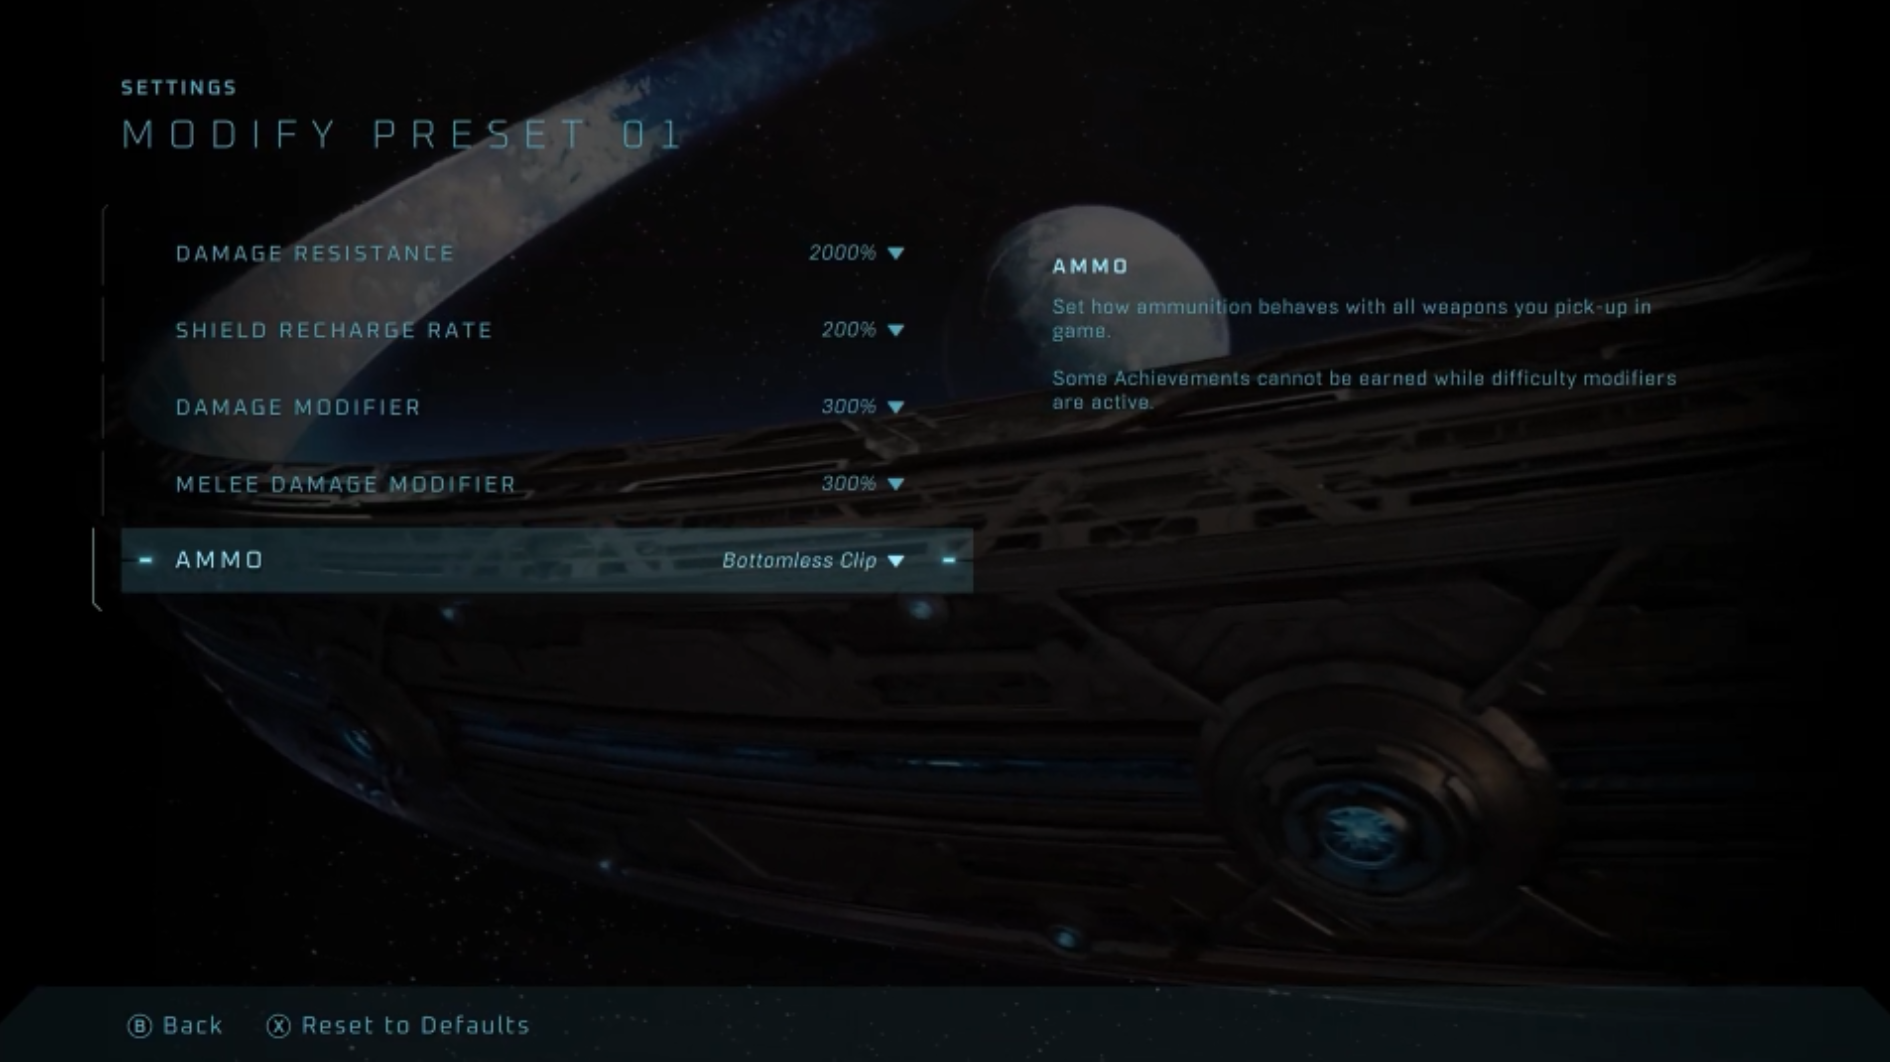
  • Feel free to use the accessibility options you deal more damage and take less, so you can focus on skull finding and get through the combat faster
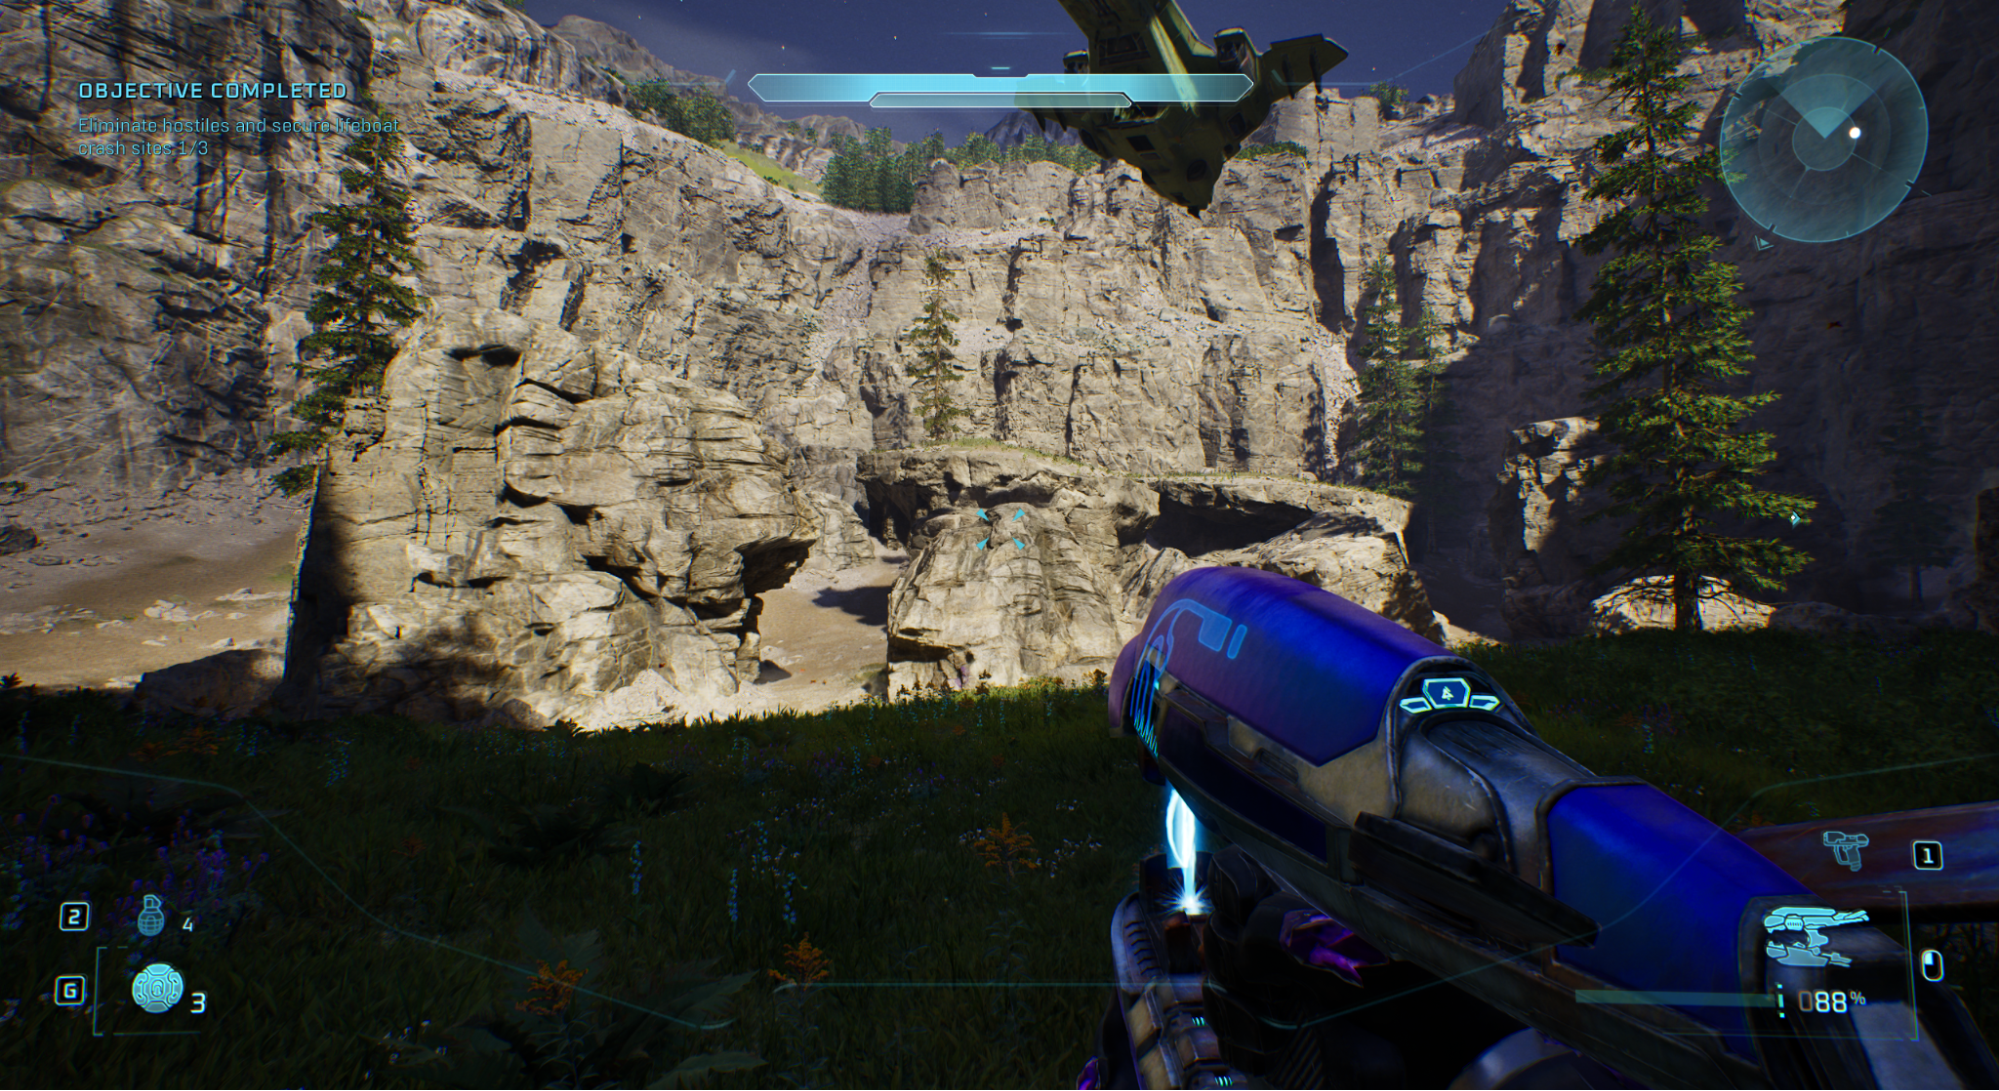
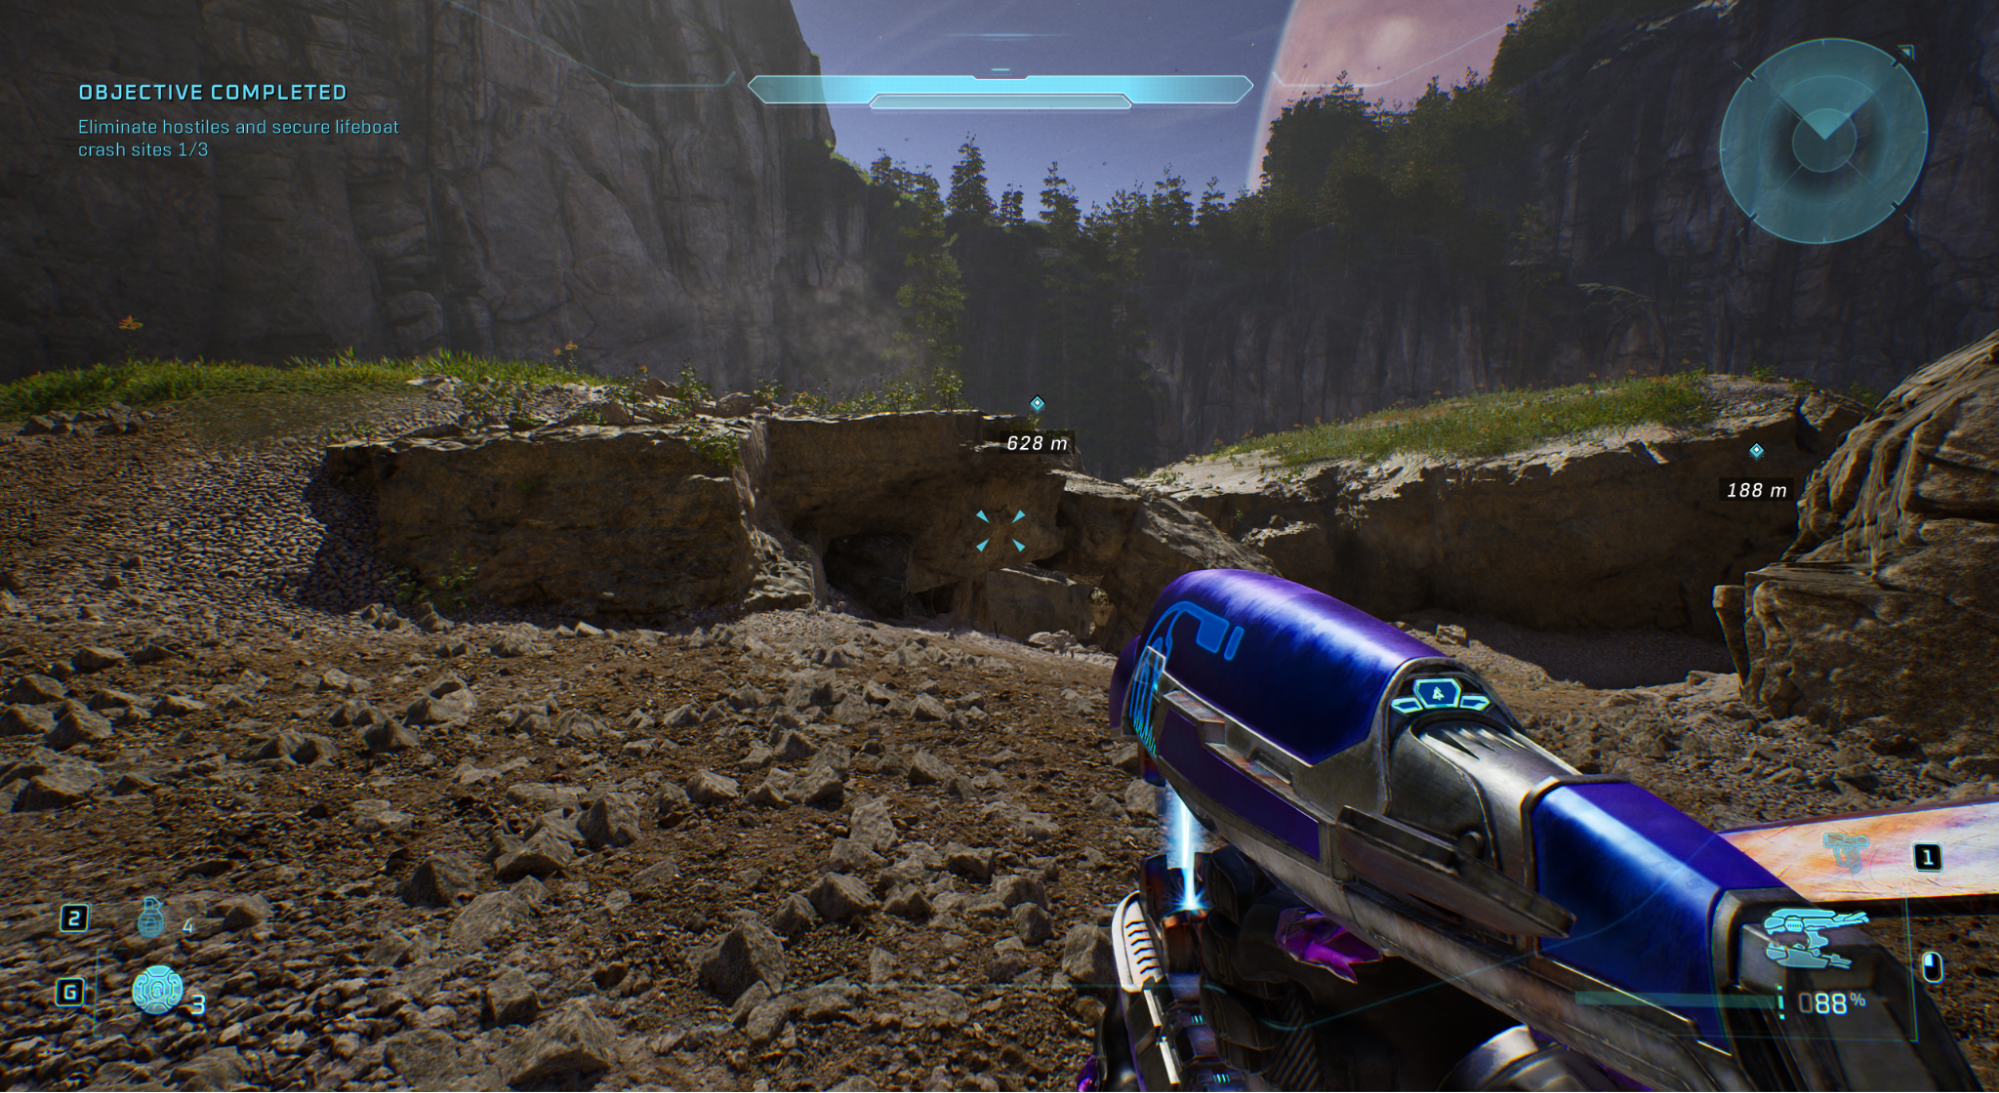
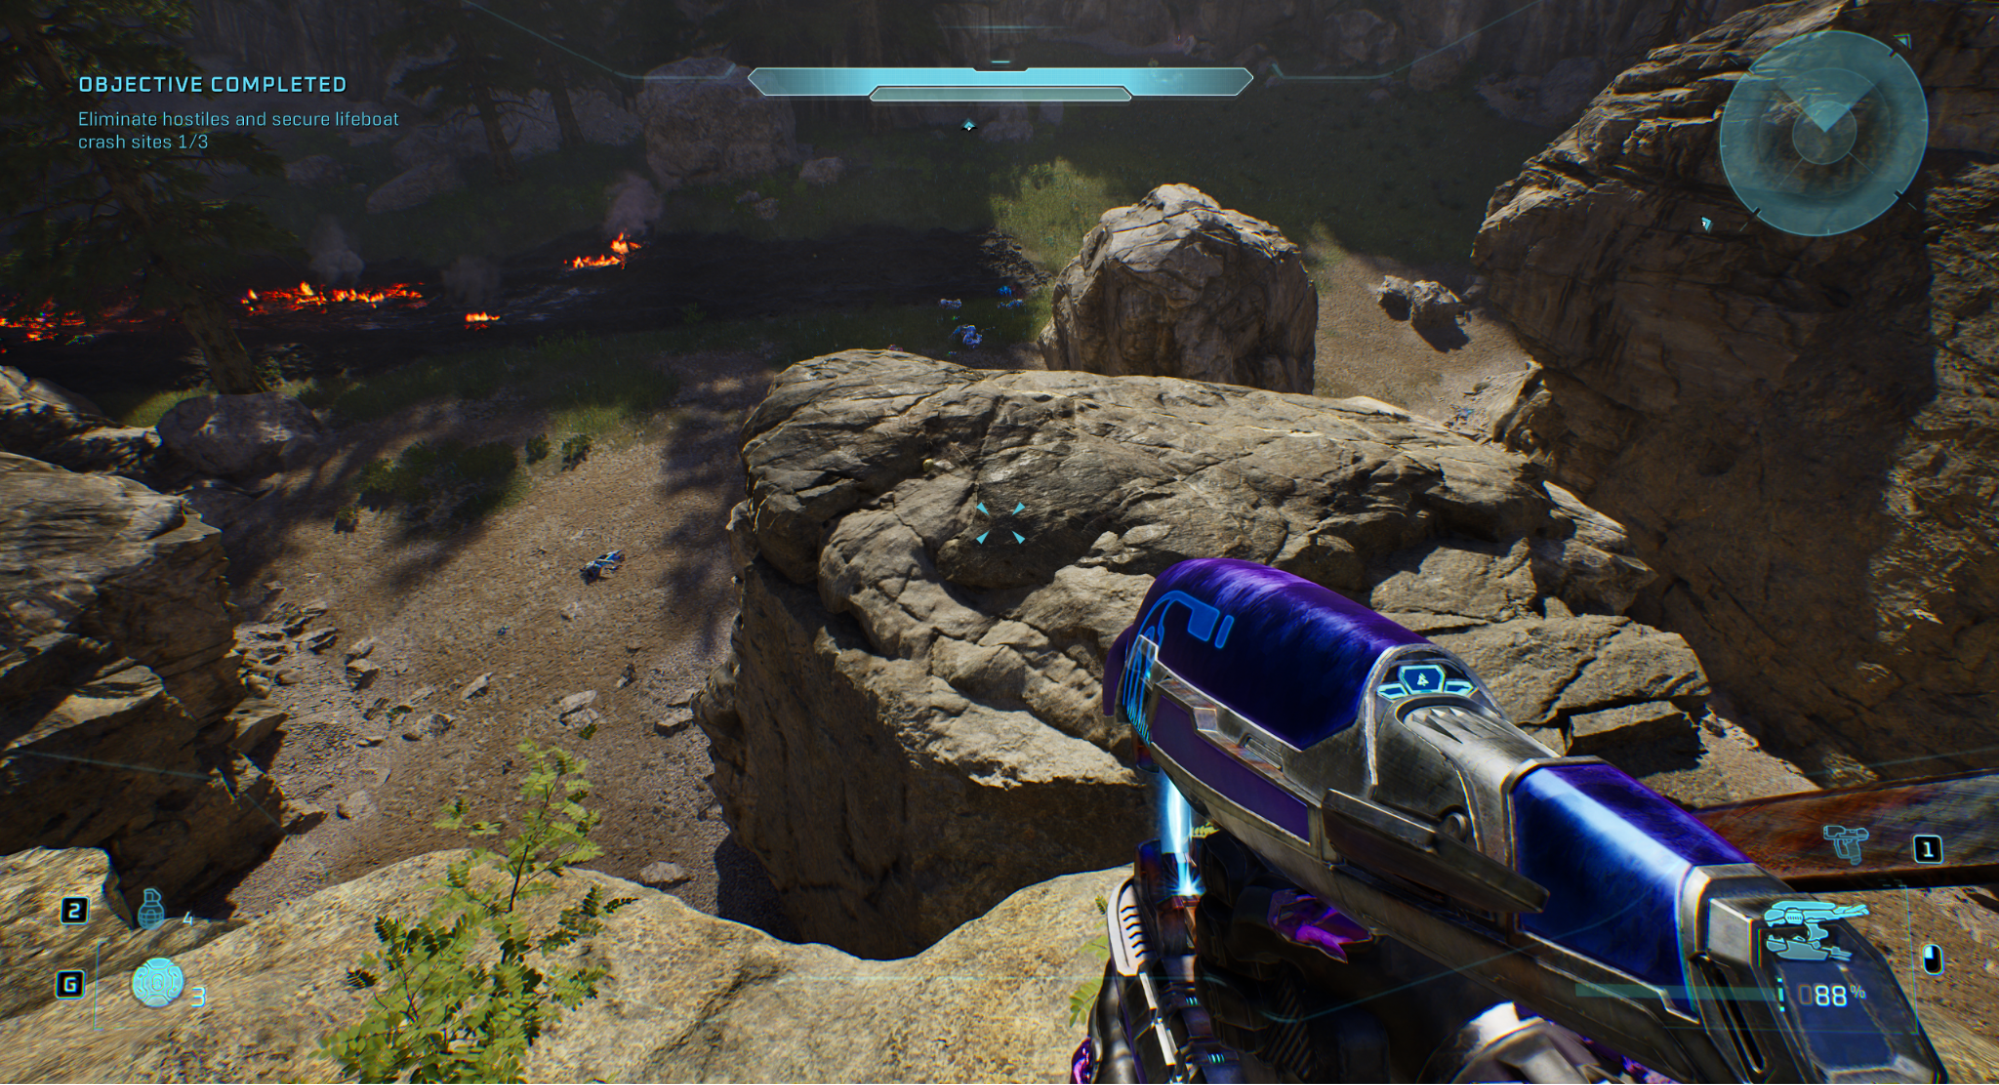
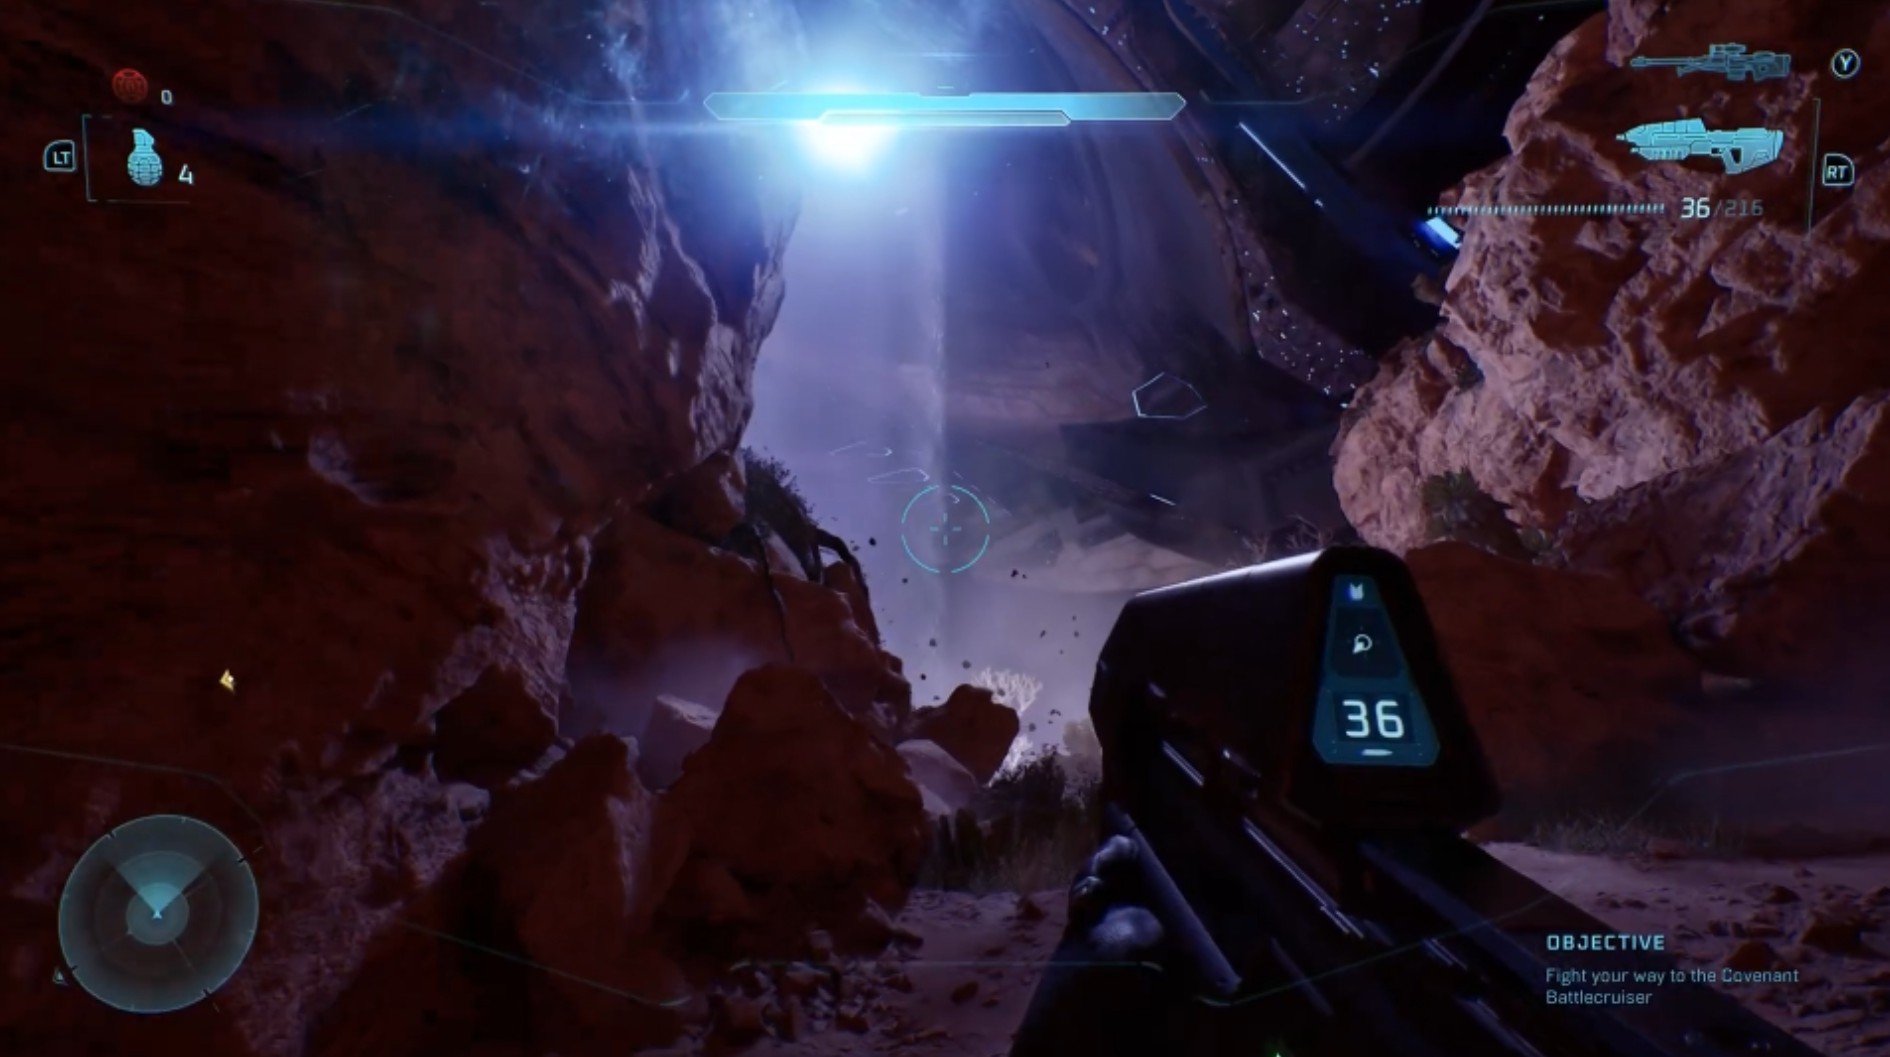
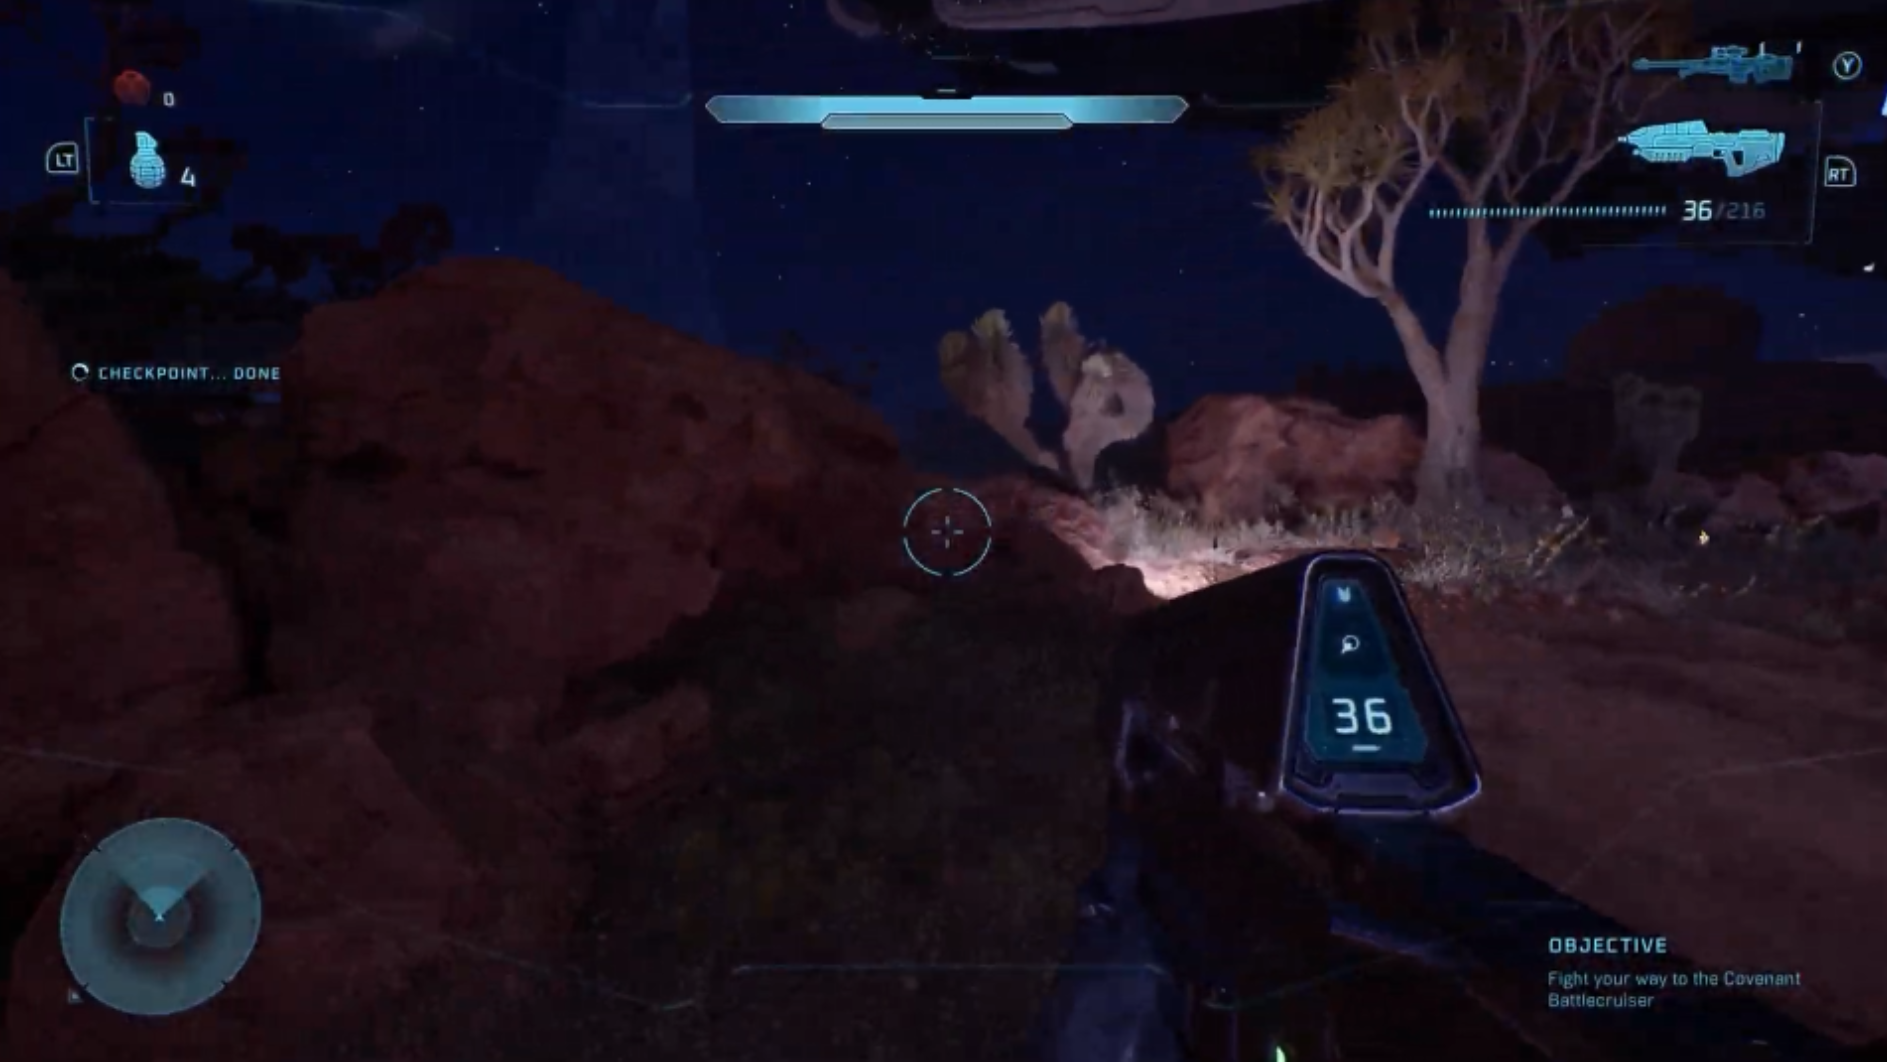
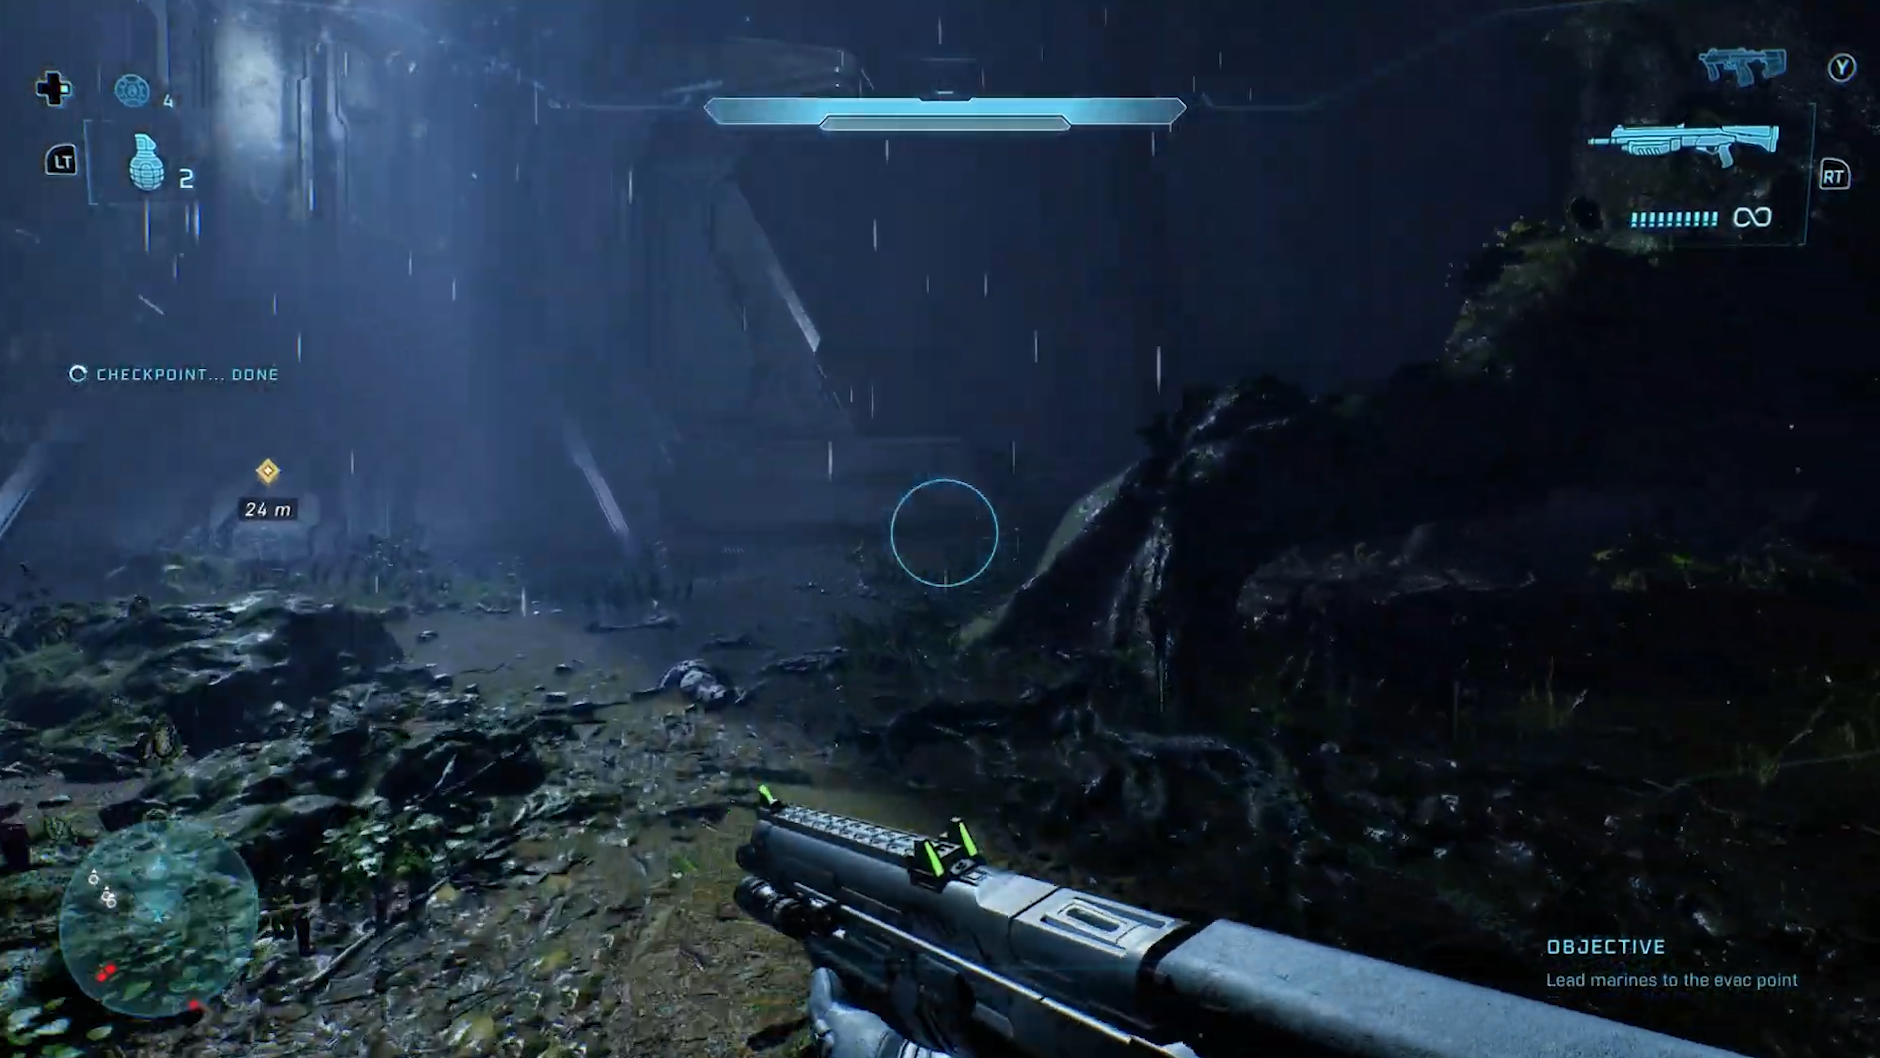
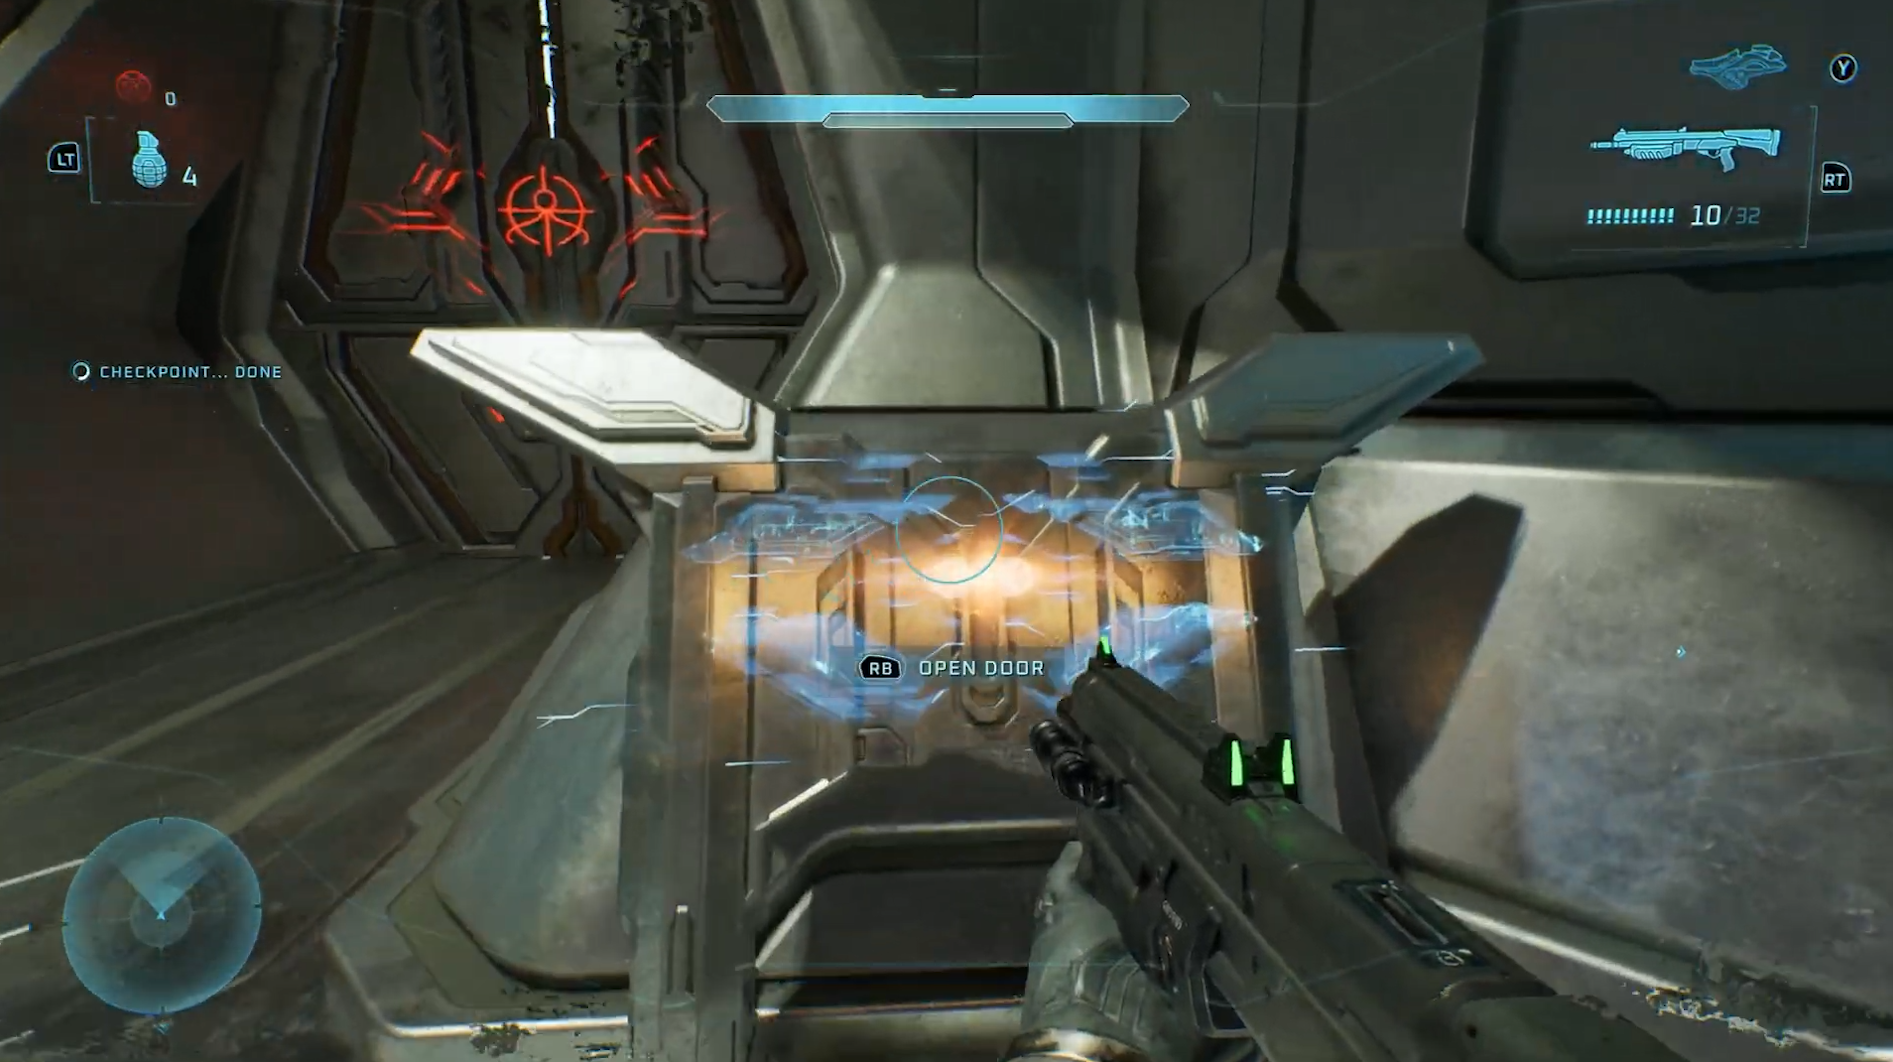
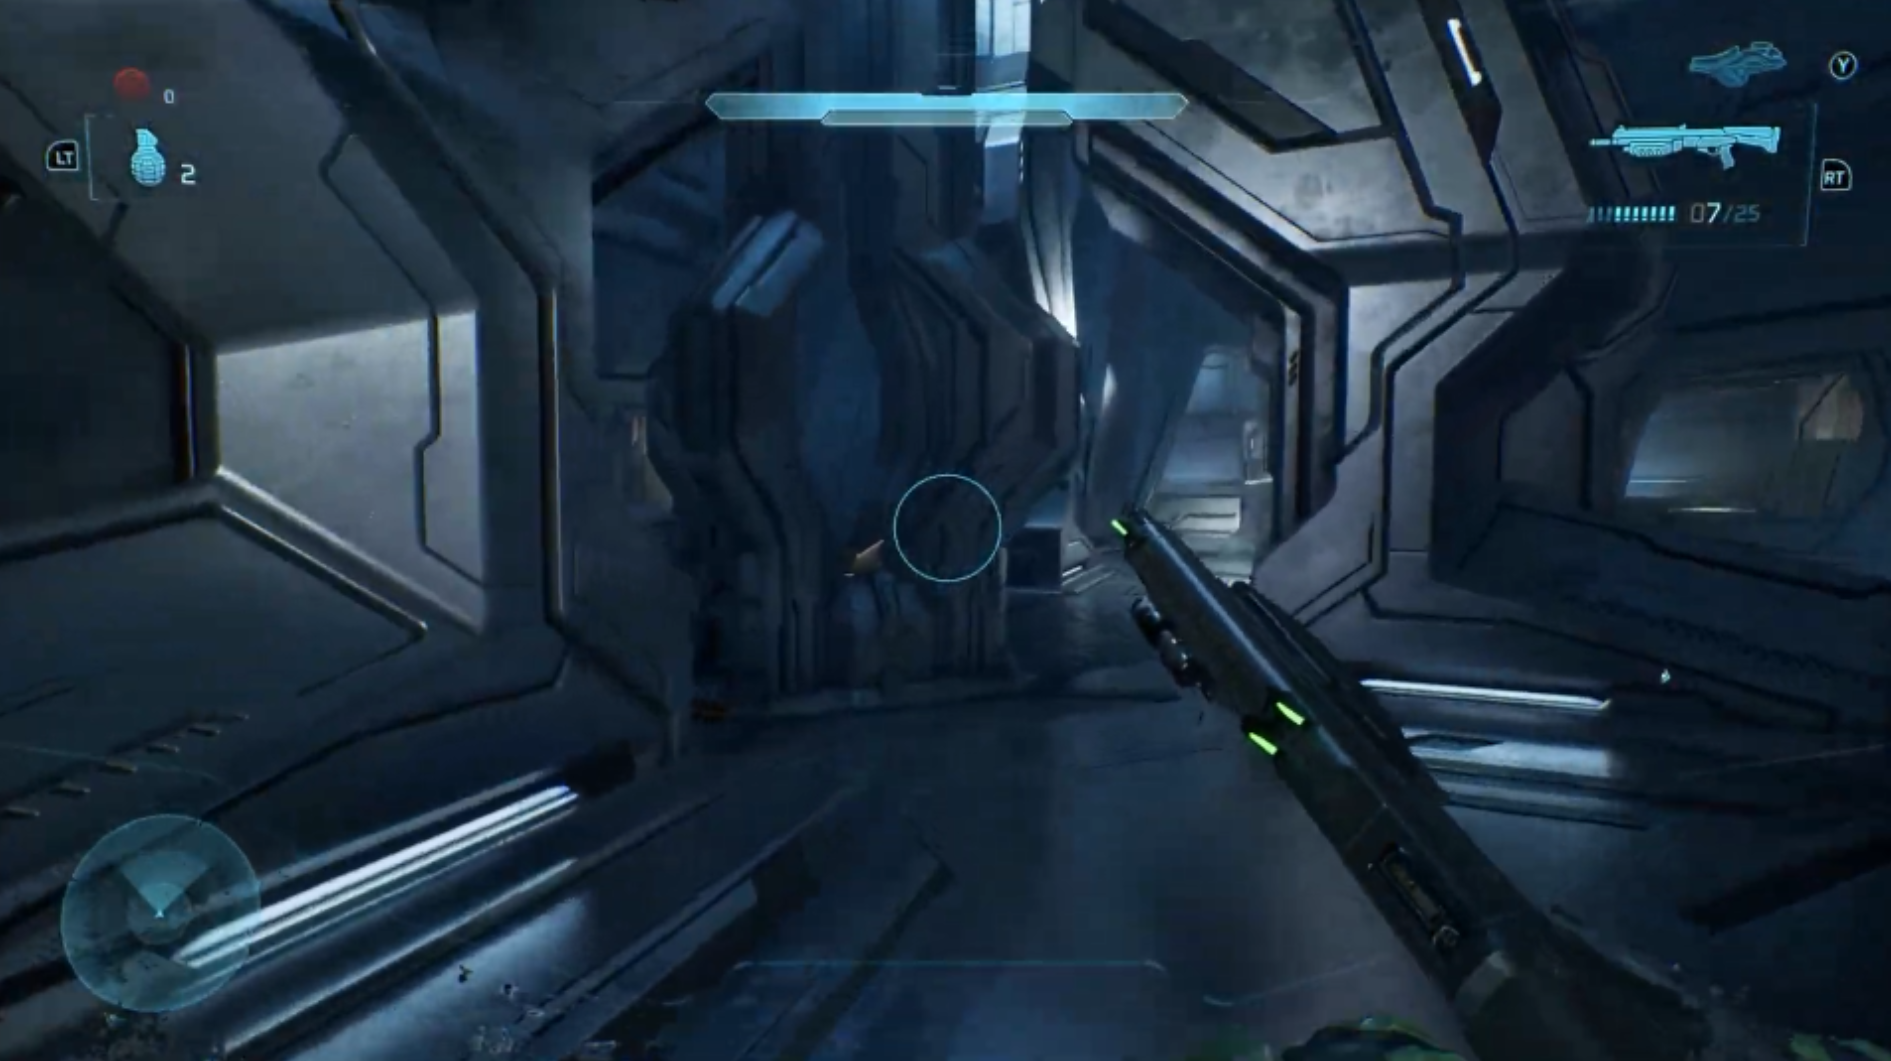
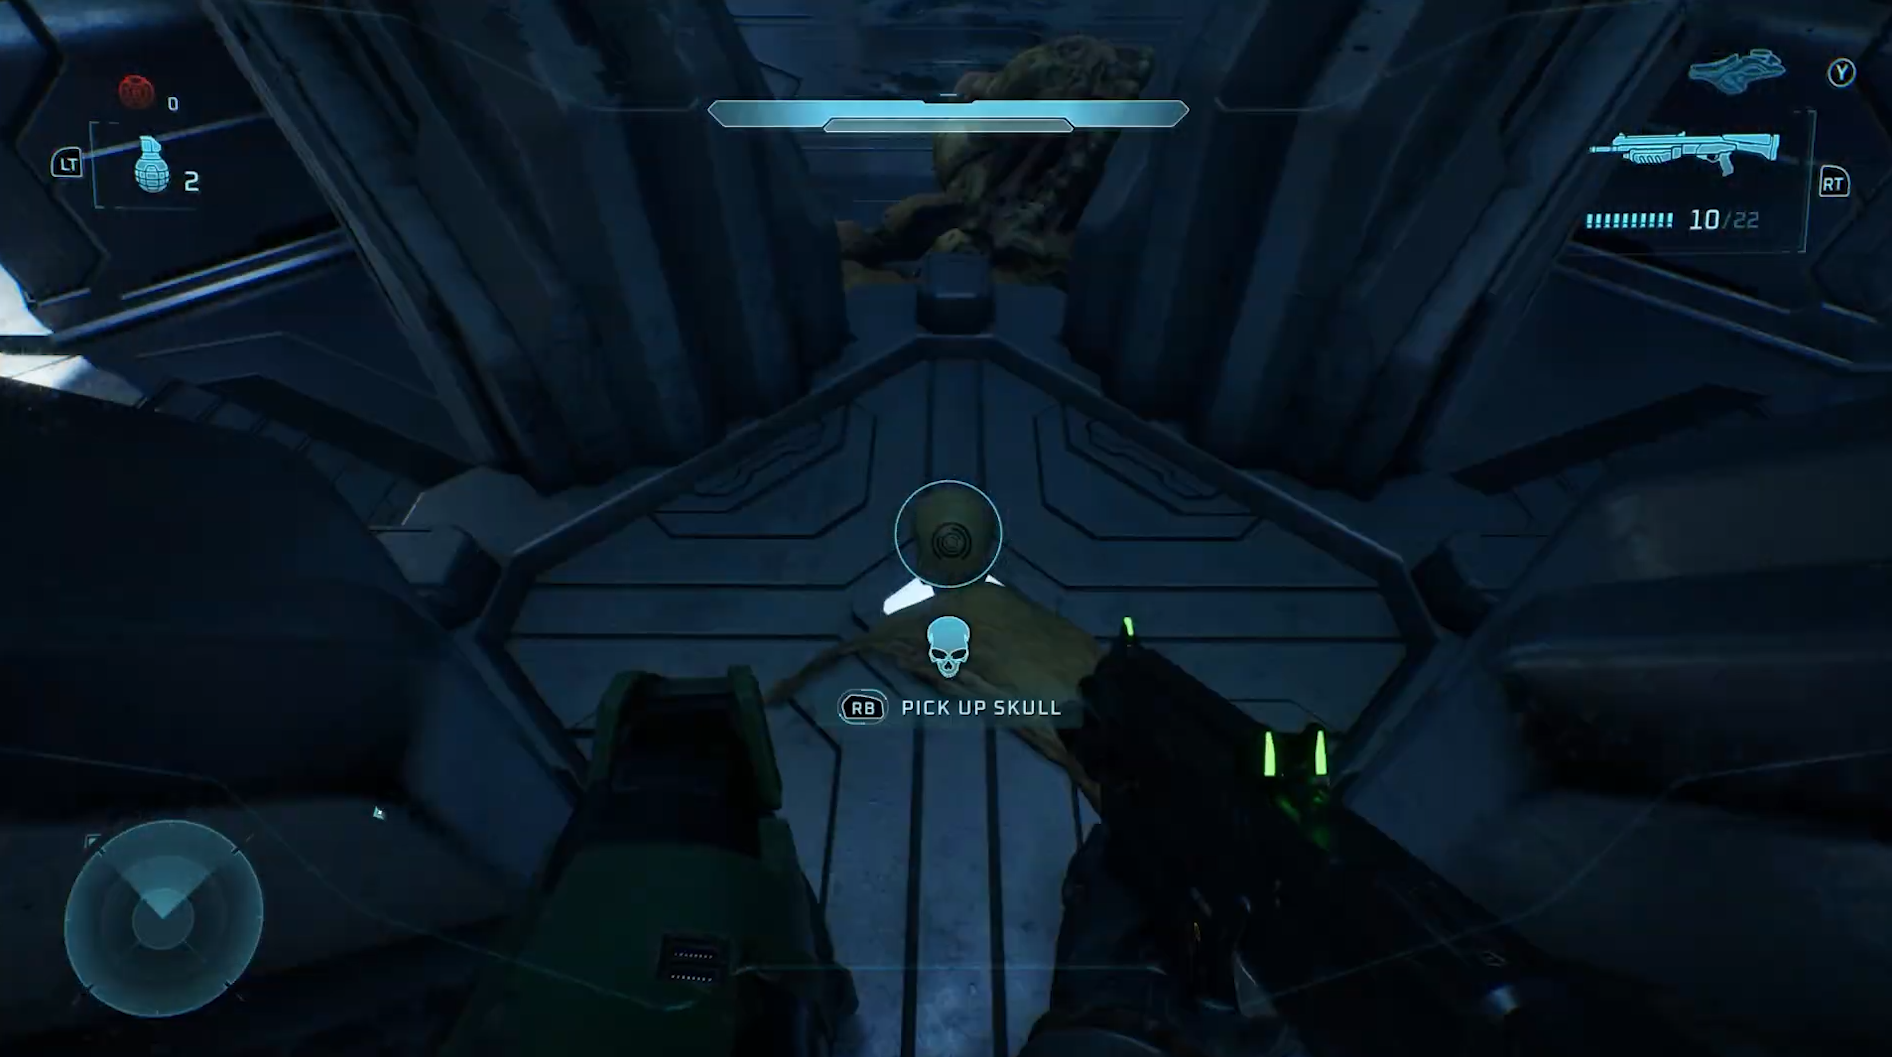
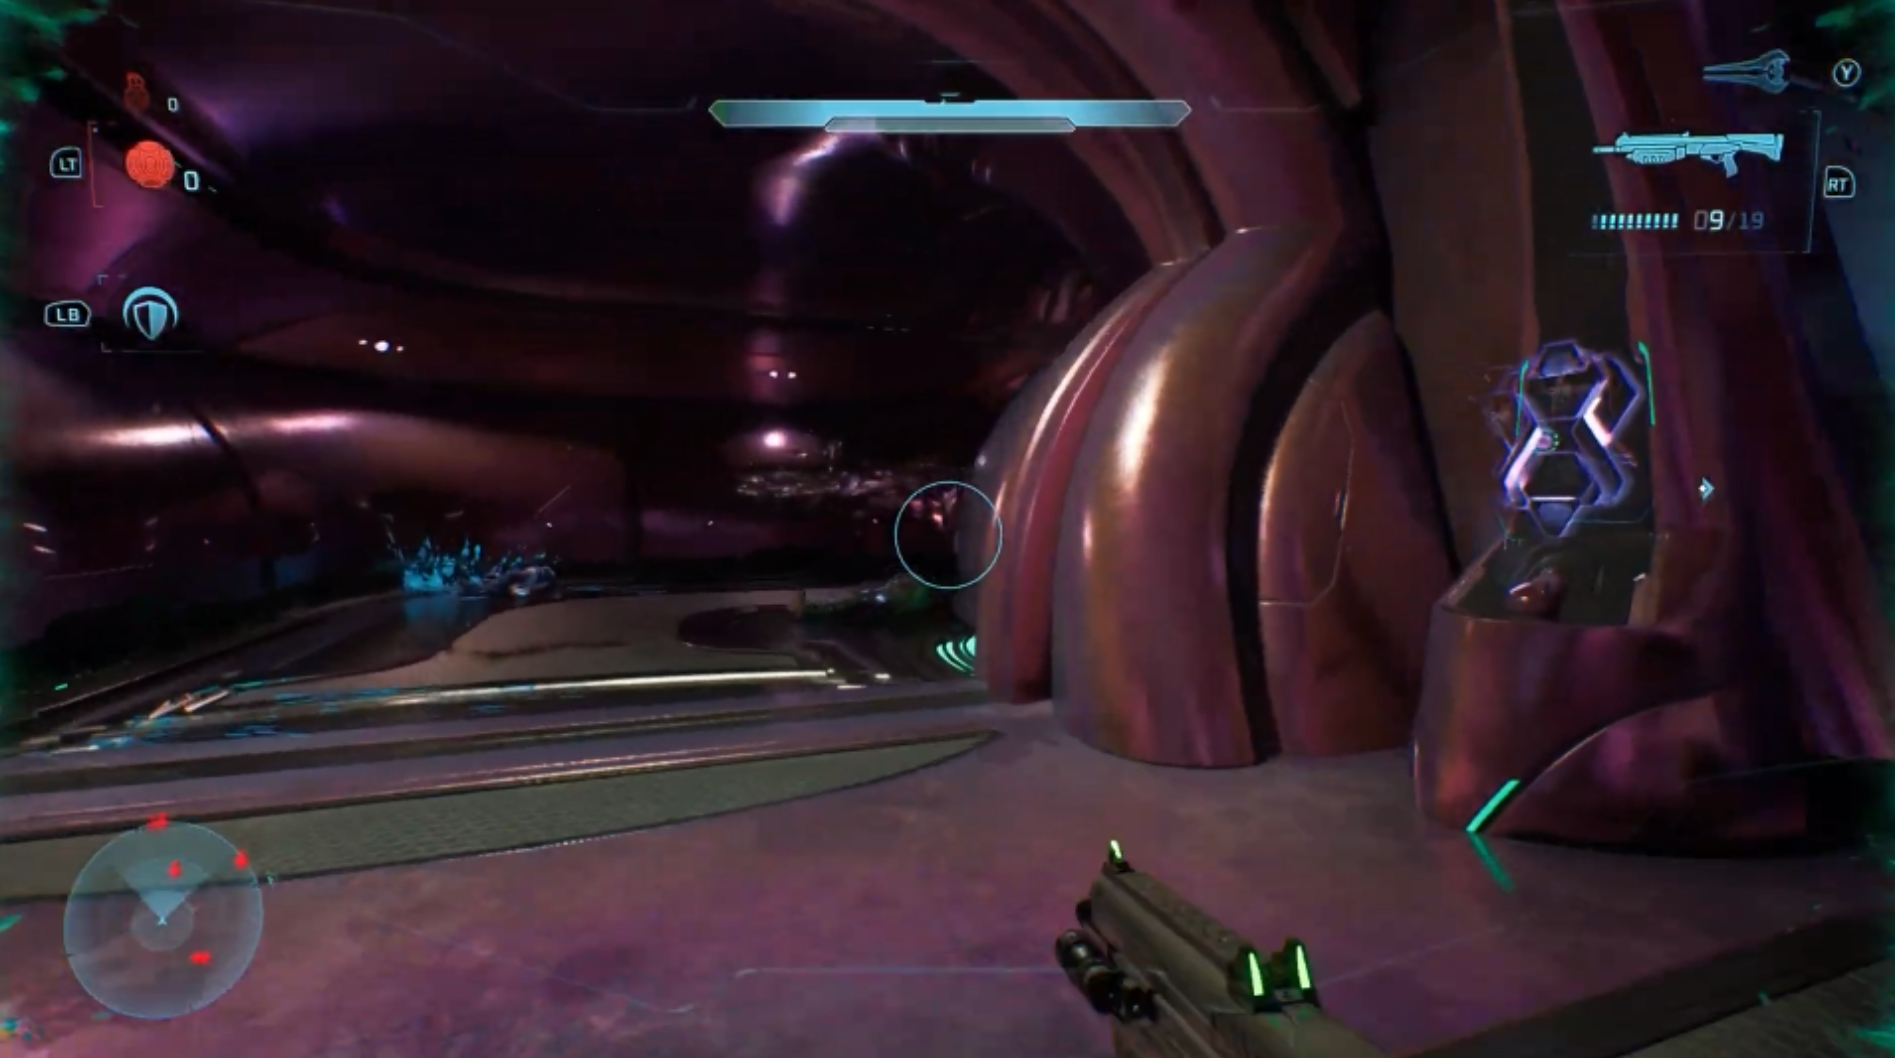
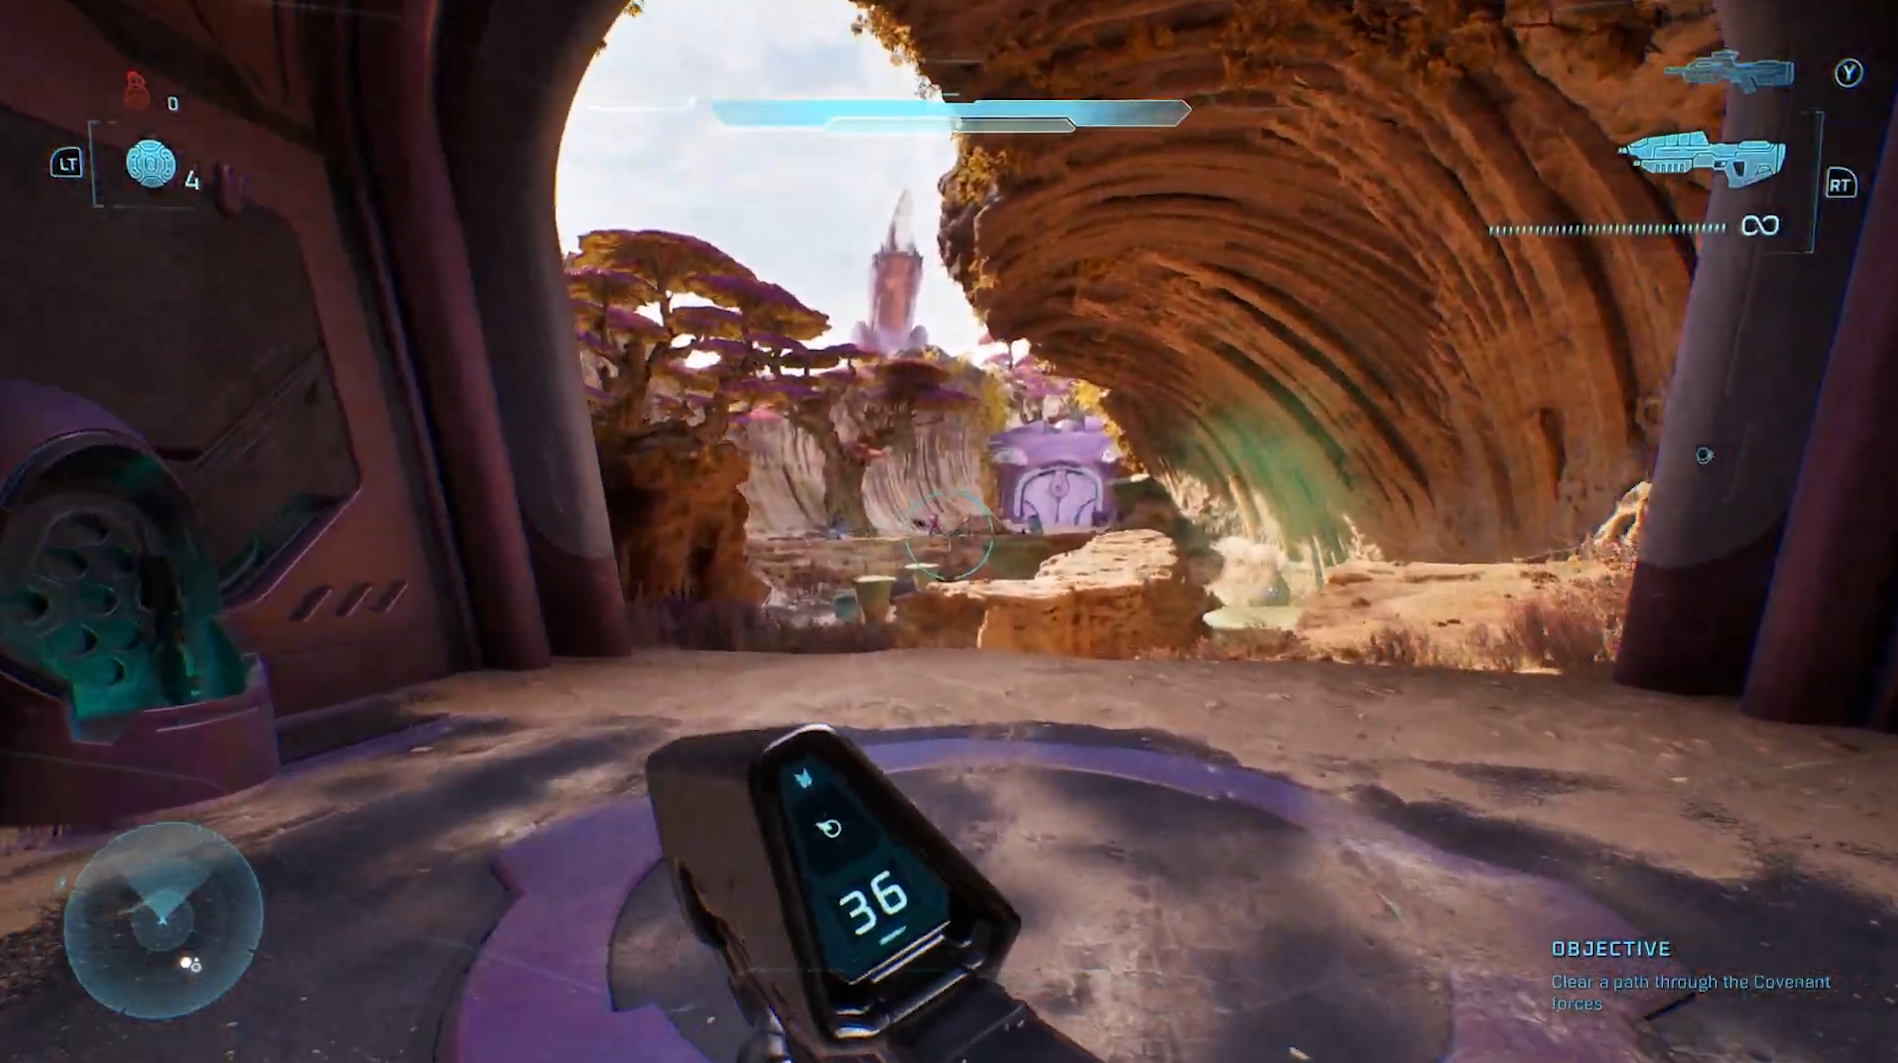
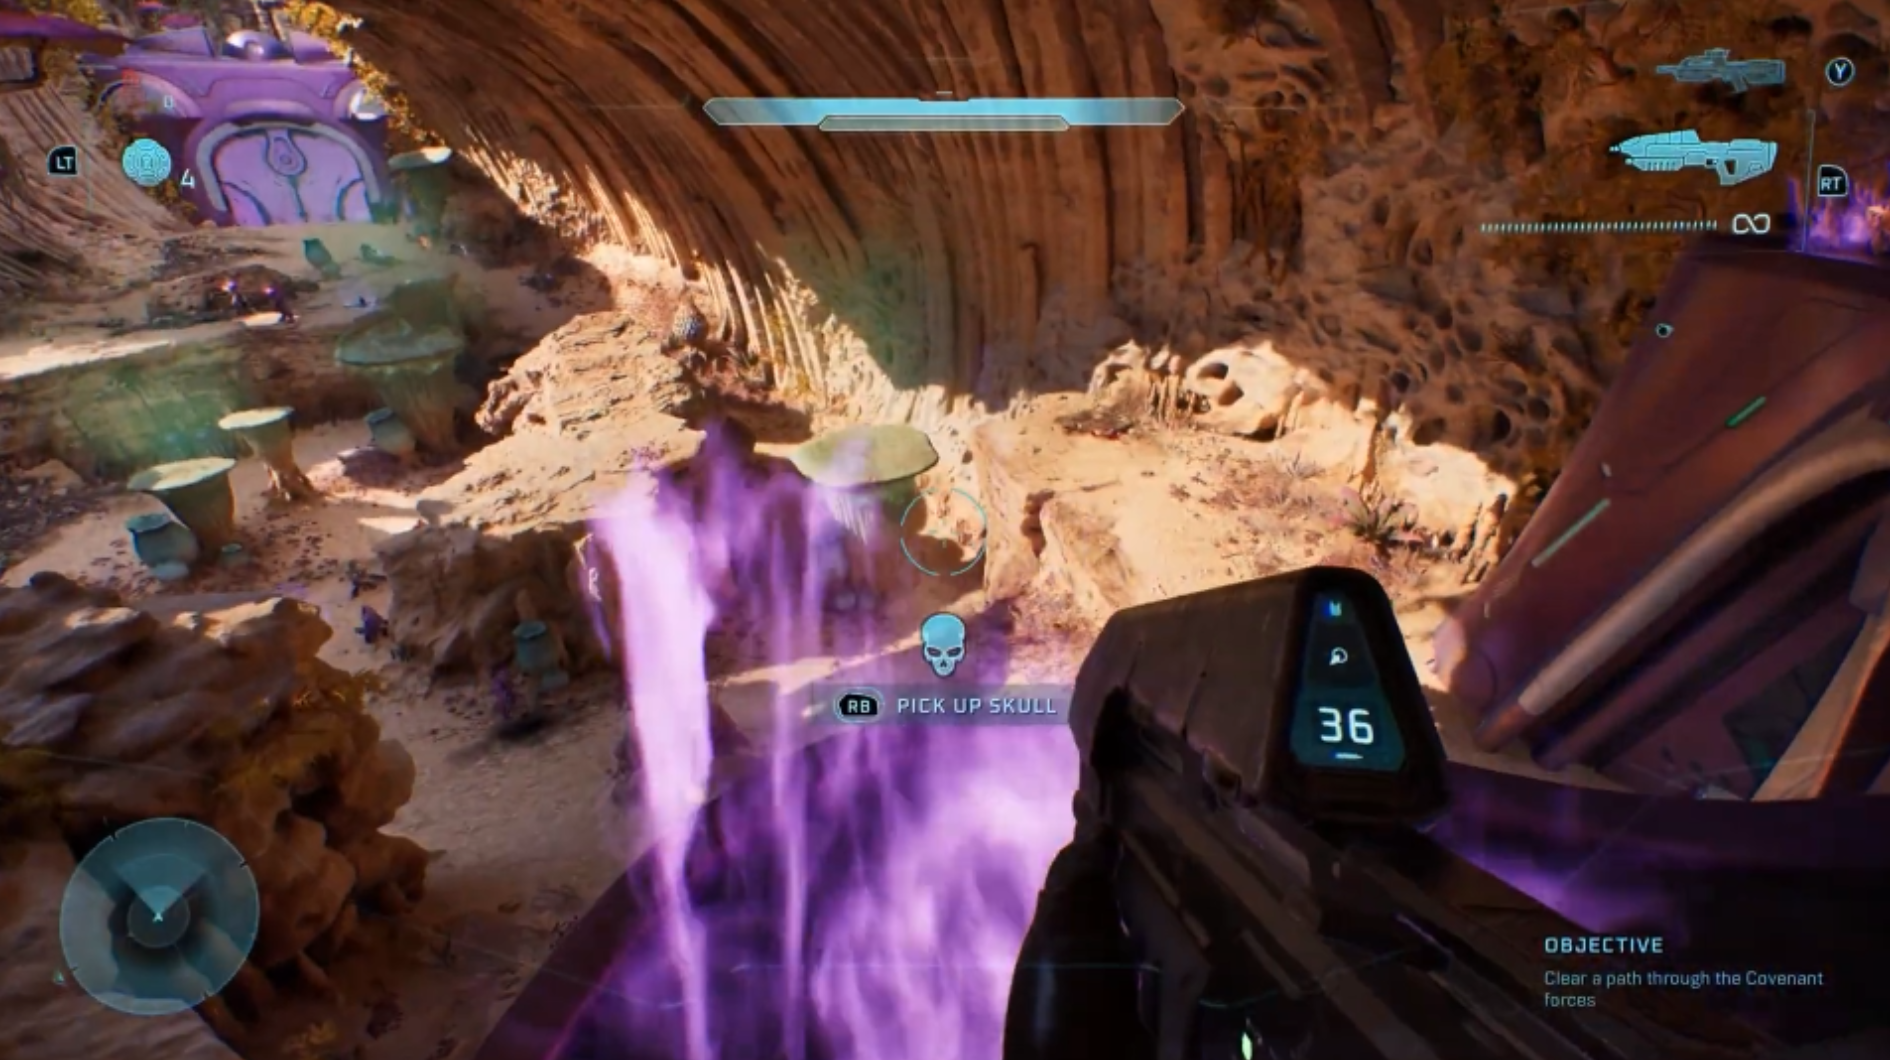
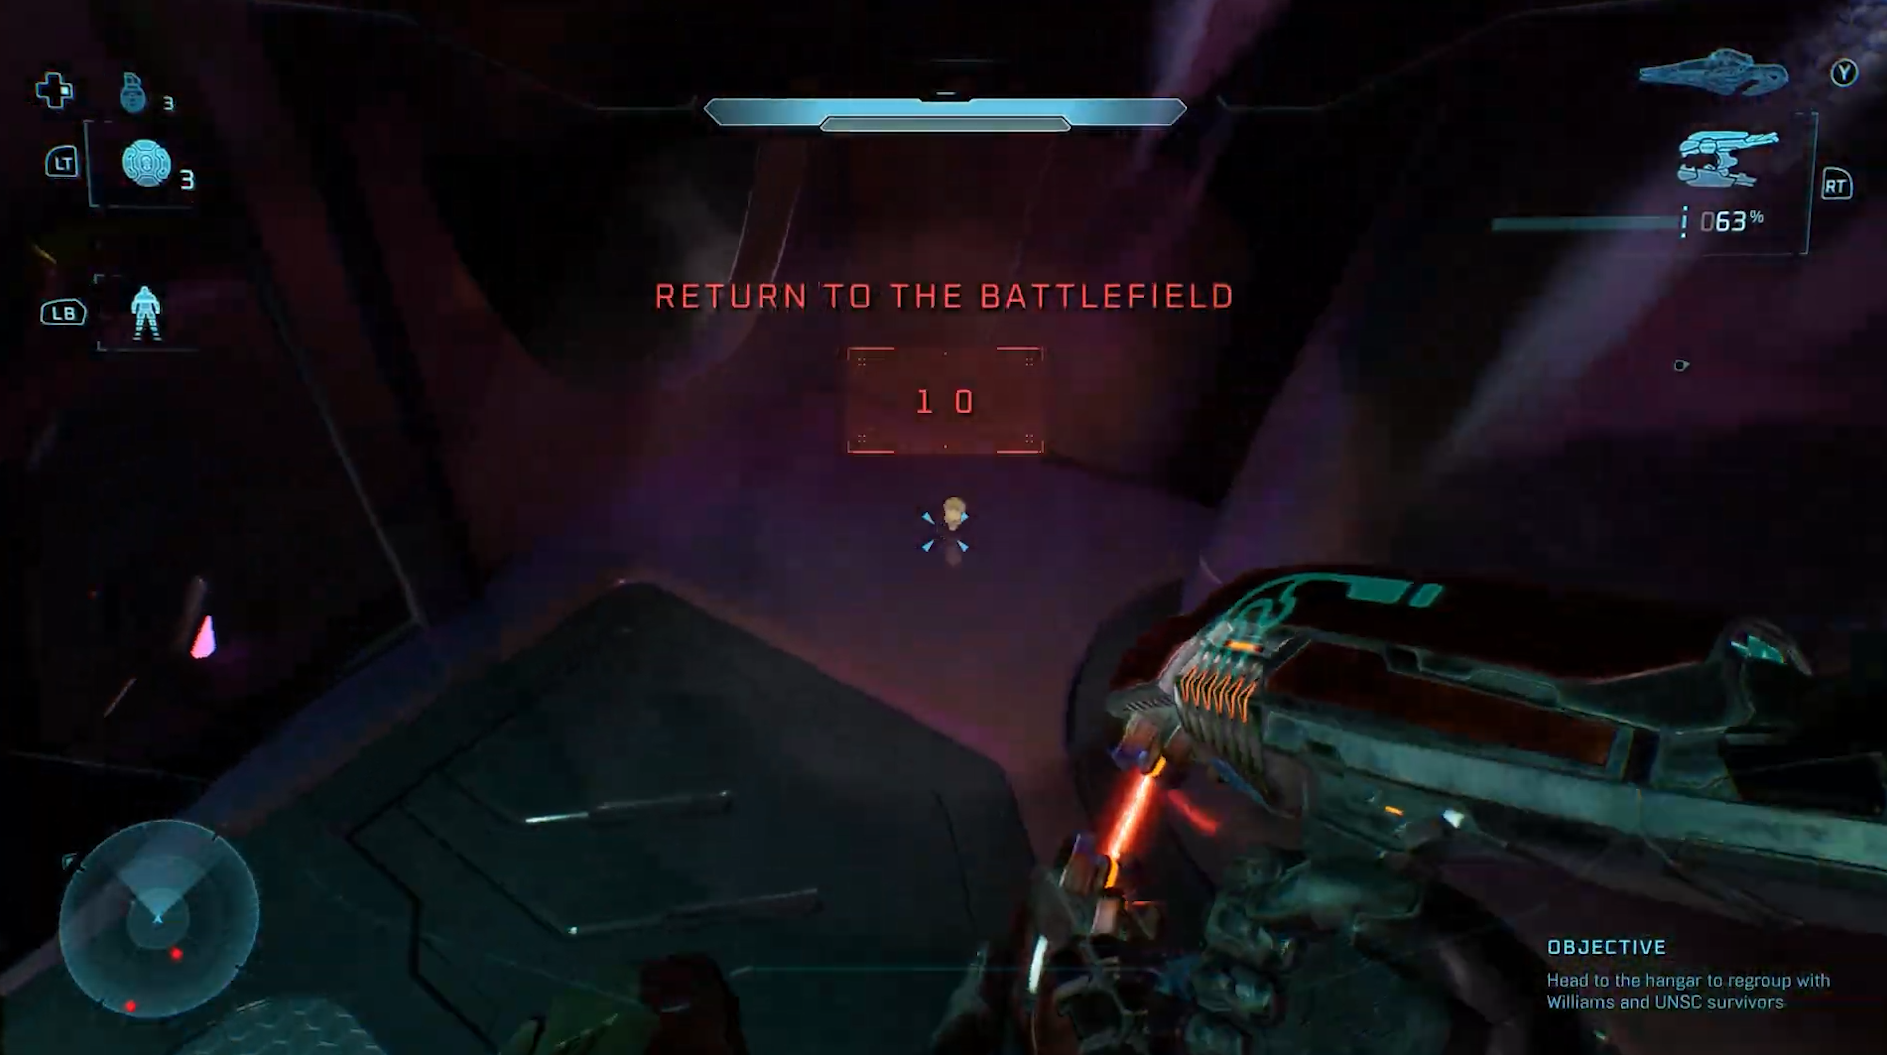
  • As you can see in the photos I took, one of the modifiers I used when going back to get Skulls for this guide was Infinite Ammo

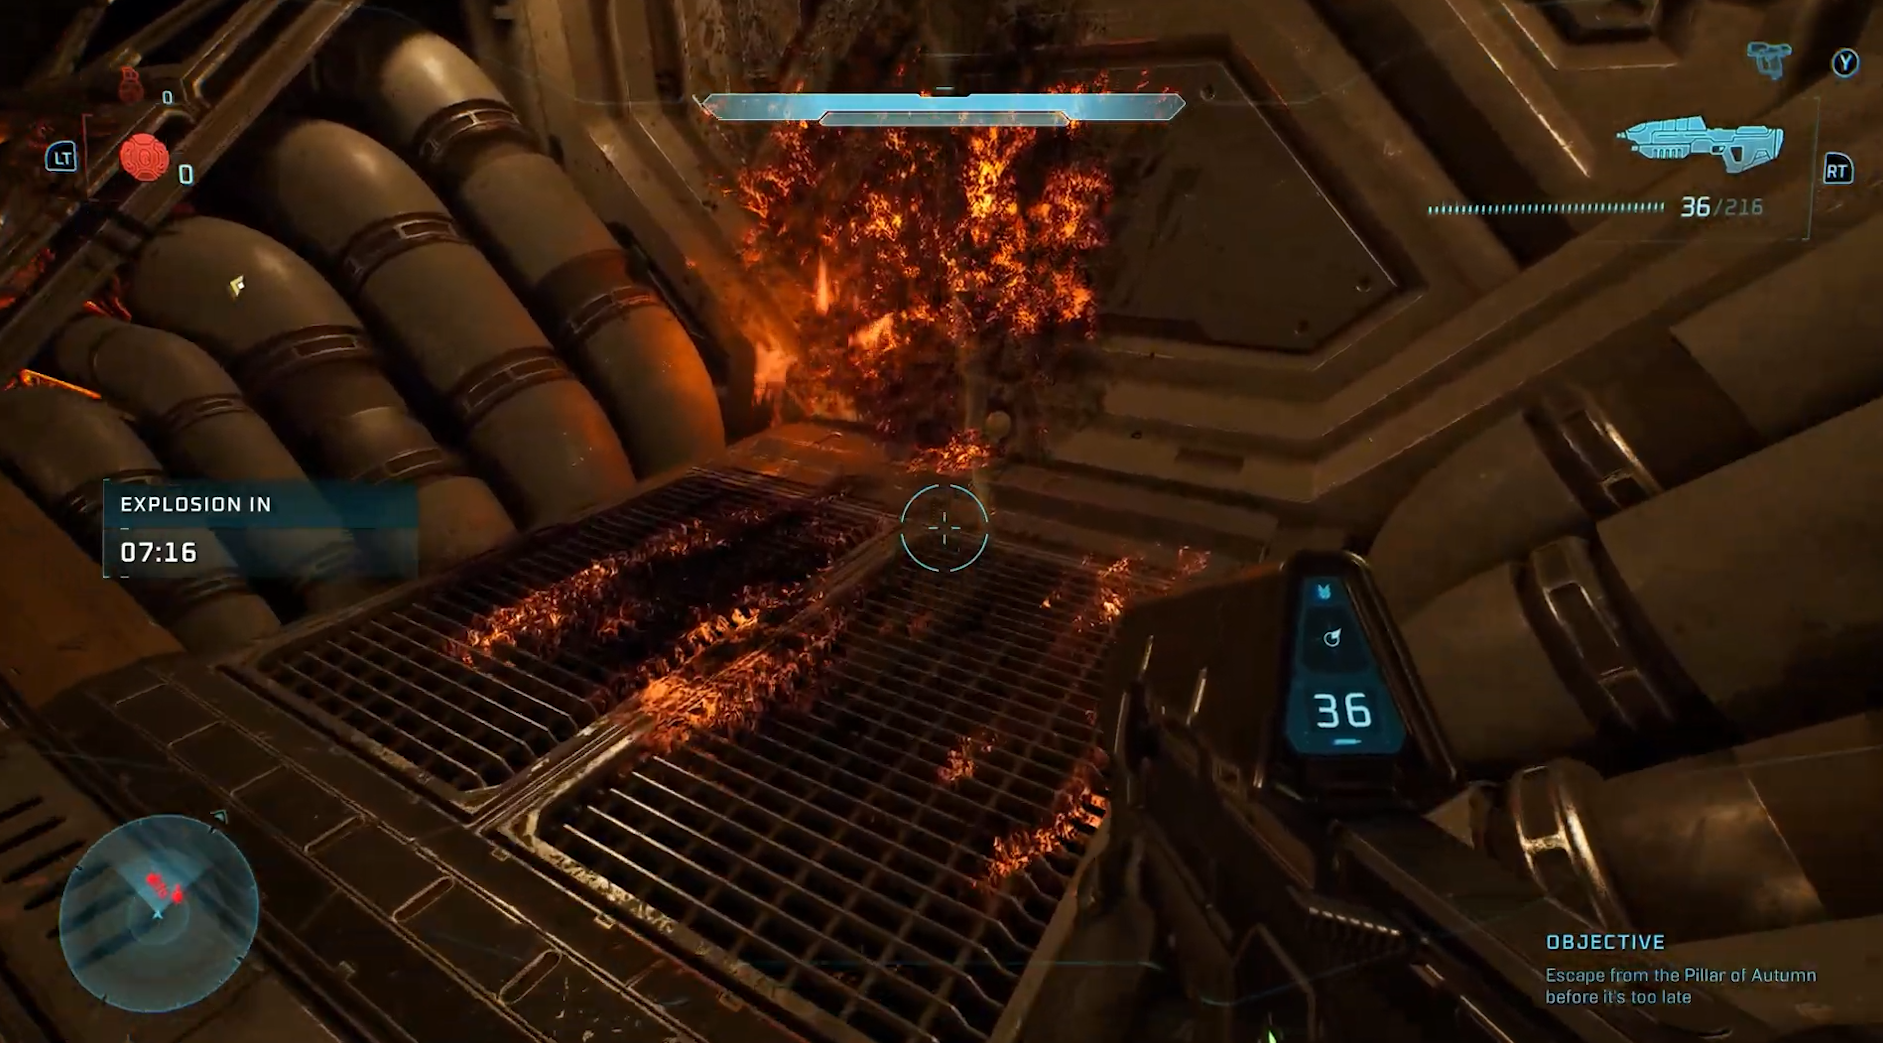
Chapter 1: Pillar of Autumn

Skull 1: Speed Limit

Modifier: Disables Sprint

When you first gain control of Master Chief, head to the rear wall with the two painted UNSC emblems. Climb onto the containers on the left, then jump up to the catwalk beside them.

Follow the walkway to its end to find the Skull, which is collected automatically when you walk over it.

Skull 2: Magnified

Modifier: Standardizes UNSC Assault Rifles to the Classic 60 Round Mags

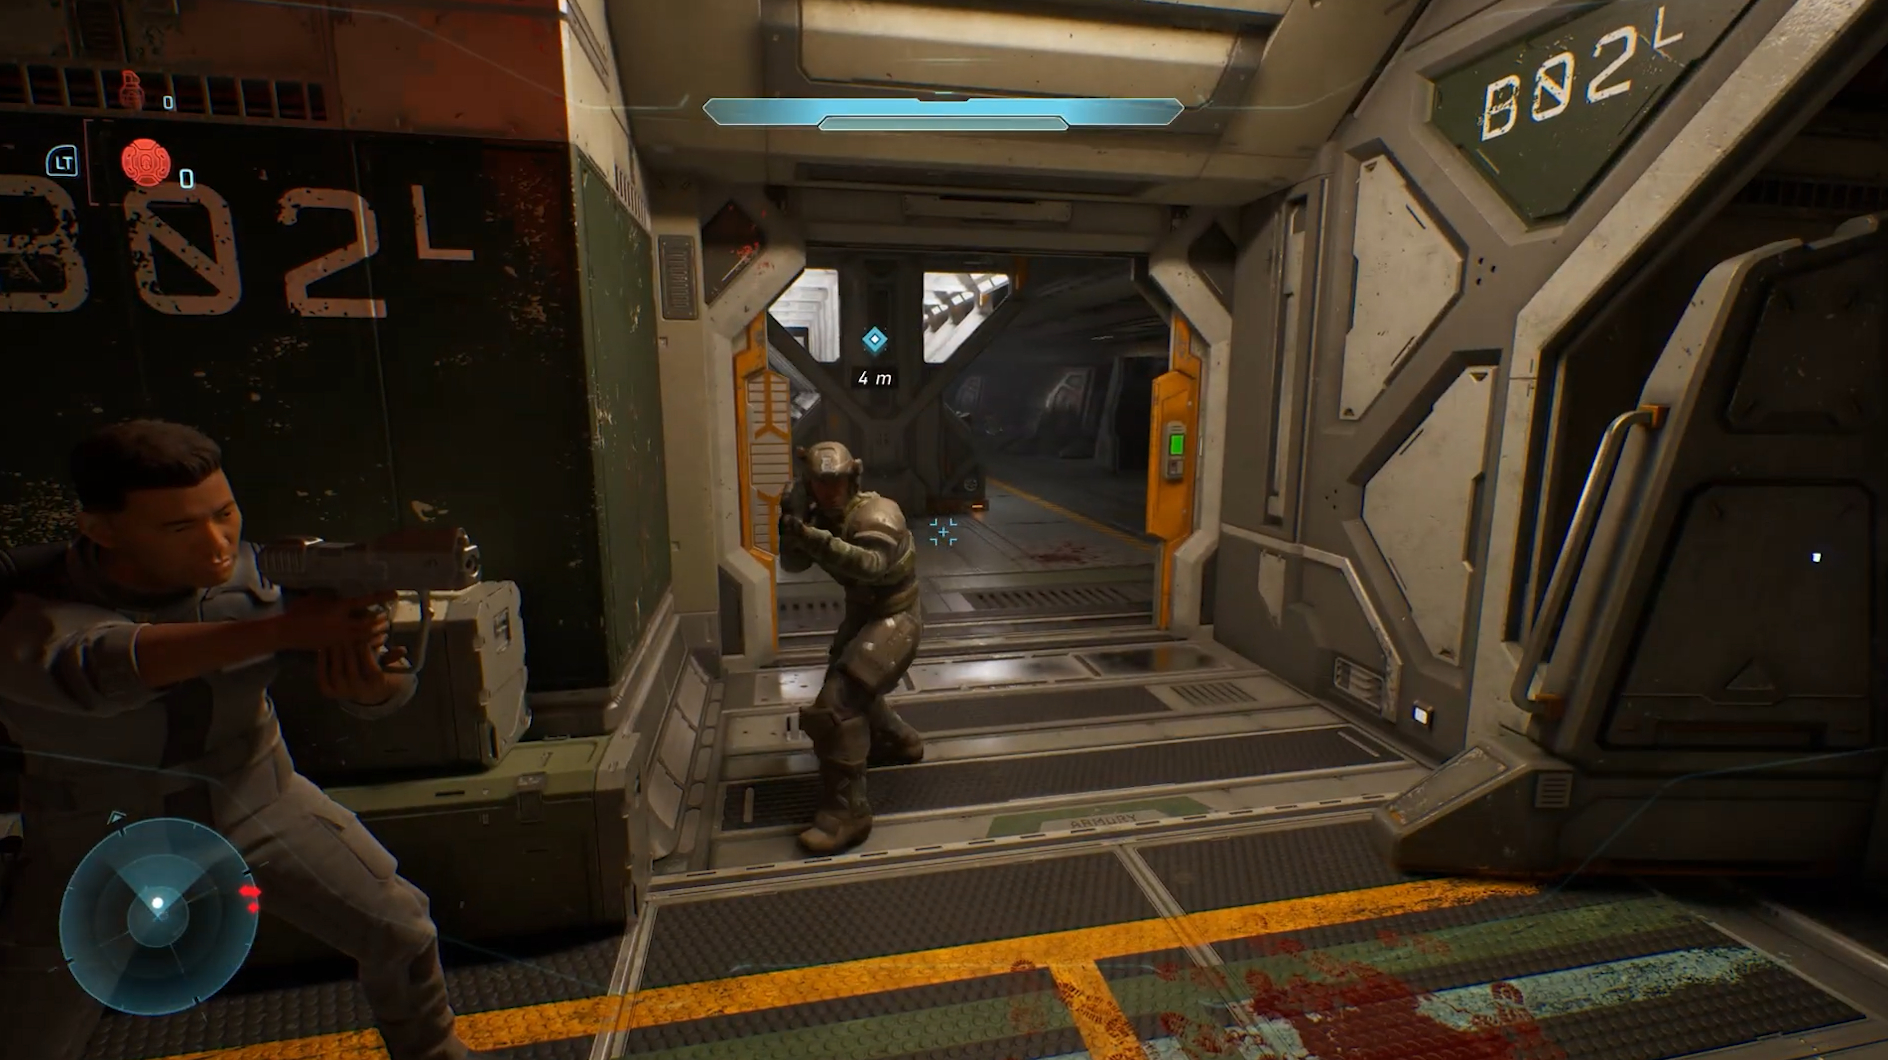
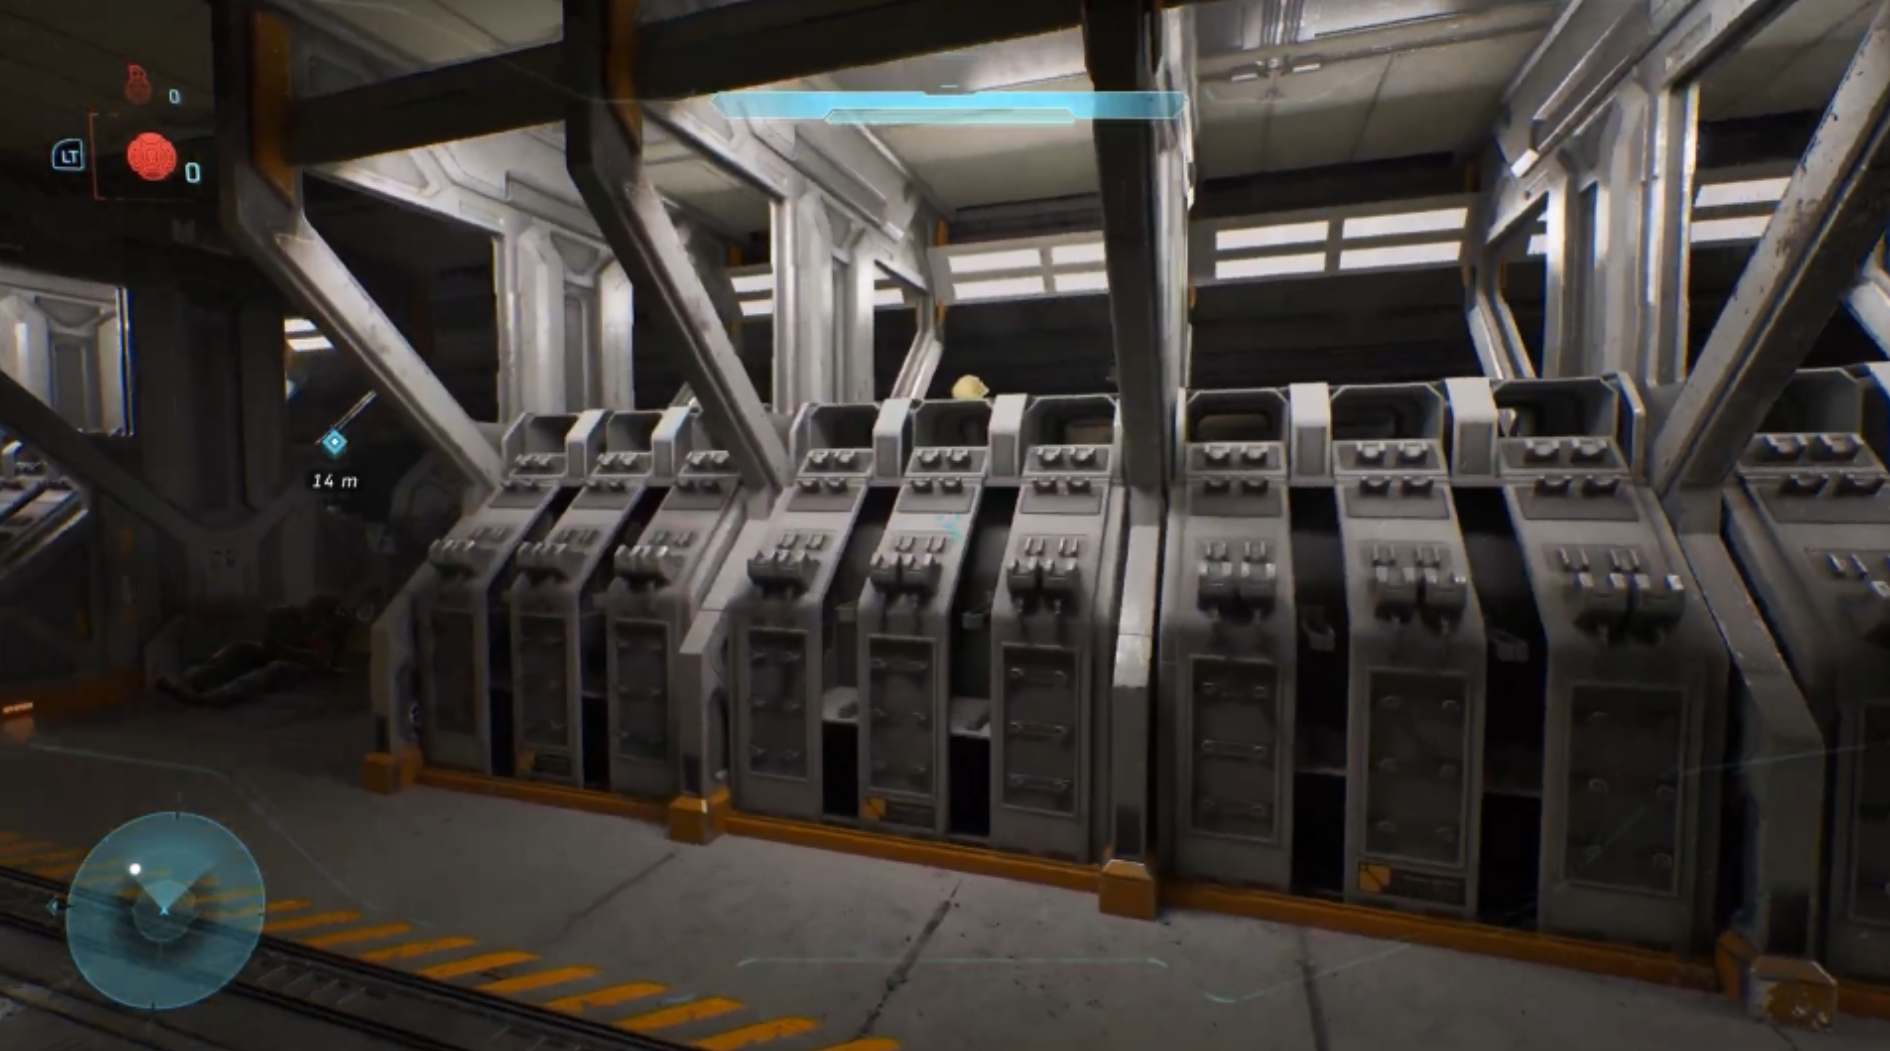
During the early escort sequence before you receive a weapon, you’ll be guided into an armory. In the center of the room is a cluster of empty weapon racks.

On the first rack, check the top middle section to spot the Skull waiting to be picked up.

Skull 3: Perspective

Modifier: Plays the game in Third-Person

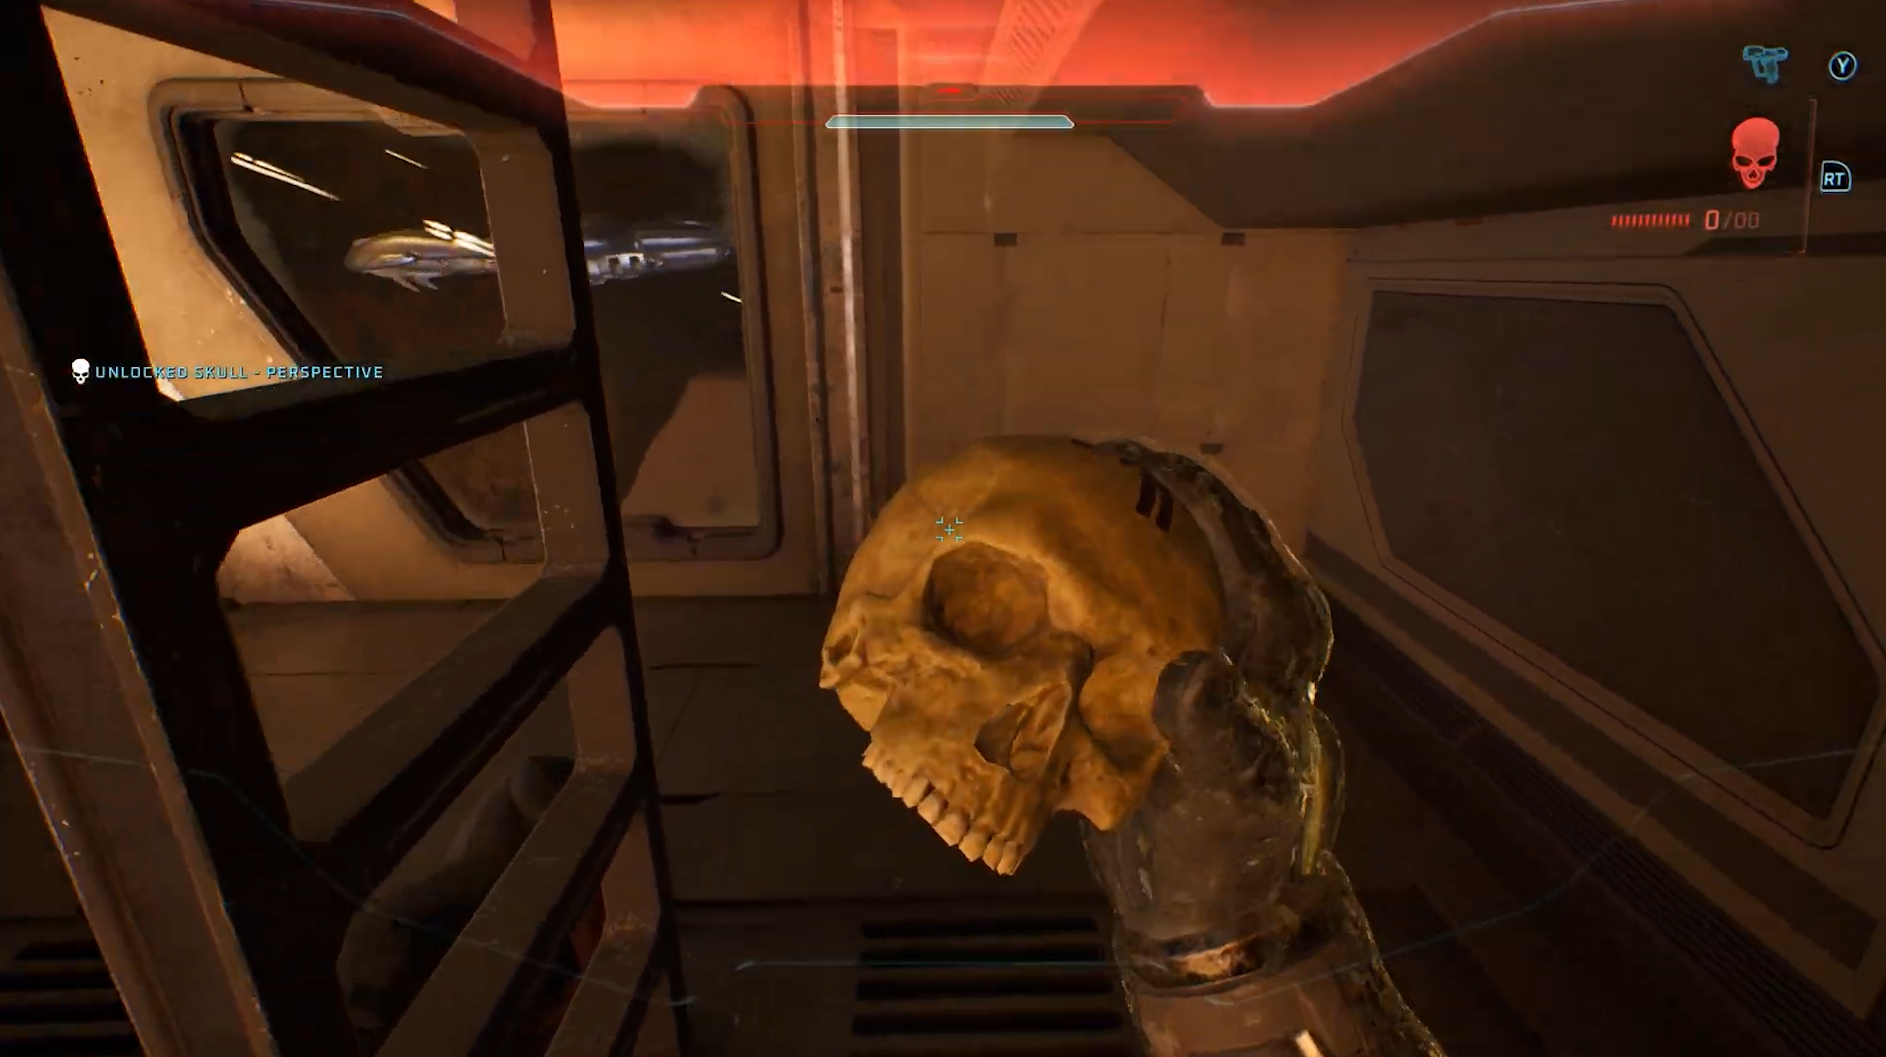
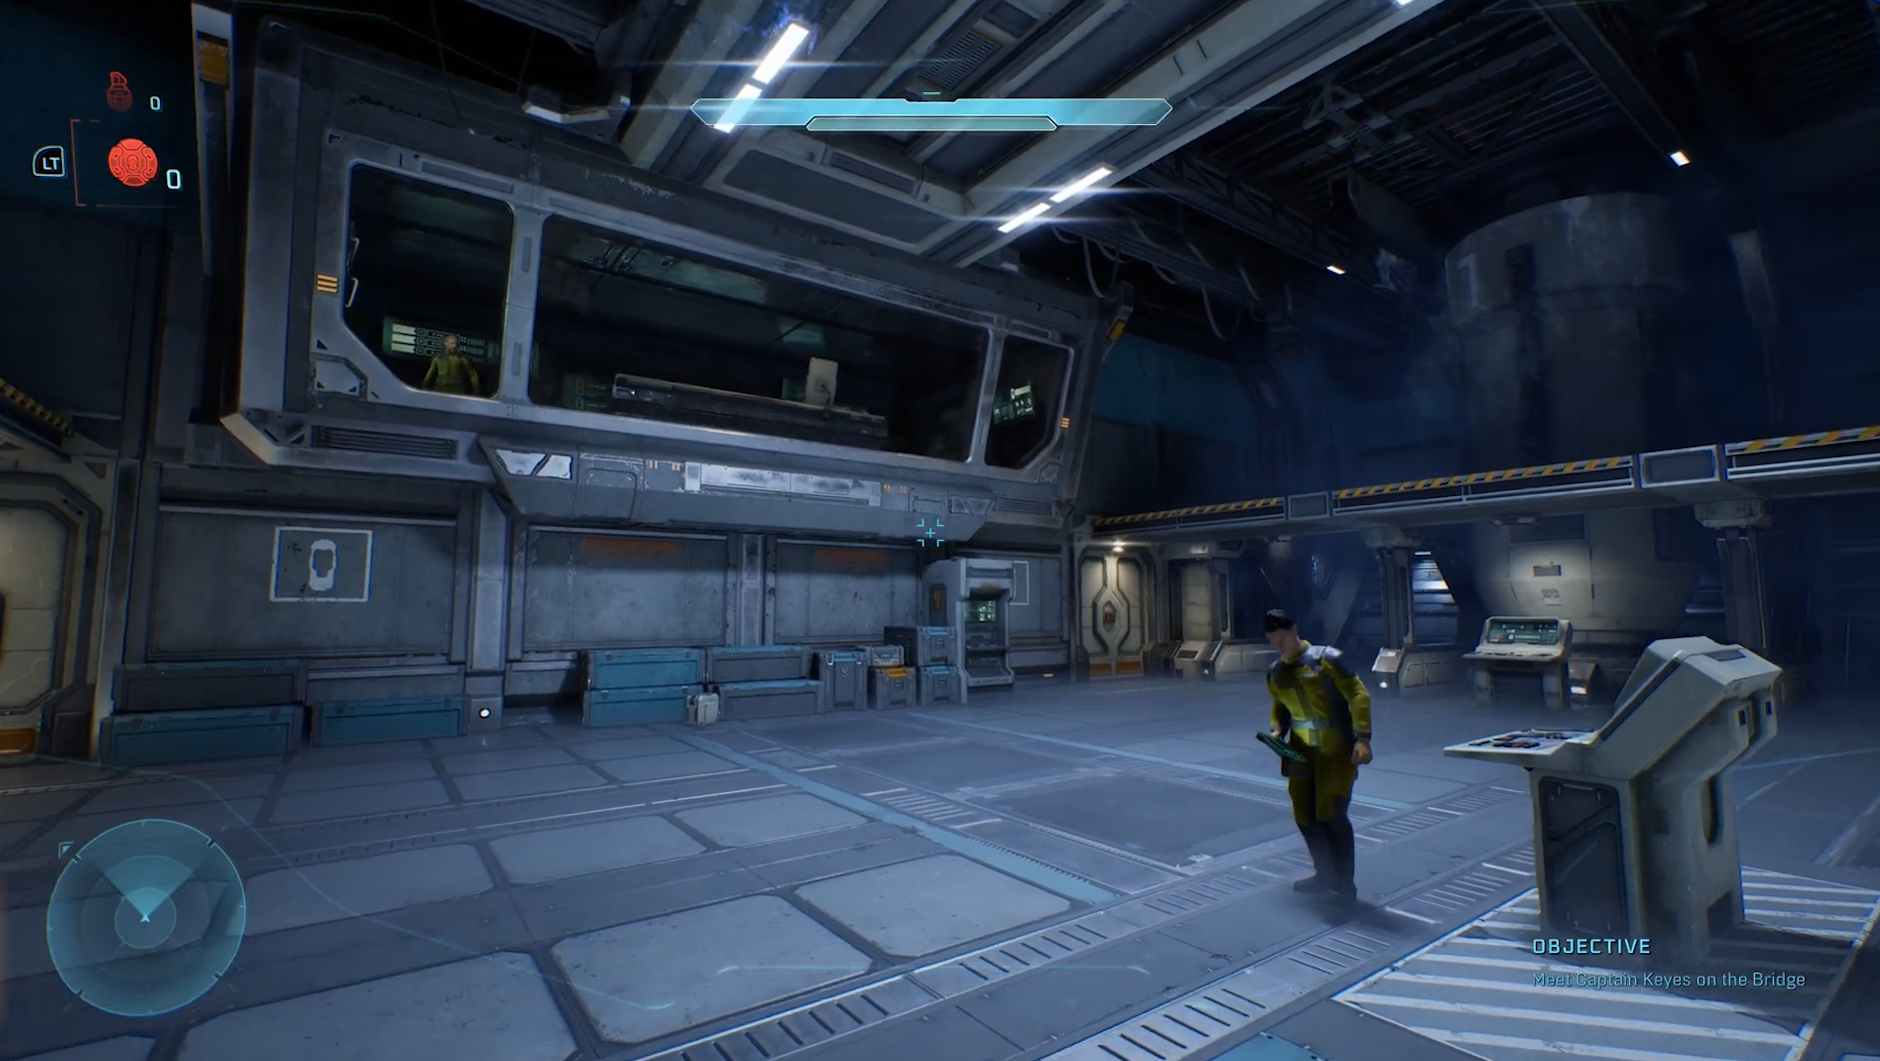
After the Bridge cutscene with Captain Keyes and Cortana, step back into the Bridge area. Head toward the windows where two crew members are working at their consoles.

Drop down into the lower pit beneath them, where the Skull is located.

Chapter 2: Halo

Skull 1: Grunt Funeral

Modifier: Grunts explode in Plasma upon death

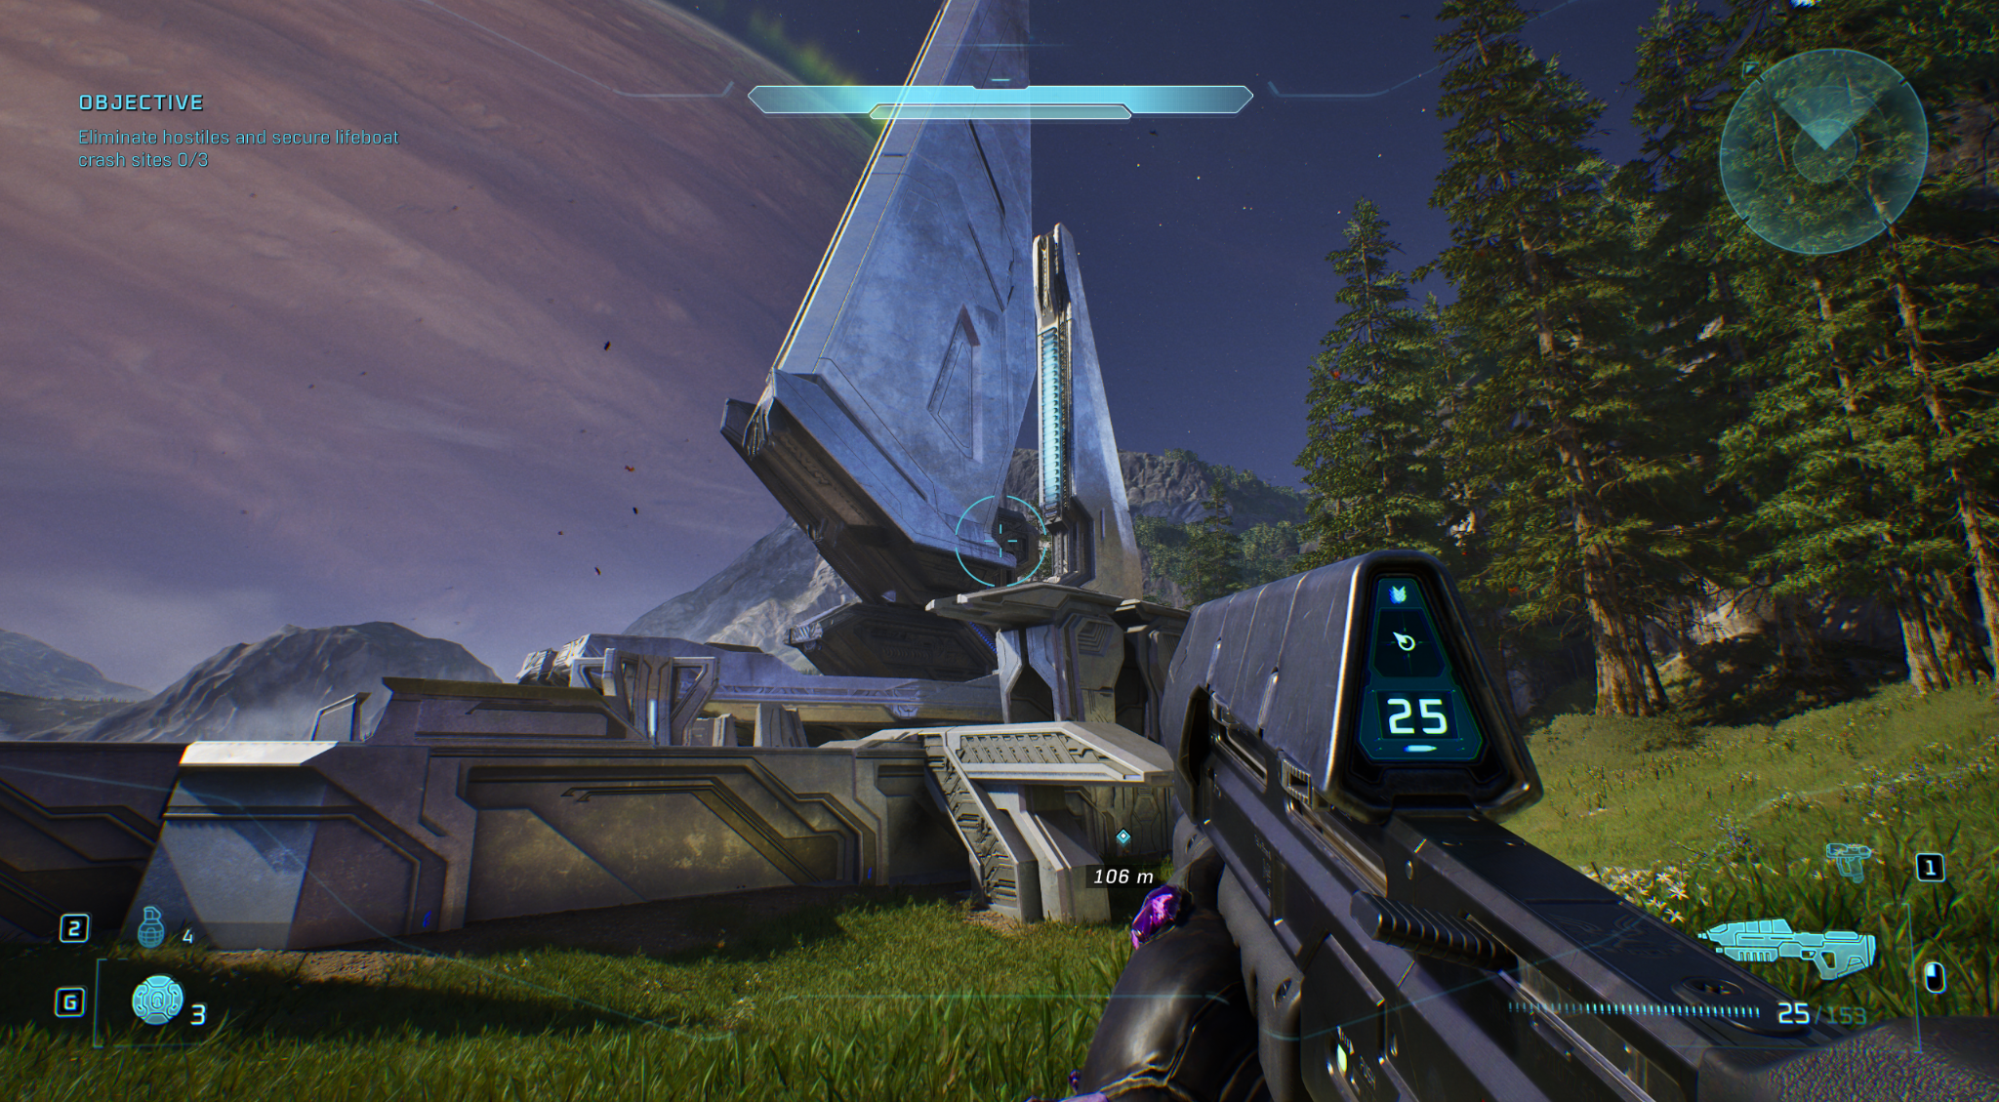
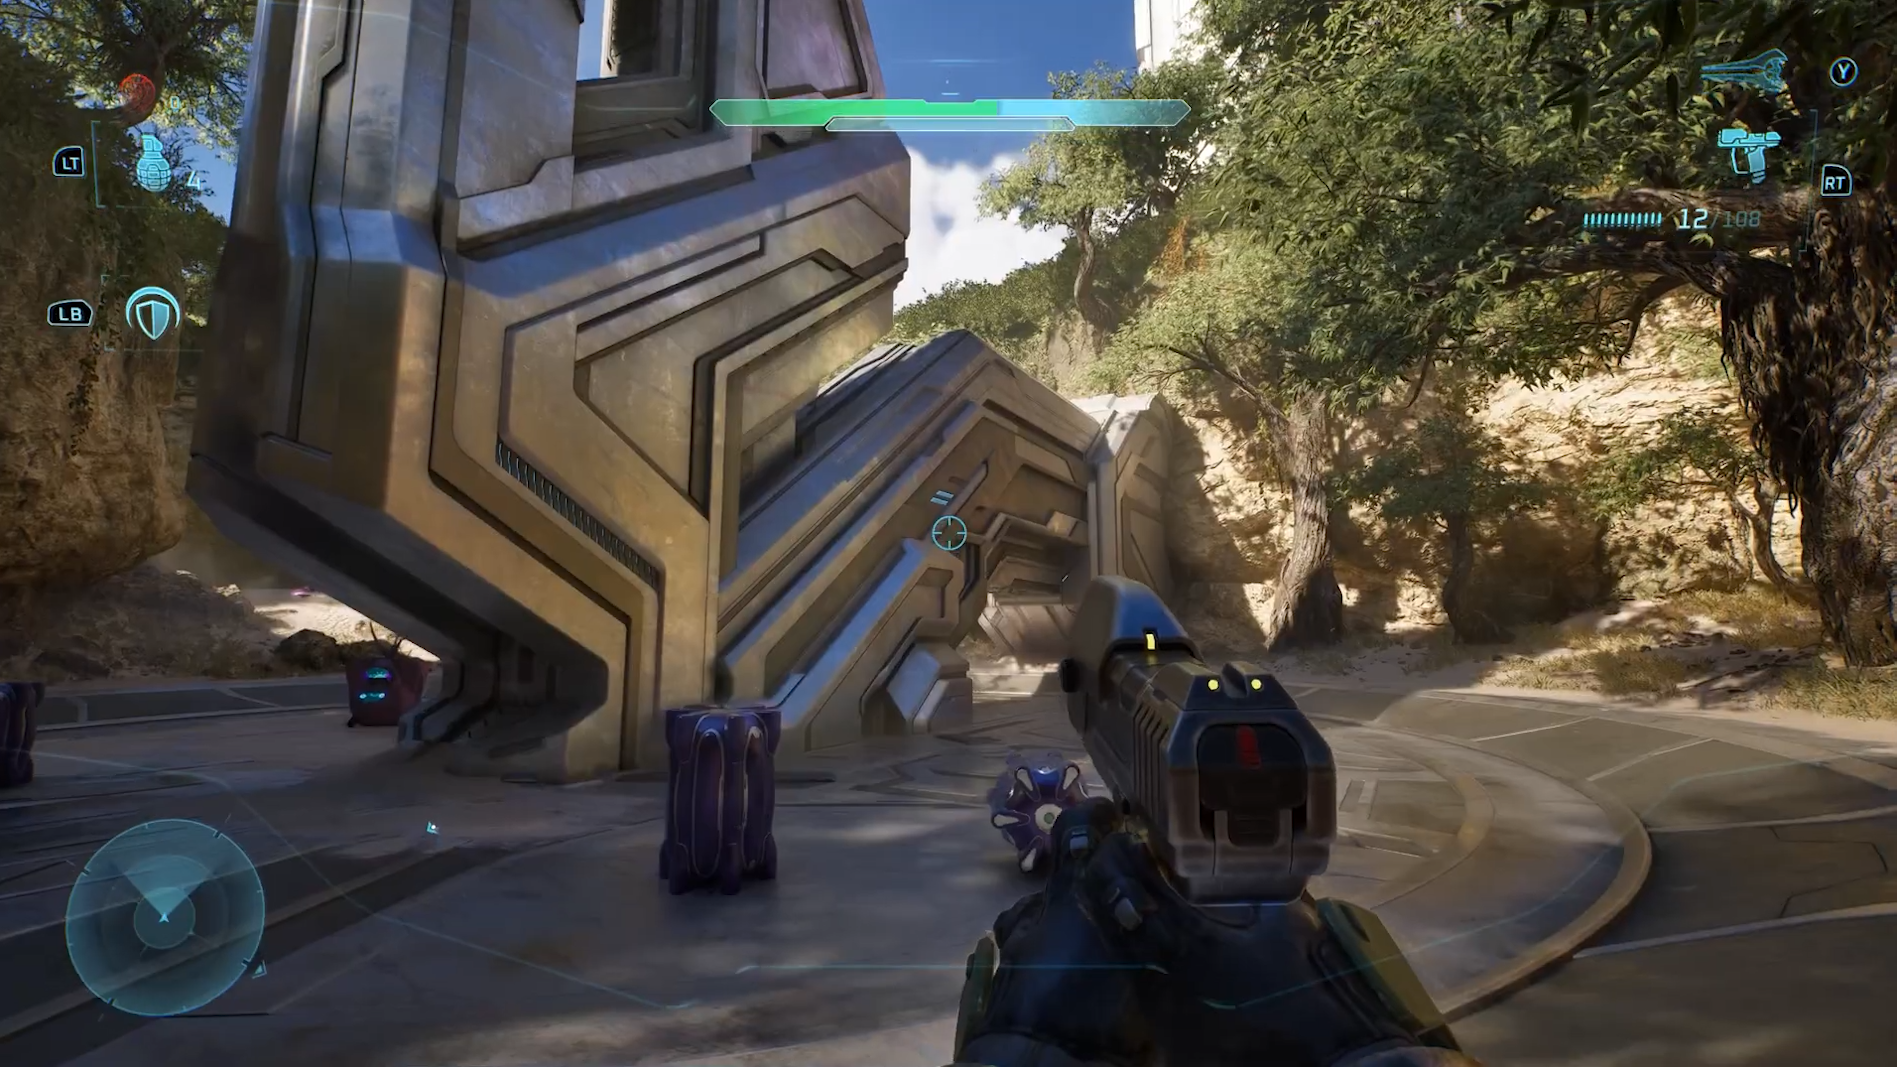
In the section where the mission branches into three objectives, head toward the left marker as you enter the valley, the one that normally takes you underground.

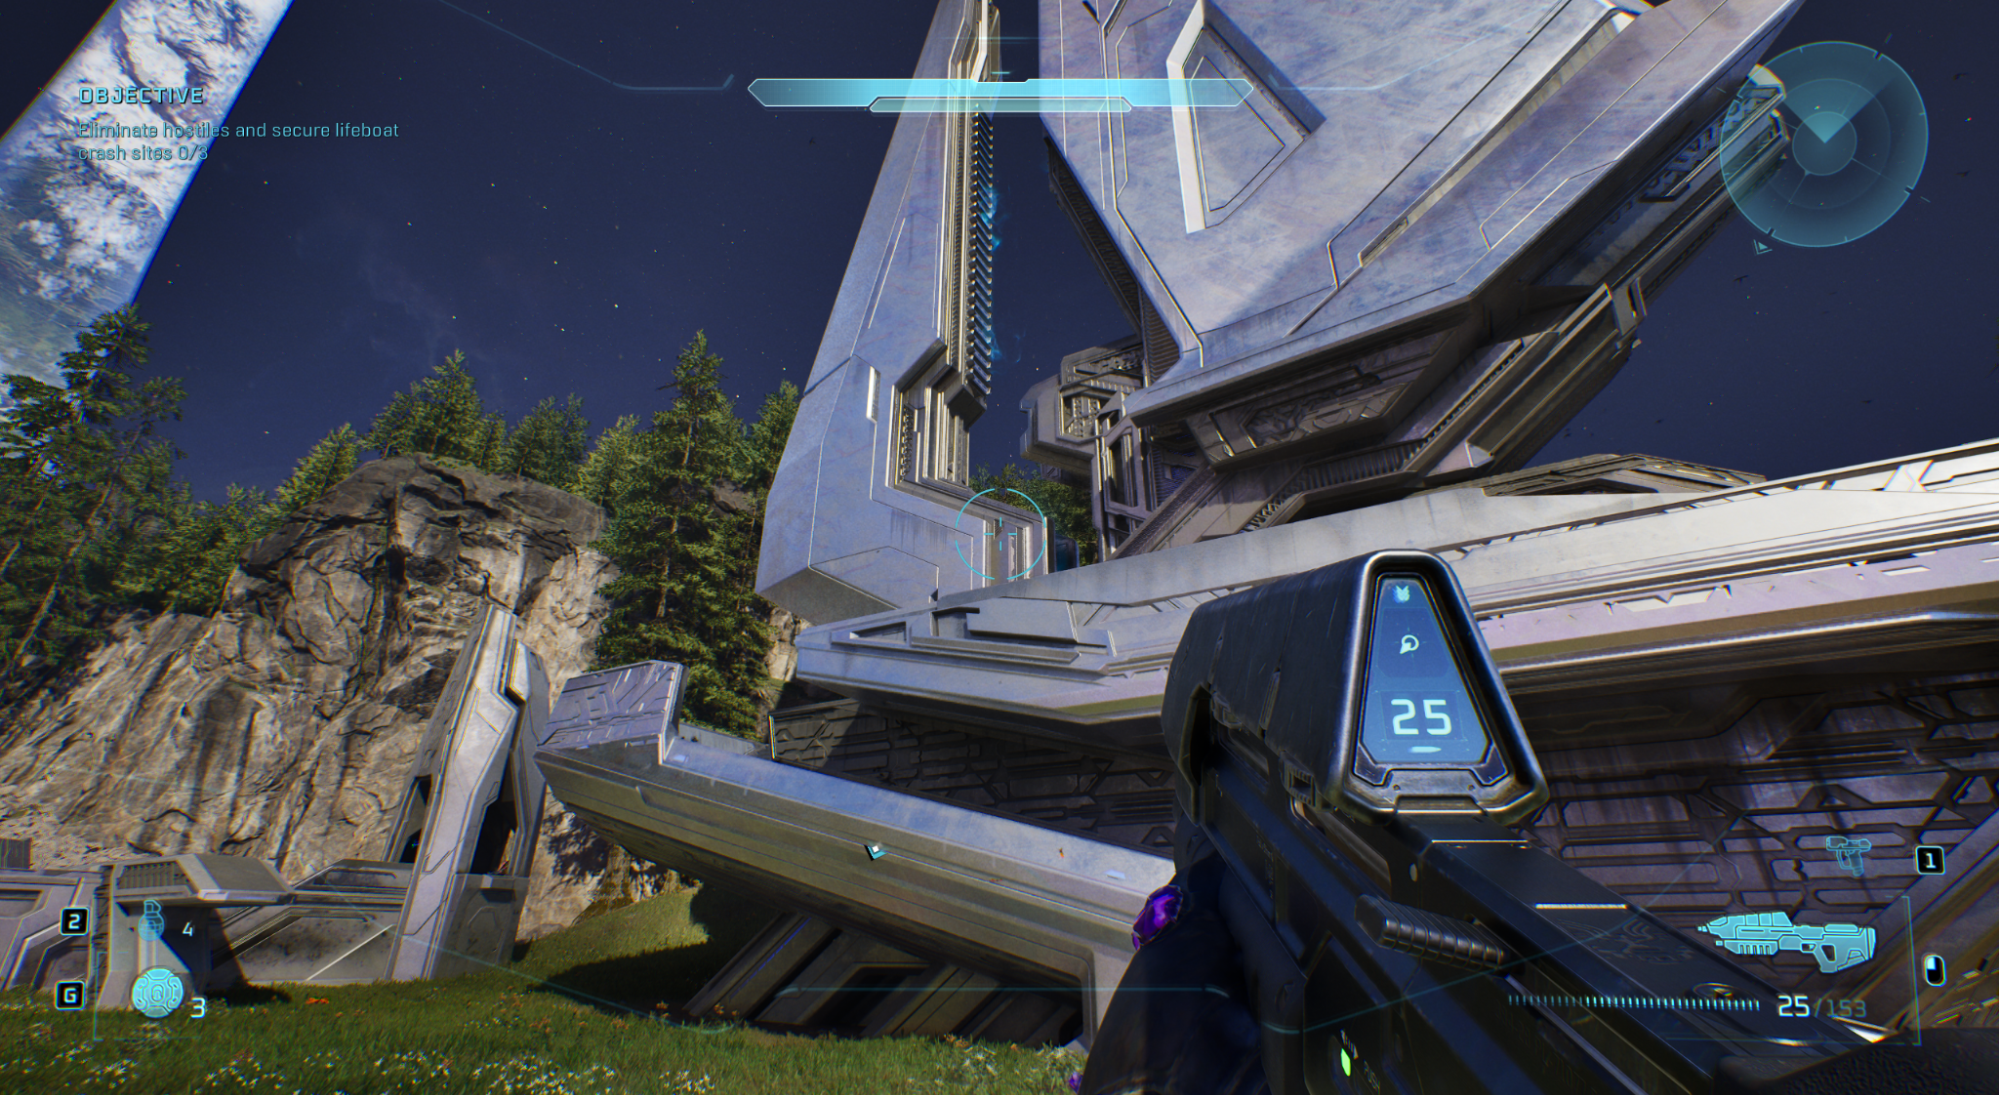
The Skull isn’t below, but instead at ground level. Climb onto the central structure on the other side and jump onto the slanted ramps beside the blue light shining from the building.

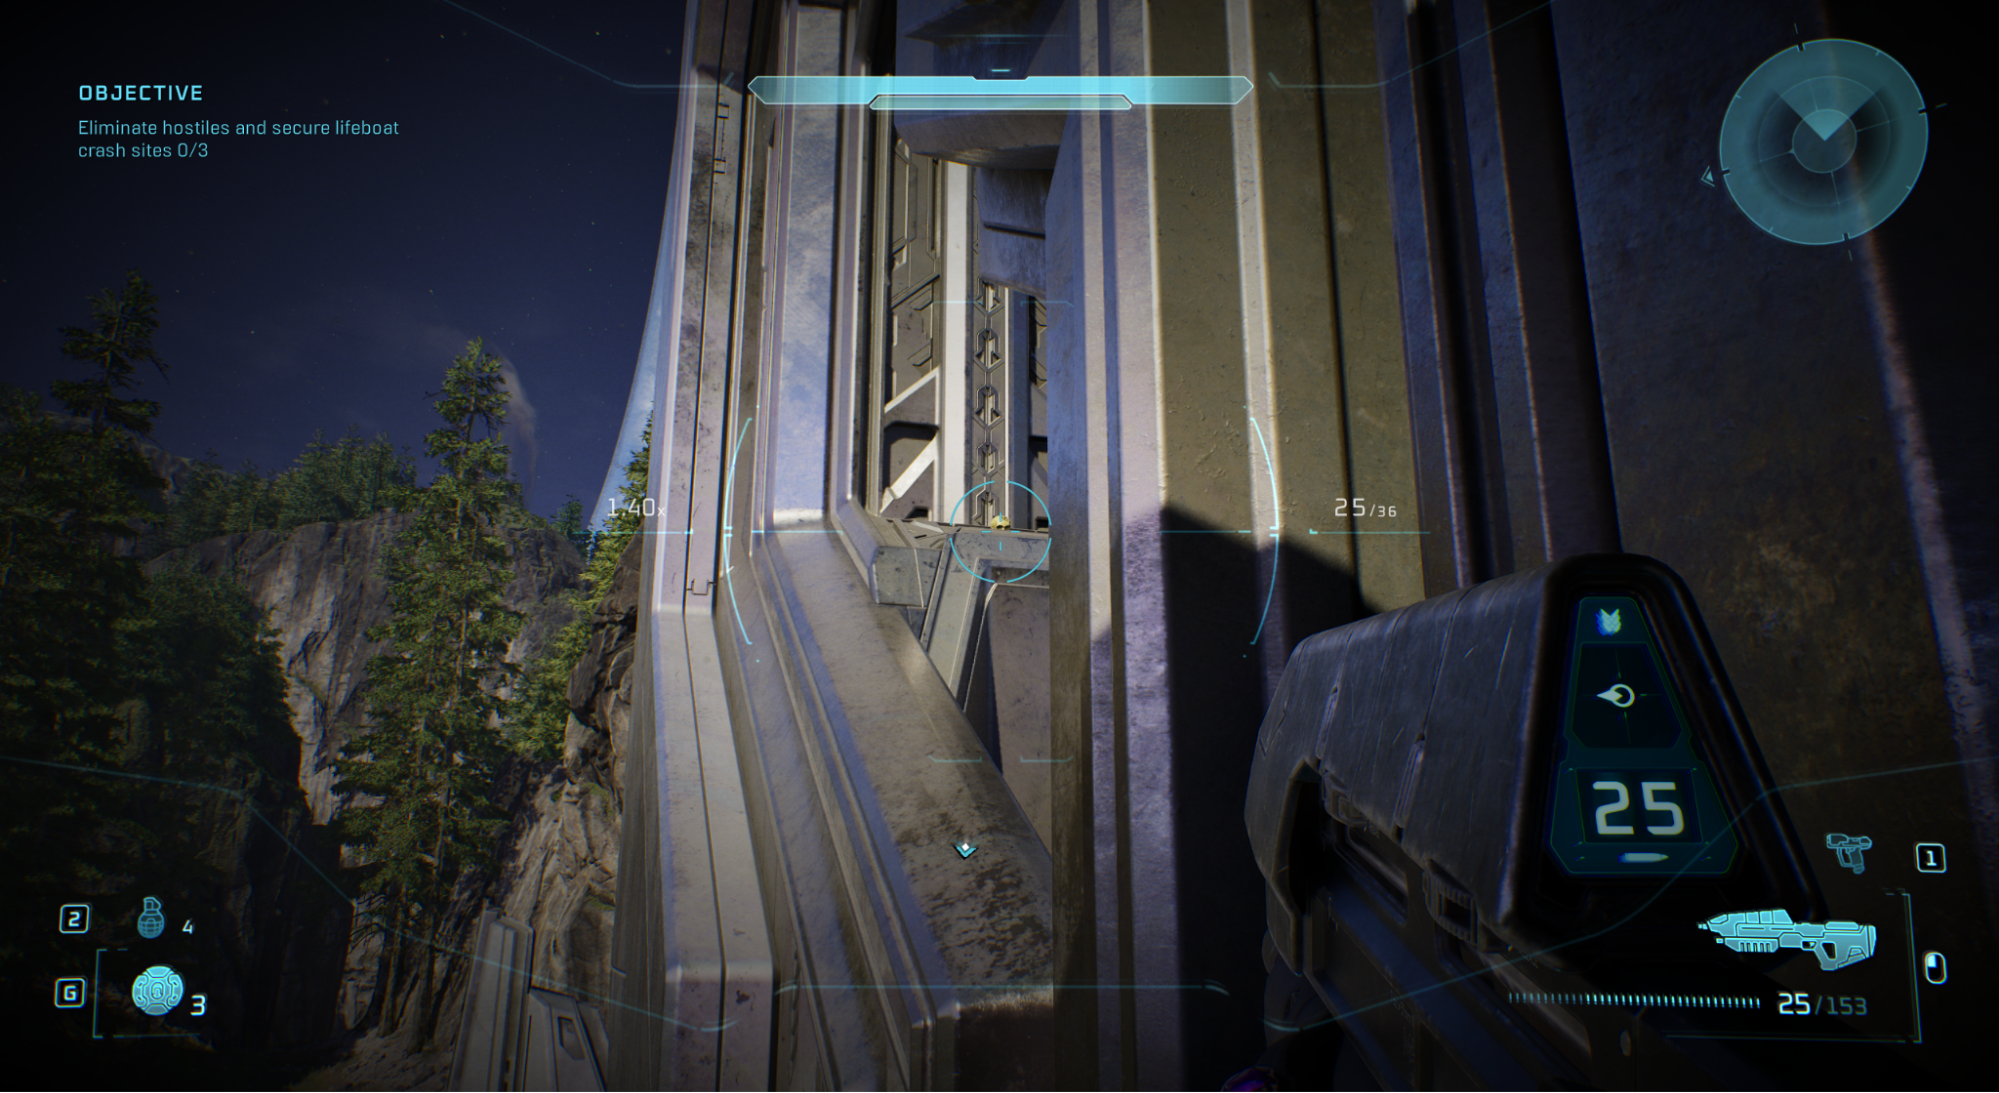
You’ll need a grenade jump to reach the opposite side of the structure where the Skull sits.

If the jump is too difficult, progress through the game until you unlock the Acrophobia Skull in The Silent Cartographer, activate it, then return.

Skull 2: Give and Take

Modifier: Firing weapons drains your shield; dealing damage refills it

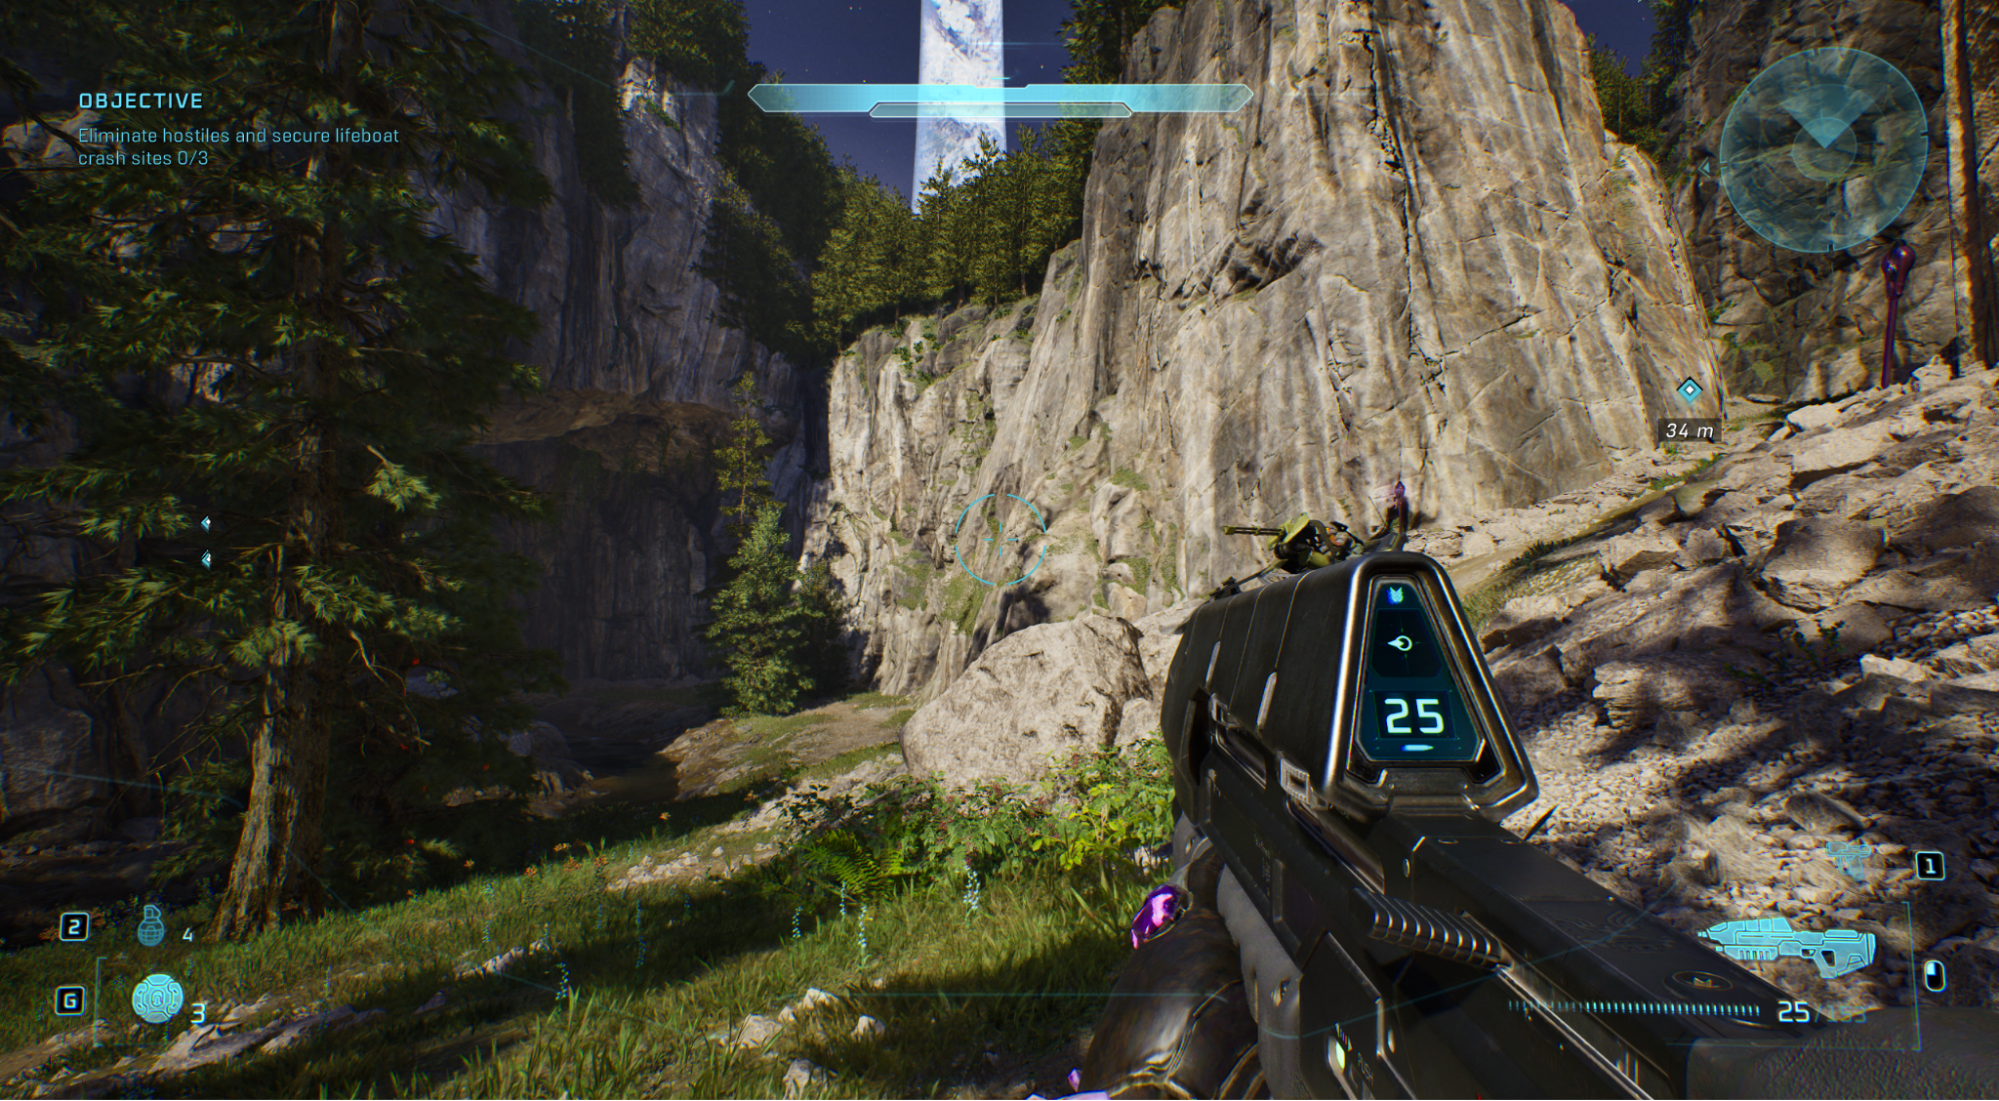
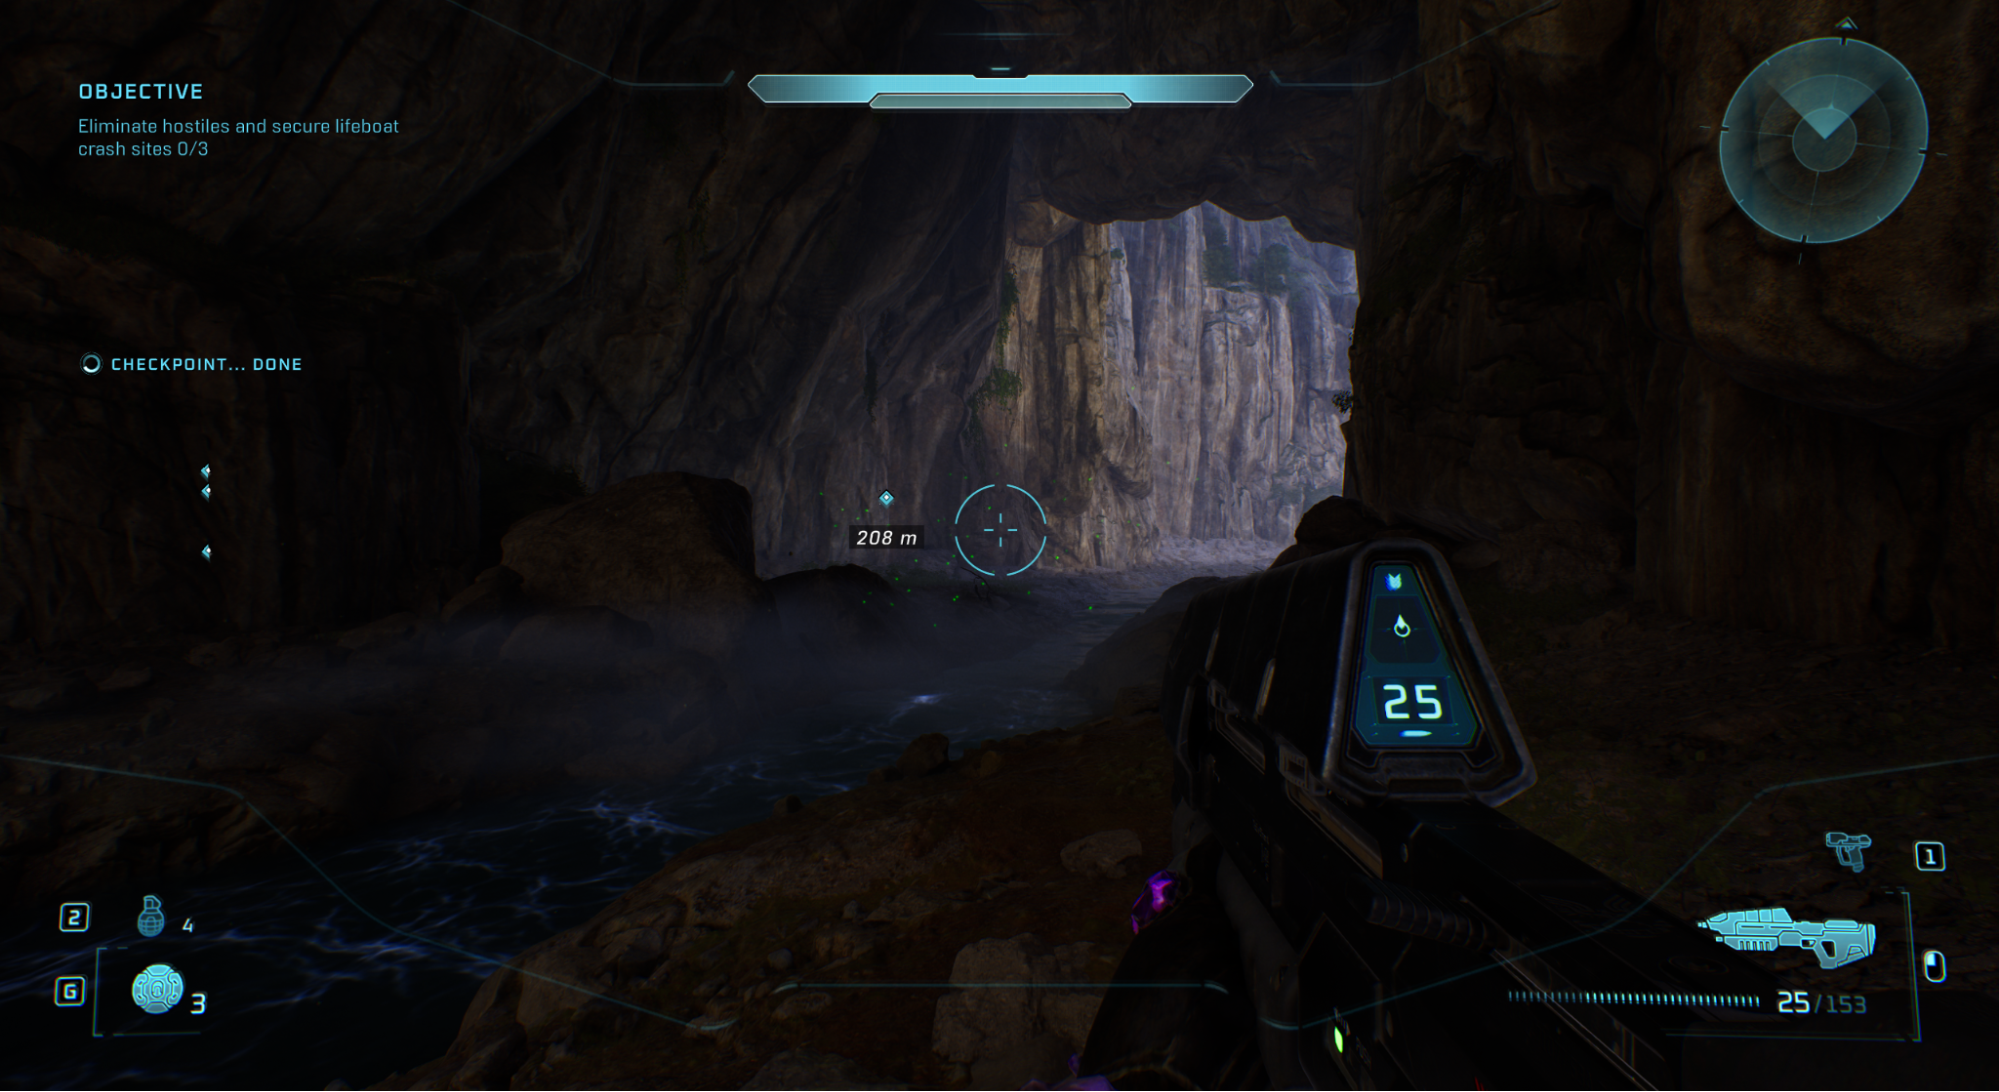
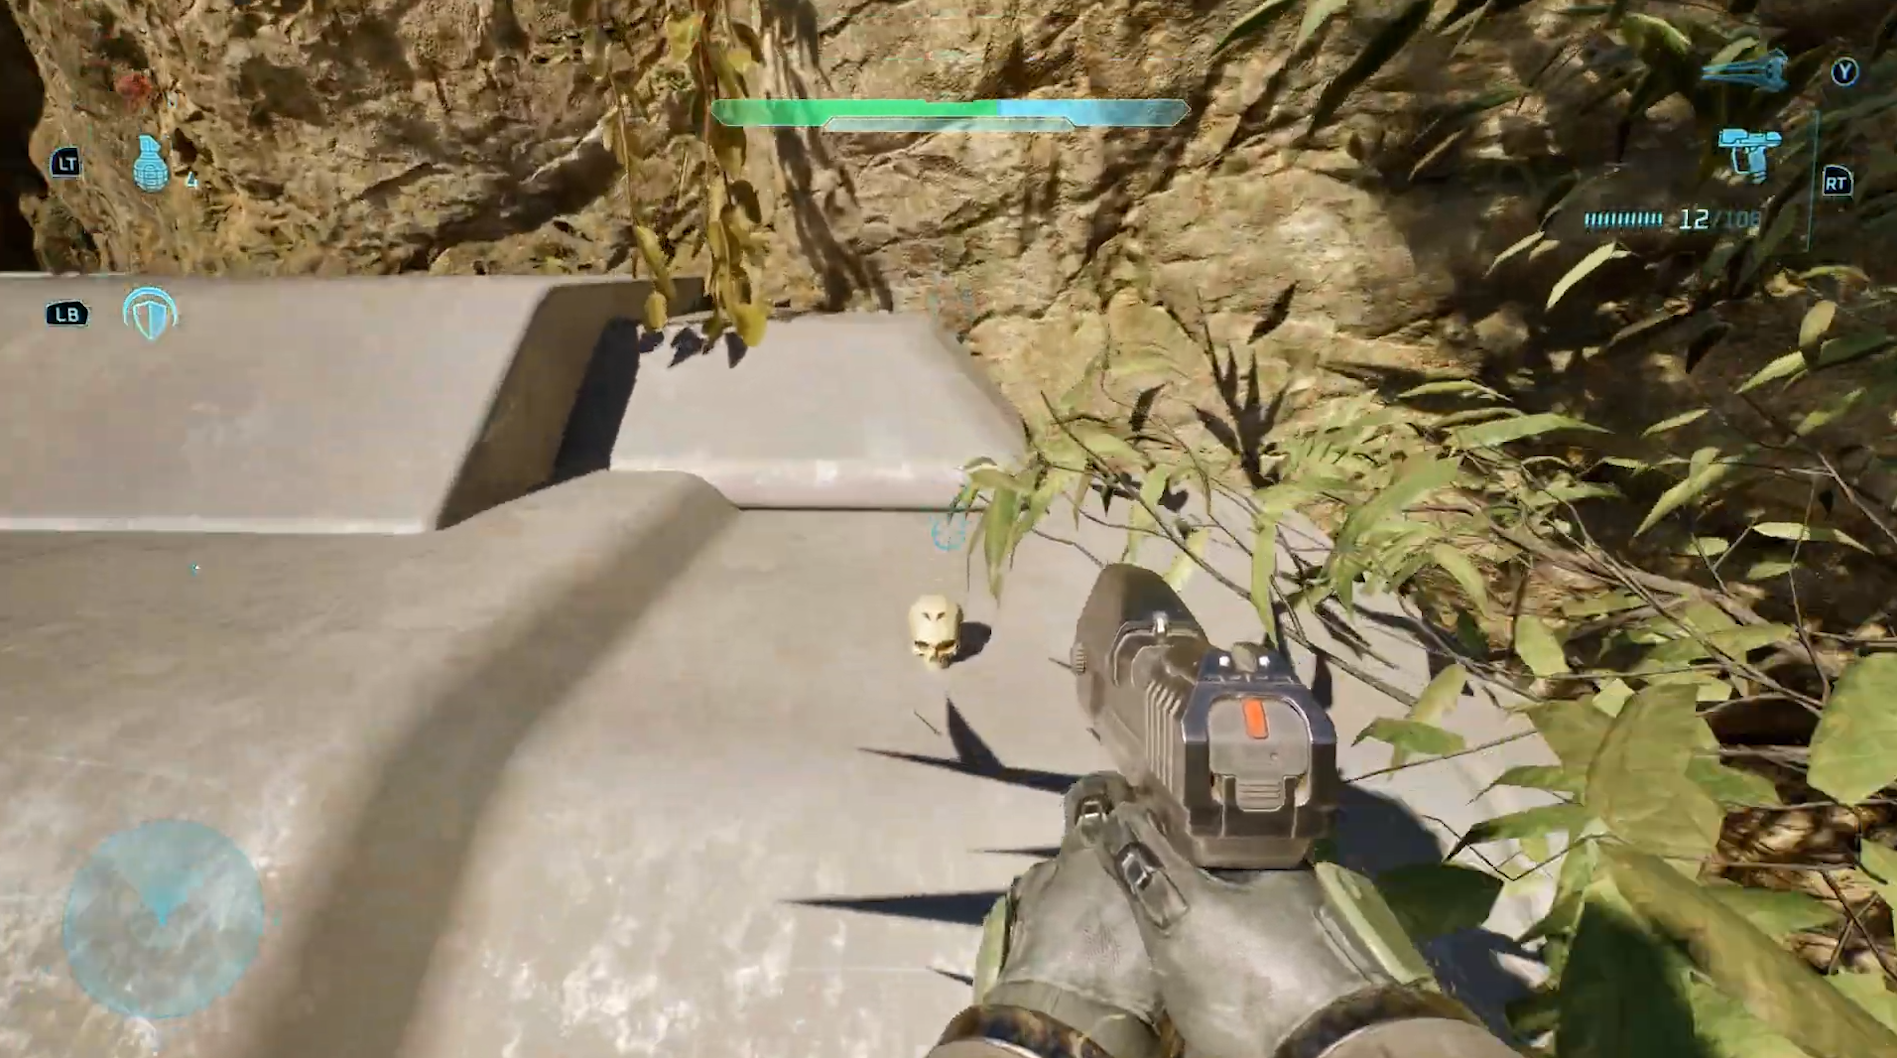
After leaving the underground section and arriving in the valley with three objective markers, drive along the right side of the starting area.

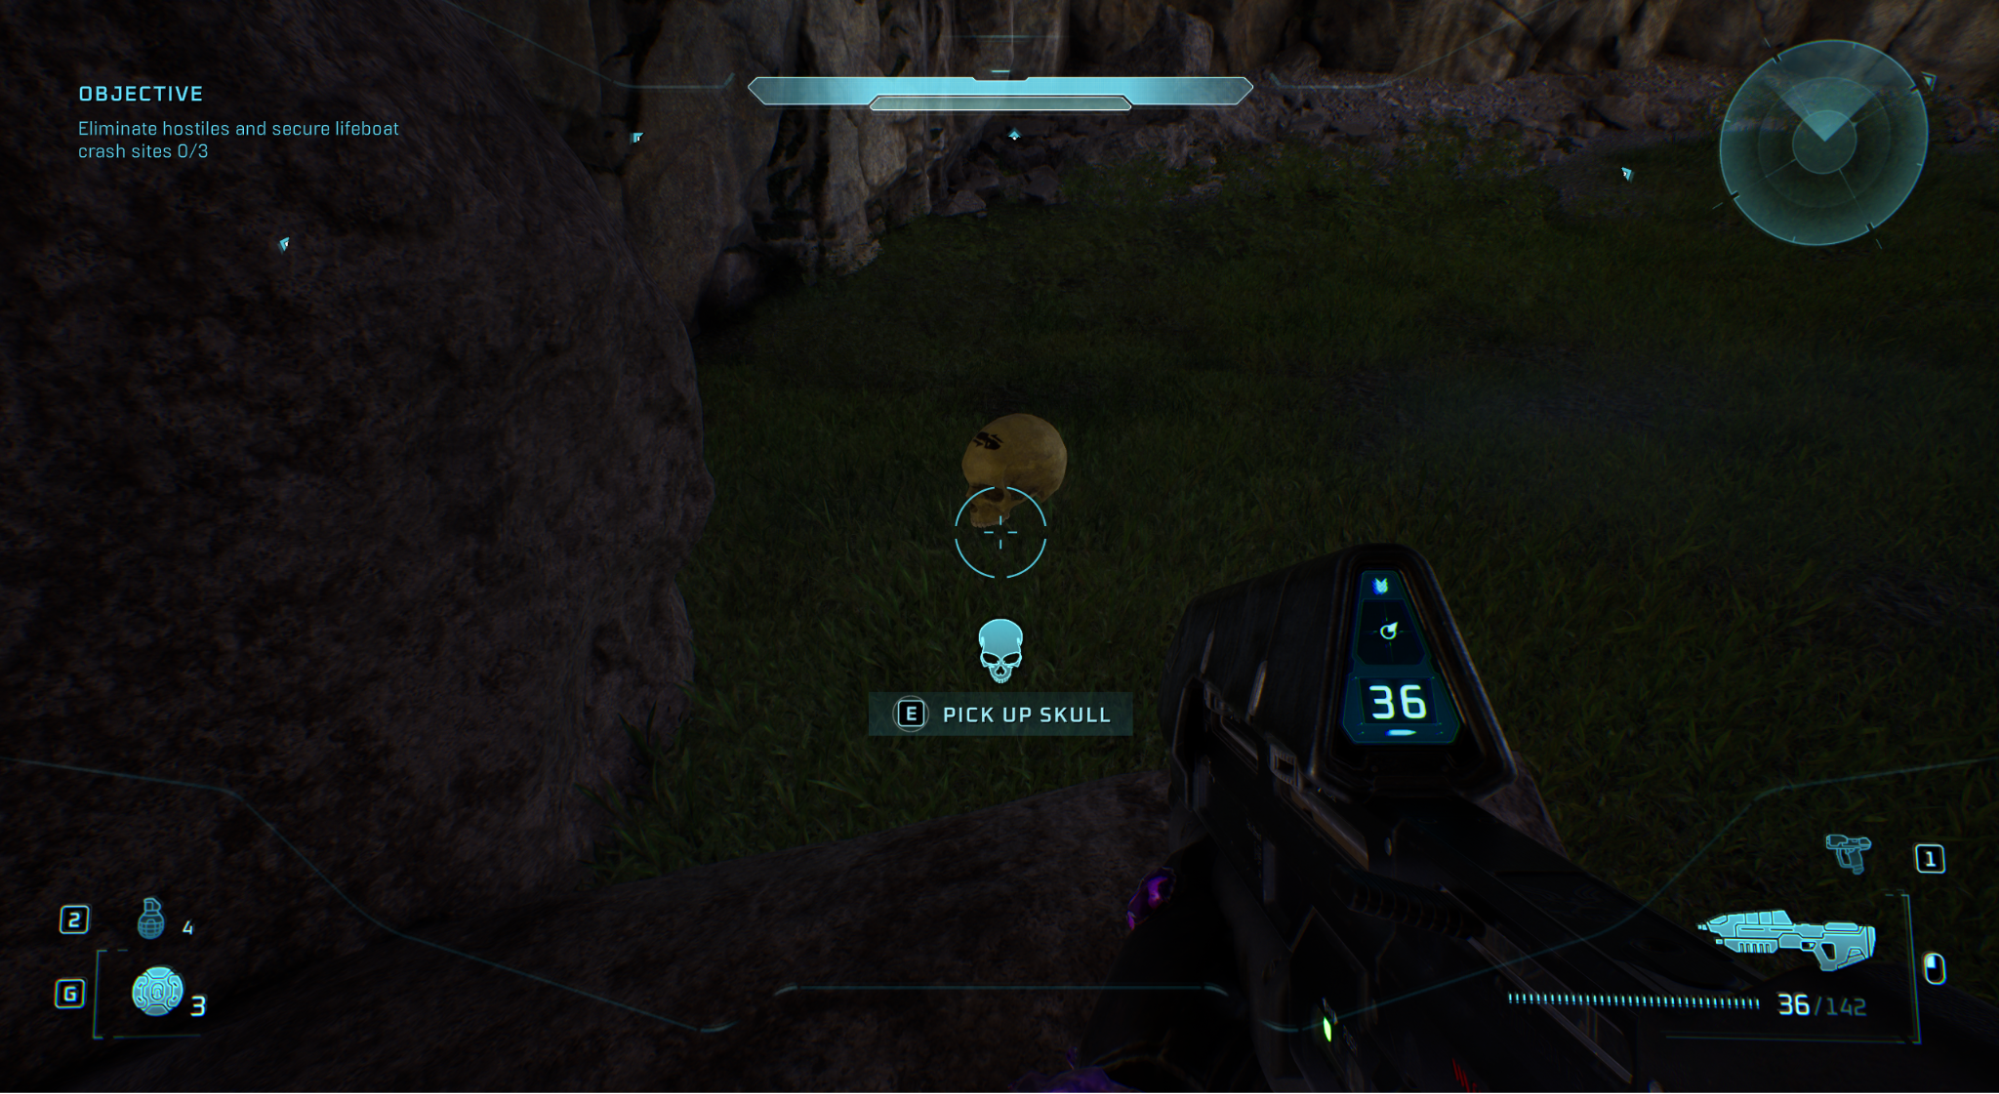
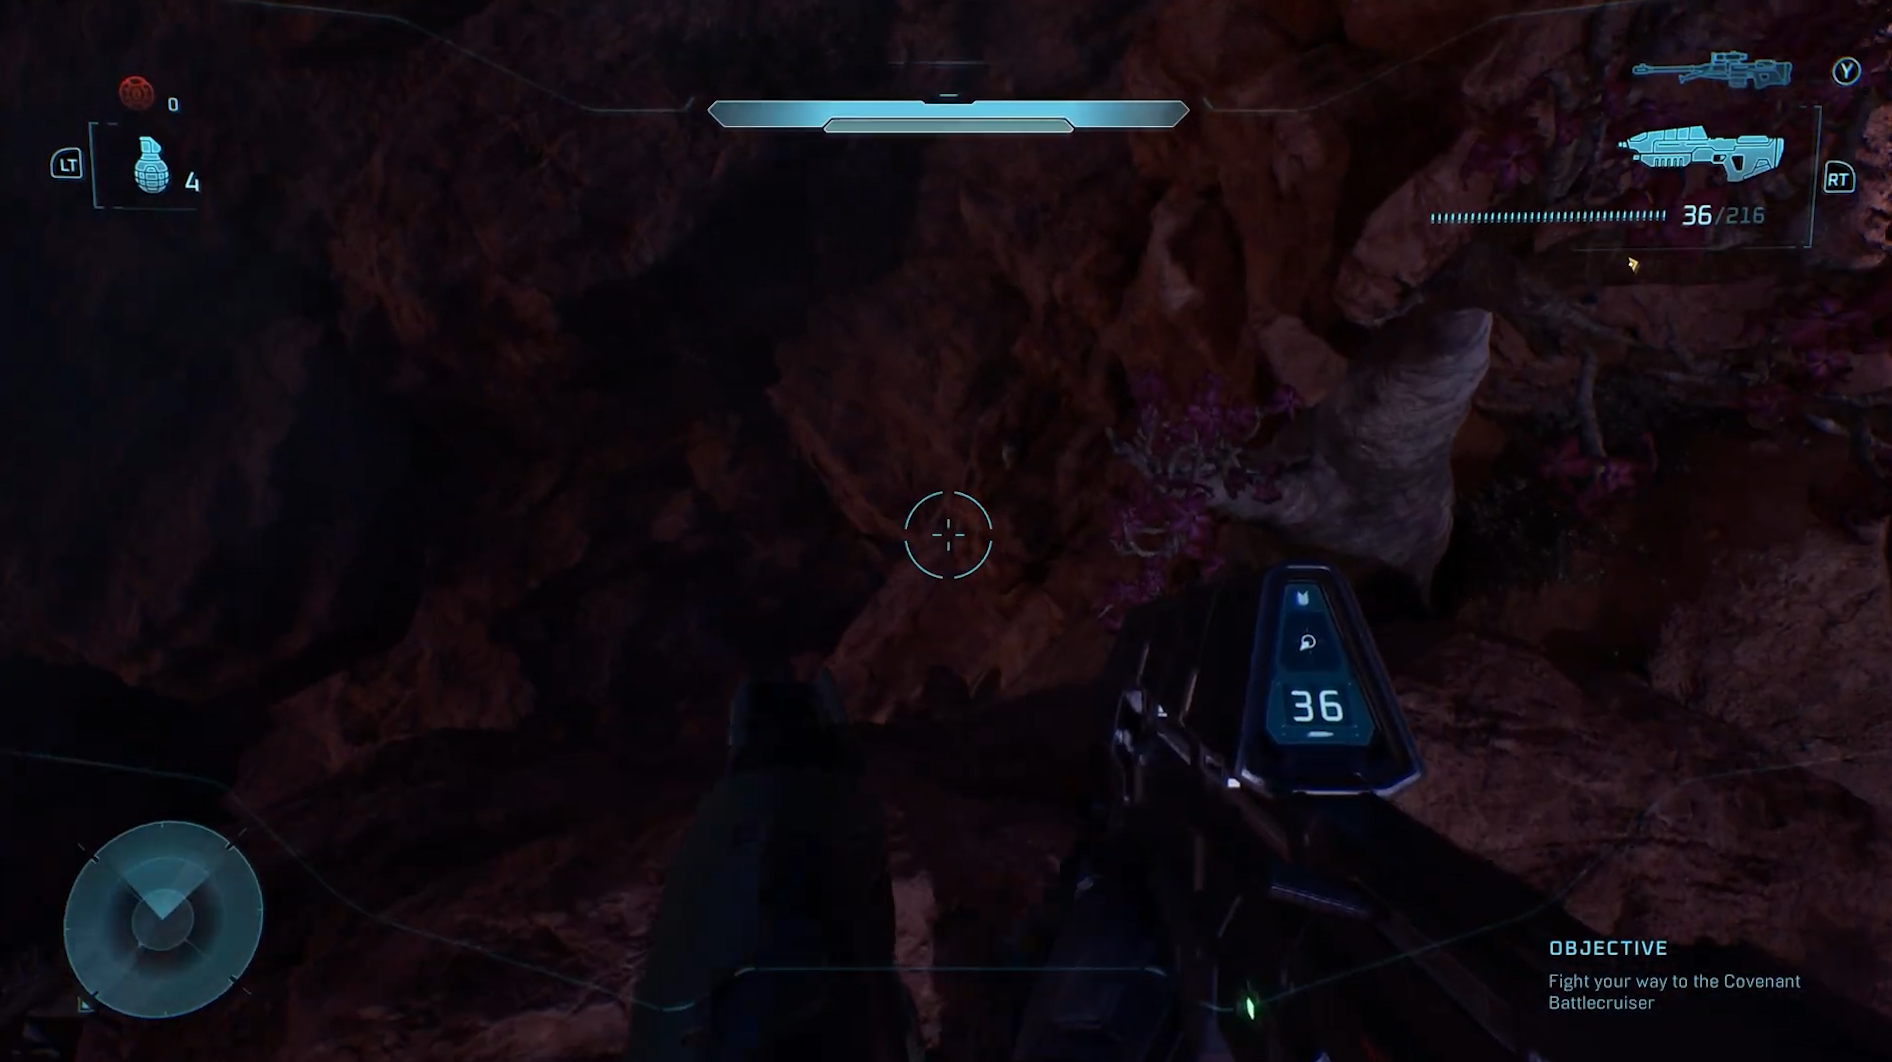
Just left of the rightmost marker, you’ll find a river. Follow it upstream into a cave. When you spot green flies hovering in the air, check the nearby rock.

The Skull is floating just above it.

Skull 3: The Floor is Lava

Modifier: Take damage when touching the ground

Still within the three‑objective area, head to the rightmost marker where the rocky platforms dominate the terrain.

From the back of the zone, climb up onto the rocks and work your way toward the formations on the right.

On a lower rock beneath you, you’ll find the Skull.


Chapter 3: The Truth and Reconciliation

Skull 1: Iron

Modifier: Co-op death resets to checkpoint; solo death restarts level

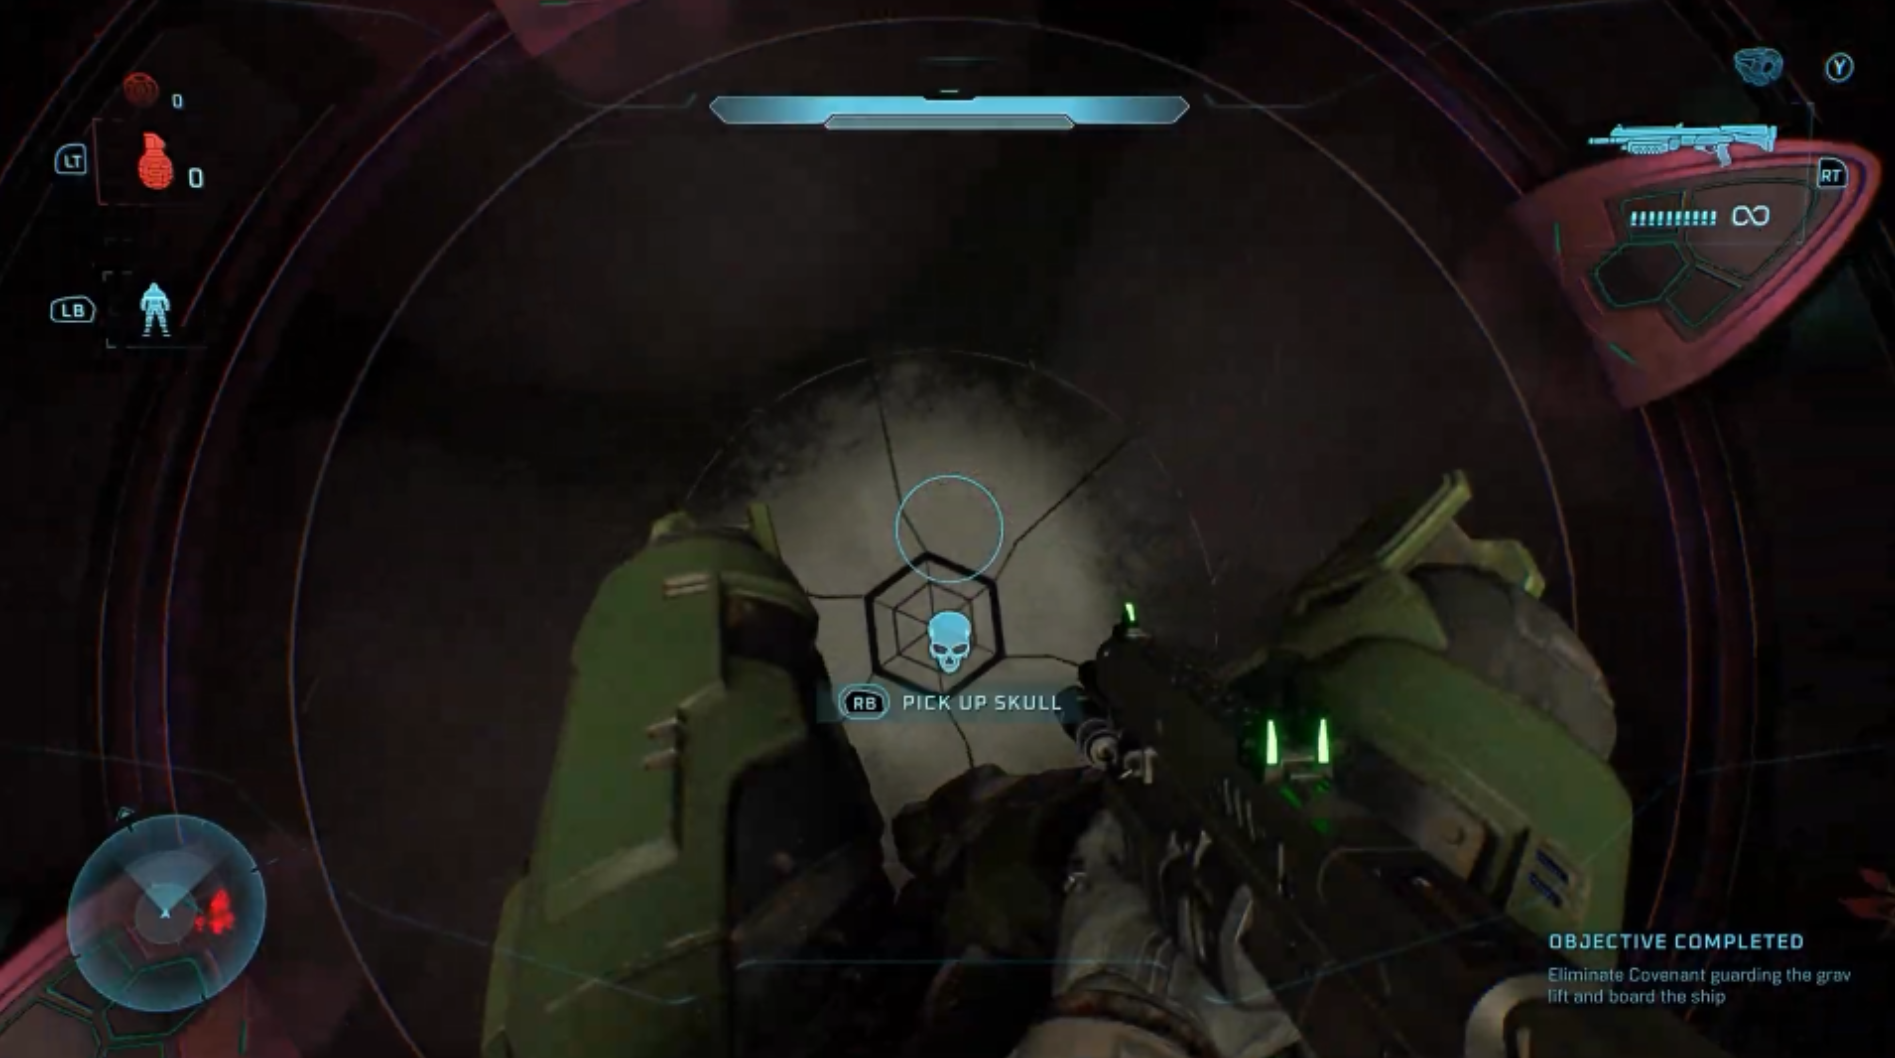
When you reach the grav lift outside, clear out every enemy in the area. Once it’s safe, head to the cliff edge at the back.

Near the center are three trees: two shaped like cactus and a middle one with leaves only at the top.

Just to the left of the left cactus‑like tree, peer over the cliff. The Skull is sitting on a small ledge directly below. To climb back up, jump left toward the tree branches.

Skull 2: Endurance Spec

Modifier: UNSC vehicles are immune to all damage

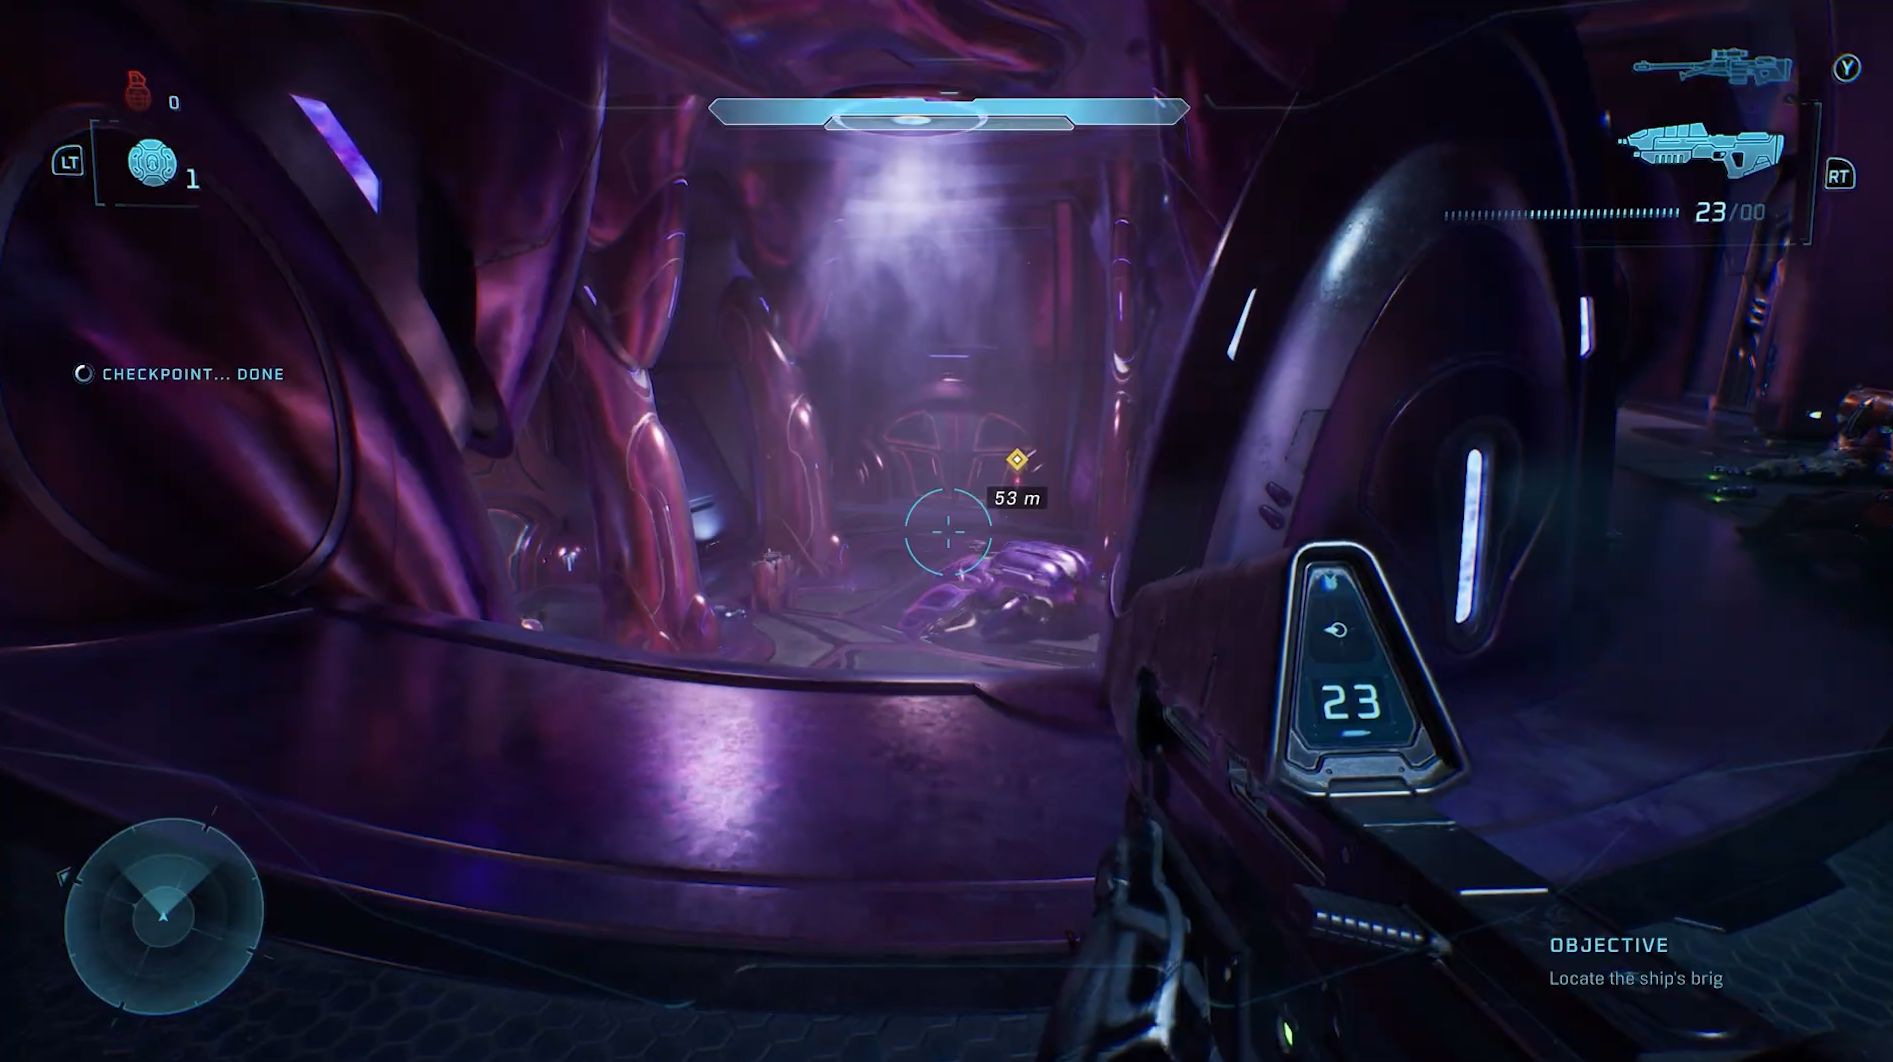
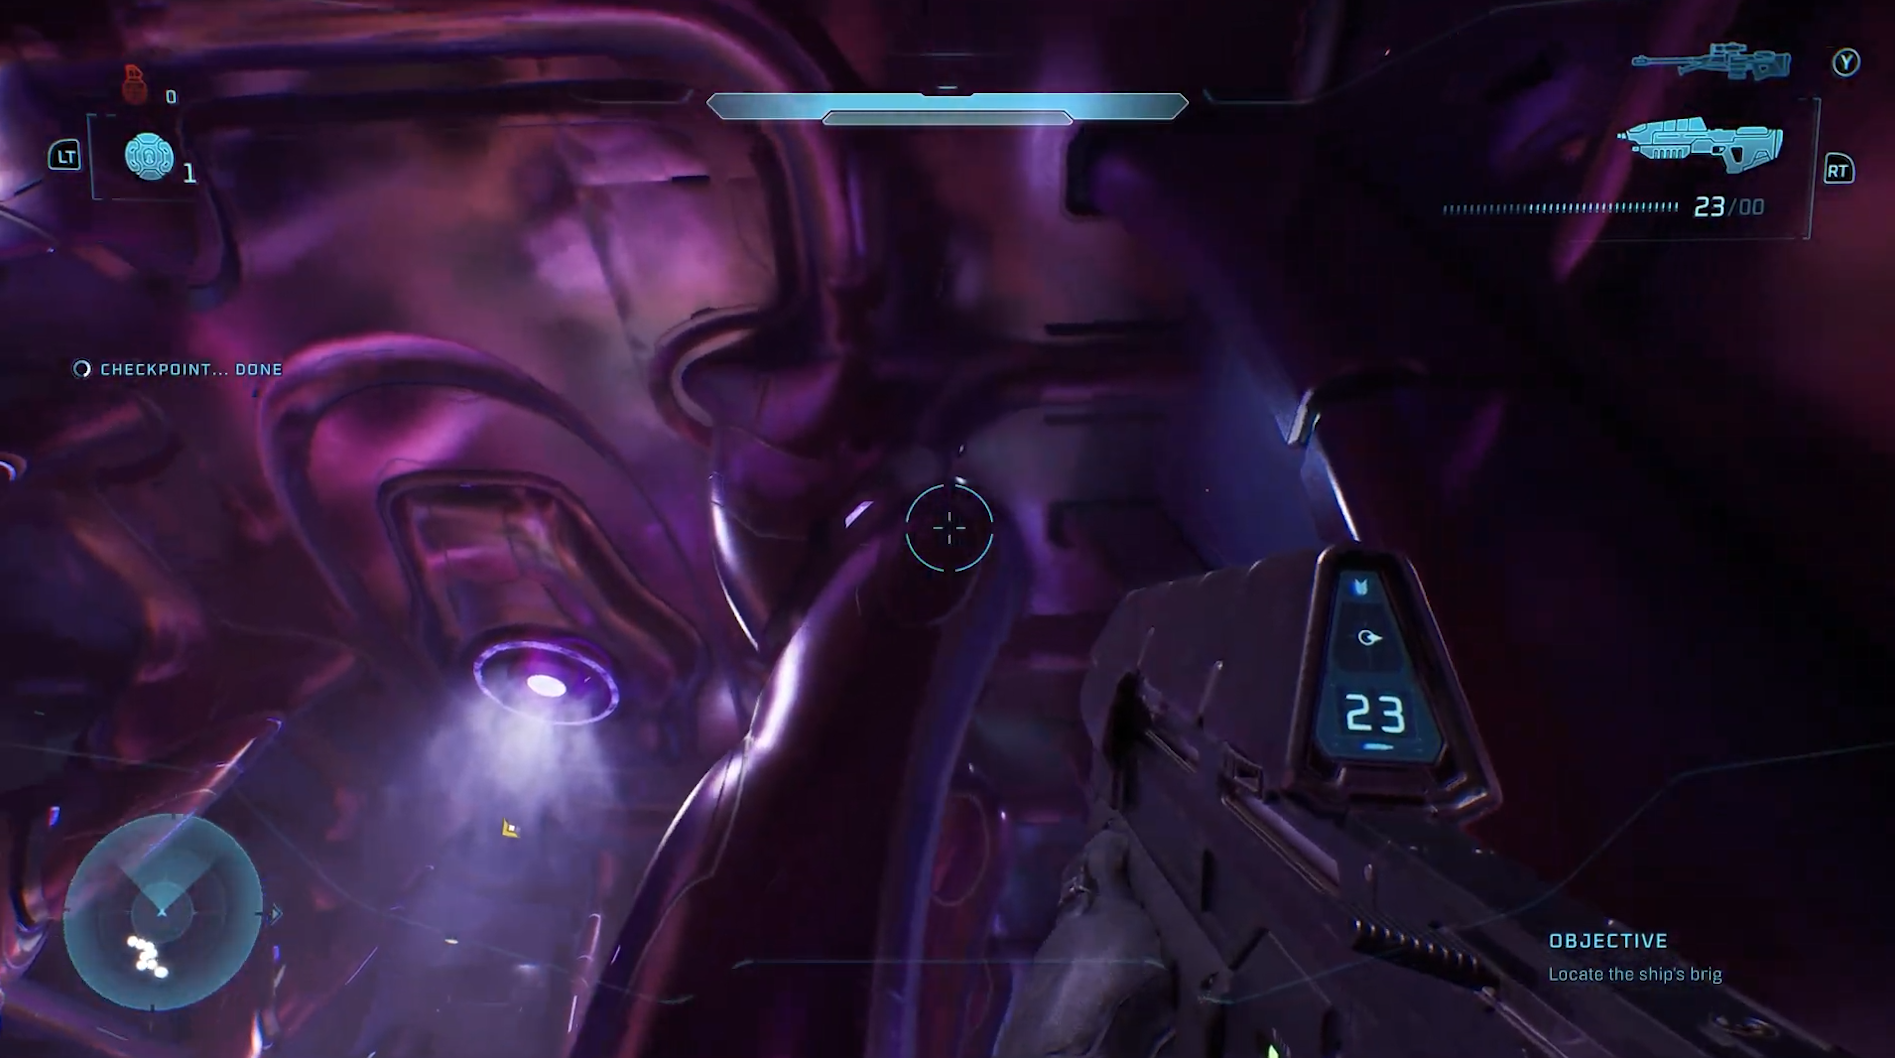
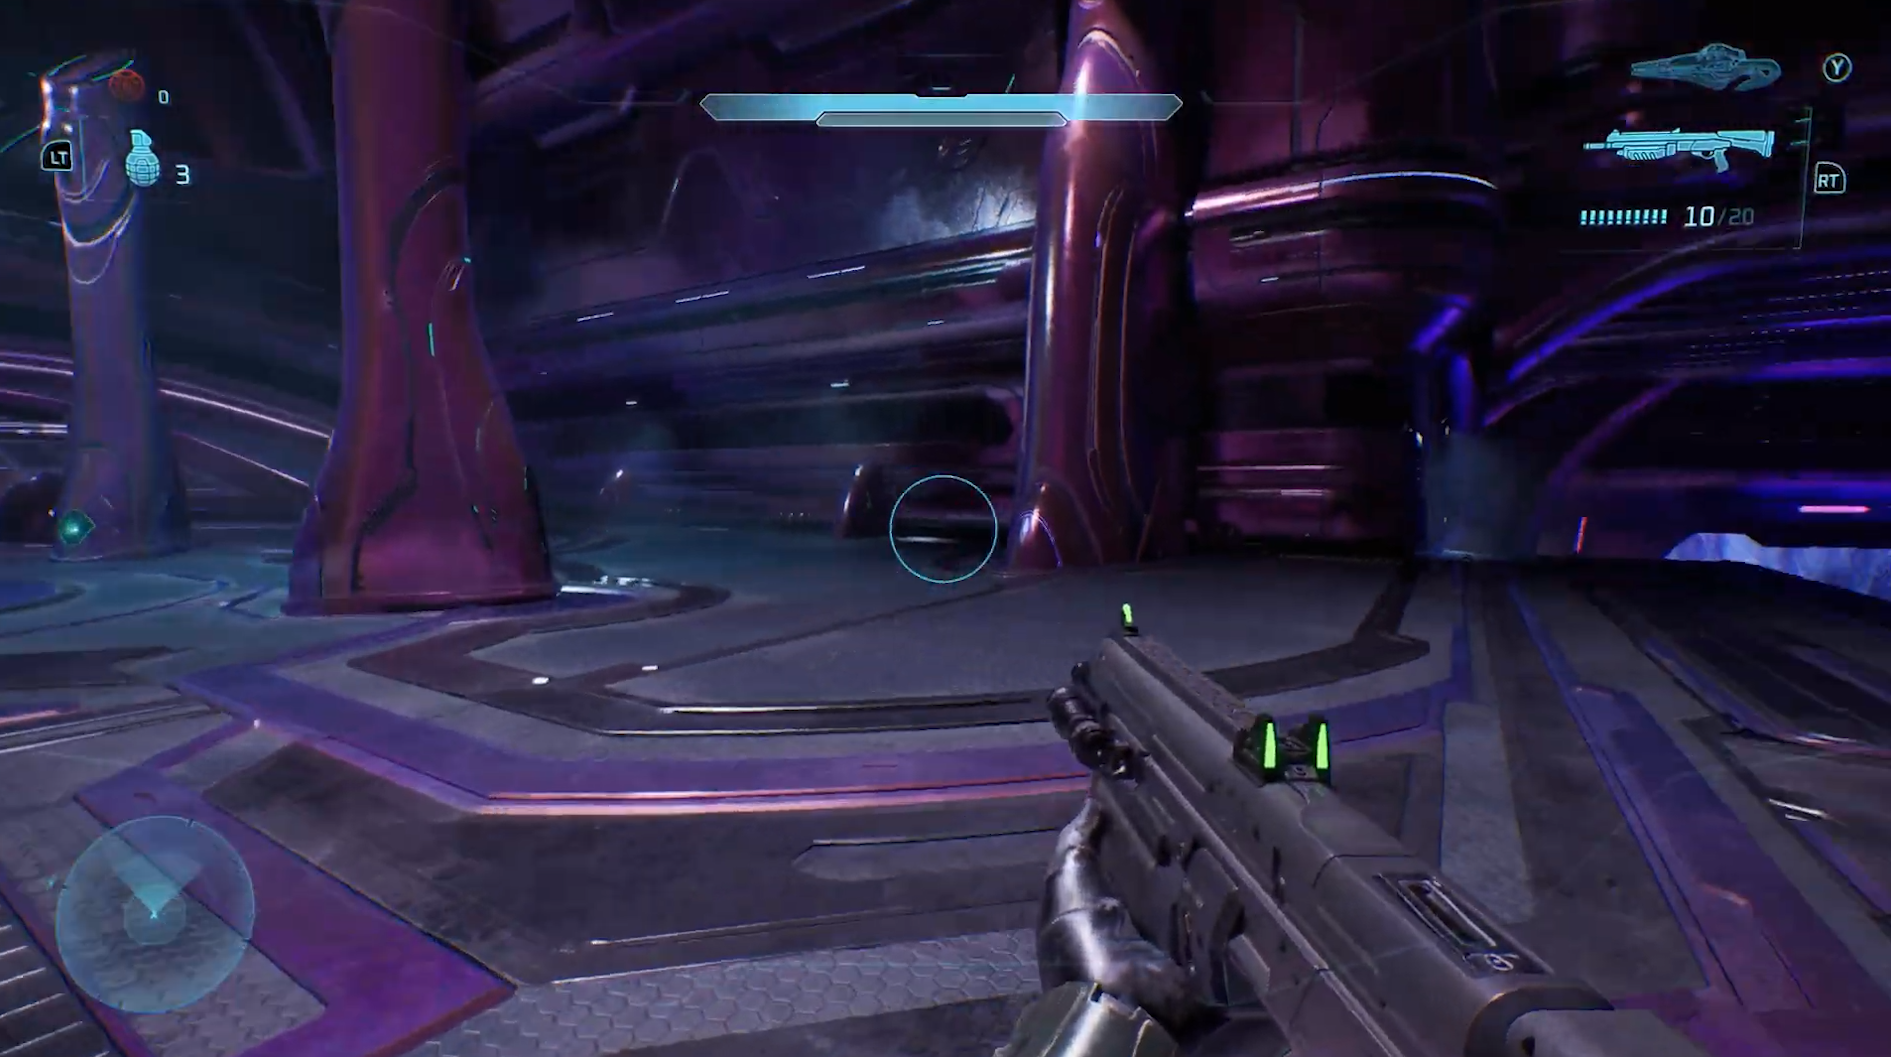
Inside the ship, you’ll soon encounter a locked door and be sent to find the controls to open it. During this process, you’ll reach a large room you enter from the top level.

Jump down and walk to this door, and then turn around. Ahead of you are tall purple structures stretching from floor to ceiling.

Use the Acrophobia Skull to fly up to the top, or you can try parkour along the upper platform to get it.

Skull 3: Foreign

Modifier: Cannot use weapons from other factions

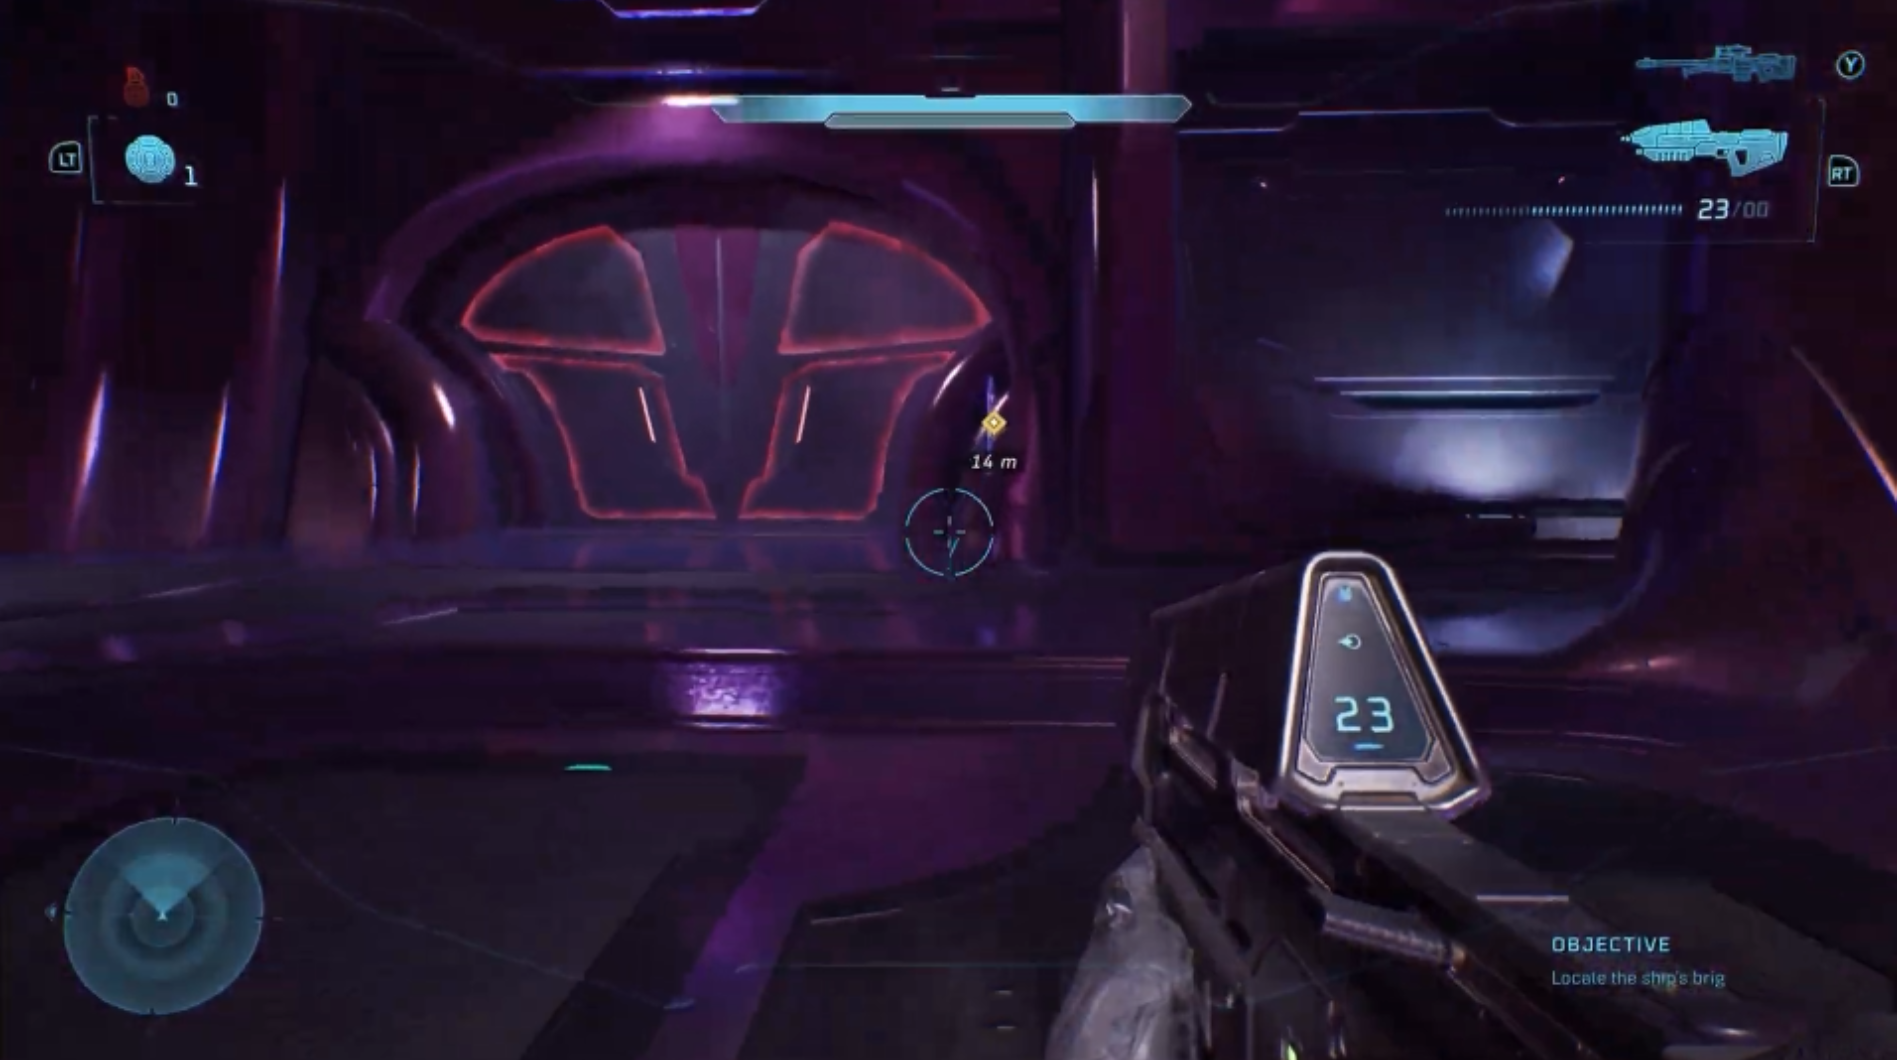
After unlocking the door and rejoining your teammates, you’ll enter a large hangar where a Covenant dropship quickly departs.

As you fight through the many enemies inside, make your way to the locked door at the far end opposite where you entered. Stay near it, and eventually it will open as enemies emerge.

Slip through immediately to find the Skull on the left side.

Chapter 4: The Silent Cartographer

Skull 1: Bandana

Modifier: Infinite Ammo and Grenades

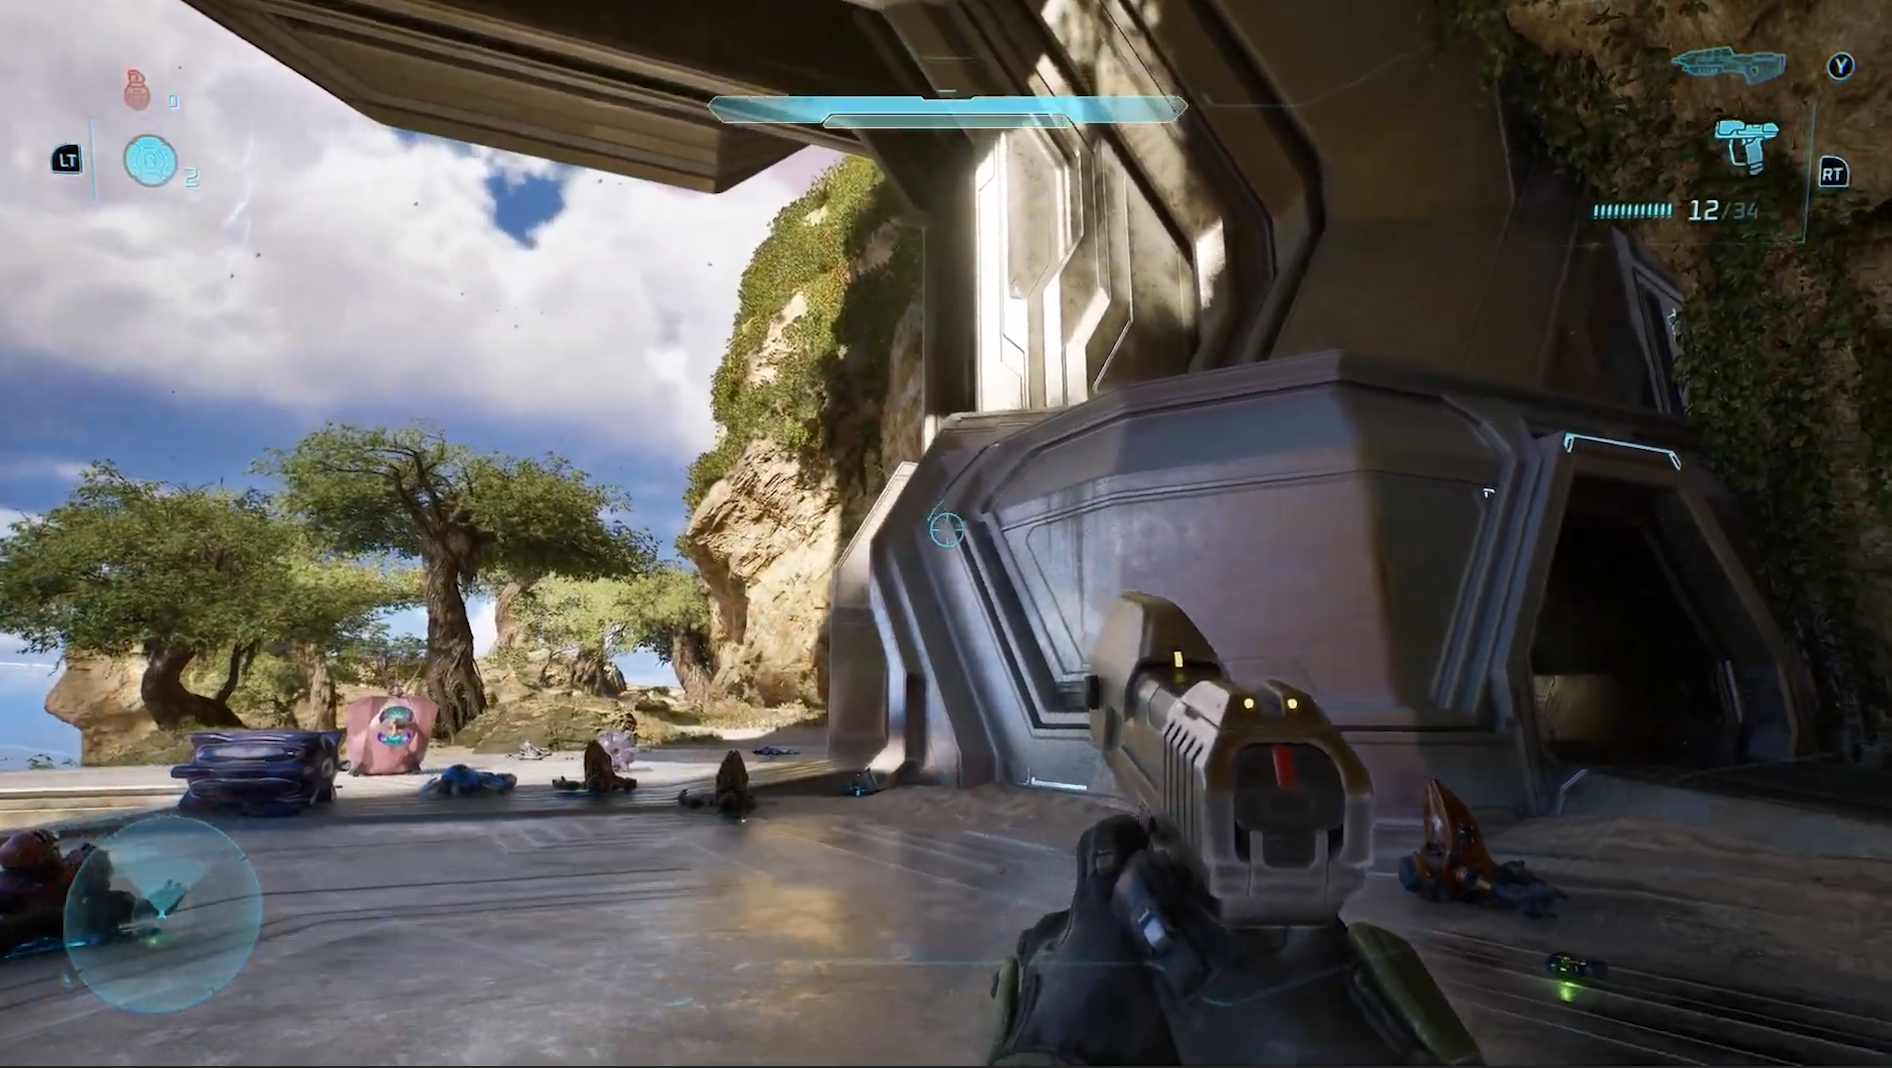
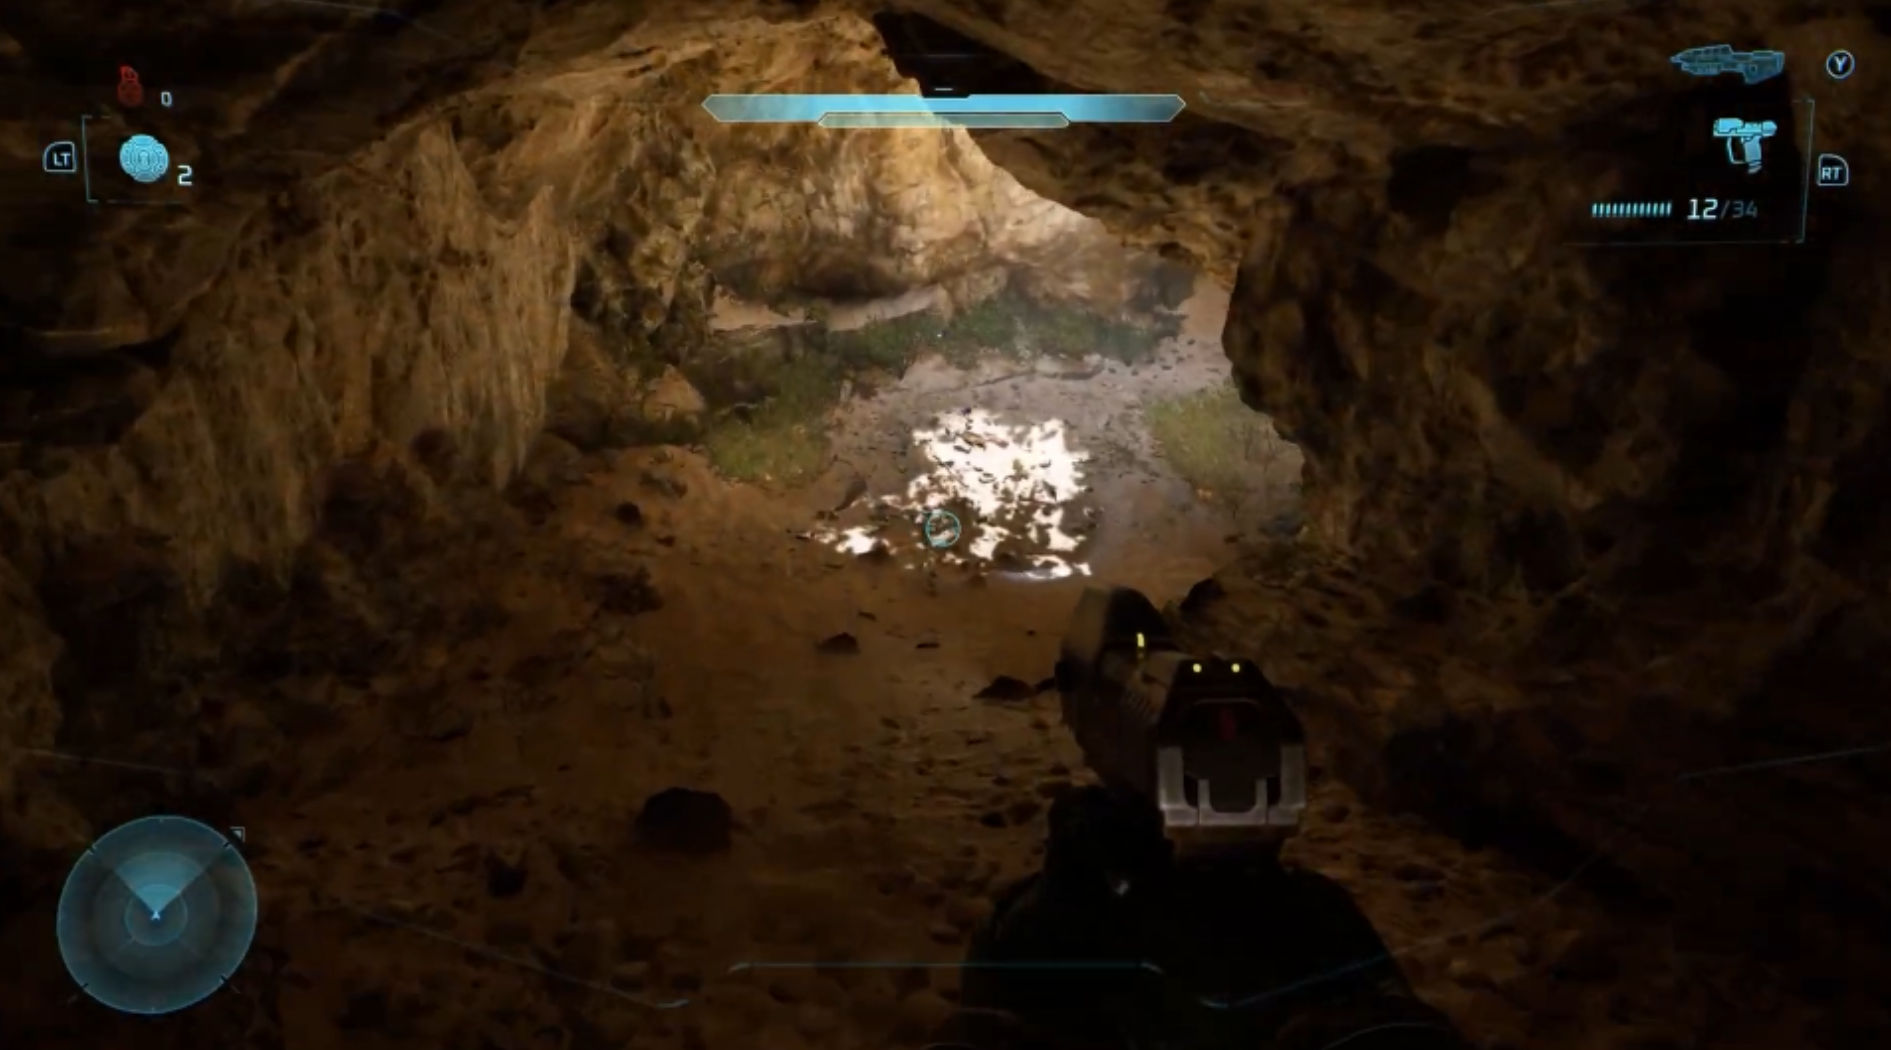
After acquiring the Warthog at the start of the mission, follow the objective marker until you reach a structure that leads inside. Instead of entering, look to the right of the doorway to spot a cave.

Head through the cave’s path, and you’ll find the Skull lying on the ground.

Skull 2: Acrophobia

Modifier: Enables Flight mode

From the shoreline, head uphill to a circular clearing where two Hunters patrol.

Once they’re defeated, walk up the slanted side of the central pillar. At the top, turn around and jump onto the main column. The Skull is positioned at the top behind the tree.

Skull 3: Hip Fire

Modifier: Cannot Zoom/ADS with weapons

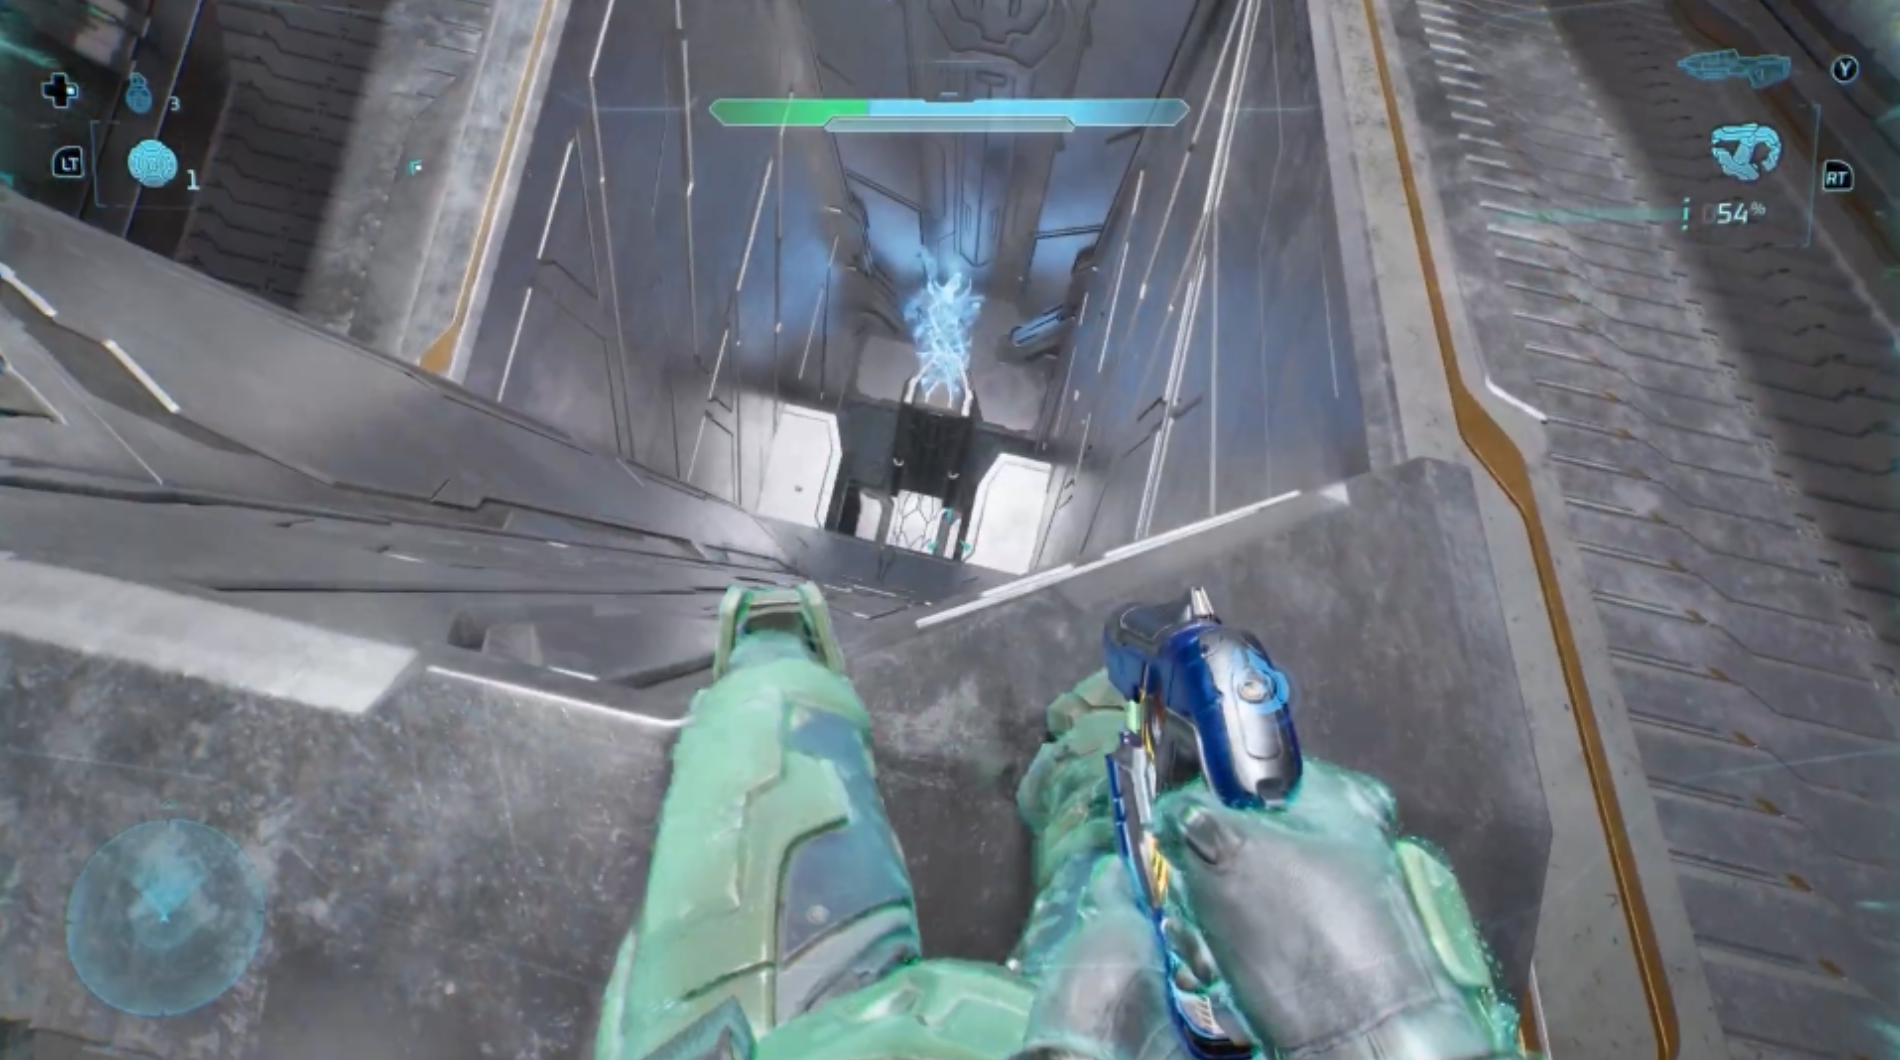
After lifting system security and entering the previously locked door, you’ll begin descending through the structure.

On one of the levels, you’ll encounter two Hunters. On this same level, go to the stairwell with blue lighting in the center.

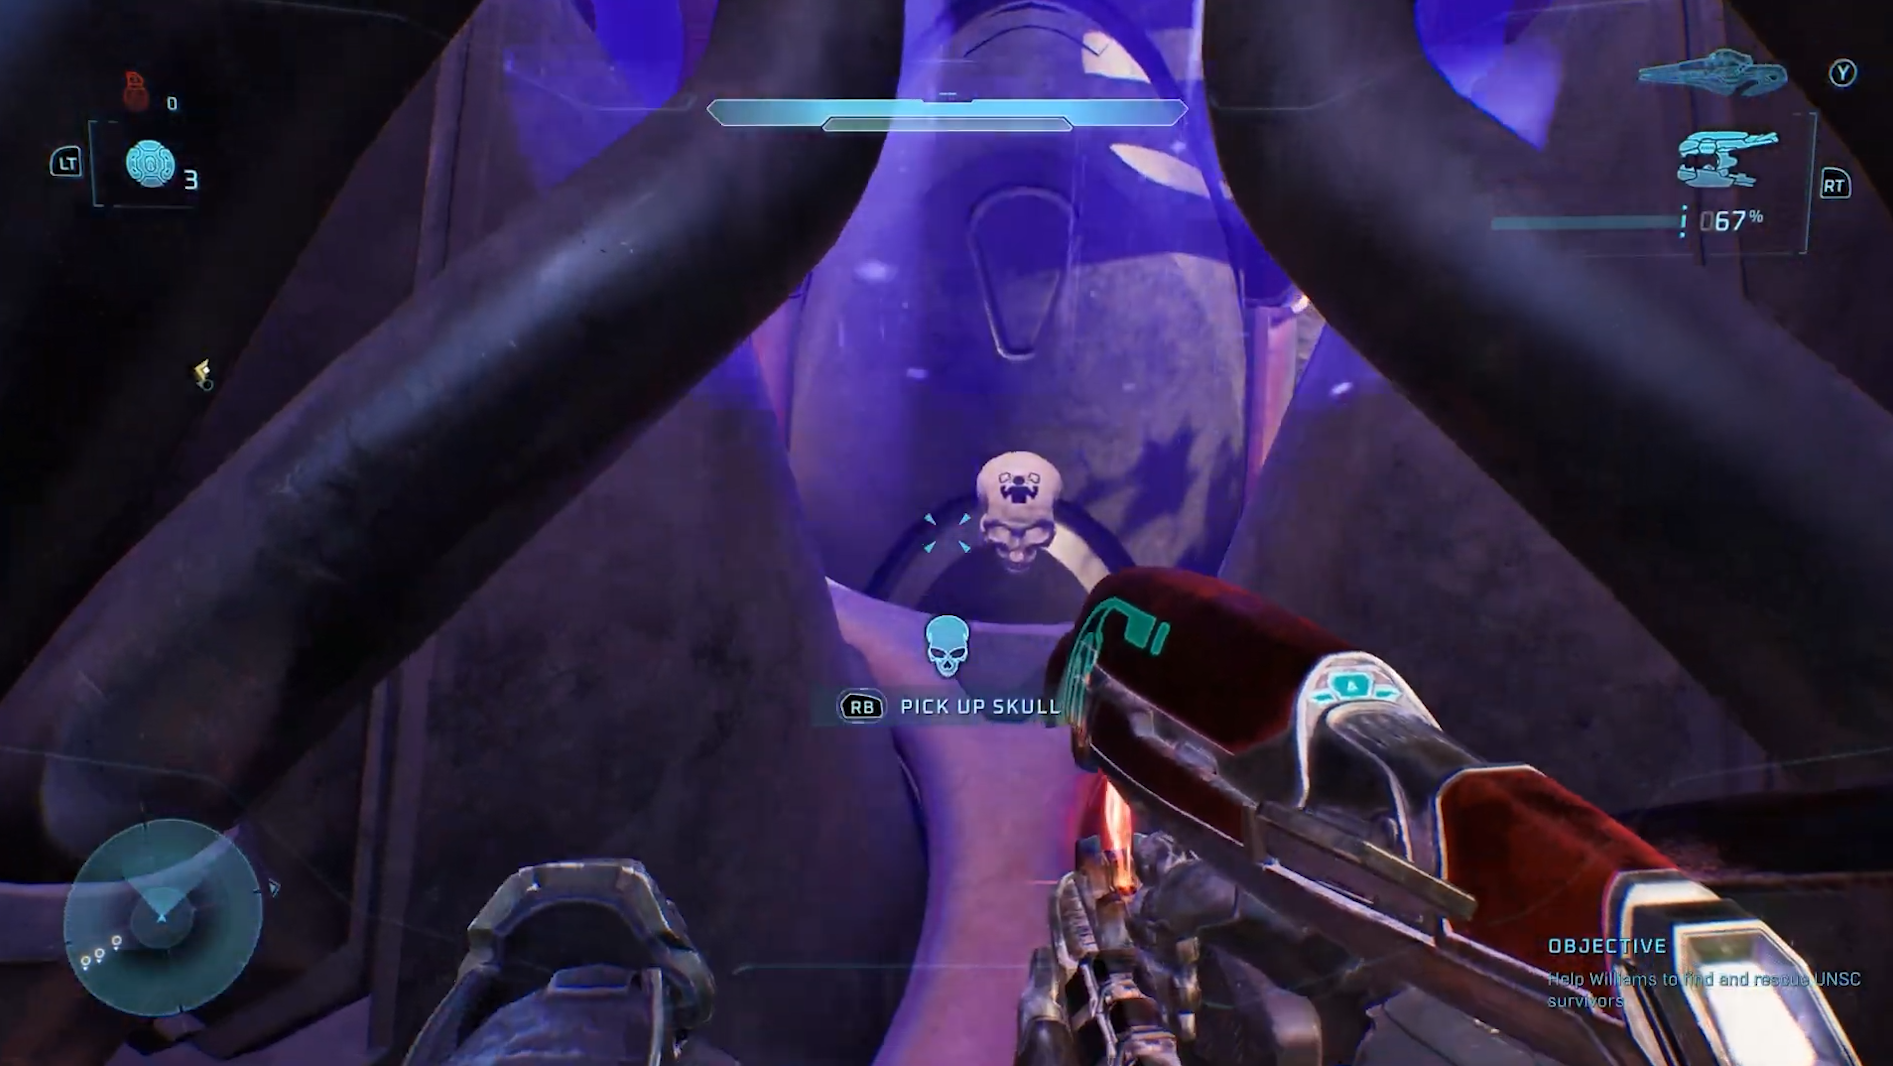
Look down the opening, and you’ll see the Skull resting on a ledge.

Drop down to collect it.

Chapter 5: Assault on the Control Room

Skull 1: I Would Have Been Your Daddy

Modifier: Rare combat dialogue plays more often

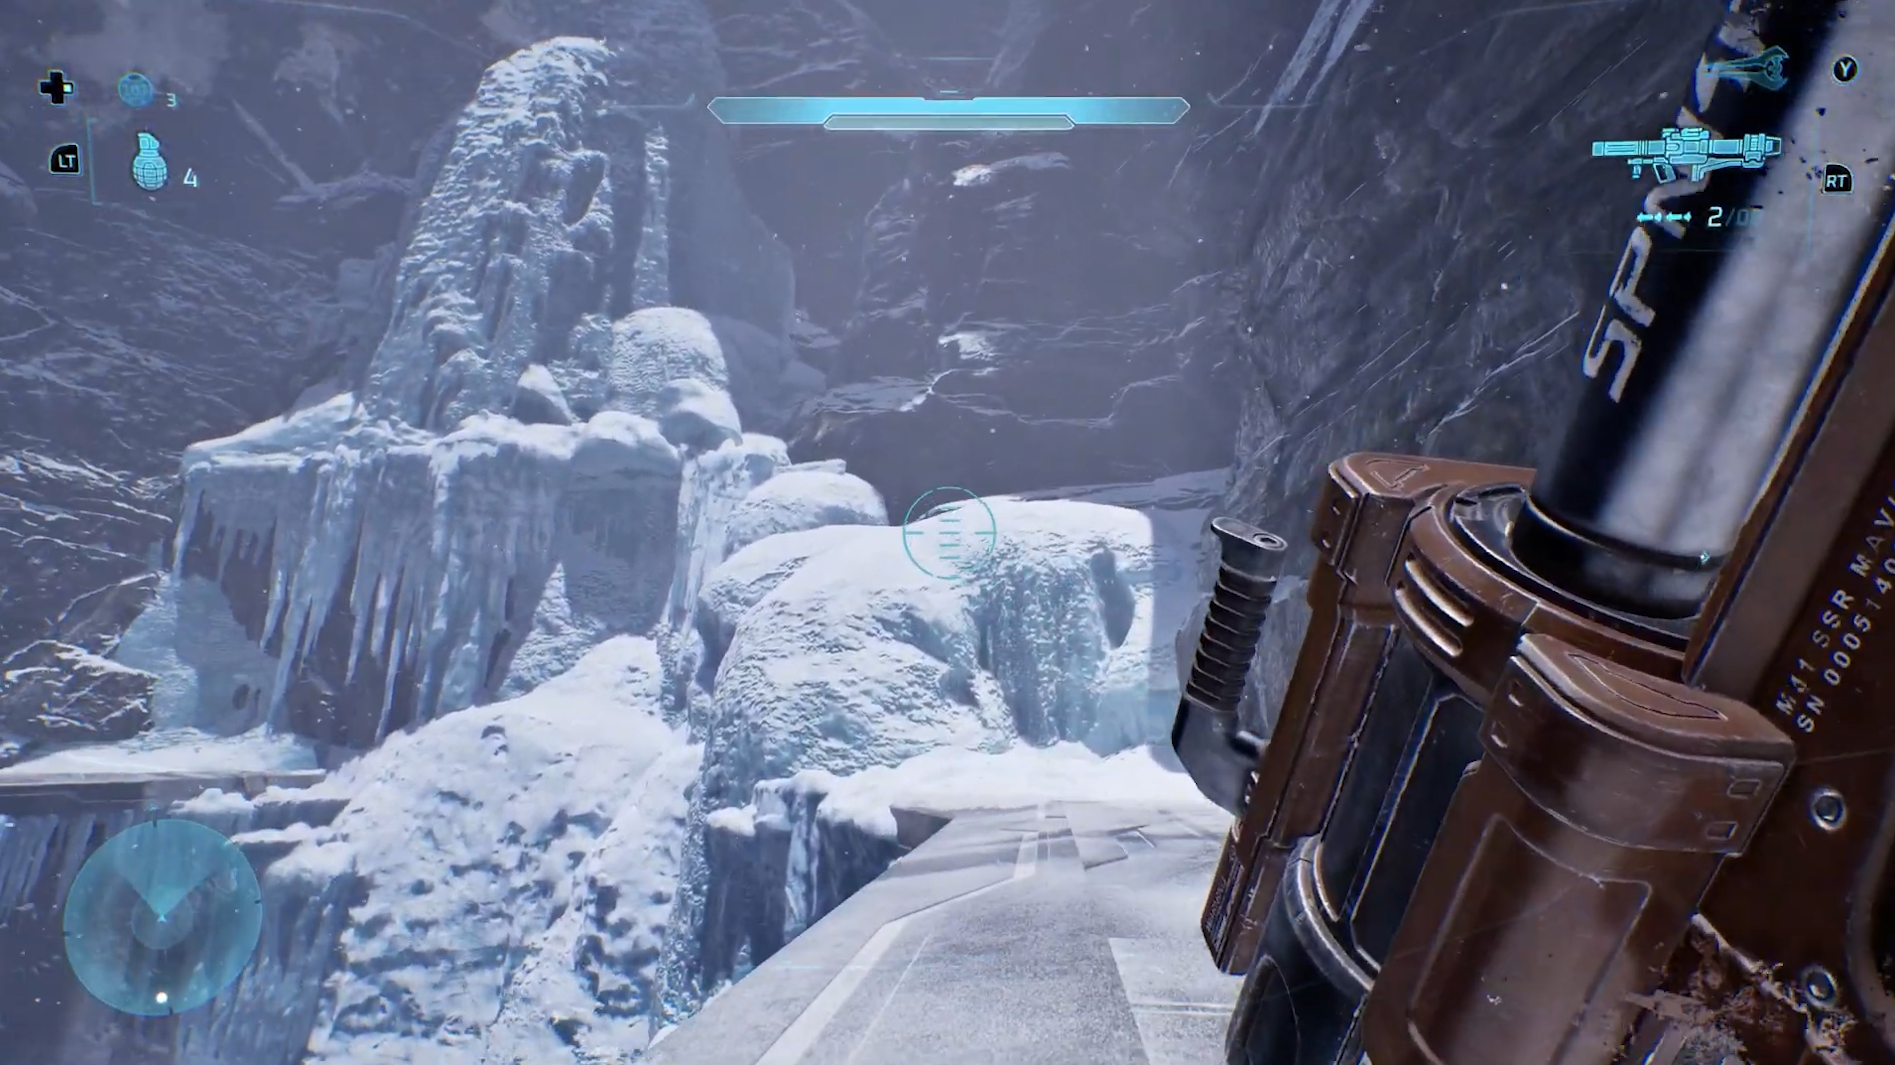
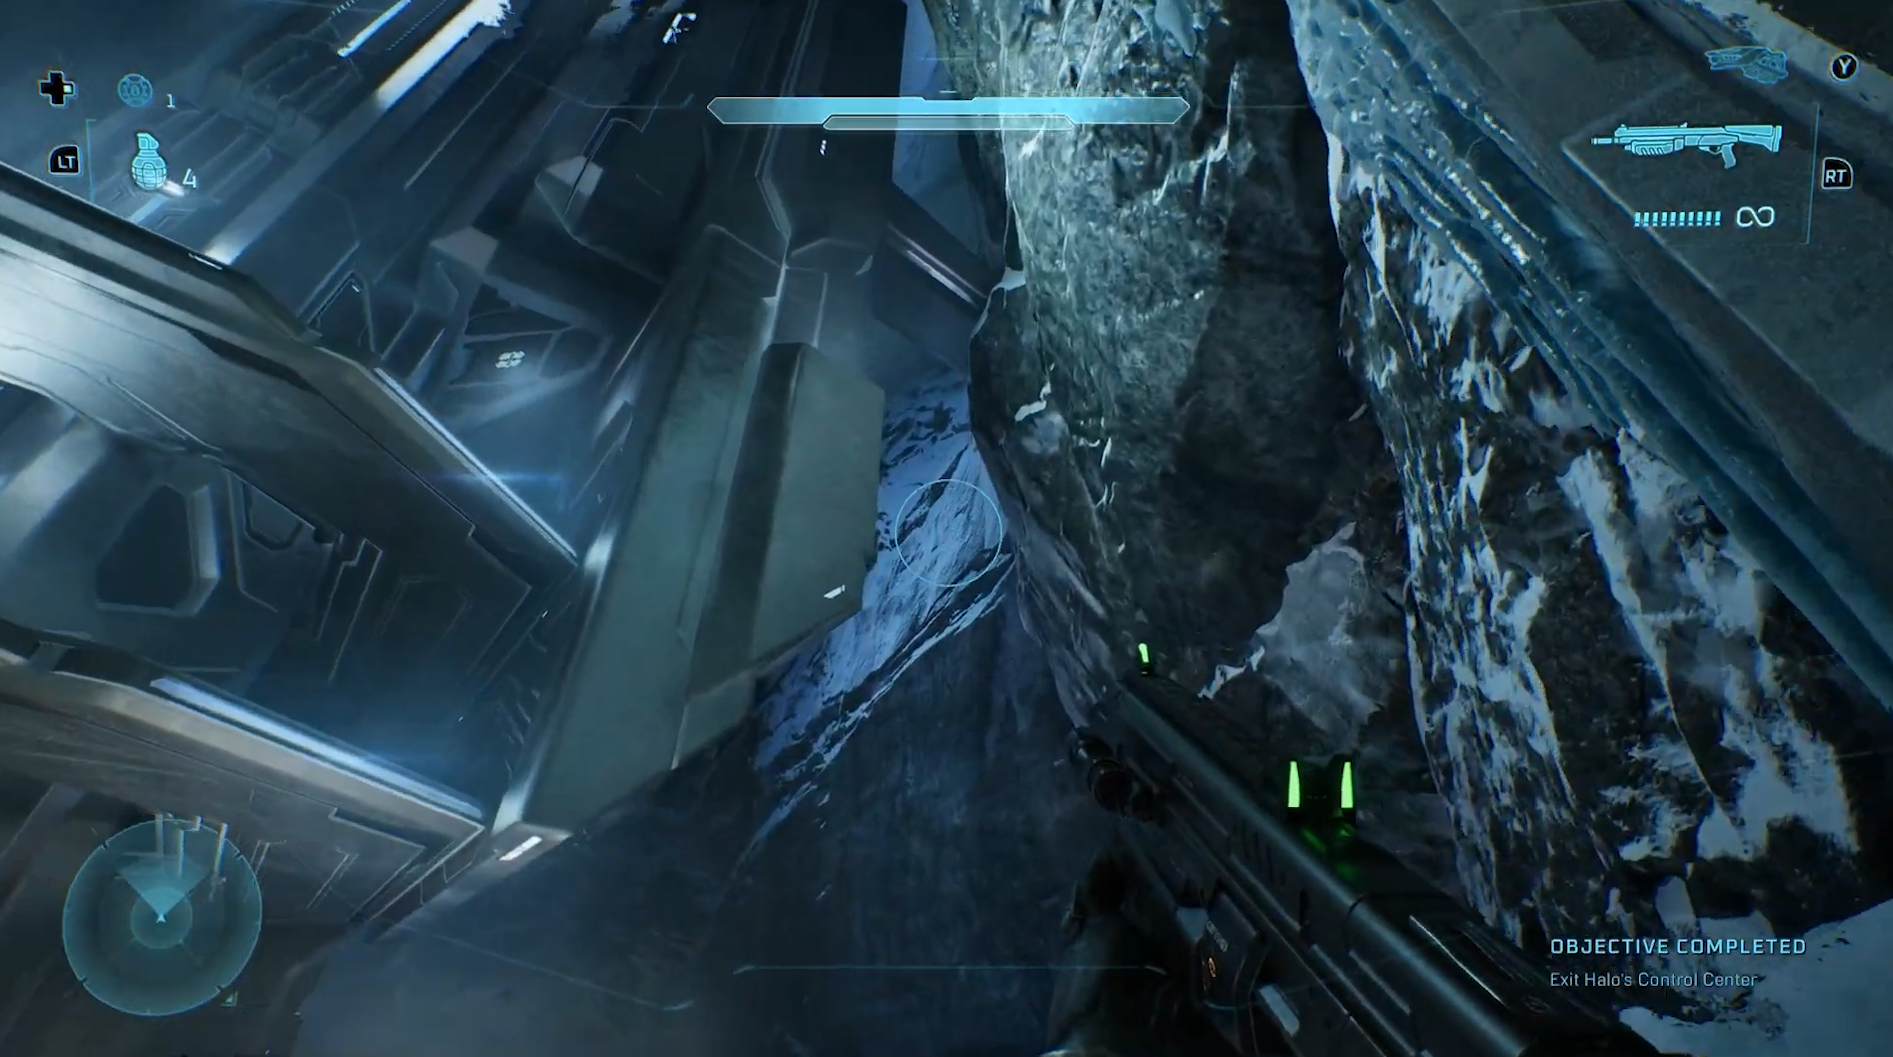
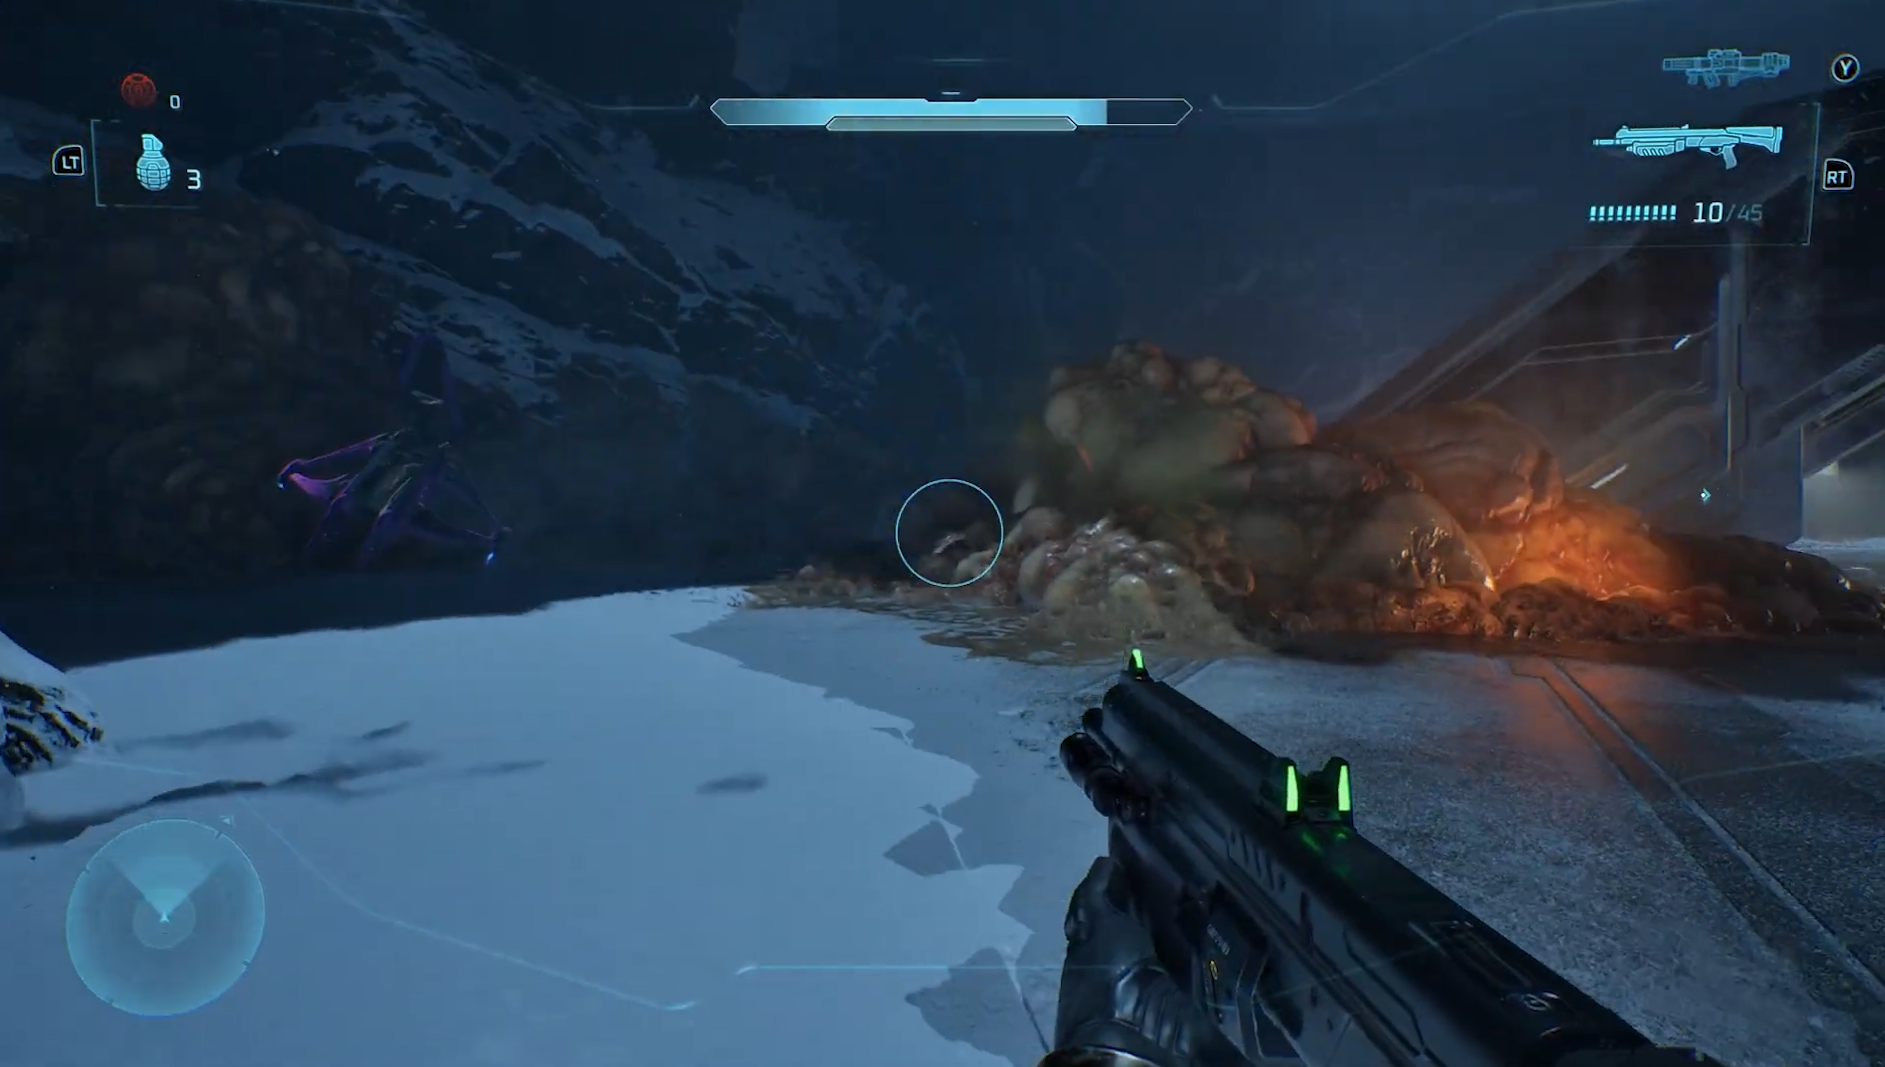
When you’re driving the Scorpion, you’ll eventually reach an icy stretch with a bridge spanning a deep chasm.

After crossing, steer left and follow the path until it ends beside a gun emplacement next to a hole in the rock.

Park the tank, climb onto it, and look down into the opening; the Skull is tucked inside.

Skull 2: Angry

Modifier: Enemies have higher fire rate, and shoot more often

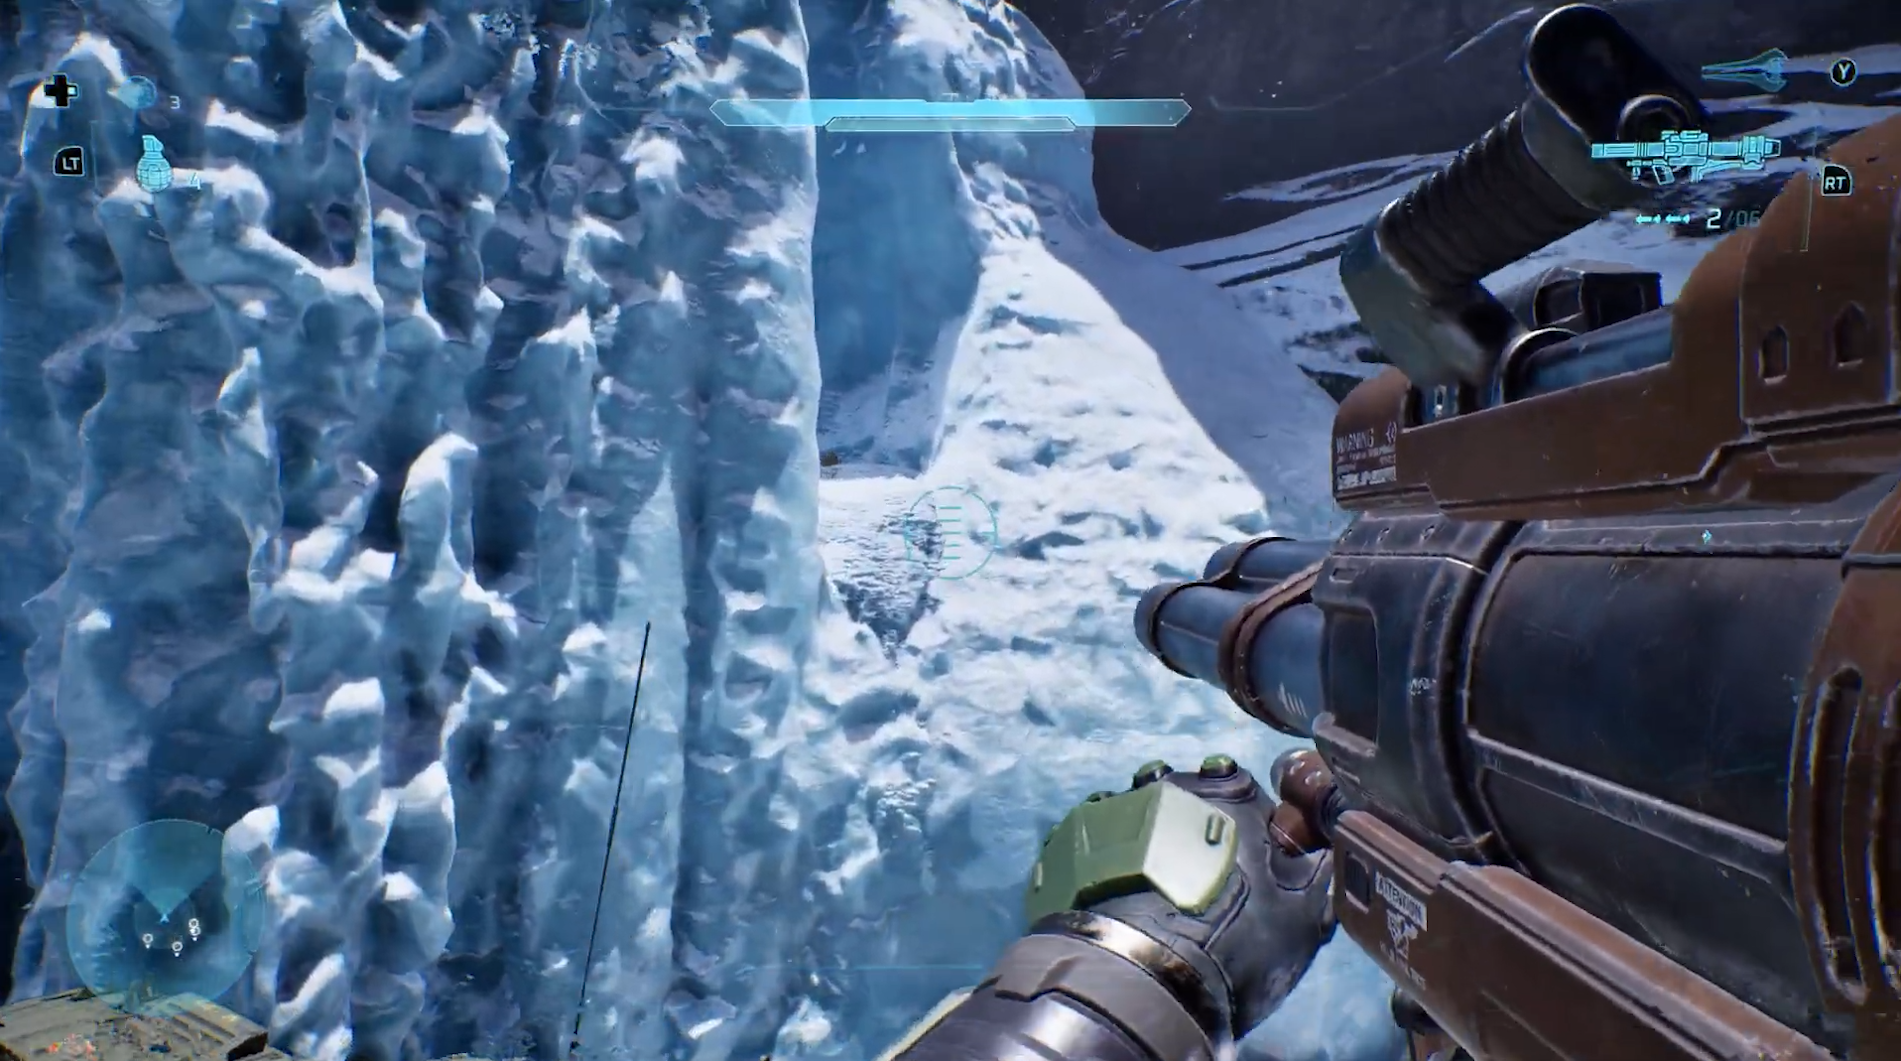
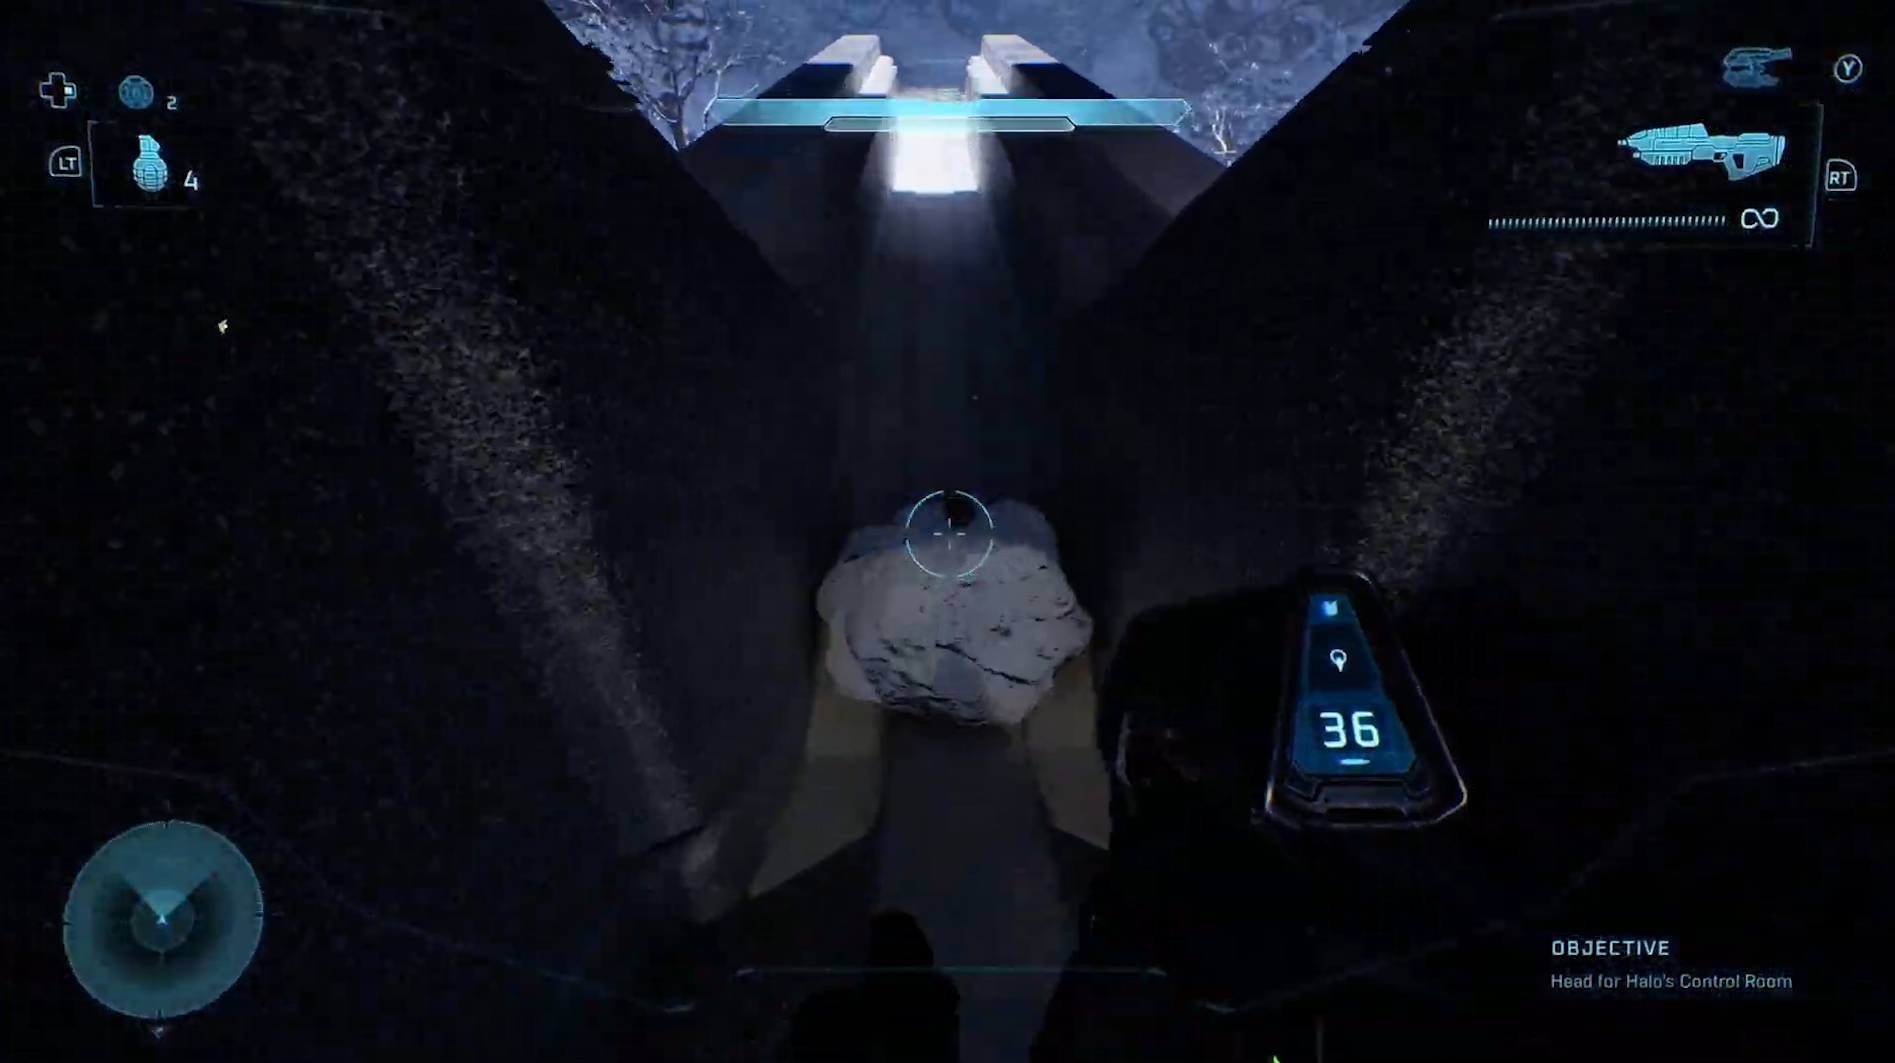
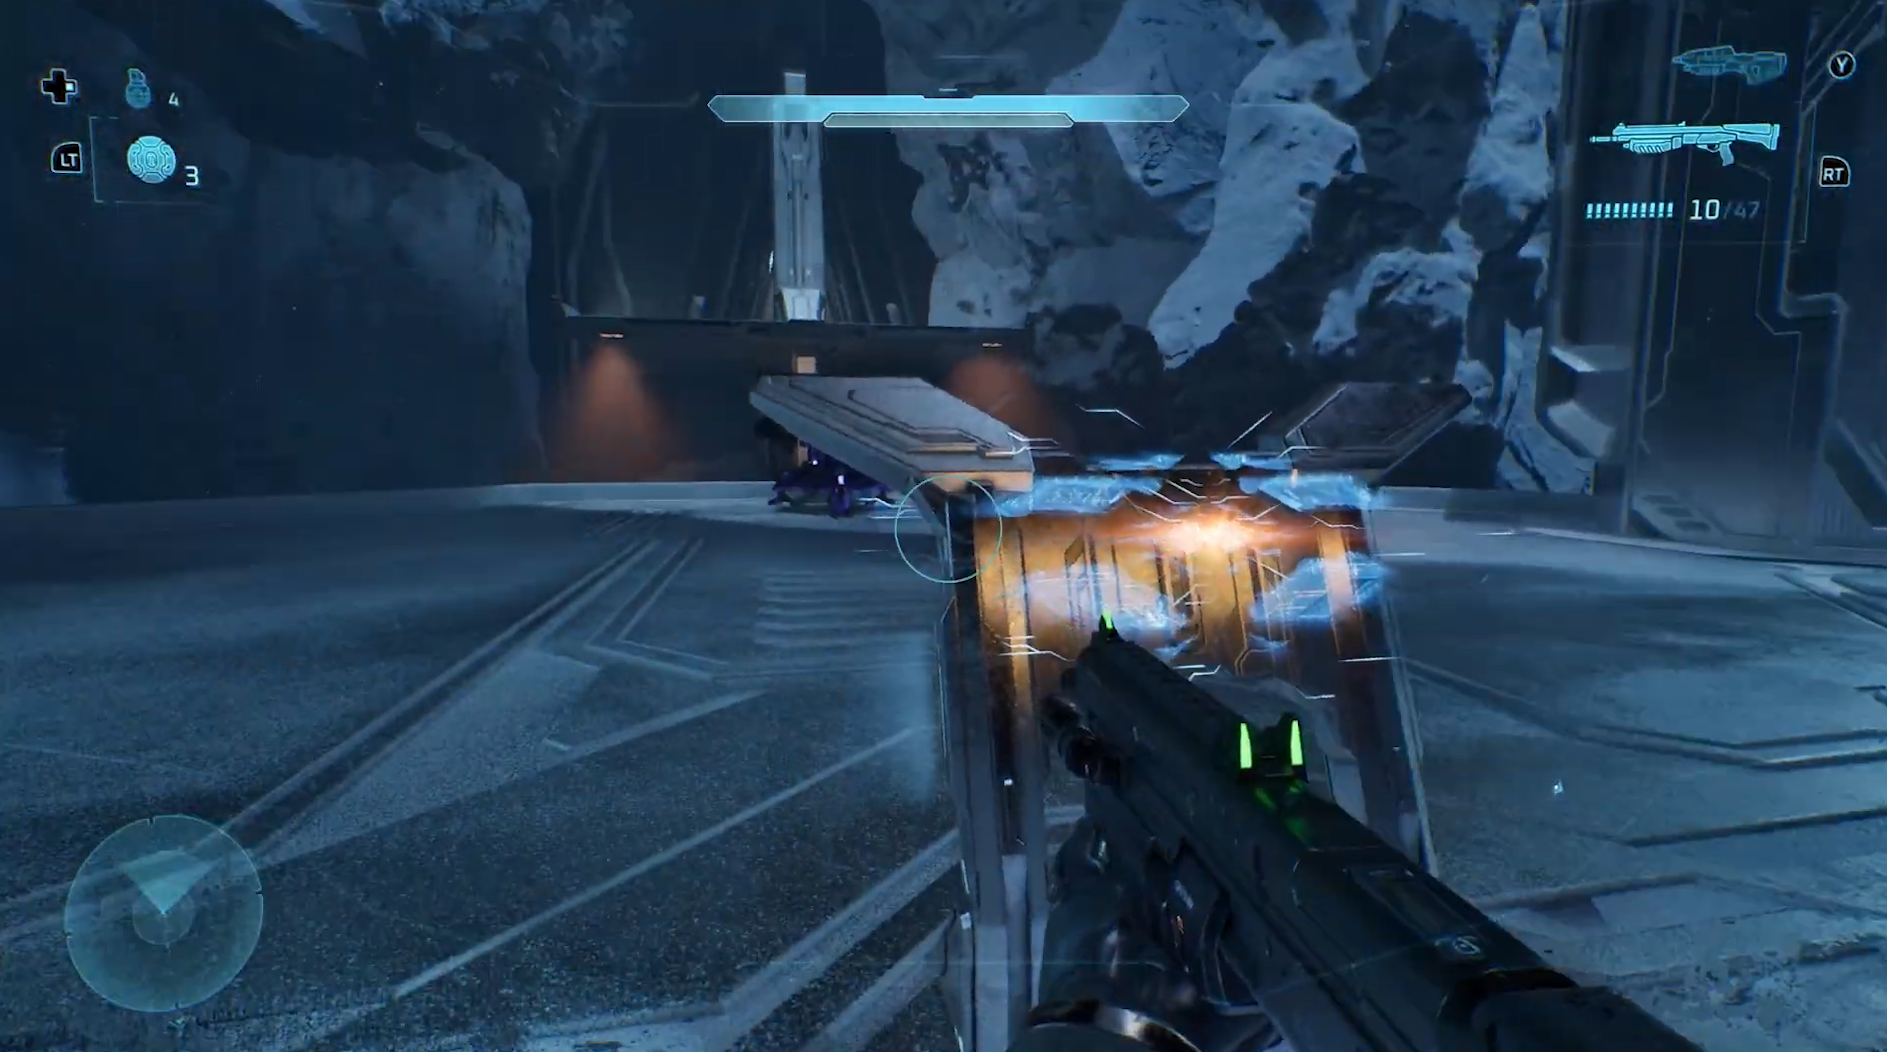
Further into the mission, you’ll enter a cave that forces you to abandon the Scorpion. Move through it, and once you emerge, the objective marker will point you toward an interior entrance on your right.

Ahead is a downward ramp with a horizontal bridge-like structure crossing it.

Jump onto the structure at the back, and the Skull will be sitting in the center.

Skull 3: Cowbell

Modifier: Reduce the physics mass of moving objects

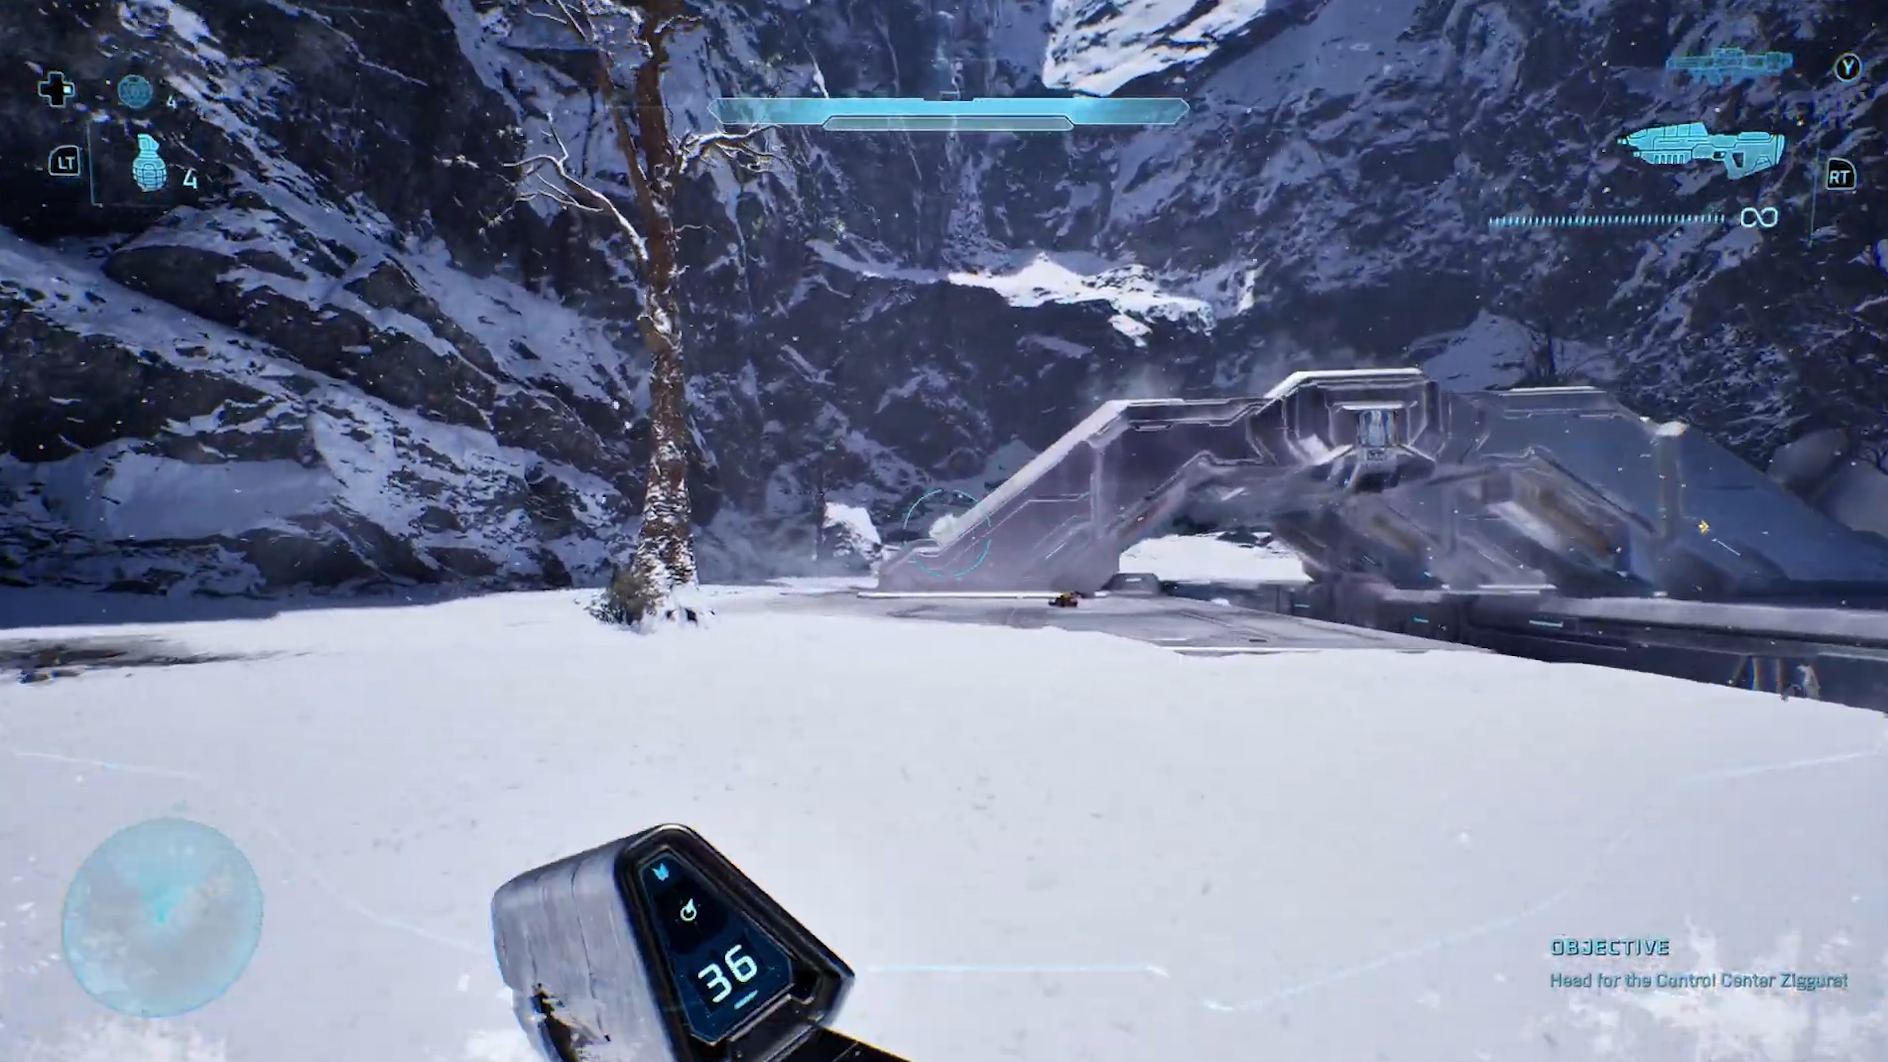
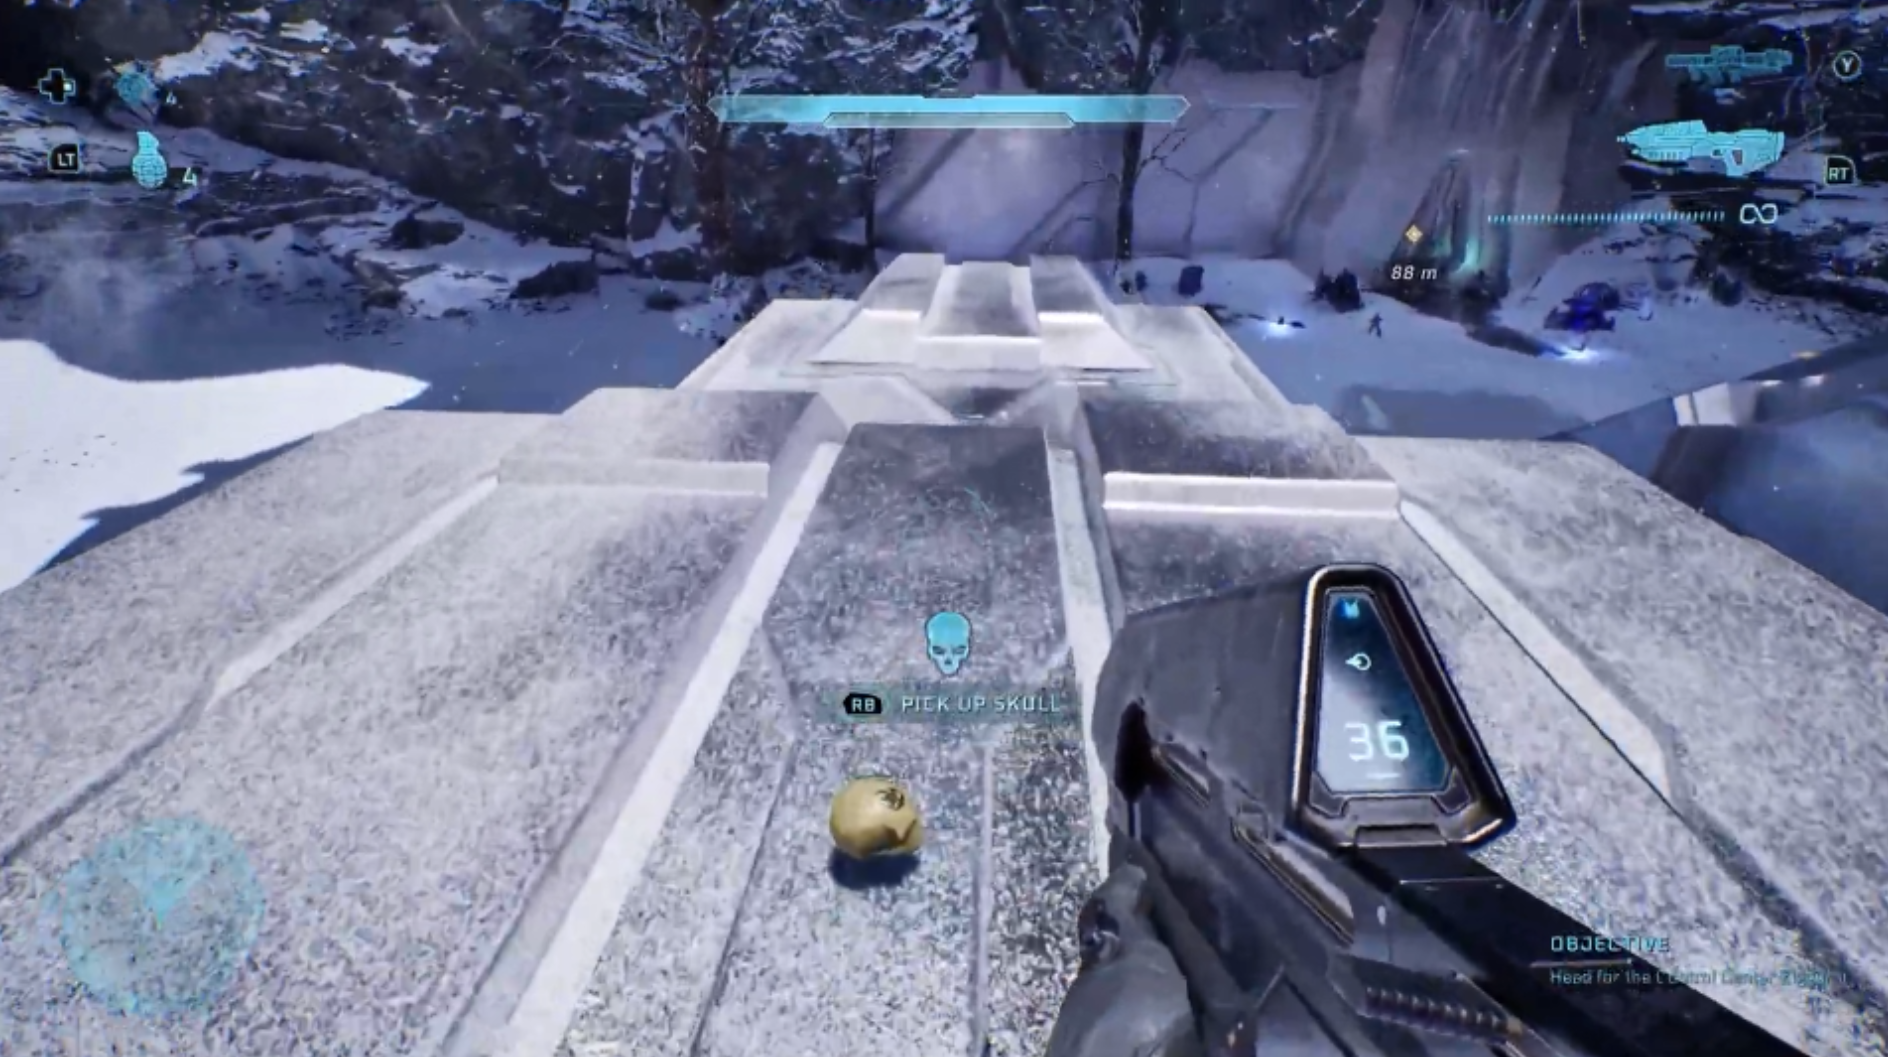
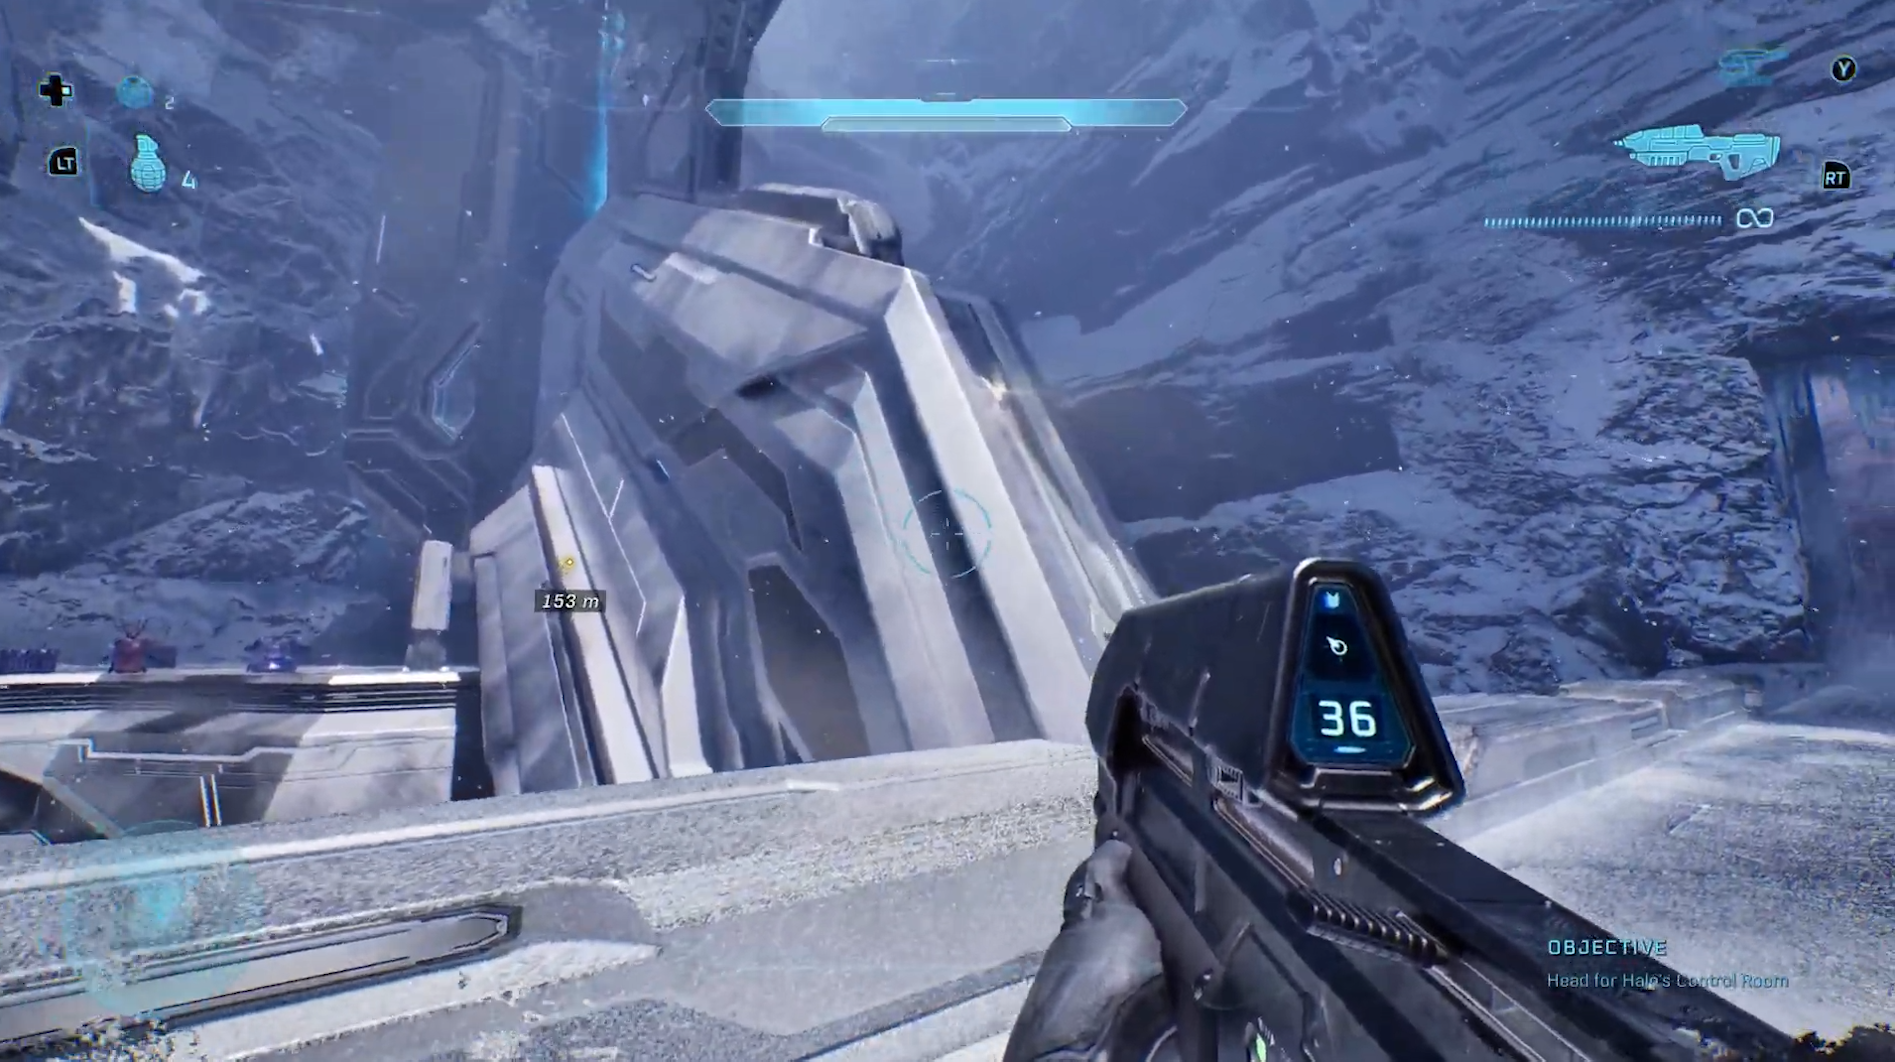
Near the mission’s end, you’ll step outside to find a large structure on your left while you stand on a bridge. Stay on the bridge and head to its midpoint, directly above where the structure passes underneath.

Drop down onto the roof of the structure, turn around, and you’ll spot the Skull resting on a snowy rock in front of you.

Chapter 6: 343 Guilty Spark

Skull 1: Fog

Modifier: Disables the motion tracker

At the start of the mission, move past the wrecked Pelican and look for the Covenant dropship embedded in a massive tree.

Standing in front of the tree, turn around and head up the hill to the right of where you came from. At the top, continue forward until you see large tree roots on your right.

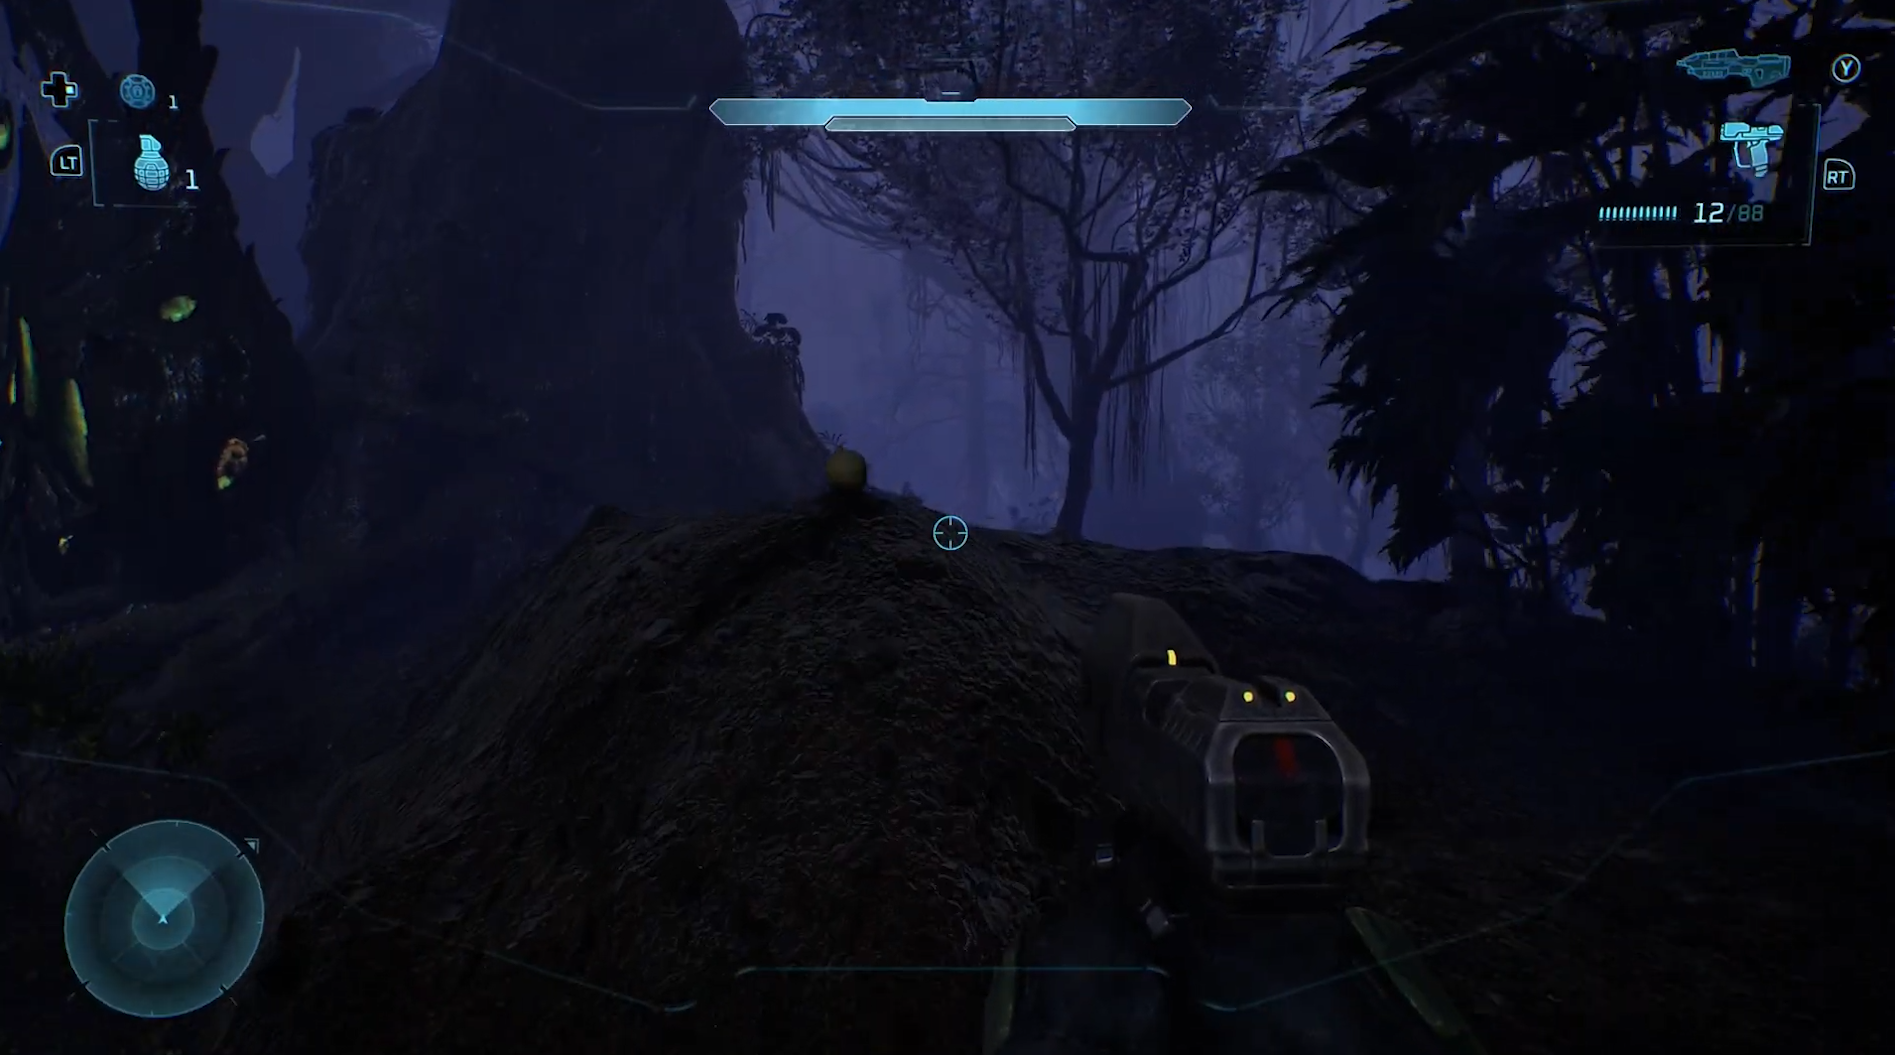
Climb the small rise here, keeping the huge tree beside you, and on a small mound of dirt at the top you’ll find the Skull.

Skull 2: That’s Just… Wrong

Modifier: Enemies have higher awareness of you

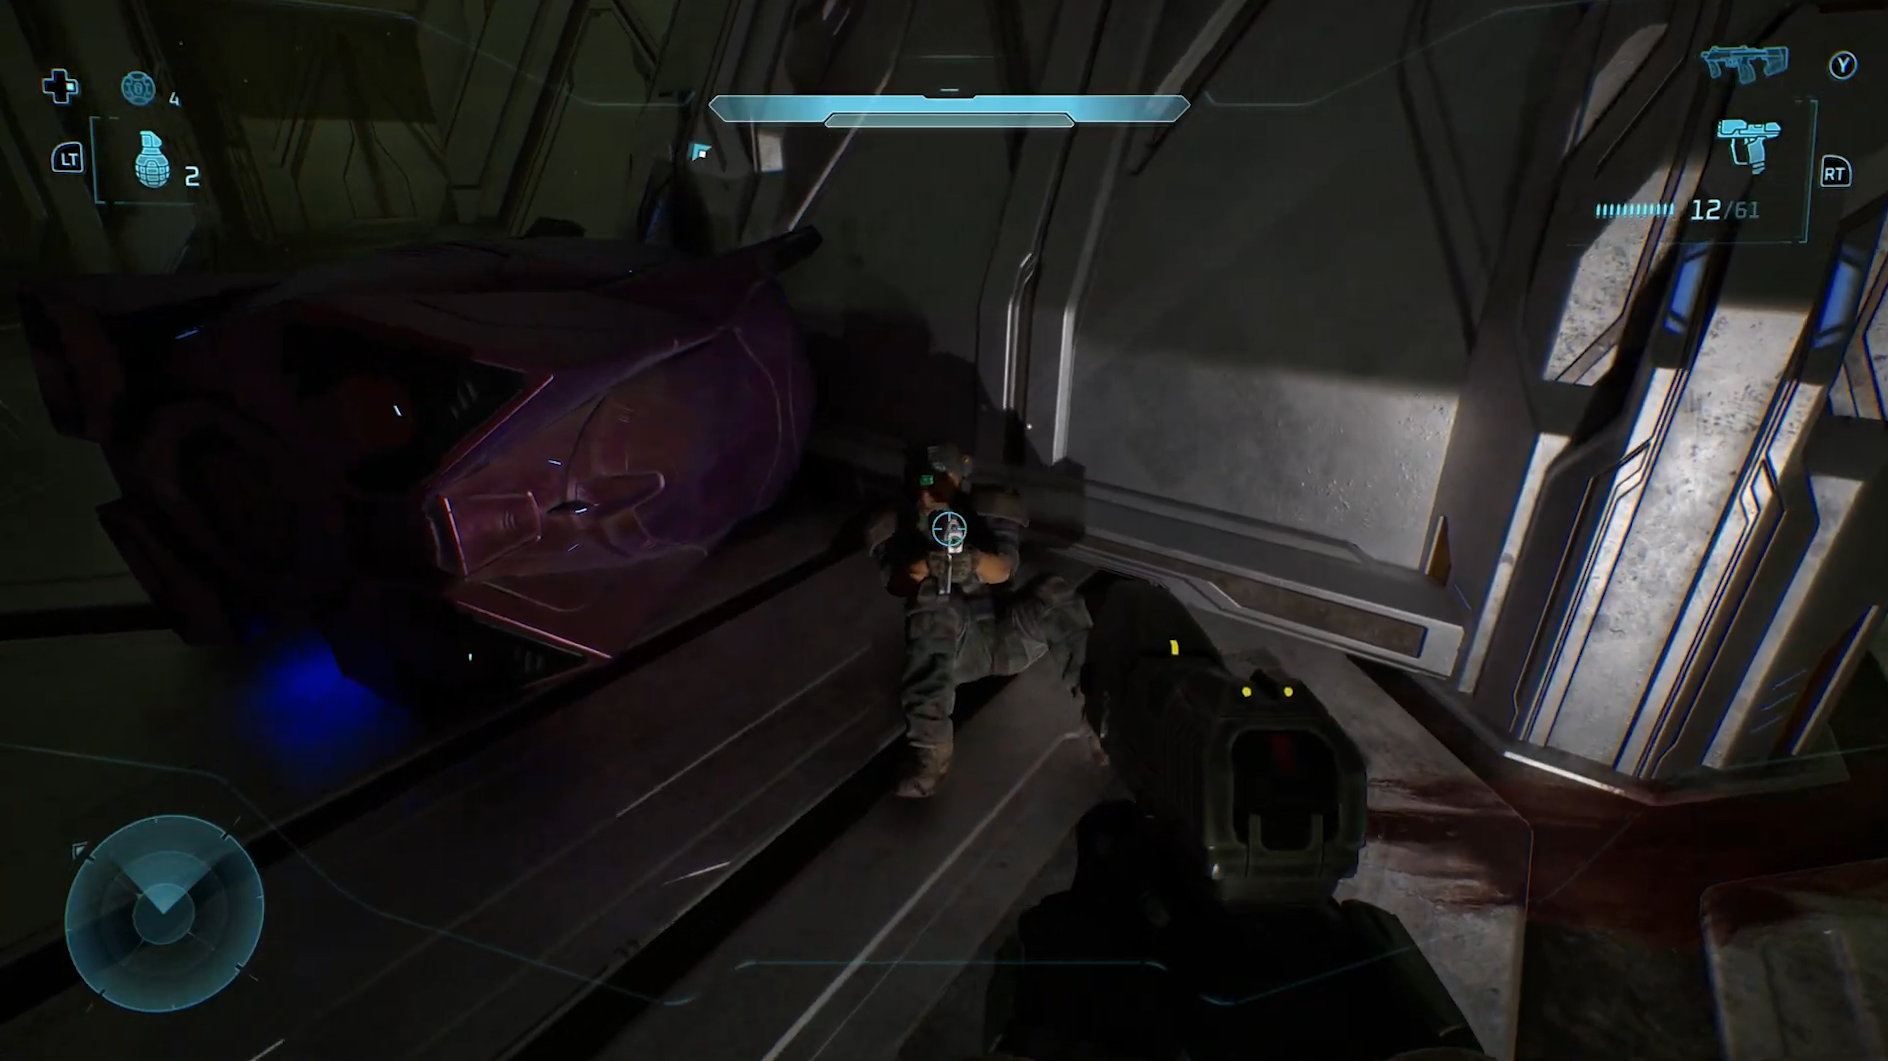
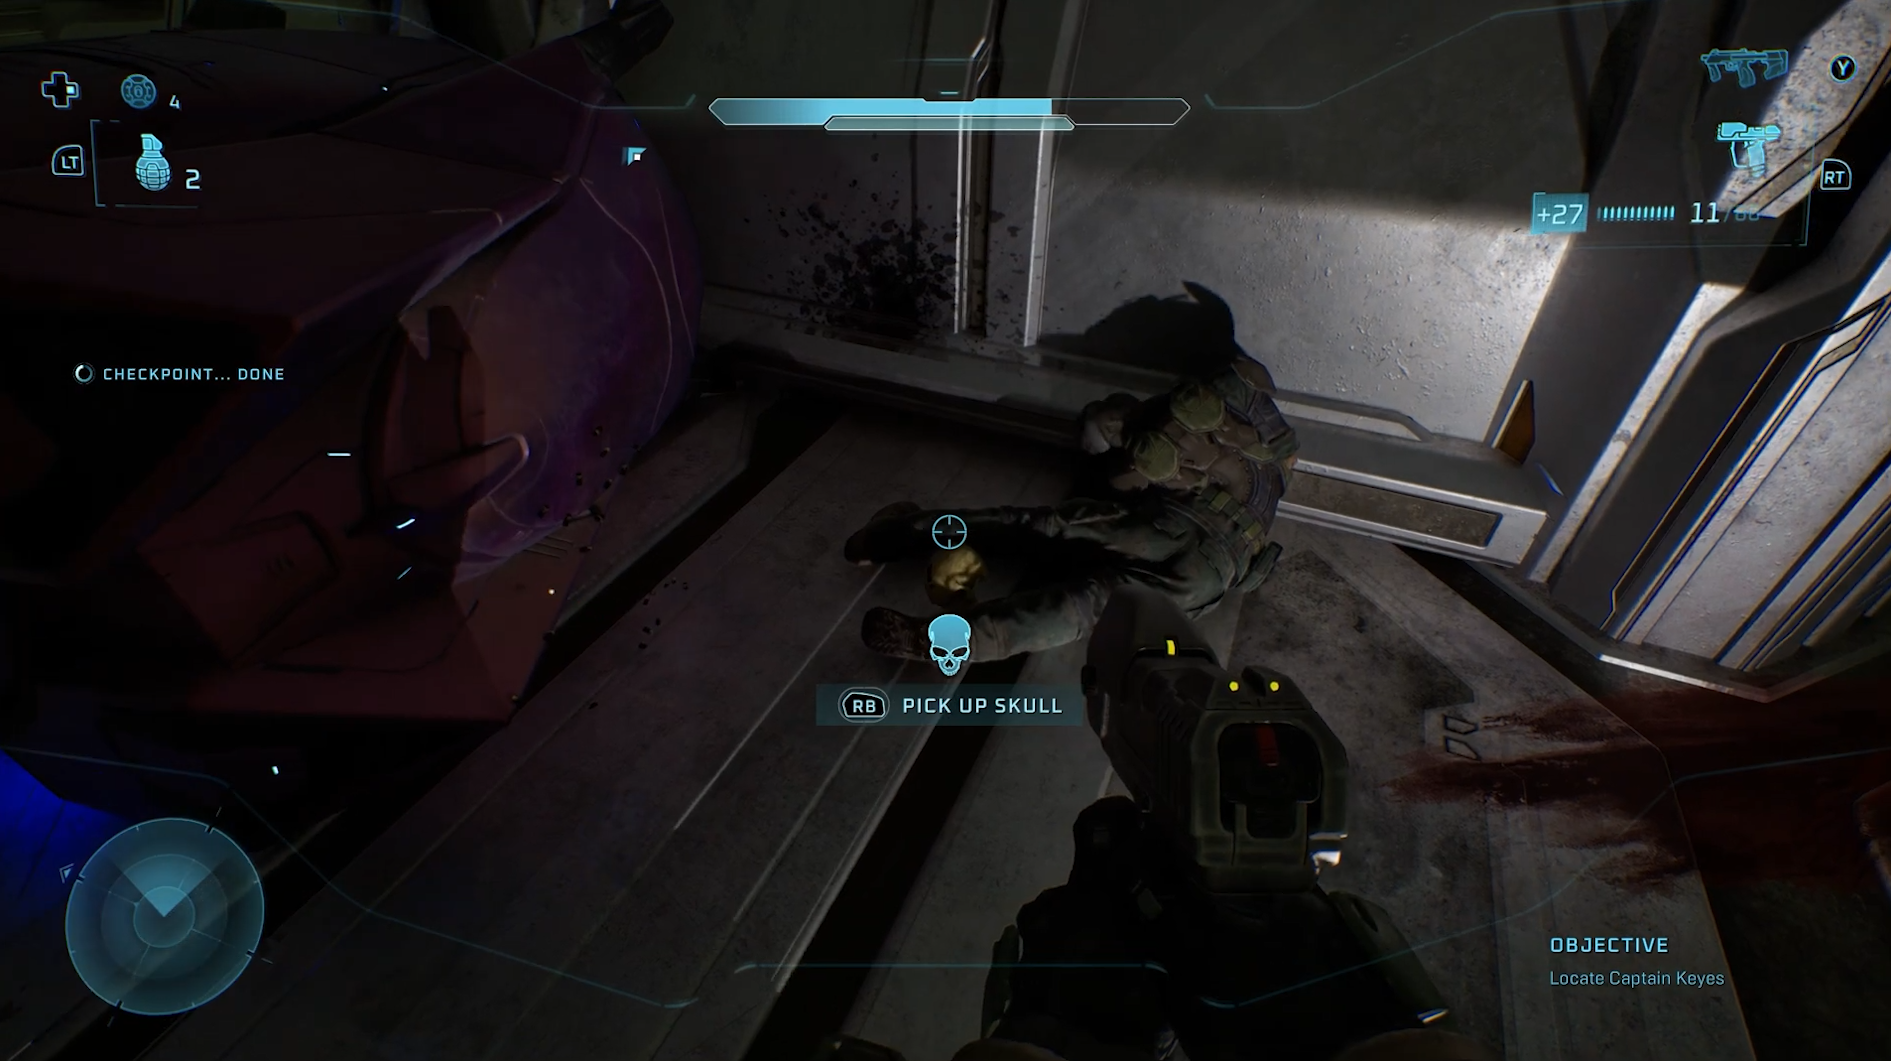
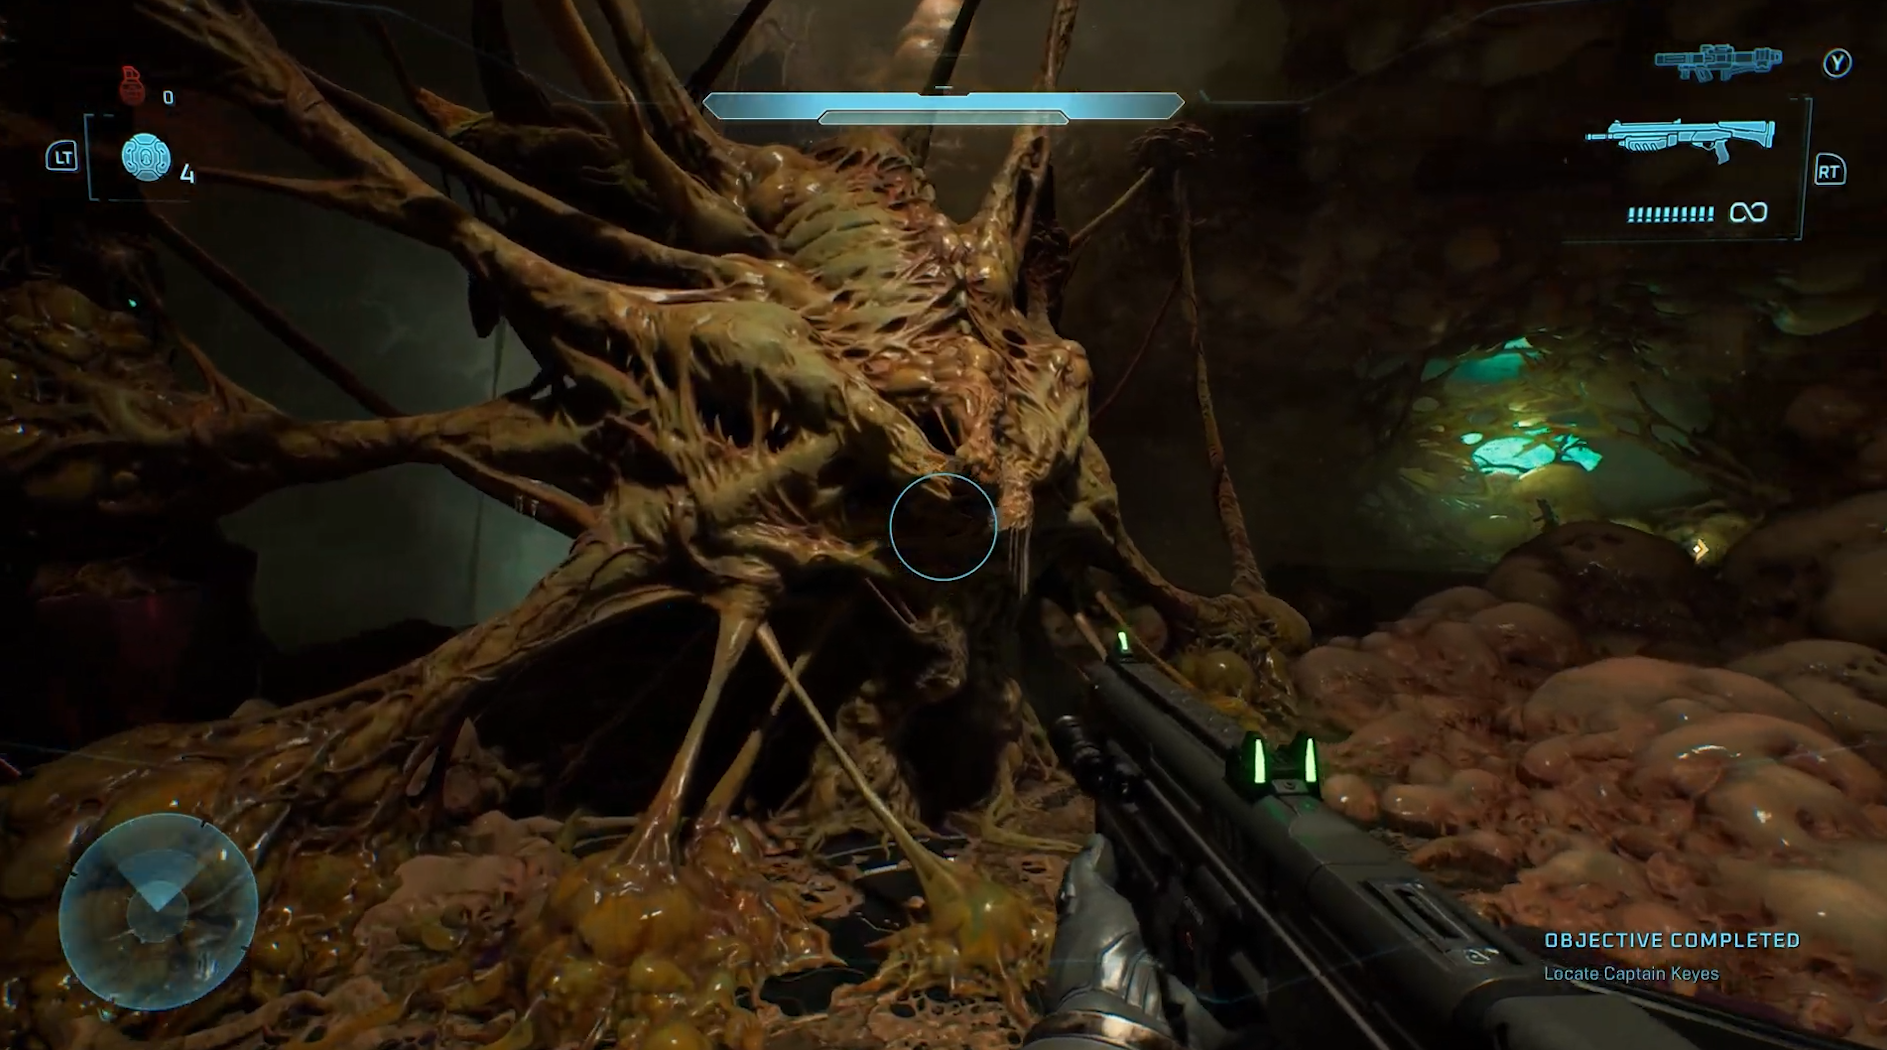
While searching the interior facility for Captain Keyes, the environment will grow quiet, and you’ll come across numerous dead Covenant. Along the main route, you’ll encounter a human soldier who suddenly turns hostile and opens fire.

Defeat him, and he’ll drop the Skull.

Skull 3: They Come Back

Modifier: Reanimated Flood enemies are much deadlier

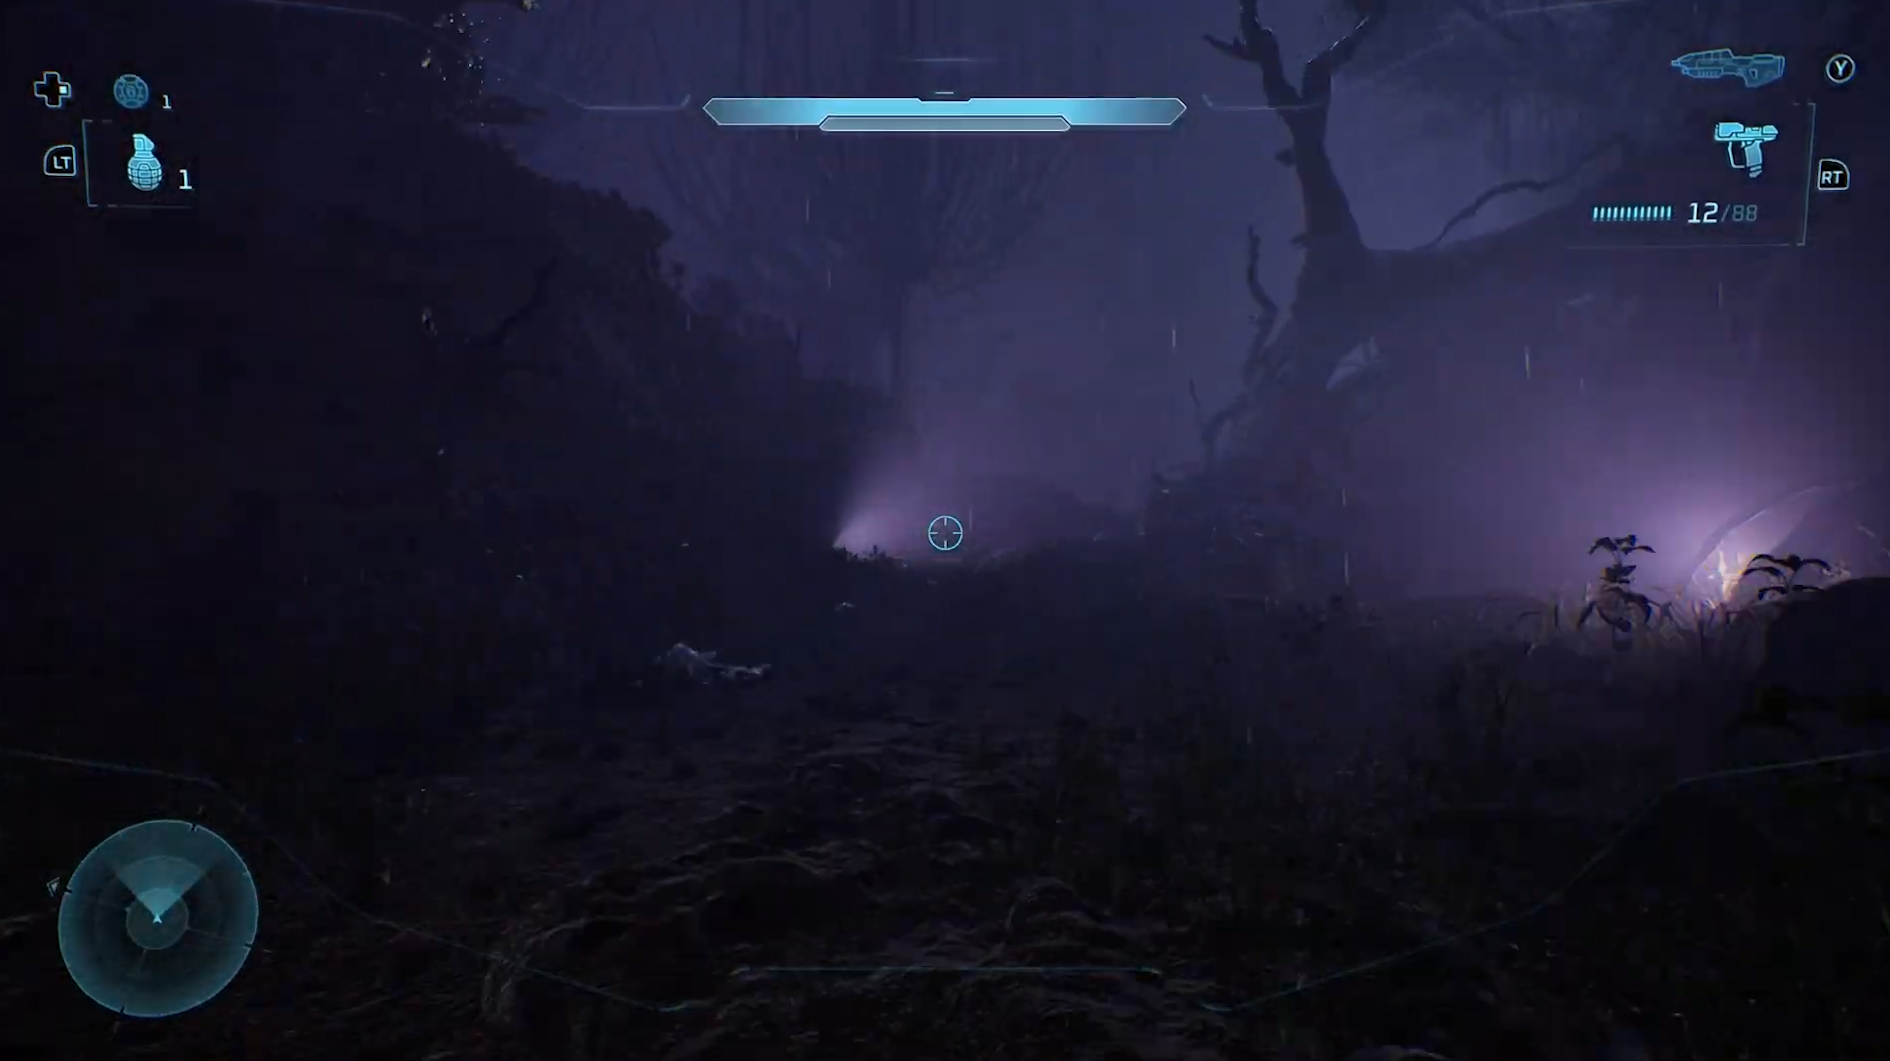
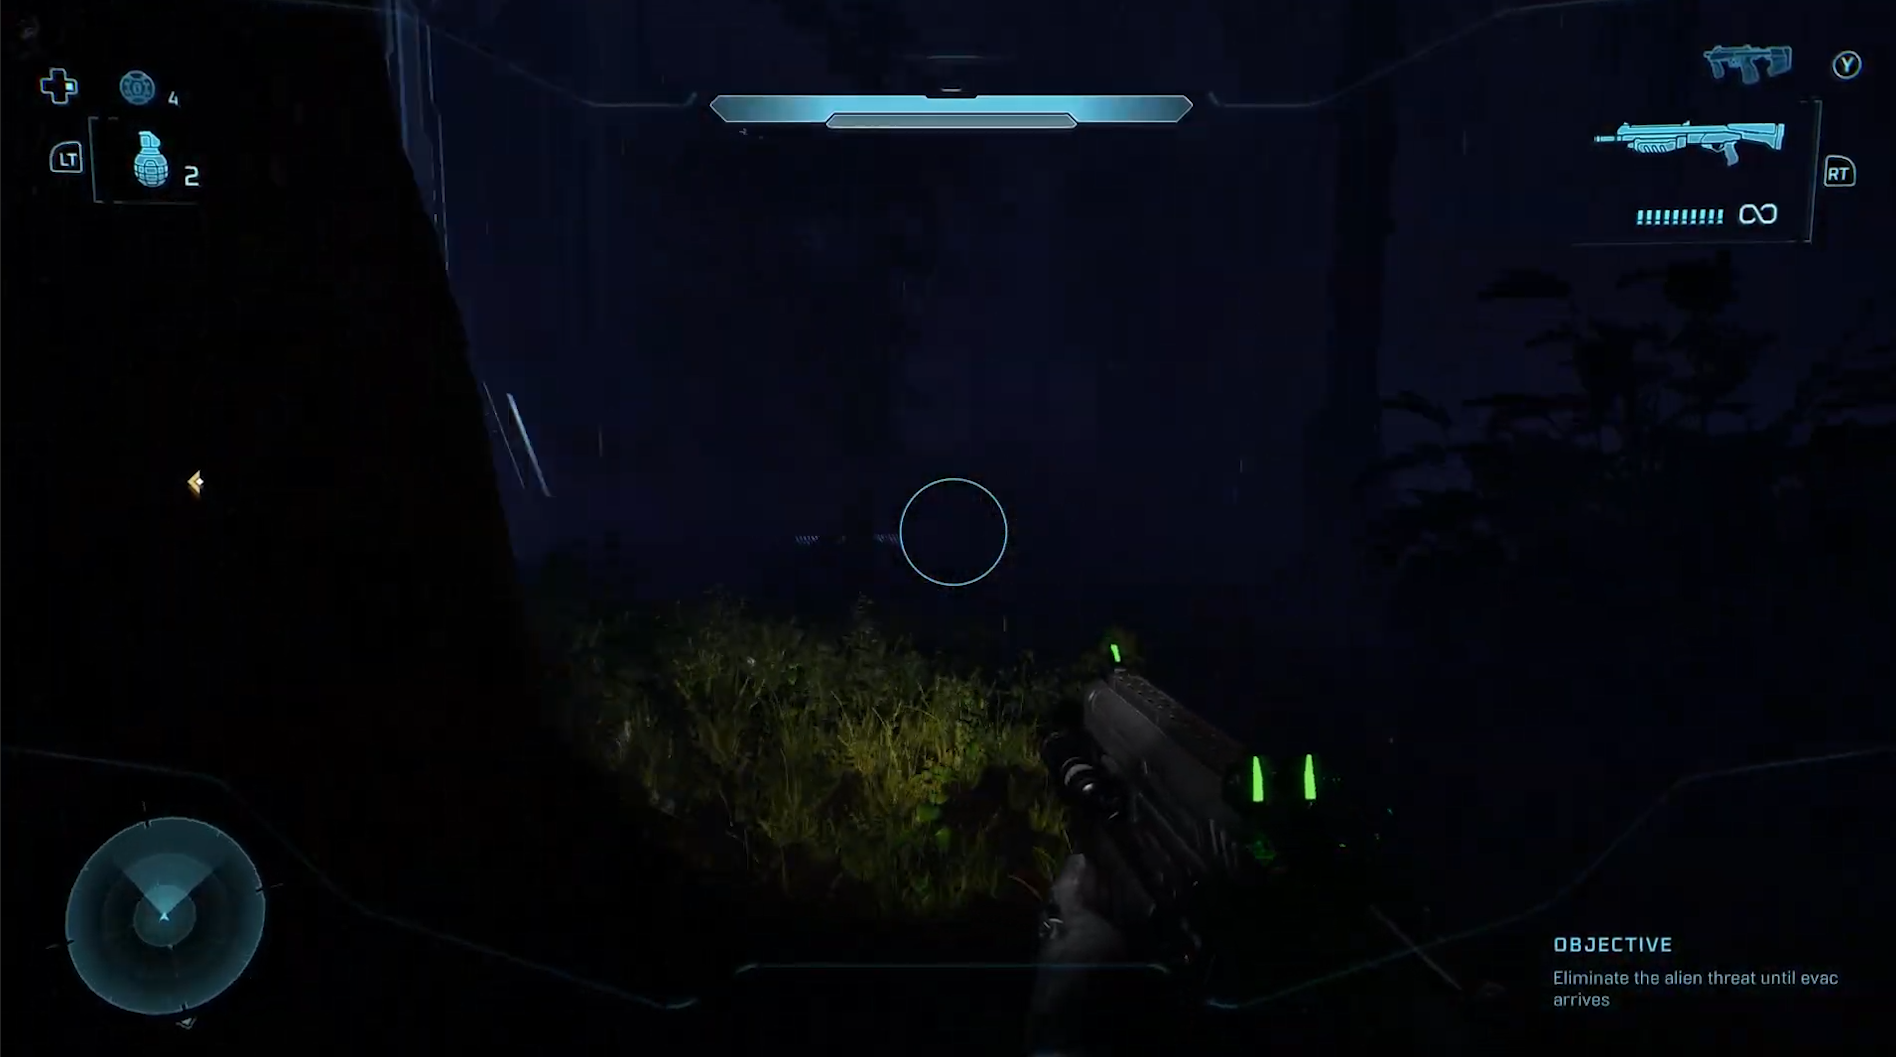
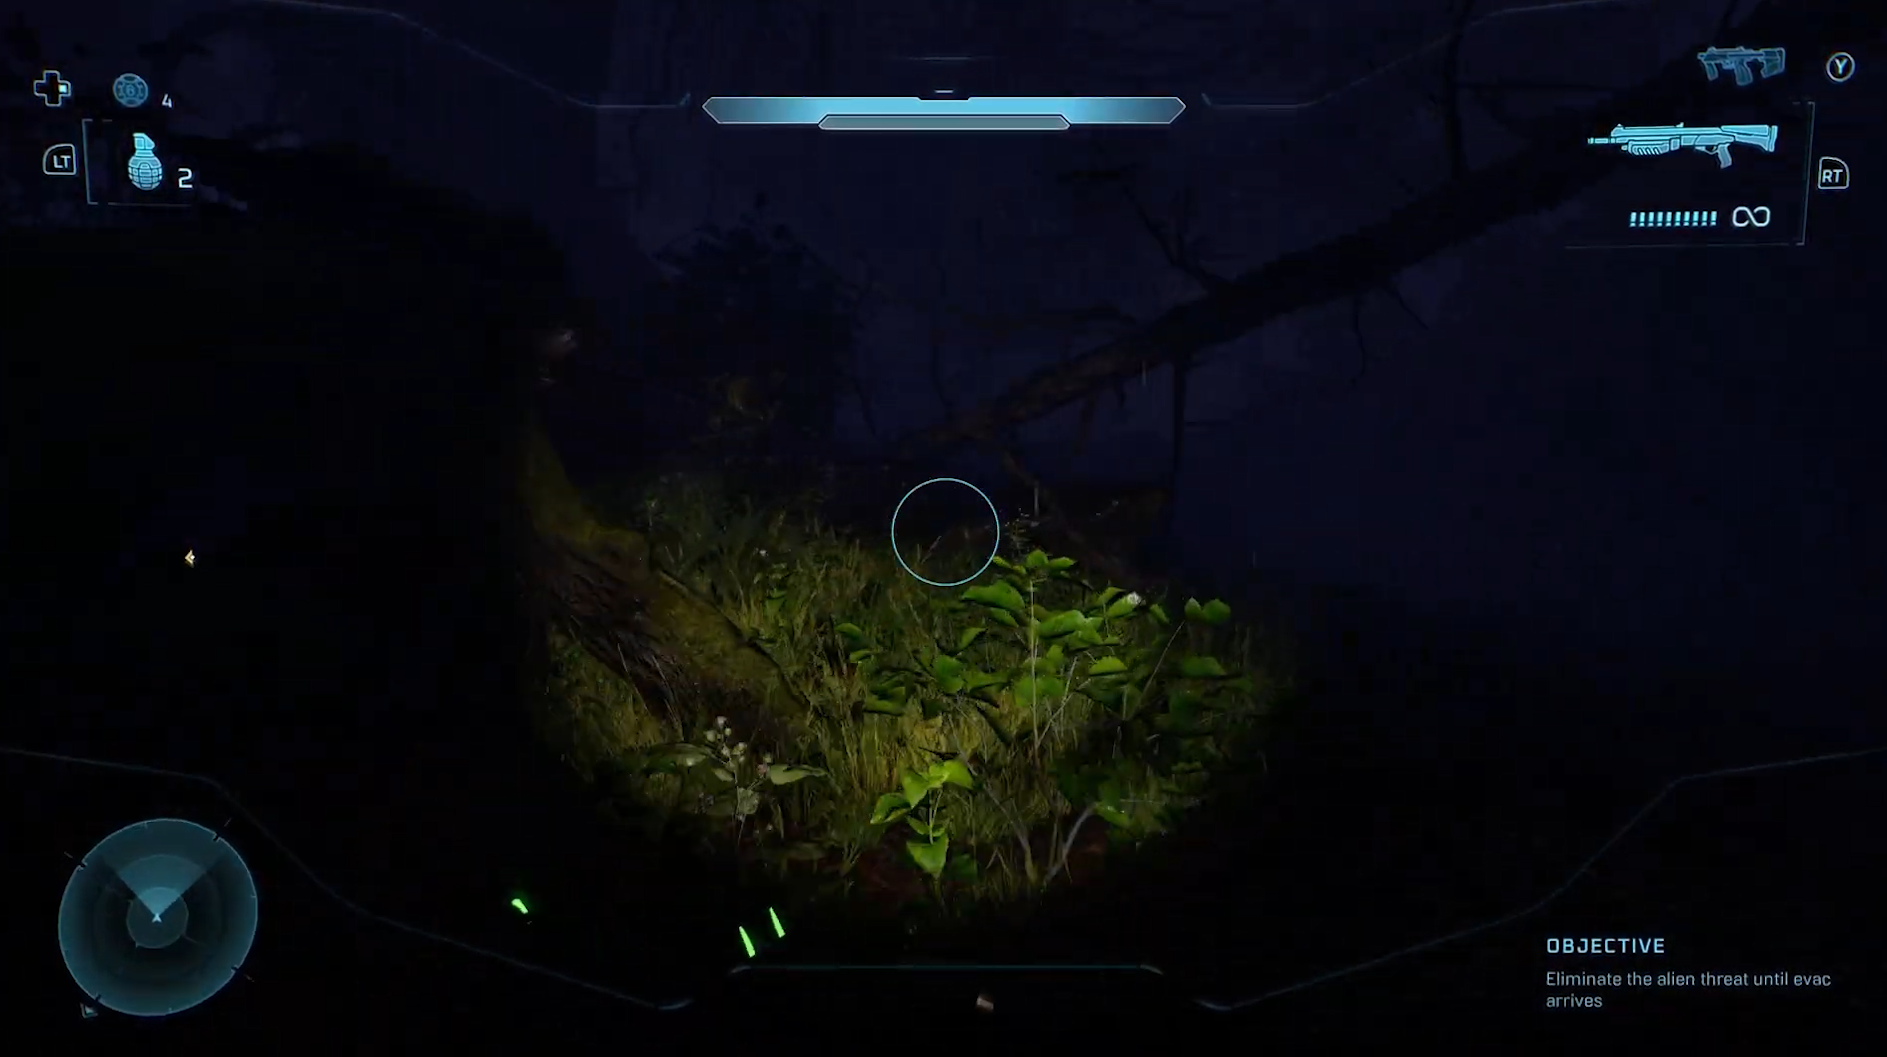
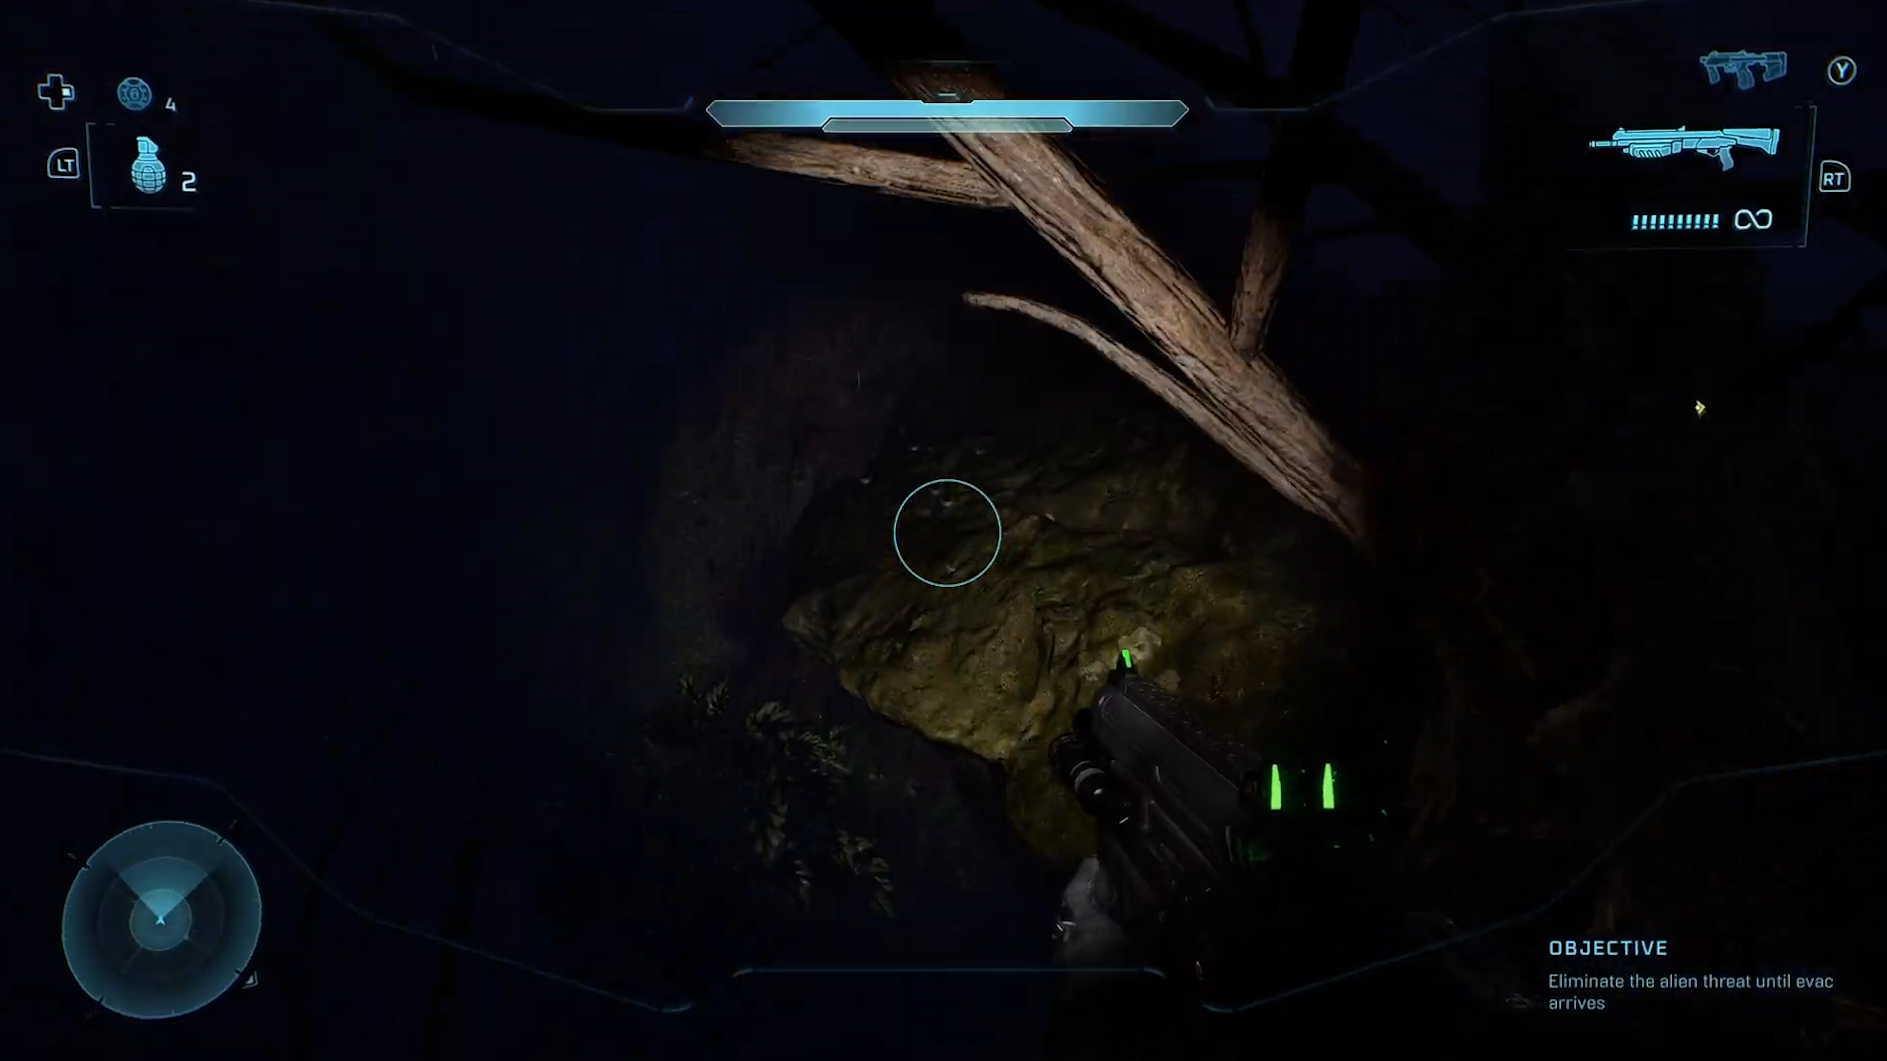
When you’re joined by the flying Sentinels firing lasers at the Flood while you wait for evac, leave the main fight area and move behind the structure directly in front of you.

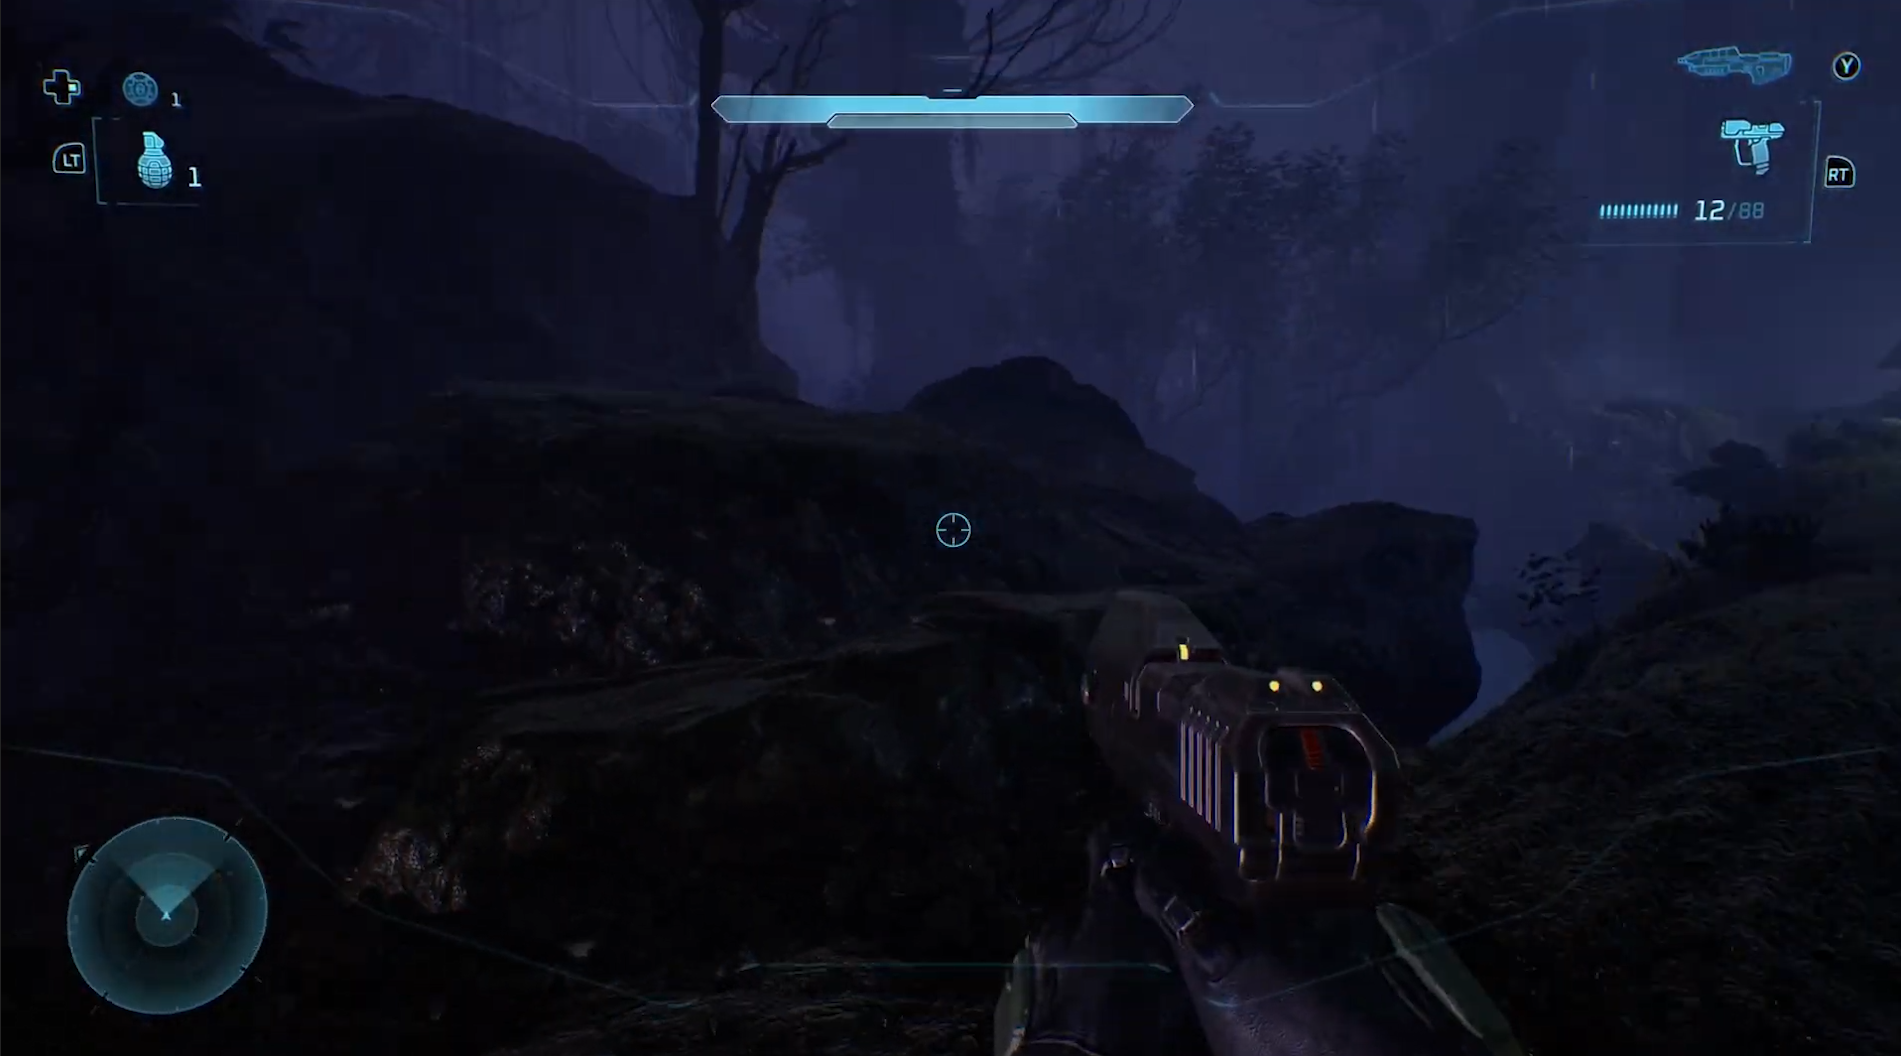
You’ll enter a dark forest section.

On the far side of the structure, look for a glowing plant, the same type you’ve been seeing throughout the mission. Use it as your marker, then jump behind the tree beside it.

You’ll find a toppled tree branch you can walk across. Follow it, and the Skull will be on your left at the other end.

Chapter 7: The Library

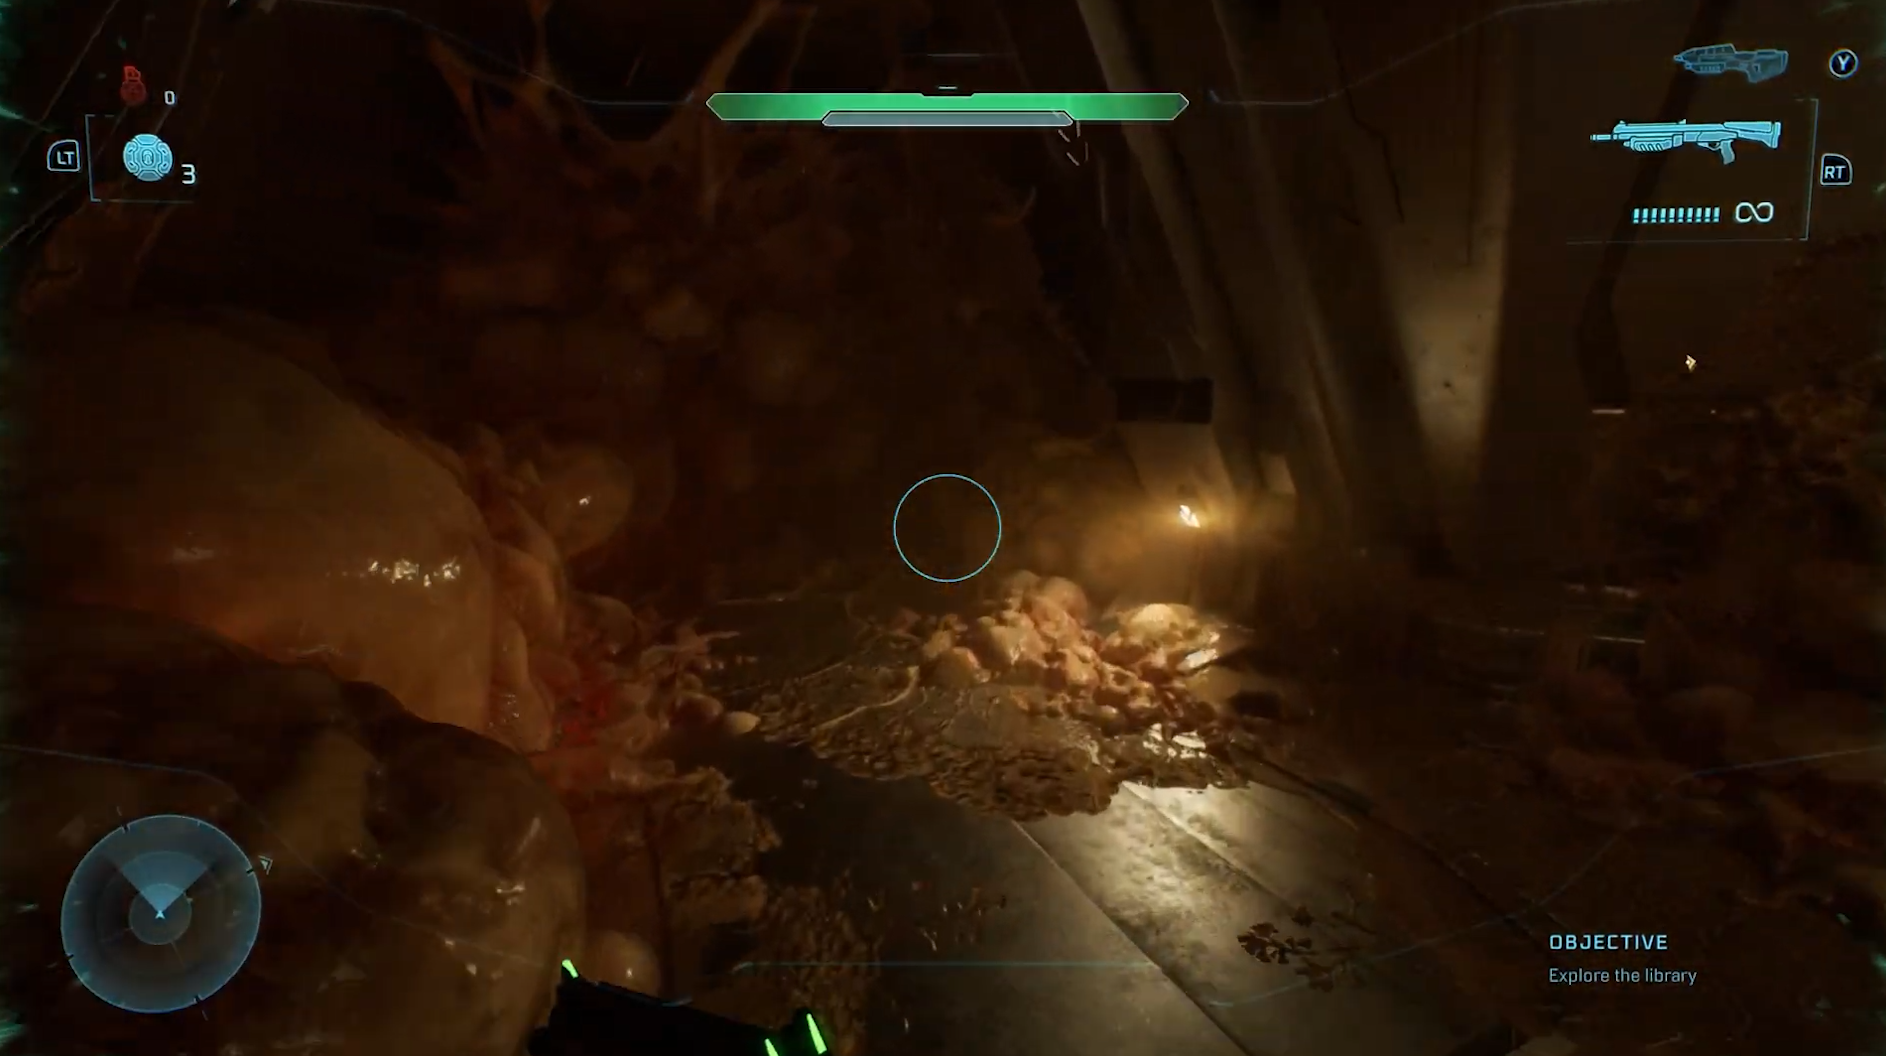
Skull 1: Tilt

Modifier: Amplifies damage multipliers; Plasma deals more damage to shields, but less to health

As you progress through the level, you’ll come to a tunnel overrun by the Flood. On the far side, 343 Guilty Spark will appear alongside several Sentinels firing lasers at the infected. From the spot where you first see them, turn around and jump onto the ramp on the left.

The Skull is positioned at the top, centered on the ramp.

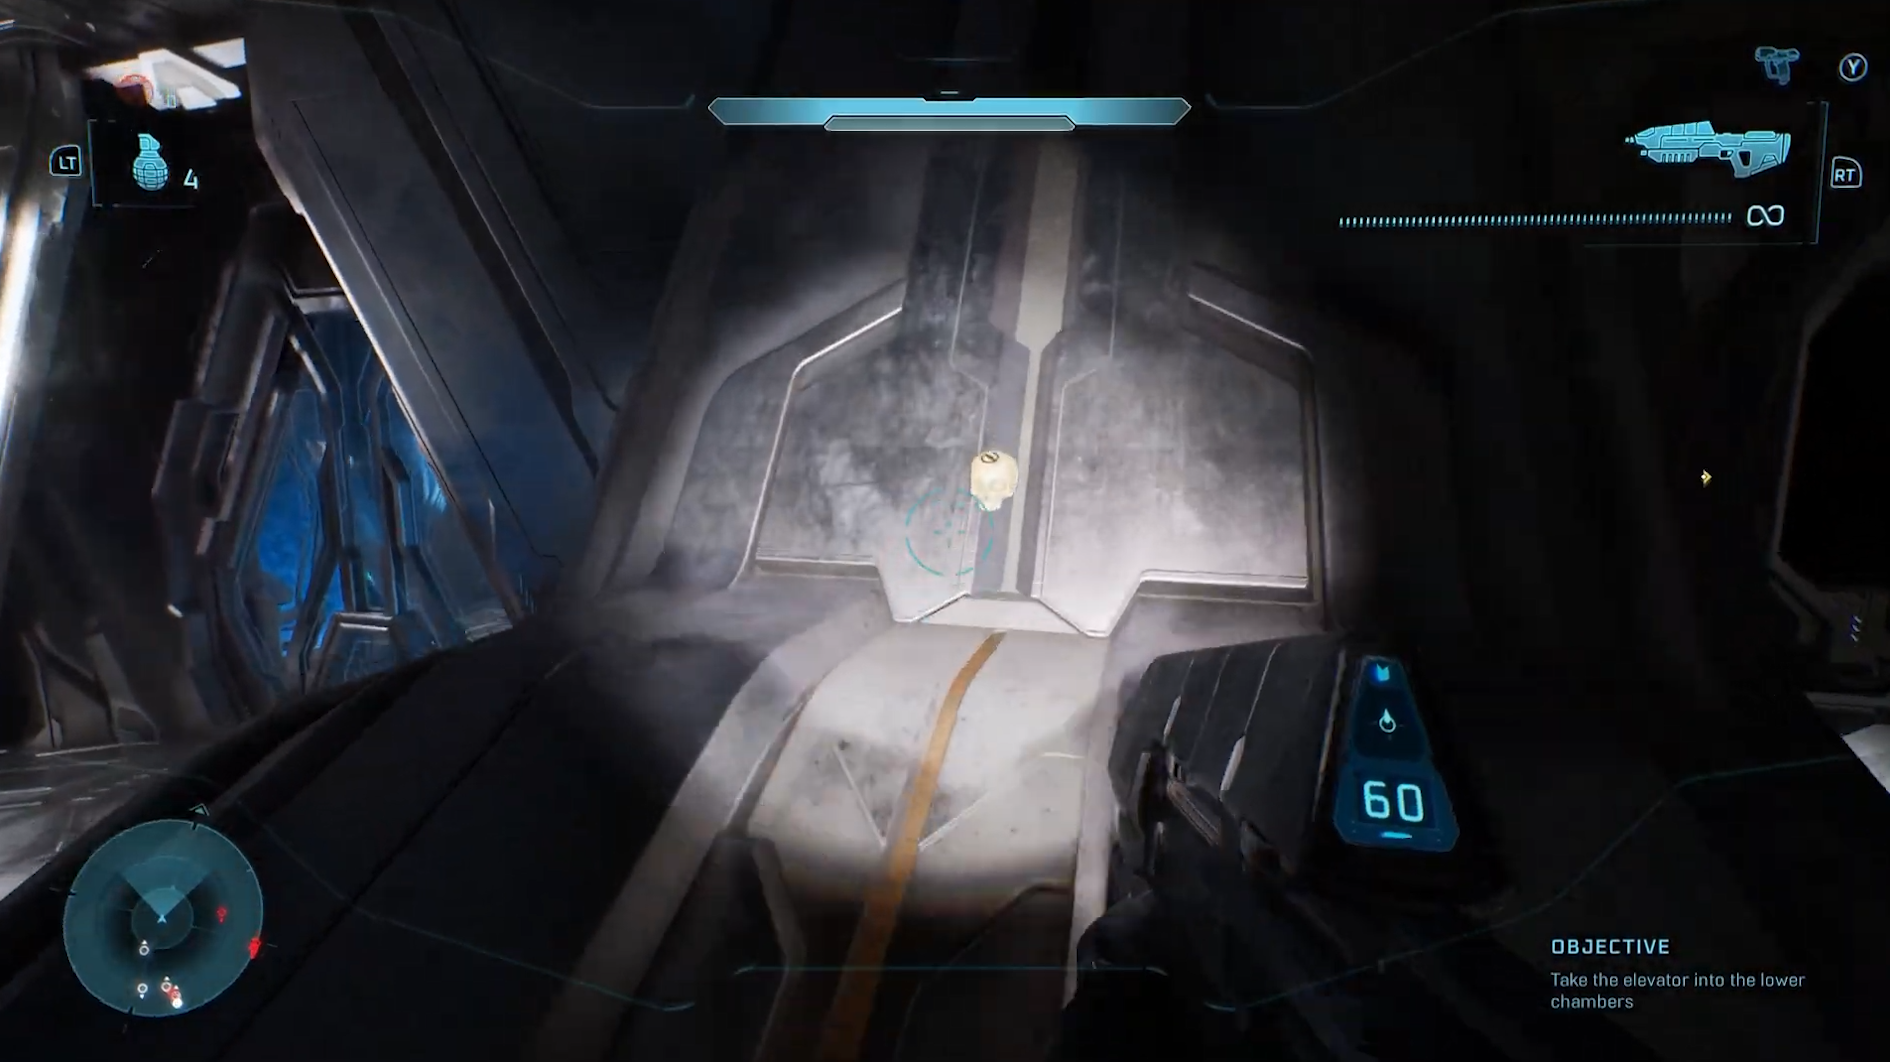
Skull 2: Pop

Modifier: Shooting the weakpoints on Flood enemies creates explosions

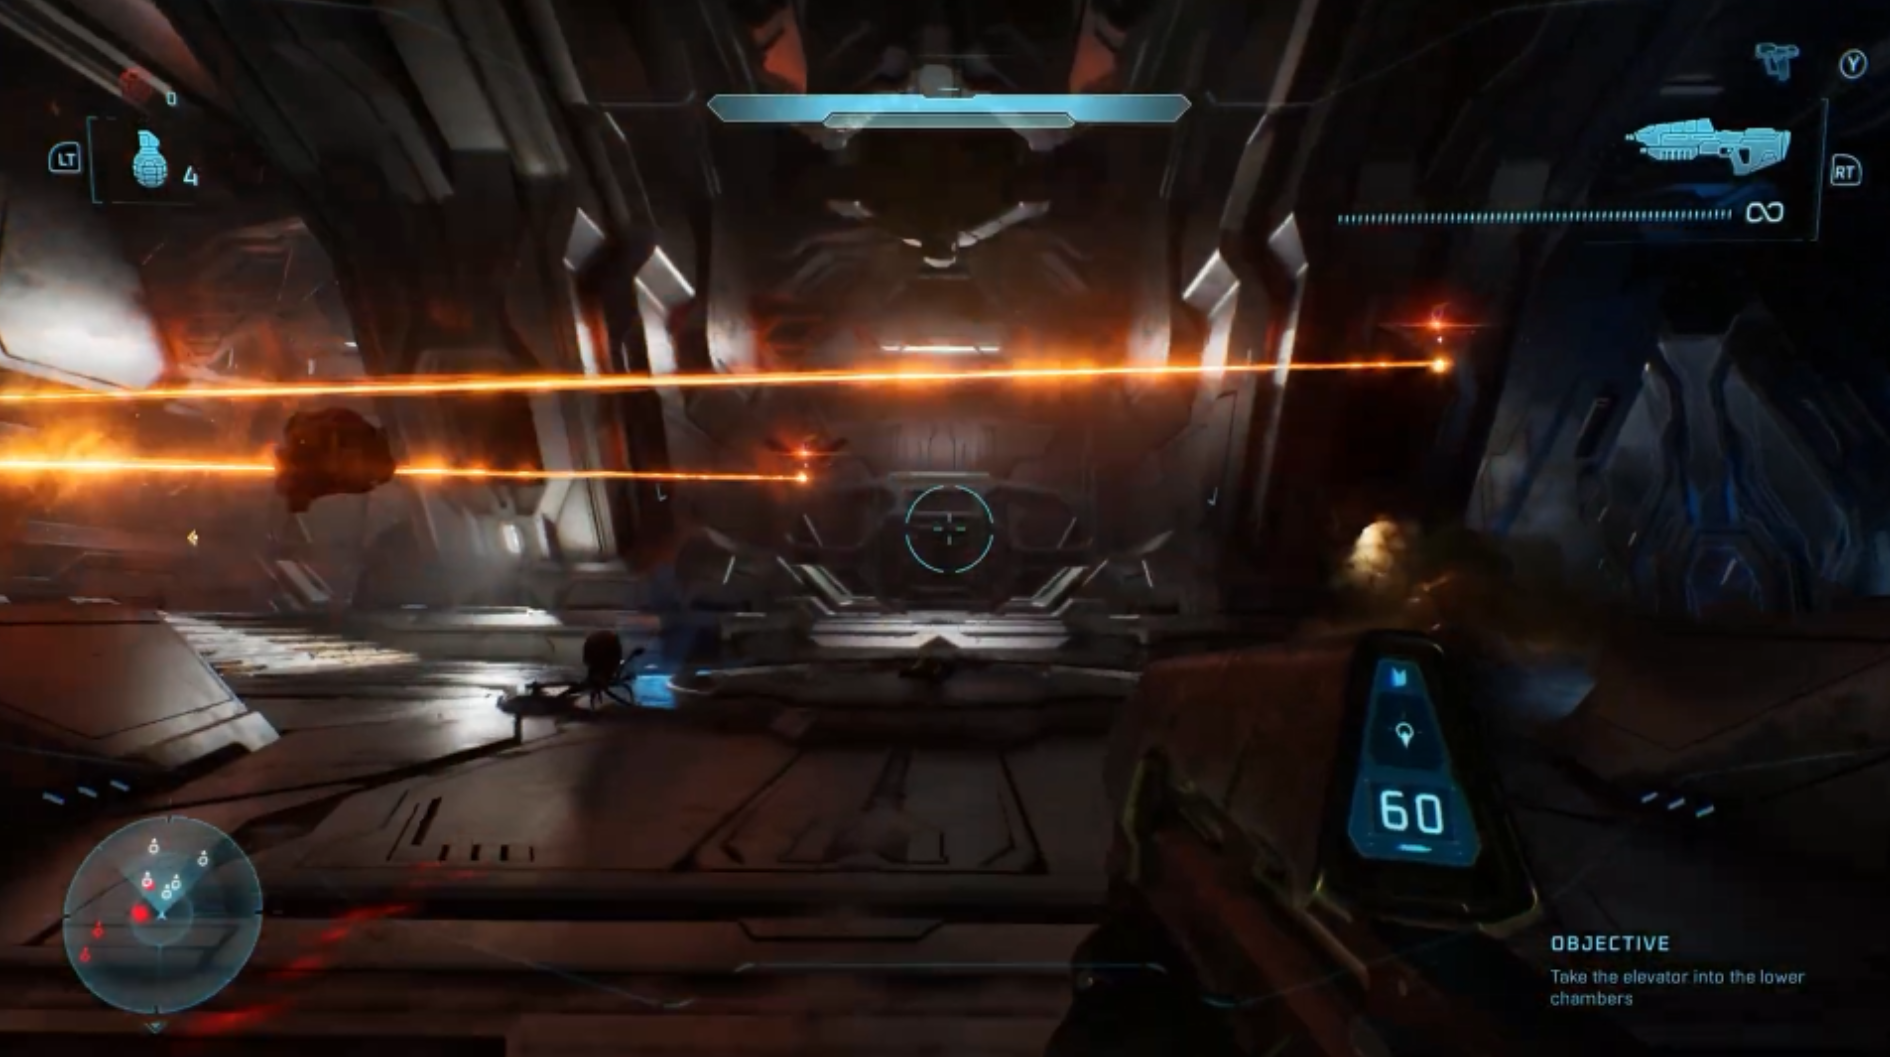
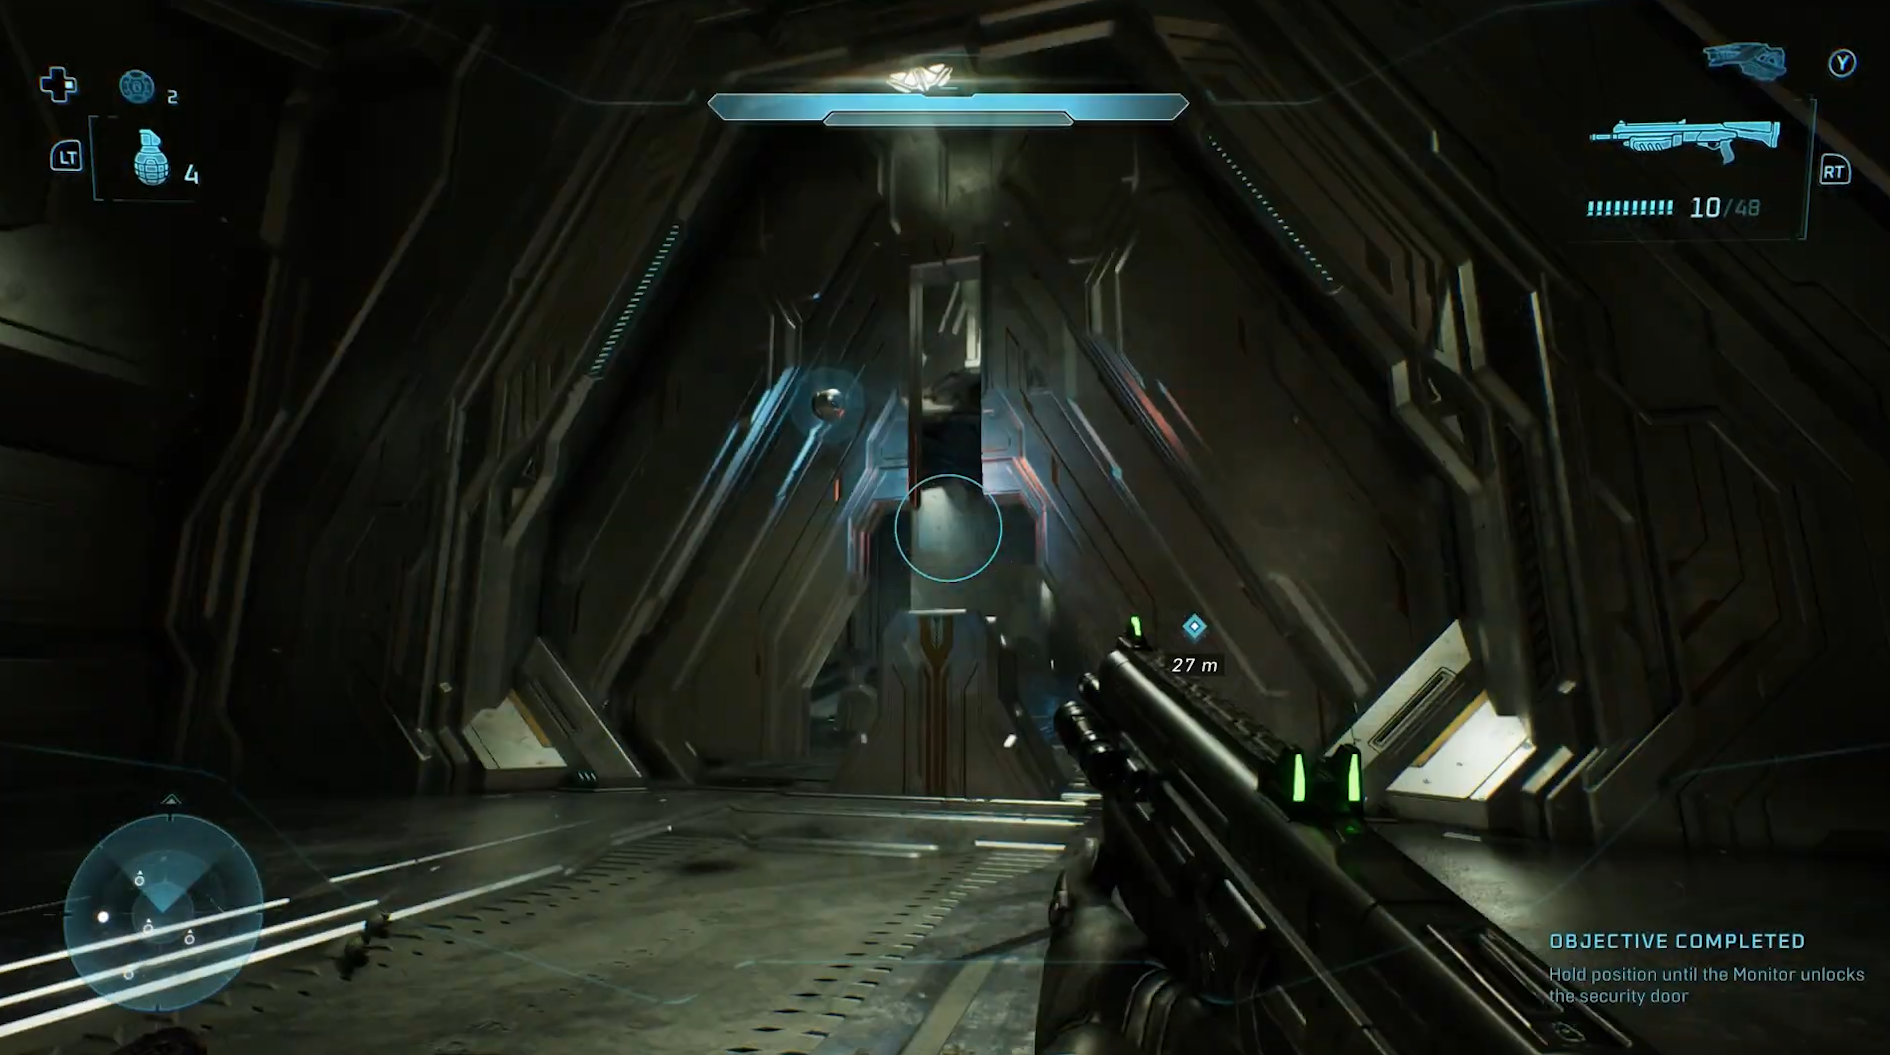
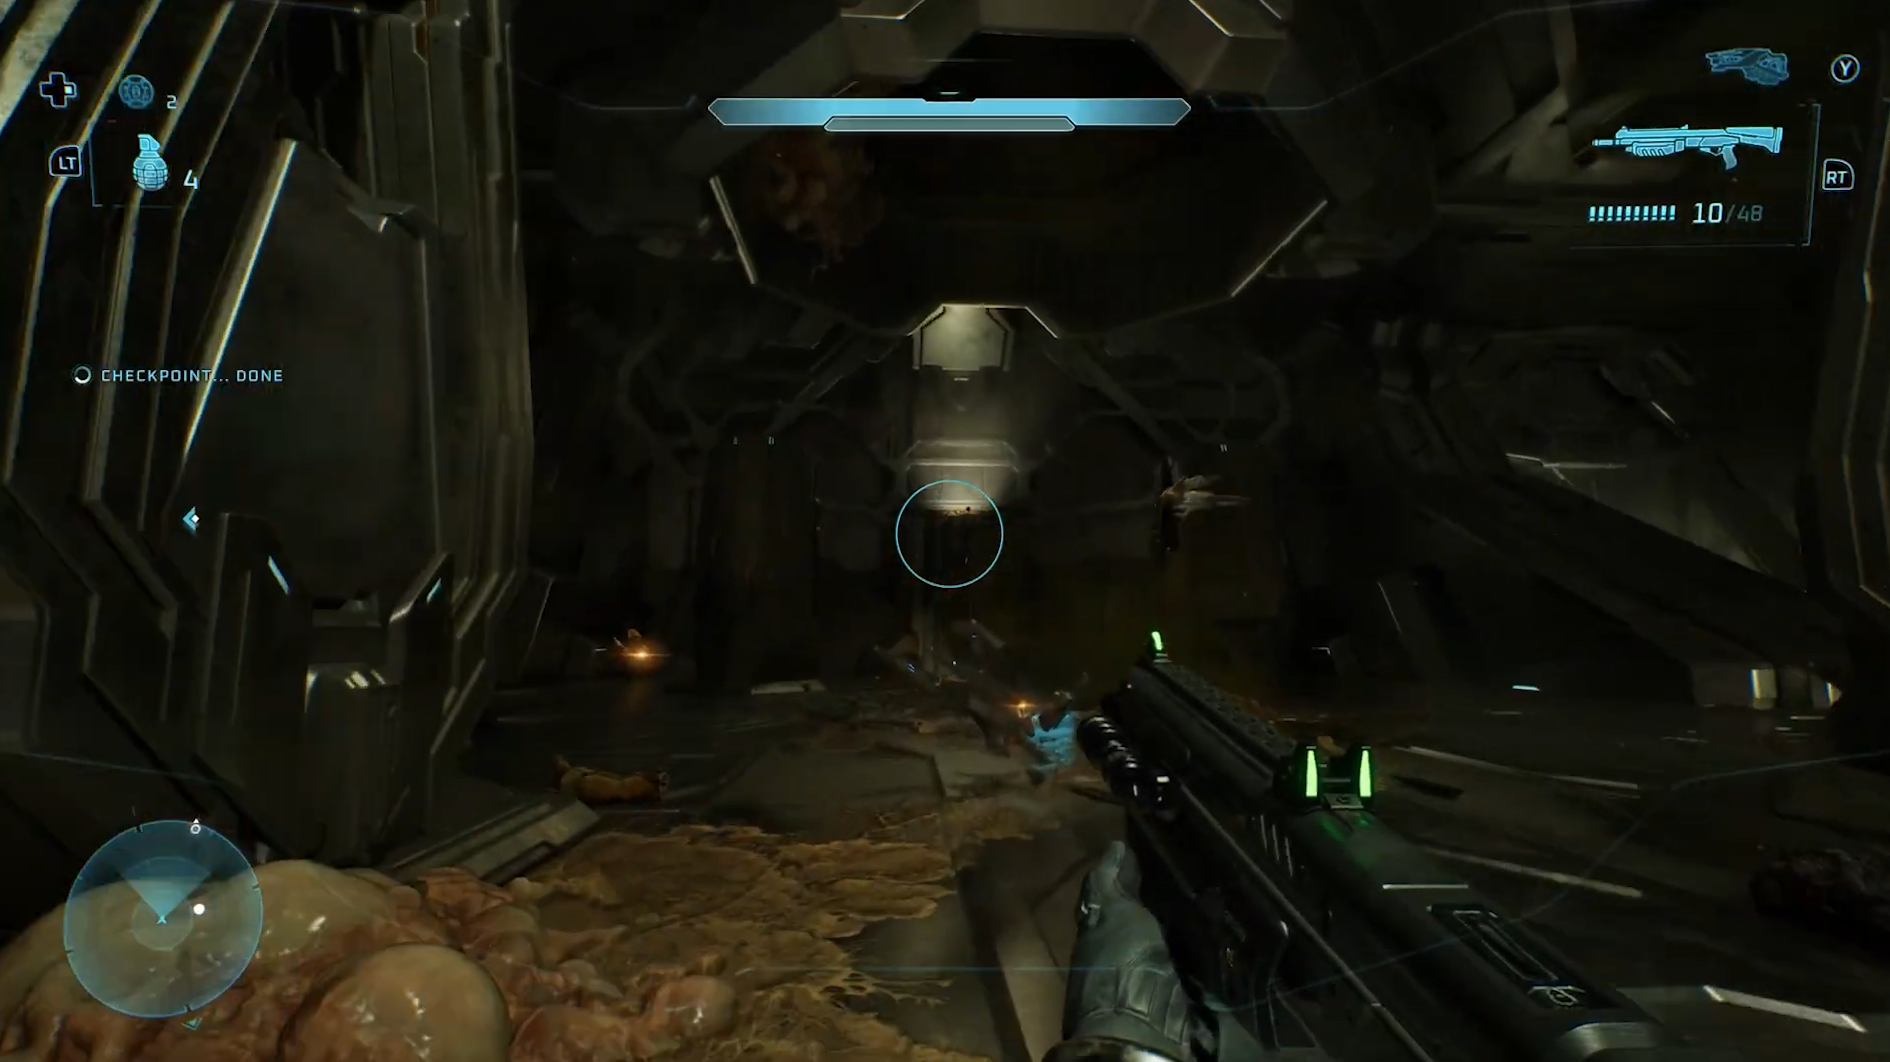
After riding the elevator down to a lower floor, you’ll trigger the checkpoint titled “Wait, It Gets Worse.” In this new section, head either left or right until you reach a locked door with 343 Guilty Spark waiting beside it. Approaching the door will start a brief defense sequence while he unlocks it.

Once at the door, turn around and climb to the top of one of the nearby ramps. Jump across to the platform ahead, then look toward the wall opposite the locked door. The Skull rests on a small ledge there.

Skull 3: Famine

Modifier: Dropped enemy weapons have half the amount of normal ammo

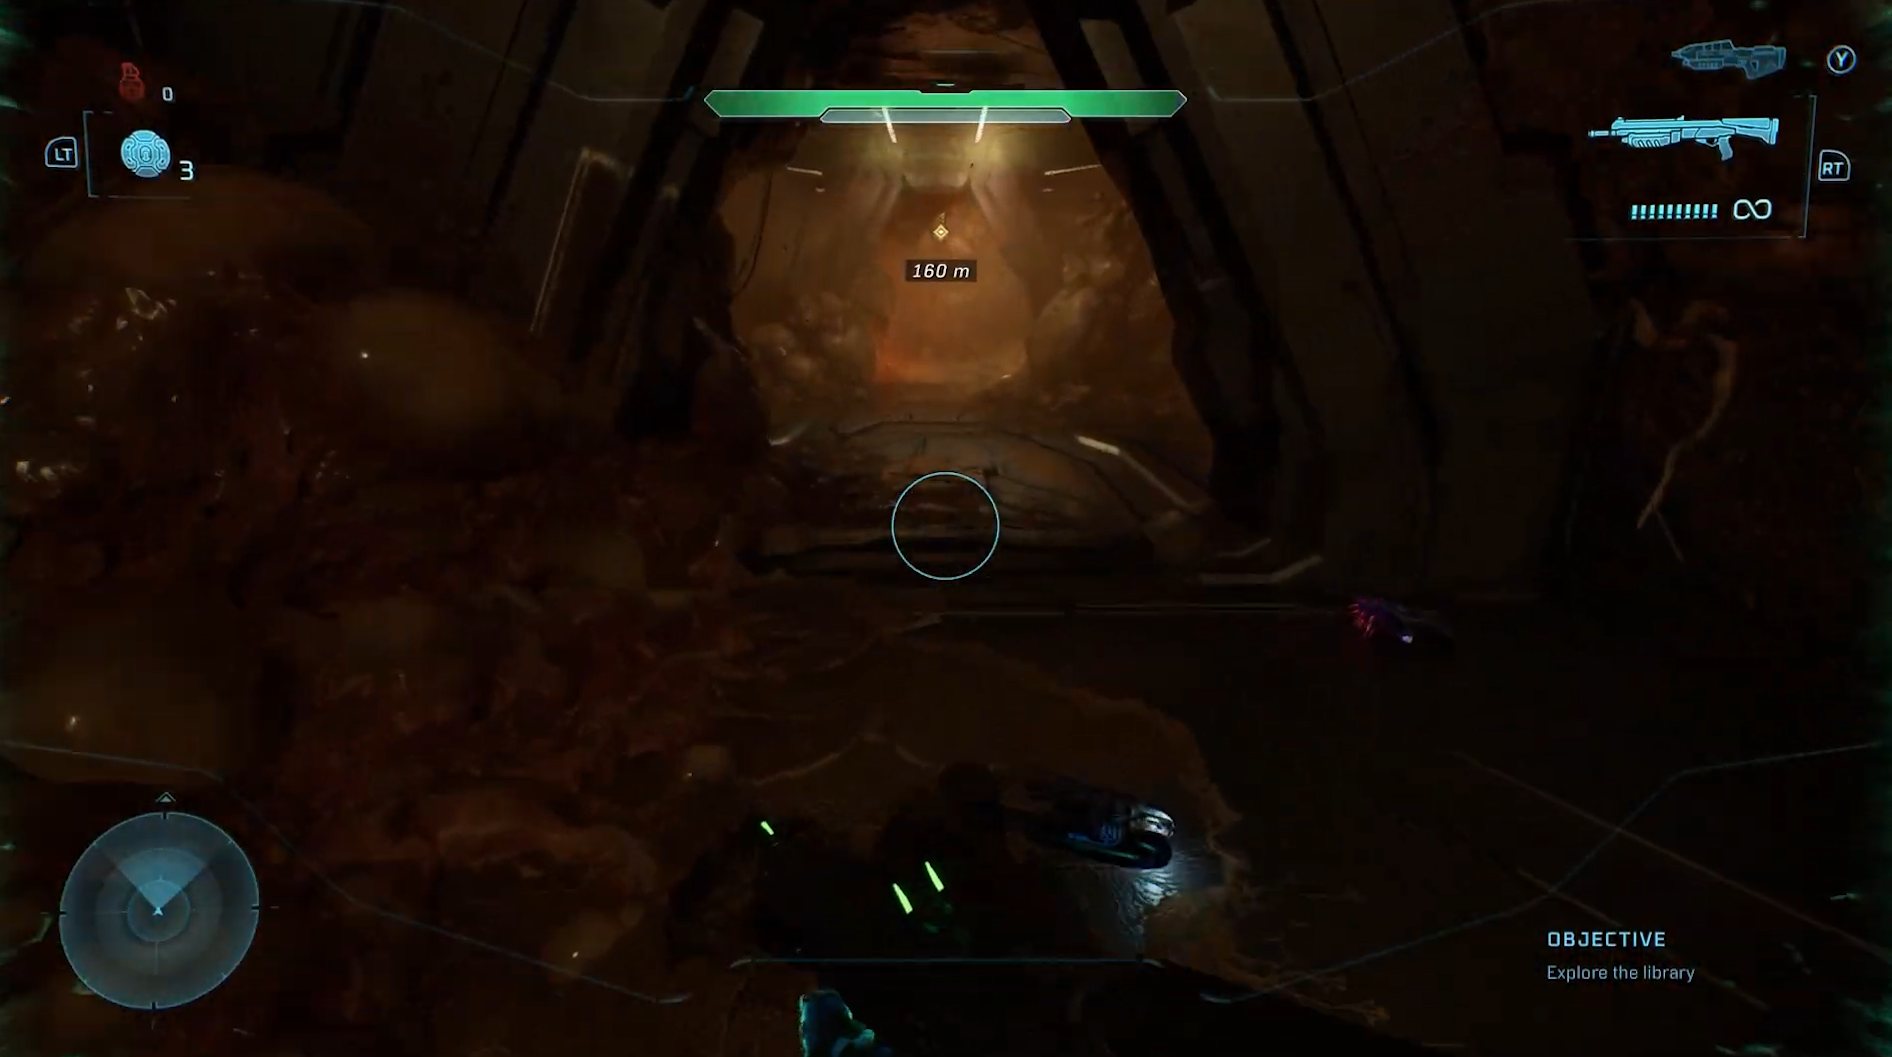
Following the third elevator descent, when the objective mentions locating the final chamber, you’ll step into an area heavily overtaken by the Flood. You can head left or right, but directly in front of you is a ramp leading downward.

Go down the ramp, and as soon as you pass through the doorway at the bottom, check the corner to your left. The Skull is lying on the ground in that spot.

Chapter 8: Two Betrayals

Skull 1: Tough Luck

Modifier: Enemies always rage and dodge, they never flee

When you reach the outdoor section, walk to the right of this building and look up.

Using Acrophobia, aim for the bright blue light at its center.

Directly in front of that light is a small platform, and the Skull is sitting on top of it.

Note: If you're skilled enough, you can also try to fly a Banshee and park on top of it, instead of using the Acrophobia Skull.

Skull 2: Black Eye

Modifier: Shields only recharge when dealing melee attacks

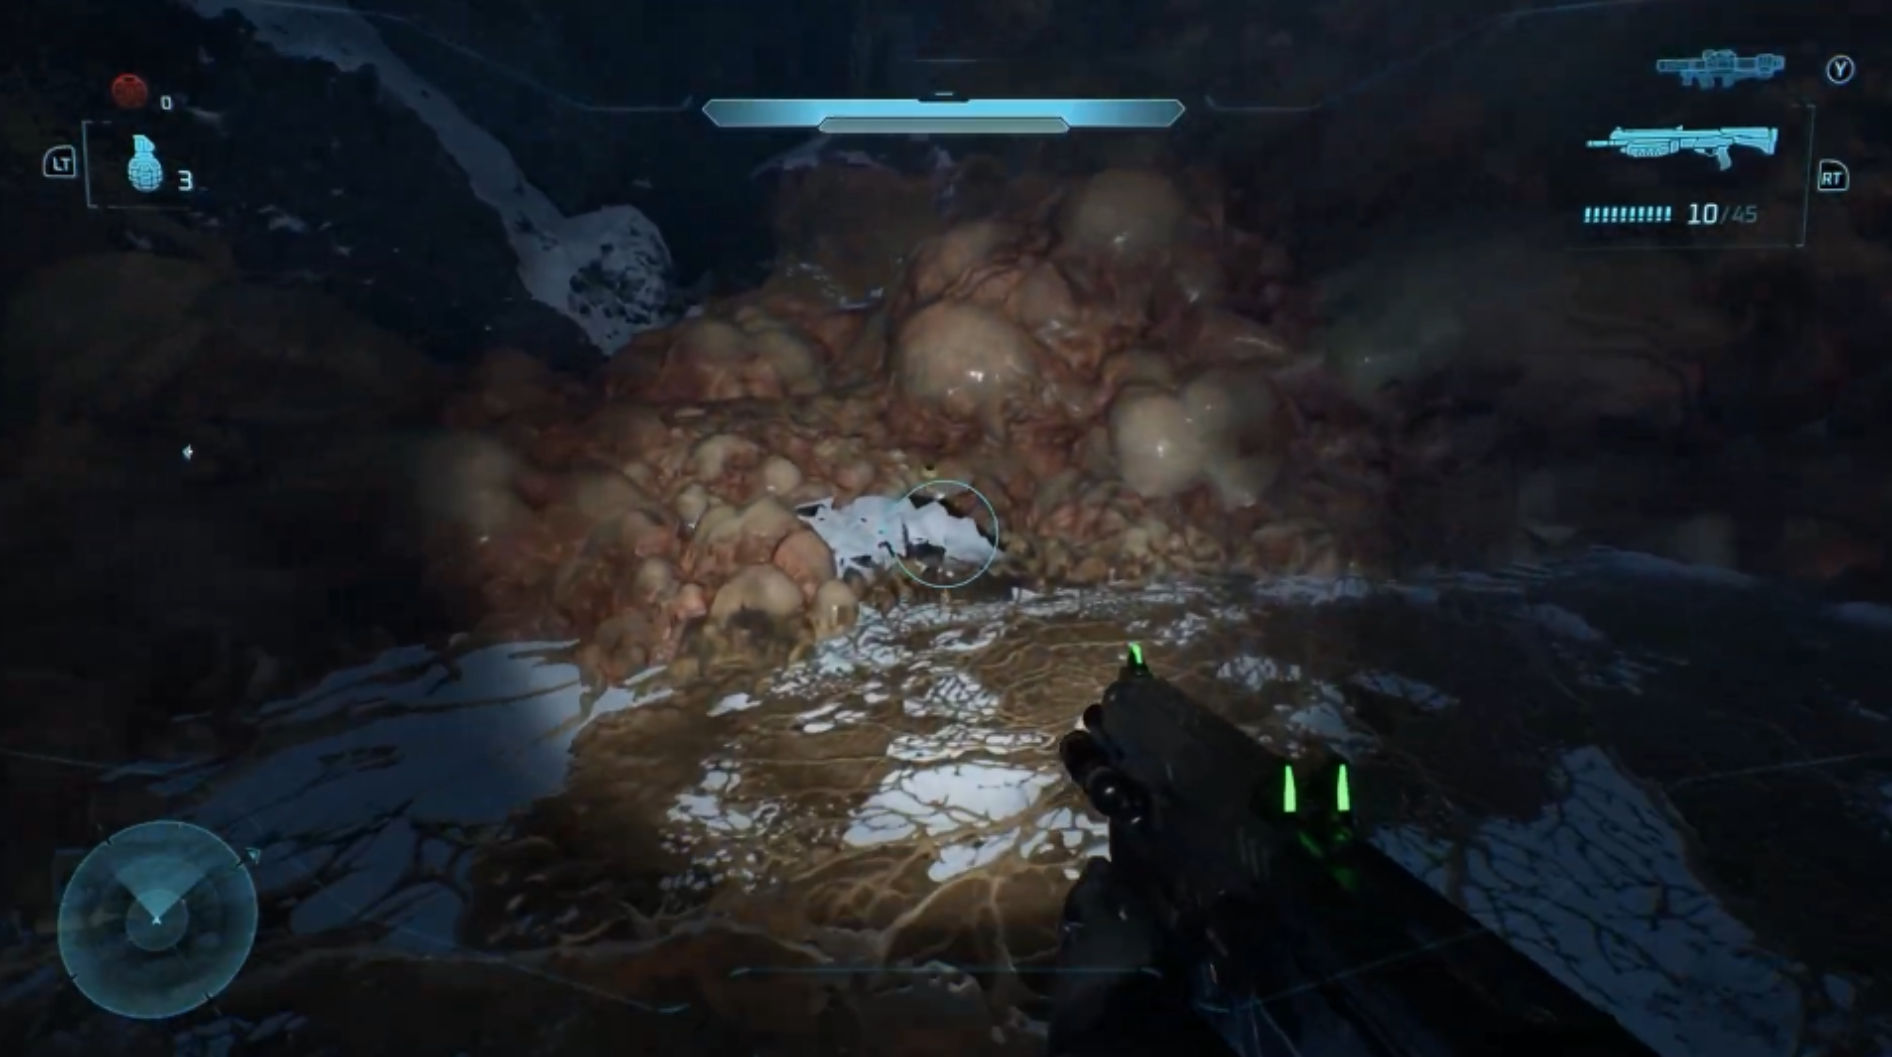
After destroying the conduits at the first pulse generator, head back outside. You’ll see three large ramps hanging over a lowered path.

Move to the far side of these ramps and search through the Flood growths. The Skull is tucked away at the back among them.

Skull 3: Mythic

Modifier: Enemies have increased health

After collecting Black Eye Skull, follow the objective marker along the gorge and around the left bend. You’ll come to a fork: the left path has a Banshee and a turret, while the right is full of Covenant and Flood fighting. Take the left route and board the Banshee.

Fly to the top of the building directly ahead and activate the control panel to open a distant door.

Head to that newly opened door on the nearby platform, fight through the first room, then through the tunnel into a second room packed with enemies.

Once every enemy is defeated, the Skull will appear inside the central structure.


Chapter 9: Keyes

Skull 1: Catch

Modifier: Enemies throw extra grenades and drop more on death

This Skull requires reaching the grav lift as fast as possible, so it’s best attempted after you’ve completed the mission normally. It only appears on Heroic or Legendary difficulty.

To make things easier, you can use the Modifier Preset options before starting the mission, and give yourself the max of everything to make things alot easier.

When you’re ready, sprint straight to the grav lift without stopping to fight, just run to the lift, eliminate the marked enemies to activate it, then stand in the center as it carries you upward.

Hold the interact button while rising and looking down. The Skull is suspended in the middle of the grav lift, and you’ll collect it on the way up.

Skull 2: Blind

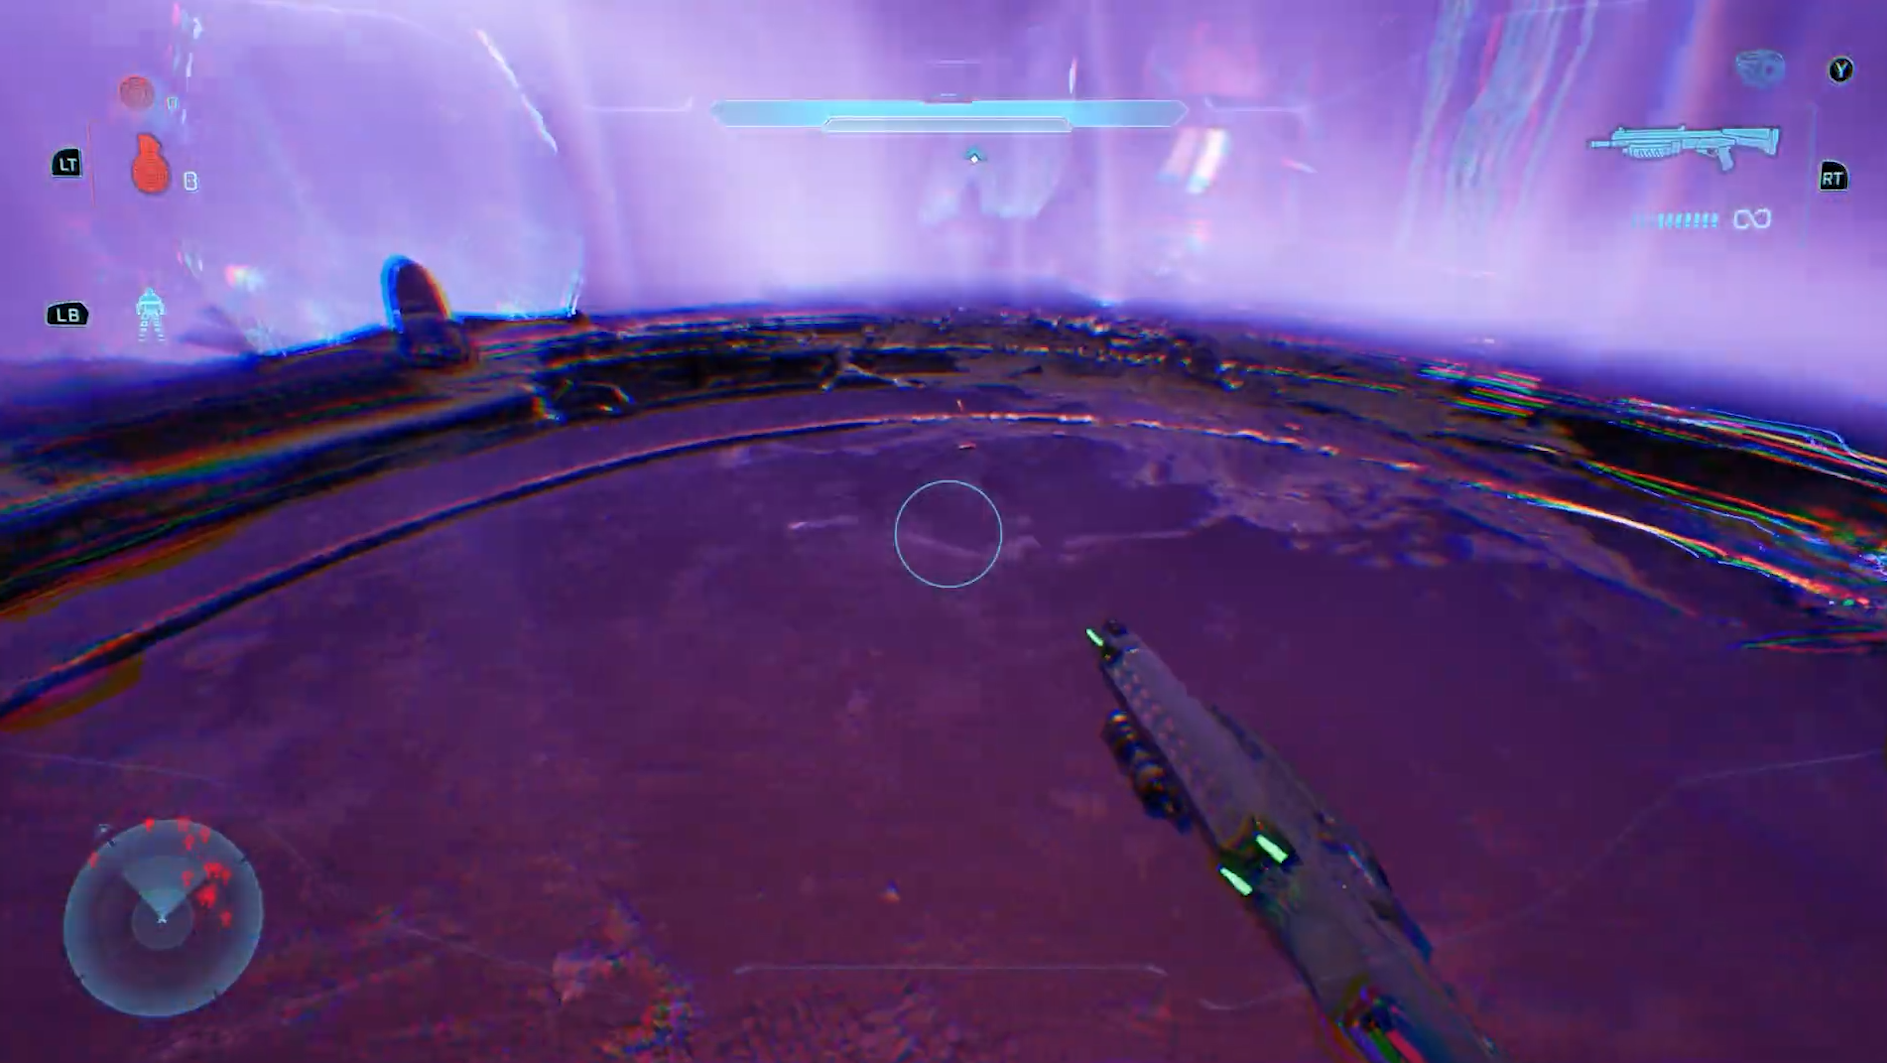
Modifier: HUD and weapons invisible from view (great for photos!)
While heading toward the shuttle bay, you’ll enter a room filled with Flood, along with a Ghost and a Wraith. Behind the Wraith is a corridor you can slip through, crouching under a second Wraith to reach the far side.

The Skull is positioned next to the locked door there.

Skull 3: Pinata

Modifier: Melee killing enemies drops inert grenades

After the cutscene where you find Captain Keyes and regain control, turn around and melee the Flood growth where he was located.

Aim through the gap in his neck and melee him. After three or four strikes (or one if you hit the correct spot), the Skull will appear.

Chapter 10: The Maw

Skull 1: Stowed Reload

Modifier: Stowed-away weapons reload automatically over time

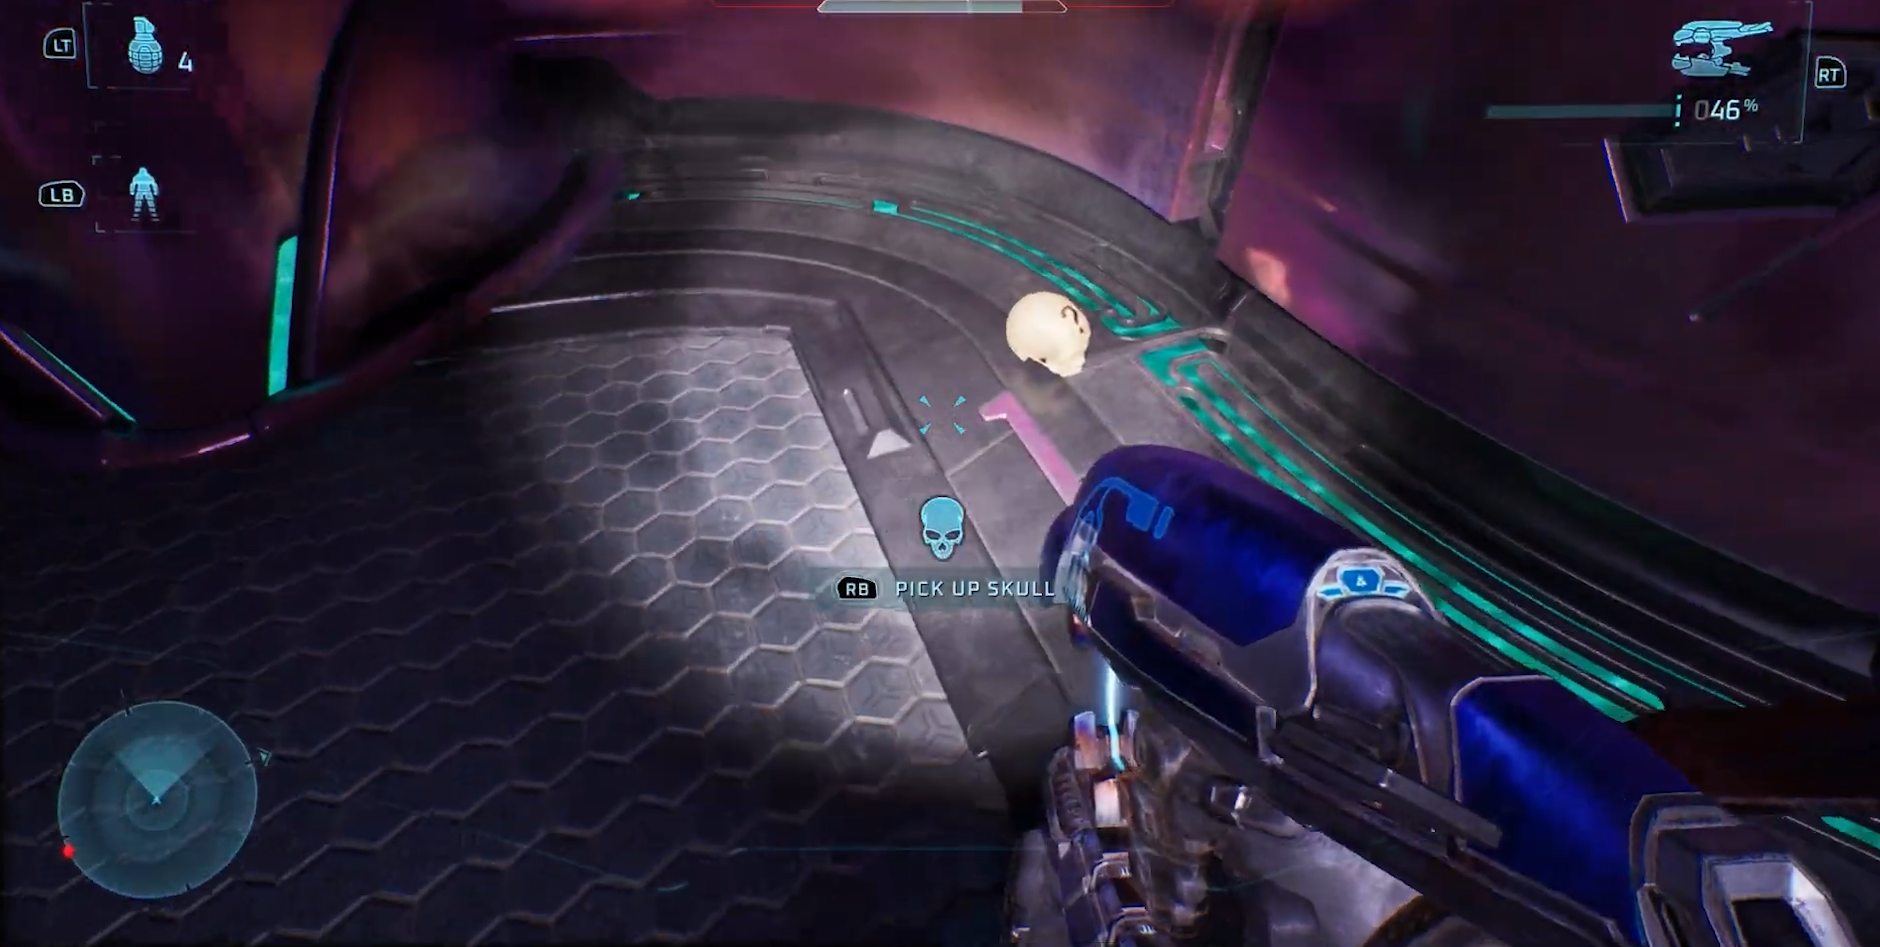
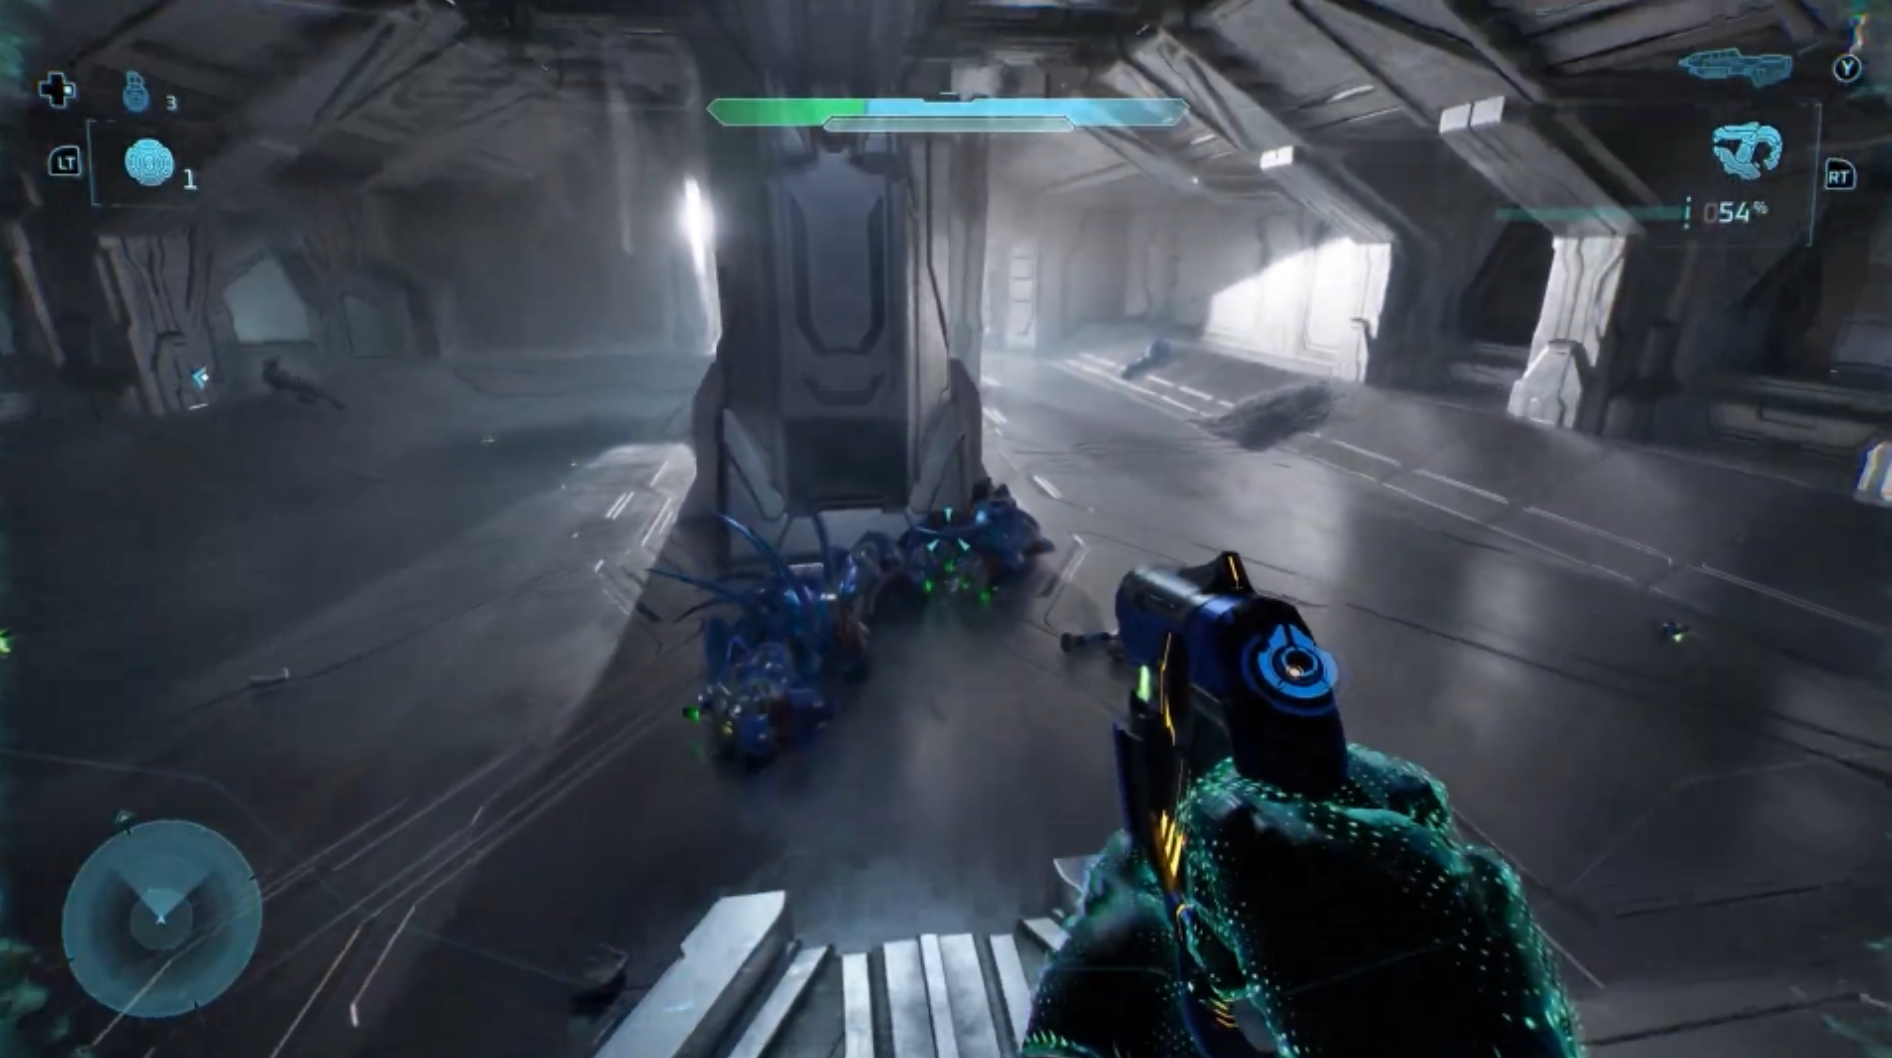
After the bridge cutscene where 343 Guilty Spark reappears, make your way toward the cryo storage facility. Along the route, you’ll enter a large room where Sentinels and Flood are already fighting — the one with four cryo pods in the center.

In the back‑left corner from where you enter, the Skull is sitting on the floor on a platform.

Skull 2: Boom

Modifier: Double Explosion Radius

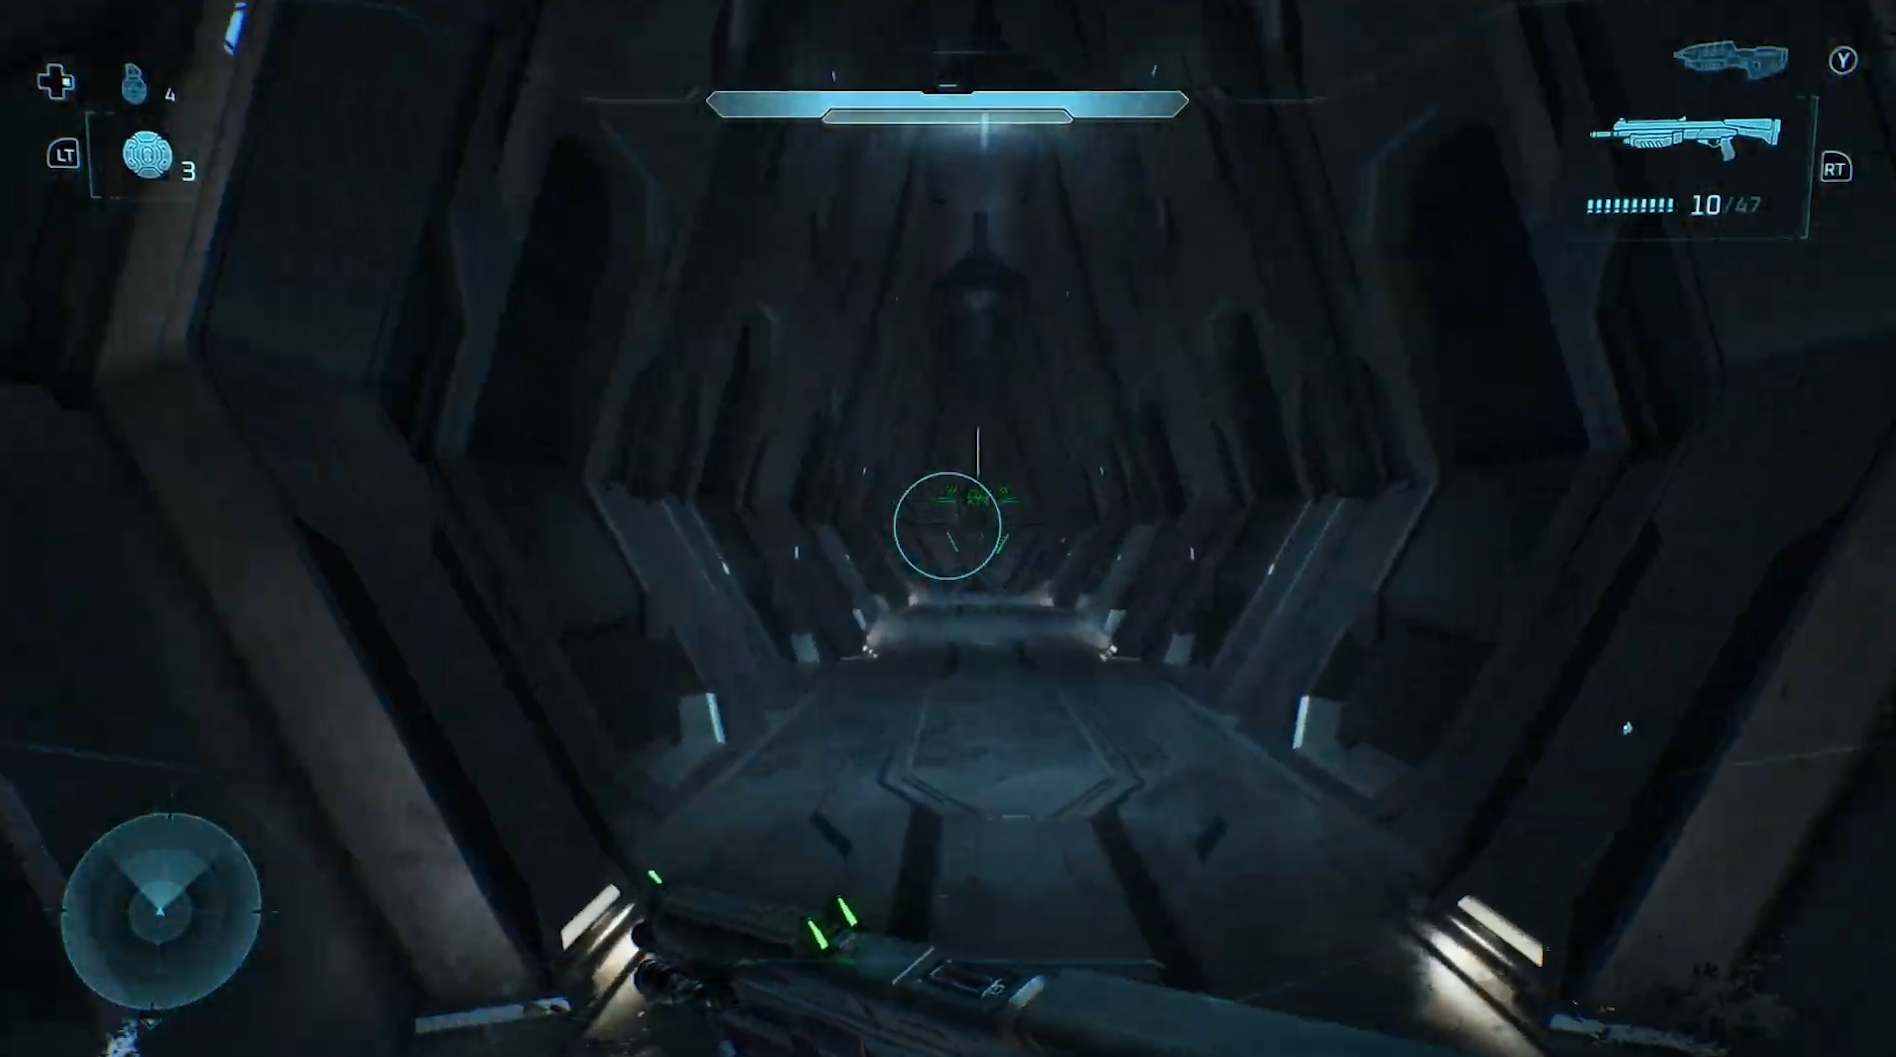
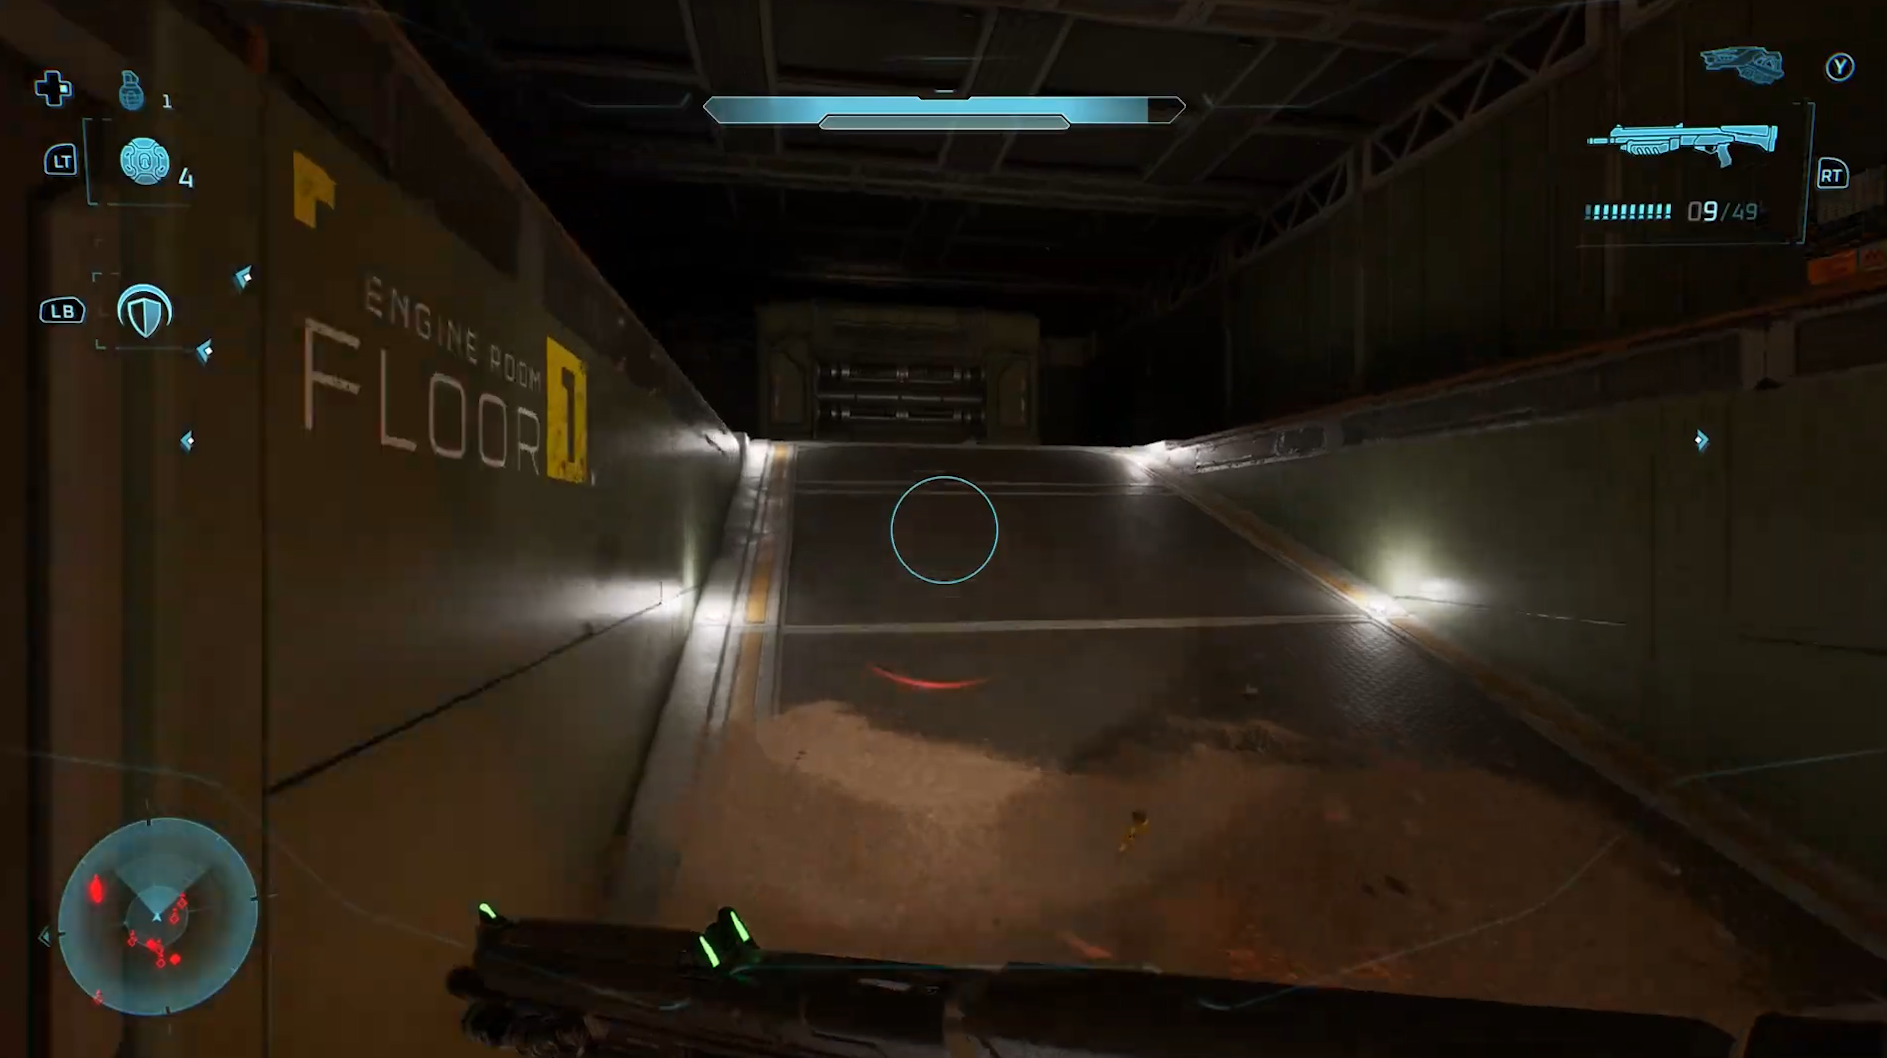
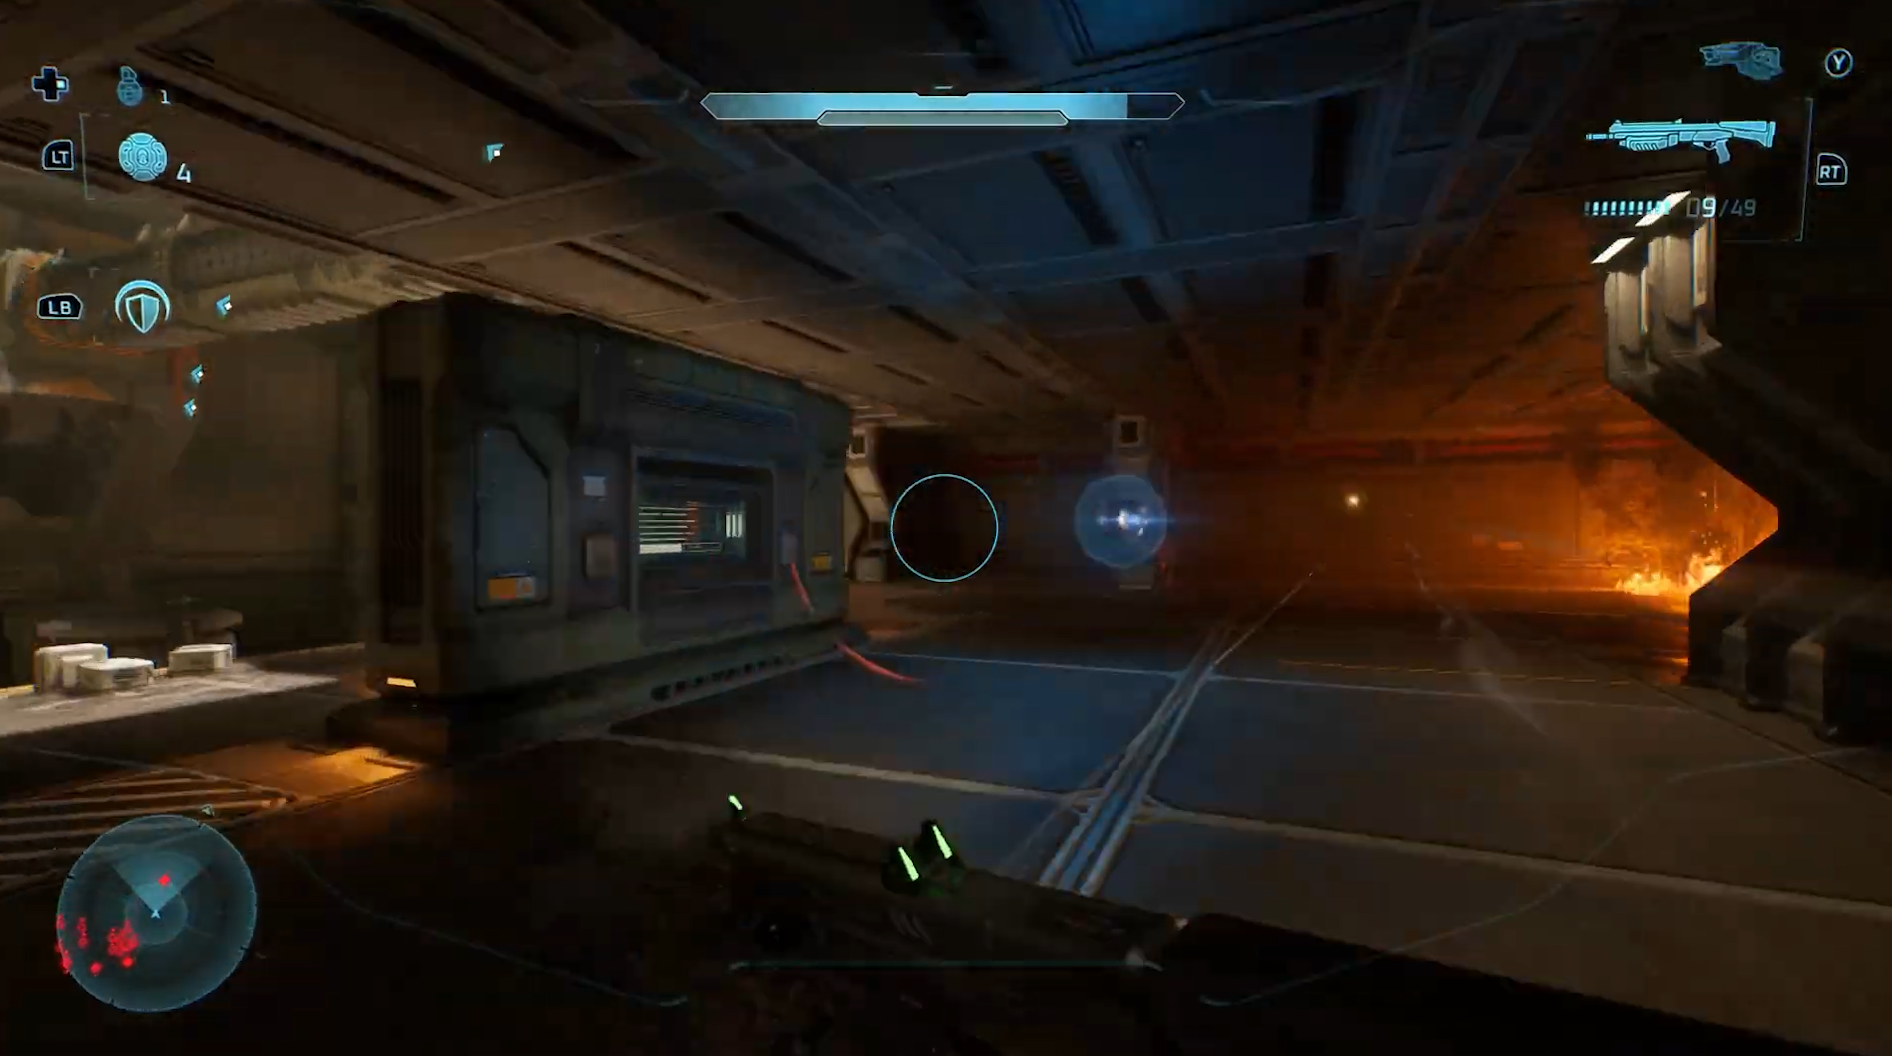
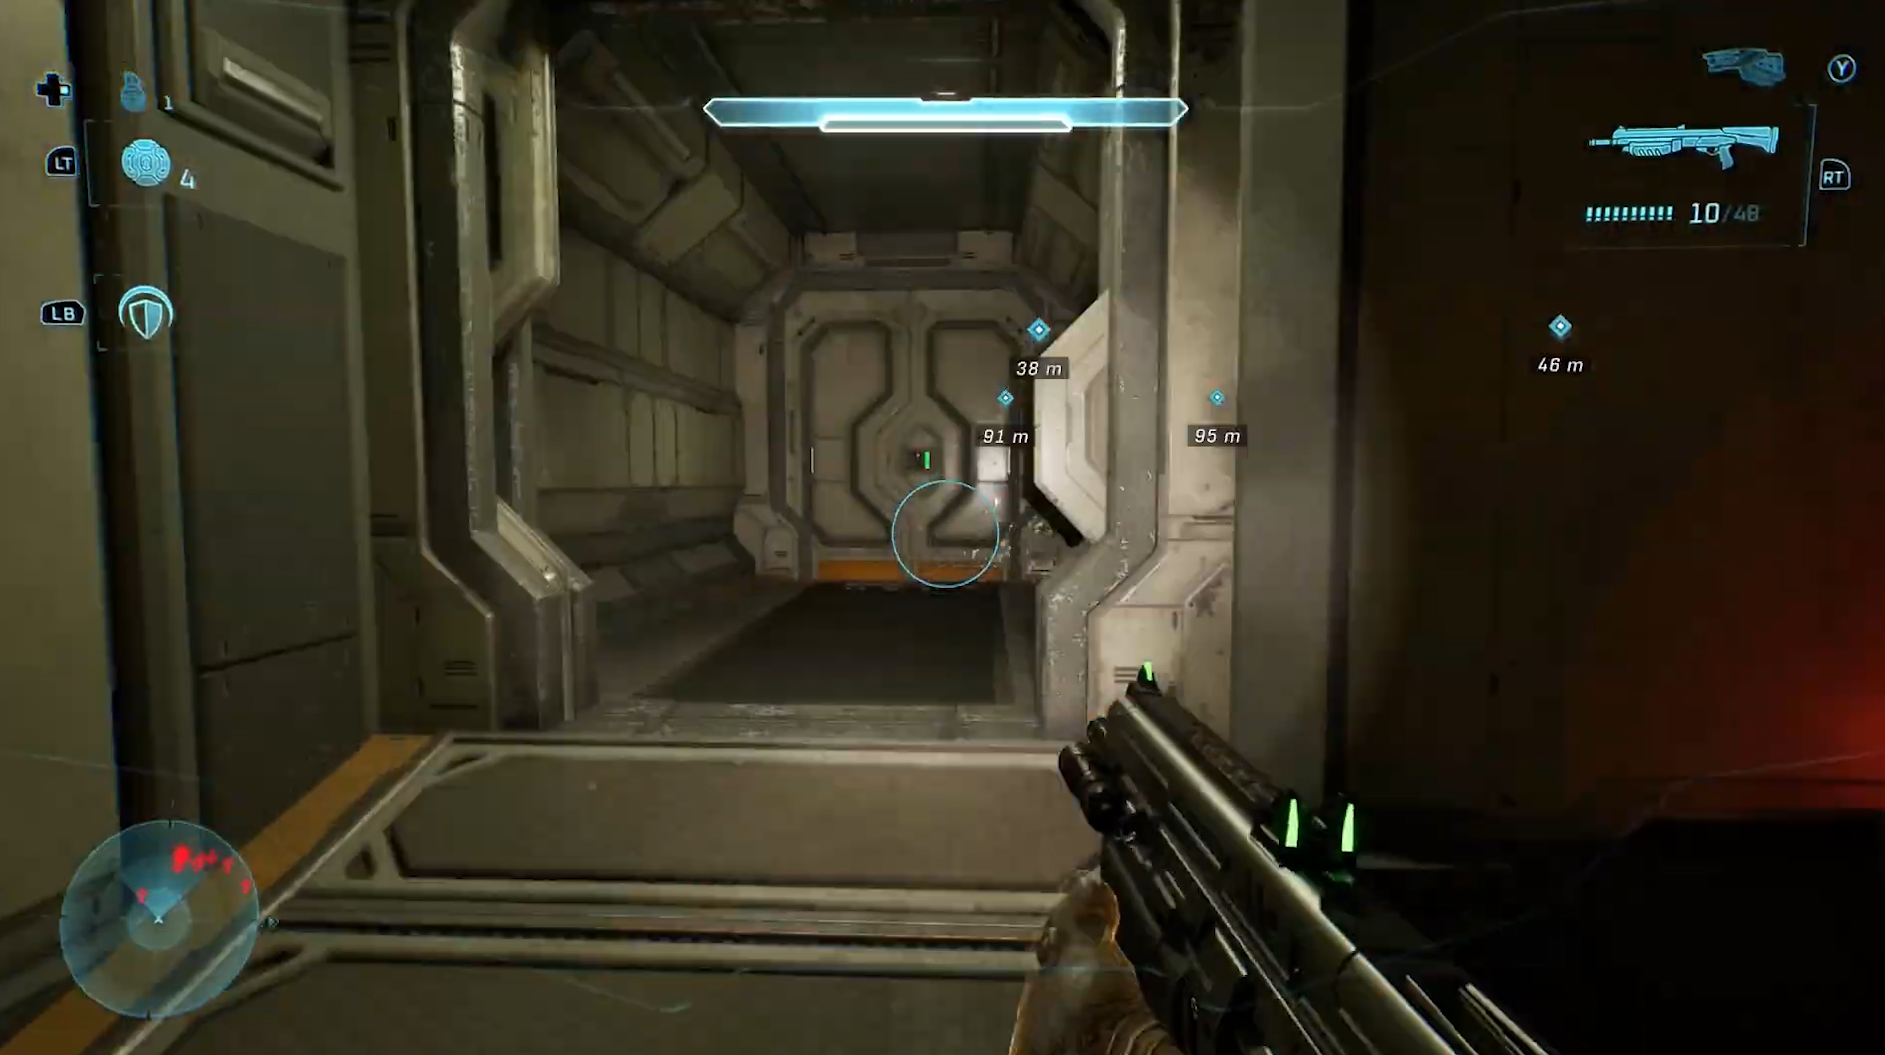
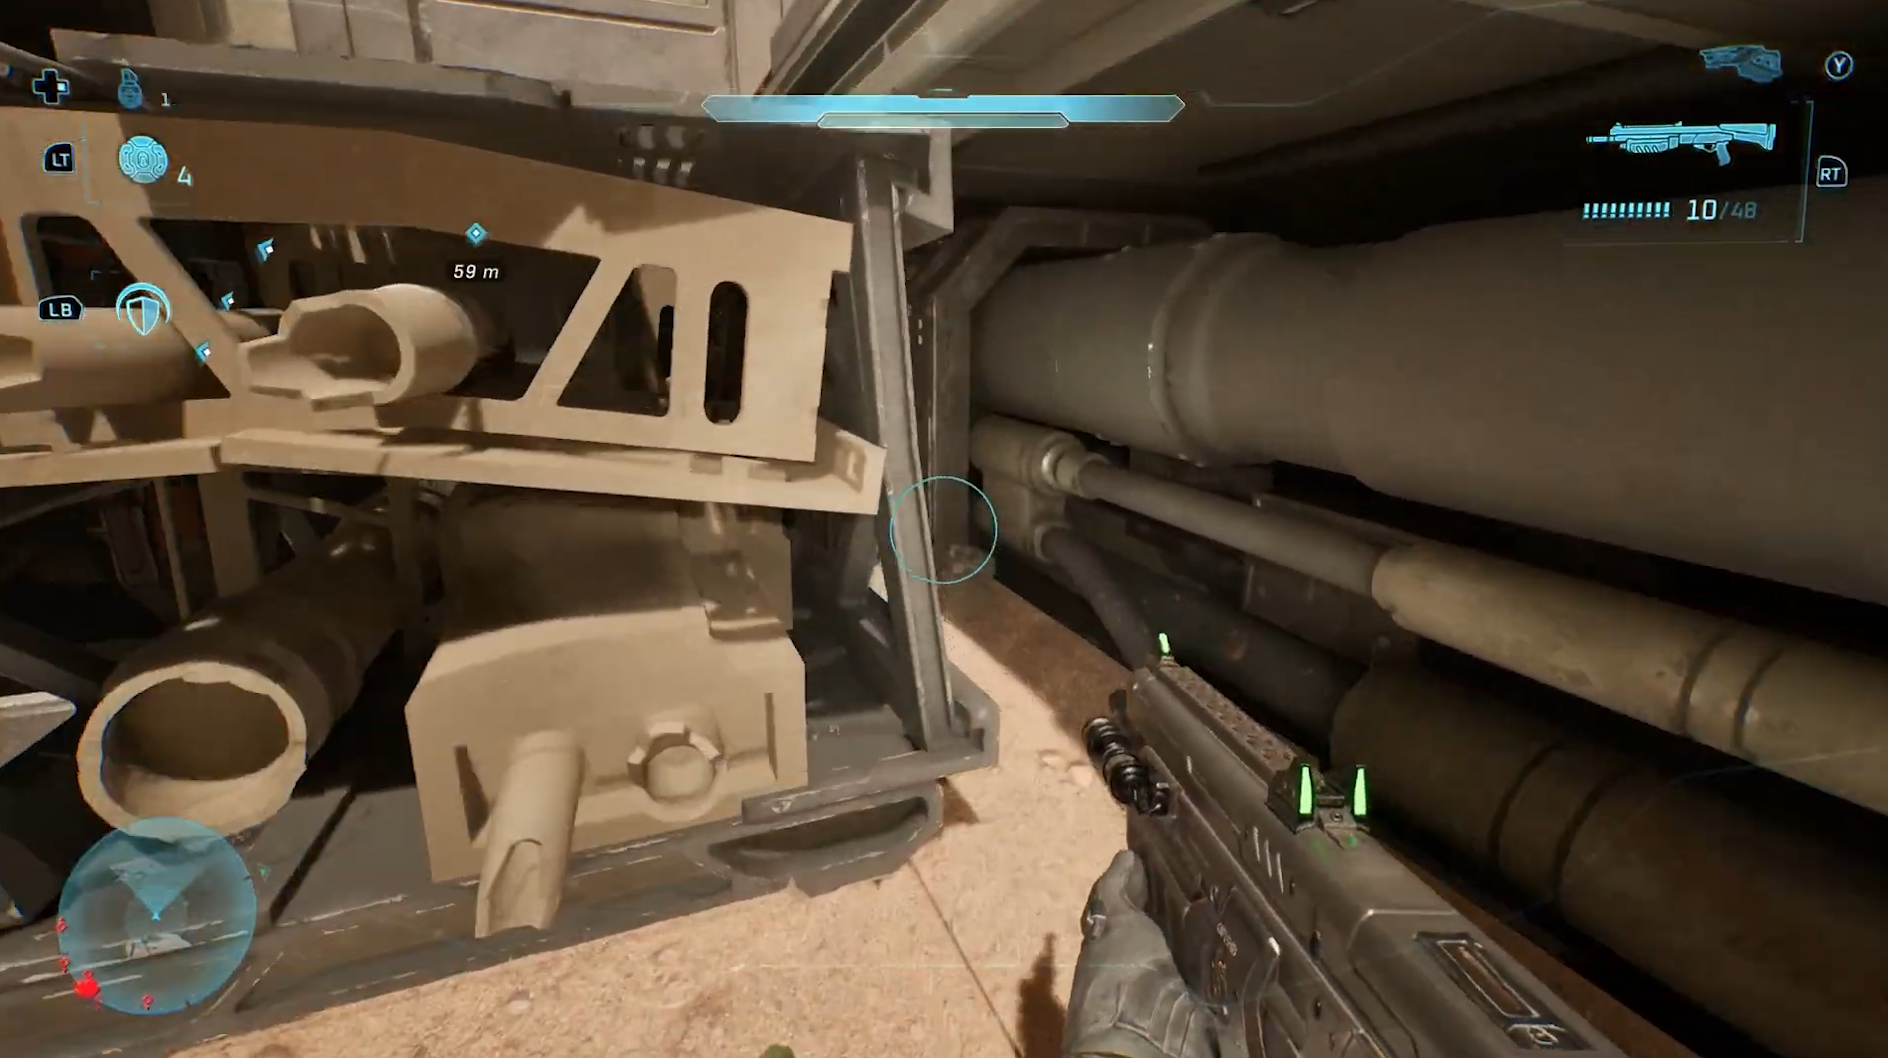
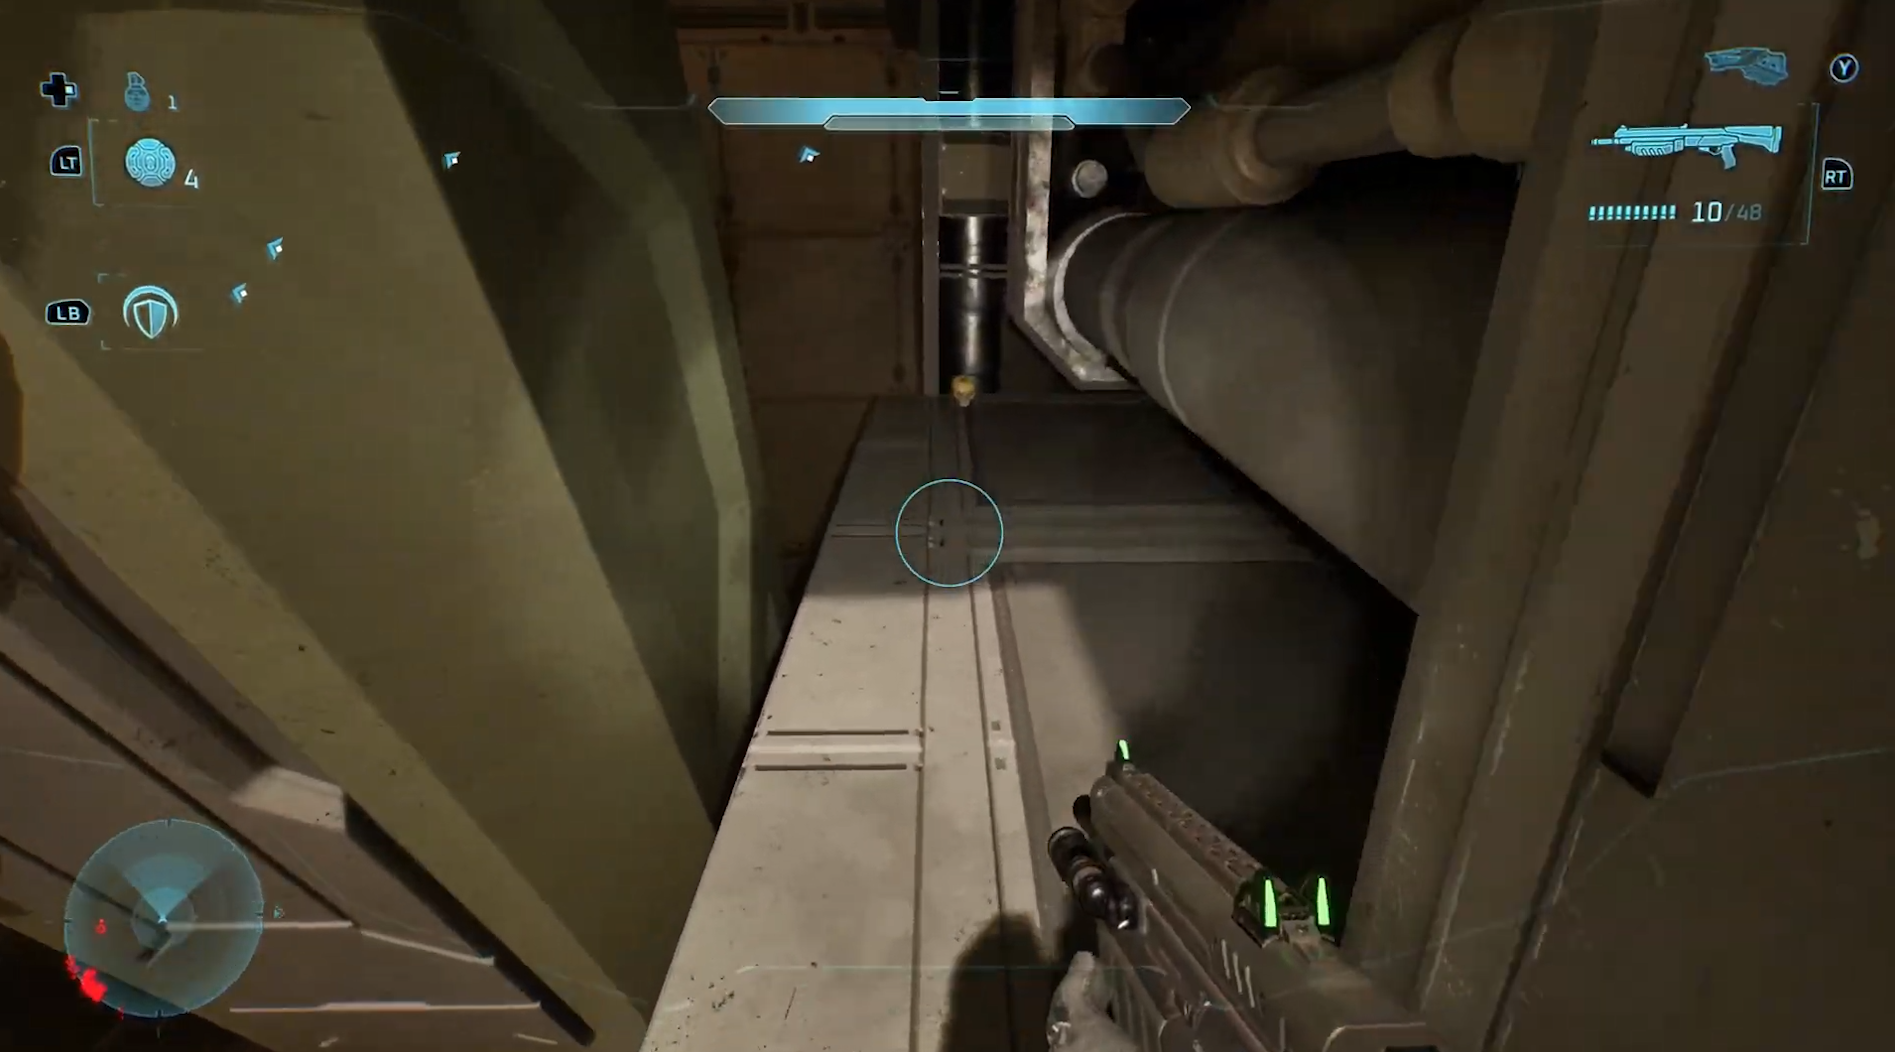
At the start of the Light Fuse checkpoint, you’ll enter a large hangar with the objective to destroy several cores. From the hangar entrance, head up the ramp on your right.

Then go through the unlocked door in the opposite corner.

Proceed through this tunnel until you reach the area below.

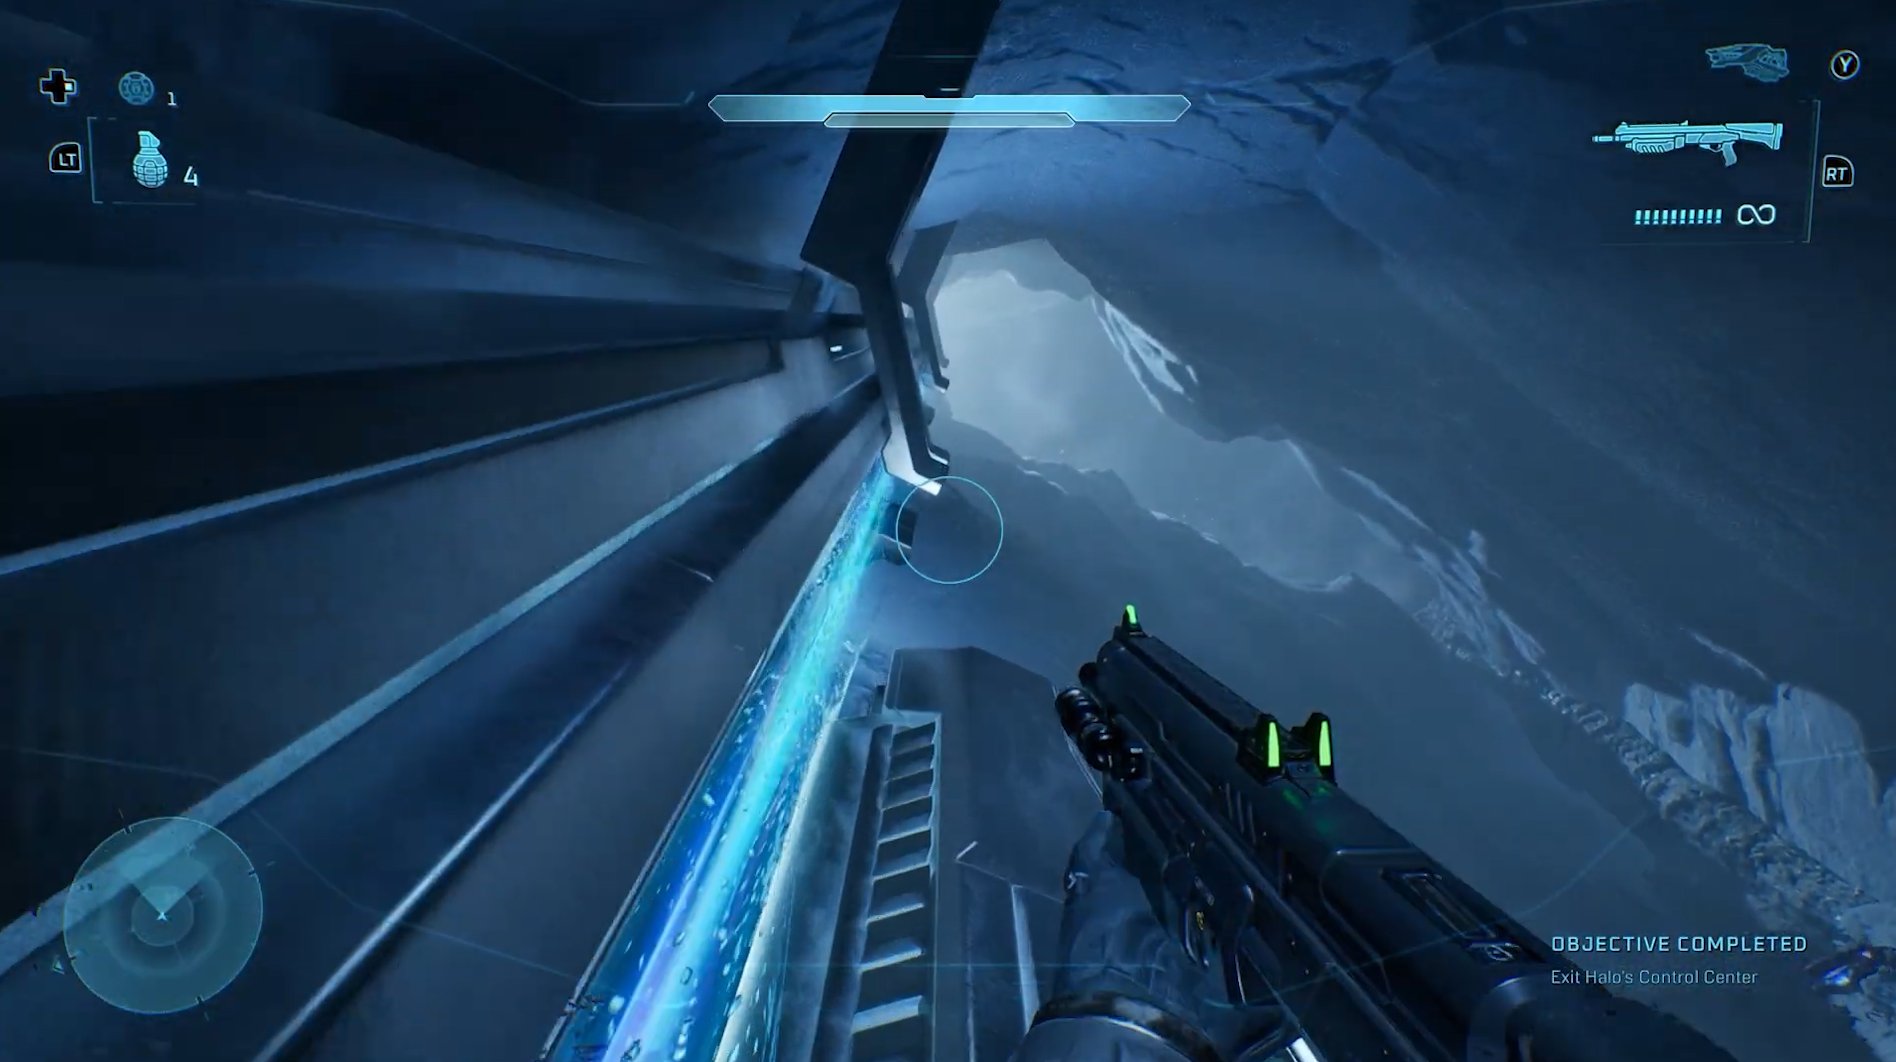
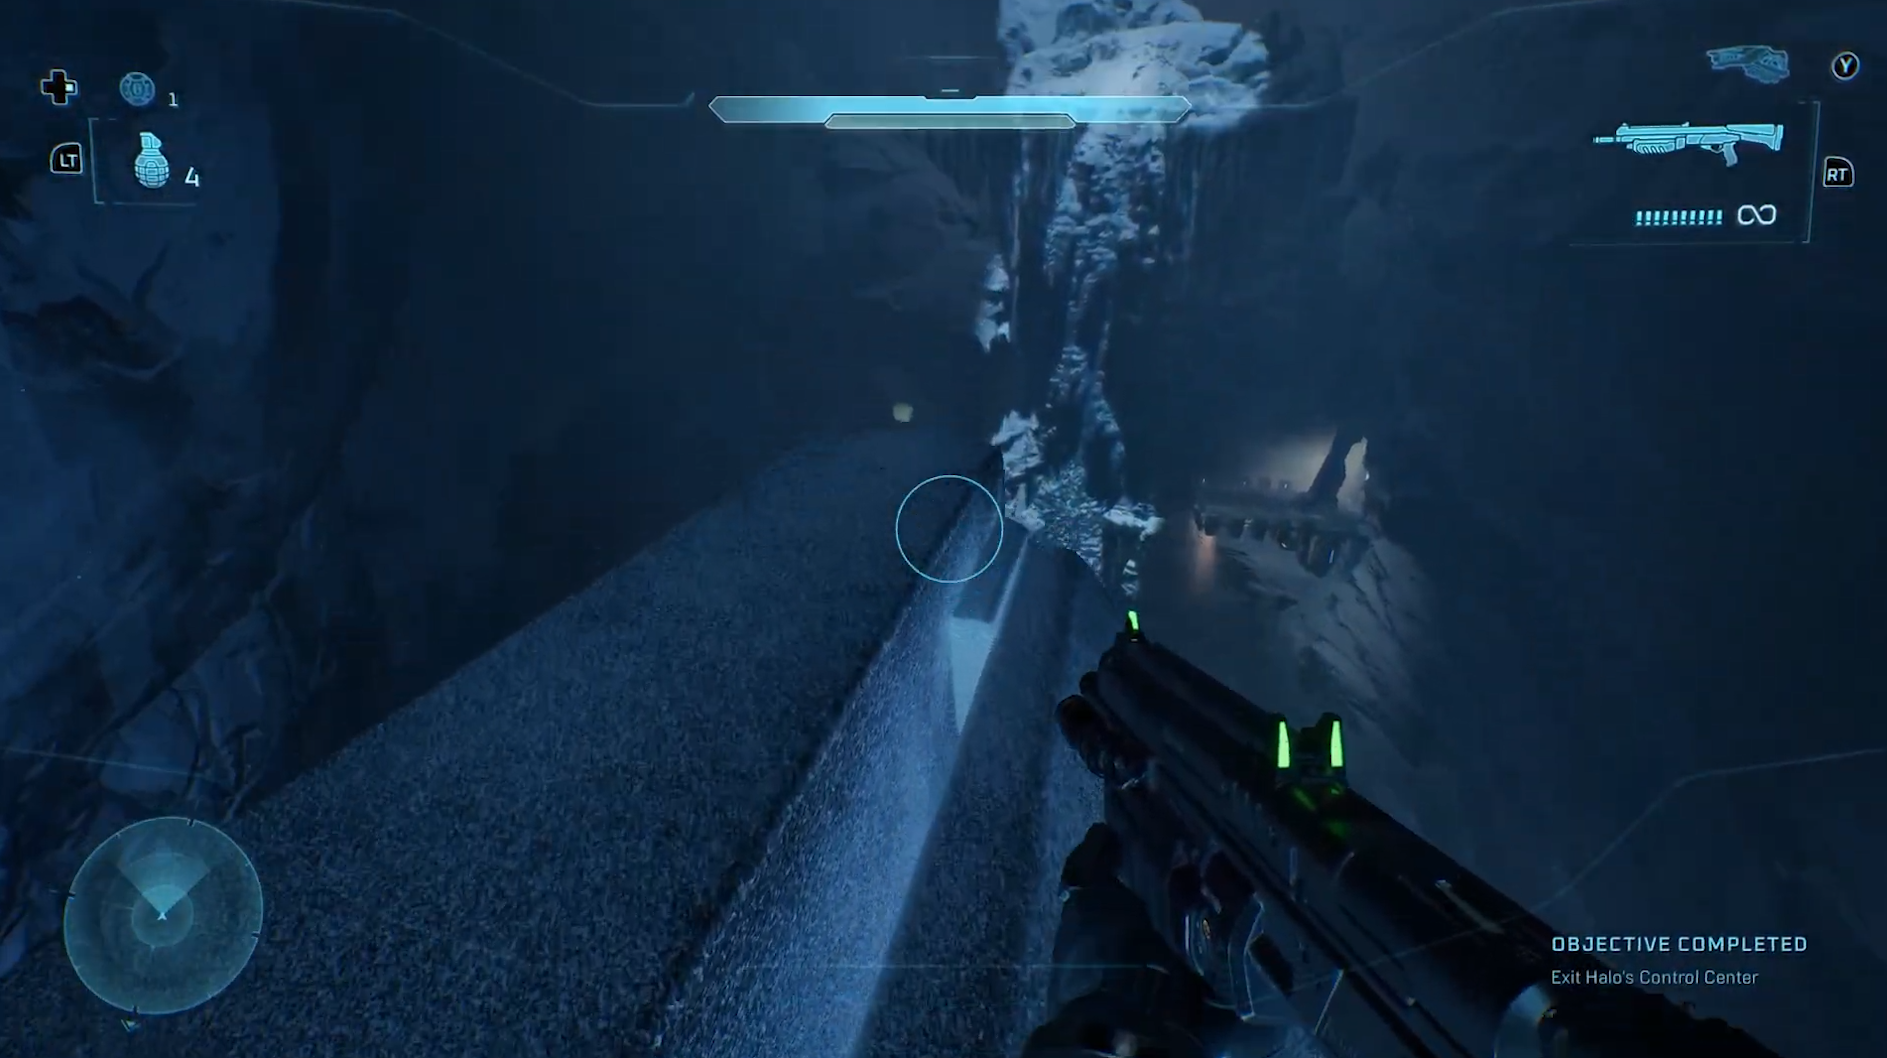
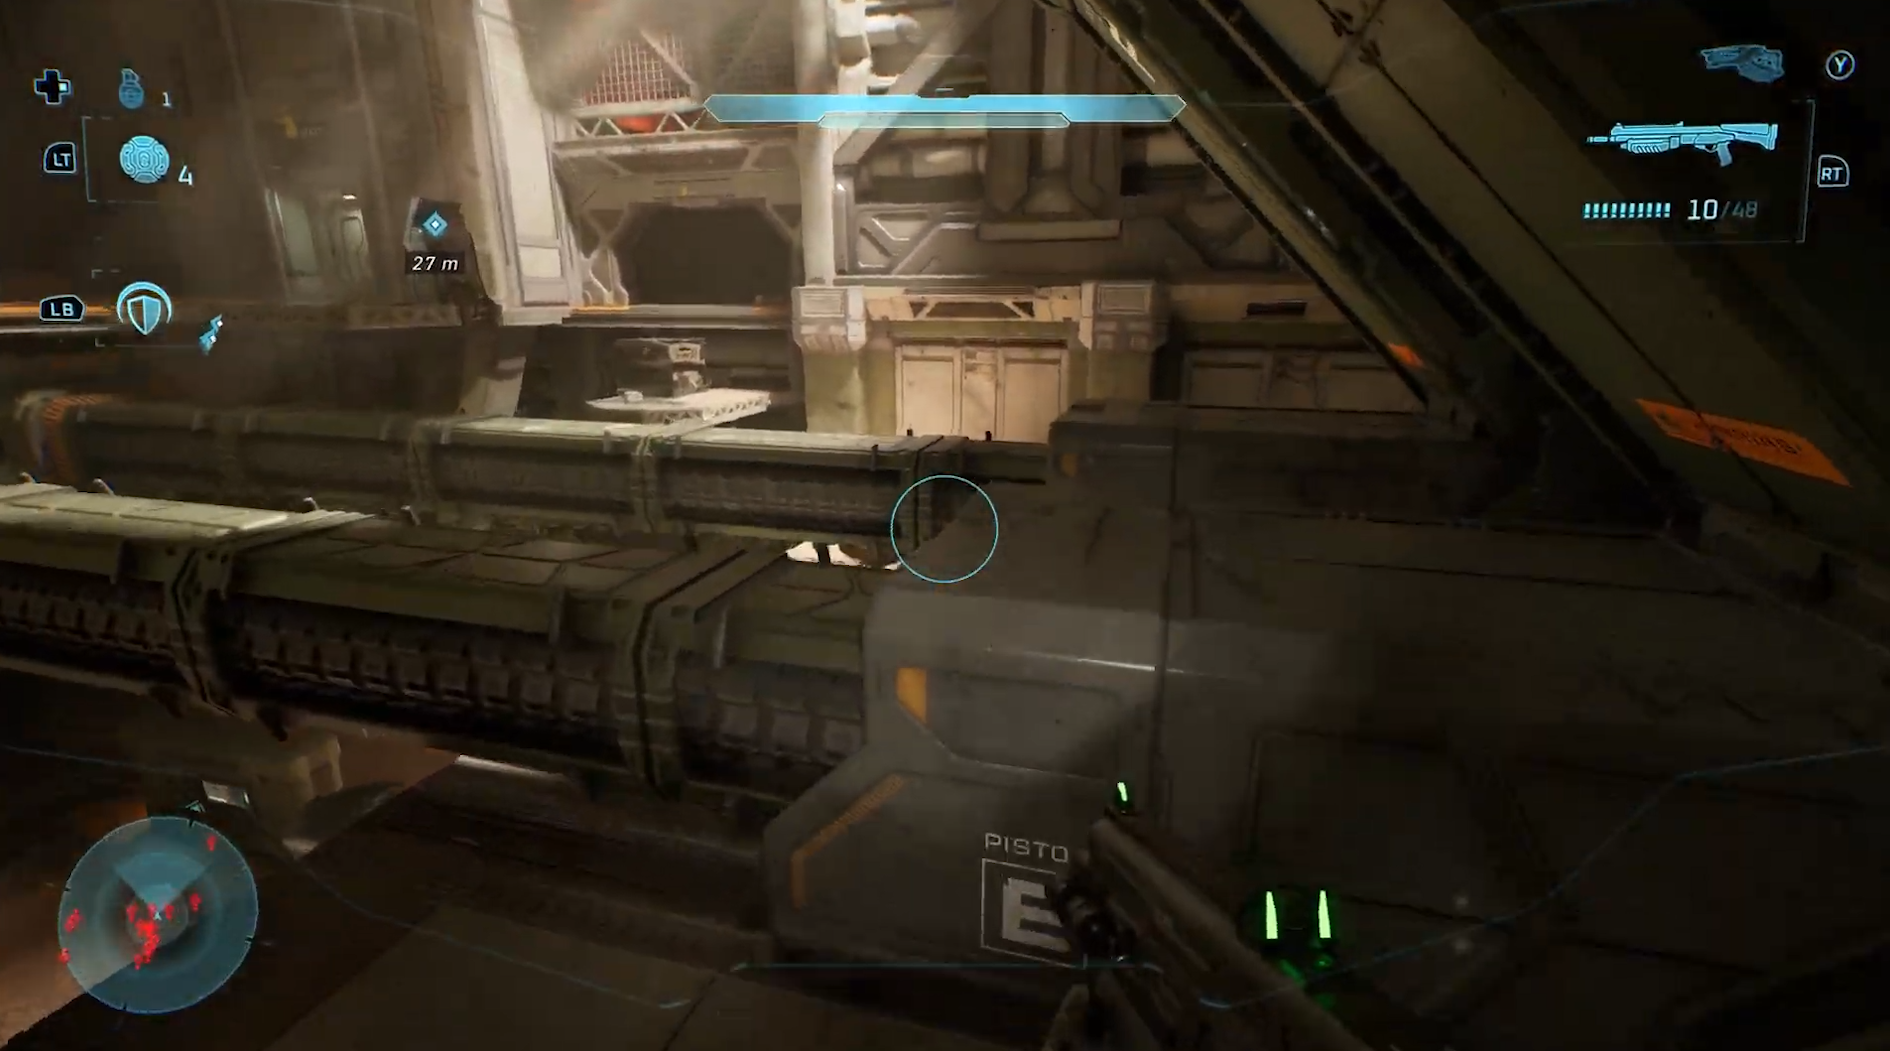
Jump along these two beams until you reach the platform with the crate on it slightly to the left of the reticle.

Look to the right of the crate, and continue forward until you see a ledge hugging the wall, and jump down.

You will see the Skull all the way at the back.

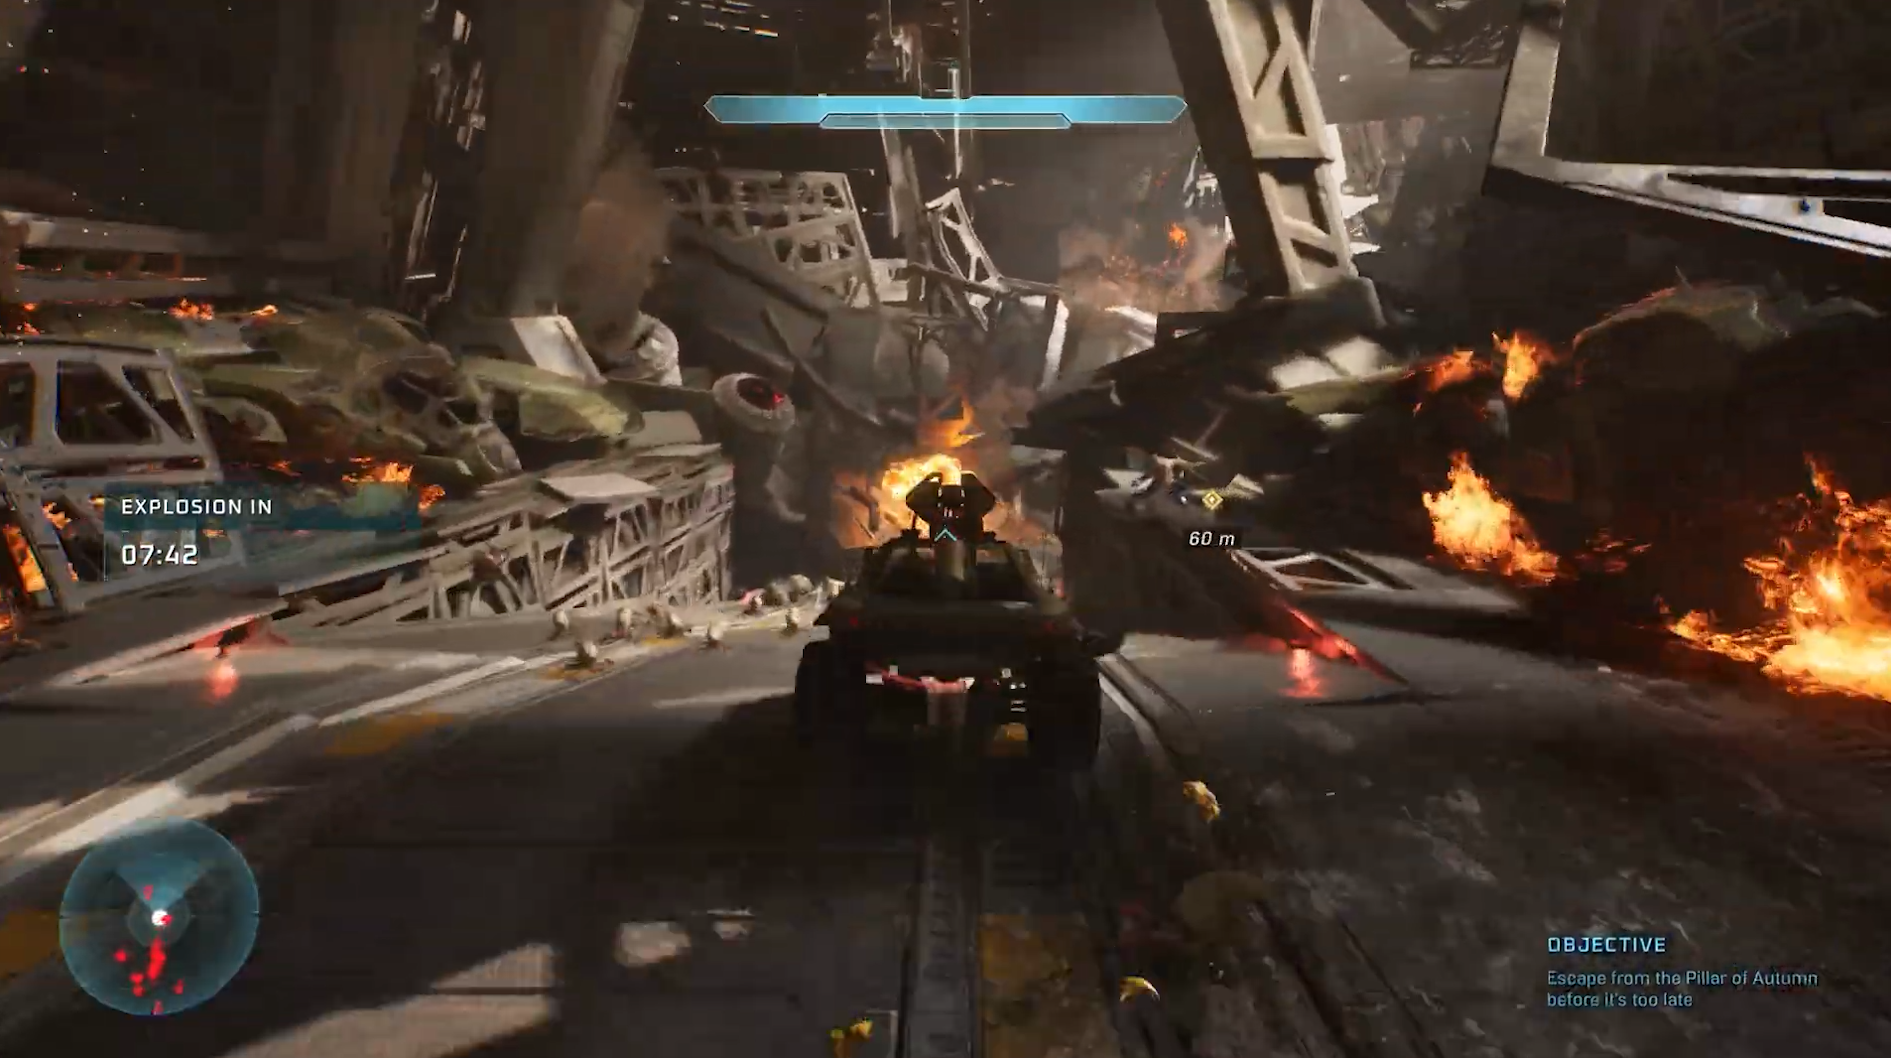
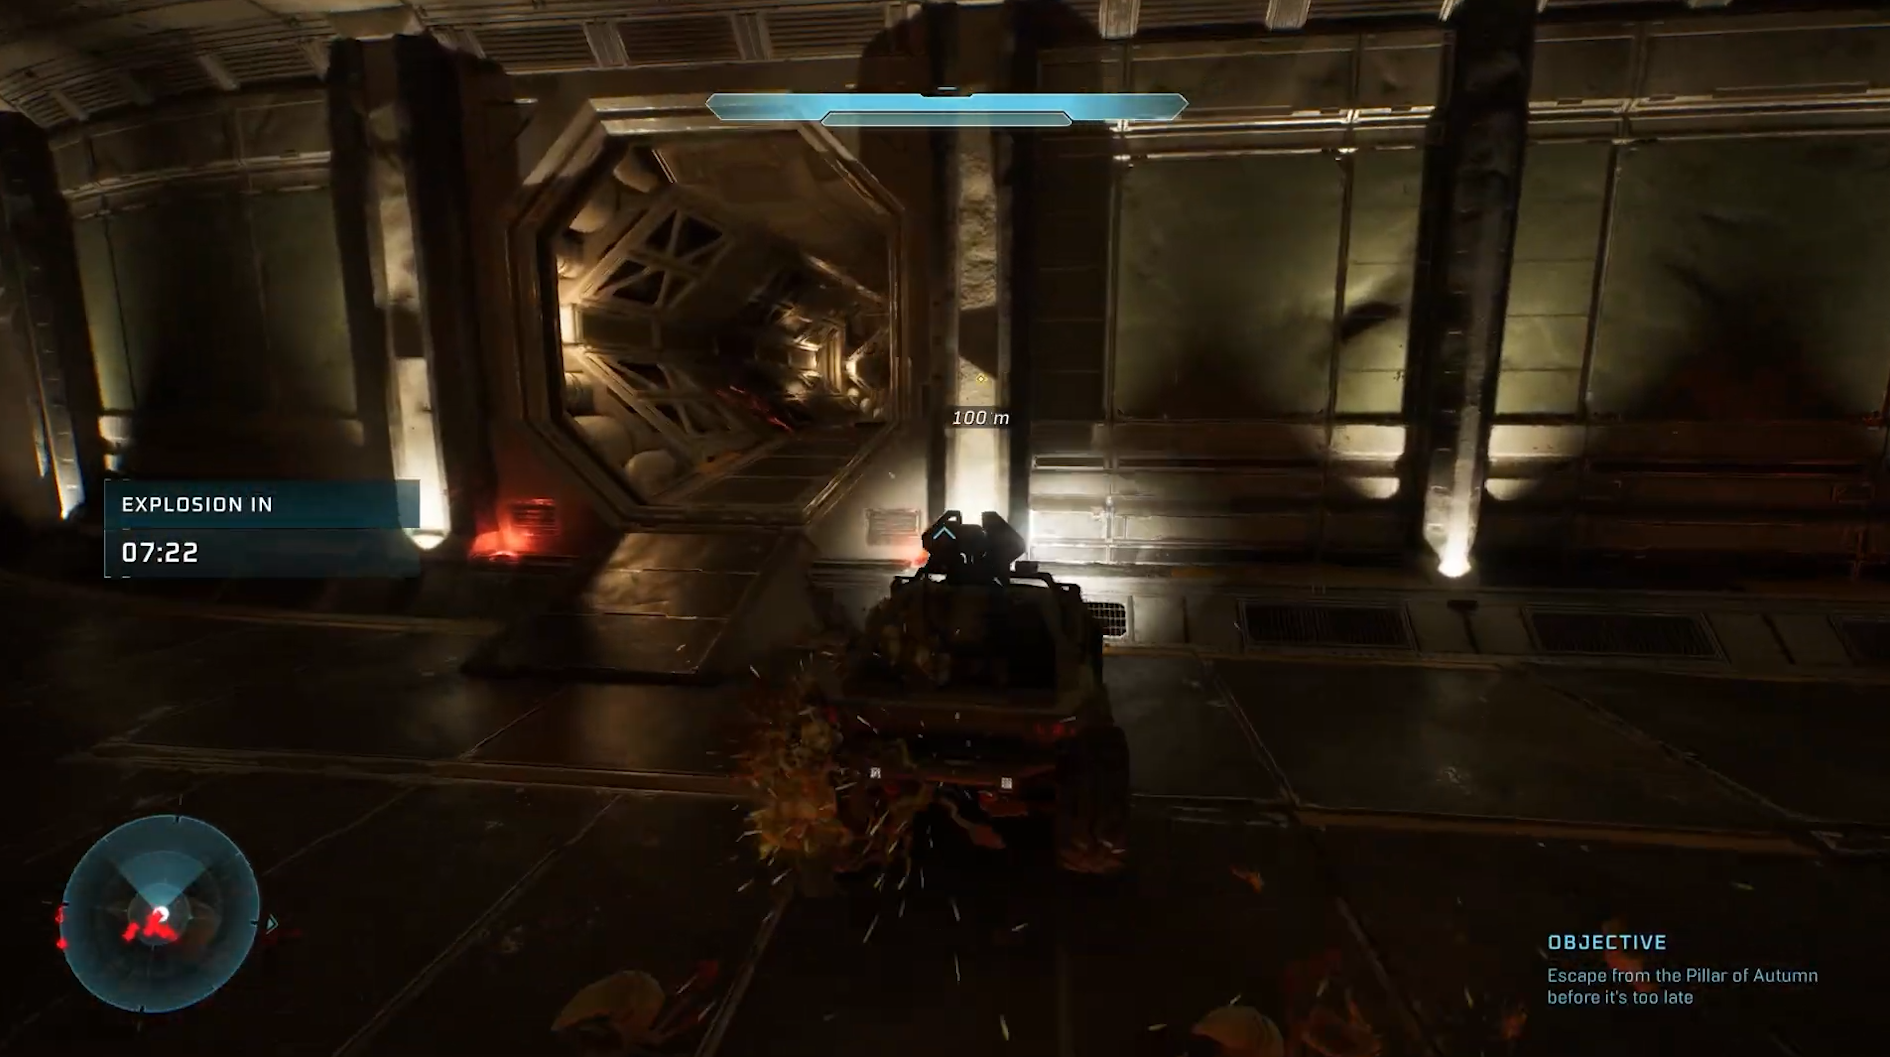
Skull 3: Thunderstorm

Modifier: Upgrades ranks of most enemies

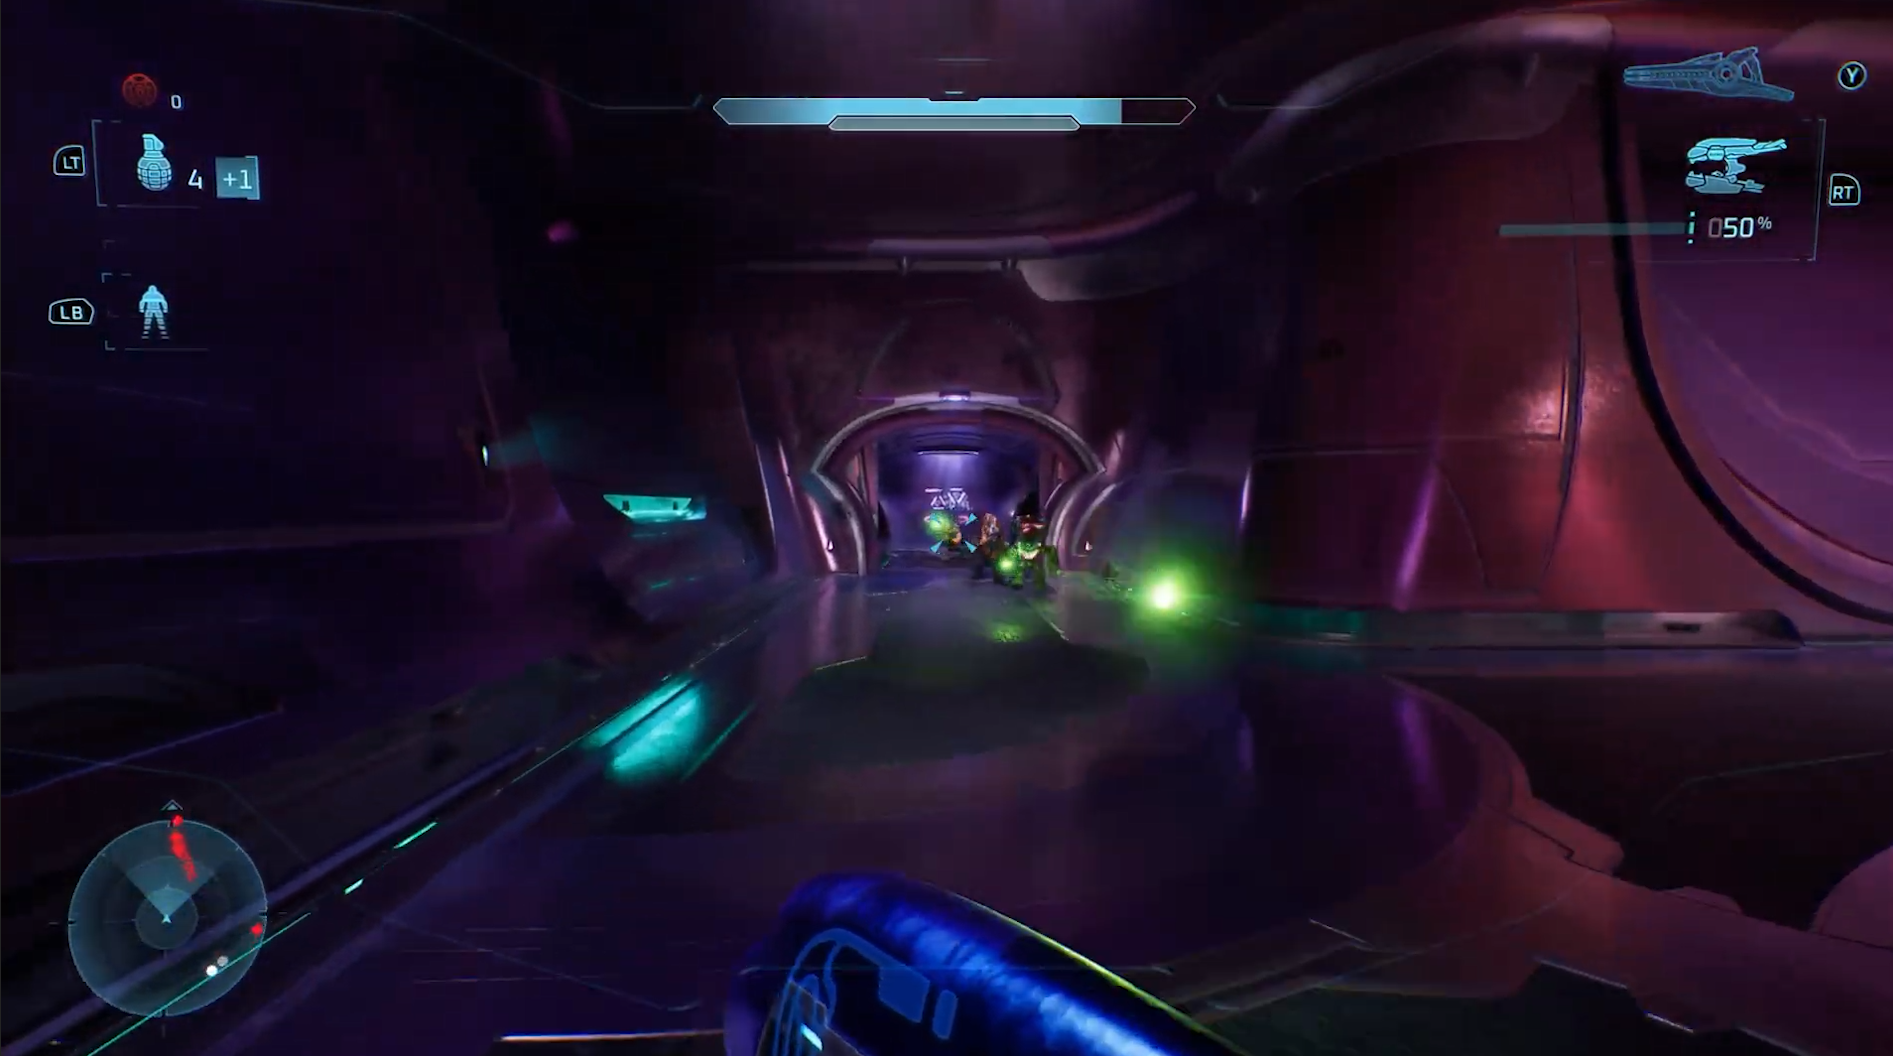
During the Warthog escape sequence, the main tunnel will branch into smaller side paths.

When you reach the second side path, just before encountering Sentinels fighting the Flood, drive into it.

In the middle of this path, on top of some explosion debris on the right, you’ll find the Skull.

Bonus Mission 1: Boarding Action

Skull 1: Malfunction

Modifier: Random HUD elements disappear upon respawning

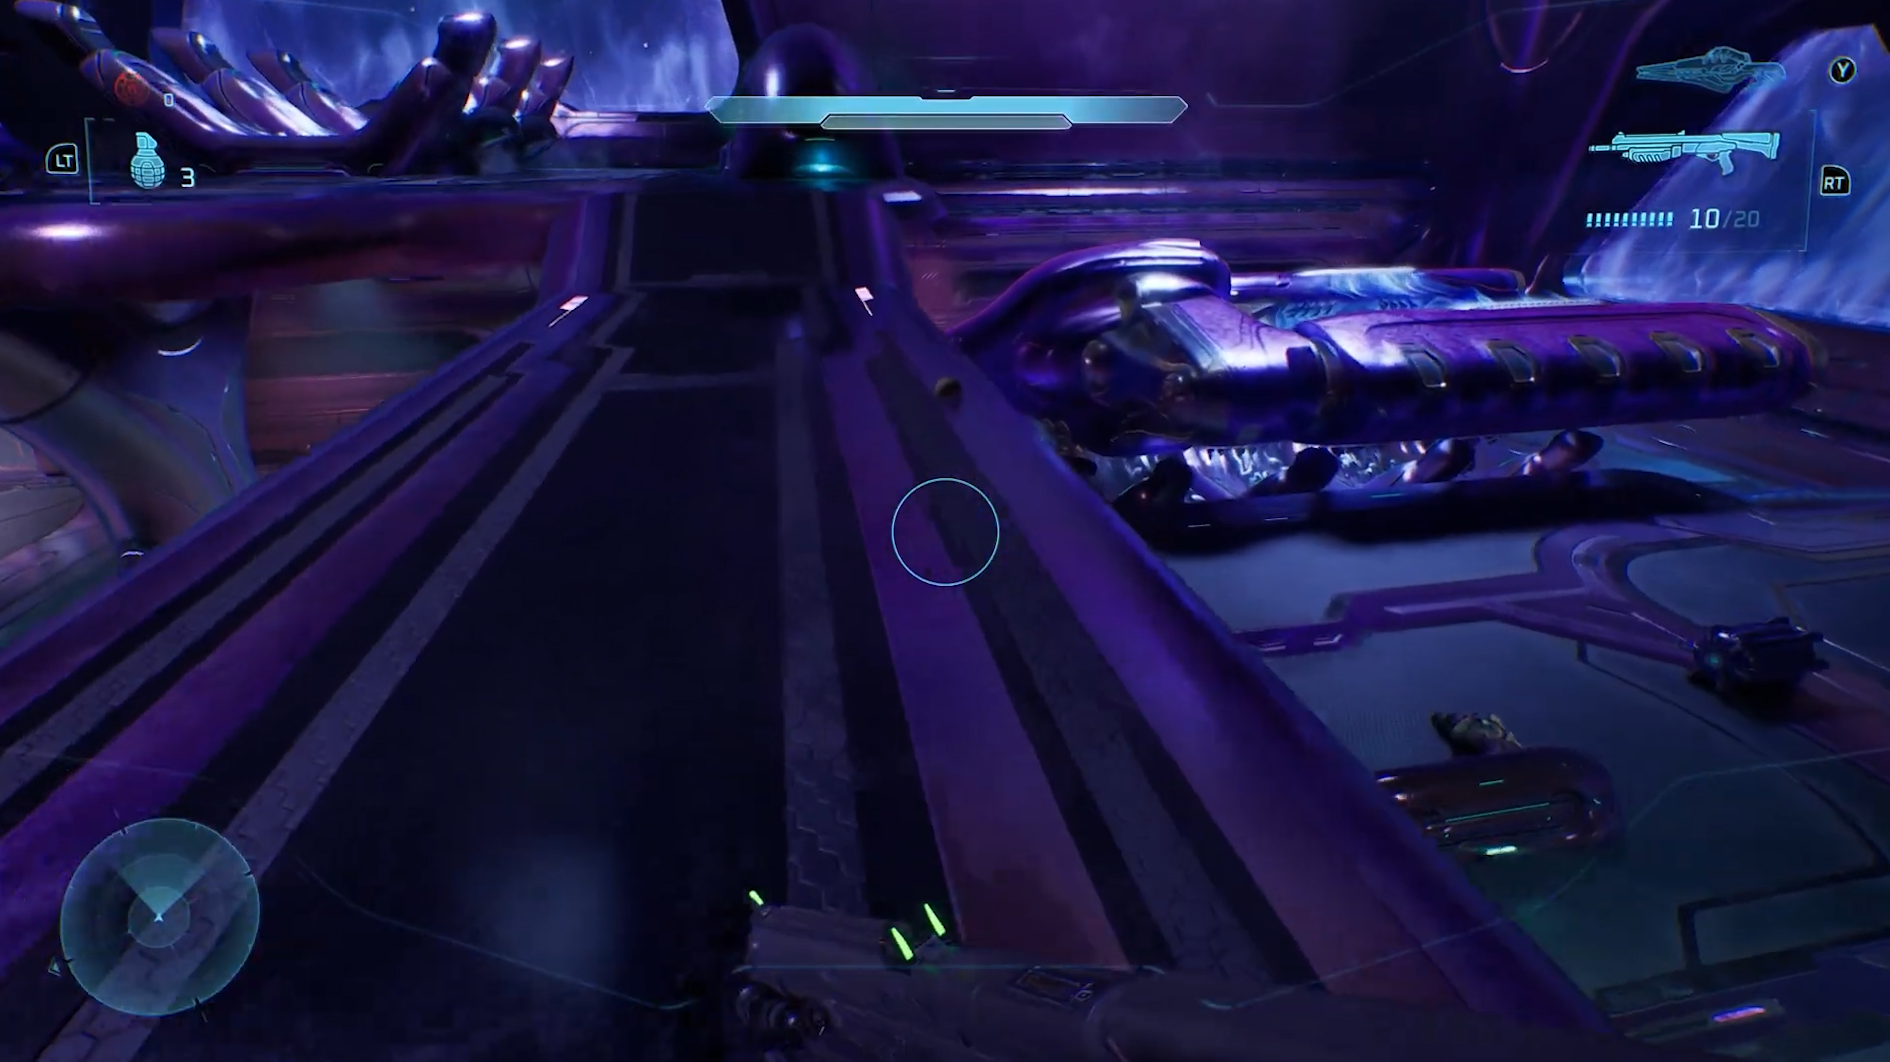
As you move through the mission, you’ll eventually reach an area where you fight two heavily armored white Hunters. After defeating them, head right instead of following the objective marker.

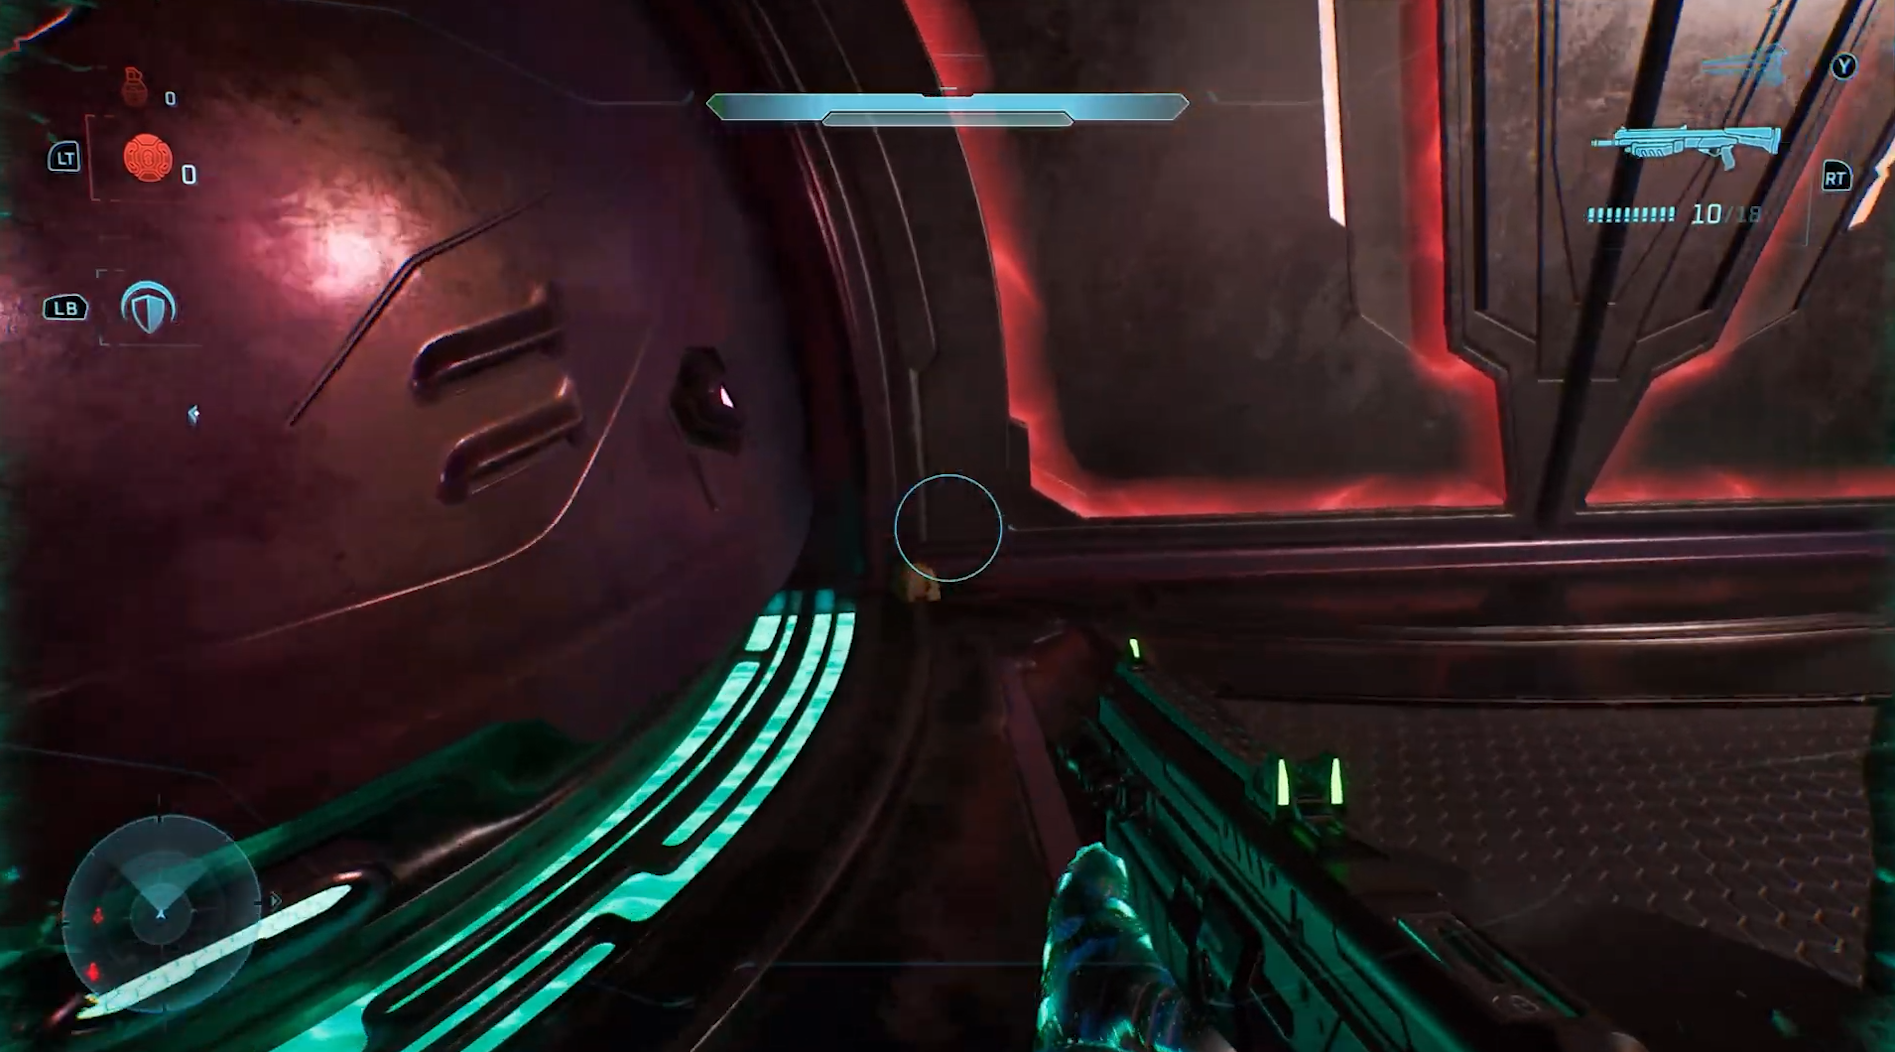
Follow this area around, and go up the ramp to the right of the locked door pictured.

Follow the path behind the turret in this room.

You will find the Skull on the walkway in the middle overlooking the hangar.

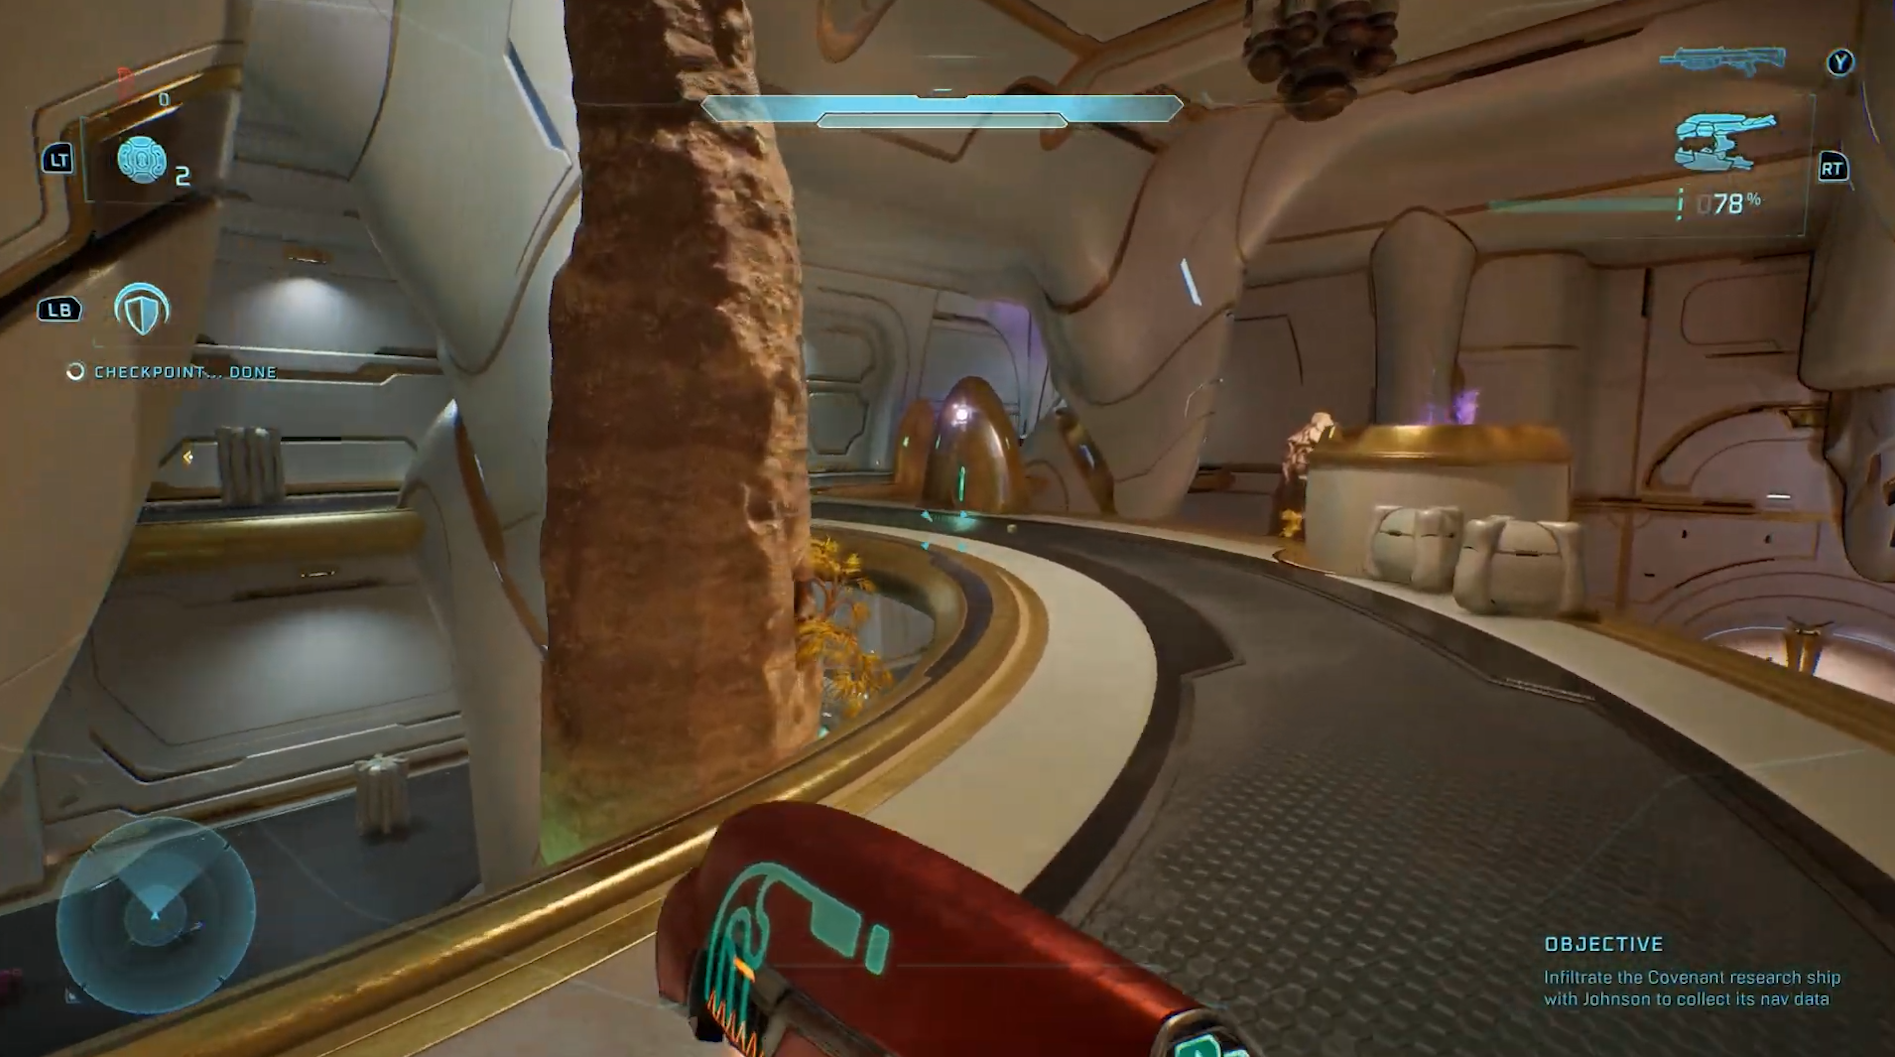
Skull 2: Johnny Ammo Seed

Modifier: Lose leftover ammo in mag upon reloading

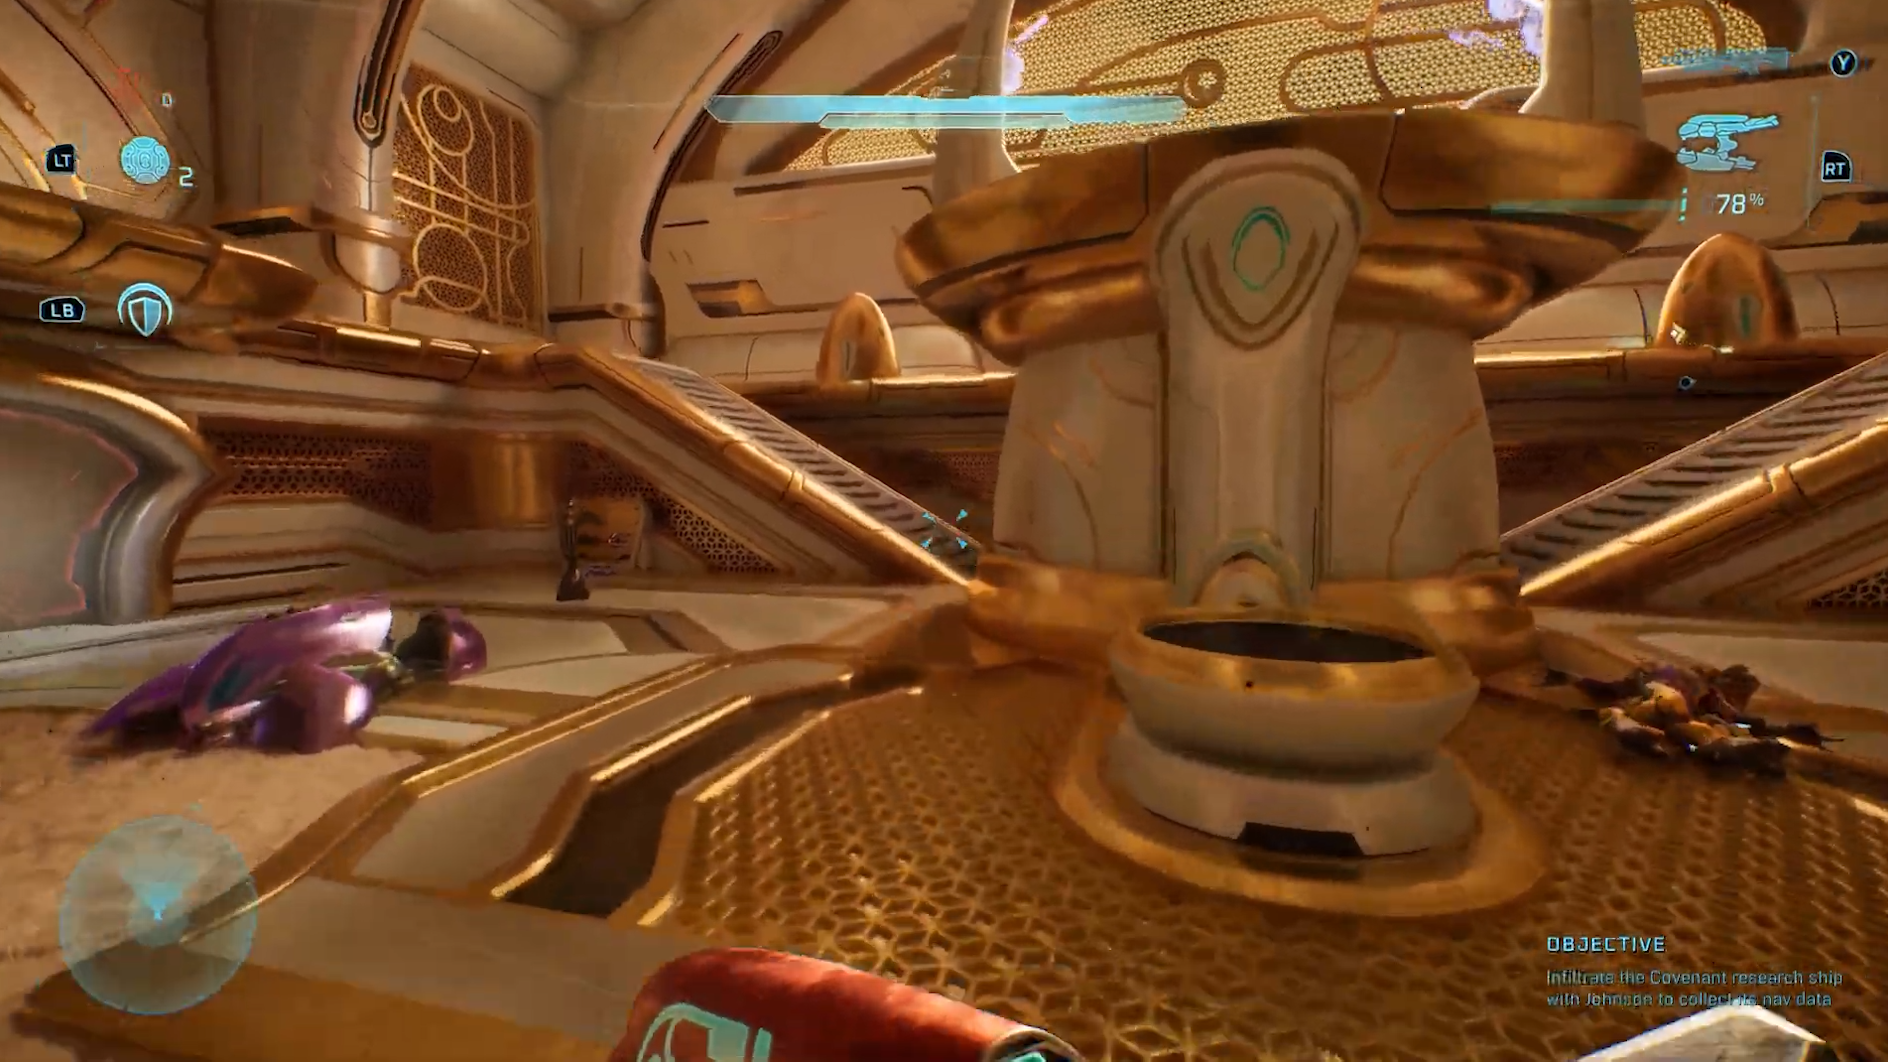
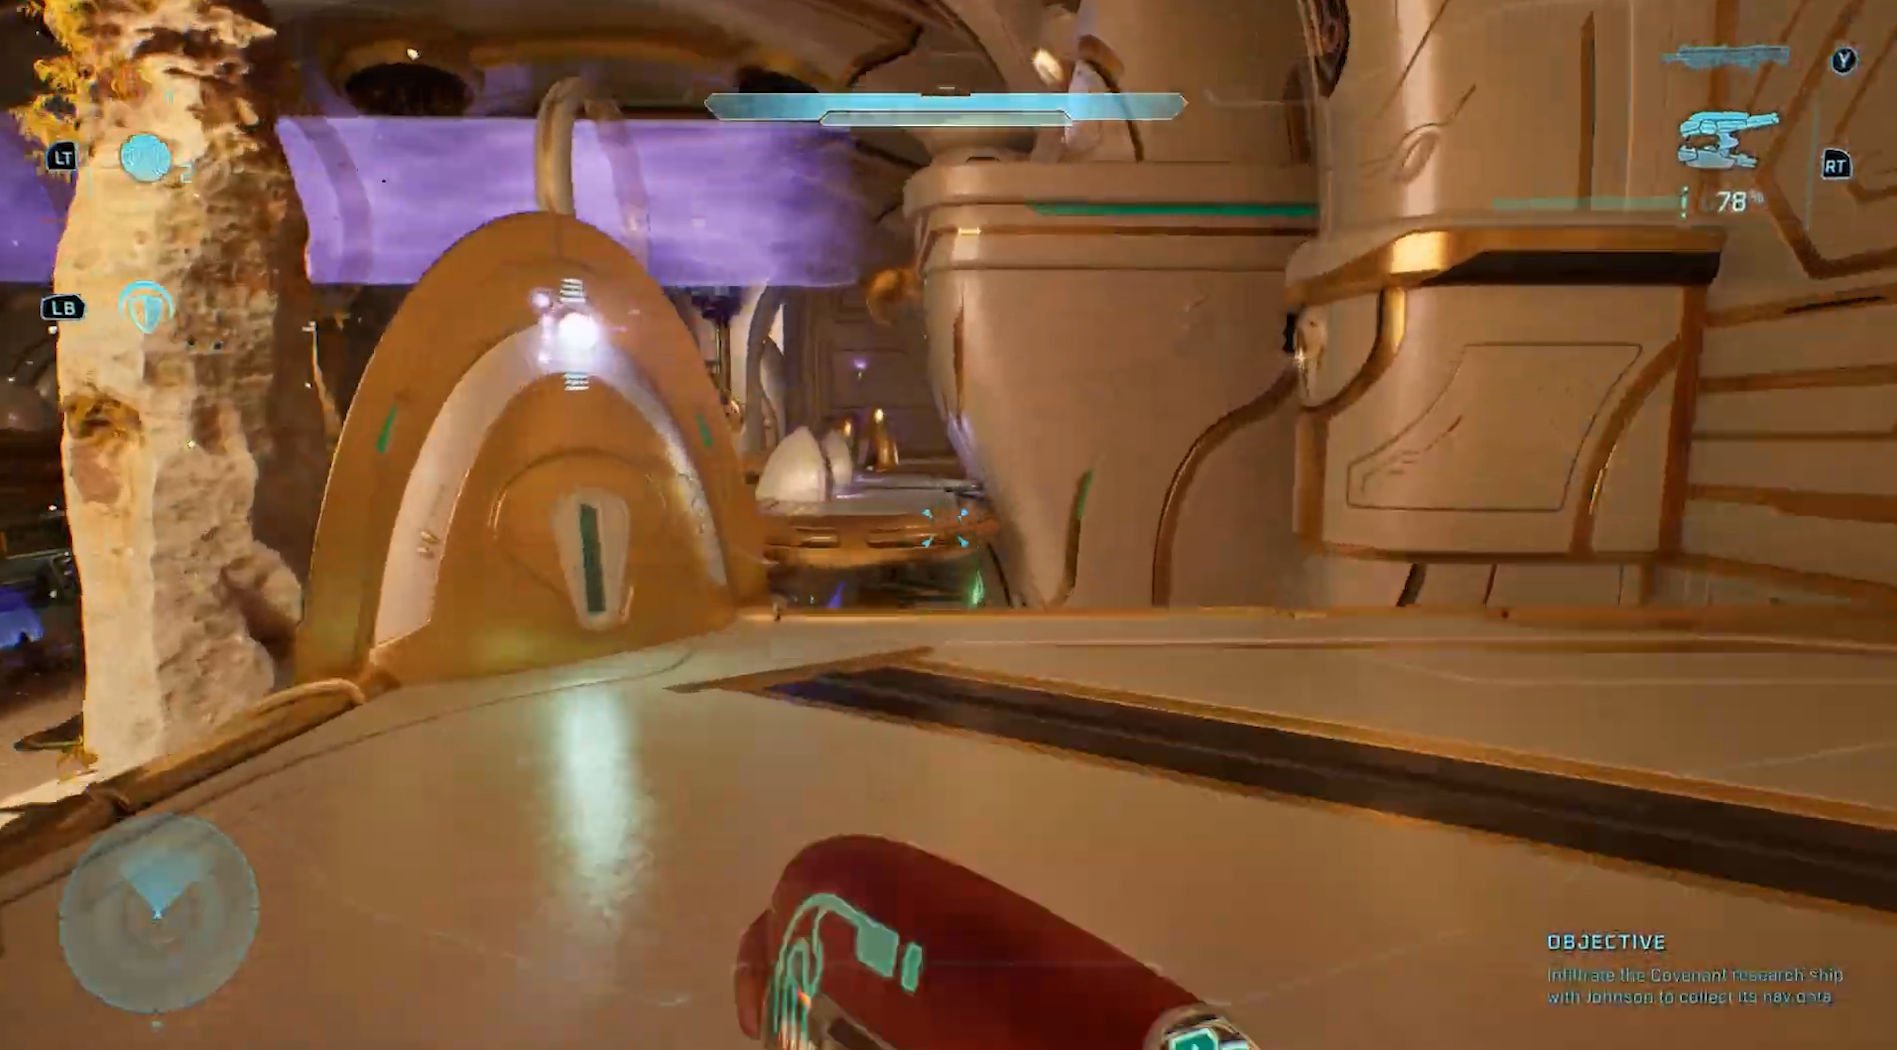
Later in the mission, you’ll enter a palace‑like area. In one of the rooms, Sgt. Johnson will remark that it looks like a training space. After clearing out the Covenant, go up to the second floor, then turn back toward the area you came from.

At the back are two exits, one left and one right.

Take the left exit, which leads to the top floor of the previous area.

Defeat the gold-clad Covenant here, then step out onto the ledge to find the Skull positioned in the middle of the path.

Skull 3: Leadhead

Modifier: Headshots no longer deal extra damage

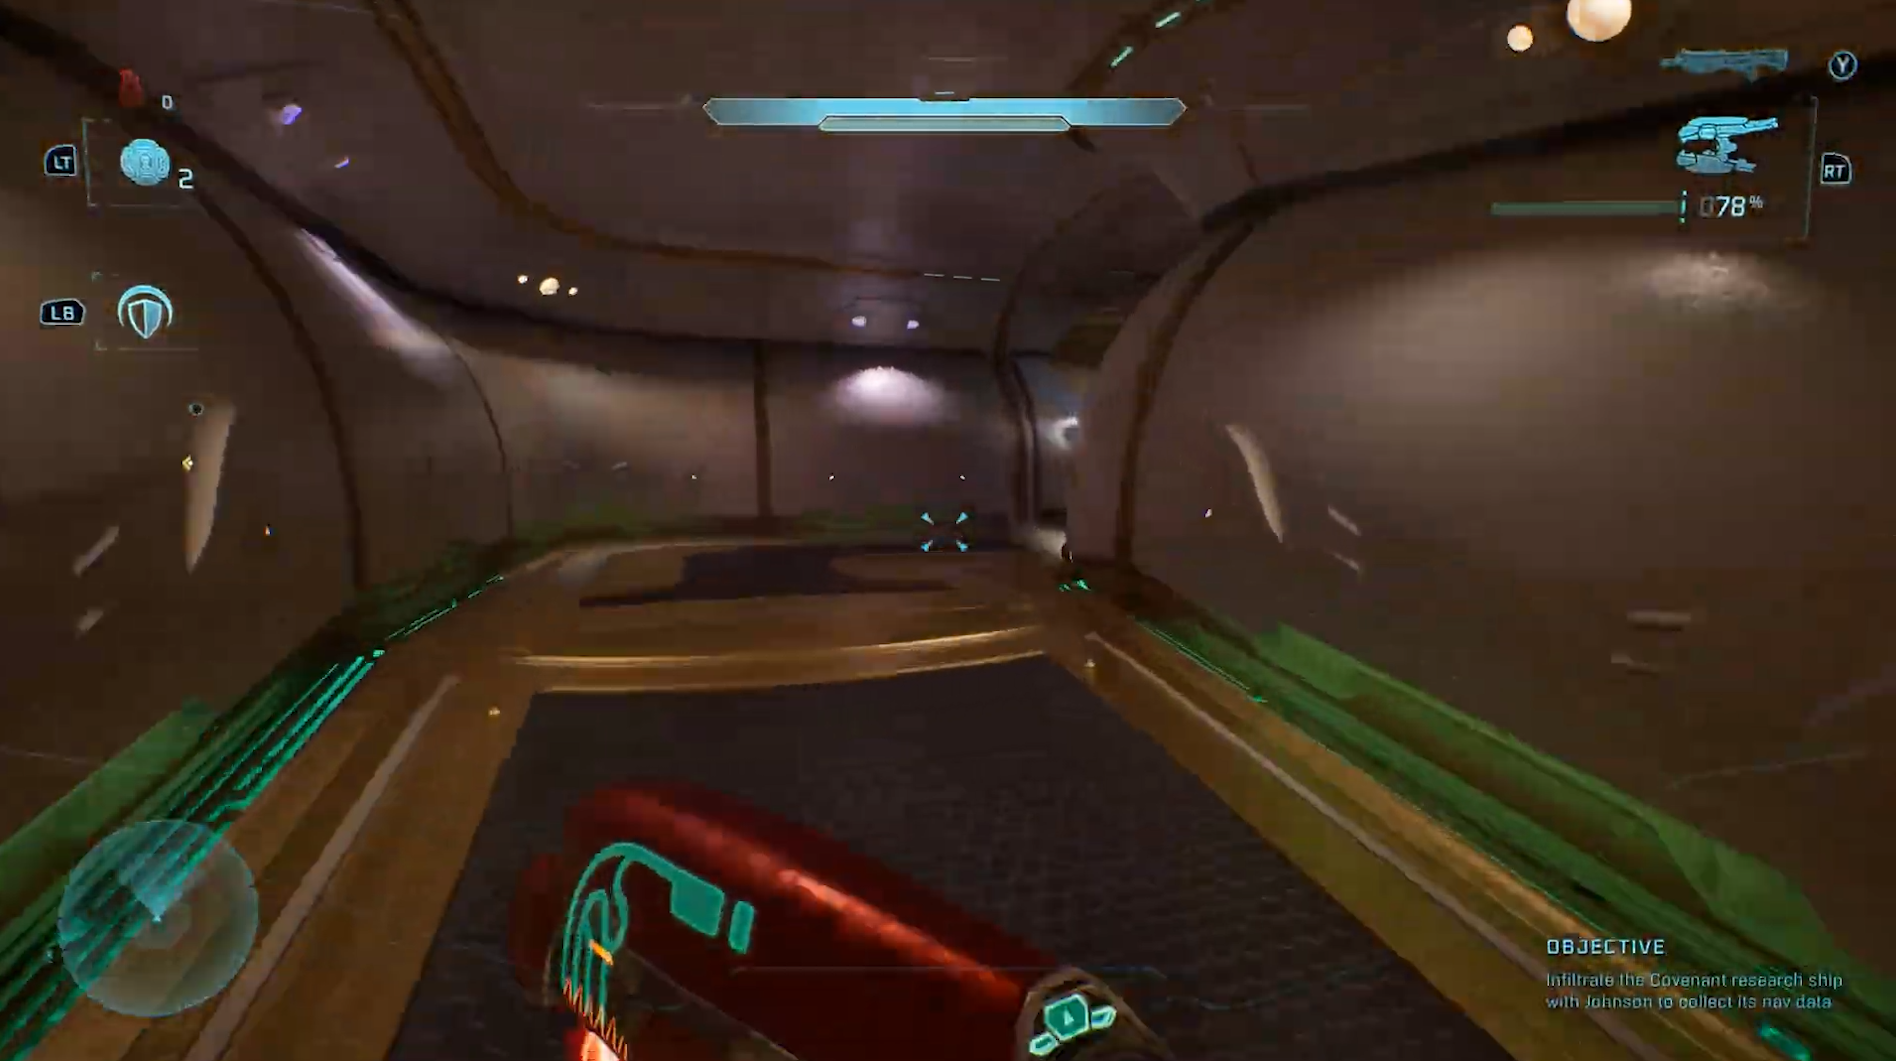
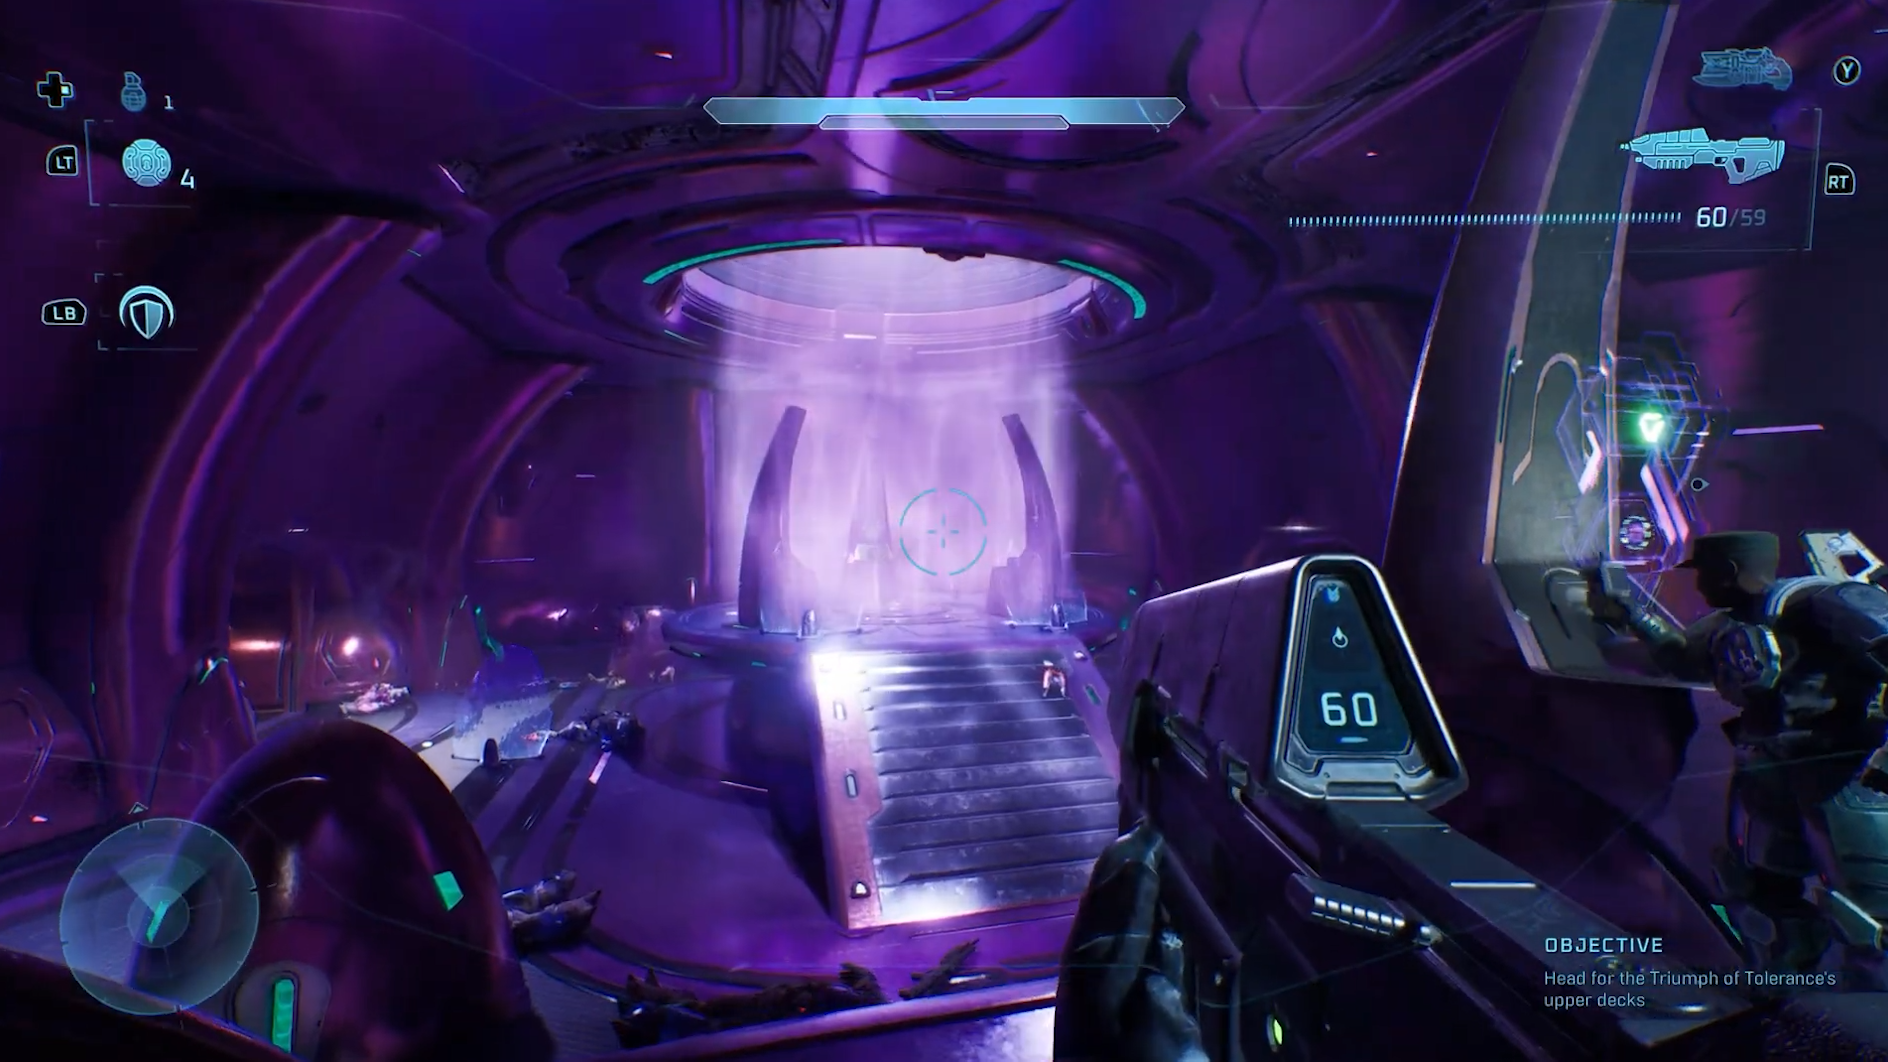
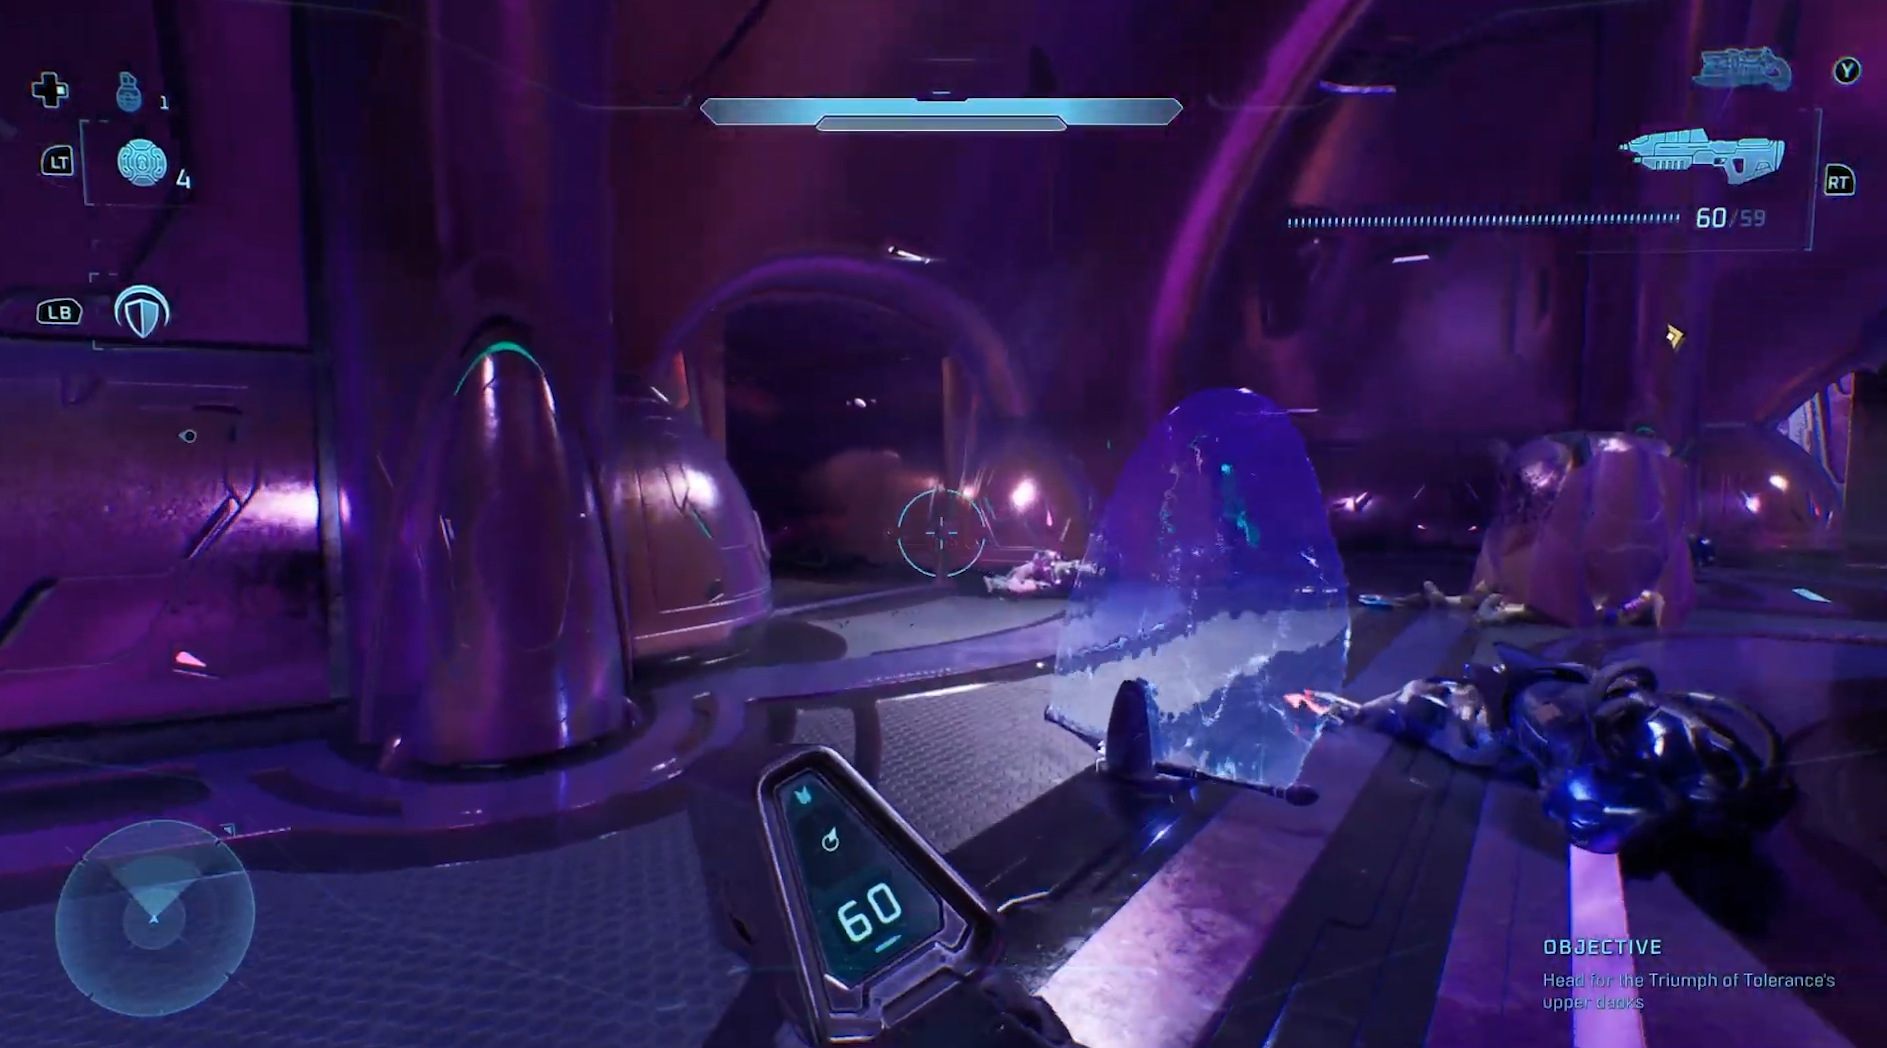
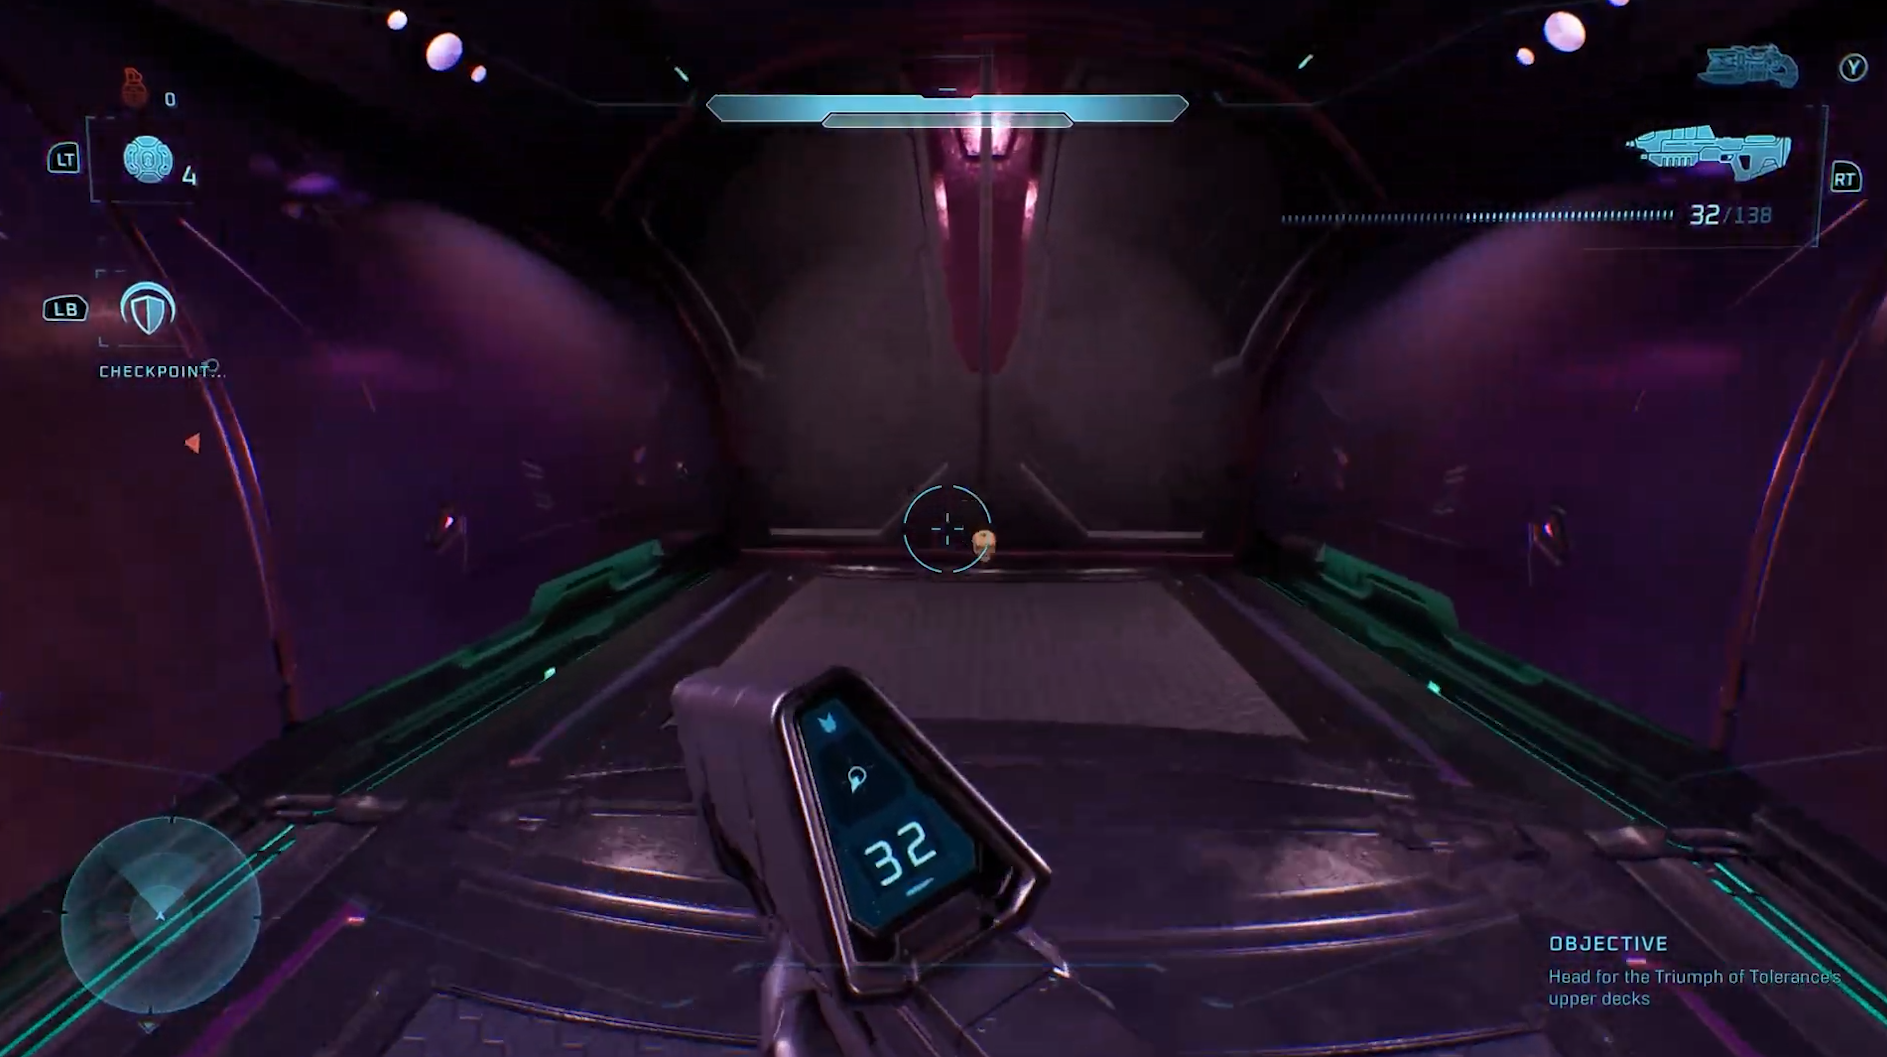
While making your way to the upper decks of the Triumph of Tolerance, you’ll reach a room where you must clear waves of Covenant before Sgt. Johnson can activate the grav lift.

Once all enemies are defeated, head through the door in the back‑left corner.

Follow the corridor to its end, where the Skull is waiting.

Bonus Mission 2: The Most Dangerous Game

Skull 1: Temperamental

Modifier: Friendly AI turns hostile faster upon friendly fire

This Skull requires several actions throughout the mission rather than being tied to a single location. It revolves around the high‑value target highlighted during the mission. Each time you encounter it, shoot it until its shield breaks — the target cannot be killed, but breaking the shield is what counts.

After completing all three shield breaks, clear every Covenant in the area. Move to the giant spire in the middle.

The Skull will then spawn inside, emitting blue light.

Skull 2: Recession

Modifier: Each shot costs double the amount of ammo

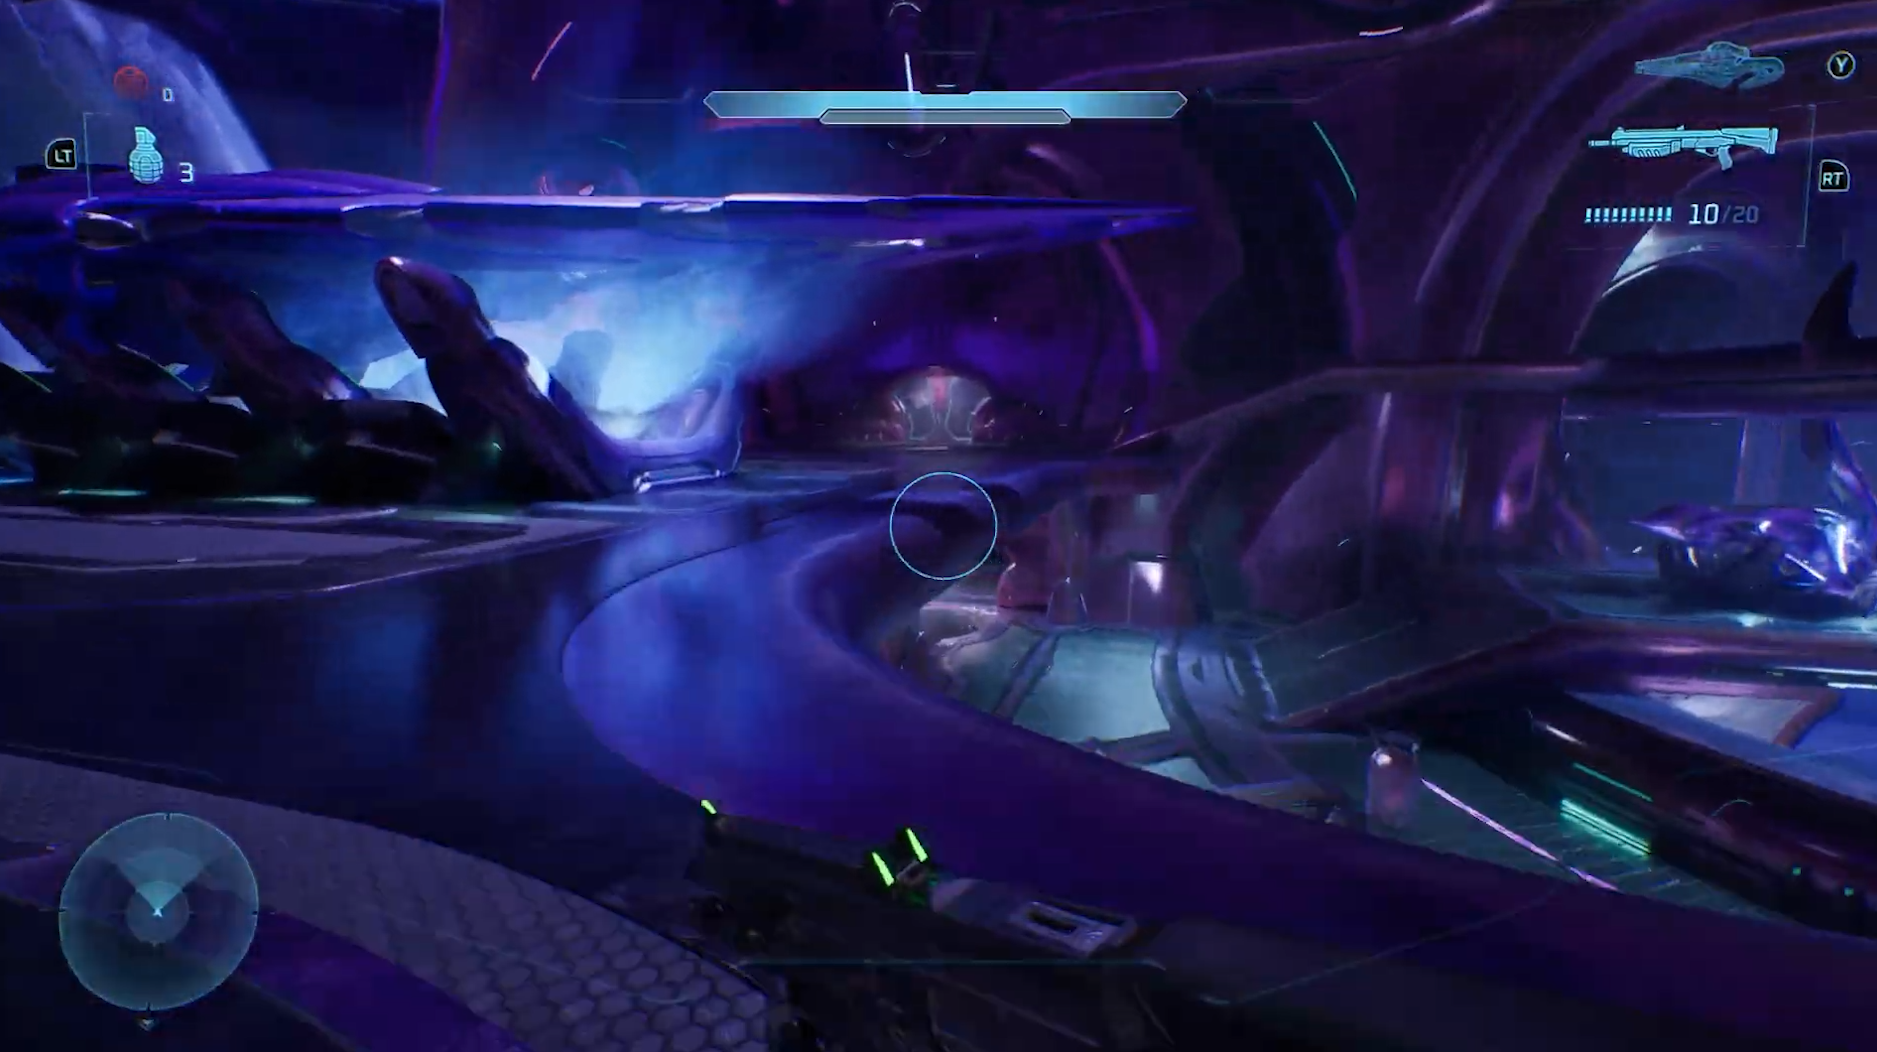
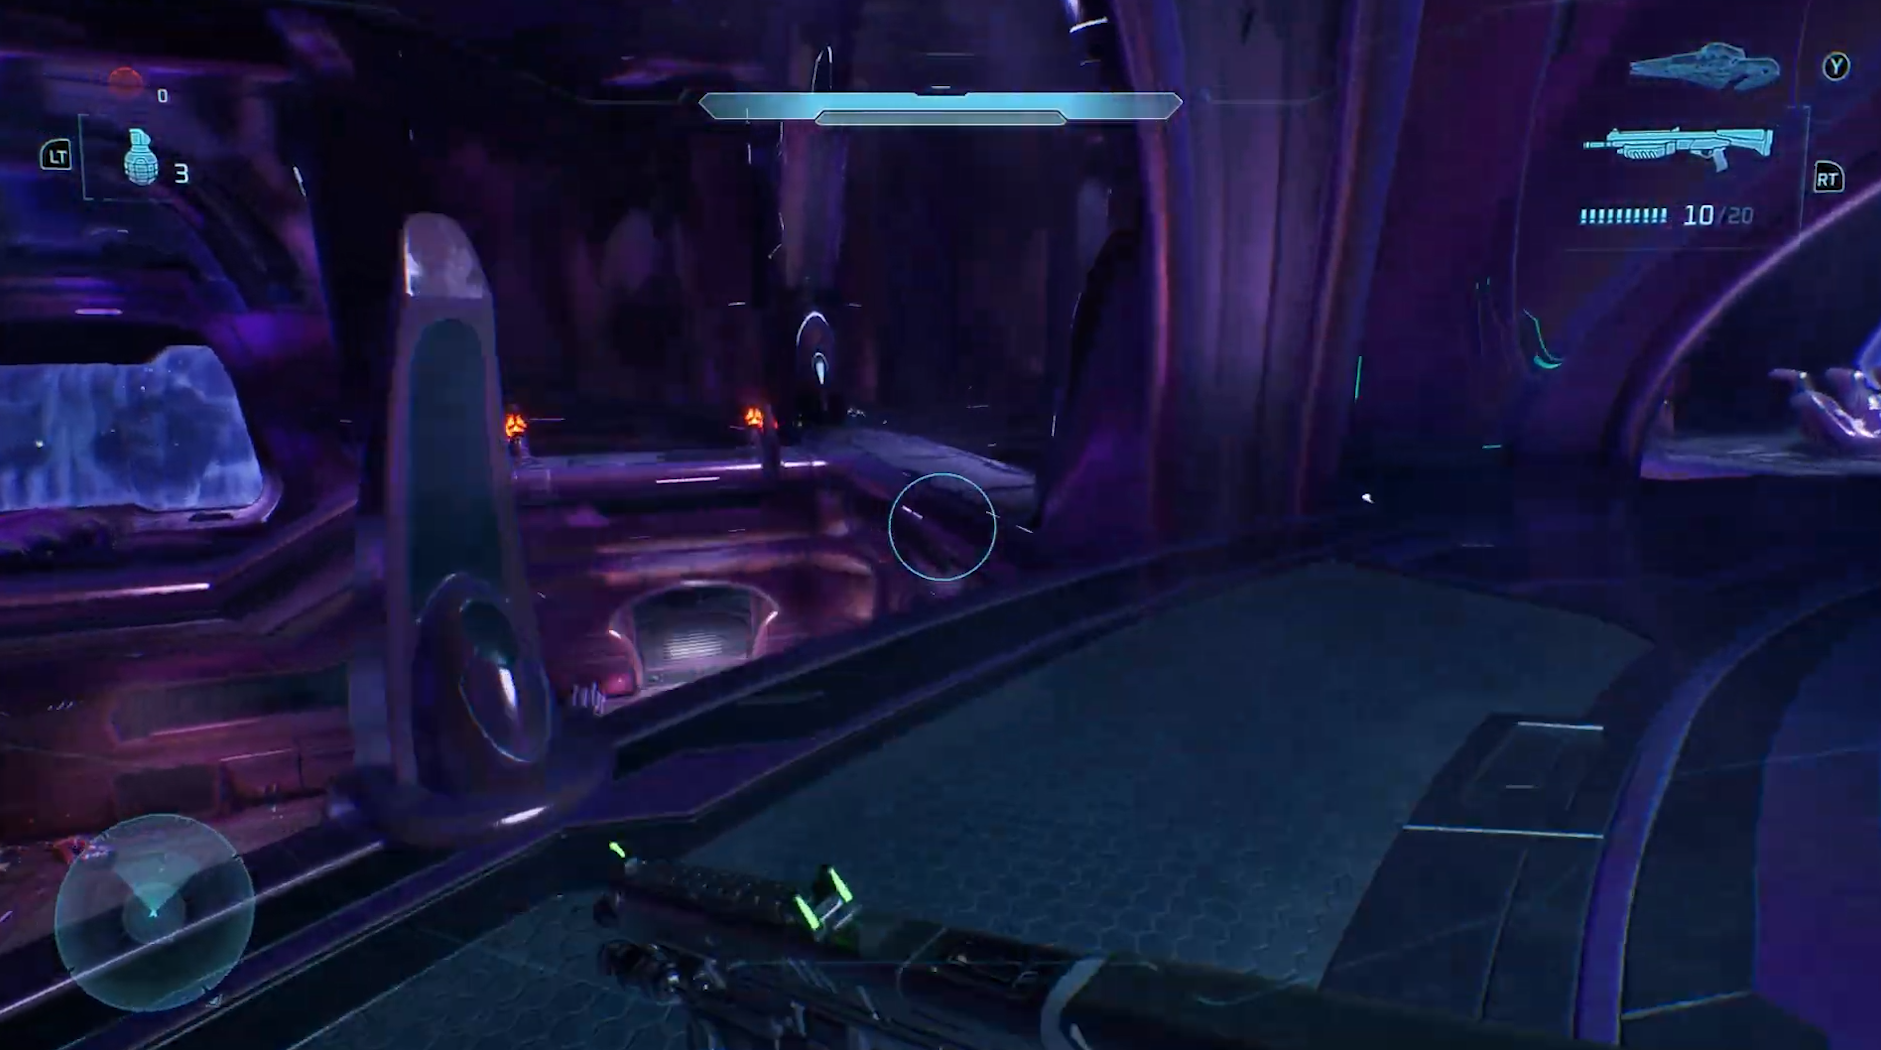
When you reach the bridge with a Wraith positioned on the far side, turn around and face the purple building behind you.

On each side of its doorway is a purple flame. Shoot the boxes beside each flame to trigger an explosion, which will open the door and reveal the Skull inside.

Skull 3: Ghost

Modifier: Enemies don't flinch when shot

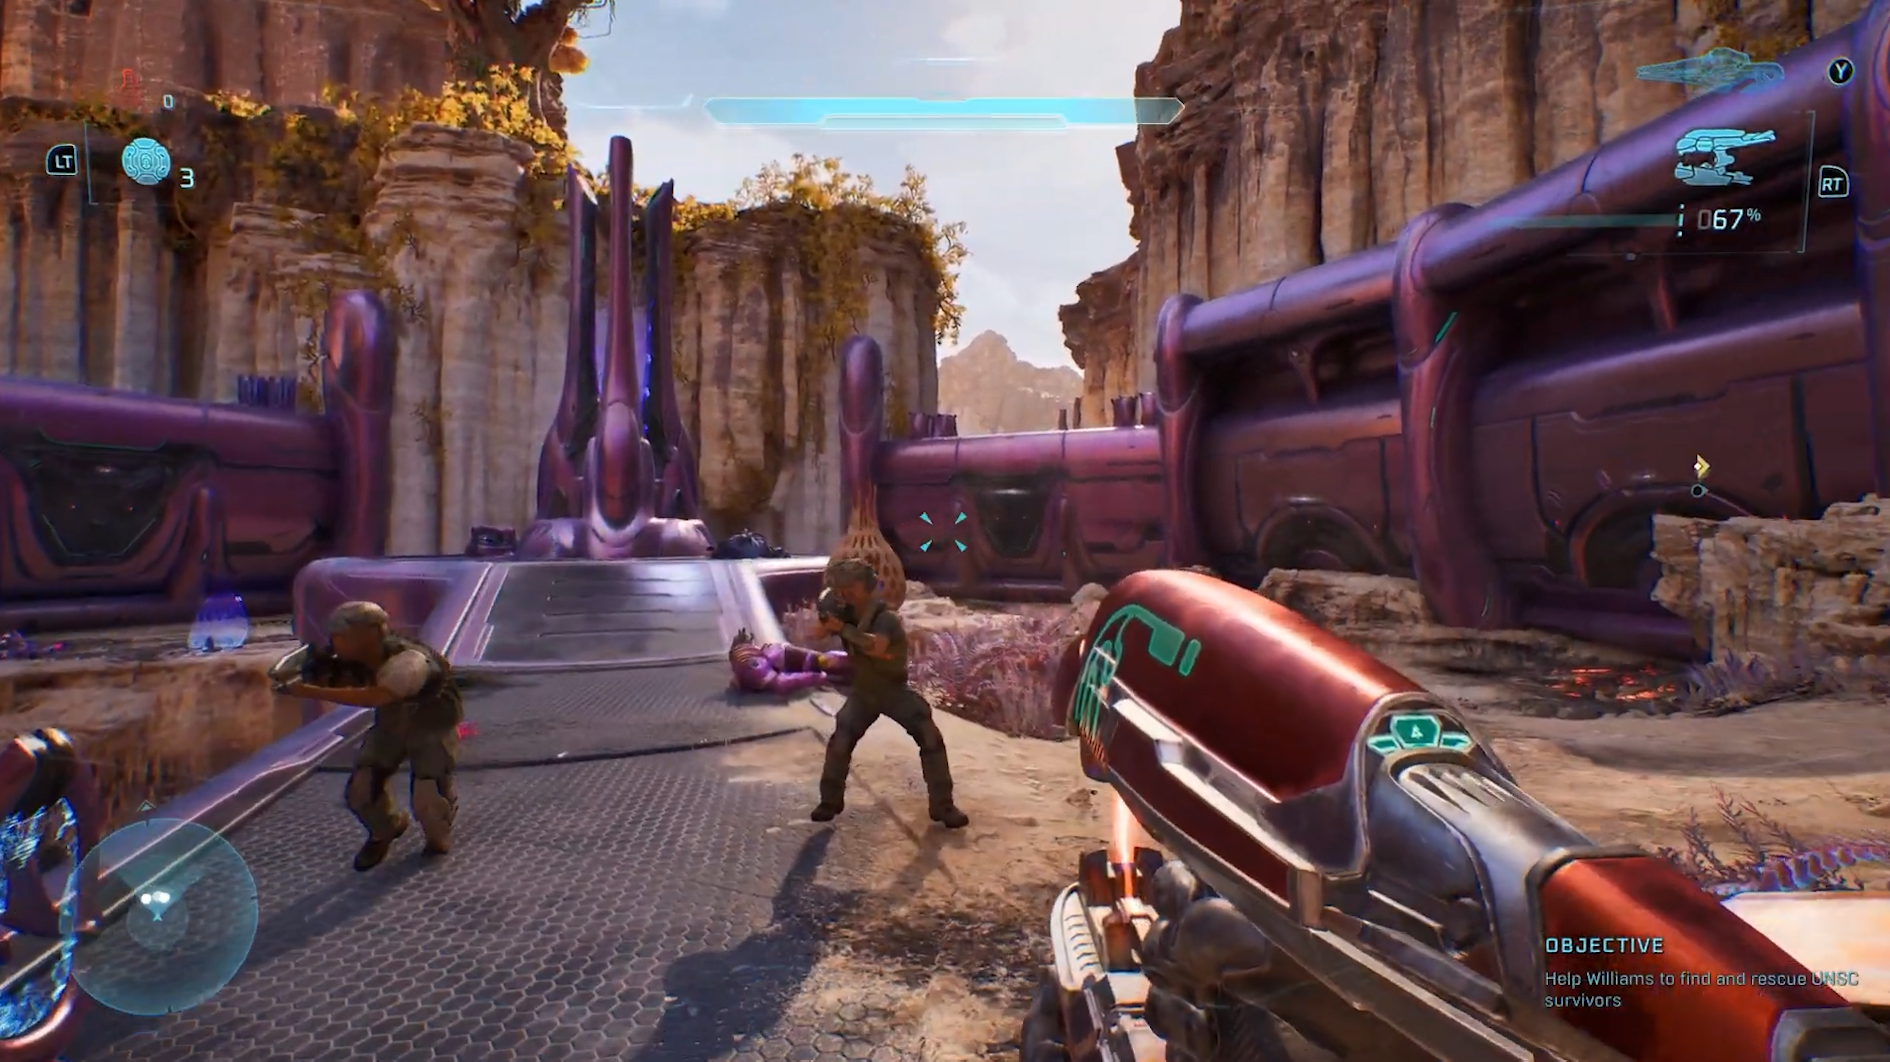
Once you’re back outdoors, you’ll eventually arrive at a gate where the soldiers give a brief pep talk. When the gate opens, a valley full of enemies is revealed. Clear out every enemy, then return to the gate. You may already hear the Skull from here.

Turn left and look up where there are fungal-like growths, and jump on the purple flame brazier using the Acrophobia Skull.

The Skull is sitting inside the flames.

Note: You can also try to parkour up the side of the walls to obtain the Skull without using Acrophobia

Bonus Mission 3: Heavy Burden

Skull 1: Eye Patch

Modifier: Disables all weapon auto-aim

As you progress through the level, you’ll eventually reach a bridge you’re meant to cross.

Instead of crossing it, stay on your current path and follow it upward to a walkway positioned higher than the bridge.

Continue to the far side, and you’ll find the Skull on the ledge to the right of the locked door.

Skull 2: Grunt Birthday Party

Modifier: Headshots on Grunts explode with confetti

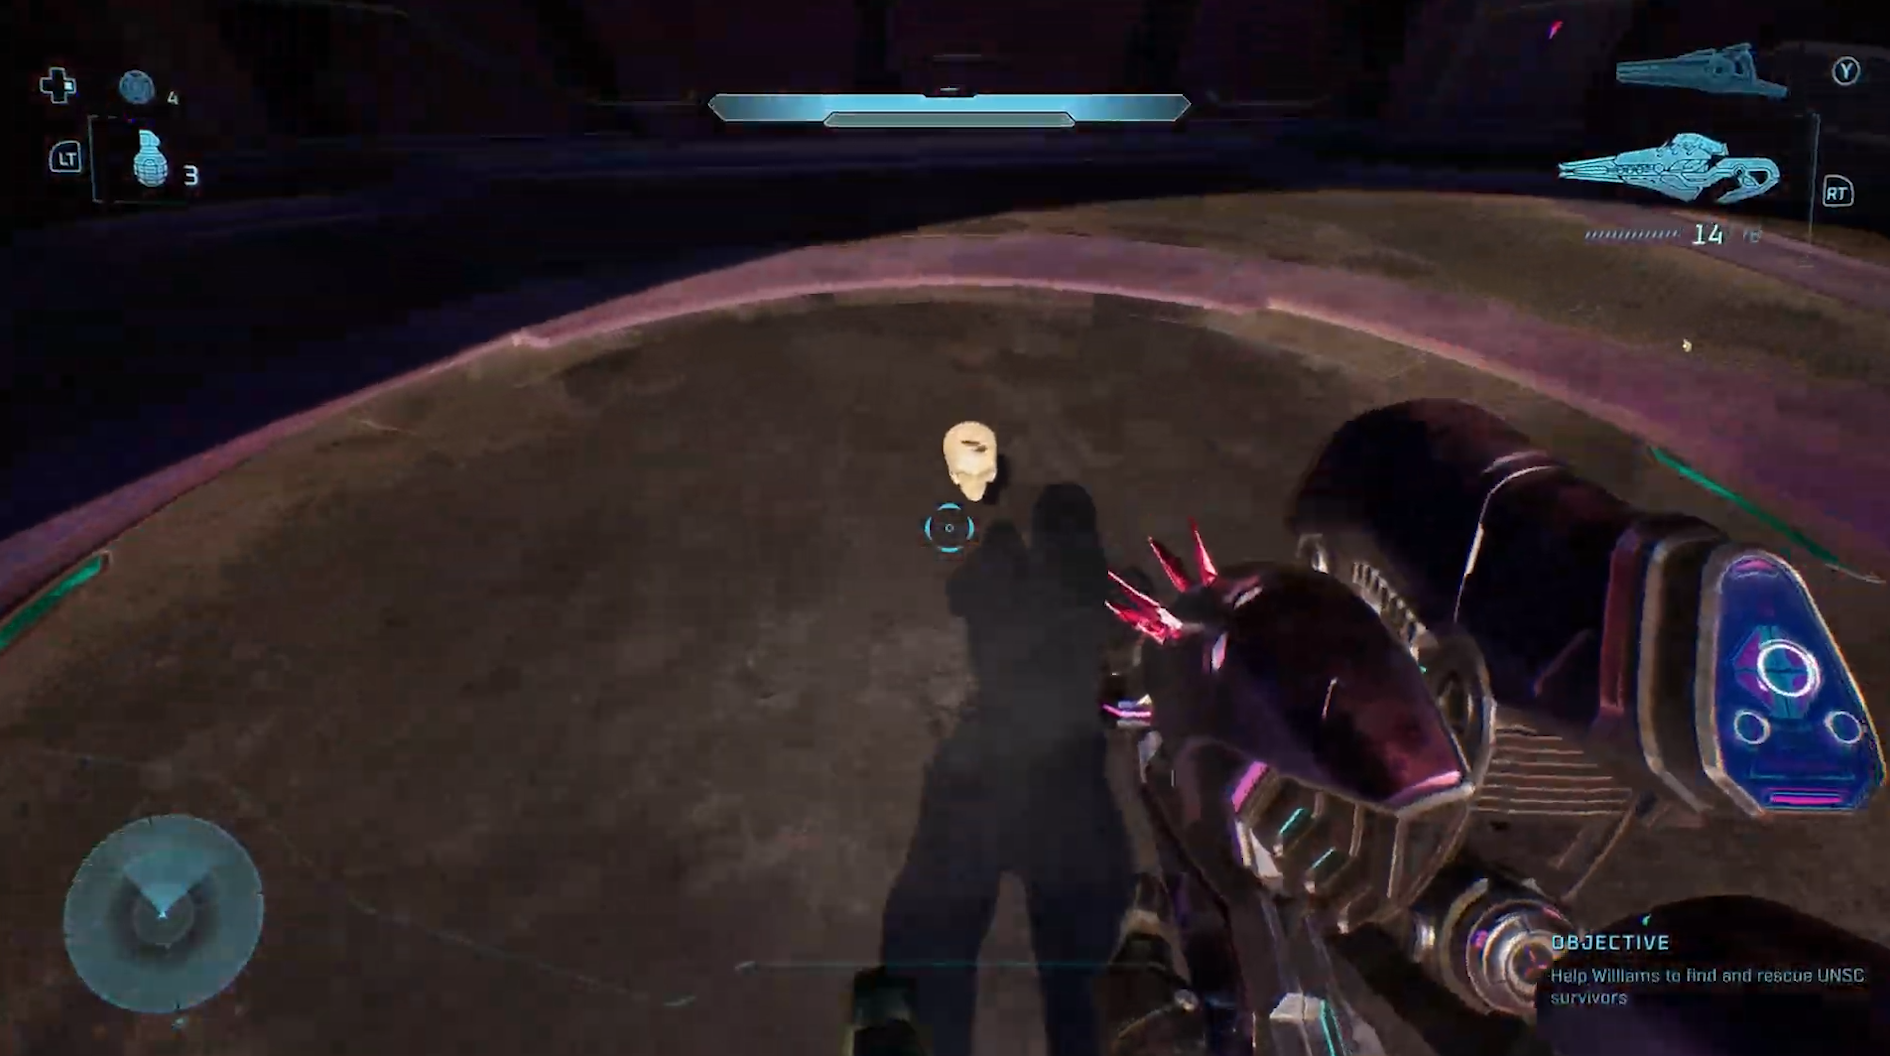
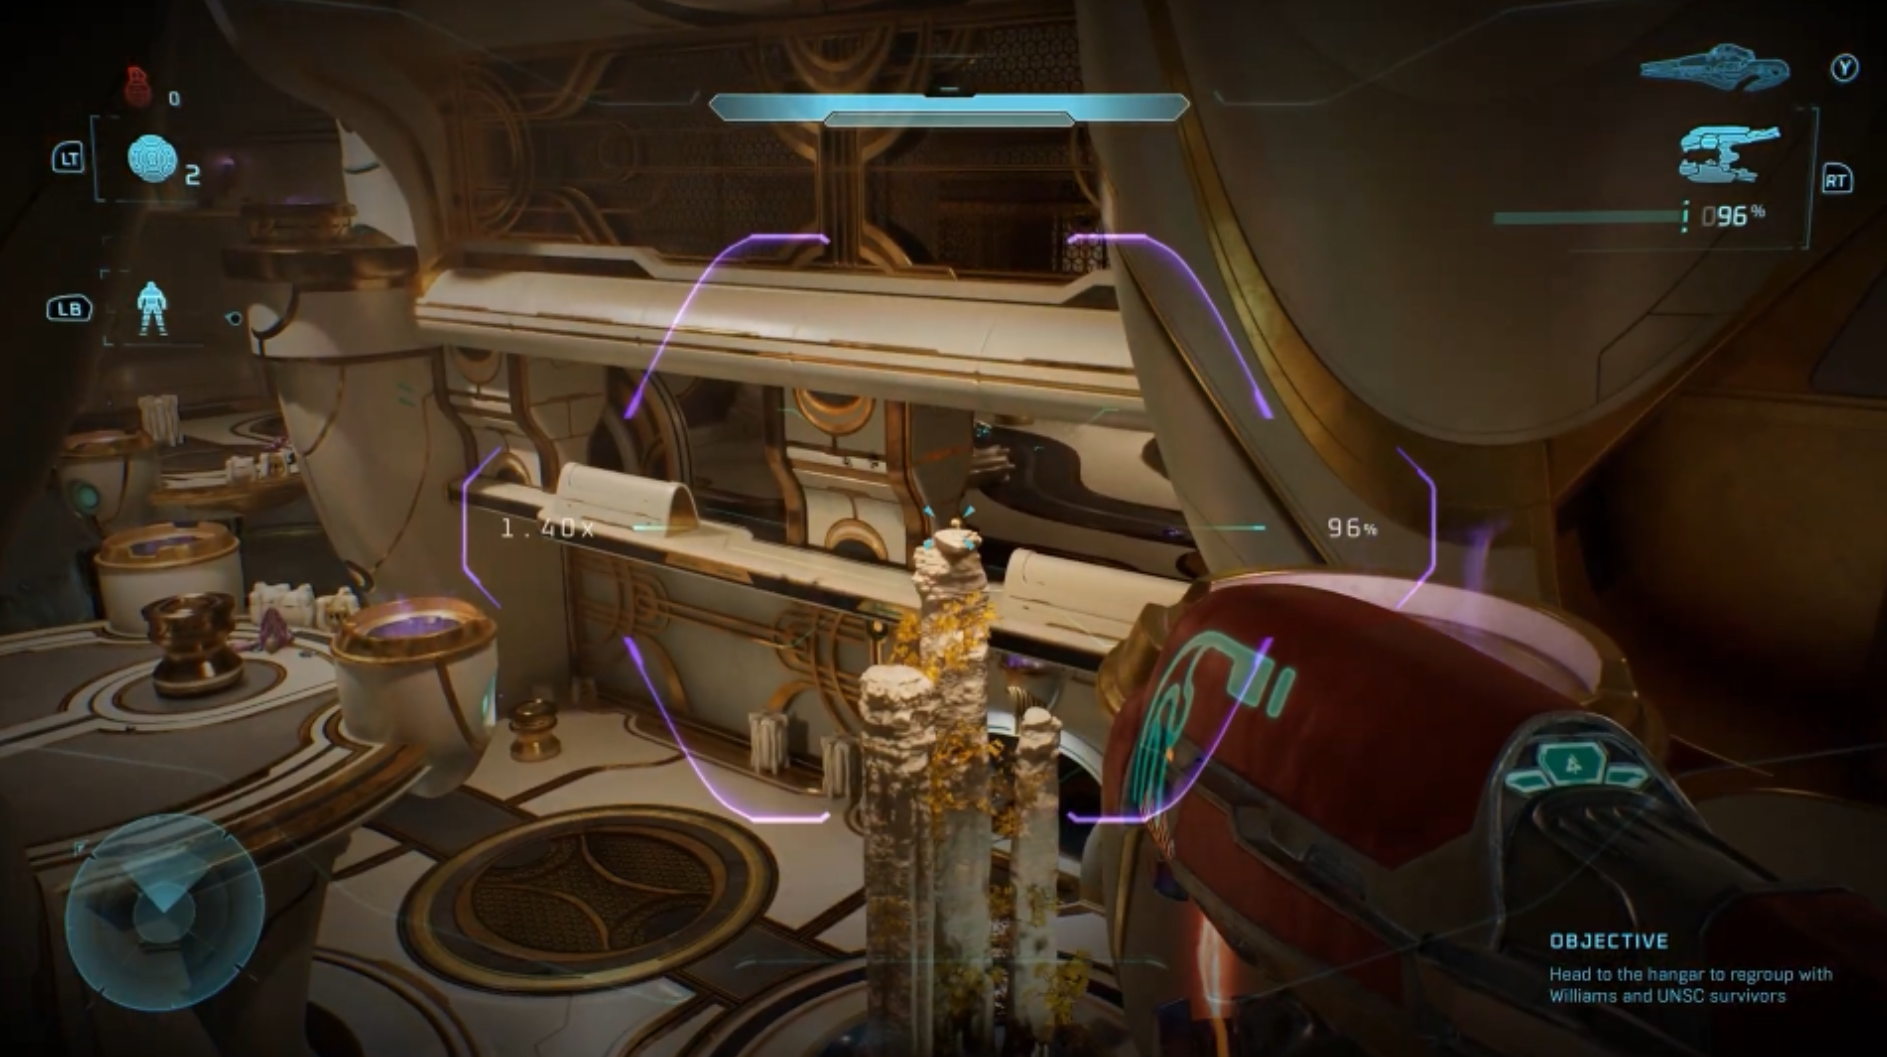
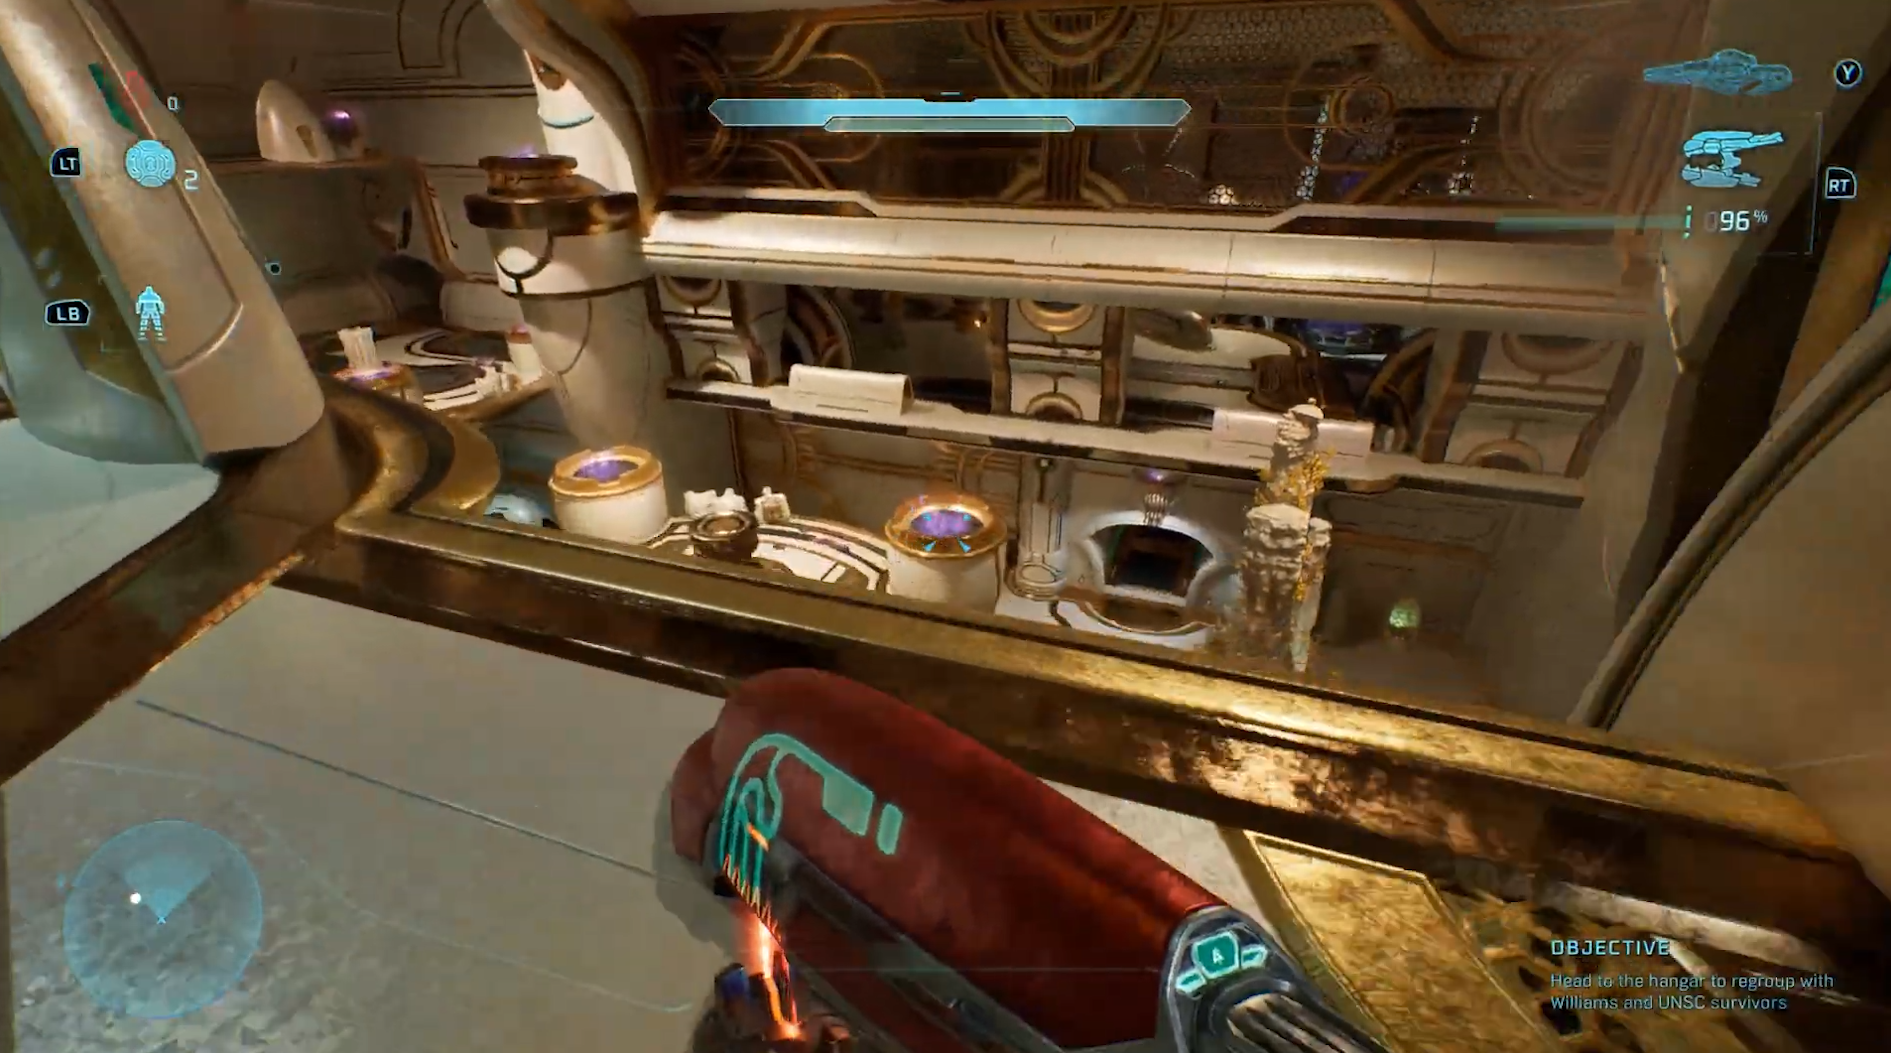
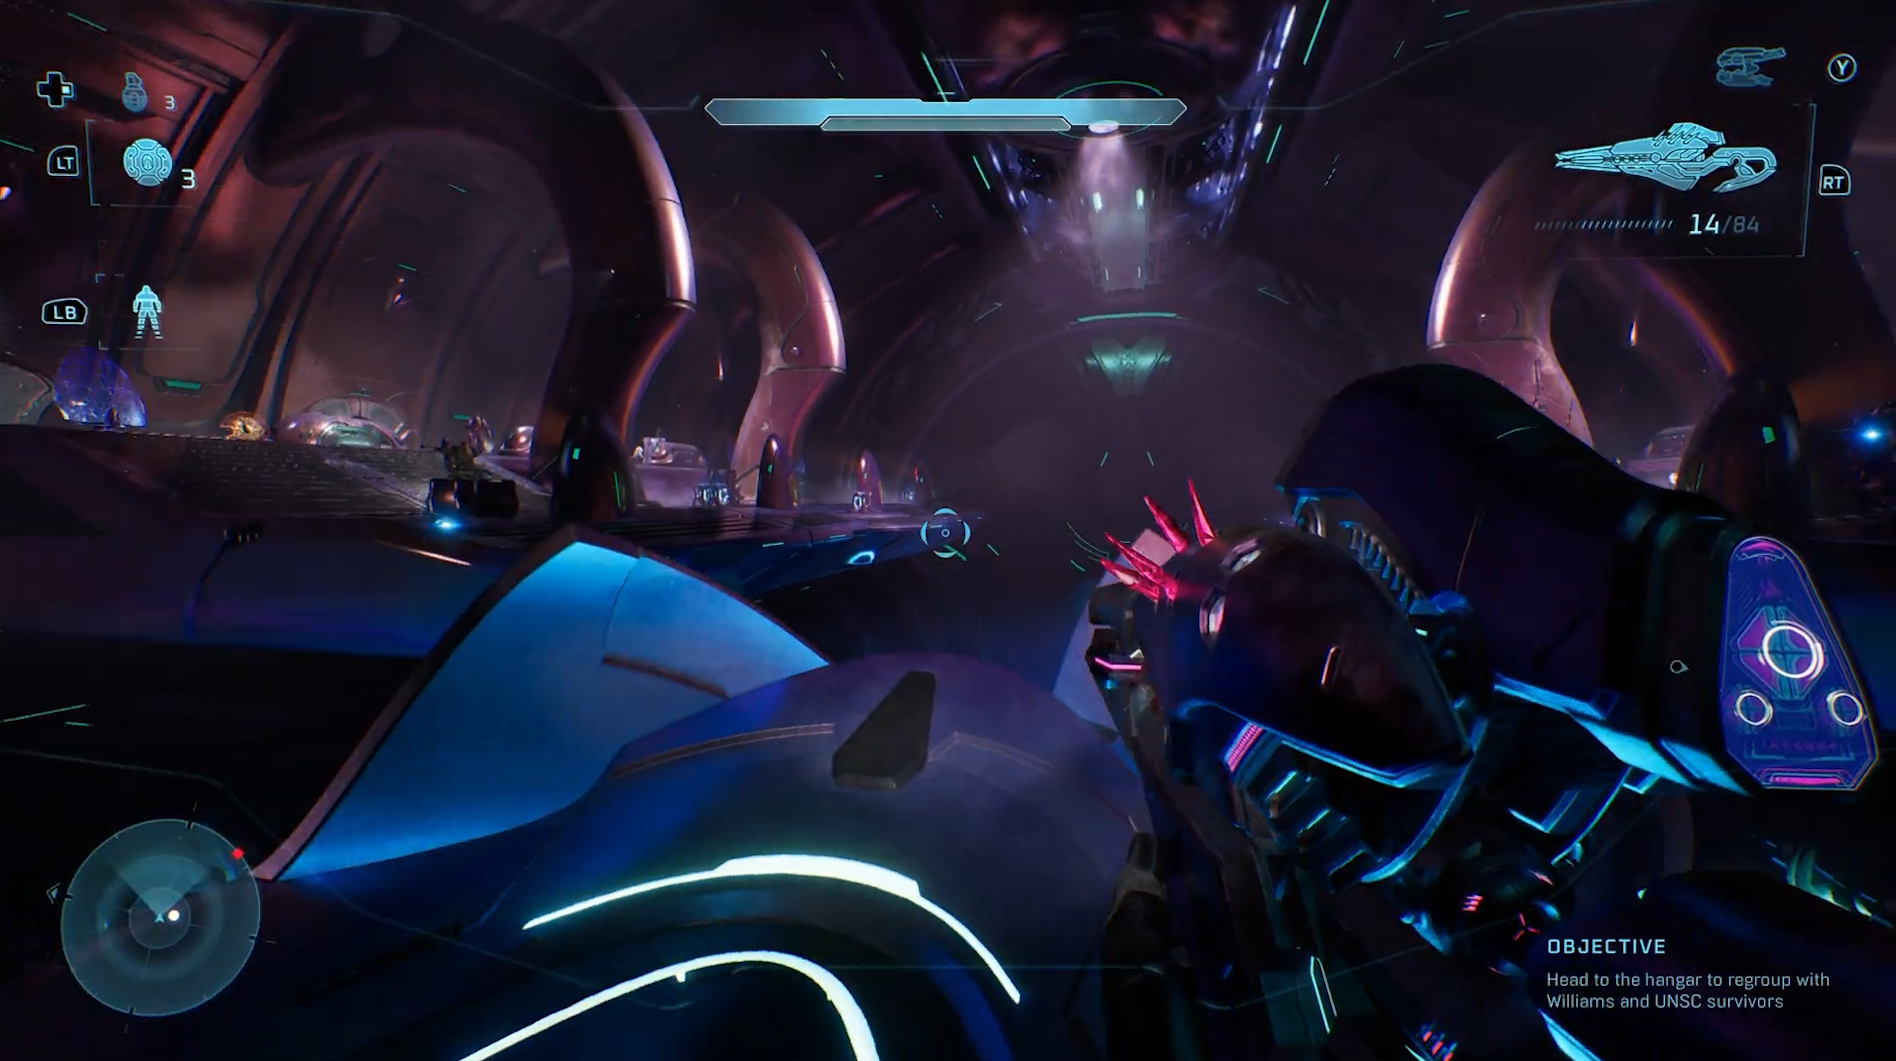
While heading to regroup with Williams and the UNSC survivors, you’ll enter a large enemy‑filled room from an upper level. A staircase will be directly ahead, with a purple flame rising from a pit beside it. The Skull sits atop the rock formation emerging from the floor.

To reach it, go left from the entrance and drop down one level to the platform below. Climb onto the nearest purple flame and jump across to the rock formation, landing on the flat surface beneath the Skull. Jump straight up, and you’ll be able to grab it.

Skull 3: Efficient

Modifier: Killing enemies when you're at full health drops extra ammo

During the moving‑platform section, you’ll eventually need to step off to restore power. Once that’s done, get back onto the platform and continue forward. The next room contains a bridge, and the room after that requires you to disembark again. Jump onto the platform on your left, then sprint toward the back‑right corner as you land.

The Skull is on the ground beside the locked door there.

Campaign Remixed Skulls

These skulls unlock automatically when you unlock the Campaign Remix Menu.

Skull 1: Adaptation

Modifier: Randomizes enemy factions in the mission

Skull 2: Armistice

Modifier: Differing factions no longer fight each other

Skull 3: Reload

Modifier: Randomizes pre-placed locations of weapons

Table of Contents

See More Content

How to Get All Skulls - Halo: Campaign Evolved Guide
Updated on Jul 28, 2026
Halo: Campaign Evolved Review - Decent, But Not Definitive
Updated on Jul 28, 2026
Palworld 1.0: How to Maximize Your Damage
Updated on Jul 28, 2026
Palworld 1.0: How to Obtain The Best Accessories
Updated on Jul 28, 2026
Must Know Tips For Beginners In Scrap Mechanic 1.0
Updated on Jul 27, 2026