menu
MobalyticsUse your favourite features in-game with our Desktop App
Gamebase Guide

5 Tips for Faster XP and Progression in Enshrouded 1.0

Updated on Oct 26, 2026
Oct 26, 2026

Overview

Reaching the midgame can leave you unsure what to tackle next. You might have completed plenty of quests and collected decent equipment, but moving into tougher regions requires more than another character level.

These five tips explain how to choose your next destination, explore efficiently, gather useful resources and unlock better crafting options. They are especially useful if you are around levels 15–17 and want a clearer direction for your next upgrades.

If you are still establishing your base and unlocking your first crafting survivors, start with our Enshrouded Beginner Guide.
Enshrouded Builds

Find a build for your playstyle

Understand Biome Progression

Different regions introduce stronger enemies and materials needed for later equipment. Being able to reach an area does not necessarily mean you are ready to fight everything inside it.

Revelwood, the Nomad Highlands and the Kindlewastes represent progressively tougher stages of exploration. Check how comfortably you can handle the enemies around you before committing to a long expedition.

A strong build can help you fight above your character level, but repeatedly struggling through encounters can slow your progress. Choose a region where you can gather the resources you need and complete objectives reliably.

Your Flame is another important part of this progression. Strengthen the Flame improves your Shroud protection and allows access to areas that were previously blocked by Deadly Shroud.

Before leaving home, check the materials required for the next Flame upgrade. Give your trip a clear purpose, whether that means collecting an ingredient, finding a crafting unlock or preparing for the next region.

Explore the Overworld Efficiently

When your current quests stop providing an obvious direction, explore the undiscovered parts of the region you are already working through.

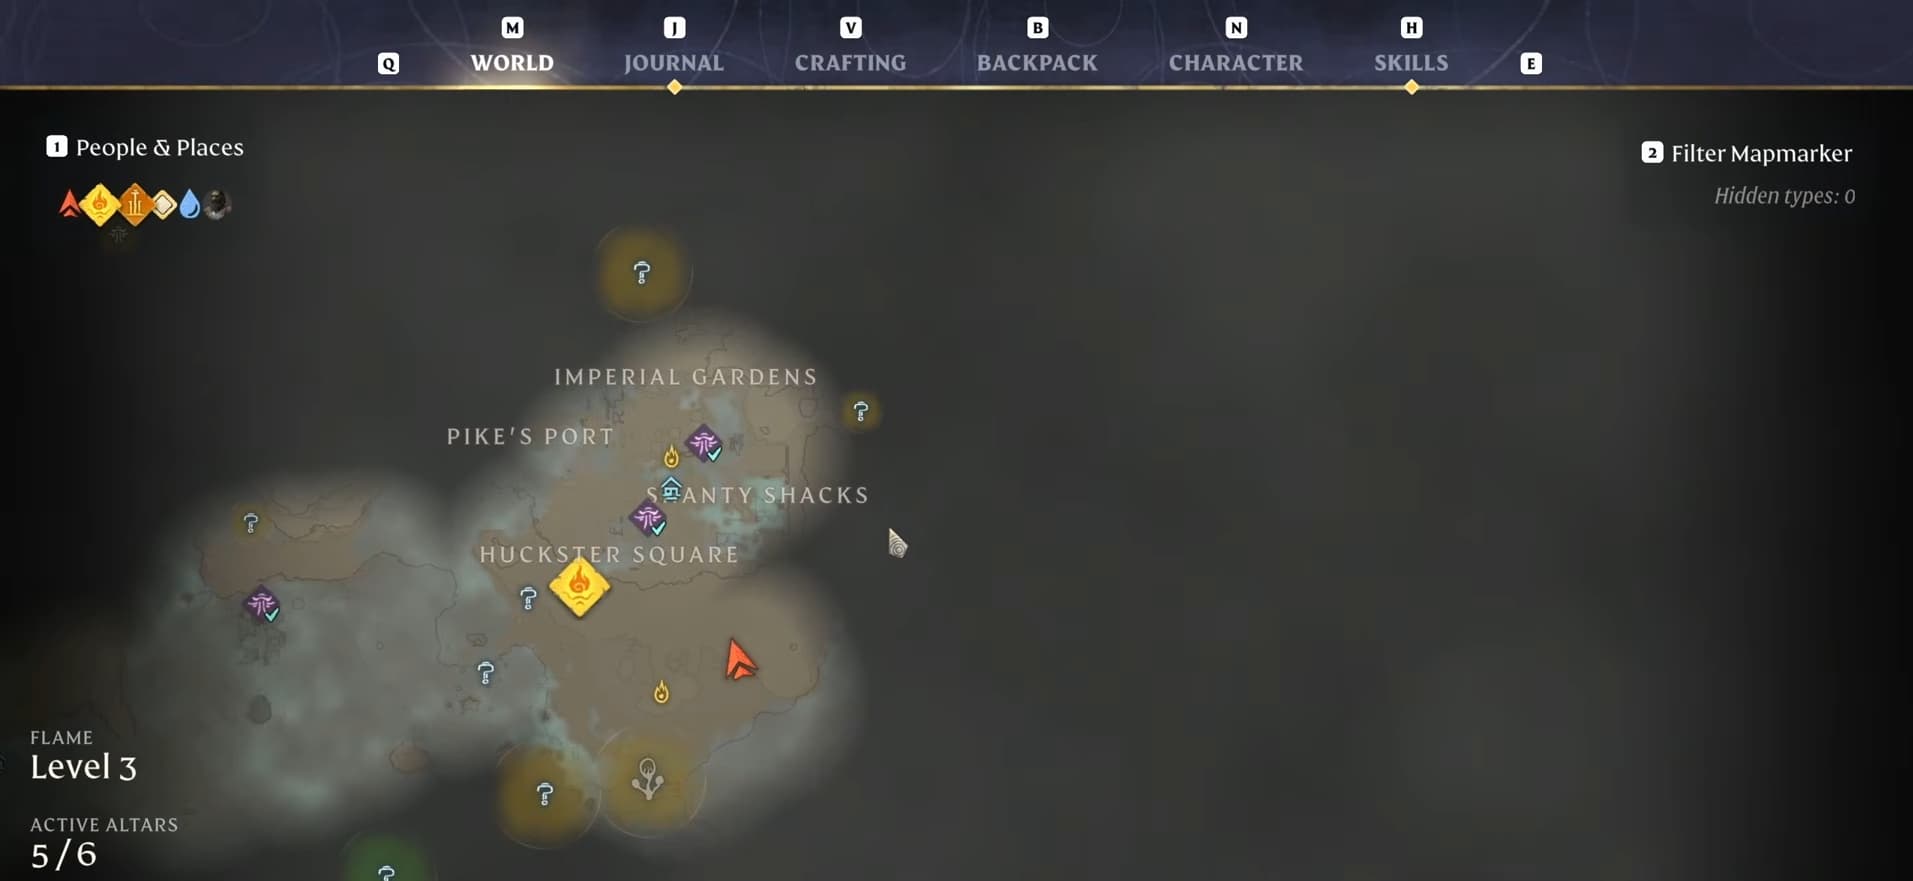
Mountains, valleys and stretches of Shroud can make repeat journeys time-consuming. As you establish a route into a new area, look for somewhere suitable to place a temporary Flame Altar.

An altar provides a fast travel destination, allowing you to return without repeating the entire journey. Keep an available altar slot and choose a permitted location on clear ground near the route you want to revisit.

A useful approach is to explore the overworld first, identify important locations and improve your equipment before committing to longer Shroud expeditions.

Shroud Roots and Elixir Wells provide additional skill points, so they remain worthwhile objectives. Once you have a suitable route and enough supplies, group nearby objectives into the same expedition where your remaining Shroud time allows.

This gives you a way to expand your reach while reducing the time spent travelling back and forth.

Gather Resources for Your Next Upgrade

Collect materials with a specific goal in mind. A resource becomes more valuable when it helps unlock something you are currently missing.

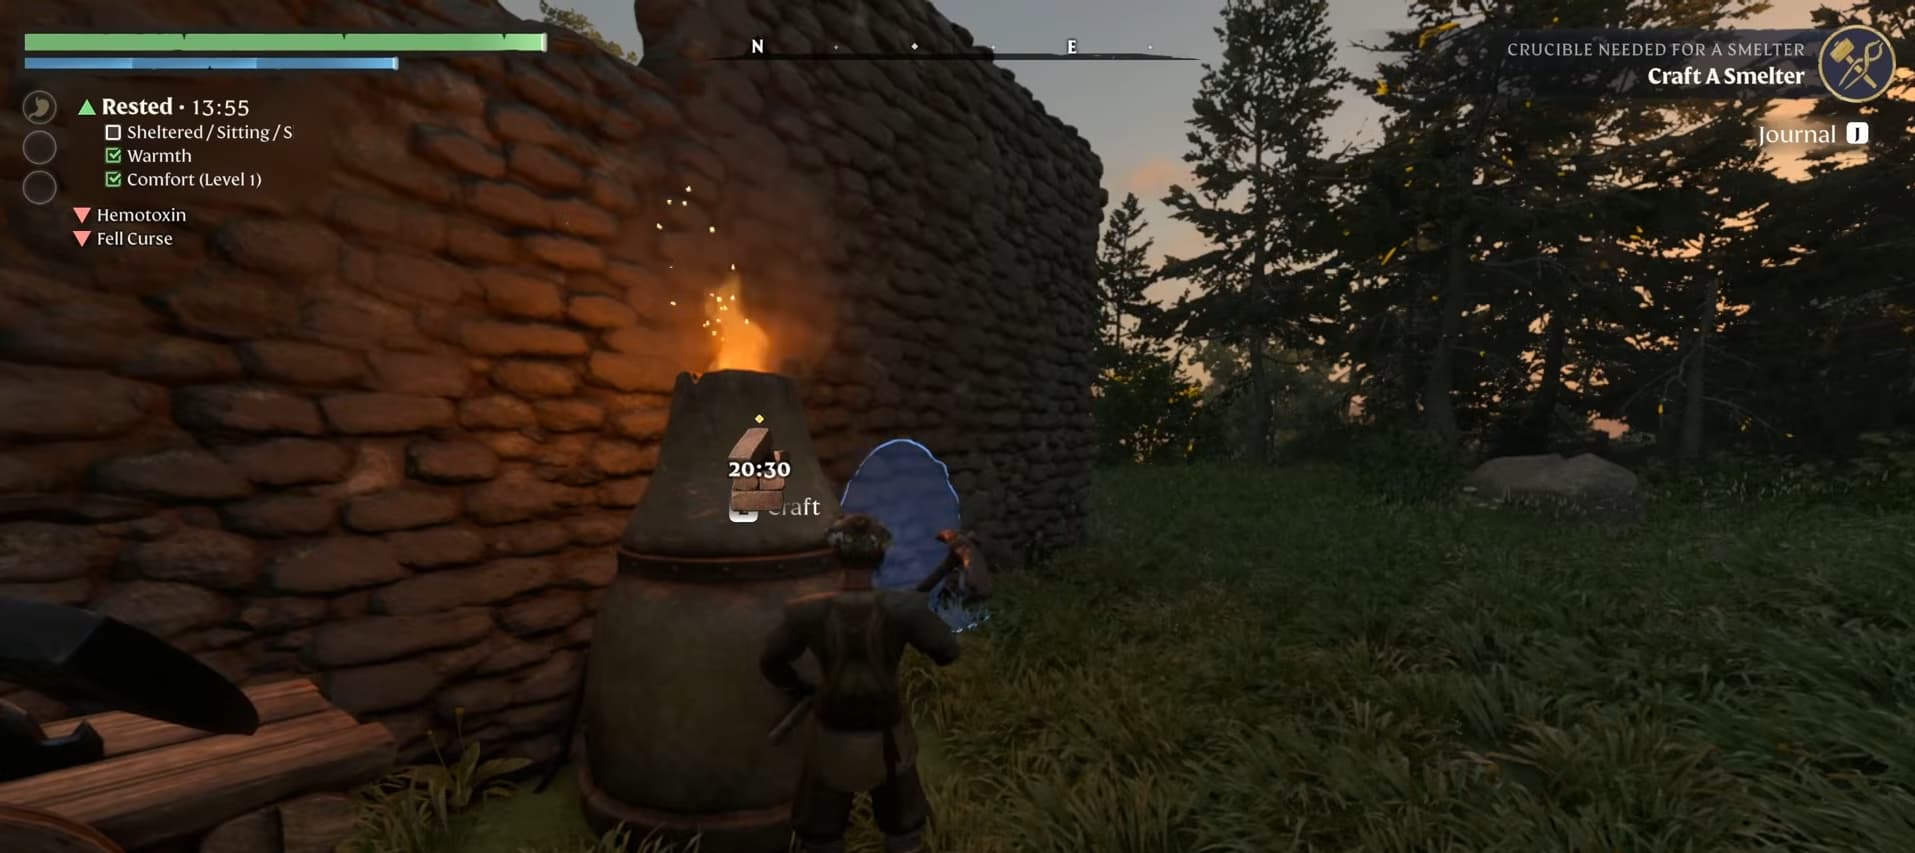
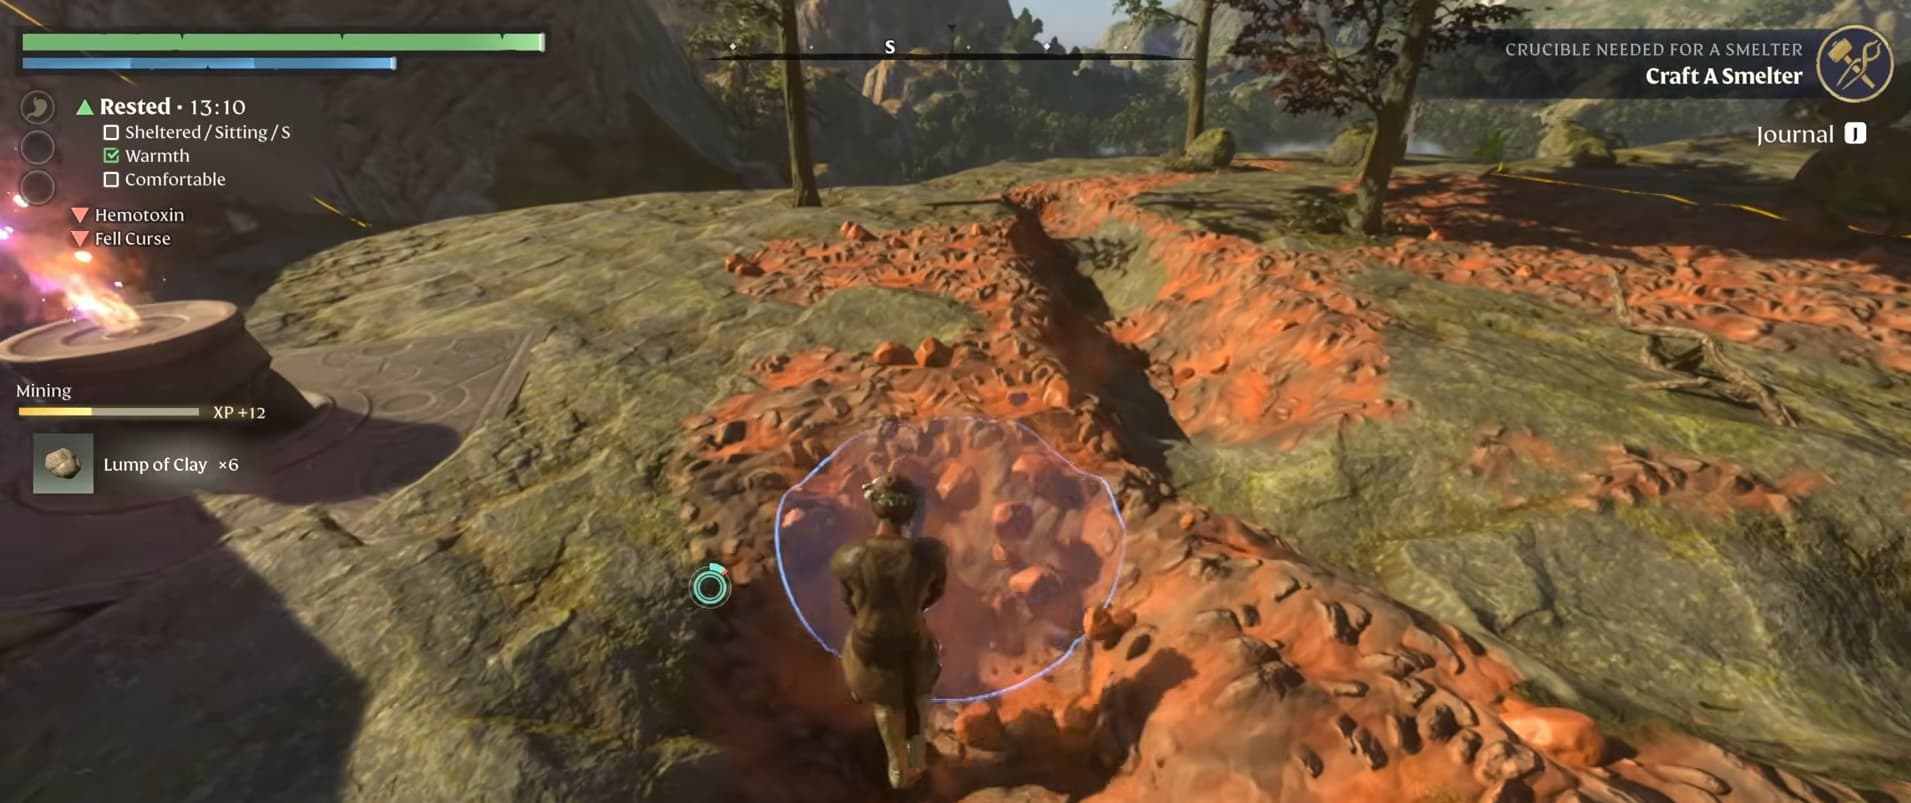
Clay is a useful example. Finding a deposit while exploring can help you produce Fired Bricks, which are needed for important crafting stations. Bringing some home can move your equipment progression forward even if gathering it was not part of a quest.

Mining eligible resources also awards XP, but that does not mean every deposit deserves your time. If you already have plenty of Flintstone and no immediate use for more, continuing to explore may be more useful than adding another stack to storage.

Before stopping to gather, consider what the material will help you complete:

  • Your next Flame upgrade.
  • A crafting station you still need.
  • Equipment suited to your build.
  • Supplies for an upcoming expedition.

For help keeping ingredient requirements visible while you explore, our Enshrouded Tips and Tricks explains how to pin recipes.

Work Backwards Through Crafting Requirements

Crafting can feel complicated because one upgrade often depends on several other unlocks. Start with the equipment you want, then work backwards through its requirements.

For example, an armor piece that needs Copper Bars gives you a clear production goal. You need access to a Smelter, the materials to build it and the resources used to produce the bars.

The progression works like this:

  1. Gather Clay and Wood Logs. Use them at the Kiln to produce Fired Bricks.
  2. Obtain the Crucible. Follow the Blacksmith’s Crucible quest if you have not already recovered it.
  3. Build the Smelter. Its recipe requires 50 Fired Bricks and one Crucible, with a Forge available at the Blacksmith.
  4. Prepare Copper Ore and Charcoal. Produce Charcoal at the Charcoal Kiln, then use it with Copper Ore in the Smelter to make Copper Bars.
  5. Finish the equipment you selected. Collect its remaining ingredients and return to the appropriate crafting survivor.

You now have a manageable sequence of tasks instead of a long list of unrelated recipes.

Once more equipment becomes available, compare its bonuses before spending materials. Choose pieces that support your weapons and playstyle rather than crafting every newly unlocked item.

Progress Through Several Systems at Once

Routine gathering becomes more useful when the same trip supports several upgrades.

Chopping trees provides Wood Logs for crafting and production, but it can also give you Resin. Trees with red leaves are particularly useful when gathering Resin, allowing you to replenish both resources together.

For a magic build, that Resin can contribute directly to your combat supplies. Fireball I is crafted at the Alchemist using Resin, Tar and Bonemeal, giving you an area-damage spell to use with a staff.

This connects a basic wood-gathering trip to both your crafting stations and your next combat expedition. While materials are processing at home, collect the supplies needed for the next step.

Apply the same approach elsewhere. Explore a new route while looking for a required resource, establish a travel point near an important destination, and prepare equipment before returning to tougher encounters.

For more ways to combine gathering, exploration and quest rewards, see our Enshrouded leveling guide.

Comments

0

Video

Table of Contents

See More

5 Tips for Faster XP and Progression in Enshrouded 1.0
Updated on Oct 26, 2026
Radiant Paladin Build - Enshrouded 1.0
Updated on Oct 26, 2026
Paladin Build - Enshrouded 1.0
Updated on Oct 26, 2026
Enshrouded 1.0 Builds
Updated on Oct 26, 2026
Enshrouded 1.0: Best Early Game Weapons
Updated on Oct 26, 2026

Like our guides?

Add Mobalytics as a preferred source on Google!