Getting started in Enshrouded means balancing exploration with preparation. A useful base, reliable equipment and a few key crafting unlocks will help you travel further and survive the dangers of Embervale.
This beginner guide covers your first base, food and Rested buffs, the Shroud, crafting survivors, useful skills and early progression. Follow these priorities at your own pace, whether you are playing solo or with friends.
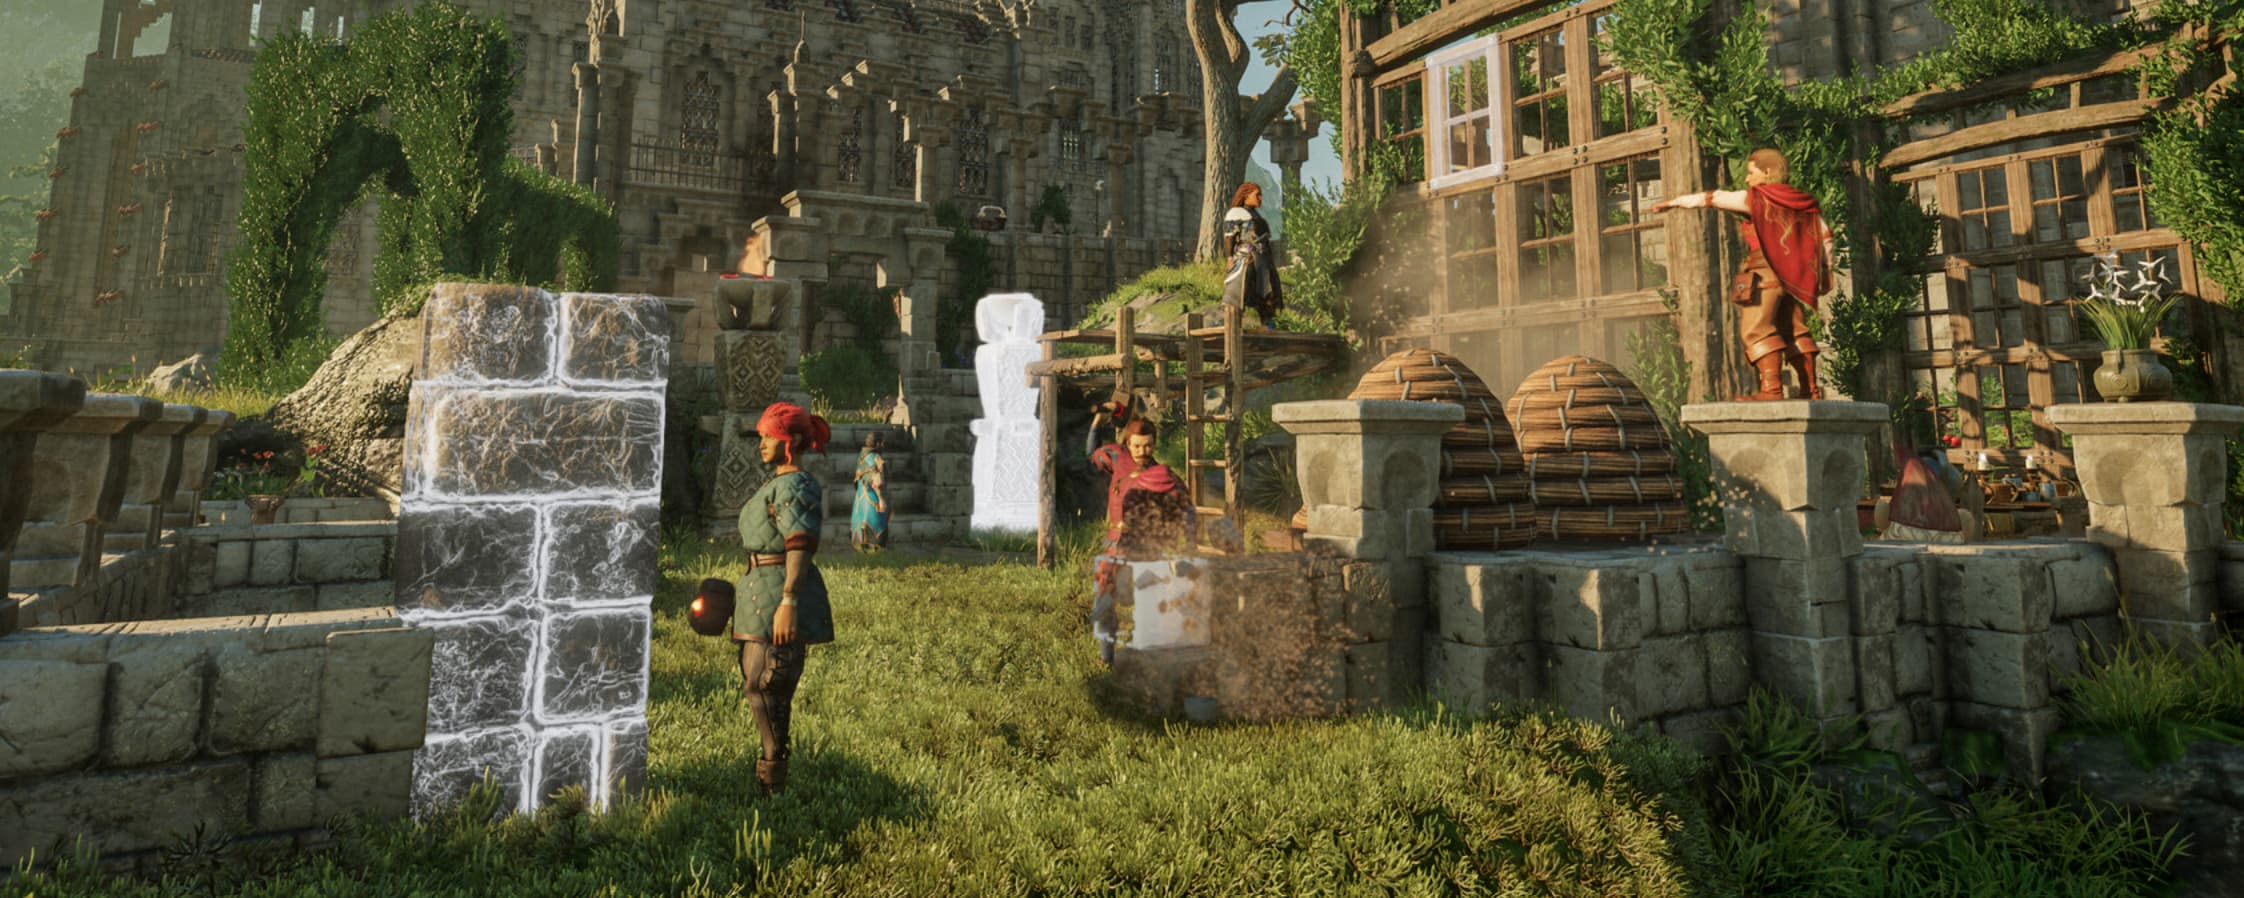
After leaving the Cinder Vault, follow the opening quests into the Springlands and establish a base in the suggested starting area. Keep your first shelter simple so you can spend more time exploring and unlocking recipes.
Place your Flame Altar first and build within its boundary. It protects your base from the world’s normal resets and gives you a fast travel destination.
Start with these essentials:
A Workbench for crafting and repairs.
A Construction Hammer for building.
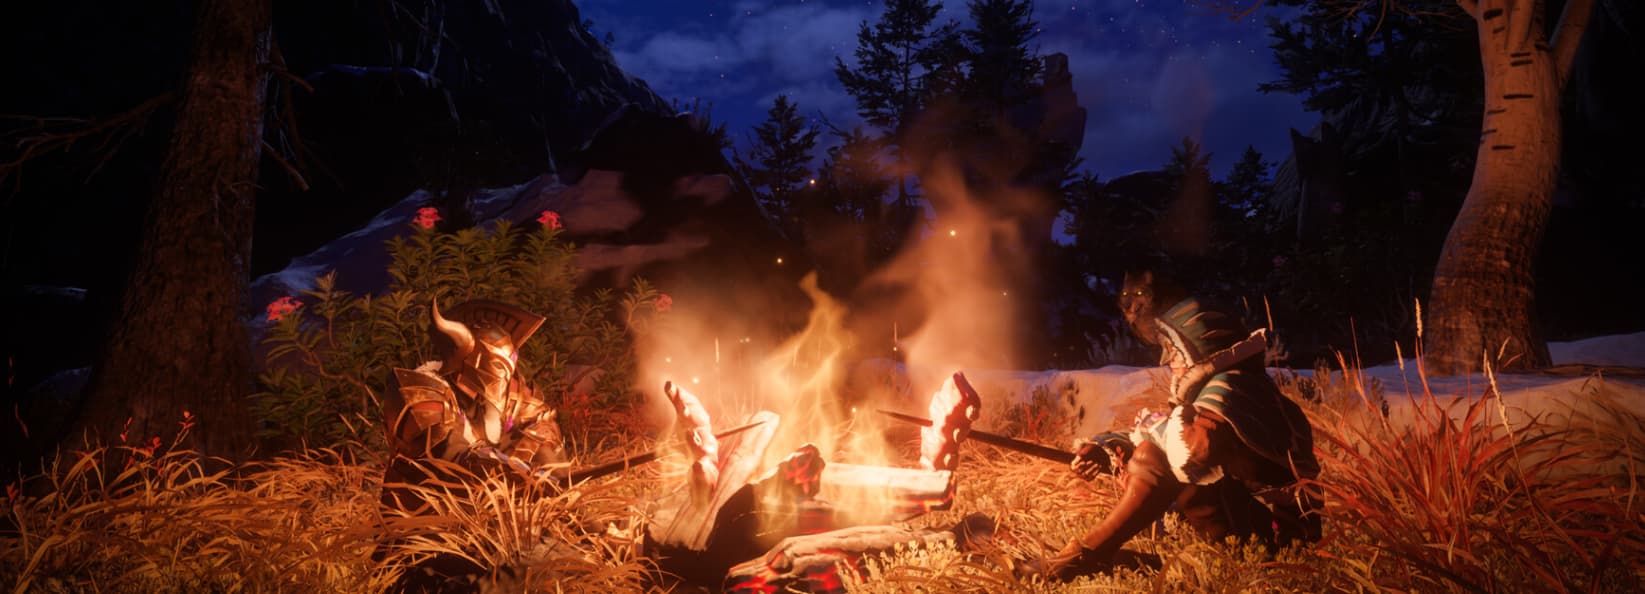
A roofed shelter with a bed and a source of warmth.
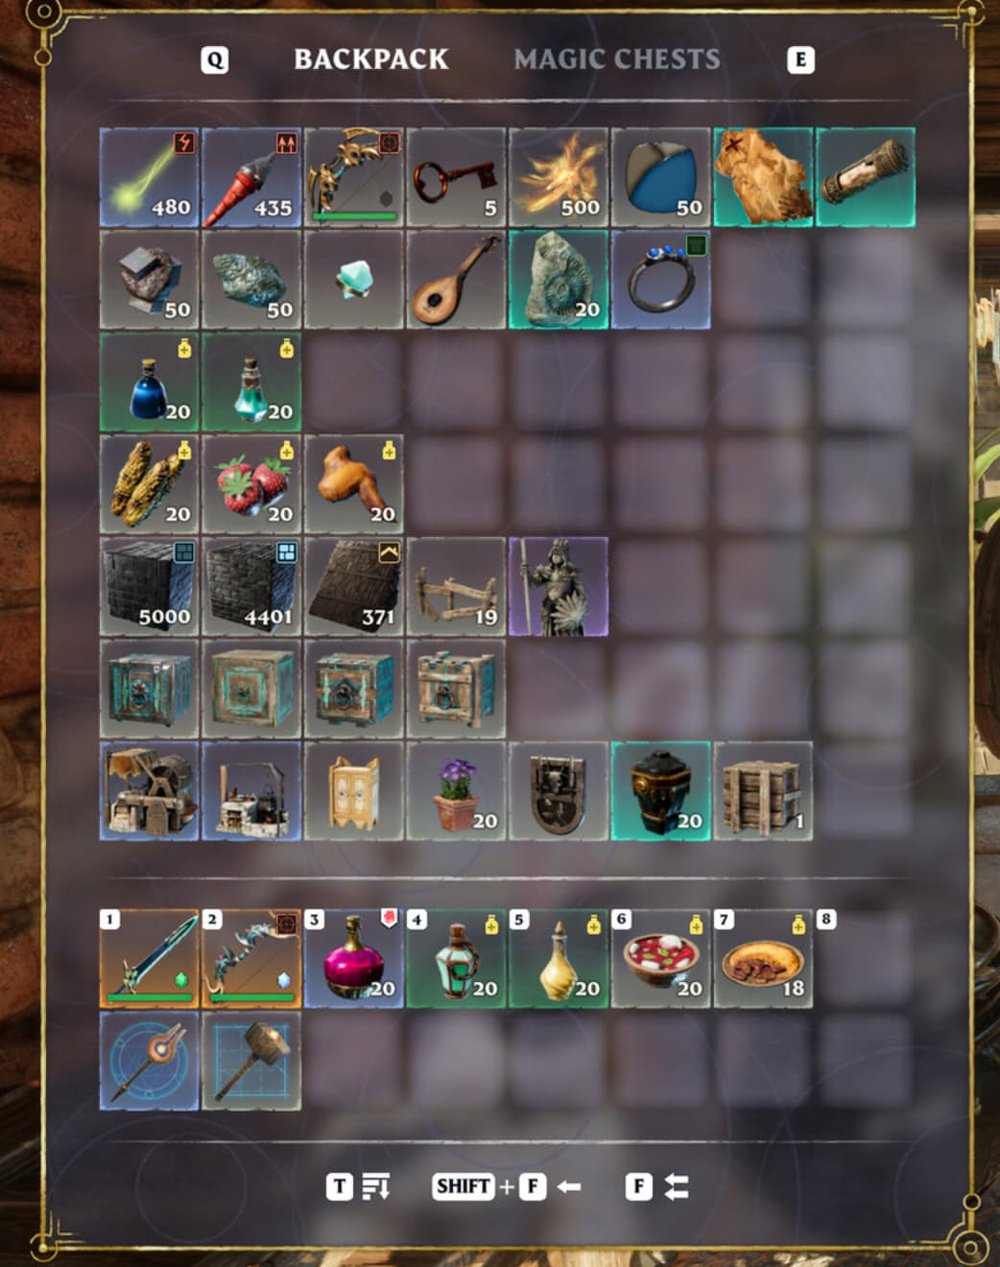
Storage for the materials you bring home.
An axe, a pickaxe, a weapon and healing supplies.
Gather Plant Fiber, Twigs, Wood Logs, Stone and Resin as you explore nearby. Pick up unfamiliar materials too, as discovering resources can reveal crafting recipes.
Interact with your Workbench before each trip to repair your weapons and tools for free. Store spare materials before heading somewhere dangerous: under the default death settings, materials you drop on death must be recovered from your tombstone.
Understand the Shroud
The Shroud is the corrupted fog covering parts of Embervale. Entering it starts a countdown showing how long your character can remain inside.
Your starting protection is normally around five minutes under default conditions. Watch the displayed timer, as upgrades, equipment, effects and world settings can change how long you have.
Plan short trips at first. Choose an objective, remember your exit route and leave enough time to return to clear ground.
You can recover or extend your available time through several methods:
Leave the Shroud and let your protection recover.
Stand near a Return Beacon to refill your timer.
Use Hourglass Capsules found during exploration.
Use Shroud Survival Flasks when available to extend your protection.
Ordinary Shroud can be explored while your timer lasts. Red Deadly Shroud drains your remaining time much faster, so turn back if you enter an area beyond your current Shroud Passage Level.
Strengthening the Flame lets you access higher-level Shroud, but you still need to manage your timer.
Use Food, Rest and Comfort
On standard settings, food provides temporary bonuses rather than preventing starvation. Keeping those bonuses active helps with combat, movement and gathering.
You begin with three food slots, with one active food from each chosen food type. A useful starting combination is meat for health, a drink such as Water for stamina, and another food that supports your weapon or recovery needs.
For example, mushroom foods such as Grilled Penny Bun support magic damage. Check each item’s effects and duration before choosing your combination, and cook suitable ingredients to make better use of them.
The Rested buff increases your maximum stamina and stamina regeneration. Recover it somewhere safe with warmth, shelter and comfort before heading out.
Beds, tables, chairs, carpets and other comfort items can extend how long Rested lasts. Improve your home gradually so you can explore for longer between visits.
Keep spare food and healing supplies in your quick-access slots. Refresh your food and Rested before entering the Shroud or taking on a tougher encounter.
Craft a Glider and Grappling Hook
The Glider and Grappling Hook open up routes that are difficult or impossible to reach on foot. Work towards both during your early exploration.
The basic Glider is crafted at the Workbench using Shroud Wood, Animal Fur, String and Shroud Spores. Chop trees in the Shroud for Shroud Wood and defeat Fell enemies for Spores.
Use the Glider to descend from cliffs, travel from Ancient Spires and reach distant objectives. Check your stamina and choose somewhere safe to land before committing to a long flight.
The Grappling Hook is also crafted at the Workbench. It requires Metal Scraps, String and Shroud Spores, and works with designated grapple points to reach ledges or swing across gaps.
Equip both tools in their Character screen slots after crafting them. Later, the Carpenter provides improved traversal equipment.
Rescue the Crafting Survivors
The Blacksmith is your first crafting priority. Follow the early survivor quest to his Ancient Vault, rescue him and use the Summoning Staff to place him at your base.
Continue rescuing the other craftspeople in the Springlands. Their main roles are:
Blacksmith — Oswald Anders: Melee equipment, early armor such as the Scrap set, Nails and metalworking progression through the Charcoal Kiln, Forge and Smelter.
Alchemist — Balthazar: Magic equipment, spells, Health Potions and Shroud consumables. His workshops, including the Mortar, expand your available recipes.
Hunter — Athalan Skree: Bow and dagger equipment, arrows and material processing. Her Drying Rack is useful for producing Dried Fur.
Carpenter — Cade Hawthorn: Storage, furniture, building options and improved exploration tools. Follow his quests for workshops such as the Kiln and Table Saw.
Farmer — Emily Fray: Farming and cooking progression, including the Seedbed and food-production stations that help maintain a reliable supply of buffs.
After the Blacksmith, choose your next rescue according to your needs. The Alchemist is useful for magic and potions, while the Hunter supports ranged equipment and fur processing.
Bring survivors home, provide the shelter they need, and complete their workshop quests. Their full crafting options open up as your settlement and progression develop.
Expand Your Backpack and Storage
Extra carrying space means fewer trips home and more room for useful materials.
Check your personal crafting menu for the Tiny Backpack. The Small Backpack is crafted at the Workbench and uses Dried Fur, making the Hunter’s Drying Rack useful for this upgrade.
The Hunter’s Salt Mine Location quest points you towards Egerton Salt Mines. Bring a pickaxe and prepare for the Shroud, then collect Salt to process Animal Fur into Dried Fur.
Larger backpack upgrades become available later through the Bard. Equip your backpack extension after crafting it.
At home, expand into larger storage chests as recipes become available. In 1.0, chests can be upgraded or converted to magic chests in place without emptying and picking them up first.
Learn Combat and Choose Useful Skills
Manage your stamina so you can still dodge, block or reposition when an enemy attacks. Pull smaller groups where possible and practise against individual enemies before taking on a crowded camp.
A well-timed parry helps fill an enemy’s stun bar. Attacking a blocking enemy can also build that bar, creating an opening for a Merciless Attack once the enemy is overpowered and you have unlocked the skill.
Useful early skill options include:
Double Jump: Adds another jump while airborne, helping with climbing, gaps and awkward terrain.
Merciless Attack: Gives you a powerful follow-up against an overpowered enemy.
Sneak Attack: Rewards approaching an unaware enemy stealthily and using the attack prompt.
Blink: Replaces the standard dodge roll with a short teleport. The separate Emergency Blink skill lets you use it to escape a stun.
Choose the options that suit your equipment and how you like to fight. Double Jump is useful for exploration, but you should also invest in damage and survivability.
Weapon-specialisation skills unlock additional attacks powered by Focus. Once you have the relevant skill, regular attacks build Focus for that weapon’s special ability.
You can reset your skills at a Flame Altar using Runes, giving you room to experiment.
Make the Springlands Ancient Spire an early exploration goal. Work through its climbing challenges, traps and puzzle rooms, then interact with the Flame at the top to unlock its fast travel point.
The tower also gives you a high launch point for your Glider. Use it to reach surrounding quests, ruins and gathering areas.
Shroud Roots and Elixir Wells reward exploration with additional skill points. Bring an axe to destroy the roots and prepare for the enemies guarding them.
A standalone Shroud Root awards one skill point, while completing an Elixir Well awards three. Each location grants its skill-point reward once per character.
Destroying a root temporarily clears nearby fog. The root and Shroud can return when the area resets, so the clearing is not permanent and repeated clears do not provide unlimited skill points.
The early Elixir Well near Braelyn Bridge includes a Fell Thunderbrute encounter. Prepare your equipment, food and healing before entering. Treat Scavenger Matrons in larger camps as another reason to prepare carefully instead of charging into every fight you find.
Strengthen the Flame and Upgrade Your Equipment
Your altar offers two different upgrades:
Upgrade Altar: Expands the building area of that individual base.
Strengthen the Flame: Raises the world’s Flame Level, improving attributes, Shroud protection and the number of altars you can maintain.
For Flame Level 2, gather one Spark and five each of Resin, Penny Bun, Bones, Shroud Liquid and Animal Fur. A boss head is not required for this first upgrade.
Continue checking the next requirements as you explore. In 1.0, Flame upgrades unlock the craftable armor recipes for the following tier, giving you new equipment goals as you reach another region.
Improve your current weapons and armor through the appropriate survivor: the Blacksmith handles warrior equipment, the Hunter handles ranger equipment, and the Alchemist handles mage equipment.
As you progress into Revelwood, sets such as Adventurer for melee and Ranger for ranged characters become useful crafting goals. Gather the new region’s materials and build the workshops needed to make them.
Metal progression also follows the regions you explore. Copper becomes an important resource in Revelwood, while Tin is associated with the Nomad Highlands. Bronze is made using both Copper and Tin, so it belongs later in your progression.
Make Exploration Easier
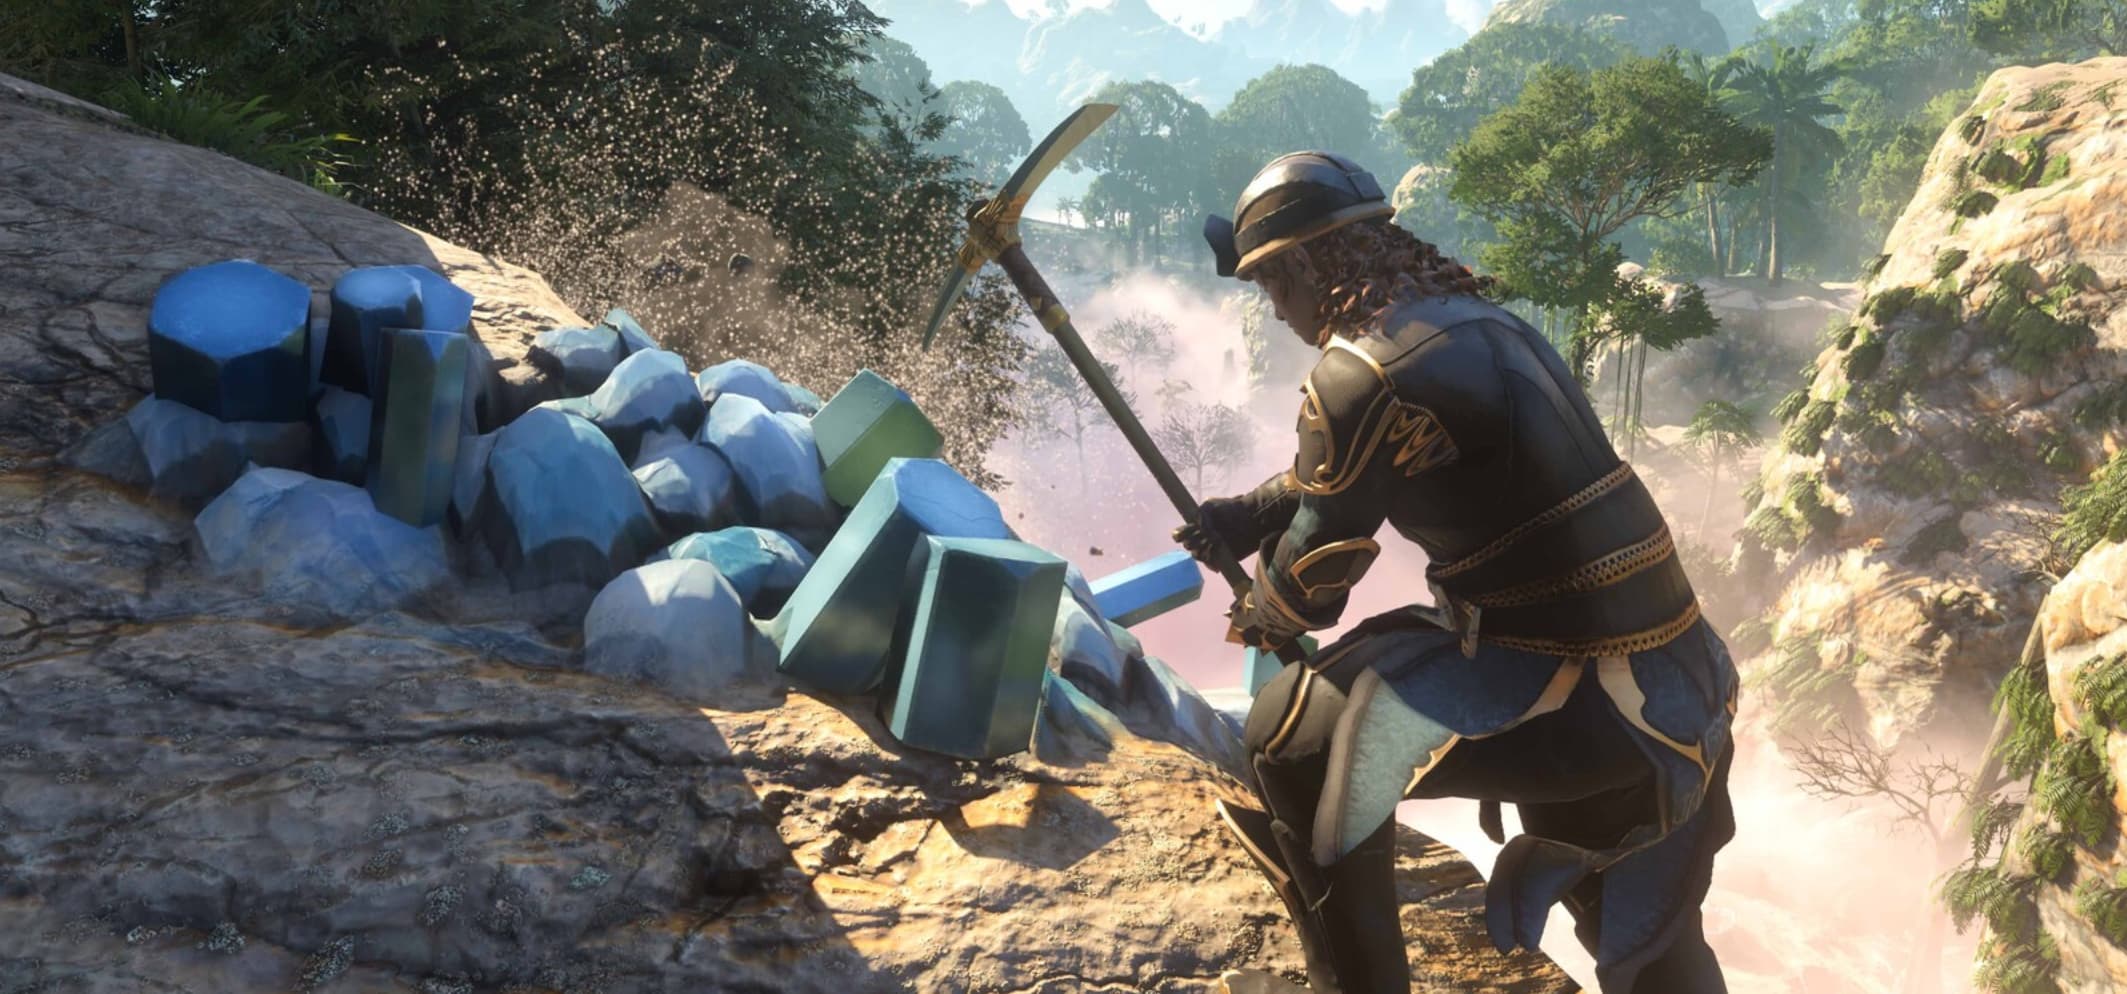
Terrain manipulation can help you reach difficult places. Use a pickaxe to cut steps into diggable slopes or create a passage through destructible terrain. Inside your base, the Construction Hammer’s terrain tools and the Rake help with larger changes and levelling. Some structures and dungeon areas restrict what you can destroy.
Unprotected world areas can reset, allowing enemies, chests, containers and resources to return. Revisit useful locations when you need more supplies or another chance at loot. Restarting a solo world can reset unprotected areas, while leaving and rejoining a running server does not necessarily reset it.
Keep room in your active altar allowance for an exploration outpost. Carry the materials for a Flame Altar and place it on permitted ground outside the Shroud near a useful route, resource area or difficult encounter.
Use those outposts to shorten return journeys. Before leaving, repair your equipment, clear inventory space, refresh food and Rested, and take healing supplies and Shroud Survival Flasks when available.
Understand the Biomes Before Moving On
The Springlands is your starting focus, but each later region introduces resources and challenges that support another stage of progression.
Springlands
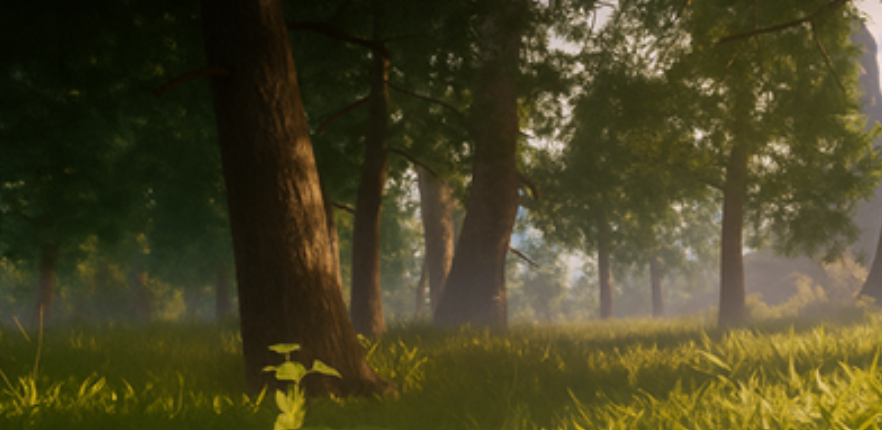
The Springlands contains the woods, fields and ruined settlements where your adventure begins. Its eastern area includes the Low Meadows.
Expect Scavengers, Vukah and Fell alongside wildlife. Flintstone and Salt are useful early resources, while the Blacksmith, Alchemist, Hunter, Carpenter and Farmer are all rescued within this wider region. The Collector is also found through the Springlands Hollow Halls.
Use this region to establish your base, learn the Shroud and unlock your core crafting options.
Revelwood
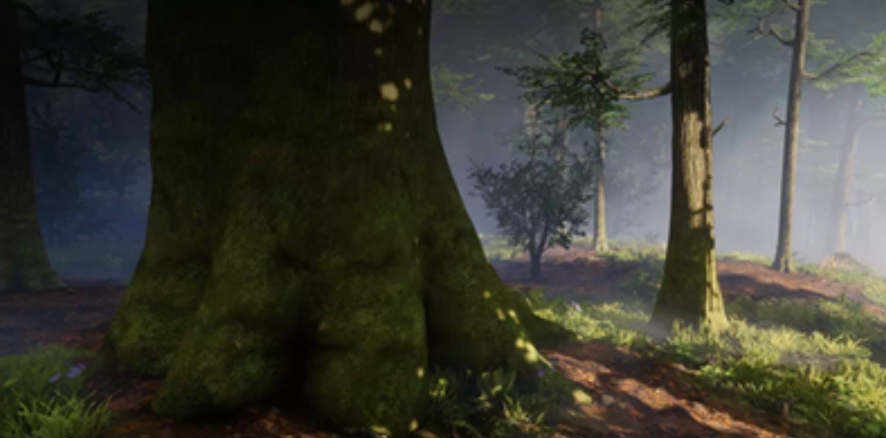
Revelwood is a dense forest region with more dangerous wildlife, hostile plants and stronger Scavenger and Fell encounters. Pikemead’s Reach, Embervale’s former capital, is one of its major destinations.
Hardwood, Copper Ore and Clay support your next crafting steps. The region also includes Blackmire, a swamp area with its own exploration challenges where you can rescue the Bard.
Prepare better equipment and check your Flame requirements before pushing deeper into its Shrouded areas.
Nomad Highlands
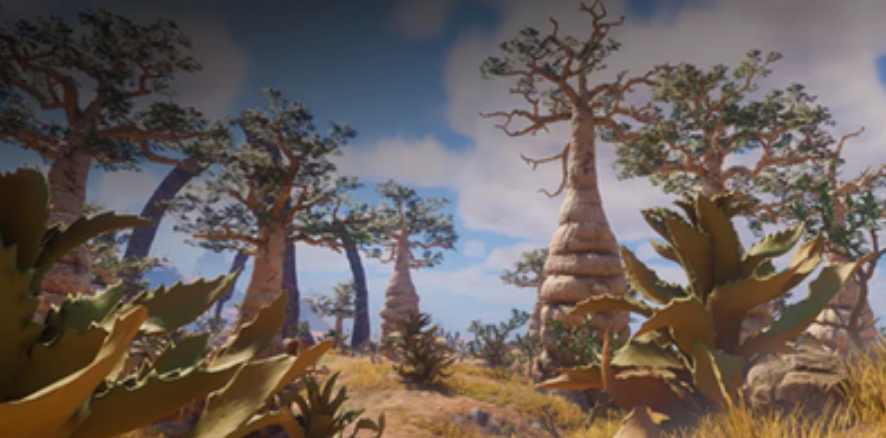
The Nomad Highlands features high limestone cliffs, the volcanic Pillars of Creation and the heavily Shrouded basin of Umber Hollow.
Vukah camps, Scavenger settlements and Fell enemies make exploration more demanding. Tin Ore, Limestone and Fossilized Bone are important resources, with Tin allowing you to develop Bronze production alongside Copper.
Cliffs and deep Shroud make your route, Glider and remaining protection especially important.
Kindlewastes
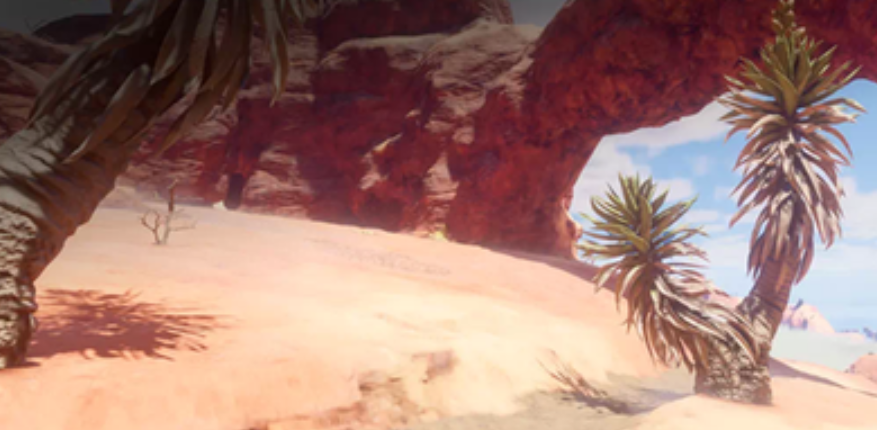
The Kindlewastes is a desert of sandstone formations, dunes and deep canyons. Scavengers occupy ruined settlements, while dangerous Fell enemies can be found around ancient structures such as Sun Temples.
Watch for threats including Fell Sicklescythes, vultures and scorpions. Palm Wood, Saffron and Iron Ore support later crafting and equipment upgrades.
Approach this region with equipment and supplies suited to its stronger enemies.
Albaneve Summits
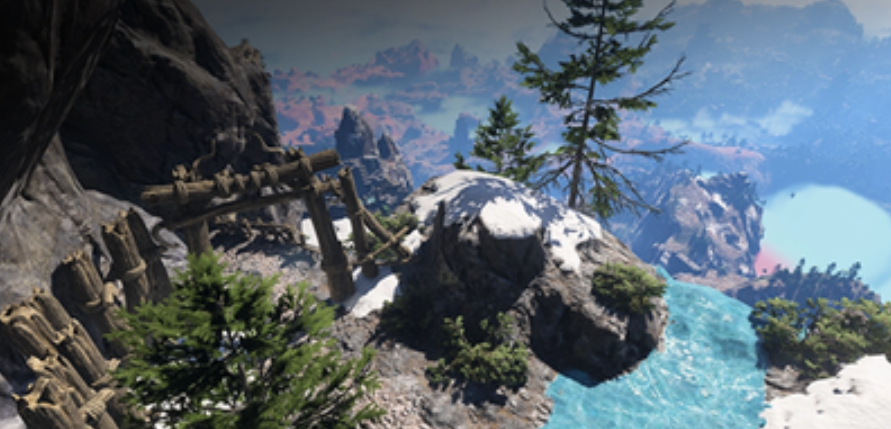
The Albaneve Summits surrounds Howling Peak with snowy mountains, ruined fortresses and steep terrain. At higher altitudes, cold becomes an additional survival threat, so prepare suitable frost protection.
Fell, Scavengers, spiders, snow leopards, vultures and Cyclopes add to the danger. Resources include Conifer Logs, Amethyst, Granite, Obsidian and Silver Ore.
Check both your cold protection and your route before committing to a long mountain journey.
Veilwater Basin
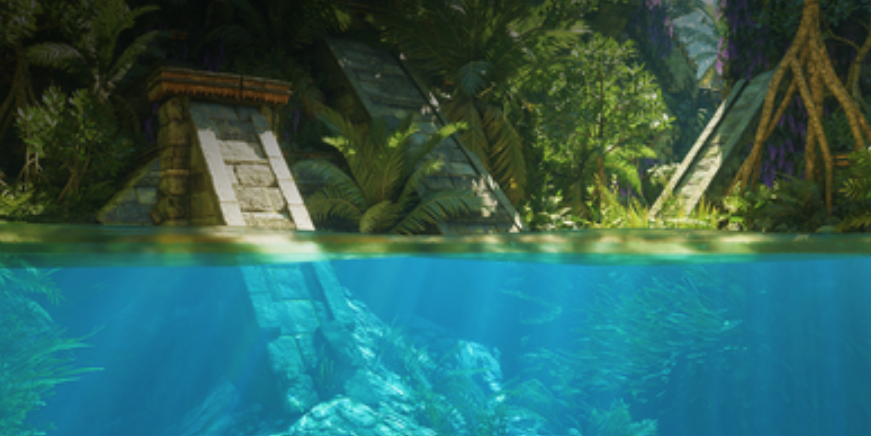
Veilwater Basin is a tropical region of lakes, jungle, sandy shores and ancient ruins. Water and underwater routes add another layer to exploration.
Expect Drak, Scavengers and hostile wildlife such as water reptiles and crabs. Tropical Wood, Coffee Beans and Palm Leaves are useful resources, alongside Aquamarine, Gold Ore and Mother-of-Pearl.
Prepare your swimming and underwater exploration equipment before travelling far into its flooded areas.