This Enshrouded 1.0 Paladin build combines one-handed melee combat with three auras that provide protection, healing and damage against Fell enemies. A shield, a large health pool and well-timed parries help you stay in close combat while creating openings for powerful Merciless Attacks.
The build works for solo exploration and co-op, where your defensive and healing auras can also support nearby teammates. You can develop its melee skills early, then add the auras as you earn more skill points.
Thanks to ItalianSpartacus for sharing the build and gameplay tips used in this guide.
For help with your first base, crafting unlocks and early progression, start with our Enshrouded Beginner Guide.
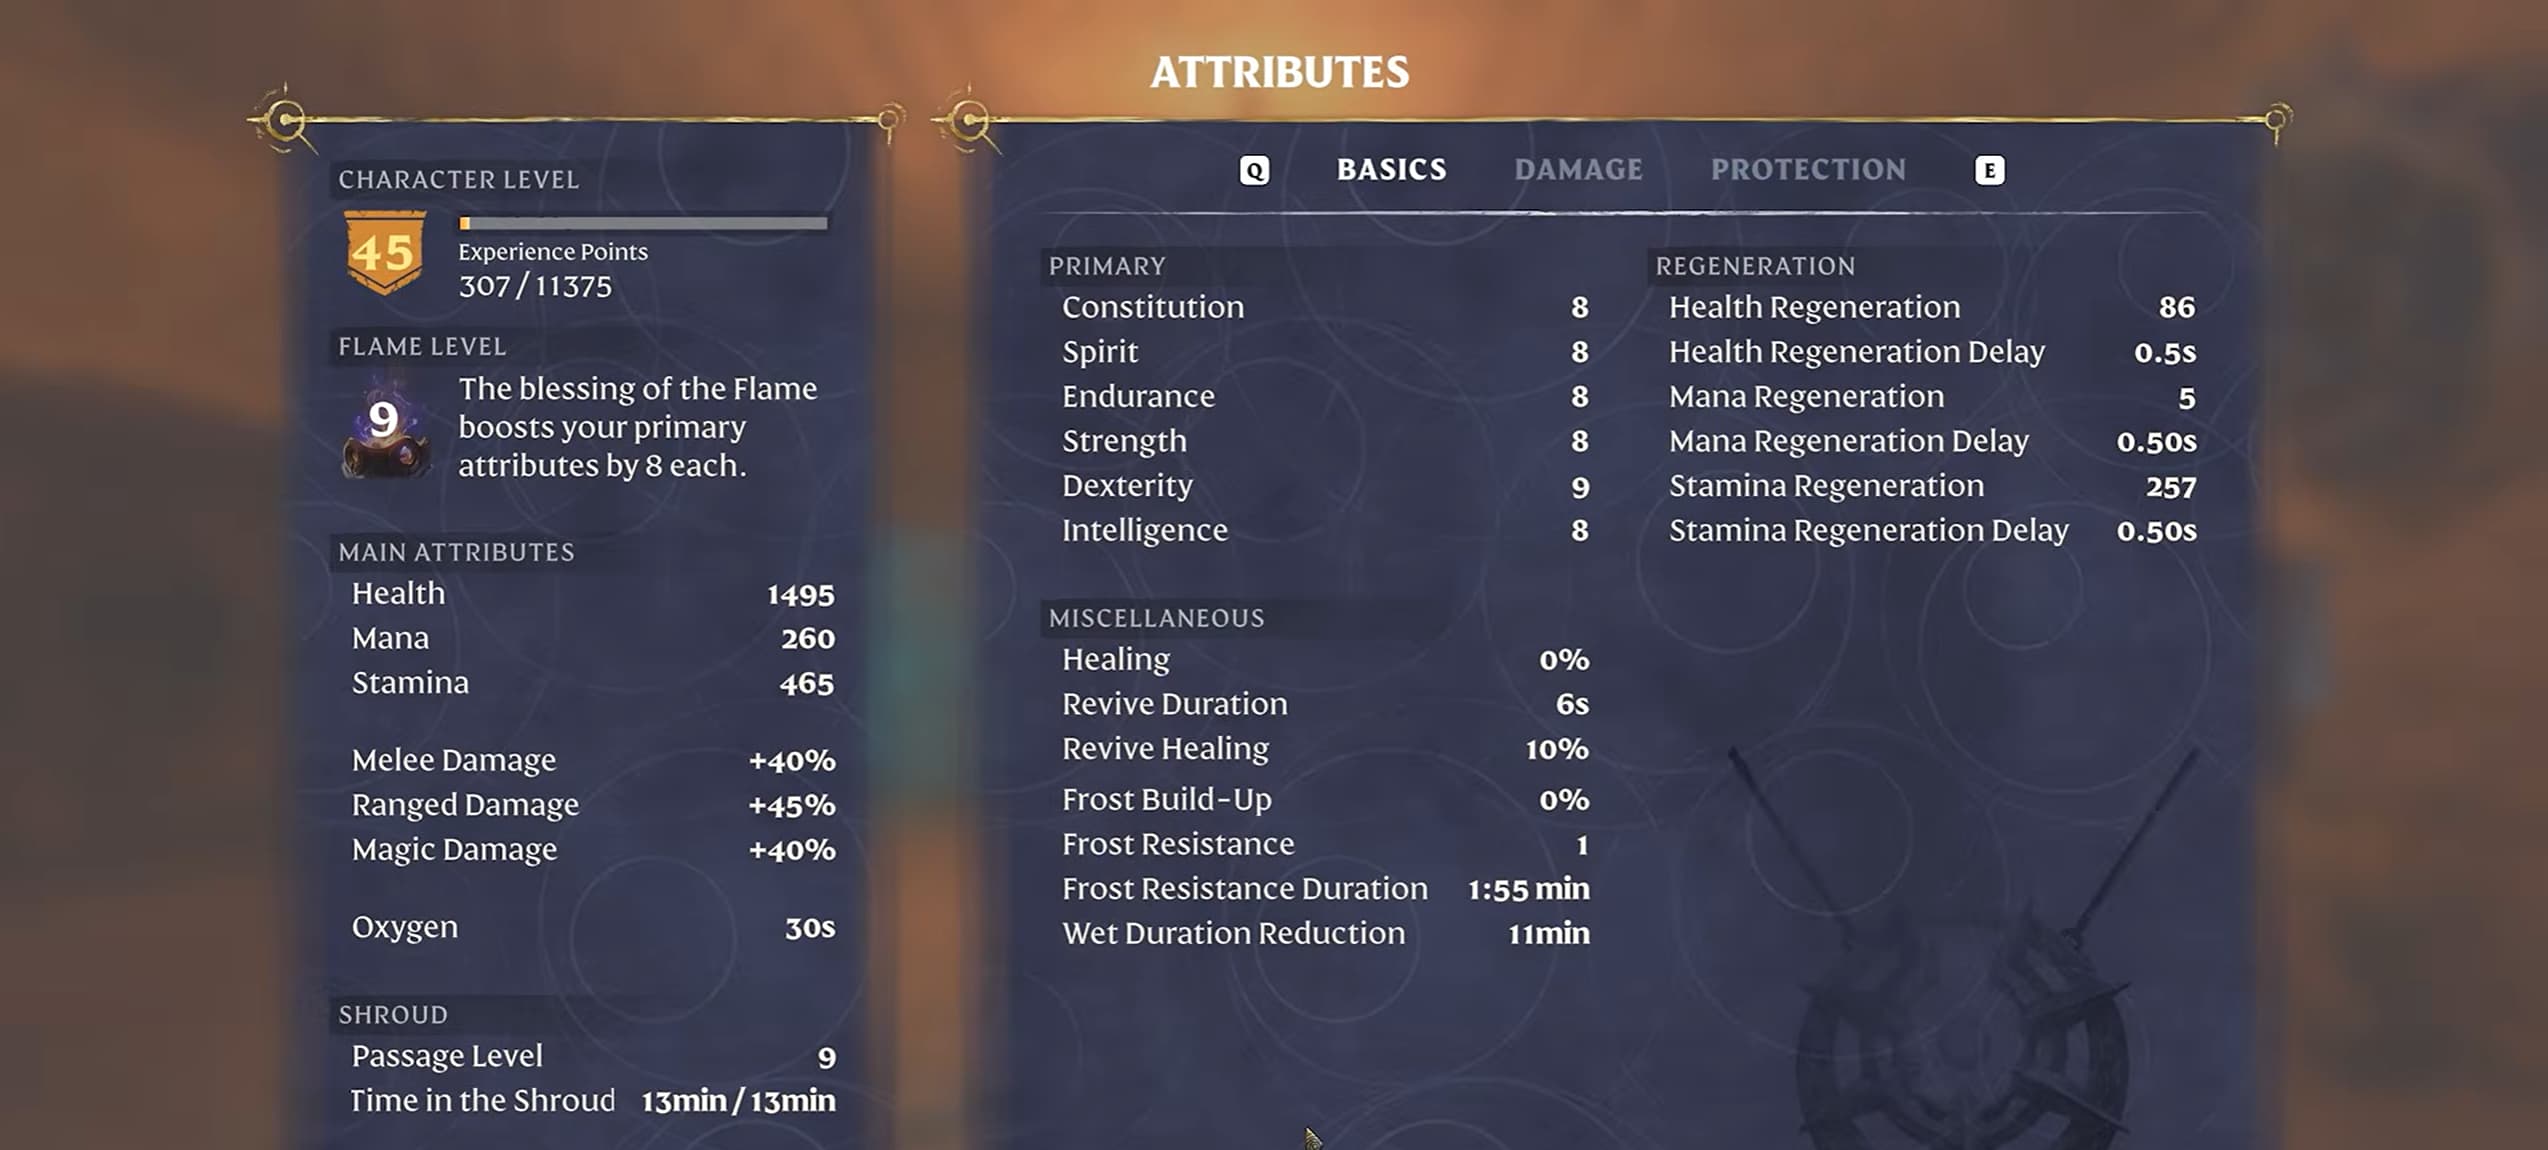
Focus on Strength, Constitution and Intelligence, with enough stamina support to keep attacking, blocking and repositioning.
Strength: Increases melee damage and adds maximum health through the Athlete skill.
Constitution: Increases your maximum health, helping you survive heavier hits.
Intelligence: Improves Water Aura’s healing and Radiant Aura’s damage. Life Essences also converts it into additional maximum health.
Endurance: Increases your stamina pool, making it a useful supporting attribute when stamina is limiting your combat options.
Strength and Constitution establish your melee foundation. Intelligence becomes more valuable as you unlock the auras and their supporting skills.
Avoid investing everything into damage while struggling to survive. Adjust your equipment and food to address whichever resource is causing problems, whether that is health, healing or stamina.
Early Skills
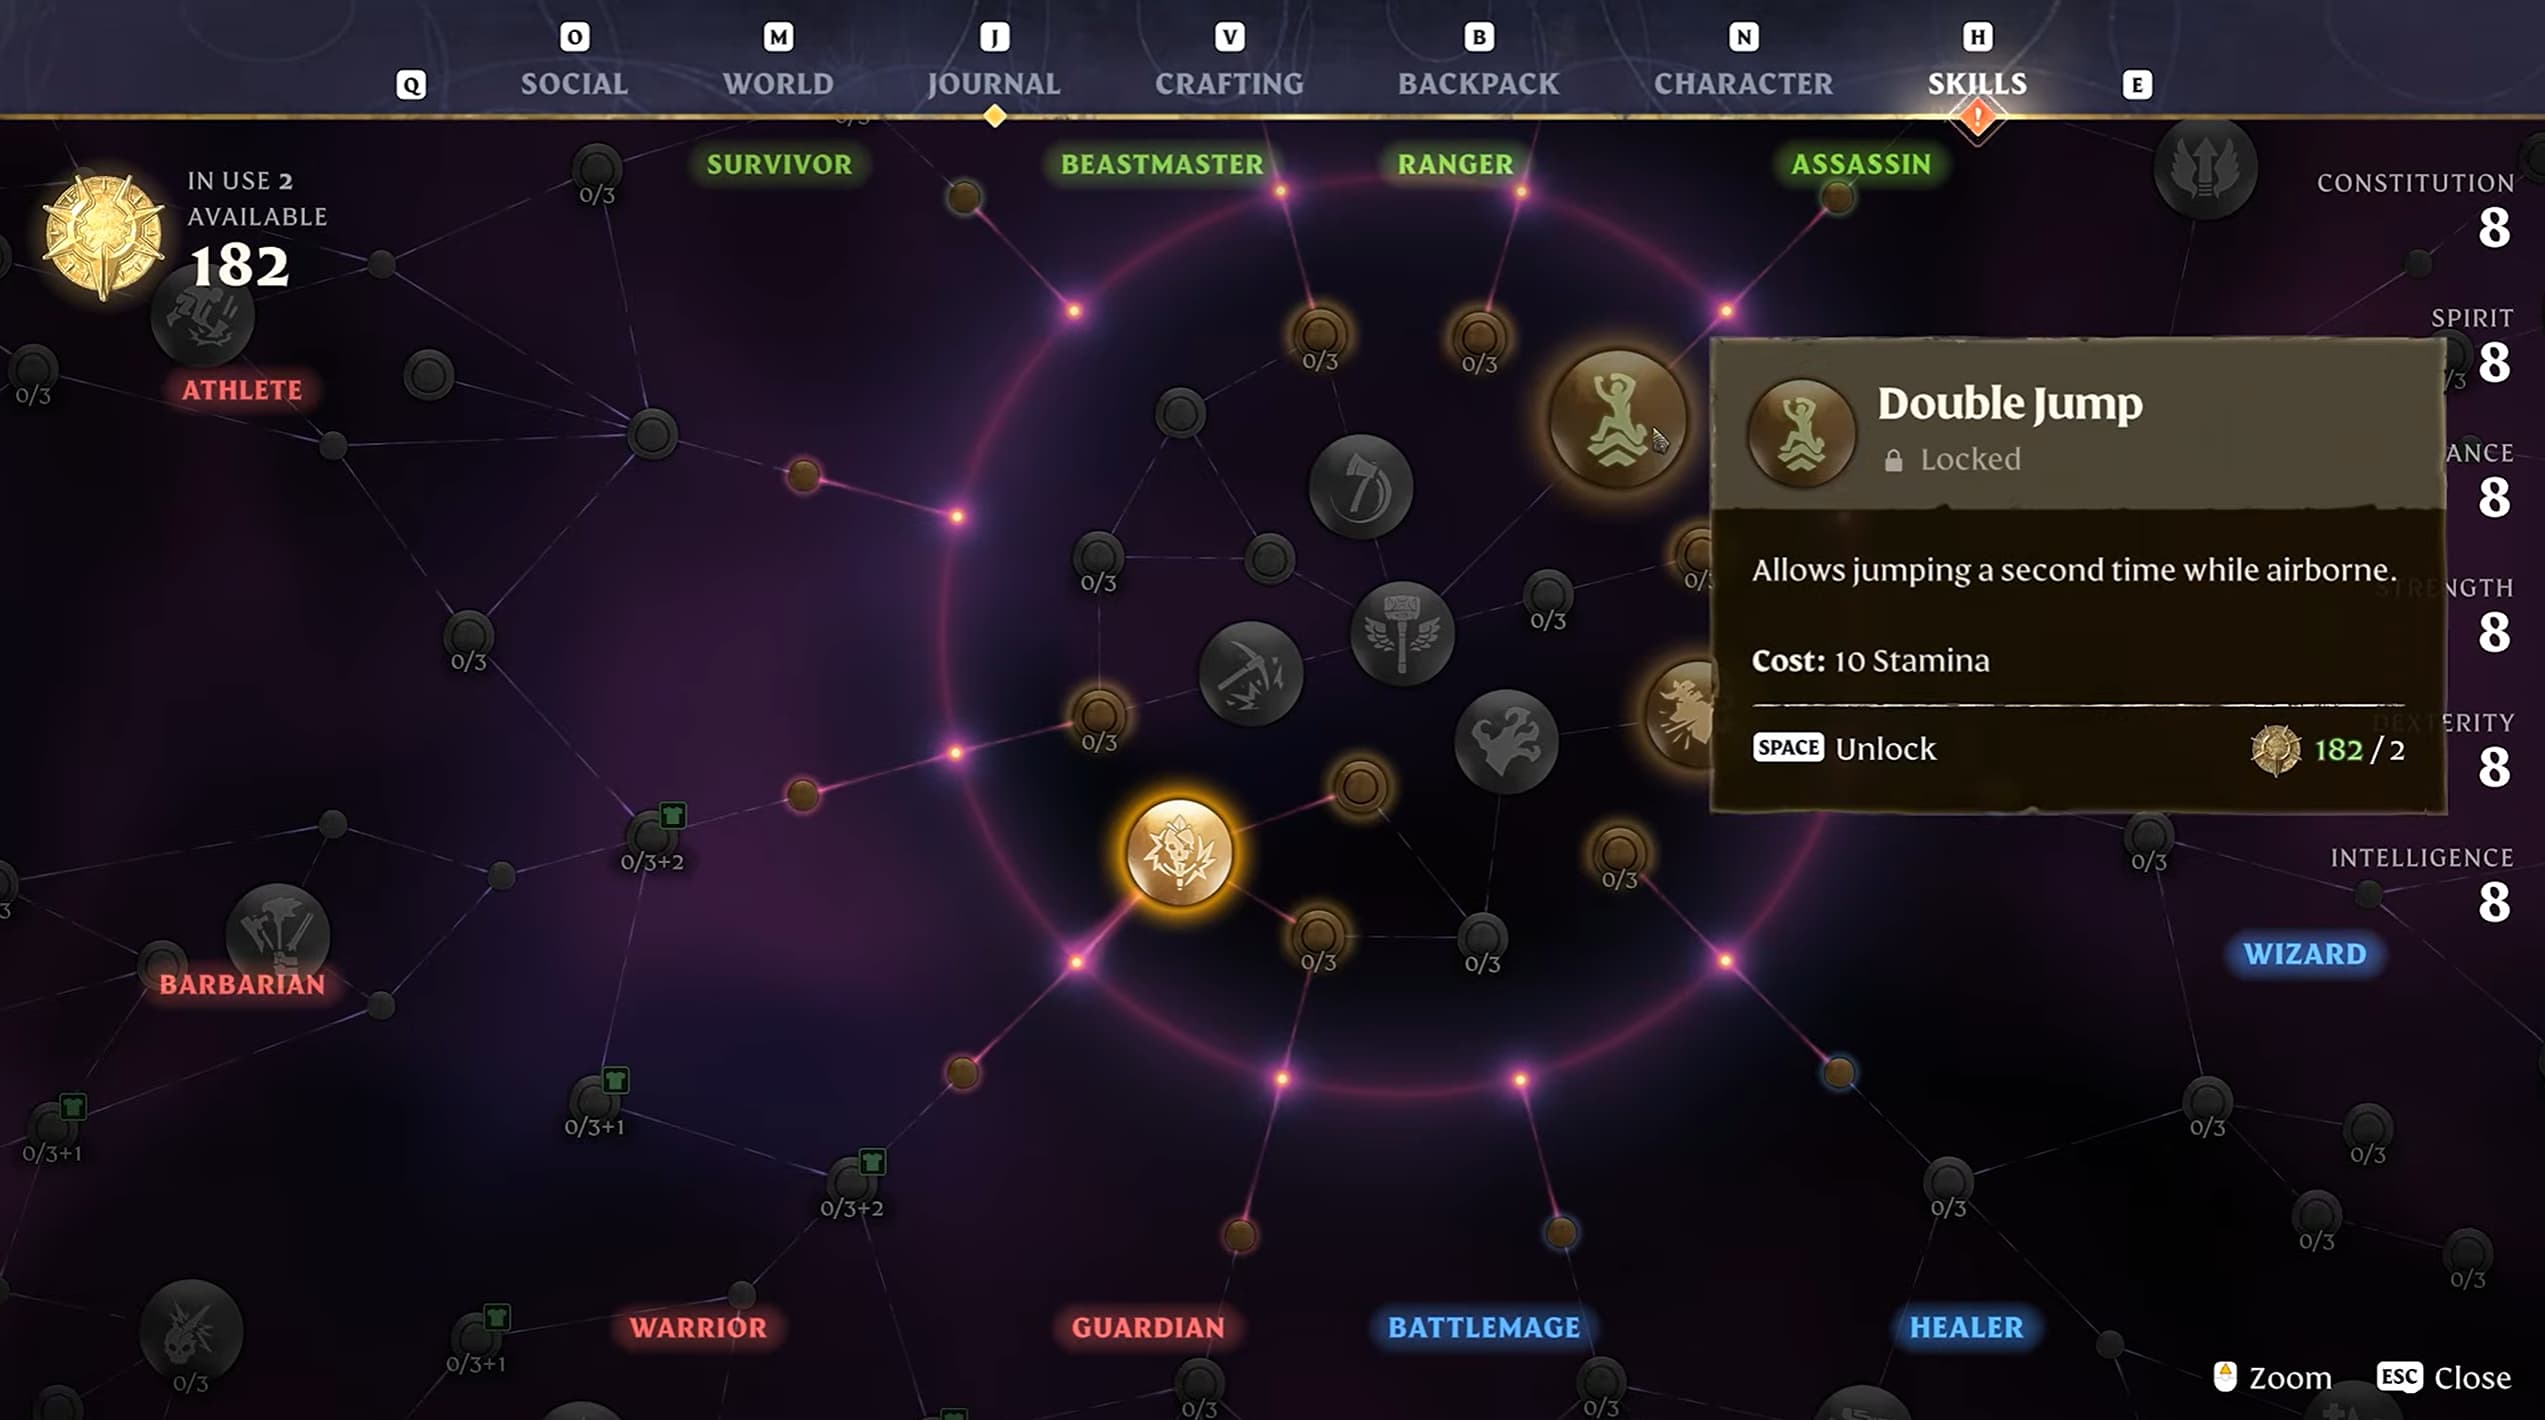
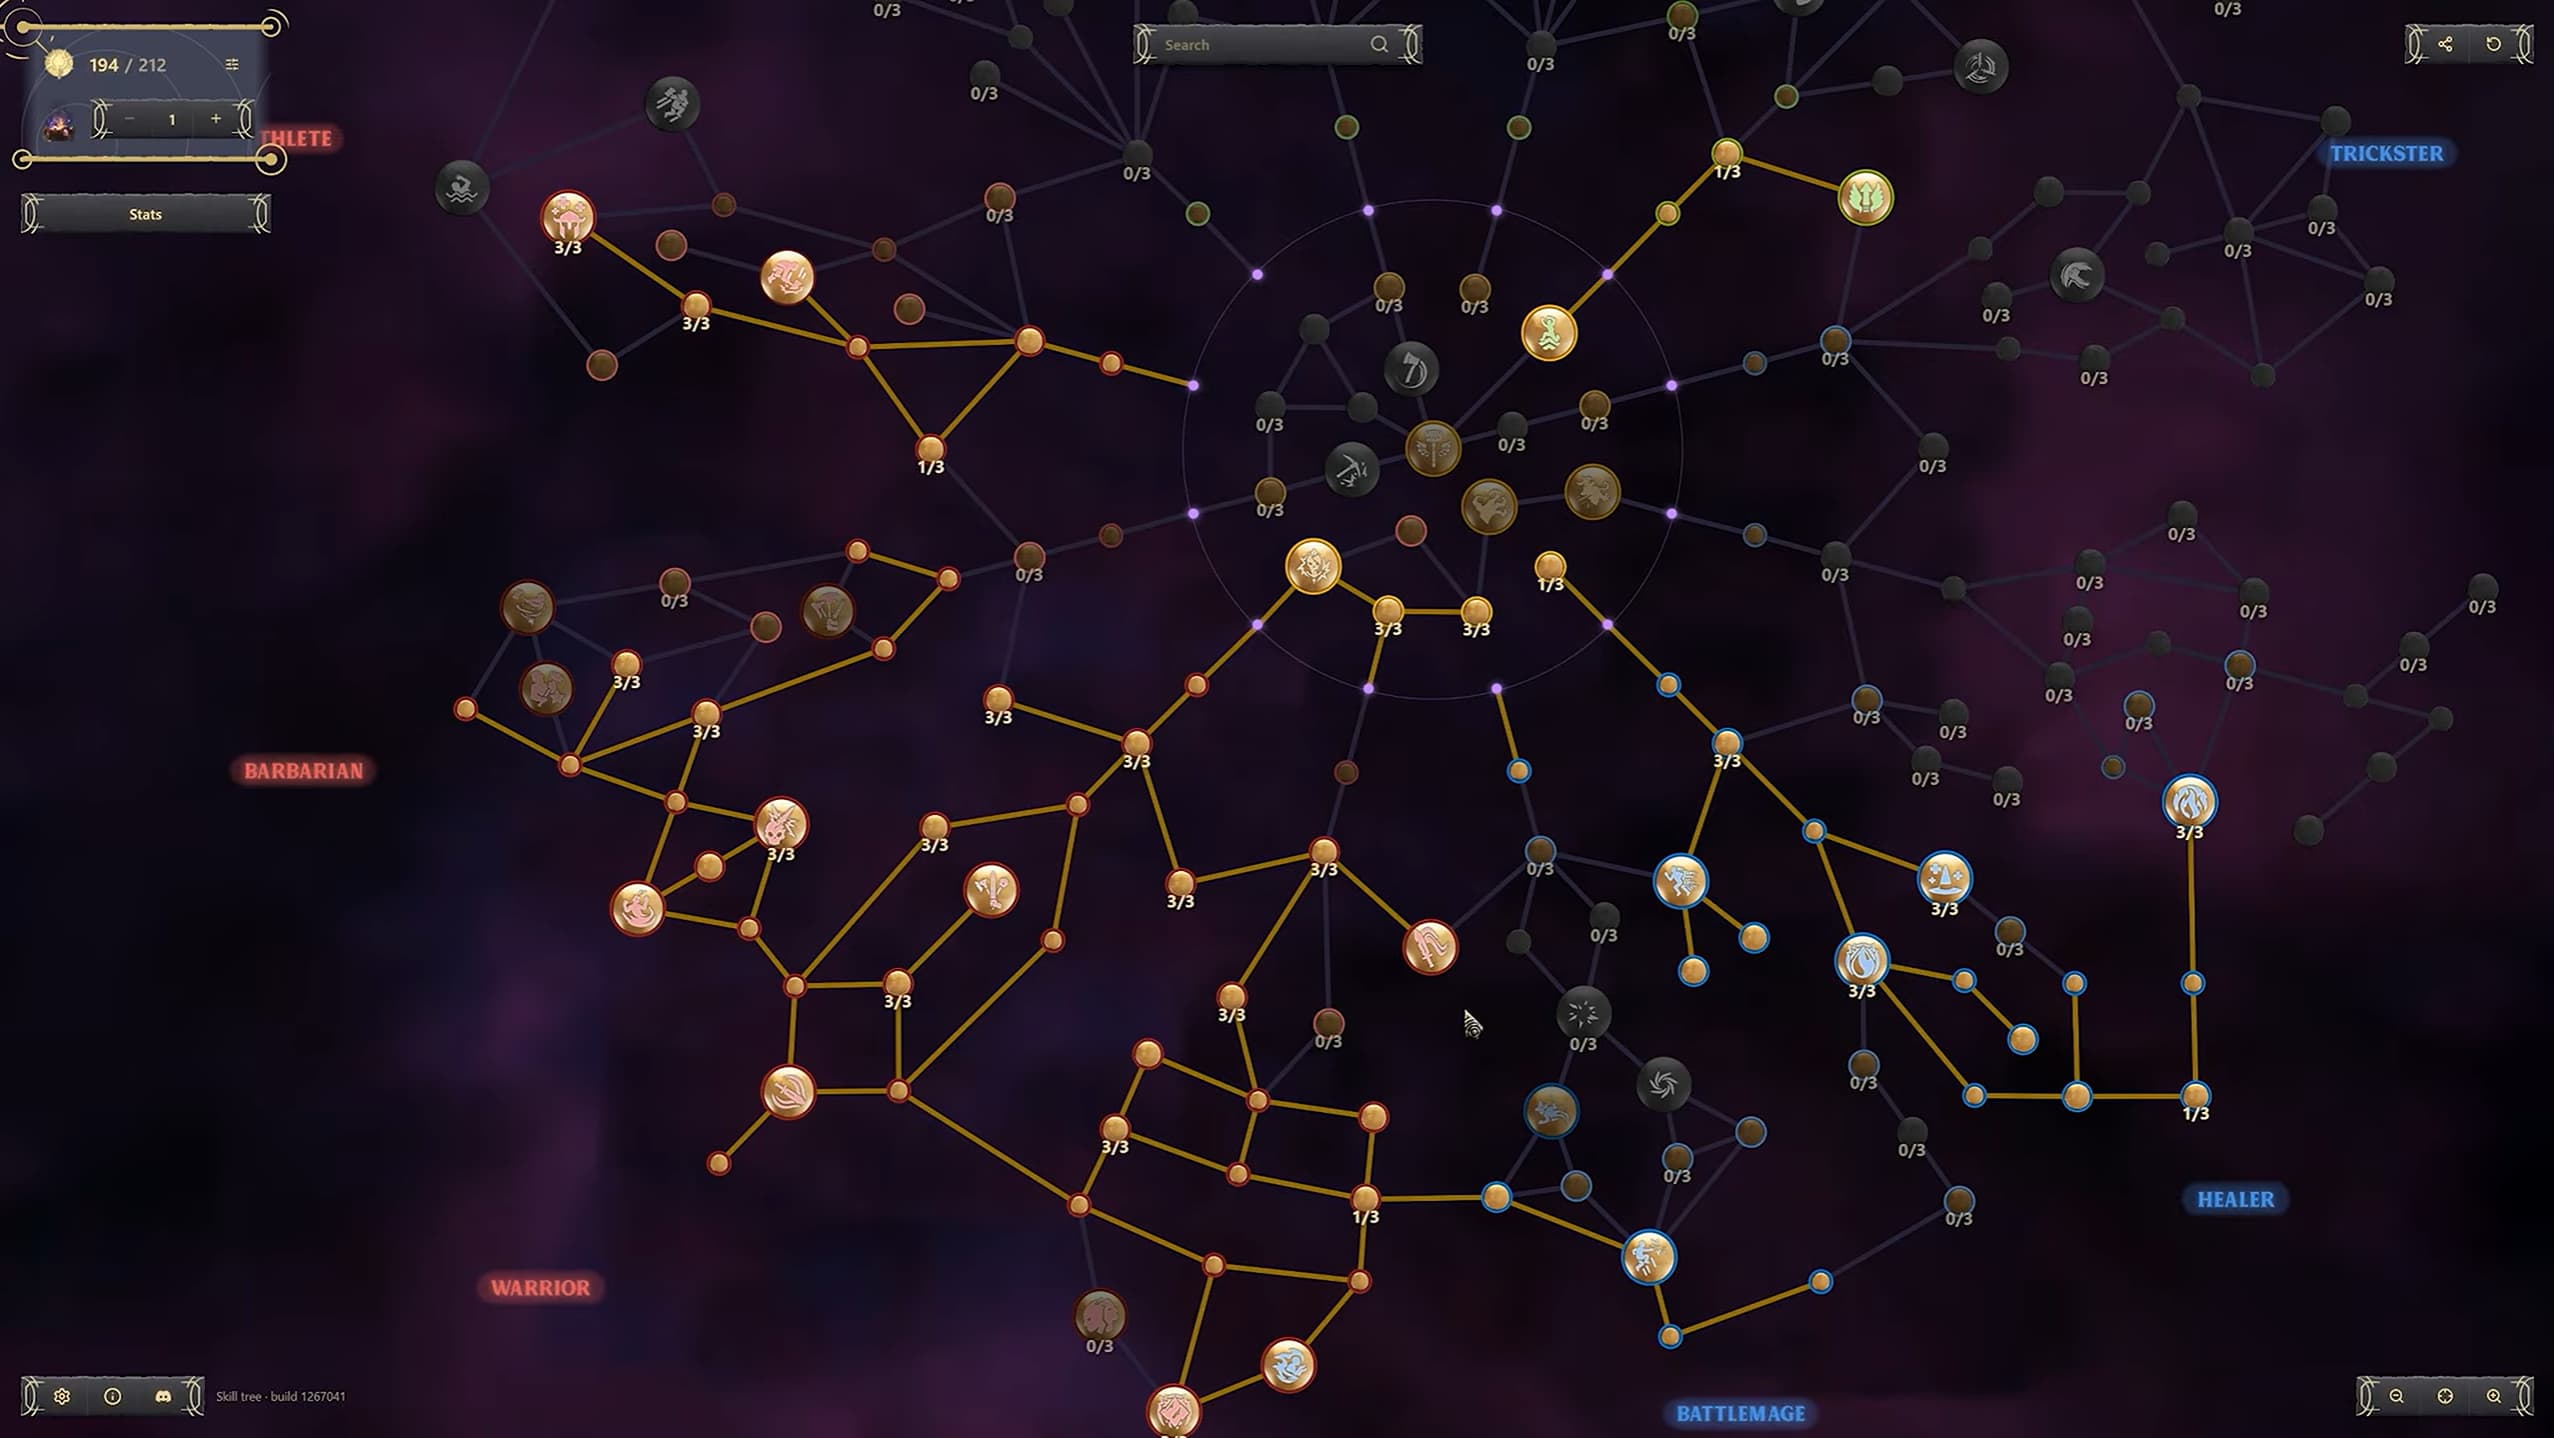
Start with Merciless Attack and Double Jump. Merciless Attack gives you a powerful follow-up against overpowered enemies, while Double Jump helps with exploration and movement around difficult terrain.
Add Power Parry to improve your parry power and Opportunity to increase Merciless Attack’s damage multiplier. These establish the combat pattern you will use throughout the build: parry, fill the enemy’s stun bar, then punish the opening.
You can also take Airborne and Updraft early if you want better gliding. Airborne reduces your glider’s stamina consumption, while Updraft provides an upward boost during flight. These are useful exploration tools, but you can delay them if you need more combat strength first.
Building and gathering skills are flexible choices. Airborne Architect, Lumberjack and Mason can make base projects easier, but they are not required for the Paladin’s combat setup.
You can reset your skills at a Flame Altar by spending Runes, so temporary utility investments do not need to become permanent parts of the build.
Melee and Tank Skills
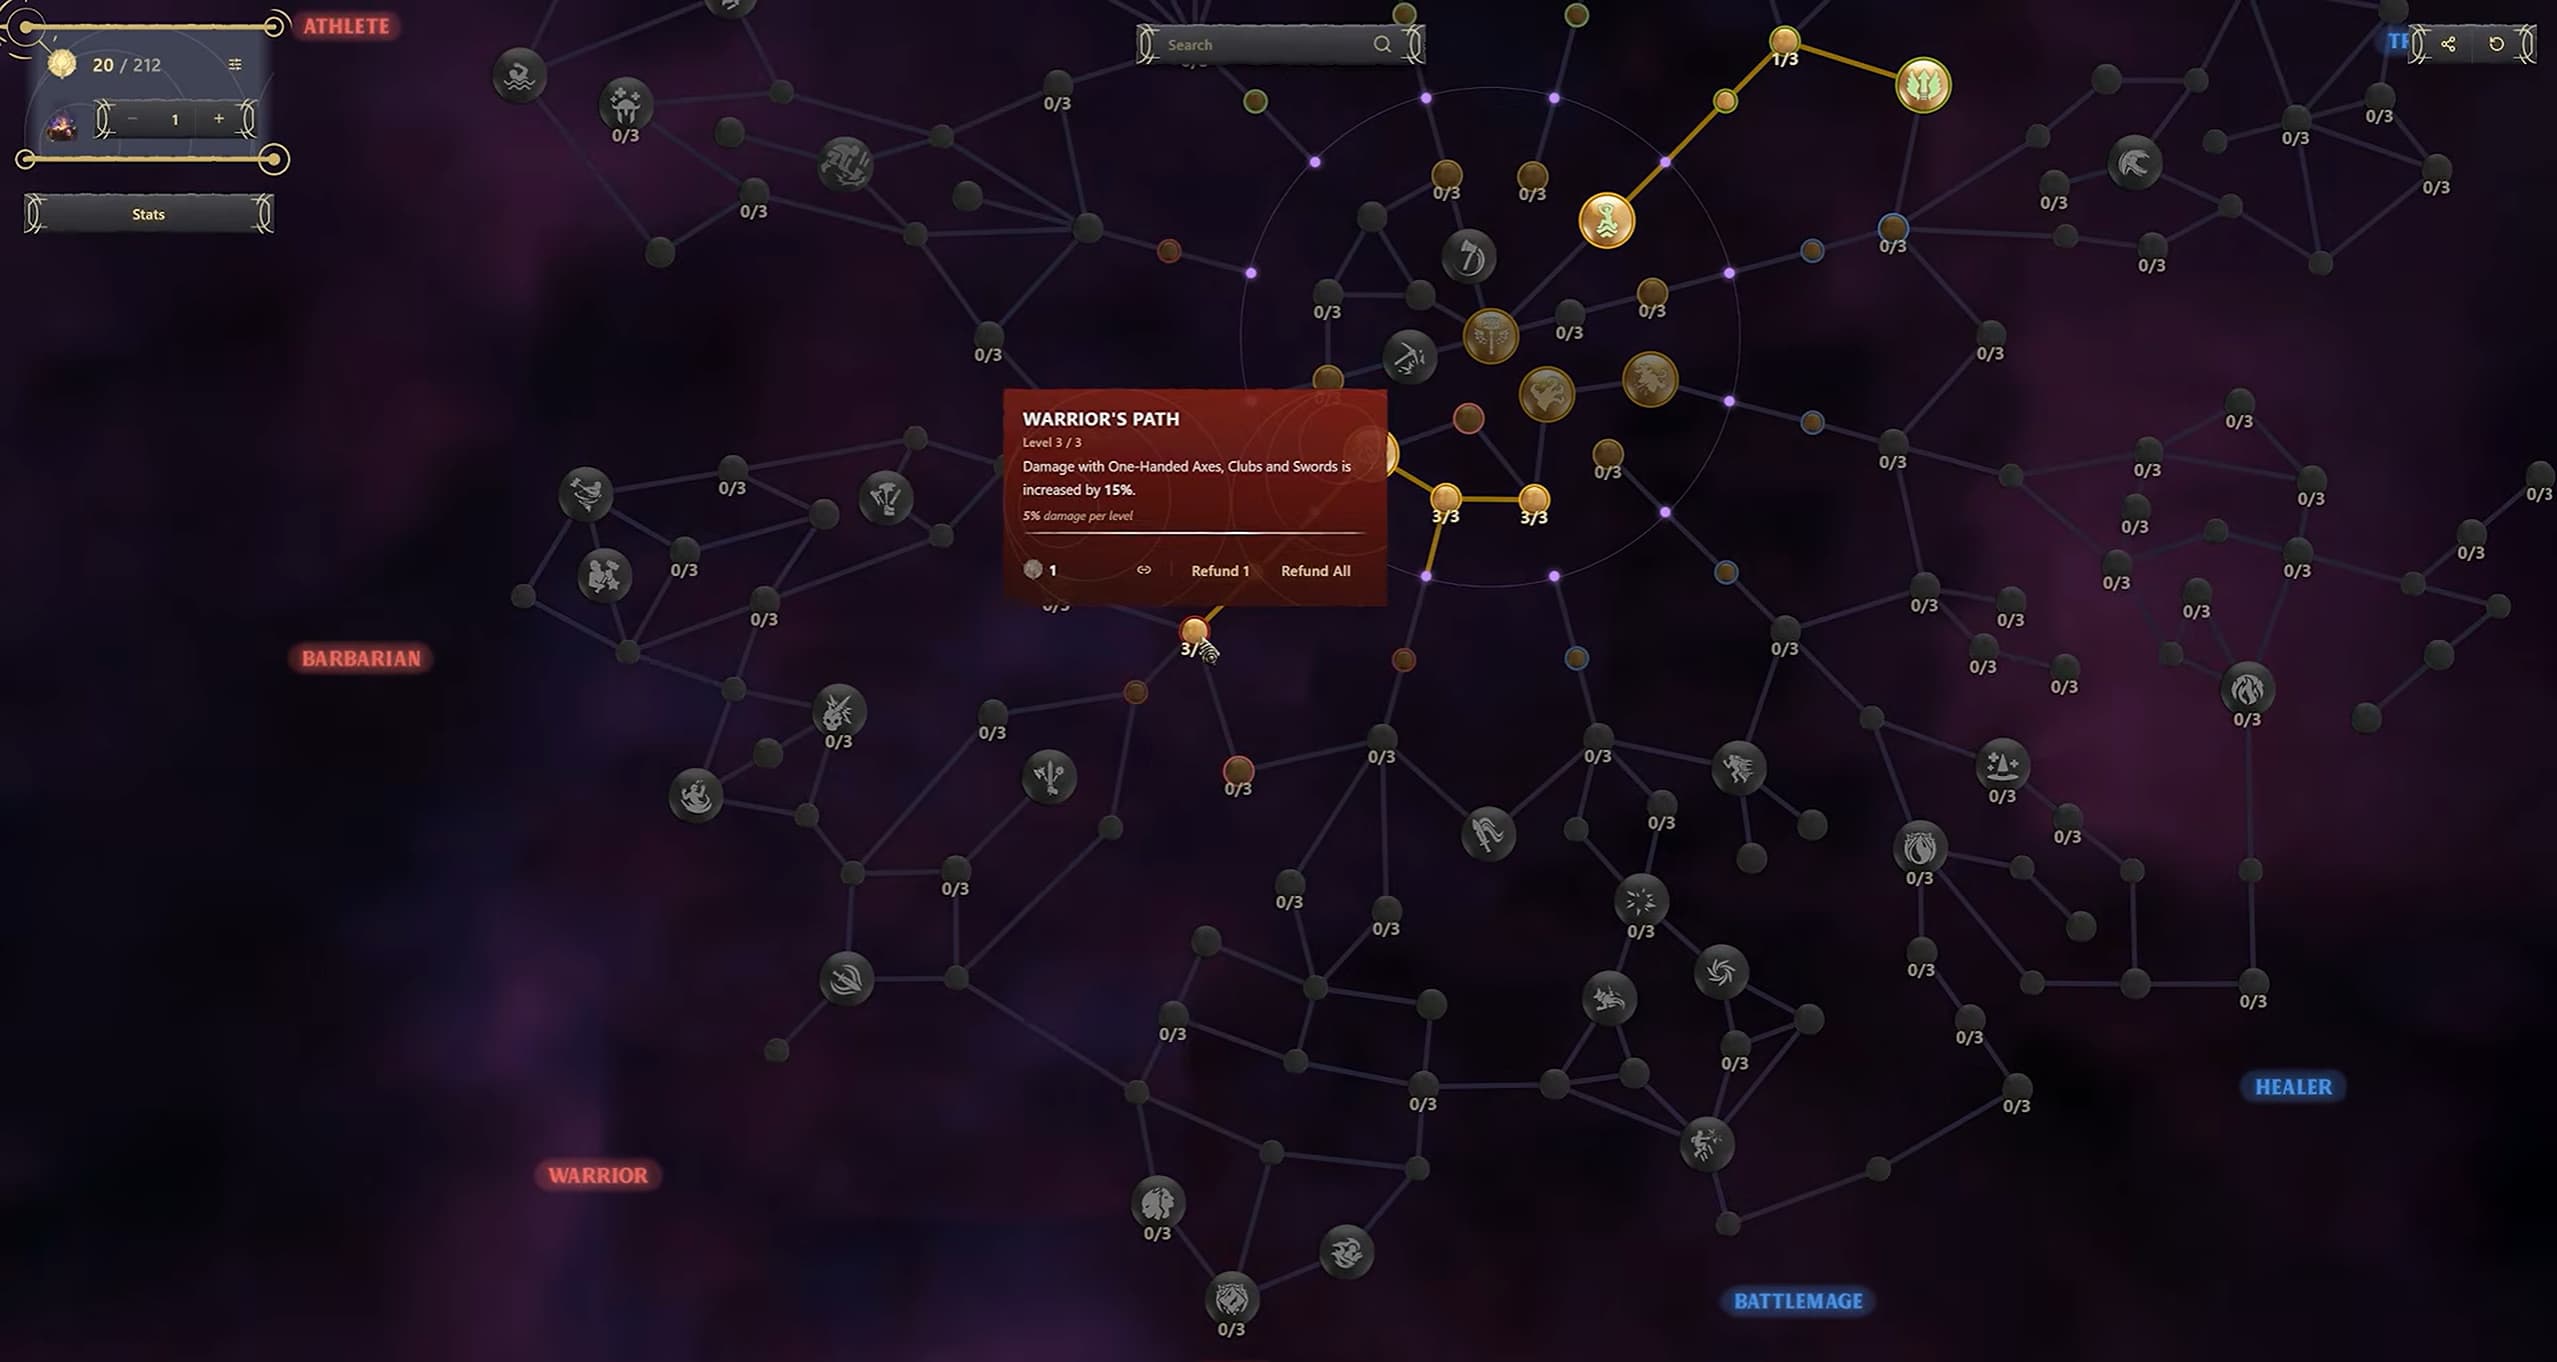
Build your initial damage around Warrior’s Path, which improves damage with one-handed axes, clubs and swords. Pick up Strength and Constitution nodes along the route.
Take One-Handed Specialization to unlock your weapon’s special ability. Attacking generates Focus, which you can spend on that ability when you have a safe opening. Swift Blades then improves the attack speed of your one-handed melee weapons.
Veteran and Battle Heal work well together. Veteran increases melee critical-strike chance, while Battle Heal restores a percentage of your maximum health when you land a melee critical strike. Your investment in maximum health therefore also improves the amount recovered by Battle Heal.
For defense, take Heavy Plates and Shiny Plates to improve the physical and magical armor provided by your equipment.
Tower and Warden add physical and magical resistance when at least three enemies are nearby. These are useful against groups, but their conditions will not always be active against an isolated target.
Thick Skin provides additional Constitution based on your Flame level. Continue upgrading your Flame as you progress to improve the value of this skill.
Auras and Healing
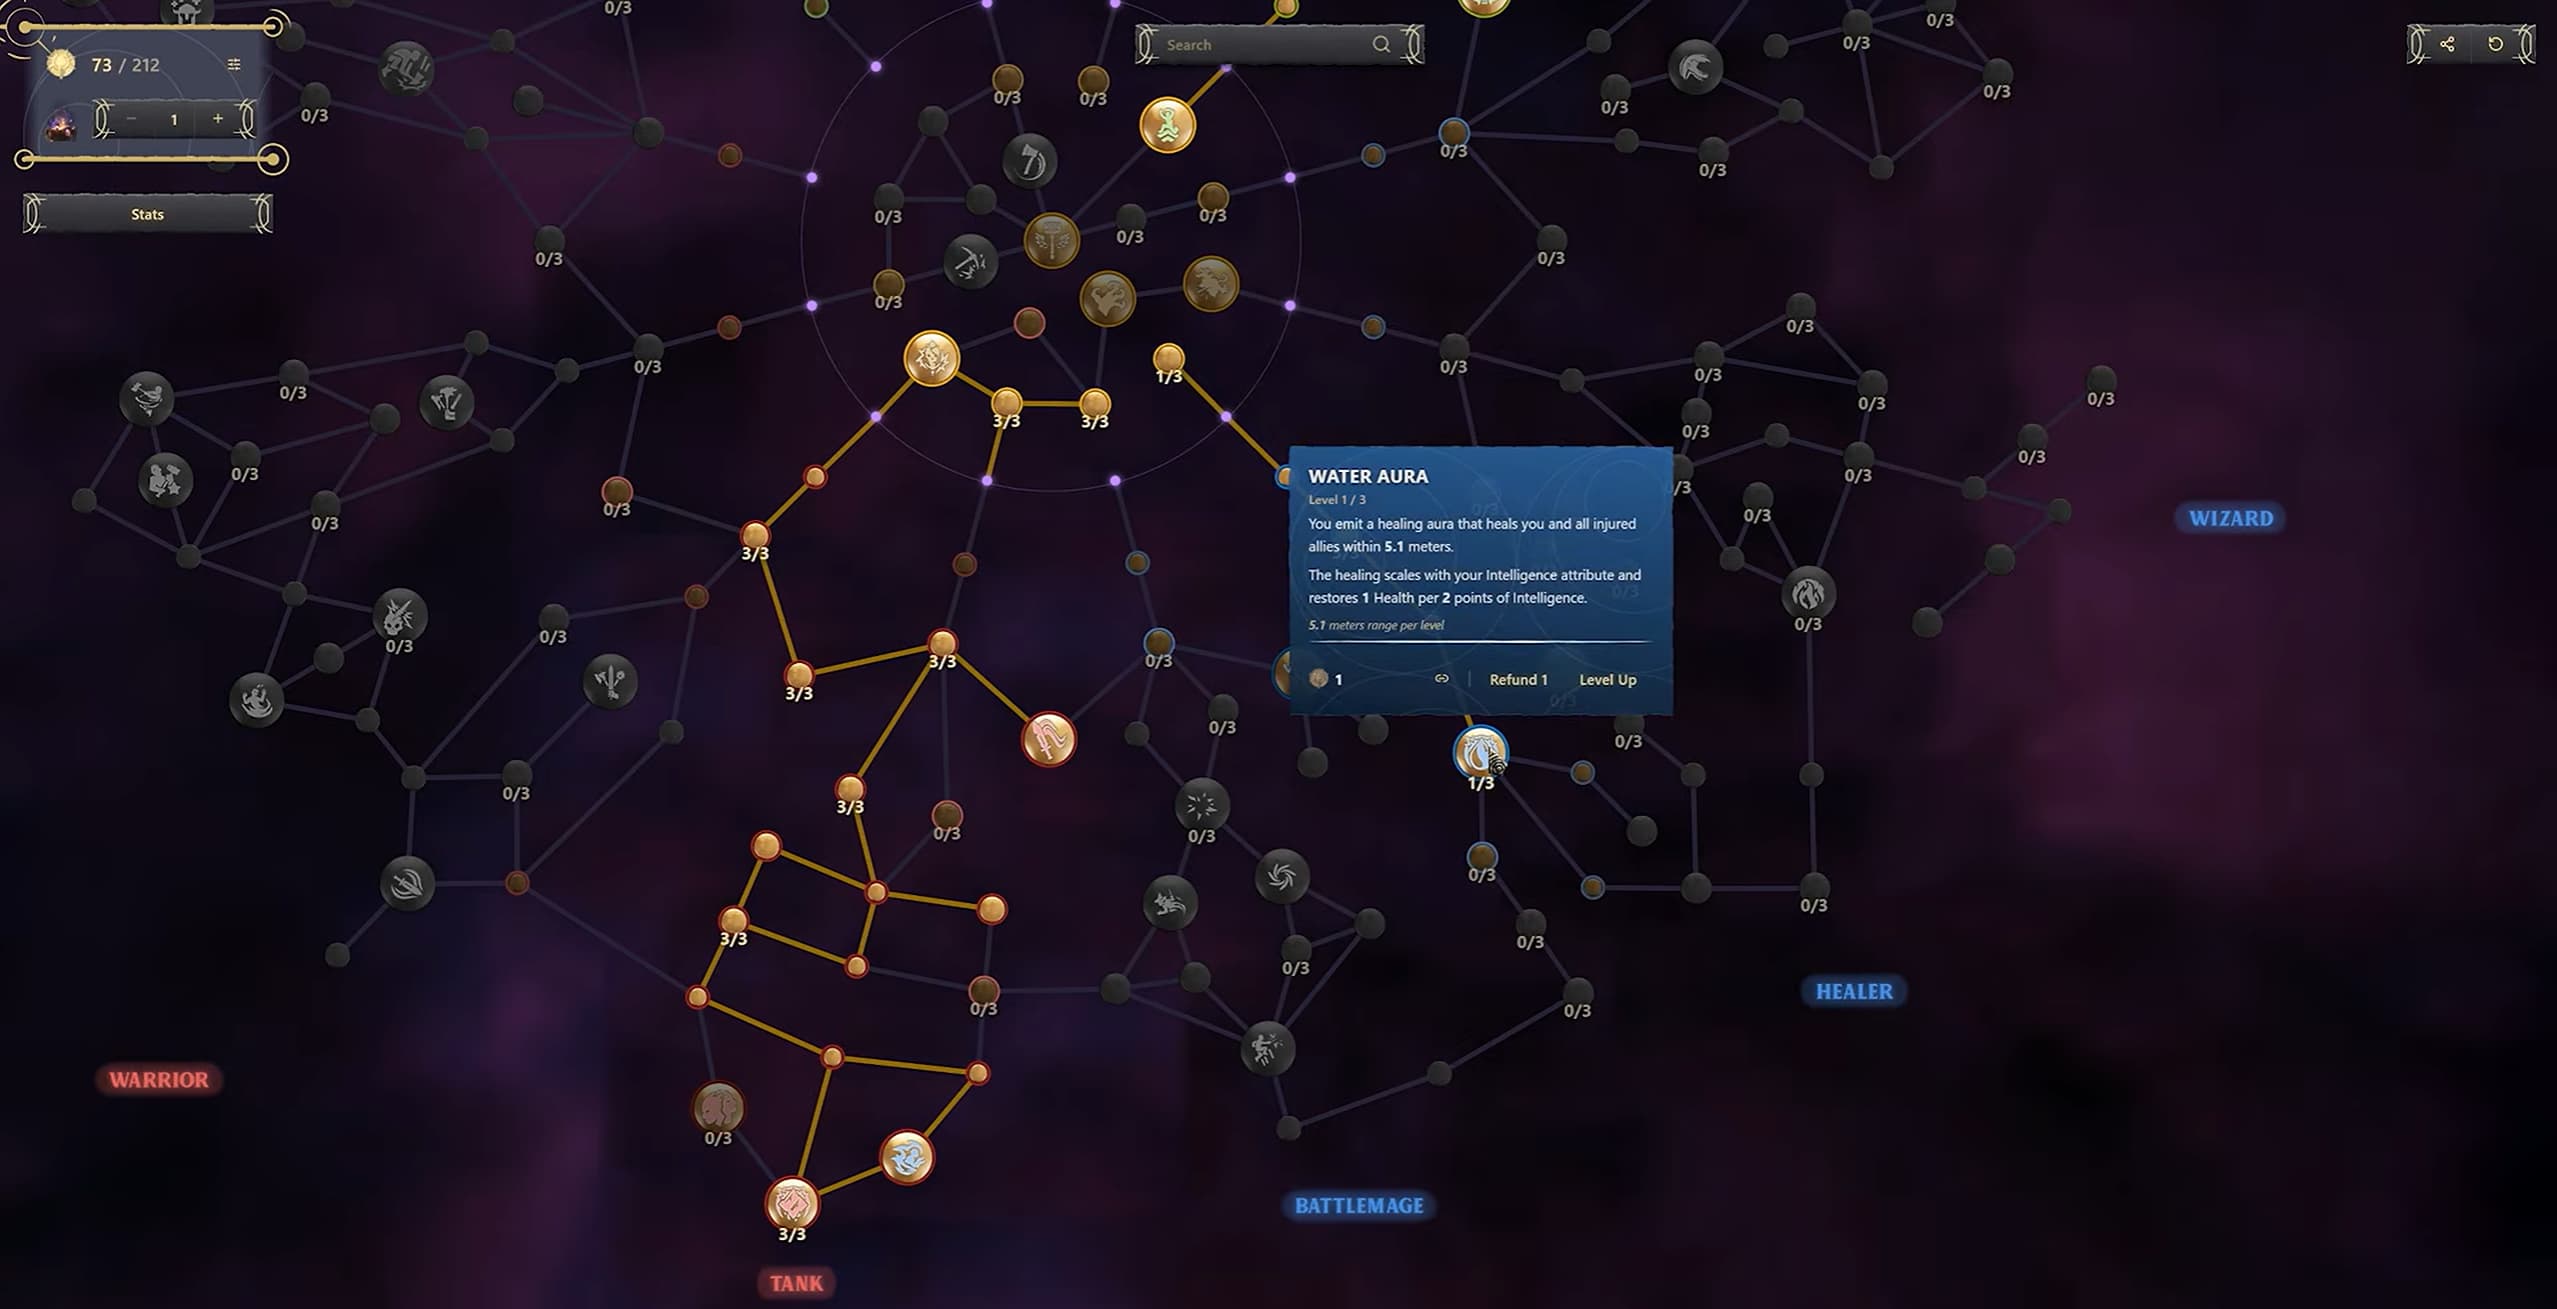
The build uses Earth Aura, Water Aura and Radiant Aura together. You do not need to choose a single aura to keep active.
Earth Aura increases physical and magical resistance for you and nearby allies. Additional ranks expand its radius, allowing teammates to benefit from farther away.
Water Aura heals you and injured allies within range, with healing that scales from Intelligence. Its additional ranks also increase range. Improve the healing itself through Healer, which strengthens healing spells and Water Aura, and Waters of Life, which increases Water Aura’s Intelligence-based healing.
For solo play, one rank in Earth Aura and Water Aura gives you their personal benefits. Extra range becomes more valuable when supporting teammates who fight farther away.
Radiant Aura deals fire damage each second to nearby Fell enemies, scaling with Intelligence. Invest in all three ranks for this aura setup, since additional ranks increase both its range and damage.
Radiant Aura specifically affects Fell enemies. It does not damage every creature simply because it is inside the Shroud, and it will not replace your weapon damage against other factions.
Take Life Essences to gain additional maximum health from Intelligence. This makes the attribute useful for your health pool as well as your healing and aura damage.
Water Aura provides ongoing recovery, but keep healing supplies available for situations where incoming damage exceeds that recovery.
Finish the Skill Tree
Once your melee foundation and auras are established, strengthen the skills that reward parrying and overpowering enemies:
Shockwave: Triggers a shockwave when you parry or overpower an enemy, pushing back nearby enemies and adding to their stun bars.
Bash: Adds Strength-scaling blunt damage when you parry.
Breach: Makes overpowered enemies take increased melee physical damage for a short period.
Vigorous Deflection: Restores stamina when you successfully parry.
Together, these make a successful parry useful for damage, crowd control and stamina recovery.
Take Athlete to gain maximum health from Strength. Alongside Life Essences, it lets two of your main attributes contribute to your health pool.
The Barbarian attribute node adds Strength based on your Flame level. This is separate from Barbarian’s Path, which supports specific two-handed weapons.
Add Slasher and Brute to support cutting and blunt melee damage. Prioritize the damage type you currently use most, then invest in the other as you develop a reliable backup weapon.
Blood Rage increases melee damage after a nearby enemy is killed with a melee weapon, making it useful during fights against groups. Heavy Handed improves your ability to fill the stun bars of blocking enemies.
You can also take Crash Down Attack for an aerial melee attack with a small blast radius. Its follow-up upgrade, Crash Down: Force, adds damage when you use it from a double jump.
Weapons, Armor and Rings
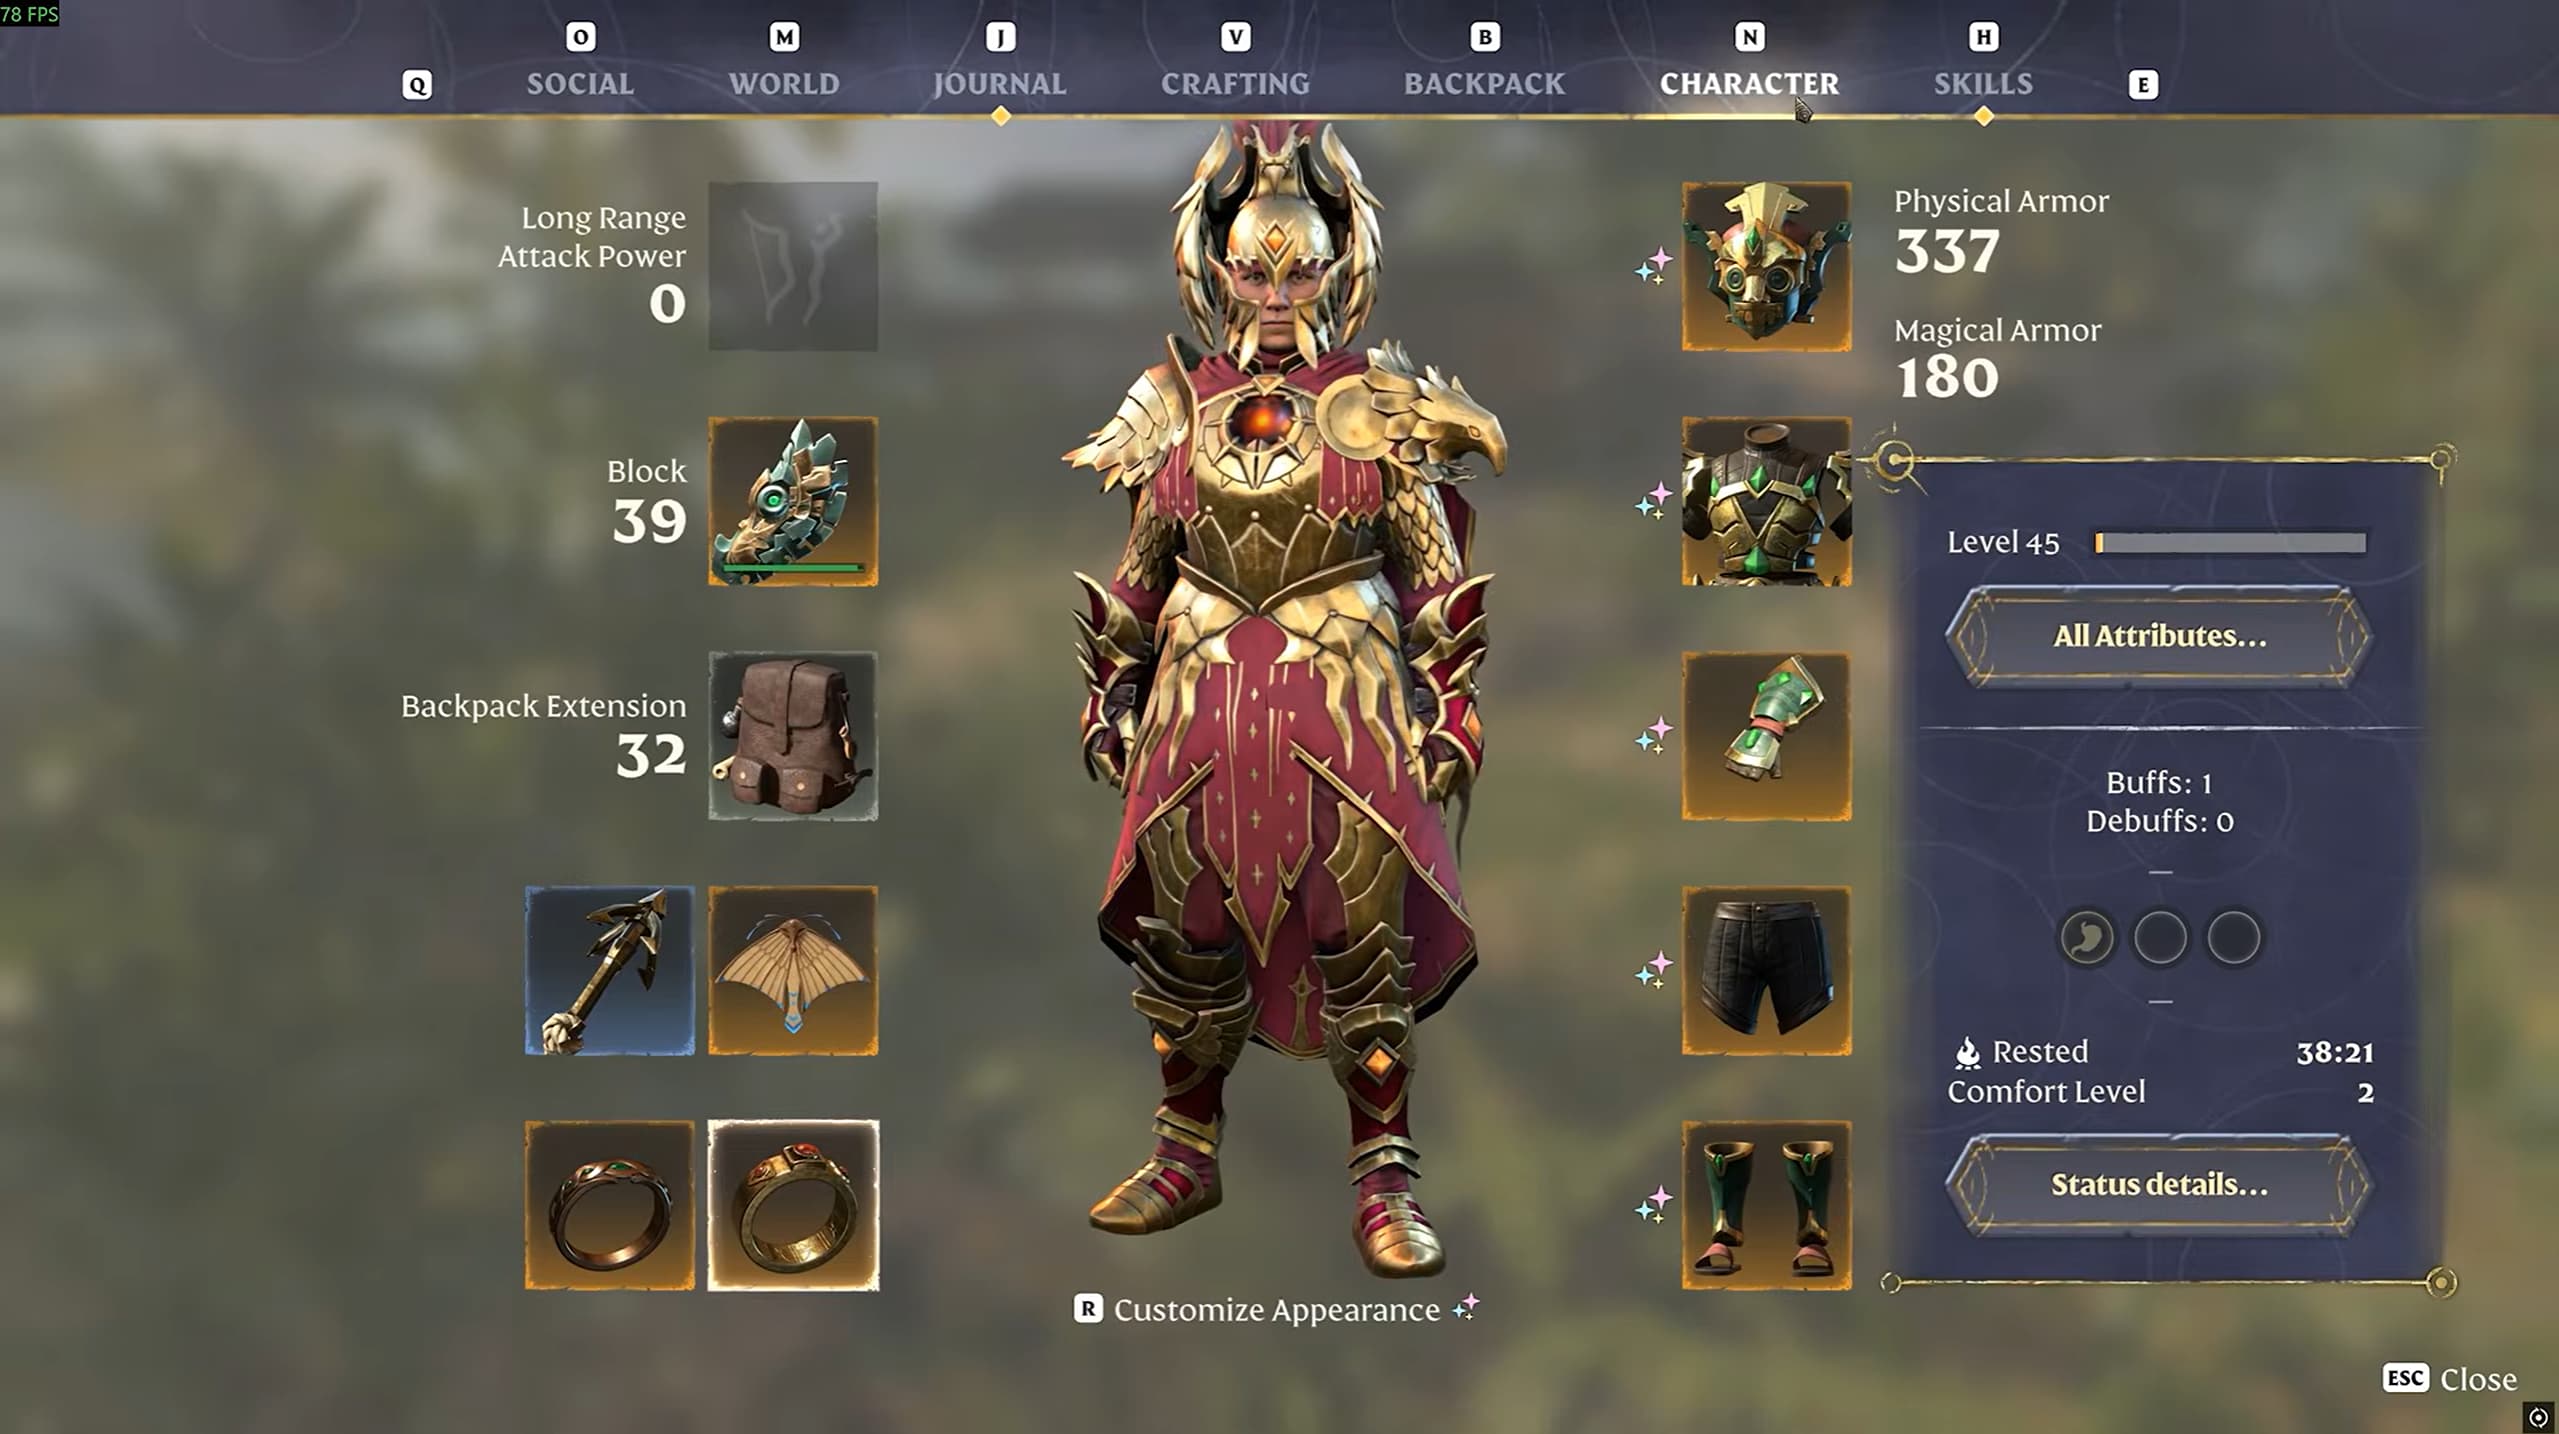
Use a one-handed weapon and shield, and carry weapons with different damage profiles.
A cutting-focused sword and a blunt-focused club give you options against different enemies. Check each weapon’s actual damage breakdown, including any elemental damage, and switch when combat feedback shows that your current attacks are being resisted.
Health leech is useful on a melee weapon because it adds recovery while you attack. Compare it alongside the weapon’s damage and available upgrade bonuses.
Your shield is an important part of the build. Keep it appropriate for the enemies you are facing and compare its blocking and parrying capabilities when choosing an upgrade.
For armor and rings, look for bonuses that support:
Maximum health and health regeneration.
Stamina and stamina regeneration.
Melee damage and critical strikes.
Parry power and Merciless Attack damage.
Skill ranks for abilities you have invested in.
A health-focused ring alongside a stamina-focused ring is a useful starting combination while leveling. Adjust the balance as your equipment and recovery improve.
Equipment skill bonuses require you to have unlocked the relevant skill with your own points. An item granting a bonus to Athlete or Battle Heal will not activate that skill by itself.
Check this before choosing an item mainly for its skill bonus. A useful stat increase can still make an item worthwhile, but an inactive skill contribution should not be counted as part of your build’s strength.
How to Play the Paladin
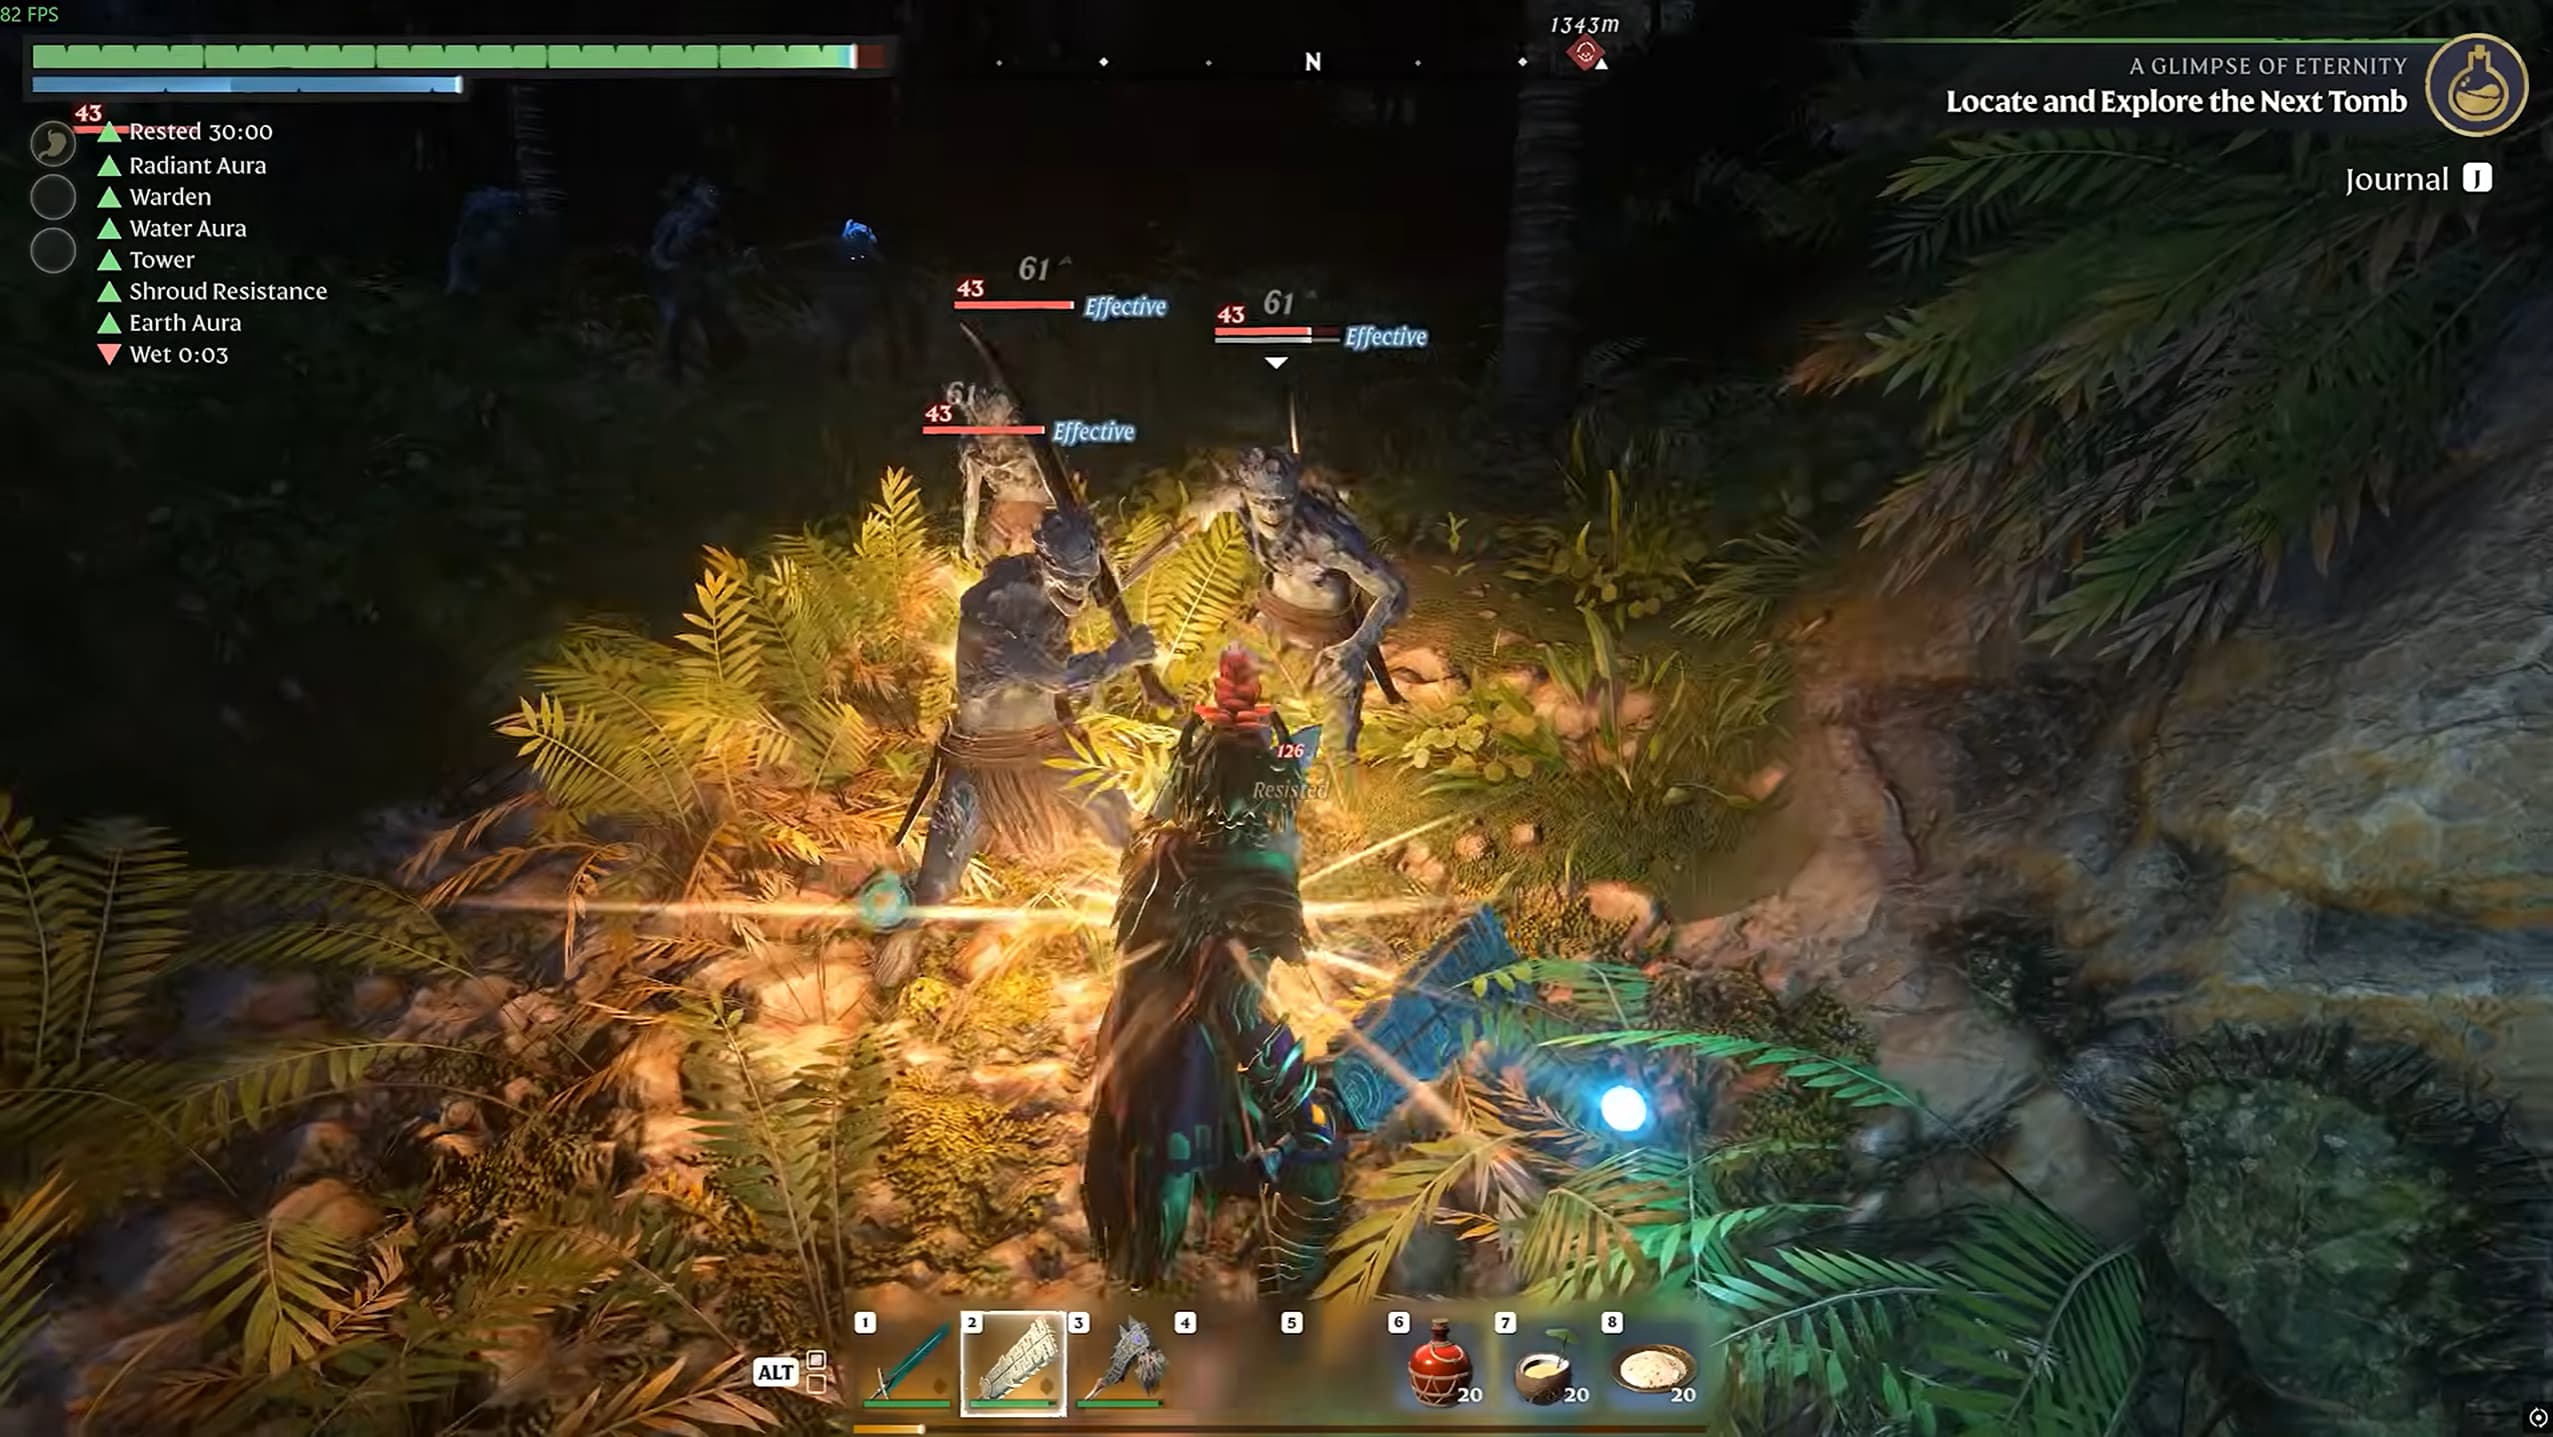
Before entering combat, eat food that supports your main attributes and refresh your Rested buff. Stamina is important even with a large health pool, since you need it for attacks, defense and movement.
Use the following approach during a fight:
Engage with your shield ready. Watch the enemy’s attacks and avoid committing to a long attack sequence before you understand its timing.
Parry suitable attacks. Successful parries help fill the enemy’s stun bar and trigger supporting skills such as Bash, Shockwave and Vigorous Deflection.
Use Merciless Attack when available. Once an enemy is overpowered, take the opening before it recovers.
Spend Focus on your weapon’s special ability. Use it when you can land the attack without taking unnecessary damage.
Reposition when pressure builds. Create space, recover stamina and let Water Aura contribute healing before committing again.
Keep attacking between defensive openings. Melee critical strikes can trigger Battle Heal, and health leech provides additional recovery when your weapon has it.
Against Fell enemies, Radiant Aura adds damage while they remain close. Against other enemies, rely on your weapon, parries and special ability.
The build can absorb mistakes, but standing in every attack will still overwhelm your recovery. Dodge dangerous attacks and avoid being surrounded when you cannot control the group.
Solo and Co-op Options
For solo play, prioritize your personal damage, health and stamina recovery. Keep Earth Aura and Water Aura at their initial ranks until you have a reason to increase their range, and leave ally-revival skills for a co-op setup.
When playing with friends, additional aura range helps you support allies without forcing everyone to stand beside you. You can also invest in:
Saviour: Reduces the time needed to revive an ally.
Healing Revive: Brings revived allies back with more health.
Martyr: Heals nearby allies and temporarily increases their maximum health when an enemy kills you.
Nemesis: Increases the attention you draw from enemies, helping you take a more deliberate tank role.
Blink is another flexible choice. It replaces your dodge roll with a short teleport, while Emergency Blink lets you escape a stunned state. Blink Attack adds an explosion when you blink into an enemy, but also introduces a mana cost.
Spend remaining points according to what you need most: more stamina, stronger damage, wider support coverage or exploration utility.