menu
MobalyticsUse your favourite features in-game with our Desktop App
Gamebase Guide

Fireball Battlemage Build - Enshrouded 1.0

Updated on Oct 19, 2026
Oct 19, 2026

Overview

This Enshrouded 1.0 Fireball Battlemage build combines steady wand damage with powerful Fireball casts from a staff. It is designed for early progression, using mobility, crowd control and healing on kills to help you survive while switching between weapons.

This guide covers the core skills, weapon bonuses and equipment priorities that bring the setup together, along with combat tips for groups and bosses.

Thanks to Dopamine Hunter for the build this guide is based on.

For useful combat shortcuts, equipment upgrade tips and exploration advice, check out our Enshrouded Tips and Tricks guide.

More Enshrouded Builds

Find a build for your playstyle

Fireball Battlemage Skills and Attributes

Work towards the skills below as you earn points, taking the connecting nodes needed to reach them. Wand damage and Intelligence strengthen your offense, while mobility and recovery help you stay alive long enough to keep casting.

Wand Mastery and Sting

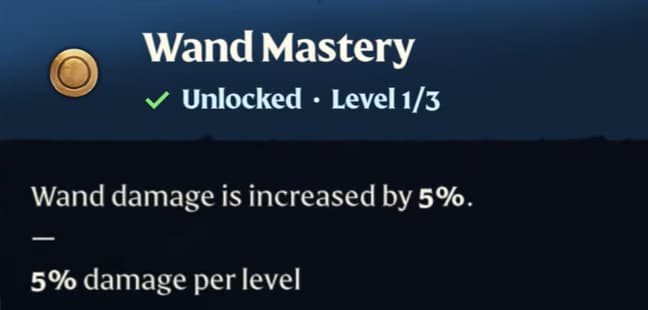
Wand Mastery increases your wand damage with each skill level. Since your wand handles much of your regular attacking, this improves your damage throughout an encounter.
Sting increases repeated wand damage, rewarding continued attacks between Fireball casts. Together, these skills make your wand a reliable source of damage while you conserve mana.

Wand Specialization and Aerial Wand Attack

Wand Specialization unlocks your wand’s special ability. Build Focus by attacking, then use the ability to pull nearby ordinary enemies together and damage them. Grouping enemies creates an opening for Fireball to hit several targets.
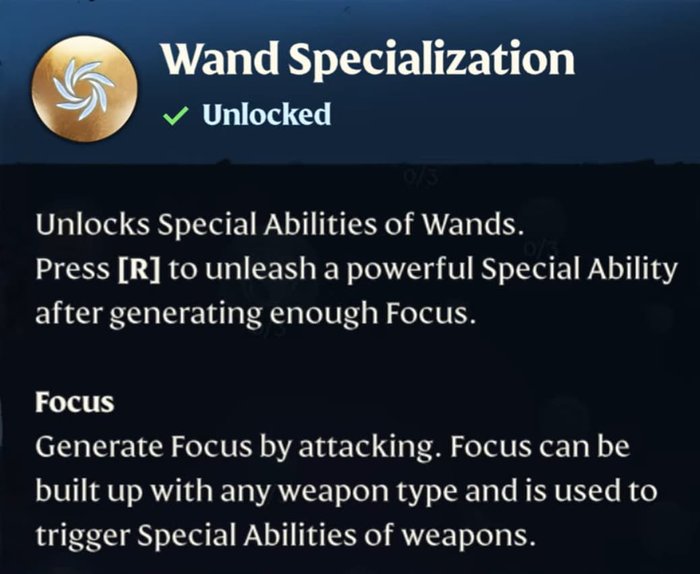
Focus and mana are separate resources: building your special ability does not automatically refill your spellcasting mana.

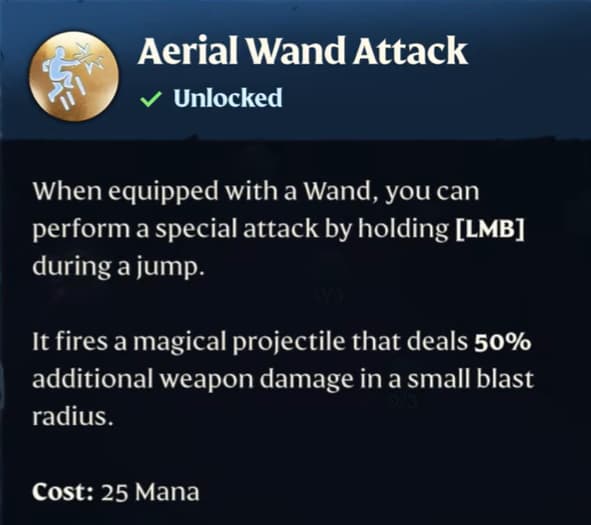
Aerial Wand Attack lets you hold the attack input during a jump to fire a magical projectile with a small blast radius. Use it against clustered enemies when you have room to jump and land safely.

This attack costs mana, so account for it before spending the resources you need for Fireball.
Blink and Double Jump

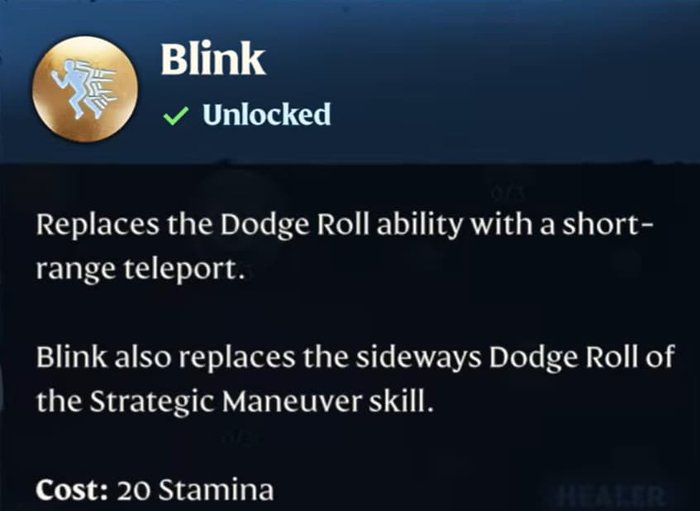
Blink replaces your dodge roll with a short teleport. Use it to escape an incoming attack, create distance and reposition for your next spell.
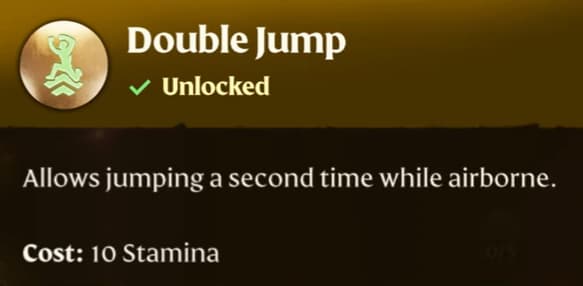
Double Jump adds a second jump while airborne. Alongside its exploration benefits, it helps you adjust your position and line up Aerial Wand Attack.

Keep moving between attacks, but leave yourself enough stamina to escape when an enemy closes the gap.
Intelligence and Life Burst

Intelligence increases magic damage, supporting both your wand and Fireball. It also improves the healing provided by Life Burst.
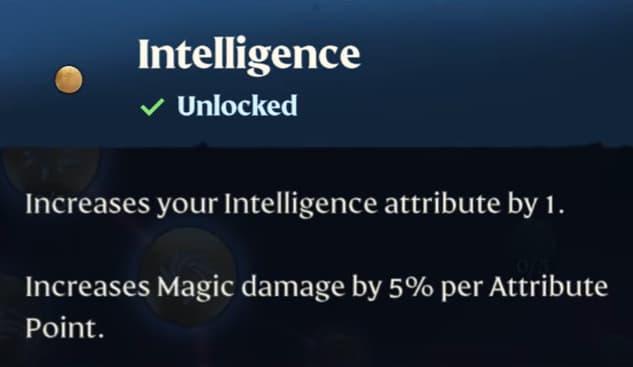
Life Burst triggers when you defeat an enemy with a magic weapon, restoring health to players within 15 meters of the defeated target. Its healing scales with your Intelligence.
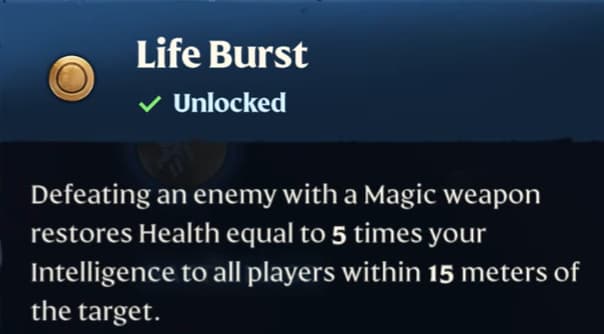
This makes it particularly useful when clearing groups. During a boss fight without additional enemies to kill, keep healing supplies available instead of relying on Life Burst.

Mana Recovery

Unity gives damaging wand hits a chance to restore mana. It supports the transition from regular wand attacks into your next Fireball cast.

Ordinary wand attacks cost no mana, but mana recovery from those hits depends on effects such as Unity. Mana regeneration on equipment also helps you recover between spellcasts.

When mana is low, return to regular wand attacks and avoid spending it on Aerial Wand Attack if you are saving for Fireball.

Fireball Battlemage Weapons

Use a wand for regular attacks and a staff for Fireball. Keep both easy to access so you can change weapons as an opening appears.

Wand Priorities

Look for a fire wand with Multishot, then consider additional damage bonuses.

  • Multishot: Adds an extra projectile to supported wand attacks, improving your regular damage.
  • Fire damage: Fits the build’s elemental focus and can trigger Gem of Burning when the gem is slotted into the weapon.
  • Critical strike damage: Makes your critical hits more rewarding.

Compare the wand’s damage, level and traits together. A useful combination of bonuses can make a weapon worth keeping, but continue checking it against stronger drops as you progress.

A wand with another element can serve as a temporary option while you look for a suitable fire wand. Pair your wand with a shield so you can block or parry when enemies move into close range.

Gem of Burning is an optional addition if you have it available. It applies burning when you deal fire damage, adding damage over time to the weapon’s attacks.

For a broader look at your starting options, see our Enshrouded Early Game Weapons guide.

Staff and Fireball

Choose a staff with bonuses that support your Fireball damage, especially fire damage and critical strike damage.

Staff of Guidance is one suitable example because its enhancements include fire and critical bonuses. Use another appropriate staff as you progress if it offers better damage or is what you currently have available.

Make sure Fireball is selected and that you have the spell charges it requires. Ordinary Fireball casts consume both mana and charges, so check your supplies before heading into a longer encounter.

Save your staff casts for moments when you have enough time to finish them safely. Against a boss, this usually means attacking during its recovery or after creating enough distance.

Armor and Equipment Priorities

Choose equipment that improves your magic damage while giving you enough health and recovery to survive mistakes.

Look for these bonuses as upgrades become available:

  • Intelligence: Supports magic damage and Life Burst healing.
  • Wand damage: Improves your main source of regular attacks.
  • Fire damage: Supports the fire-focused parts of your setup.
  • Mana regeneration: Helps you recover for subsequent Fireball casts.
  • Health or Constitution: Gives you more room to survive incoming attacks.
  • Relevant skill ranks: Bonuses to skills such as Wand Mastery, or Arcane Deflection if you have invested in it and use parries.

Mix useful pieces as you progress. If you are dying before you can reposition, improve your protection and health before adding more damage.

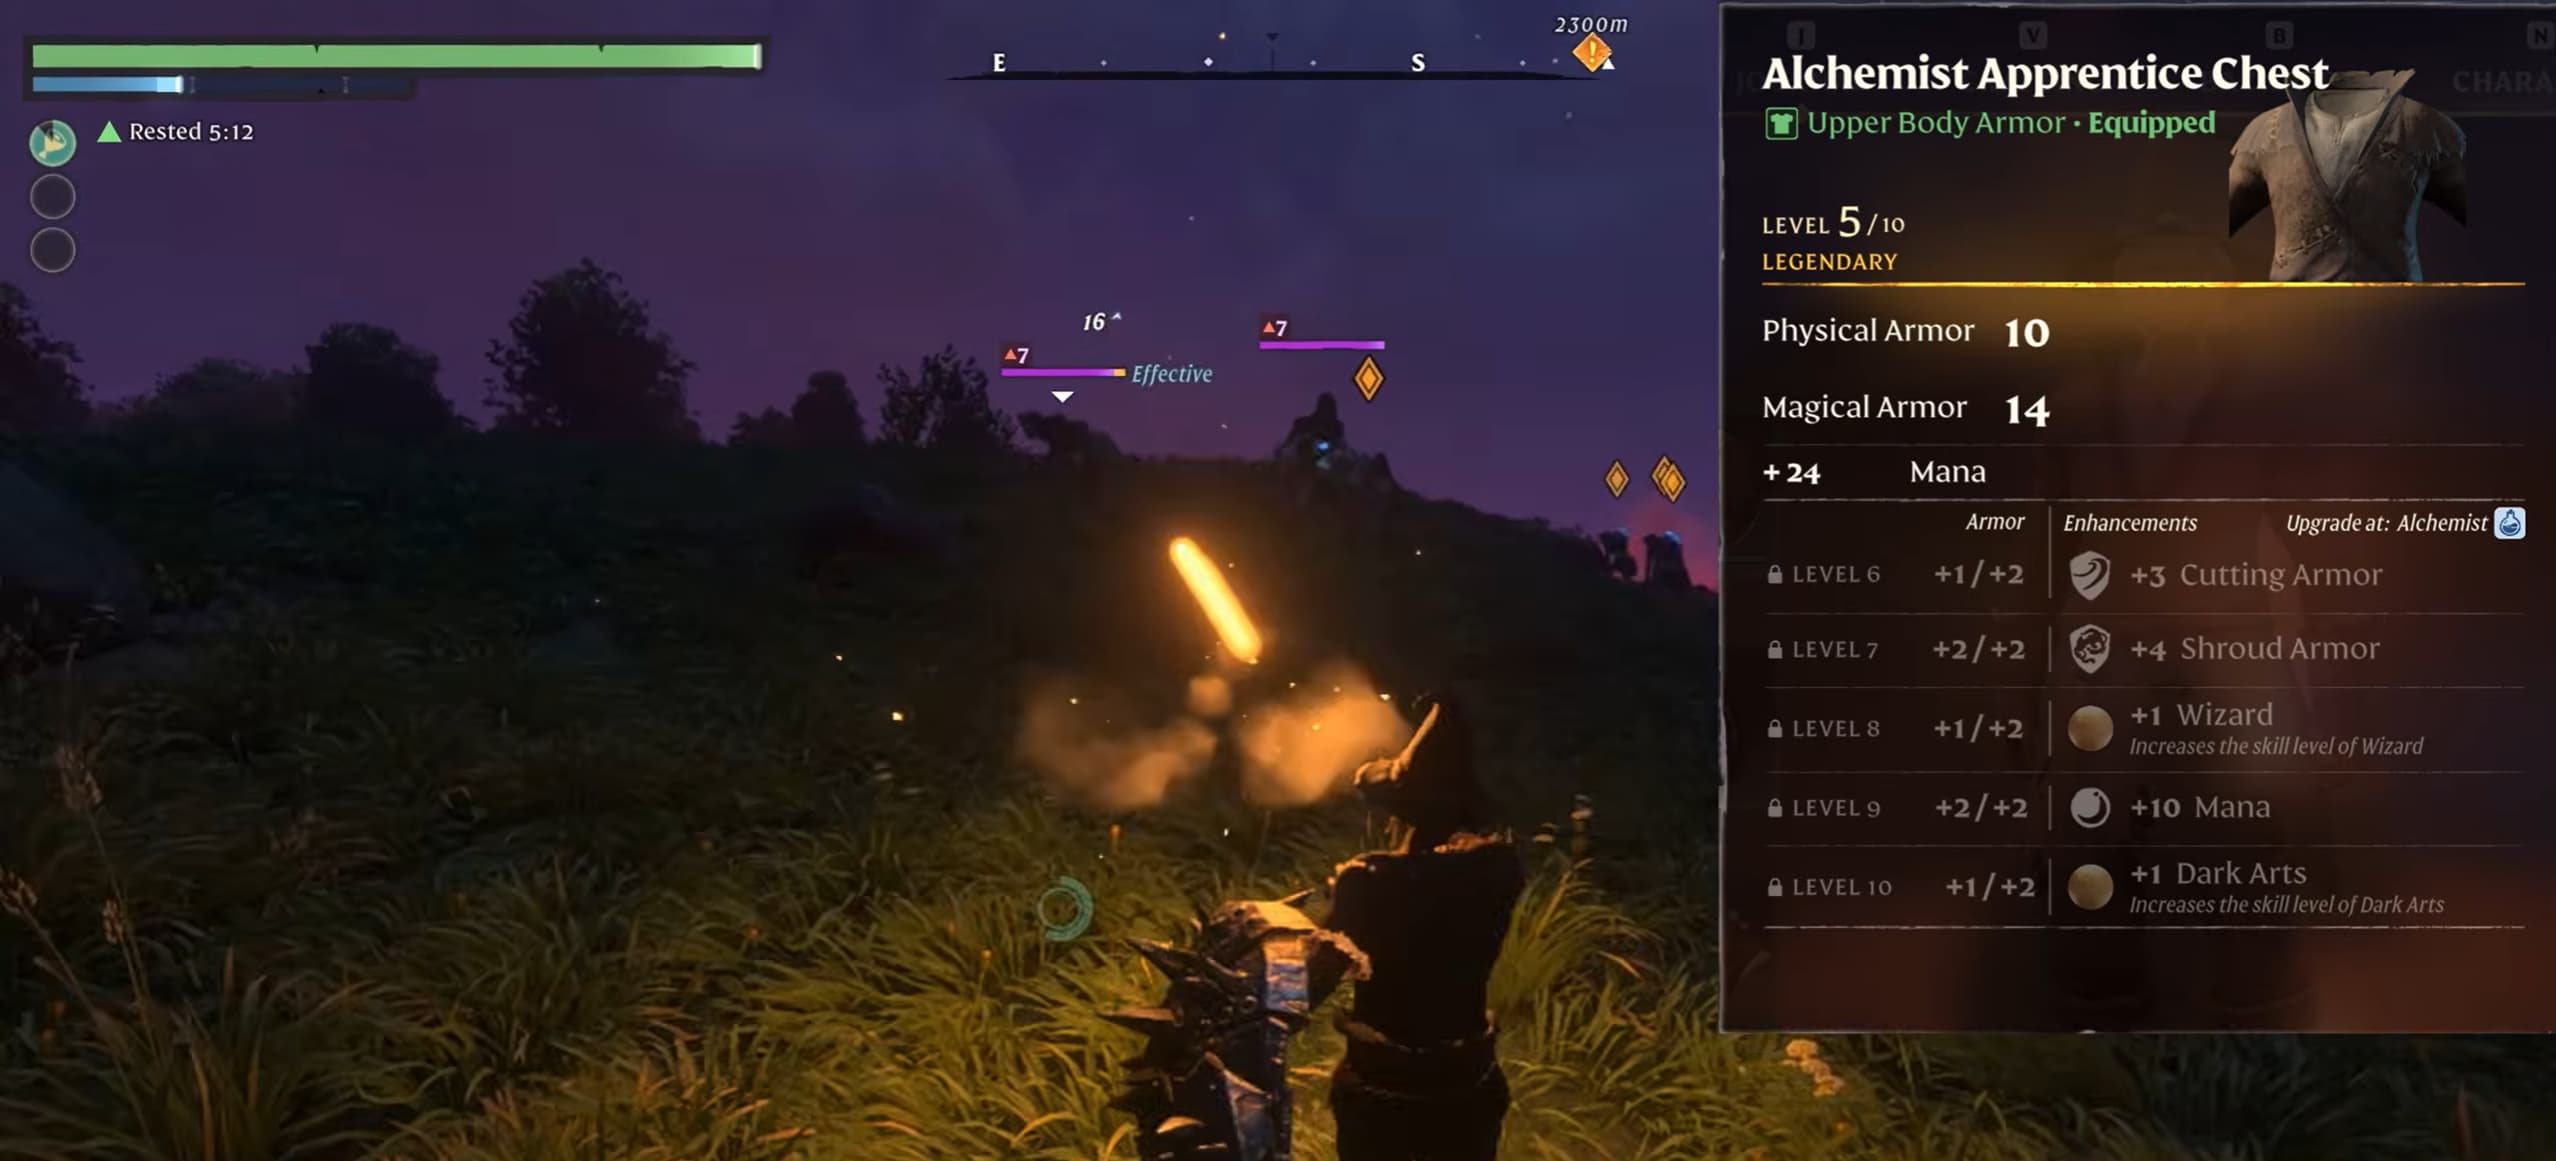
For help rescuing the Alchemist and developing your early crafting options, visit our Enshrouded Beginner Guide.

How to Play the Fireball Battlemage

Use your wand to maintain pressure and switch to Fireball when you can land a valuable cast safely.

  1. Attack with your wand to deal steady damage, build Focus and give Unity opportunities to restore mana.
  2. Control groups with your wand’s special ability once Focus is ready, bringing ordinary enemies together for follow-up damage.
  3. Reposition with Blink or Double Jump when enemies close in. Use Aerial Wand Attack when its area damage is worth the mana.
  4. Switch to your staff and cast Fireball when enemies are grouped or a boss leaves a clear opening.
  5. Return to your wand and keep moving while you recover resources. Defeating nearby enemies with magic can also trigger Life Burst healing.

If you already have enough mana and a safe opening, you can start a fight with Fireball. There is no need to wait for a full Focus bar before casting a spell.

Against bosses, watch for attacks that leave them recovering. Move out of danger, cast during that opening, then return to your wand when you need a quicker attack or more mana. Avoid committing to another Fireball when the boss is already preparing its next attack.

Video

Table of Contents

See More

Fireball Battlemage Build - Enshrouded 1.0
Updated on Oct 19, 2026
Enshrouded 1.0 Builds
Updated on Oct 19, 2026
10 Tips and Tricks in Enshrouded 1.0
Updated on Oct 18, 2026
Enshrouded 1.0: Best Early Game Weapons
Updated on Oct 18, 2026
Enshrouded 1.0: Beginner Guide
Updated on Oct 18, 2026

Like our guides?

Add Mobalytics as a preferred source on Google!