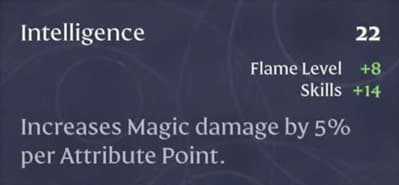
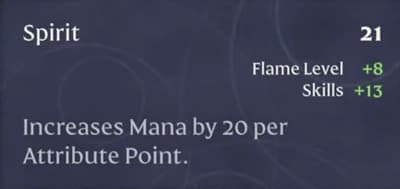
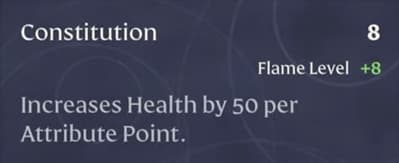
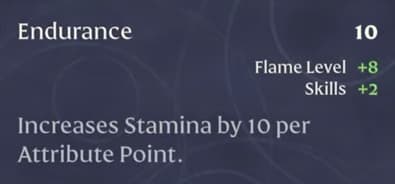
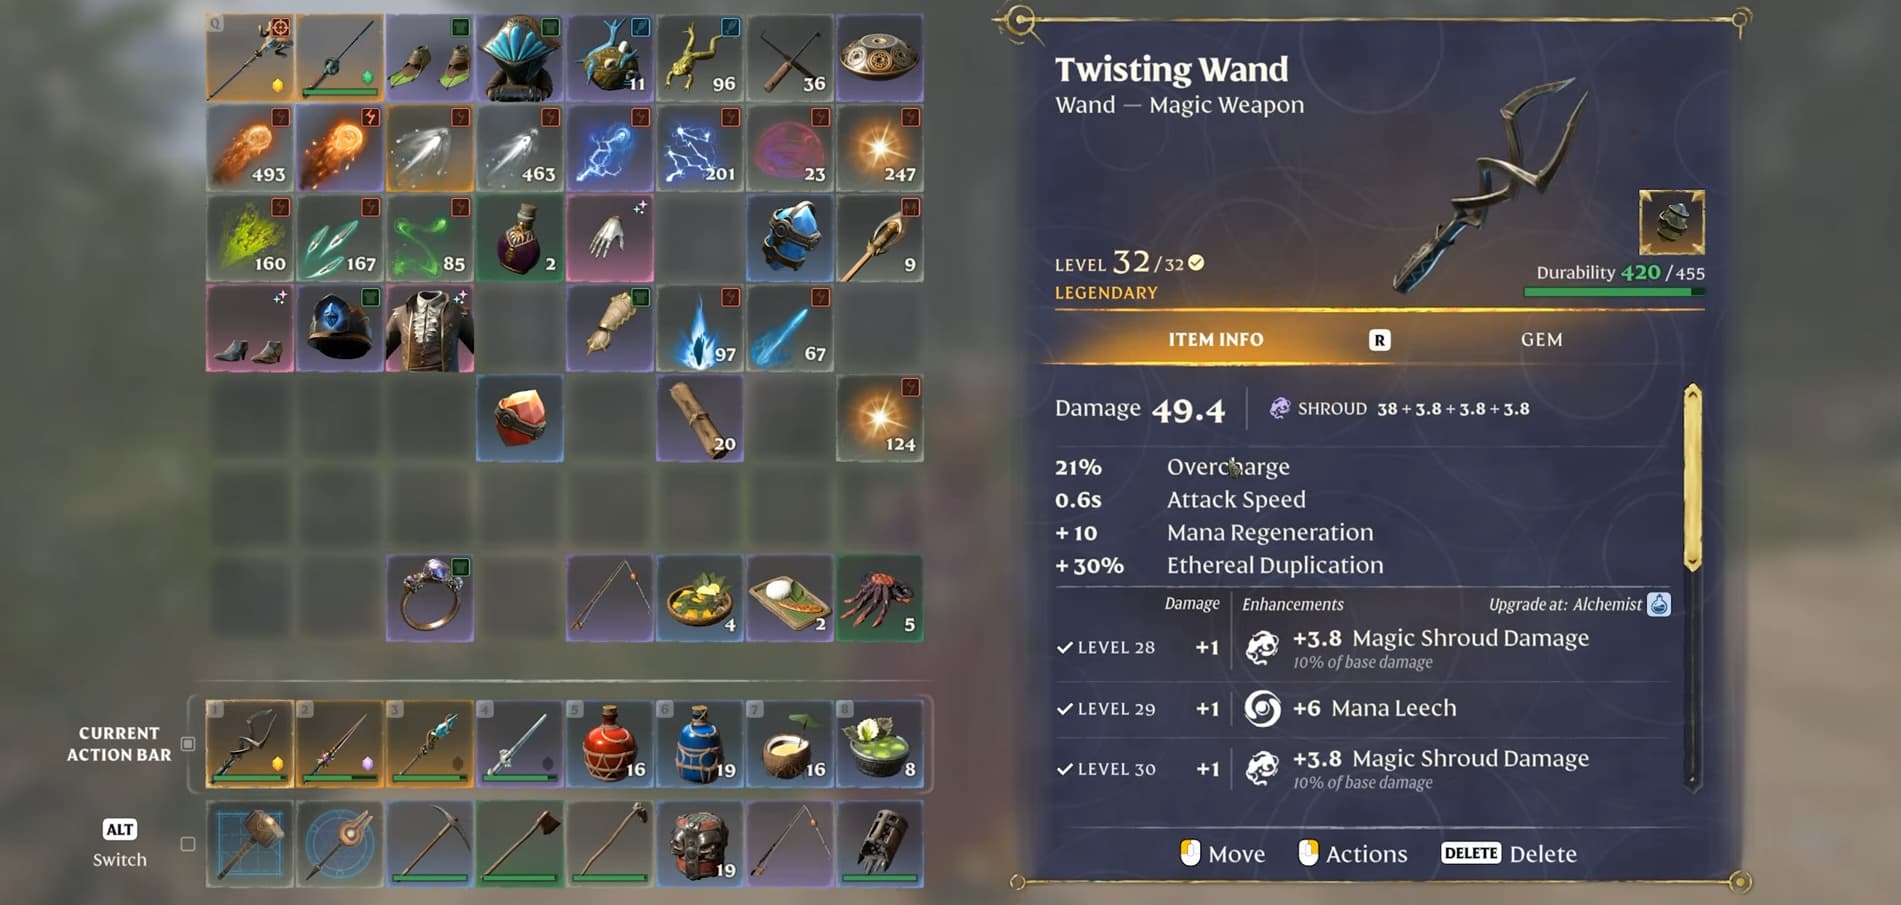
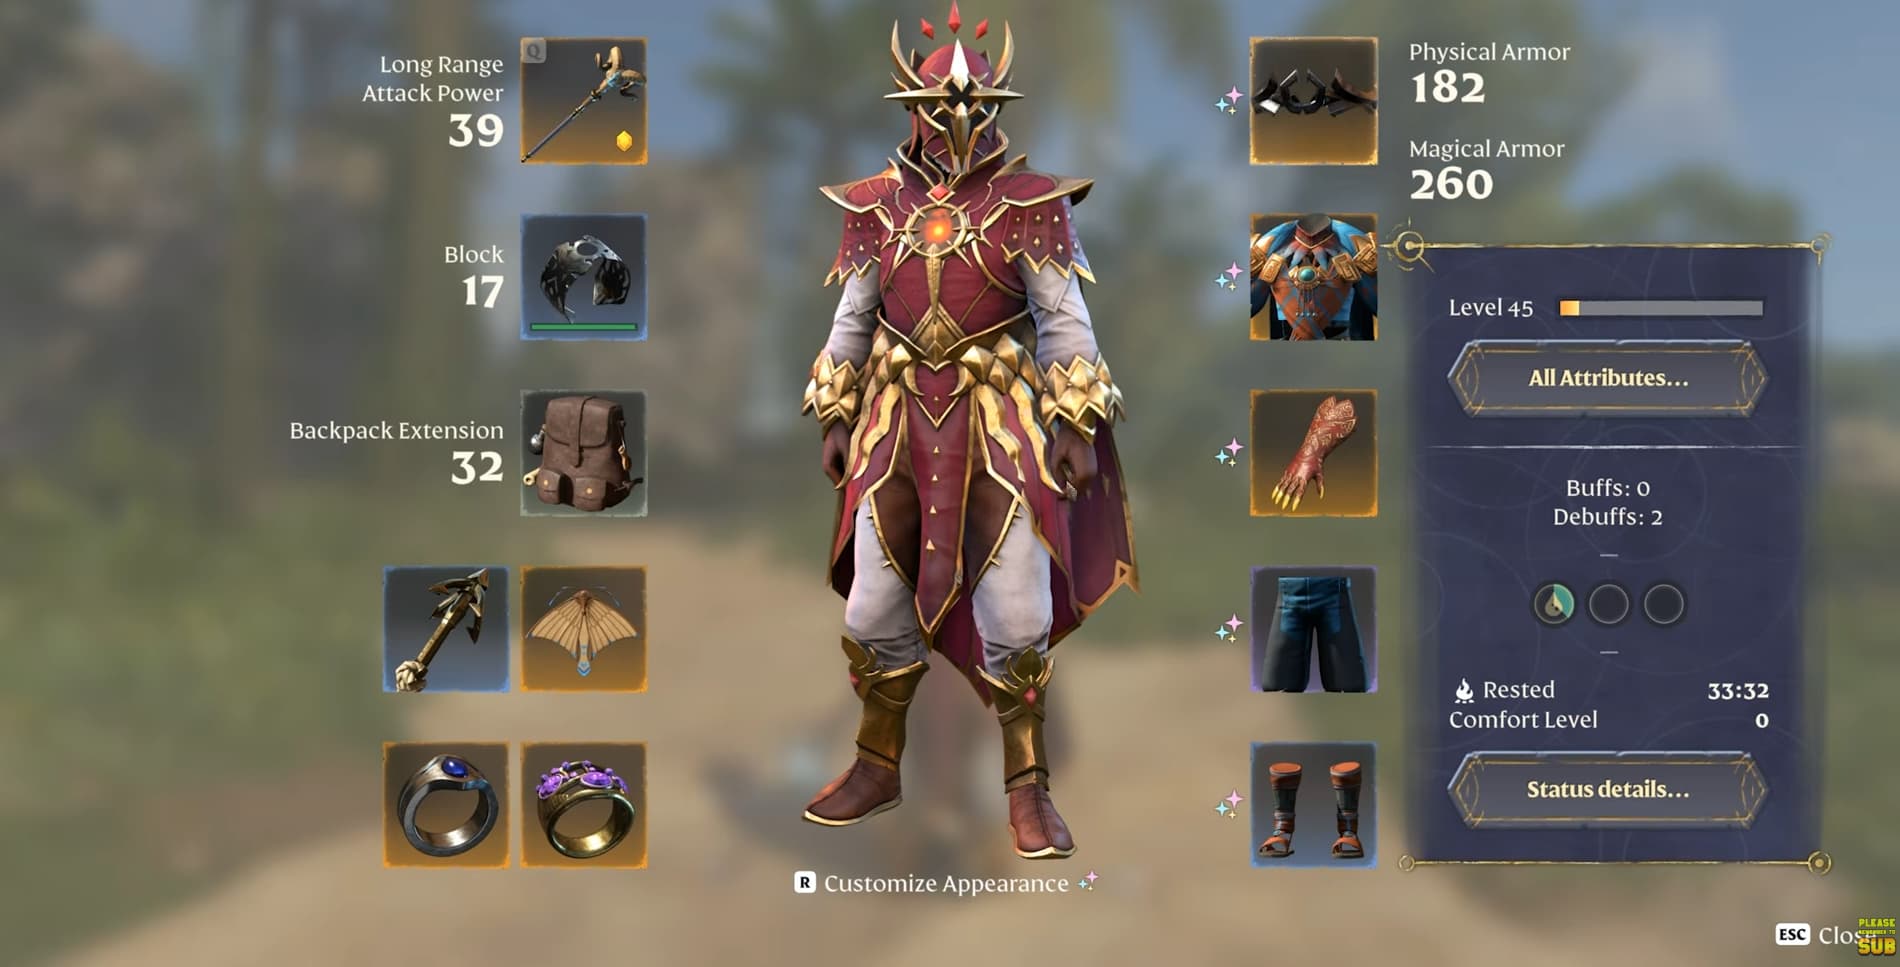
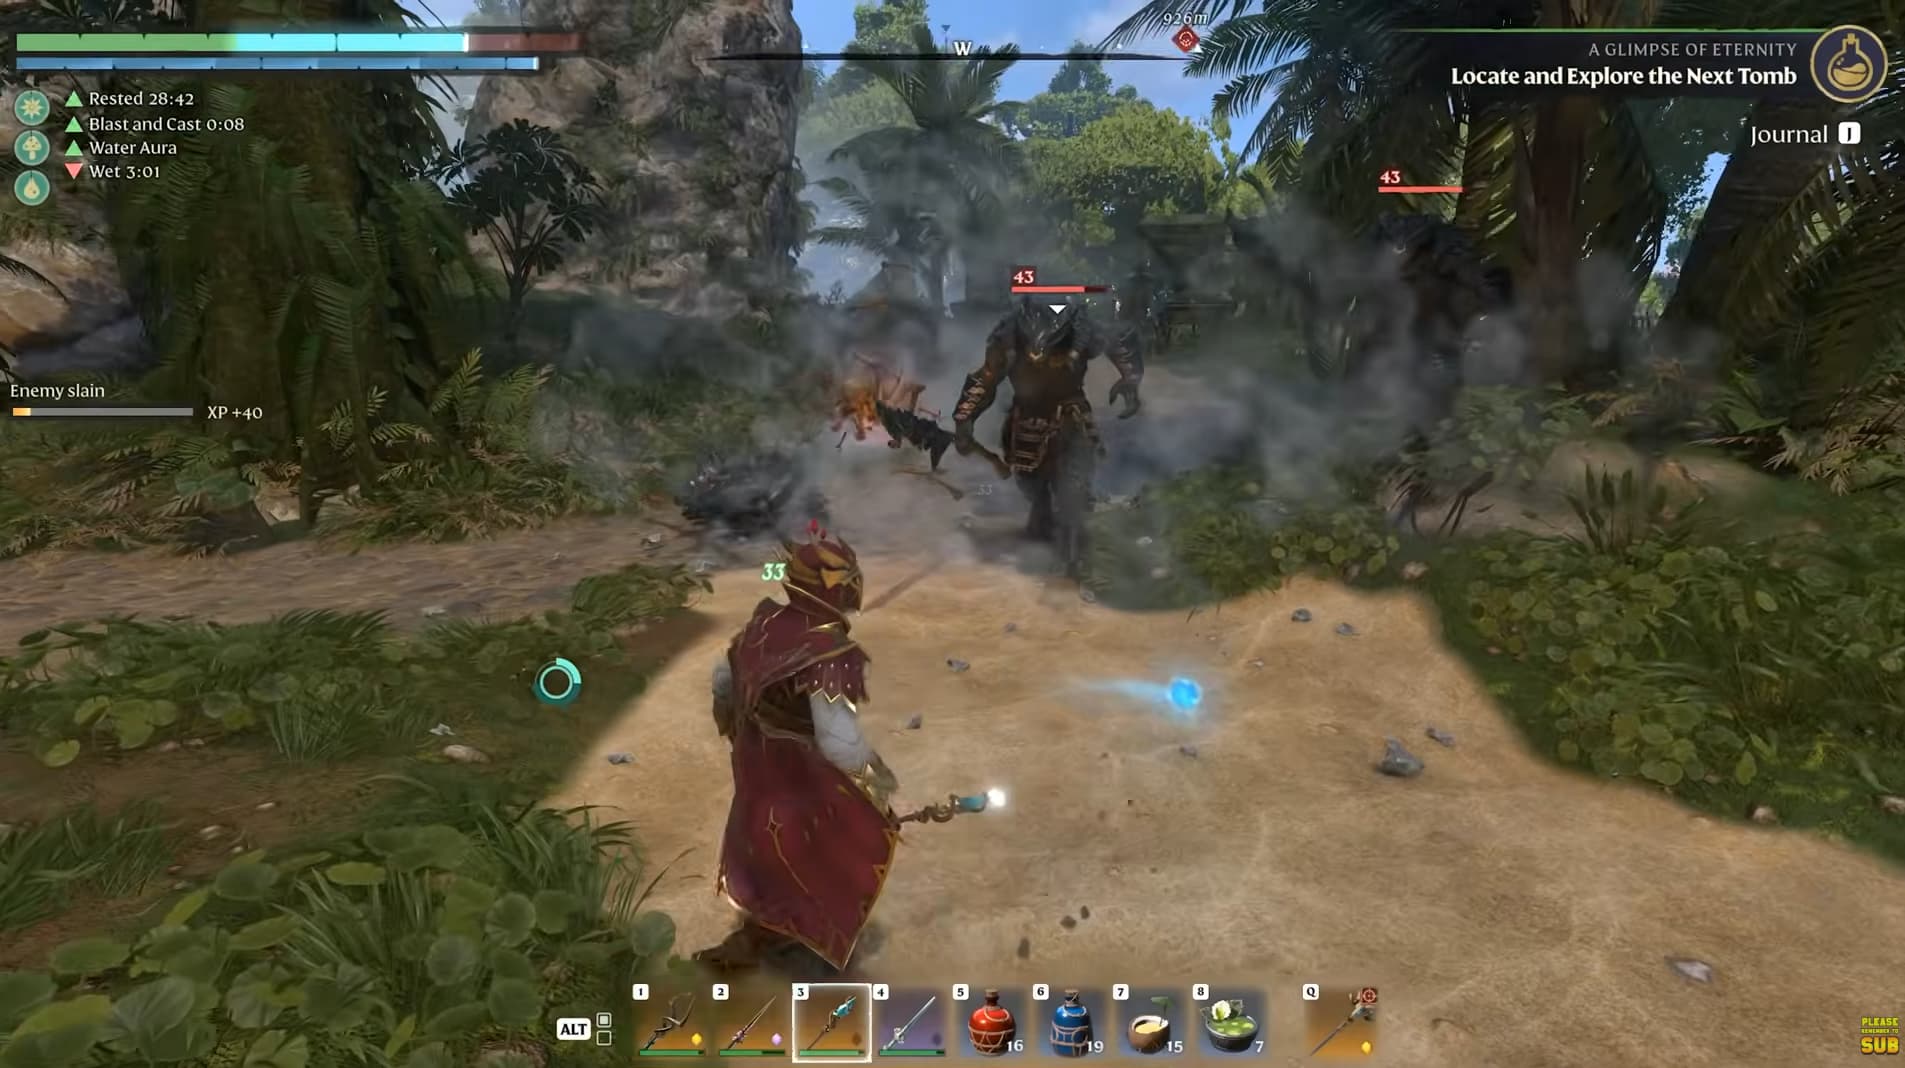
Once your wand attacks and basic healing are established, develop the resource recovery and staff skills that support a broader spell selection.
Bloodletting and Good Metabolism
Bloodletting gives spell critical hits a chance to spawn resource orbs. Collecting these can restore health, mana or stamina, helping you recover while continuing to fight.
Pair it with Good Metabolism, which increases the resources restored by orbs and improves health and mana potions.
Good Metabolism can be useful before Bloodletting is fully developed because its potion benefit is available independently. Prioritize it earlier if you frequently need consumables to stay alive or keep casting.
The combination becomes more valuable as you improve your spell critical chance. You still need to collect the orbs, so move towards them during safe openings instead of chasing them through incoming attacks.
Staff Casting and Mana Management
Invest in reduced spell charge time, staff damage and additional Spirit as you begin using your staff more regularly. Faster charging makes it easier to fit a spell into the gaps between enemy attacks.
Blast and Cast is an optional choice for players who regularly alternate weapons. A wand critical hit strengthens your next staff attack within a limited window. Take it if you can make consistent use of that opening; it is less valuable if you mostly stay on one weapon.
The skill that restores mana at the cost of health is another optional investment. Its trade-off matters on a fragile character, so avoid relying on it until your health and healing can support the loss.
Shroud Utility and Summons
The mid-game route also includes utility for longer trips through the Shroud. Shared Misery and nearby resistance nodes lead towards an effect that can restore Shroud time when you deal damage with magic weapons.
Treat this as extra breathing room while exploring. Continue watching your remaining time and plan a route out.
The summon-on-kill skill adds a chance to create a friendly skull companion after a magic-weapon kill. Additional summon investment is a flexible option once your main damage and recovery needs are covered.