Our Ferocious Horn Den expedition guide covers all three bosses and the totem encounter in Aion 2’s Conquest mode. Learn when to stack or spread, how to handle the summoned enemies and how to survive Ferocious Horn Nuakum’s dangerous interception mechanics.
A huge thank you to NoBS Game Guides for sharing his Ferocious Horn Den encounter tips!
First Boss: Watchdog Kwapo
Collect the Lightning Orbs and Jump the Wave
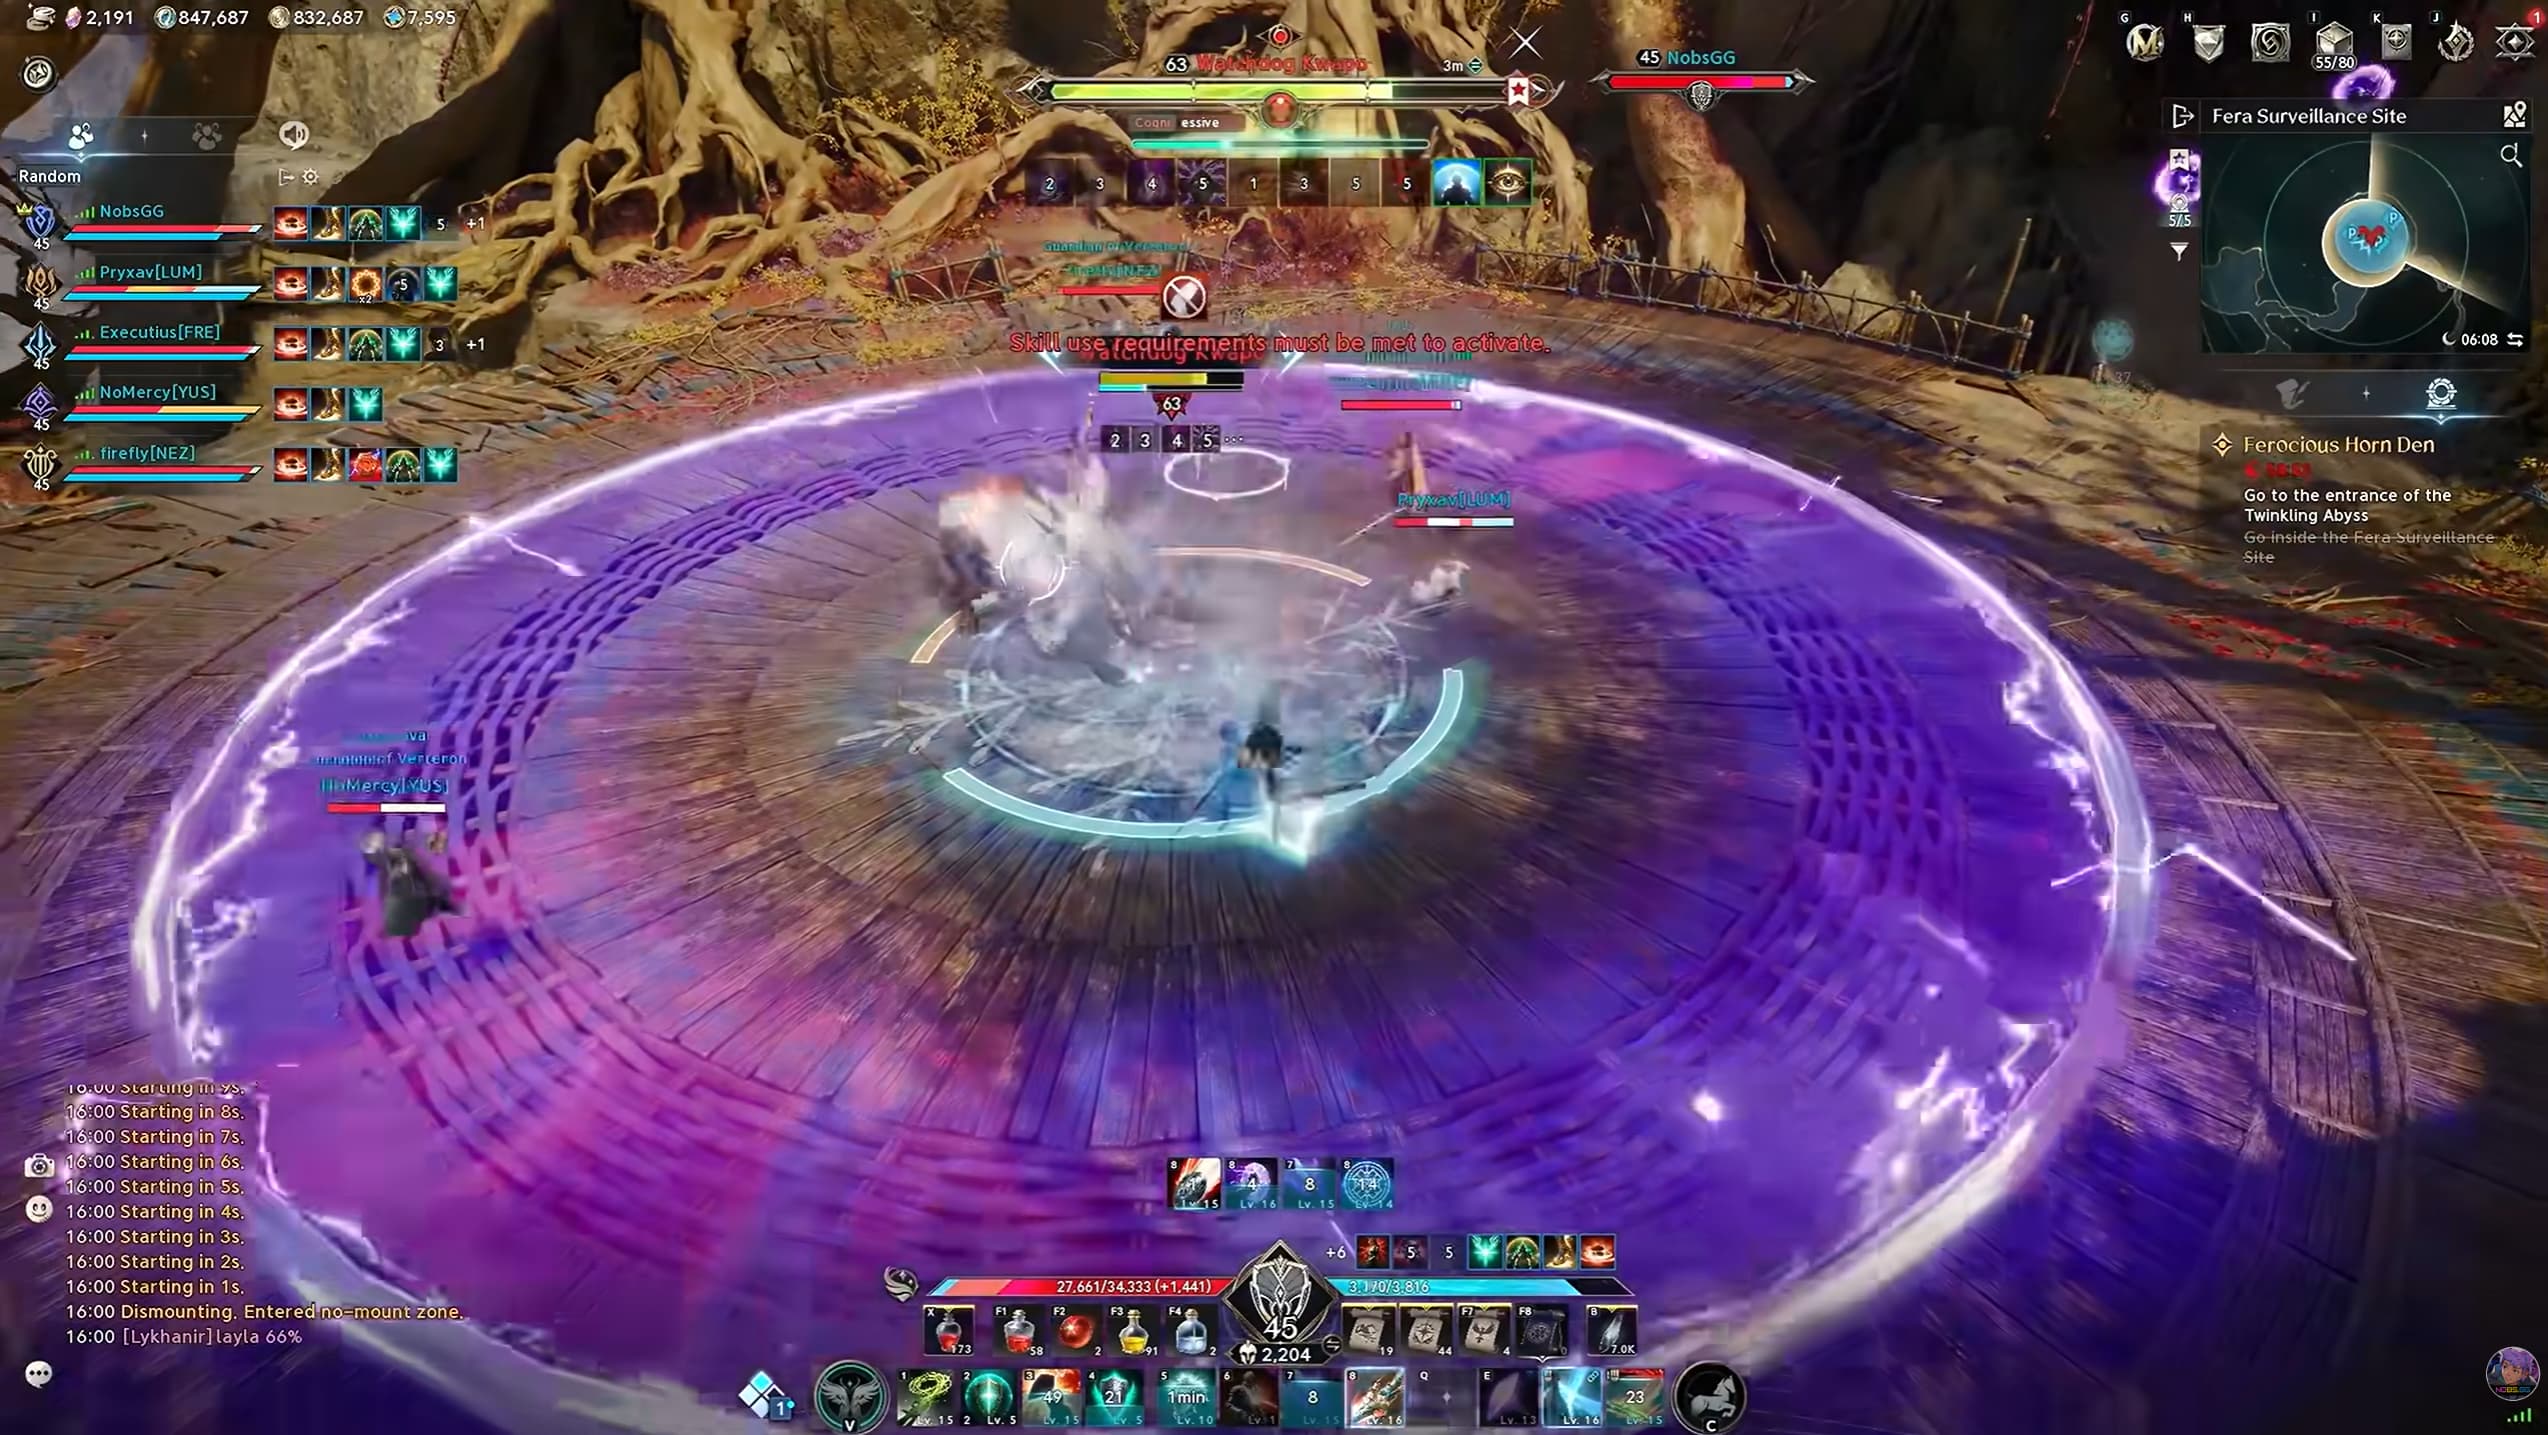
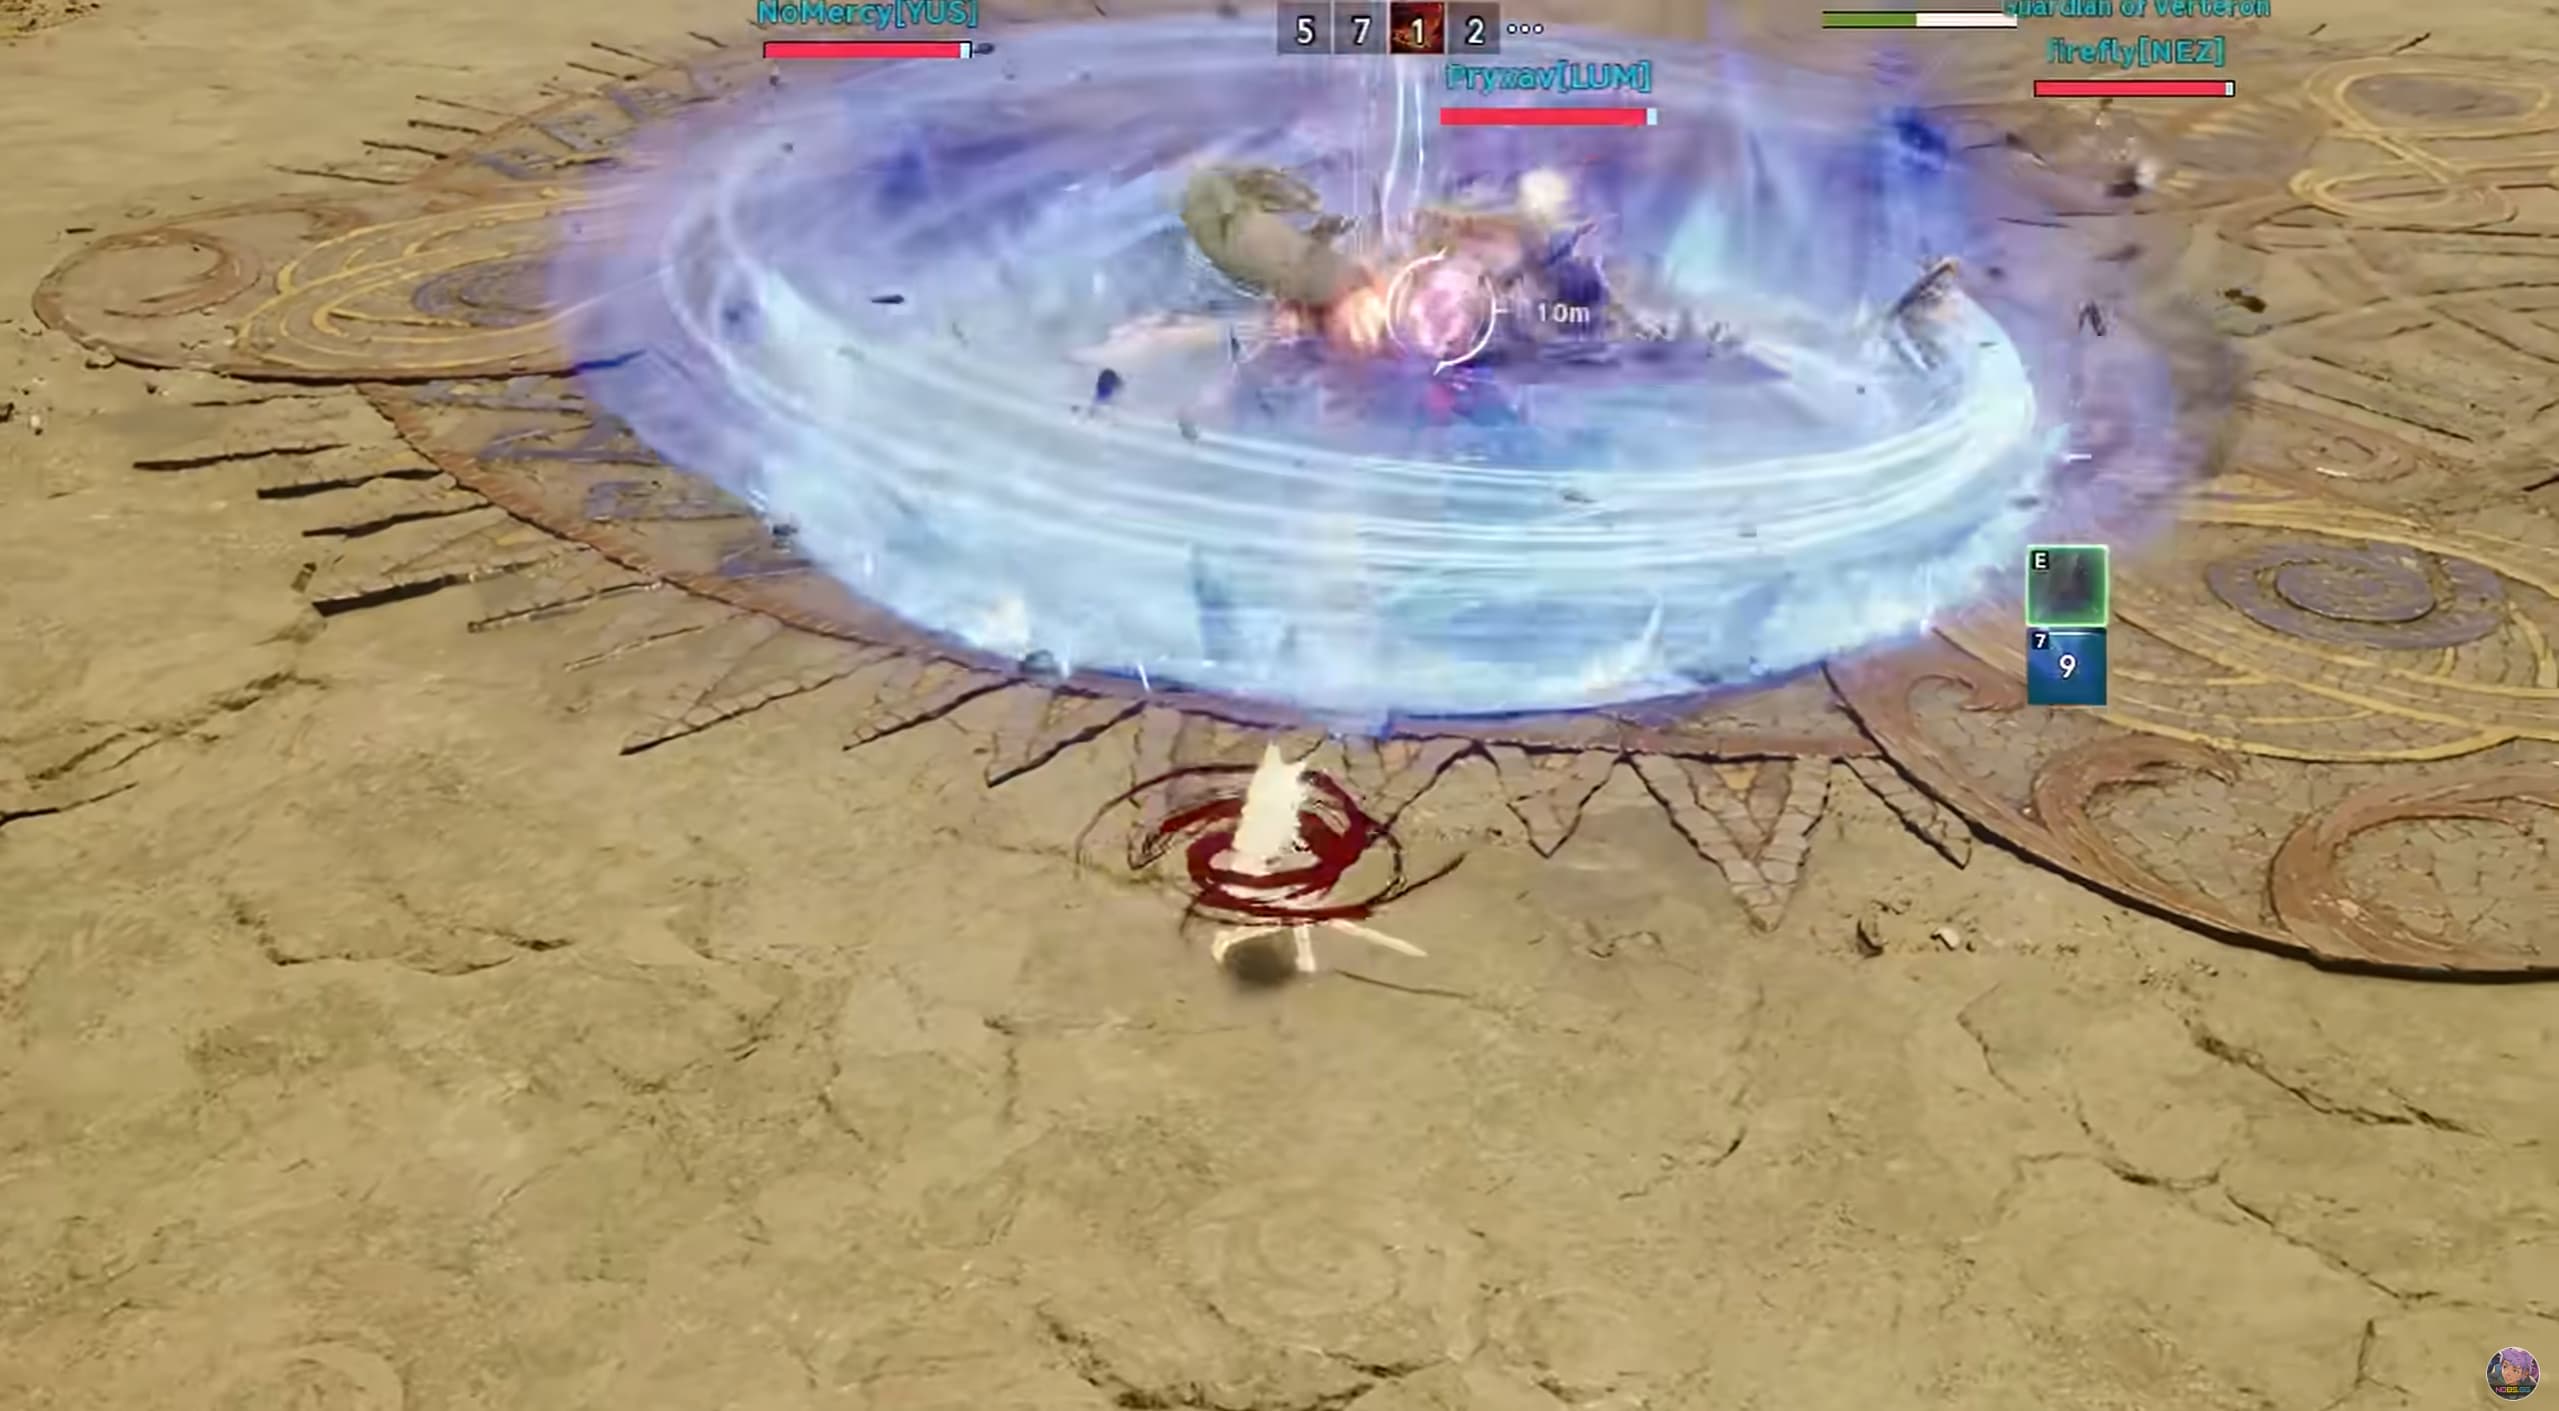
During Thunder Cry, Kwapo scatters electric orbs around the arena. Spread out and collect them before the cast finishes.
At the end of the cast, he jumps into the centre and releases a lightning wave that you need to jump over. Any orbs left on the ground detonate for heavy AoE damage.
Collecting the orbs and jumping the wave are separate jobs: clearing the floor does not remove the need to jump.
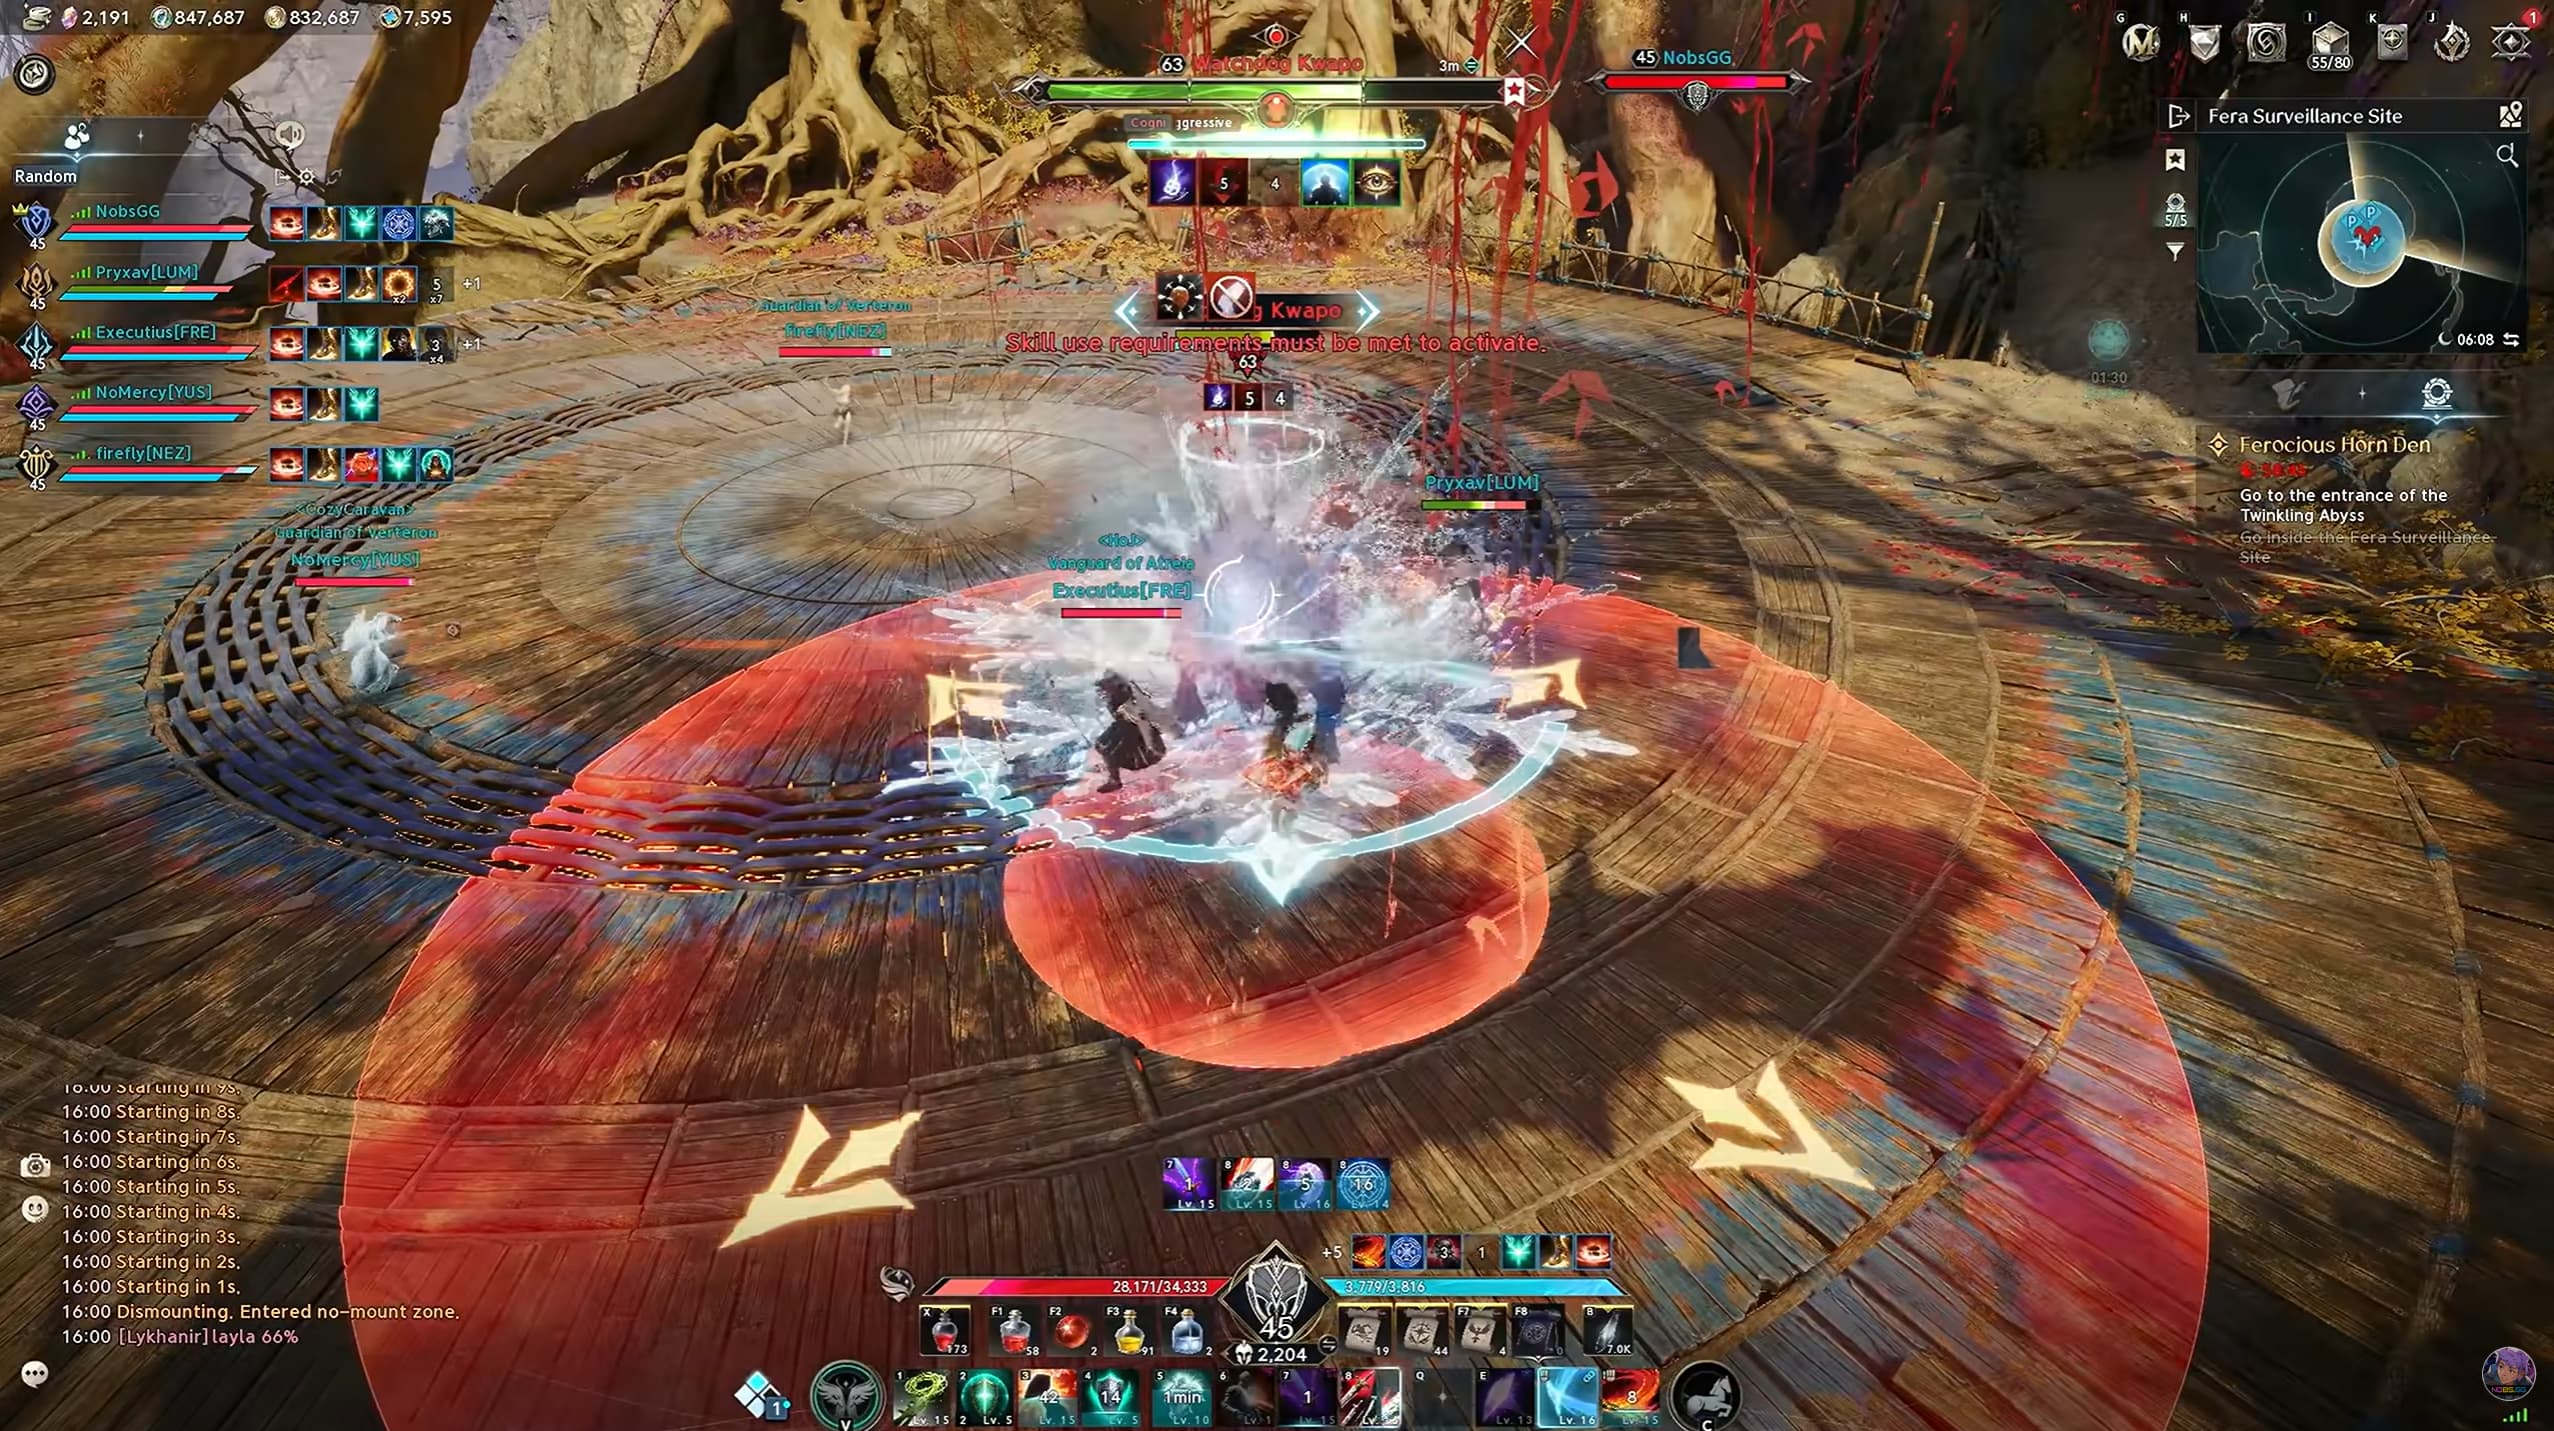
Stay Outside the Outward-Arrow Circle
Kwapo also marks a player with a circle whose arrows point outwards. Other players should stay outside that circle, while the marked player keeps it away from teammates.
Remember this marker: Nuakum uses the same outward arrows later to tell the party to spread.
Totem Encounter: Use the Grenades
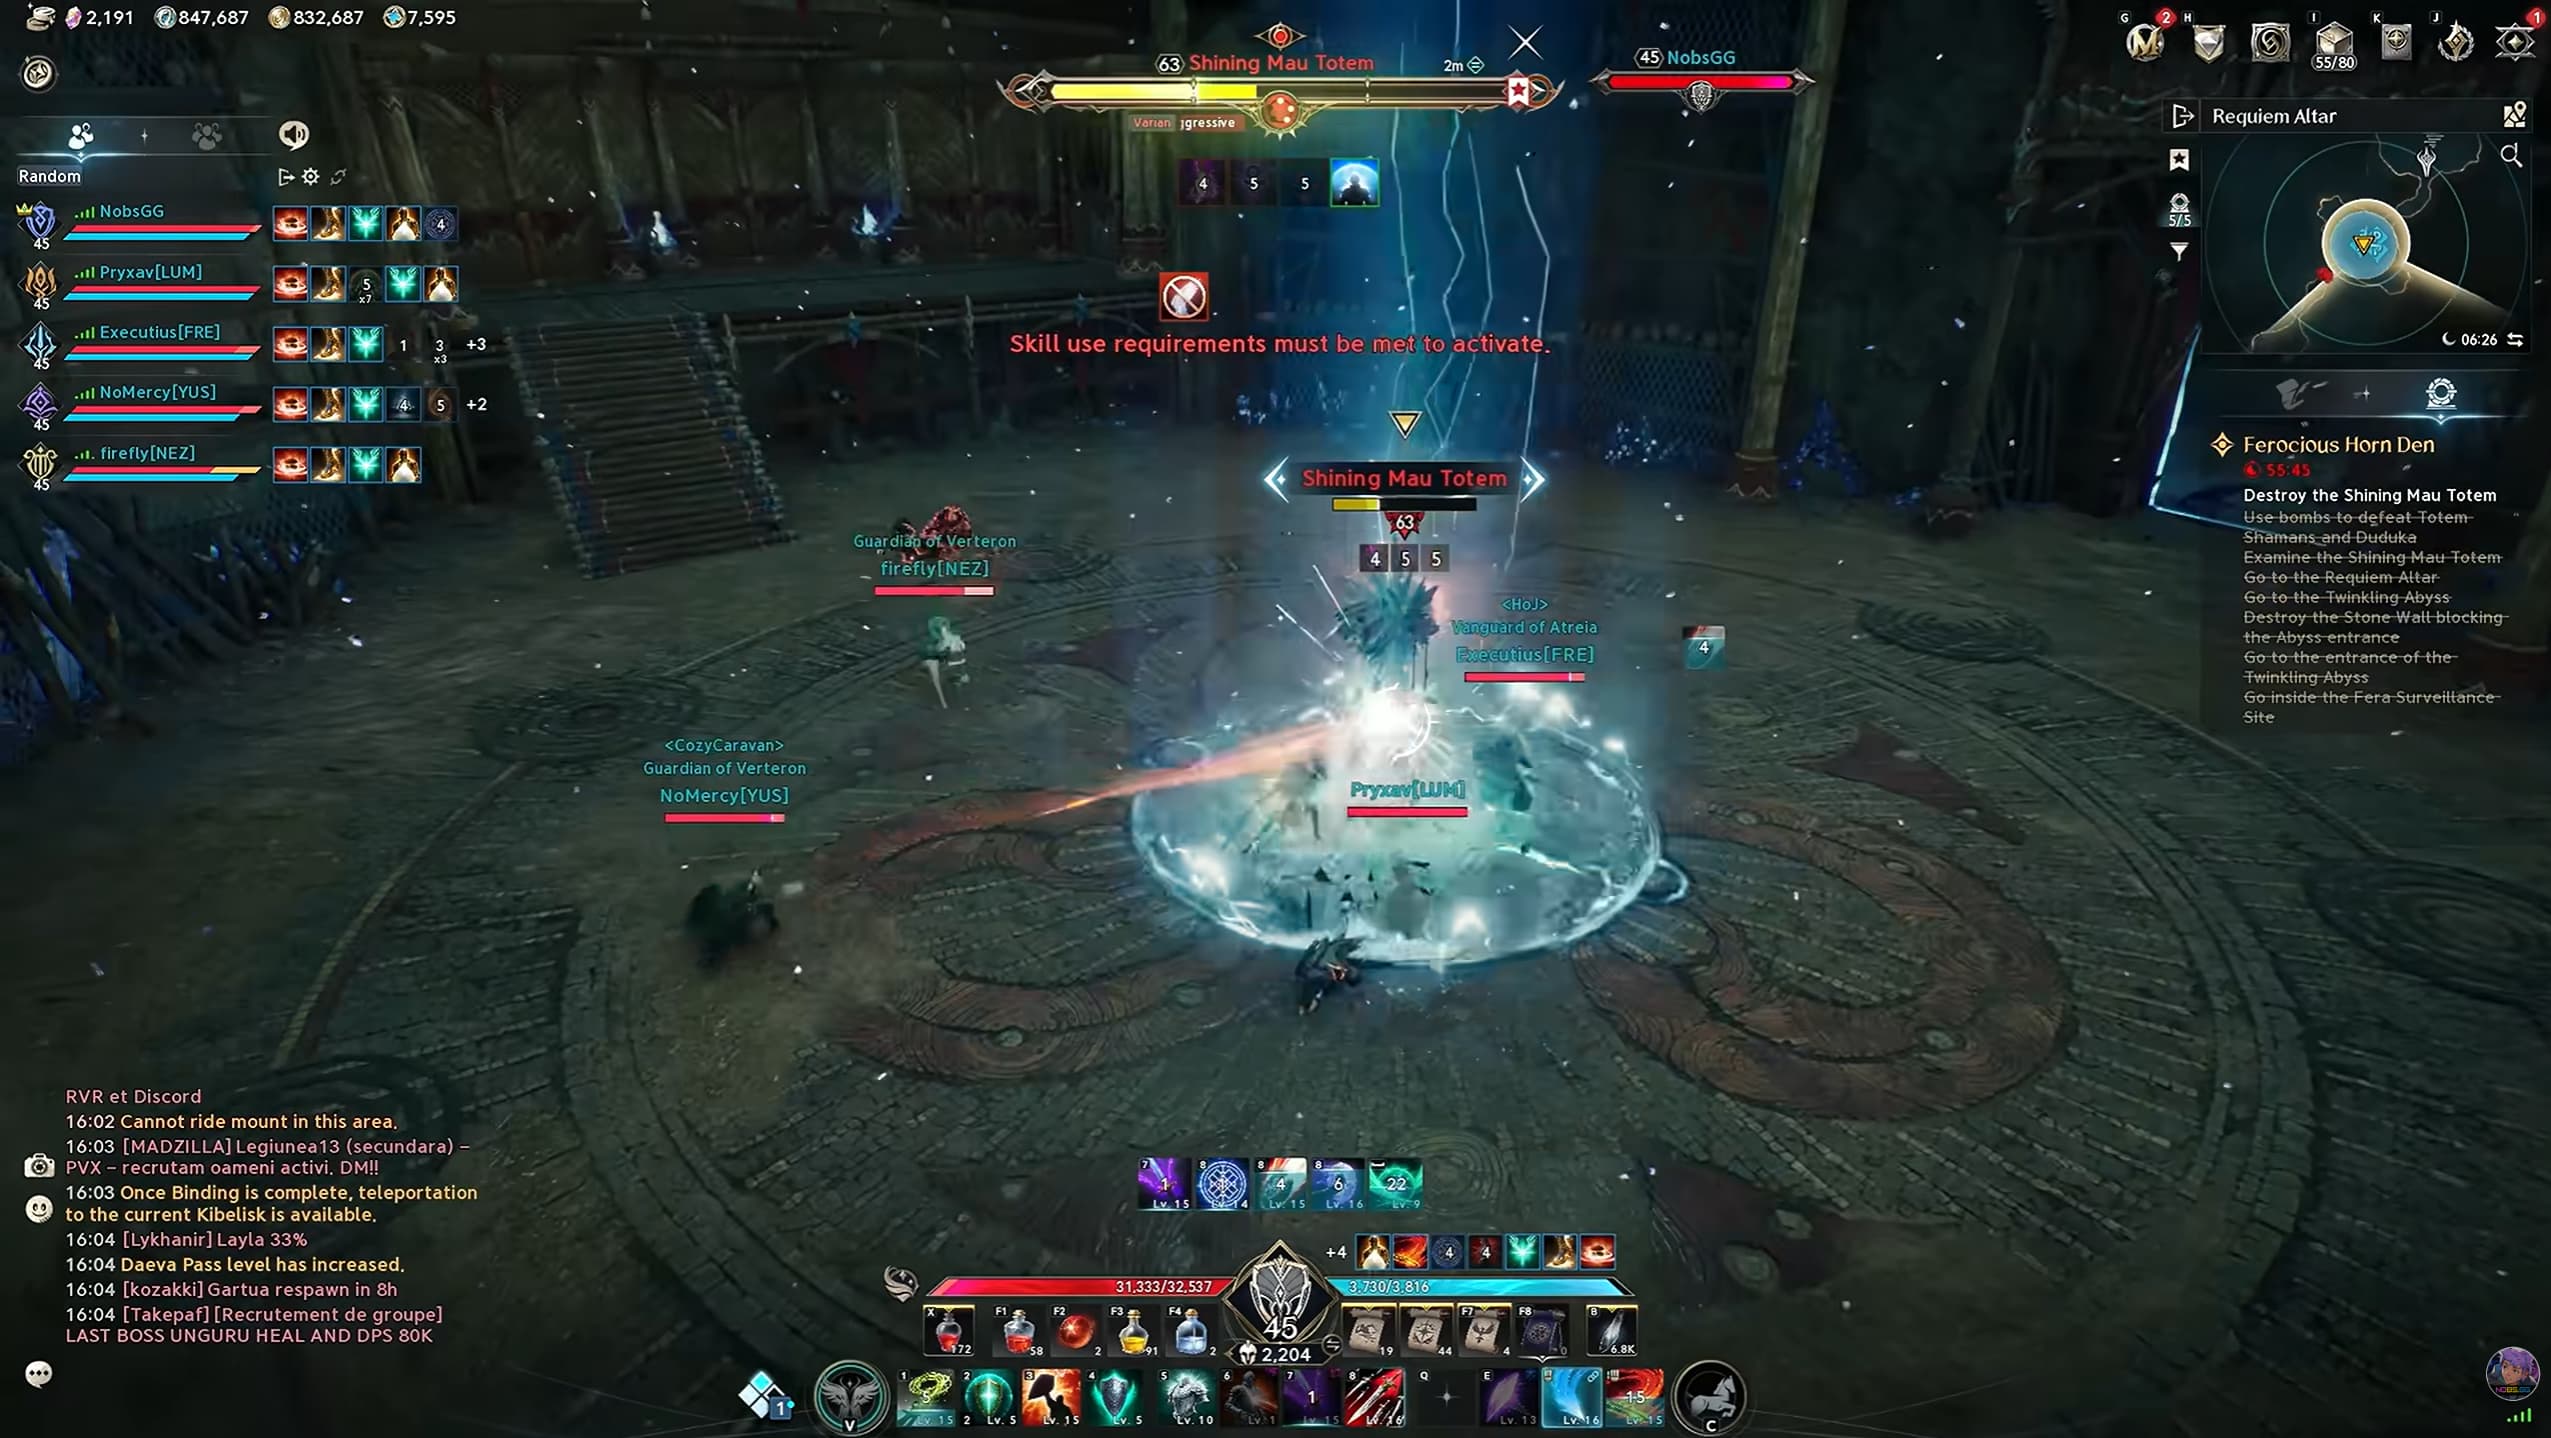
After Kwapo, pick up grenades from the platforms on the left and right of the totem area.
Use them to clear the monsters faster, then finish the encounter by destroying the totem.
Second Boss: Necromancer Duanka
Collect the Soul During Mau Necromancy
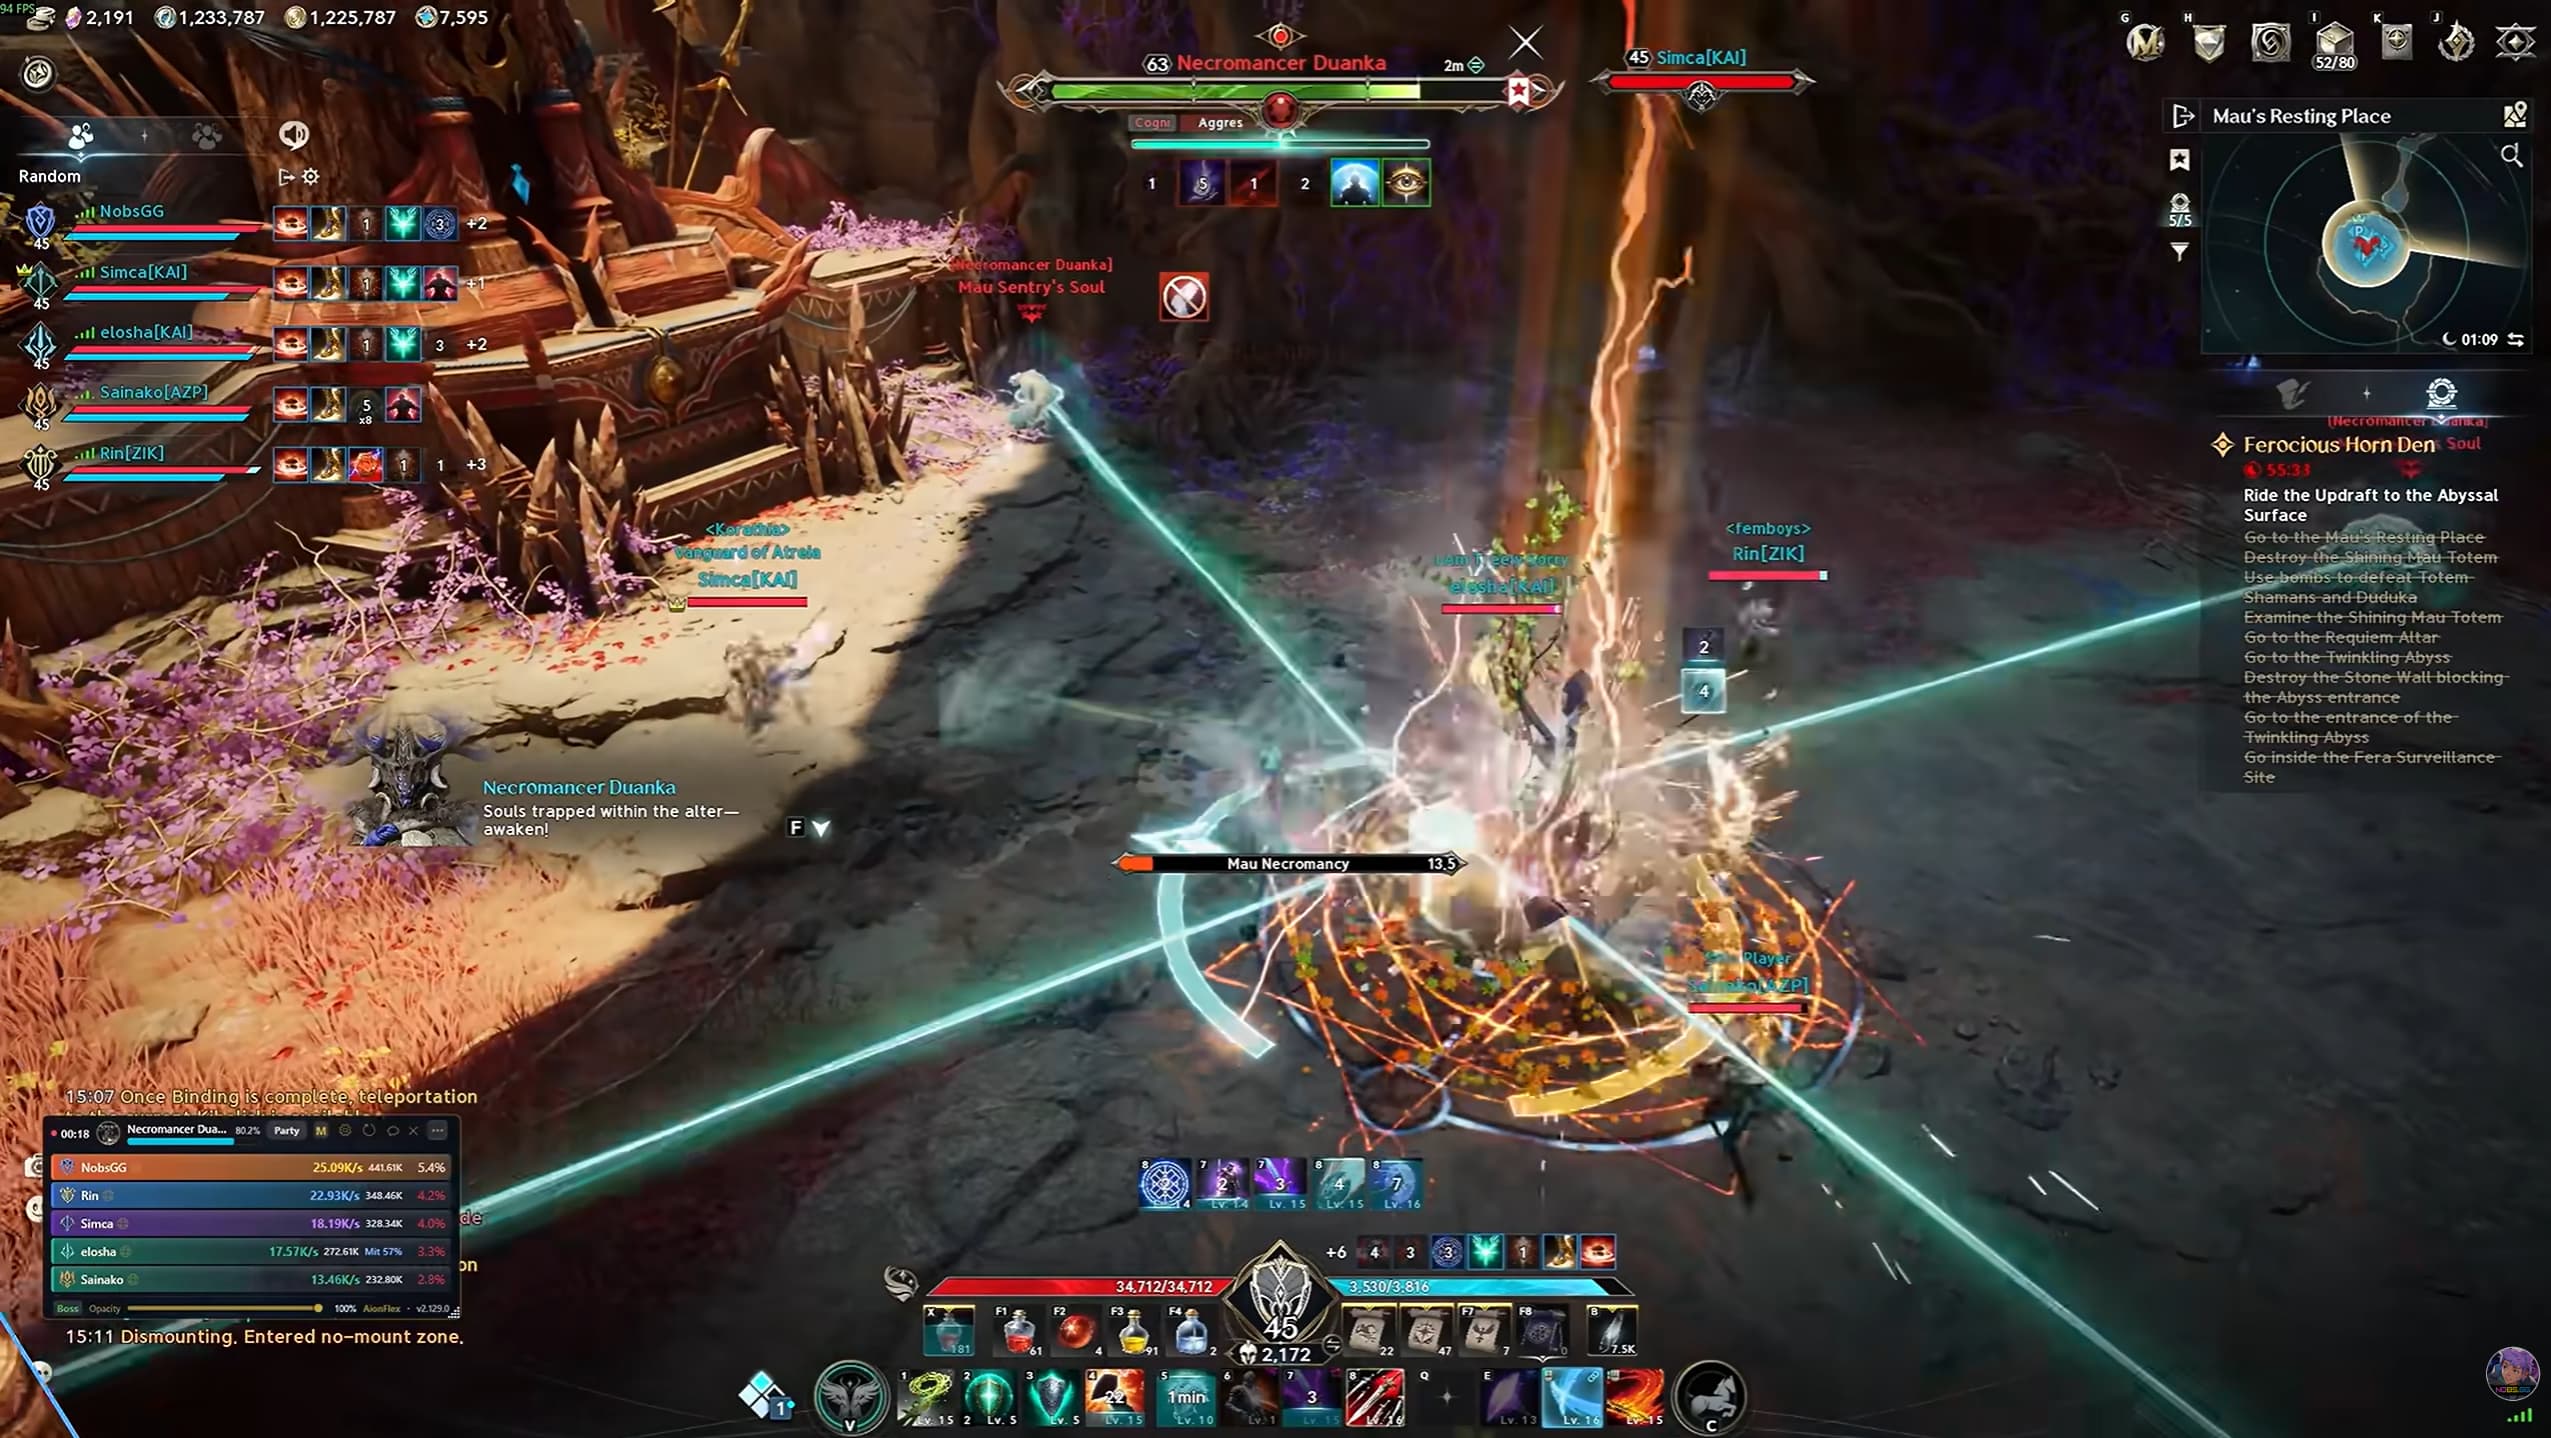
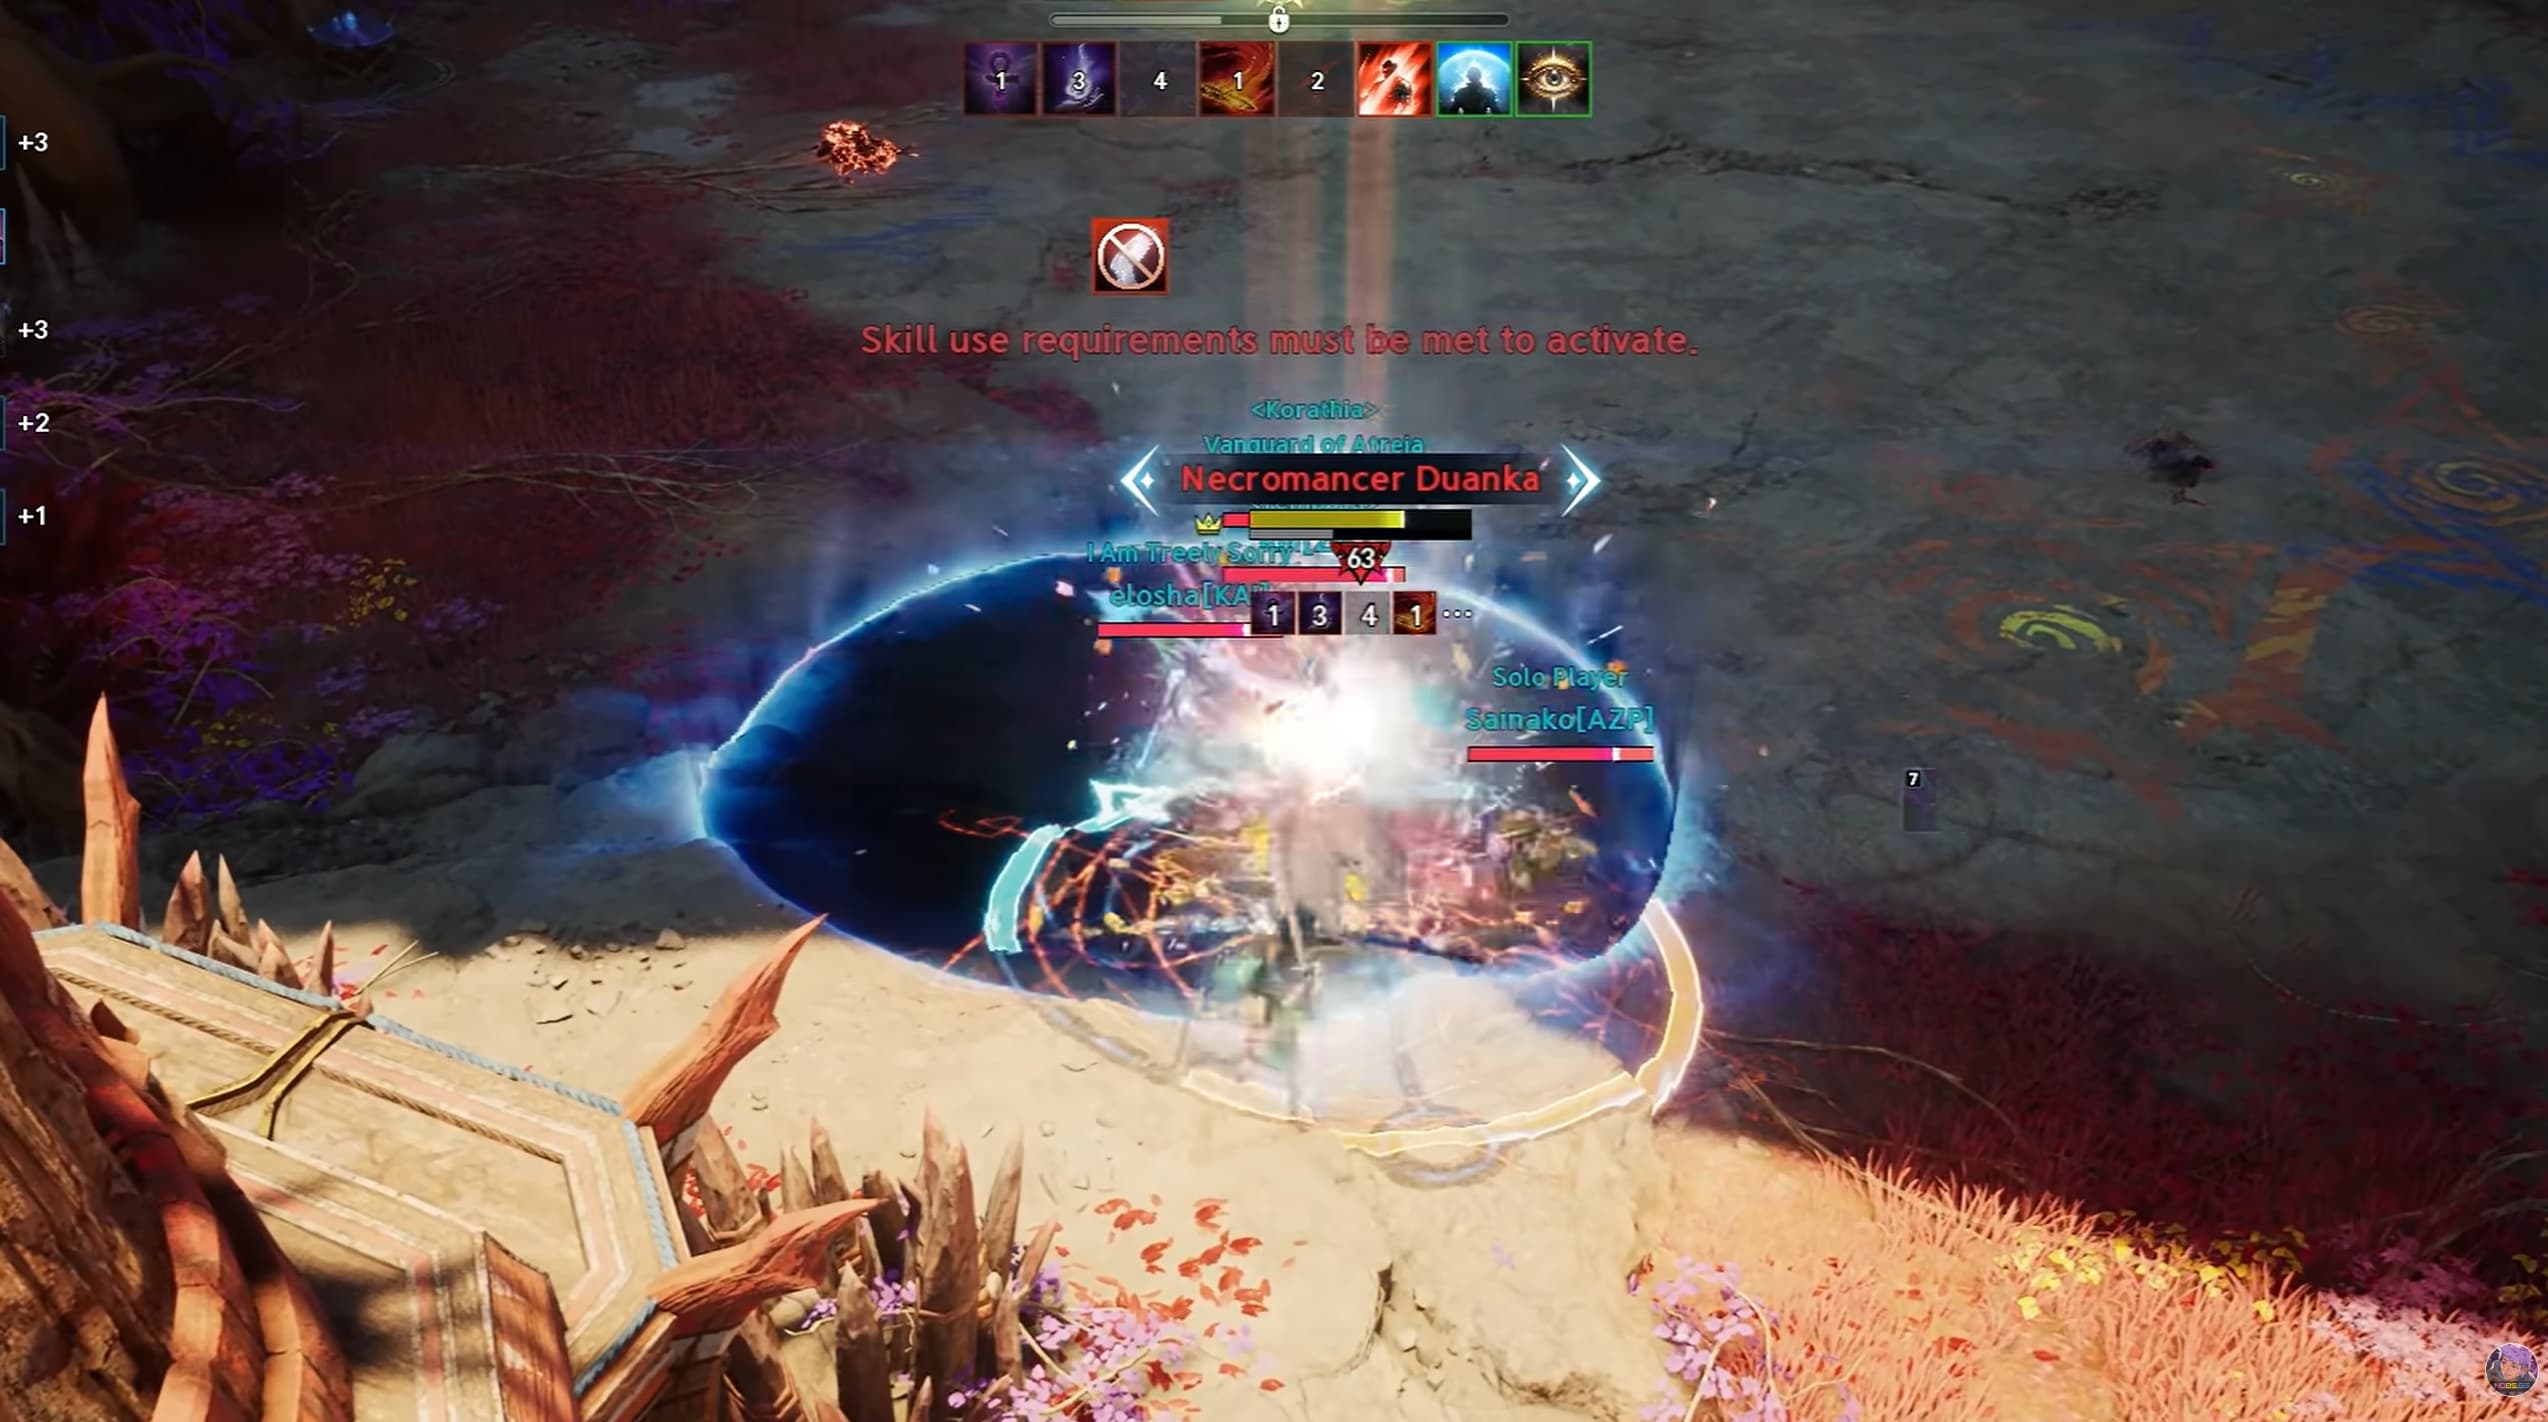
When Duanka casts Mau Necromancy, she summons ghosts.
Assign one DPS player to collect the soul from the nearby altar. That player should then focus on killing the summoned enemies.
Share the Damage Inside the Black AoE
Duanka creates a large black AoE and roots one of your teammates inside it.
Move into the black area with that player to share the incoming damage. The root and shared-damage requirement can be easy to miss, so watch for the trapped teammate as soon as the area appears.
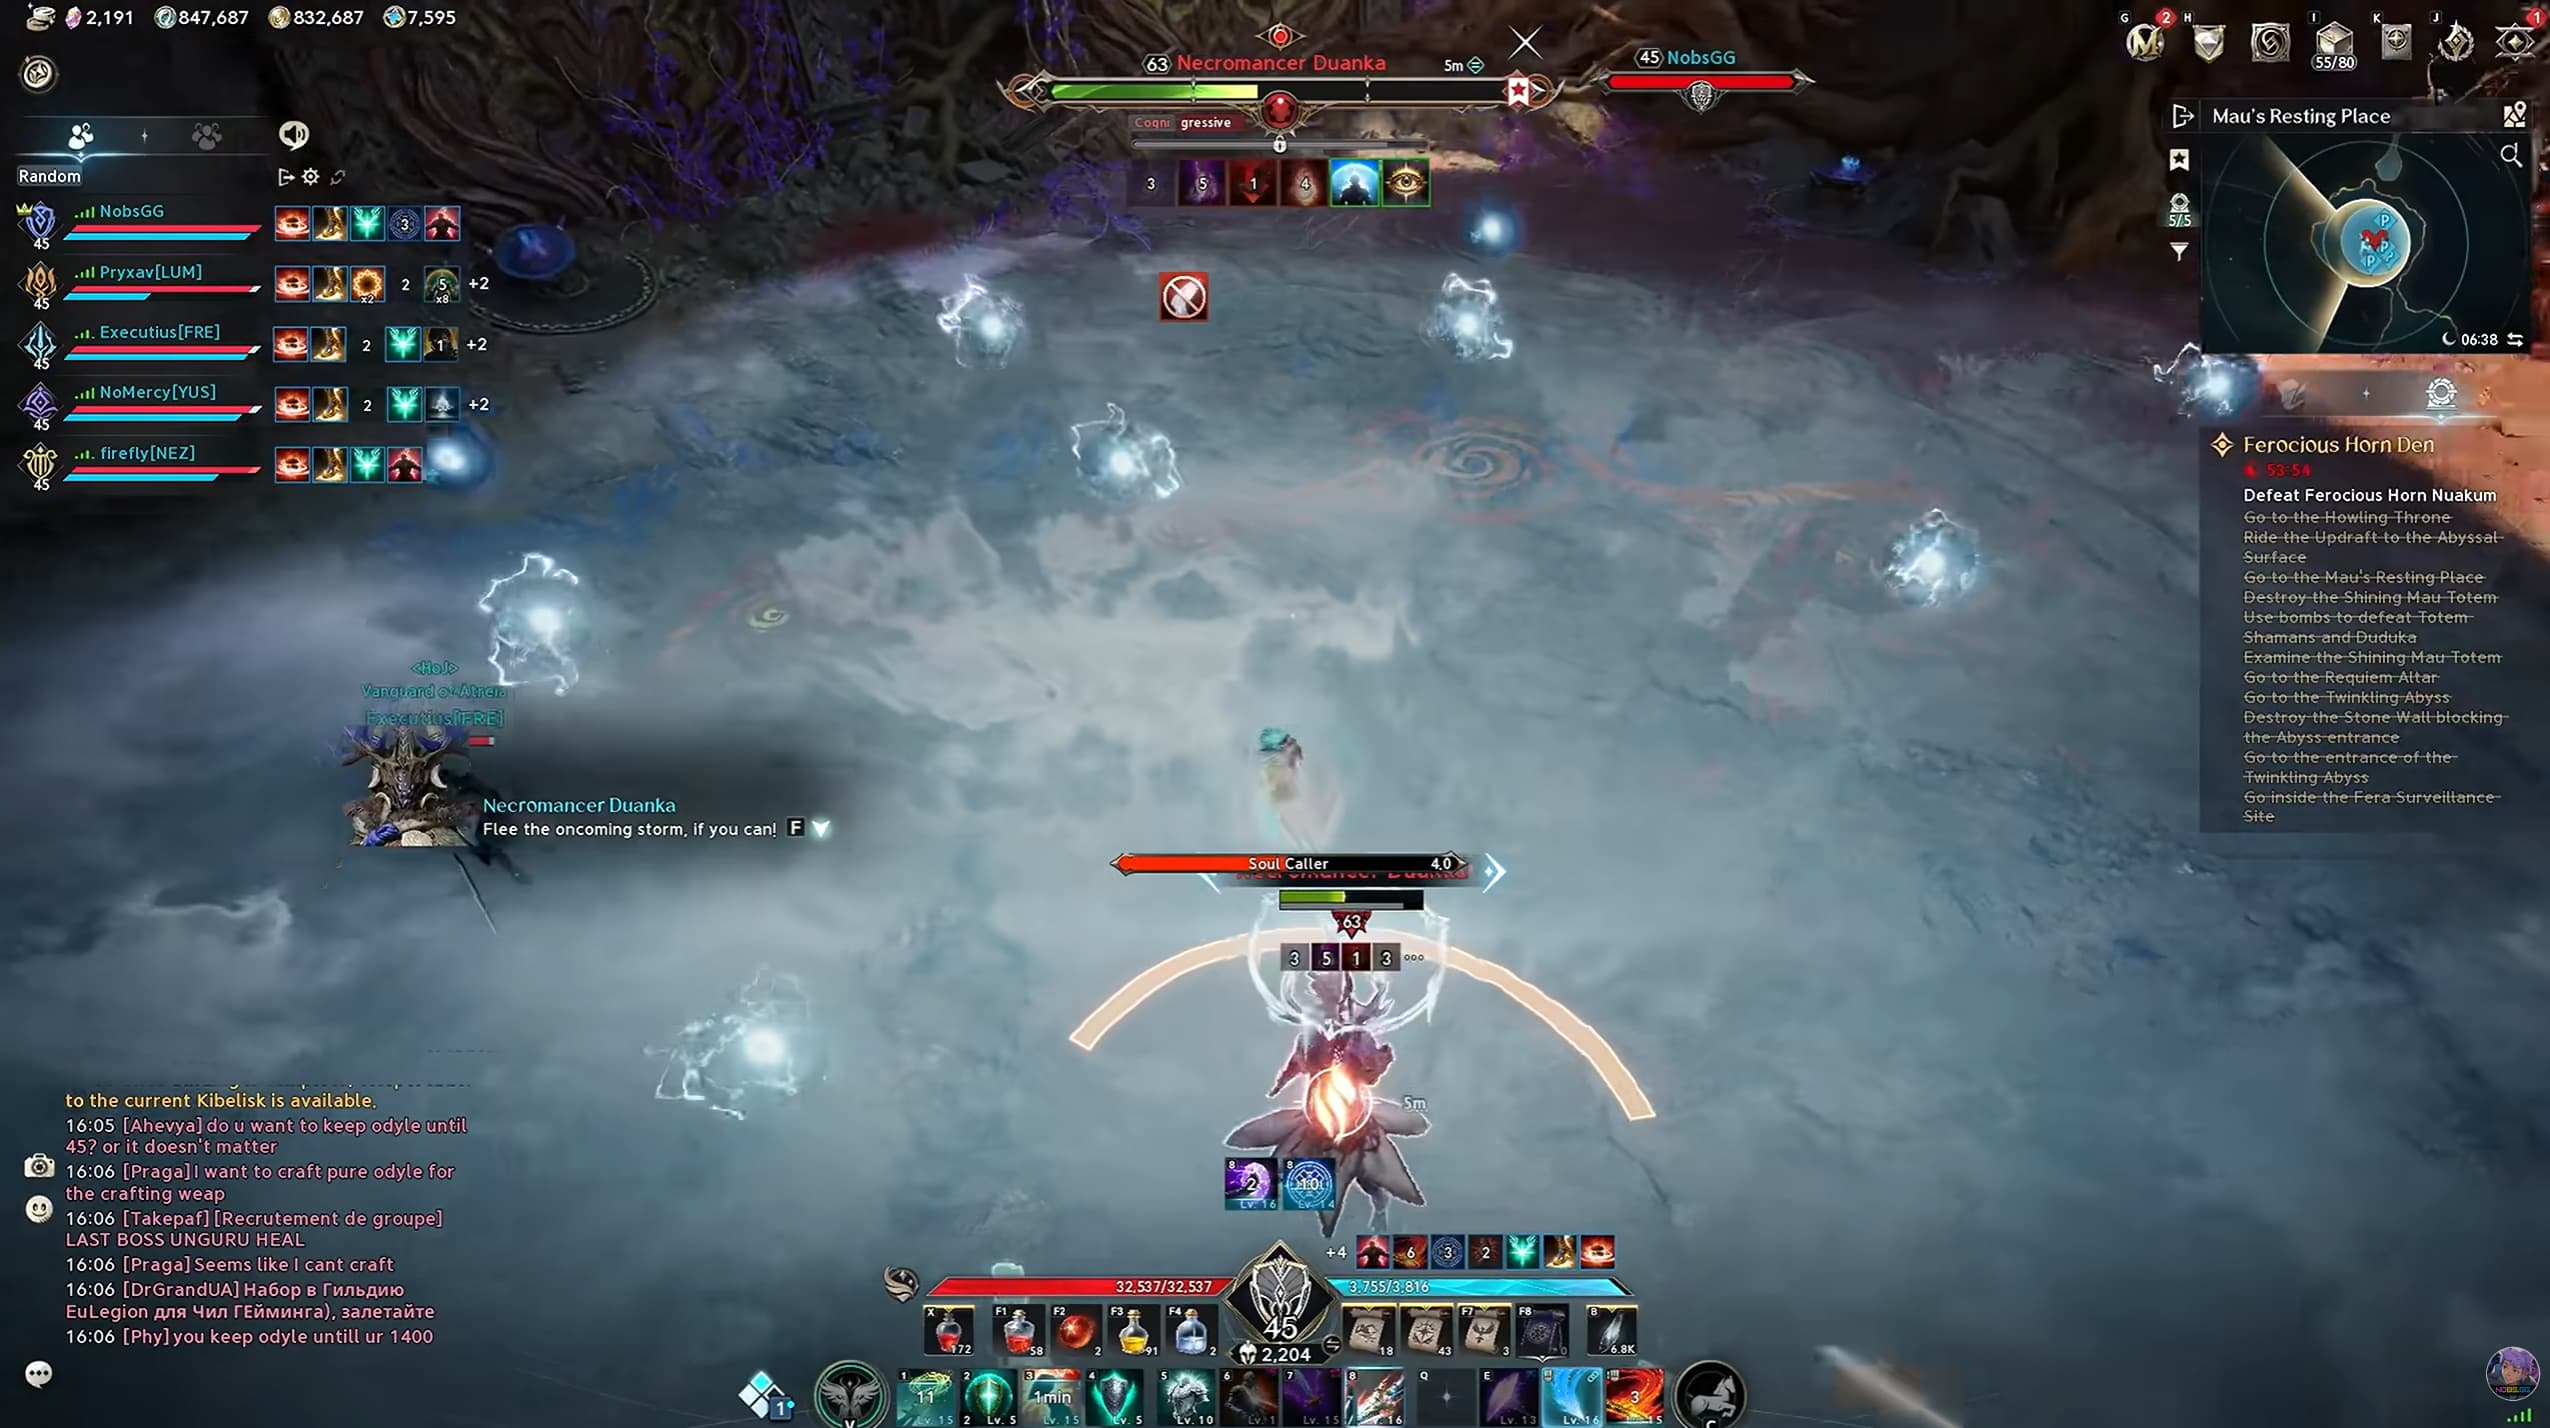
Run Away During Soul Caller
When Duanka begins Soul Caller, start moving away from her immediately.
She slows players while electric balls travel towards her. Avoid these balls as you retreat: getting hit can slow or stun you, leaving you unable to escape the lethal damage.
Final Boss: Ferocious Horn Nuakum
Nuakum combines persistent ground hazards with attacks that require the party to protect a marked player. Watch your debuffs and agree who will handle interceptions before the fight.
If combat effects make the markers difficult to read, our Aion 2 settings guide covers options for reducing screen clutter.
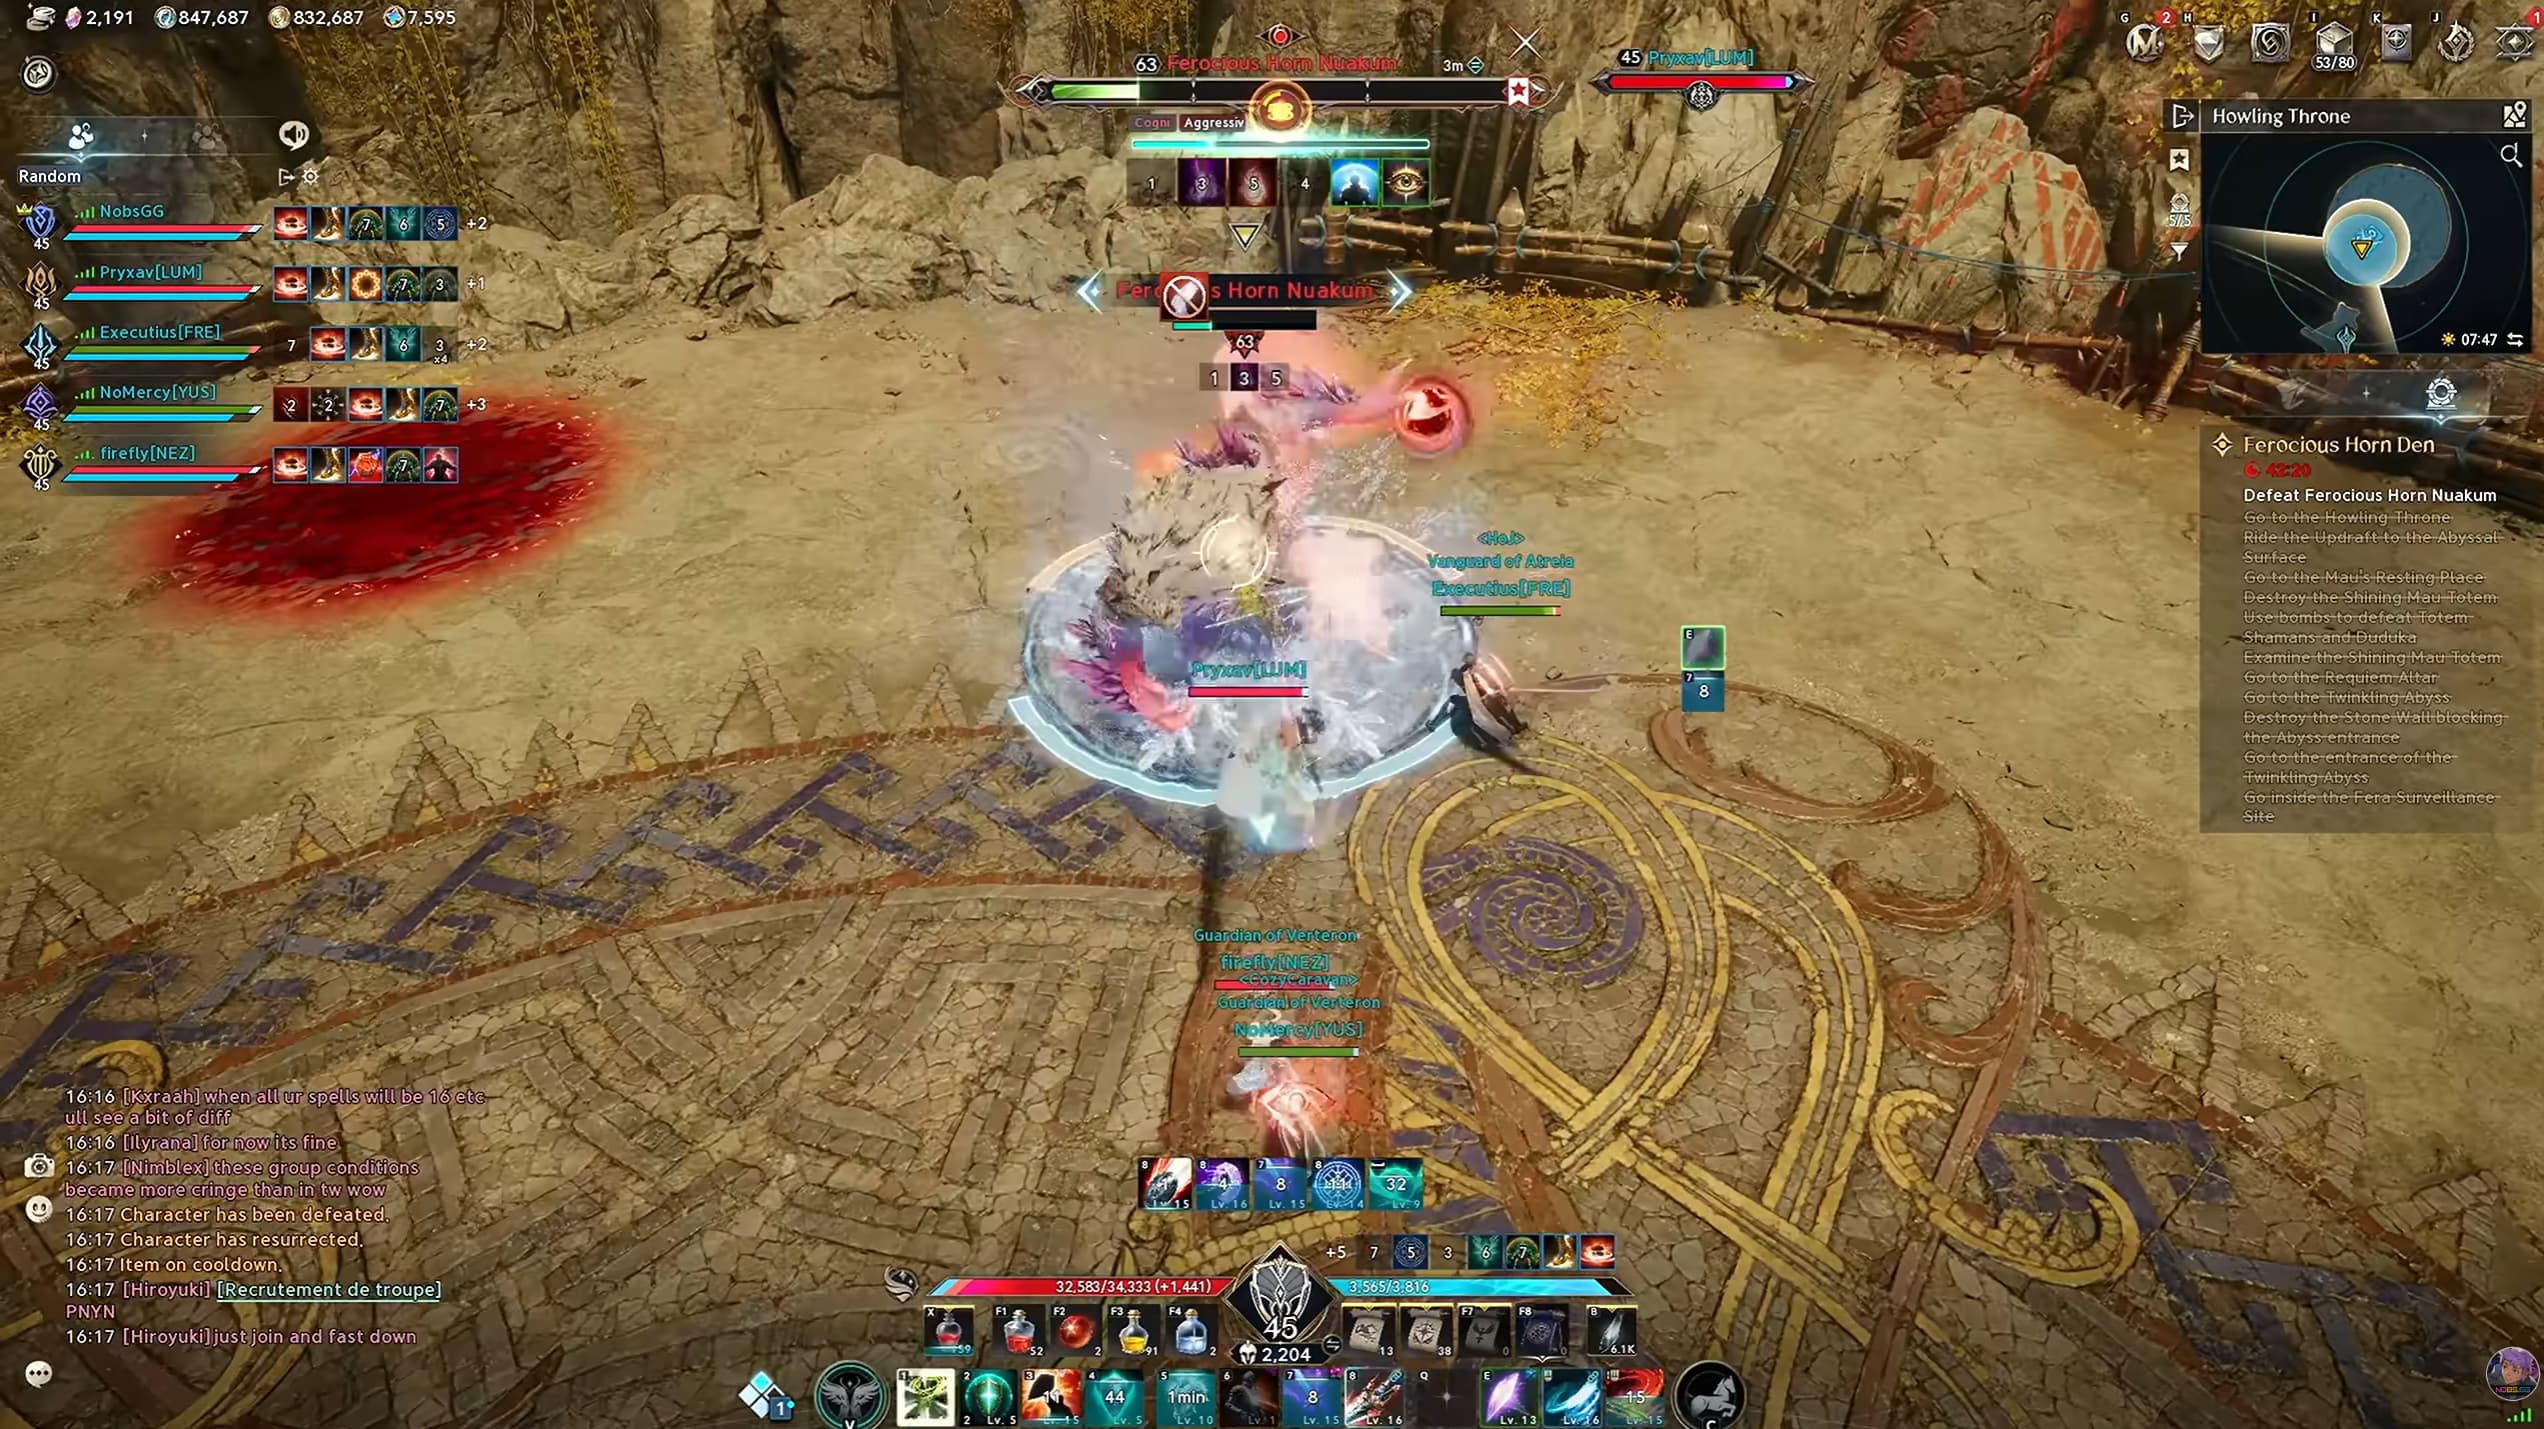
Place the Bleeding Puddles Near the Edge
Throughout the fight, players receive marks that leave persistent bleeding puddles after a short delay.
If you are marked, move towards the arena’s edge and place your puddle away from teammates. Keep the centre and the party’s movement routes clear.
Read the Circle and Intercept the Clone
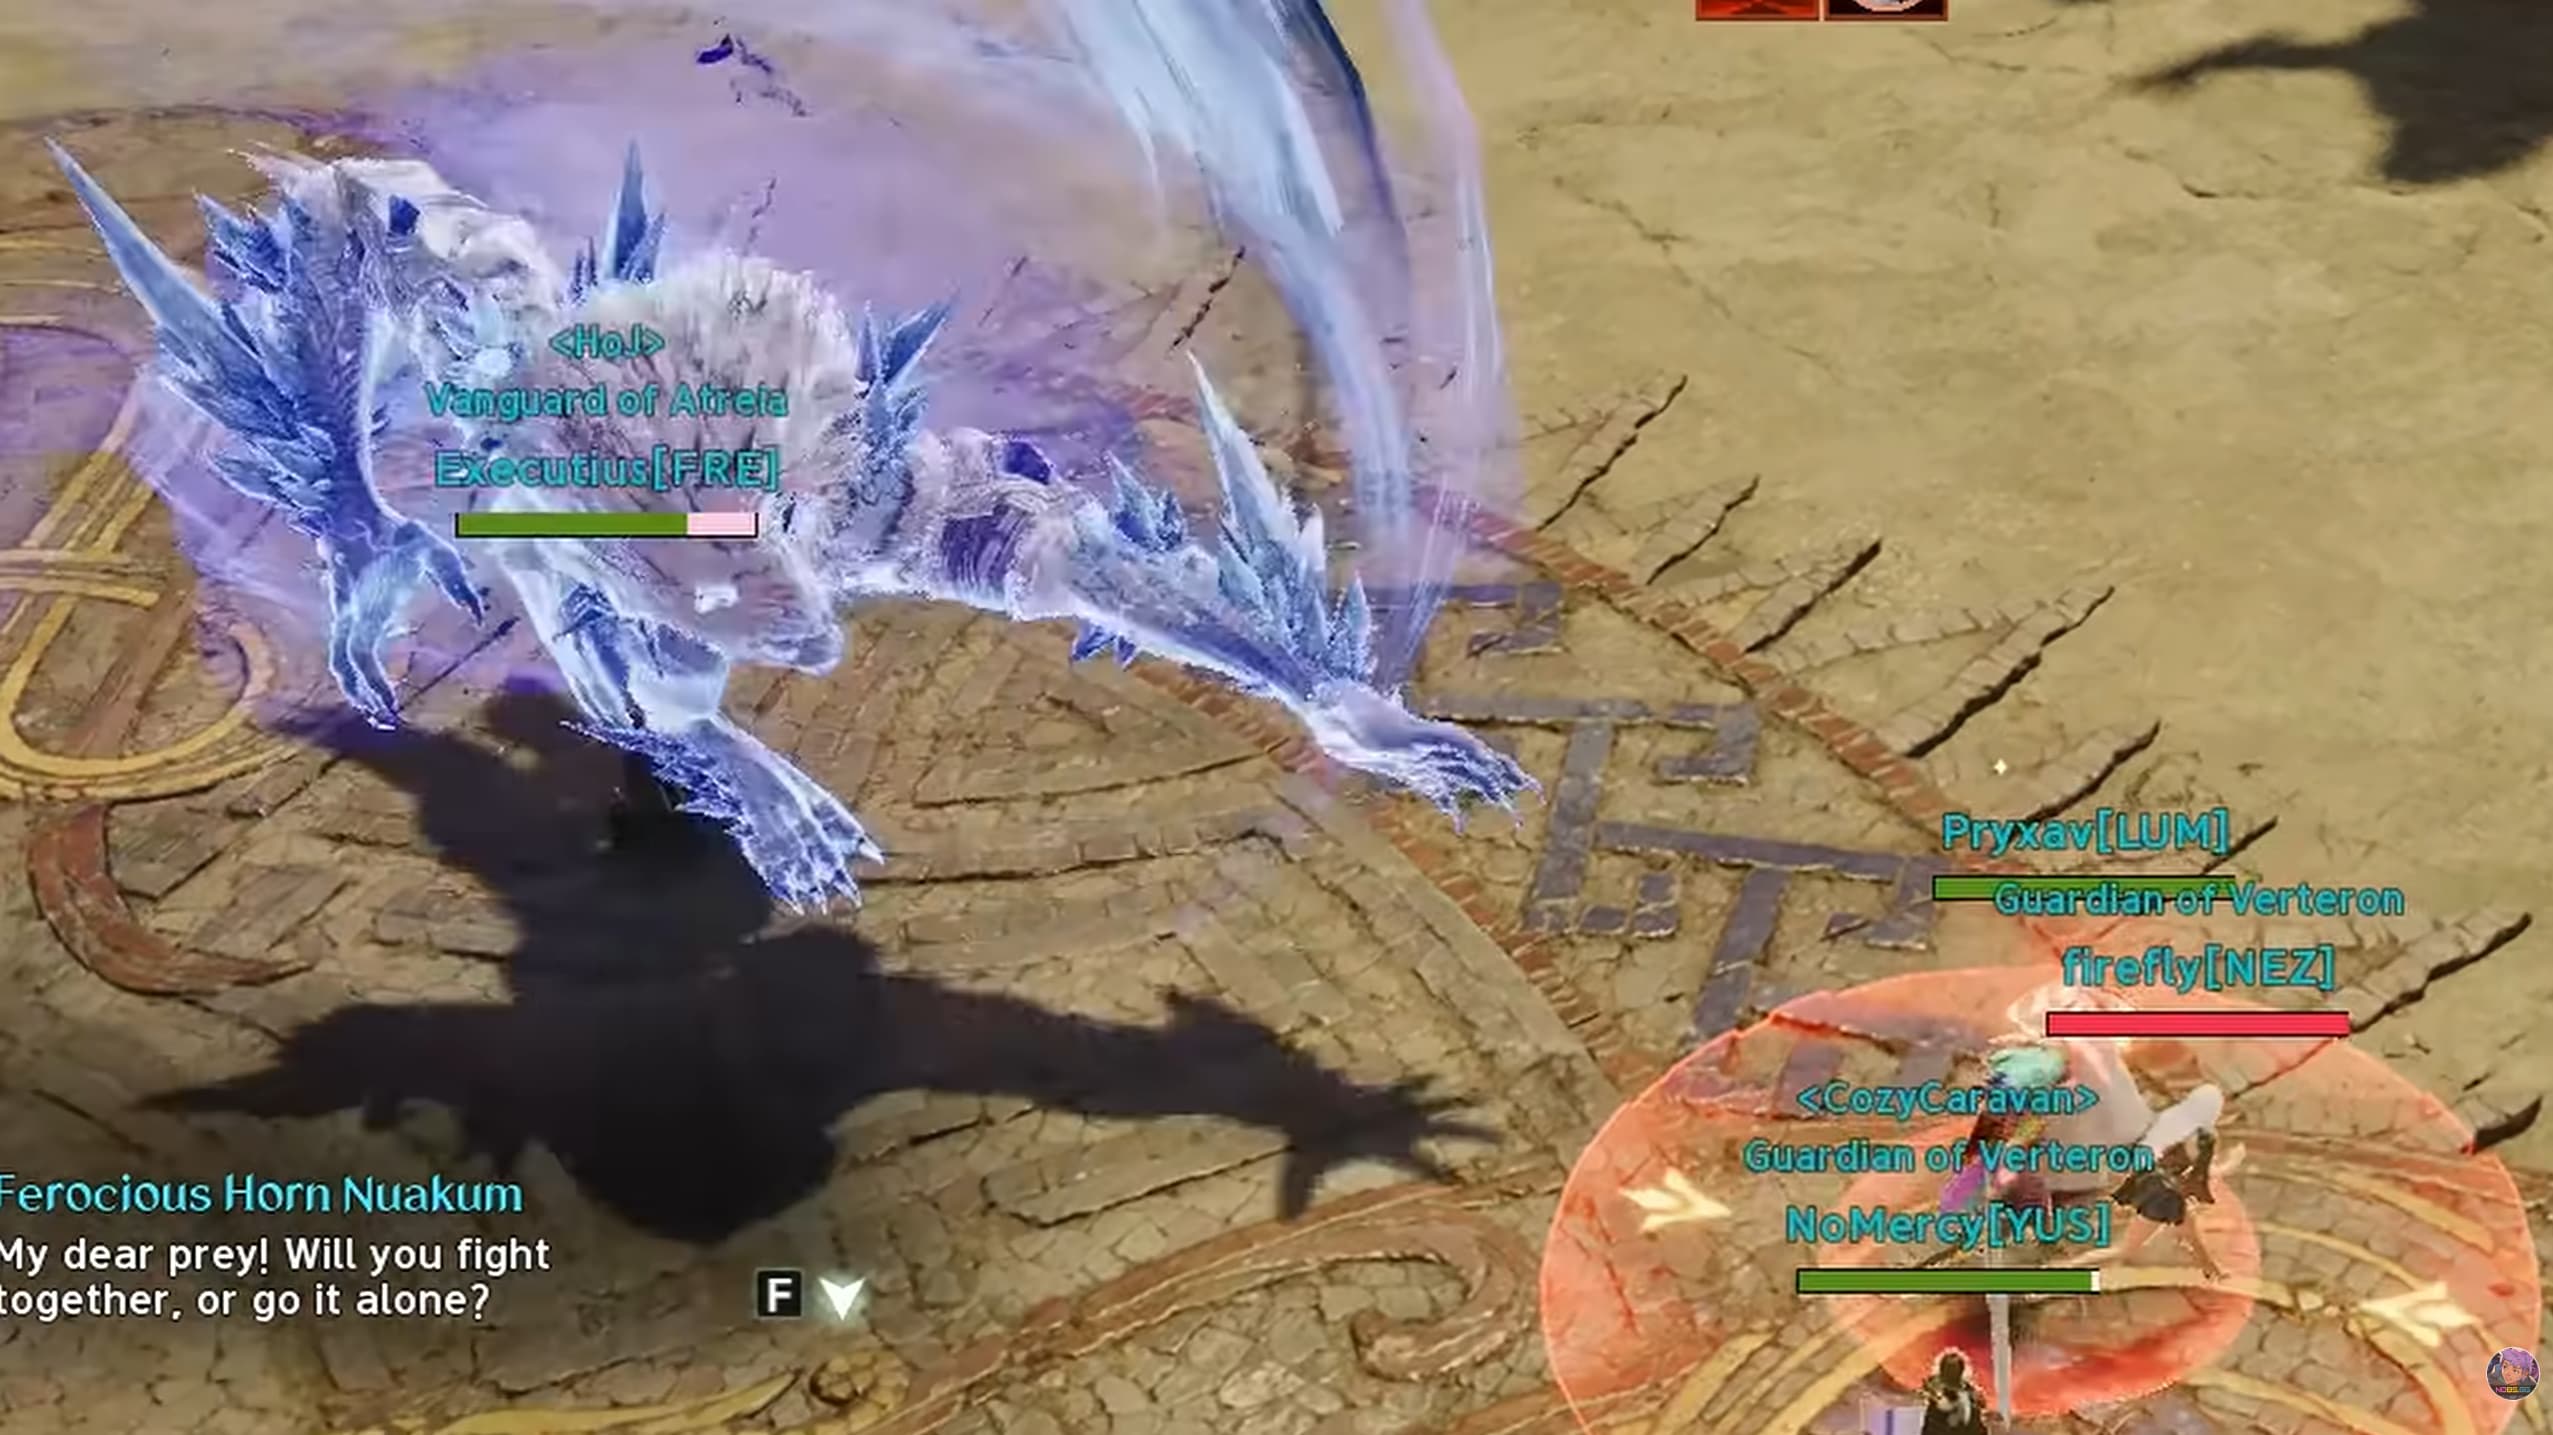
Nuakum jumps out of the arena and creates a wolf clone. The boss then prepares to leap onto a marked player while the clone charges towards that same target.
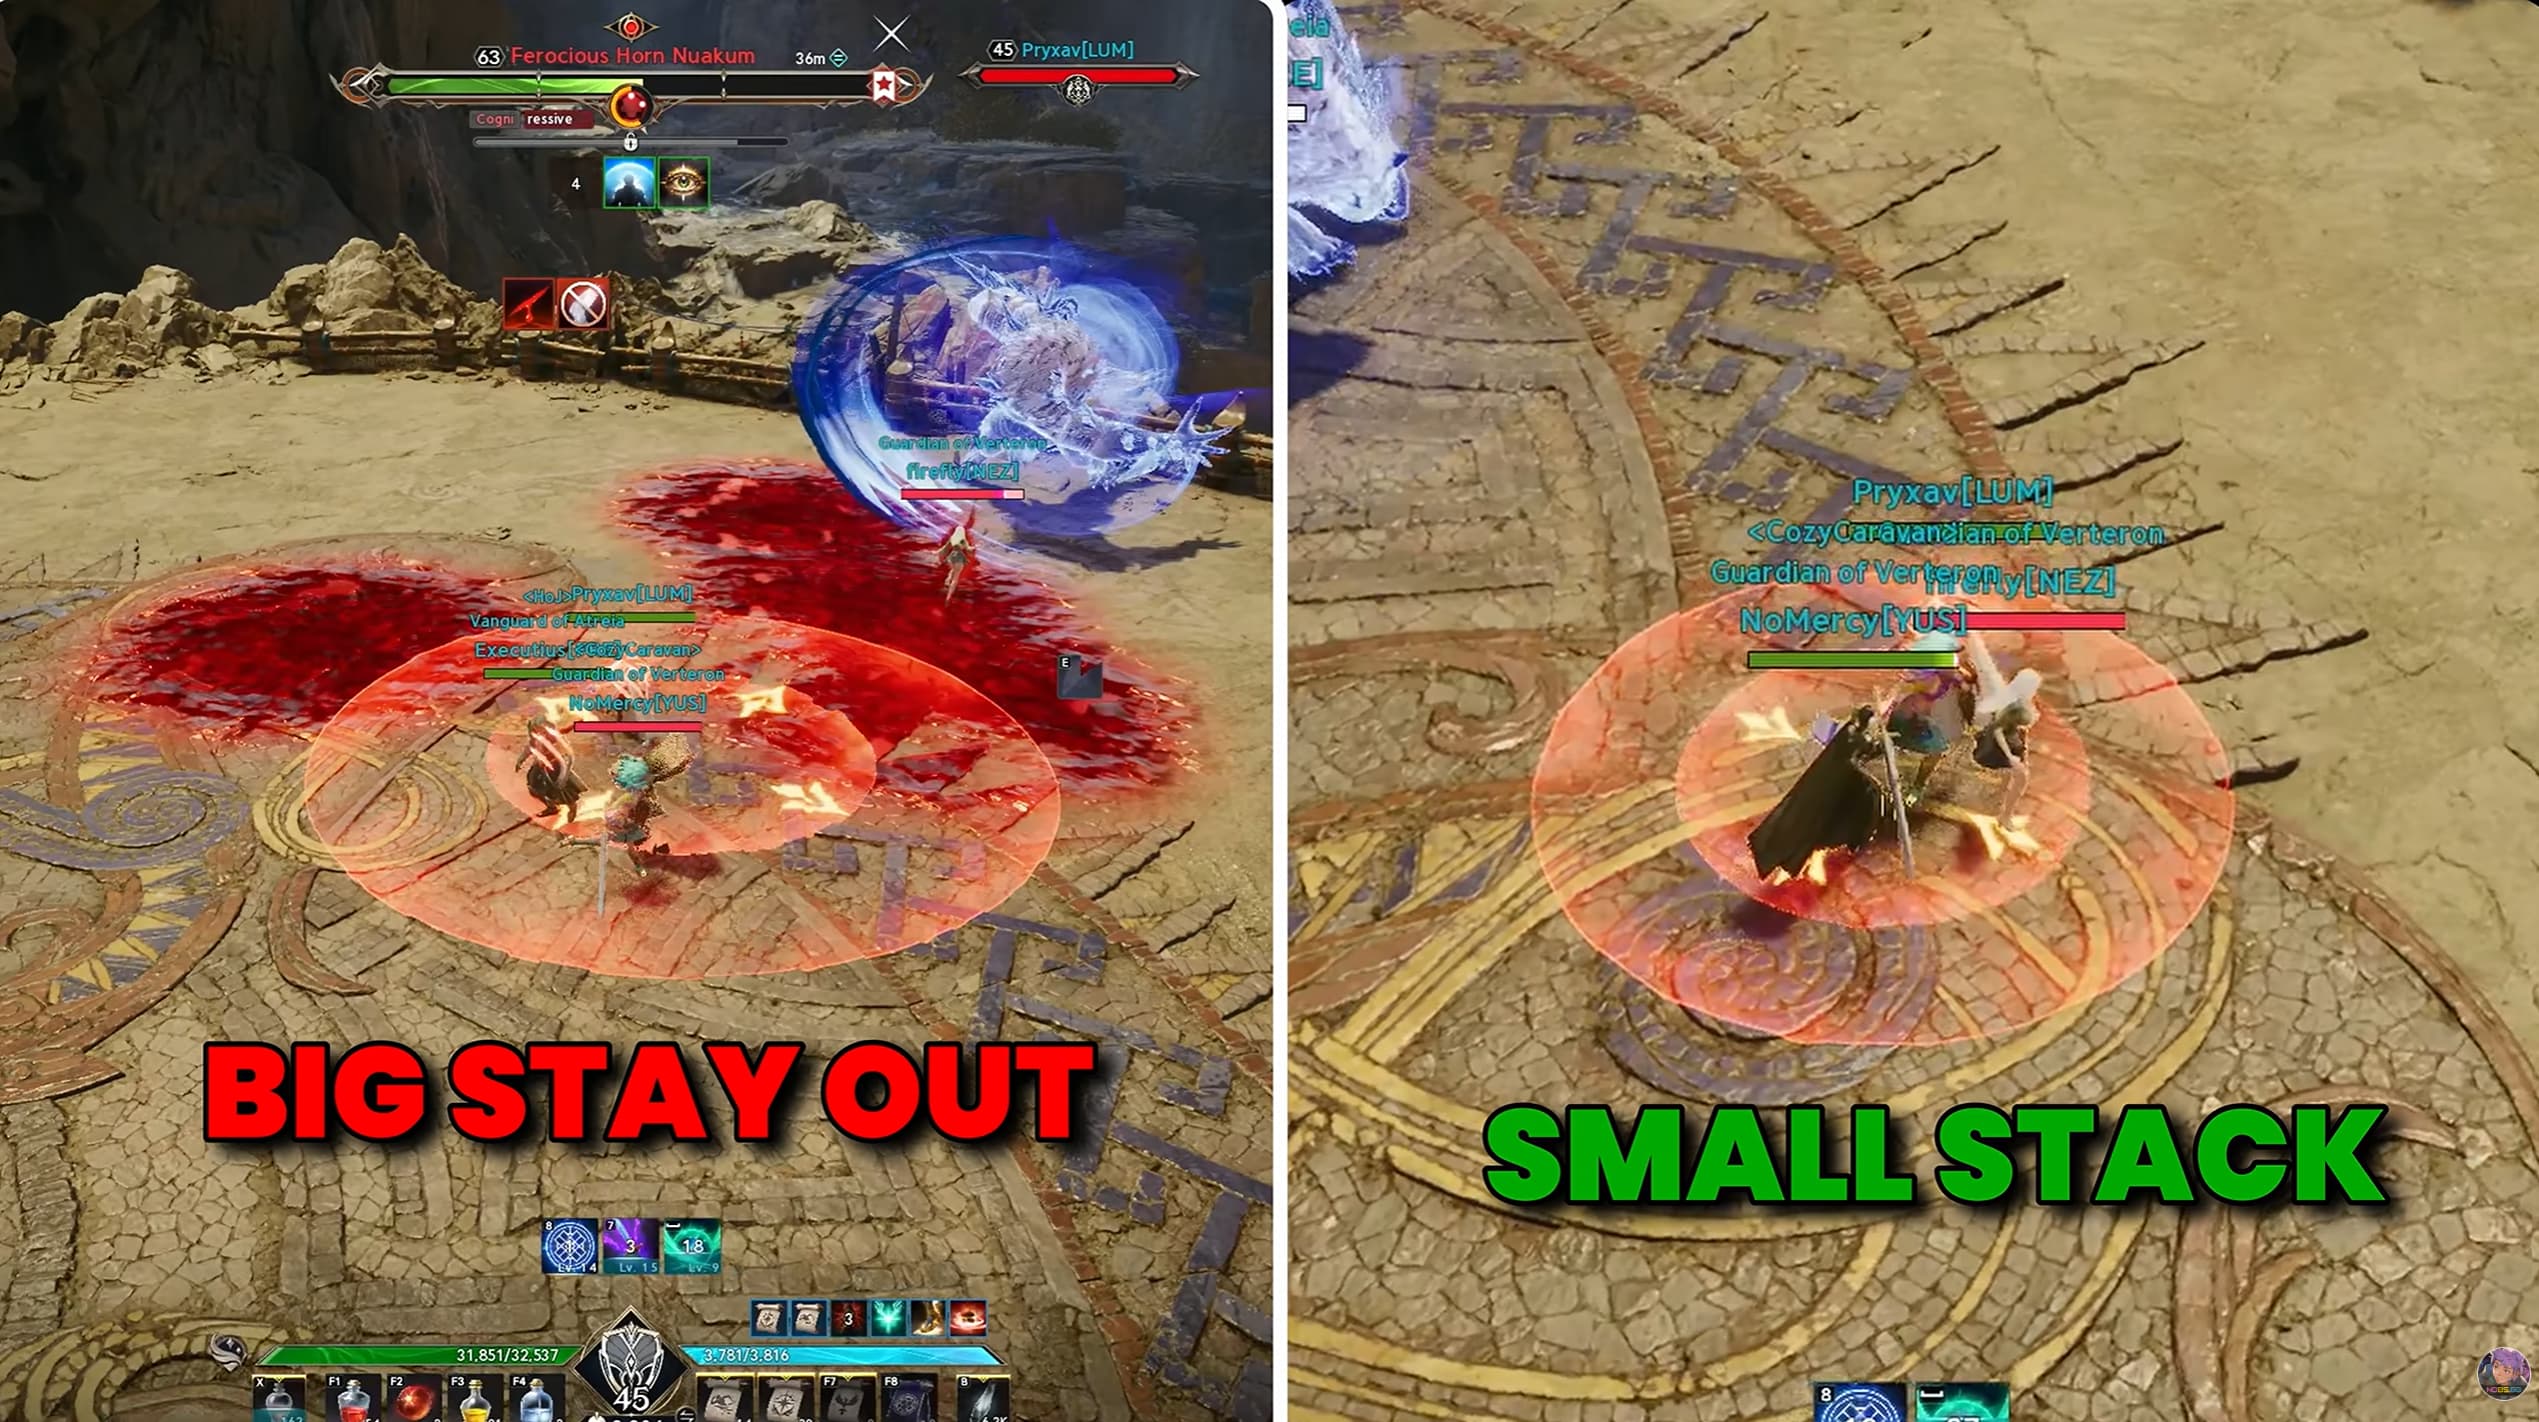
When Nuakum leaves the arena, stay close together until you can identify the target. Then respond to their circle:
Large circle with arrows pointing outwards: other players stay outside the circle.
Small circle with arrows pointing inwards: stack with the marked player to share the hit.
Both versions also require a teammate to intercept the clone. One player without a vulnerability mark must stand between the clone and its target to stop the charge, while the party handles the circle correctly.
Blocking the clone applies a vulnerability mark. Use a different, unmarked player for the next interception. Do not have the same player repeatedly block while their mark is active.
Move Behind Nuakum When He Scratches the Ground
Watch for Nuakum scratching the ground. This animation signals that he is about to attack repeatedly in front of himself.
Move behind him as soon as you see it to avoid the frontal cleave.
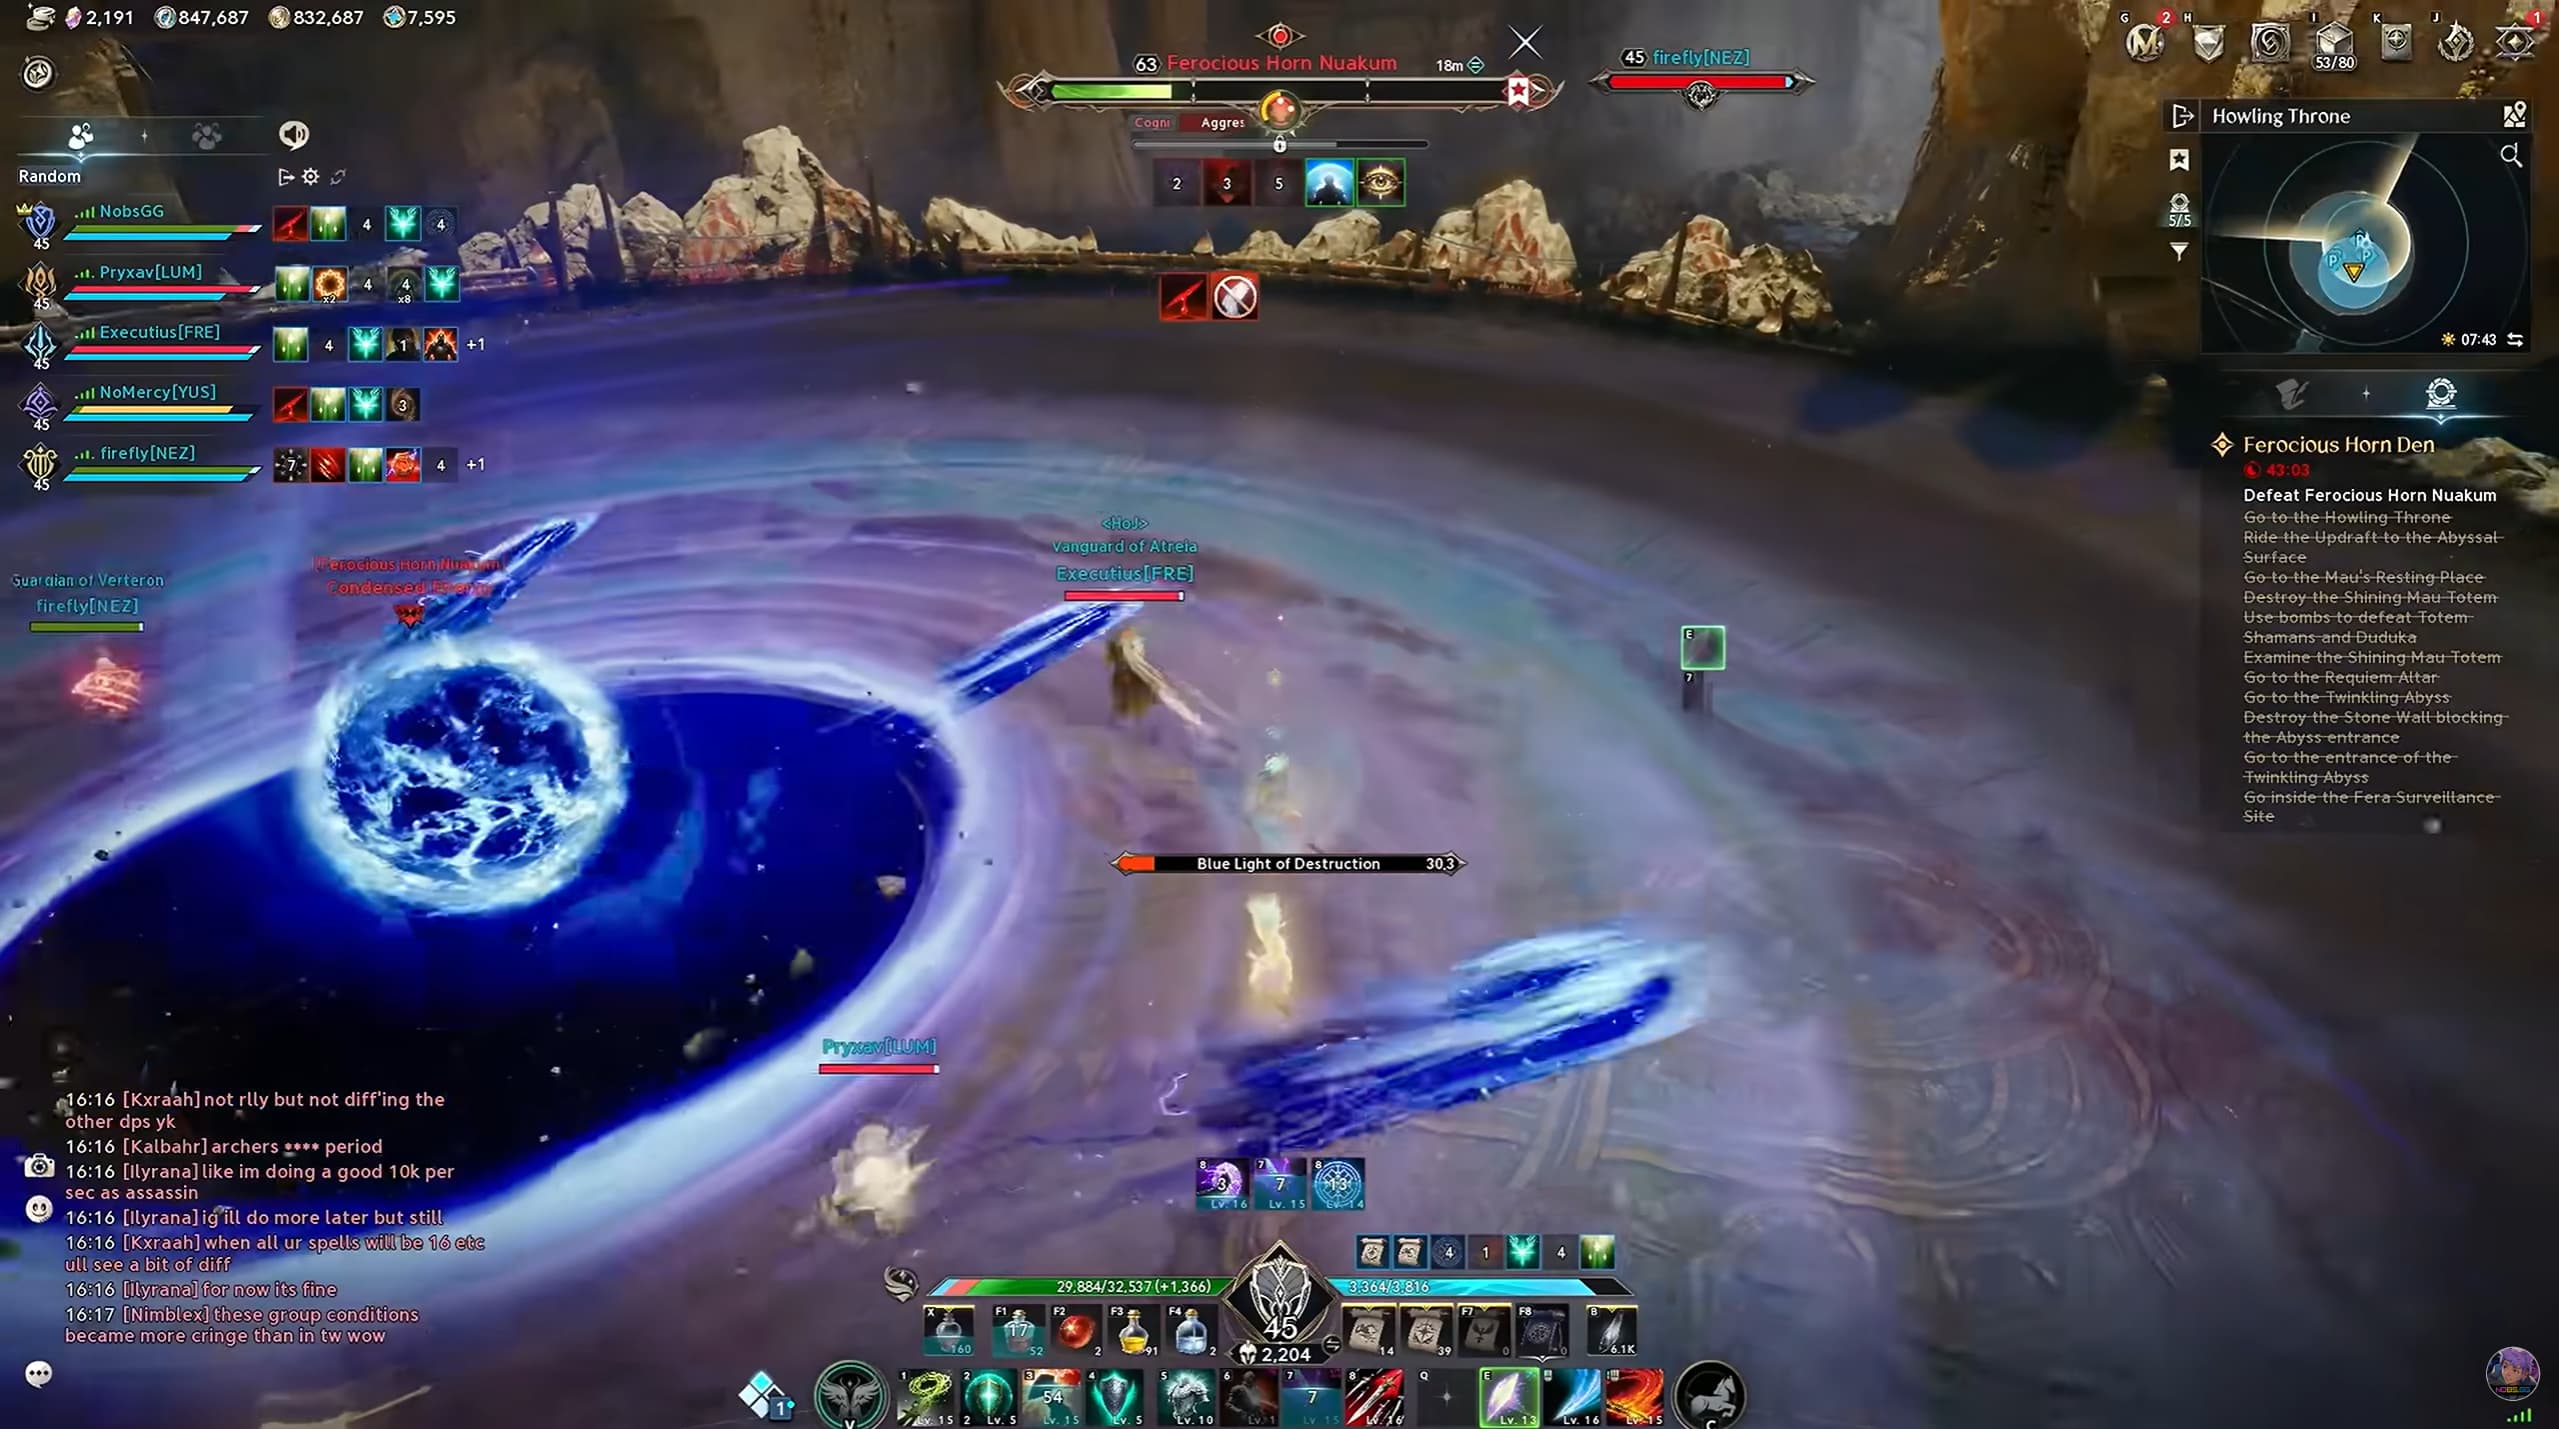
Aim His Ranged Attacks Through the Black Hole
Nuakum creates a black hole in the centre of the arena. Move to the opposite side from the boss so the black hole sits between you and him.
His ranged attacks need to hit and destroy the black hole. Maintain that alignment as he attacks.
Move around the black hole to reach your position, as touching it is lethal. Watch for the donut AoEs during this phase too: they can stun you and leave you exposed to the remaining hazards.
Intercept One Orb Per Player
Nuakum raises his hand, targets a player and stuns them. He then throws two orbs towards that player.
Two teammates need to protect the stunned target by intercepting one orb each:
The first player stands between Nuakum and the target to intercept the first orb, then moves out of its path.
A second player without a vulnerability mark intercepts the next orb before it reaches the target.
Taking an orb applies a vulnerability mark, so one player must not absorb both. Rotate the interception duties and use teammates without the vulnerability debuff.