Guns
With a focus on being good with any gun, you can really use anything you like and the build will support getting the most out of them. There's basically no wrong choice when it comes to what weapons to use and the build can easy be tweaked to fit particular guns by just changing enhancements. Below are what I believe to be the best weapons for the build with the strongest weapons listed first.
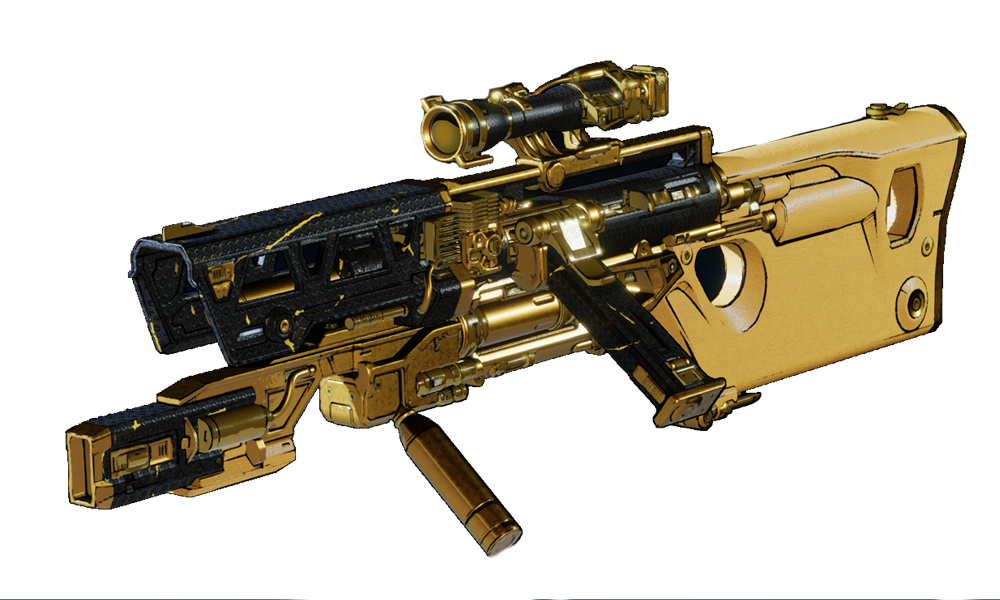
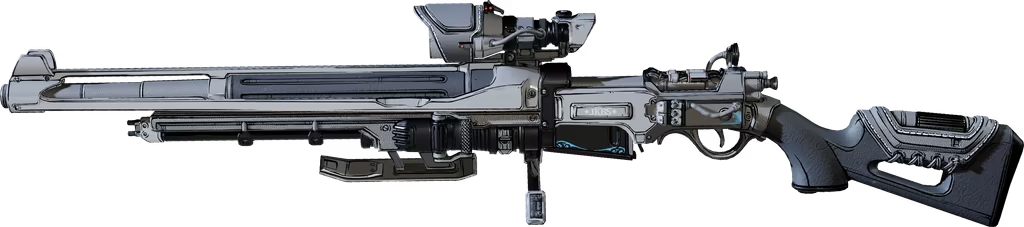
 Golden God - This thing is amazing for mobbing and bossing, has always been amazing for Rafa.
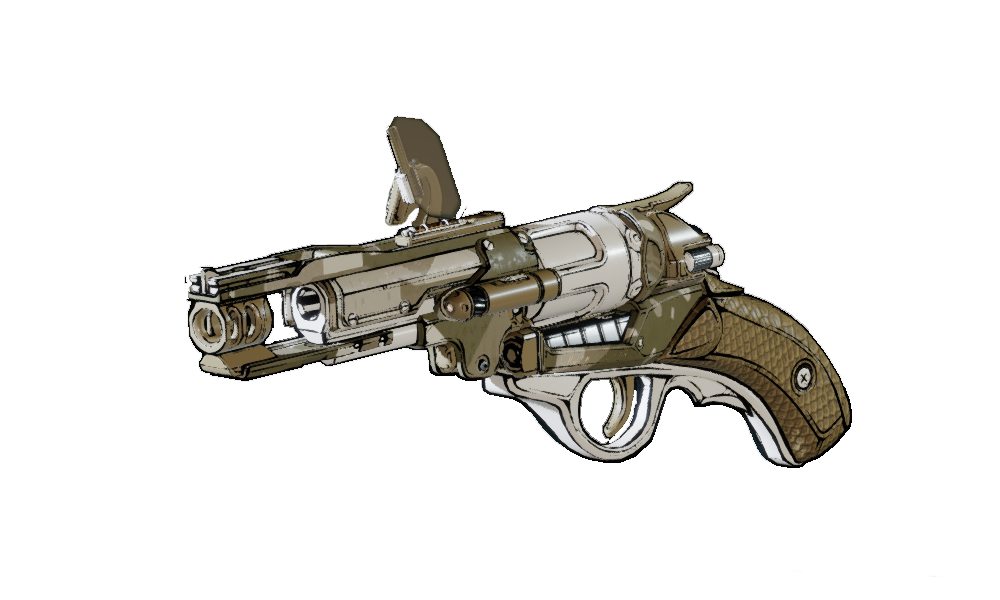
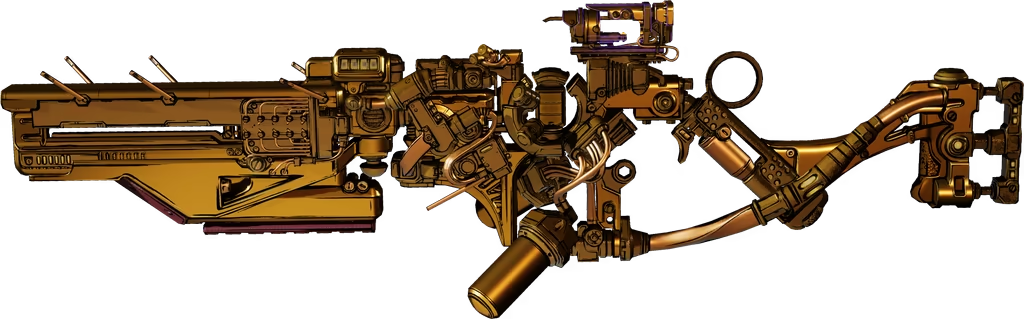
 Shalashaska - Amazing weapon and easily my favourite gun currently. Probably our best mobbing weapon available and is still very good at bossing particularly large grounded targets.
 Scoot'n'Shoot - Probably the new best sticky gun in the game since we not only have ammo regen but also infinite ammo. This scales up insanely fast, with ripper mags I've easily applied hundreds of stickies within seconds. If you want an easy boss melter then there isn't much better than this for Rafa.
 Flash Cyclone - A new favourite SMG for me, it's very strong for mobbing.
 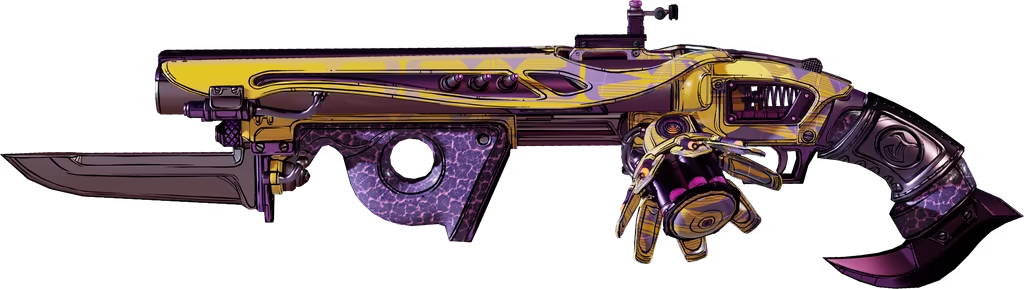 T.K's Wave - With stickies it's the best sticky applier for the build, you will delete bosses.
 Mercurious - Perfect for mobbing, still good with bossing. Great for those who love going fast and Zane from BL3.
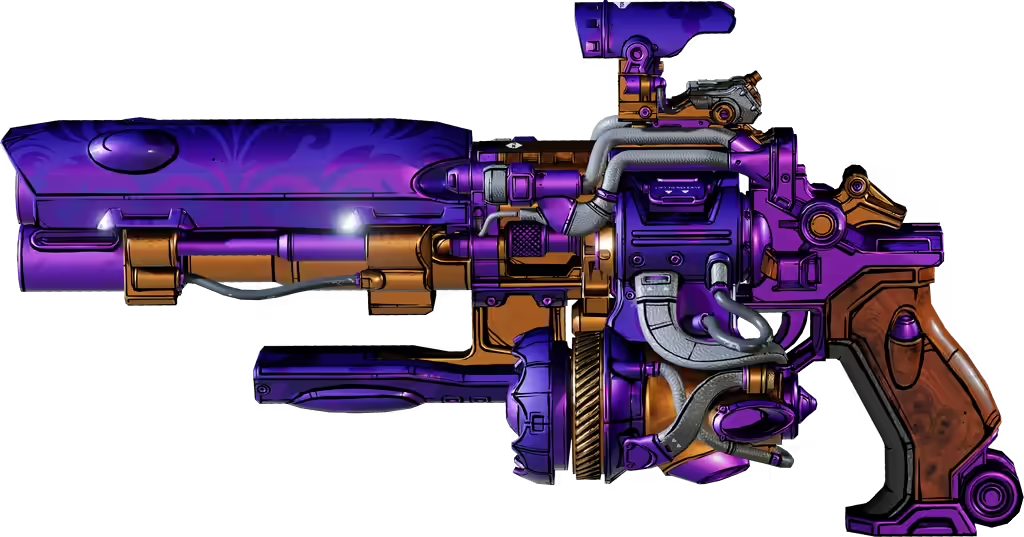 Queen's Rest - Great for vile enemies, can be great for stickies, great for mobbing. Slept on by too many people.
 Midnight Defiance - The best for room clearing or large amounts of enemies. Annoying to obtain.
 Rainmaker - Very fun and another great sticky applier. Can easily room clear with Jakobs ricochet.
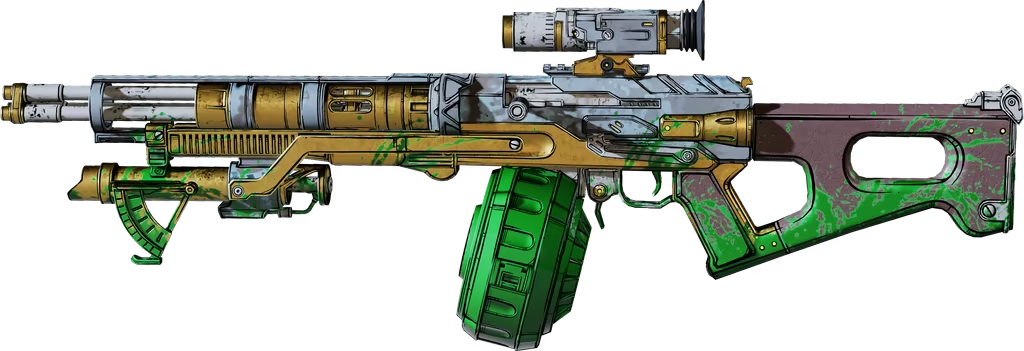 Wombo Combo - Great mobbing weapon and easy to obtain.
 Hemorrhage - Its damage bonus is actually surprisingly strong and is just a decent Vladof sniper all around. Very solid choice.
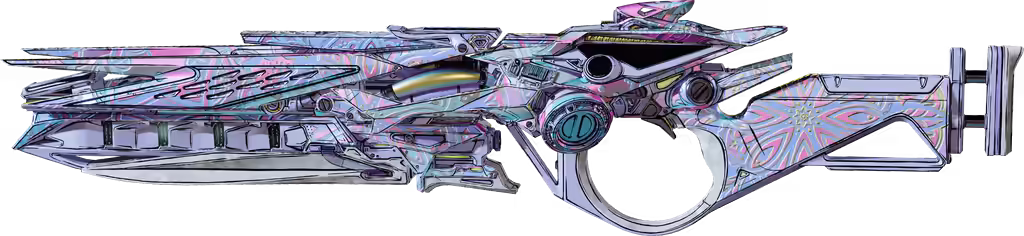 Complex Root - Requires Atlas tracking to fully shine but with it you can melt bosses.
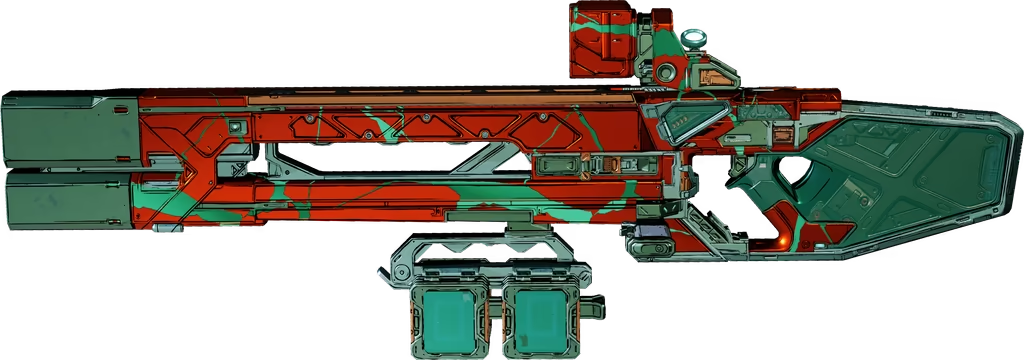 Anarchy - Especially useful early on as we can get it's damage buff without any negative handling.
Rep Kit
 Triple Bypass - An obvious choice for Rafa to keep up our cannons using
  Now With Caffeine. The rolls on this can be pretty much anything you want depending on your preference.
 War Paint - A better choice for bossing. With good rolls on gear you won't end up needing it but it can be helpful, particularly if you're aiming to build up stickies.
Enrage on our rep kits actually isn't very useful to us. We get so much damage from  Temerario that it barely benefits us. Going for Amp (Amplified) or Leech (Parasitic) is much more beneficial for us.
Ordinance
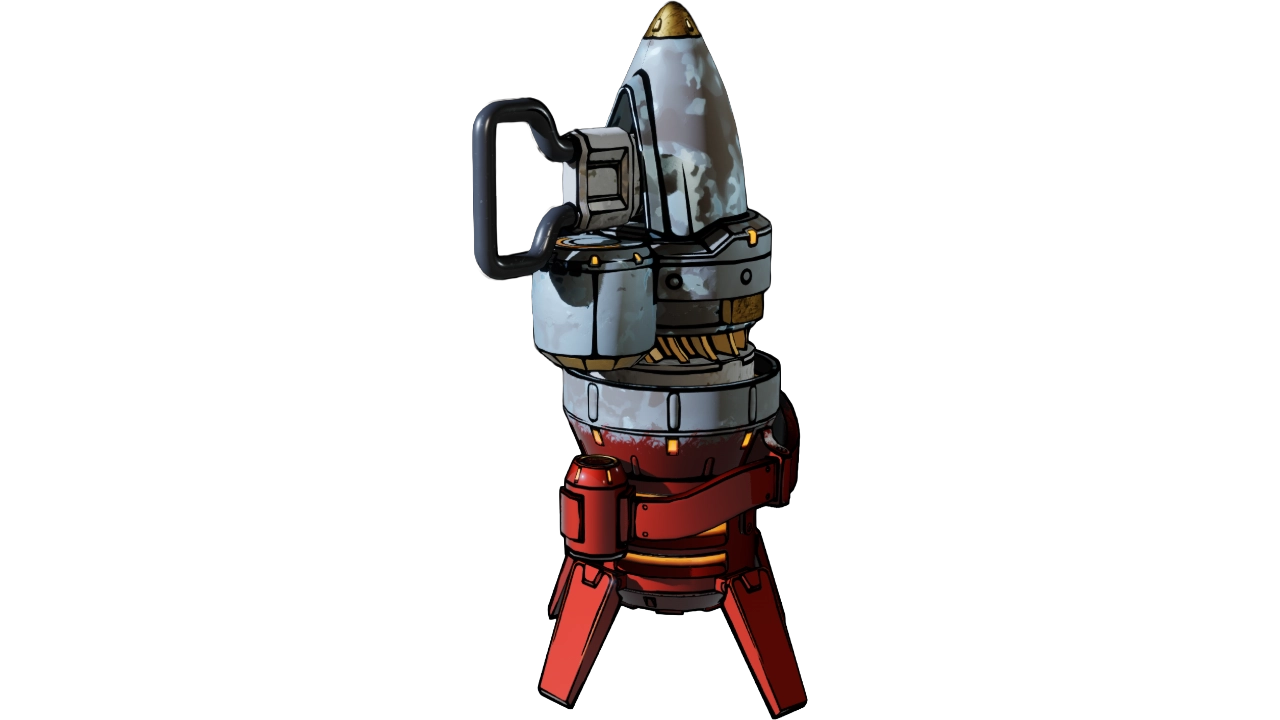
Our best choice by a large margin is the  Firepot. It benefits from our gun damage bonuses and builds up stickies. You can chuck this at a tanky enemy, wait 2 seconds, swap/reload your gun and they'll be deleted along with most other things around them.
Crit Knife isn't worth it in the build, as we easily obtain a high crit chance regardless and in the future will be able to comfortably reach over 100%.
Class Mod
 Dancer is too good to ignore, there's not a purple mod that can compete in this build. You will want to roll 1
  Soltado and the rest in Temerario /
  The Thrill. Ideally you want to get 5 in Temerario but even just 3 points adds a lot of damage. Your best roll is Crit Damage, but Gun Damage is also good. Gun Crit is also nice, we can even hit 100% crit chance this way.
10/5 Temerario can boost up to 600% Gun Damage.
10/5 The Thrill can boost up to 150% Fire Rate.
Shield
We have 3 good options here. They all have pros and cons, but you can also just swap them out freely.
Note: If you want to use AMP, which you can and should try to with the build, do not go into  Survivor more than necessary or at all since this will only boost capacity, not rate. Since we our using shield regen to get AMP shots, we want to have a good balance between recharge rate and capacity. The lower our capacity and higher our rate, the more AMP shots per second we can get.
 Watts 4 Dinner - Our best DPS option. We want to roll at least 1 Siphon Tolling on it to be good. We can get overshield from 1 point in
  Field Repairs to have it for bossing before ever hitting anything. The perfect roll would be Siphon Tolling and AMP Synergized. The shock damage also applies to our Peacebreaker cannons. The recharge rate on the shield is always pretty low, so we don't get many AMP shots per second with this.
  Super Soldier - A very nice option. The ammo regen can be very nice for small mag guns, movement speed and fire rate are added bonuses. Siphon Tolling and AMP Synergized are our best rolls here too. Without Siphon Tolling I wouldn't recommend this for mobbing in UVHM 3 or higher. The shield has a decent rate but also a large capacity, making it give a similar number of AMP shots per second to Watts 4 Dinner. This also means Survivor will negatively impact us even more, so do not go into Survivor if using this with AMP Synergized.
  Guardian Angel - Specifically with 3 AMP Synergized. This shield has a crazy high recharge rate and somewhat small capacity. We already get 0 delay thanks to
  Shield Barriest and hugely increased recharge rate. As an example, a Guardian Angel with 3830 capacity and 4337/s recharge would be boosted up to 13011/s. With a 28% amp shot cost, we only need to recharge 1027 shield. This means we can get up to around 12.6 amp shots per second. This means there is a sweet spot with weapons that closely match our AMP shots per second. Guns that are too slow or too fast will benefit more from Watts 4 Dinner's bonus damage than our AMP. This is obviously also a very specific roll, unlike Watts 4 Dinner that can work just fine without AMP Synergized.
Which is best changes per gun, so a perfect Guardian Angel might not always be better than a Watts 4 Dinner depending on what you're using. Use whichever you prefer, have available, or whatever feels better to you; you'll still be doing crazy damage regardless.
For early game  Firewerks is an obvious choice, it's an amazing shield for mobbing and super easy to obtain. The rolls on this don't matter much, just aim for the best missiles possible. Use this until you can get a decent shield listed above.
Enhancement
Following the focus on being able to use any gun, you can really use an enhancement you like depending on your guns.
The stat rolls also come to preference. The highest damage bonus would be going for Crit Damage. Gun damage is also good. Mag Size is a nice convenience choice. Fire rate is also nice but not very needed. Ultimately it comes down to what you're focusing on more.
Recommendations:
 Jakobs Sequencer with Critical Damage - Our highest damage option. Makes our damage scale up to even crazier amounts. The description does lie a little though. It isn't Bonus Damage like it describes, it actually works more like Gun Damage does in enhancements. So it actually adds to our damage modifiers instead of dealing an additional instance of damage like other Bonus Damage skills.
- Vladof Box Magazine with Mag Size or Fire Rate - With firmware we can get up to 70% mag size on all guns, 90% on Vladofs, which with
 Las Jaras can make our mags feel bottomless. Feels great for mobbing.
 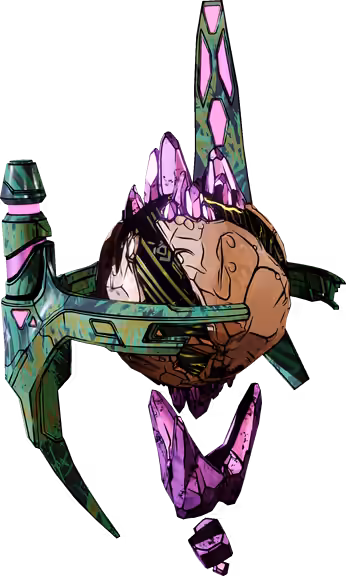 Quicksilver mod can give you 100% crit rate for free, allowing you to move points from
  Brain Dump. CoV Rafa feels fun to play and I'd suggest trying it at least once.
 Studfinder is very nice for Torgue guns. Really good for mobbing and can be pretty nice for bossing. This wouldn't be as strong as the other options but is nice for Torgue enjoyers.
After some testing then further research, Jakobs Piercer enhancements crit does not add to skill tree crits. This means despite reaching 90% crit chance, the 20% from it is a separate roll, so we don't reach 110%. This makes purple Sequencer's our best choice.